Make a scene come alive with effects
Give a title a zoom, fly three pictures in from different sides, fade their names in slowly, and make the button pulse three times. Learn how timing turns separate effects into one entrance.
- Level
- Beginner
- Time
- About 10 min
- Steps
- 7
- Updated
- Oct 11, 2026
A "Blast off into space!" scene where the title zooms in, Earth, the Moon and Mars fly in one after another, their names fade in, and the Blast off! button pulses to say "press me".
Get the finished lesson
Skip straight to the result, or keep it open beside the steps. Add this tutorial's lesson to your account and explore how it works in the studio.
Free to sign up, and you'll come straight back here. I have an account
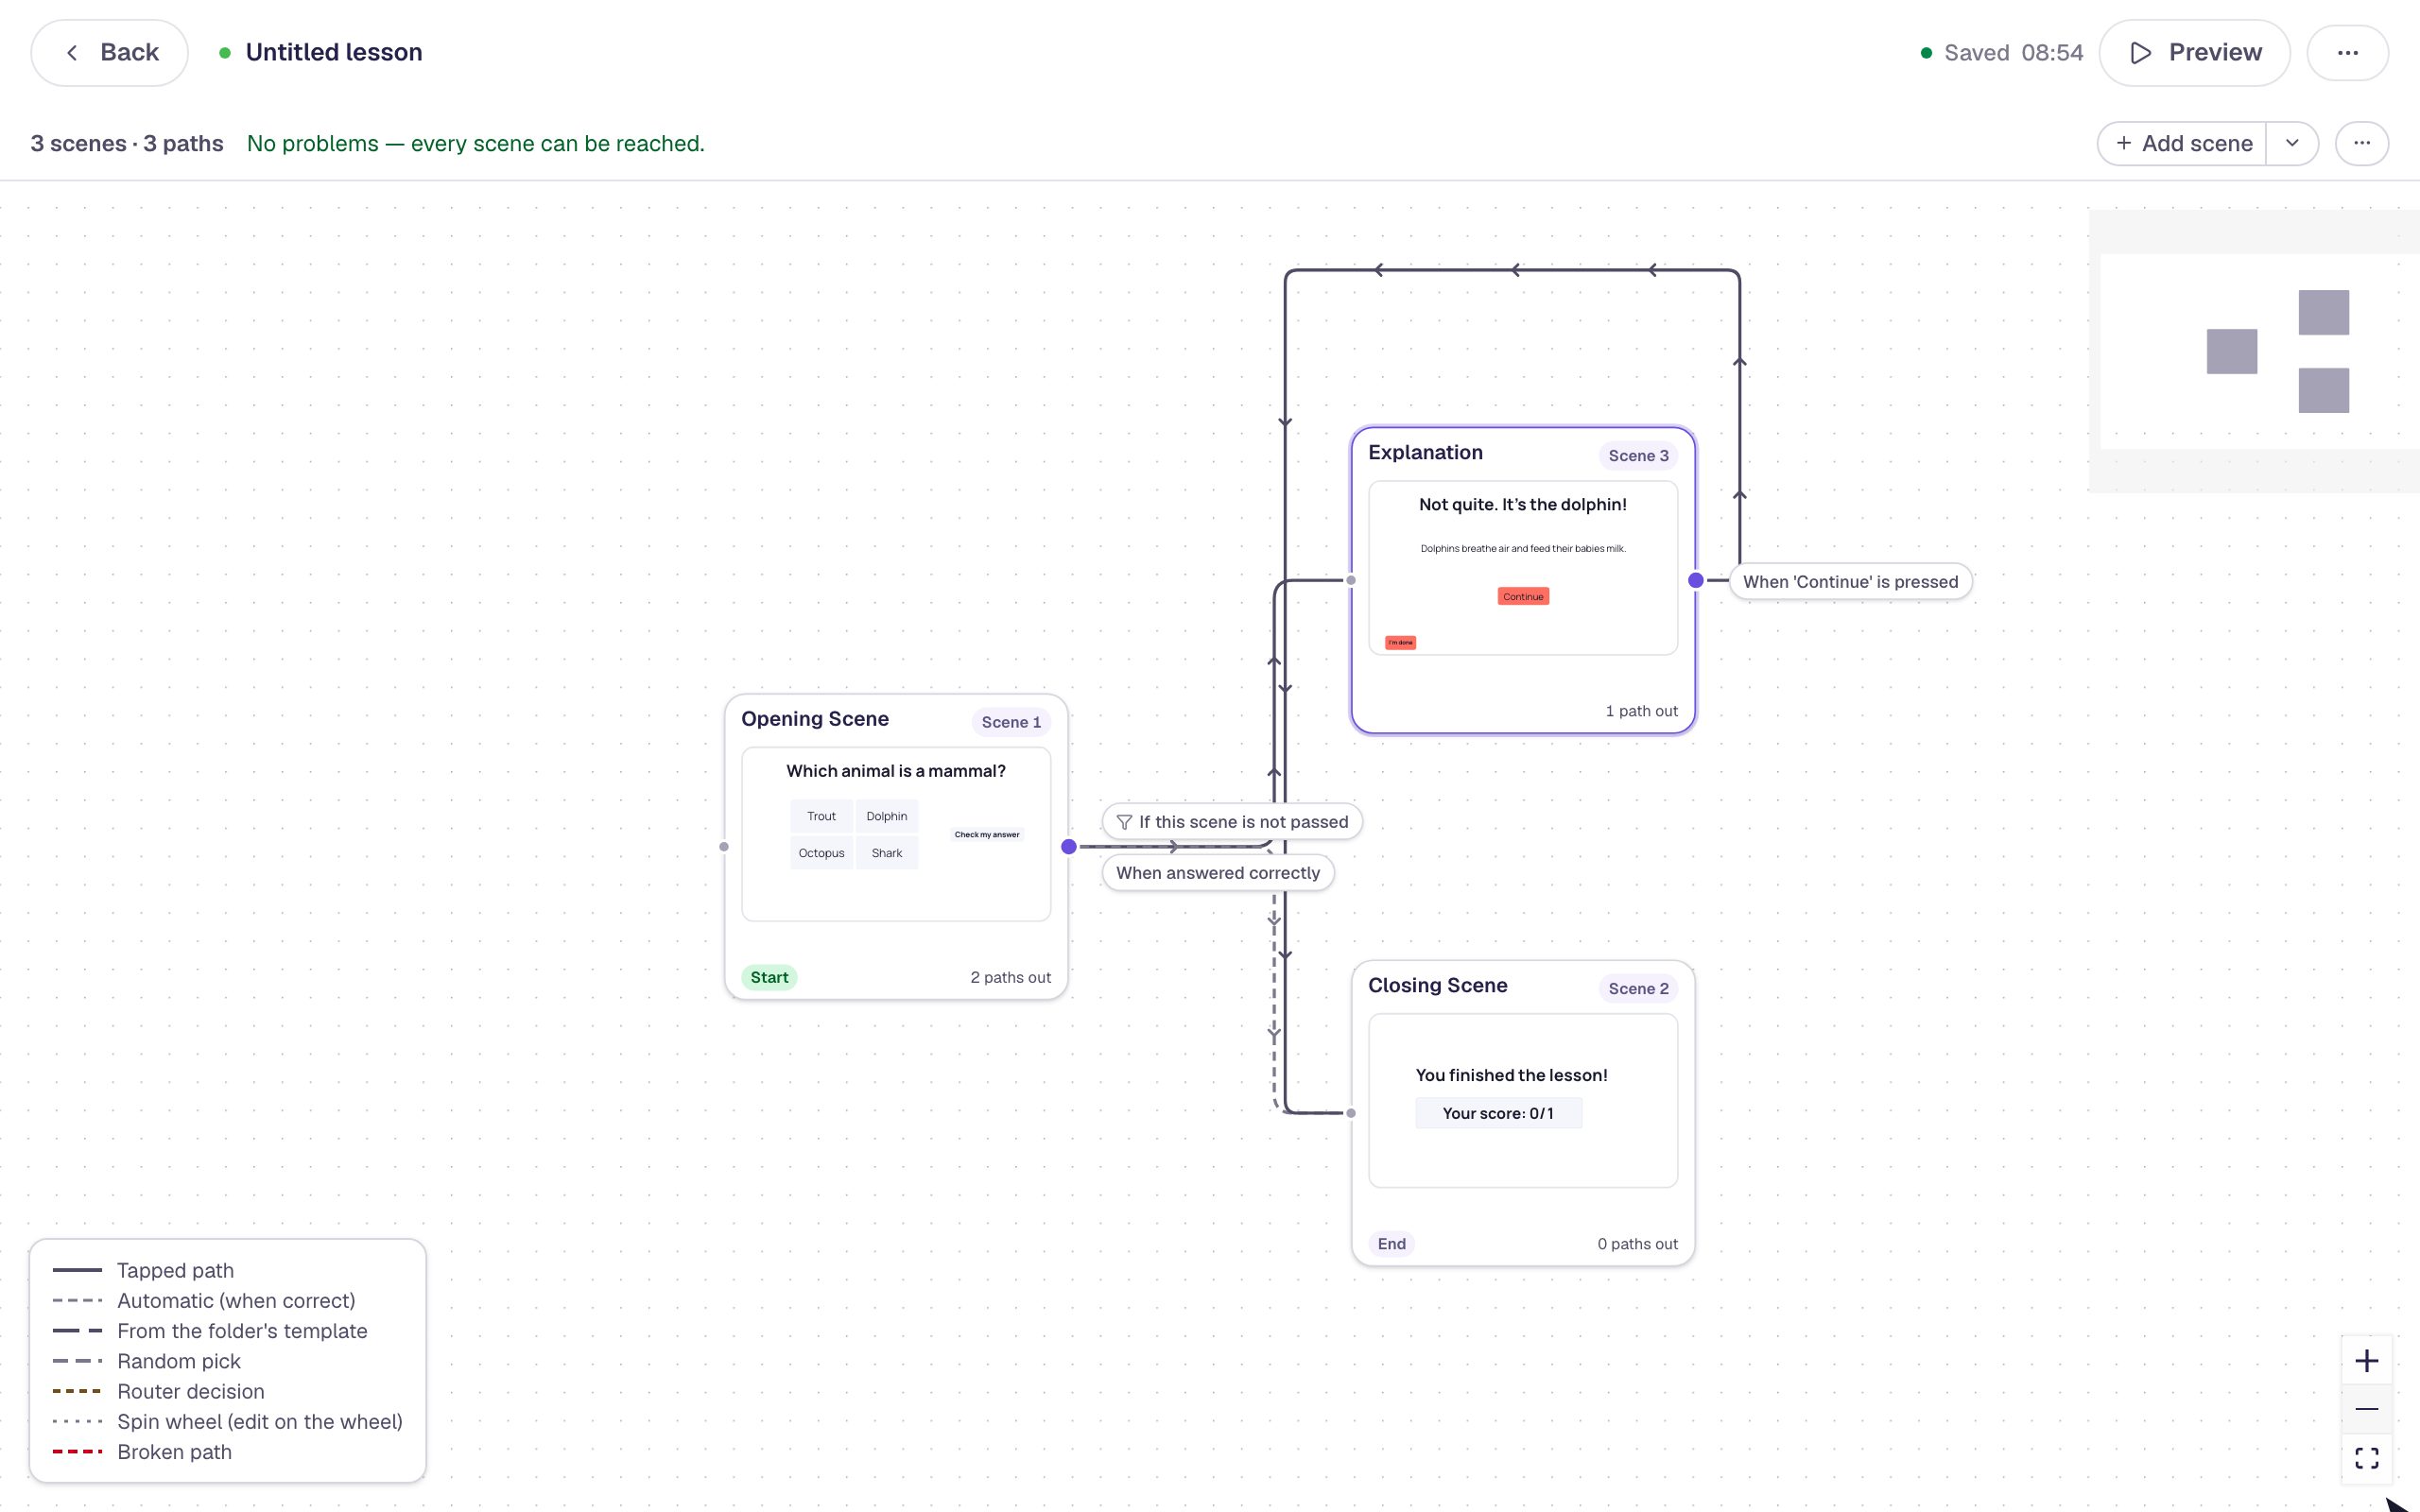
A scene that builds itself in front of students grabs their attention in a way a still page can't. The title arrives, the pictures sweep in one at a time, and the button nudges them to start. Each of those moves is an effect, and every widget in the studio has a place to add one.
In this tutorial you'll build the opening scene of a space lesson. The title will zoom in, Earth, the Moon and Mars will fly in from three sides, their names will fade in slowly, and the Blast off! button will pulse three times. Along the way you'll see how one setting, Duration, turns separate effects into one entrance.
Step 1: Set up the space scene
Start a blank lesson and name it (we used Our neighbours in space). Click an empty part of the canvas, open Background, click Choose a style, and pick Starfield from Nature. A dark sky makes white text and bright planets stand out.
Then add:
- a Heading that says
Blast off into space!, set to 52 px and white, - three Image widgets, 230 wide and 170 tall, in a row. Click Choose image on each and search the stock photos for
earth from space,moon close upandplanet mars, - a white Subheading under each picture with its name:
Earth,Moon,Mars, - a Button labelled
Blast off!with a gold background, under the row. In its Behaviors, choose Make this a "Next" button so it takes students to the ending.
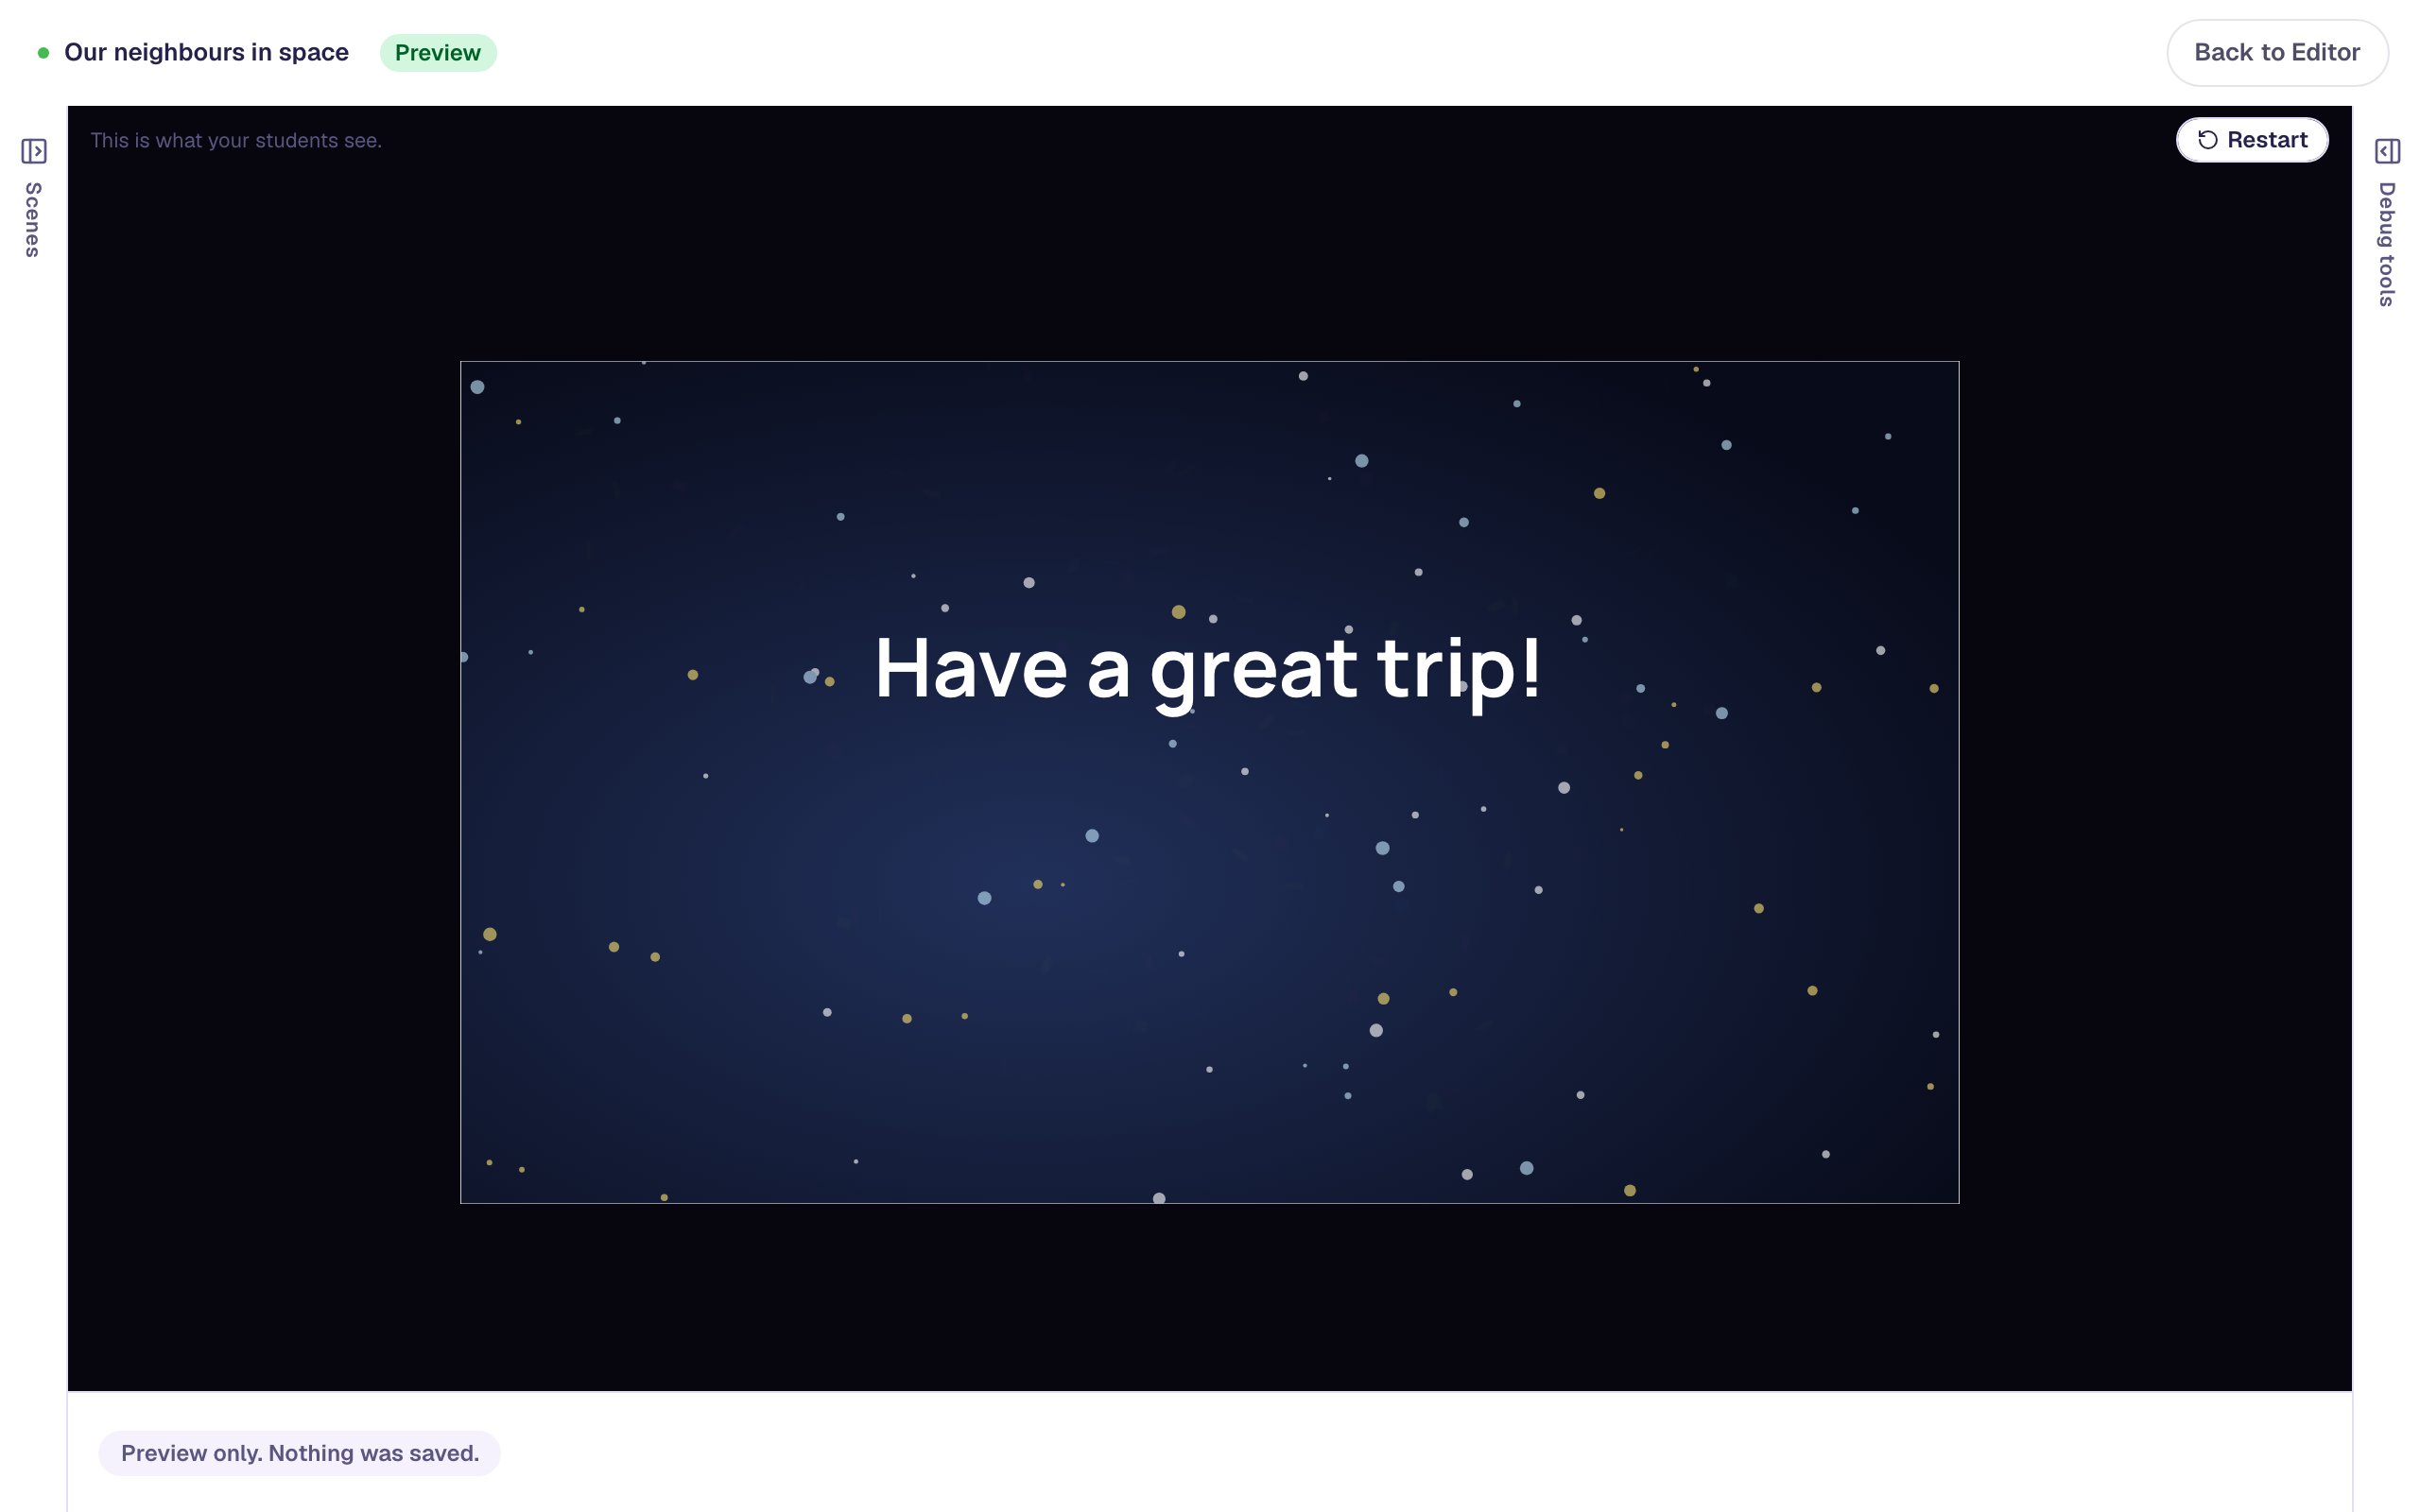
Give the Closing Scene the same Starfield background, and change its headline to a white Have a great trip!.
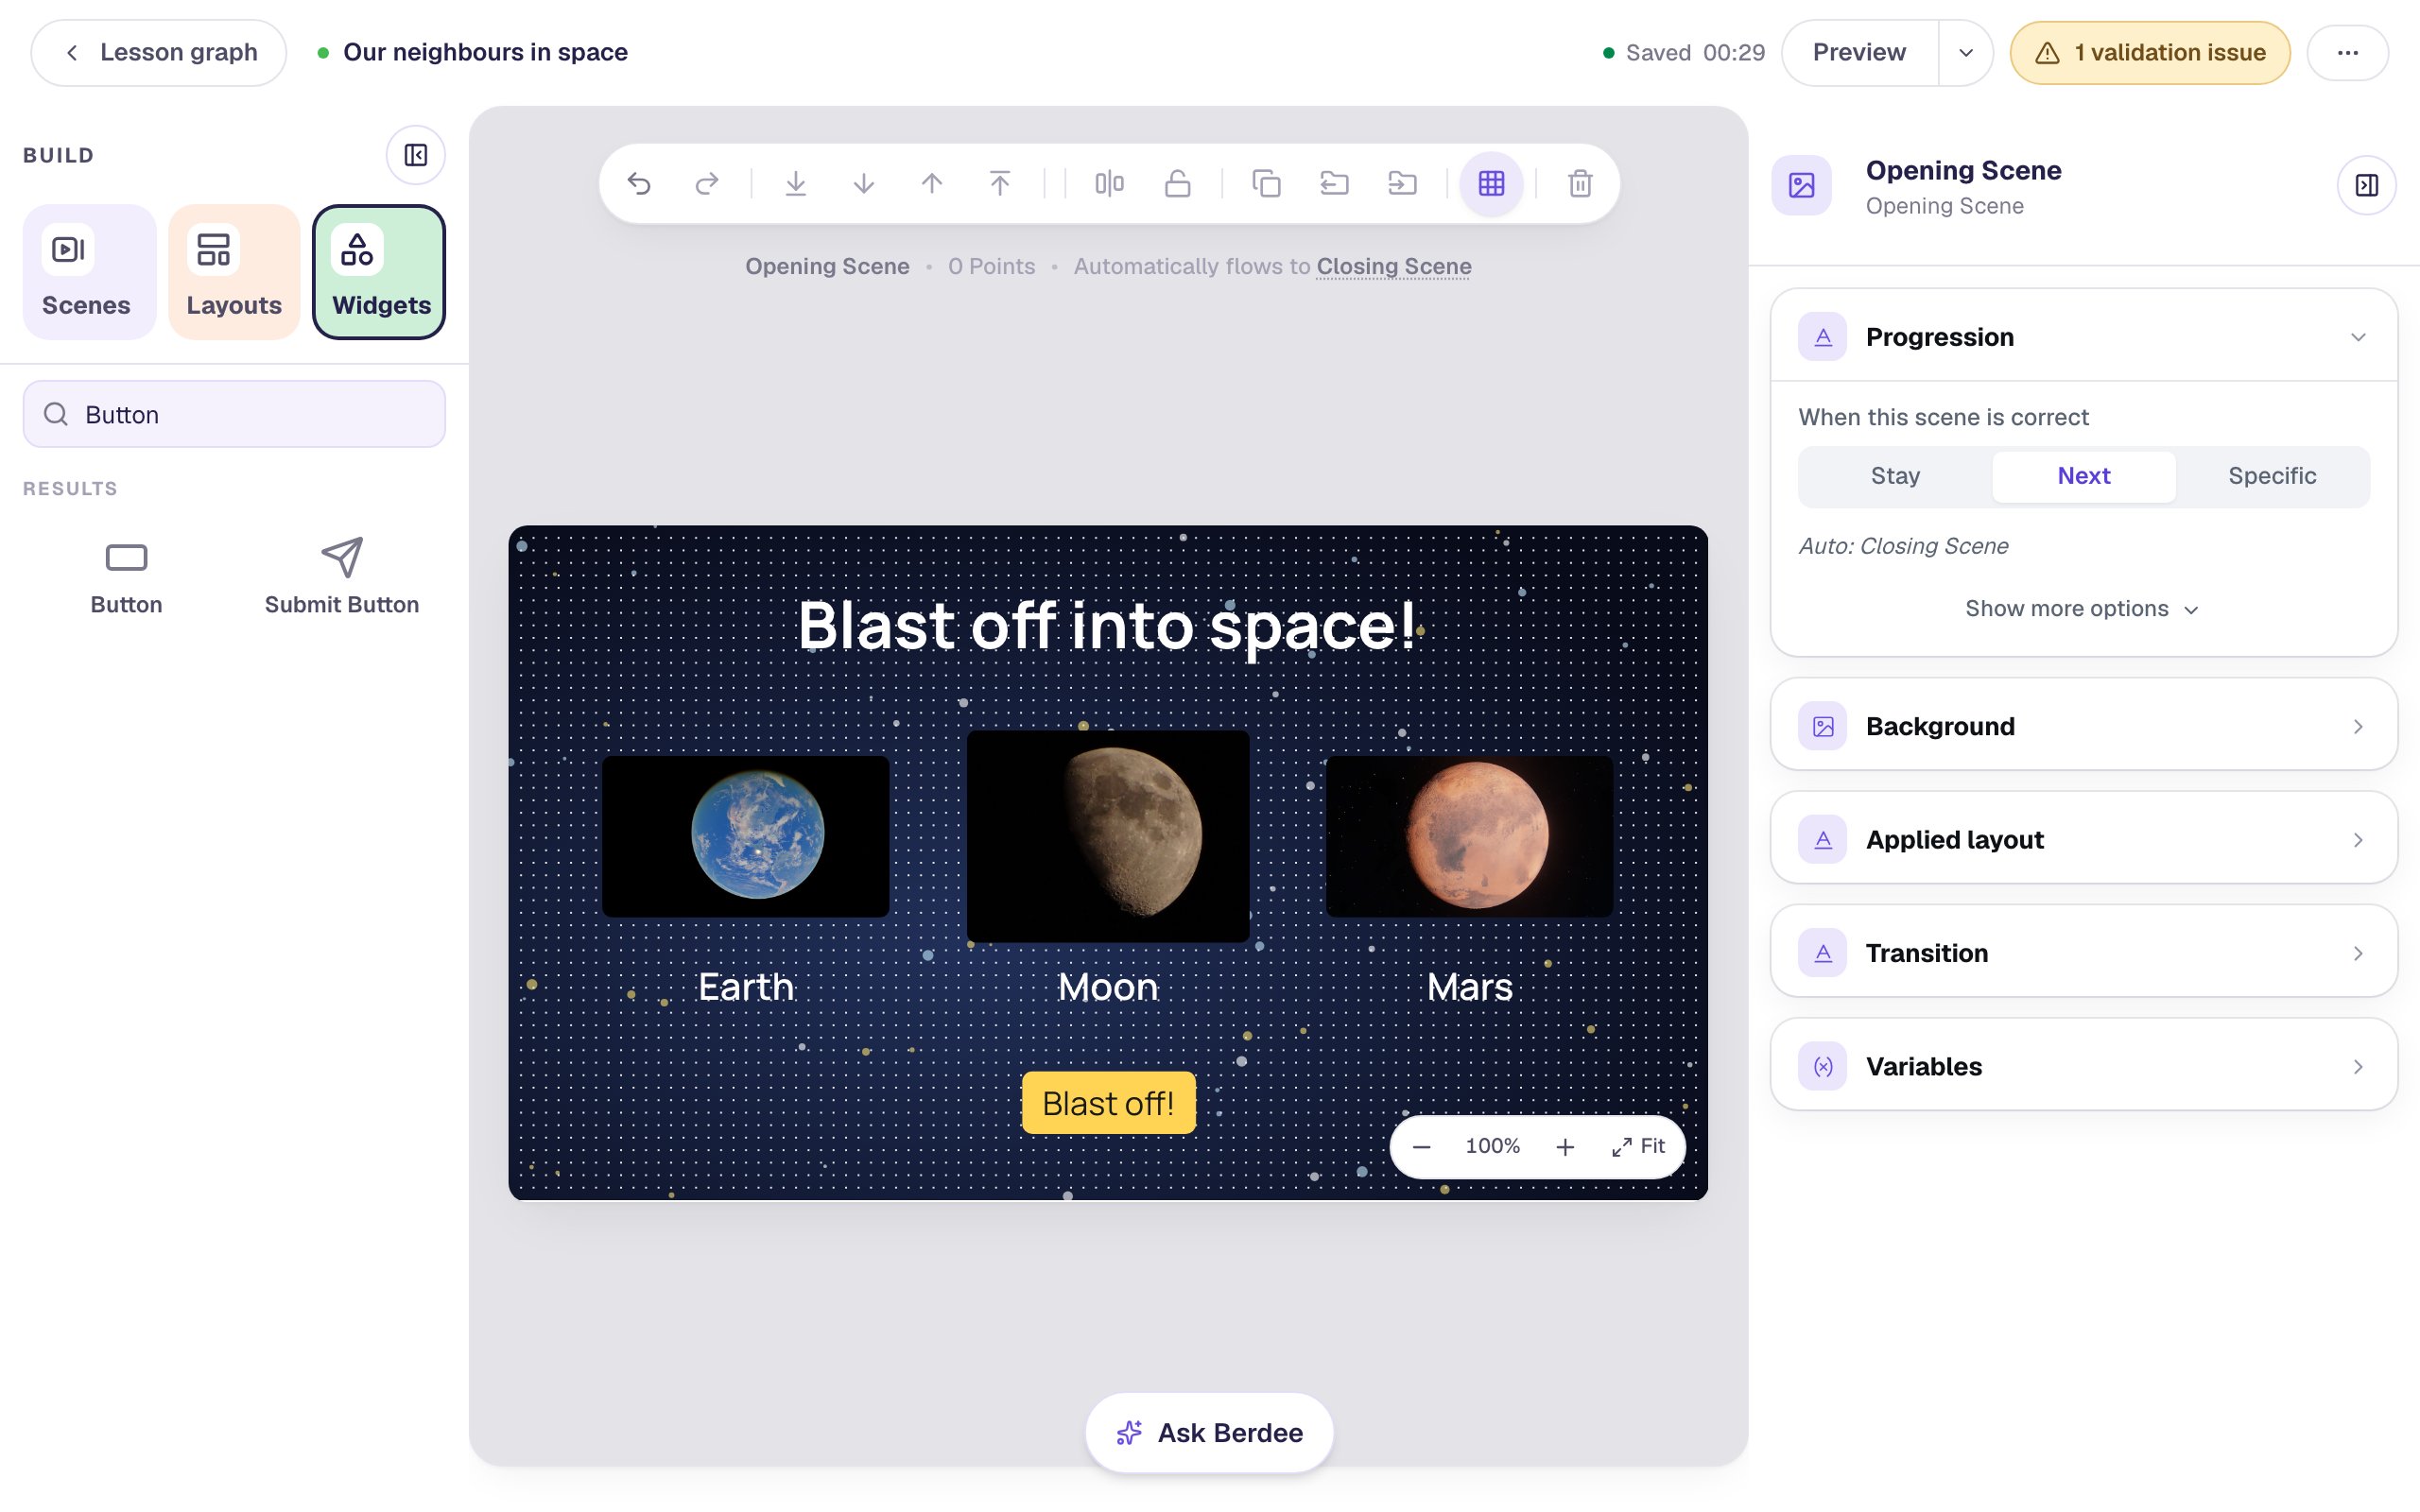
The badge at the top says the lesson isn't ready to publish: a published lesson needs a Submit Button set to Lesson. That doesn't matter while you practise. Add one before you publish.
Step 2: Zoom the title in
Click the title to select it. In the properties panel, open Effects and click Add Effect. Choose Zoom from the list.
A Zoom In card appears with two settings: Direction, which starts on In, and Duration, how long the zoom takes in milliseconds (1000 ms is one second). Click Duration, type 800 over the 500 and press Enter. A slightly slower zoom feels grander for a title.
The Effects header now shows a 1, so you can tell at a glance which widgets have effects.
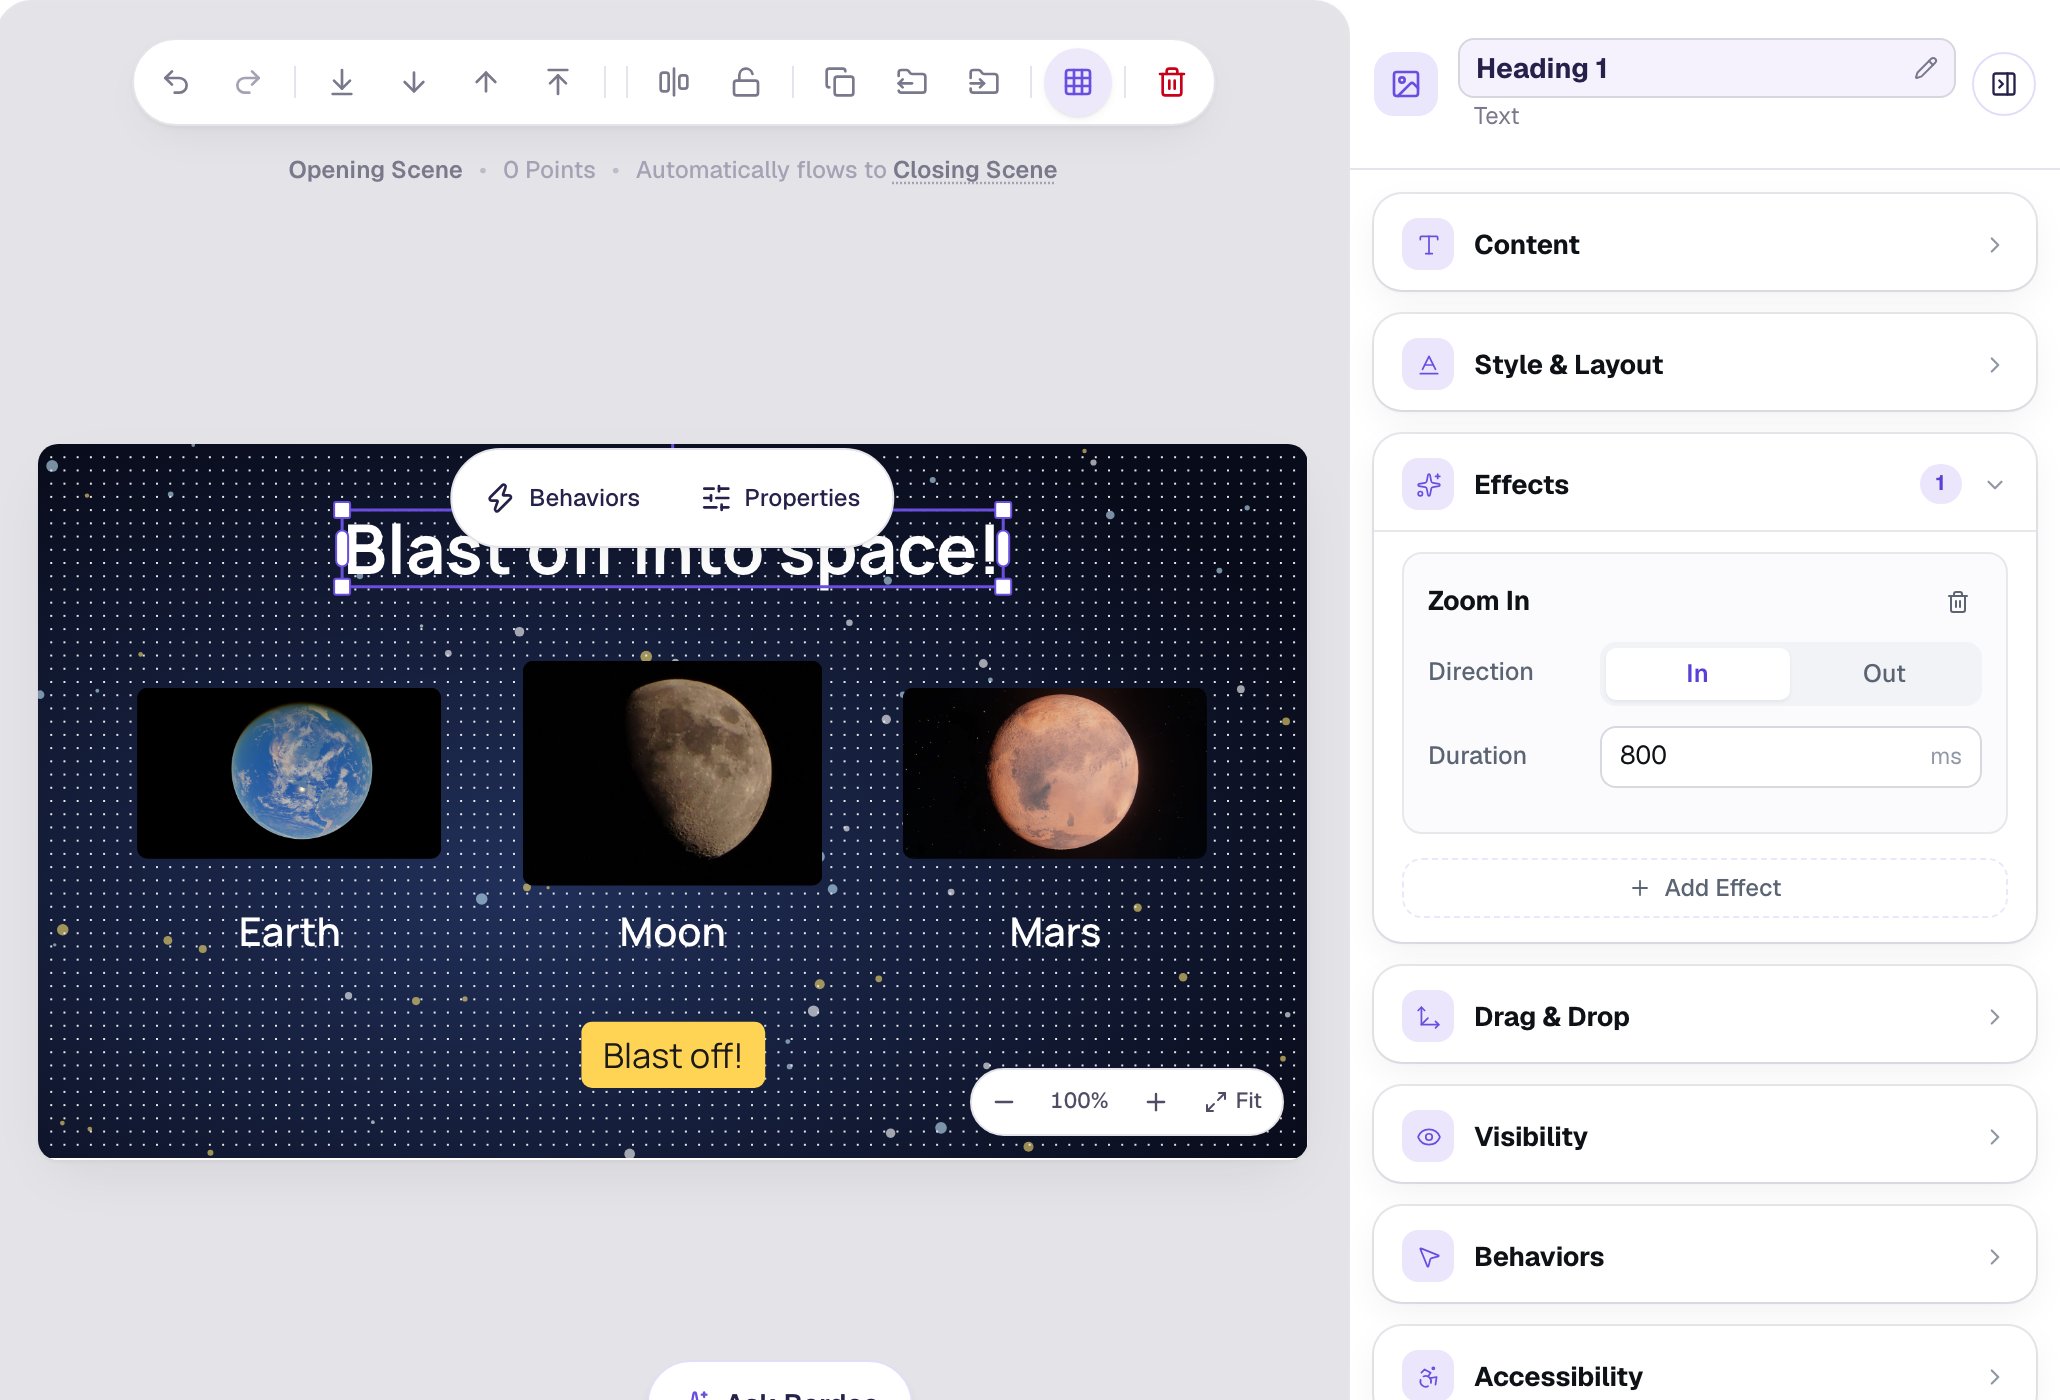
Notice the title didn't move on the canvas. The studio keeps the canvas still so you can place things precisely. Effects play in Preview and for students, which you'll do at the end.
Step 3: Fly the planets in, one after another
Entrance effects have no "wait before starting" setting: every entrance starts the moment the scene opens. To make the planets arrive one after another, give each one a longer Duration than the one before. They all set off together, and the slower ones land later.
Click the photo of Earth, open Effects, click Add Effect and choose Fly In. Leave From on Left and set Duration to 600.
Do the same for the other two photos:
- Moon: Fly In from Bottom, Duration
900. - Mars: Fly In from Right, Duration
1200.
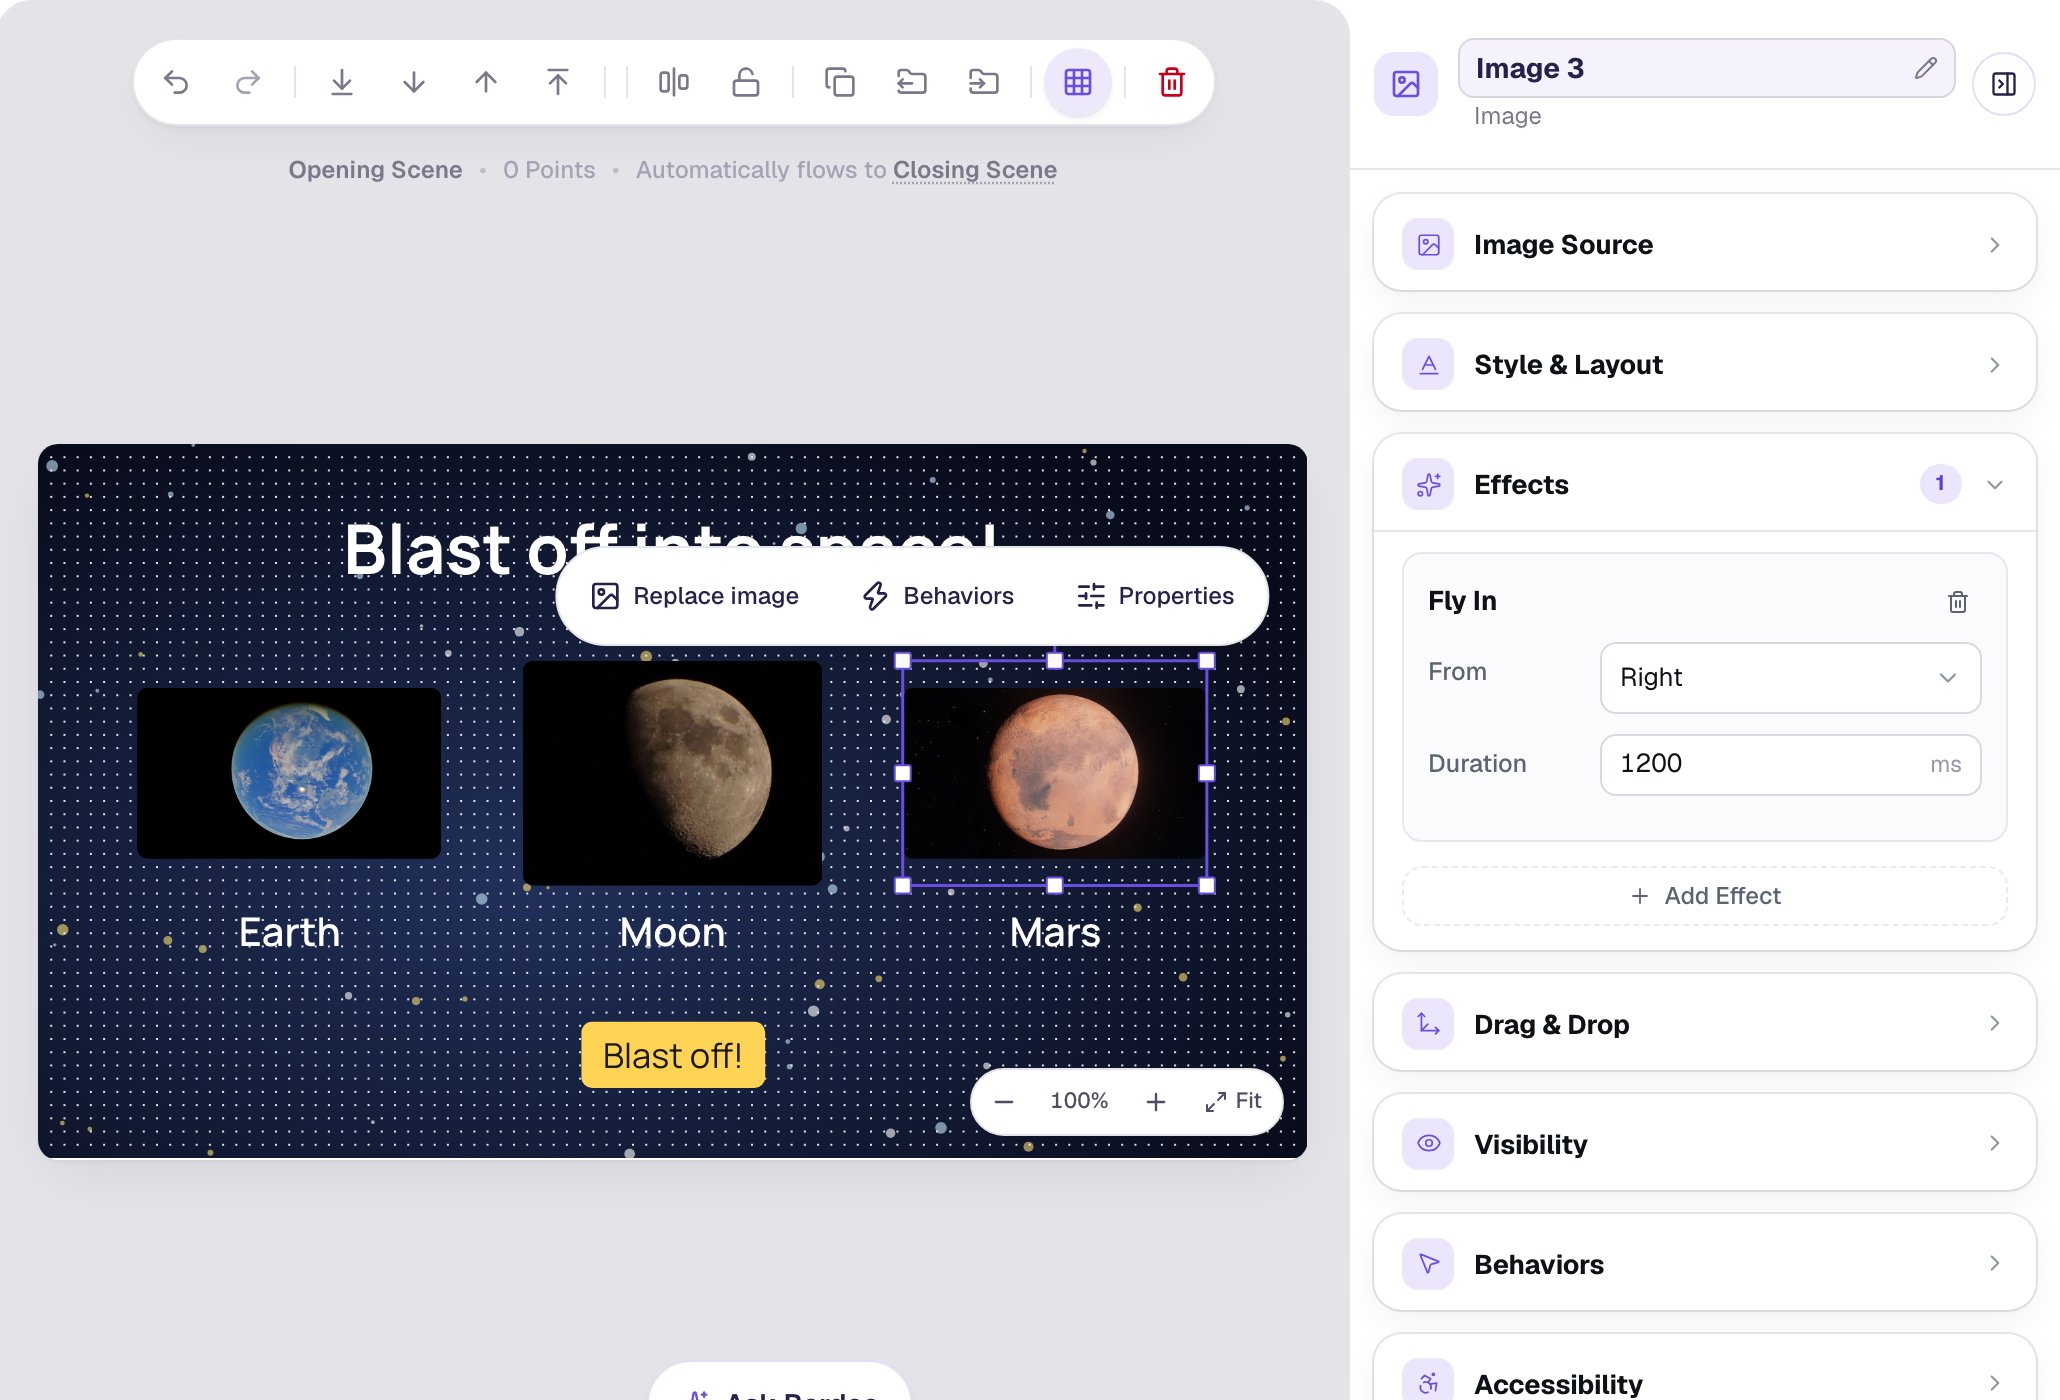
Bringing each planet in from a different side makes the scene feel like it's gathering around the title. Random is also an option for From. Each widget still gets a fixed side, chosen from where it sits on the scene, so it comes in the same way every time.
Step 4: Fade the names in slowly
The names should come into view gently, without stealing attention from the moving pictures. Select Earth's name, add a Fade In effect, and set its Duration (ms) to 1500. Do the same for Moon and Mars.
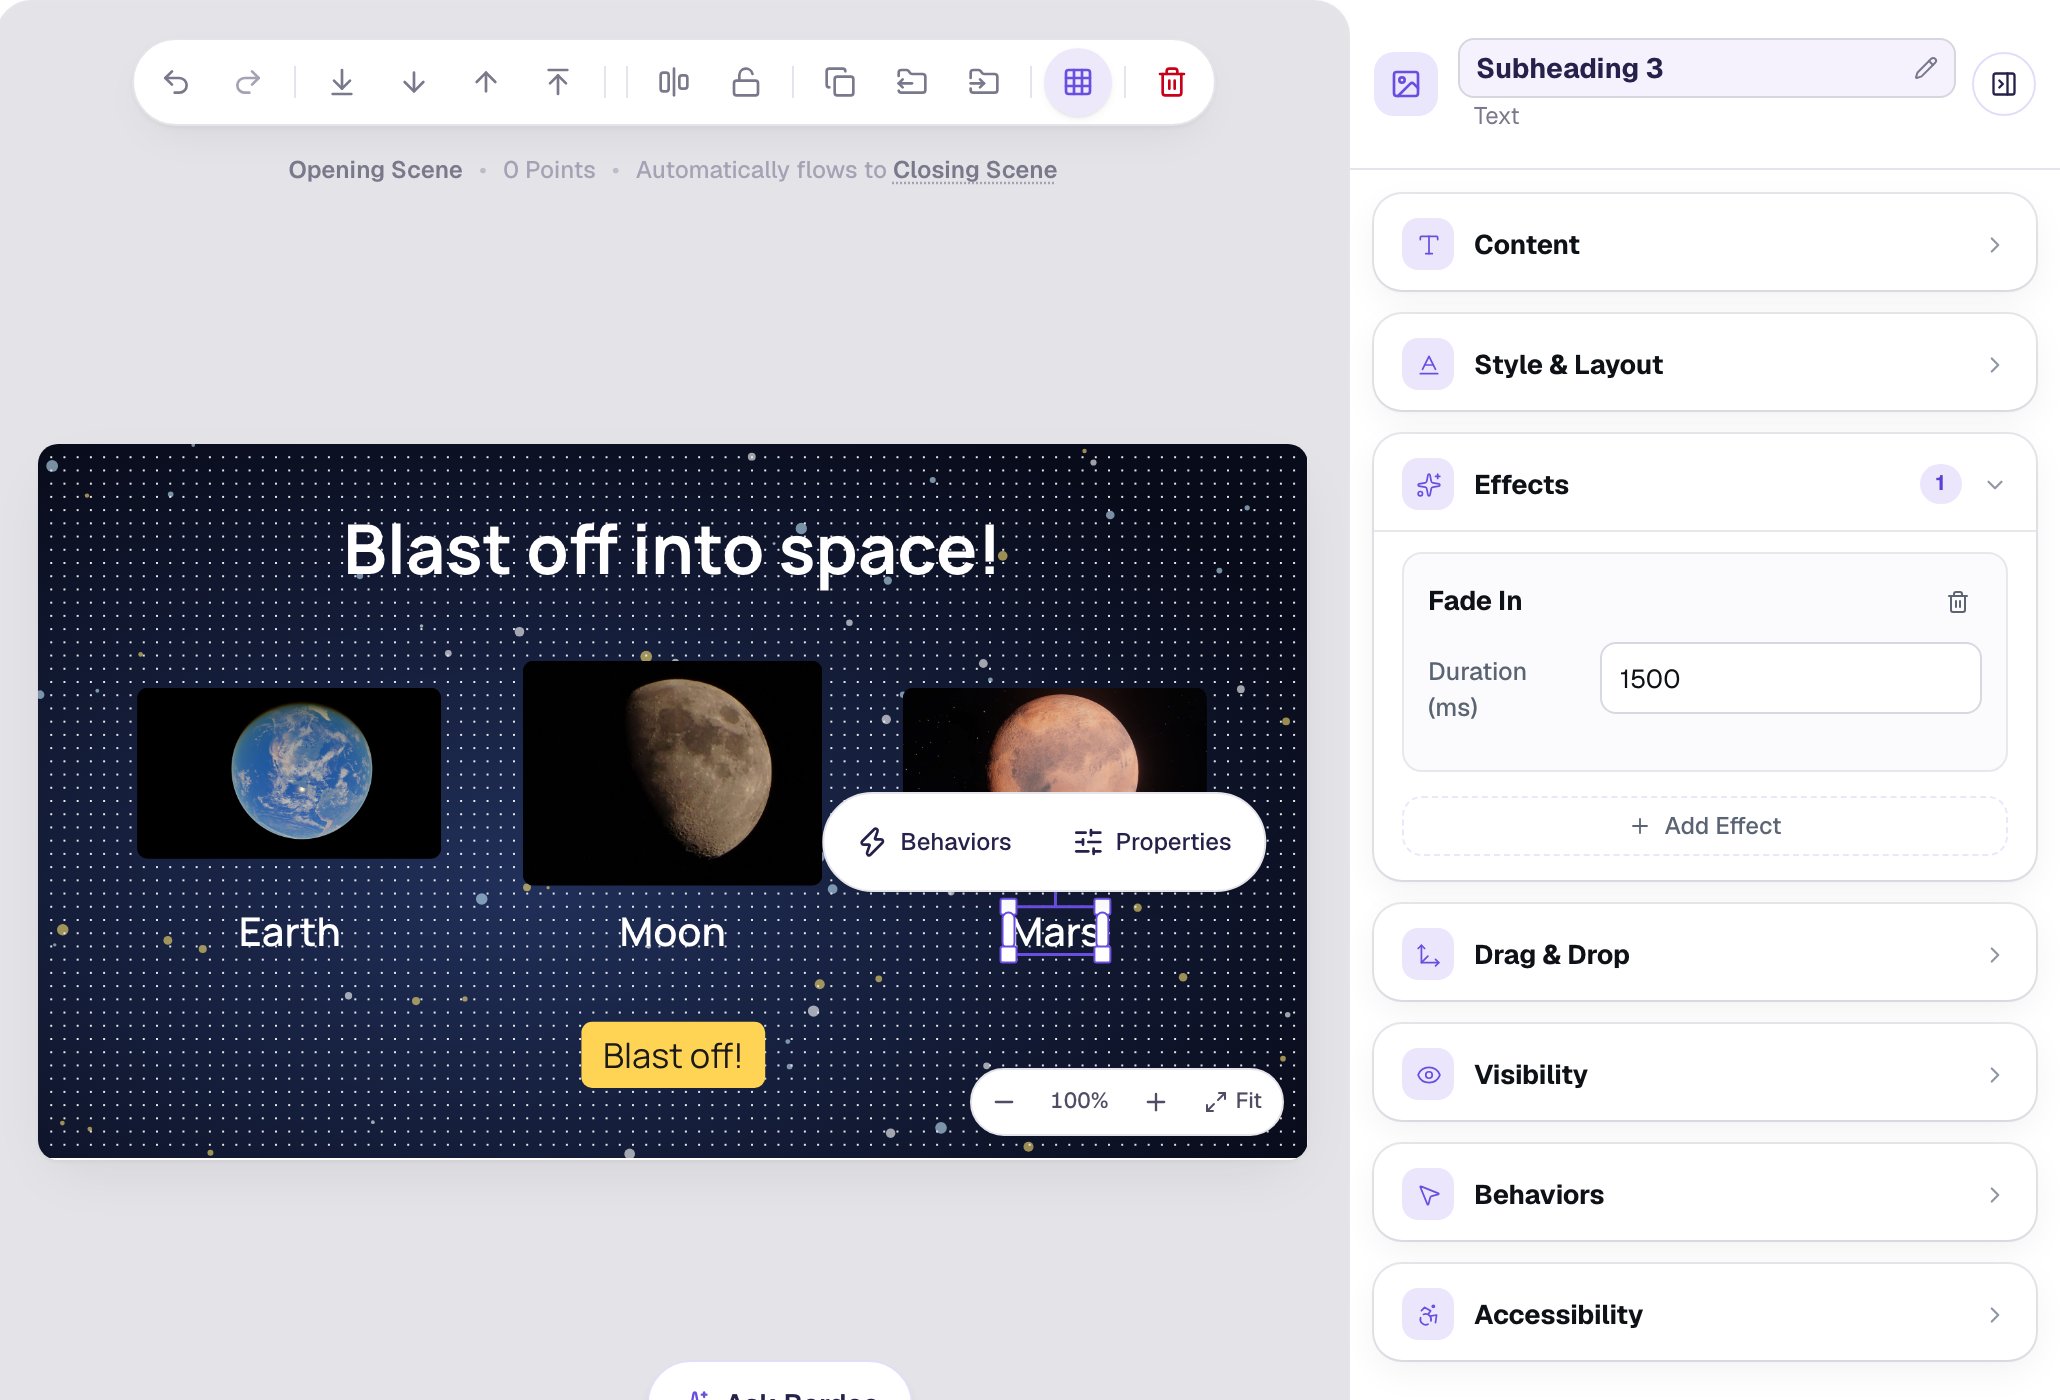
Like every entrance, the fade starts the moment the scene opens, so the names are faint while the planets are still moving. Because 1500 ms is longer than any fly-in, they only become fully clear just after Mars lands at 1200 ms. The eye goes to the moving pictures first and reads the names once everything has settled.
Effects belong to one widget, so a picture and its name each need their own. That's also why you can give them different timing.
Step 5: Make the button pulse three times
The last thing students should notice is the button. Select Blast off!, open Effects, click Add Effect and choose Pulse. Set Scale to 1.15, so the button grows a little more on each beat.
Leave Loop forever off. With it off, the button pulses the number of Times you set (3) and then stops. A button that pulses forever keeps pulling students' eyes away from the pictures they're meant to look at. Three beats say "press me when you're ready" and then get out of the way.
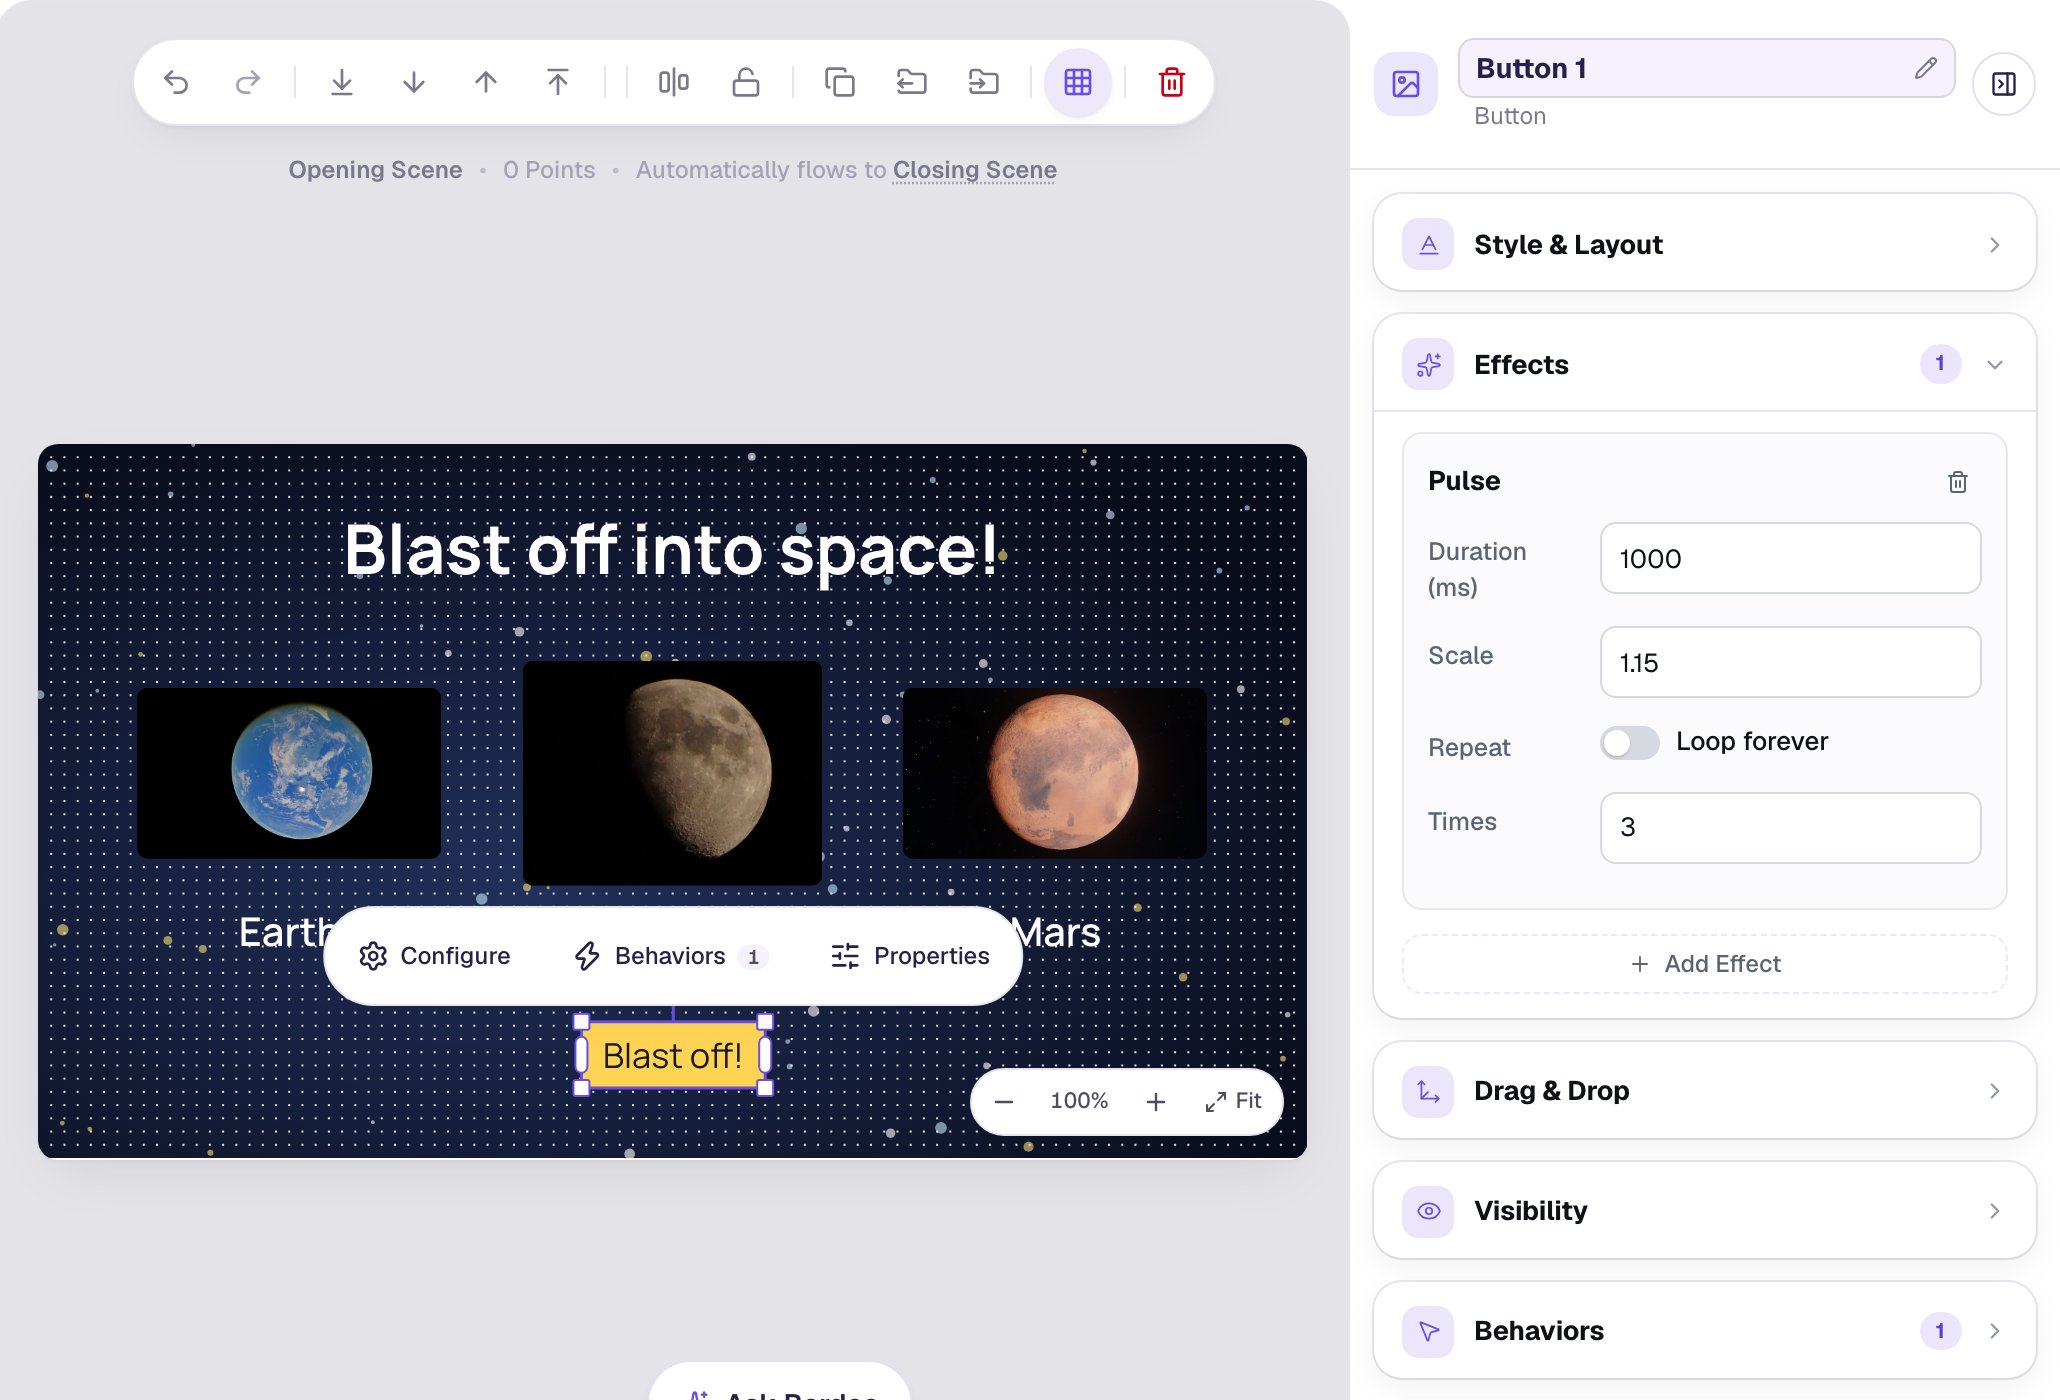
Spin, Bounce, Swing and Tada work the same way: each has Loop forever and a count for when it's off.
Step 6: Check the canvas
Click an empty part of the canvas to deselect. The scene looks exactly as it did in Step 1:
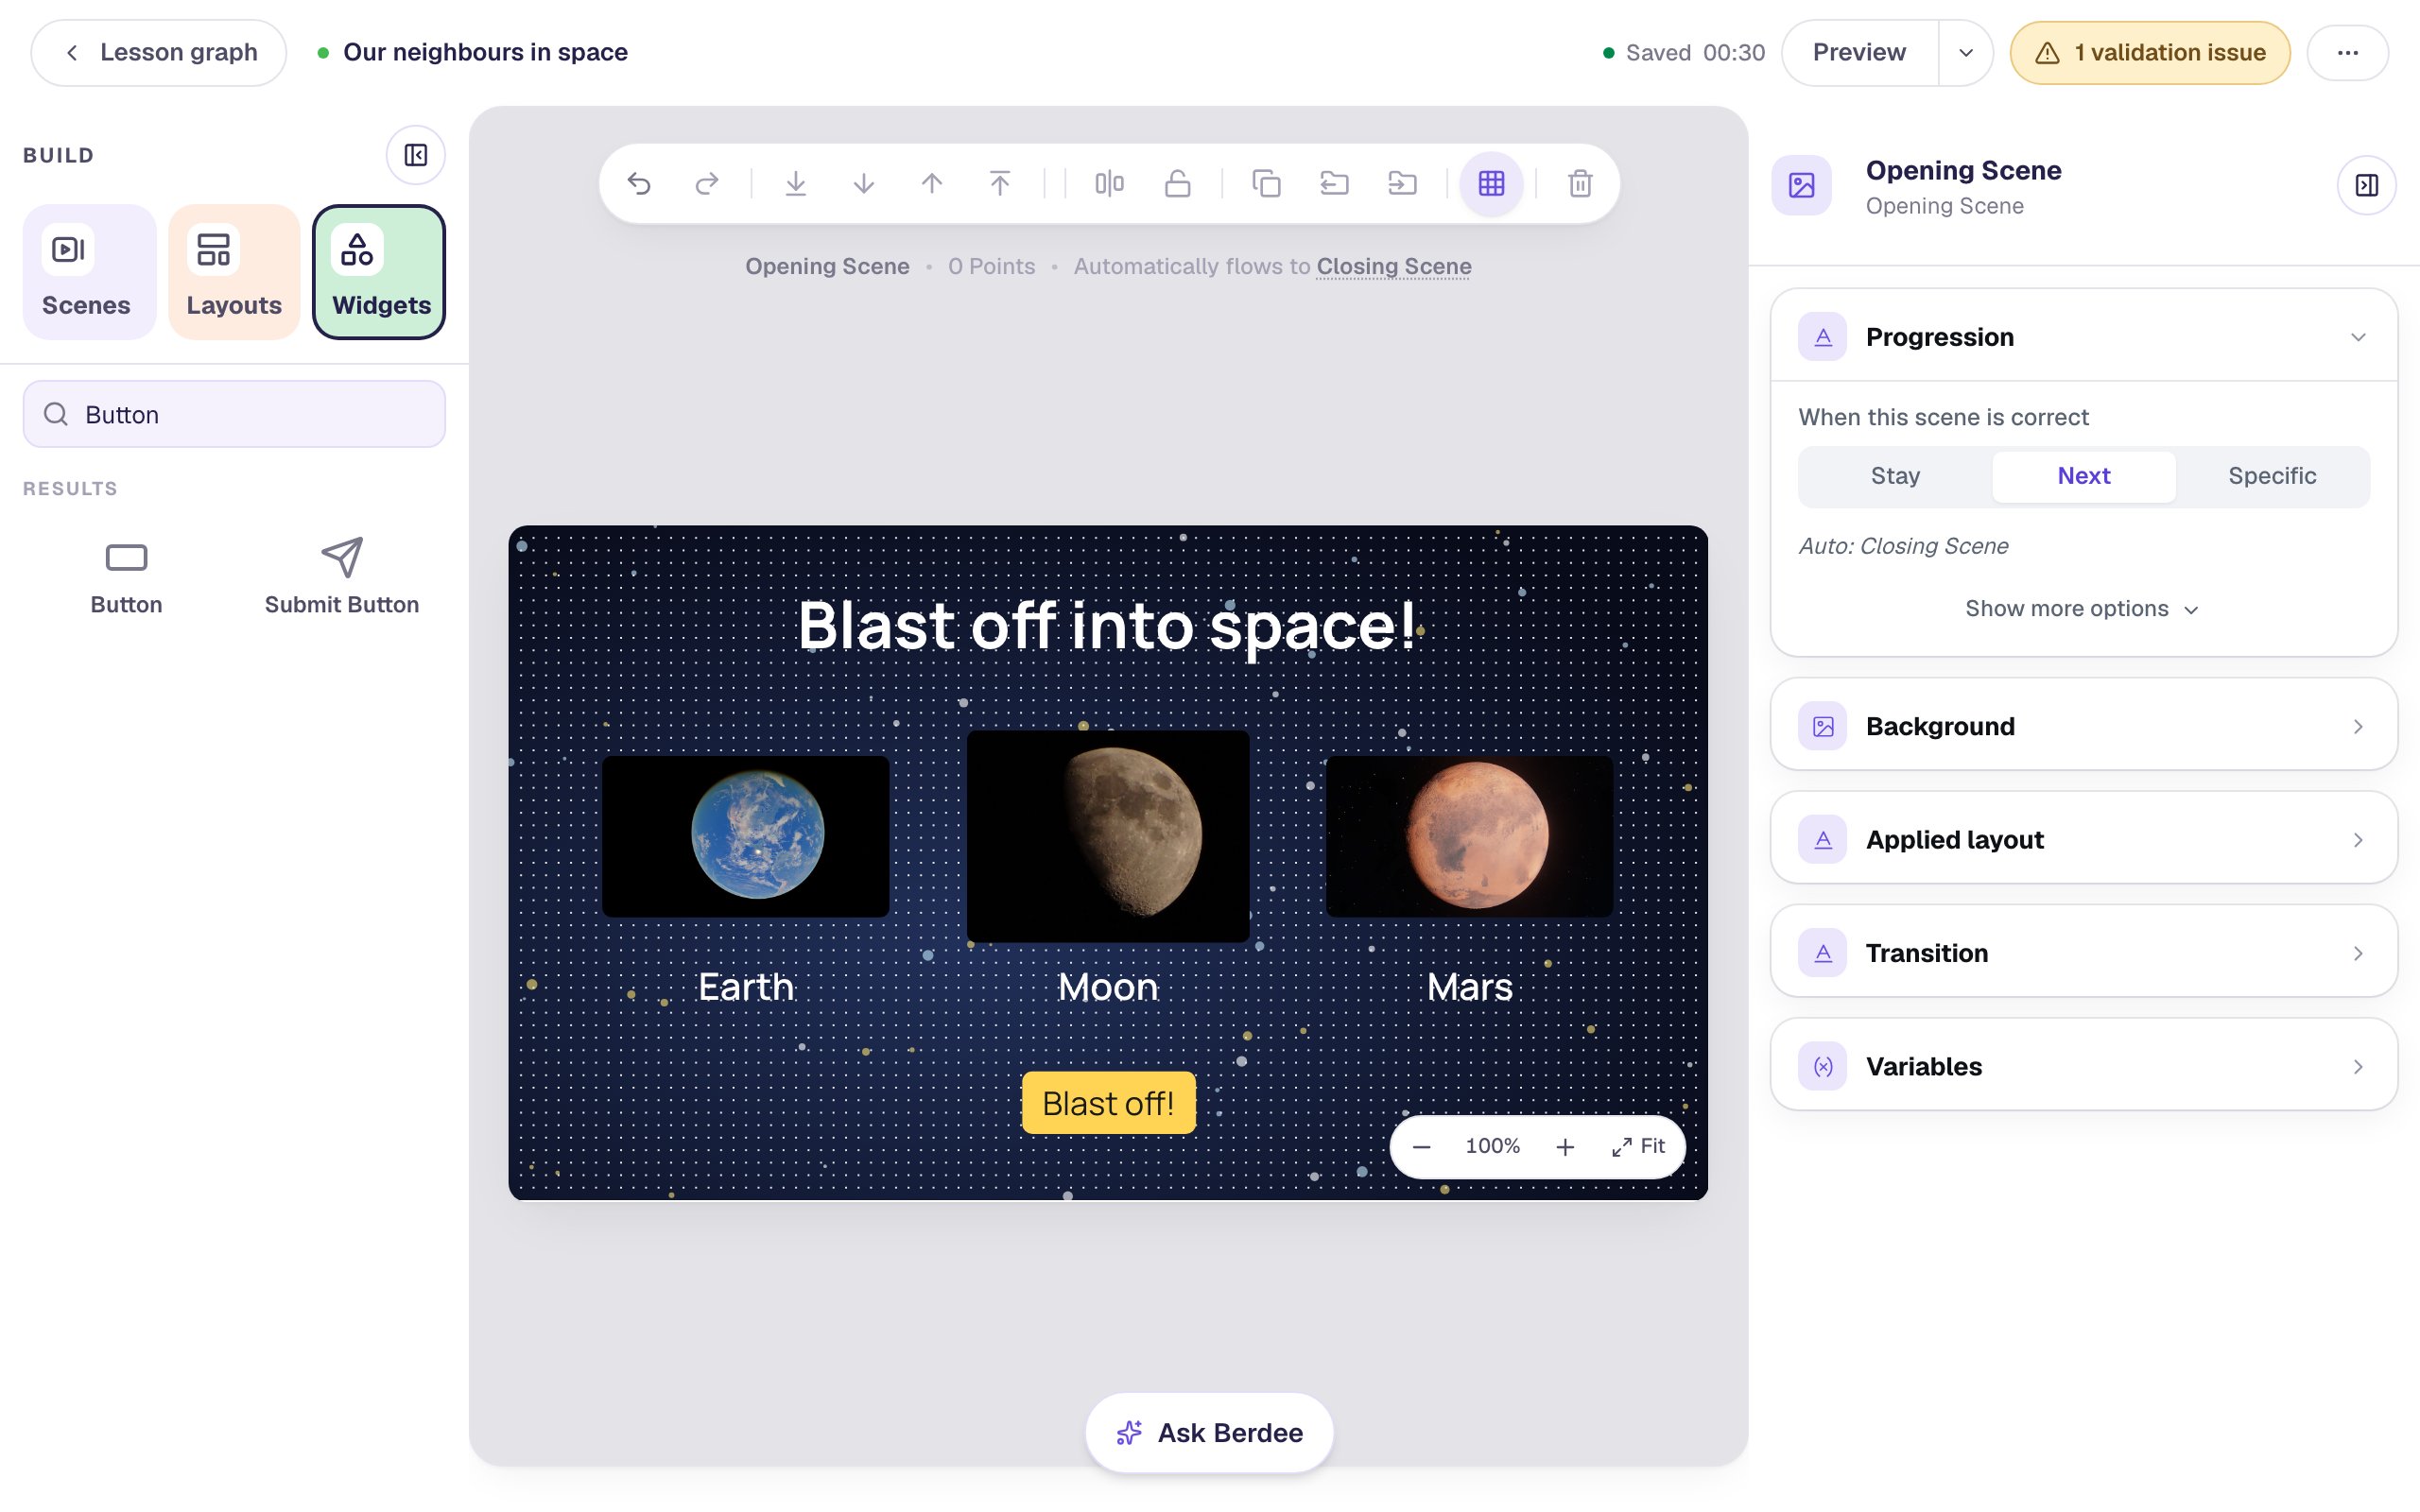
That's expected. If you want to check one effect while you work, use Preview at any time and come back with Back to Editor.
Step 7: Watch it in Preview
Click Preview at the top of the studio and watch the scene open:
Everything lands where you put it, and the button pulses three times before it rests:
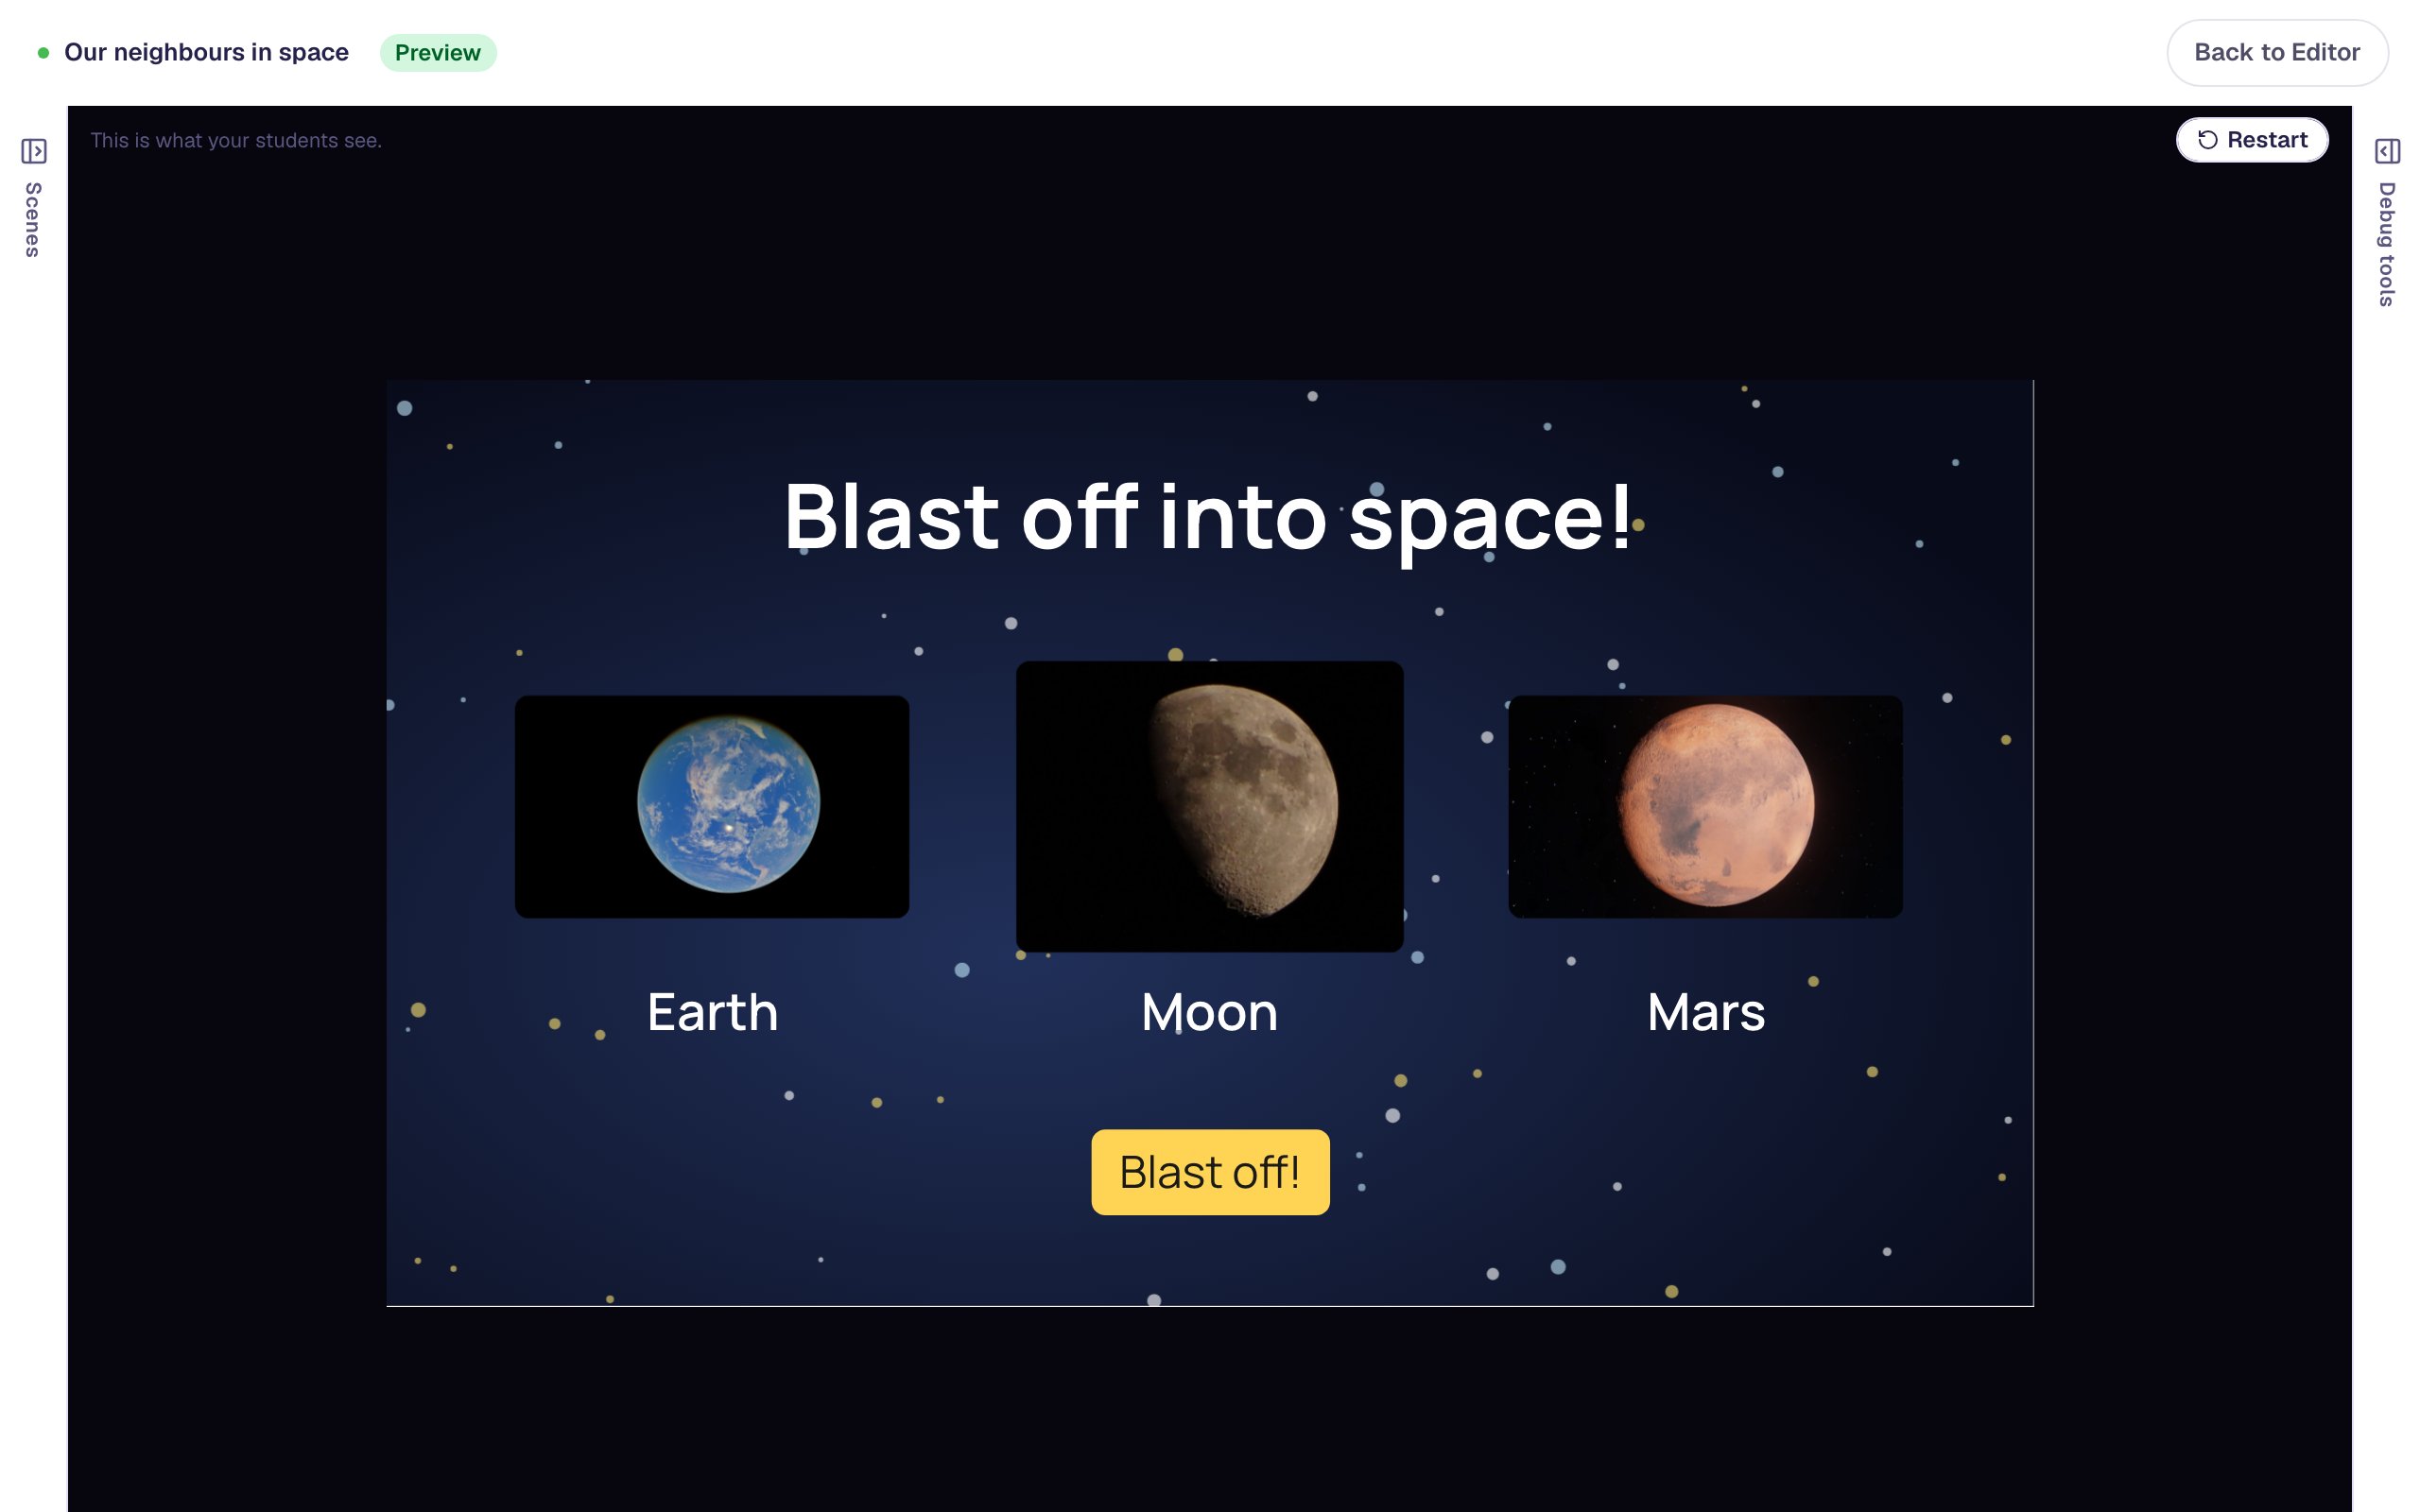
Press Blast off! and the lesson moves on to the ending:
Students who have Reduce motion turned on on their device see the same scene without the movement: every widget is simply in place when the scene opens.
What you built
An opening scene that builds itself in front of students:
- a title that zooms in over 800 ms,
- three planets that fly in from the left, the bottom and the right, landing one after another because each Duration is longer than the last,
- names that fade in slowly, so they only become clear once the planets have landed, and
- a button that pulses three times and then stops, because Loop forever is off.
Use effects for the moments that matter: the first look at a scene, a new question card, a button you want pressed. If everything on a scene moves, nothing stands out.
A text widget also has its own Entrance effect under Style & Layout → Text effects, which animates the words themselves. Style a title scene with a palette, a background, and a display font uses it. To slide between scenes rather than animate inside one, try Make a picture-book story whose pages turn.
Make this lesson yours
Add the lesson you just watched being built to your account, then change it for your class: your questions, your pictures, your colors.
Free to sign up, and you'll come straight back here. I have an account