Make a picture-book story whose pages turn
Build a short picture book where every page asks one quick question, and a right answer slides the next page in. Set the transition once, duplicate the page, and give the ending a softer fade.
- Level
- Beginner
- Time
- About 12 min
- Steps
- 9
A four-page honeybee picture book on kraft paper, with a photo and a question on every page, pages that slide in on a right answer, and an ending that fades in.
Get the finished lesson
Skip straight to the result, or keep it open beside the steps. Add this tutorial's lesson to your account and explore how it works in the studio.
Free to sign up, and you'll come straight back here. I have an account
Young readers love the moment a page turns. In Berdee, that moment is a transition: the short animation students see as one scene gives way to the next. Without one, the next scene just appears. With one, a lesson feels like a book.
In this tutorial you'll build A day with a honeybee: a cover, three story pages with a photo and a quick question on each, and an ending. Answer a page's question correctly and the next page slides in from the side. You'll set the transition on the first page only, then duplicate it, so every page turns the same way. If you haven't built a question before, start with Build your first quiz question.
Step 1: Make the cover
Click New lesson, then Start from scratch. Click Untitled lesson at the top left, name the lesson A day with a honeybee, and click Save changes.
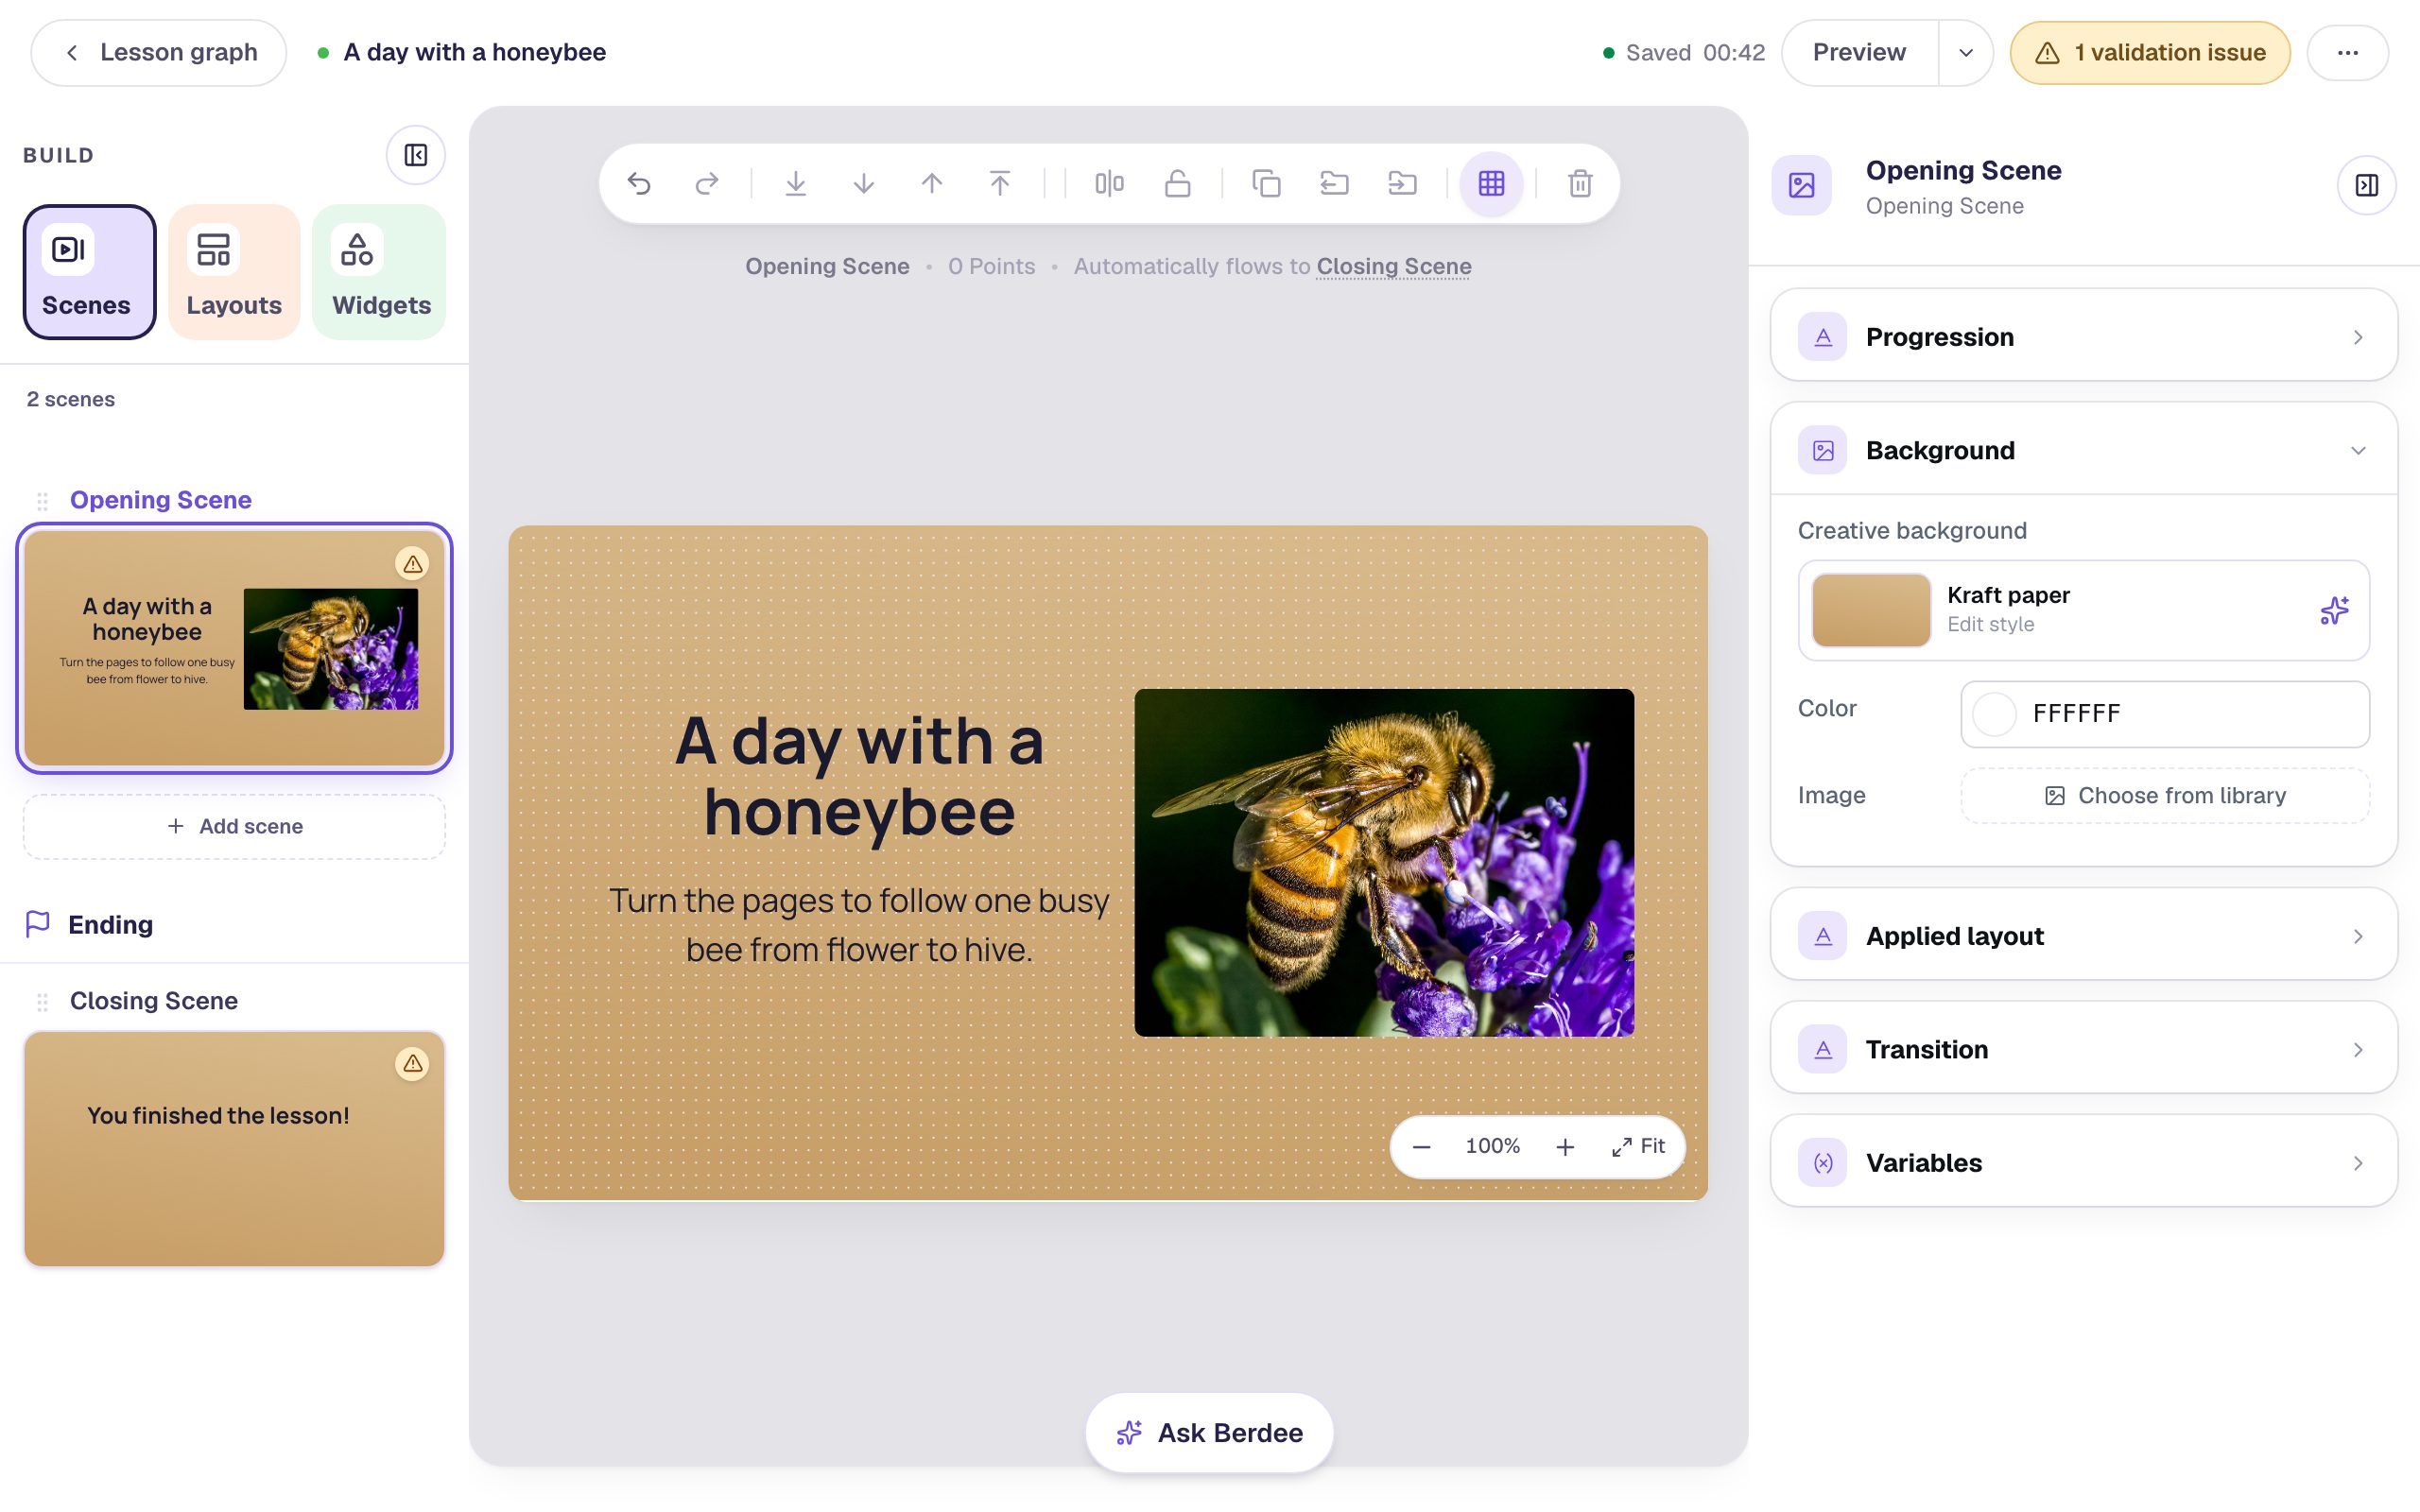
Now dress the Opening Scene as a book cover:
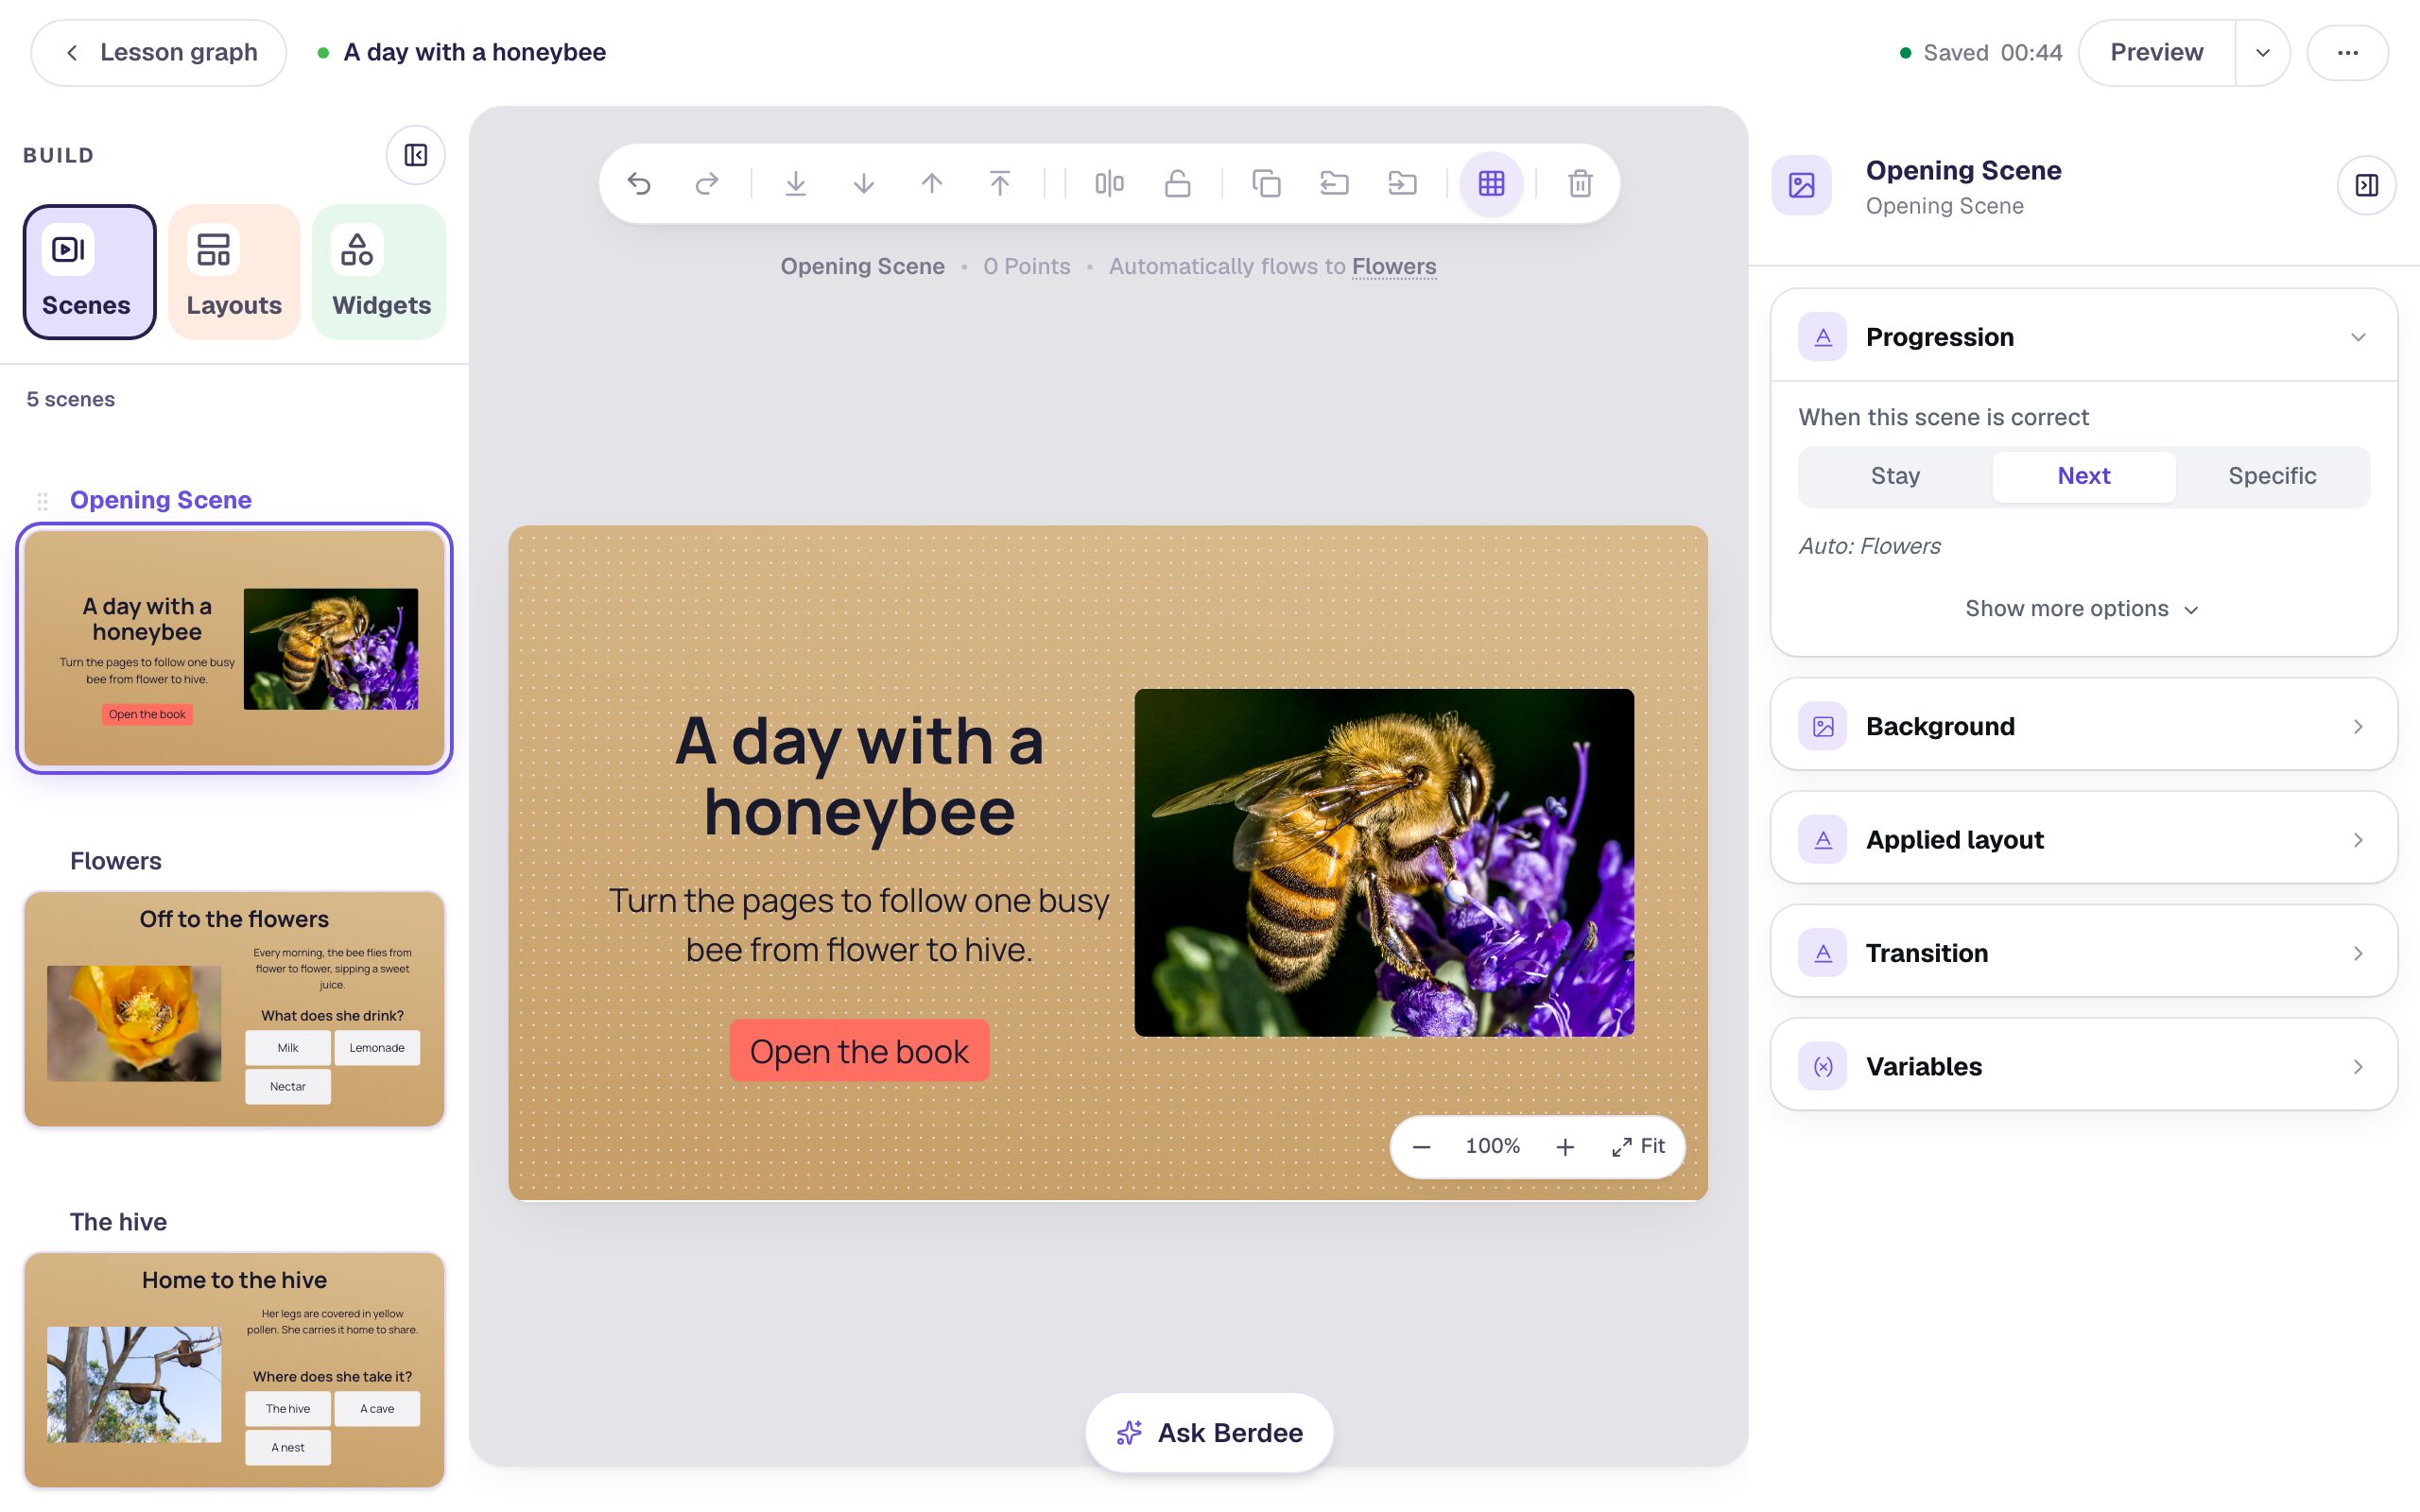
- Click an empty part of the scene. In the properties panel, open Background, click Choose a style, click Textures, pick Kraft paper, and click Apply background. Brown paper with a fine dot pattern looks like a handmade book.
- From Widgets, add a Heading that says
A day with a honeybeeand a Body under it:Turn the pages to follow one busy bee from flower to hive.(at Font Size 26). Drag them to the left half. - Search the widgets for
Imageand add one. In Style & Layout, set Width to400and Height to300and drag it to the right half. Click Choose image in the pill above it, search forhoneybee, click a photo you like, and click Import & insert.
Open the Closing Scene at the bottom of the Scenes tab and give it the same Kraft paper background, so the ending looks like the back of the same book.
The cover gets its Open the book button last, in Step 8, once every page exists.
Step 2: Write the first page
In the Scenes tab, click Add scene. Double-click the new Scene 1 in the list, type Flowers, and press Enter. Give it the Kraft paper background too.
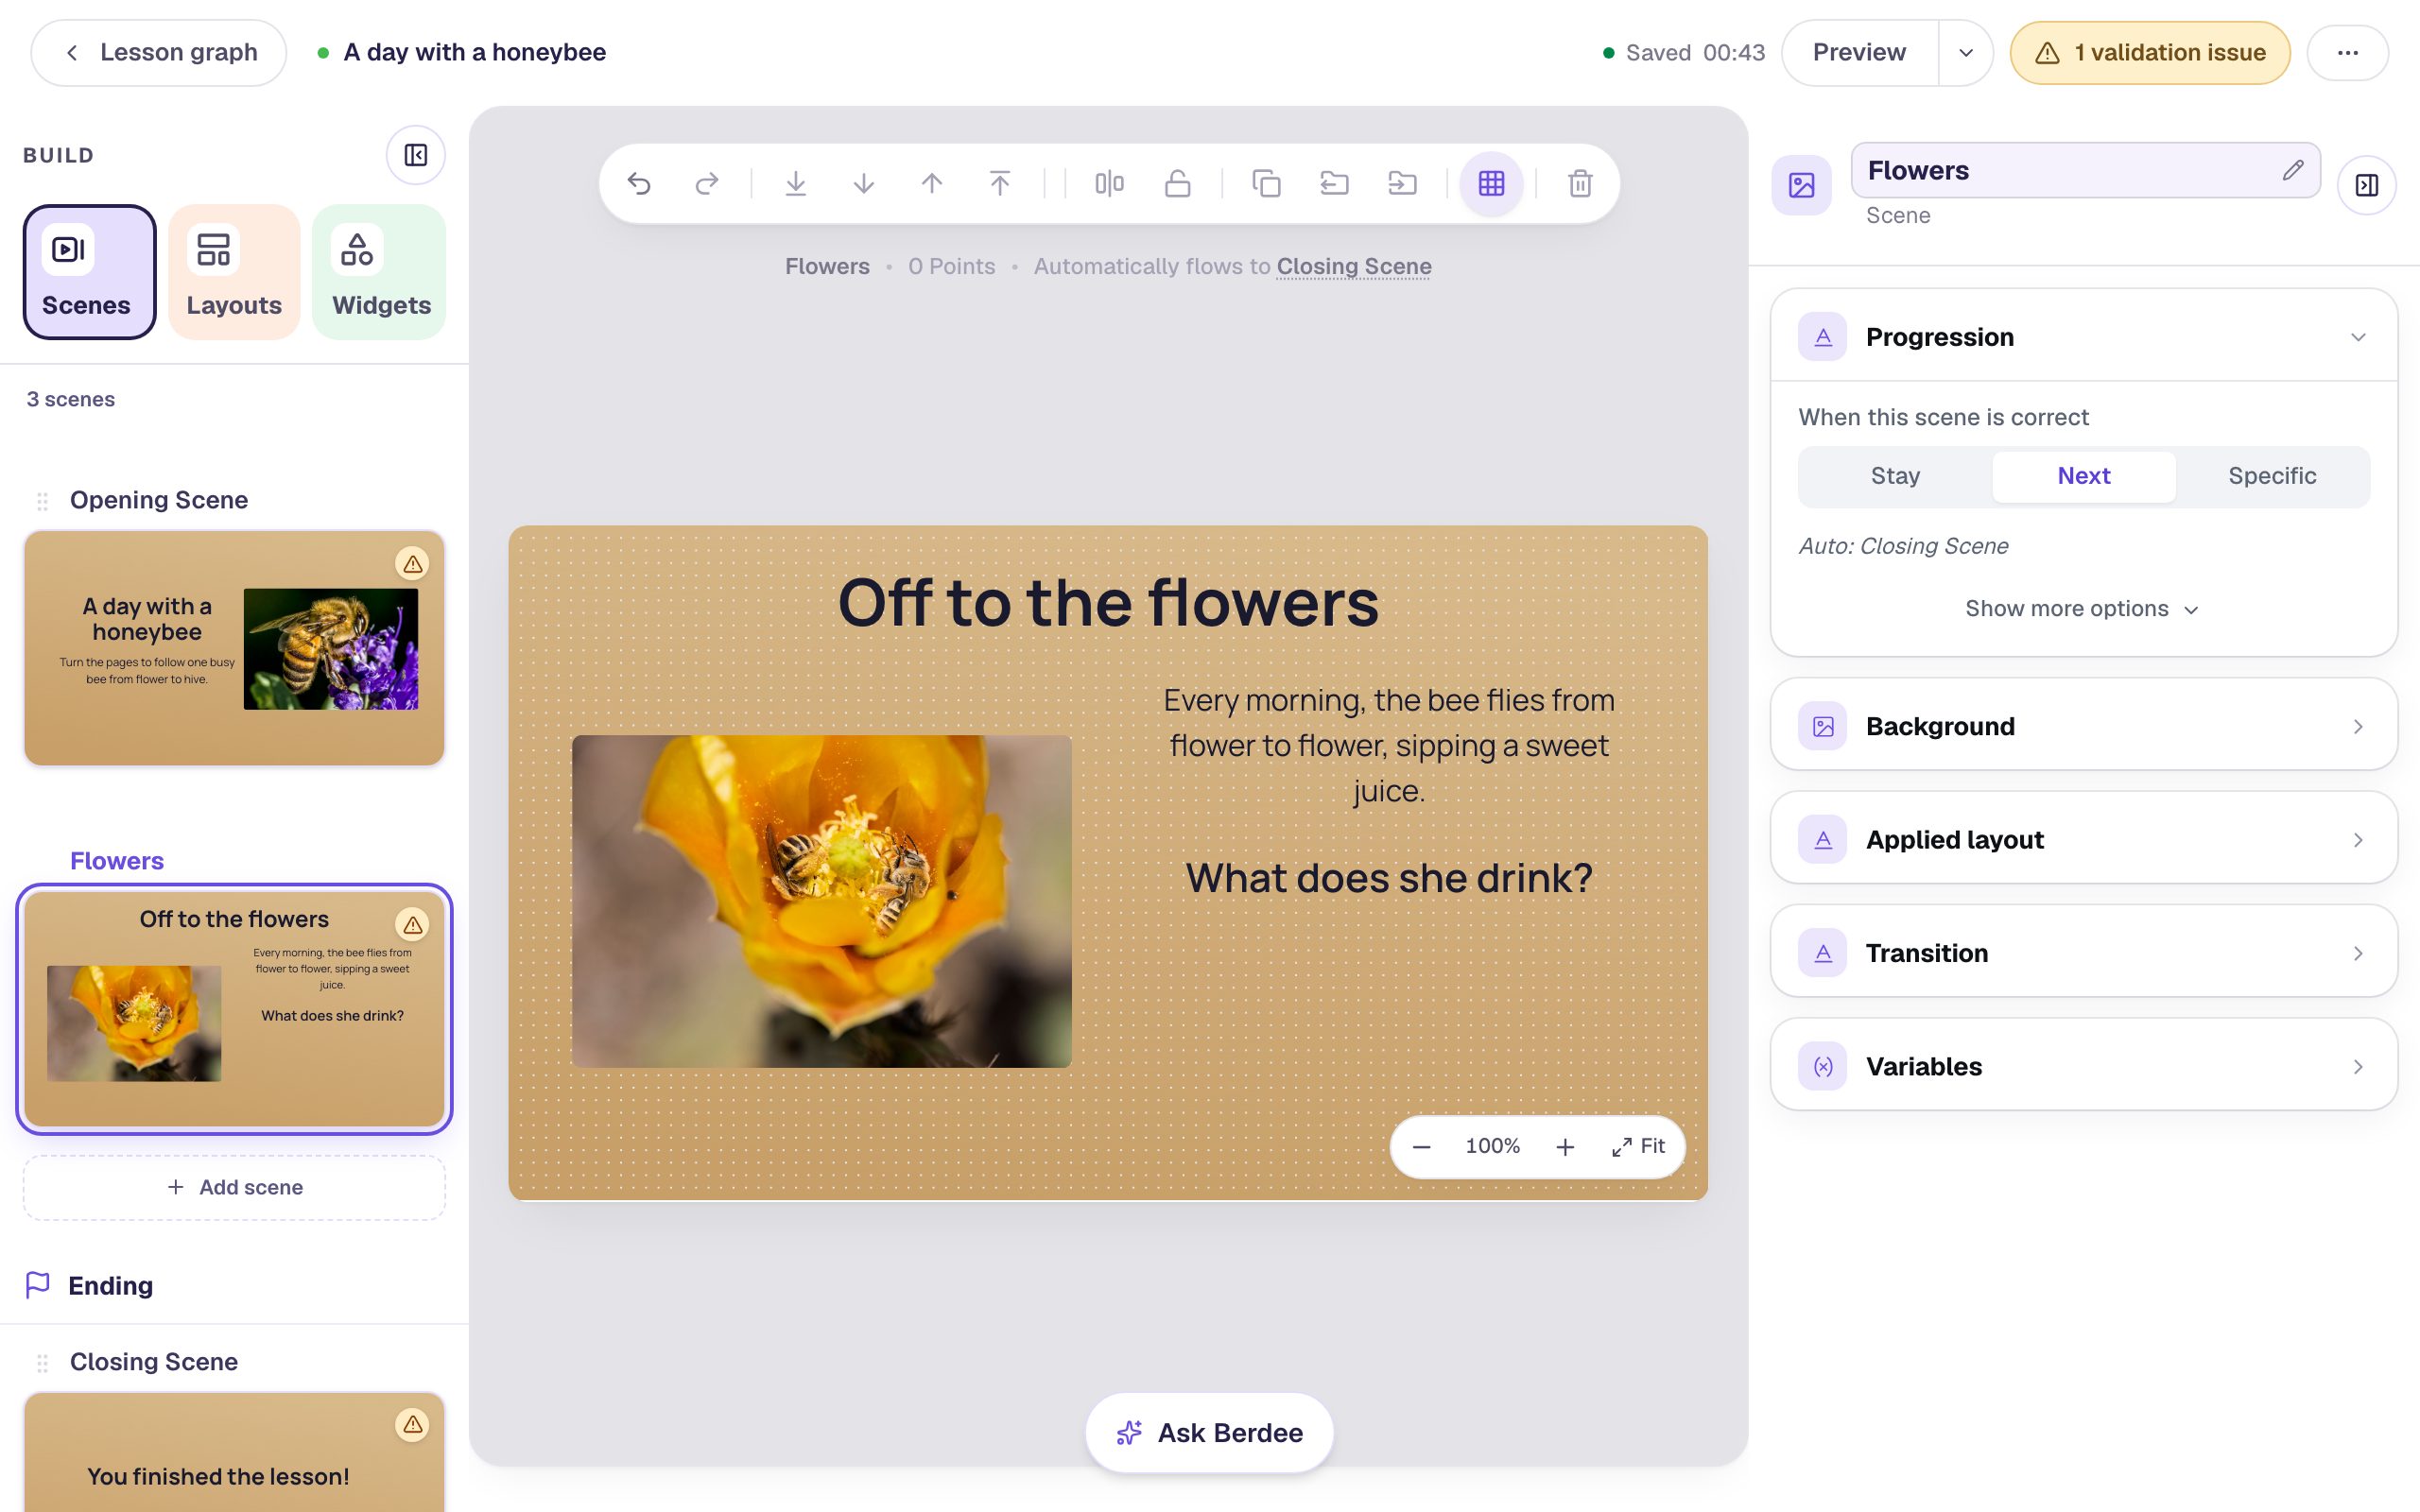
Lay the page out like a picture book, with the picture on the left and the words on the right:
- A Heading across the top:
Off to the flowers. - An Image at Width
400and Height300on the left. Search forhoneybee flowerand insert a photo. - A Body on the right, at Font Size 24:
Every morning, the bee flies from flower to flower, sipping a sweet juice.Click Fixed width in Style & Layout and set Width to400, so the text wraps into a short paragraph instead of running across the page. - A Subheading under it with the page's question:
What does she drink?
Step 3: Add the question that turns the page
Each page waits for one right answer, then moves on by itself. That is what makes the page turn.
Add a Multi Choice widget and click Configure in the pill above it. A new question has four answers, and a picture-book page only needs three, so click the trash can beside the last one. Type Nectar, Milk, and Lemonade. Nectar is already marked correct, because a new question marks its first answer correct.
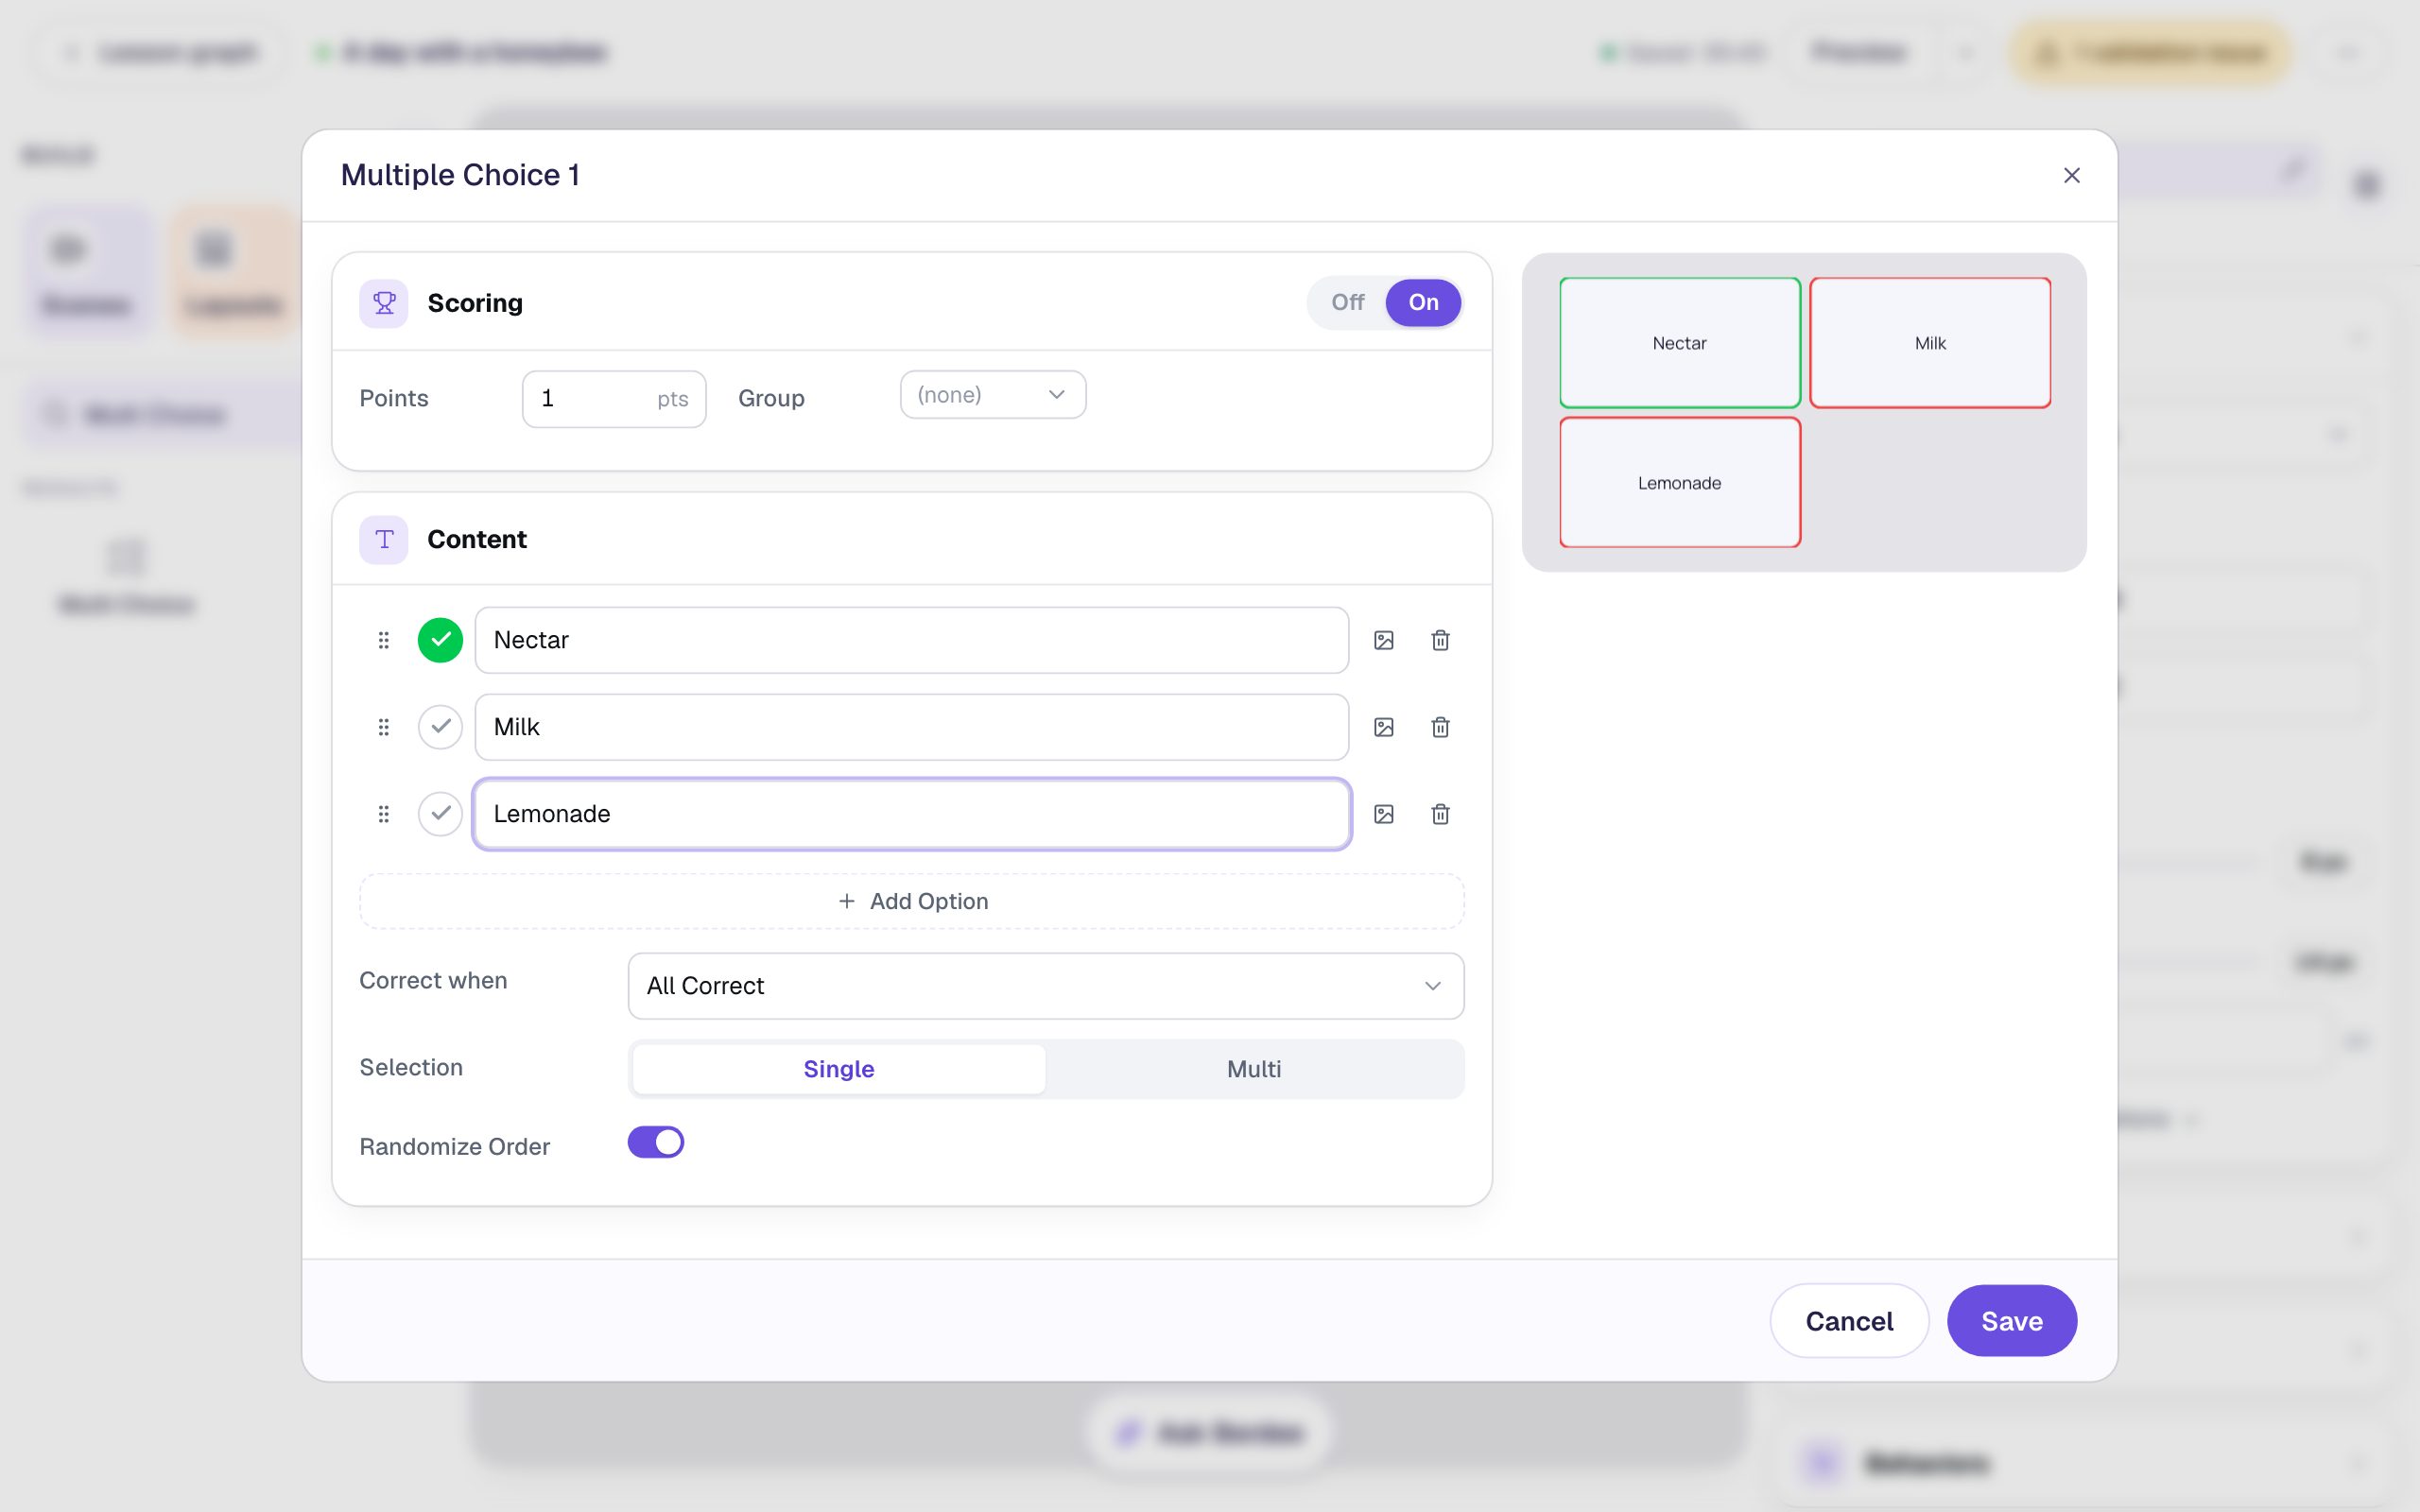
Click Save. With the question still selected, in Style & Layout set Font Size to 26, then Show more options, Width 400 and Height 170. Turn on Show correctness, so a wrong pick turns red. Drag the question under the subheading.
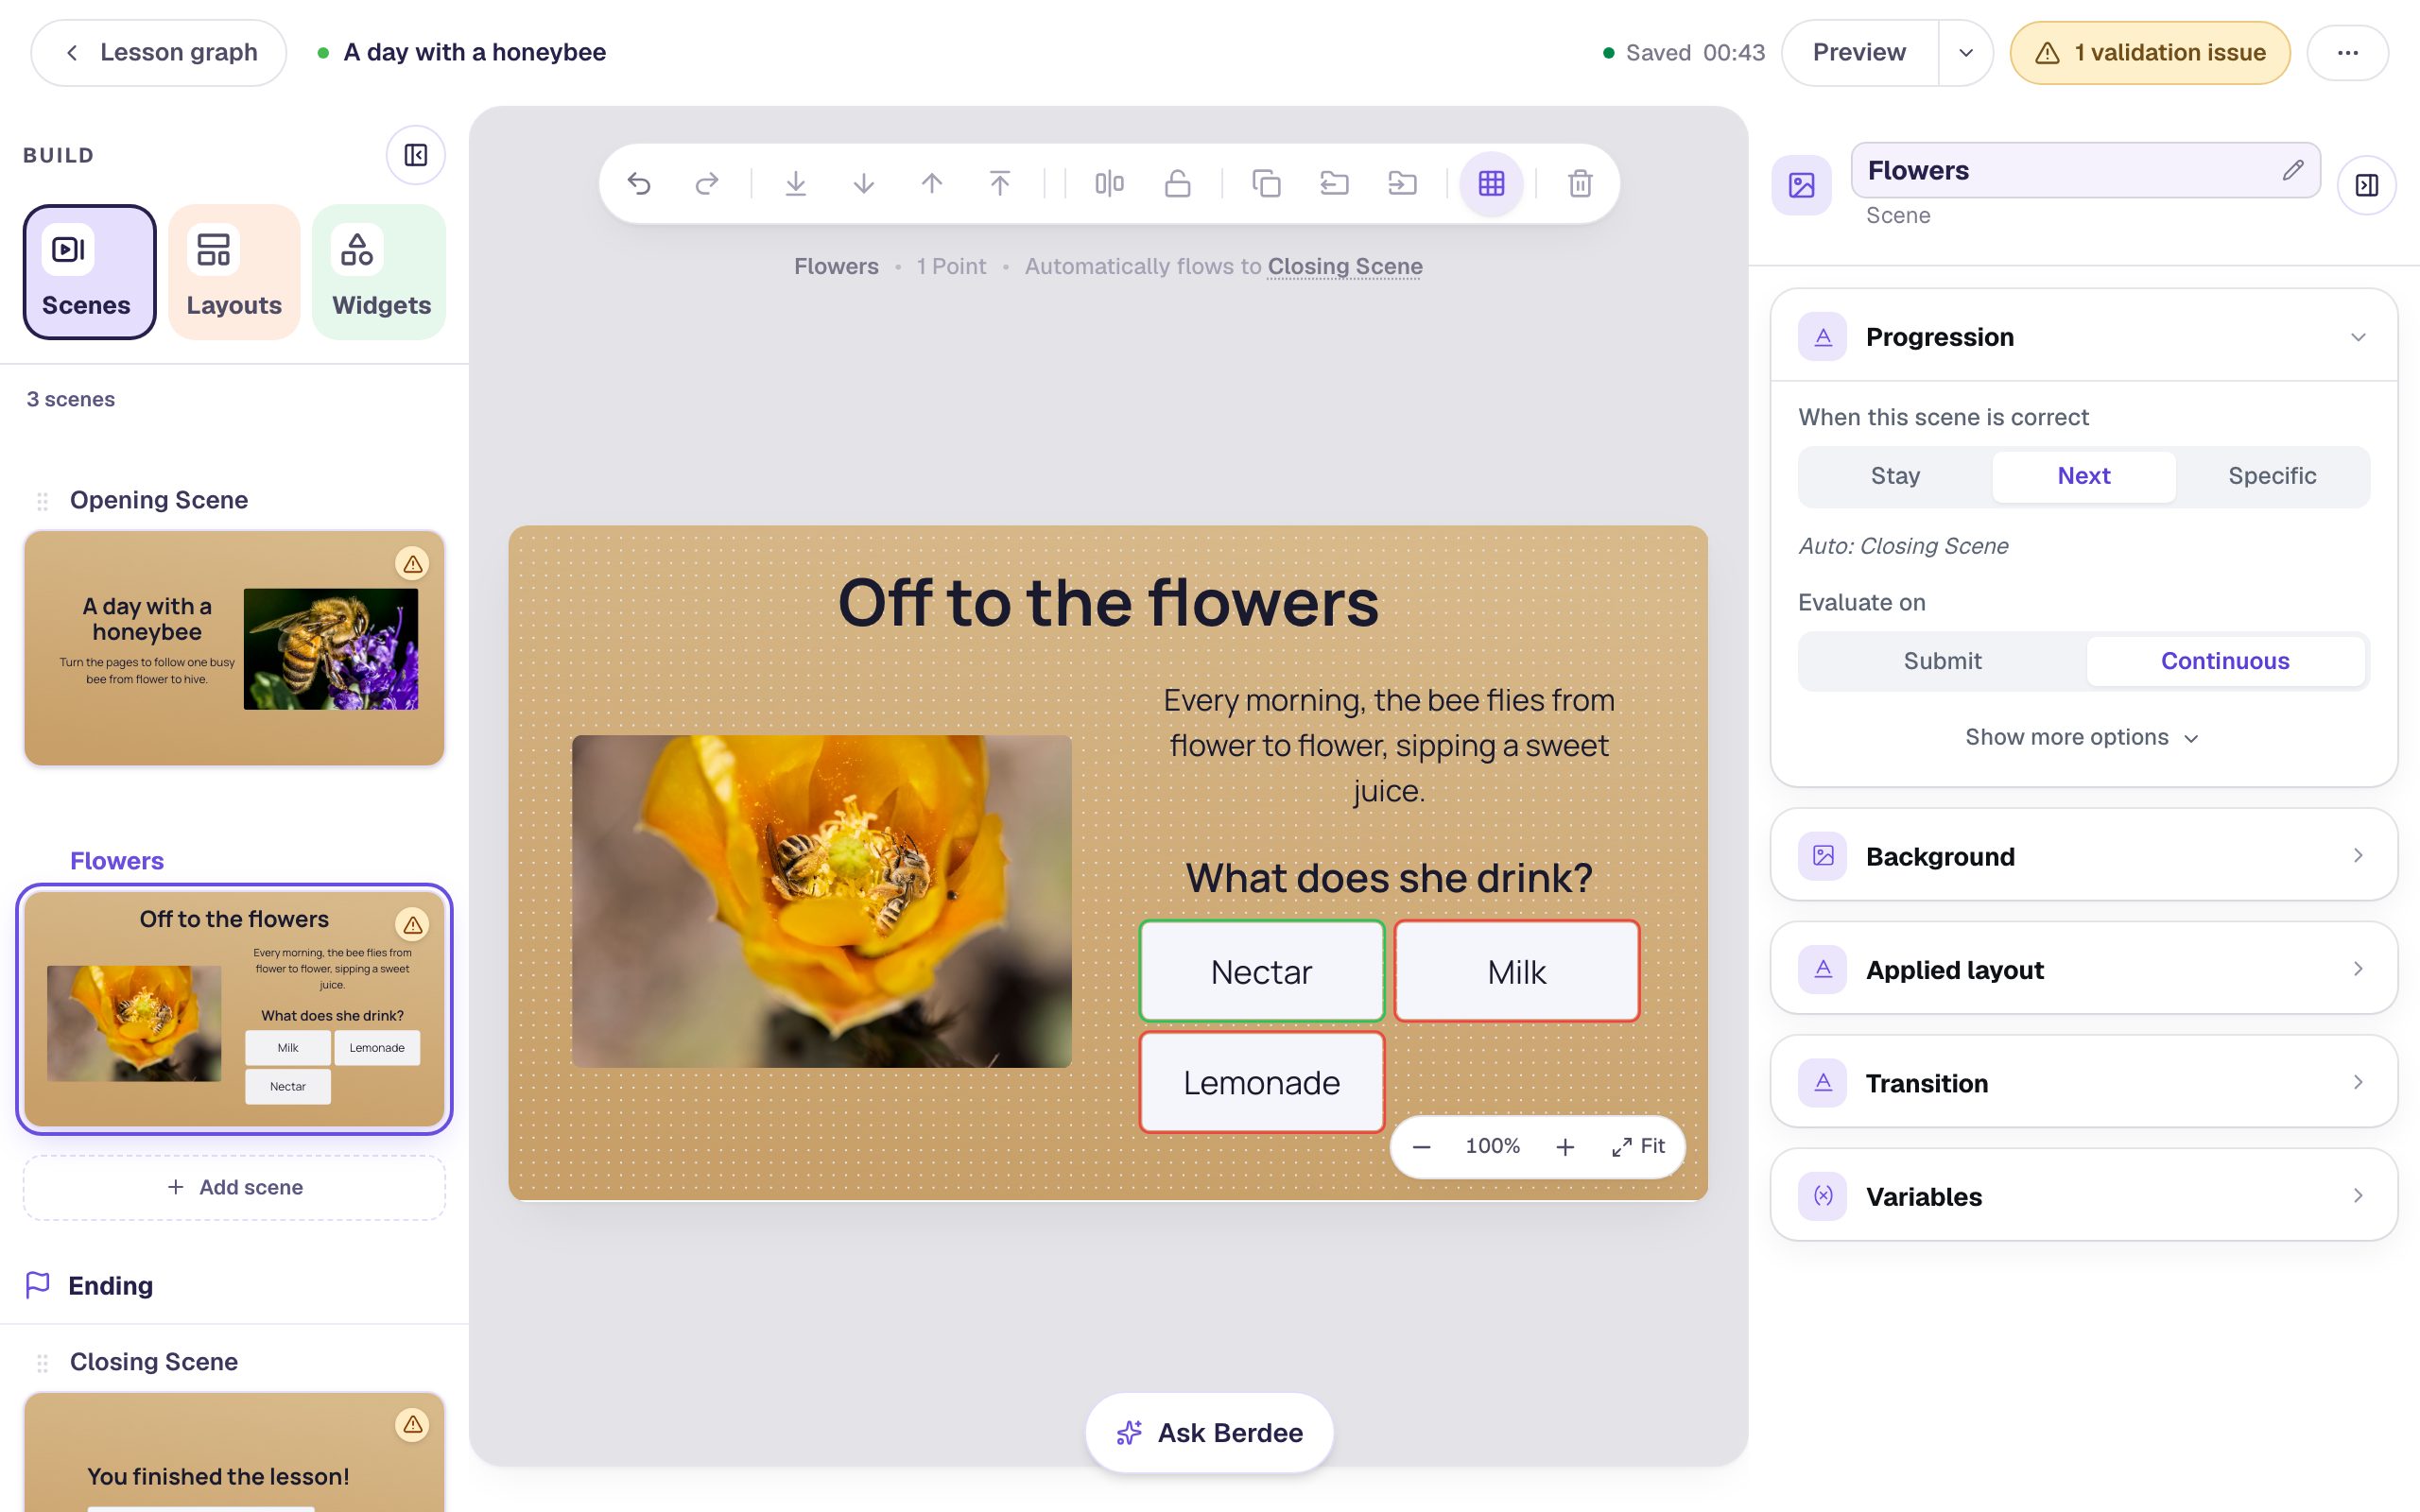
The line above the canvas says Automatically flows to Closing Scene. The page's Progression is Next: when the student picks the right answer, the lesson moves on to whatever scene comes next in the list. Right now that's the ending; once you add more pages, it will be the next page.
Step 4: Choose how the page arrives
Click the gray area around the scene so the scene itself is selected, then open Transition in the properties panel. Every scene starts on None, which means it appears instantly. Click Slide.
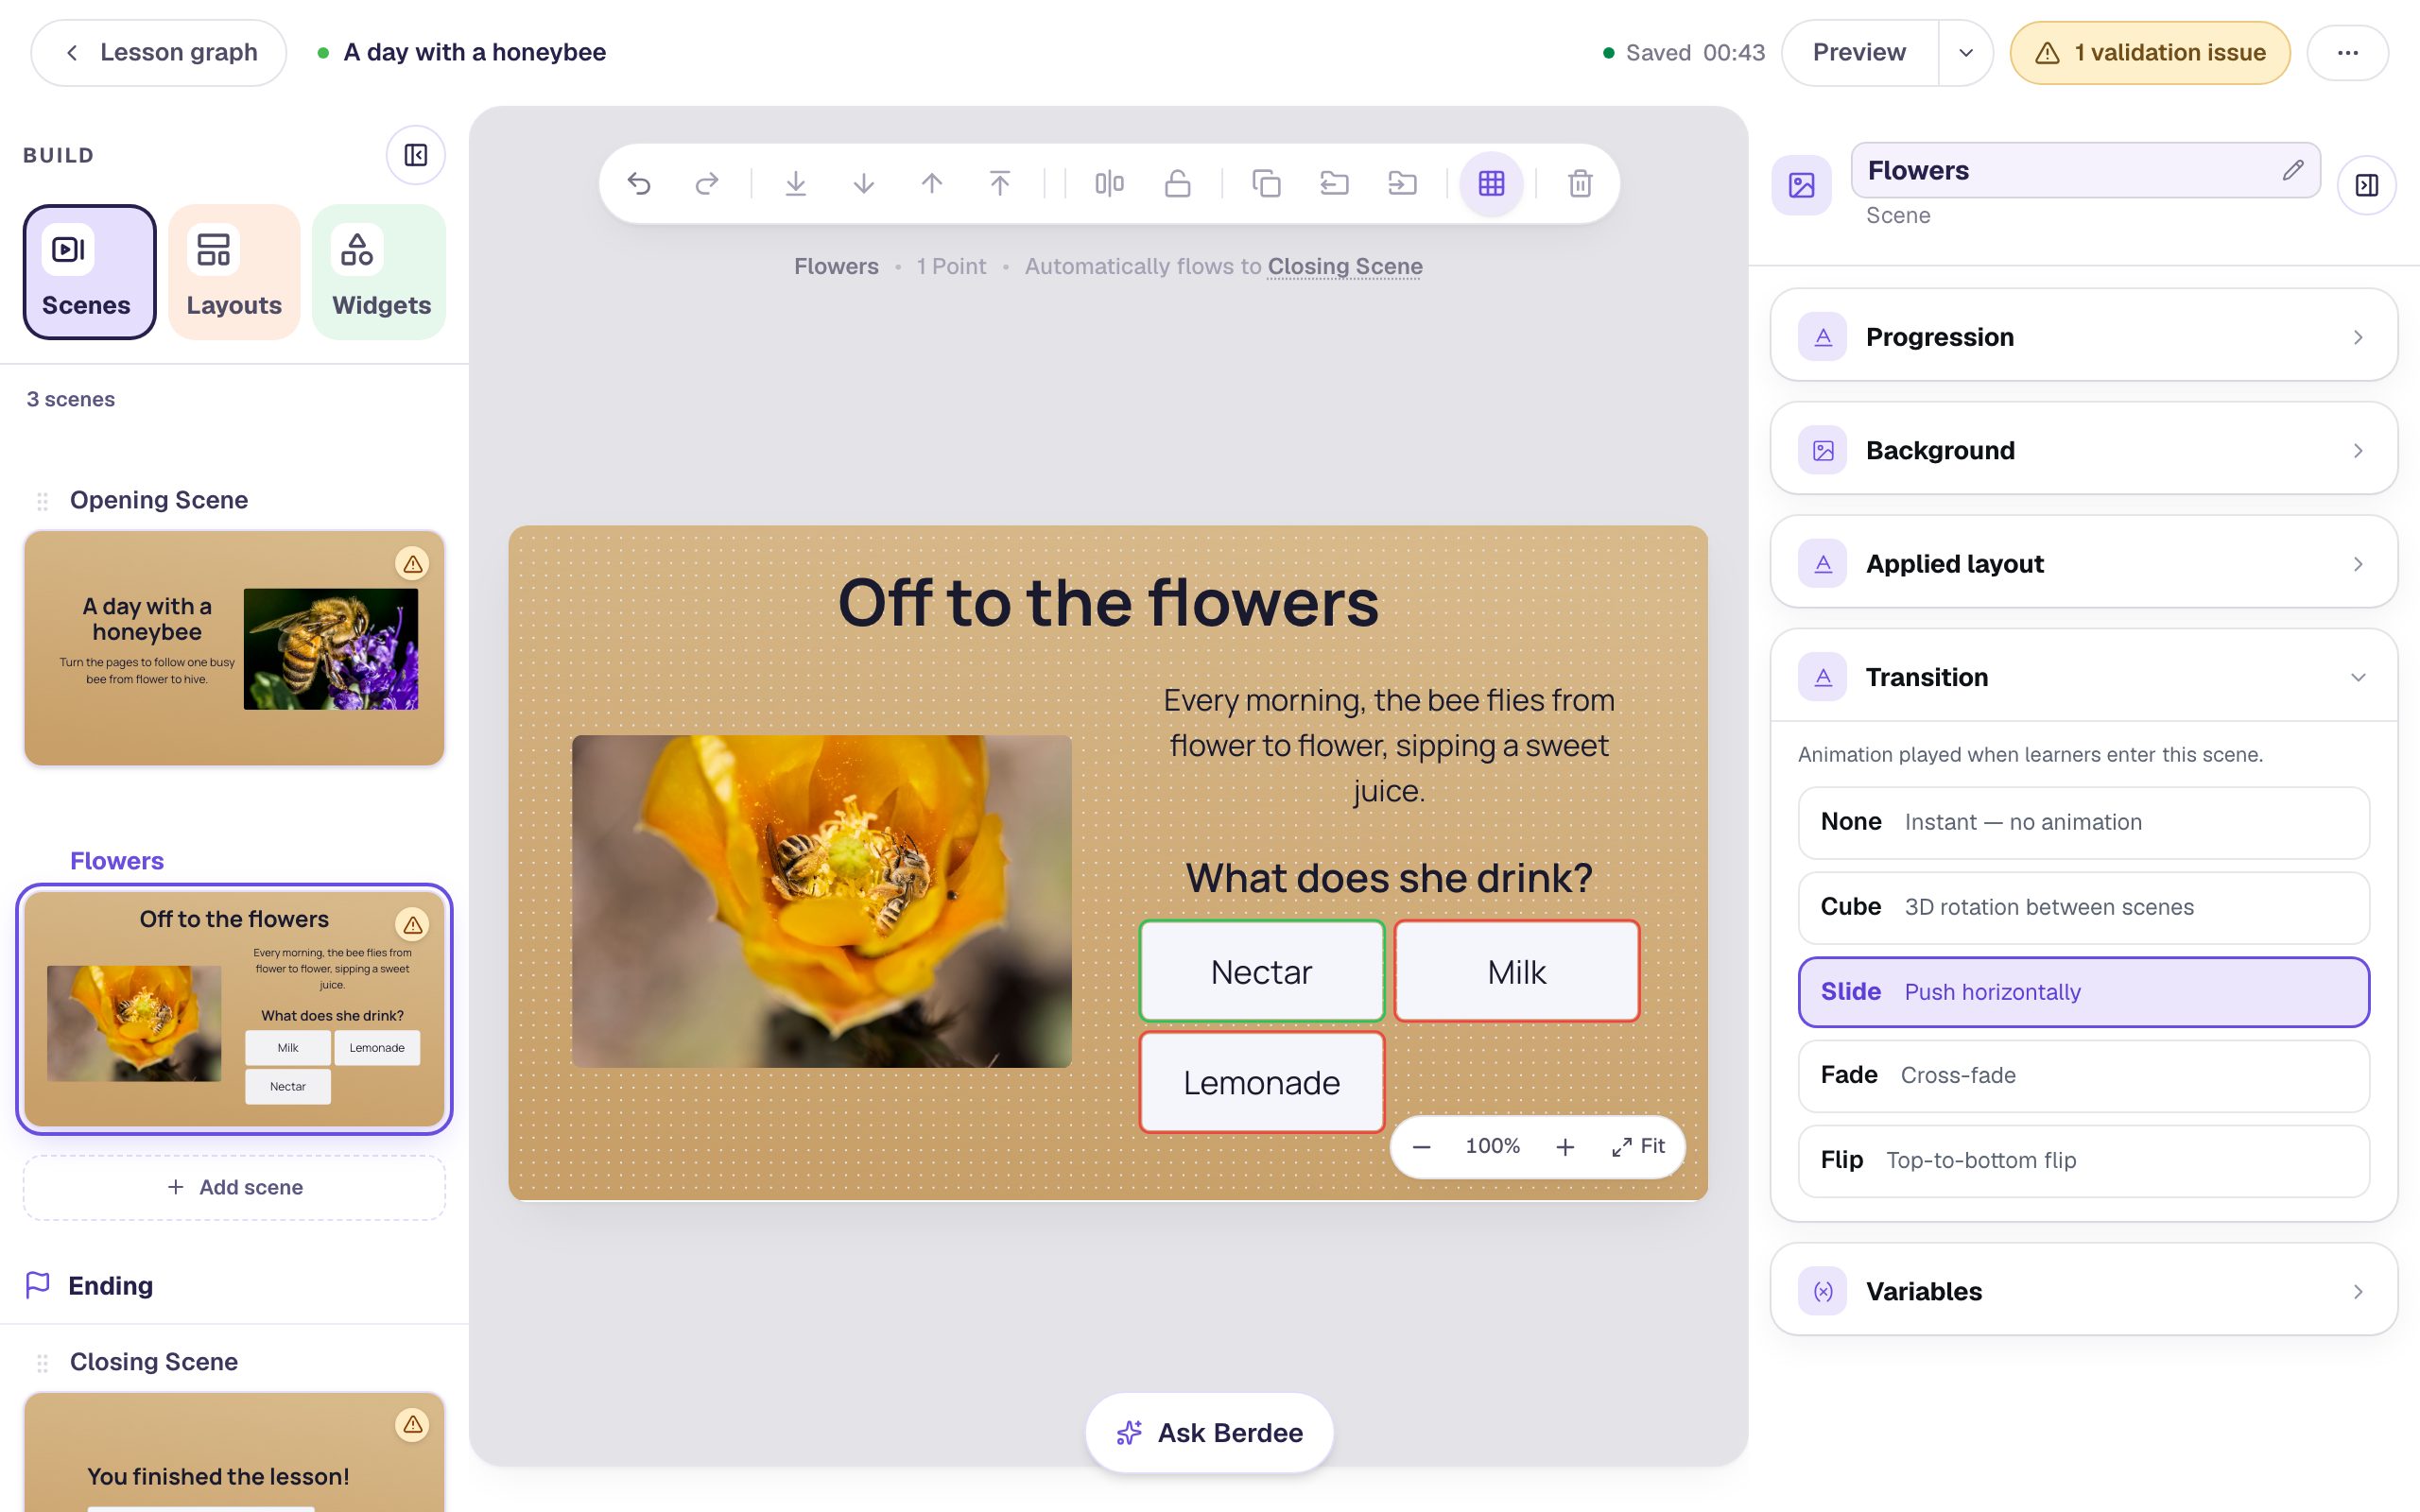
A transition belongs to the scene a student is entering, not the one they're leaving. So Slide on the Flowers page means "slide in when the student arrives here", which is what happens when they open the book from the cover.
Slide also knows which way the student is going. A page they haven't seen yet pushes in from the right. If a button ever sent them back to a page they've already read, it would slide in from the left, the way a book's pages go back.
Step 5: Duplicate the page
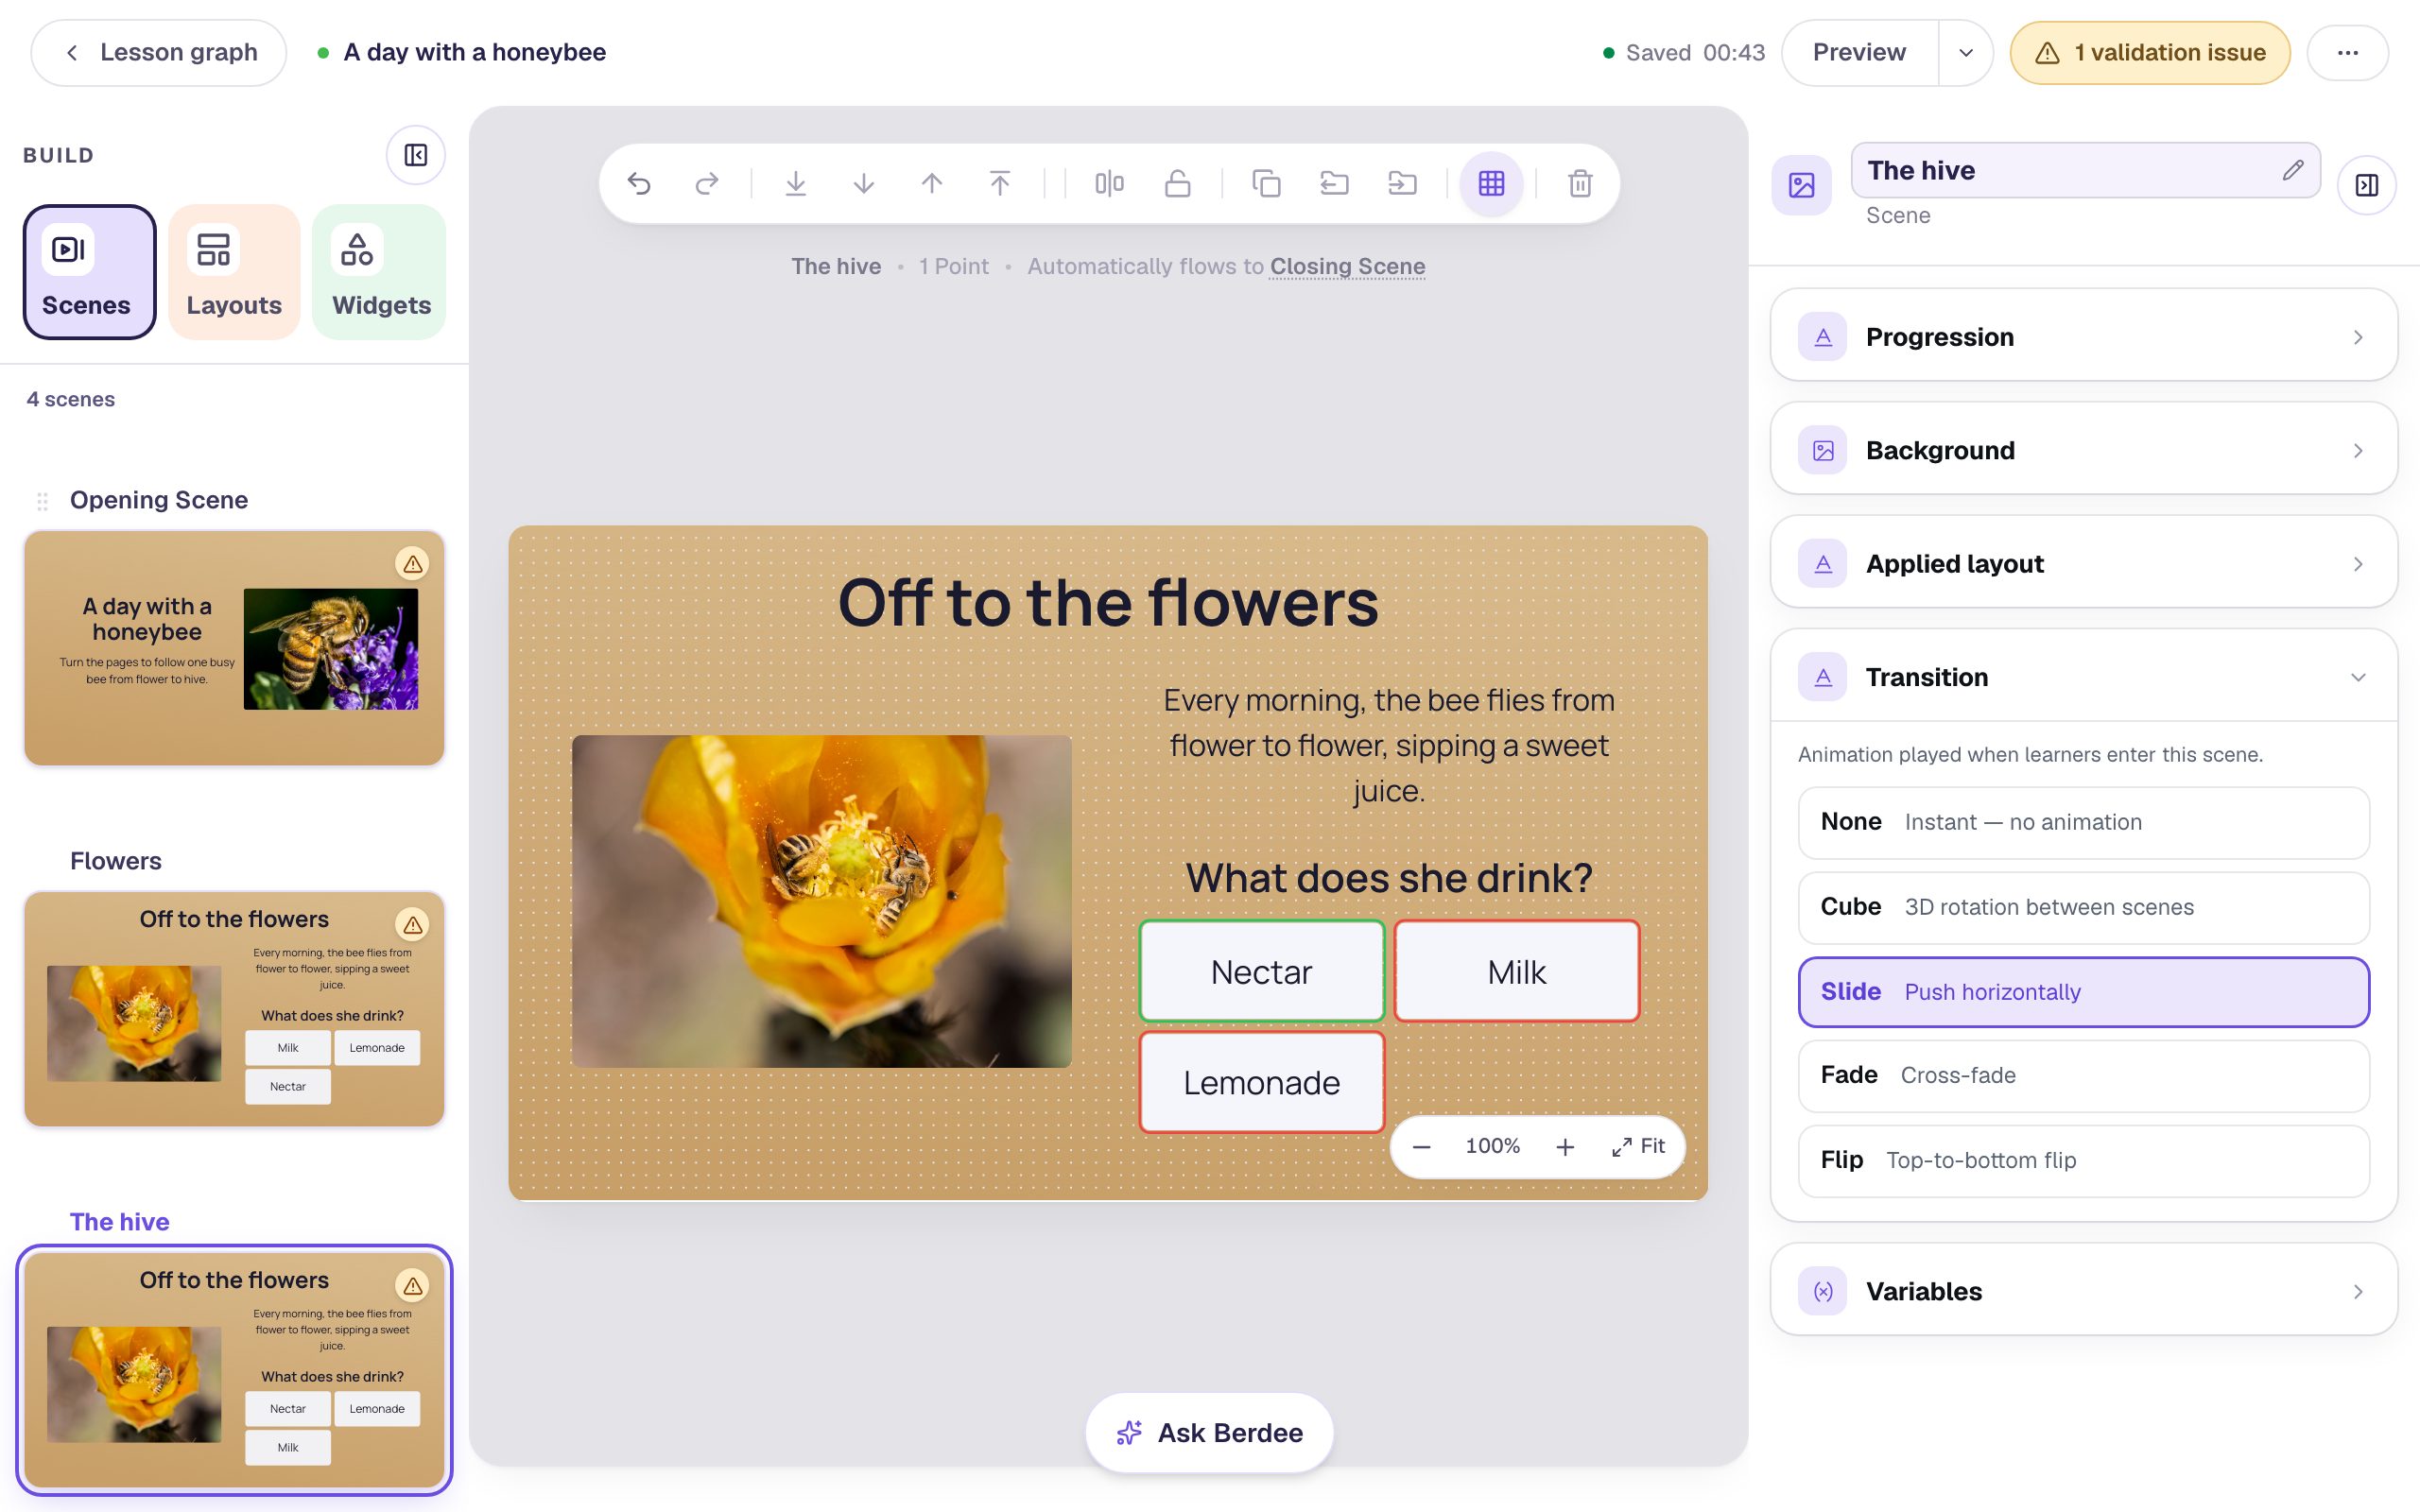
Every page should turn the same way, and you don't want to set it three times. Duplicate the finished page instead: in the Scenes tab, hover the Flowers thumbnail and click Duplicate, the first of the two small buttons in its bottom corner. Rename the copy, Flowers 2, to The hive.
The copy has everything the first page has: the paper, the layout, the text sizes, the question with Show correctness, the Next progression, and the transition. Open Transition on the copy and you'll see Slide already picked.
Step 6: Rewrite the copy
Change only what's different on this page: the words, the answers, and the picture.
- Double-click the heading on the canvas, select all of it (⌘ A on a Mac, Ctrl A on Windows), and type
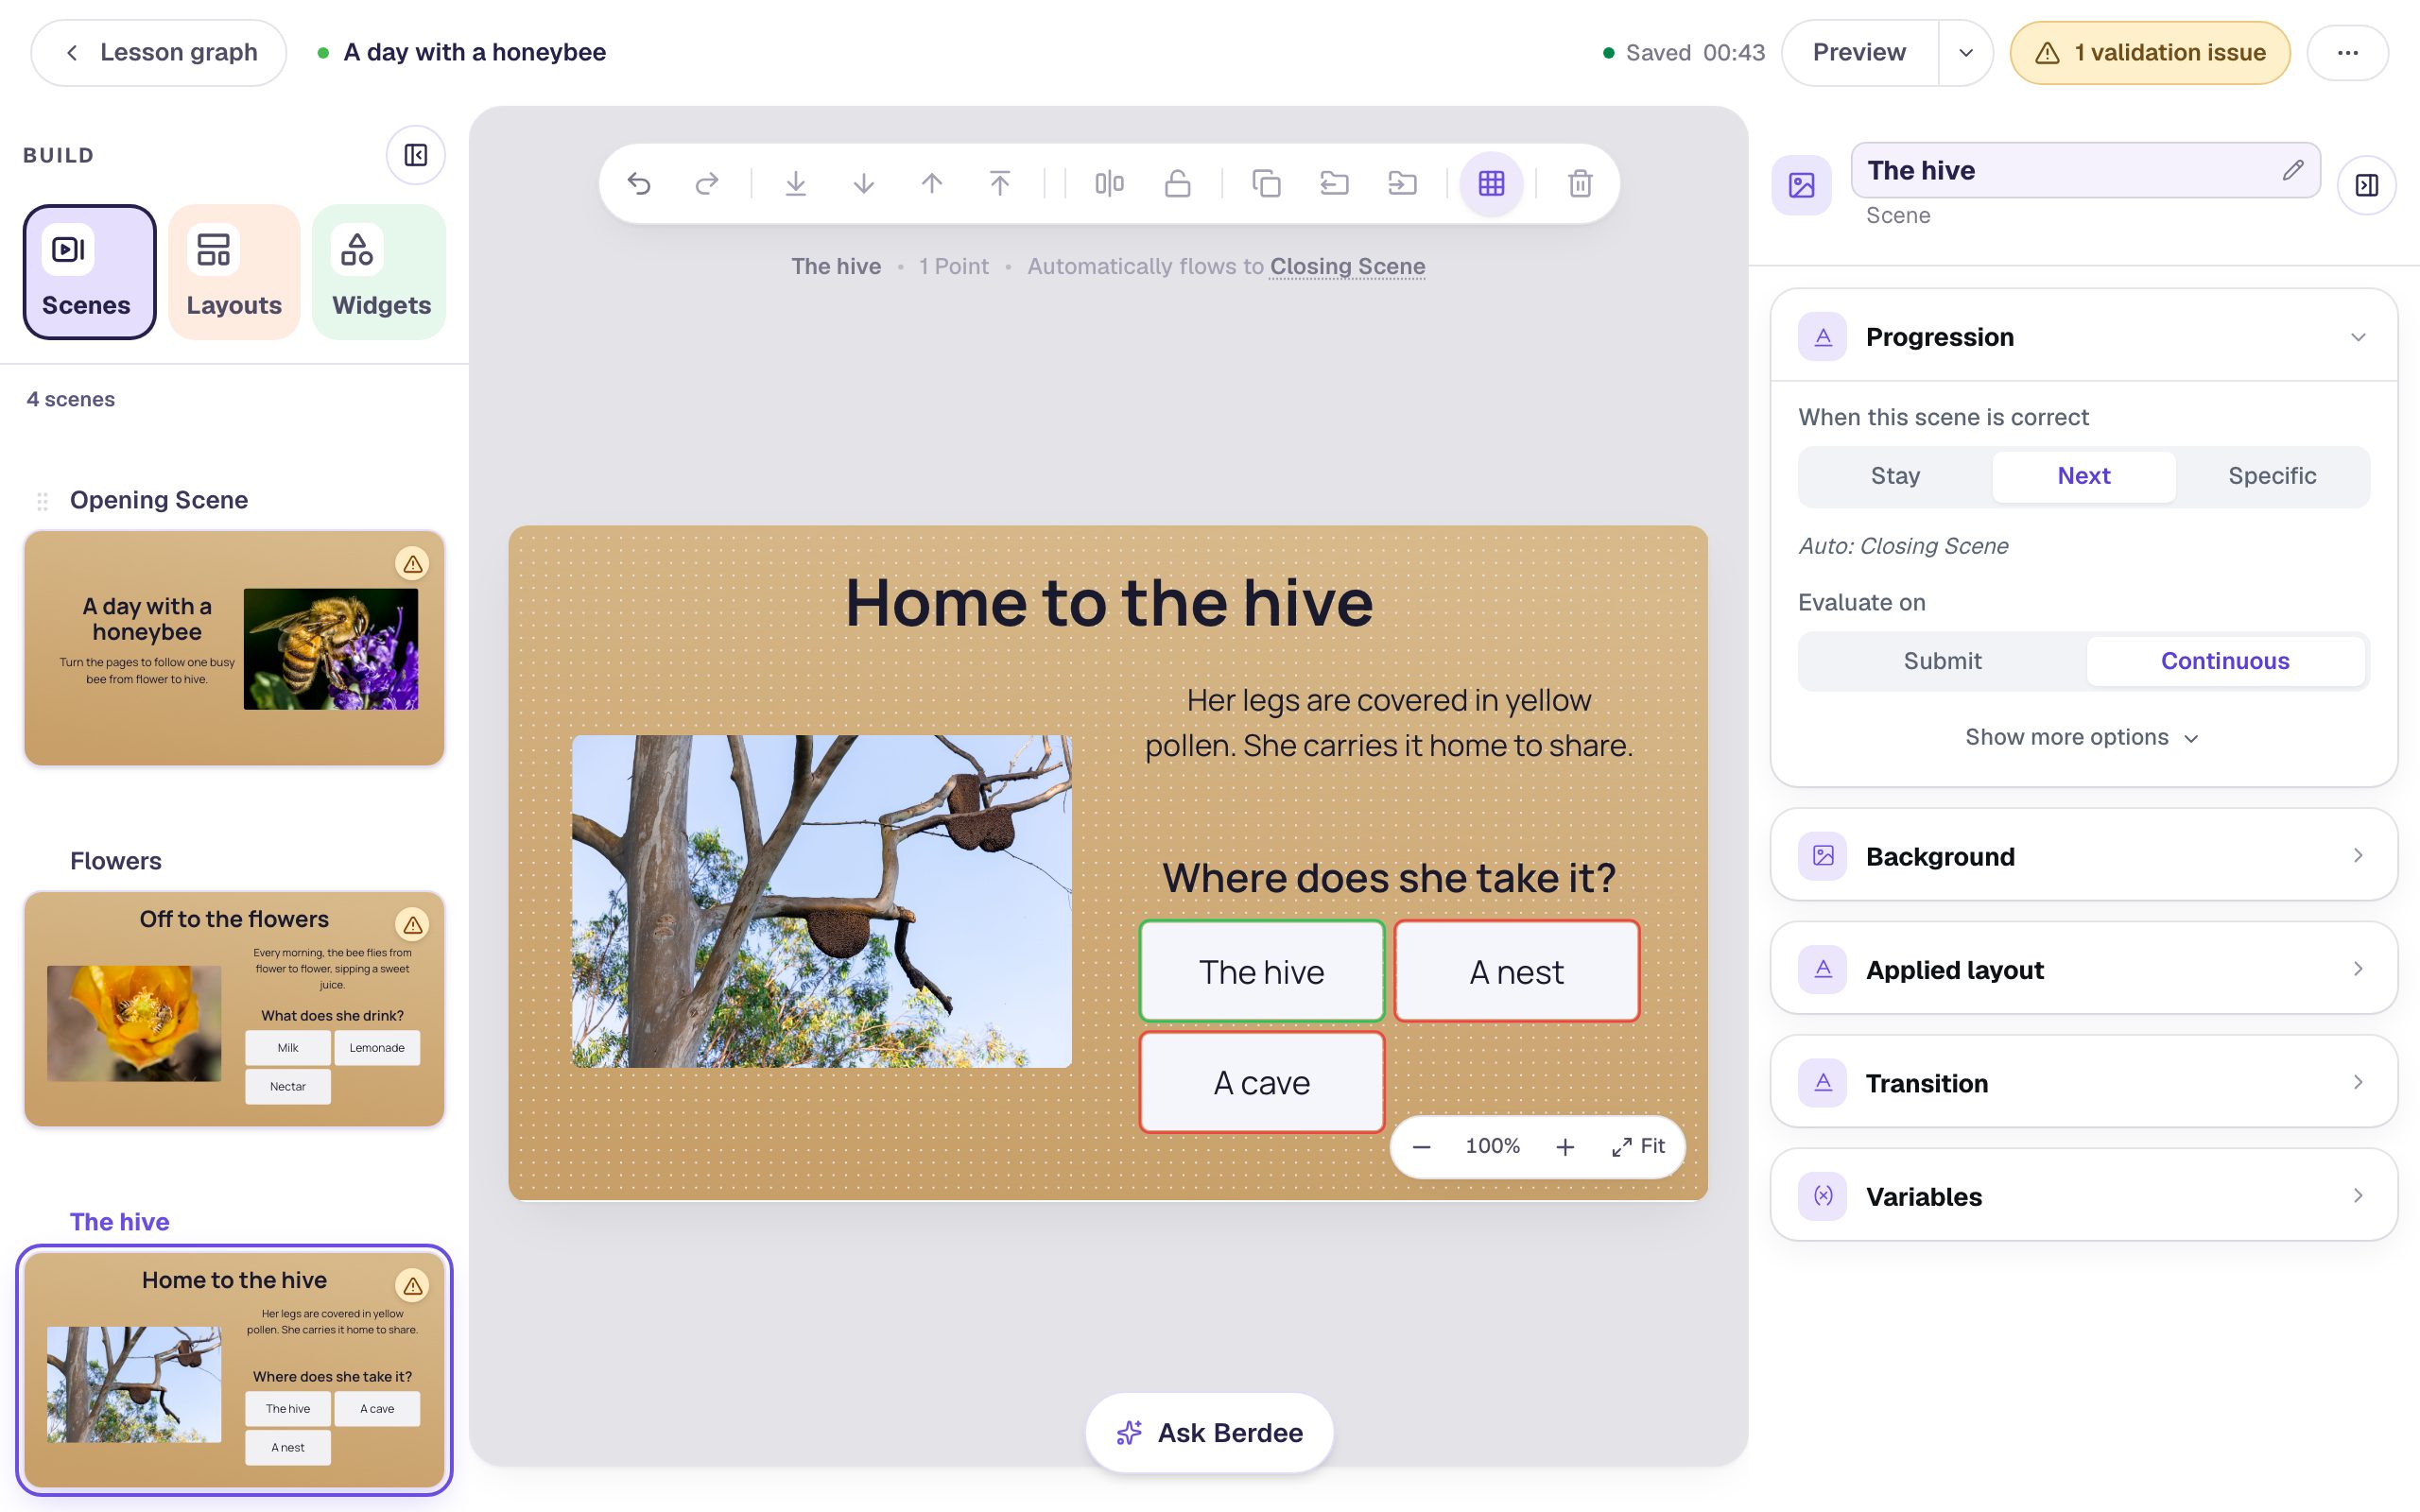
Home to the hive. Do the same for the story:Her legs are covered in yellow pollen. She carries it home to share.and the question:Where does she take it? - Click the question, then Configure, and type over the answers:
The hive,A nest,A cave. Keep the right answer first, so the correct mark stays where it is. Click Save. - Click the picture, then Replace image in the pill, search for
beehive, and insert a photo.
Then make the third page the same way: duplicate The hive, rename the copy Honey, and change its words to Something sweet, Inside the hive, the bees turn nectar into a sticky, golden food. and What do they make?. Its answers are Honey, Jam, and Butter, and its picture is a search for honeycomb.
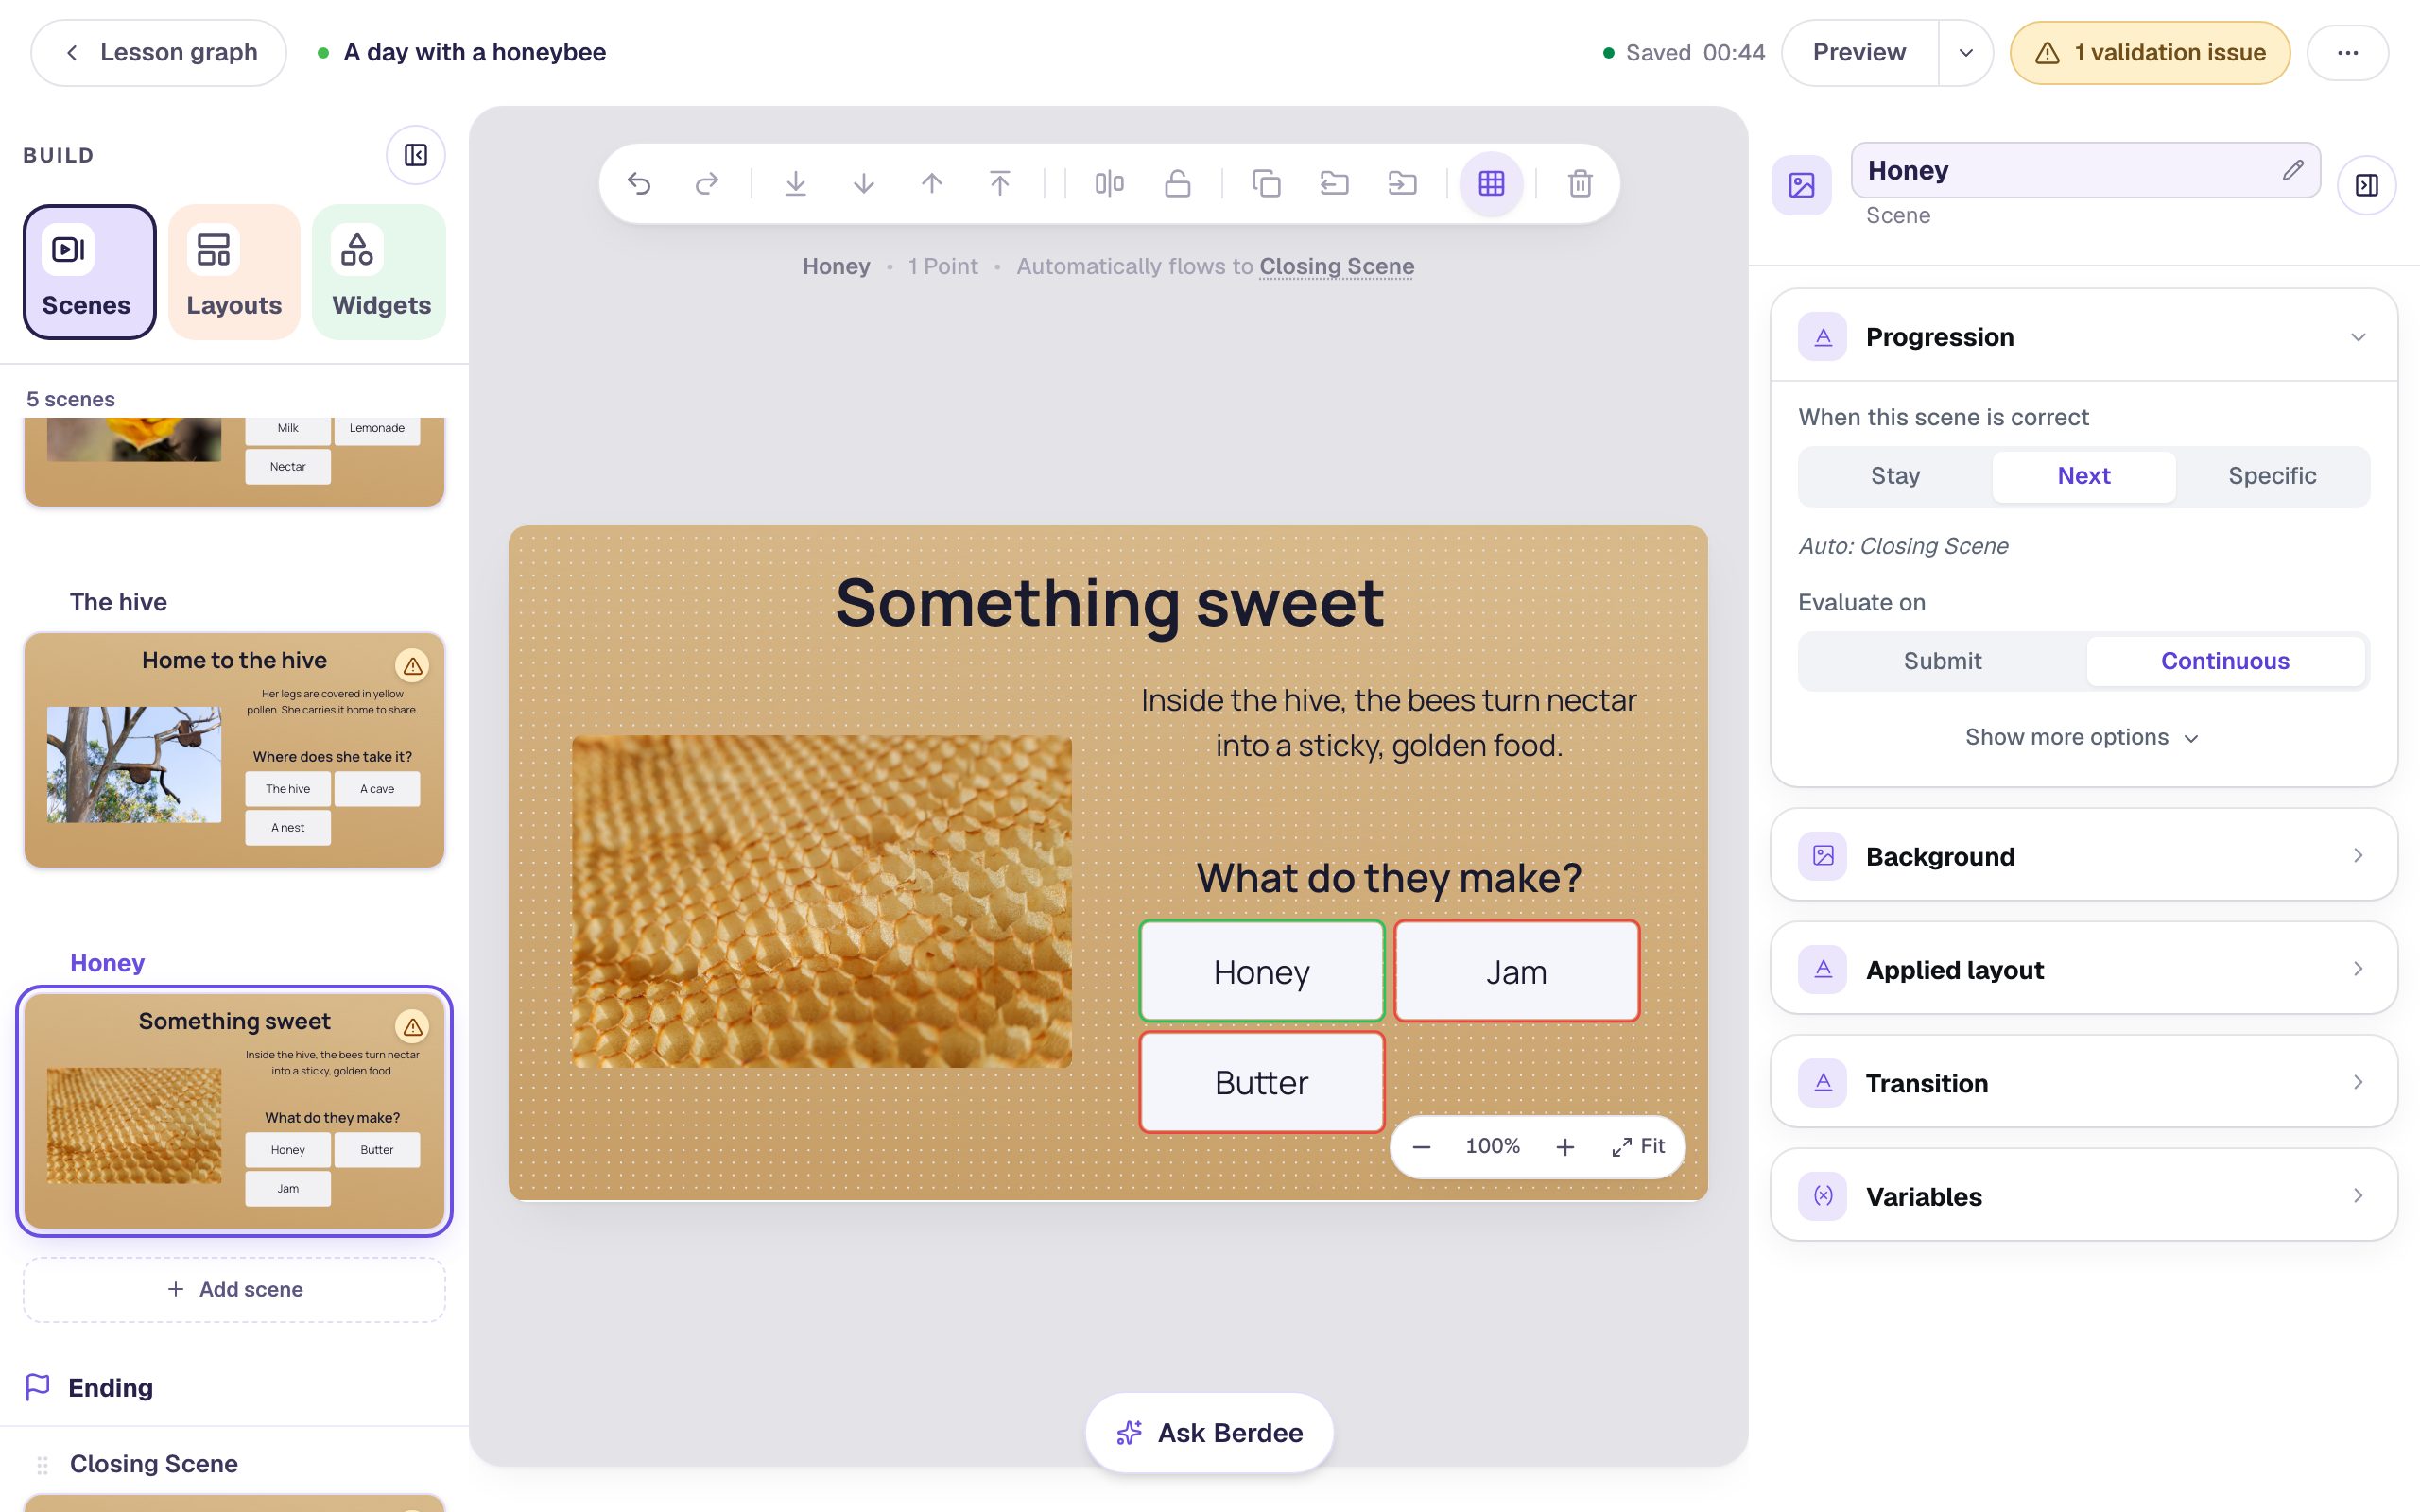
Check the correct mark on every copy. A copy keeps the original's right answer in the same place. Typing the right answer first on every page keeps it marked; the green outline on the canvas is the quickest way to check.
Step 7: Fade into the ending
The ending is a different kind of moment: the story is over, and there's nothing to turn to. Open the Closing Scene, click the gray area around it, open Transition, and click Fade. The last page will dissolve into the ending instead of being pushed aside.
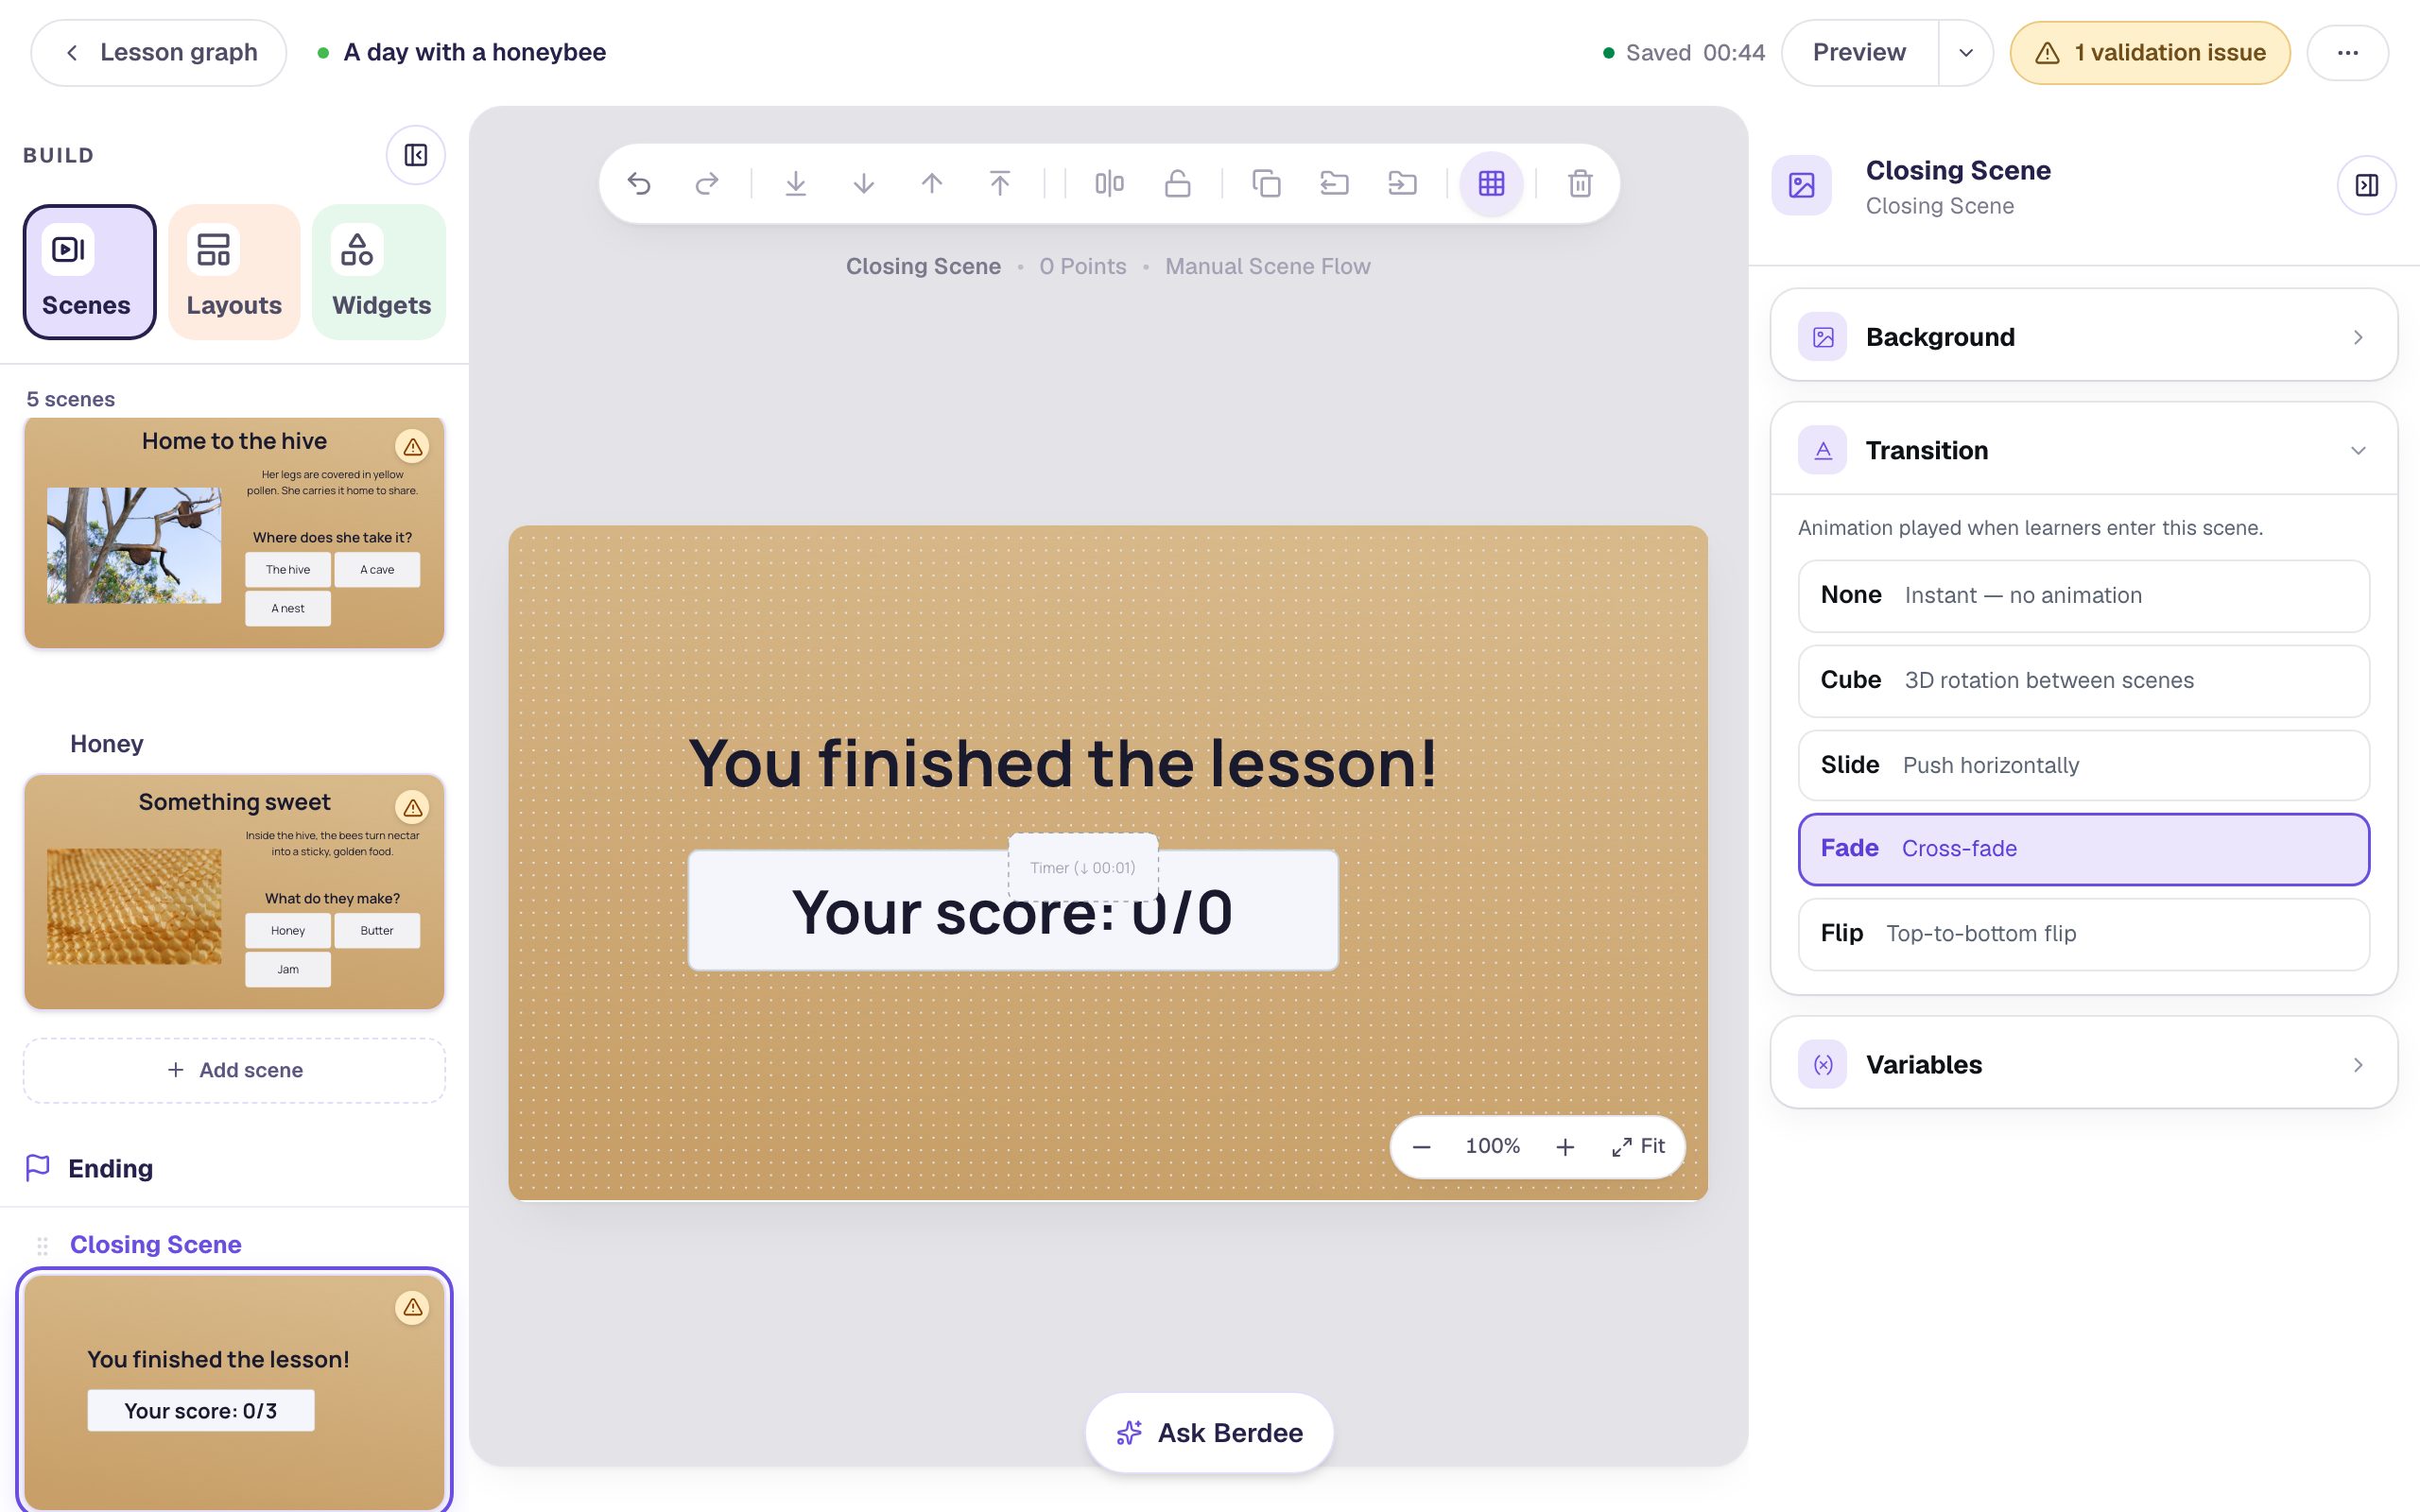
Pick one transition for the pages and keep it. A different animation on every scene feels busy, and young readers notice the motion more than the story. One for the pages and a softer one for the ending gives the book a rhythm.
Step 8: Add the start and finish buttons
Now that every page exists, give the cover its button. Open the Opening Scene and add a Button. Click Configure, set its Label to Open the book, and click Save. Click Behaviors in the pill, choose Make this a "Next" button, and click Add behavior: it goes to Flowers, the first page. Set its Font Size to 26 and drag it under the intro text.
Berdee also needs one button that lets a student finish the lesson. Open Honey, the last page, and add a Submit Button. In Content, set its Label to I'm done and Submits to Lesson, then set its Font Size to 18 and tuck it into the bottom-right corner. The yellow validation pill at the top goes away.
Add the I'm done button after you've finished duplicating, or every copy would get one.
Step 9: Read it as a student
On the Opening Scene, click Preview. Press Open the book: the Flowers page slides in. Pick a wrong answer first.
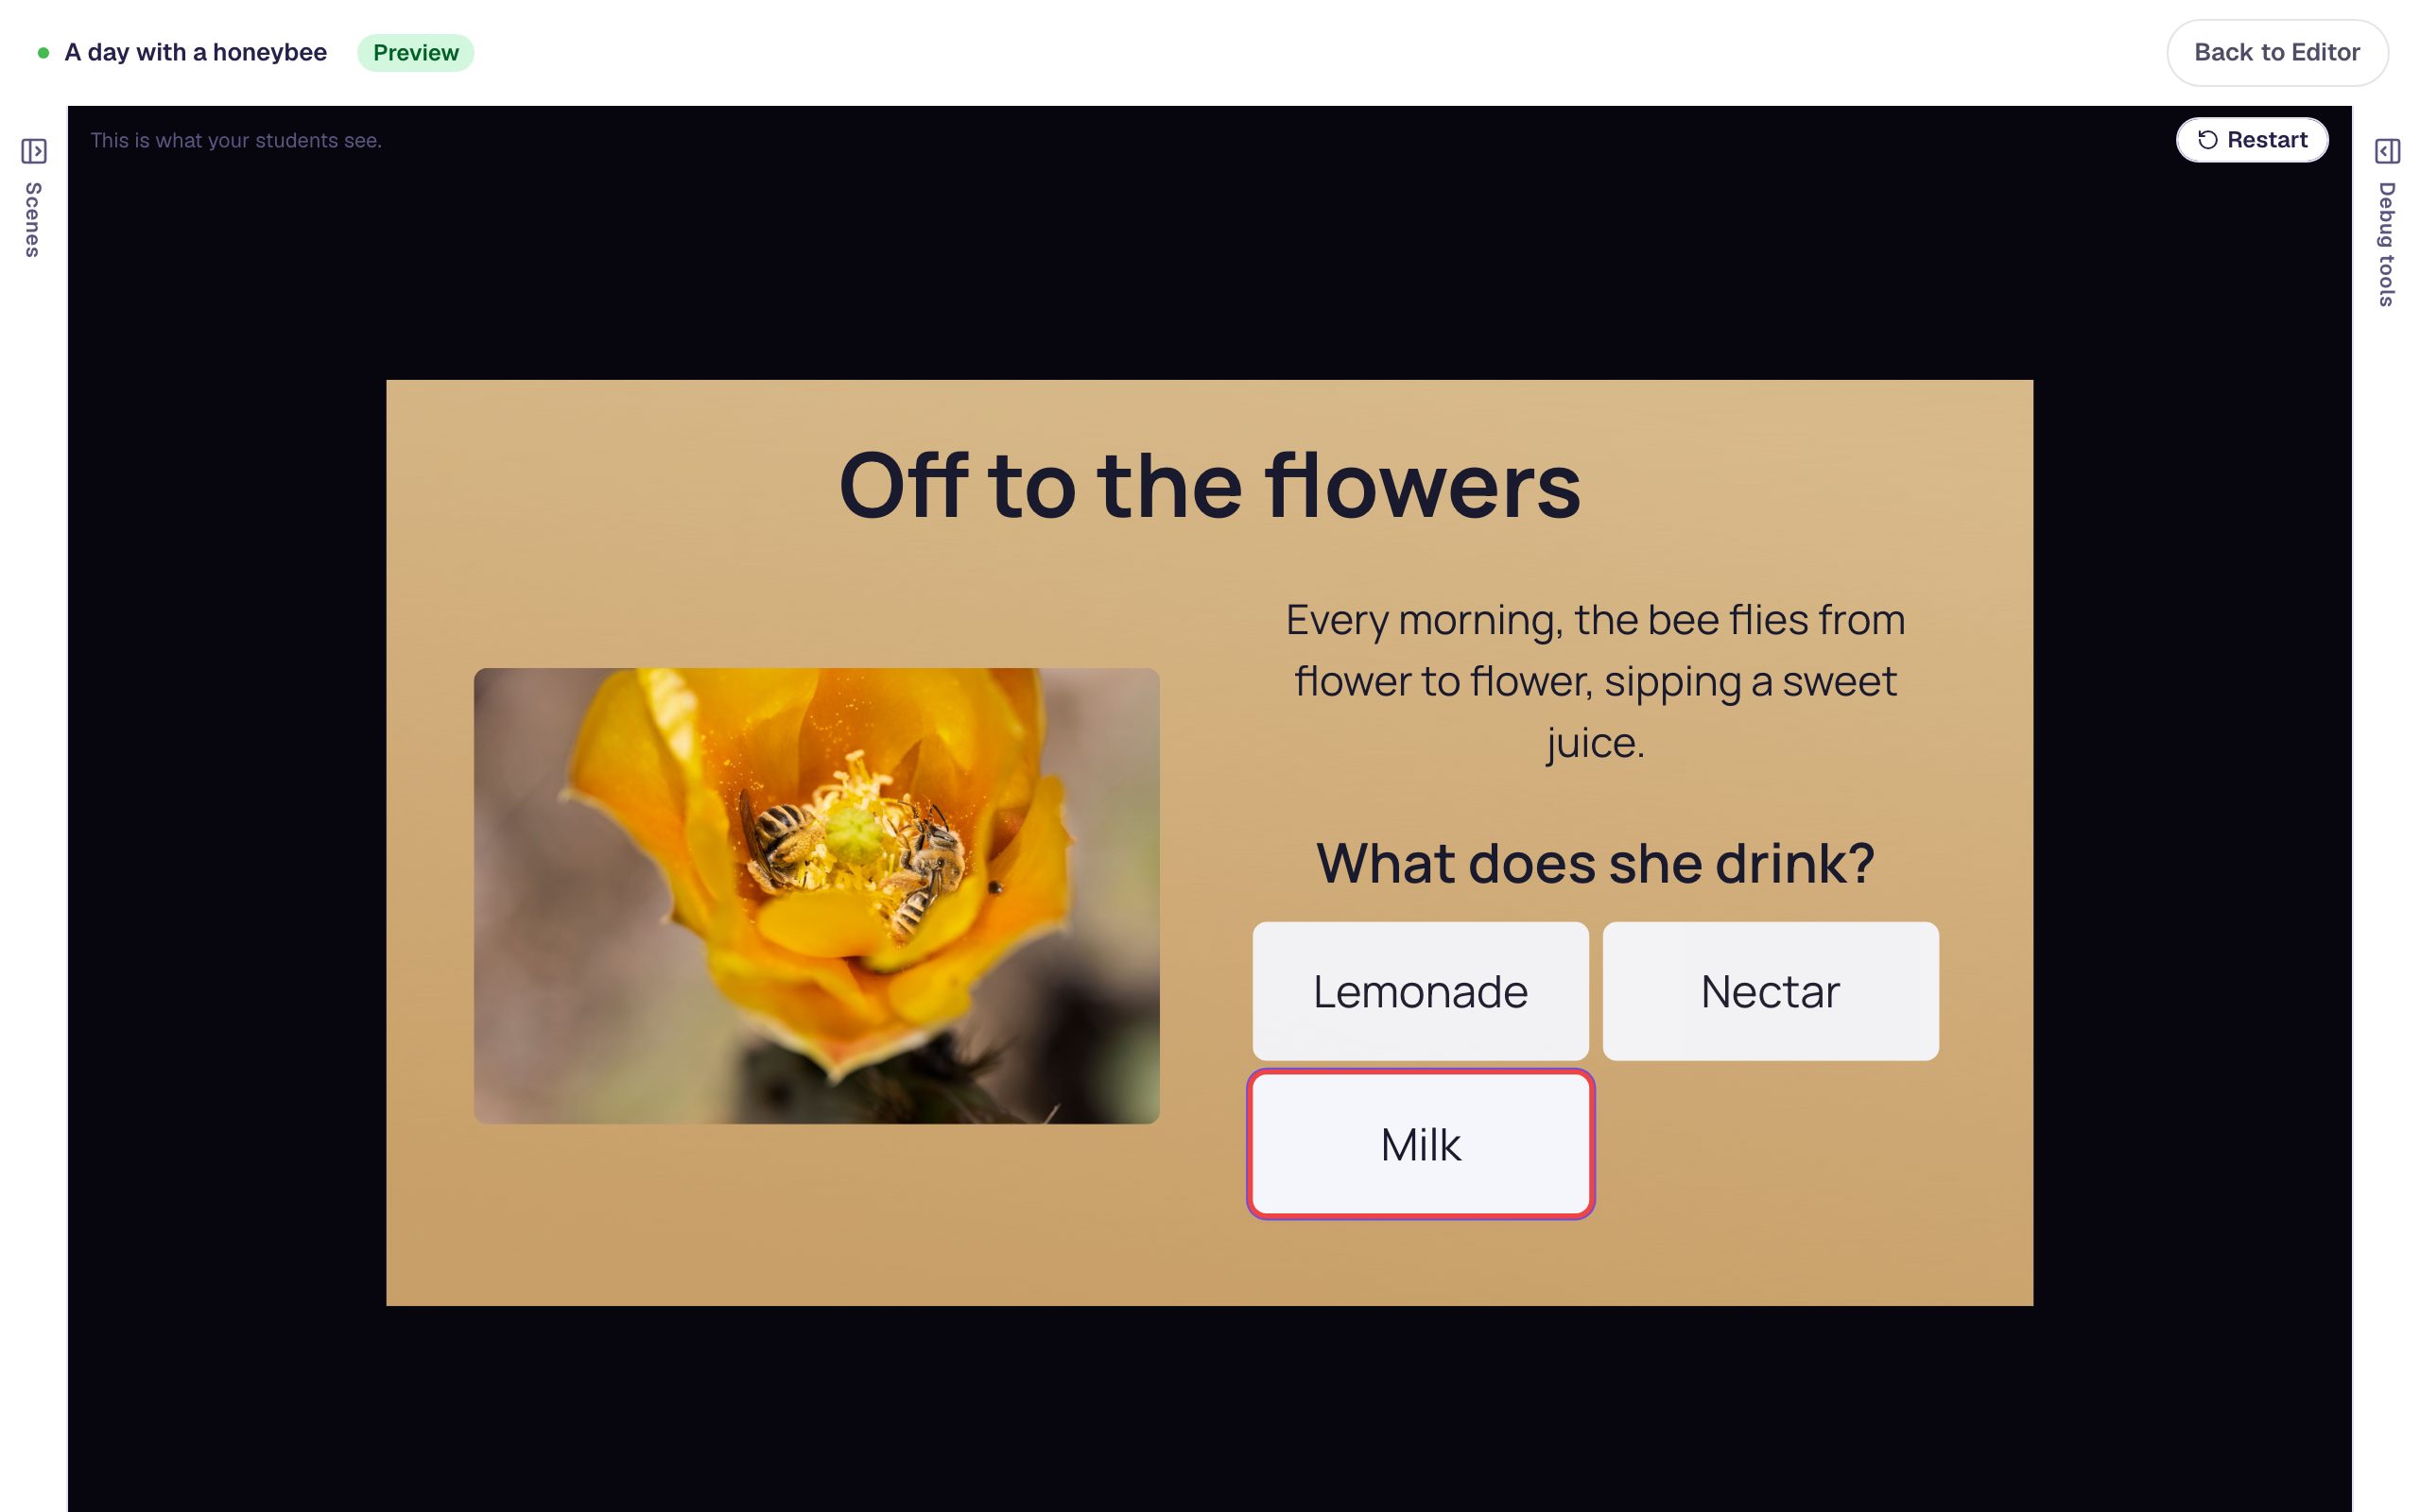
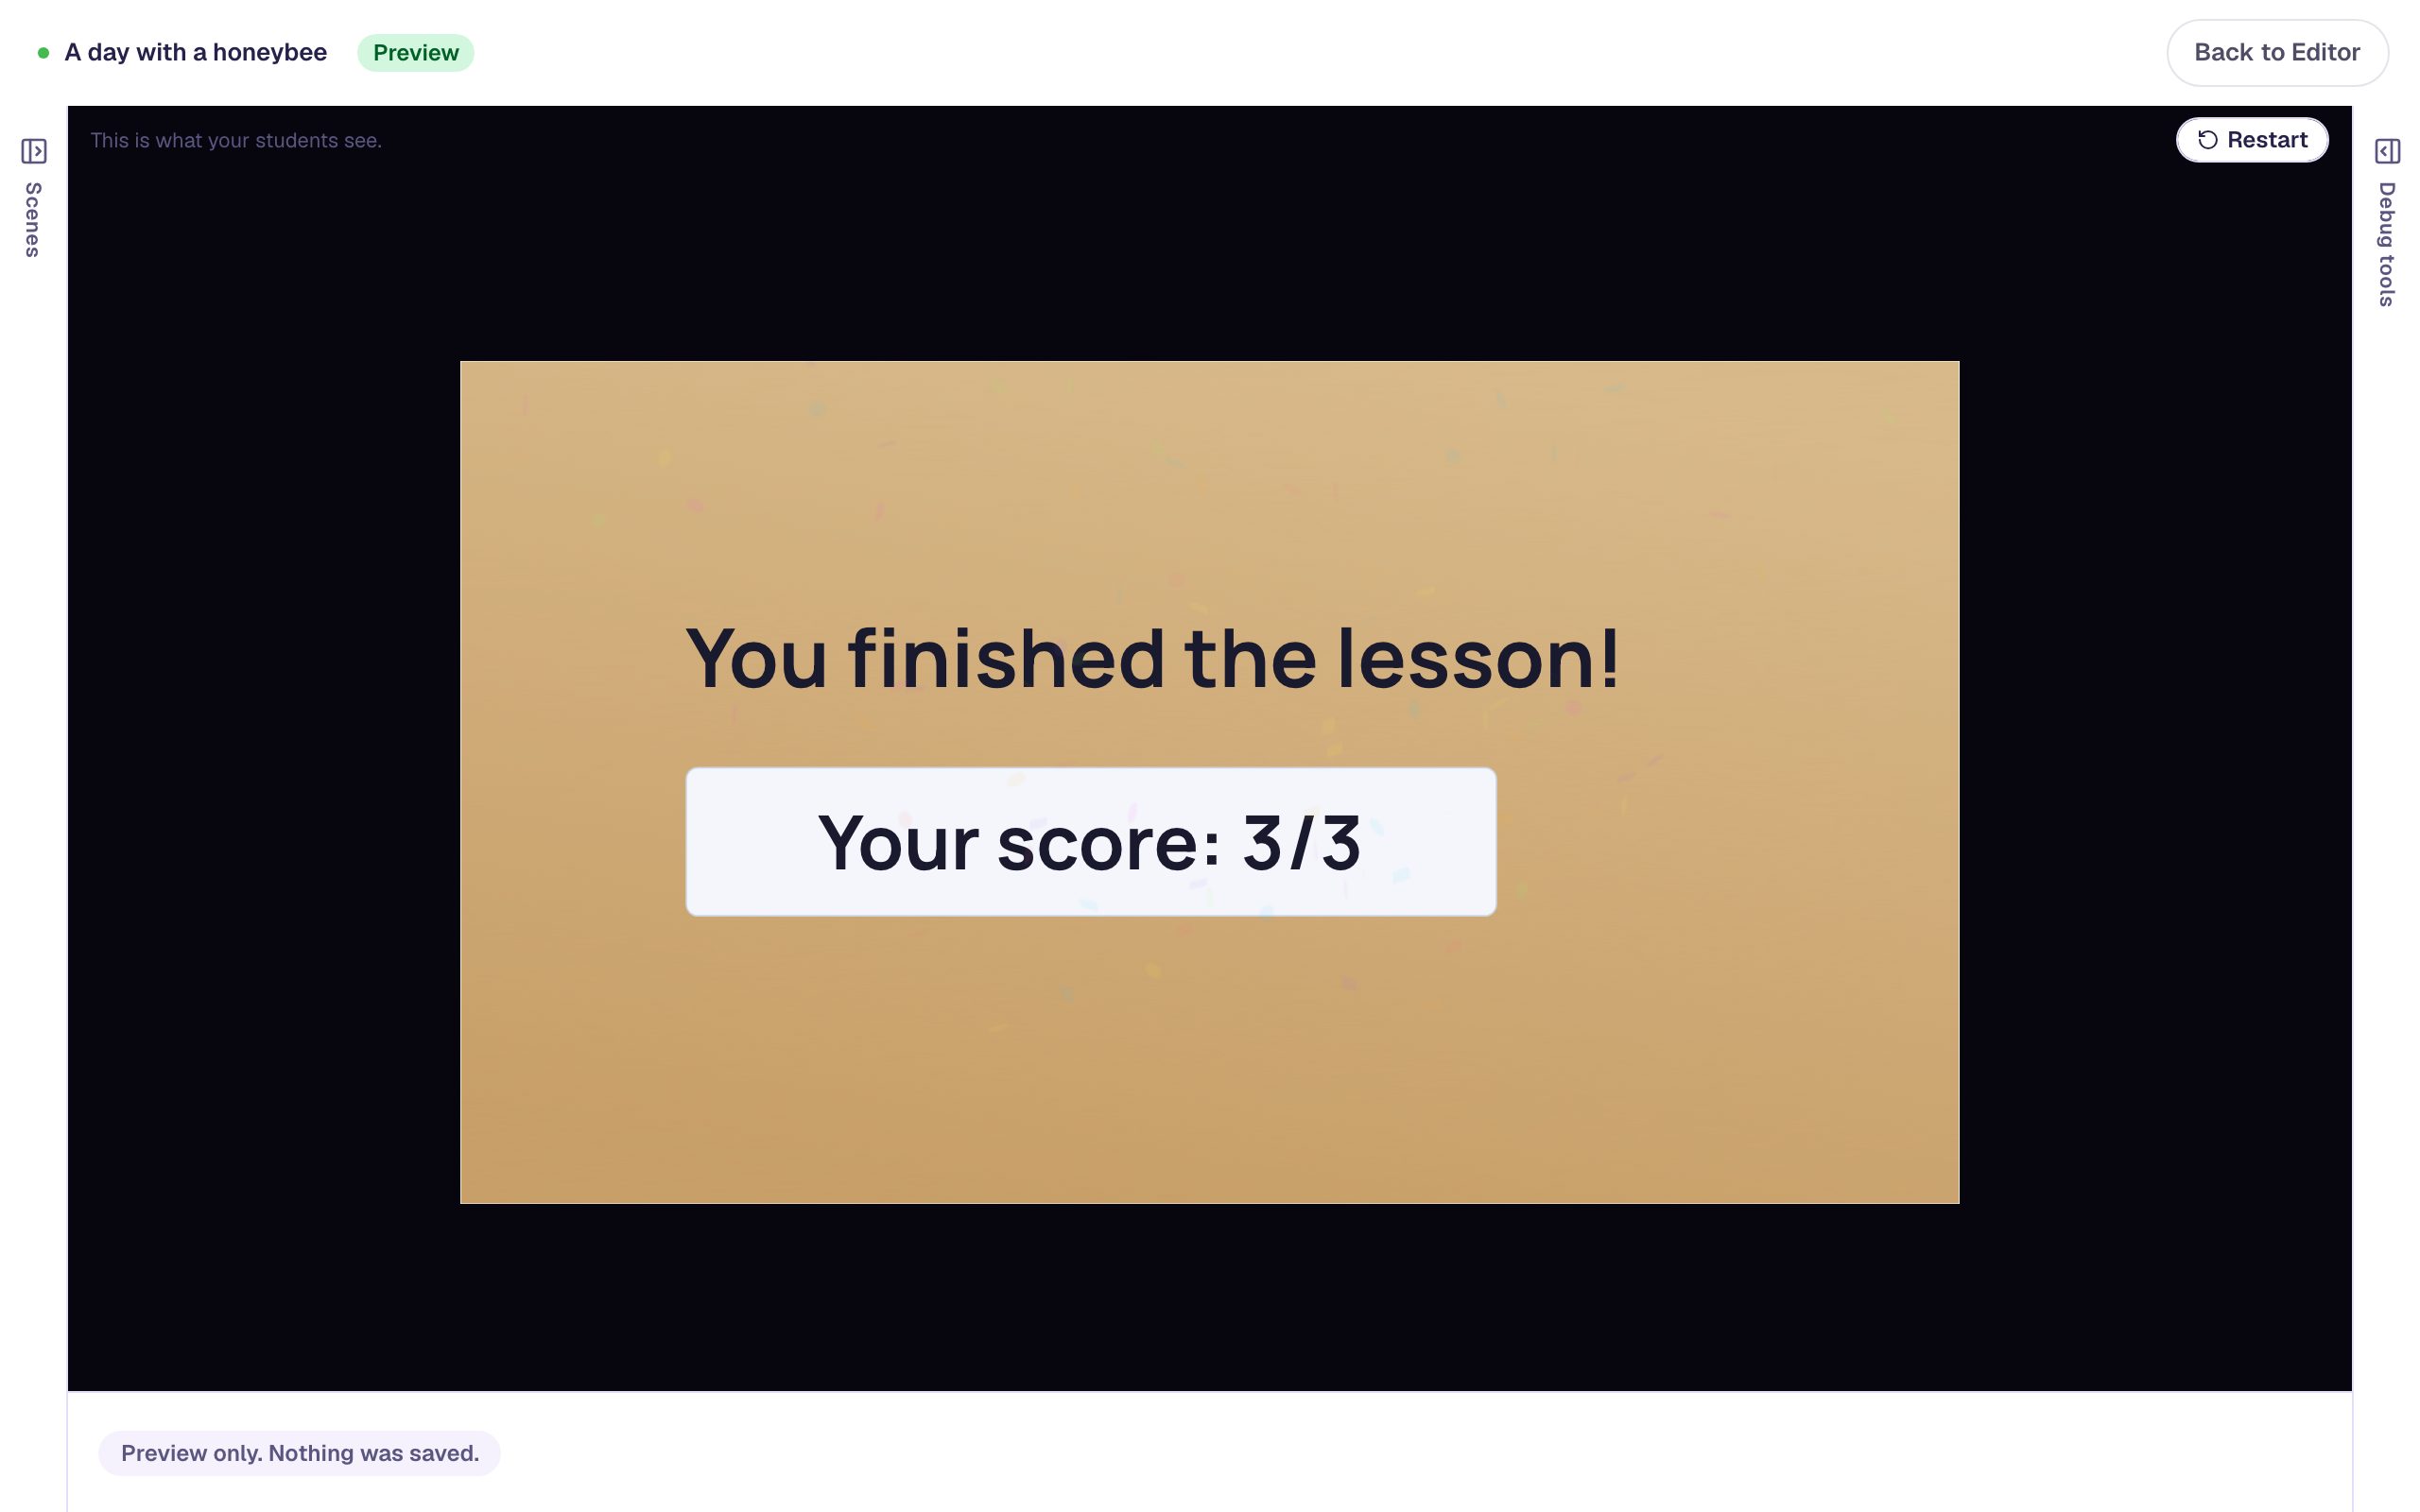
Answer the last two pages correctly. Each one slides in, and the ending fades in after the last.
The answers are shuffled on every page, because Randomize Order is on, so students can't just remember a position. Students who turn on Reduce motion in their device's settings see no transitions at all: the next page just appears, and the story works the same.
What you built
A four-page picture book with:
- a kraft paper look and a photo on every page,
- a quick question on each page whose right answer turns it,
- a Slide transition set once and carried to every page by duplicating,
- a Fade into the ending, and
- an Open the book button on the cover and an I'm done button on the last page.
The same pattern works for any story told in steps: the stages of a plant's life, the events of a book you're reading in class, the steps of a science experiment. To give a cover a display font and an entrance effect for its title, try Style a title scene with a palette, a background, and a display font. To draw a picture for a page instead of searching for one, try Illustrate a lesson with pictures you generate.
Make this lesson yours
Add the lesson you just watched being built to your account, then change it for your class: your questions, your pictures, your colors.
Free to sign up, and you'll come straight back here. I have an account