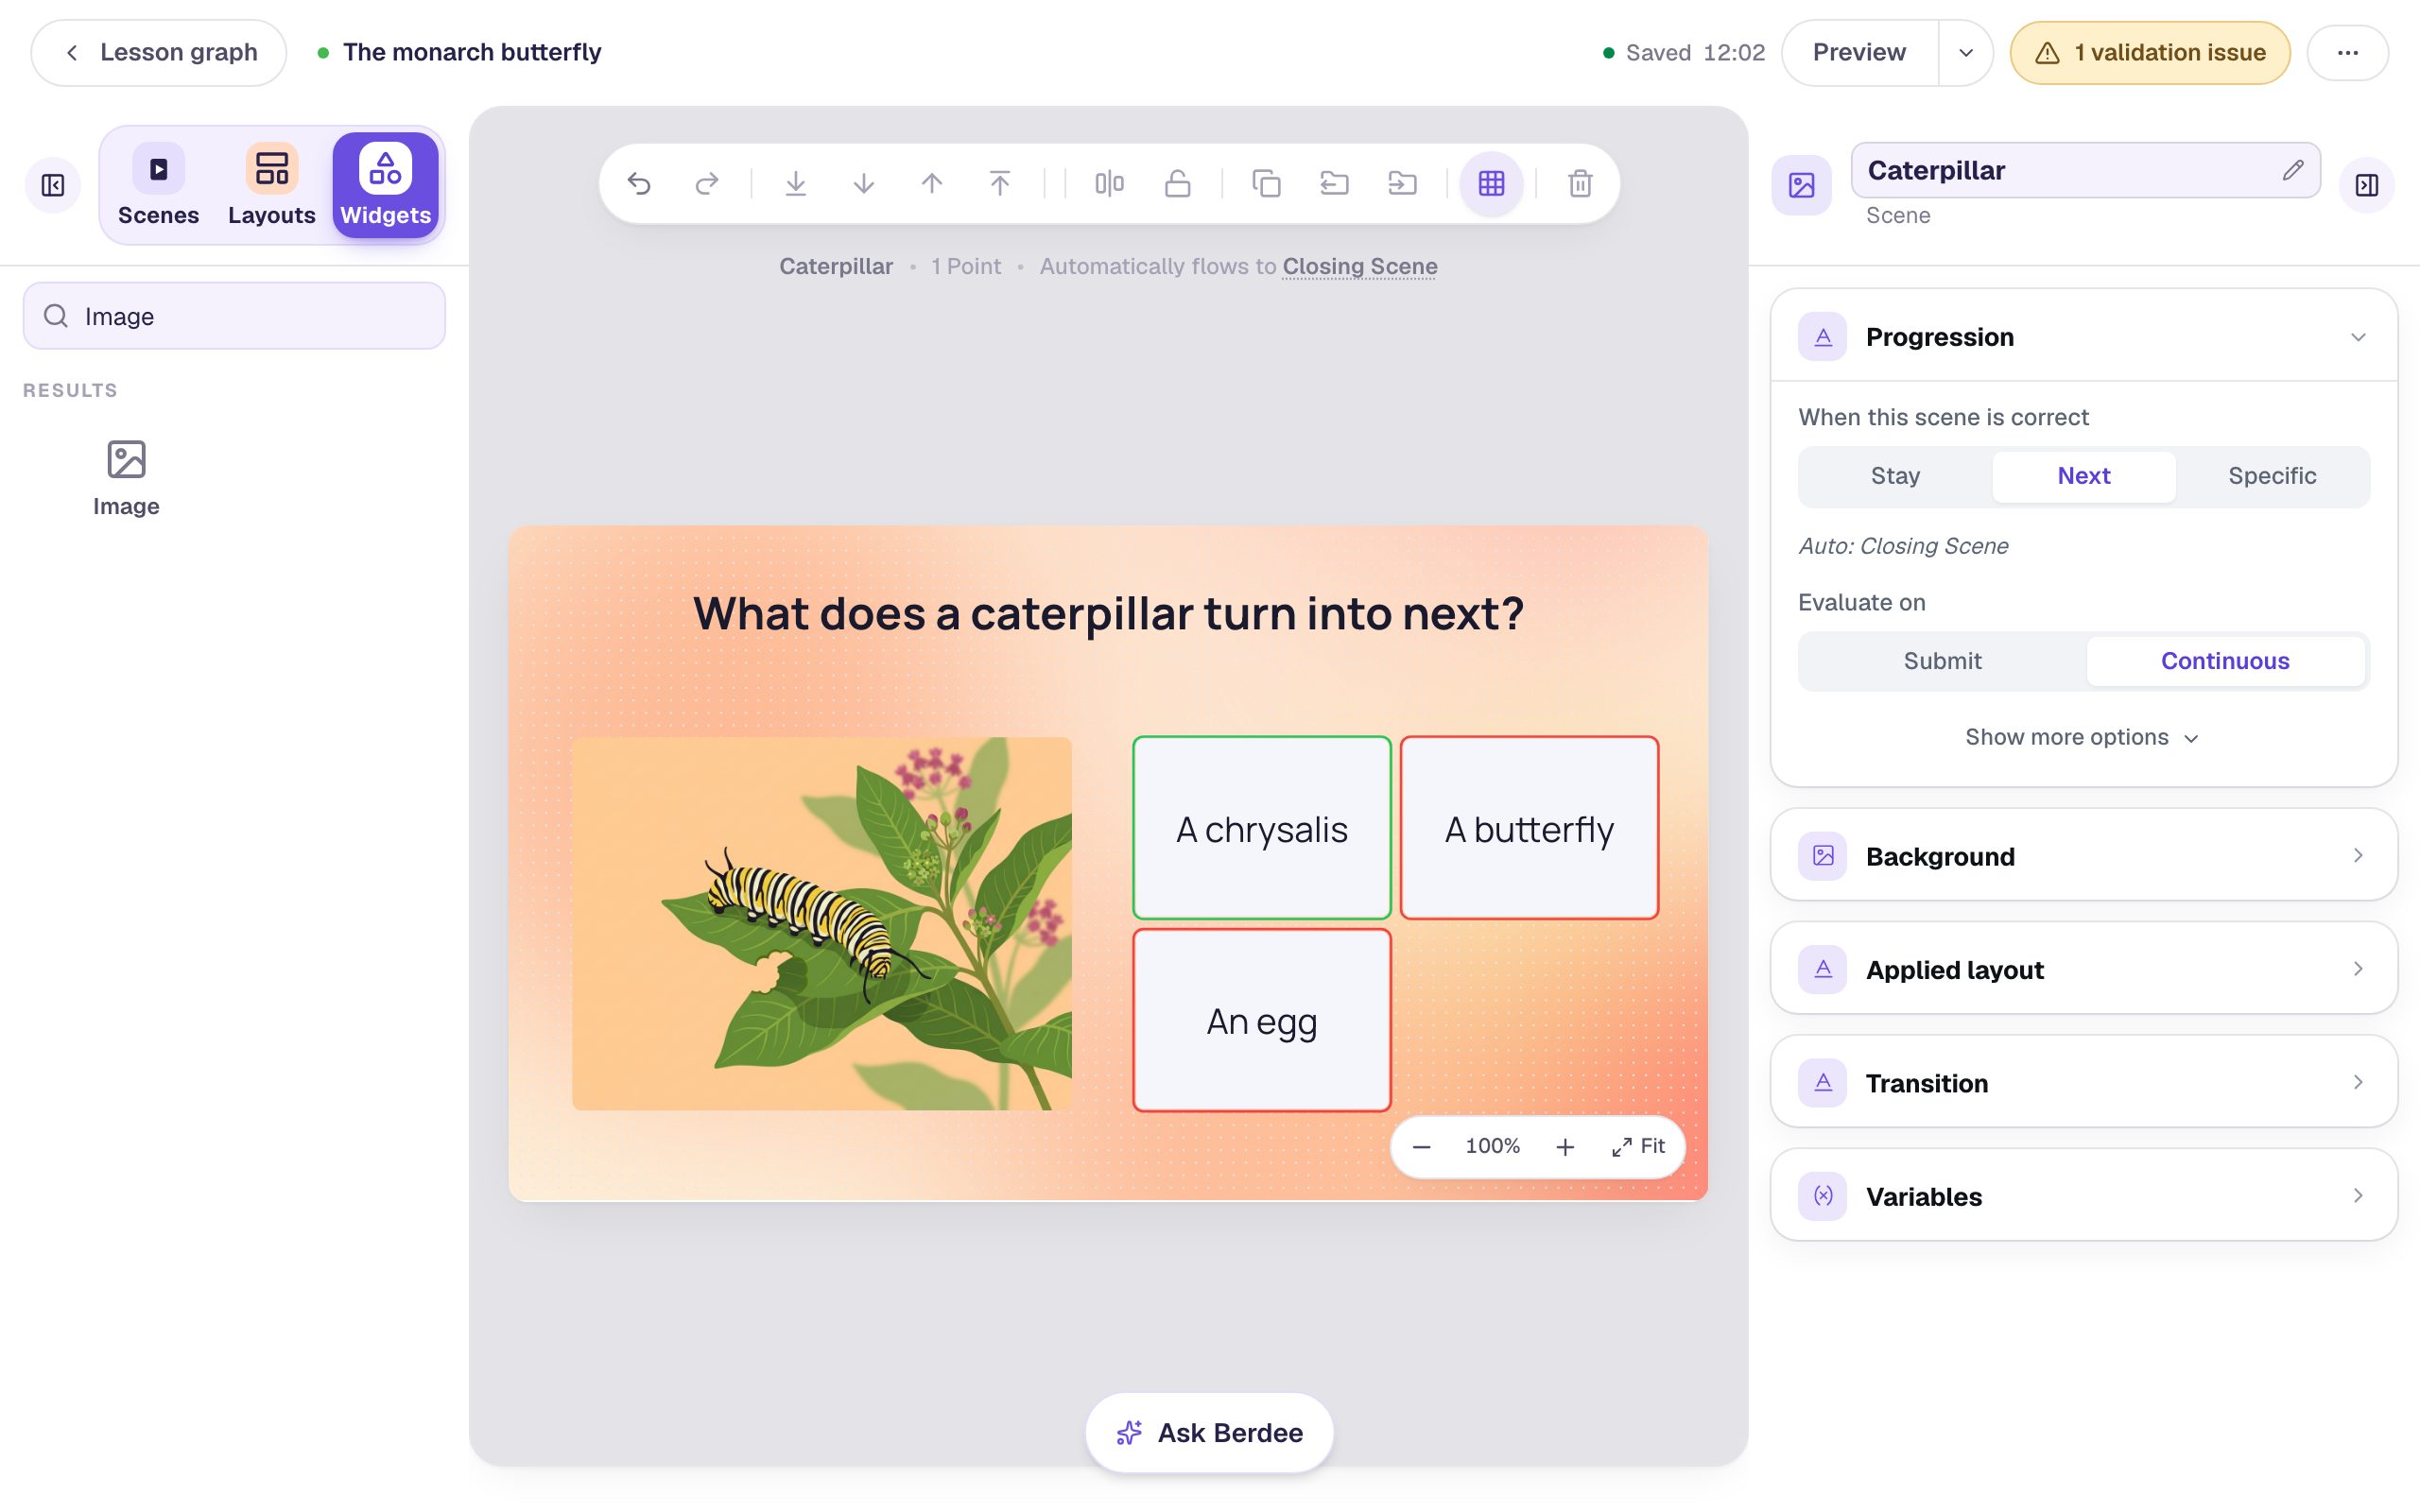
Style a title scene with a palette, a background, and a display font
Give a lesson's opening scene a finished look in ten minutes. Pick a palette, add a generated background, make the button stand out, and give the title a font and an entrance.
- Level
- Beginner
- Time
- About 10 min
- Steps
- 7
An Ocean-themed title scene with a generated seascape, a bold title that fades in, and a Let's dive in button that takes students onward.
Get the finished lesson
Skip straight to the result, or keep it open beside the steps. Add this tutorial's lesson to your account and explore how it works in the studio.
Free to sign up, and you'll come straight back here. I have an account
The first scene of a lesson sets the mood. In this tutorial you'll build a title scene for a unit on ocean life: a seascape behind the words, a bold title that fades in, and a bright button that starts the lesson.
You won't pick a single color by hand until Step 4. A palette does most of the work, and it keeps doing it as the lesson grows.
Step 1: Pick a palette as you create the lesson
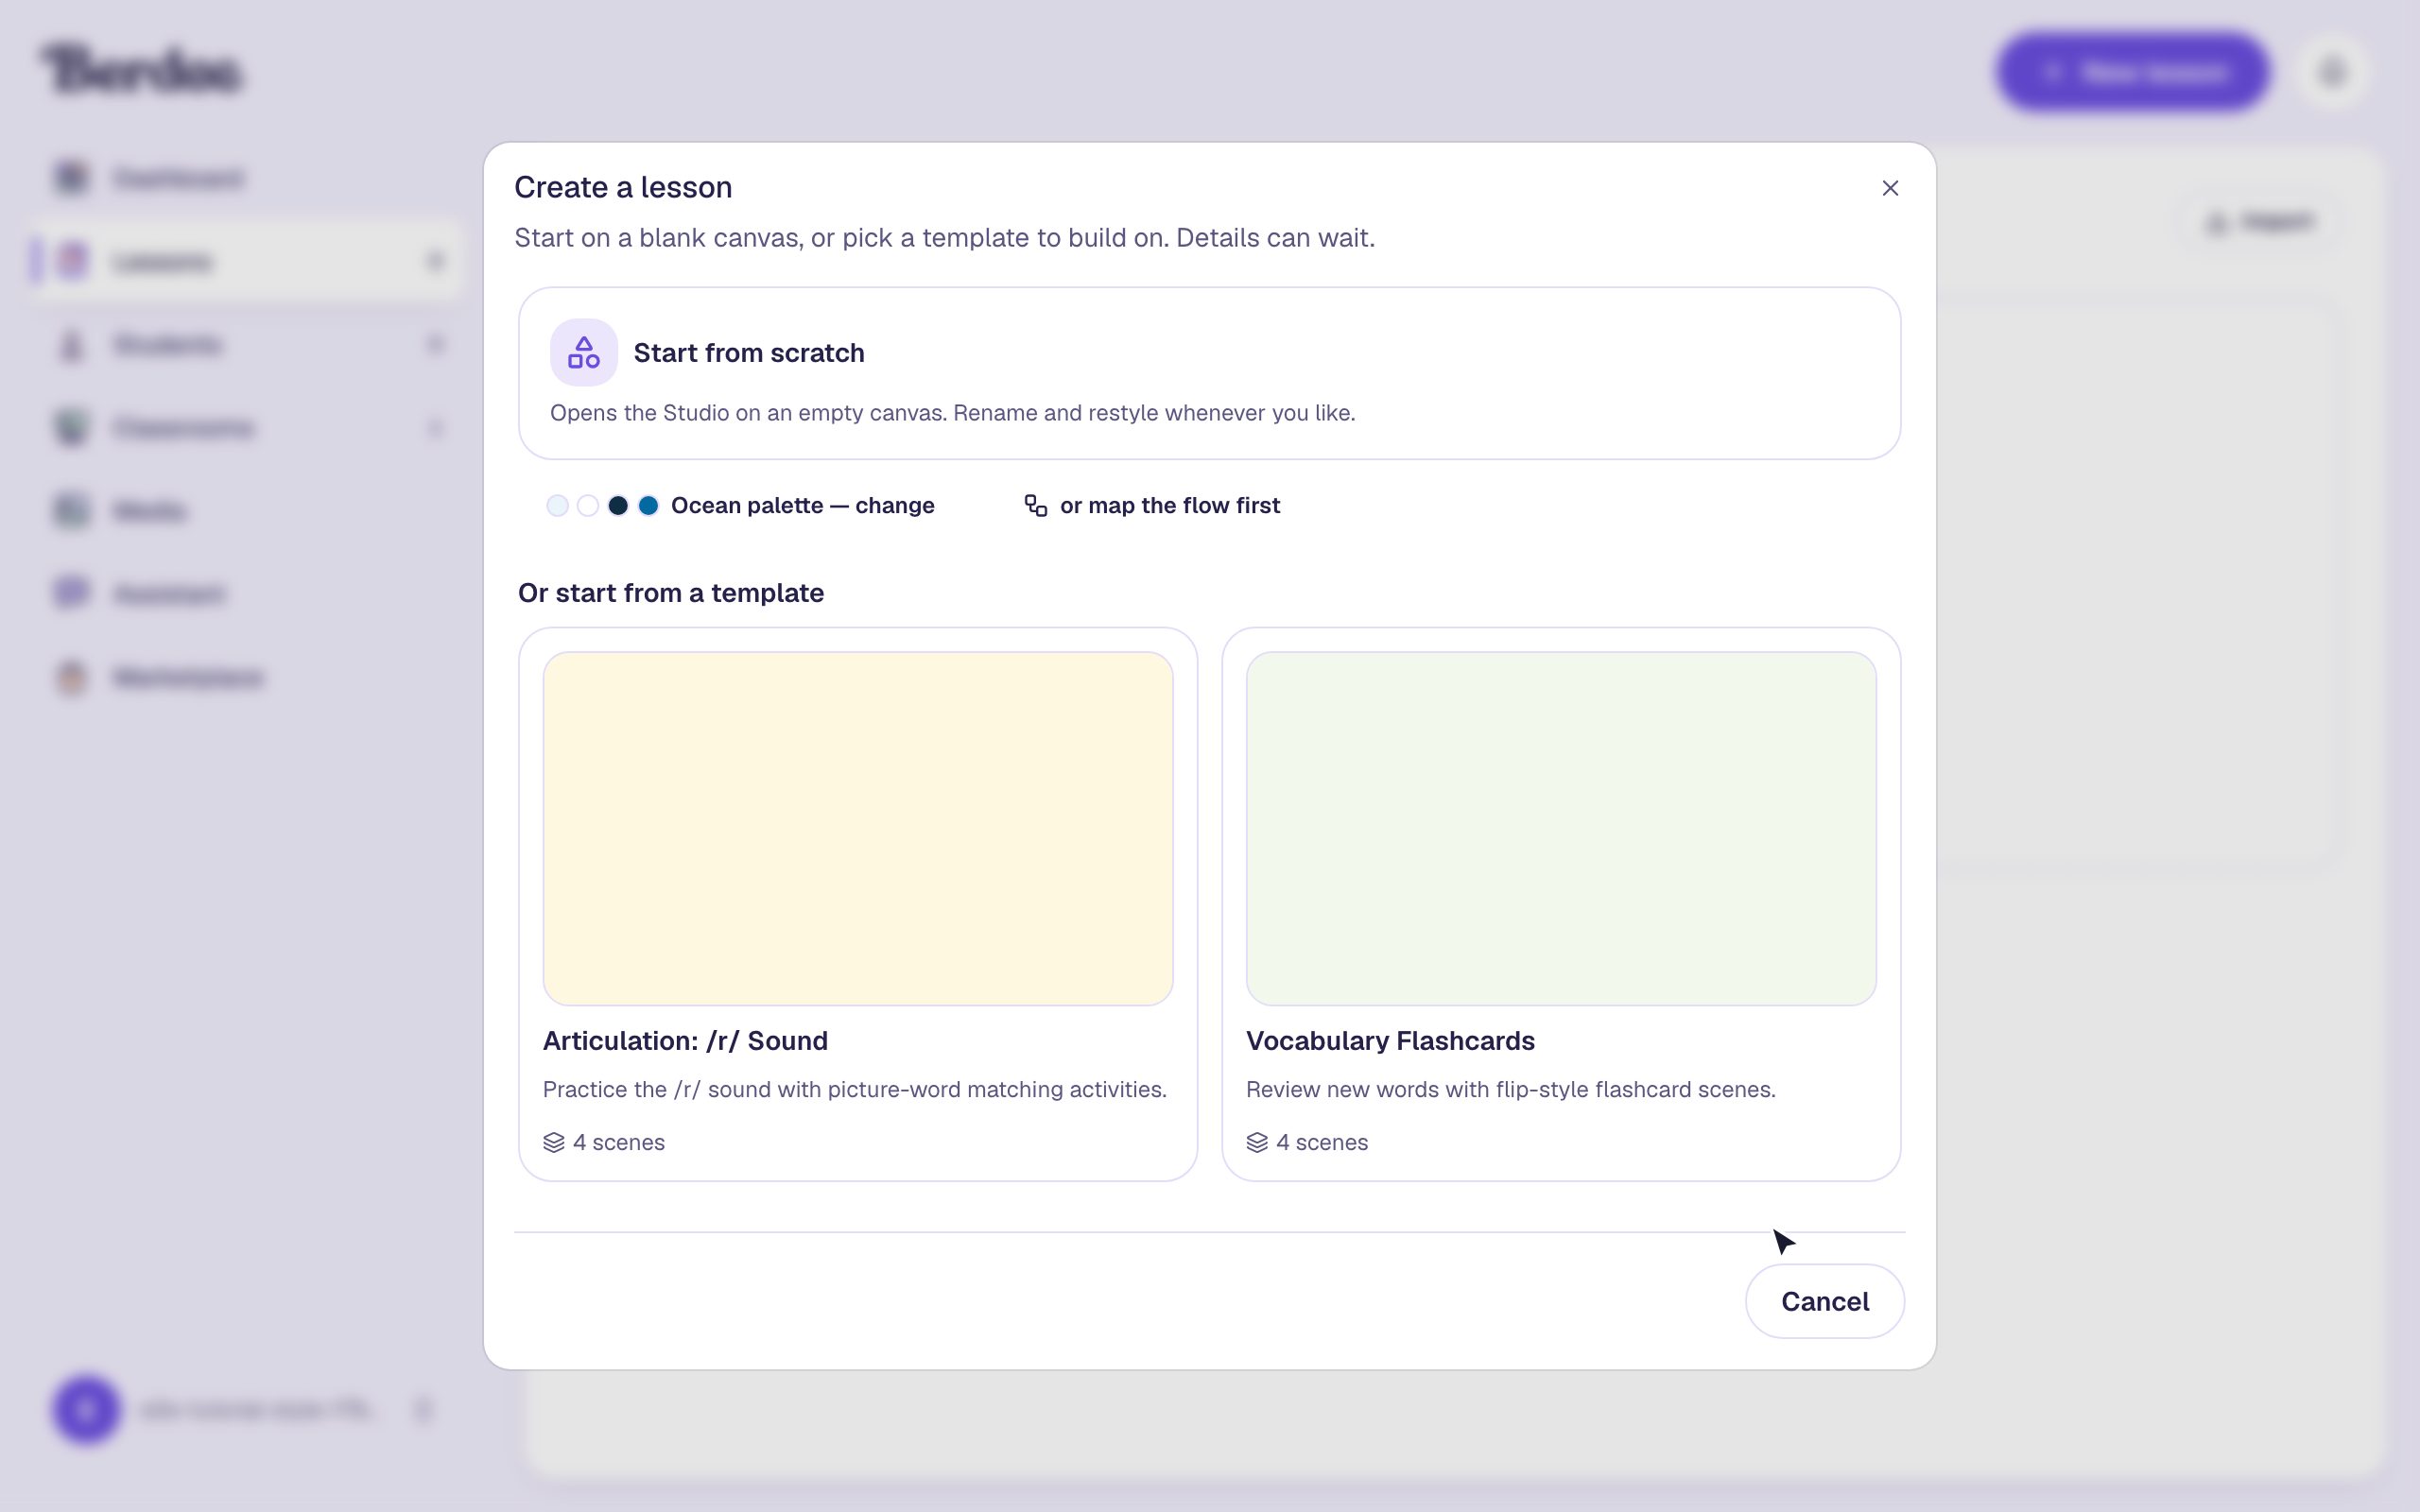
Click New lesson in the top-right corner. Under the Start from scratch card there's a quiet link that names the current palette: Classic palette — change. Click it.
Each card shows a palette's name, what it's for, and its colors. Click Ocean, then Use this palette.
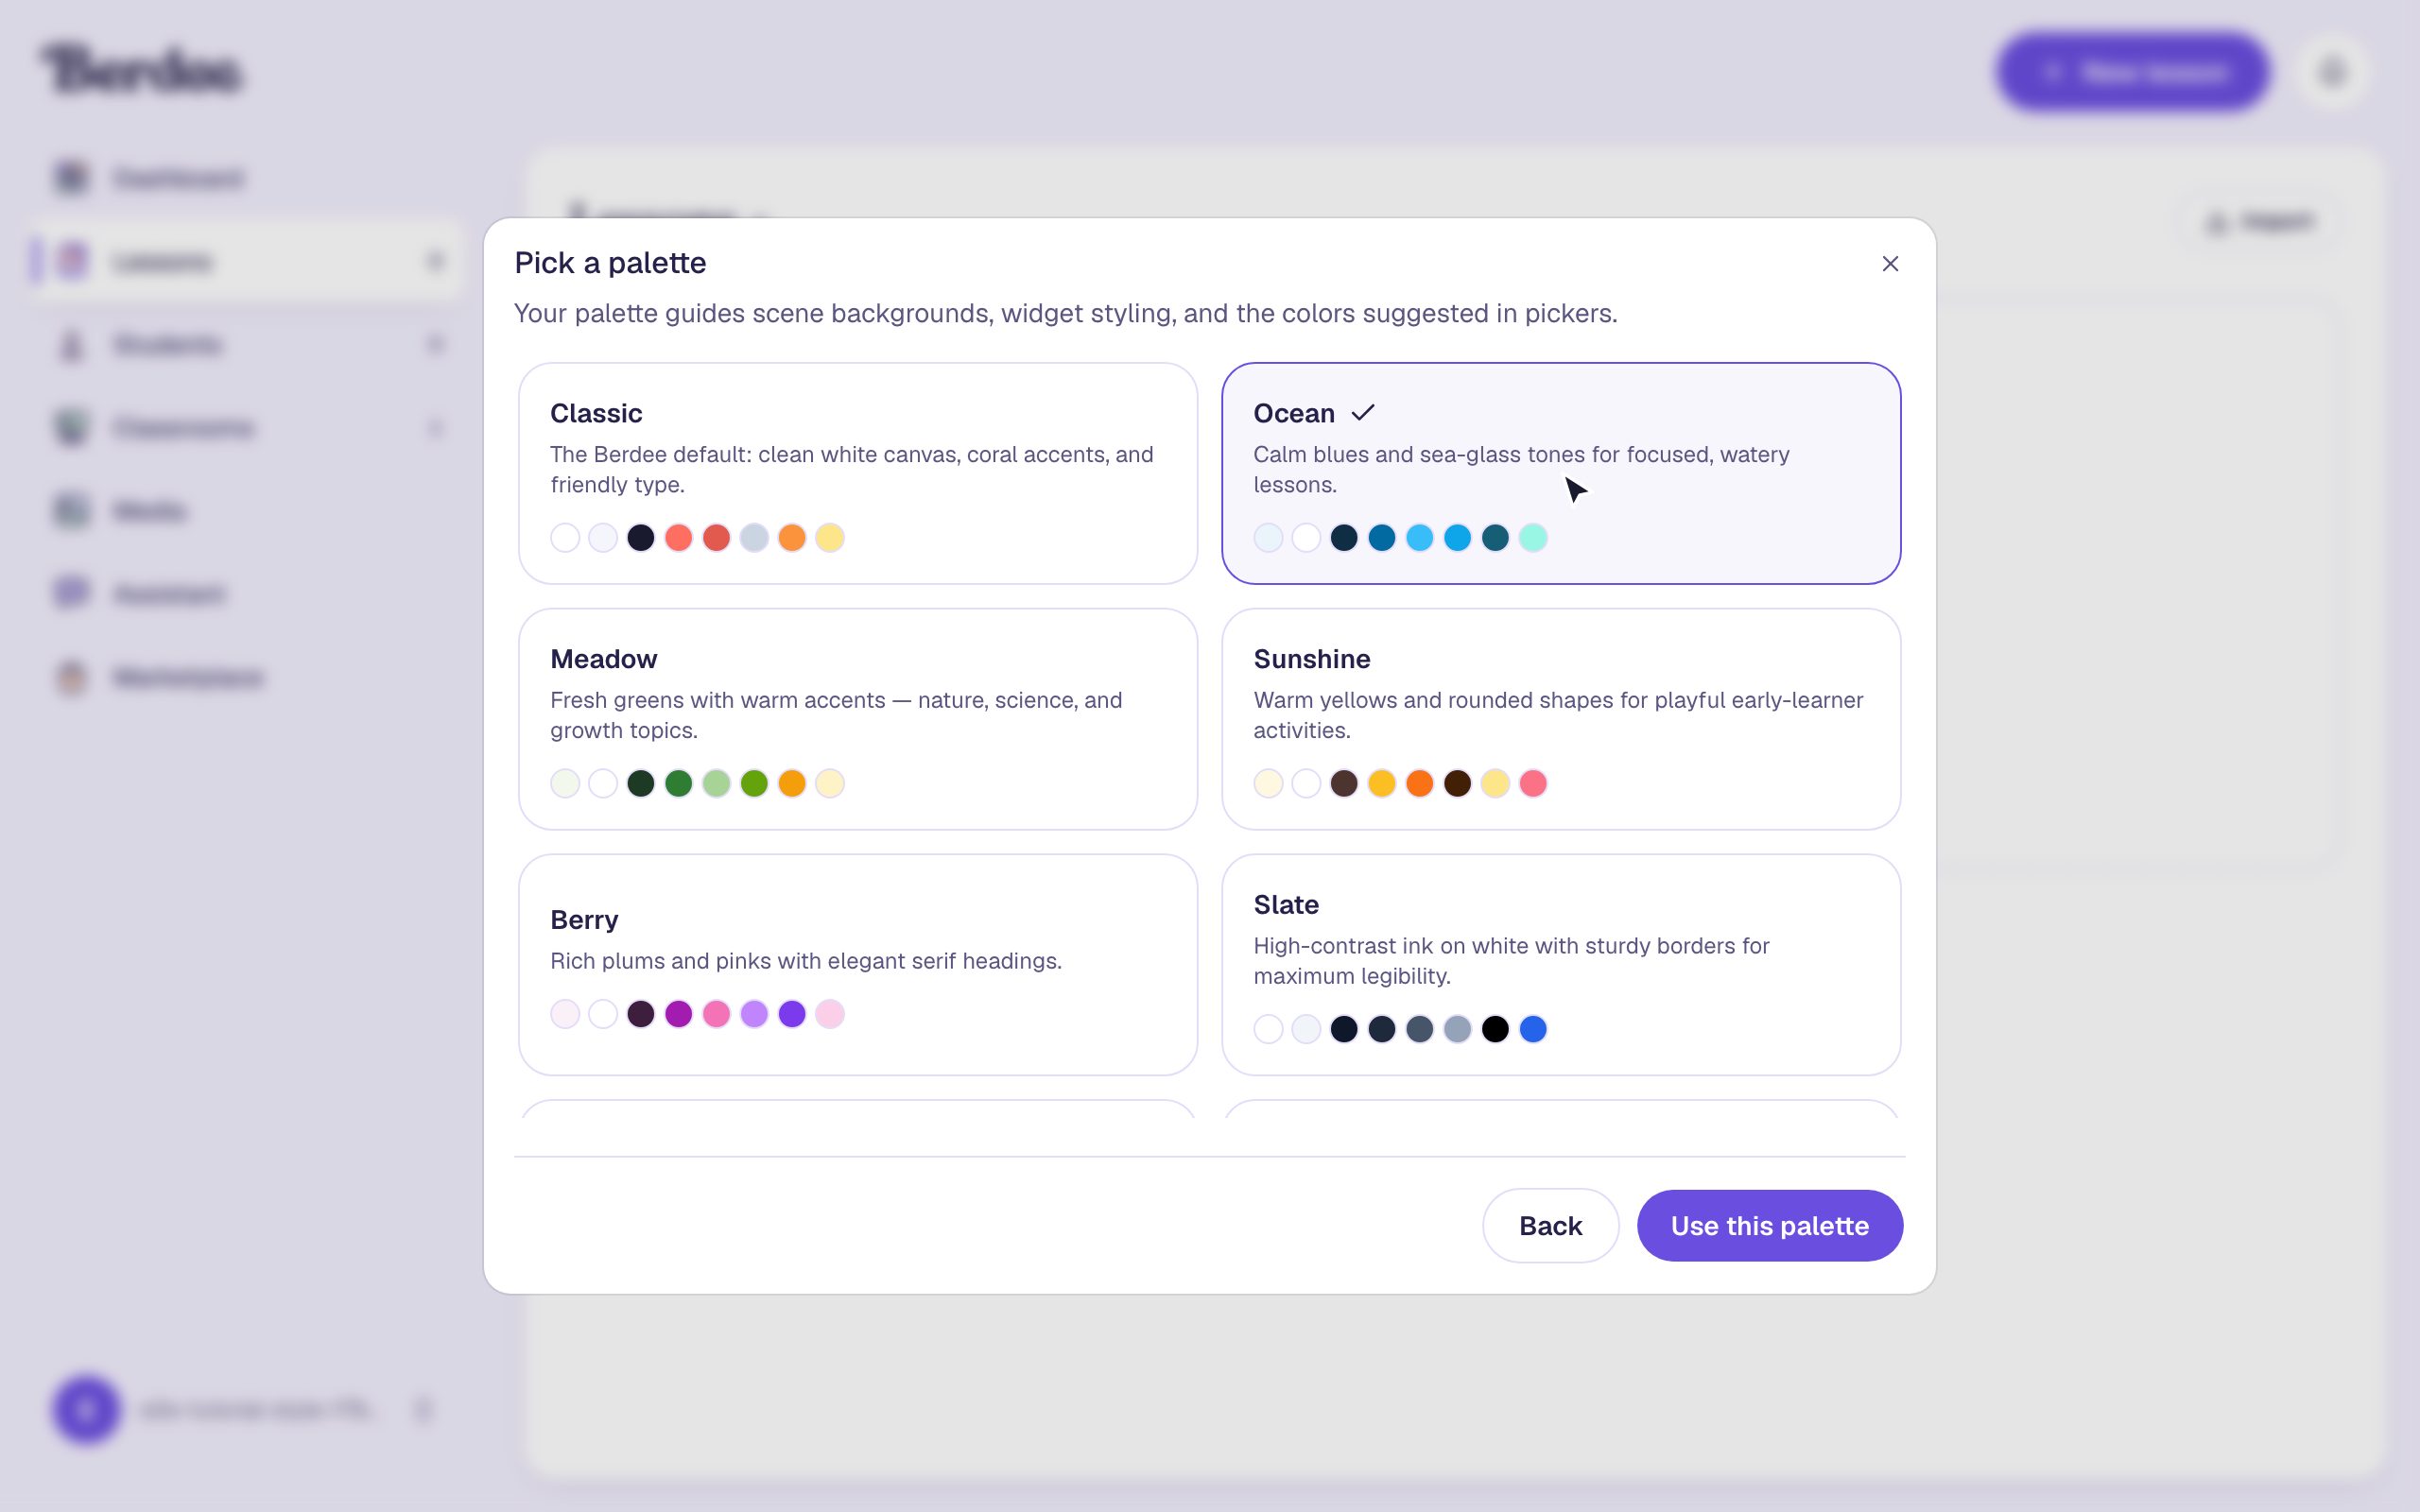
You're back in the Create a lesson window, and the link now says Ocean palette — change. Click Start from scratch.
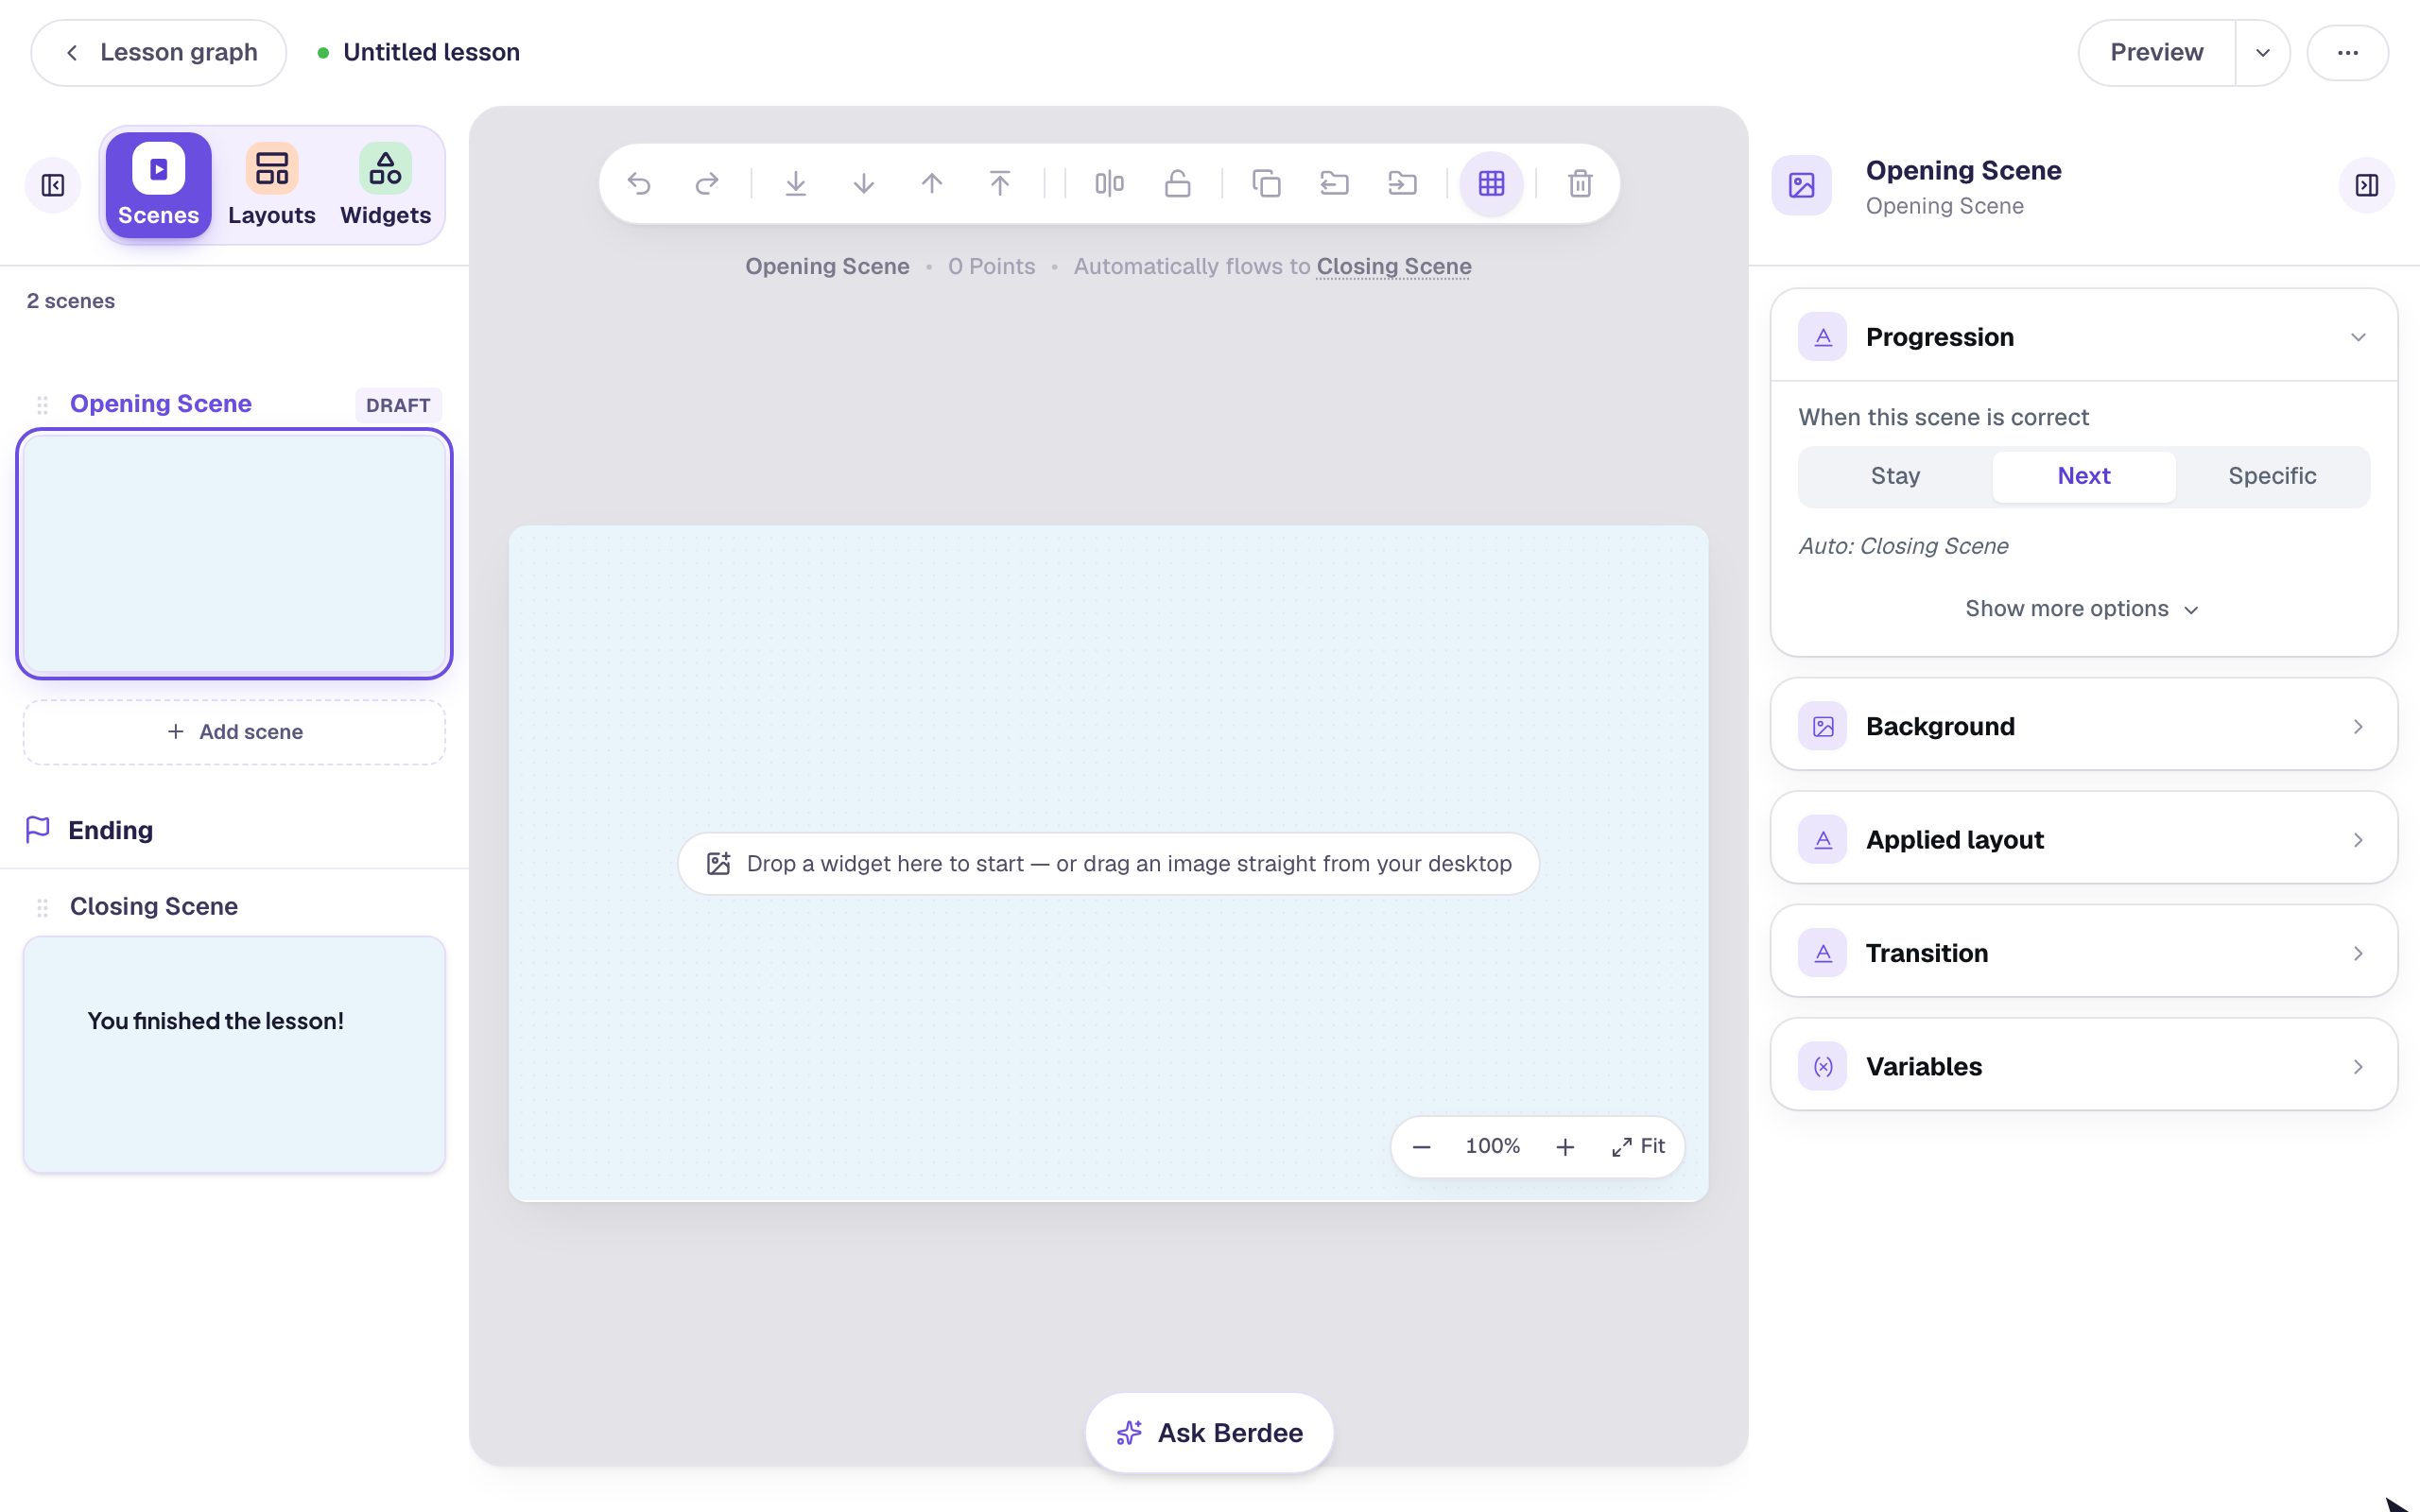
The studio opens, and the scene is already a pale sea blue. That's Ocean's background color. Every new scene you add will start with it too.
Step 2: Add a title, a line of text, and a button
- Click the Widgets tab on the left. Search for
Heading, click the Heading tile, and typeOcean Explorers. Click the gray area outside the scene to finish typing, then drag the heading near the top. - Search for
Body, click Body, and type a sentence for students, likeToday we meet the creatures of the tide pools.Drag it under the title. - Search for
Buttonand click Button. Click Configure in the small pill above it, change Label toLet's dive in, and click Save. Drag the button below the text.
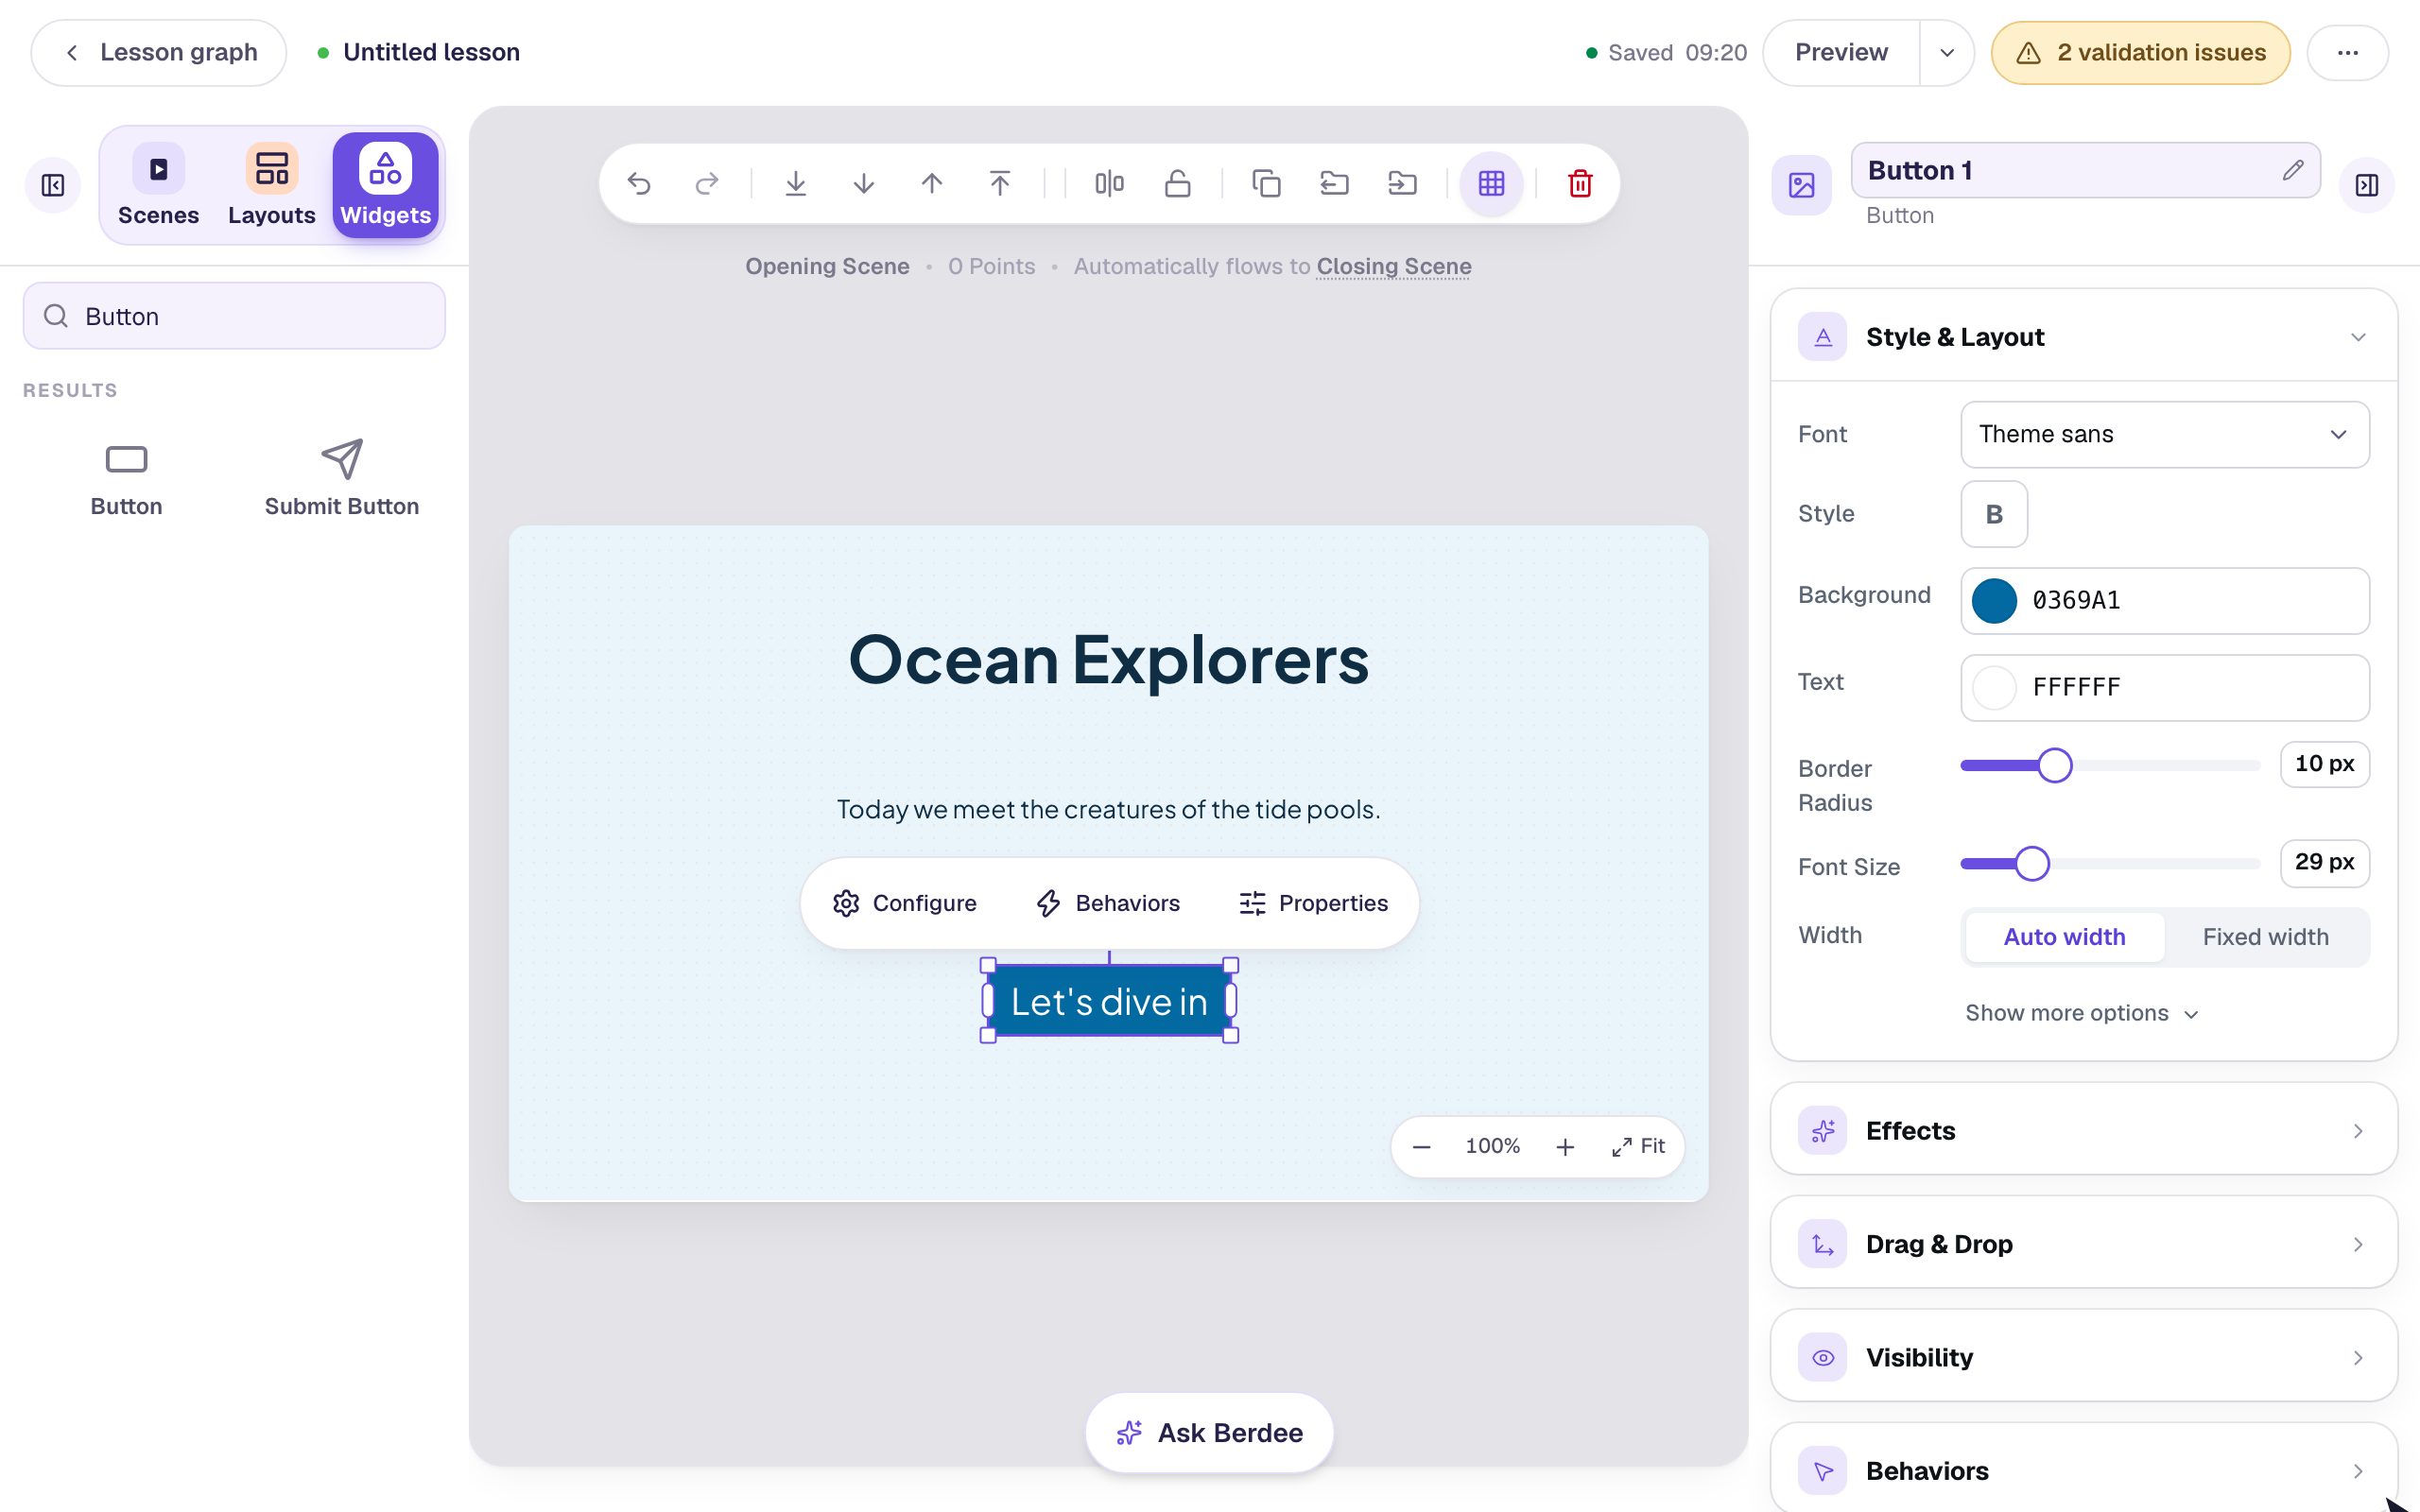
Select the button and look at Style & Layout on the right. Its Background is already Ocean blue (0369A1) with white text. You didn't choose that: the palette did. The title and text came in Ocean's dark navy, in the palette's font.
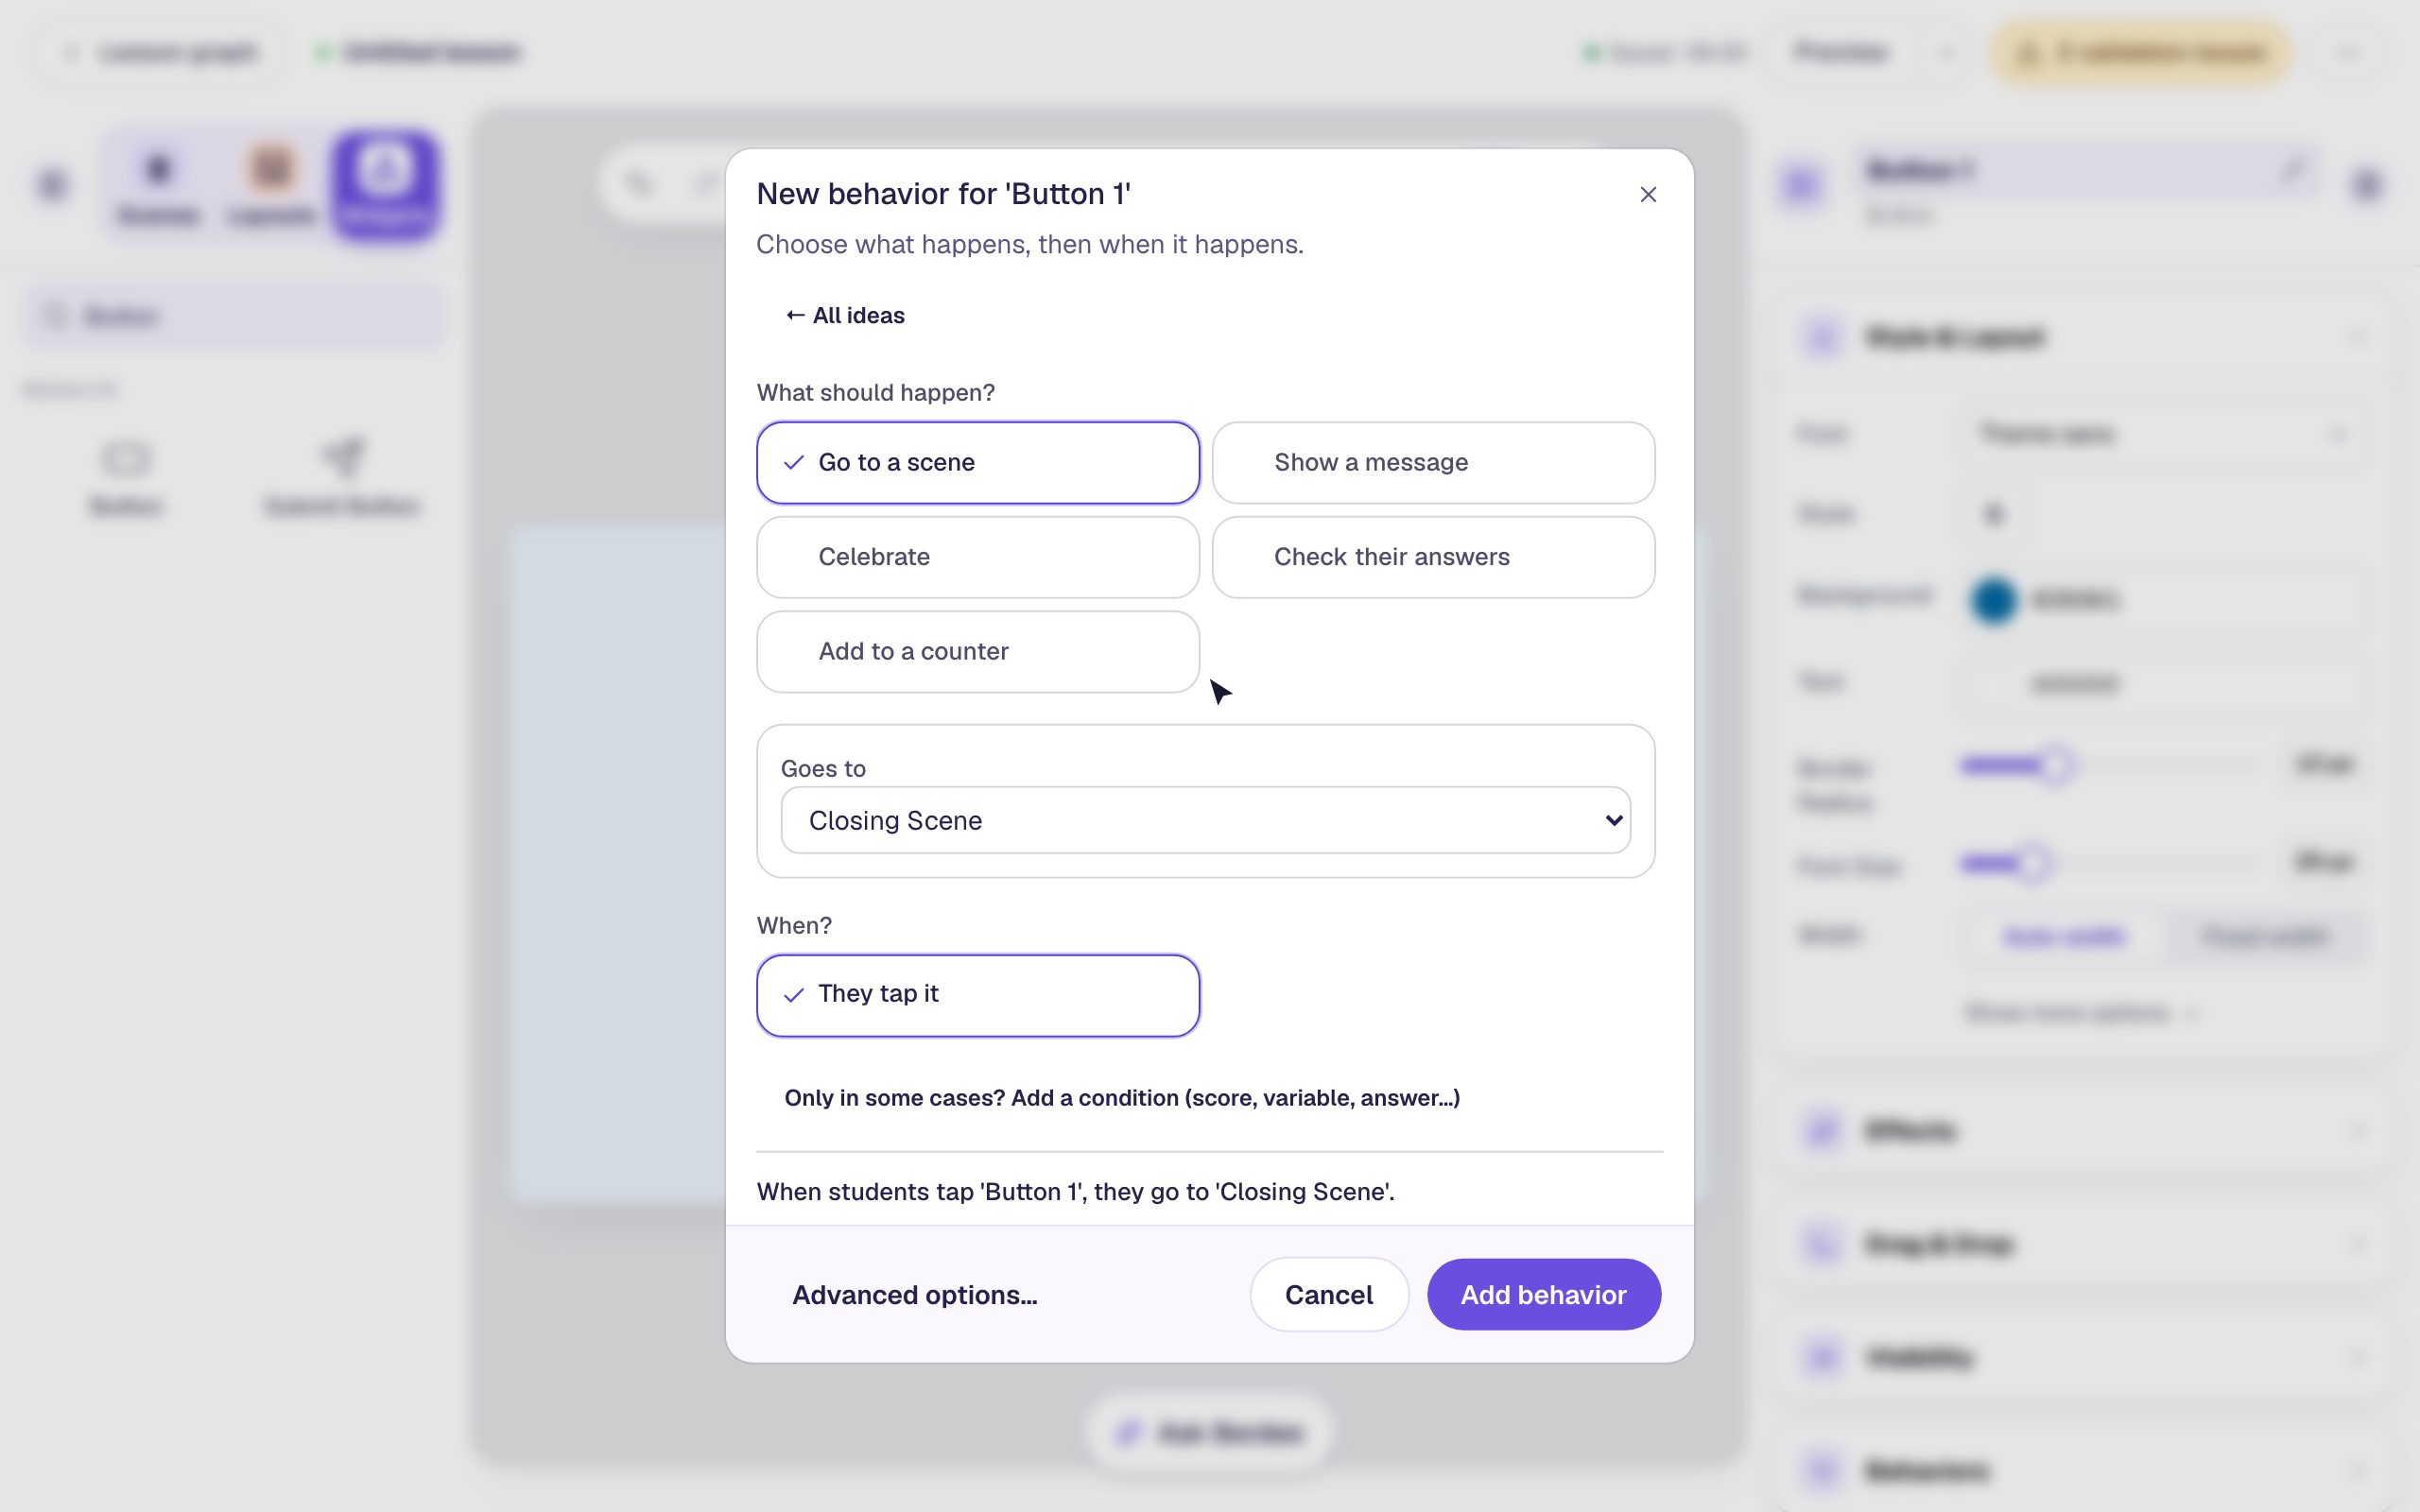
Now make the button do something. Click Behaviors in the pill above it, then Make this a "Next" button. The window fills itself in: Go to a scene, Goes to: Closing Scene, When: They tap it. Click Add behavior.
Step 3: Add a creative background
A creative background is a picture Berdee draws for you, with nothing to find or upload.
Click an empty part of the gray area around the scene, so the scene itself is selected. On the right, open Background and click Choose a style under Creative background. Here's the whole step:
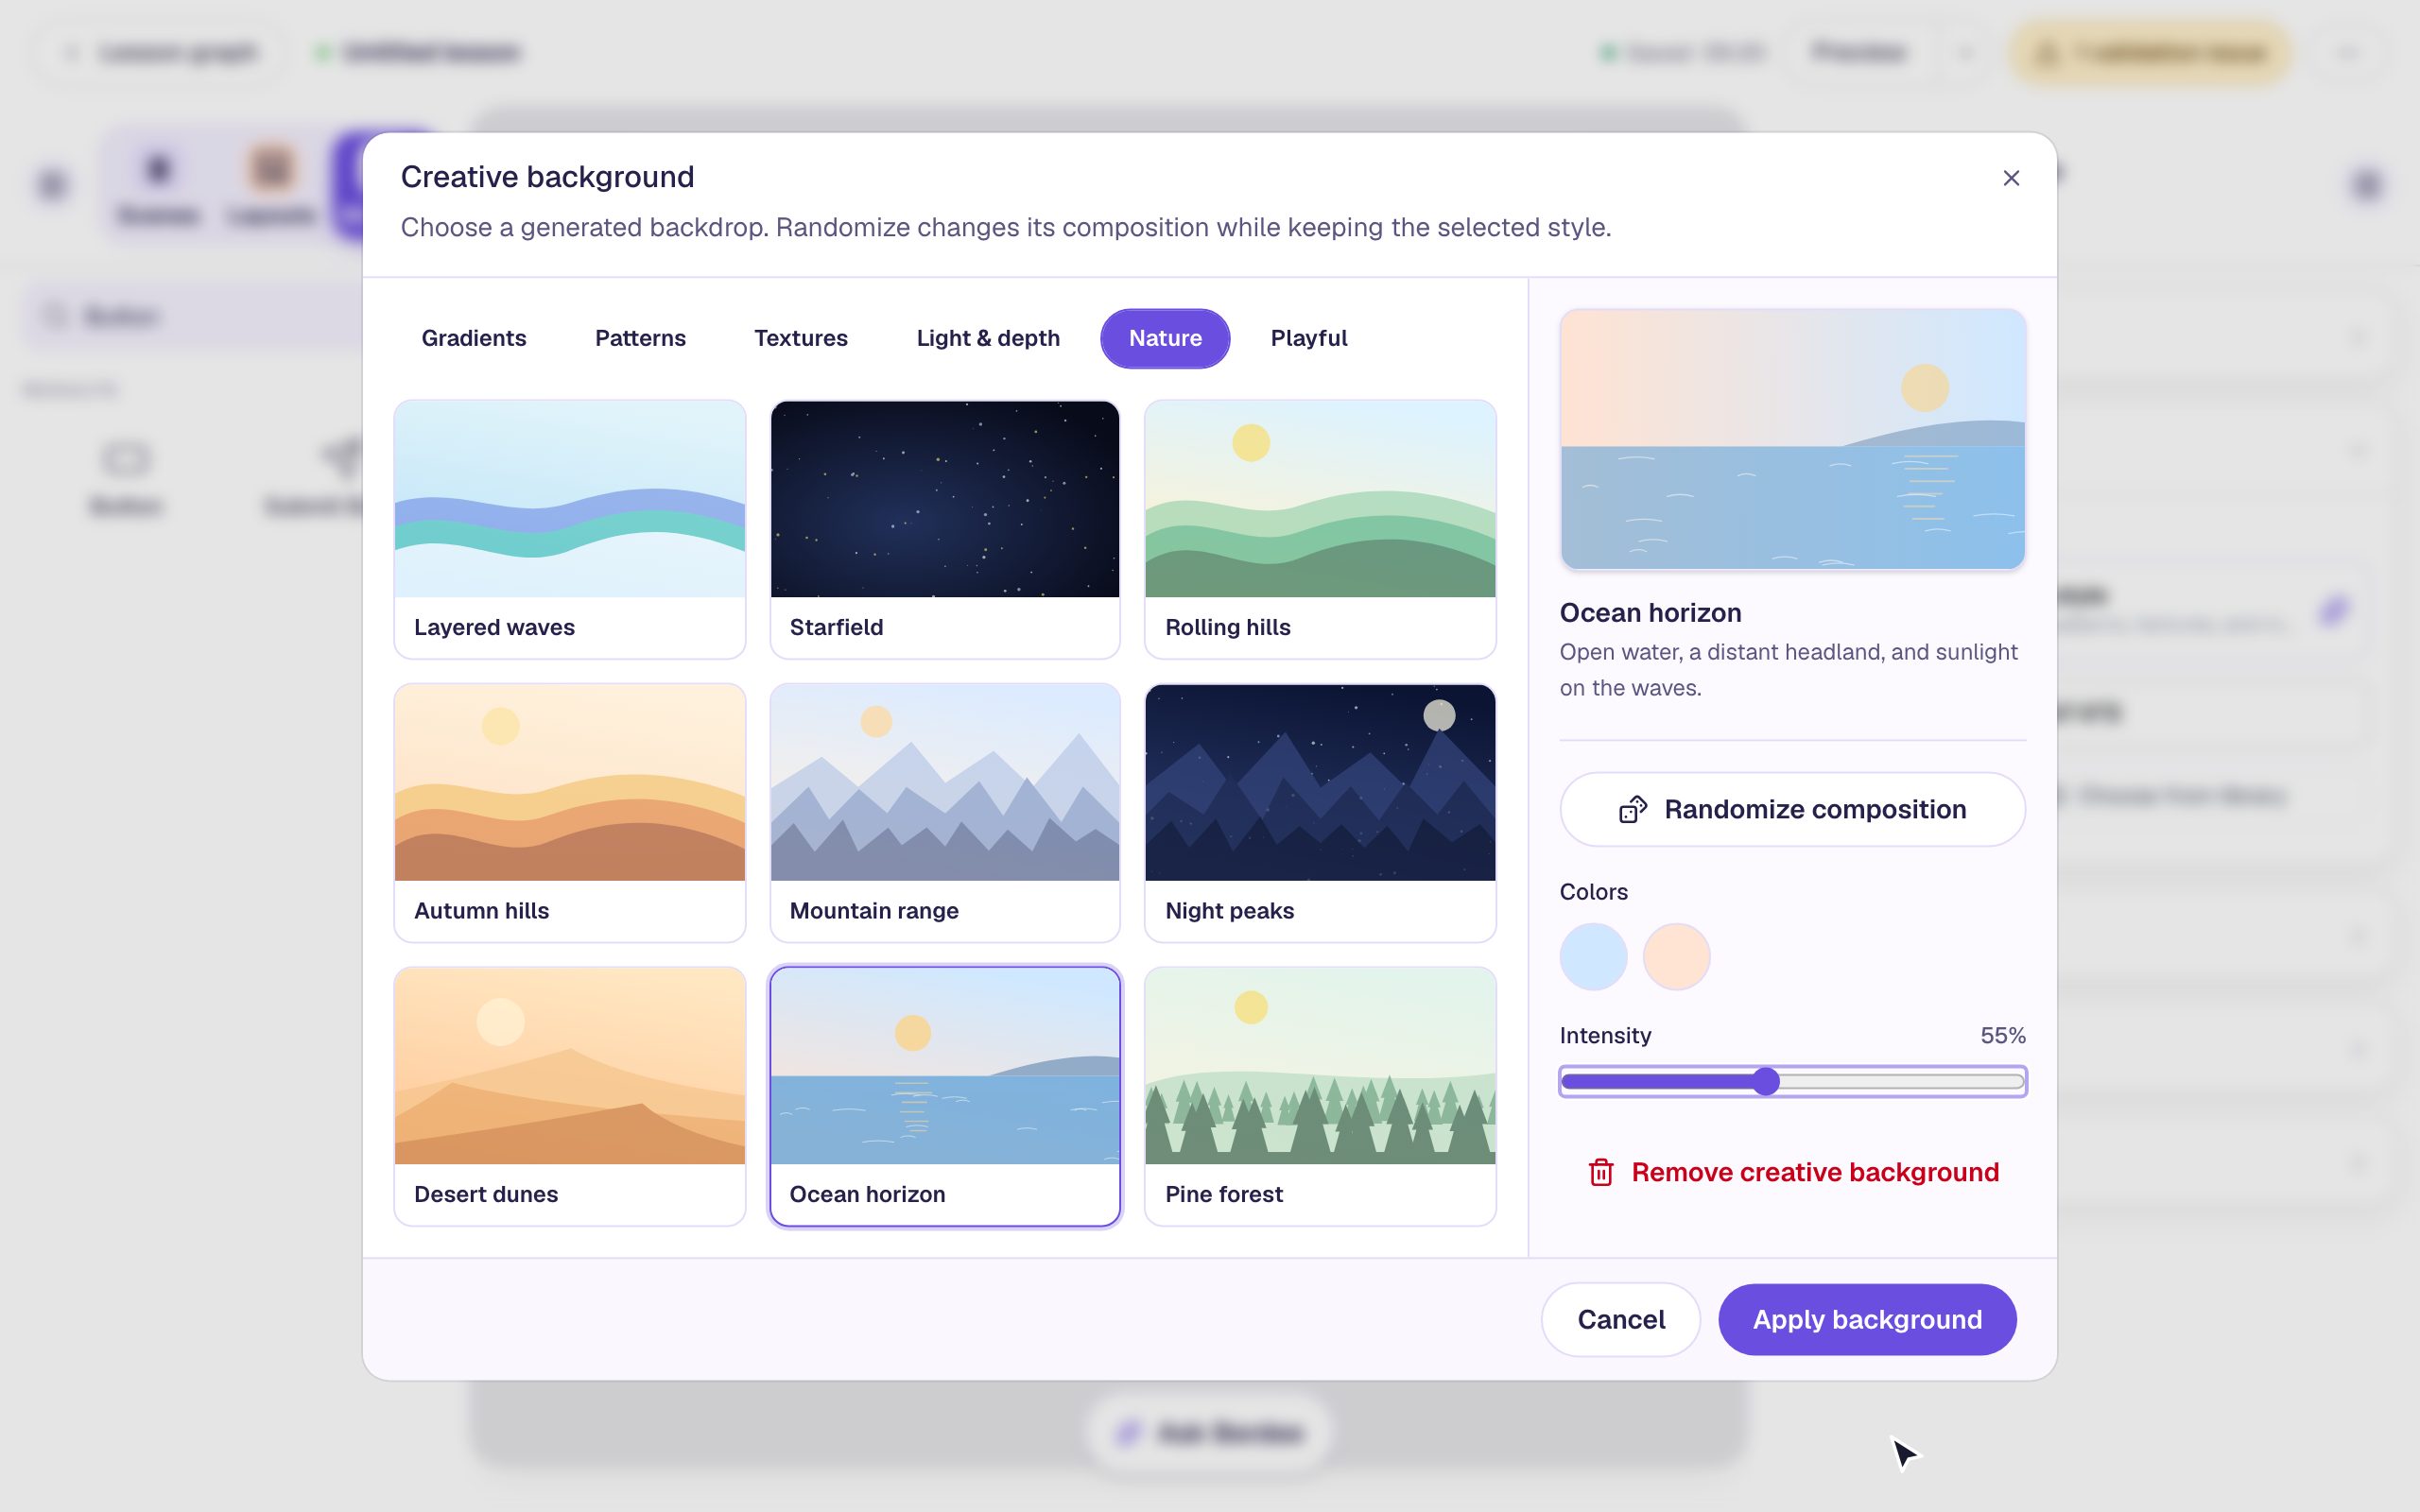
- Click the Nature tab and choose Ocean horizon.
- Click Randomize composition to rearrange it. Each click moves the sun, the headland, and the waves but keeps the colors. Keep clicking until the sun isn't behind your title or your sentence.
- Drag Intensity down to about 55%. That makes the drawing calmer, so it doesn't compete with your words.
- Click Apply background.
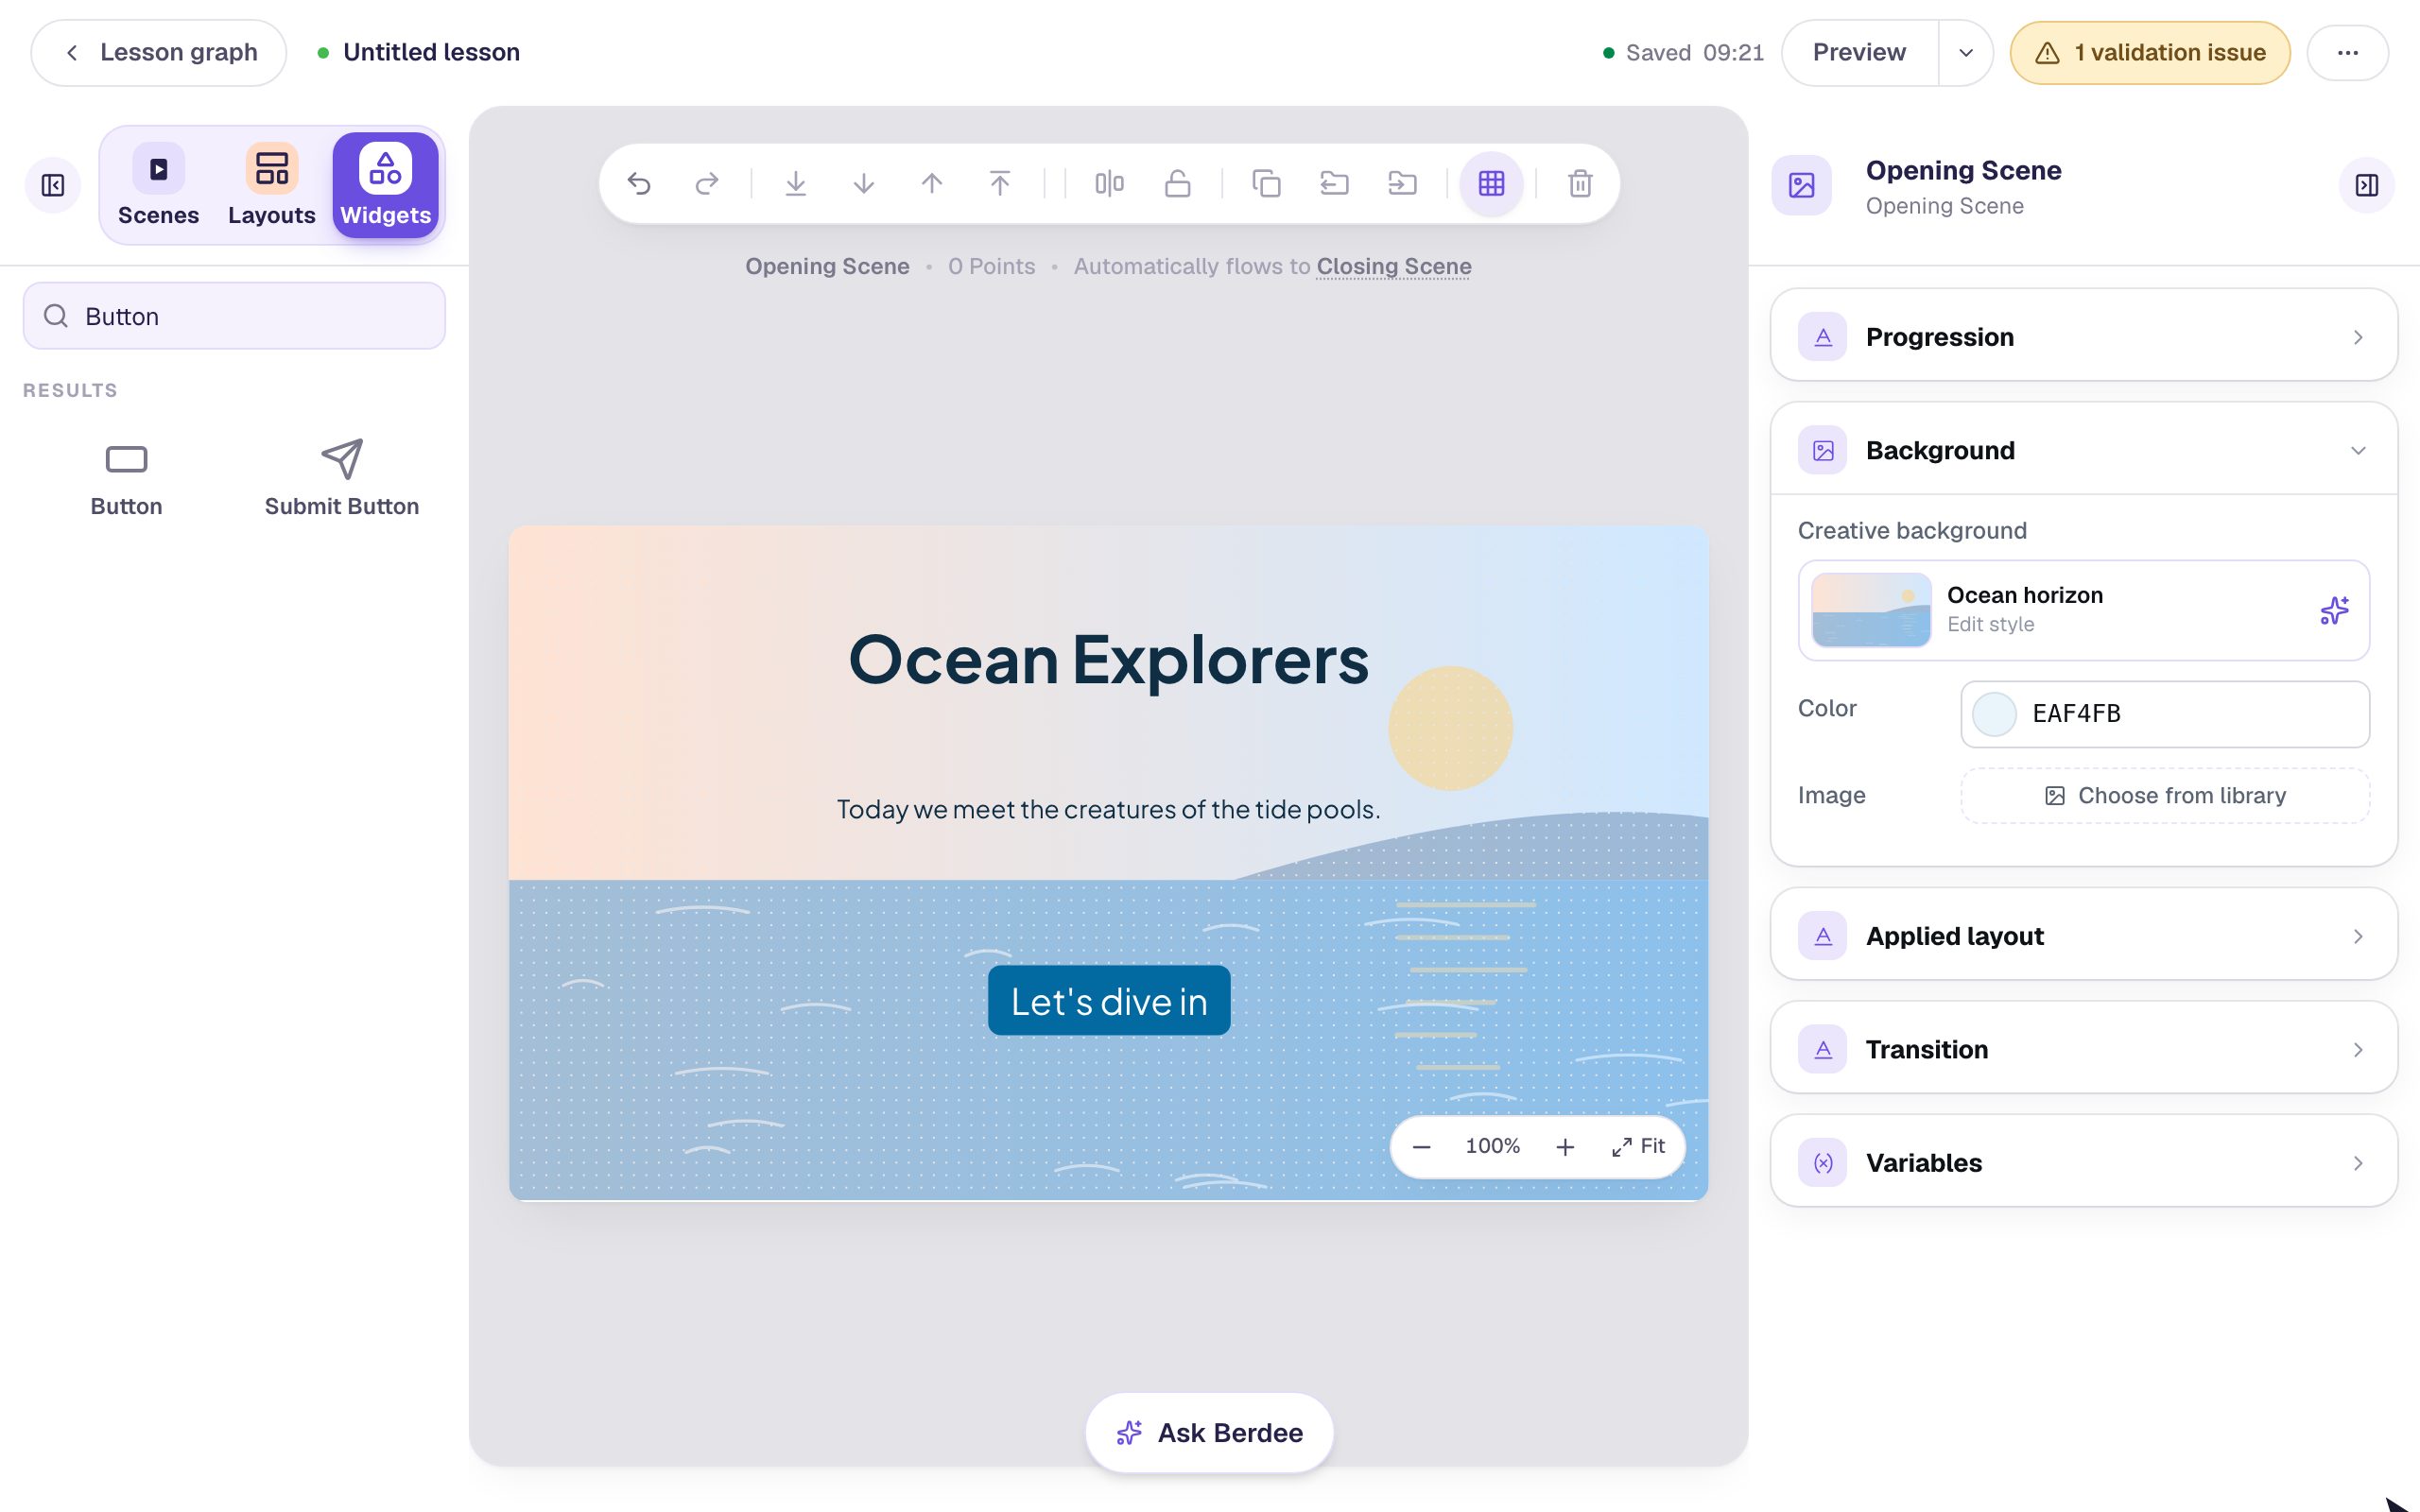
The arrangement you chose is saved with the lesson, so every student sees this exact picture.
Step 4: Make the button stand out
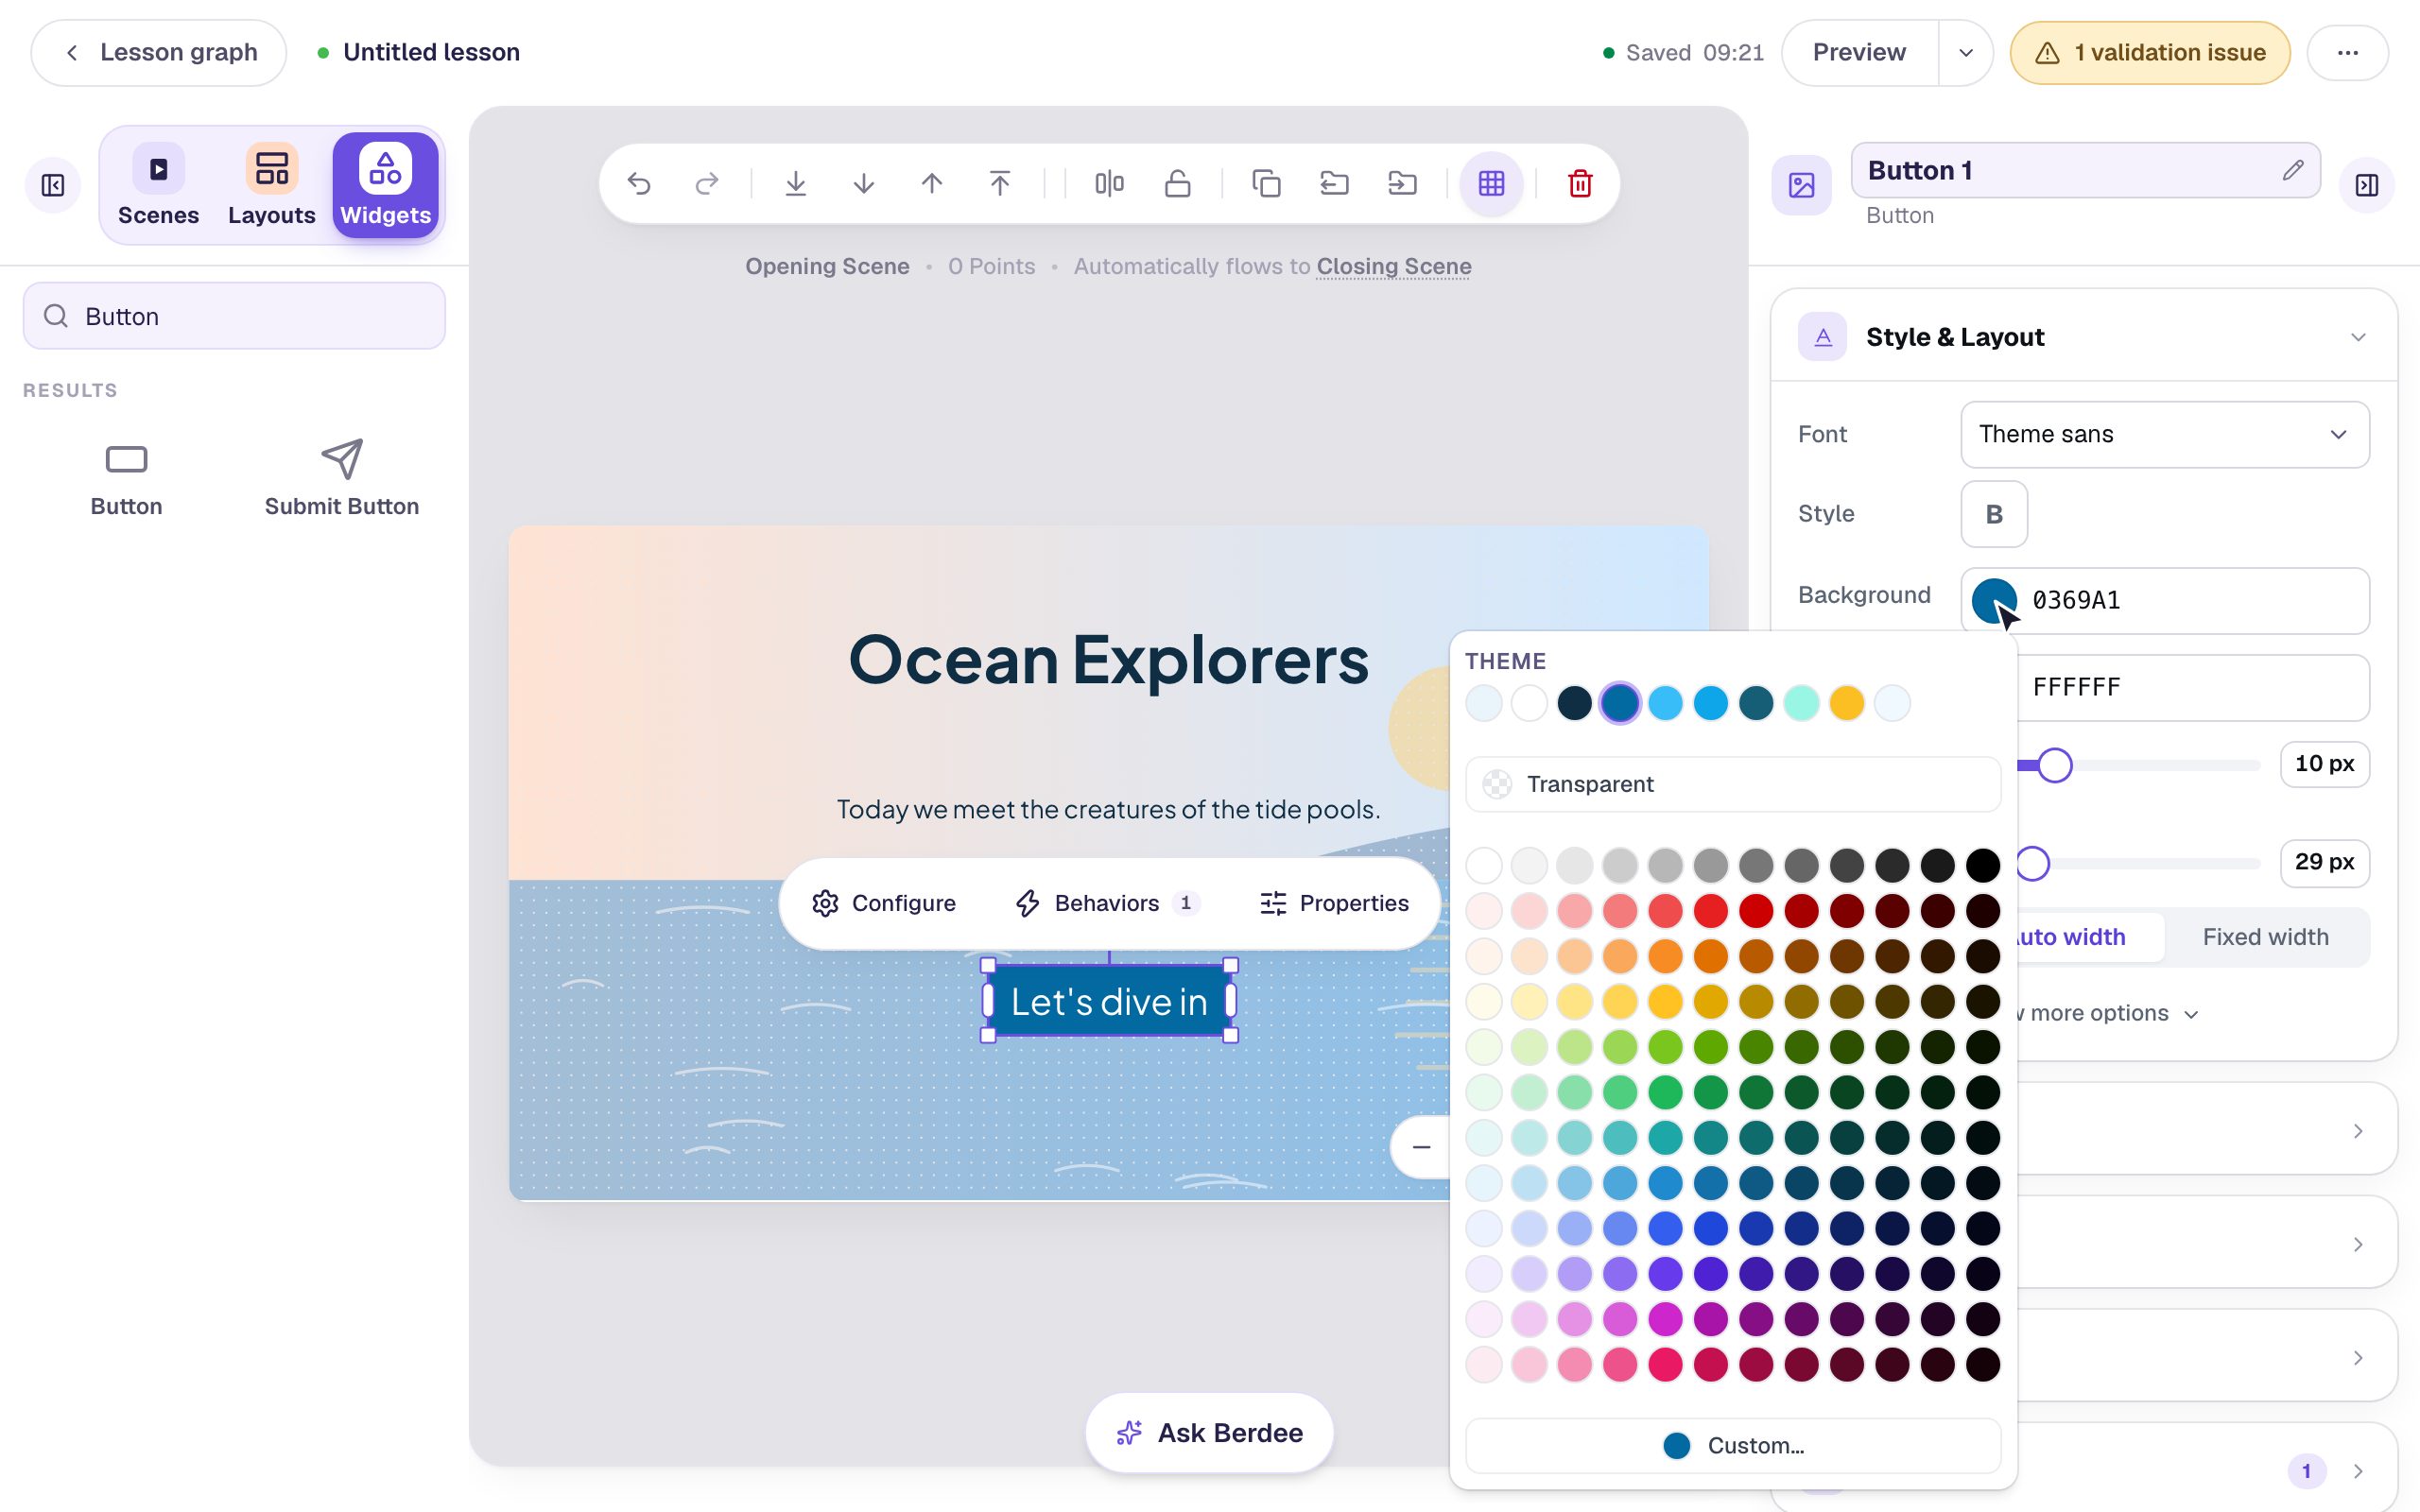
The blue button now sits on blue water, so it's easy to miss. Change its color, but stay inside the palette.
- Click the button. In Style & Layout, click the Background color.
- The top row, Theme, holds Ocean's own colors. Click the amber one, the second from the right.
White text is hard to read on amber, so fix that too:
- Click the Text color just below it and choose the dark navy in the Theme row, the third from the left.
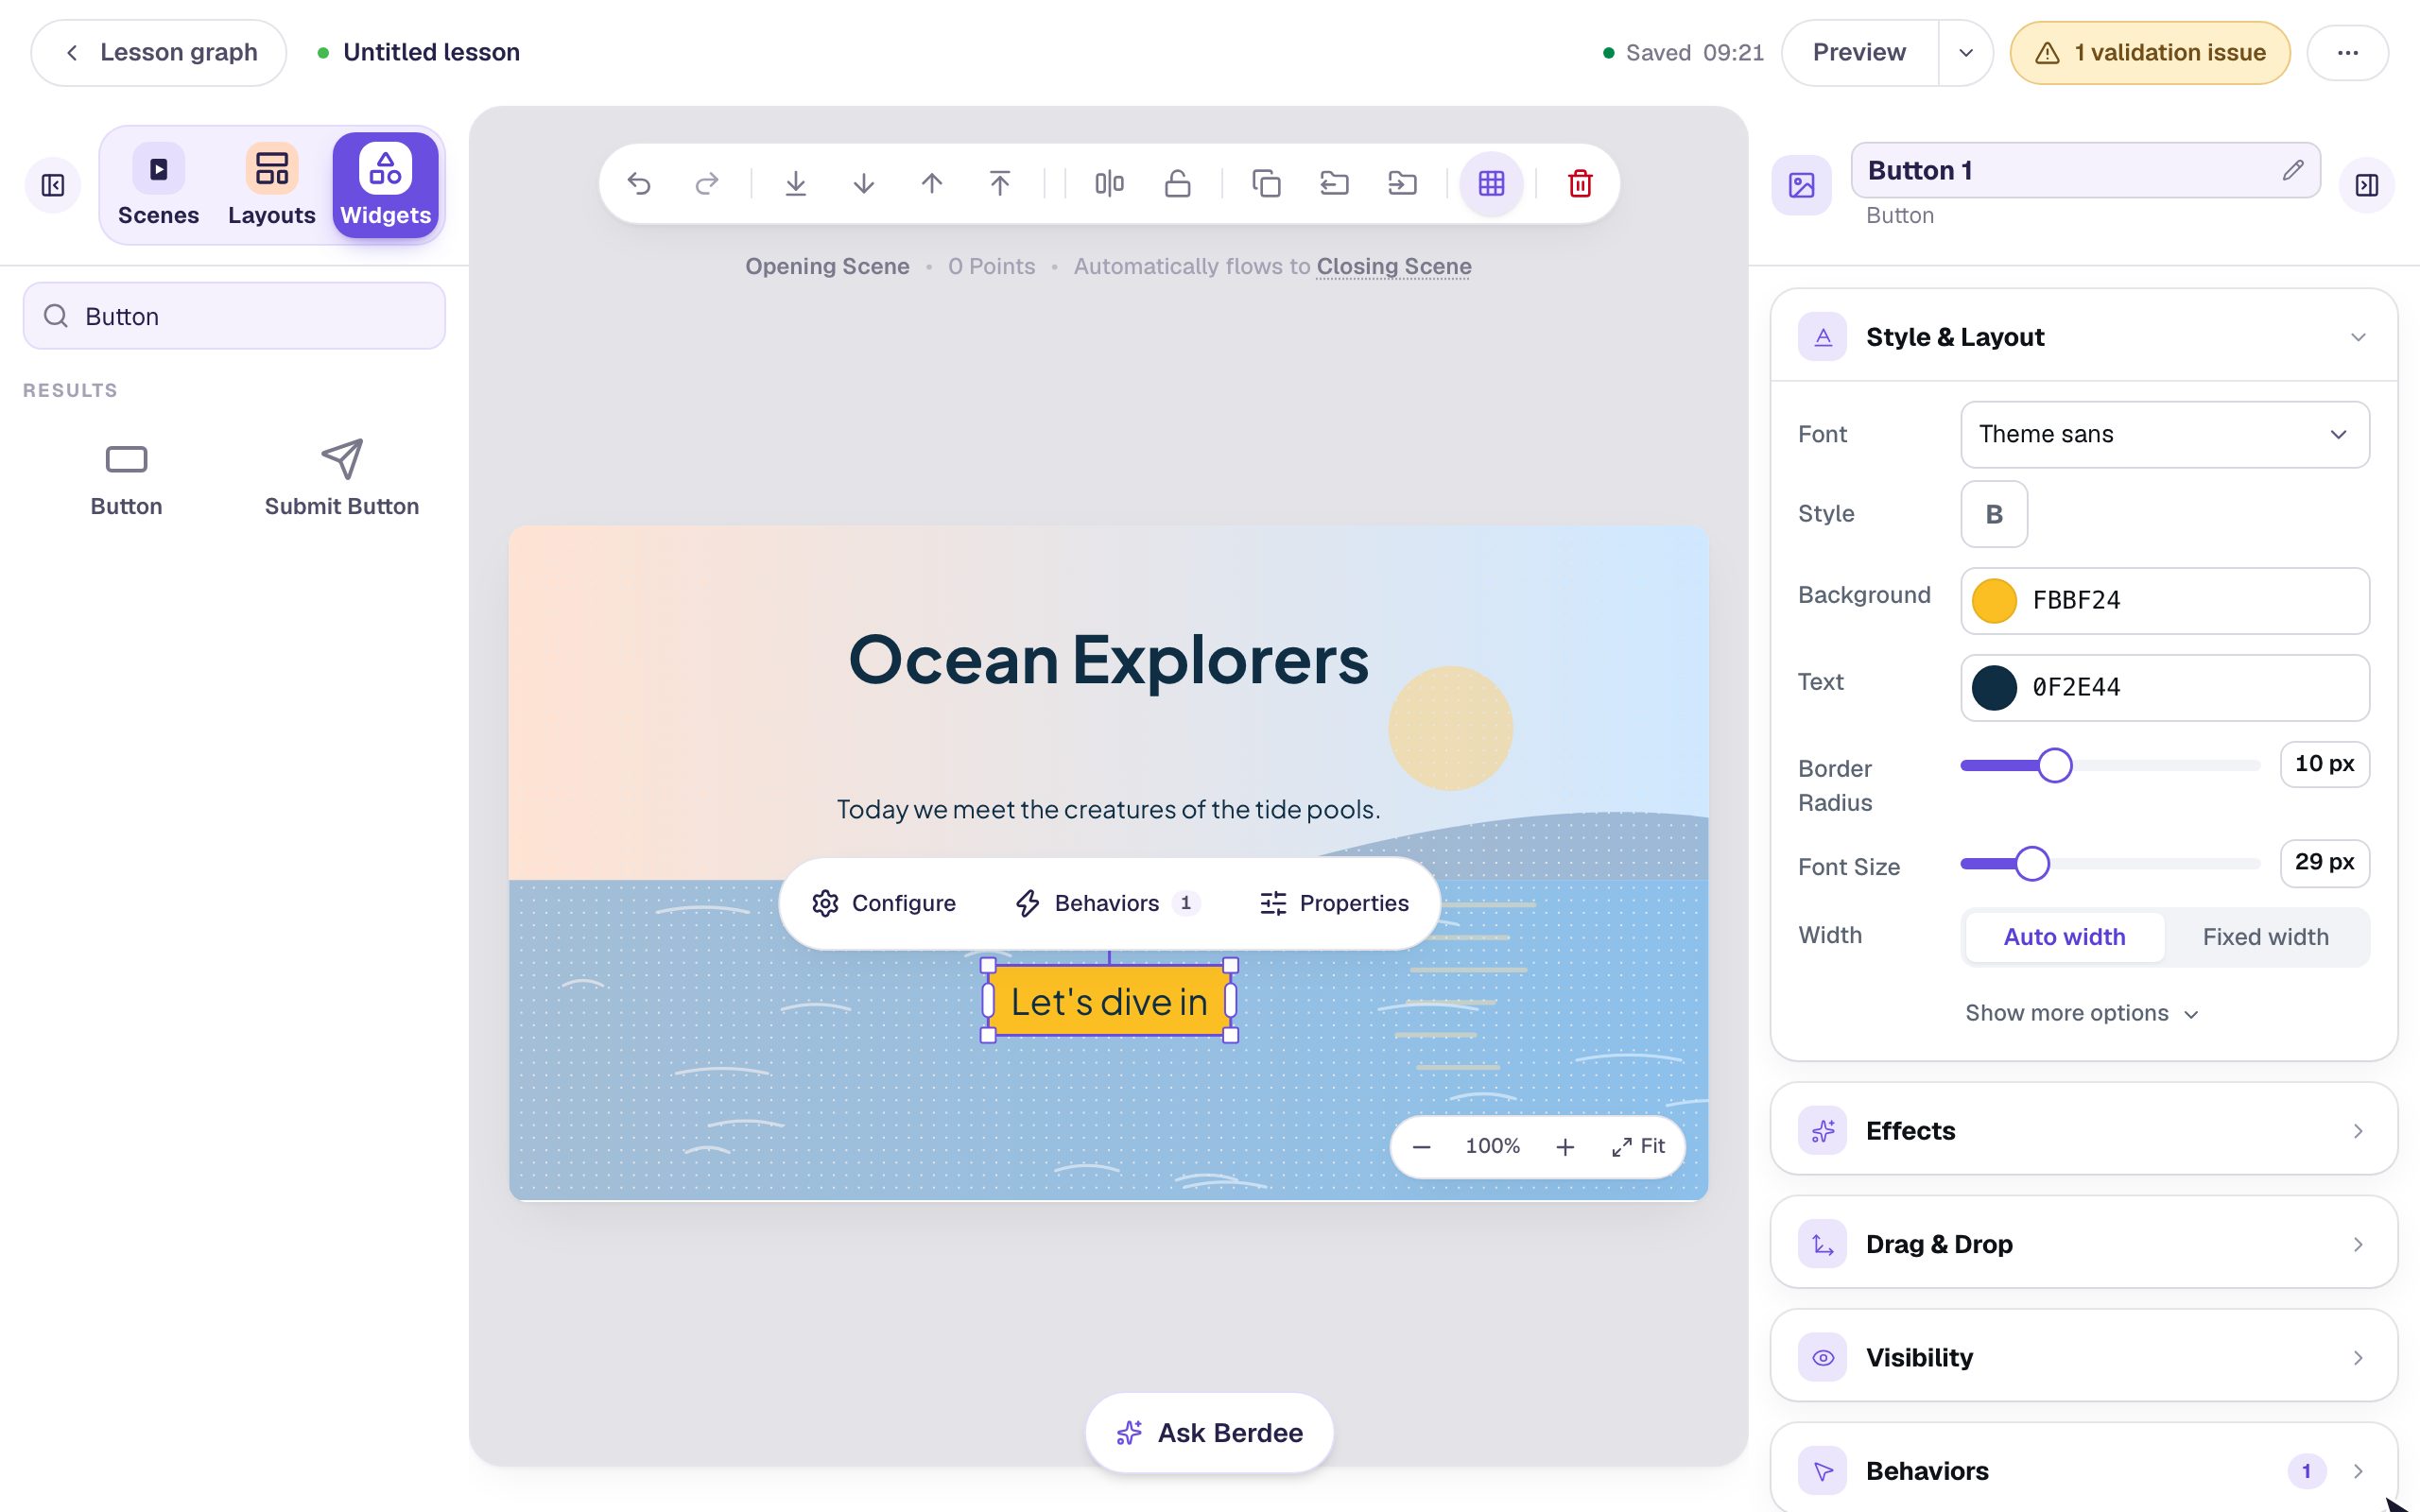
Light text on a light button is the most common readability problem on a title scene. If you can't read a button comfortably from across the room, change its text color, not just its background.
Step 5: Give the title a font and an entrance
Click the title. In Style & Layout:
- Click Font, type
Fredoka, and pick it. It's in the Fun group: rounded, bold, and still easy to read. - Scroll down to Text effects and set Entrance effect to Animate in. It fades the title in word by word when the scene opens.
- Click Preview effect to watch it again.
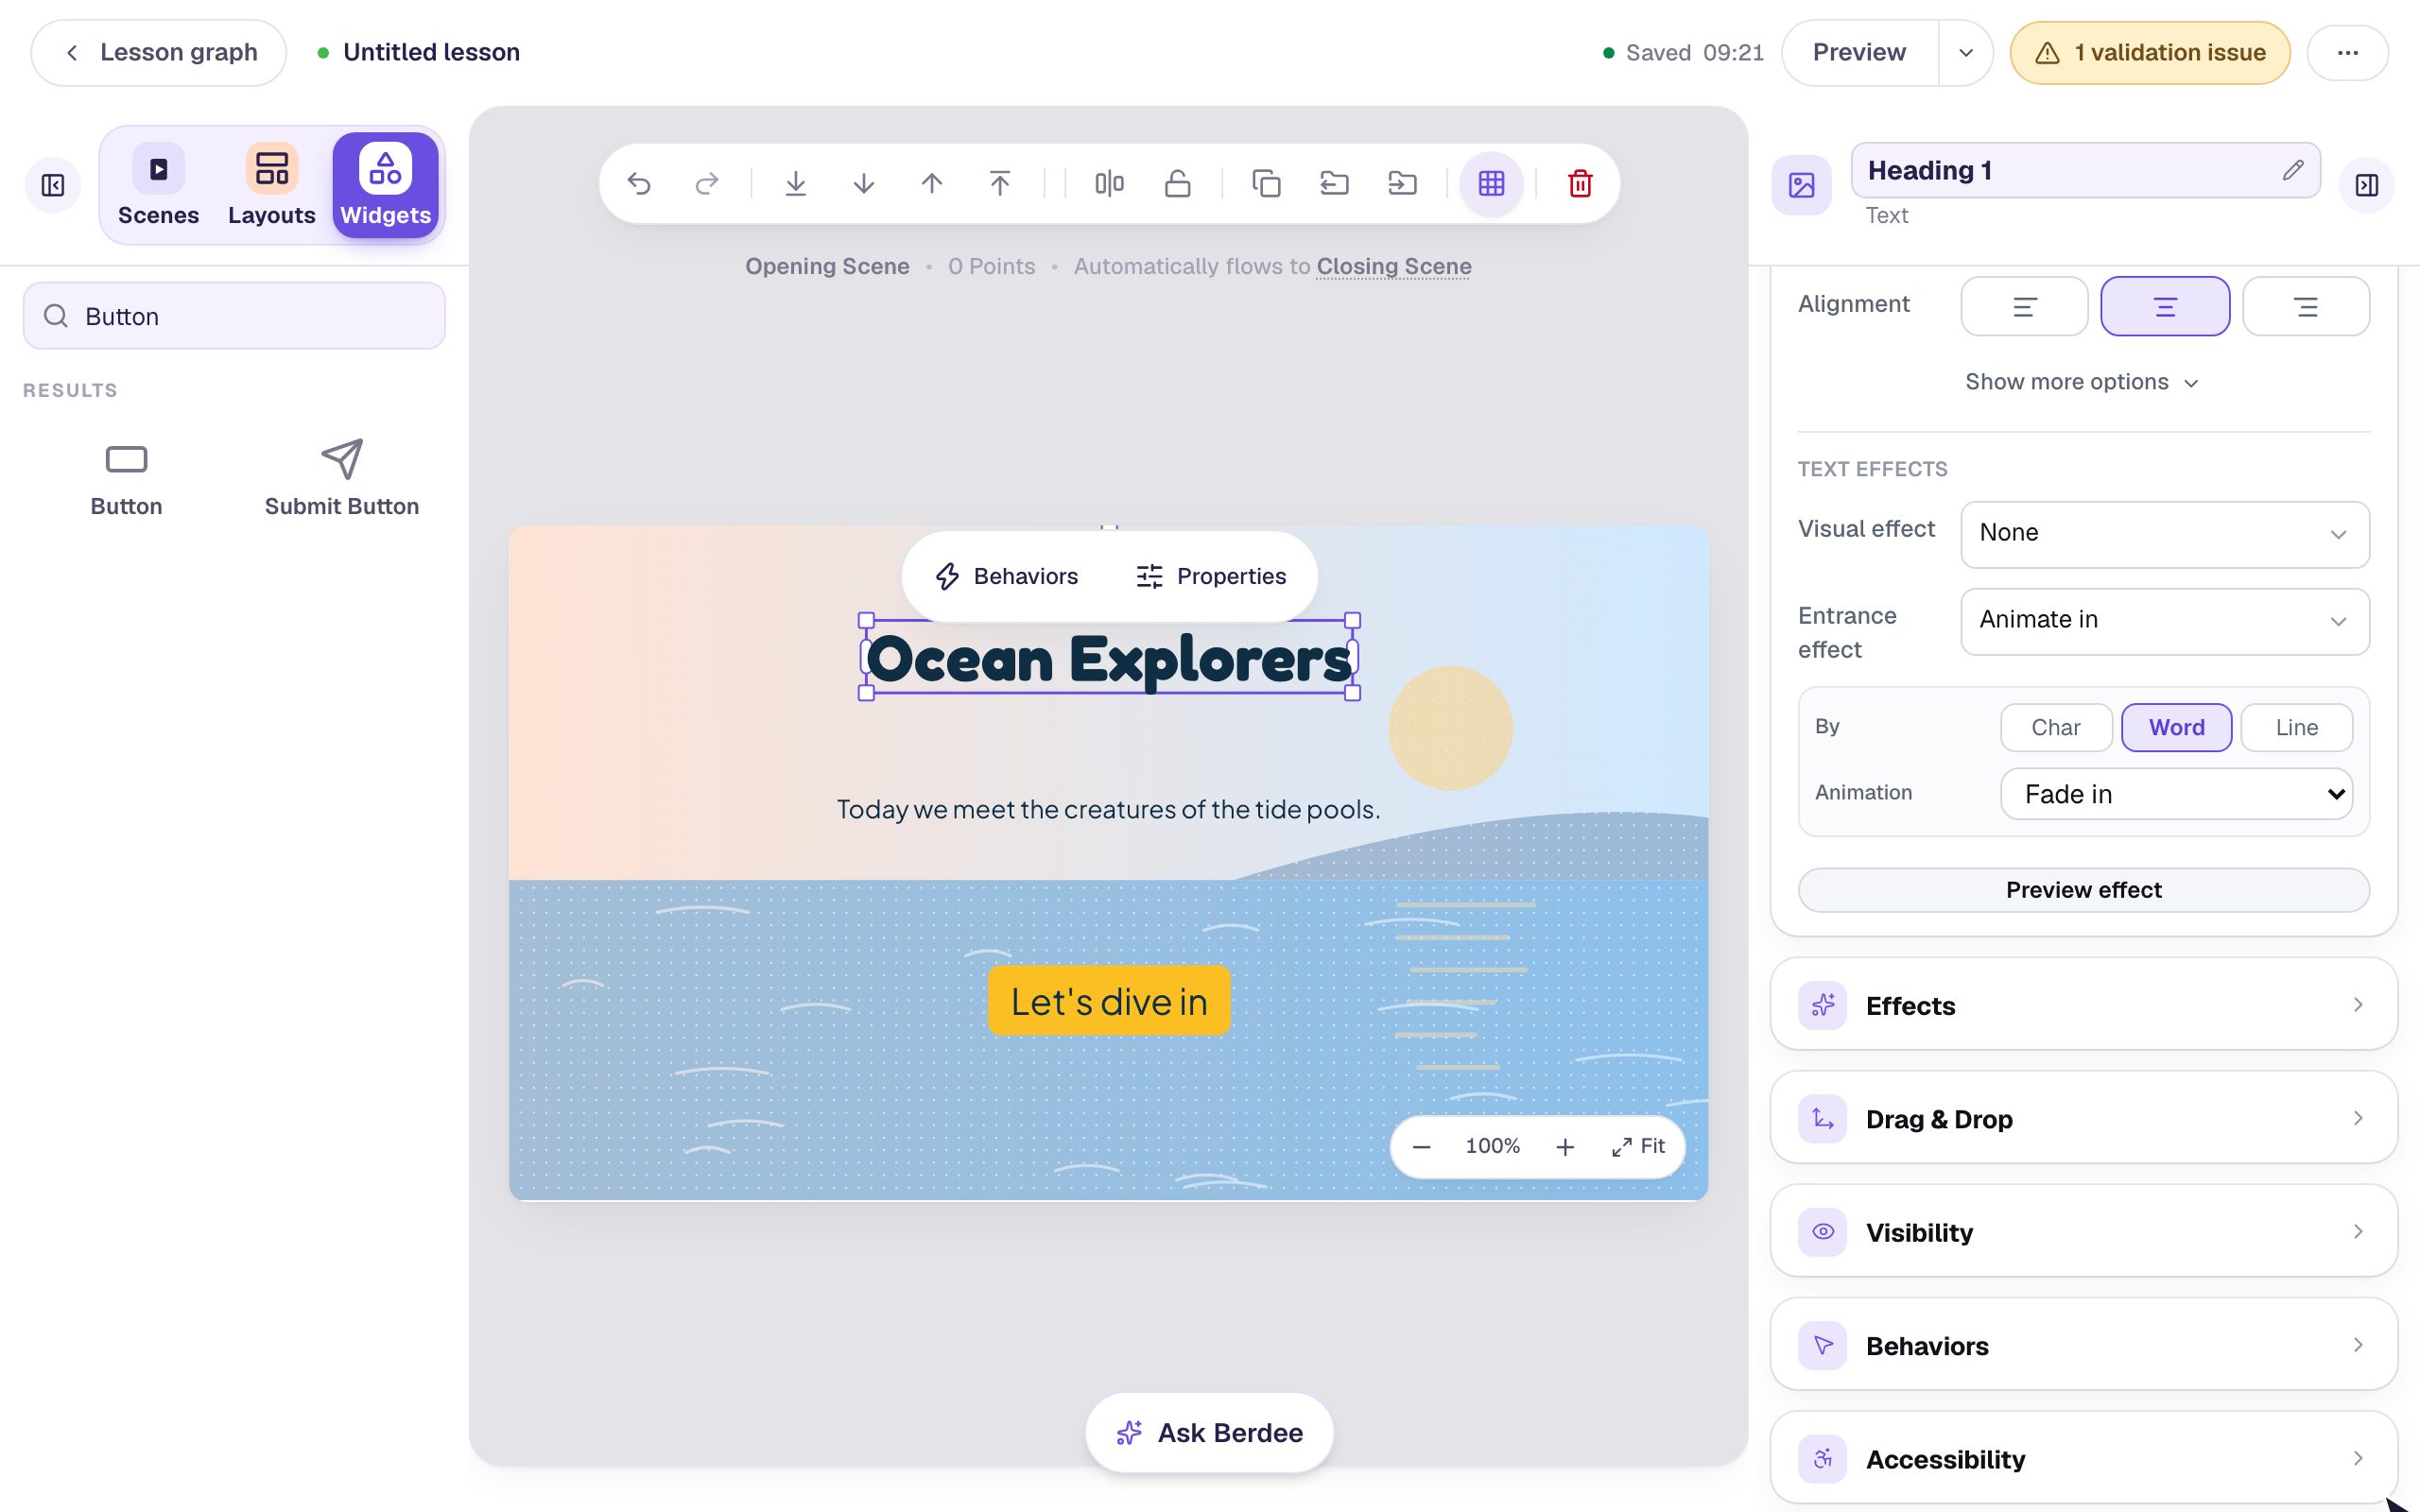
Keep your fun fonts for titles. The sentence underneath stays in the palette's font, which is easier to read in a paragraph. And an entrance plays once, so it won't distract students after the scene opens. Students who have Reduce motion turned on see the title without the animation.
Step 6: Name the lesson
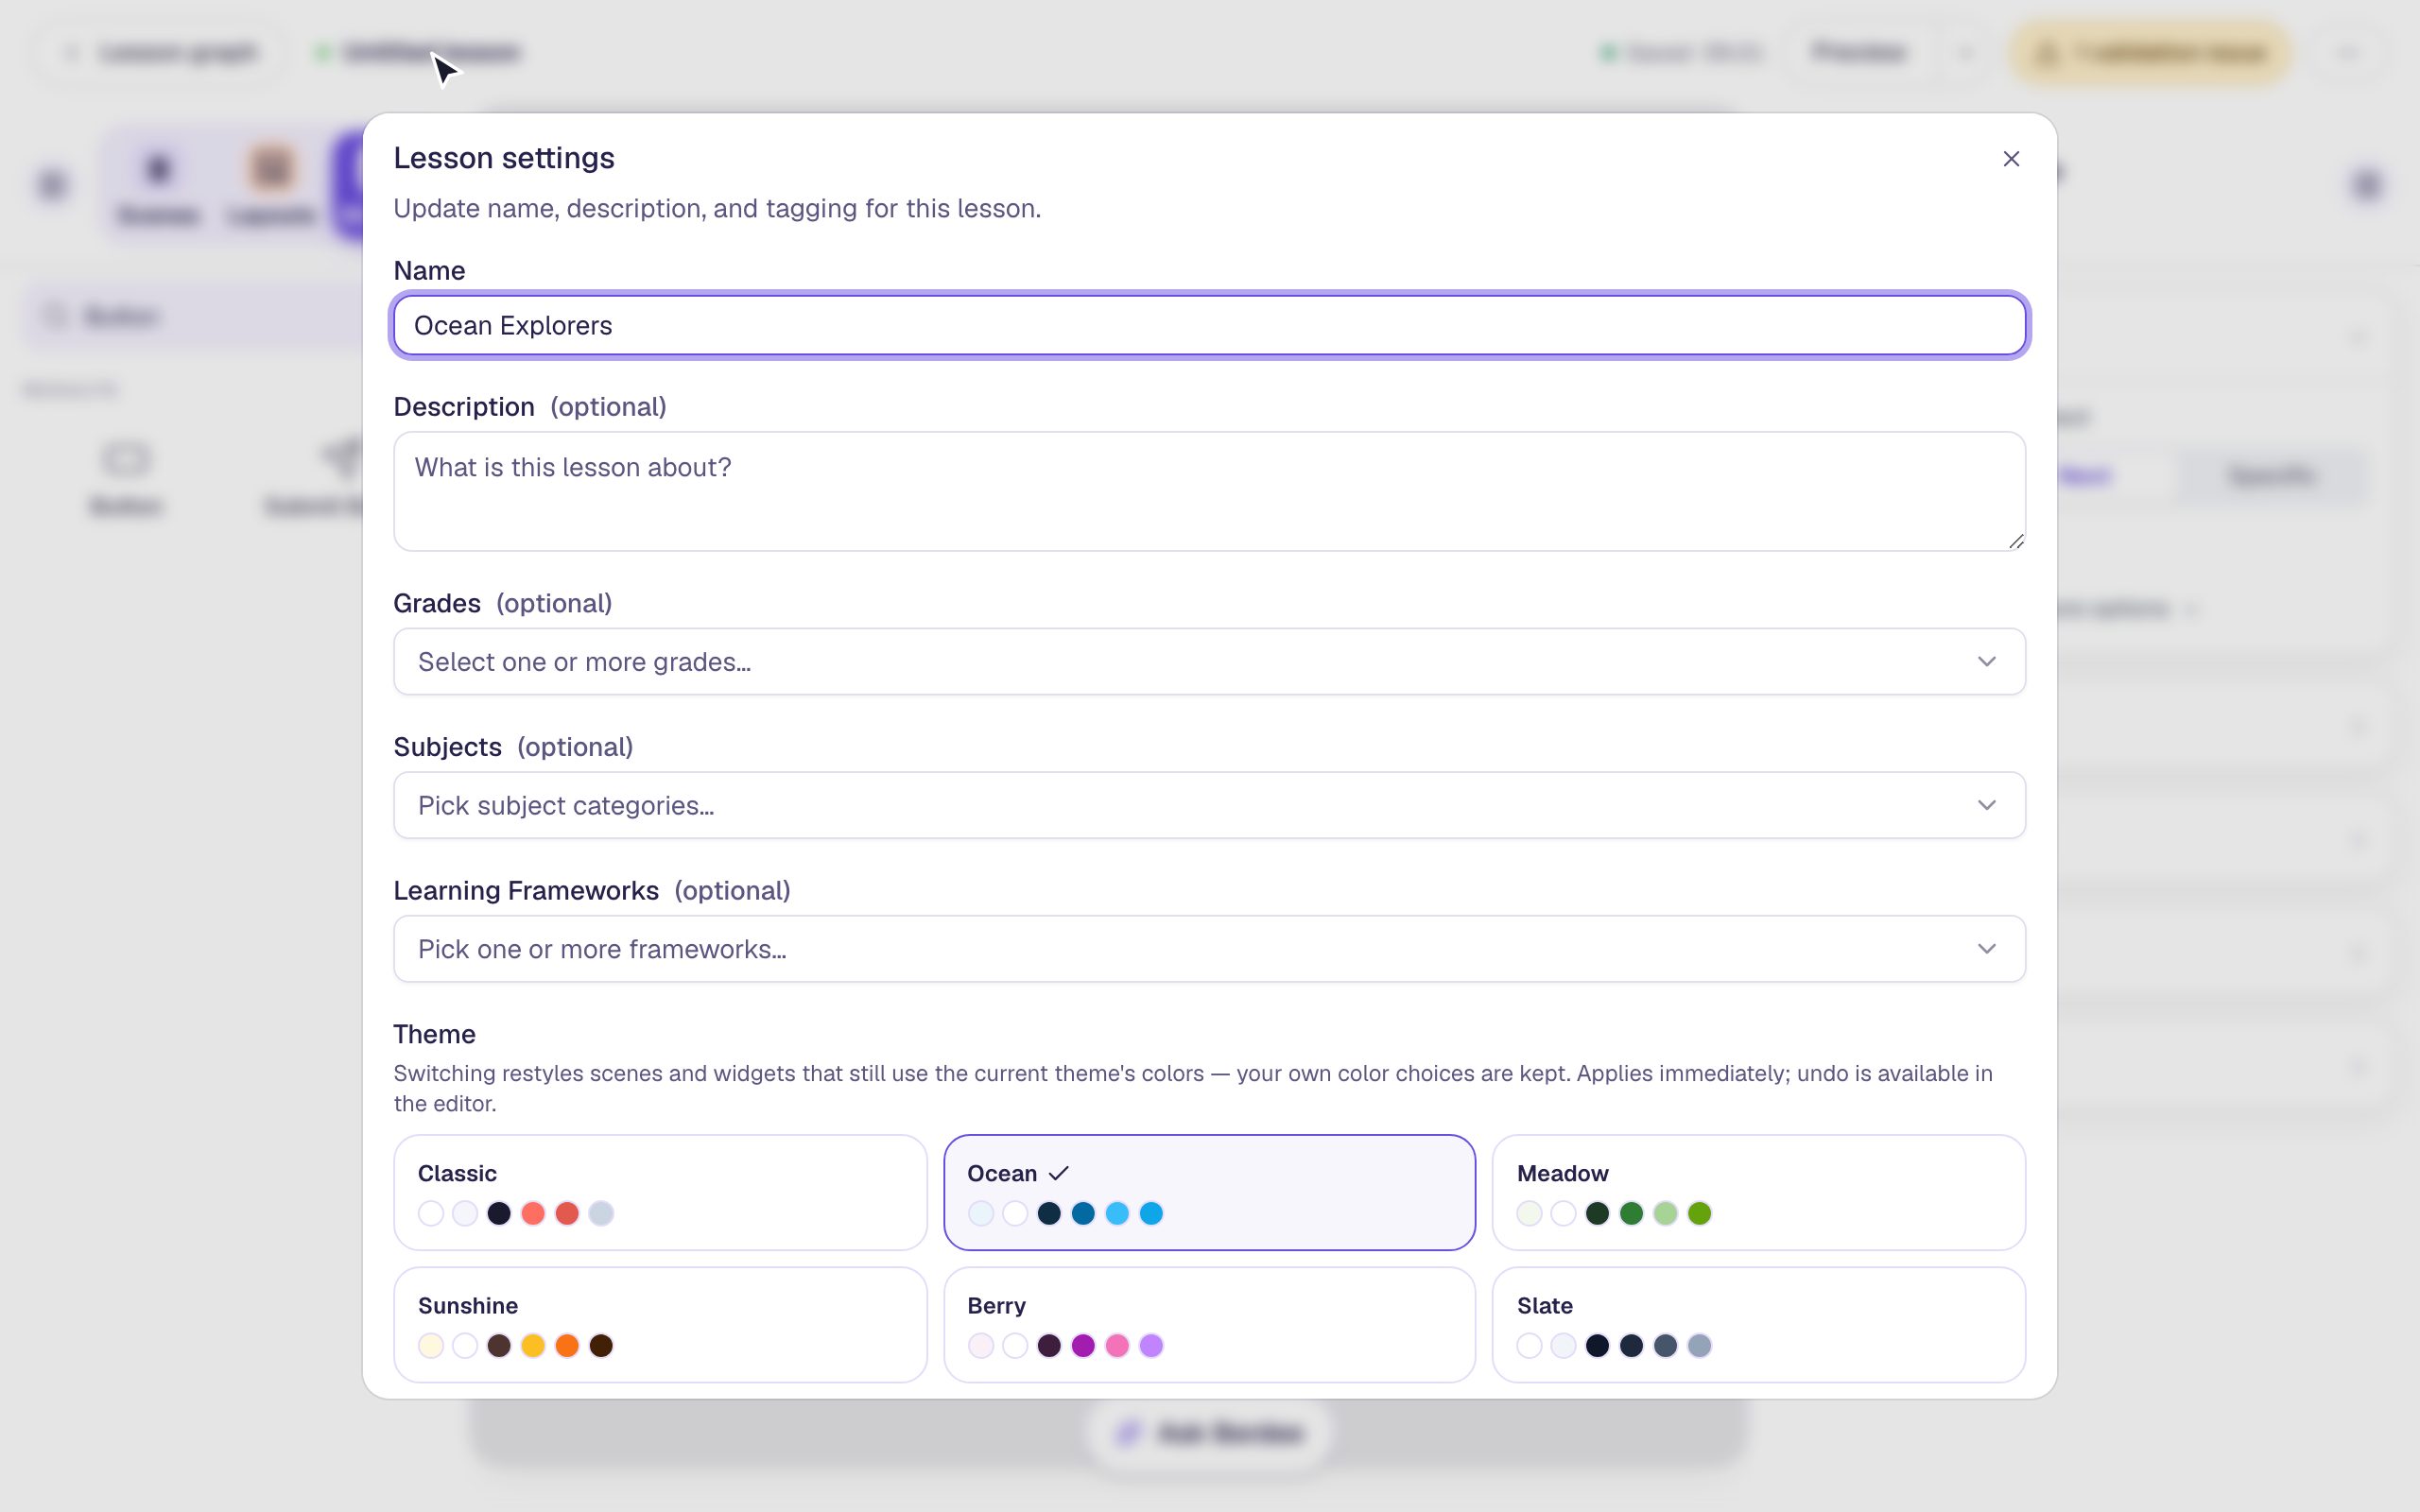
Click Untitled lesson at the top left, type Ocean Explorers in Name, and click Save changes.
The yellow pill at the top right still says 1 validation issue: No Lesson-Submit Button. That's about finishing the lesson, not how it looks, so you can leave it for now. Build your first quiz question shows how to add one.
Step 7: See it as a student
Click Preview at the top of the studio:
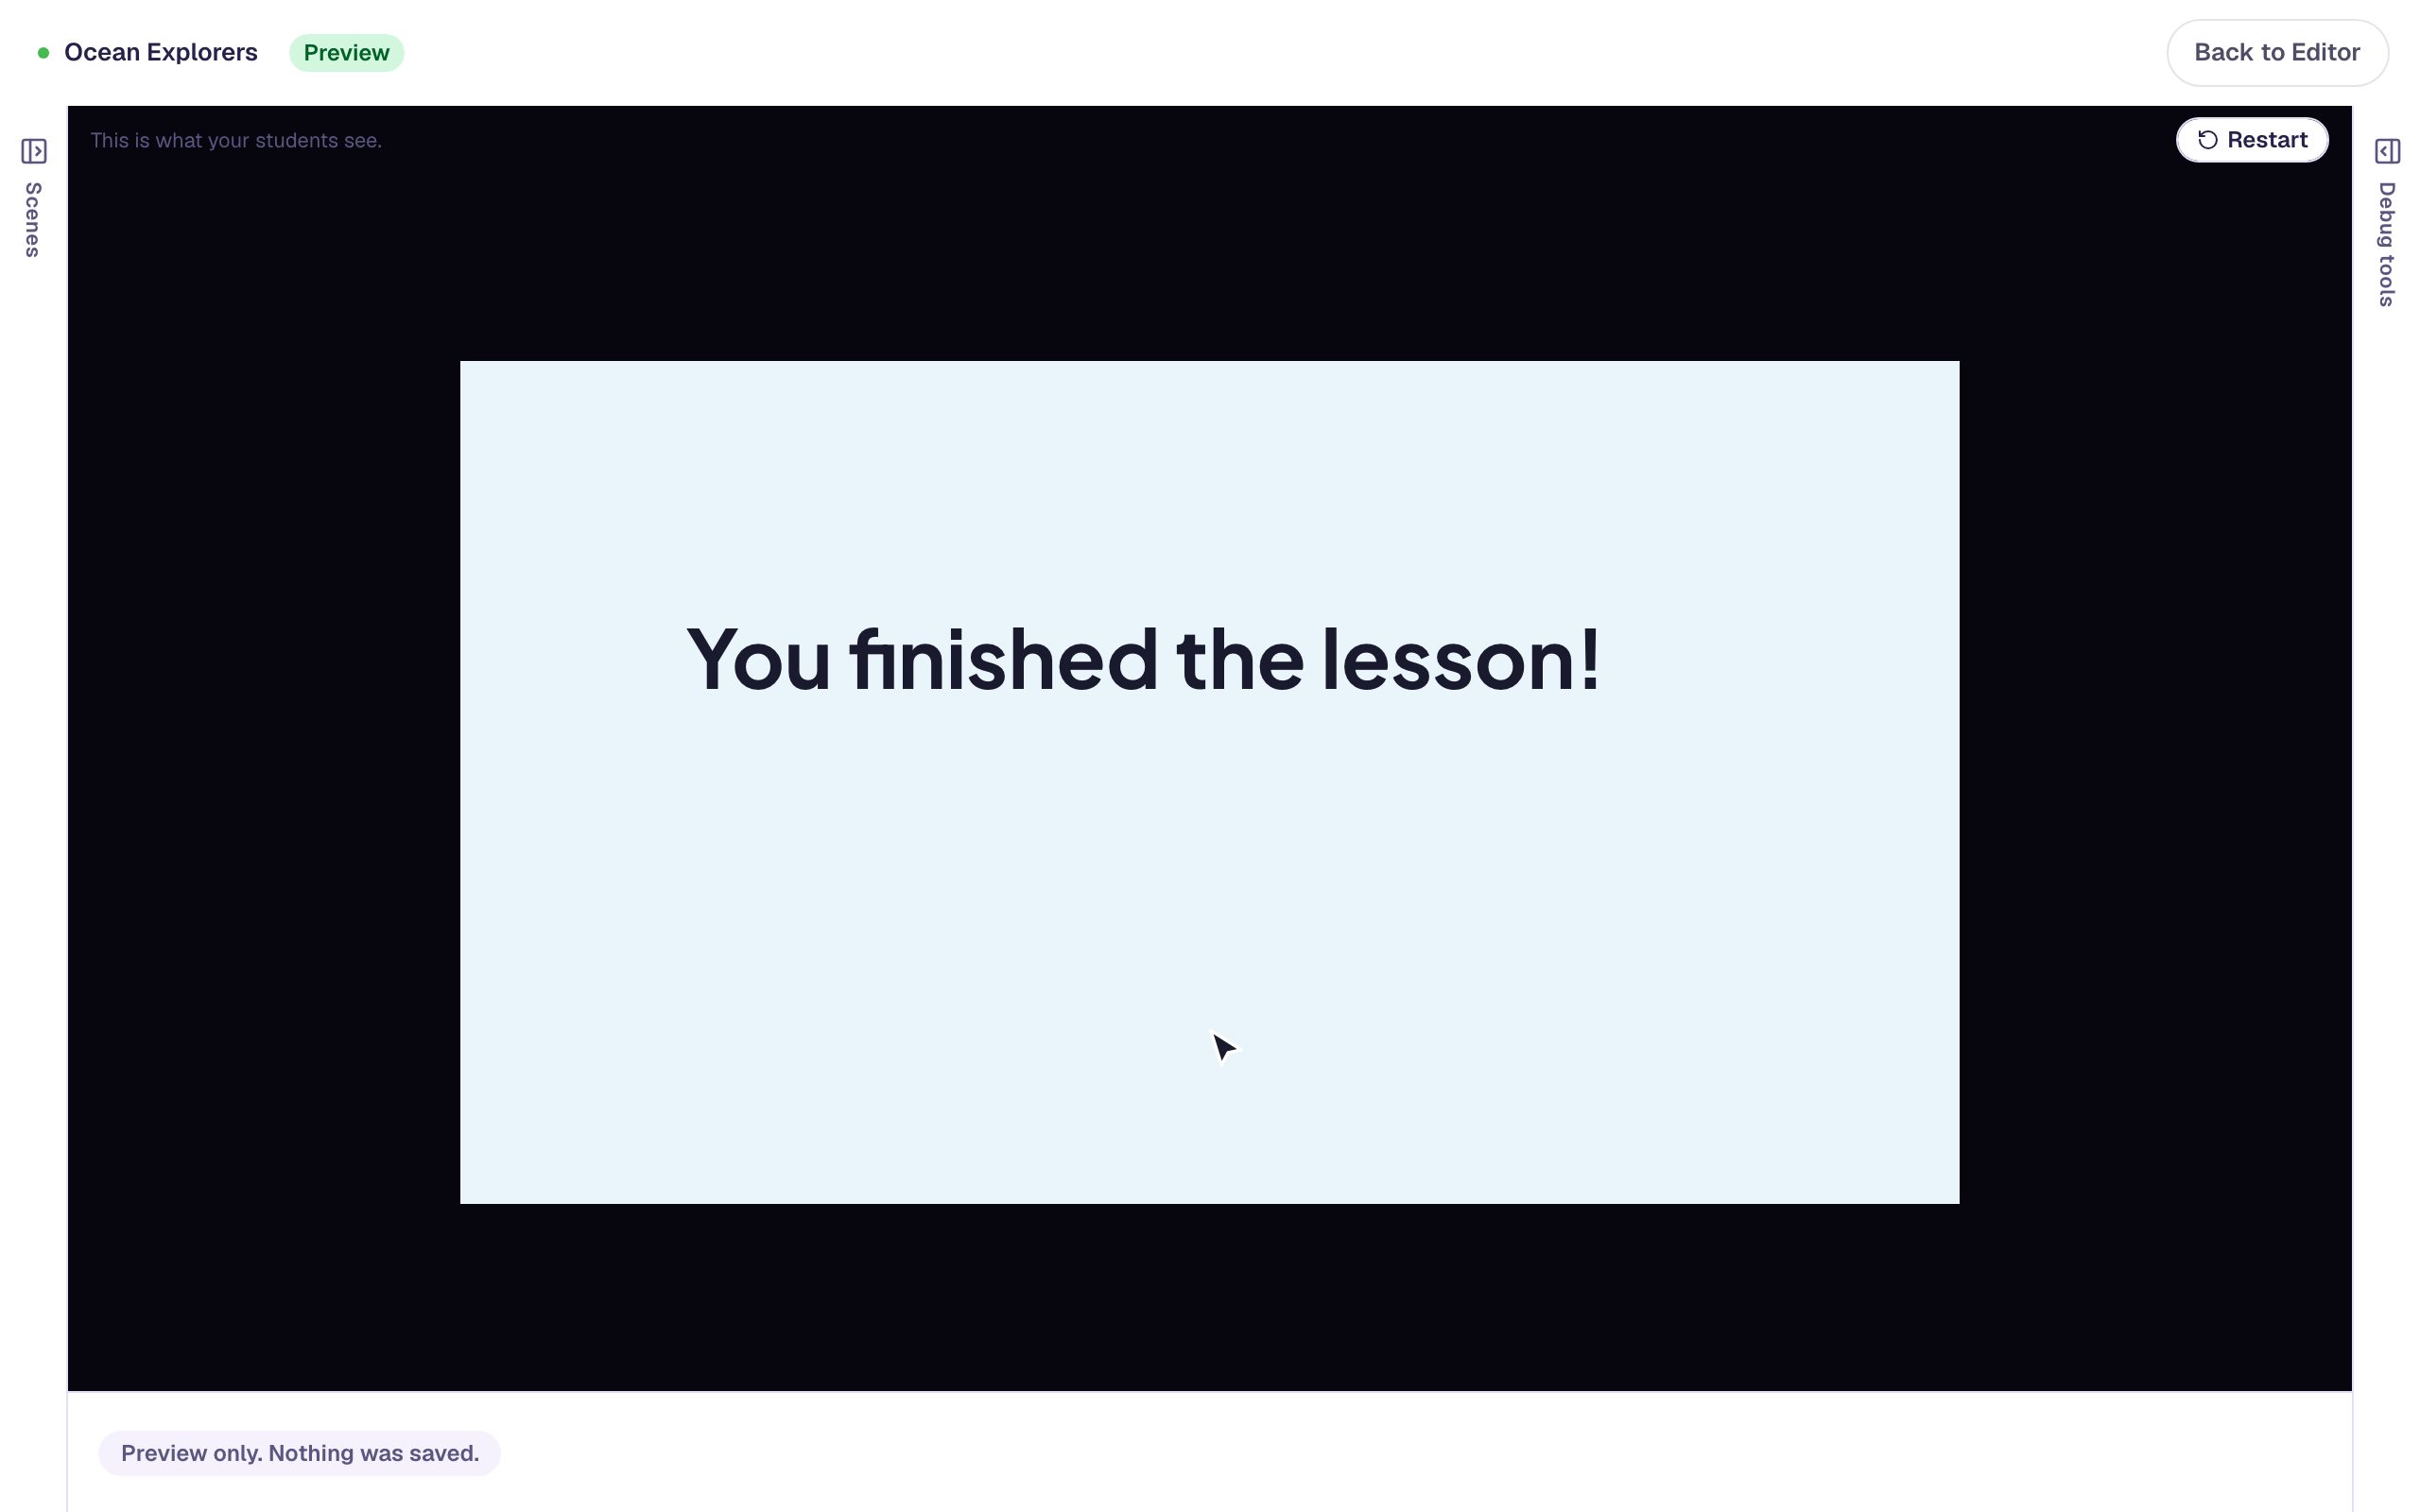
The title fades in over the seascape. Click Let's dive in and the button takes you to the next scene, which in this lesson is the ending.
What you built
You built a title scene with:
- the Ocean palette, which colored the scene and every widget you added,
- a creative background arranged to suit your words and toned down to 55%,
- a button in the palette's amber with dark, readable text that moves students onward, and
- a title in a display font that fades in once.
Every new scene you add from the Scenes tab starts in Ocean blue, and new widgets keep arriving in Ocean colors, so the rest of the lesson matches without extra work. To use the same seascape on several scenes, put it on a layout instead of on each scene.
To make the scenes after a title page turn like a book's, with a page that slides in each time a student answers, try Make a picture-book story whose pages turn.
If your lesson asks students to read a paragraph, Make a reading passage easy to read shows how to set it so every reader can follow it.
Make this lesson yours
Add the lesson you just watched being built to your account, then change it for your class: your questions, your pictures, your colors.
Free to sign up, and you'll come straight back here. I have an account