Make a reading passage easy to read
Set a short nonfiction passage the way struggling and dyslexic readers find easiest. Start from the dyslexia-friendly Lexend Clear palette, then give the text short lines, a bigger size, a picture, and a question on a scene of its own.
- Level
- Beginner
- Time
- About 10 min
- Steps
- 8
A two-scene lesson about sea turtles, with a calm, easy-to-read passage beside a photo, followed by a question that checks it.
Get the finished lesson
Skip straight to the result, or keep it open beside the steps. Add this tutorial's lesson to your account and explore how it works in the studio.
Free to sign up, and you'll come straight back here. I have an account
When a lesson asks students to read, the way the words are set matters almost as much as the words themselves. Small type, long lines, centered paragraphs, and bright white backgrounds all make reading harder, and they make it hardest for students with dyslexia and for anyone still building fluency.
In this tutorial you'll set a short passage about sea turtles so it's easy on every reader: a dyslexia-friendly font on a soft cream background, short left-aligned lines, a comfortable size, a photo that supports the text, and a question on the next scene. None of it takes more than a few clicks.
Step 1: Start from the Lexend Clear palette
Click New lesson, then click the link under Start from scratch that names the current palette (Classic palette — change). Scroll to Lexend Clear, click it, and click Use this palette. Then click Start from scratch.
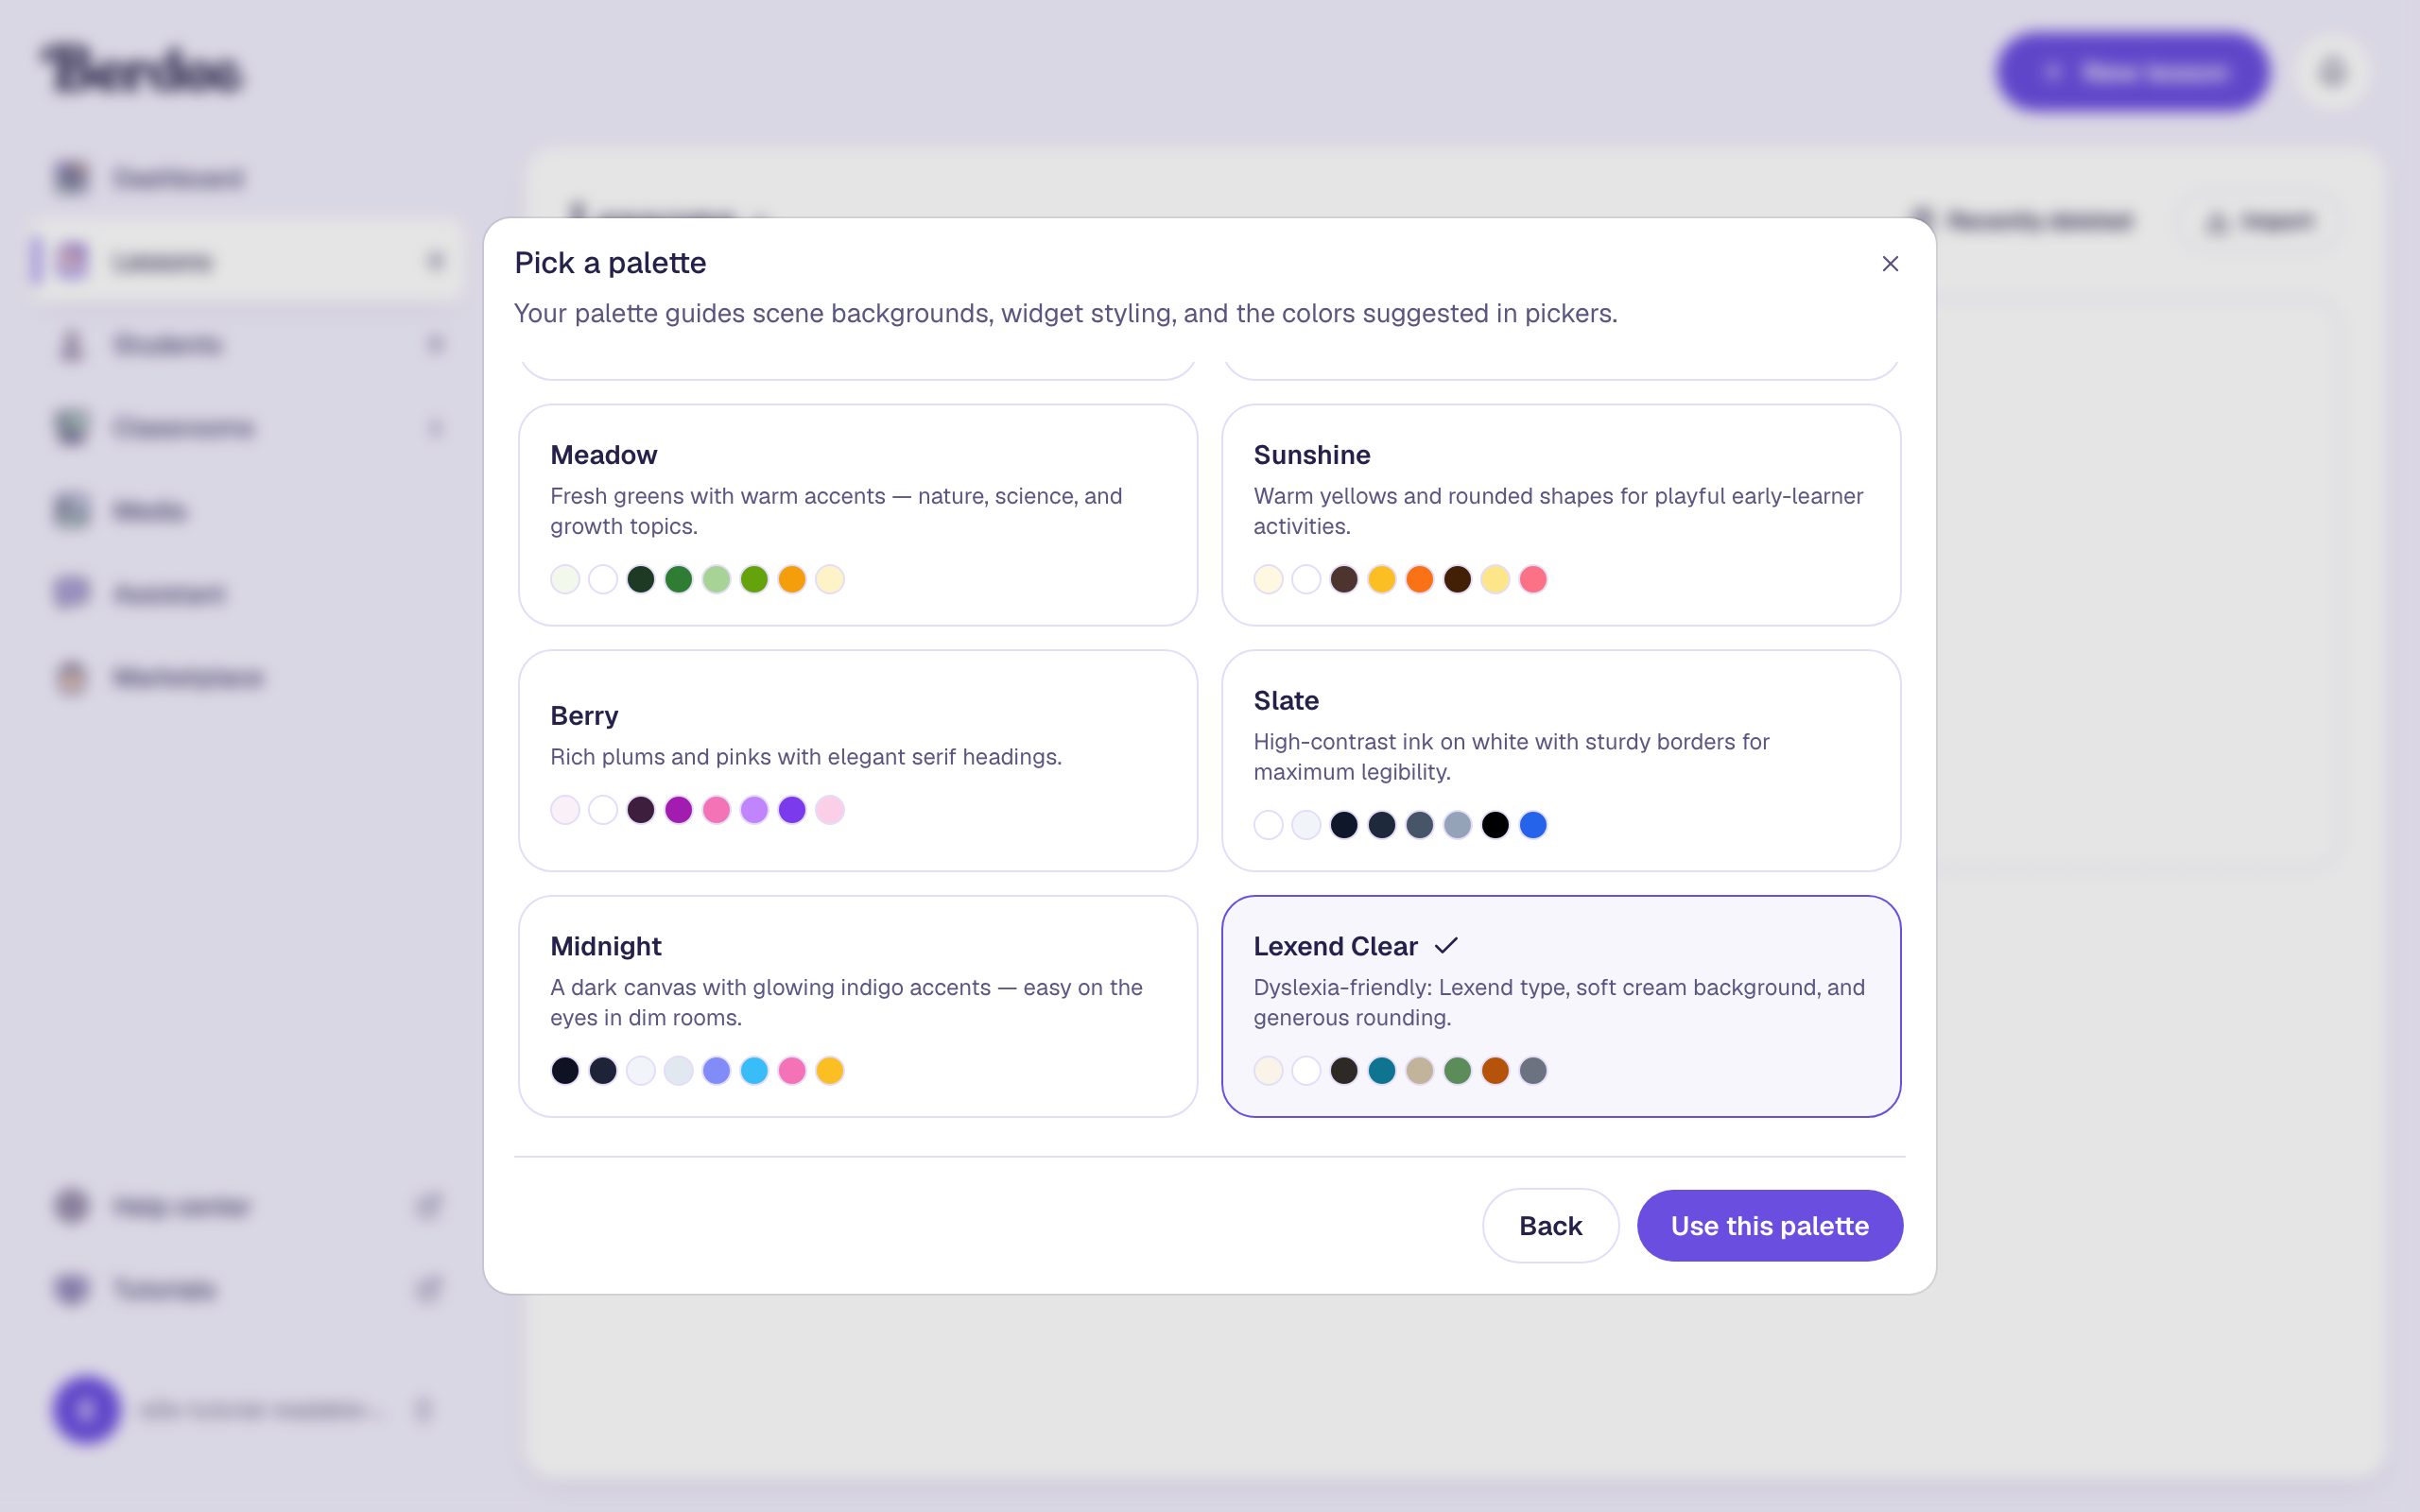
Lexend Clear makes three choices for you:
- Lexend for every widget. It's a font designed for reading ease, with wide letters and open spacing, so letters like
banddare easy to tell apart. - A soft cream background. Pure white glares on a bright screen, which tires many readers. Cream keeps the contrast high without the glare.
- Dark, warm text (
2D2A26), which reads clearly on cream.
Name the lesson: click Untitled lesson at the top left, type Sea turtles, and click Save changes. The studio opens on a cream scene, and every scene you add later starts cream too.
Step 2: Add a title and the passage
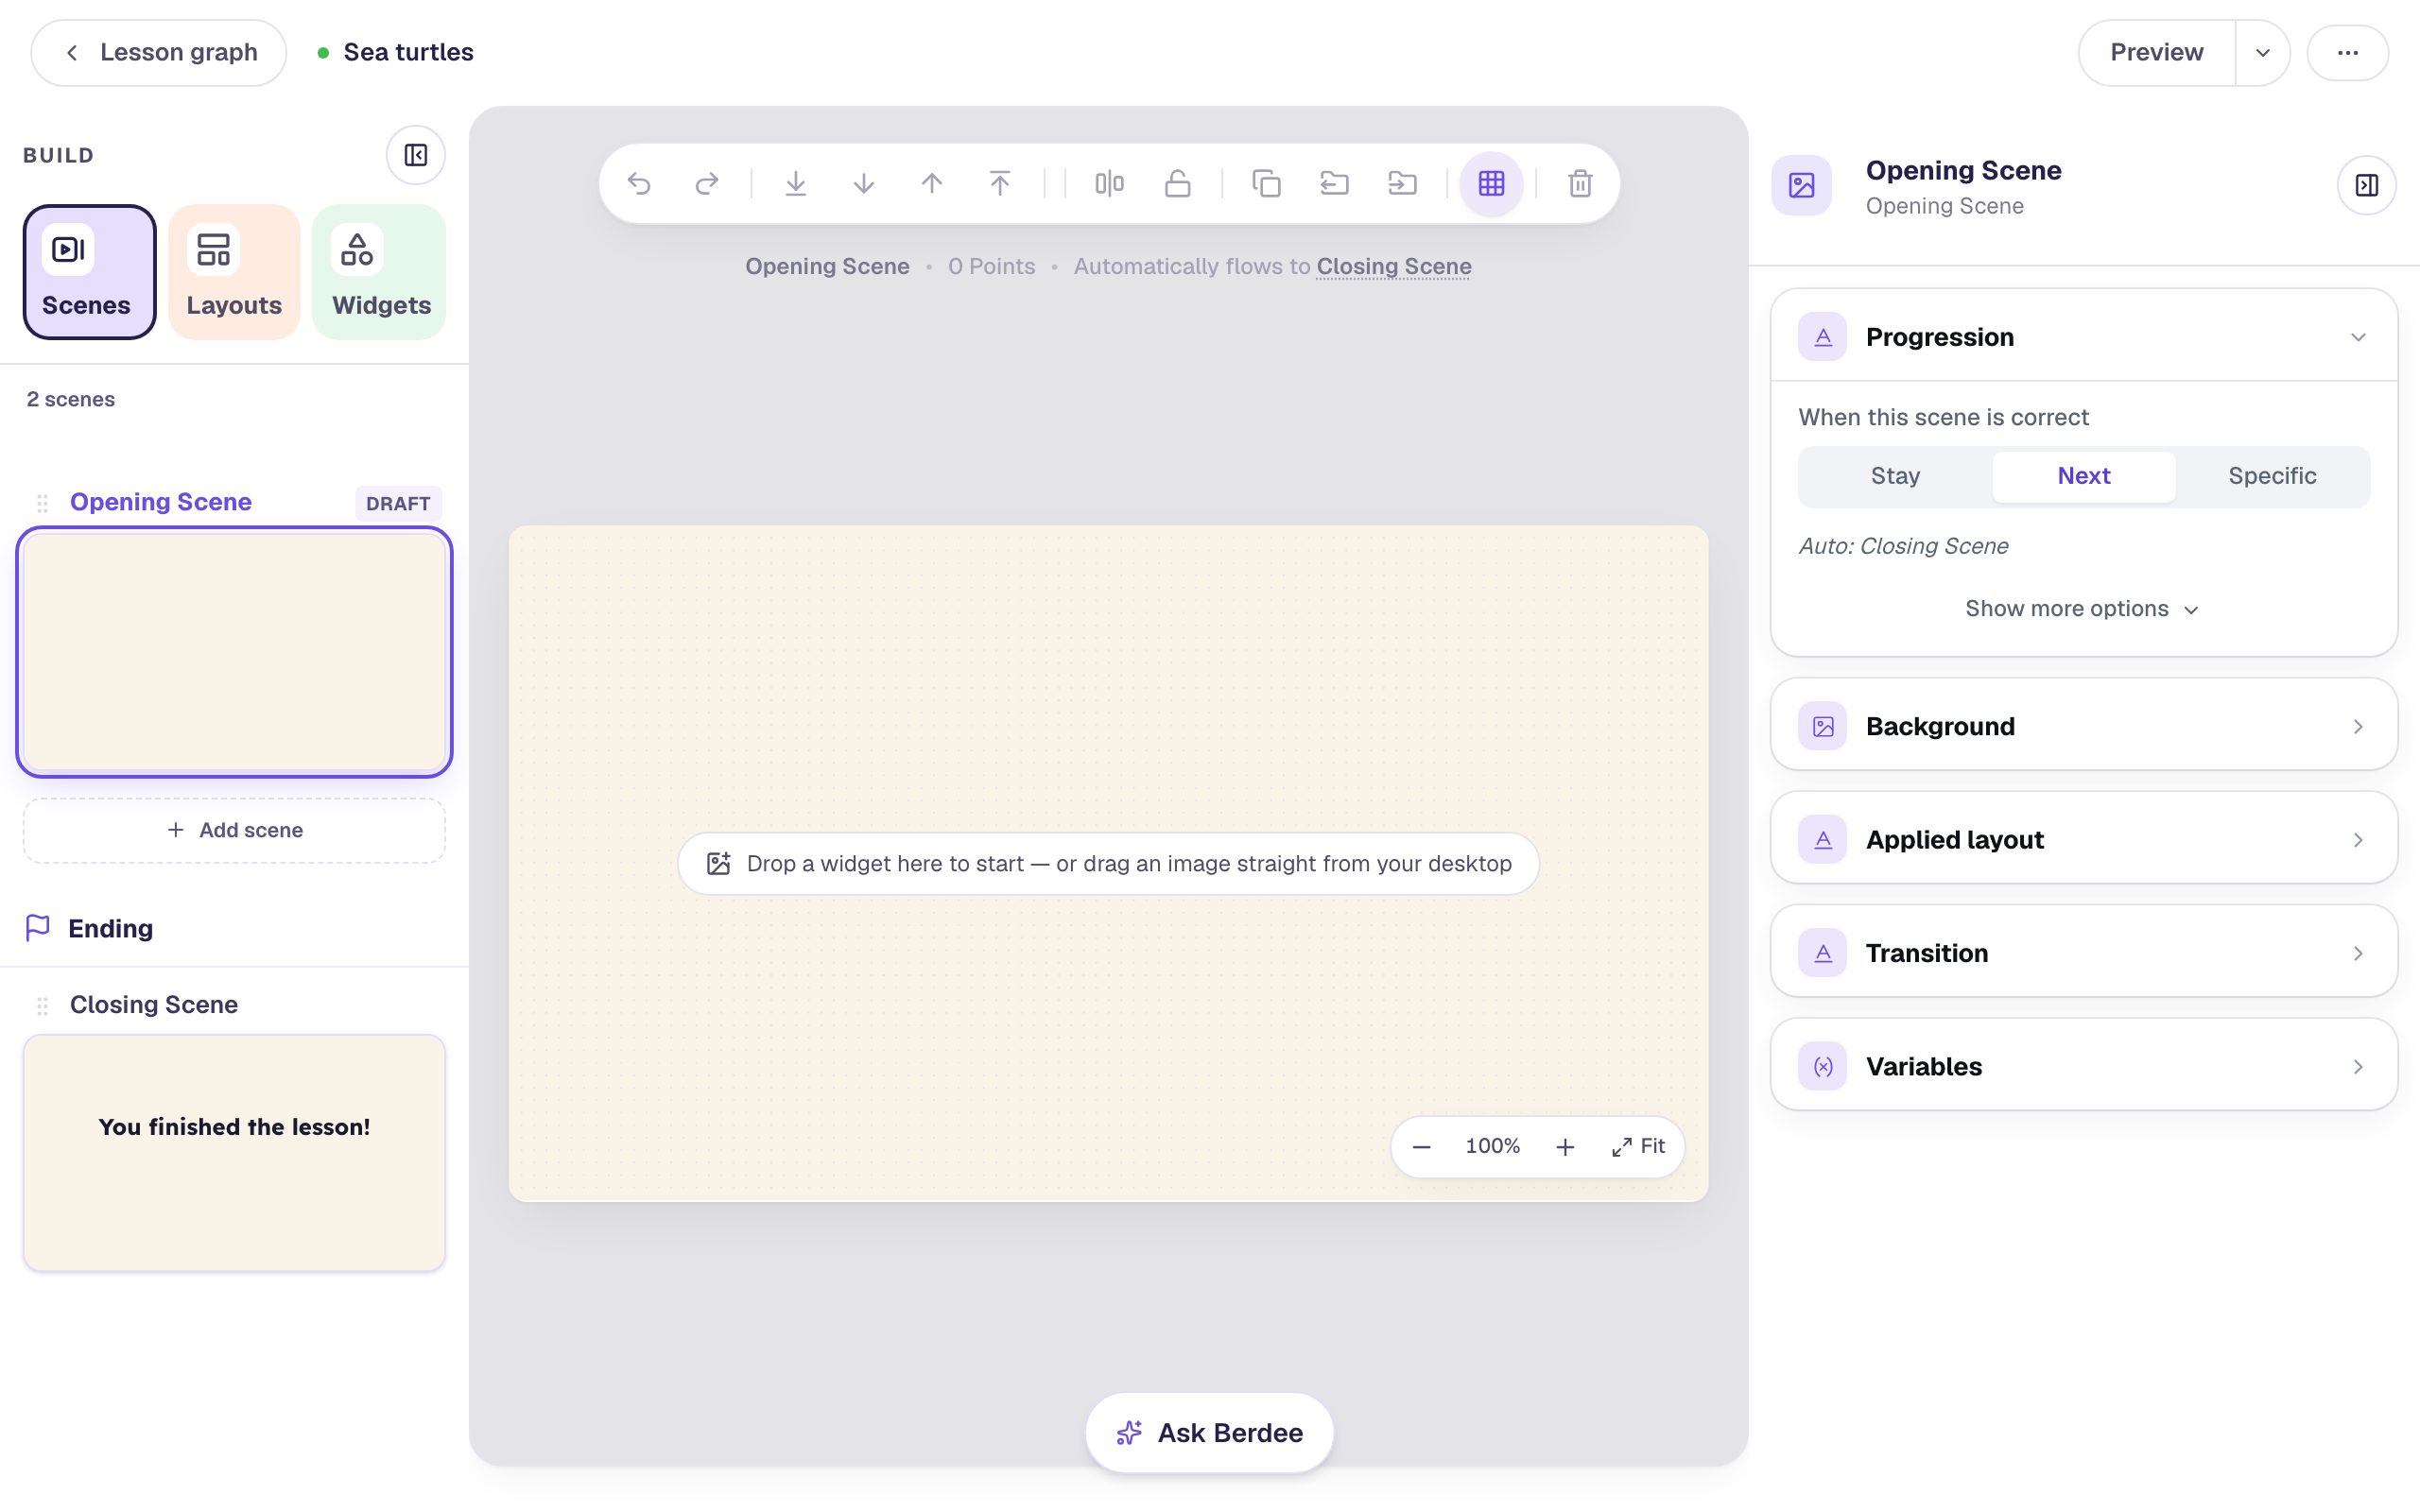
- Click the Widgets tab, search for
Heading, and click the Heading tile. TypeSea turtles, then press Escape. Drag the heading to the top-left corner of the scene. - Search for
Bodyand click Body. Type or paste the passage, then press Escape:
Sea turtles live in warm oceans all over the world. They swim a long way to find food. A sea turtle cannot pull its head into its shell. When it is time to lay eggs, a mother turtle swims back to the beach where she hatched. She digs a hole in the sand and lays her eggs.
- Drag the passage under the title, lined up with its left edge.
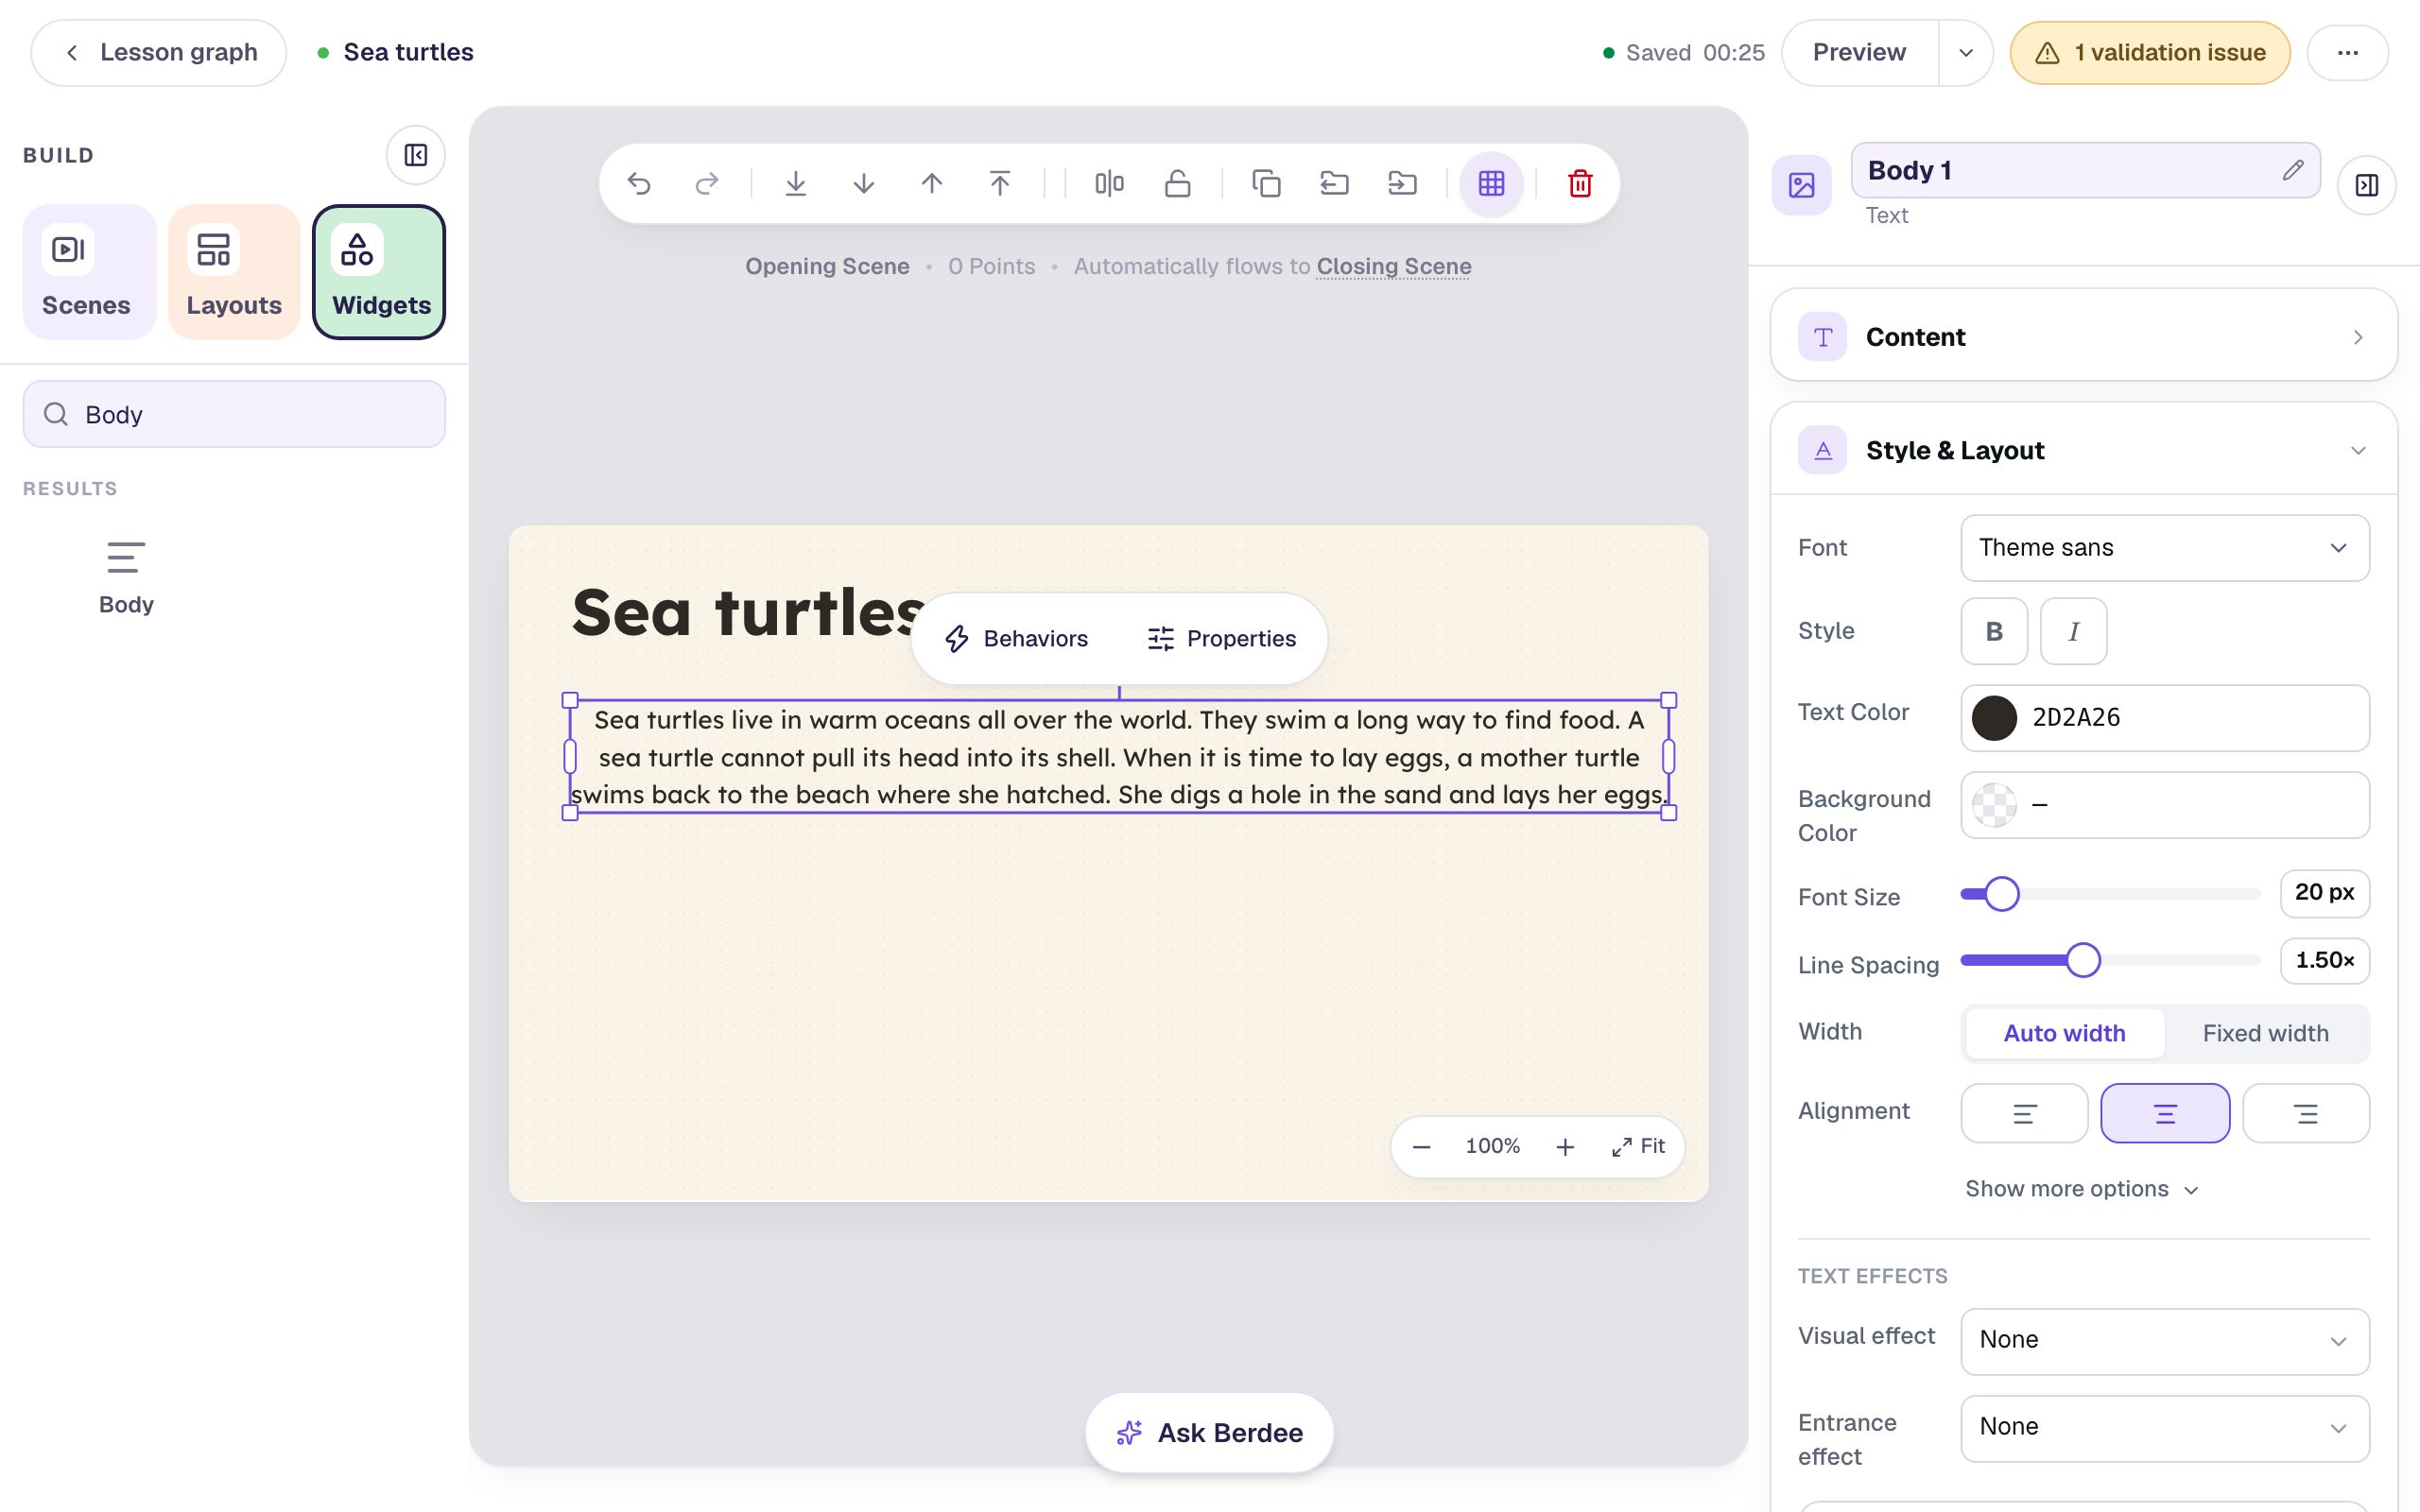
Select the passage and look at Style & Layout. A Body arrives at 20 px with 1.50× line spacing, which is already good: the extra space between lines keeps the eye on the right line. But three things make this hard to read: the lines are very long, the text is centered, and it's small. The next two steps fix them.
Step 3: Give the passage short, left-aligned lines
Long lines are tiring: by the time a reader reaches the end of one, it's hard to find the start of the next. Centered paragraphs make it worse, because every line starts in a different place.
With the passage selected, in Style & Layout:
- Under Width, click Fixed width. A text box starts on Auto width, which has no width to set.
- Click Show more options, then type
500into the Width field and press Enter. The passage rewraps inside a 500-wide box. - Next to Alignment, click the first button, Align left.
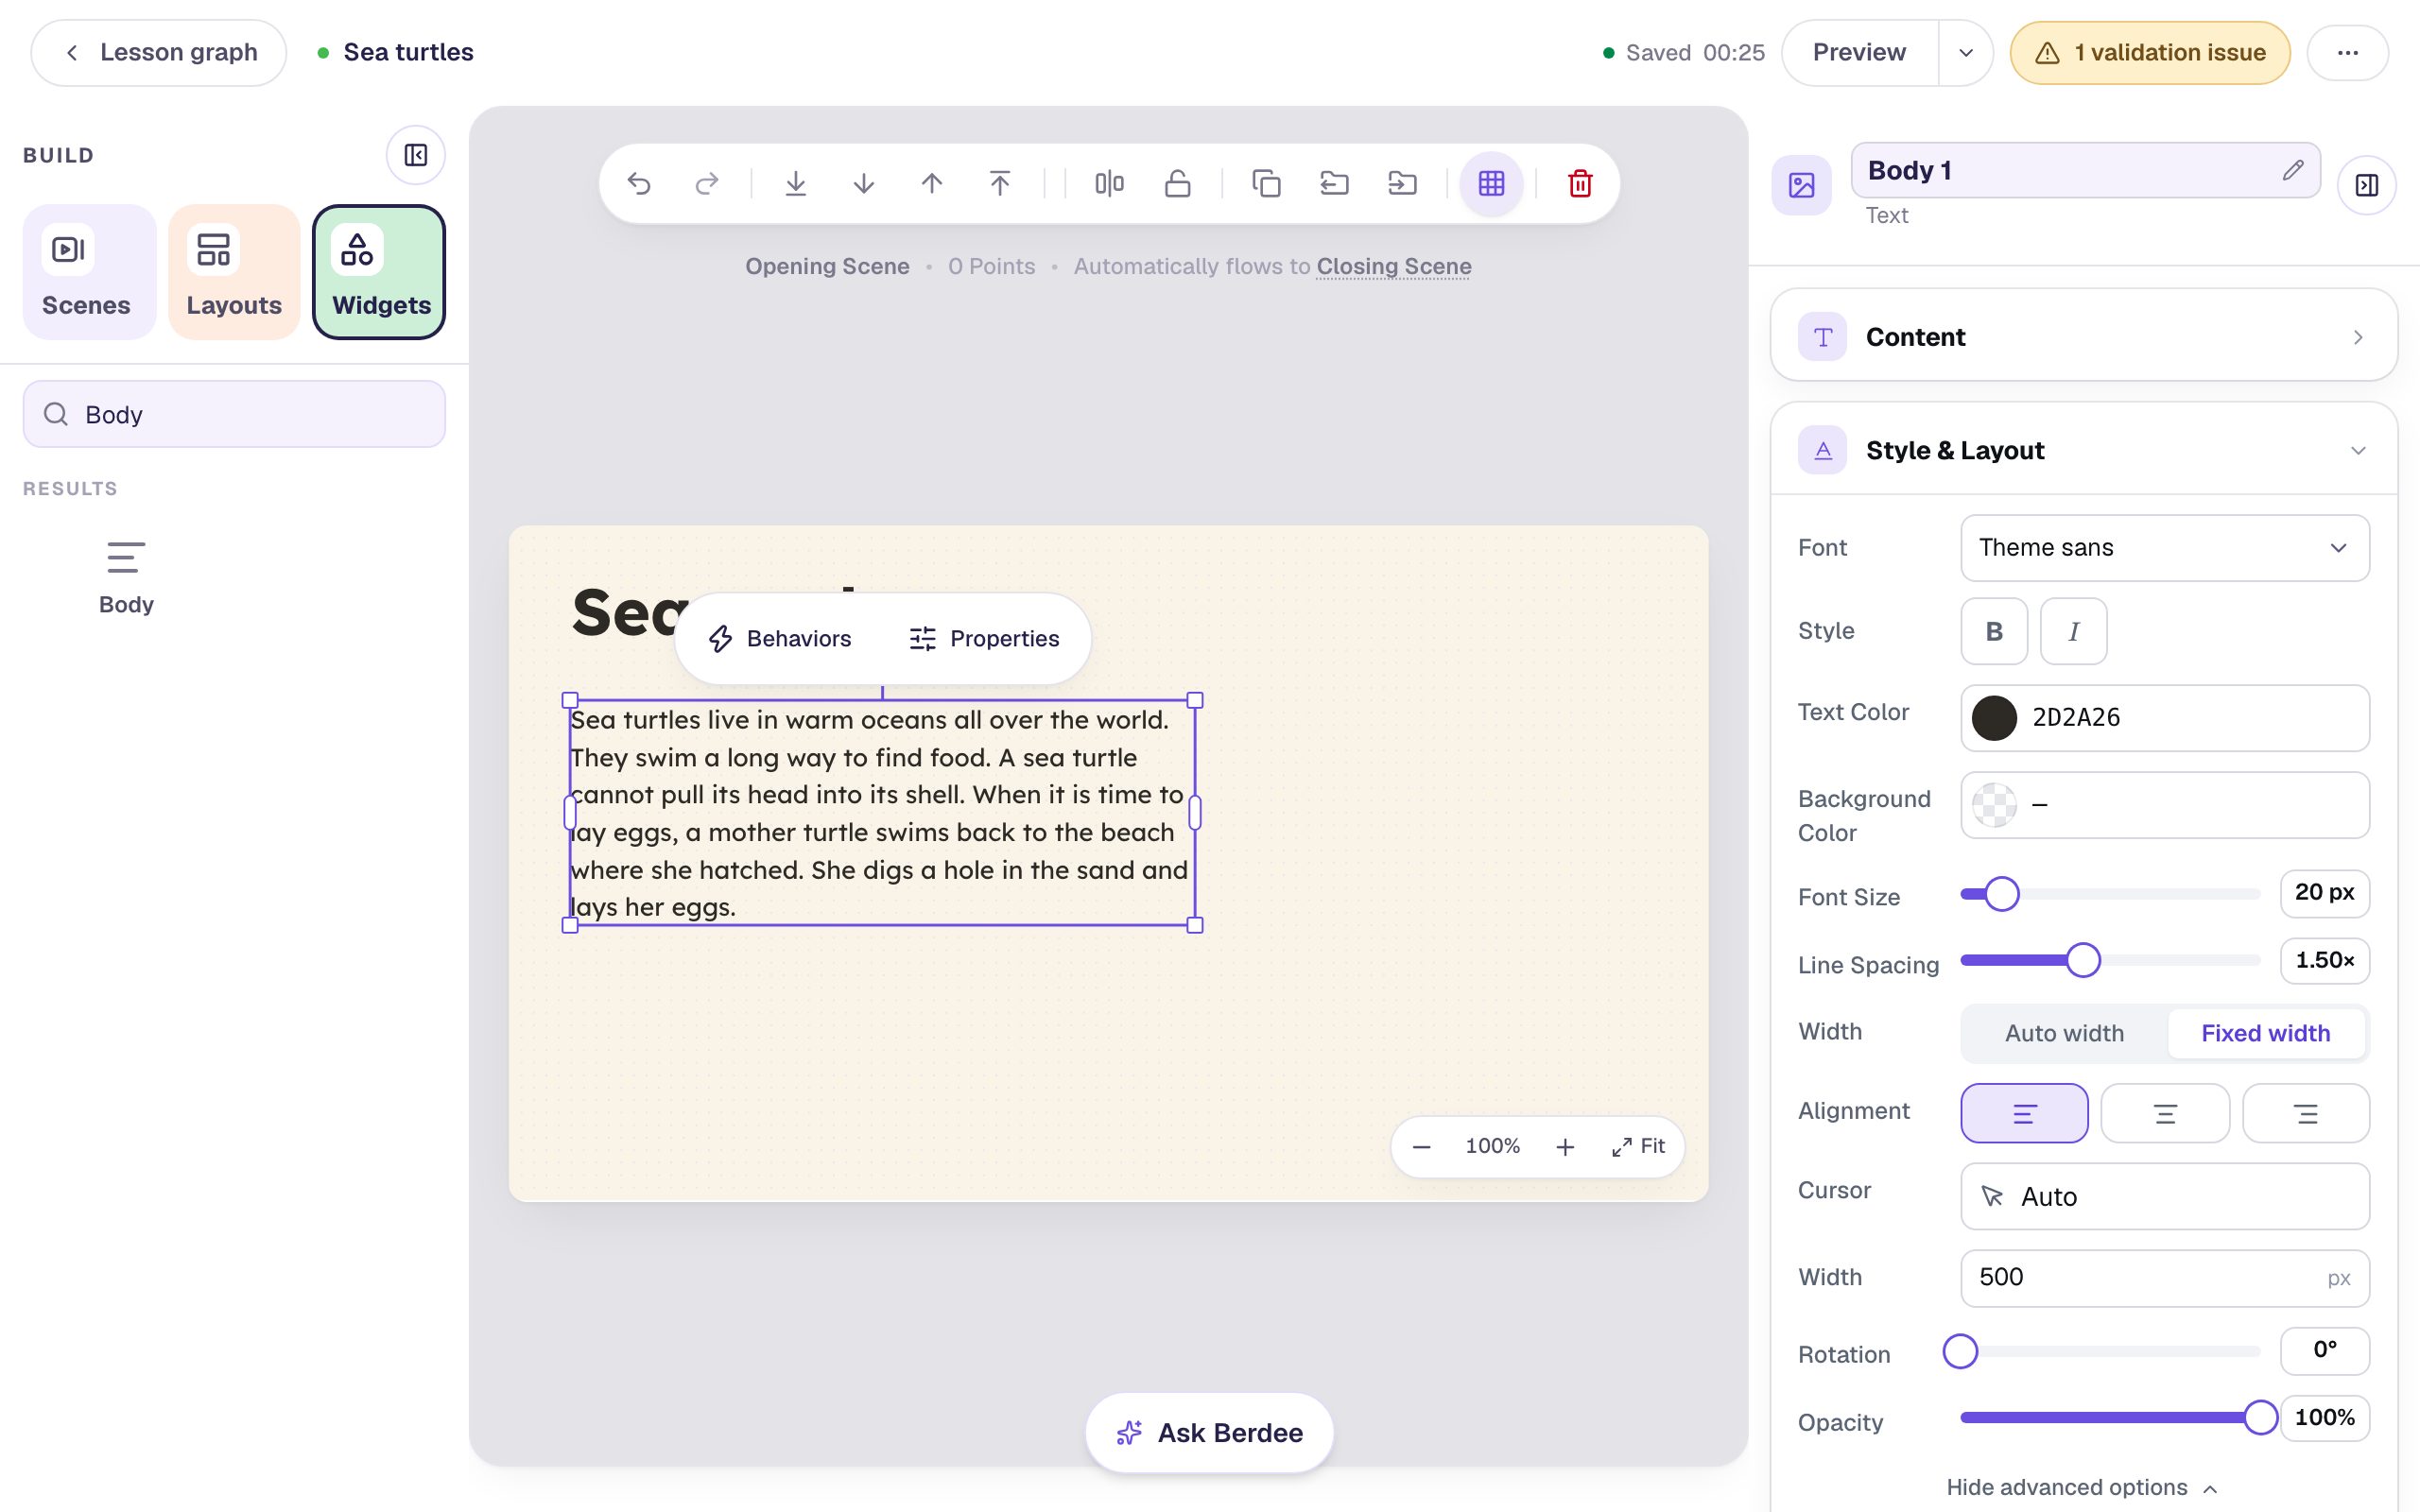
Keep your headings centered if you like, but always left-align a paragraph.
Step 4: Make the text bigger
20 px is fine on a big classroom screen, but students often read on small laptops and tablets, where the whole scene is shrunk to fit. Drag Font Size up to 26 px.
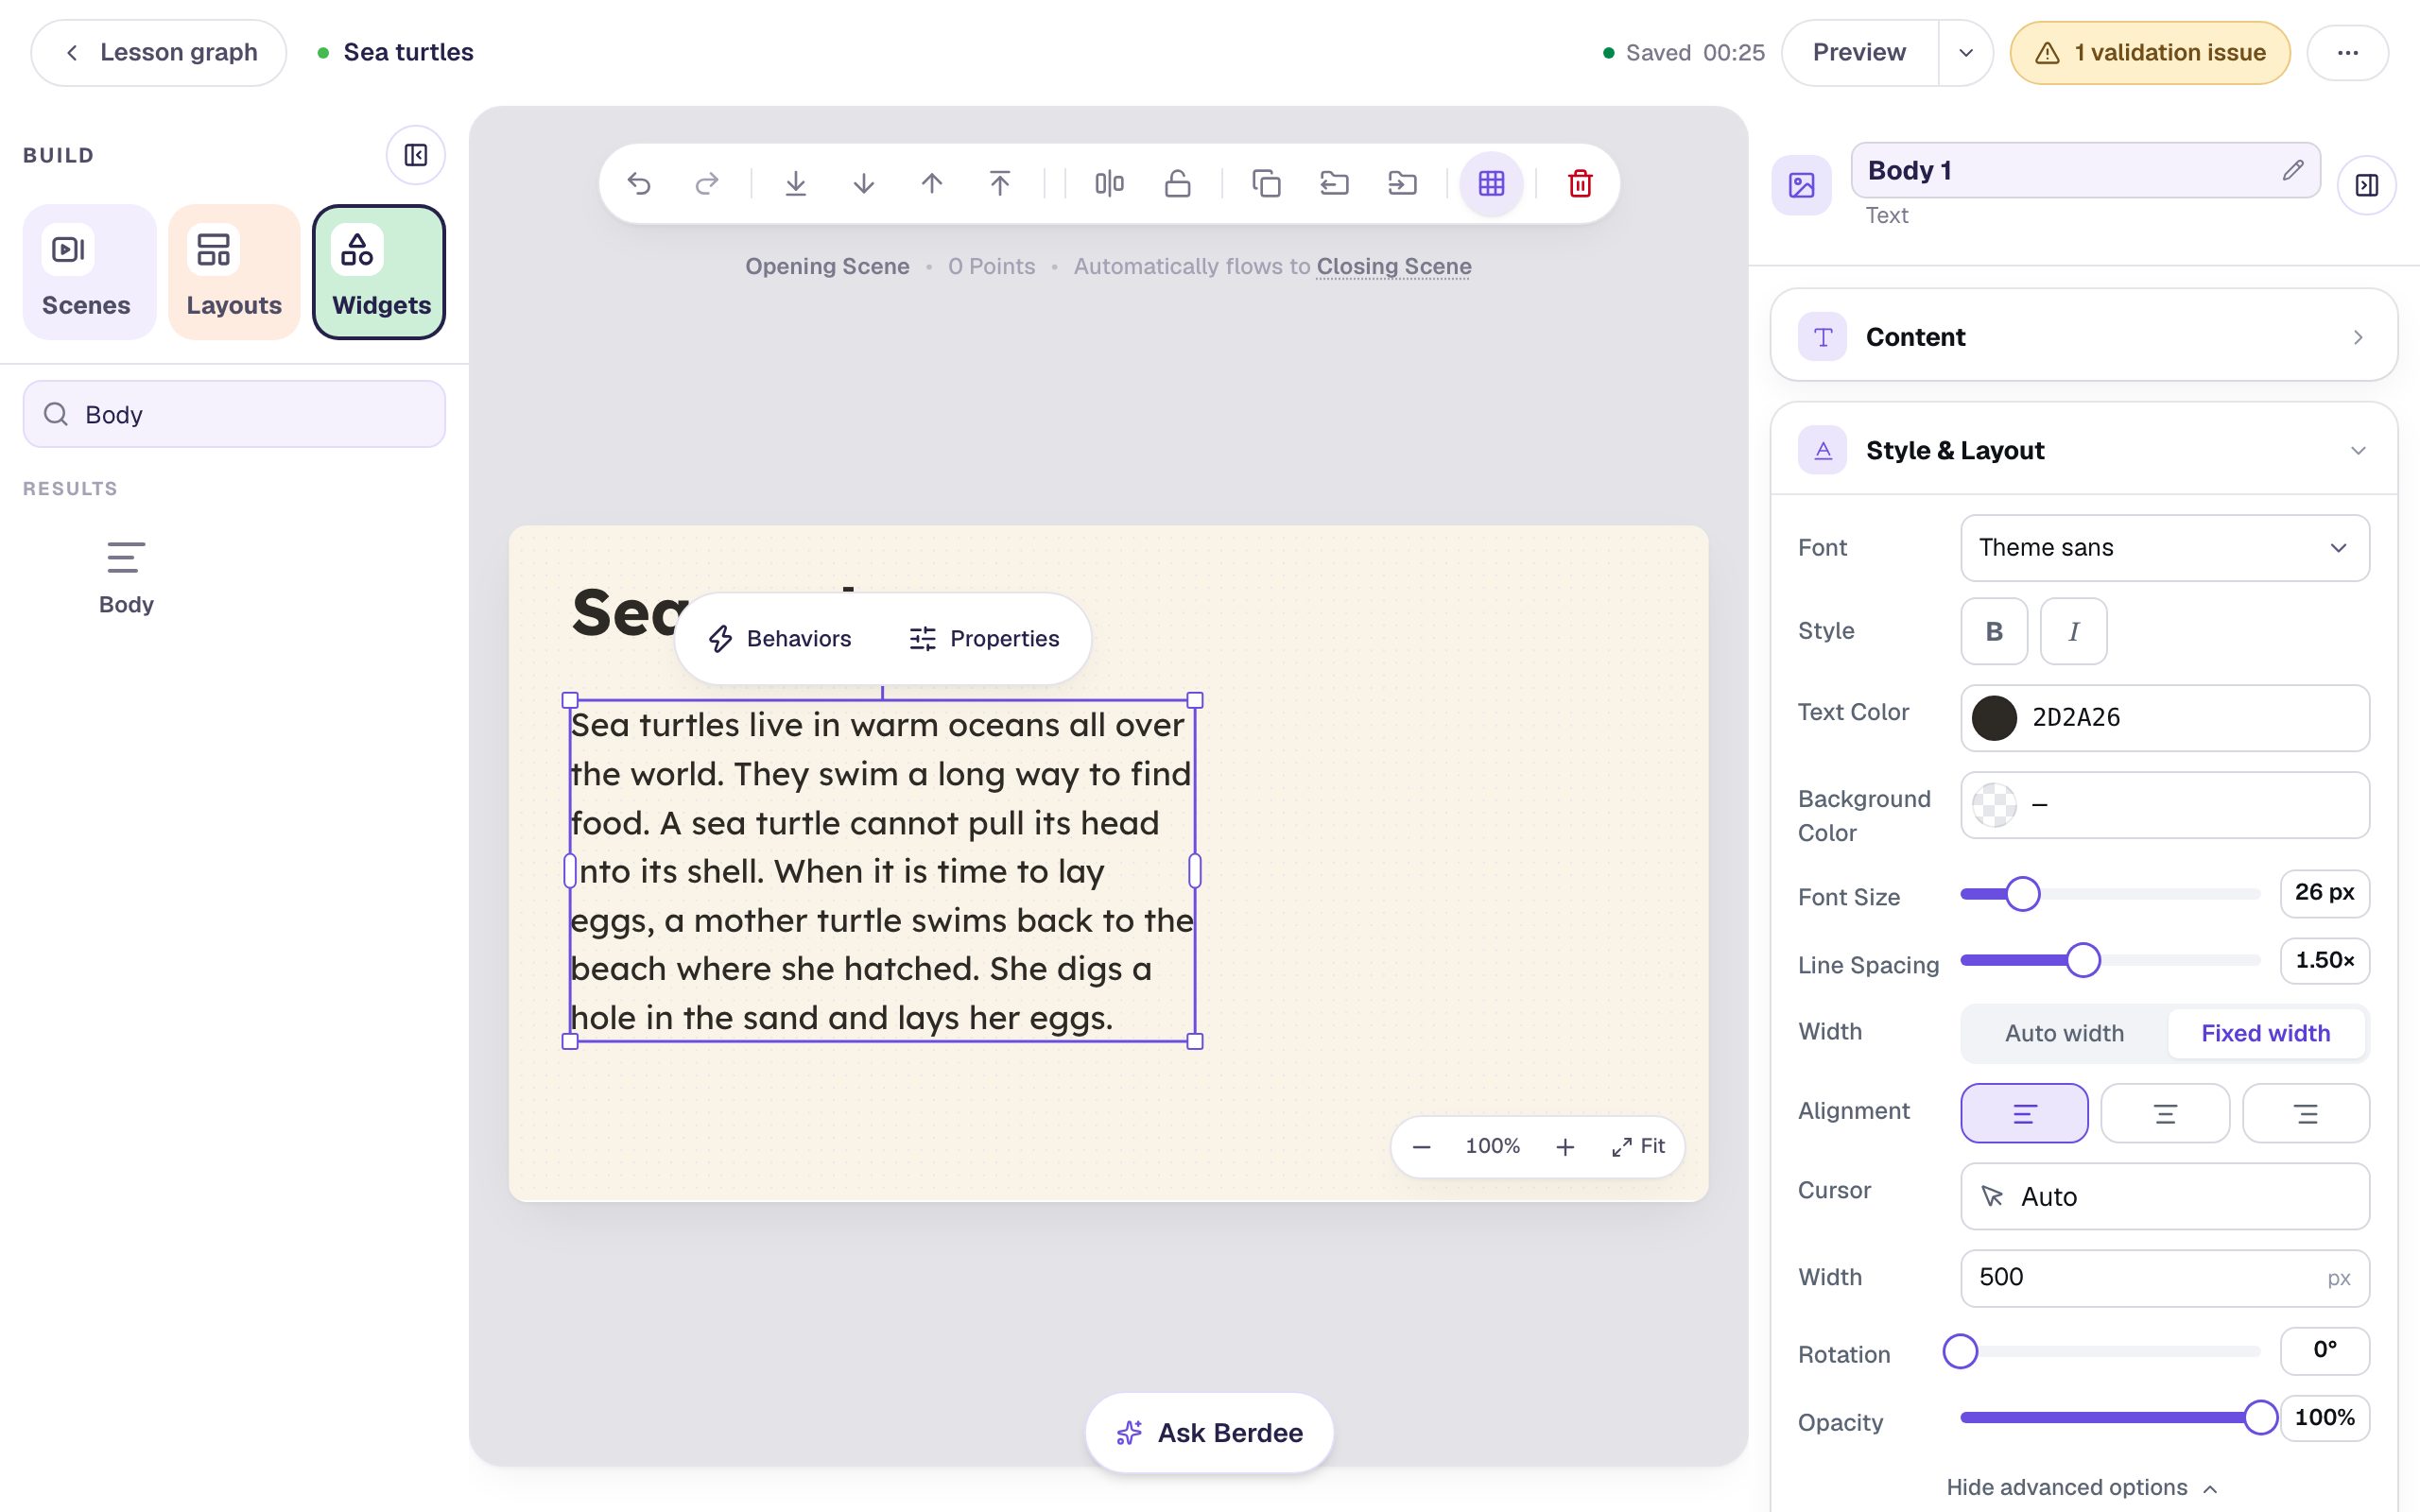
Because the width is fixed, the box keeps its width and grows taller instead of running off the edge of the scene. Each line now holds about 40 letters, a comfortable length for young and struggling readers. If you make the text bigger again, make the box a little wider too, so a line doesn't shrink to three or four words.
Leave Line Spacing at 1.50×. If your students find the passage crowded, try 1.60× or 1.70×, but don't go below 1.5 for a paragraph.
Step 5: Add a photo, and describe it
A picture next to a passage helps readers picture what they're reading and gives the page a calm place to rest the eye. Click an empty part of the gray area around the scene first, so nothing is selected.
- Search the Widgets tab for
Imageand click Image. - In Style & Layout, set Width to
320and Height to240, and drag the image to the right of the passage, level with its first line. - Click Choose image. On the Search tab, type
sea turtleand press Enter. Click a wide photo with the turtle clearly in view, then Import & insert.
Now tell screen readers what the photo shows. Open Accessibility in the properties panel and type a short description in Alt Text, like A green sea turtle swimming over a coral reef. A screen reader reads it aloud in place of the picture, so a student who can't see the photo still gets what it adds.
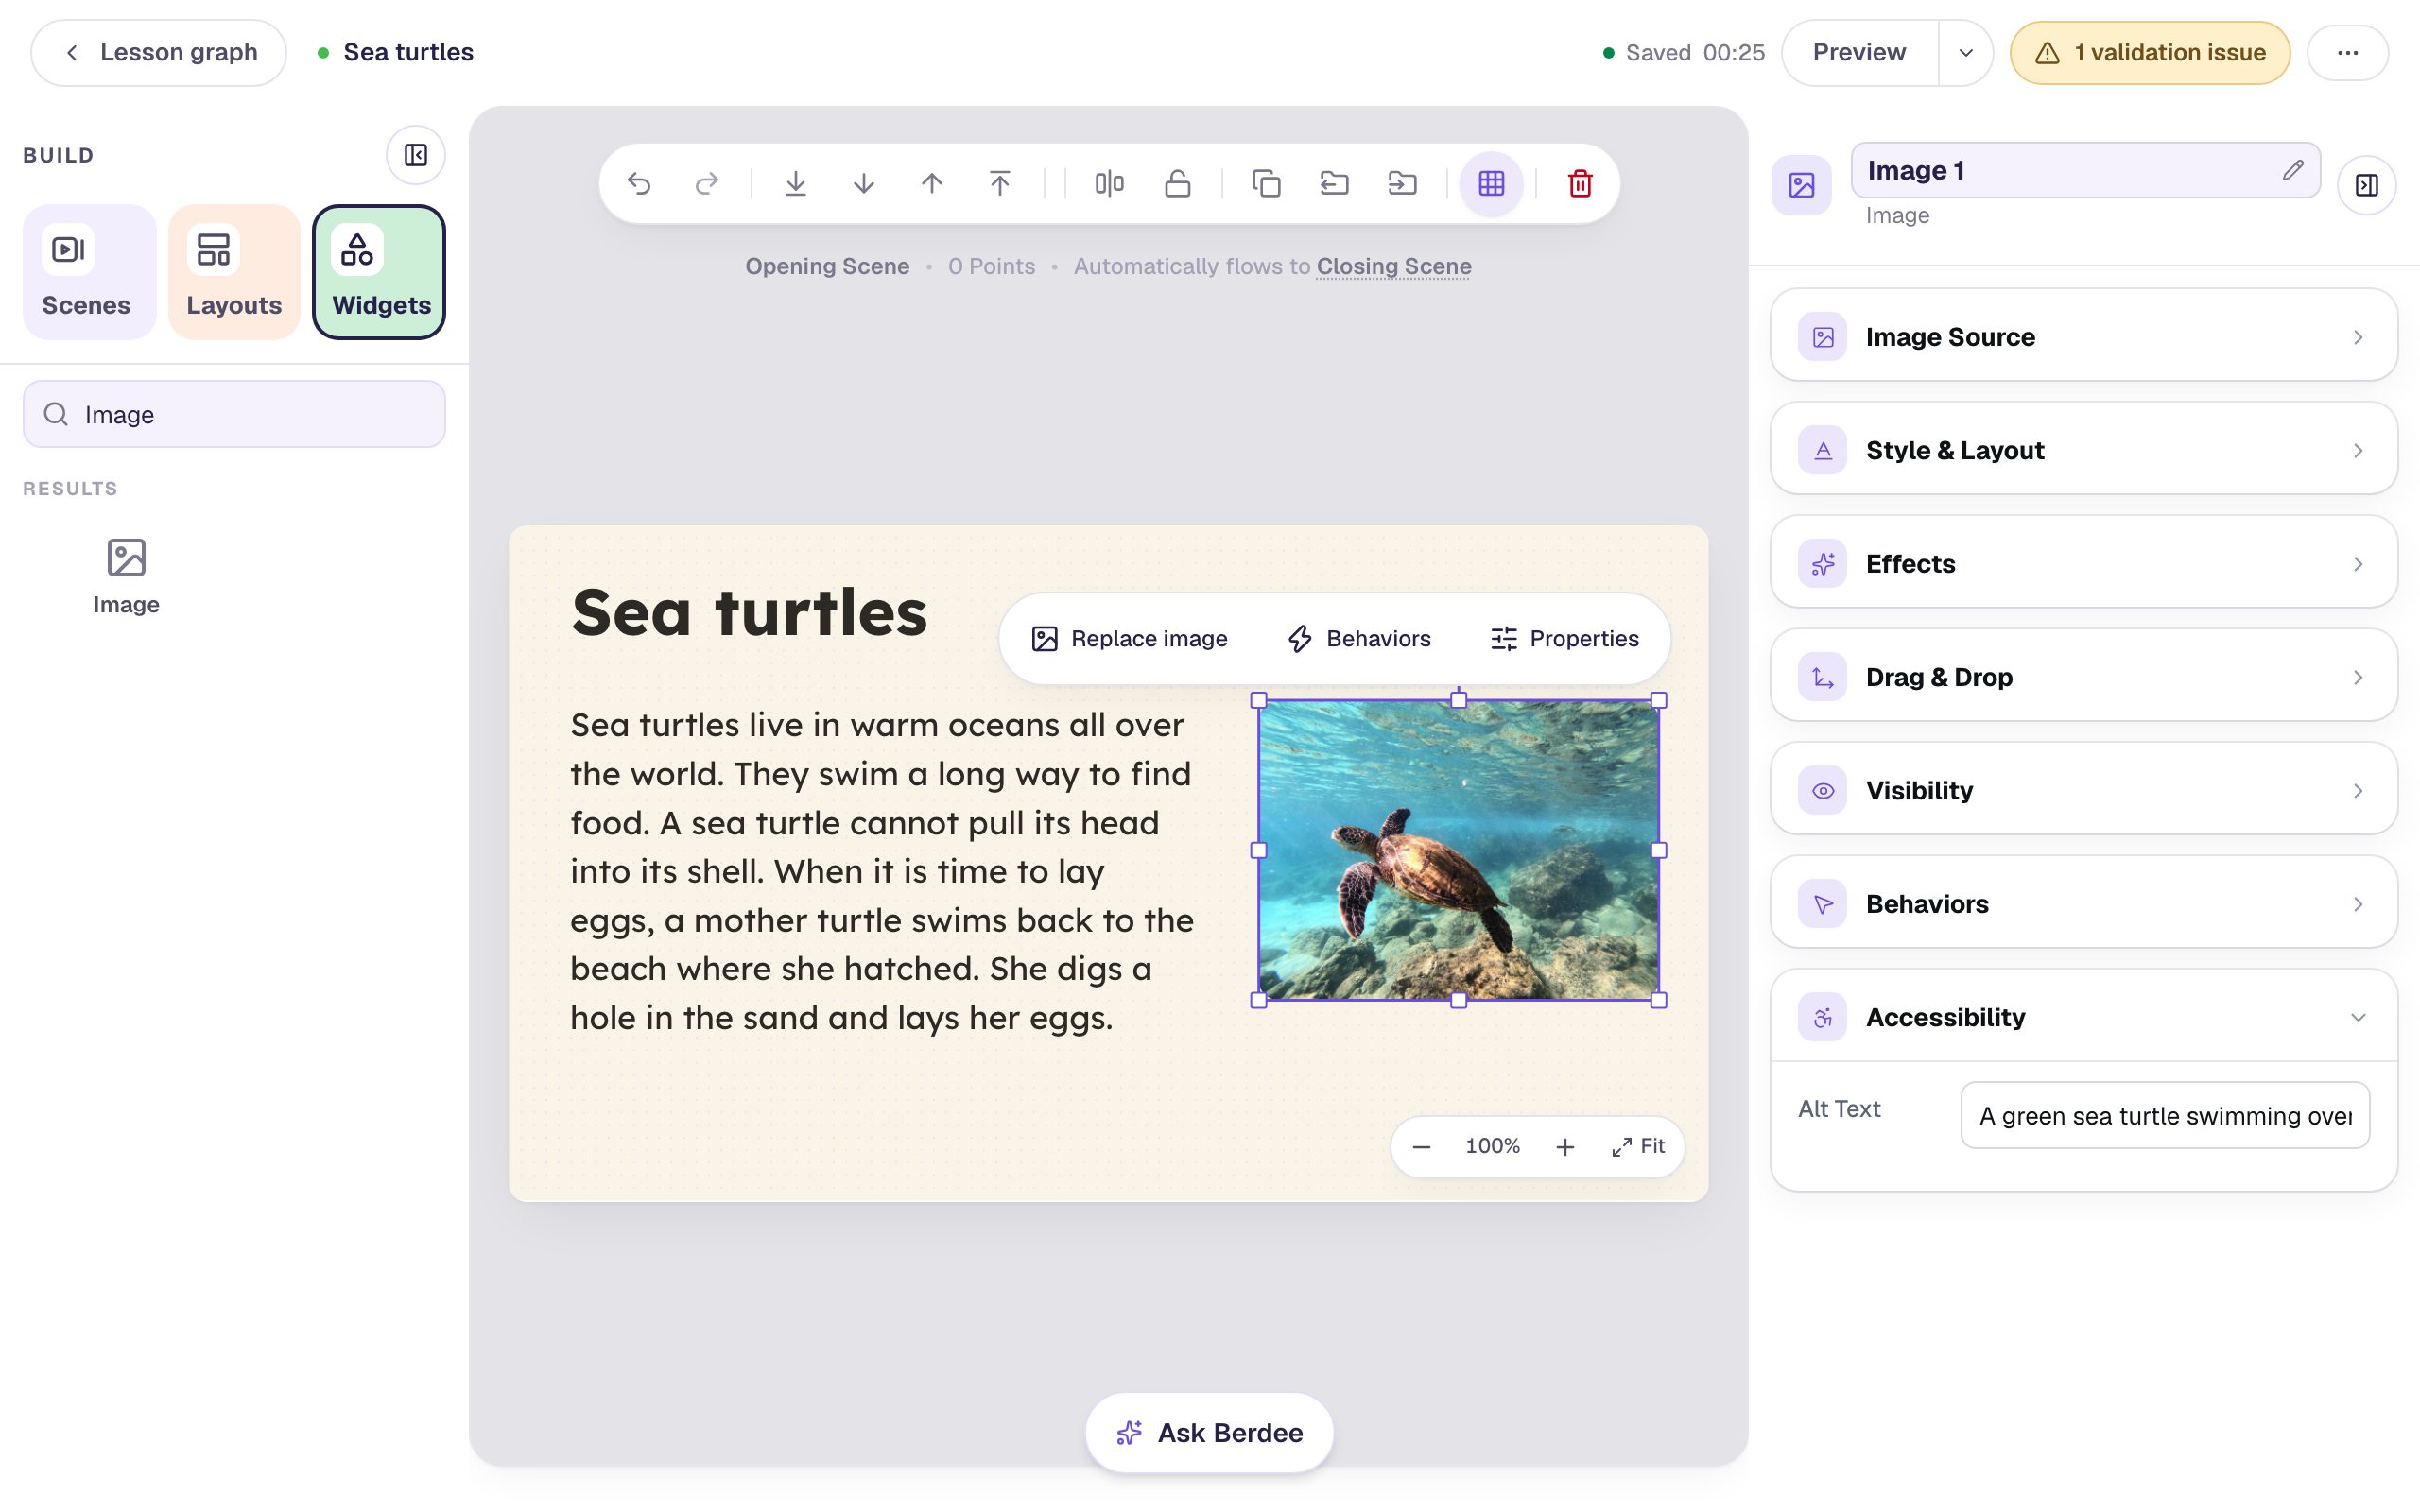
Your search results may differ. Any clear photo works, as long as it shows what the passage is about and doesn't crowd the text.
Step 6: Put the question on a scene of its own
Keep the reading scene for reading. A question underneath the passage competes with it for attention, and on a small screen it pushes the text smaller still.
- Click the Scenes tab, then Add scene. A new scene appears, already cream and already in Lexend.
- Double-click its name and rename it
Question. - Add a Heading with the question:
Where does a mother sea turtle lay her eggs?Set its Font Size to 36 px, choose Fixed width with a Width of880, so the whole question sits on one line, and drag it near the top. - Add a Multi Choice. Click Configure in the pill above it and type four answers:
On a beach,On a coral reef,In a tree, andOn an iceberg. The first answer starts marked correct, which is right here. Click Save. - In Style & Layout, set Font Size to 30 px and turn on Show correctness, then set Width to
760and Height to220and center it under the question.
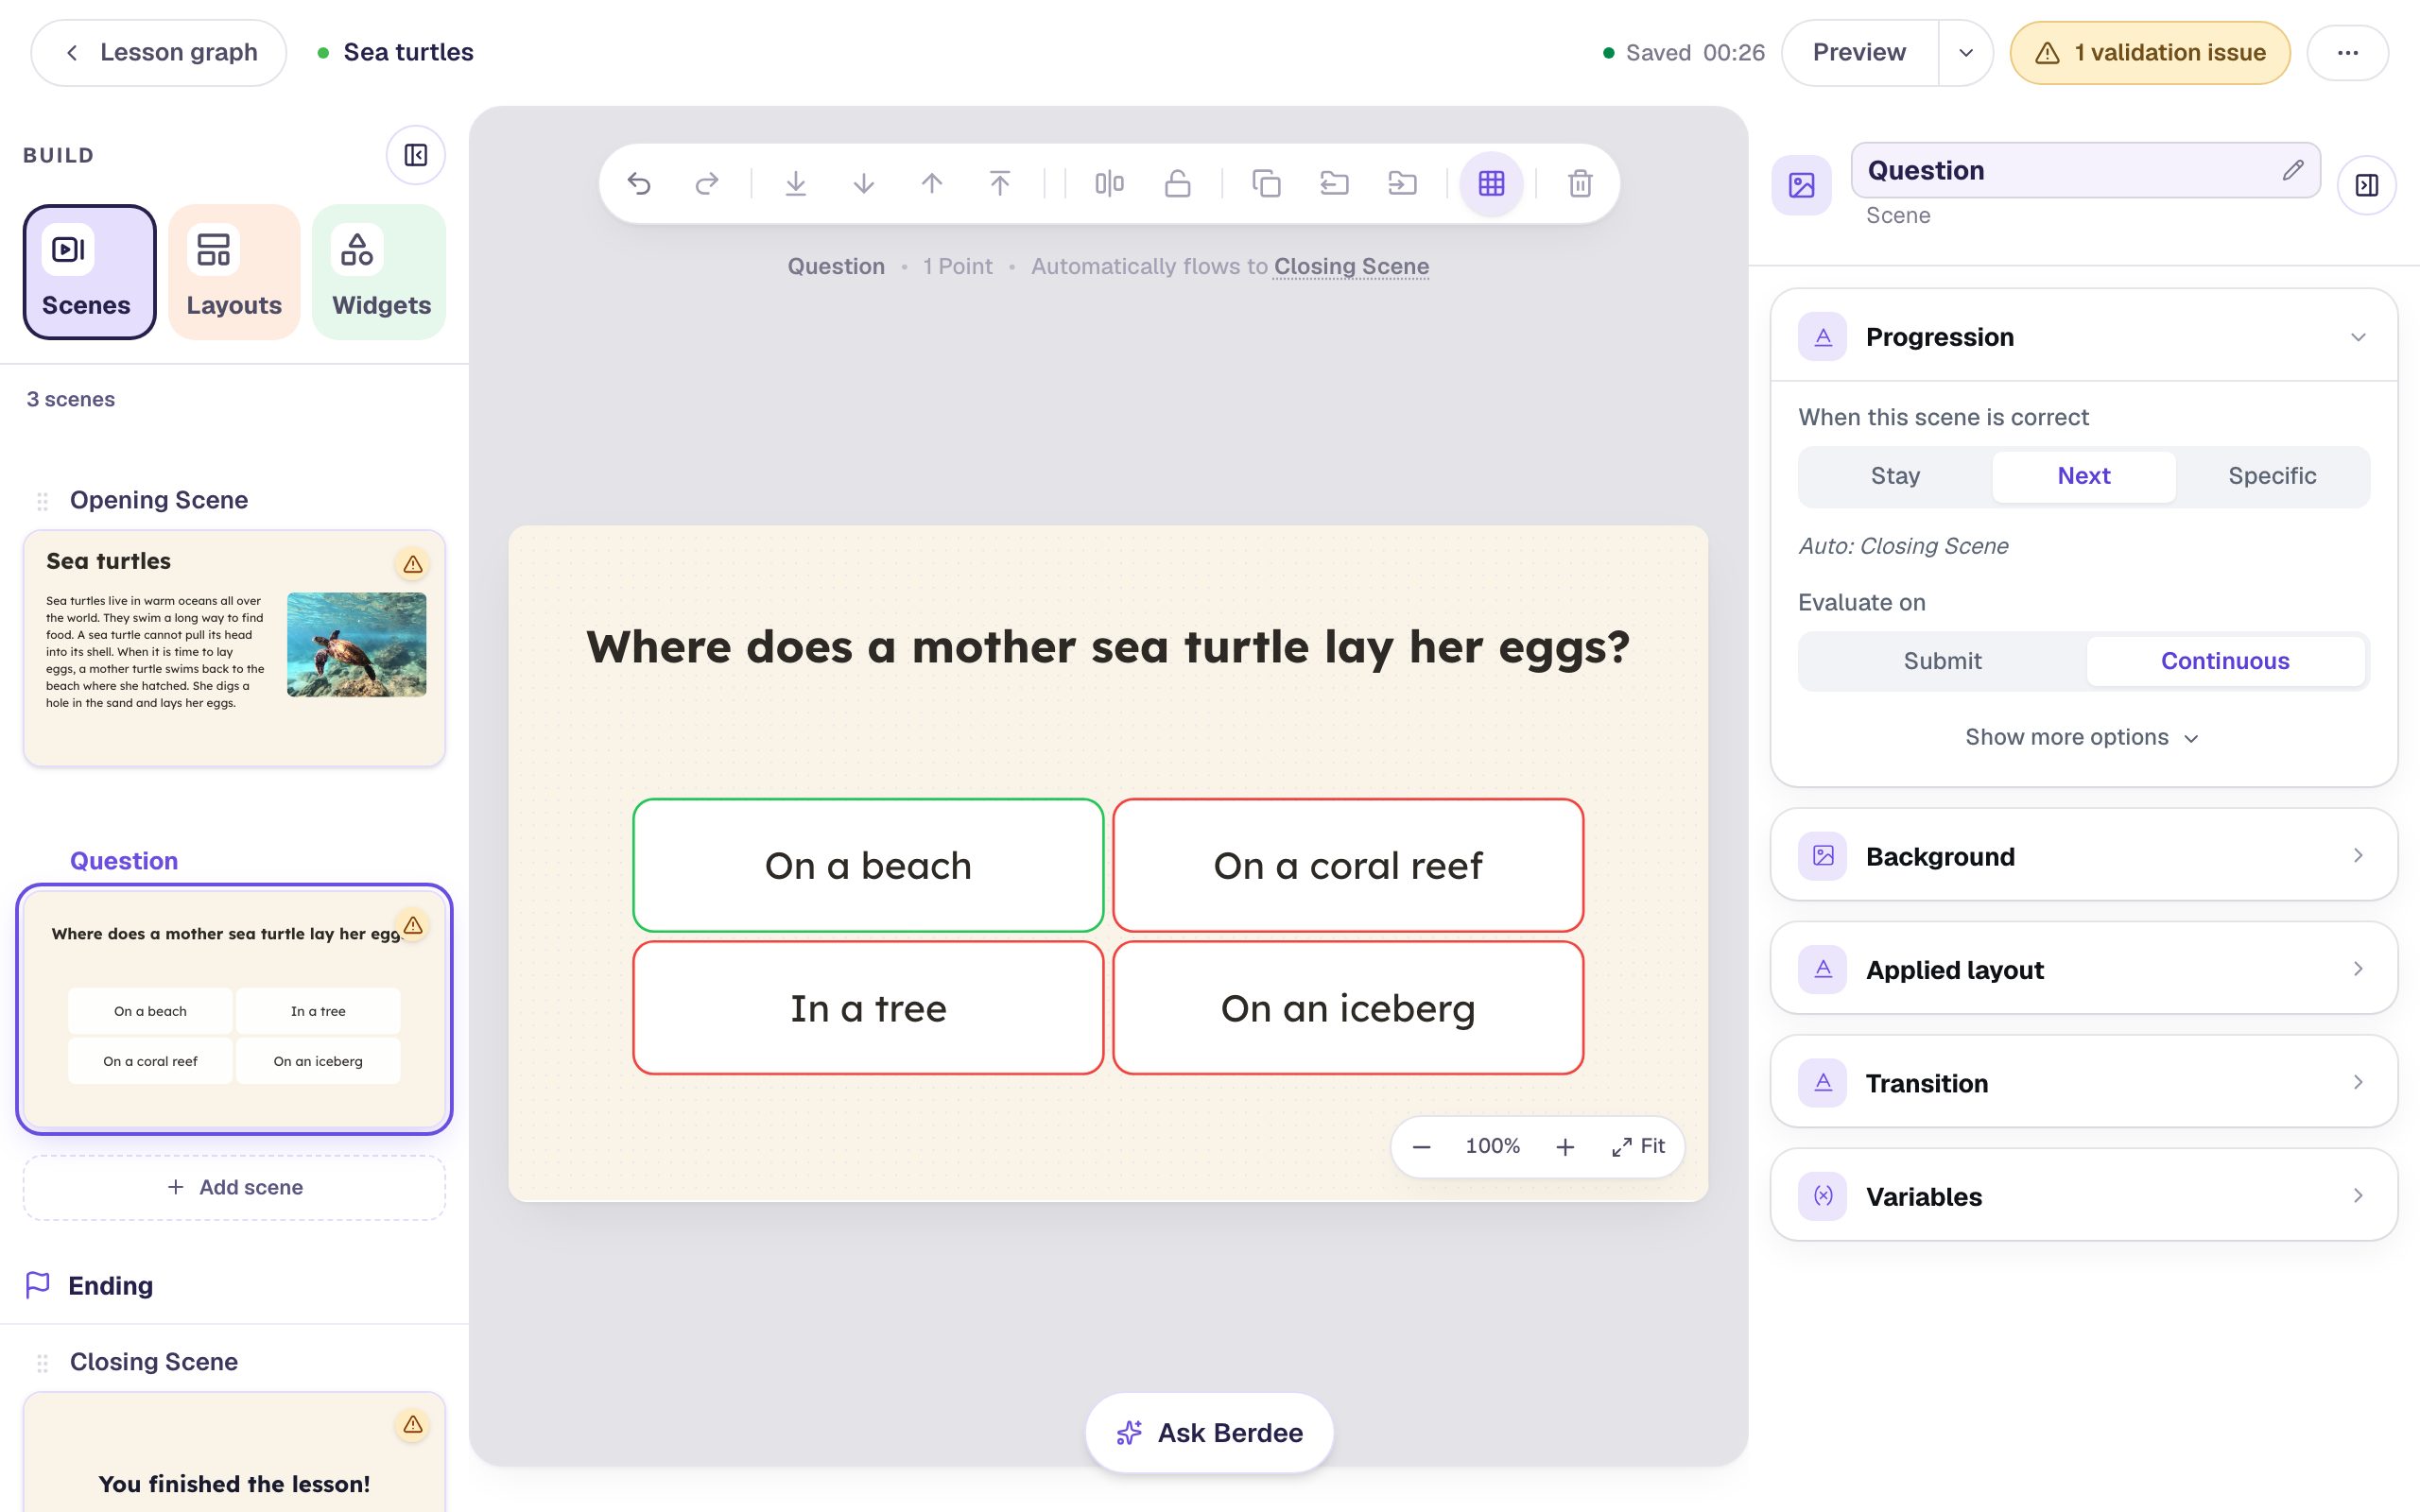
The canvas outlines the correct answer in green while Show correctness is on. Students see the answers shuffled, and an answer turns green or red only once they pick it.
Step 7: Add a button that moves on when students are ready
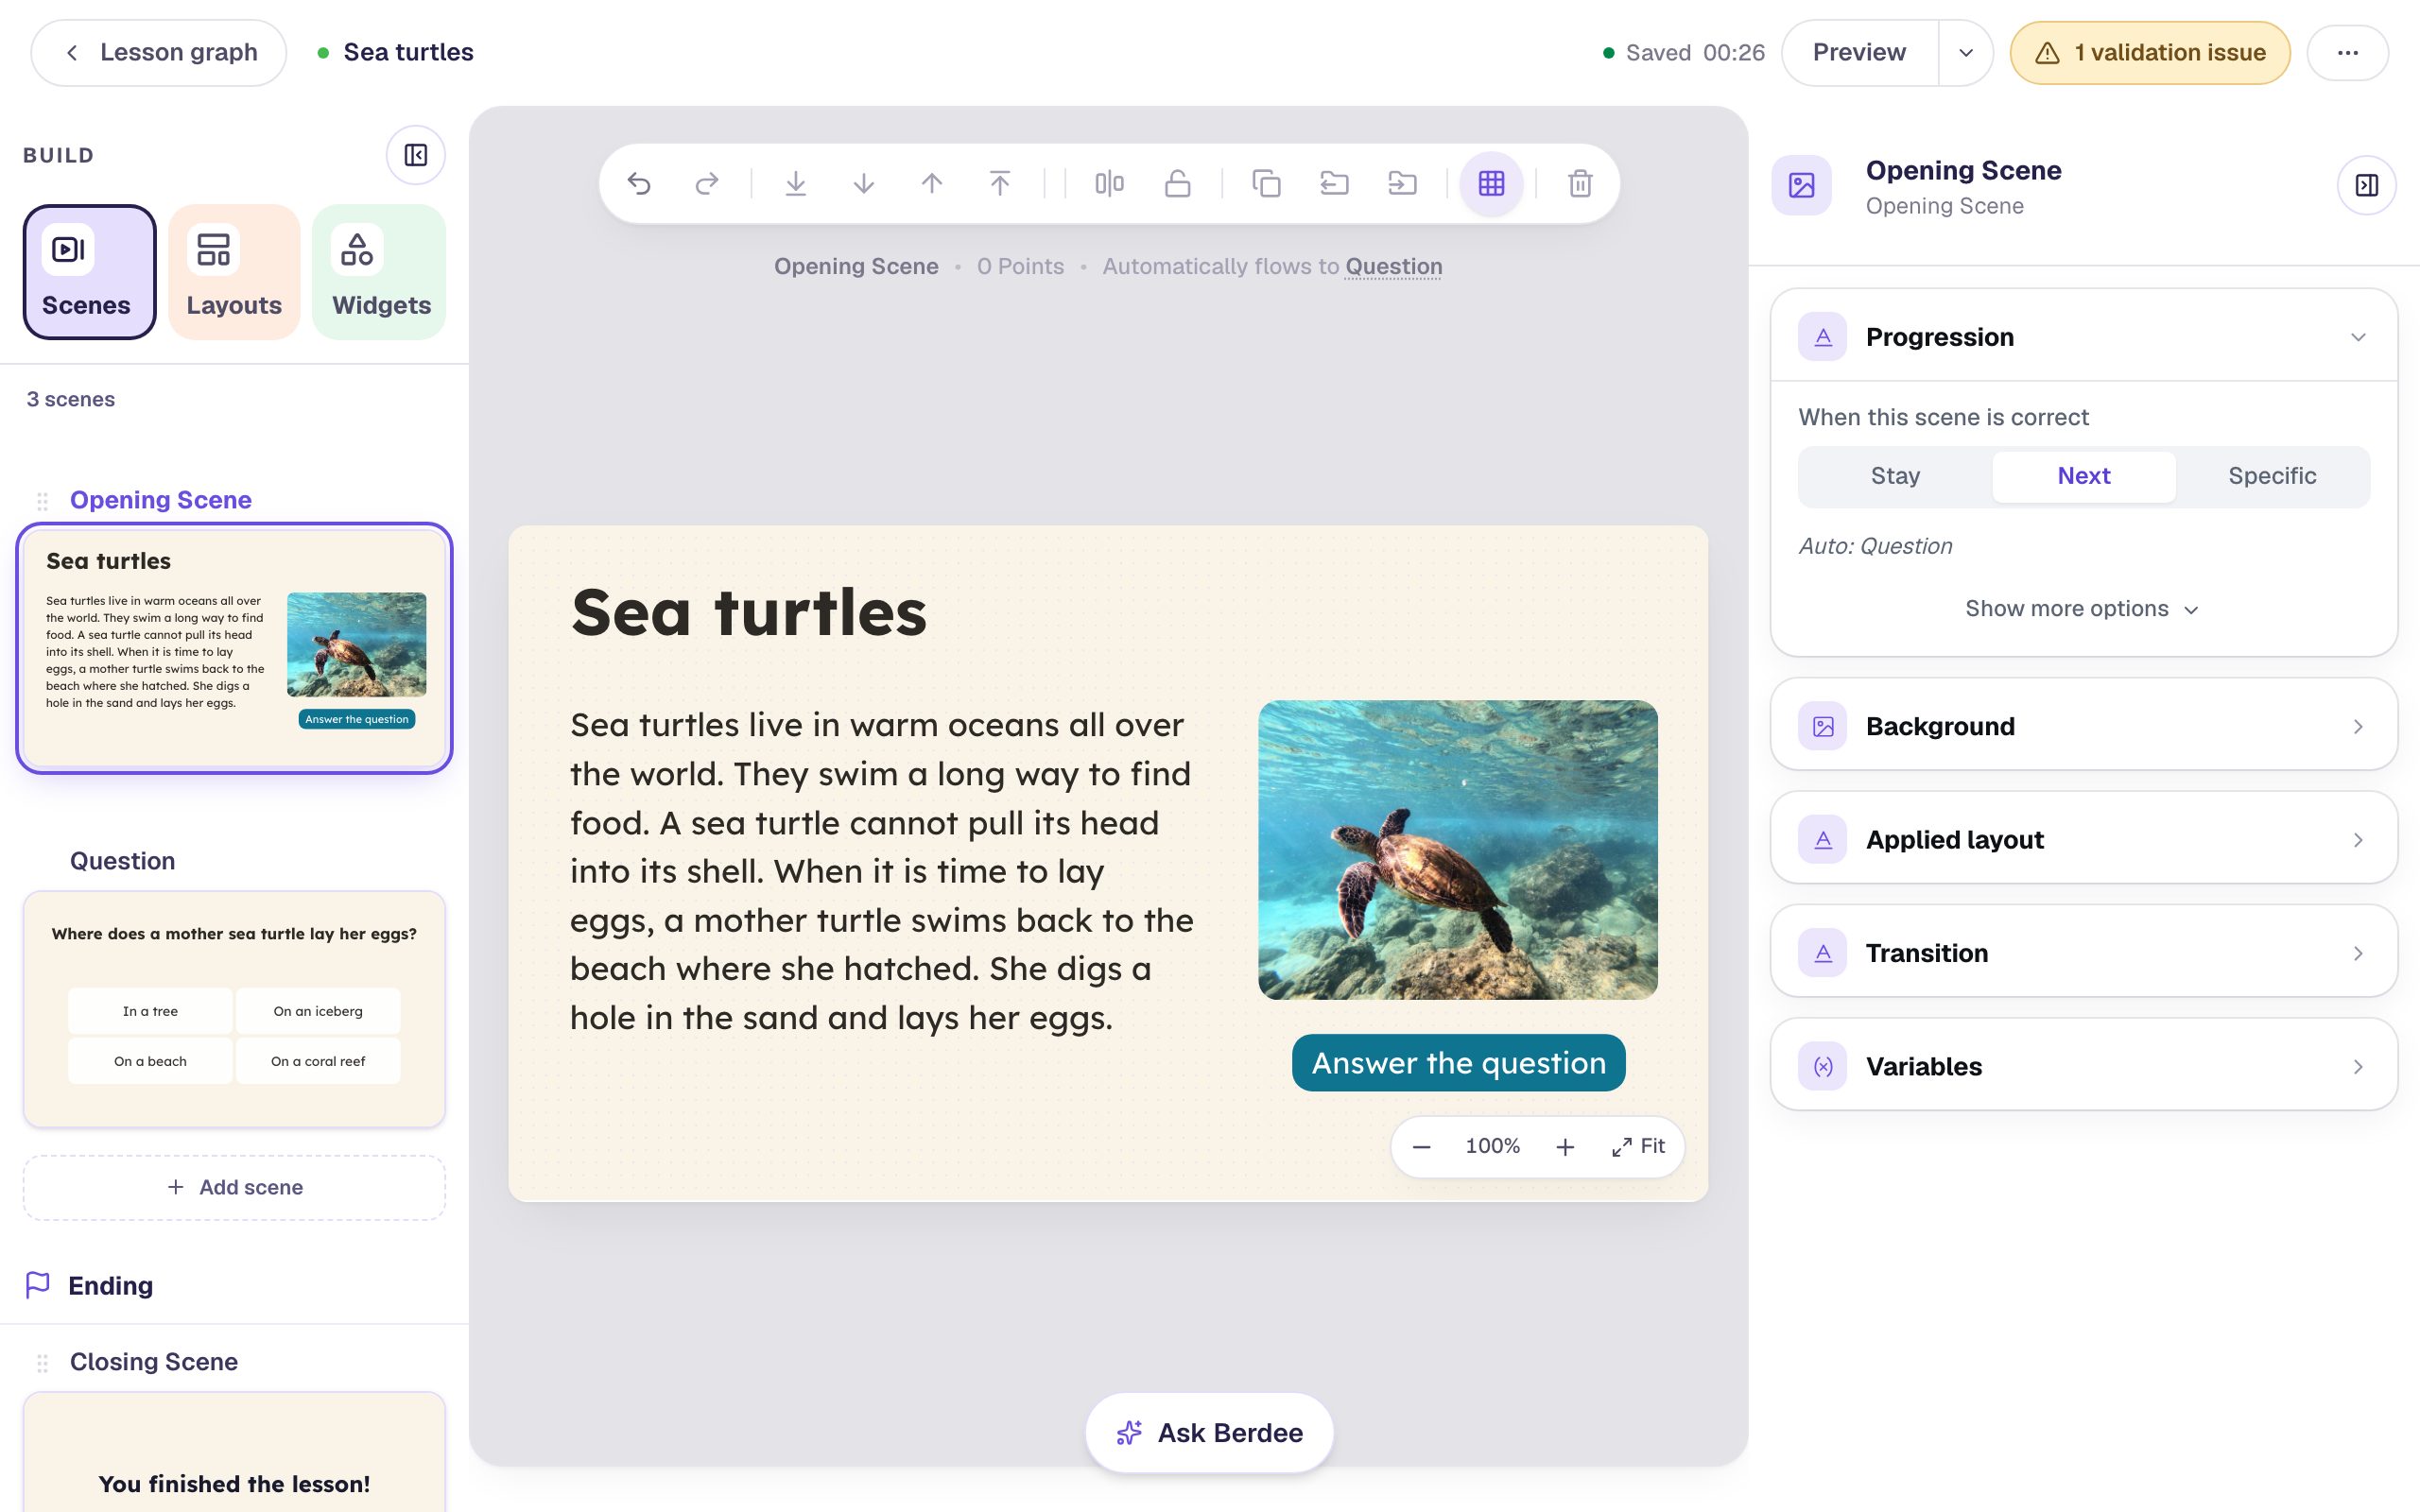
On the reading scene, students should decide when they've finished reading. Go back to the Opening Scene and add a Button. Click Configure, change Label to Answer the question, and click Save.
Click Behaviors in the pill above the button, then Make this a "Next" button. Goes to already says Question, because you made that scene first. Click Add behavior.
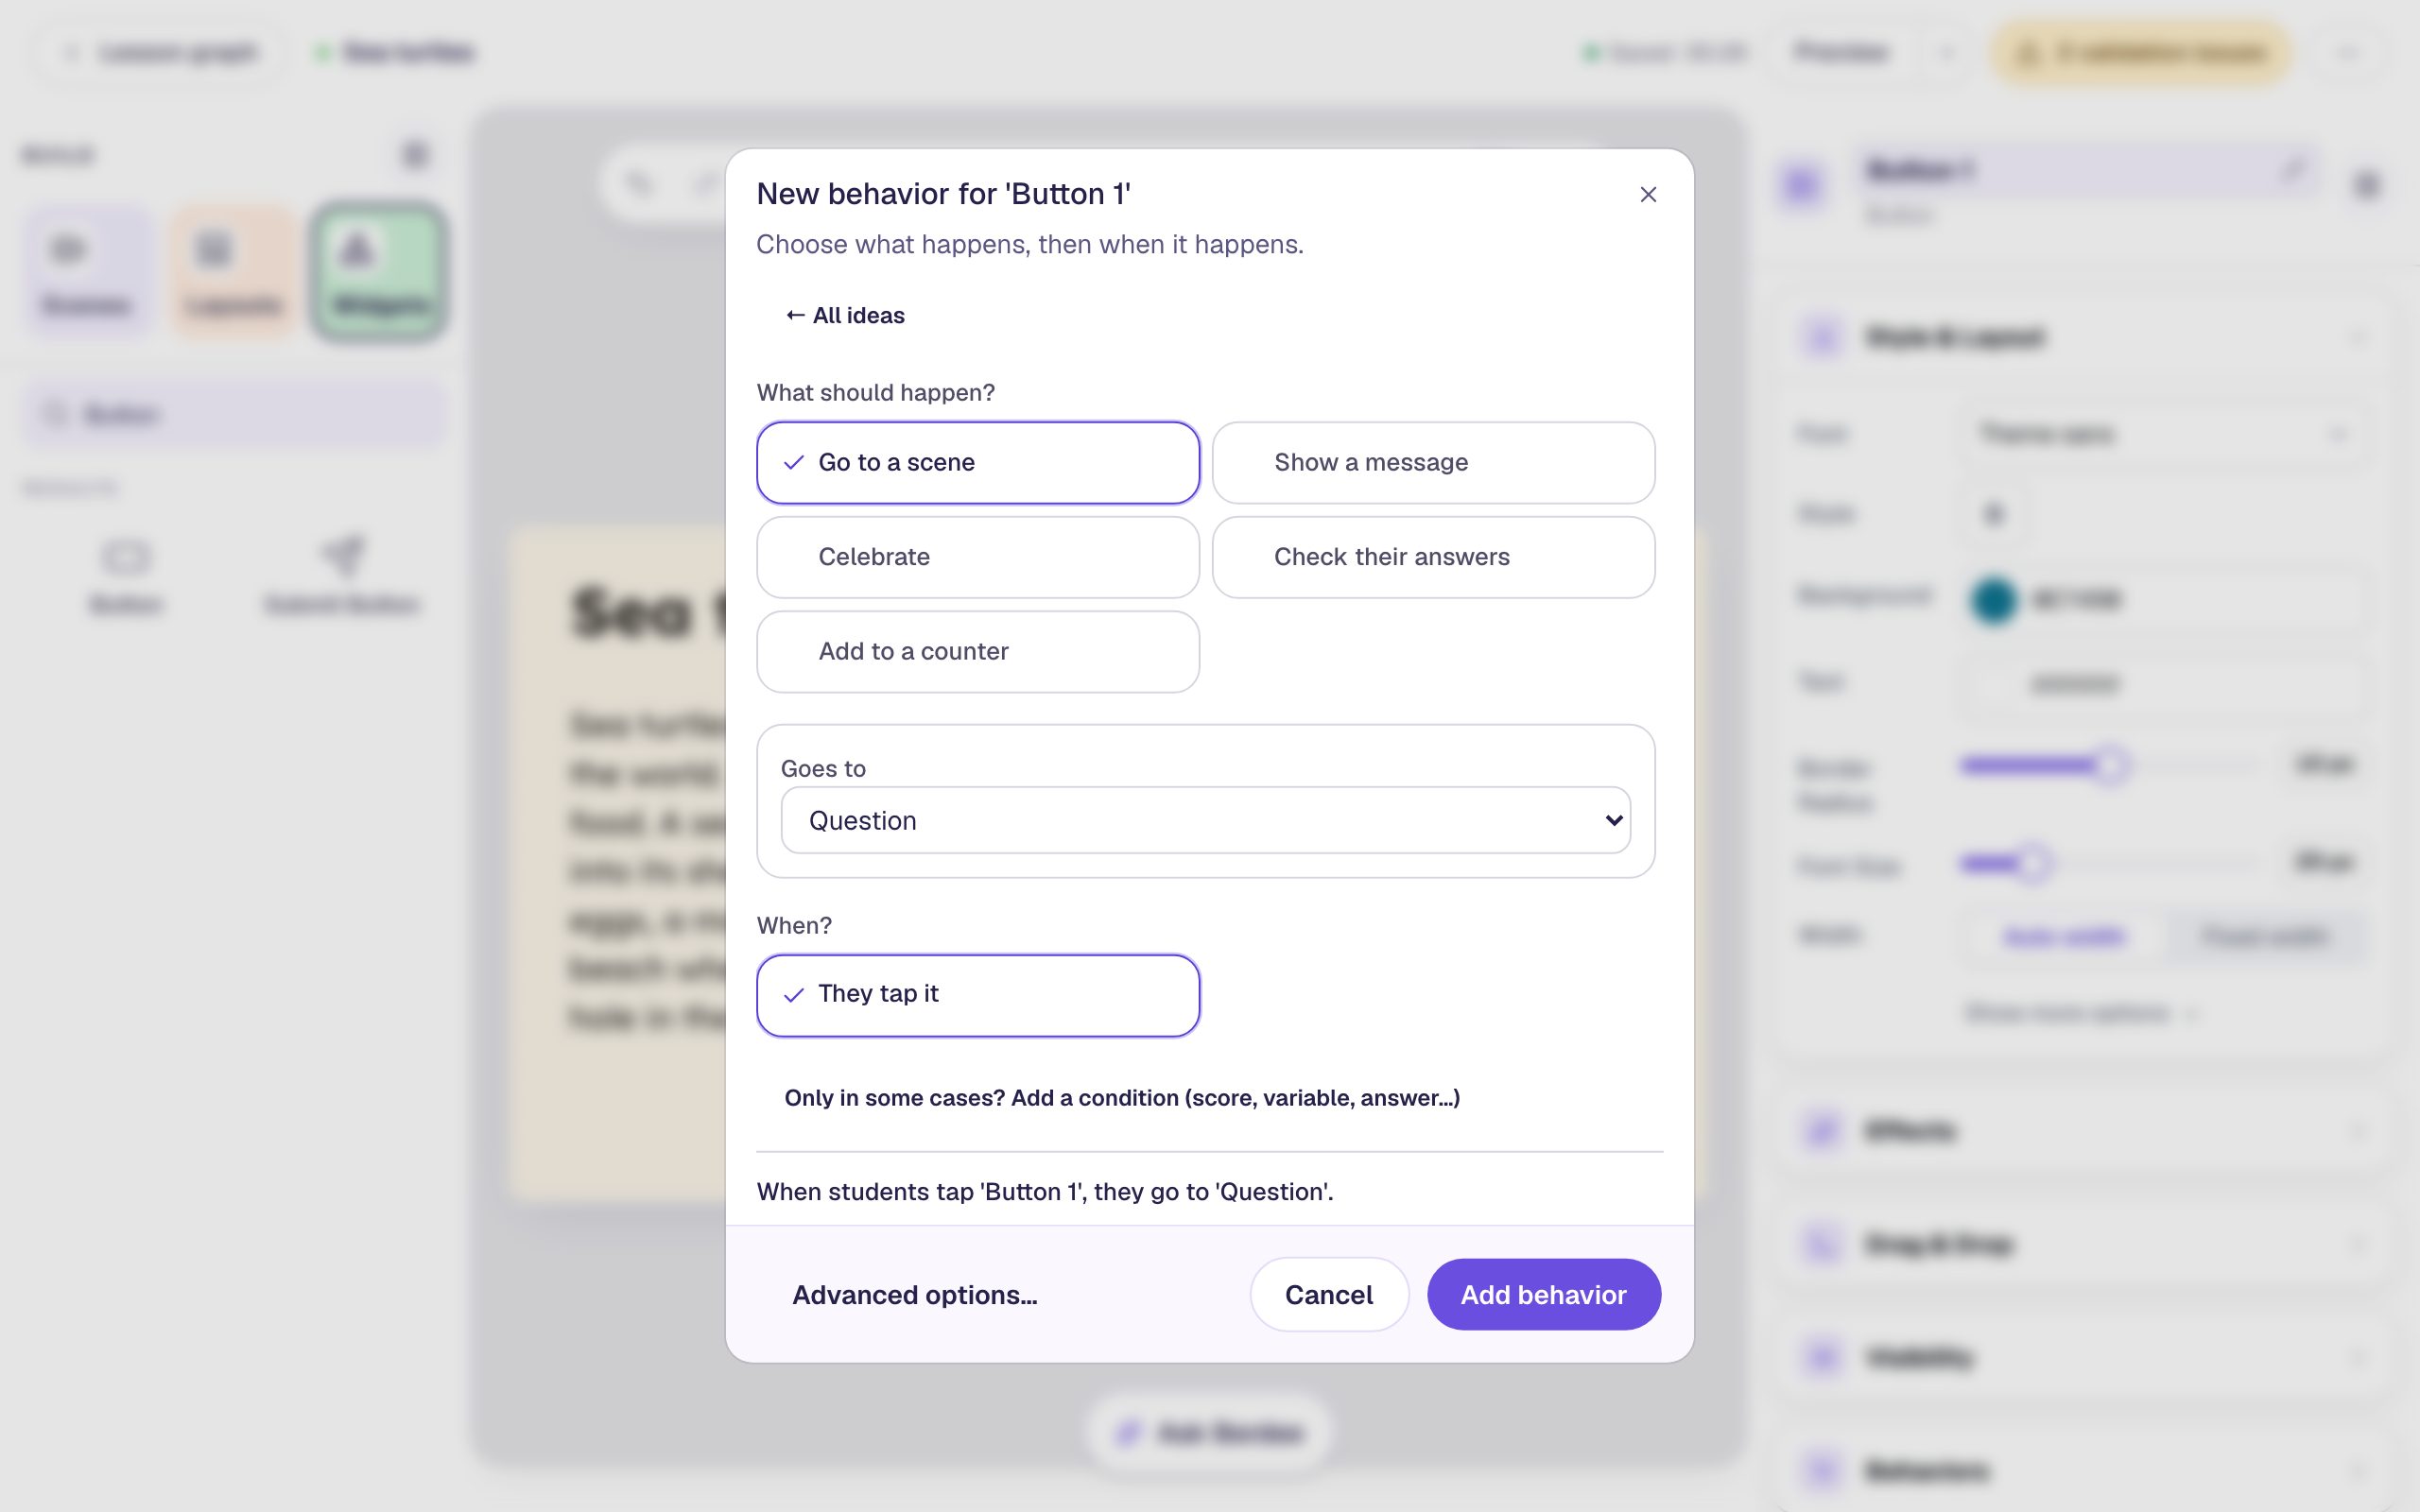
Set the button's Font Size to 24 px and drag it under the photo. It arrives in the palette's teal with white text, which is easy to spot without being loud.
Step 8: Read it as a student
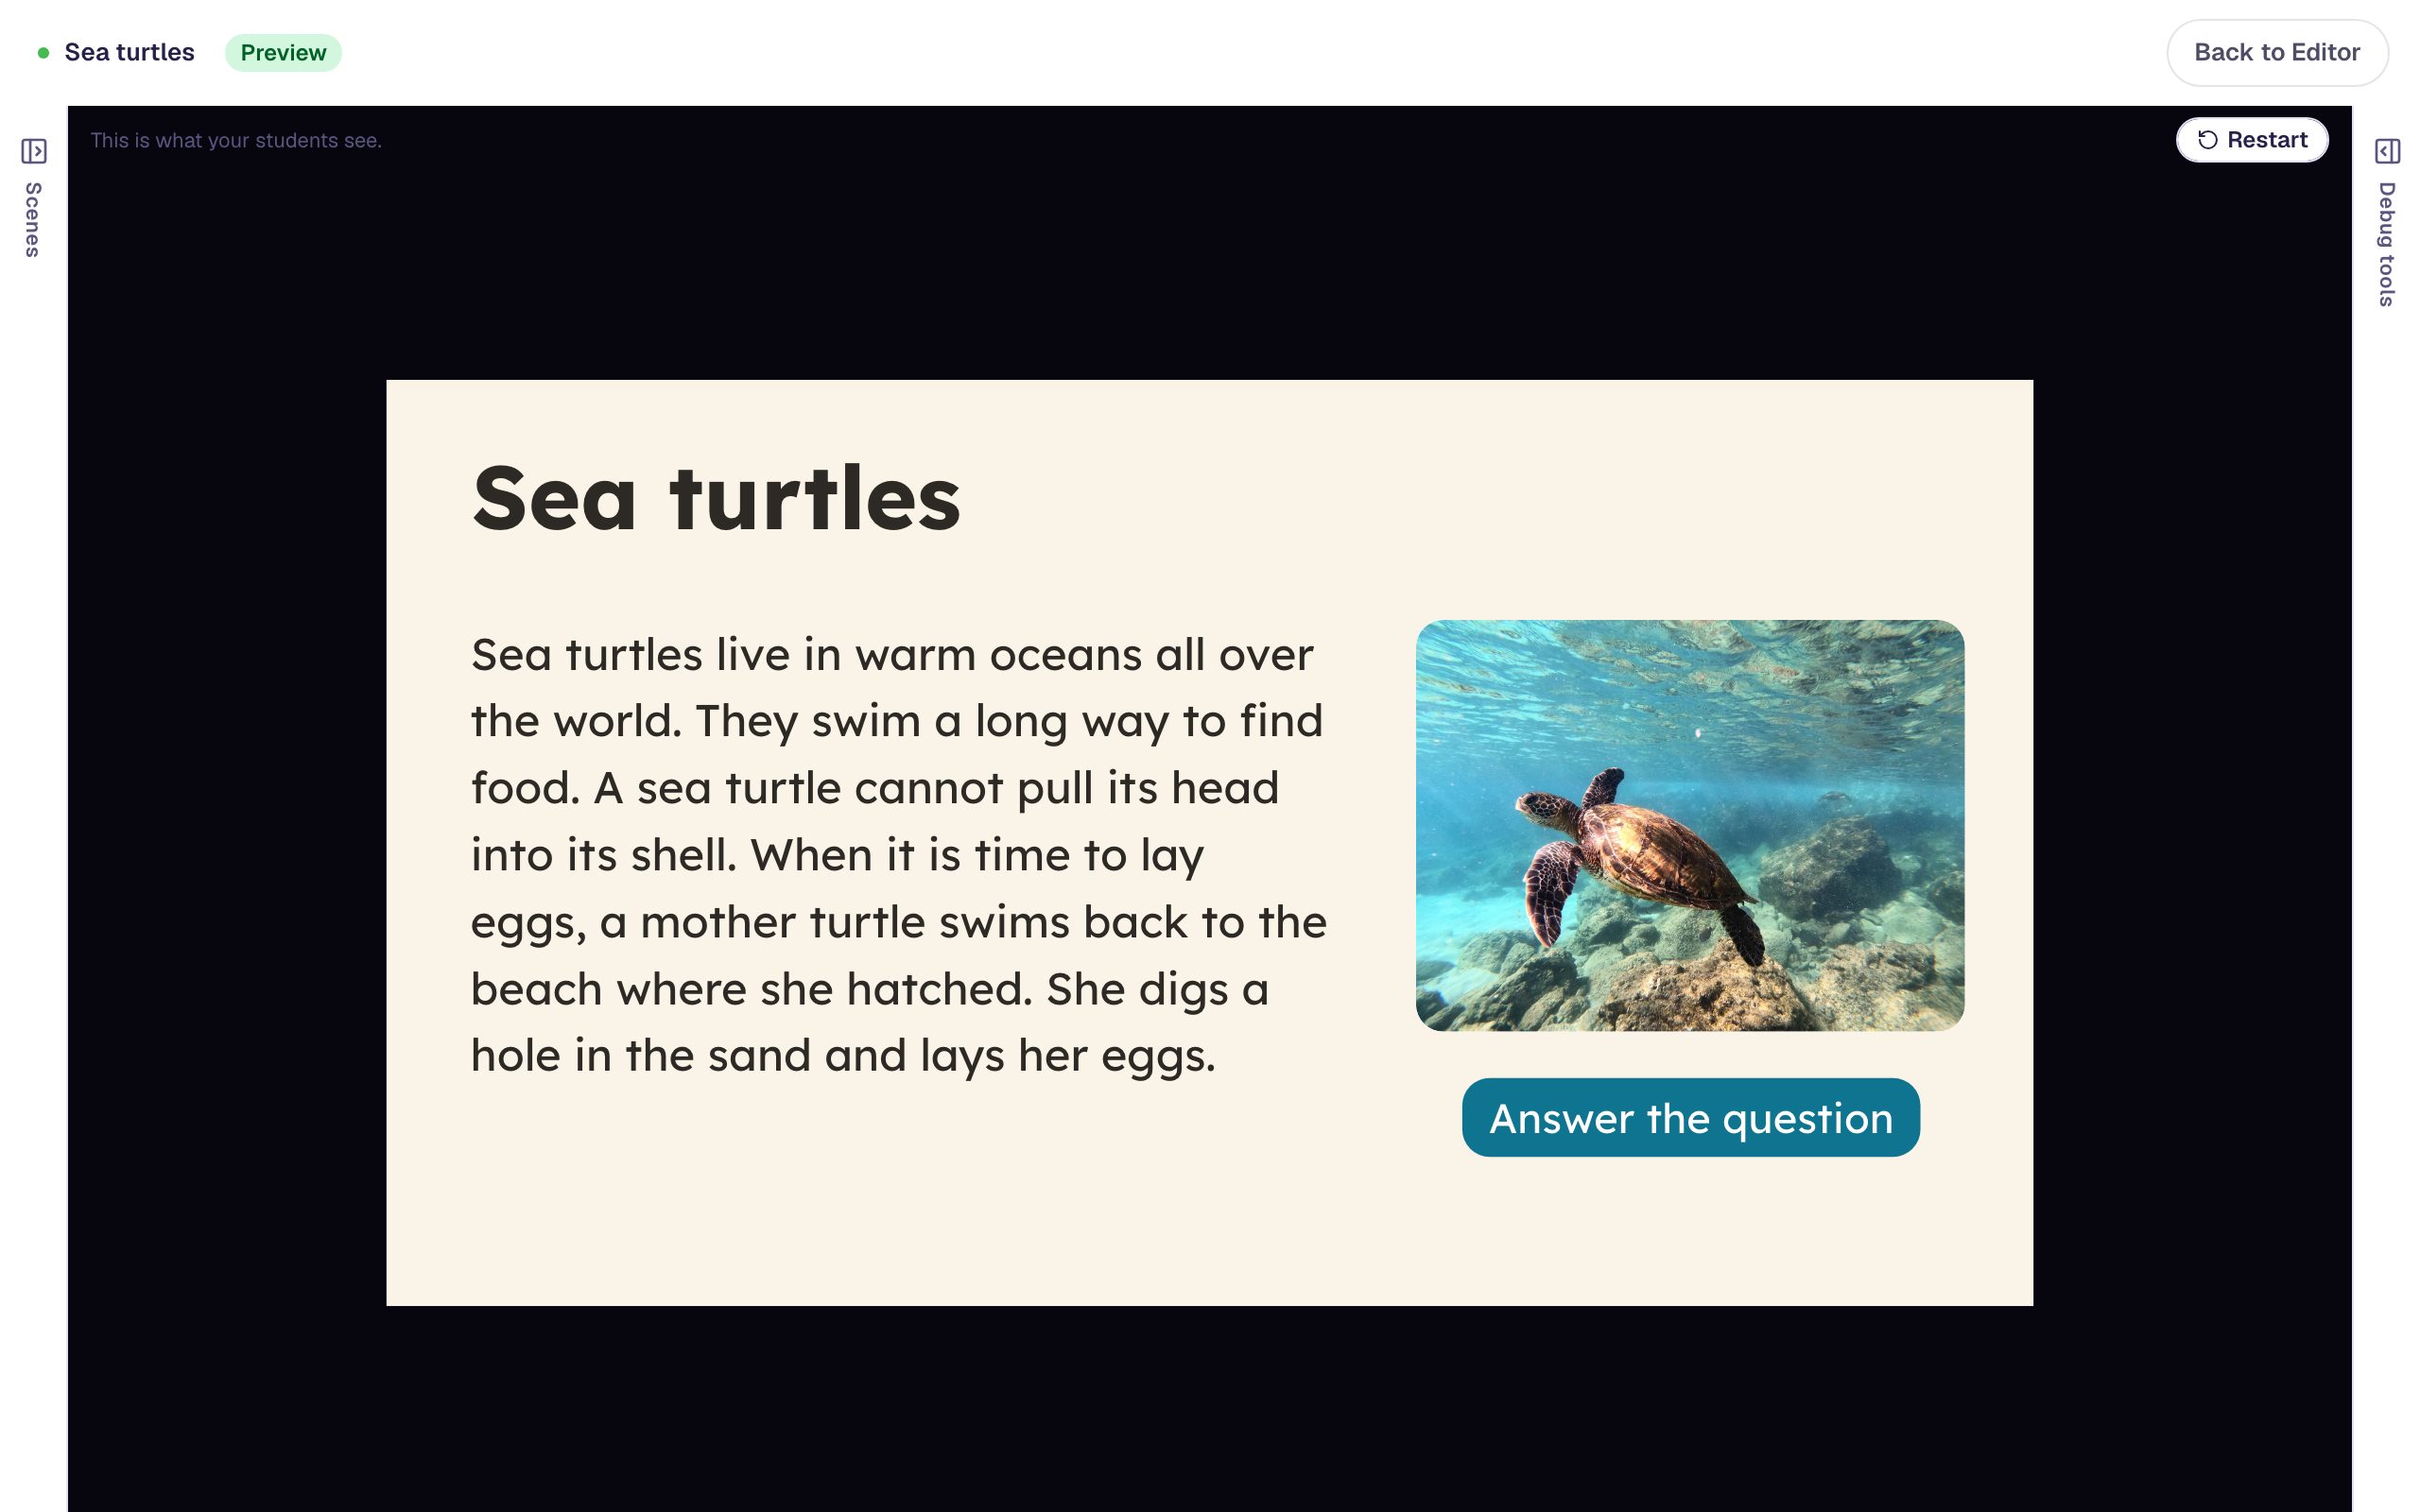
With the Opening Scene open, click Preview:
The passage is what students see first, with nothing to do but read it.
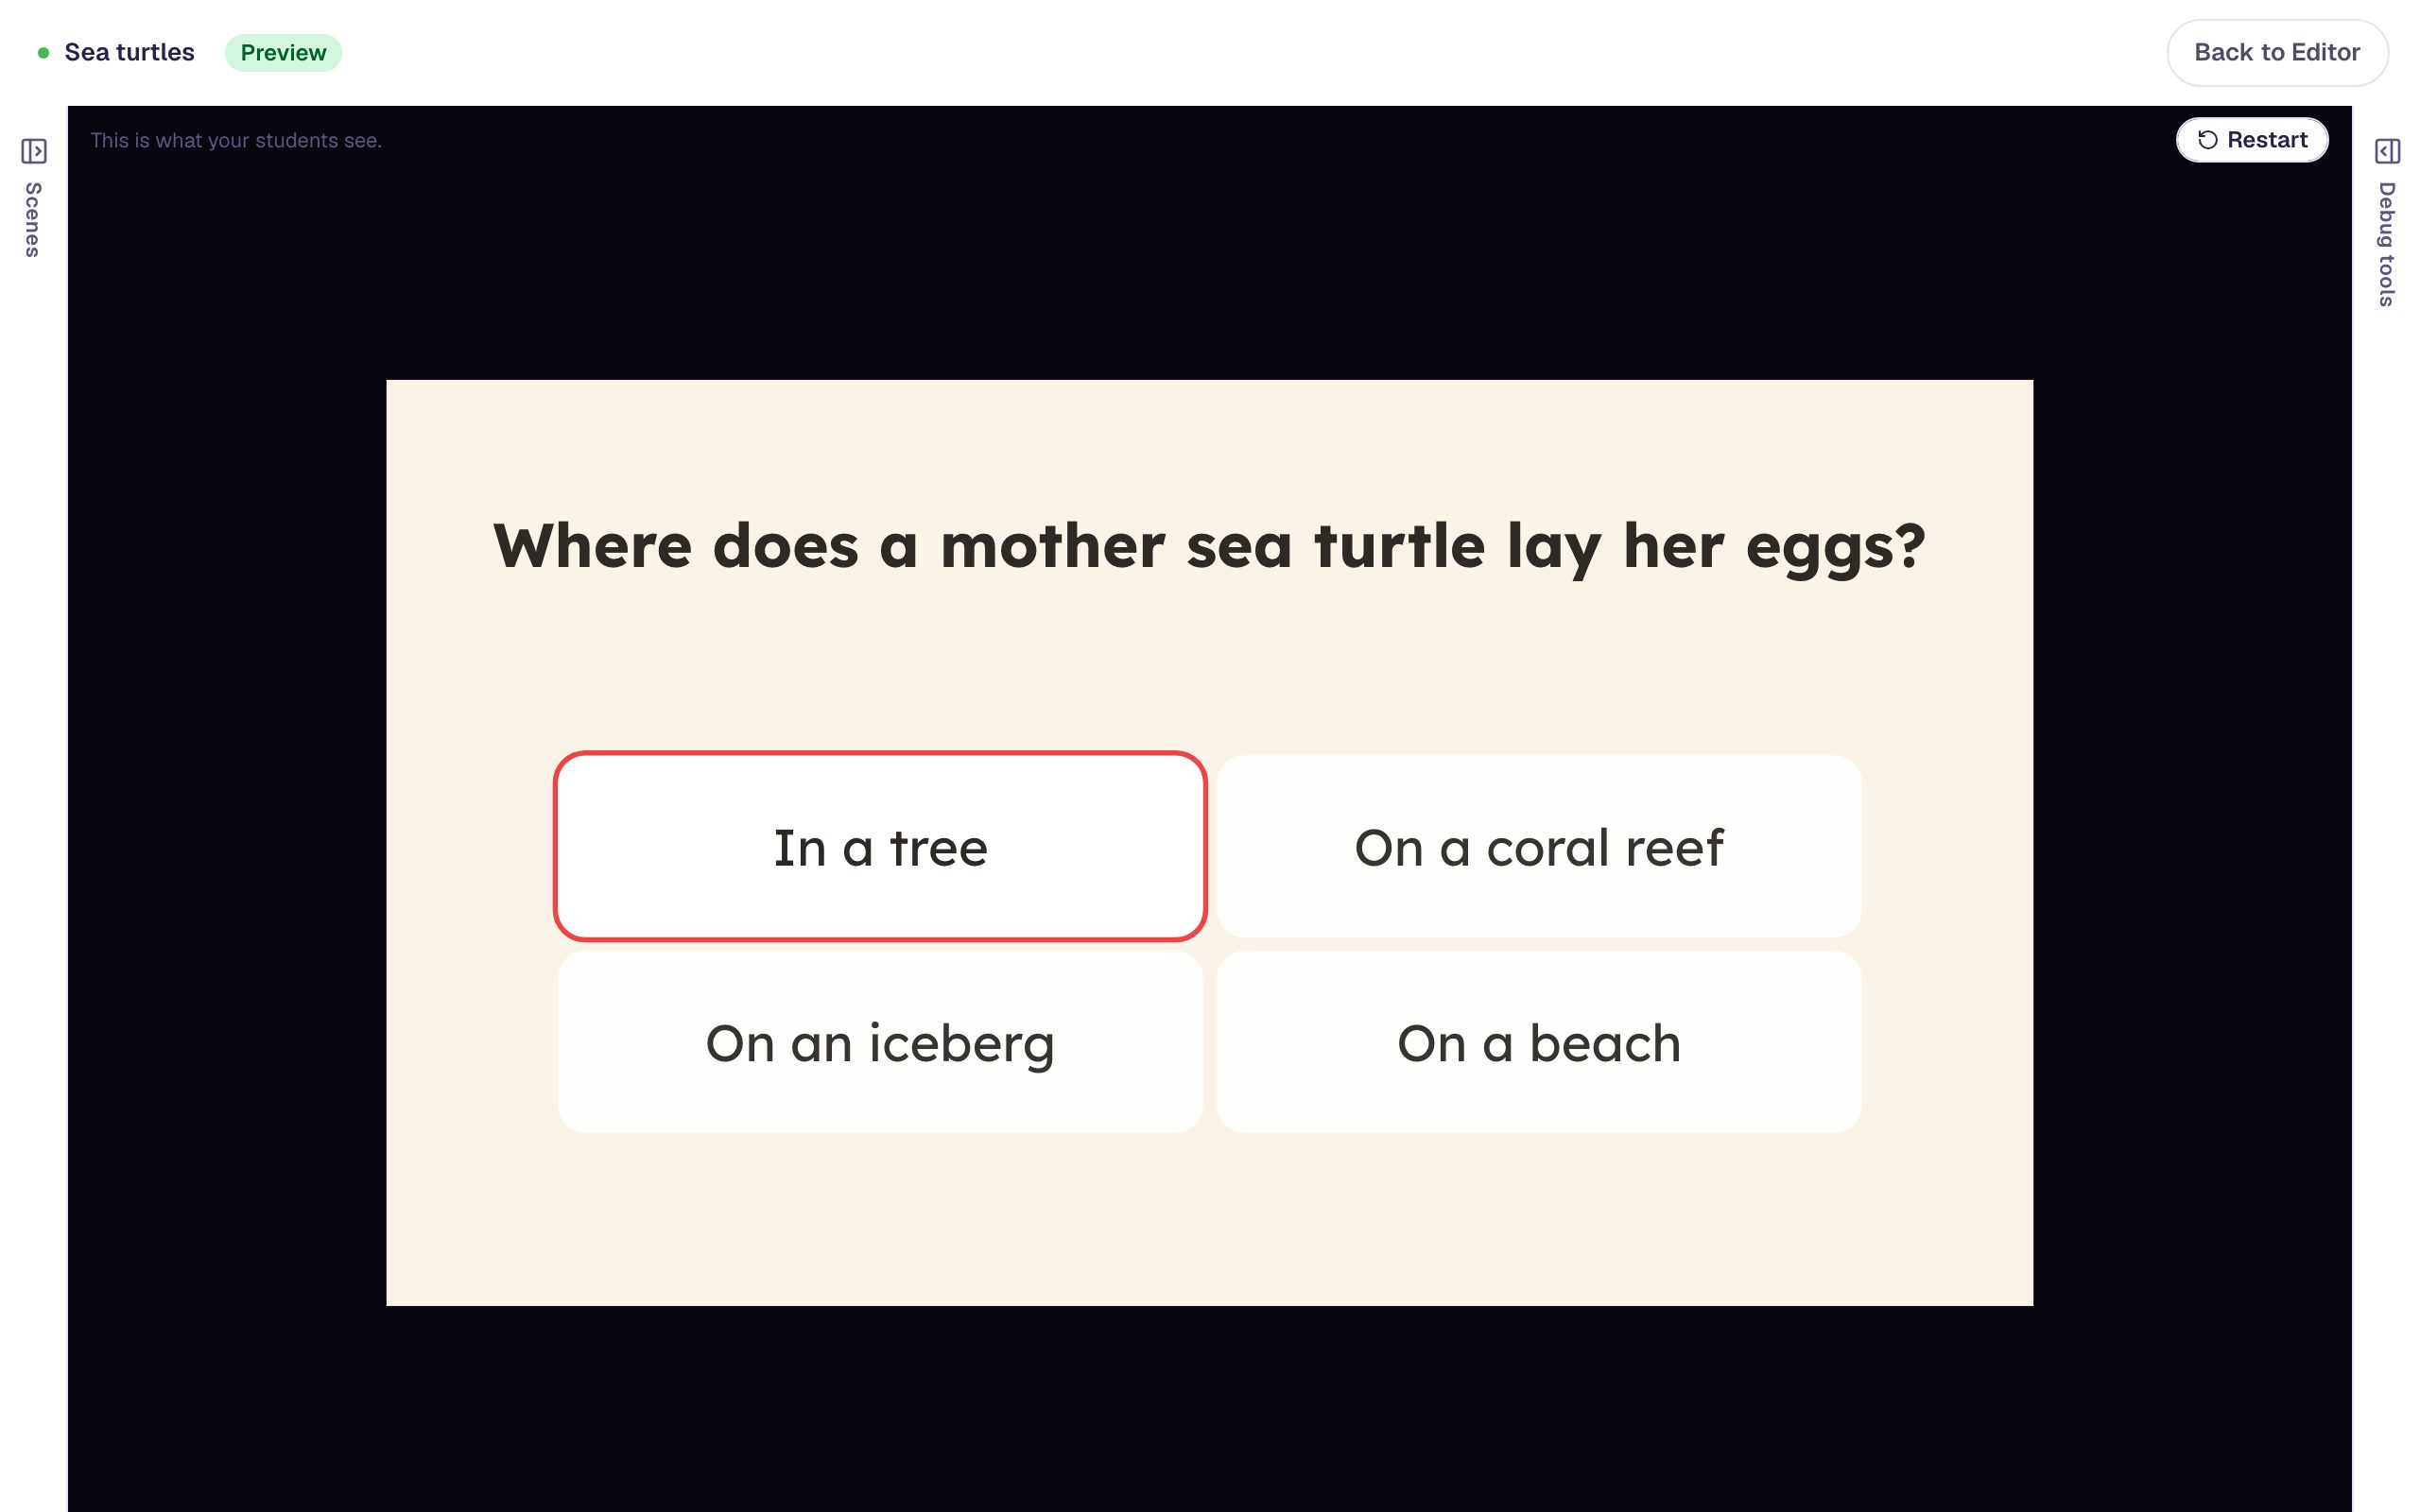
Click Answer the question. Pick a wrong answer, like In a tree: it's outlined in red, and the student can pick again.
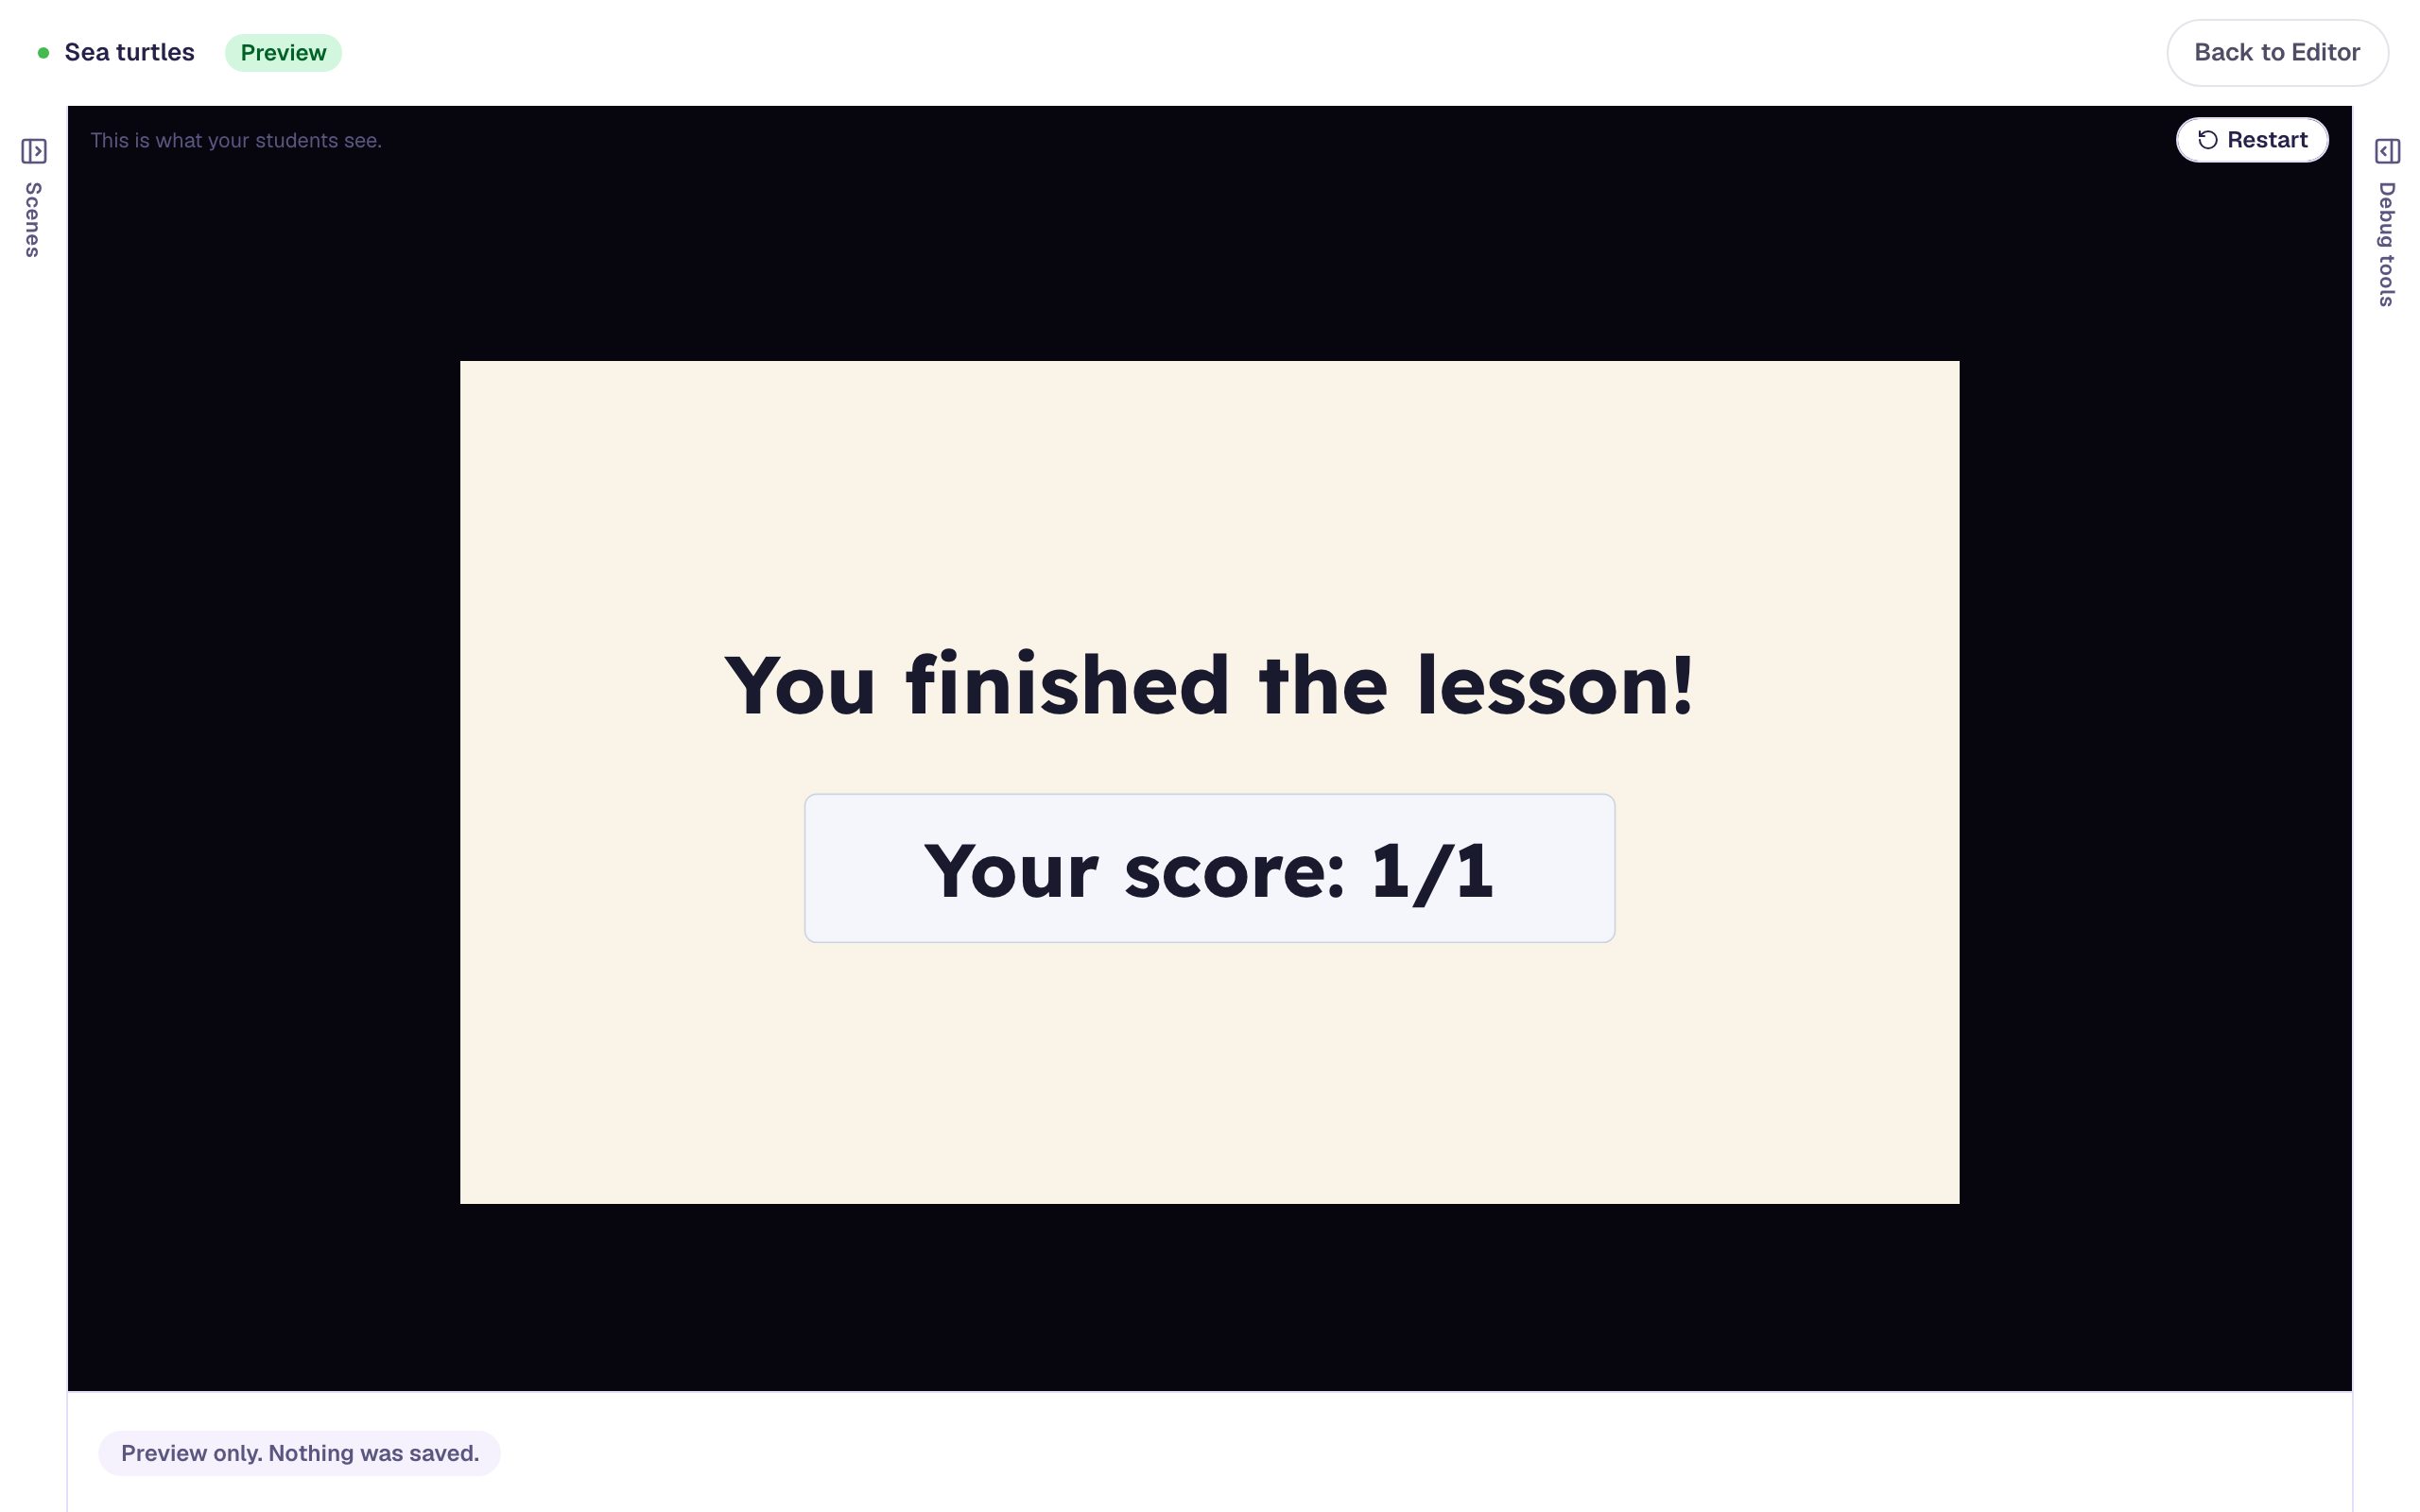
Pick On a beach, and the lesson moves on to the ending with Your score: 1/1.
The yellow pill at the top of the studio says 1 validation issue: No Lesson-Submit Button. That's about finishing the lesson, not how it reads. Build your first quiz question shows how to add one before you publish.
What you built
You built a reading lesson that's easy on every reader:
- the Lexend Clear palette, for a reading-friendly font and a soft cream background on every scene,
- a passage with short, left-aligned lines in a 500-wide box,
- text at 26 px with 1.50× line spacing,
- a photo beside the passage, described in Alt Text for screen readers, and
- a question on its own scene, reached with a button students press when they've finished reading.
For students who are still learning to read, add a player that reads the passage aloud: Read a question aloud for students who are still learning to read shows how, and it works just as well for a passage.
Make this lesson yours
Add the lesson you just watched being built to your account, then change it for your class: your questions, your pictures, your colors.
Free to sign up, and you'll come straight back here. I have an account