Illustrate a lesson with pictures you generate
Describe a picture in a sentence and Berdee draws it for your lesson. Then remix that picture into a second one in the same style, so every scene looks like it belongs to the same story.
- Level
- Beginner
- Time
- About 10 min
- Steps
- 8
A two-scene monarch butterfly lesson with a generated title illustration, a matching caterpillar picture made by remixing it, and alt text that describes both for students who use a screen reader.
Get the finished lesson
Skip straight to the result, or keep it open beside the steps. Add this tutorial's lesson to your account and explore how it works in the studio.
Free to sign up, and you'll come straight back here. I have an account
Sometimes the picture you want doesn't exist in any stock library. In this tutorial you'll describe one in a sentence and have Berdee draw it: a monarch butterfly for the title of a lesson on its life cycle. Then you'll remix that picture into a caterpillar for a question scene, so both pictures share the same style and colors.
Image generation is part of your monthly AI usage, so it's available on Plus and above. Each picture you generate or remix counts as one. See Generate Images with AI for the details.
Step 1: Make room for a picture
Start a new lesson from scratch and name it The monarch butterfly. On the Opening Scene:
- Give the scene a background. Click the gray area outside the scene, open Background, click Choose a style, and pick Mesh sunrise, a warm peach that suits orange butterflies.
- Add a Heading that says
Meet the monarch butterflyand a Body line under it:Follow one butterfly from a tiny egg to bright orange wings.Drag them to the right half of the scene. - In Lesson Widgets, search for
Imageand click the Image tile. In Style & Layout, set Width to440and Height to330, then drag it to the left half.
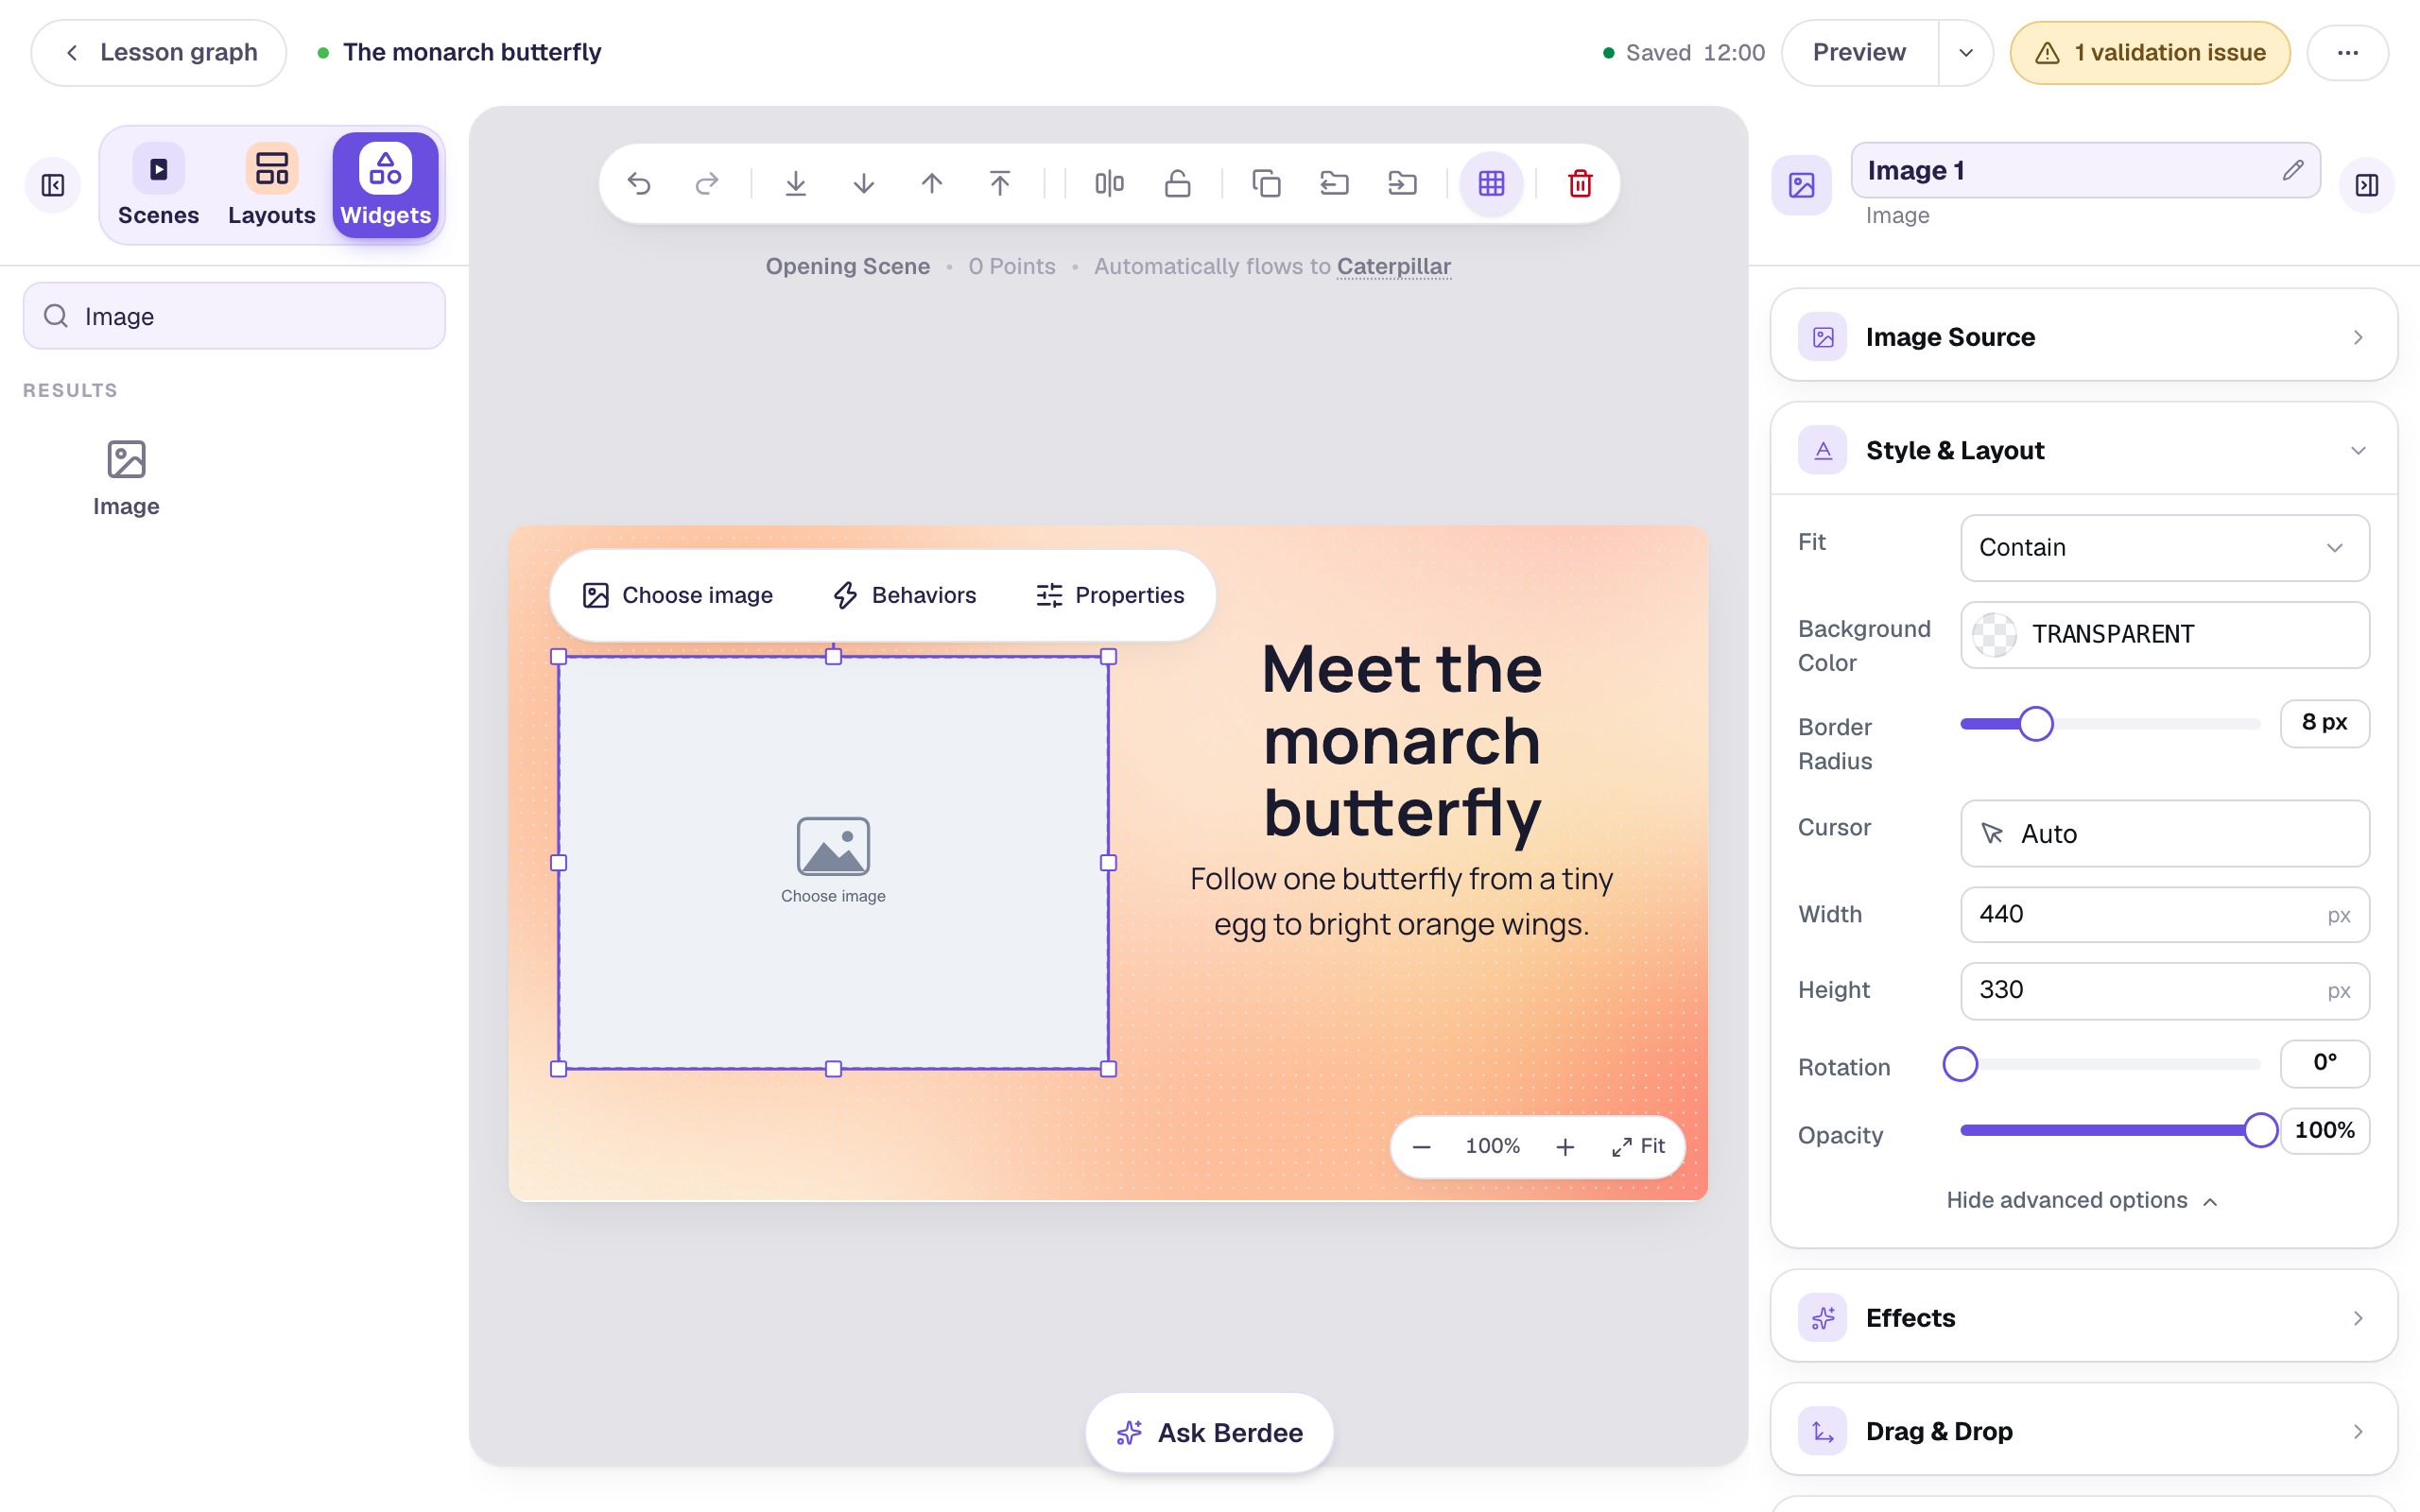
Sizing the box first helps in the next step: a 440 × 330 box is a landscape shape, so you'll know which shape to ask for.
Step 2: Open the Generate tab
With the image selected, click Choose image in the pill above it. You can also double-click the empty box. The Choose Image window opens on Search. Click Generate, the last tab.
Step 3: Describe the picture
Type what you want students to see into Describe the image. Be concrete about the subject, the style, and the background:
A flat, colorful illustration of an orange monarch butterfly resting on a green milkweed leaf, soft warm peach background, no text
Under Shape, keep Landscape, which matches the box you made in Step 1. The other choices are Square and Portrait.
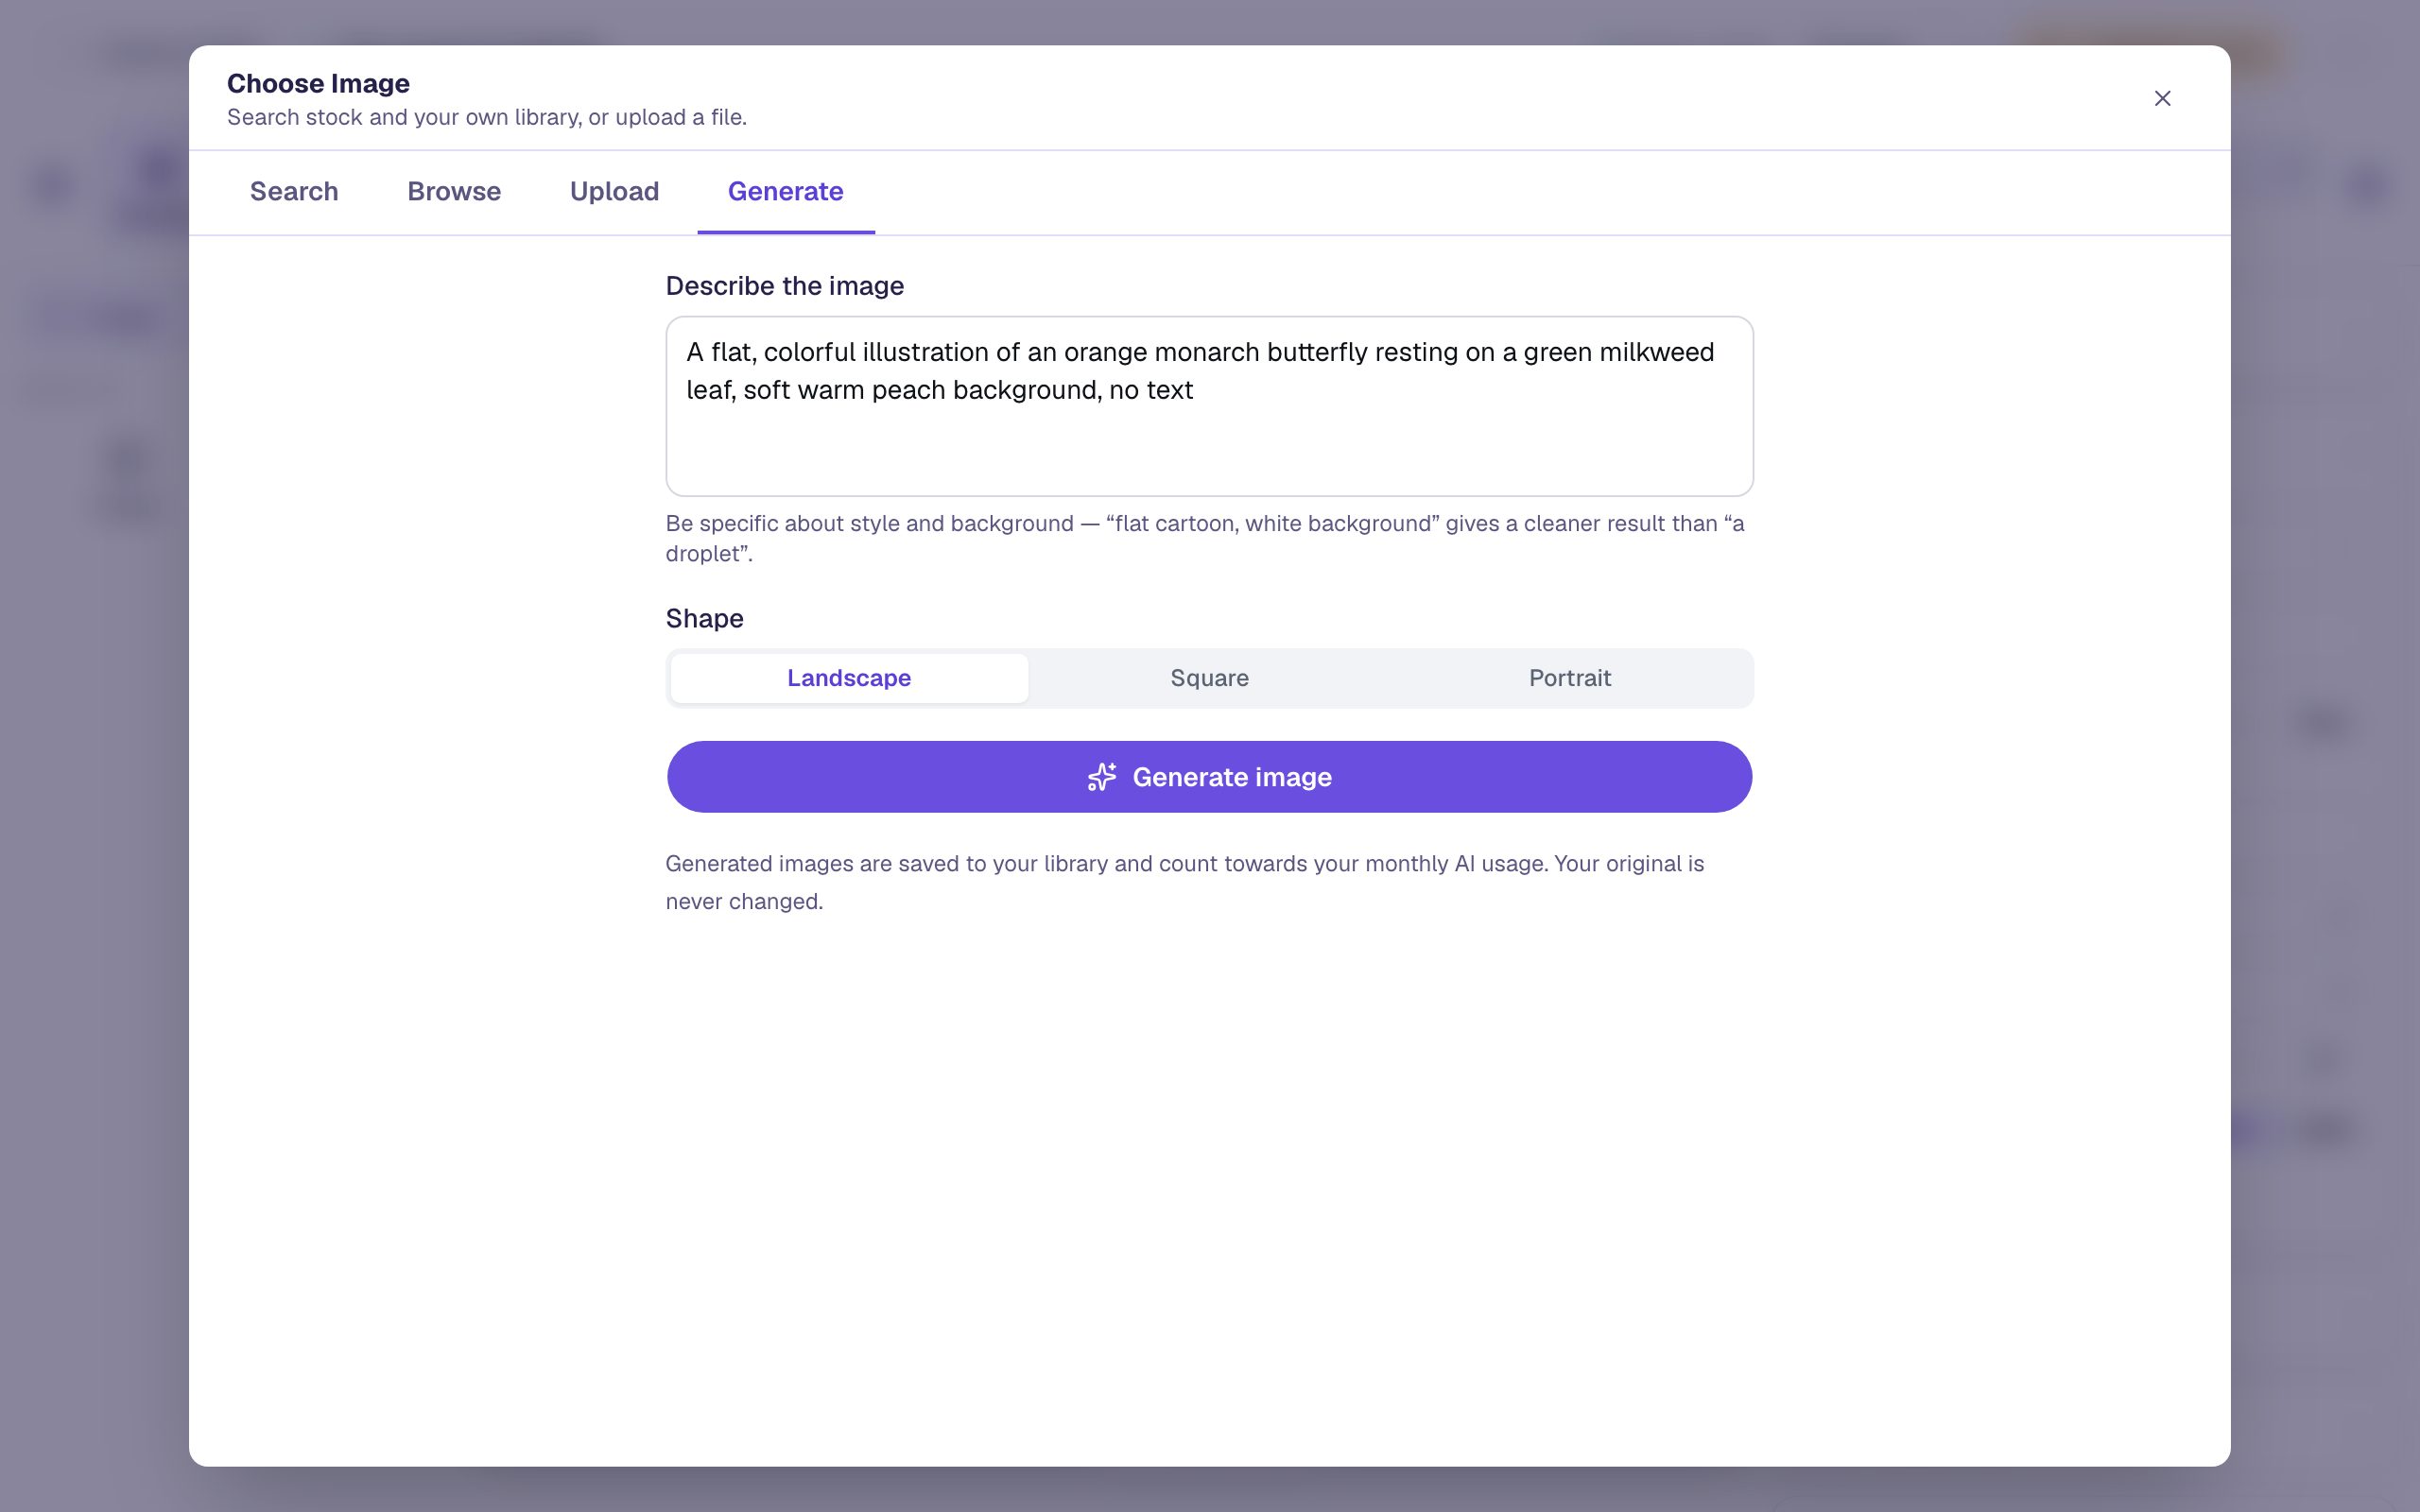
A few things make a good description:
- Say the style. "Flat, colorful illustration" gets you clean artwork. Leave it out and you might get a photo, a sketch, or a painting.
- Pick the background. A background color that matches your scene ("soft warm peach") makes the picture sit naturally on it.
- Ask for no text. Generated lettering is often misspelled. Put words in a Heading or Body instead, where you control them.
Step 4: Generate it
Click Generate image. The button reads Generating… for a few seconds while Berdee draws.
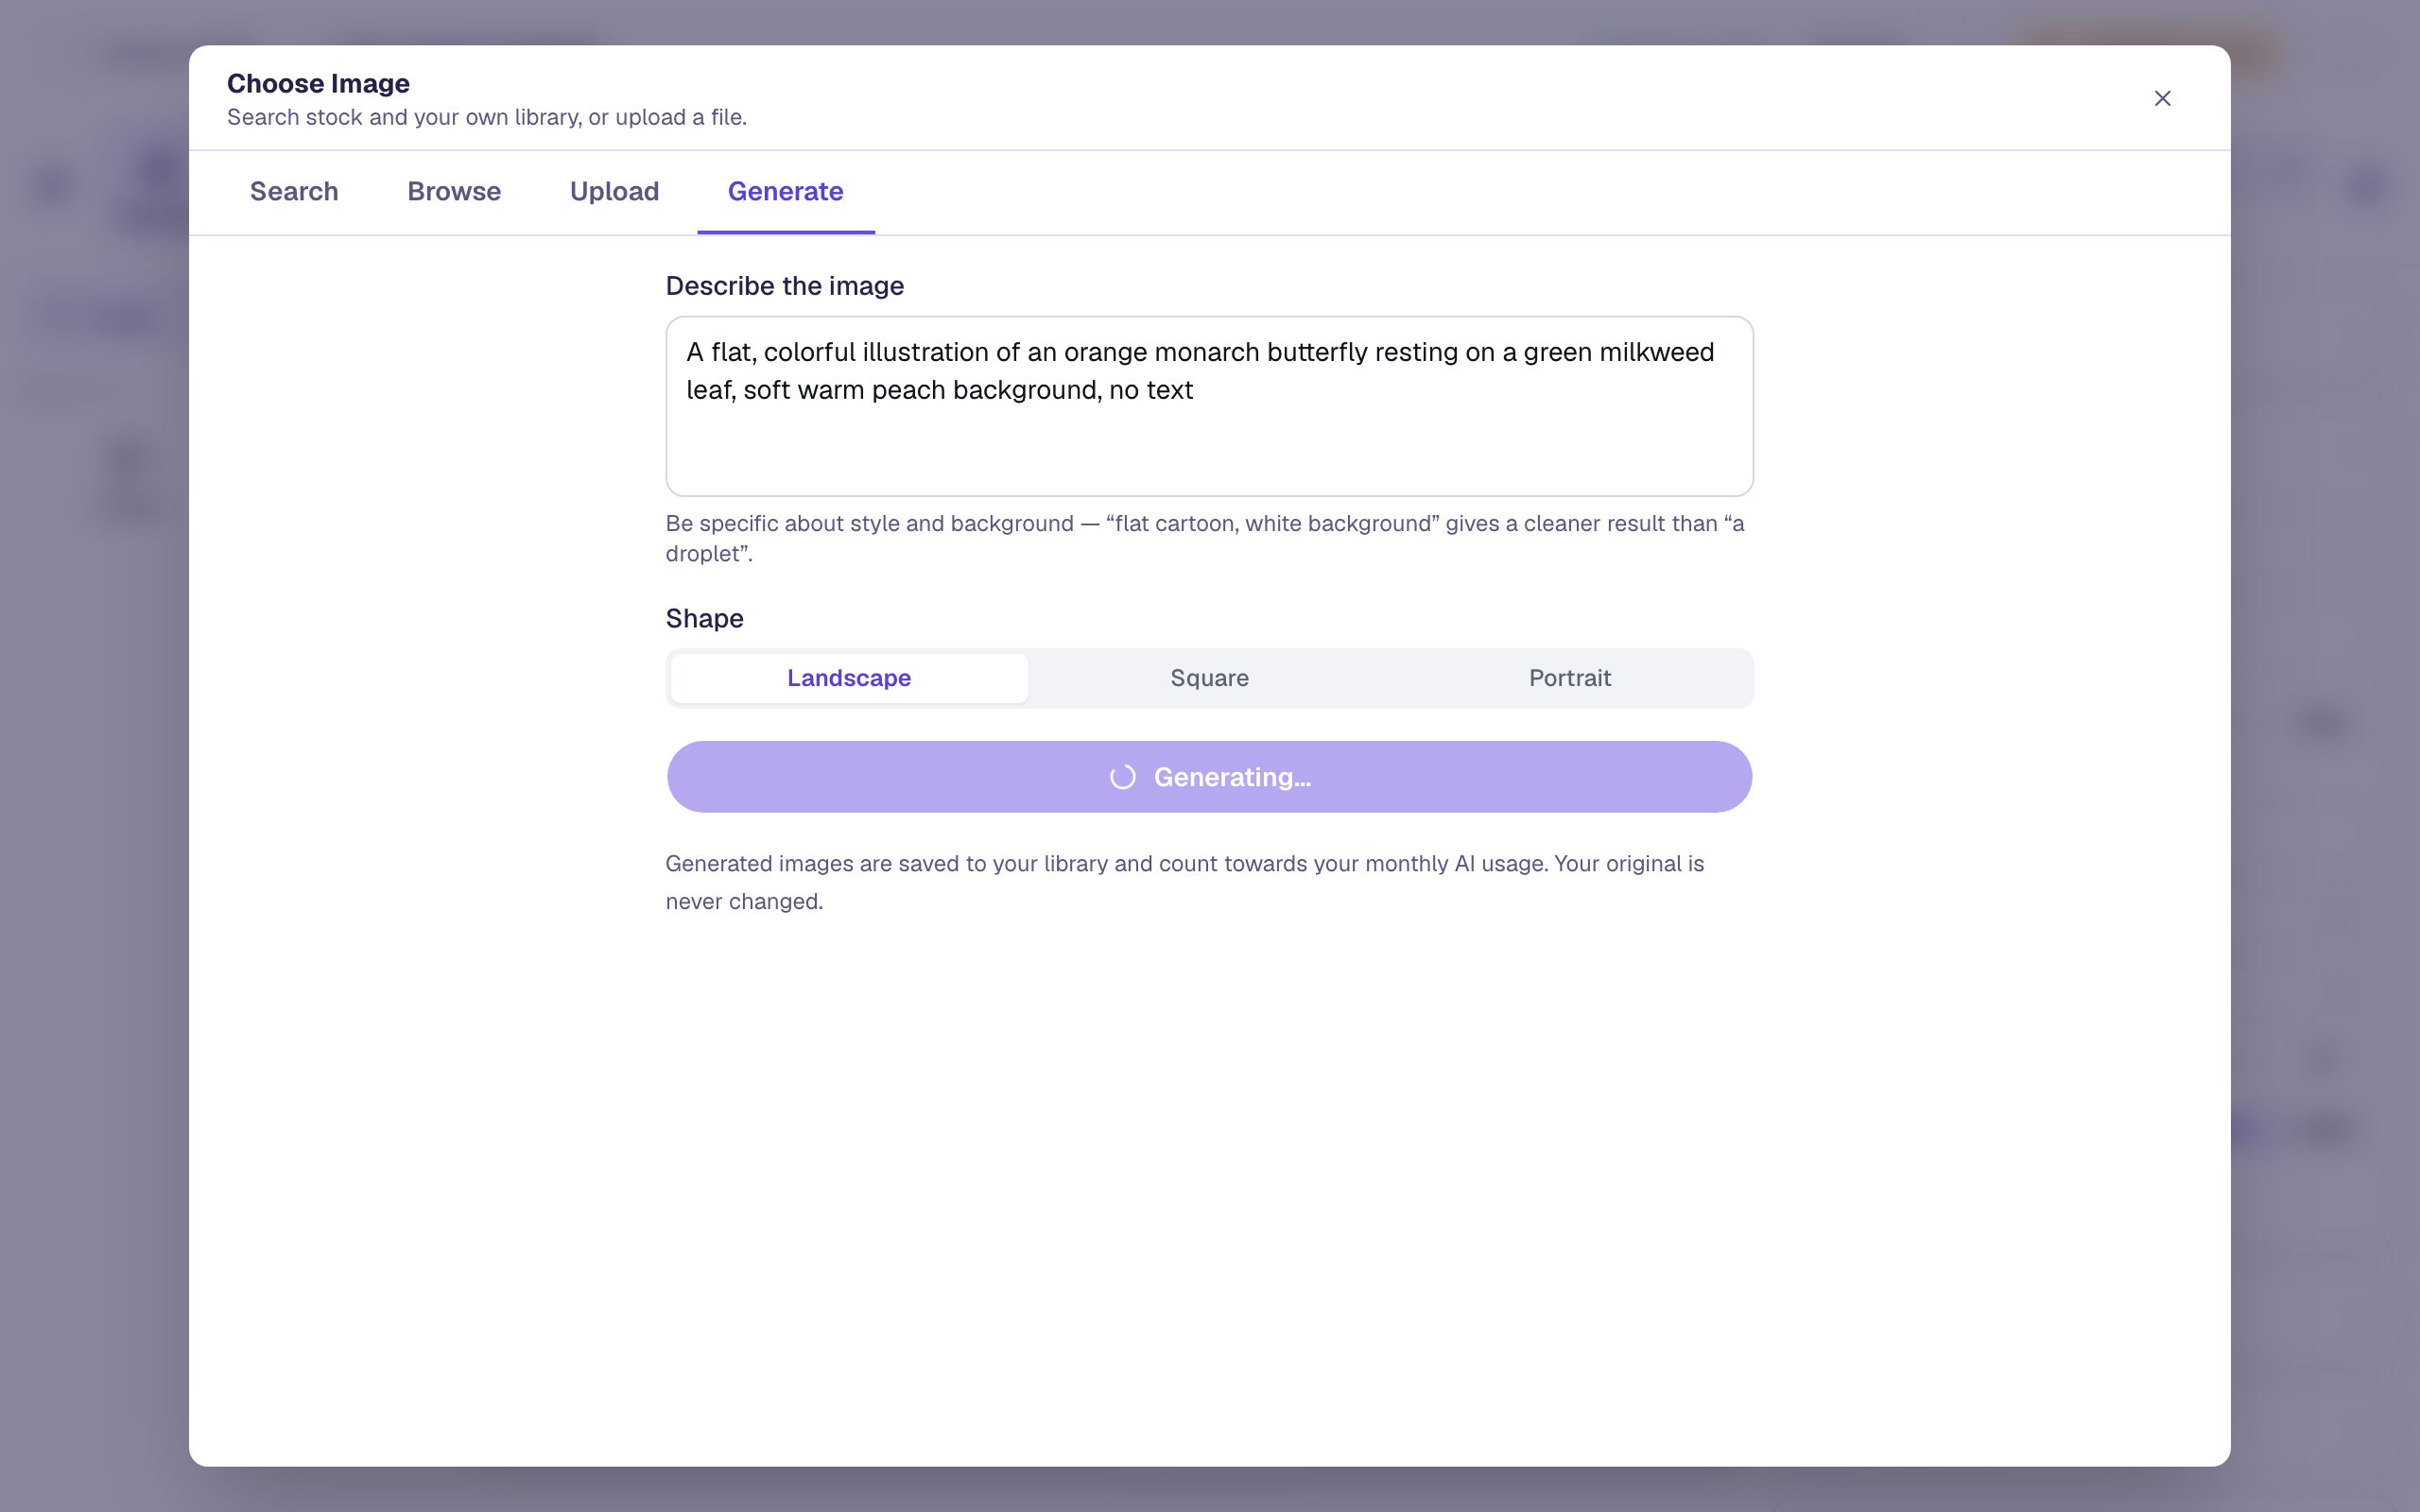
When it's done, the window closes and the picture appears in your Image widget.
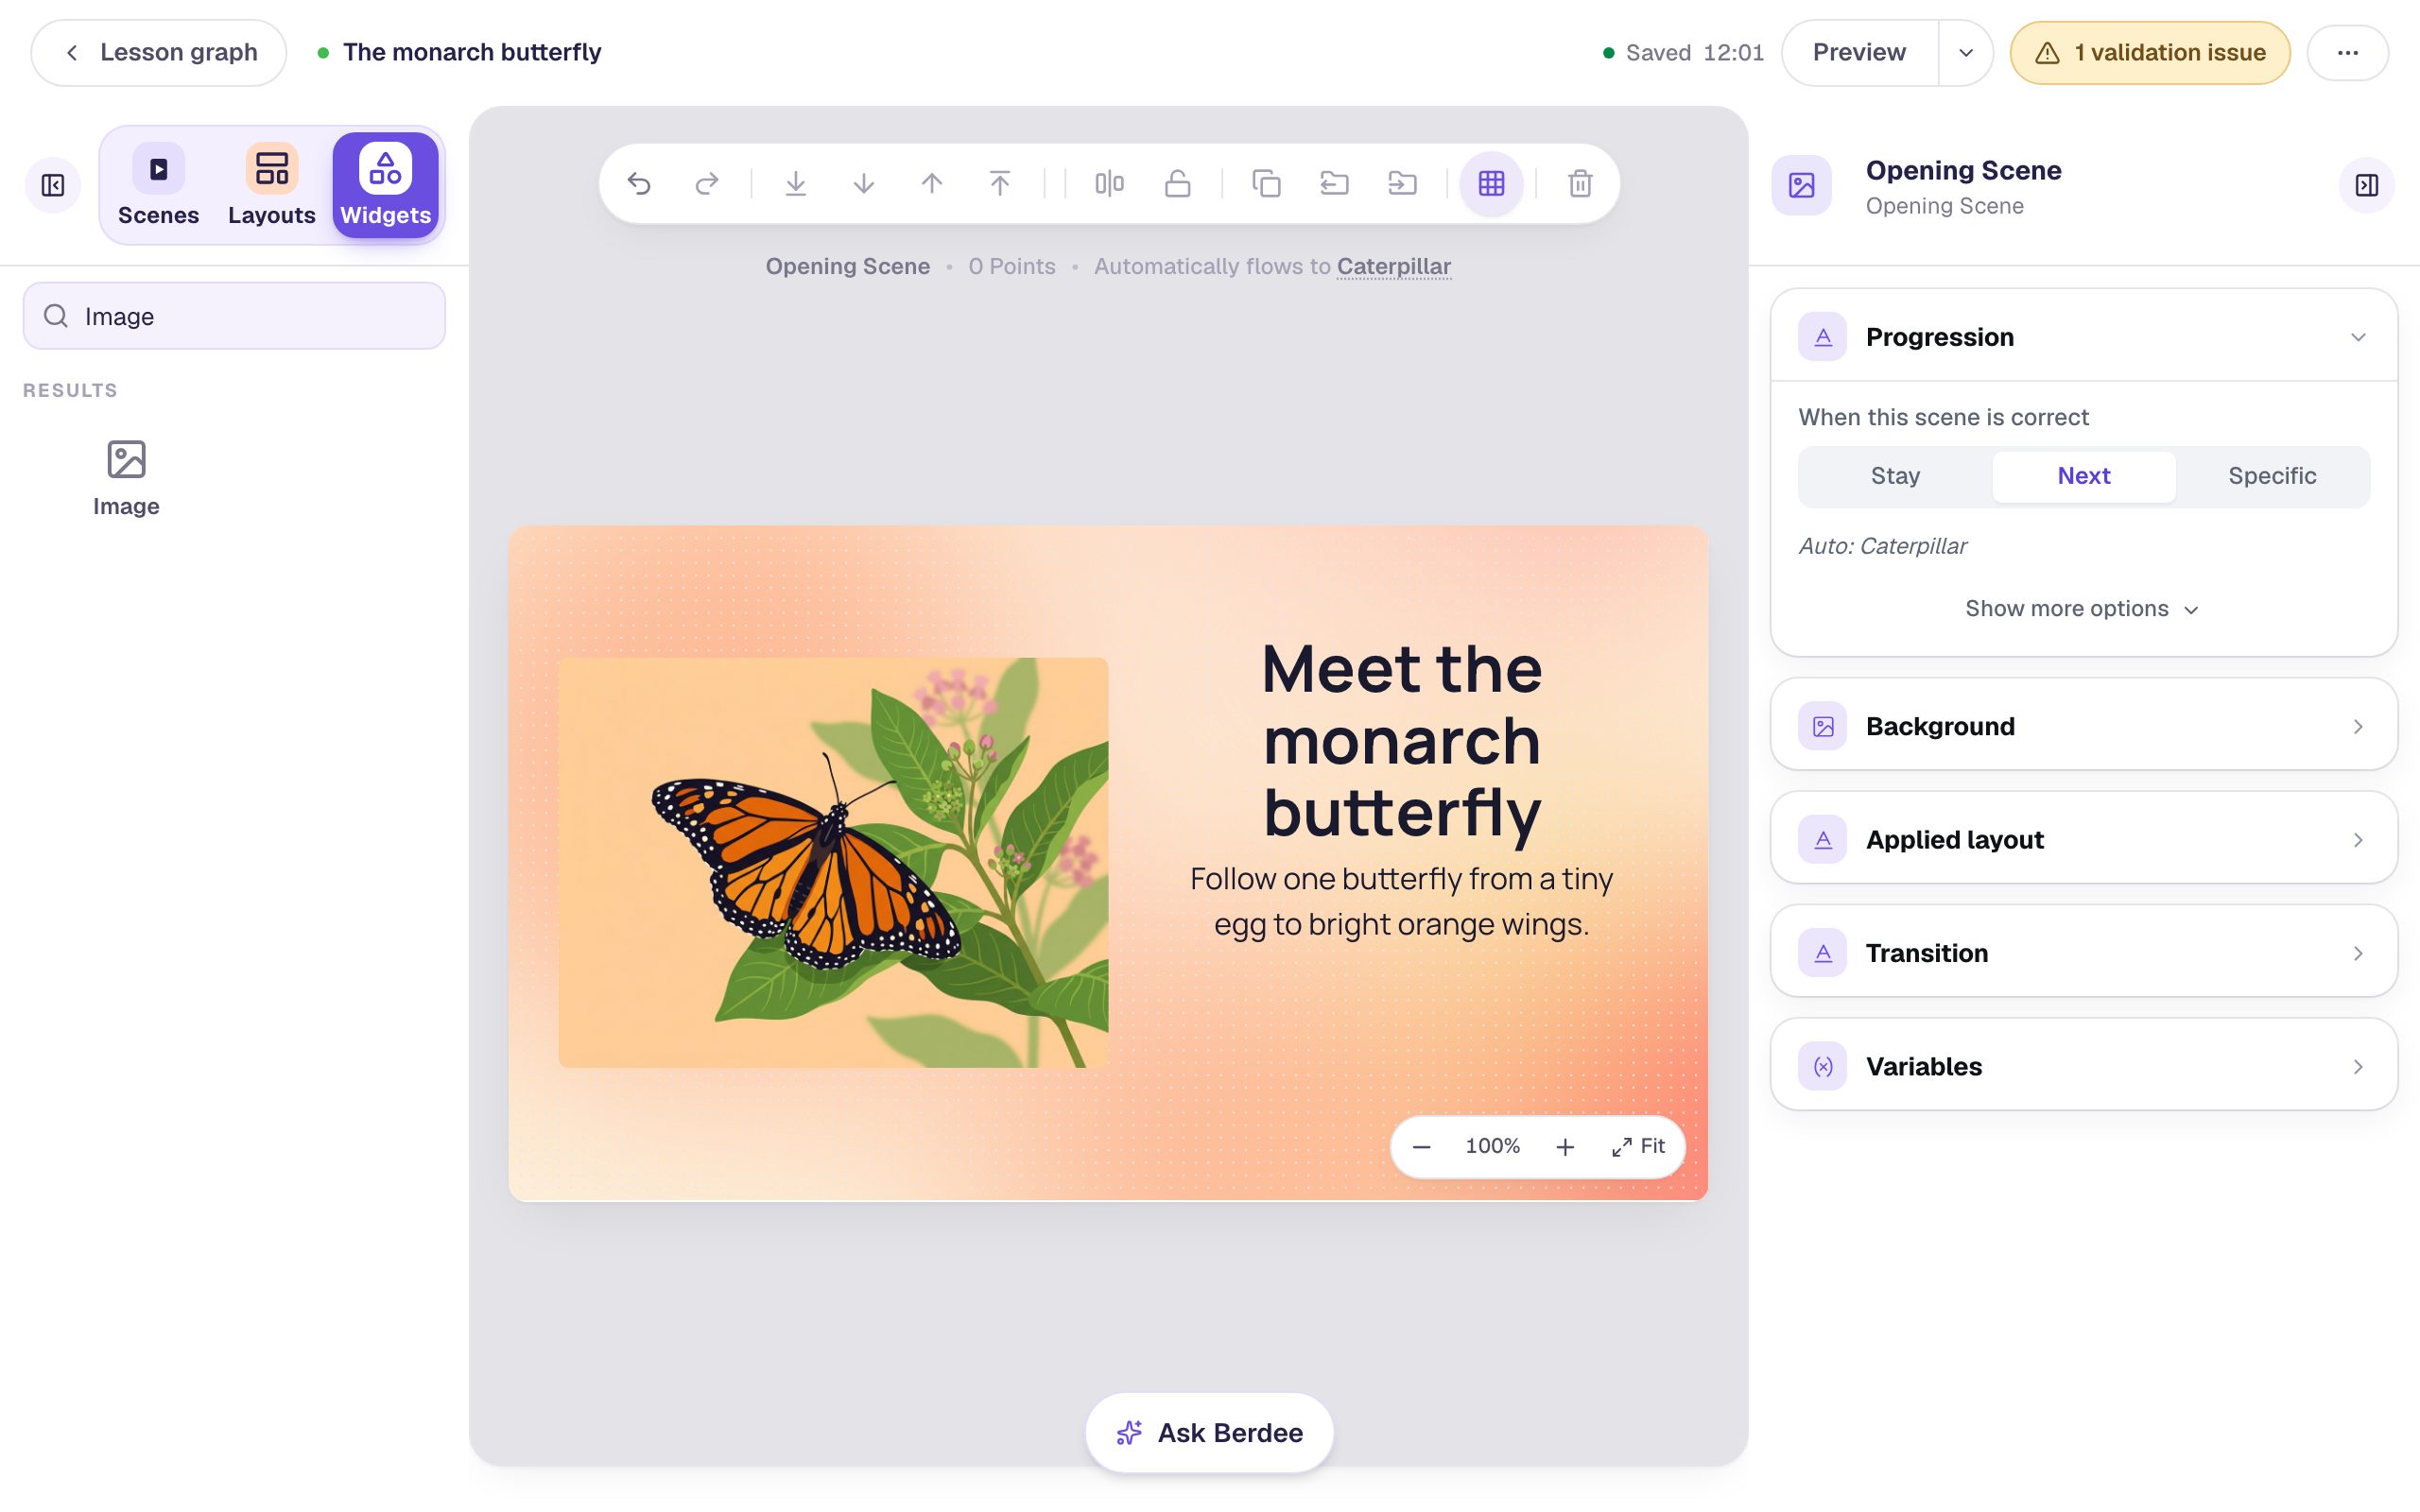
Your picture won't match this one exactly, because each generation draws a fresh image. If you don't like it, open Choose image → Generate again, adjust the wording, and generate another. Every attempt is saved to your media library, so you can go back to an earlier one from the Browse tab.
Step 5: Write alt text students can use
Alt text is what a screen reader says about a picture. Berdee fills it in when you add an image, but for a generated picture it uses the file name, which is your description squeezed into one long hyphenated word.
Click the picture, then open Accessibility at the bottom of the panel on the right:
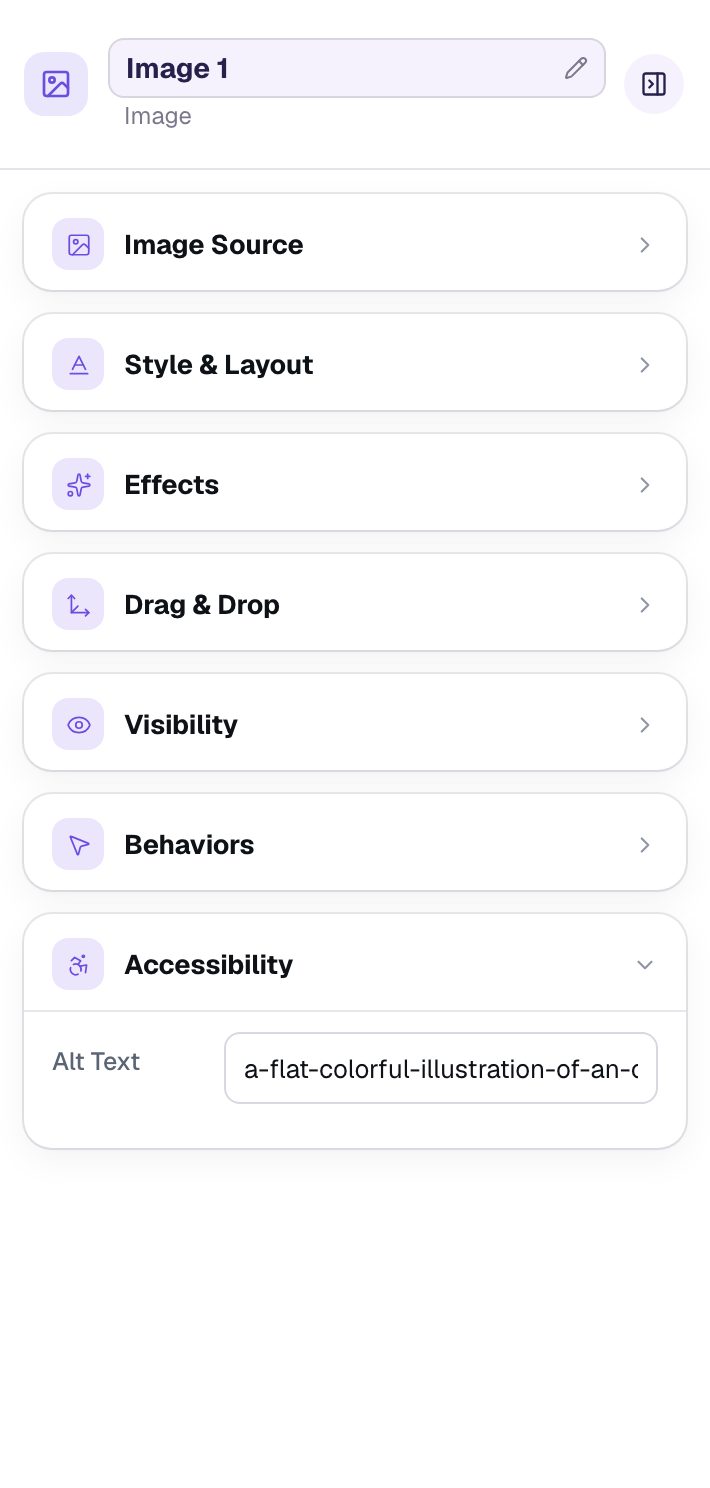
Replace it with a short sentence about what the picture shows: A monarch butterfly resting on a milkweed leaf.
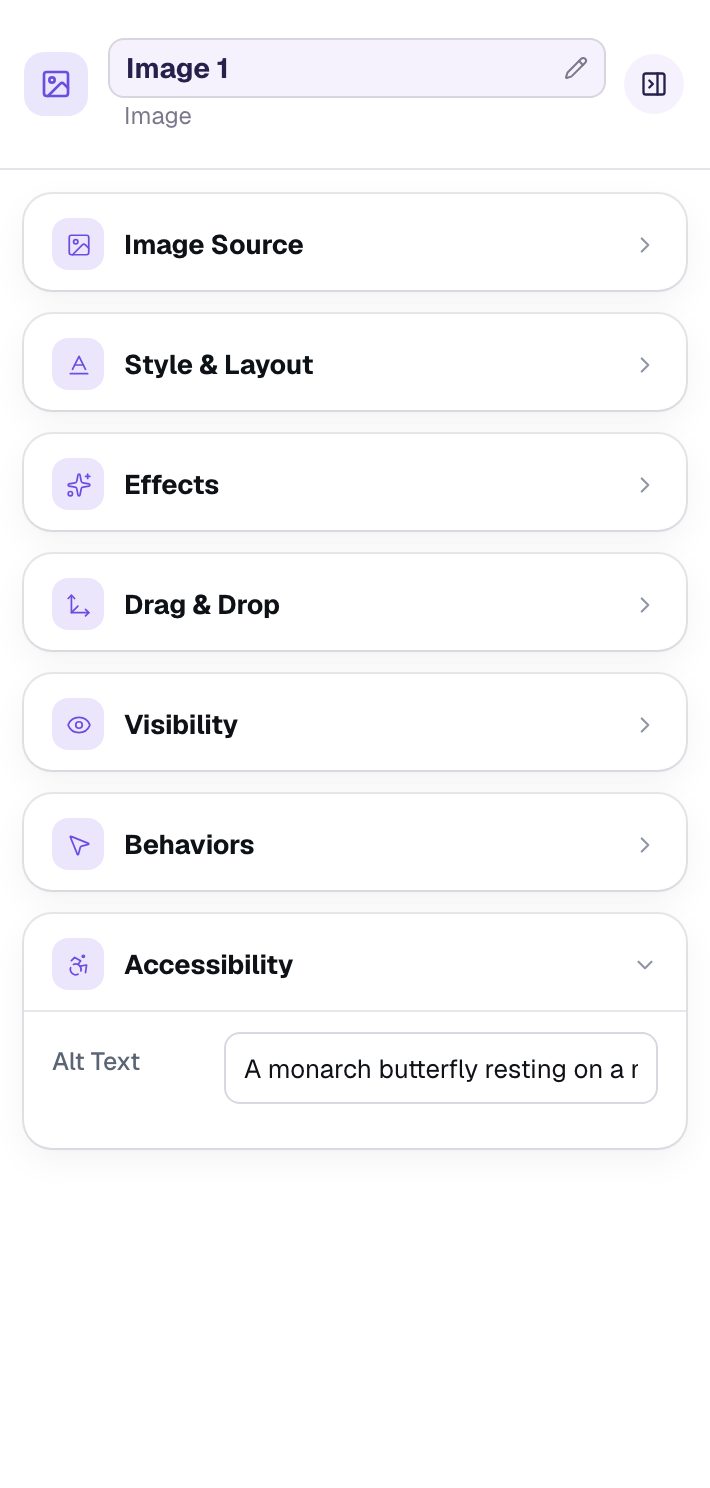
Leave out style words like "flat illustration" and "peach background". They helped the generator, but they don't help a student understand the lesson. Alt text you write yourself stays put, even if you swap the picture later.
Step 6: Build a question scene
Click Scenes on the left, click Add scene, and rename the new scene Caterpillar. Give it the same Mesh sunrise background. Then add:
- A Heading:
What does a caterpillar turn into next? - A Multi Choice question. Click ⚙ Configure, type
A chrysalis,A butterfly, andAn egg, and remove the fourth option. The first option starts marked correct, which is right here: a caterpillar becomes a chrysalis before it becomes a butterfly. Click Save and drag the question to the right half. - Another Image,
400×300, on the left.
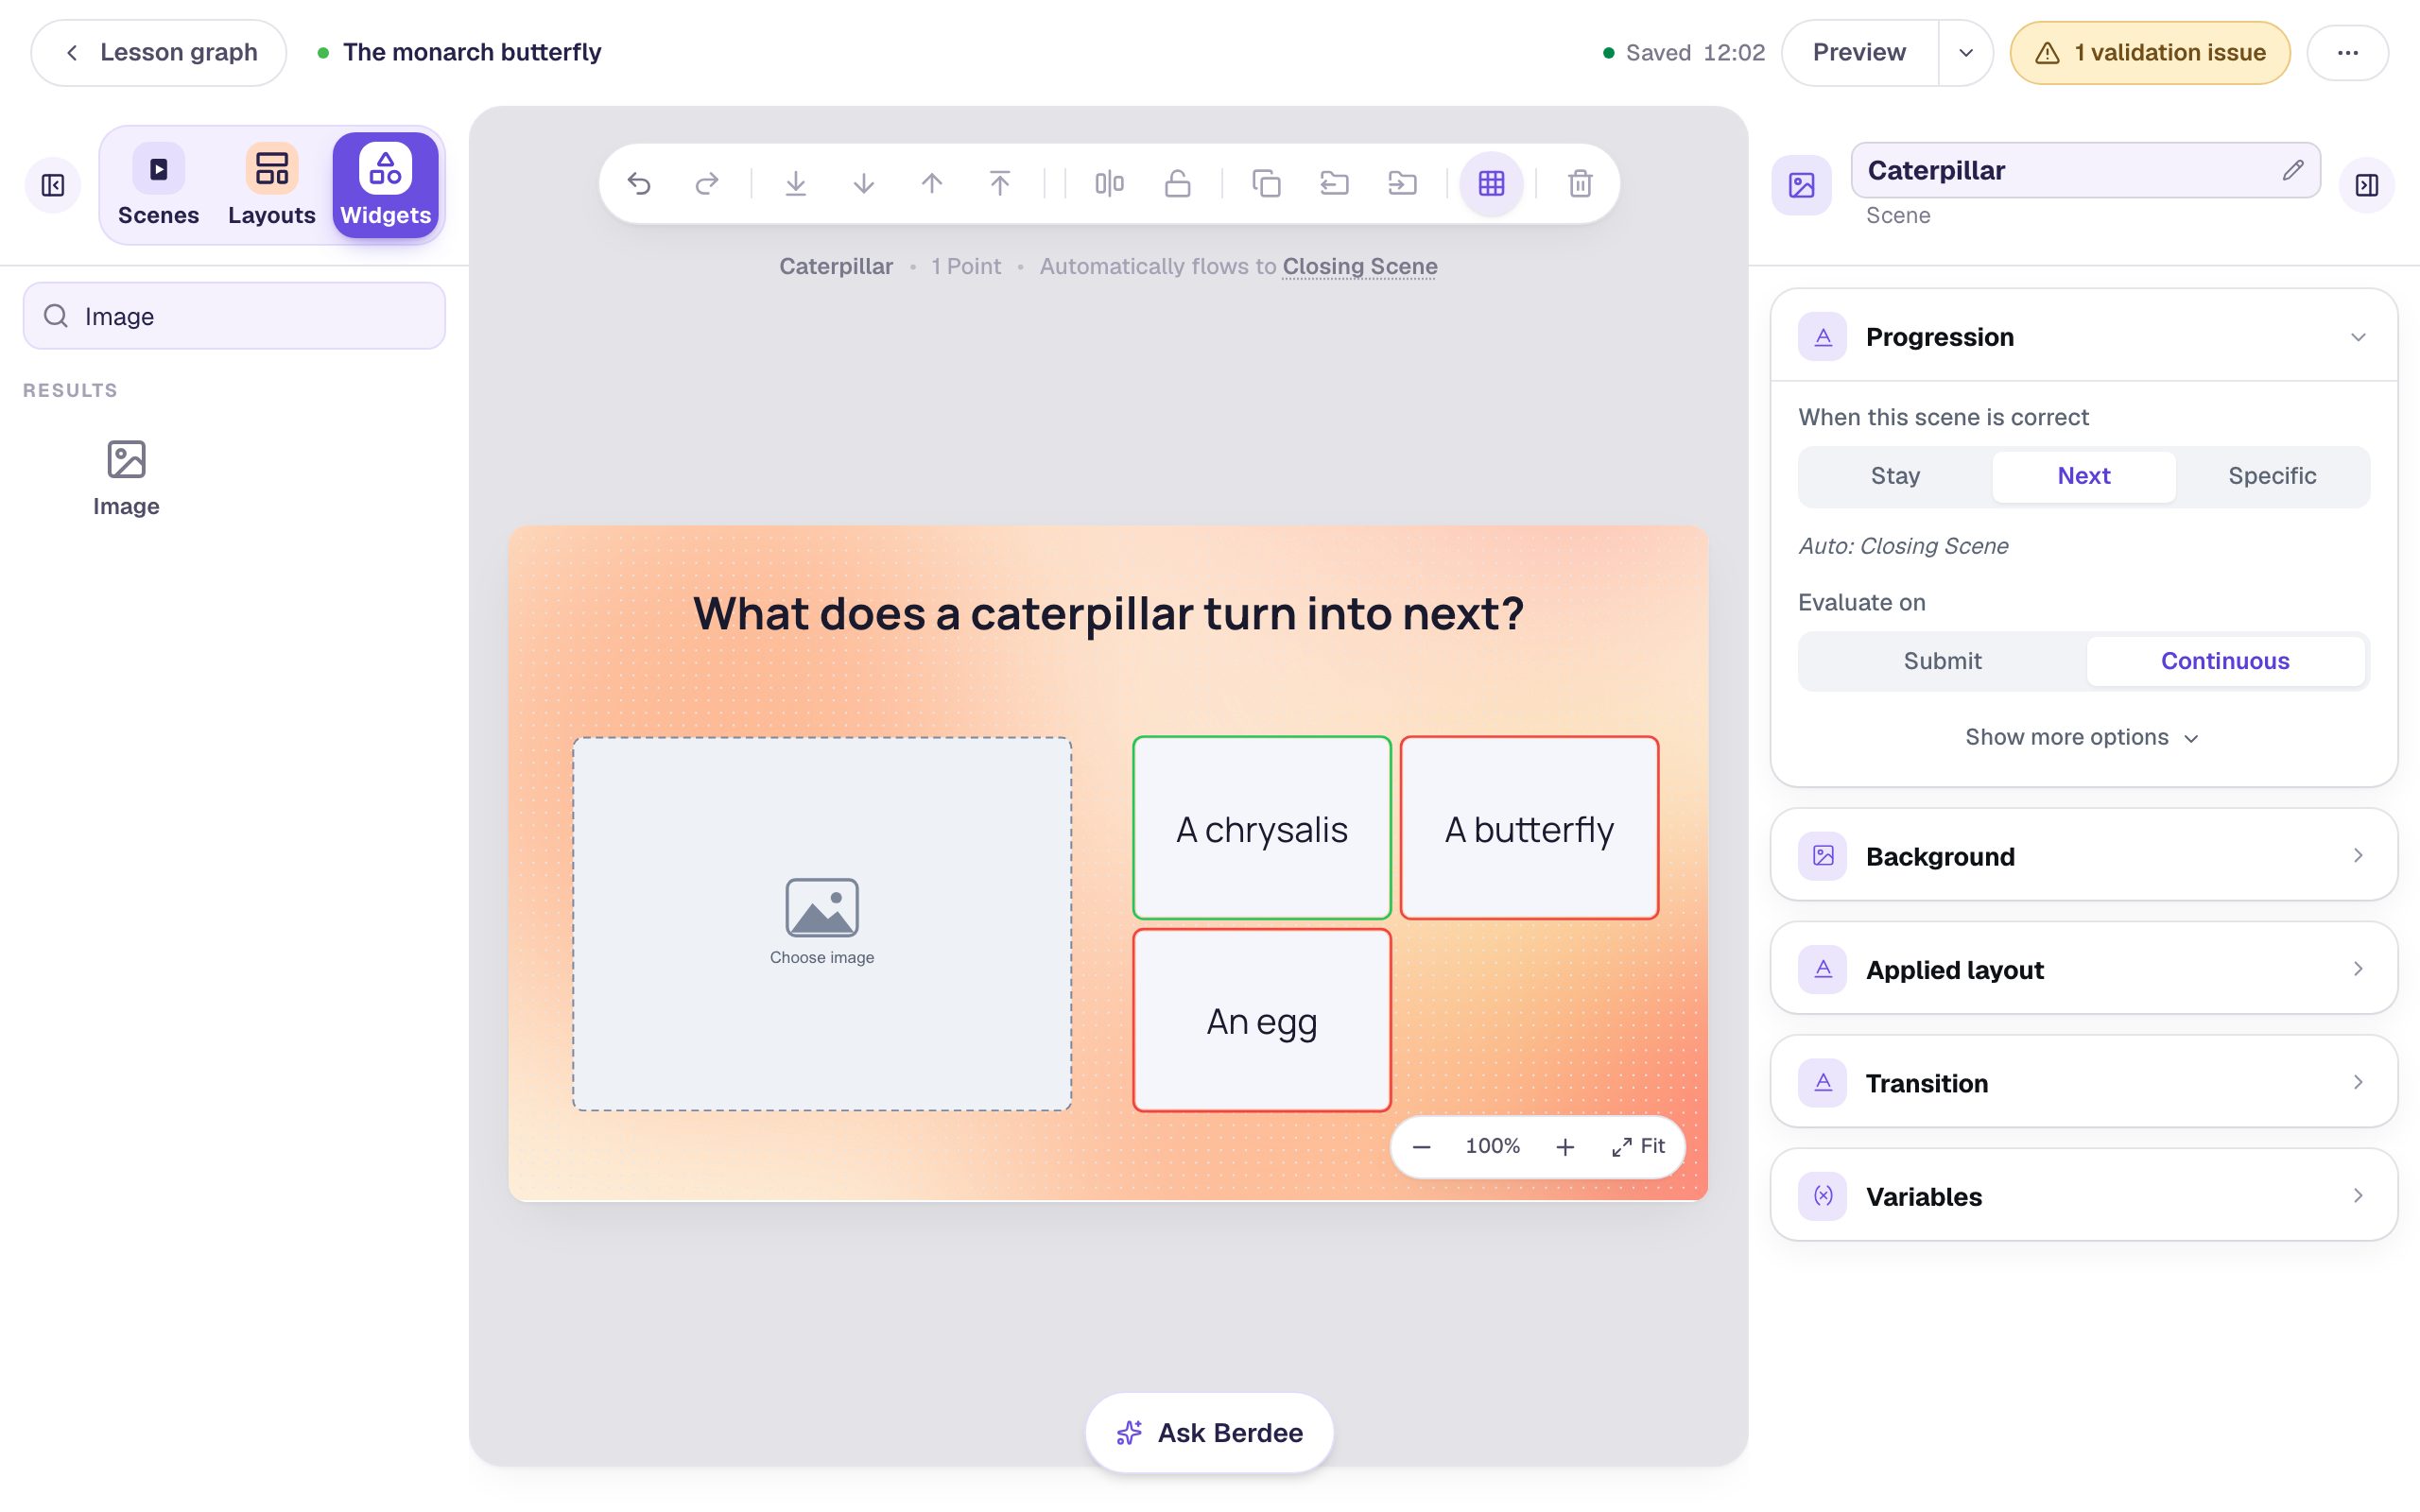
Step 7: Remix the butterfly into a caterpillar
You could describe a caterpillar from scratch, but it would come out in a different style from the butterfly. A remix starts from a picture you already have and changes only what you ask for, so the leaf, the colors, and the drawing style stay the same.
Select the empty image, click Choose image, and go to the Browse tab. Your butterfly is there, because every generated picture is saved to your library. Click it to open a preview.
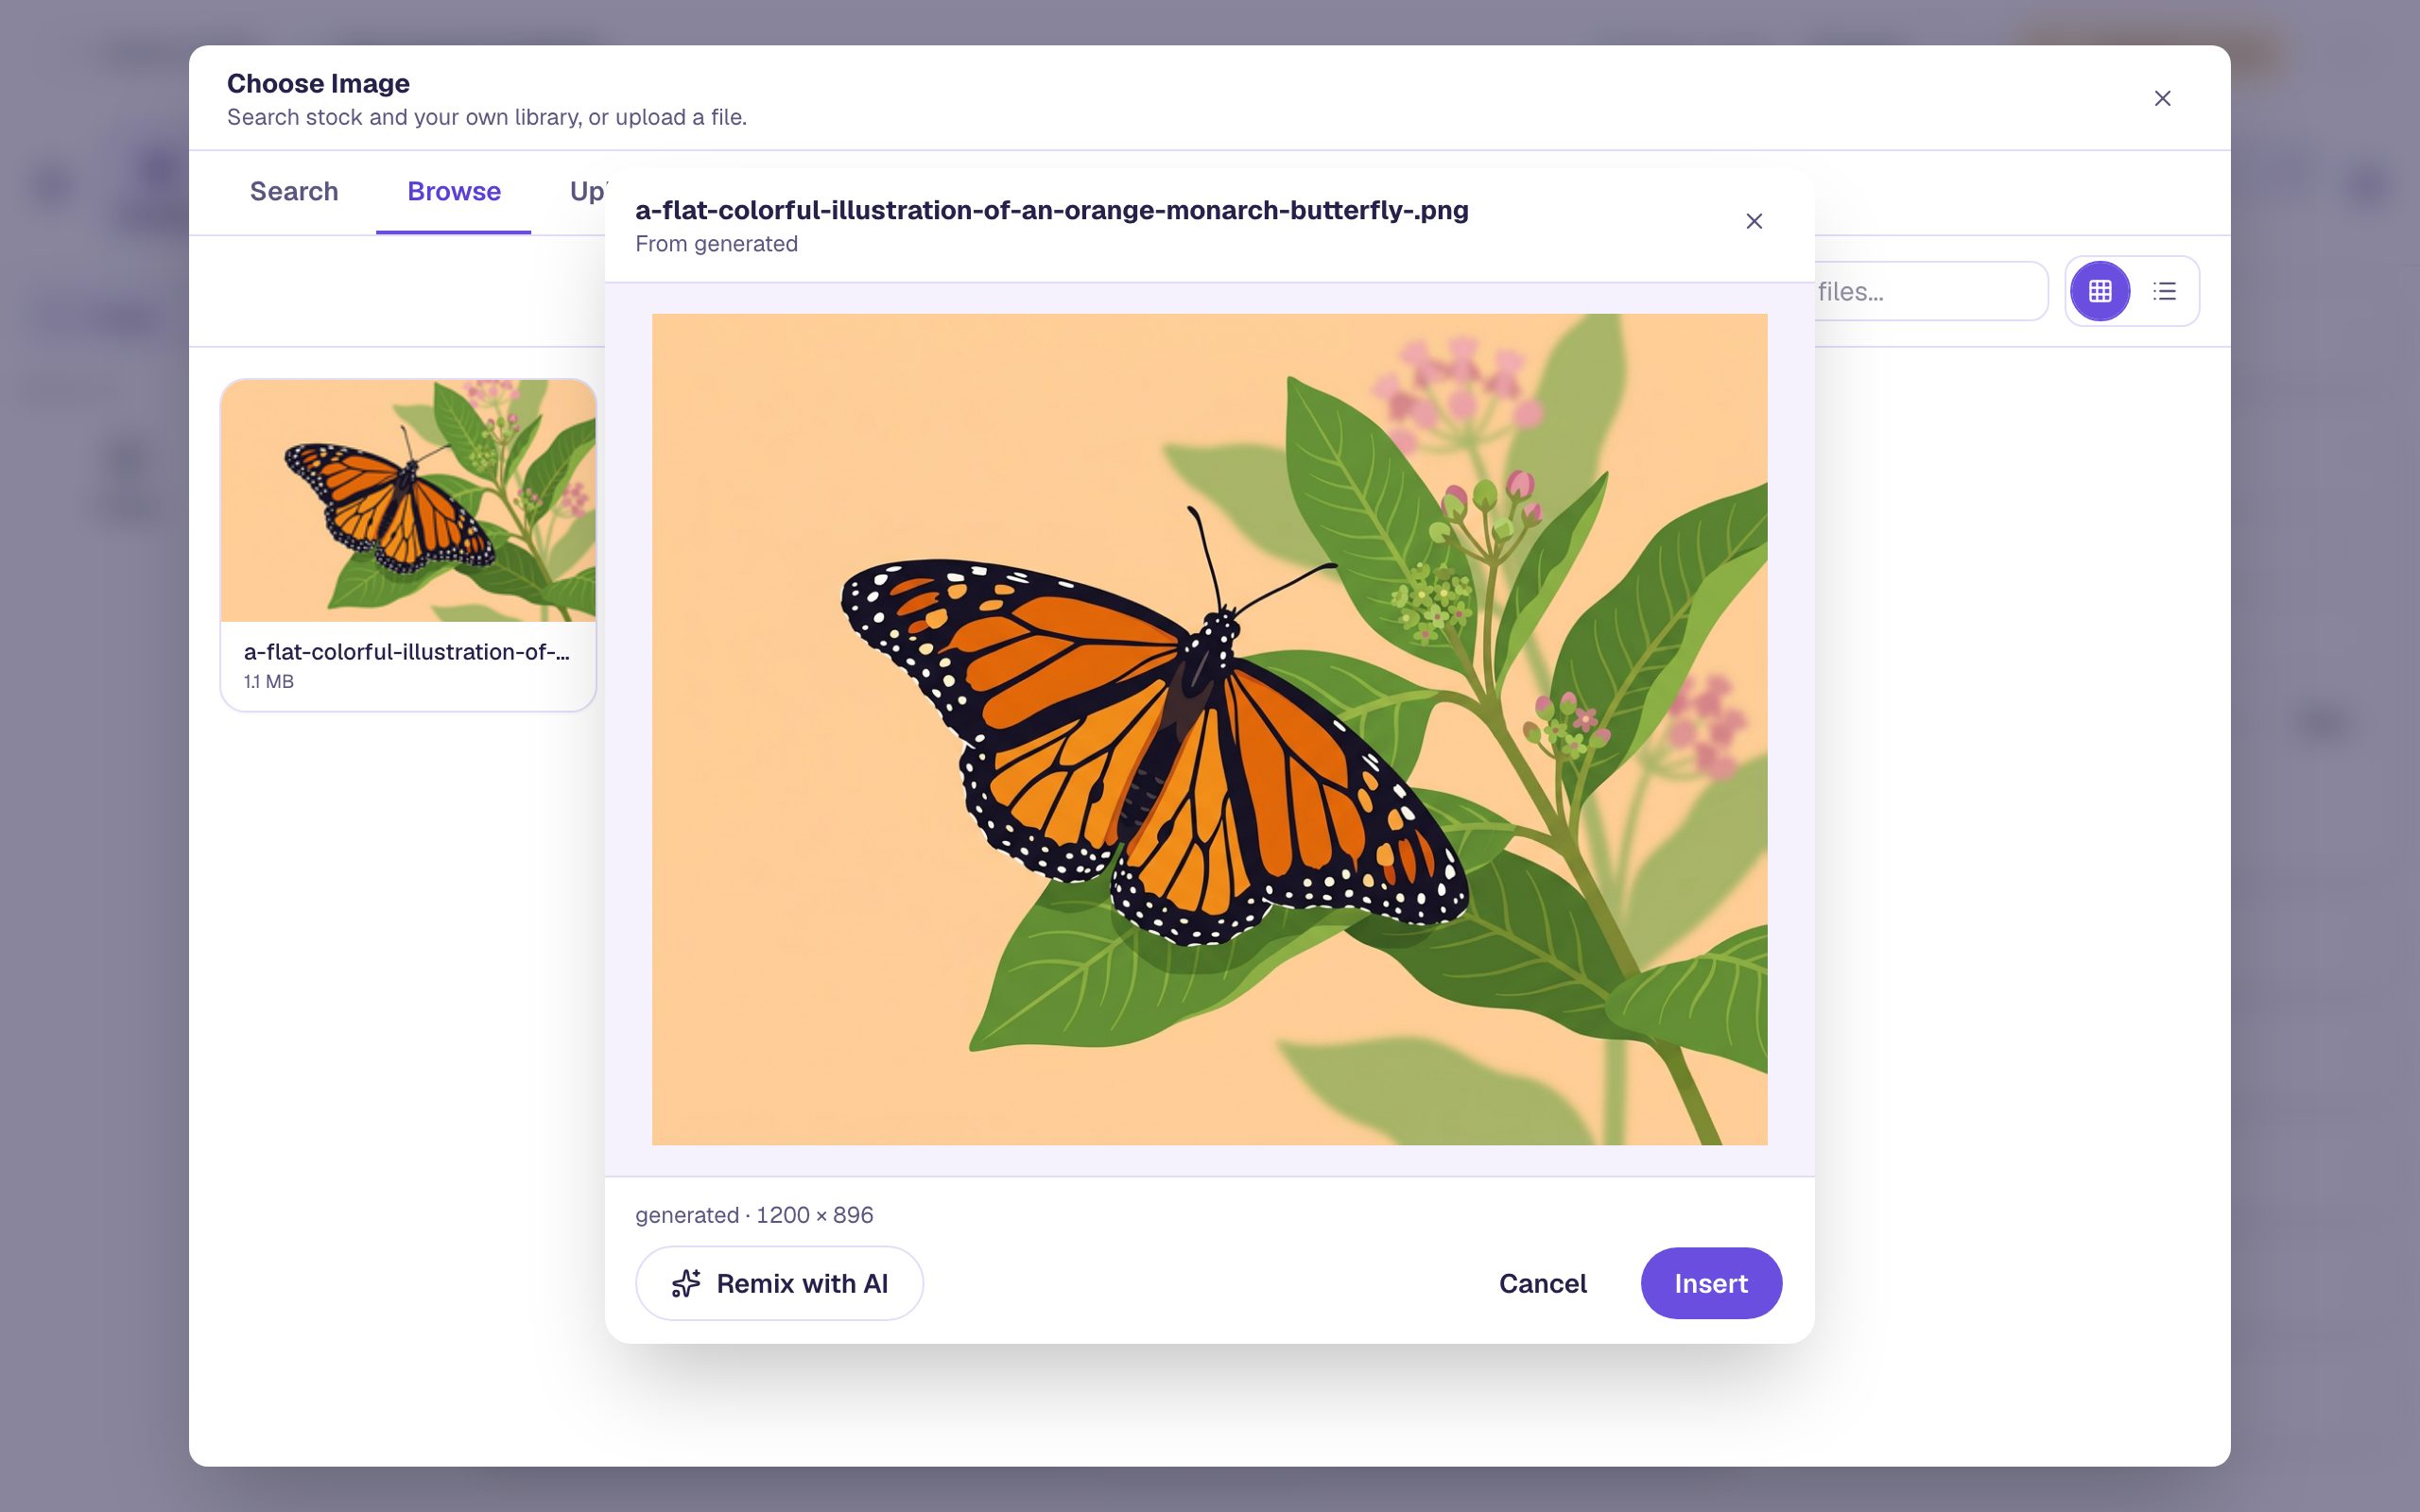
Click Remix with AI. You're back on the Generate tab, with the butterfly attached at the top under Remixing. The box now asks you to Describe your changes. Say what should change, not what the whole picture is:
Replace the butterfly with a plump monarch caterpillar with yellow, black and white stripes, chewing the leaf
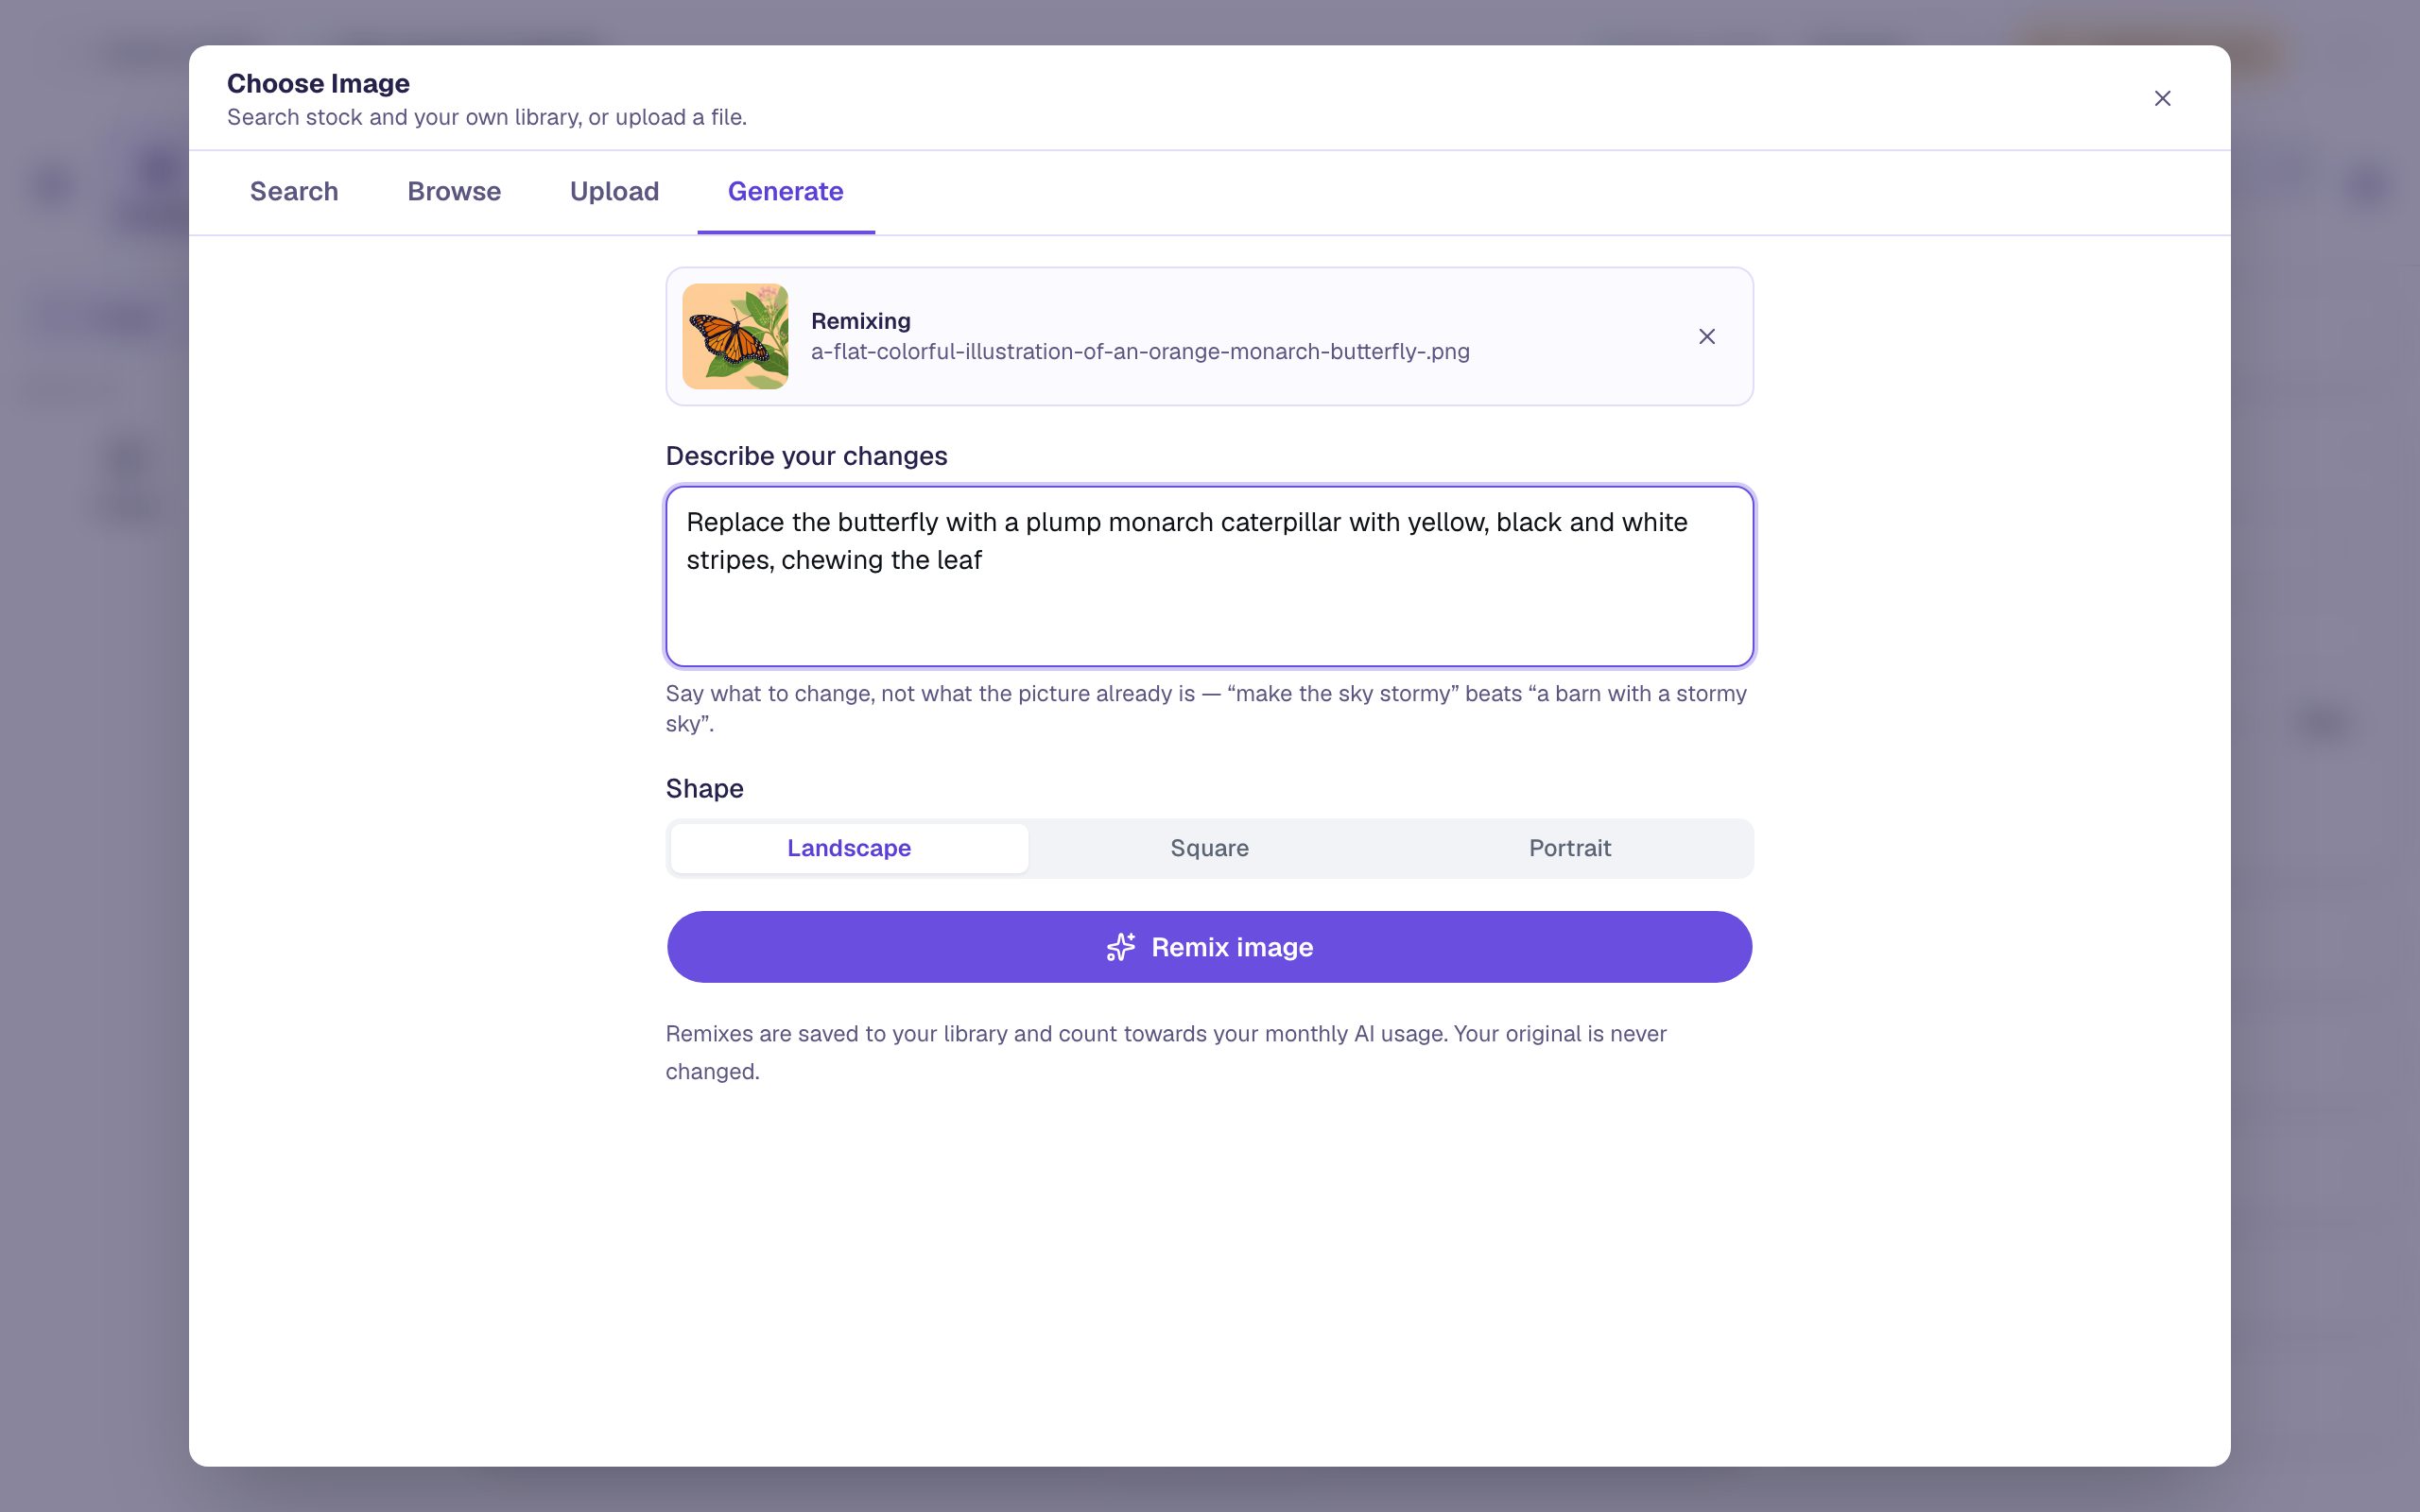
Click Remix image. A remix takes about as long as a new picture. When it lands, give it alt text too, under Accessibility: A striped monarch caterpillar chewing a milkweed leaf.
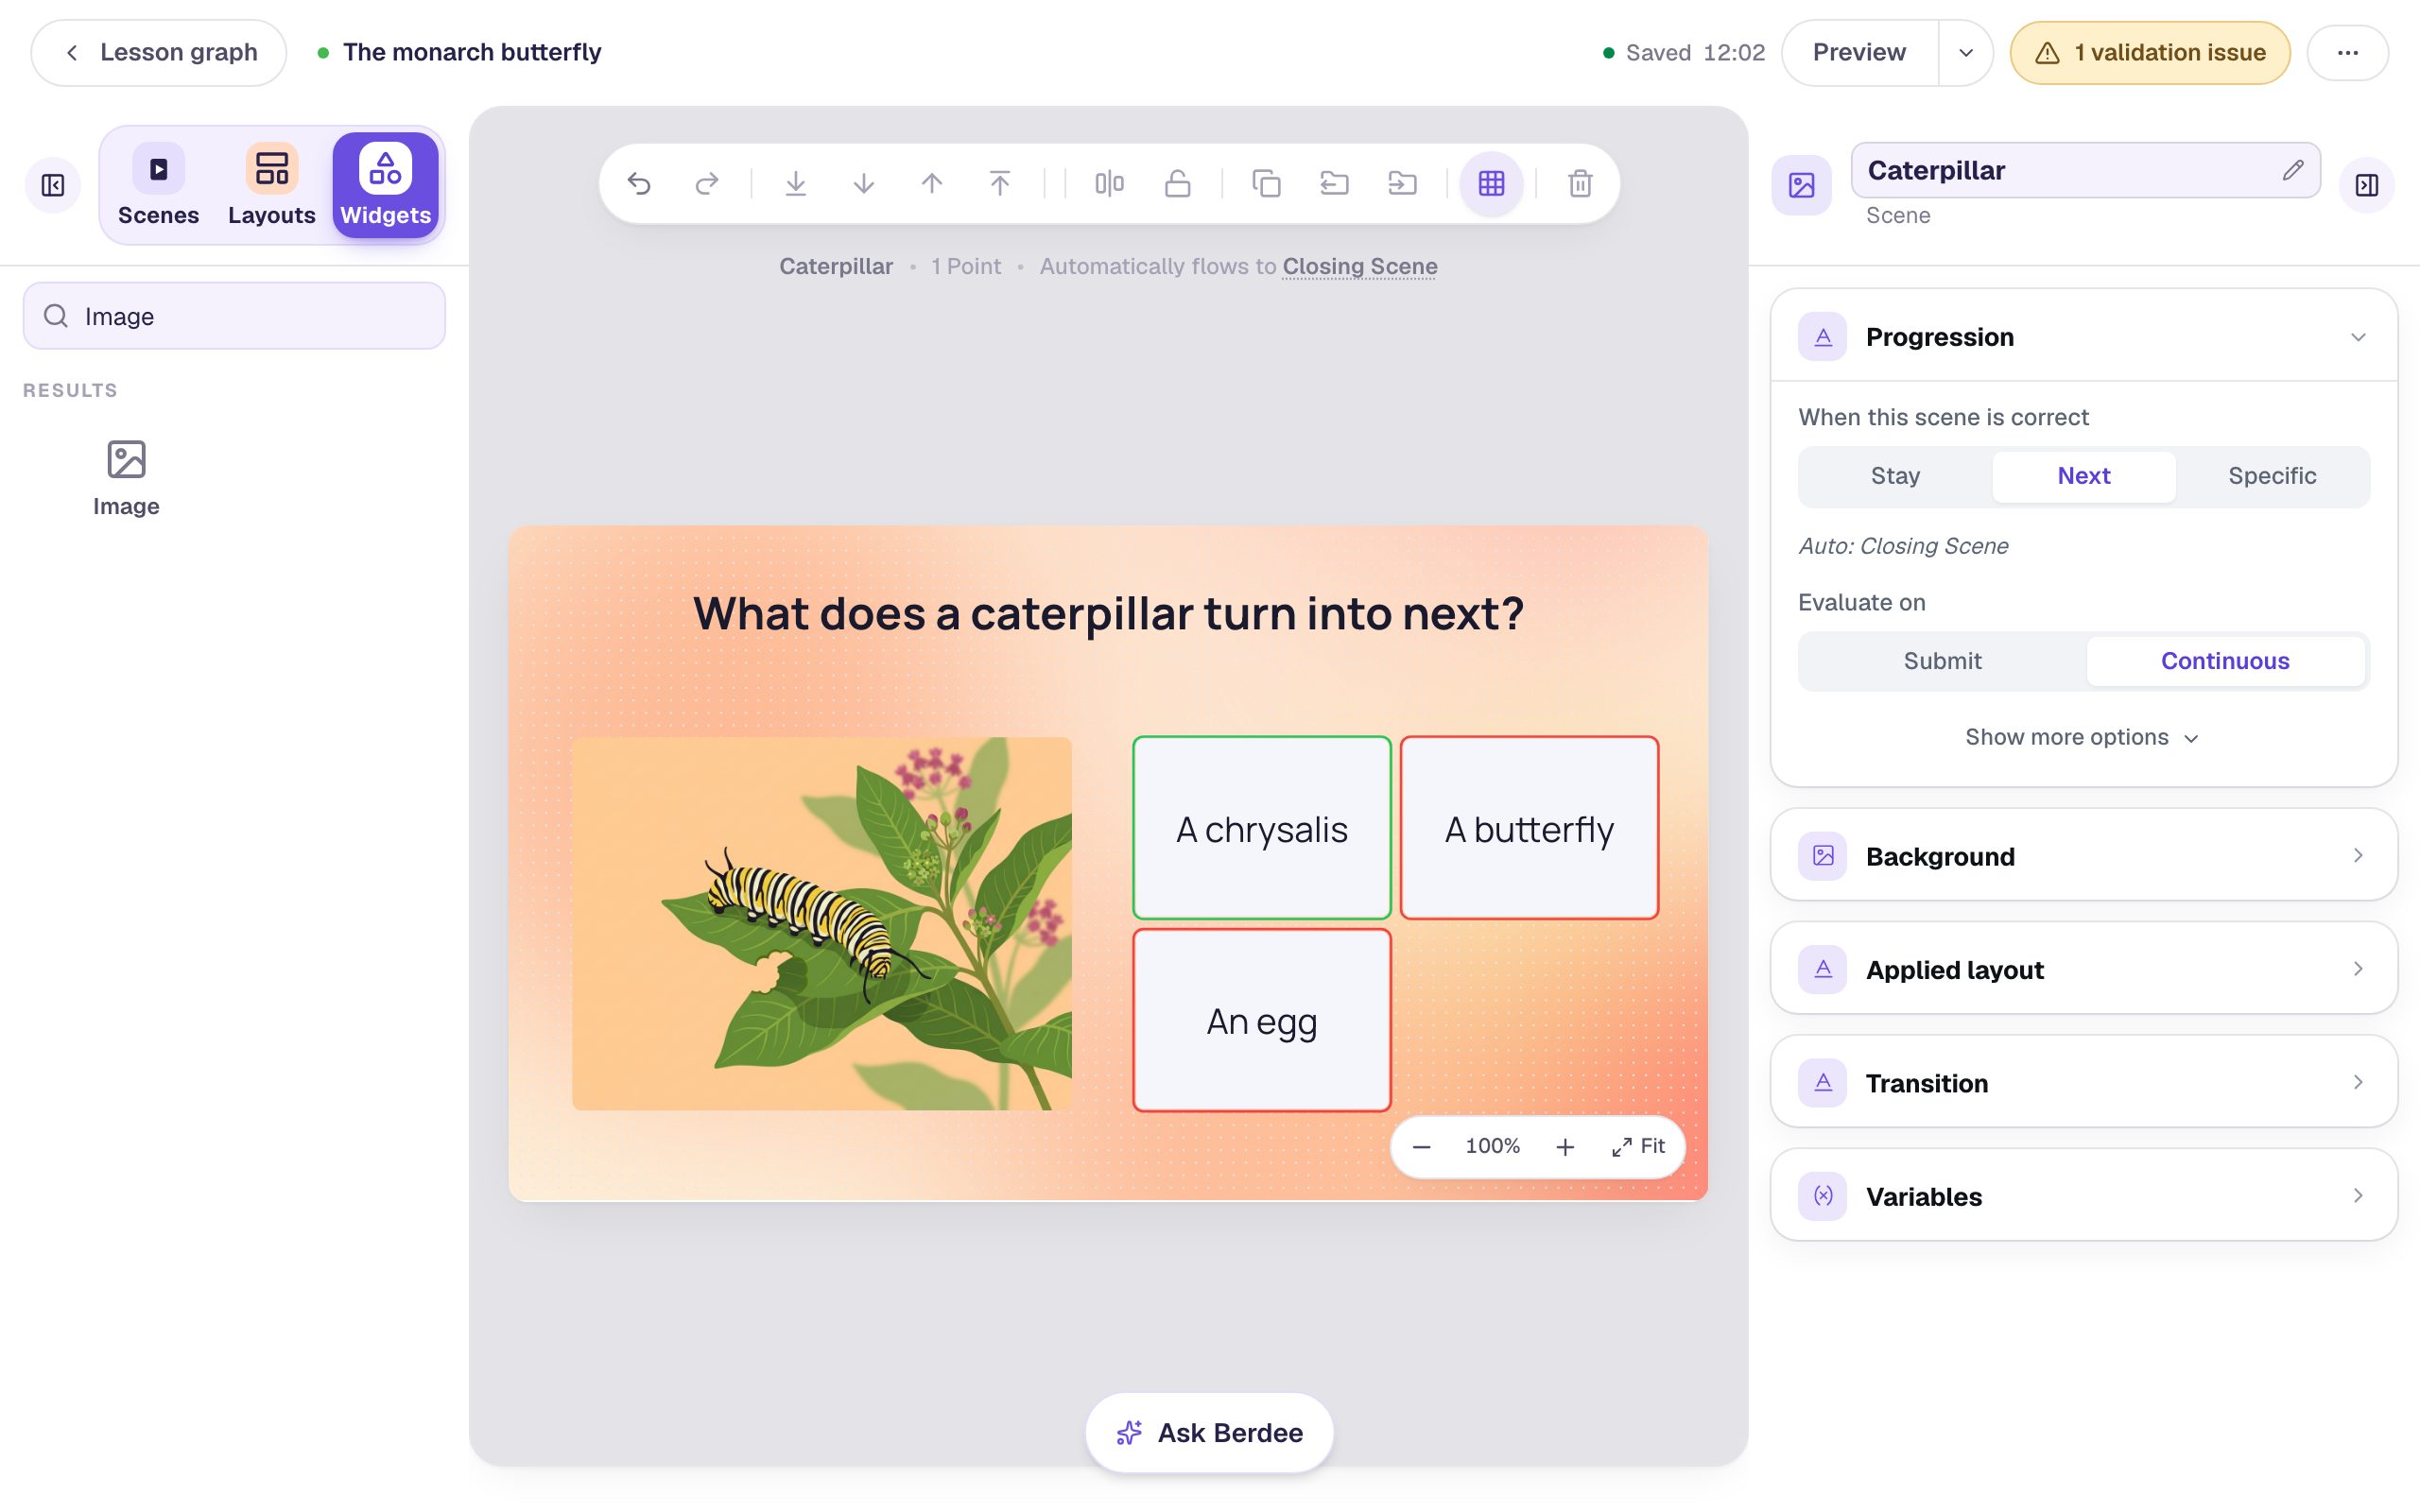
Your butterfly picture is unchanged. The remix is saved as a separate file, so you now have both in your library.
Step 8: Add a start button and preview
Go back to the Opening Scene and add a Button labeled Let's begin. Click Behaviors in its pill, choose Make this a "Next" button, and click Add behavior. Drag it under the text.
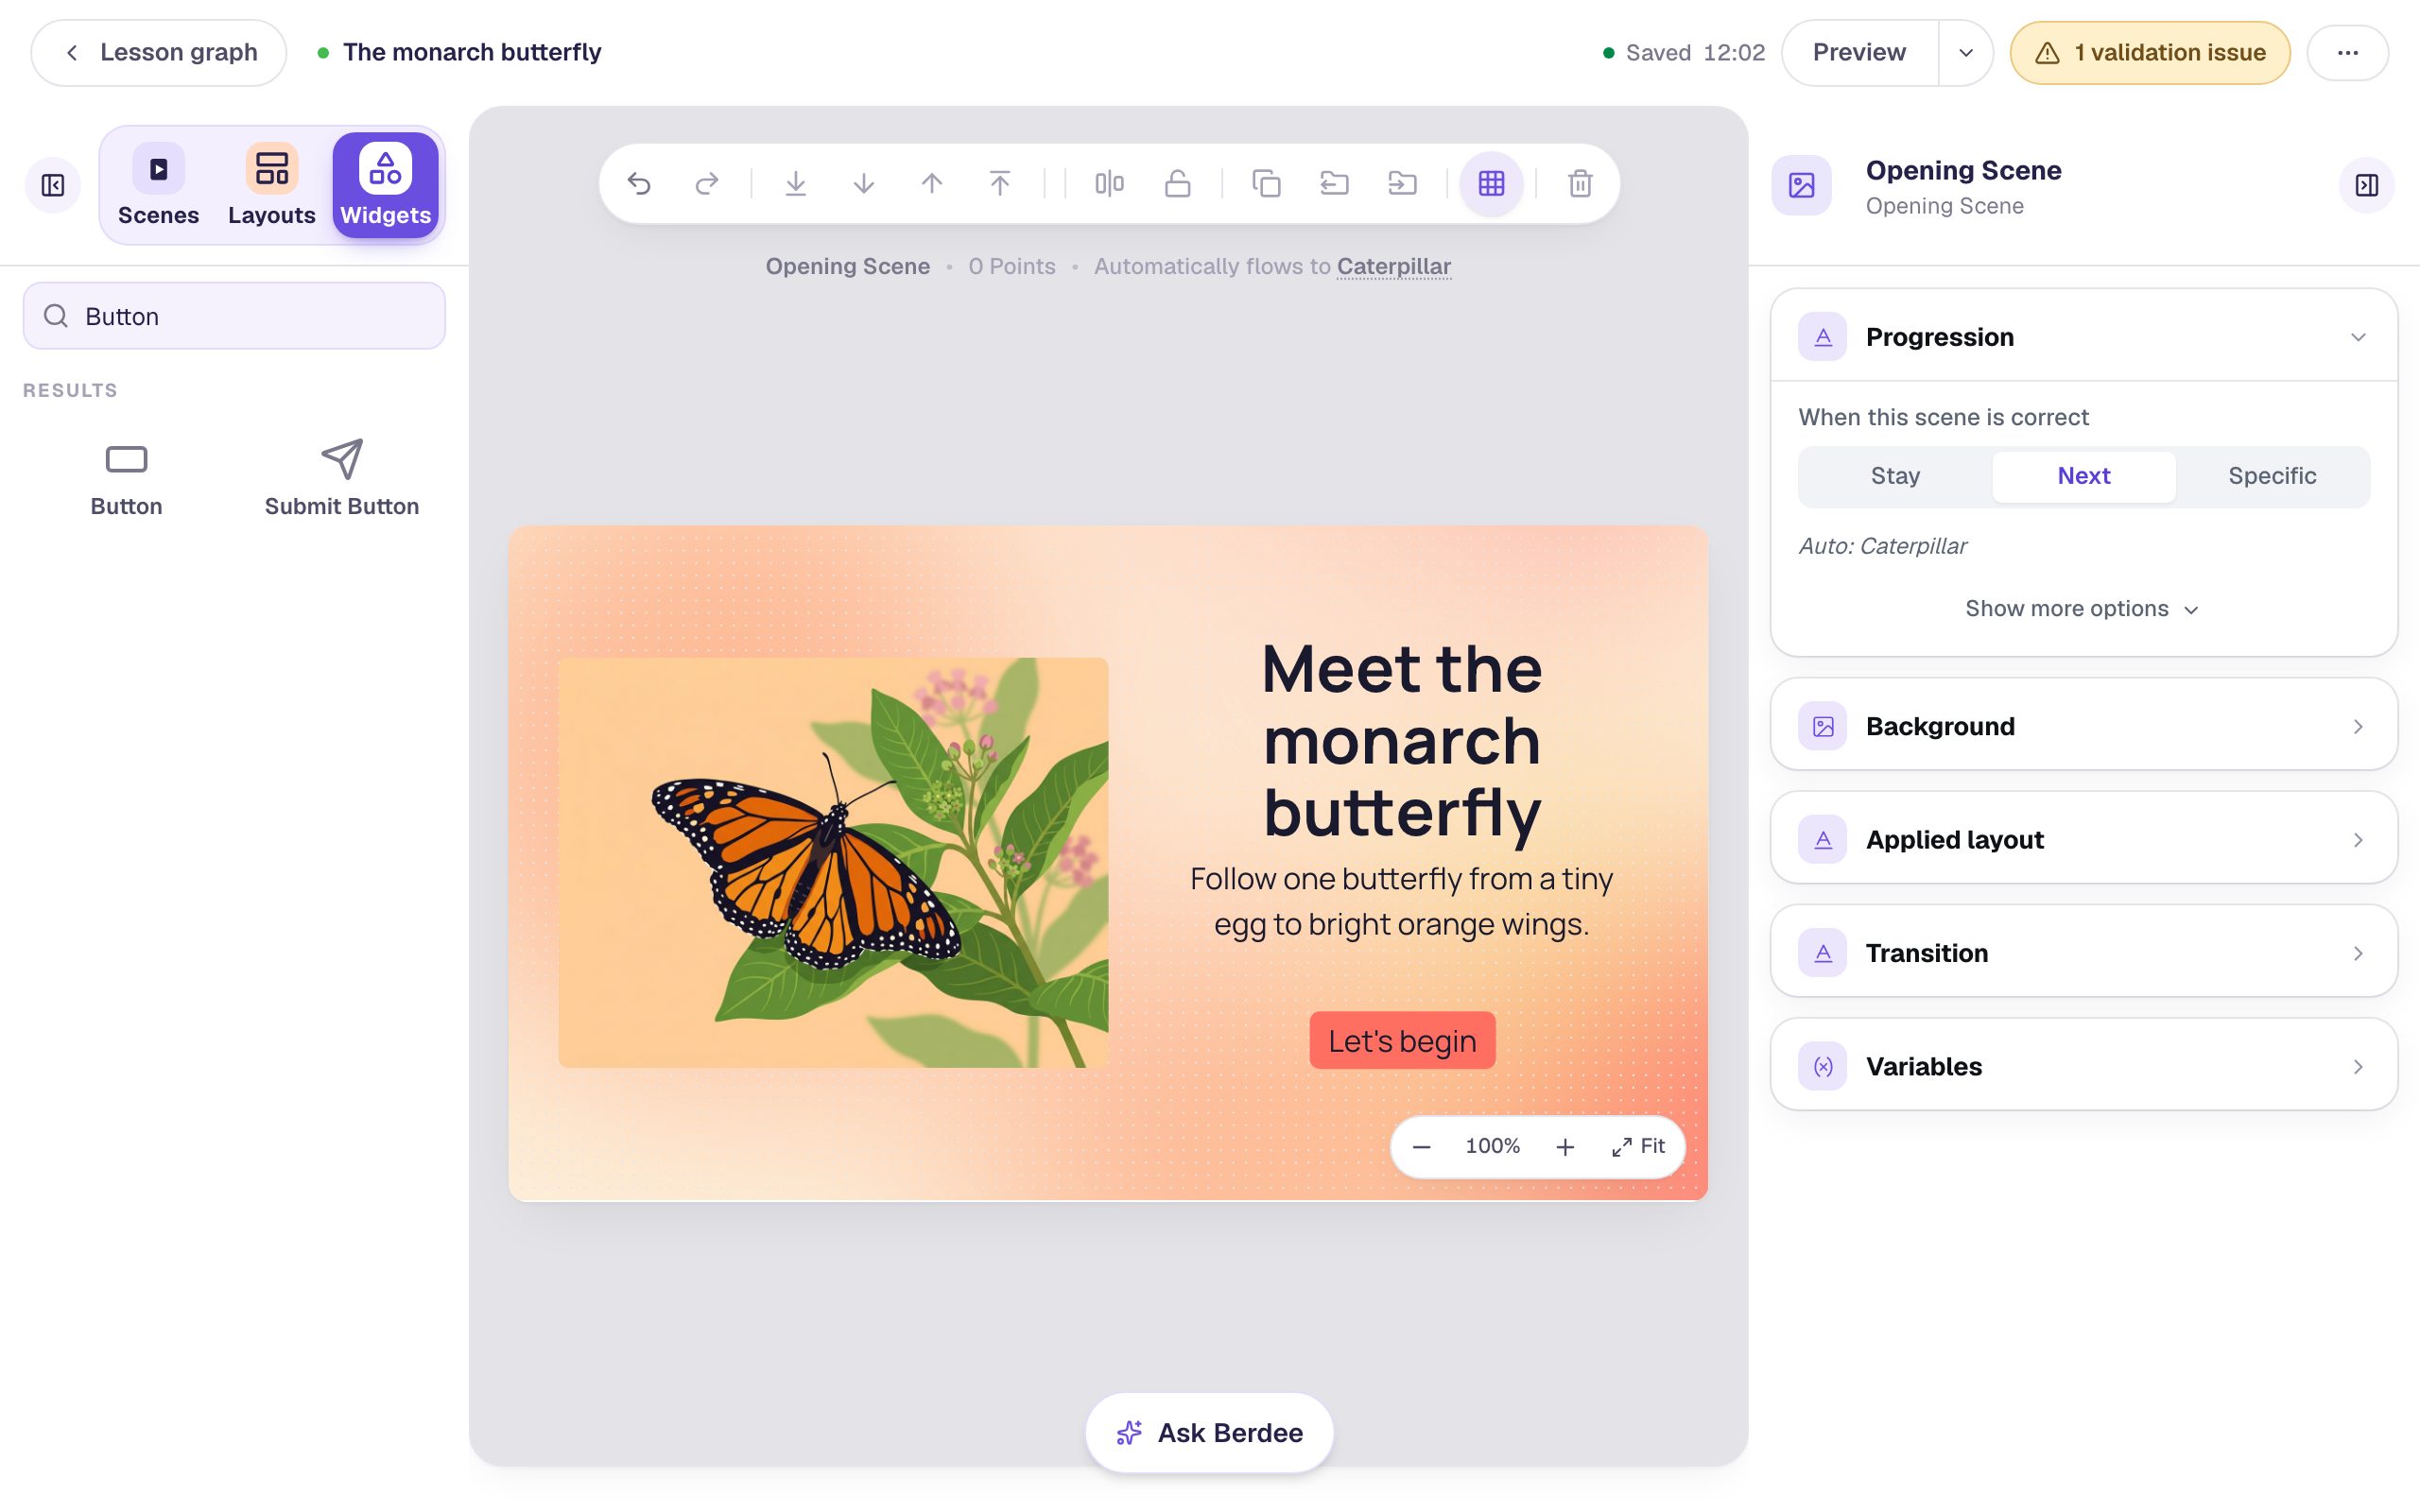
Click Preview at the top of the studio and play through as a student:
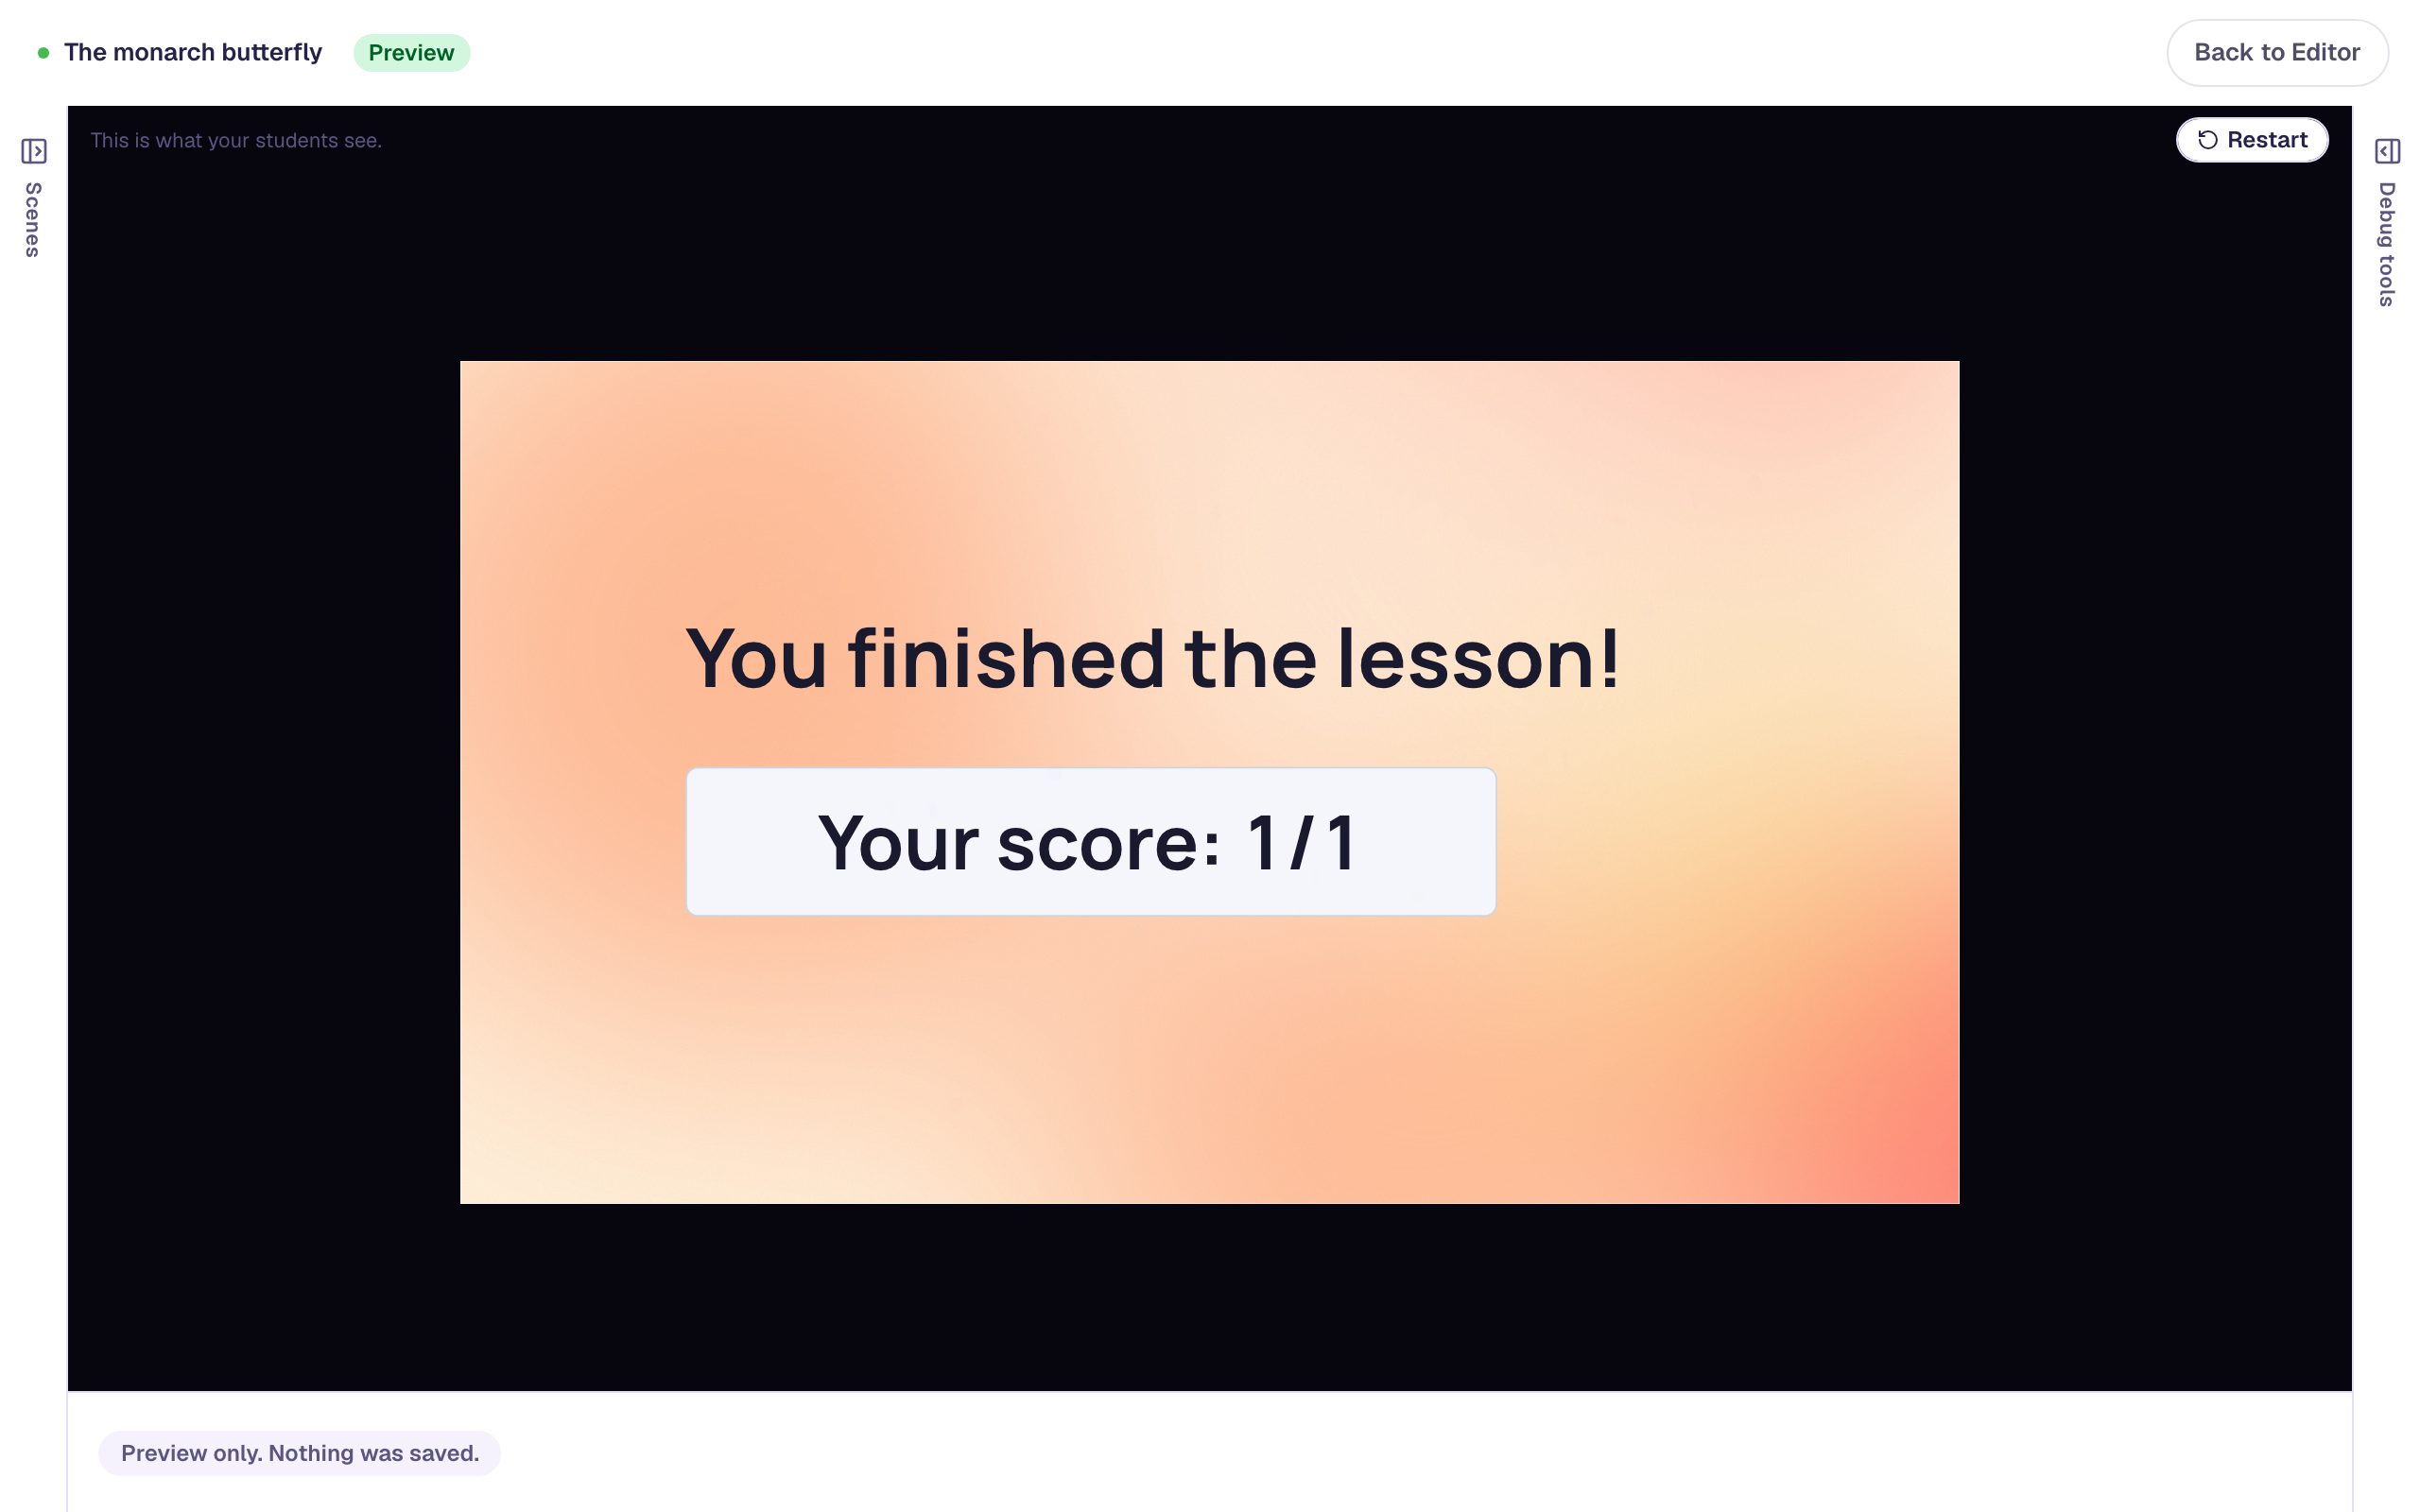
The answers appear in a different order each time, because Randomize Order is on by default. Picking An egg keeps you on the question. A chrysalis is correct, and the lesson moves on to the ending.
What you built
You built a short lesson illustrated entirely with pictures you made in the studio:
- a generated title illustration, from one sentence that named the subject, the style, and the background,
- a remixed picture for the question scene that keeps the first one's style, so the lesson looks like one set,
- alt text written for students instead of the file name, and
- a question that moves students to the ending when they get it right.
The yellow 1 validation issue pill is about finishing the lesson, not its pictures: a lesson needs a Submit button set to Lesson before you can publish it. Build your first quiz question shows how to add one. To add more stages of the life cycle, duplicate the Caterpillar scene (Build a three-question quiz by duplicating a scene) and remix the picture once more for each stage.
Make this lesson yours
Add the lesson you just watched being built to your account, then change it for your class: your questions, your pictures, your colors.
Free to sign up, and you'll come straight back here. I have an account