Build a three-question quiz by duplicating a scene
Build one question scene properly, then duplicate it and change only what's different, so every question in the quiz has the same look and layout. Reorder the questions by dragging and watch the lesson follow the new order.
- Level
- Beginner
- Time
- About 12 min
- Steps
- 9
A styled three-question quiz with a title scene, built from one question scene and two copies, that carries students through every question to their score.
Get the finished lesson
Skip straight to the result, or keep it open beside the steps. Add this tutorial's lesson to your account and explore how it works in the studio.
Free to sign up, and you'll come straight back here. I have an account
Most quizzes are the same scene again and again: a question at the top, answers underneath, the same background and the same text sizes. Building each one from scratch is slow, and the scenes drift apart as you go. A faster way is to build one question carefully, then duplicate it and change only what's different.
In this tutorial you'll build Where animals live: a title scene and three questions (a polar bear, a camel, and a toucan) that share the same four answers. Then you'll reorder the questions by dragging and watch the lesson follow the new order. If you haven't built a question before, start with Build your first quiz question. This tutorial moves a little faster through those steps.
Step 1: Set up the title scene
Click New lesson, then Start from scratch. Click Untitled lesson at the top left, name the lesson Where animals live, and click Save changes.
Give the Opening Scene a look before you add anything else:
- Click an empty part of the scene. In the properties panel, open Background and click Choose a style.
- Pick Mesh sunrise and click Apply background.
- From the Widgets tab, add a Heading and type
Where do animals live?, then a Body text that saysThree quick questions about animal homes.(at Font Size 28). Drag both to the middle of the scene.
Open the Closing Scene at the bottom of the Scenes tab and give it the same Mesh sunrise background, so the ending matches the rest of the lesson.
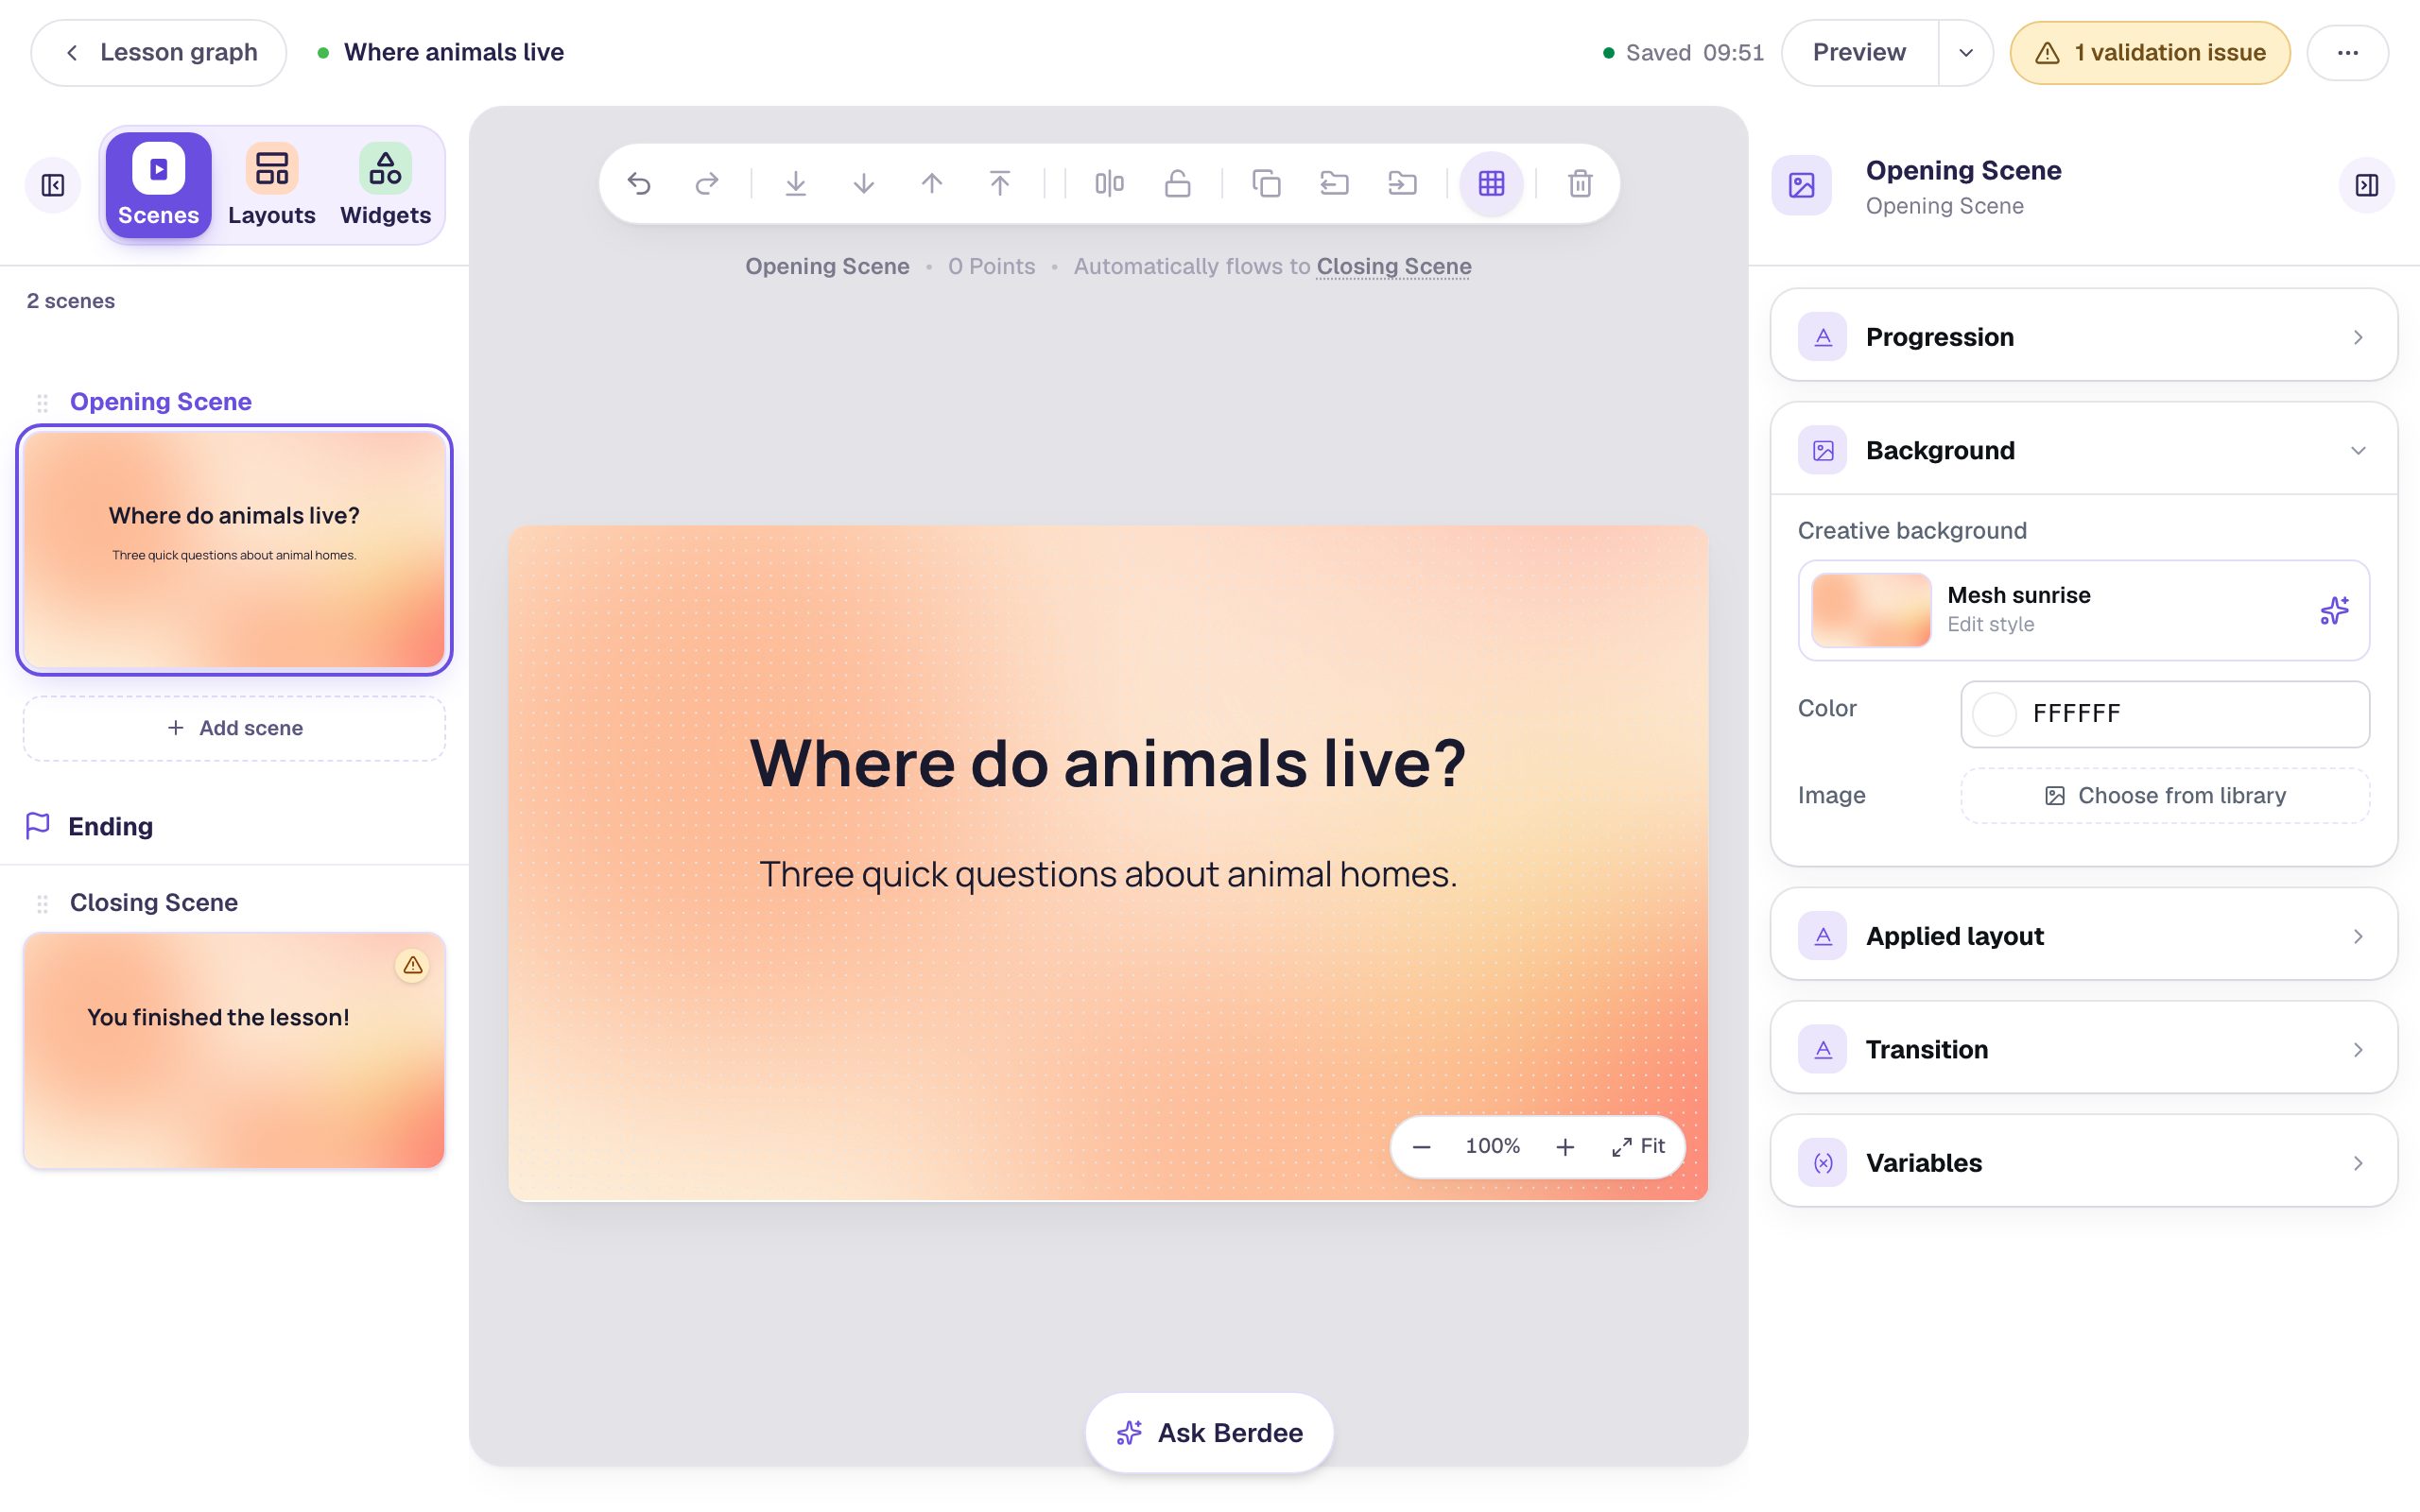
The title scene needs a button to start the quiz too. That comes last, in Step 8, for a reason you'll see there.
Step 2: Add a scene for the first question
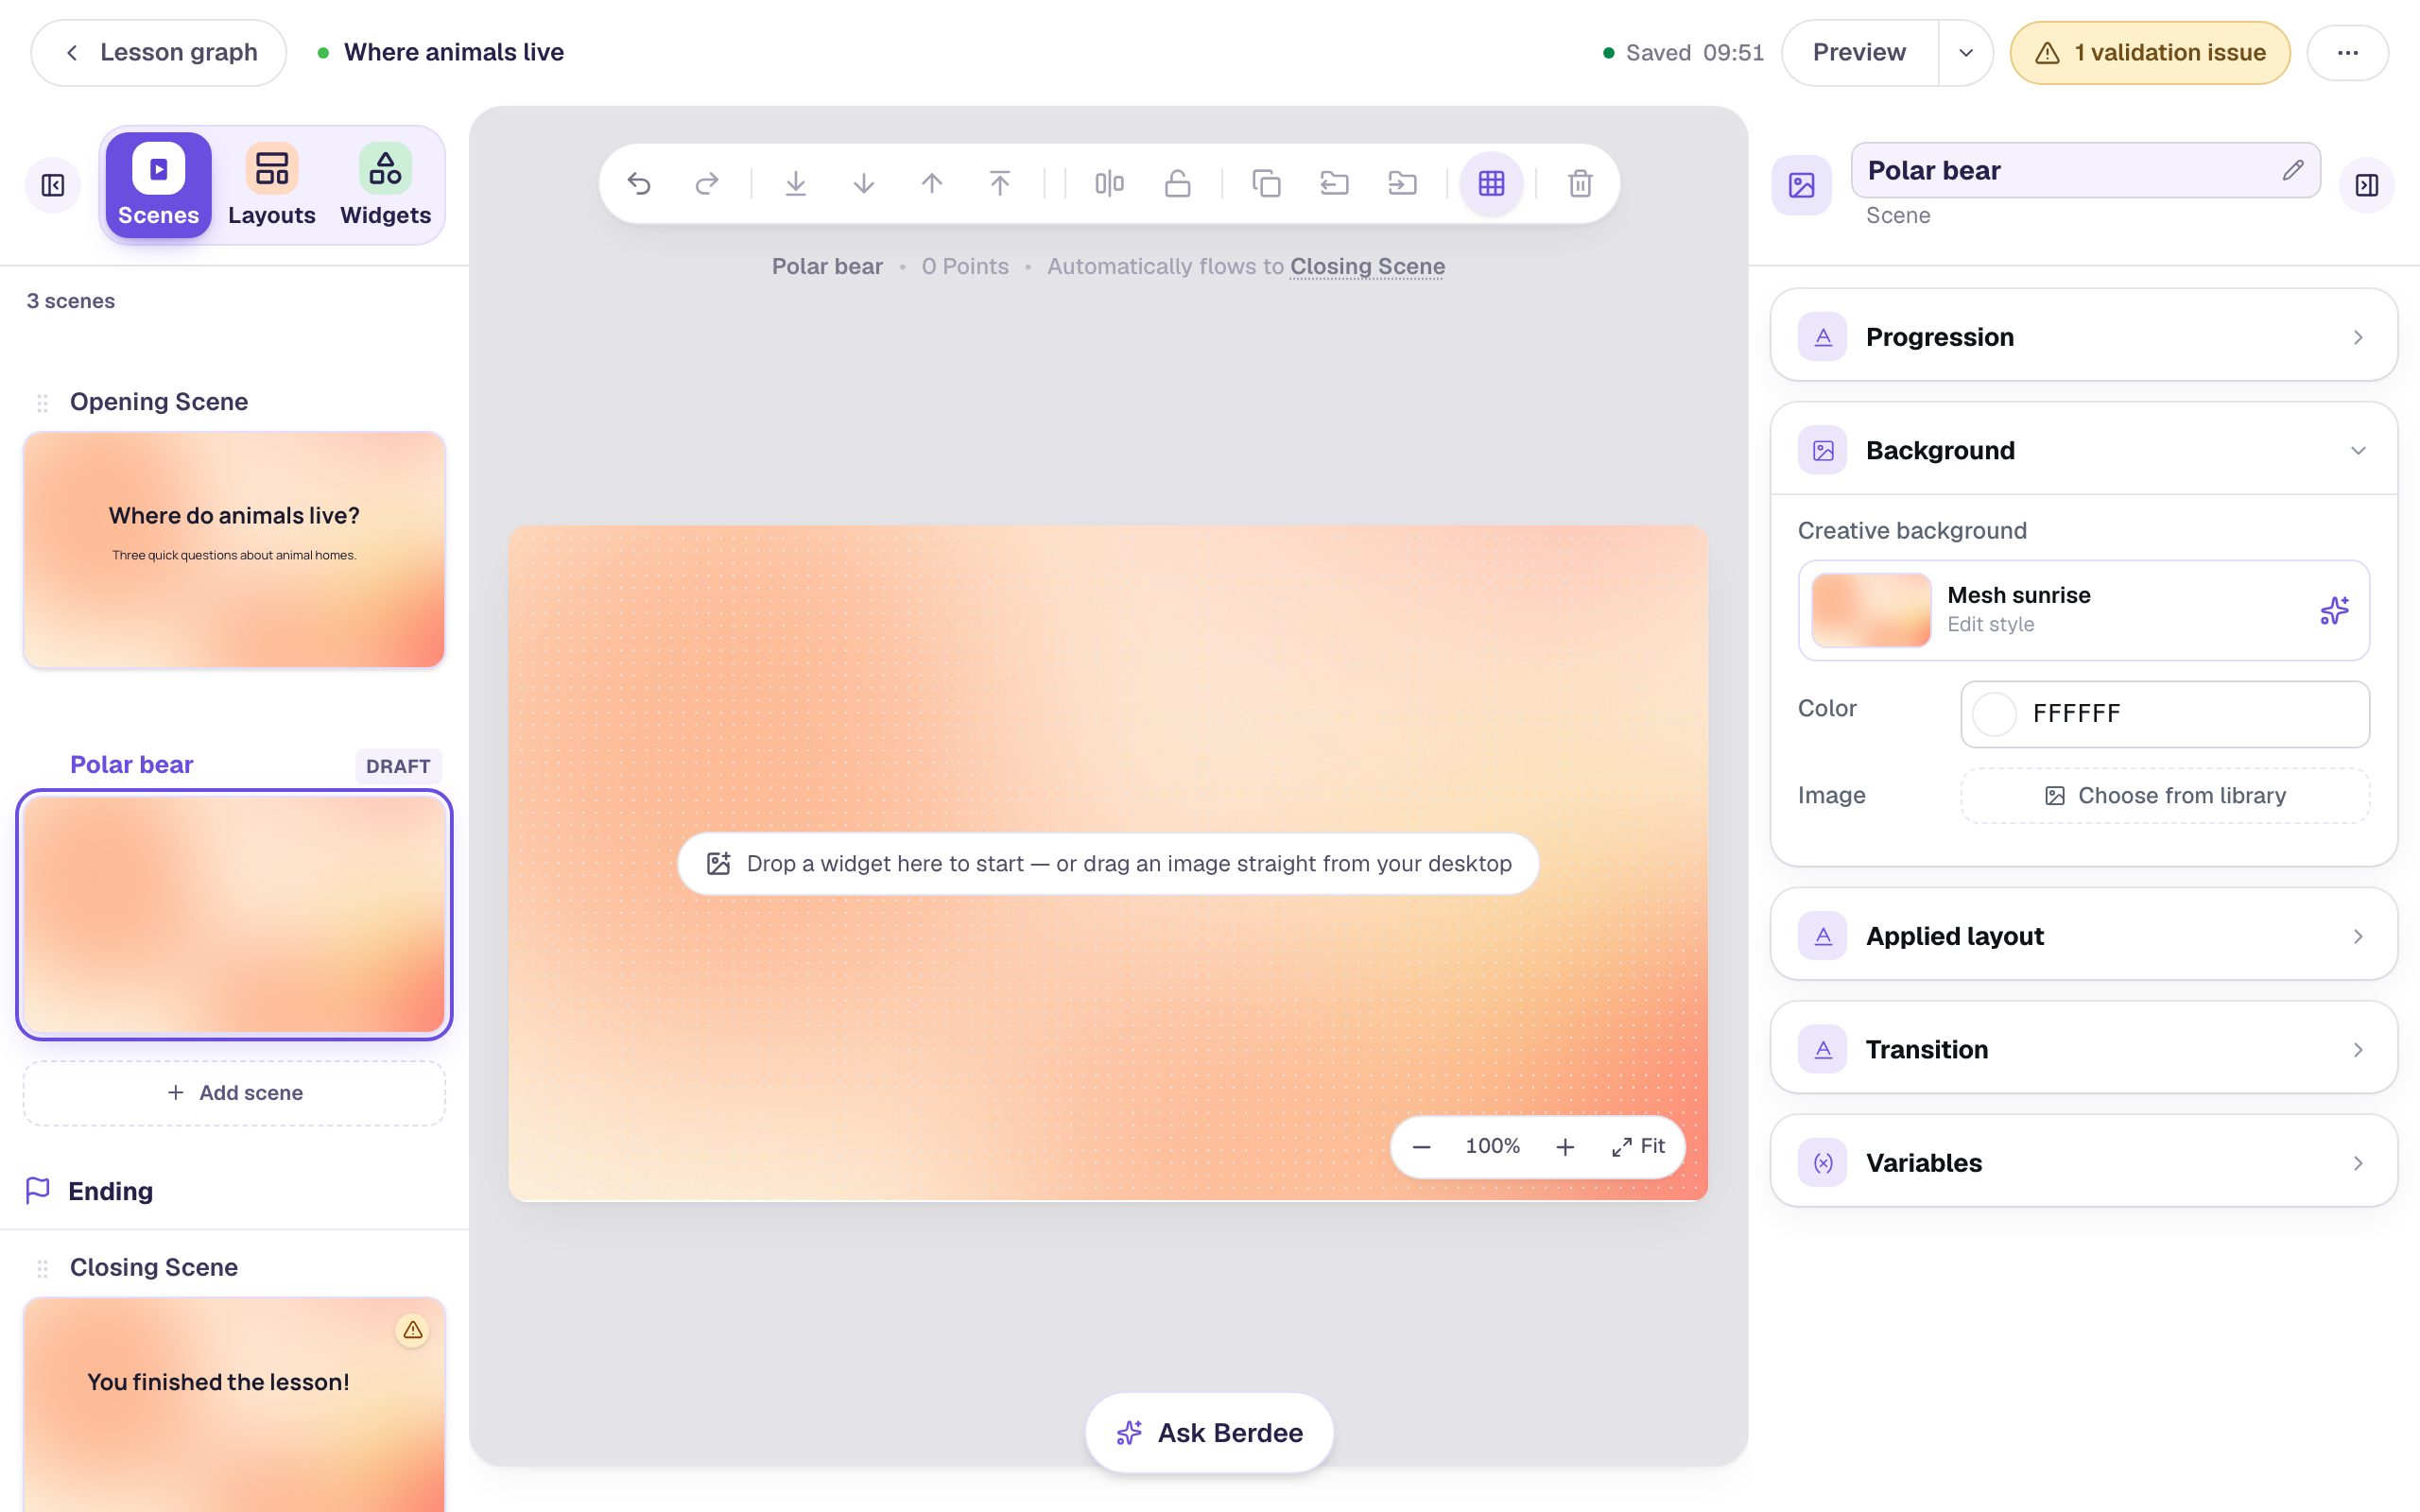
The Opening Scene can't be duplicated, so the questions get scenes of their own. In the Scenes tab, click Add scene. A new scene called Scene 1 appears below the Opening Scene and opens on the canvas.
Name it for its question: double-click Scene 1 in the list, type Polar bear, and press Enter. Short names that say what each scene is about make a long lesson much easier to find your way around.
Give it the Mesh sunrise background as well. Anything you set up on this scene now, you won't have to repeat on the copies.
Step 3: Build the first question carefully
This is the scene every other question will copy, so it's worth getting right.
- Add a Heading that says
Where does a polar bear live?and drag it to the top of the scene. - Add a Multi Choice widget and click Configure in the pill above it.
- Type the four answers:
Arctic,Desert,Rainforest,Savanna. Arctic is already marked correct, because a new question marks its first answer correct, and that's right for the polar bear. Click Save.
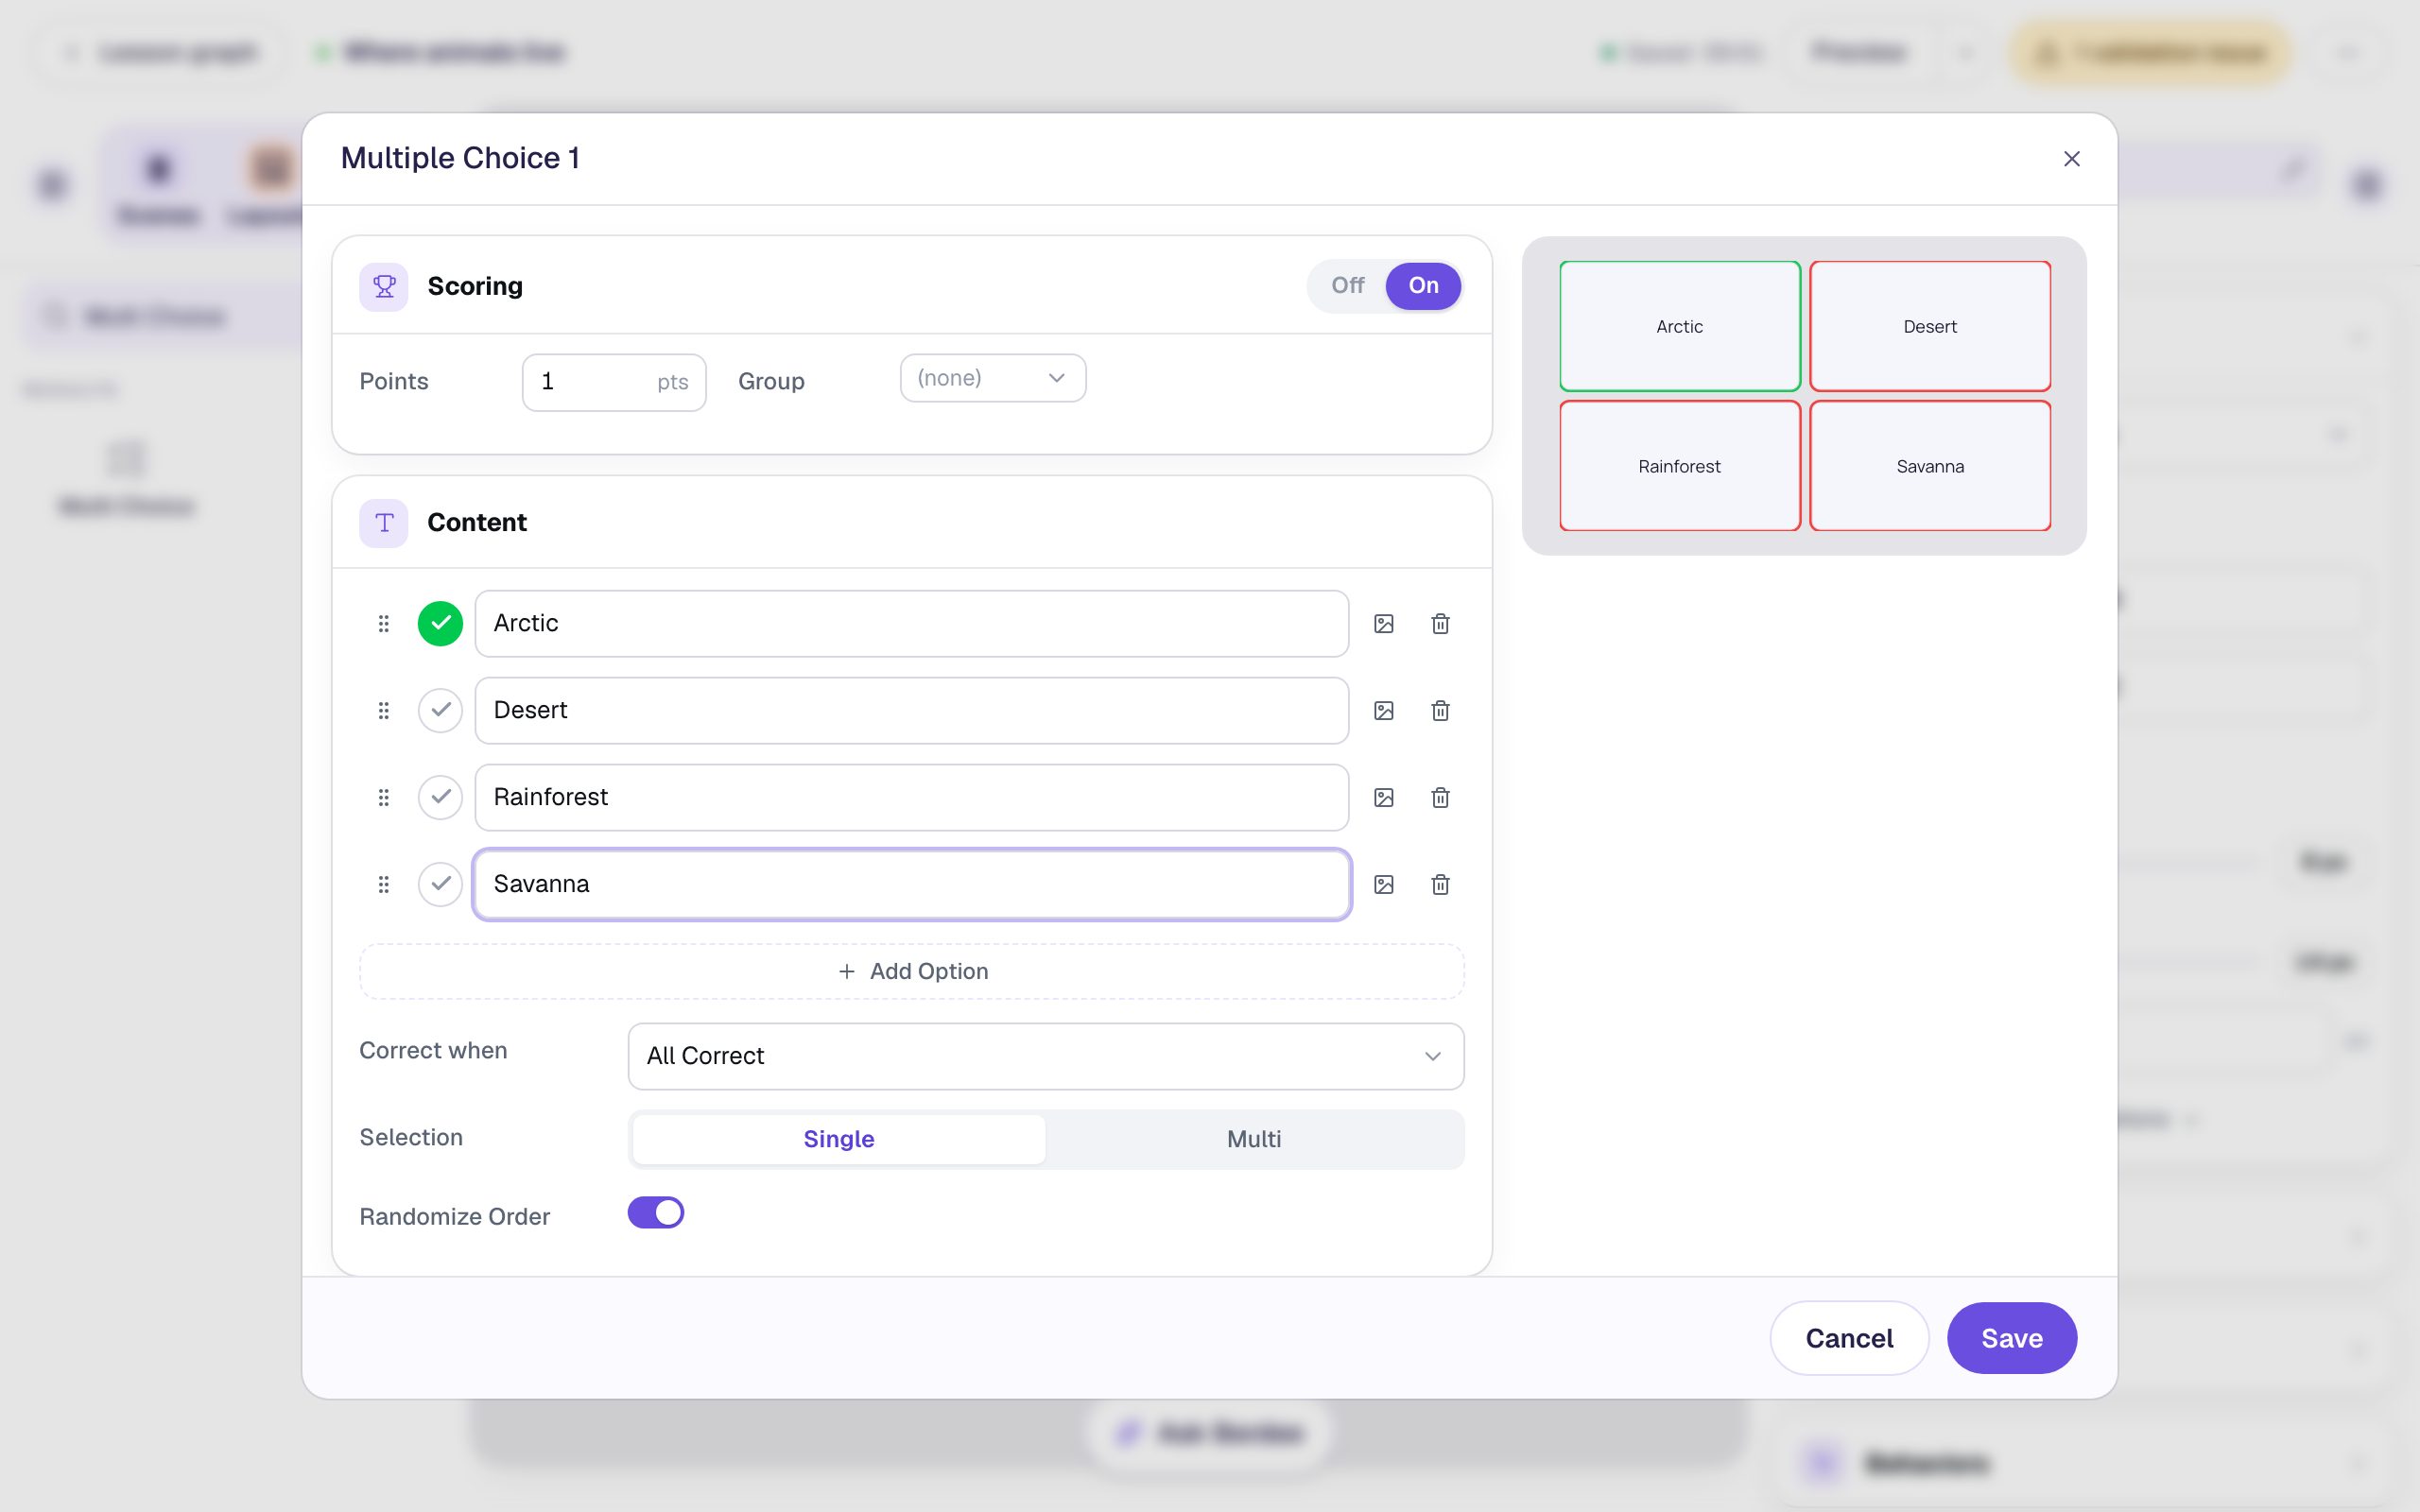
Now make the answers easy to read. With the question still selected, in Style & Layout:
- Set Font Size to about 36 px.
- Click Show more options and set Width to
720and Height to230, so the four answers fill a wide two-by-two grid. - Turn on Show correctness, so a student who picks a wrong answer sees it outlined in red.
- Drag the question so it sits centered under the heading.
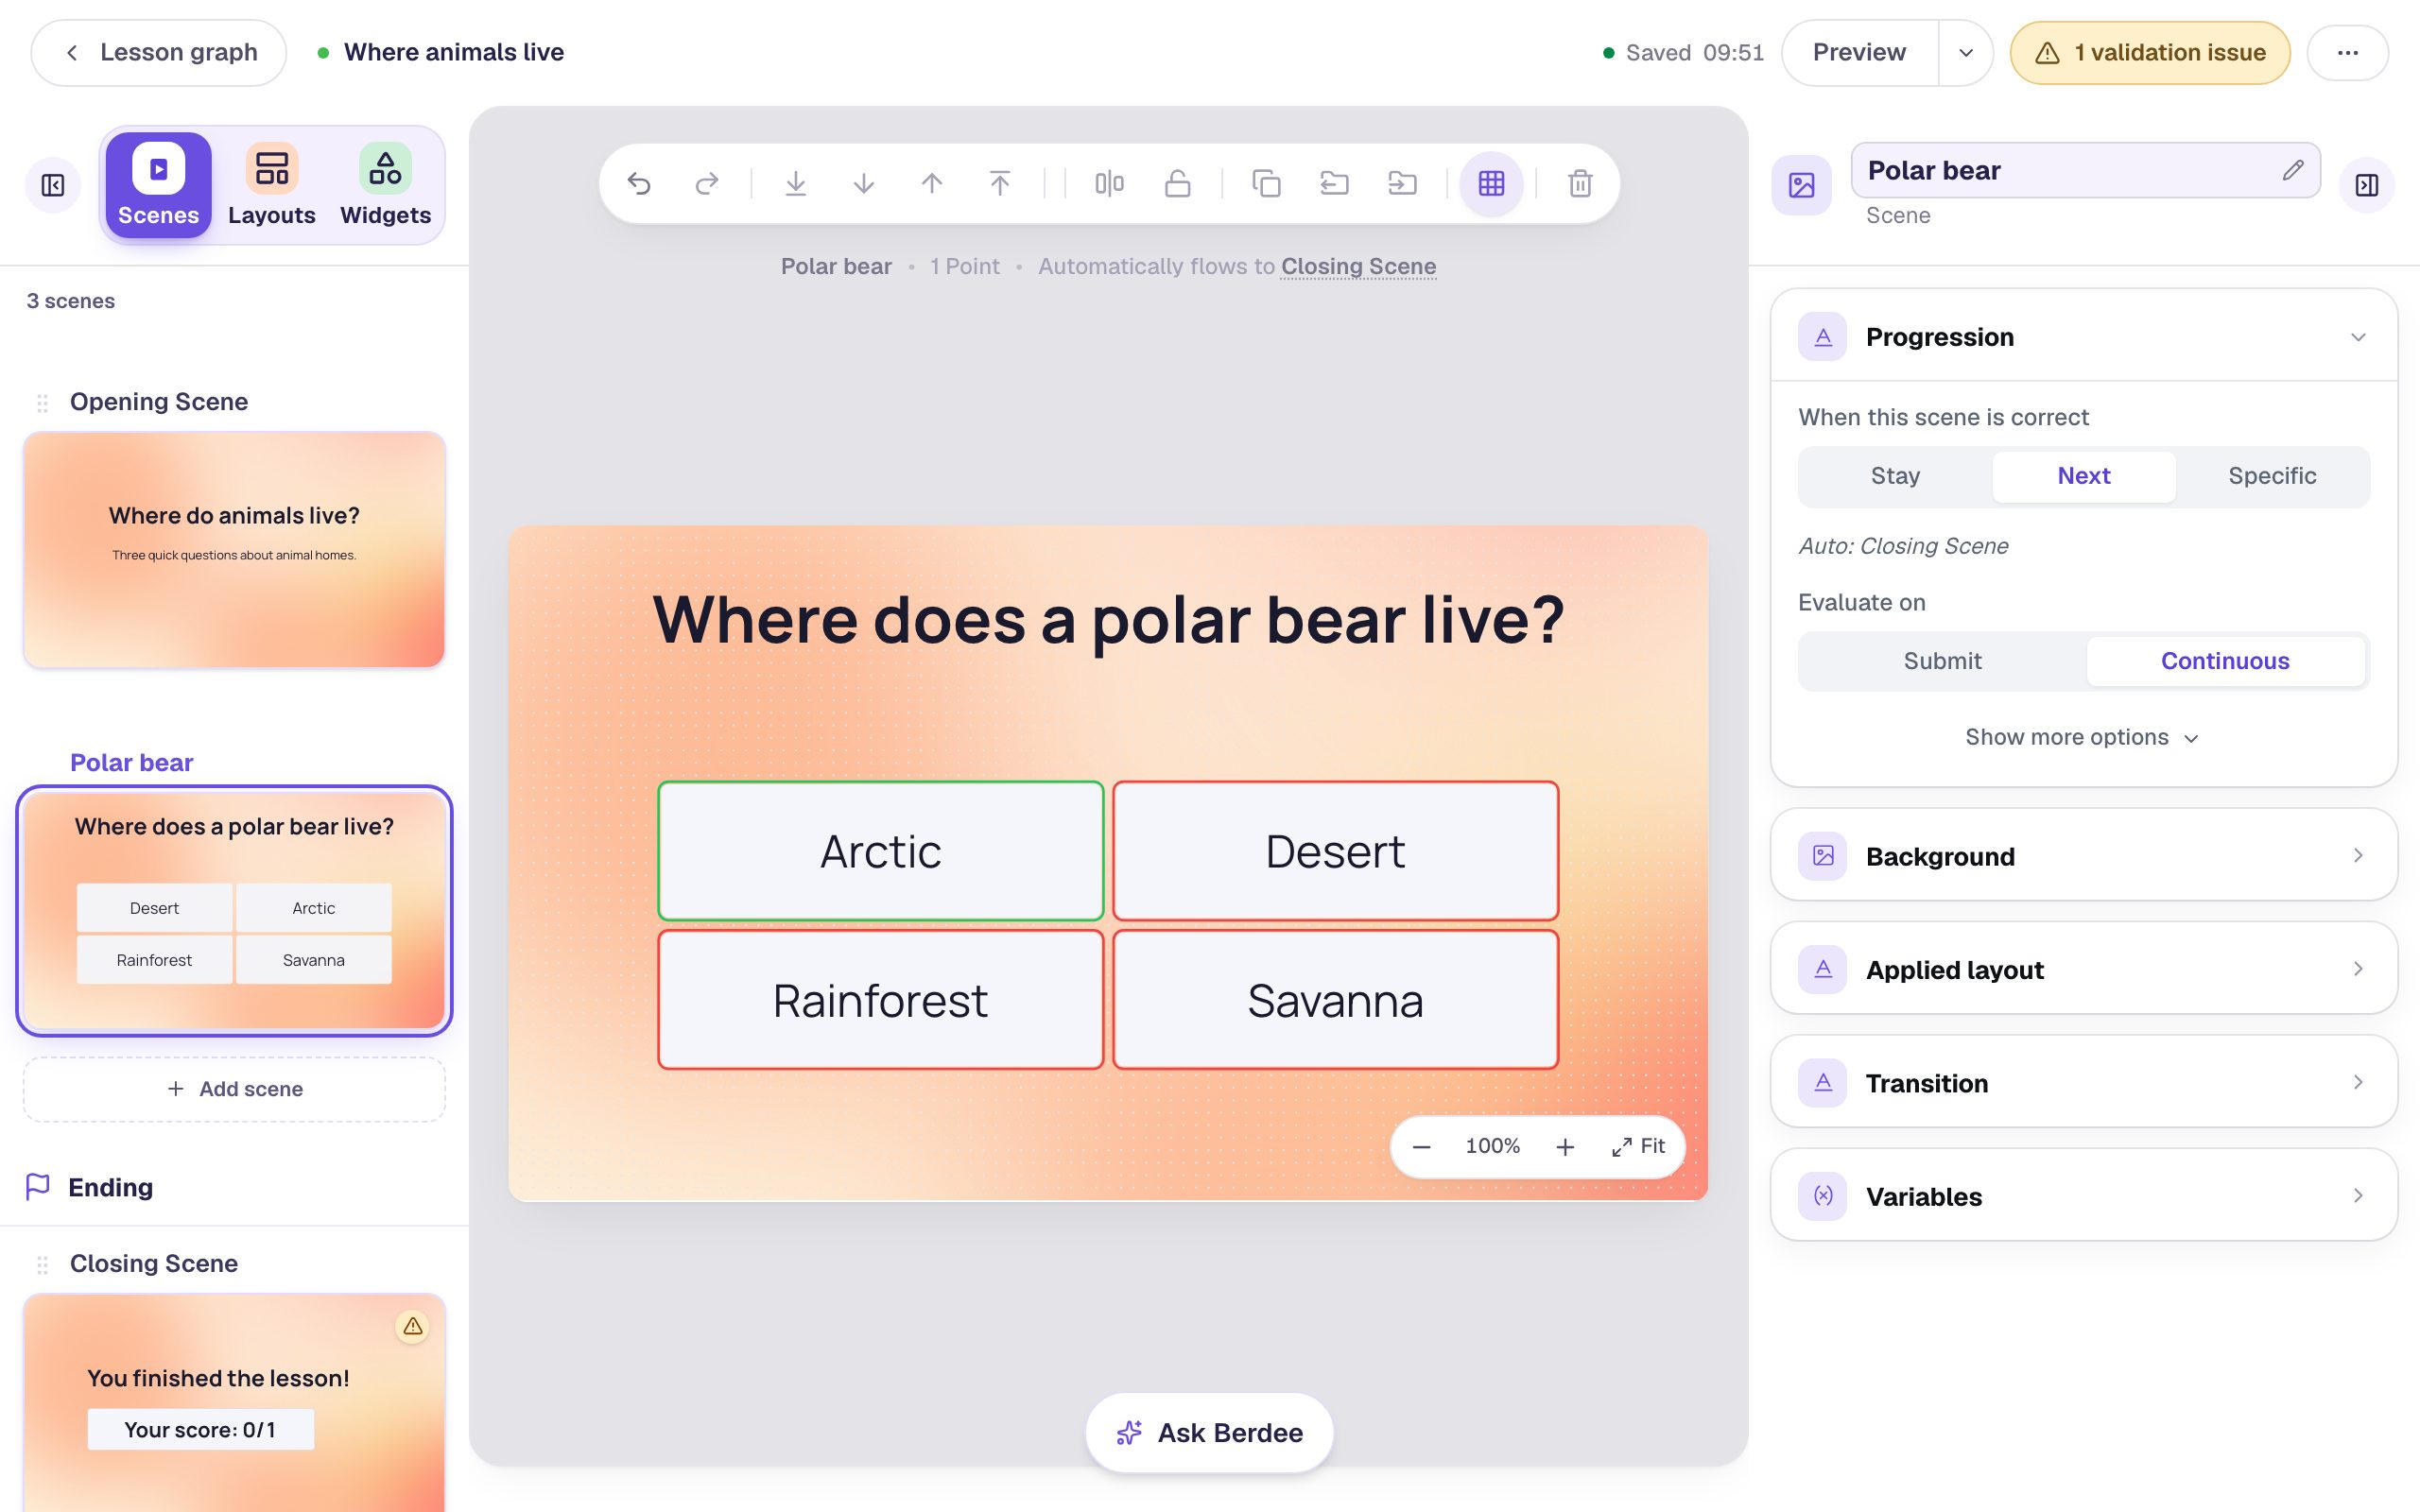
The line above the canvas says Automatically flows to Closing Scene: when a student picks the right answer, the lesson moves on by itself. The scene's Progression is set to Next, which means "whatever scene comes next in the list", not one particular scene. That will matter in Step 7.
Step 4: Duplicate the scene
In the Scenes tab, hover the Polar bear thumbnail. Two small buttons appear in its bottom corner. Click the first one, Duplicate.
A copy called Polar bear 2 appears just below the original and opens on the canvas. It has everything the original has: the background, the heading, the question with its four answers, the font size, Show correctness, and the same progression.
Rename it straight away, before you forget which scene is which. Double-click Polar bear 2, type Camel, and press Enter.
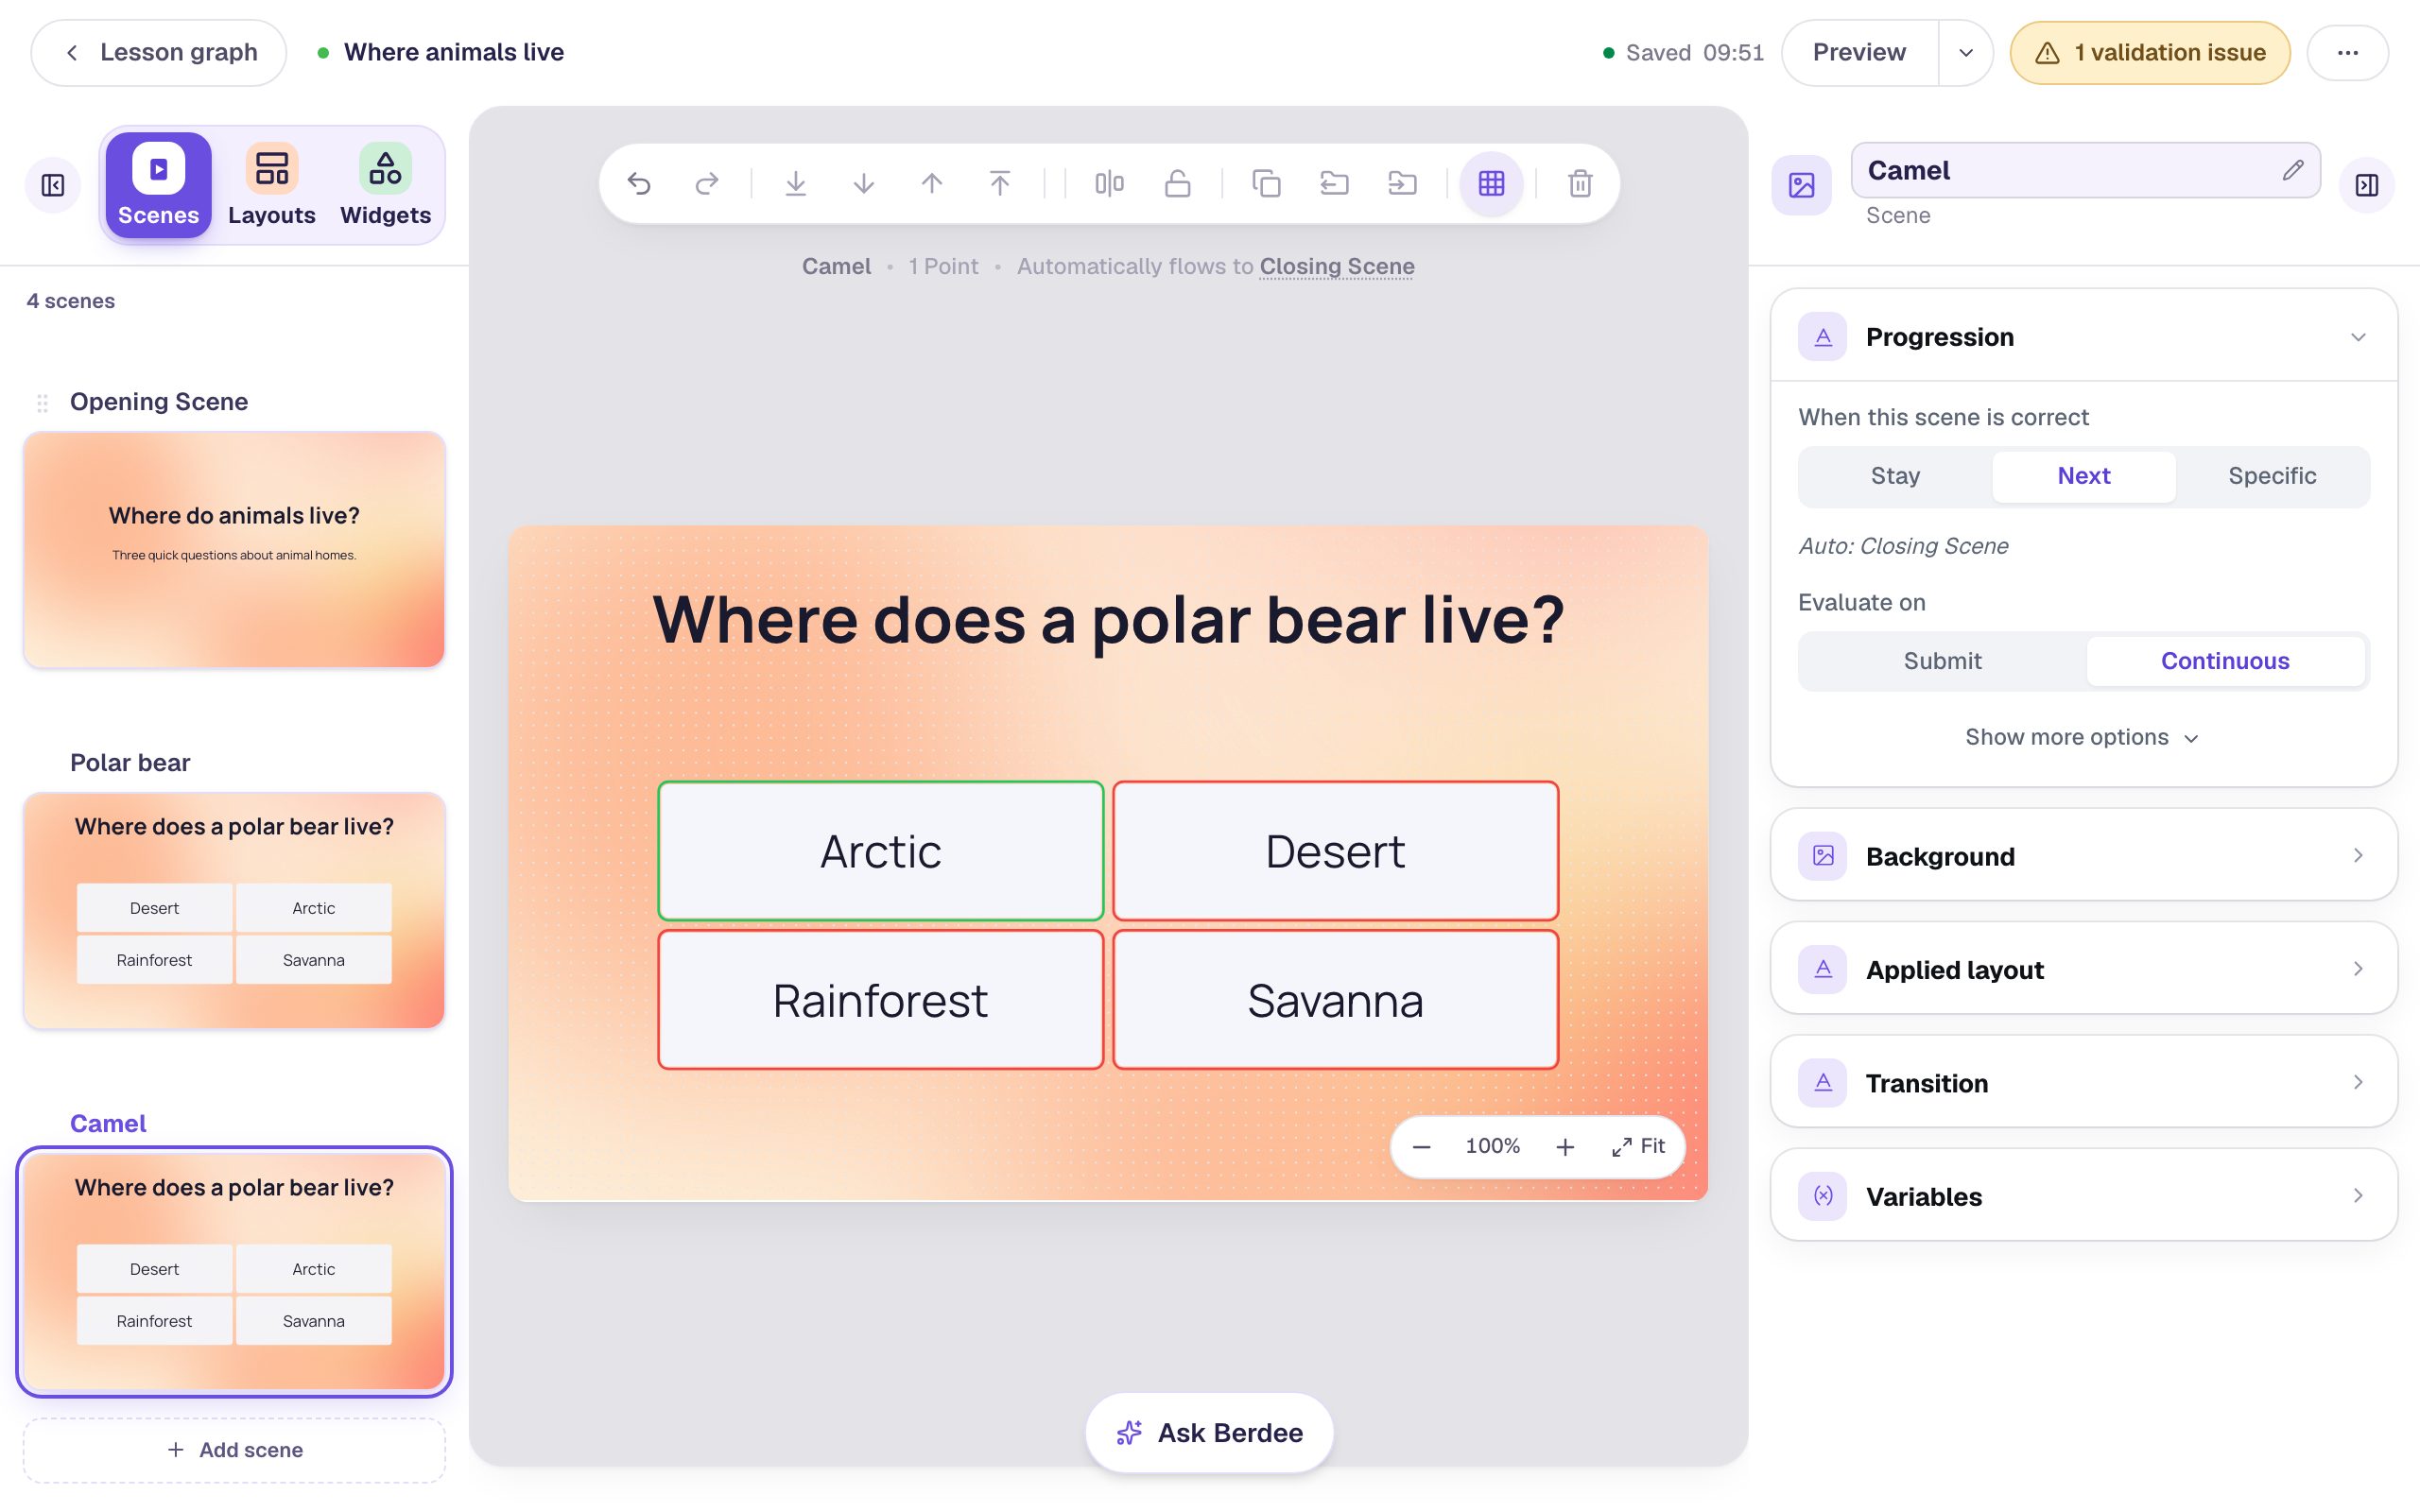
You can also duplicate from a scene's ⋯ menu, which has Rename and Delete too.
Step 5: Change only what's different
Two things make the camel question different from the polar bear one: the question and the right answer.
- Double-click the heading on the canvas to edit its text. Select all of it (⌘ A on a Mac, Ctrl A on Windows), type
Where does a camel live?, and click outside the box to finish. - Click the question, then Configure. Click the check mark beside Desert. The mark moves off Arctic on its own, because a student picks just one answer here.
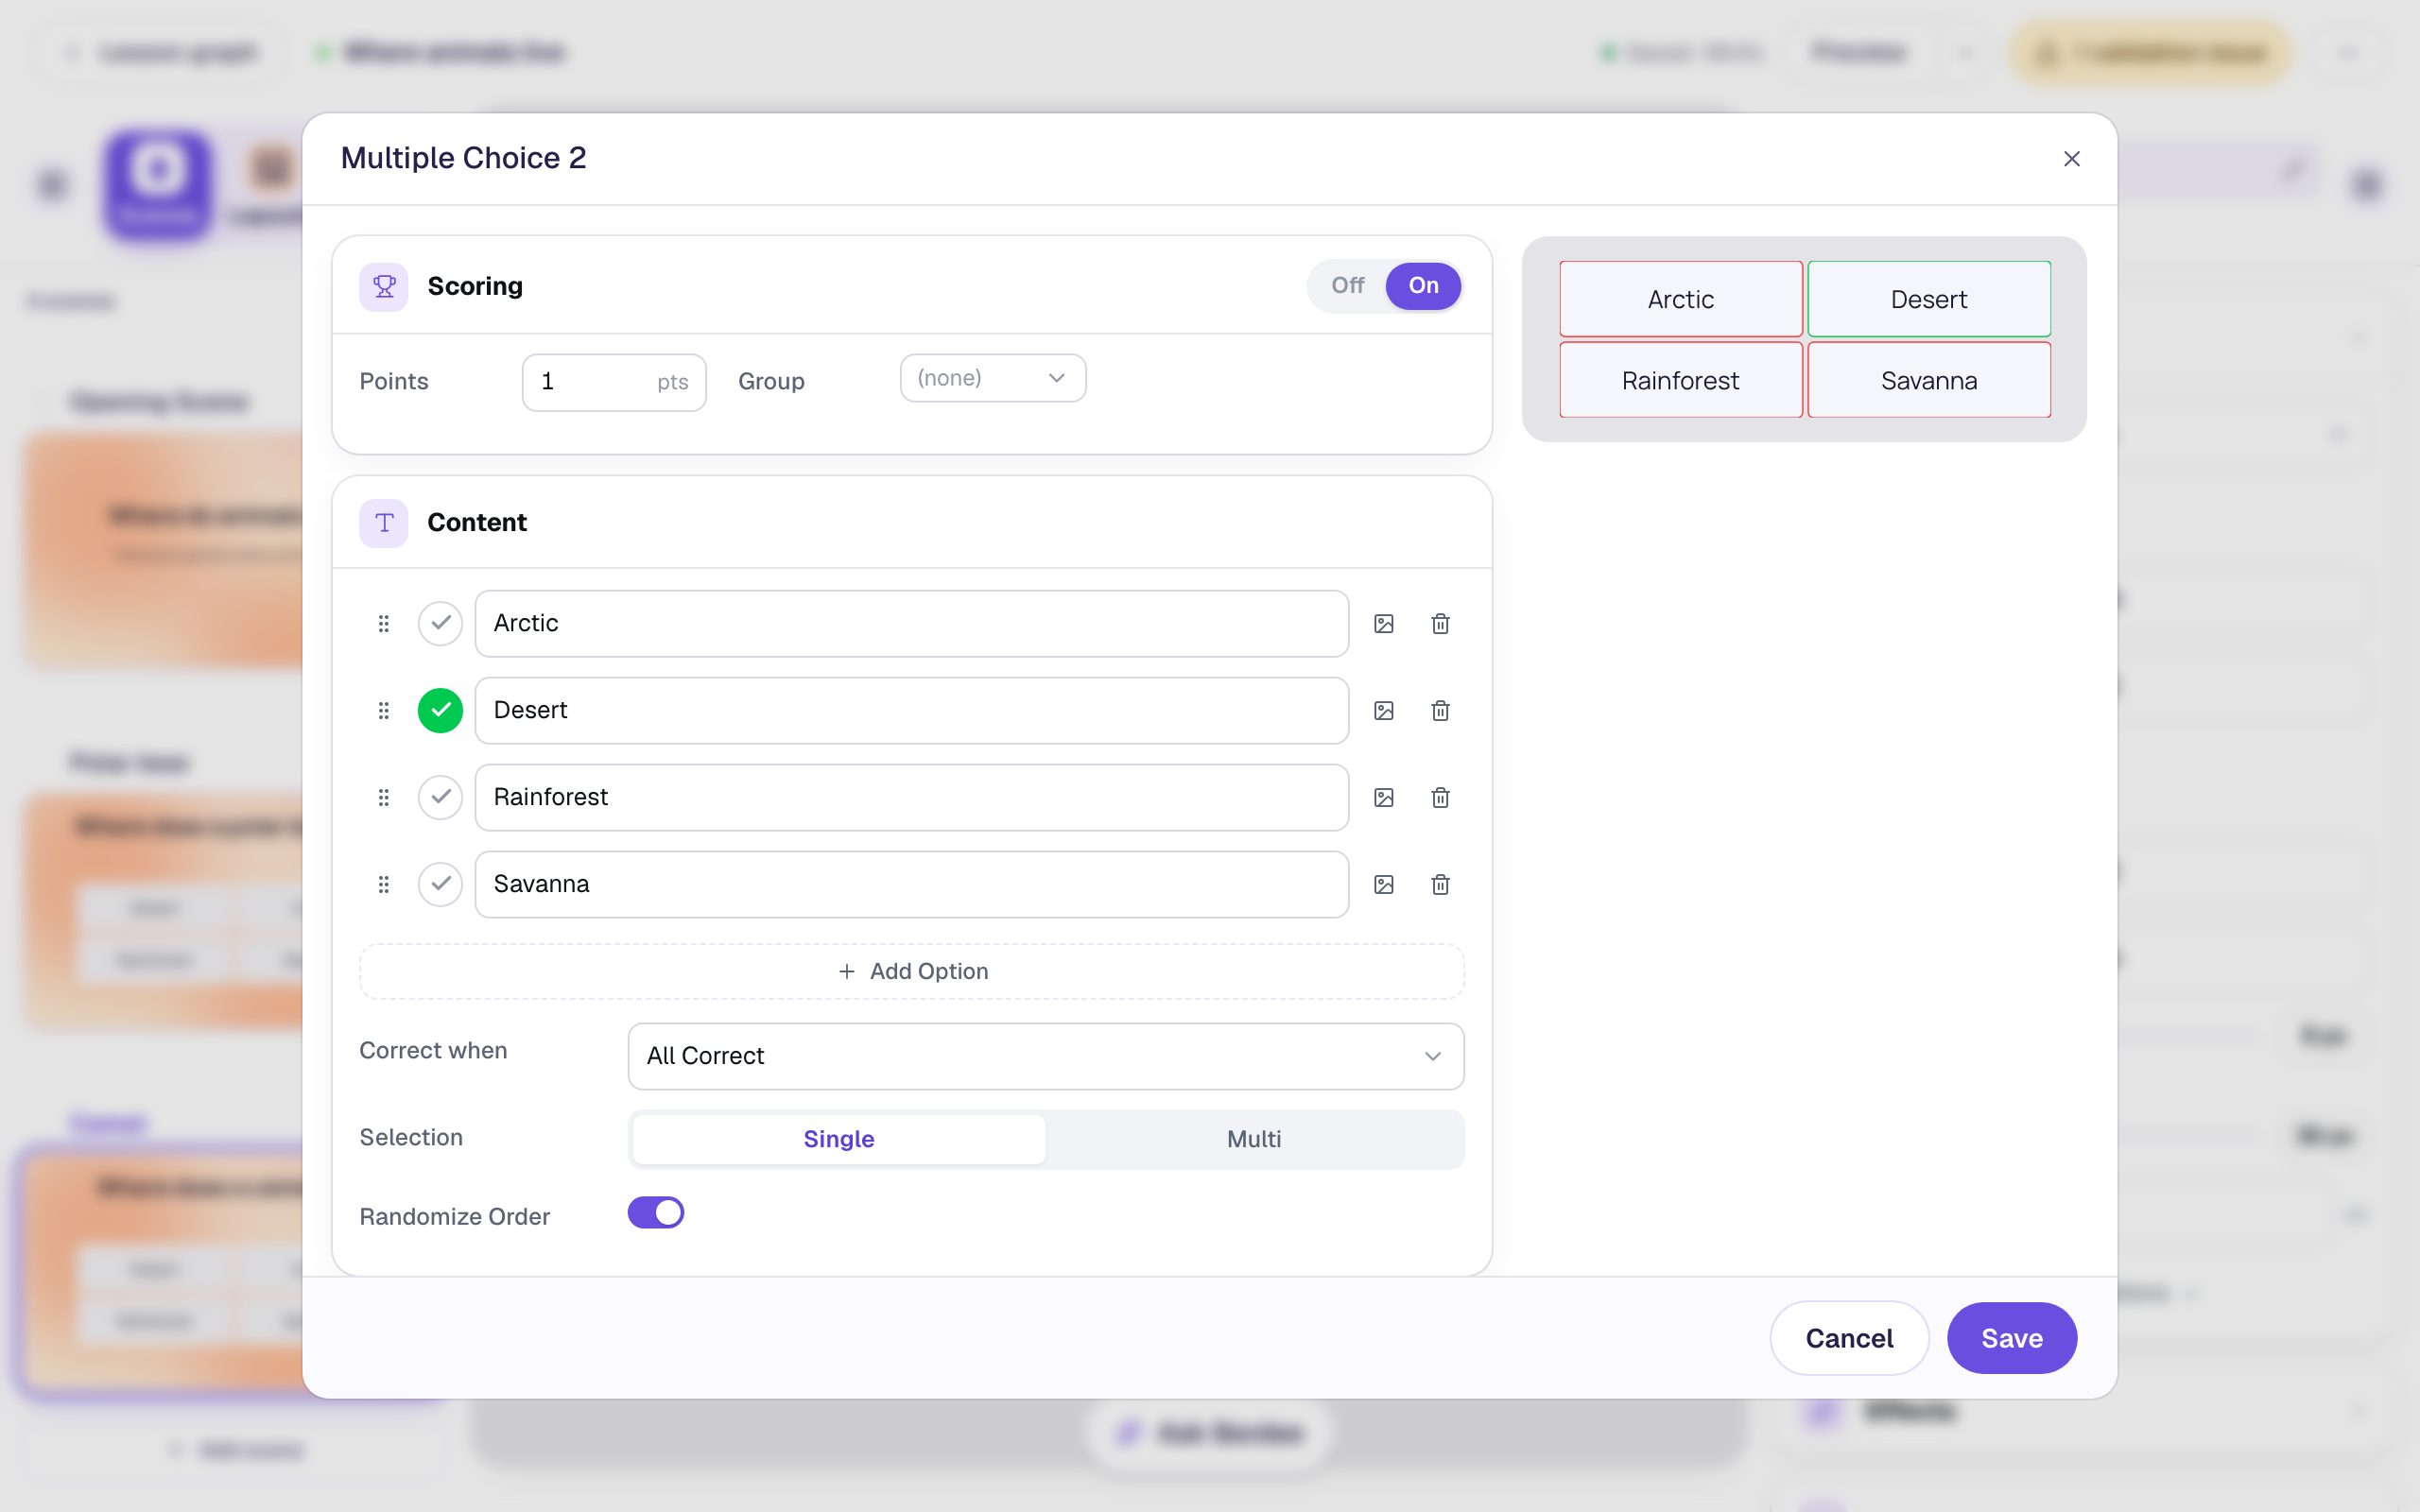
Click Save. The answers didn't need retyping, and the size and style already match the first question.
Don't skip the correct mark. A copy keeps the original's right answer. If you change the question and forget to move the mark, the camel question would mark Arctic correct. The green outline on the canvas is the quickest way to check.
Step 6: Make the third question
Do it once more for the toucan: hover Camel, click Duplicate, and rename Camel 2 to Toucan. Change the heading to Where does a toucan live?, then open Configure and mark Rainforest correct.
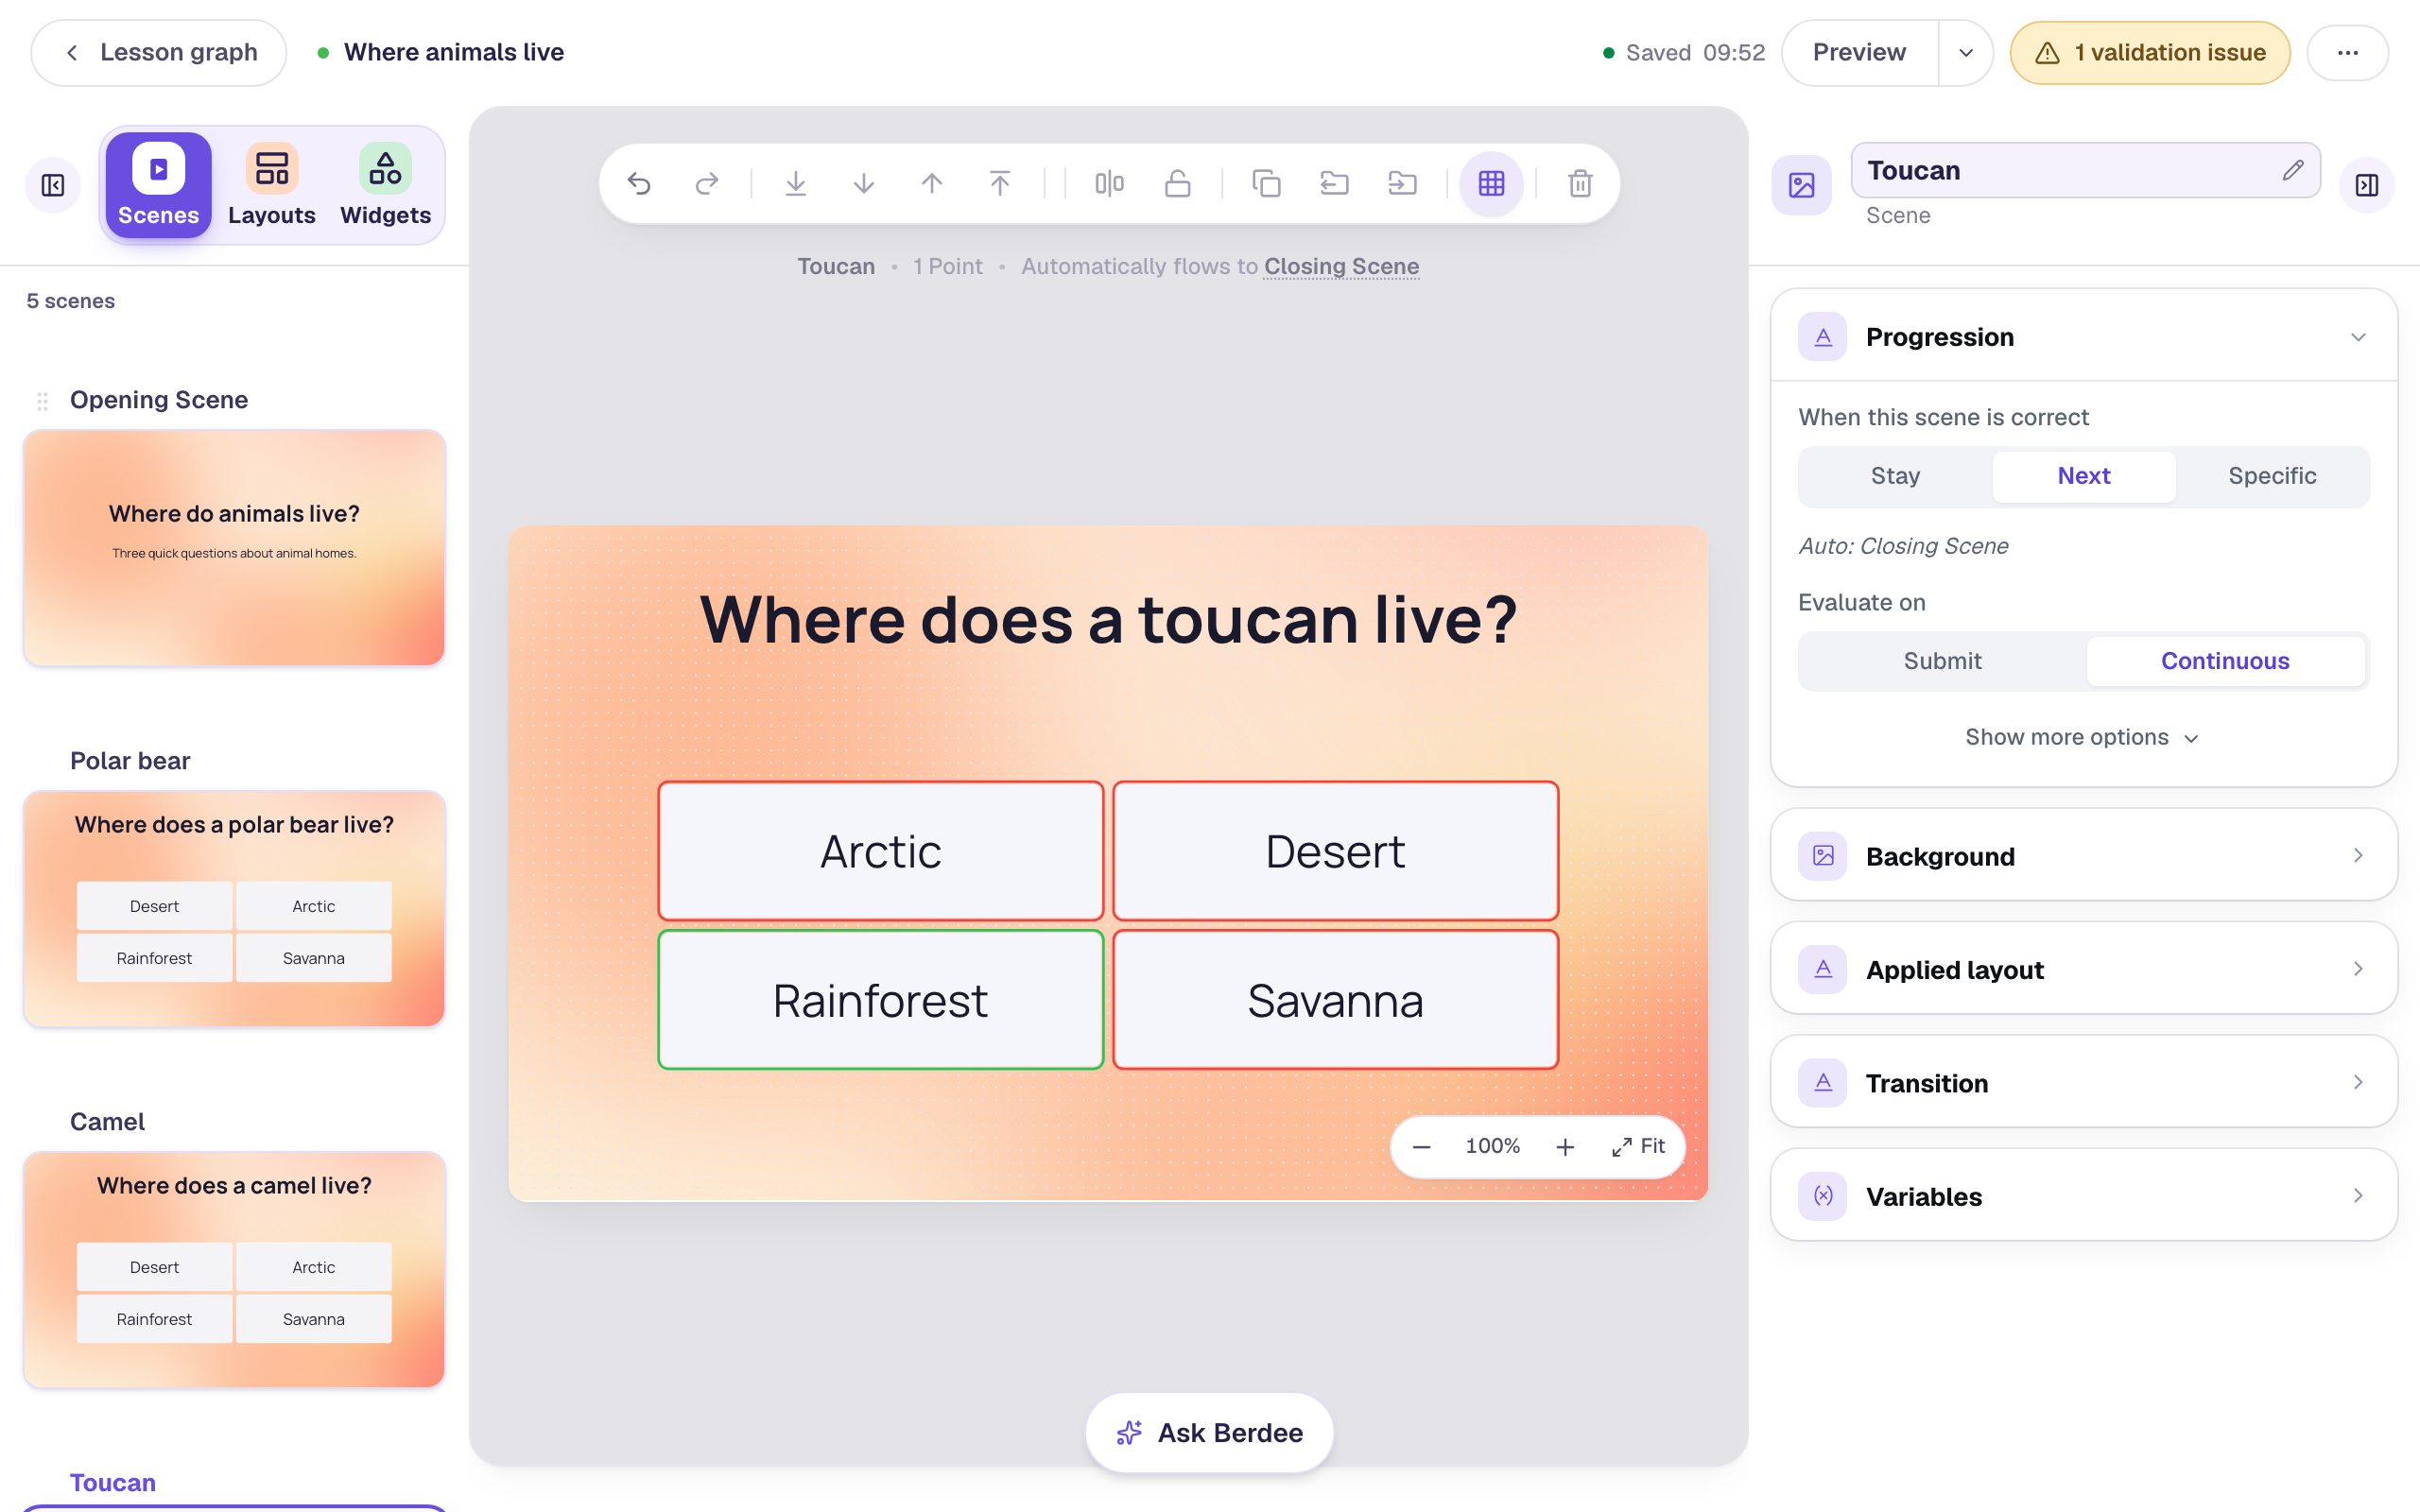
That's the whole technique: one scene built with care, then a minute per extra question. A ten-question quiz takes the same few steps, repeated.
Step 7: Reorder the questions by dragging
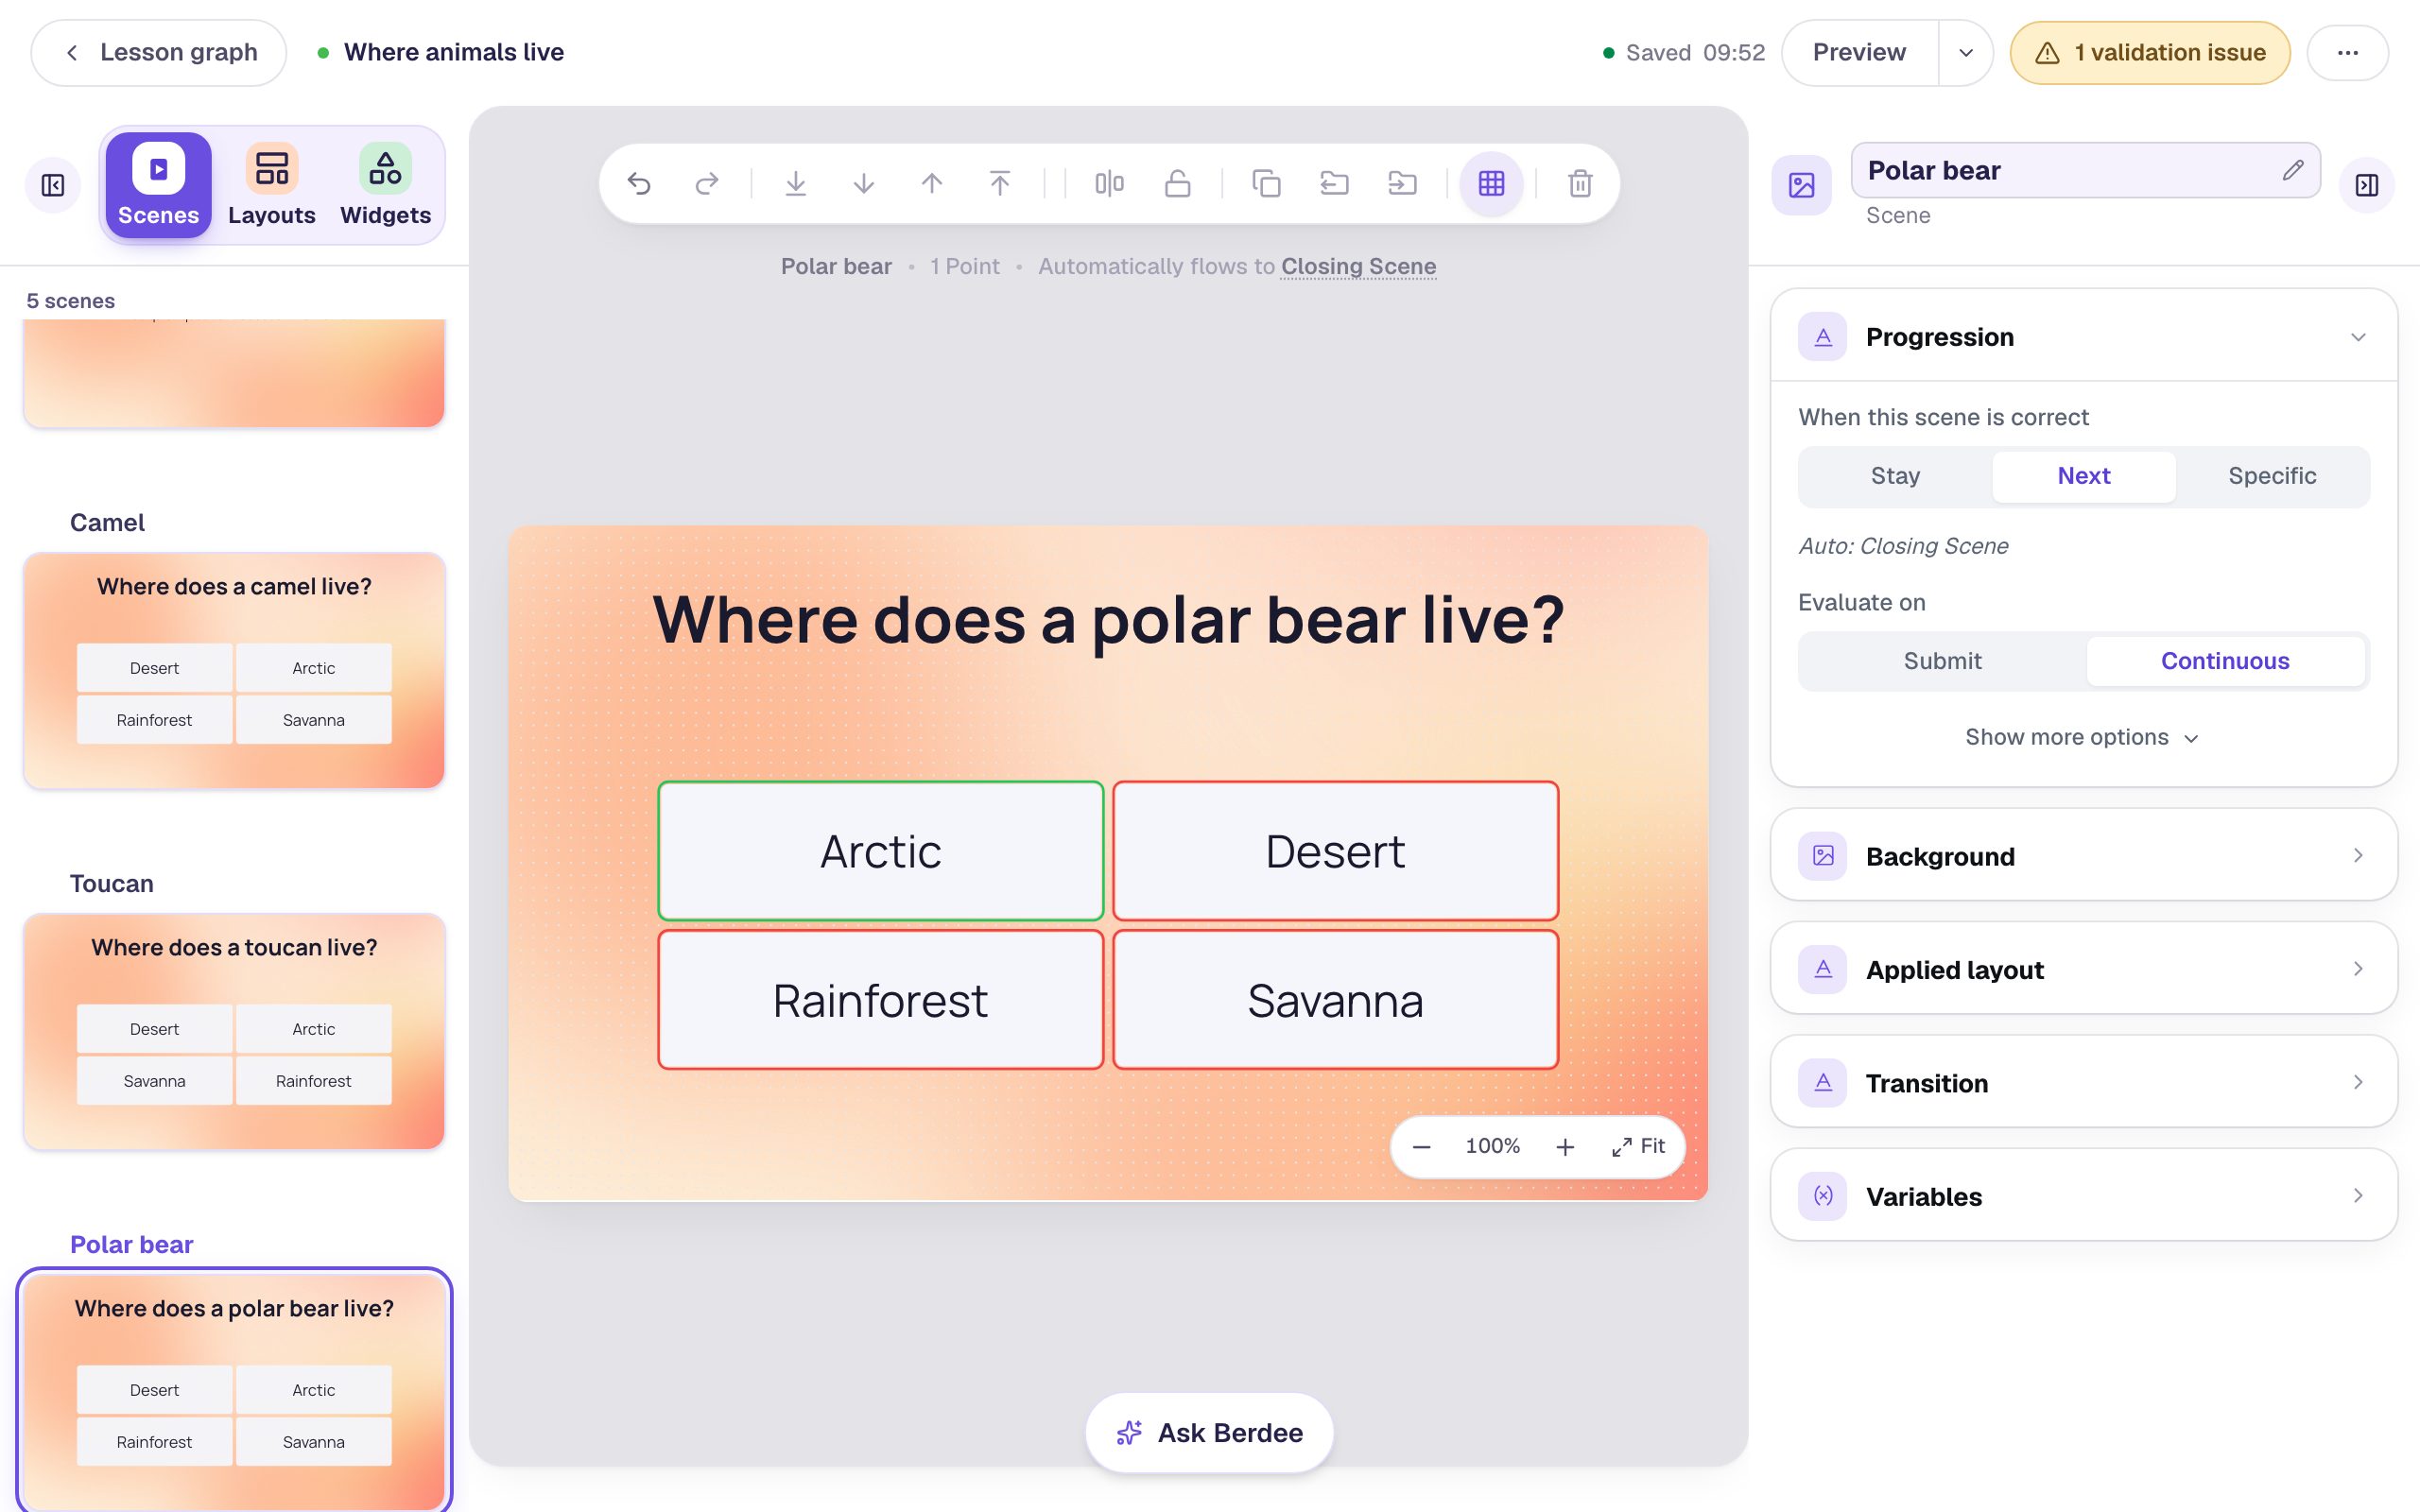
Say you'd like the polar bear question last. Hover the Polar bear scene: a grip of six dots appears to the left of its name. Drag it down below Toucan and let go.
Now open Polar bear. The line above the canvas has changed to Automatically flows to Closing Scene, and Camel now flows to Toucan. You didn't rewire anything: each question's progression is Next, so it follows whatever order the list is in.
Step 8: Add the start and finish buttons
Now that the order is settled, give the title scene its button. Open the Opening Scene and add a Button. Click Configure, set its Label to Let's go, and click Save. Then click Behaviors in the pill and choose Make this a "Next" button.
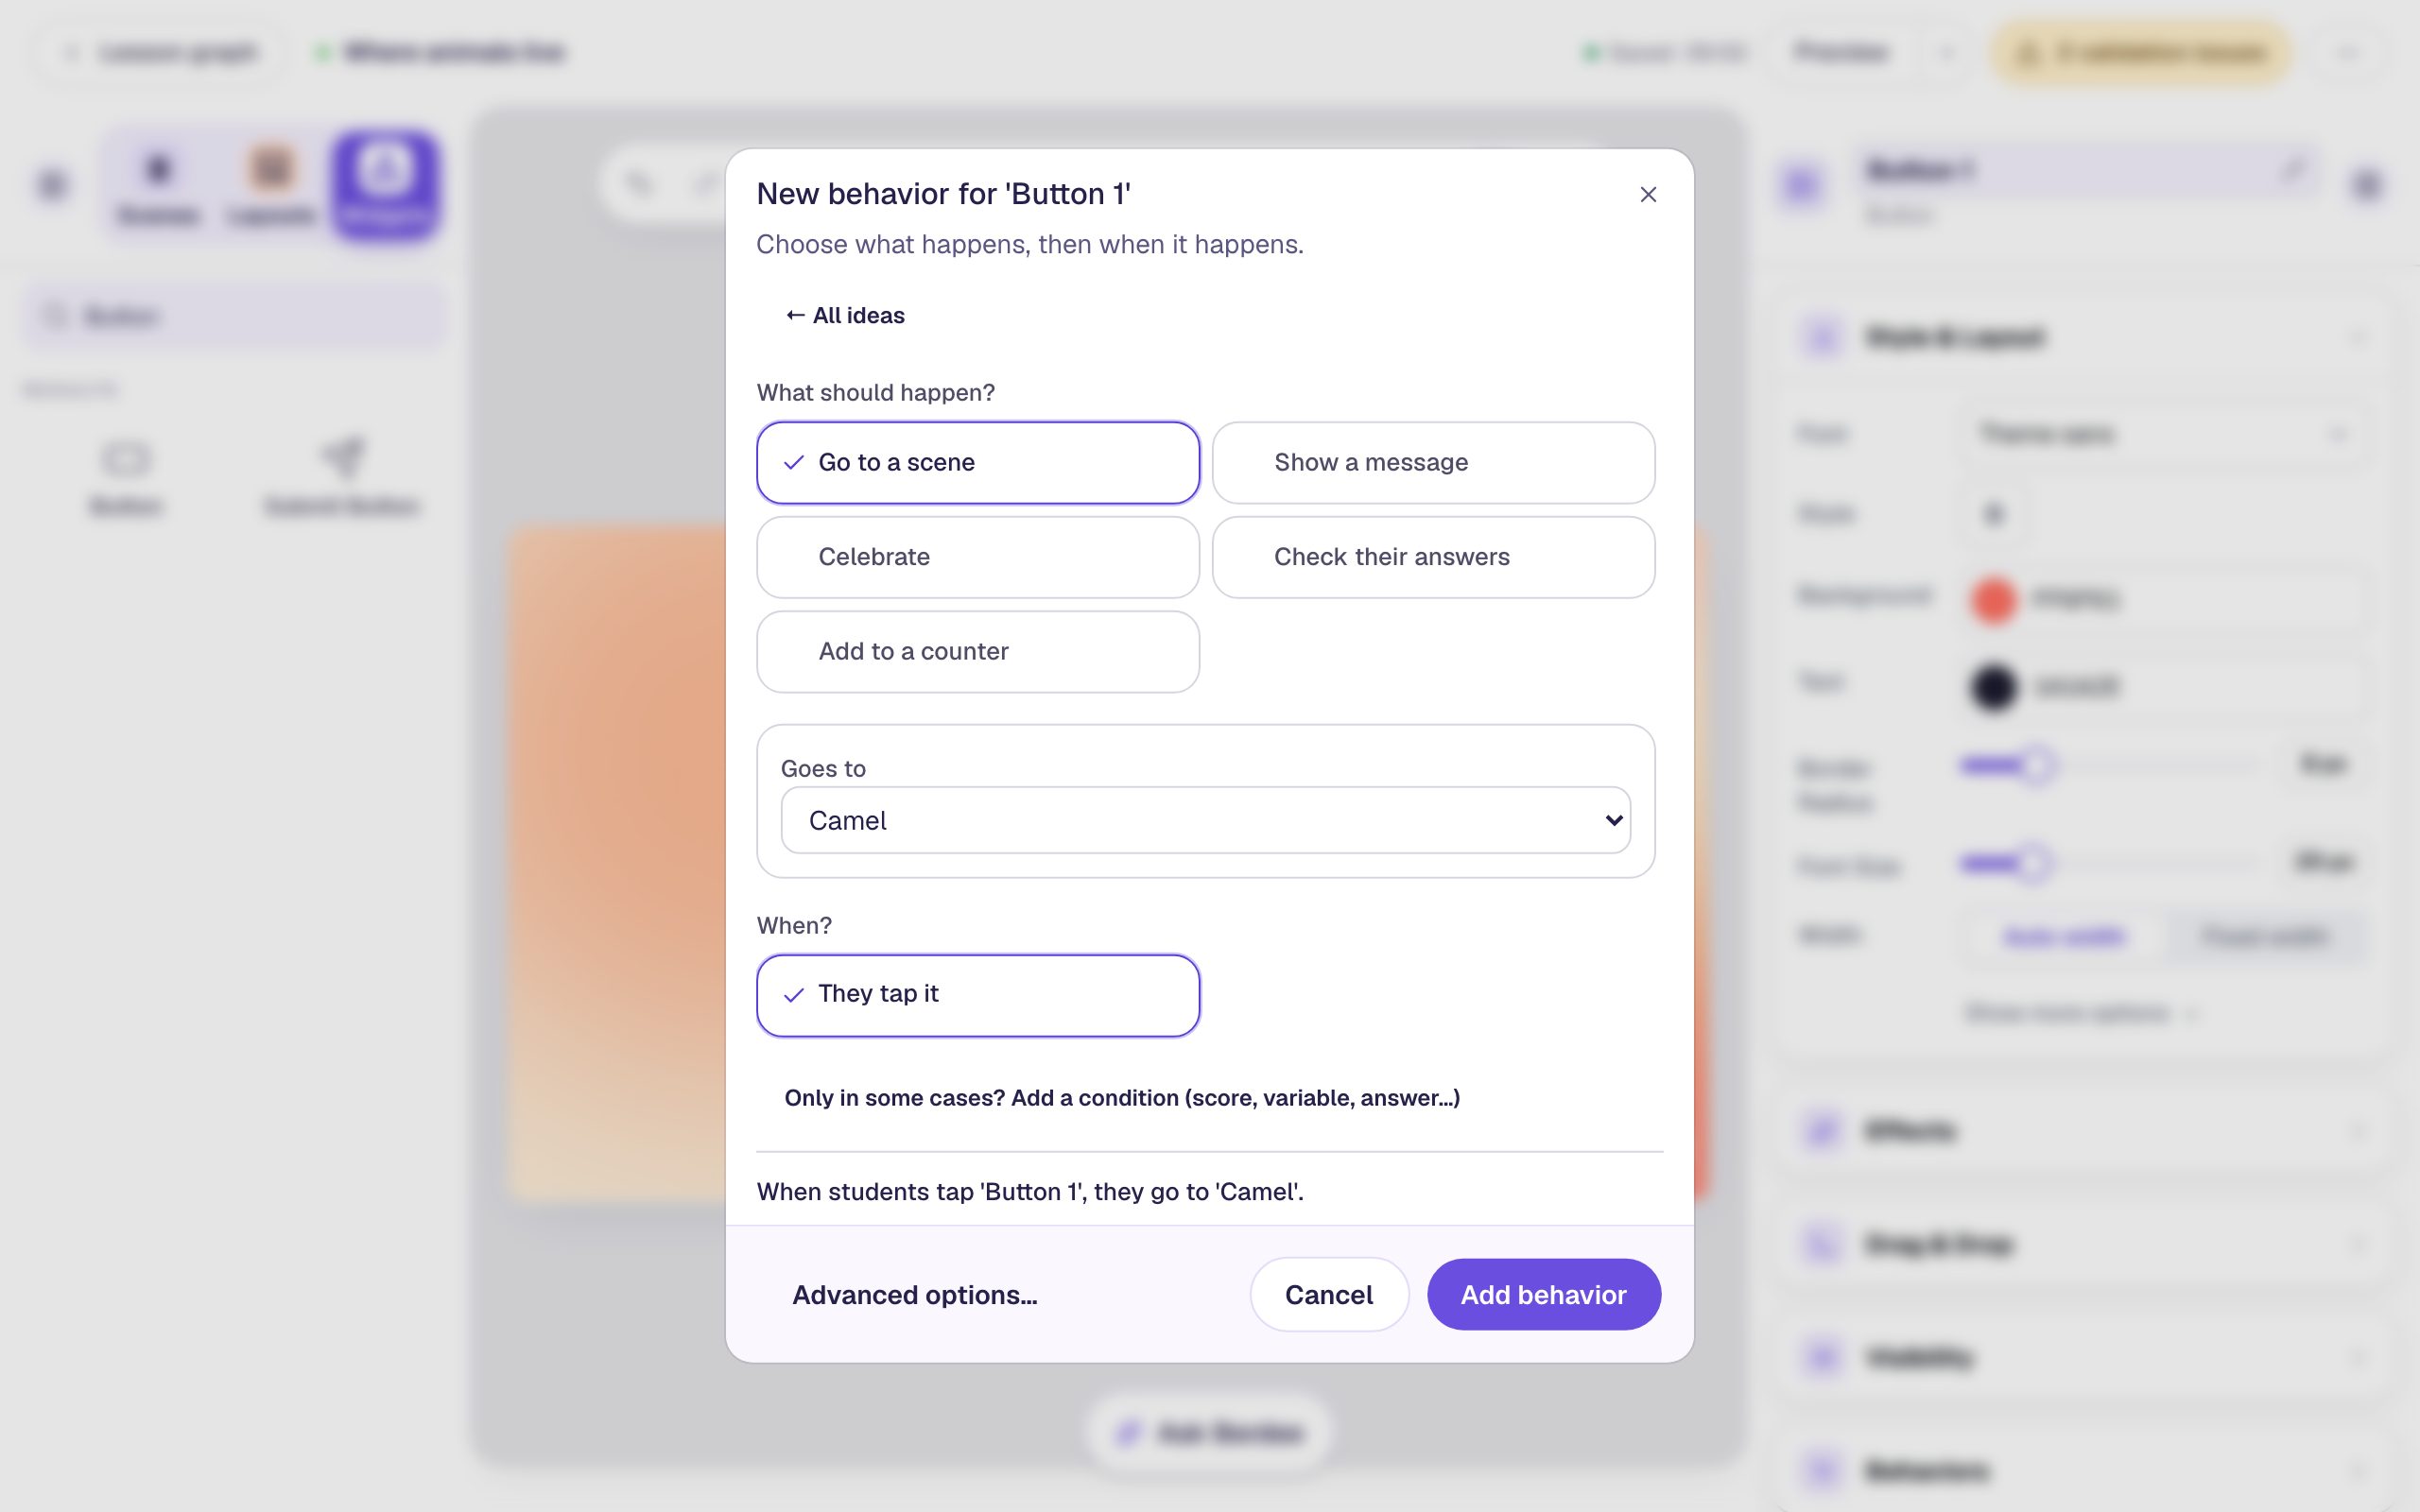
The window fills in Goes to with the scene that comes after the Opening Scene, which is Camel. Click Add behavior, then drag the button under the intro text and set its Font Size to 28.
Unlike a scene's Next progression, this button points at one particular scene, and reordering doesn't change it. That's why it comes last: if you'd added it in Step 1, it would still point at whichever scene was first back then. If you reorder the questions later, open the button's behavior and pick the new first question.
Last, Berdee needs one button that lets a student finish the lesson early. Open the last question, Polar bear, and add a Submit Button. In the properties panel's Content, set its Label to I'm done and Submits to Lesson. Set its Font Size to 18 and tuck it into the bottom-left corner. The yellow validation pill at the top goes away.
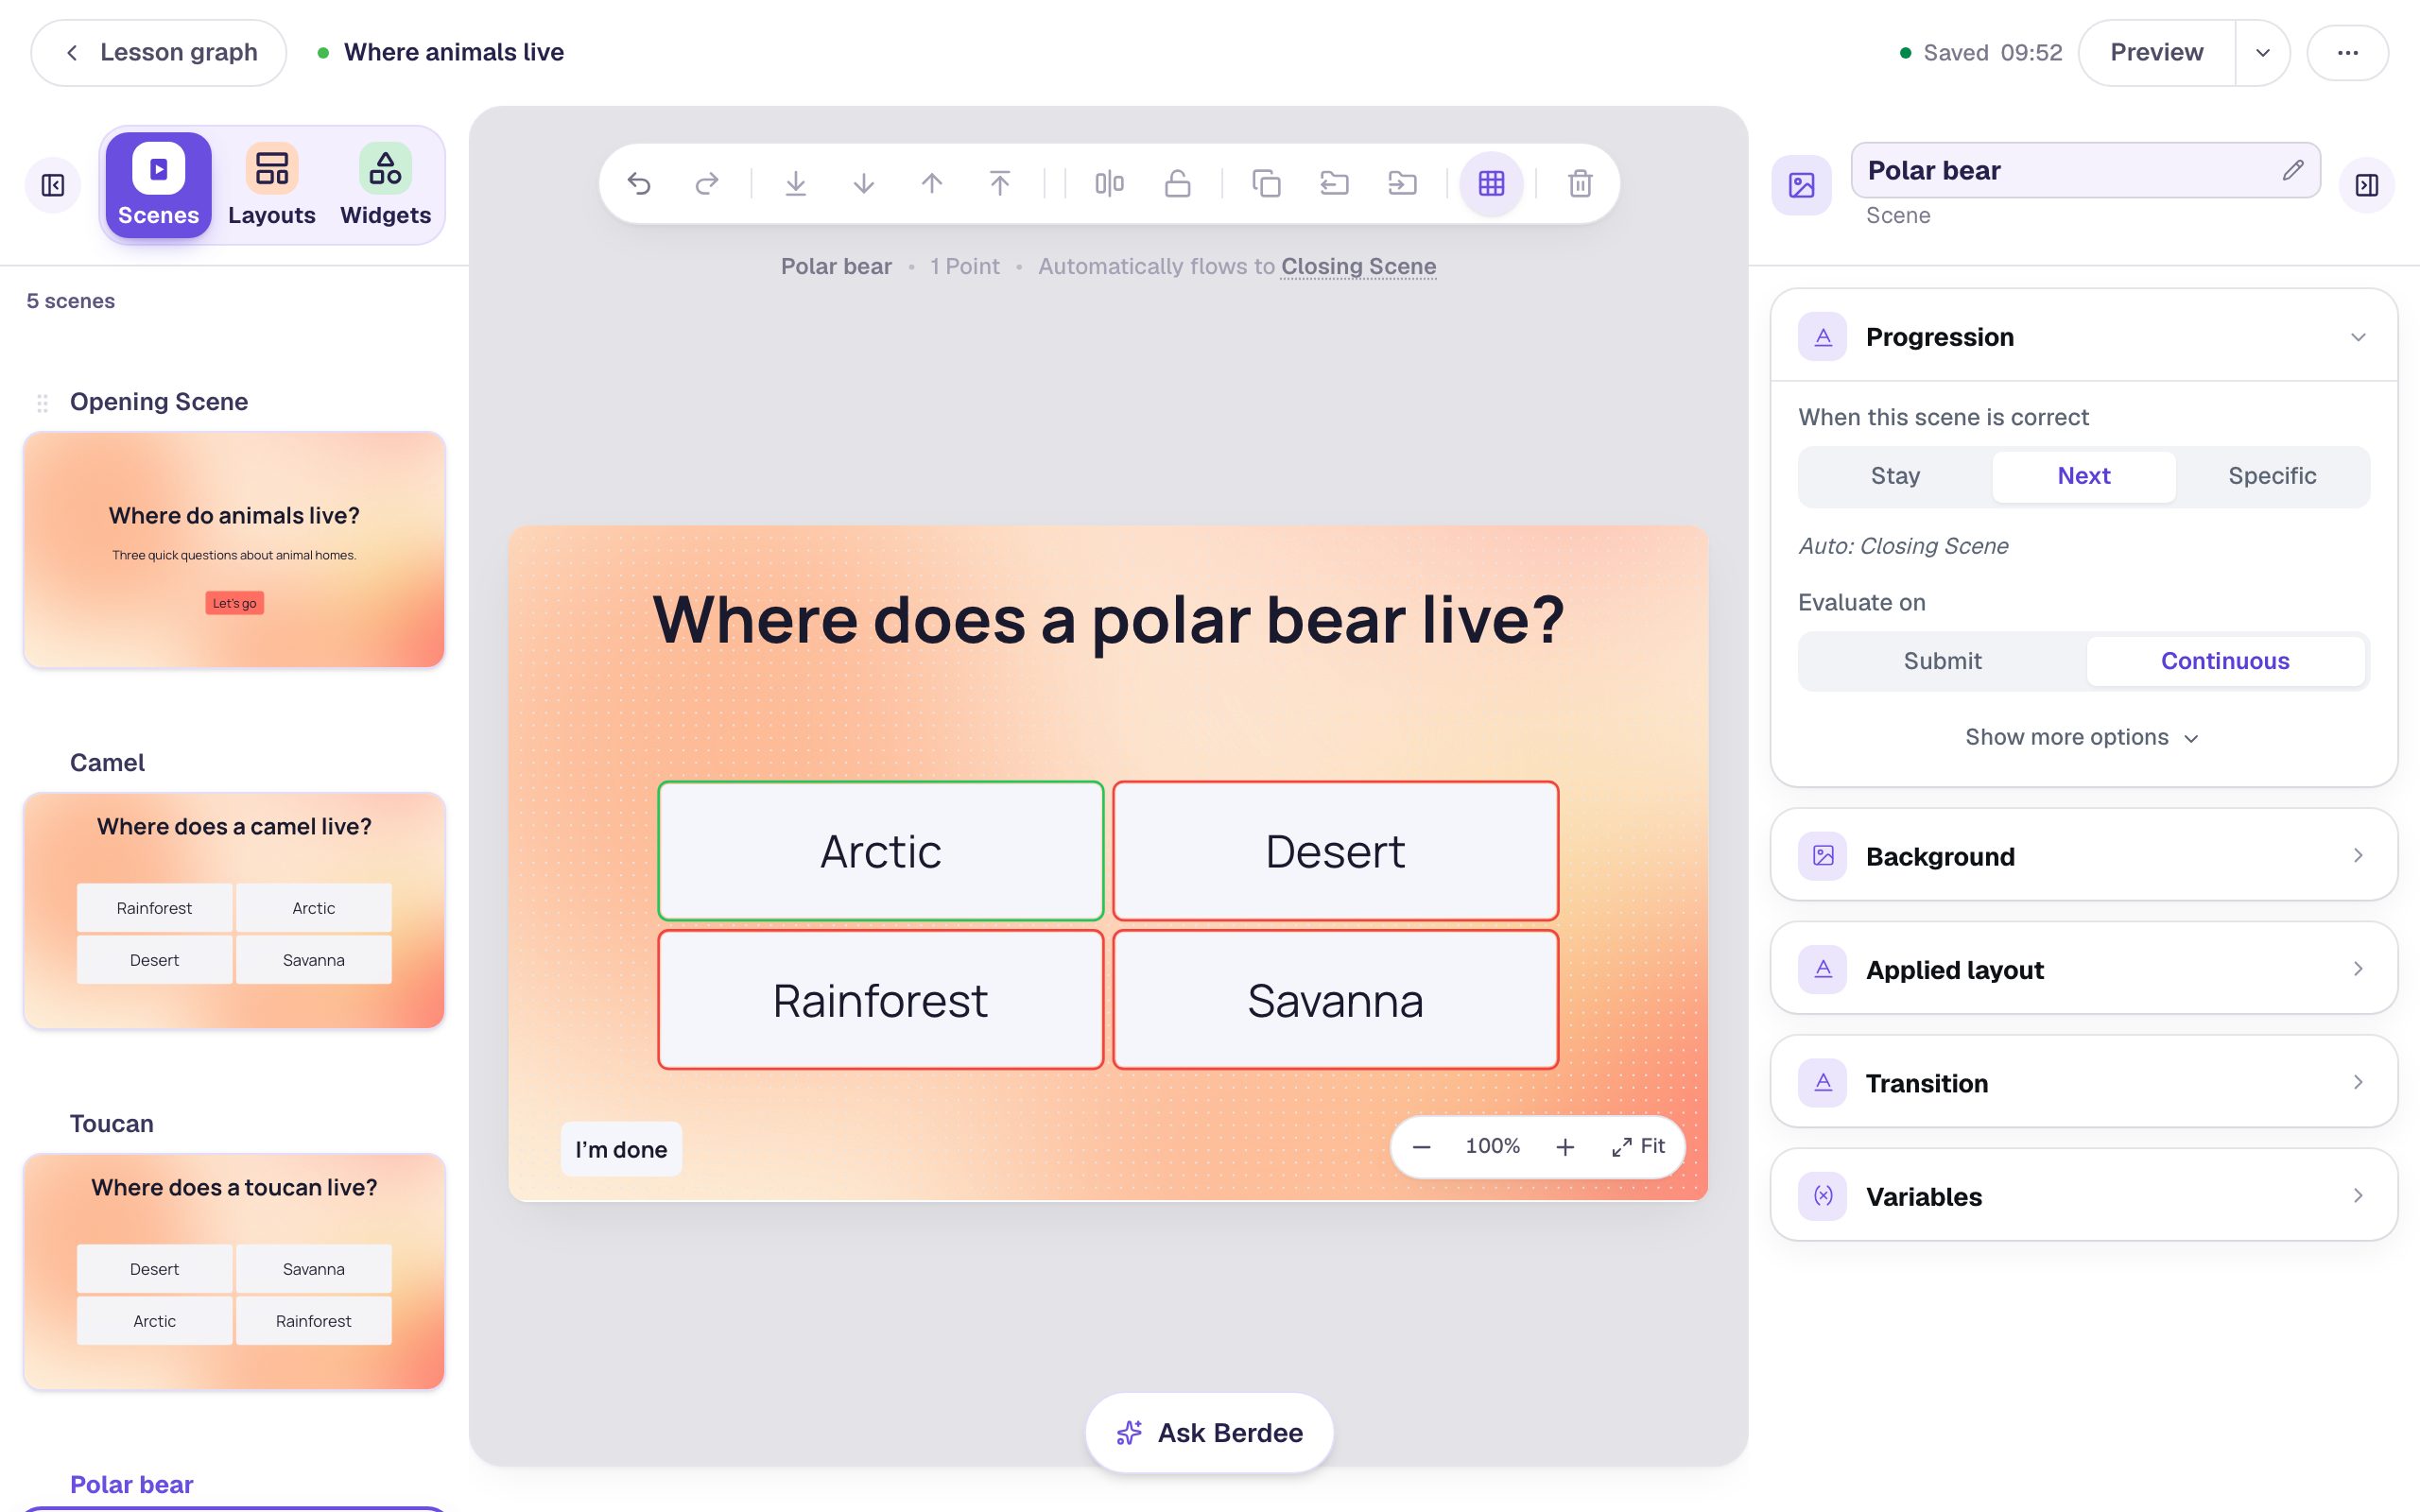
Add the I'm done button after you've finished duplicating. A copy takes every widget on the scene with it, and an I'm done button on every question would let students end the quiz at question one.
Step 9: Try it as a student
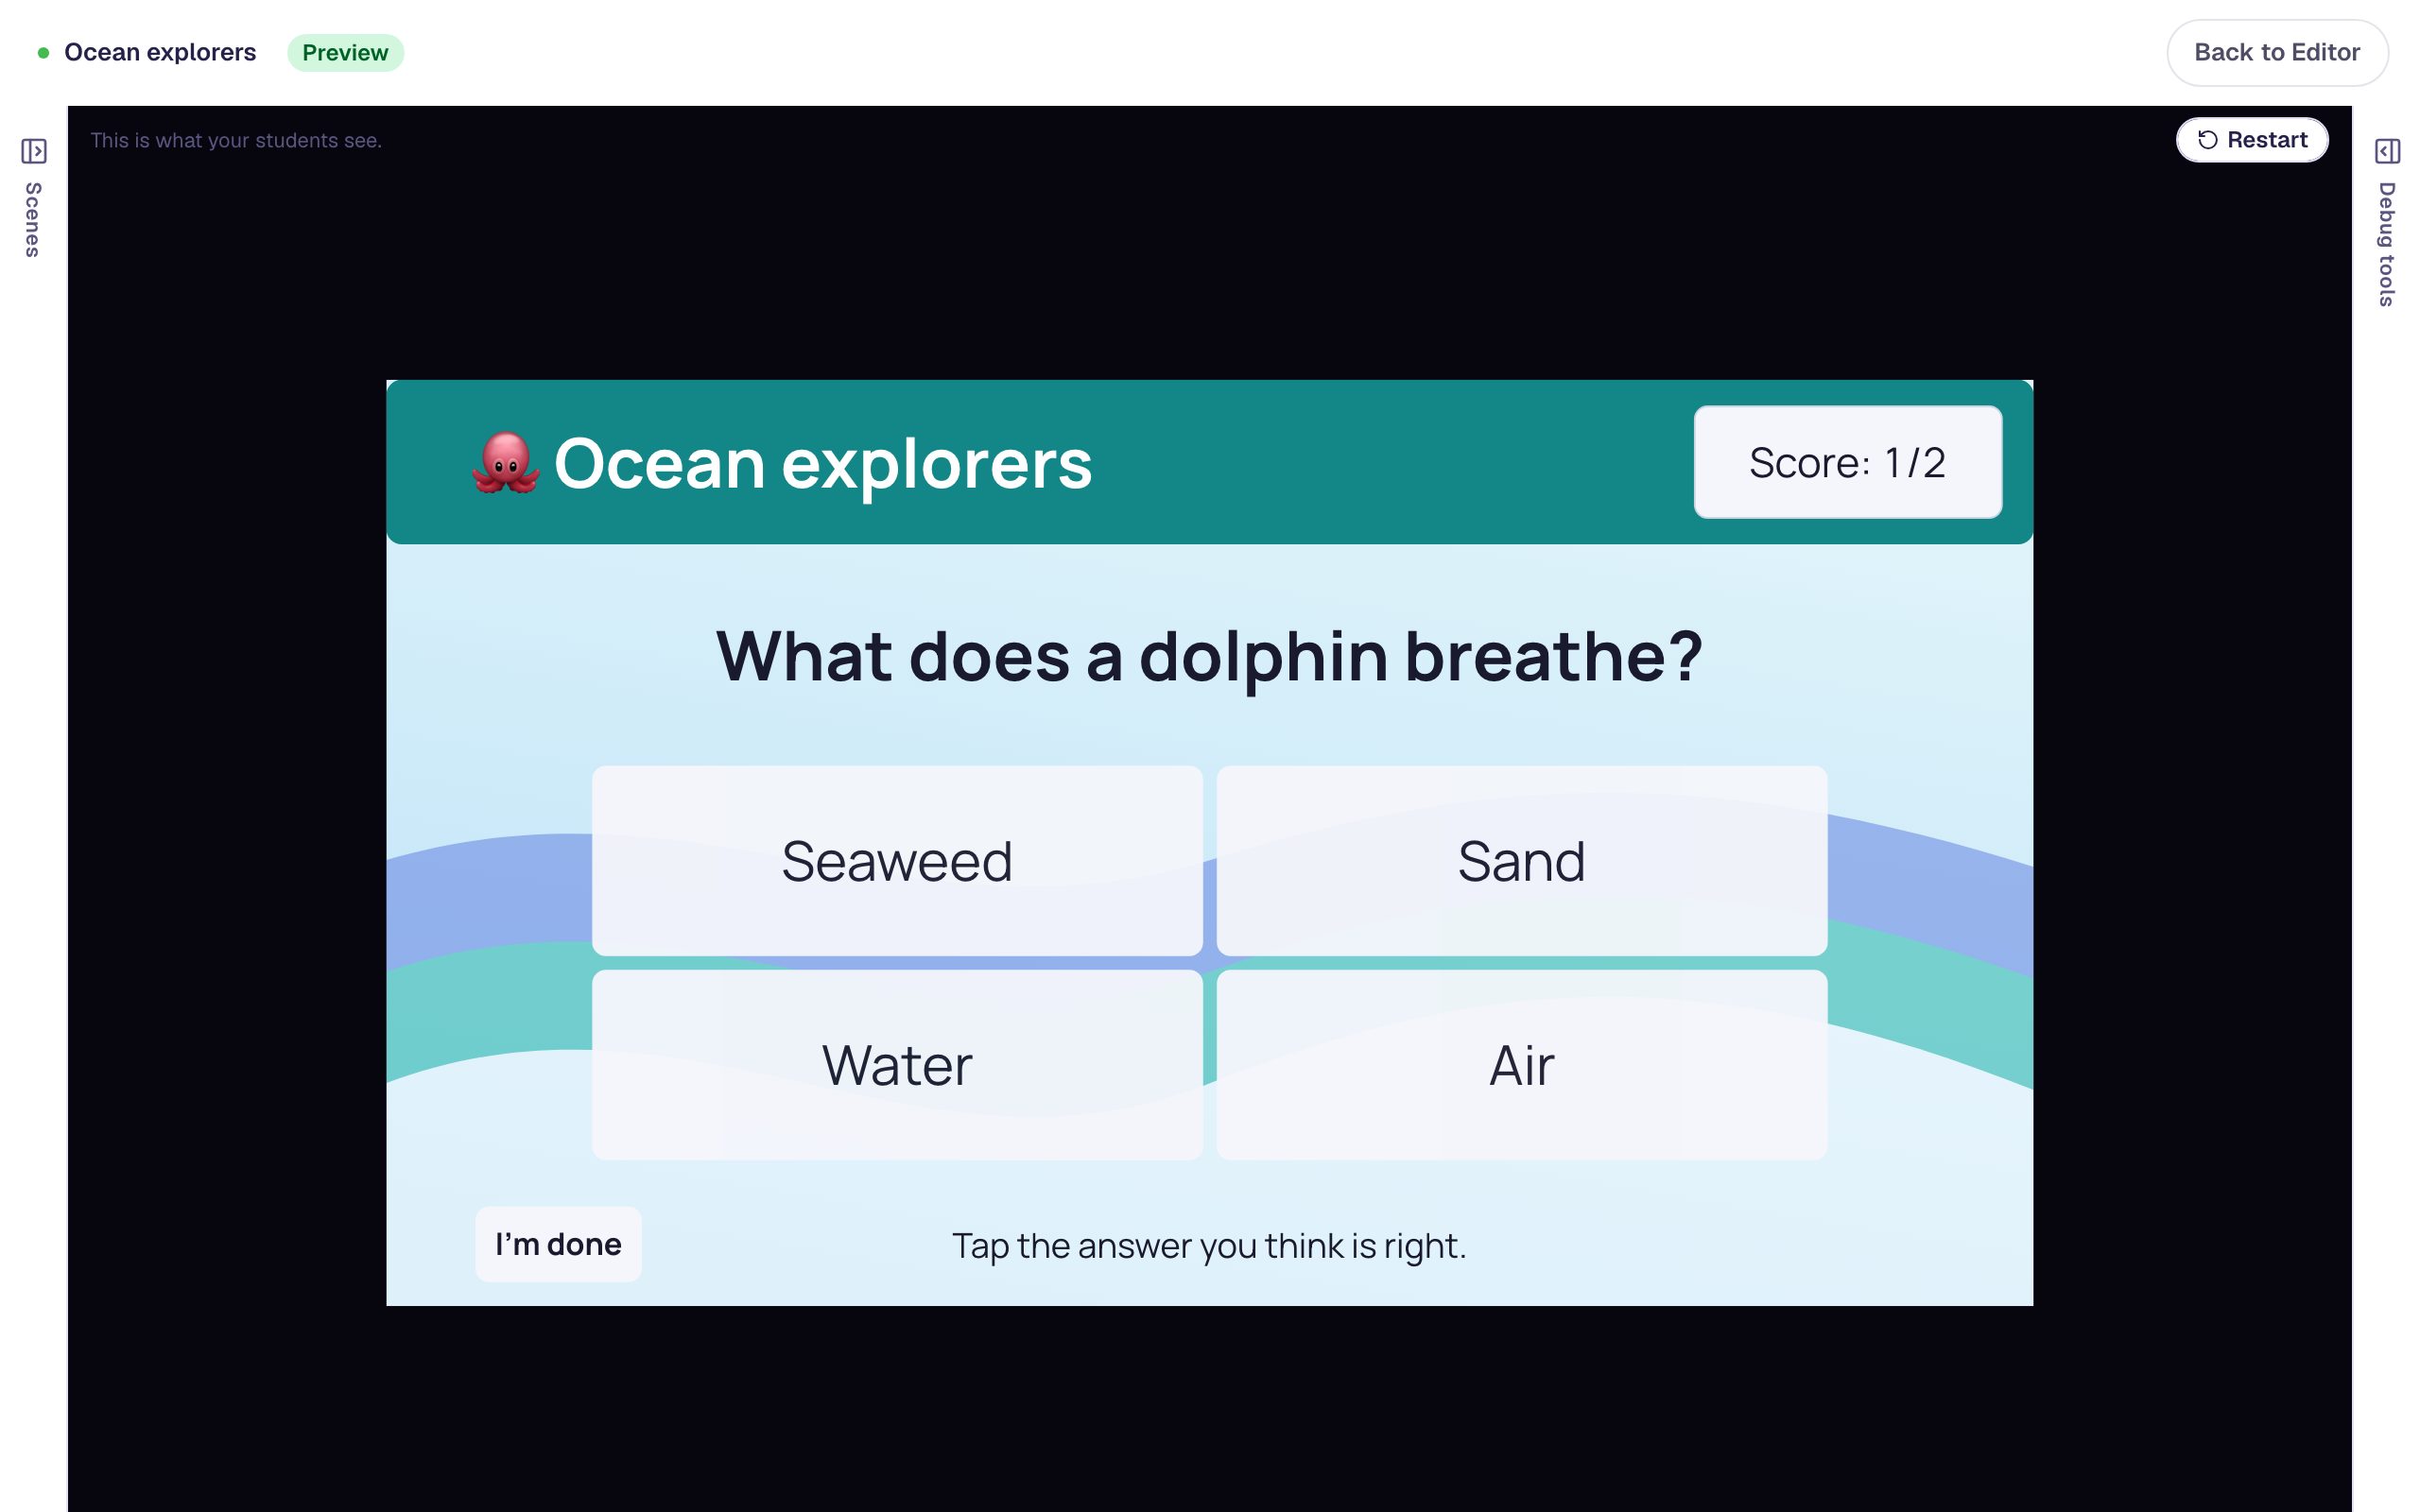
Open the Opening Scene and click Preview. Press Let's go, try a wrong answer on the first question, then answer the rest correctly:
The questions come in the new order (camel, toucan, polar bear), and each right answer moves on by itself. The answers are shuffled differently on every question, because Randomize Order is on, so students can't just remember a position.
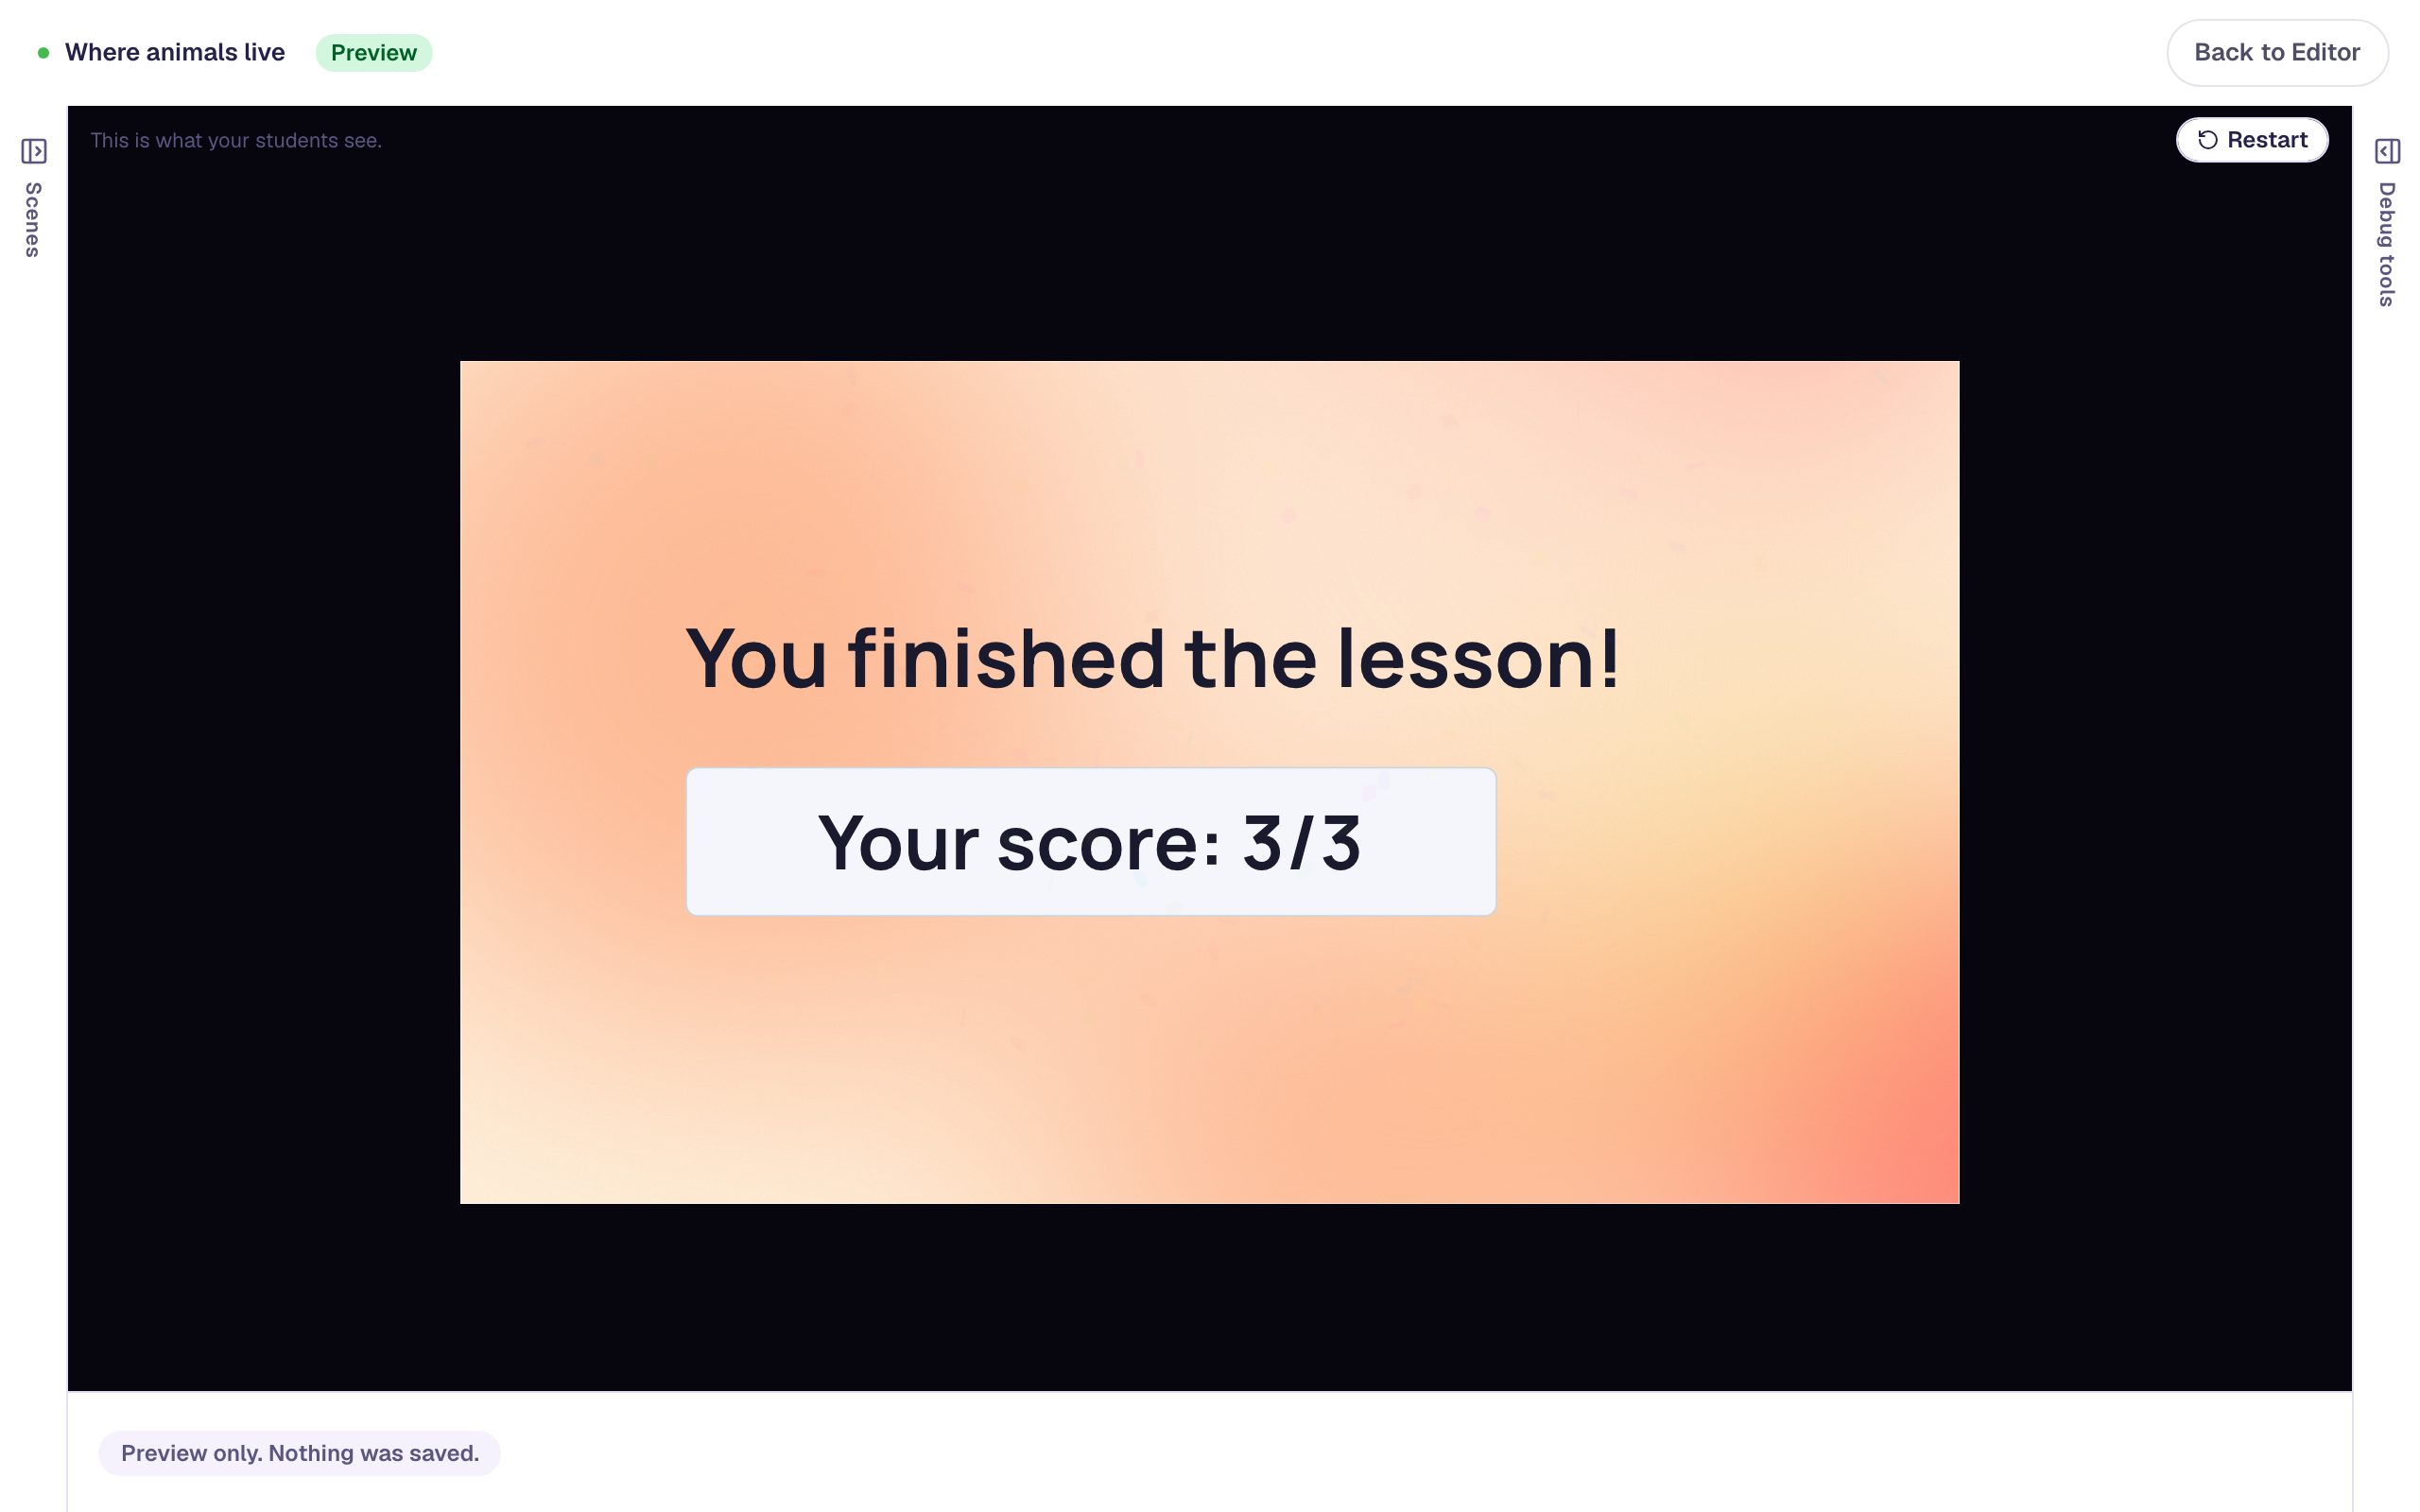
The score is 3/3 even though Savanna was tried first. These scenes move on only when the answer is right, so students keep trying until they get there. If you want the first answer to count, see Make some questions count more, and one not at all.
What you built
A three-question quiz with:
- a styled title scene with a Let's go button,
- one question scene built with care, and two copies that kept its background, layout, and styling,
- a different question and right answer on each copy,
- questions reordered by dragging, with the lesson following the new order on its own, and
- an I'm done button and a closing scene that adds up the score.
Duplicating works for any scene you want to repeat: a run of vocabulary words, one spelling practice per word, a reading passage per page. To send students who get a question wrong to an explanation instead, try Show an explanation when a student gets it wrong. To keep a shared title bar or score on every question and change it in one place, try Give every question the same frame with a layout. If you ever delete one of those scenes by mistake, Bring back a scene you deleted with History shows how to get it back. For everything else the Scenes tab can do, see Scene Management.
Make this lesson yours
Add the lesson you just watched being built to your account, then change it for your class: your questions, your pictures, your colors.
Free to sign up, and you'll come straight back here. I have an account