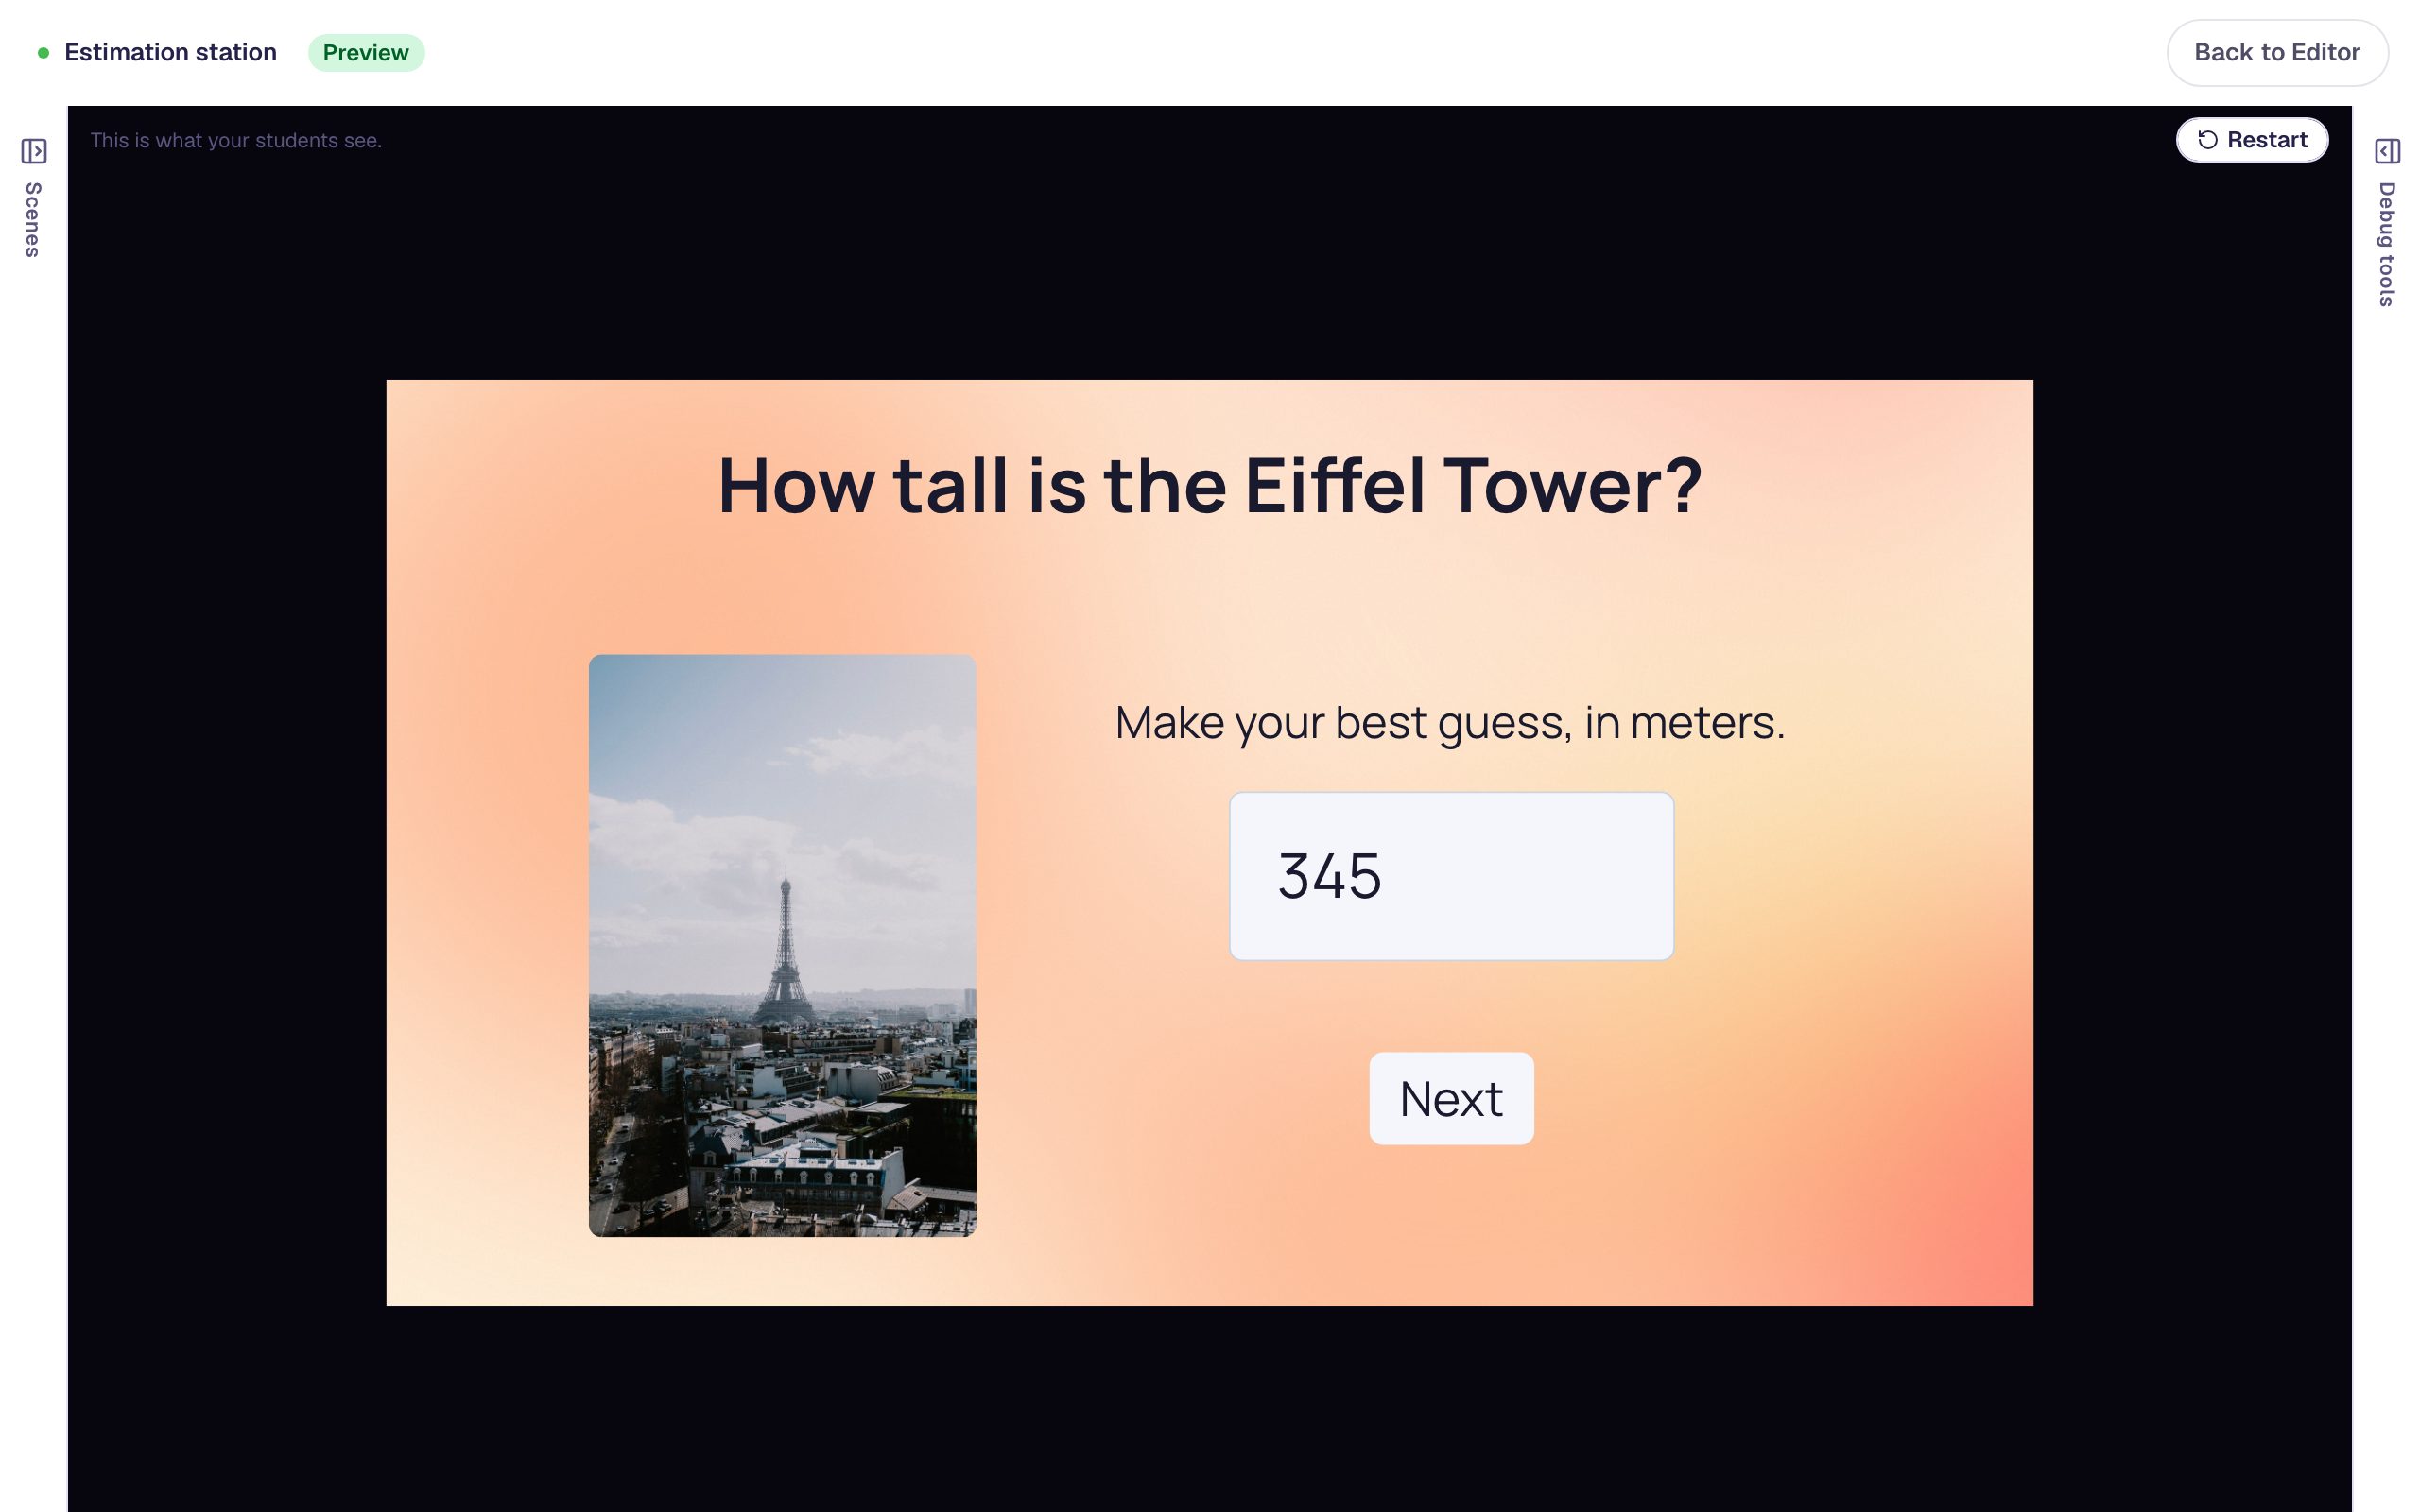
Make some questions count more, and one not at all
Give a harder question more points, turn scoring off for a practice question, and check the score students see at the end.
- Level
- Beginner
- Time
- About 15 min
- Steps
- 8
A three-scene check-in with a practice warm-up that doesn't count, a 1-point question, and a 3-point question, ending on a score out of 4.
Get the finished lesson
Skip straight to the result, or keep it open beside the steps. Add this tutorial's lesson to your account and explore how it works in the studio.
Free to sign up, and you'll come straight back here. I have an account
Every question you add to a lesson is worth 1 point. That's fine until some questions are harder than others, or until you want a warm-up that students can get wrong without it costing them. In this tutorial you'll build a short math check-in with three questions:
- a warm-up that doesn't count toward the score,
- an easy question worth 1 point, and
- a harder question worth 3 points.
At the end, students see their score out of 4. If you haven't used the studio before, start with Build your first quiz question: this tutorial moves quickly through the parts it already covers.
Step 1: Make one scene per question
Start a blank lesson (New lesson, then Start from scratch). It comes with an Opening Scene, which will be the warm-up, and a Closing Scene, where students see their score.
In the Scenes panel, click Add scene twice. Then give the new scenes names you'll recognize: select each one, click its name at the top of the properties panel, type Question 1 or Question 2, and press Enter.
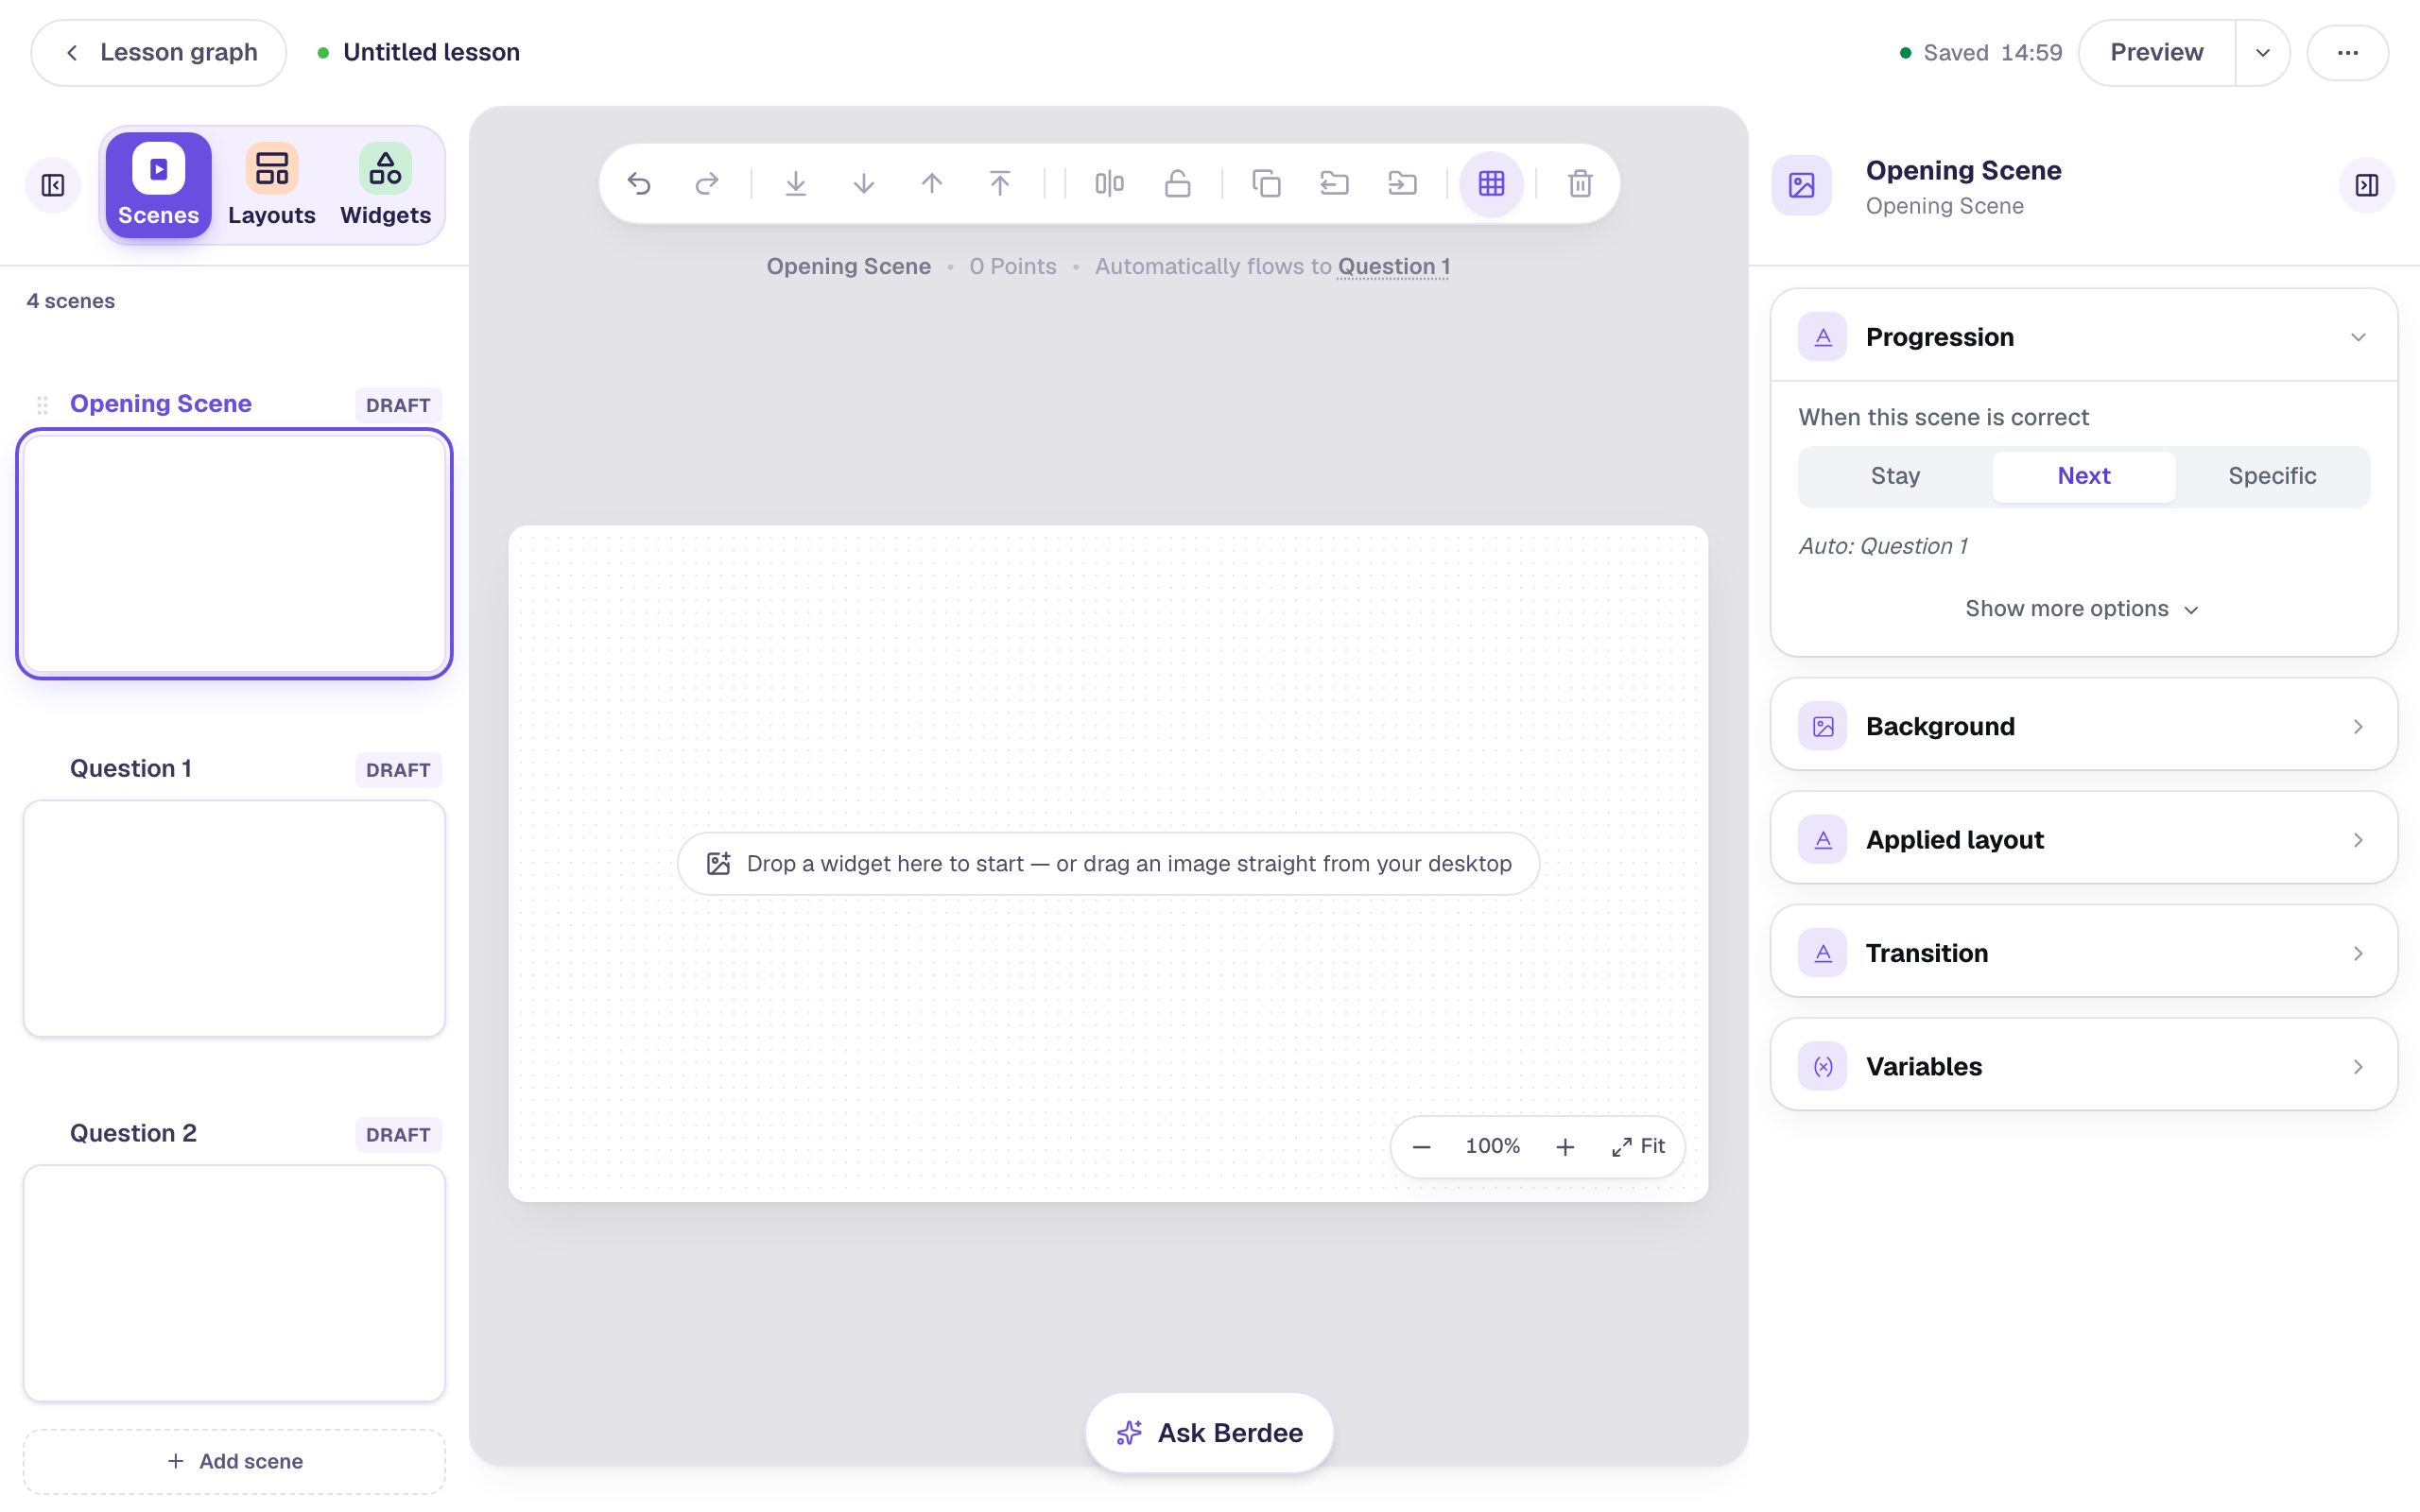
Make all the scenes before you add buttons to them. Each scene's Next button points at a specific scene, so the scene it goes to has to exist first.
Step 2: Build the warm-up and turn its scoring off
Select the Opening Scene. Add a Heading that says Warm-up: what is 2 + 2? and a Body text under it that tells students it's practice: Practice round. This one doesn't count.
Now add a Multi Choice widget and click ⚙ Configure:
- Type the answers
3,4, and5, and delete the fourth option with its trash icon. - Click the check mark next to
4to mark it correct. - At the top, switch Scoring from On to Off.
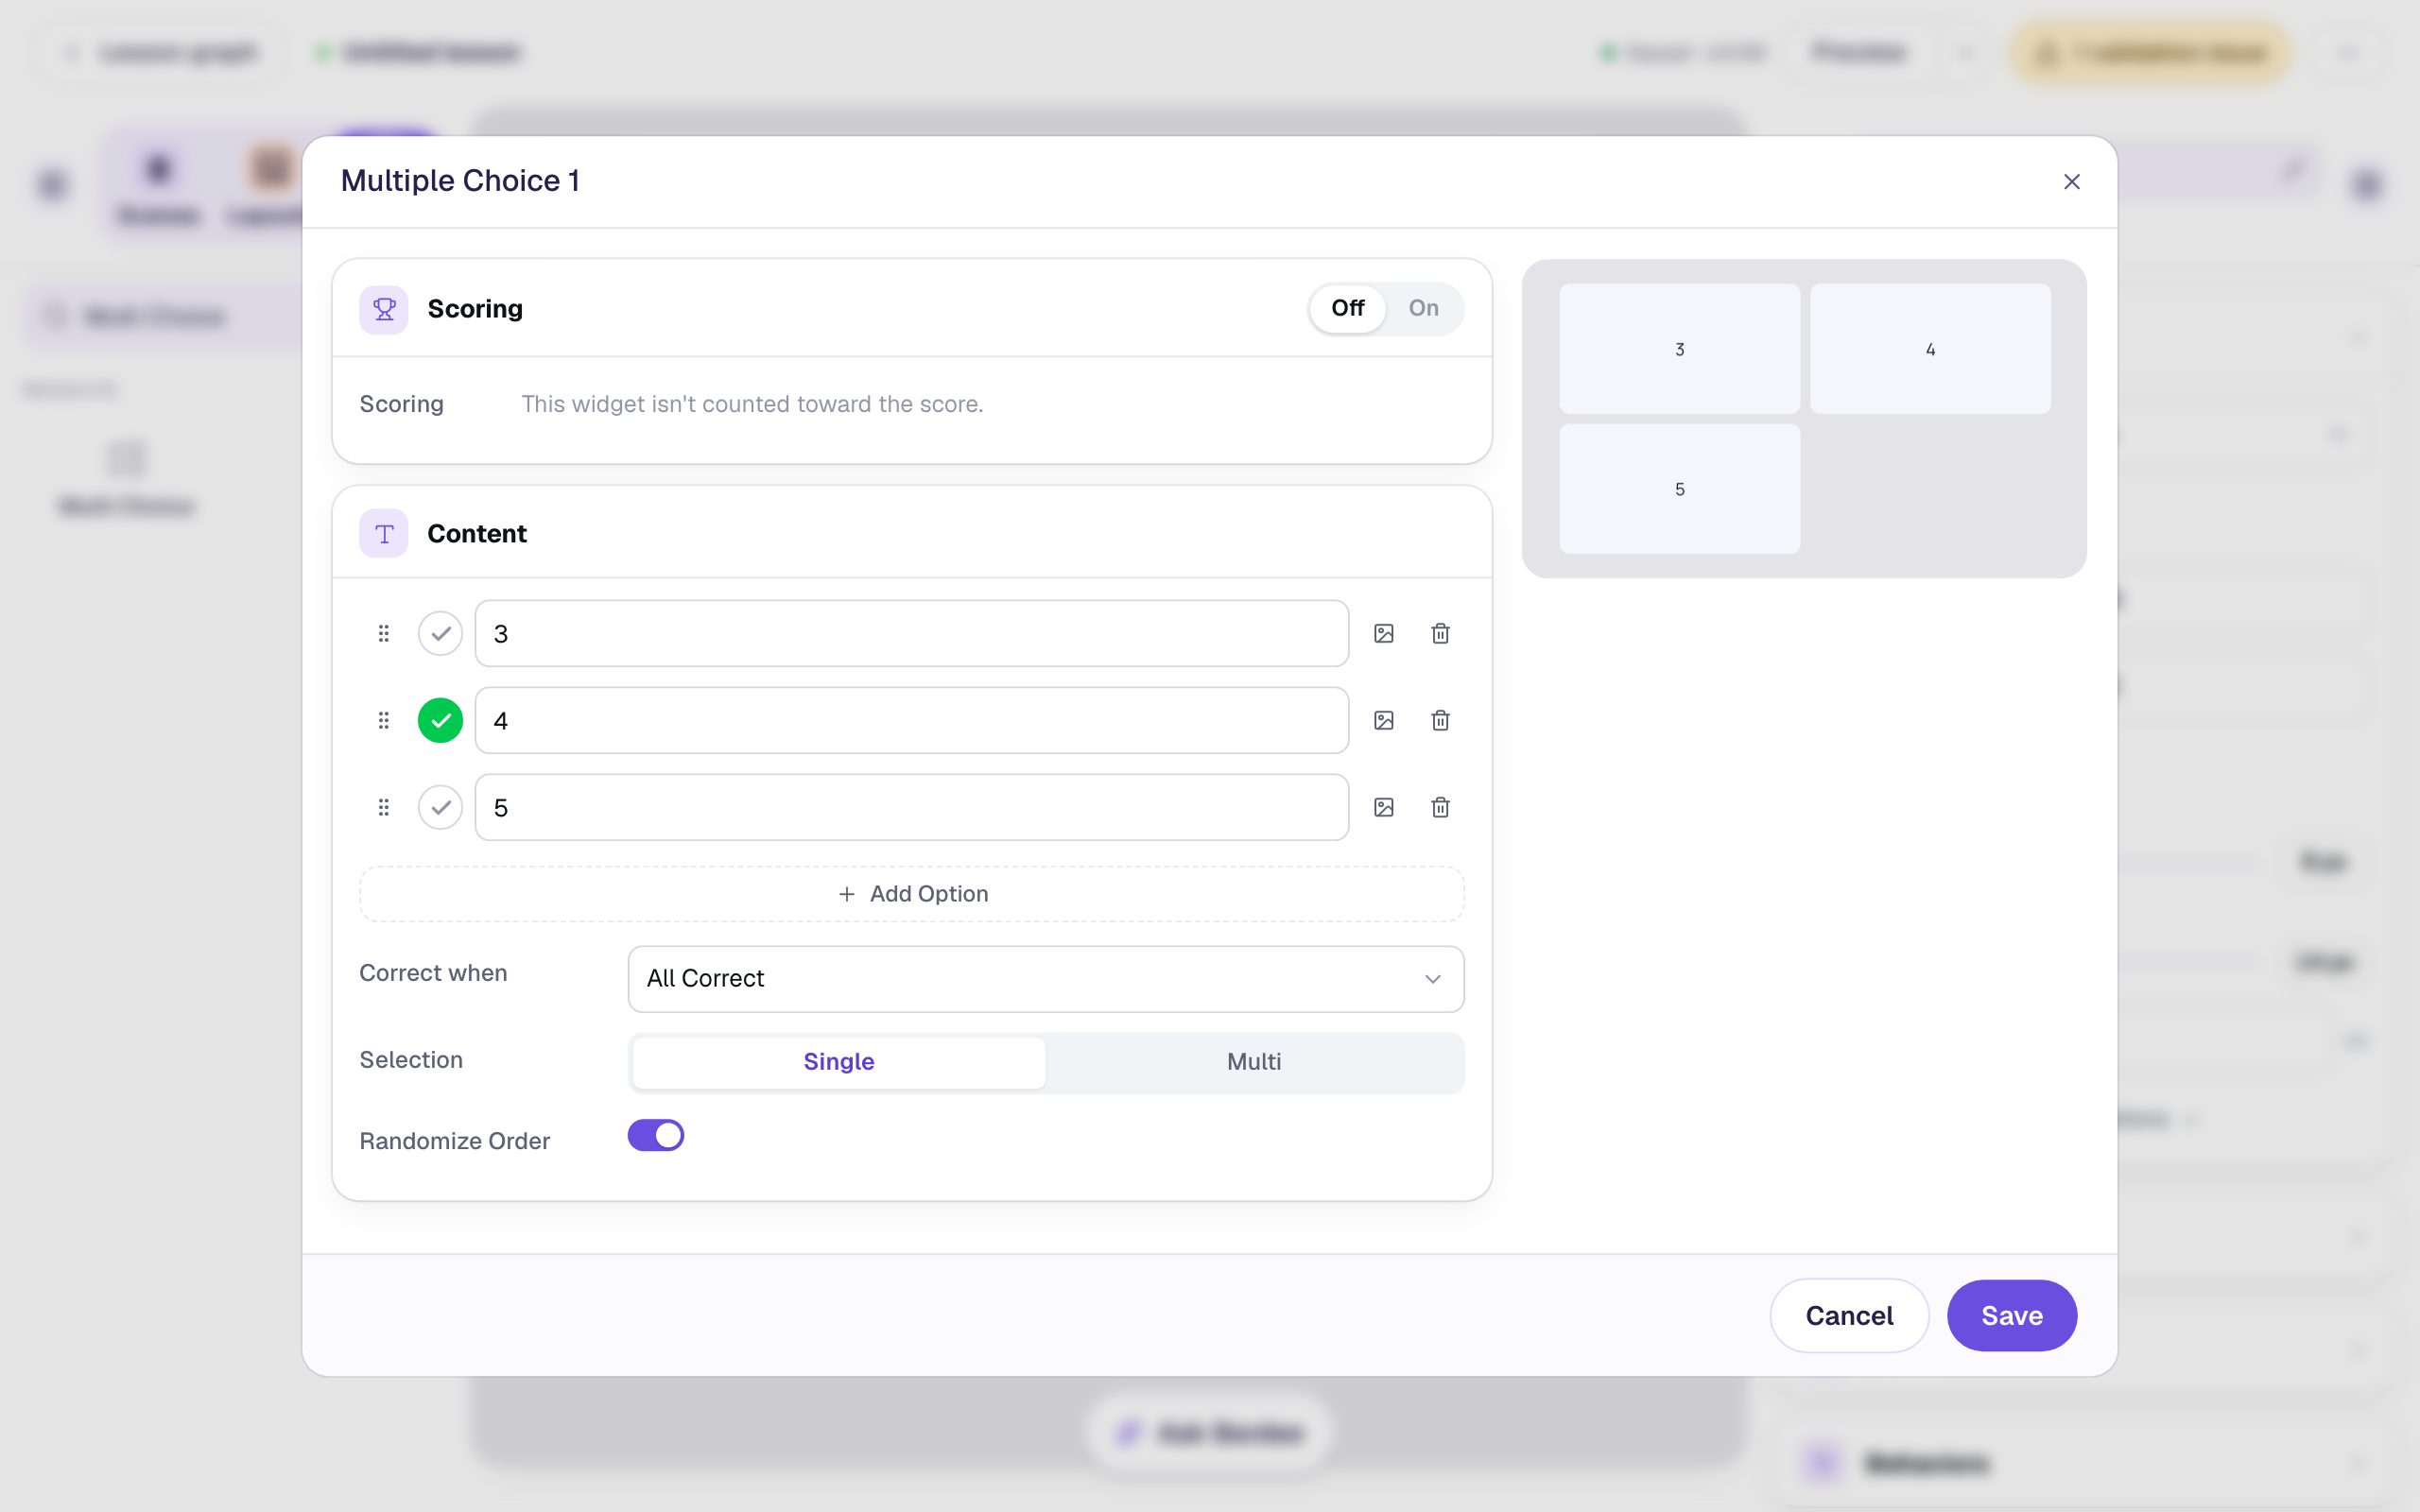
The Points box disappears and Berdee says This widget isn't counted toward the score. Students still answer the warm-up, and their answer is still saved. It just doesn't add to the total, so a wrong answer costs nothing.
Click Save. In Style & Layout, set Font Size to 32 so the answers are easy to tap, and drag the question under the text.
Step 3: Add a Next button
A question with scoring off never counts as "answered correctly", so the scene can't move on by itself, even when the student picks 4. Give students a button instead:
- Add a Button, click ⚙ Configure, change its Label to
Next, and click Save. - Click Behaviors, then Make this a "Next" button.
- Check that Goes to says Question 1, then click Add behavior.
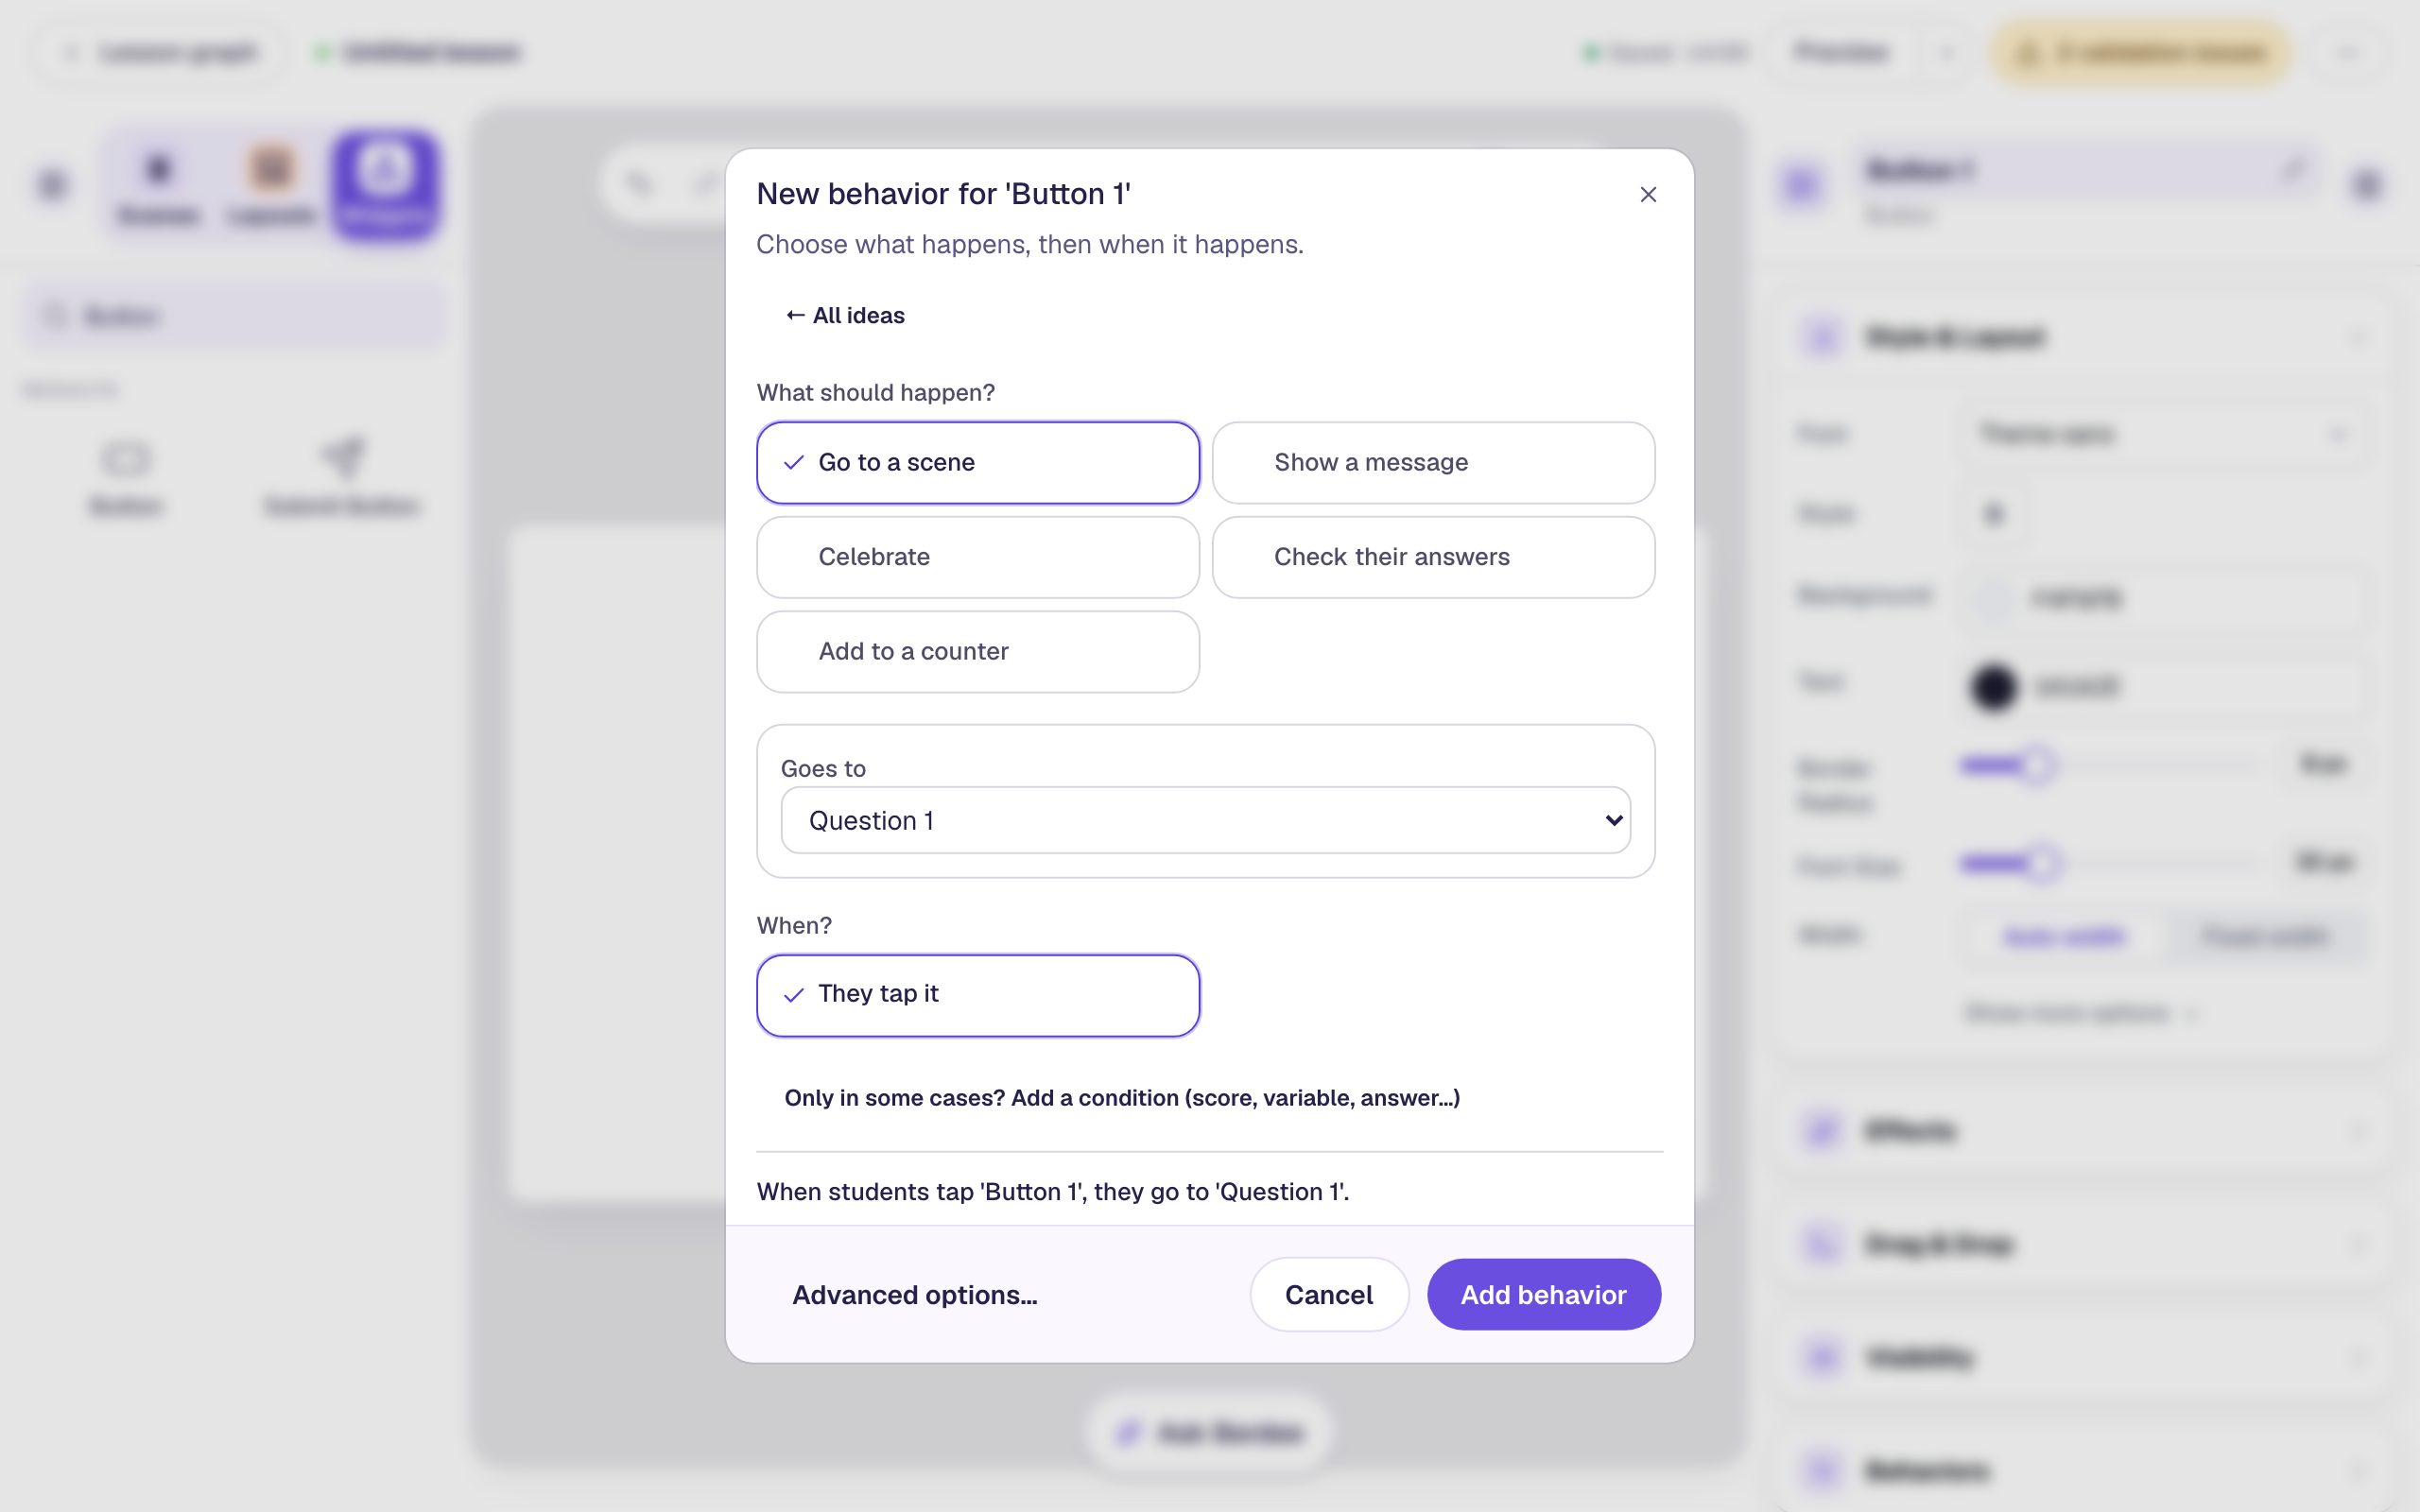
Set the button's Font Size to 28 and drag it to the bottom of the scene.
Last, click an empty spot on the scene so nothing is selected. In Progression, change When this scene is correct from Next to Stay. Now the Next button is the only way forward, the same on every scene.
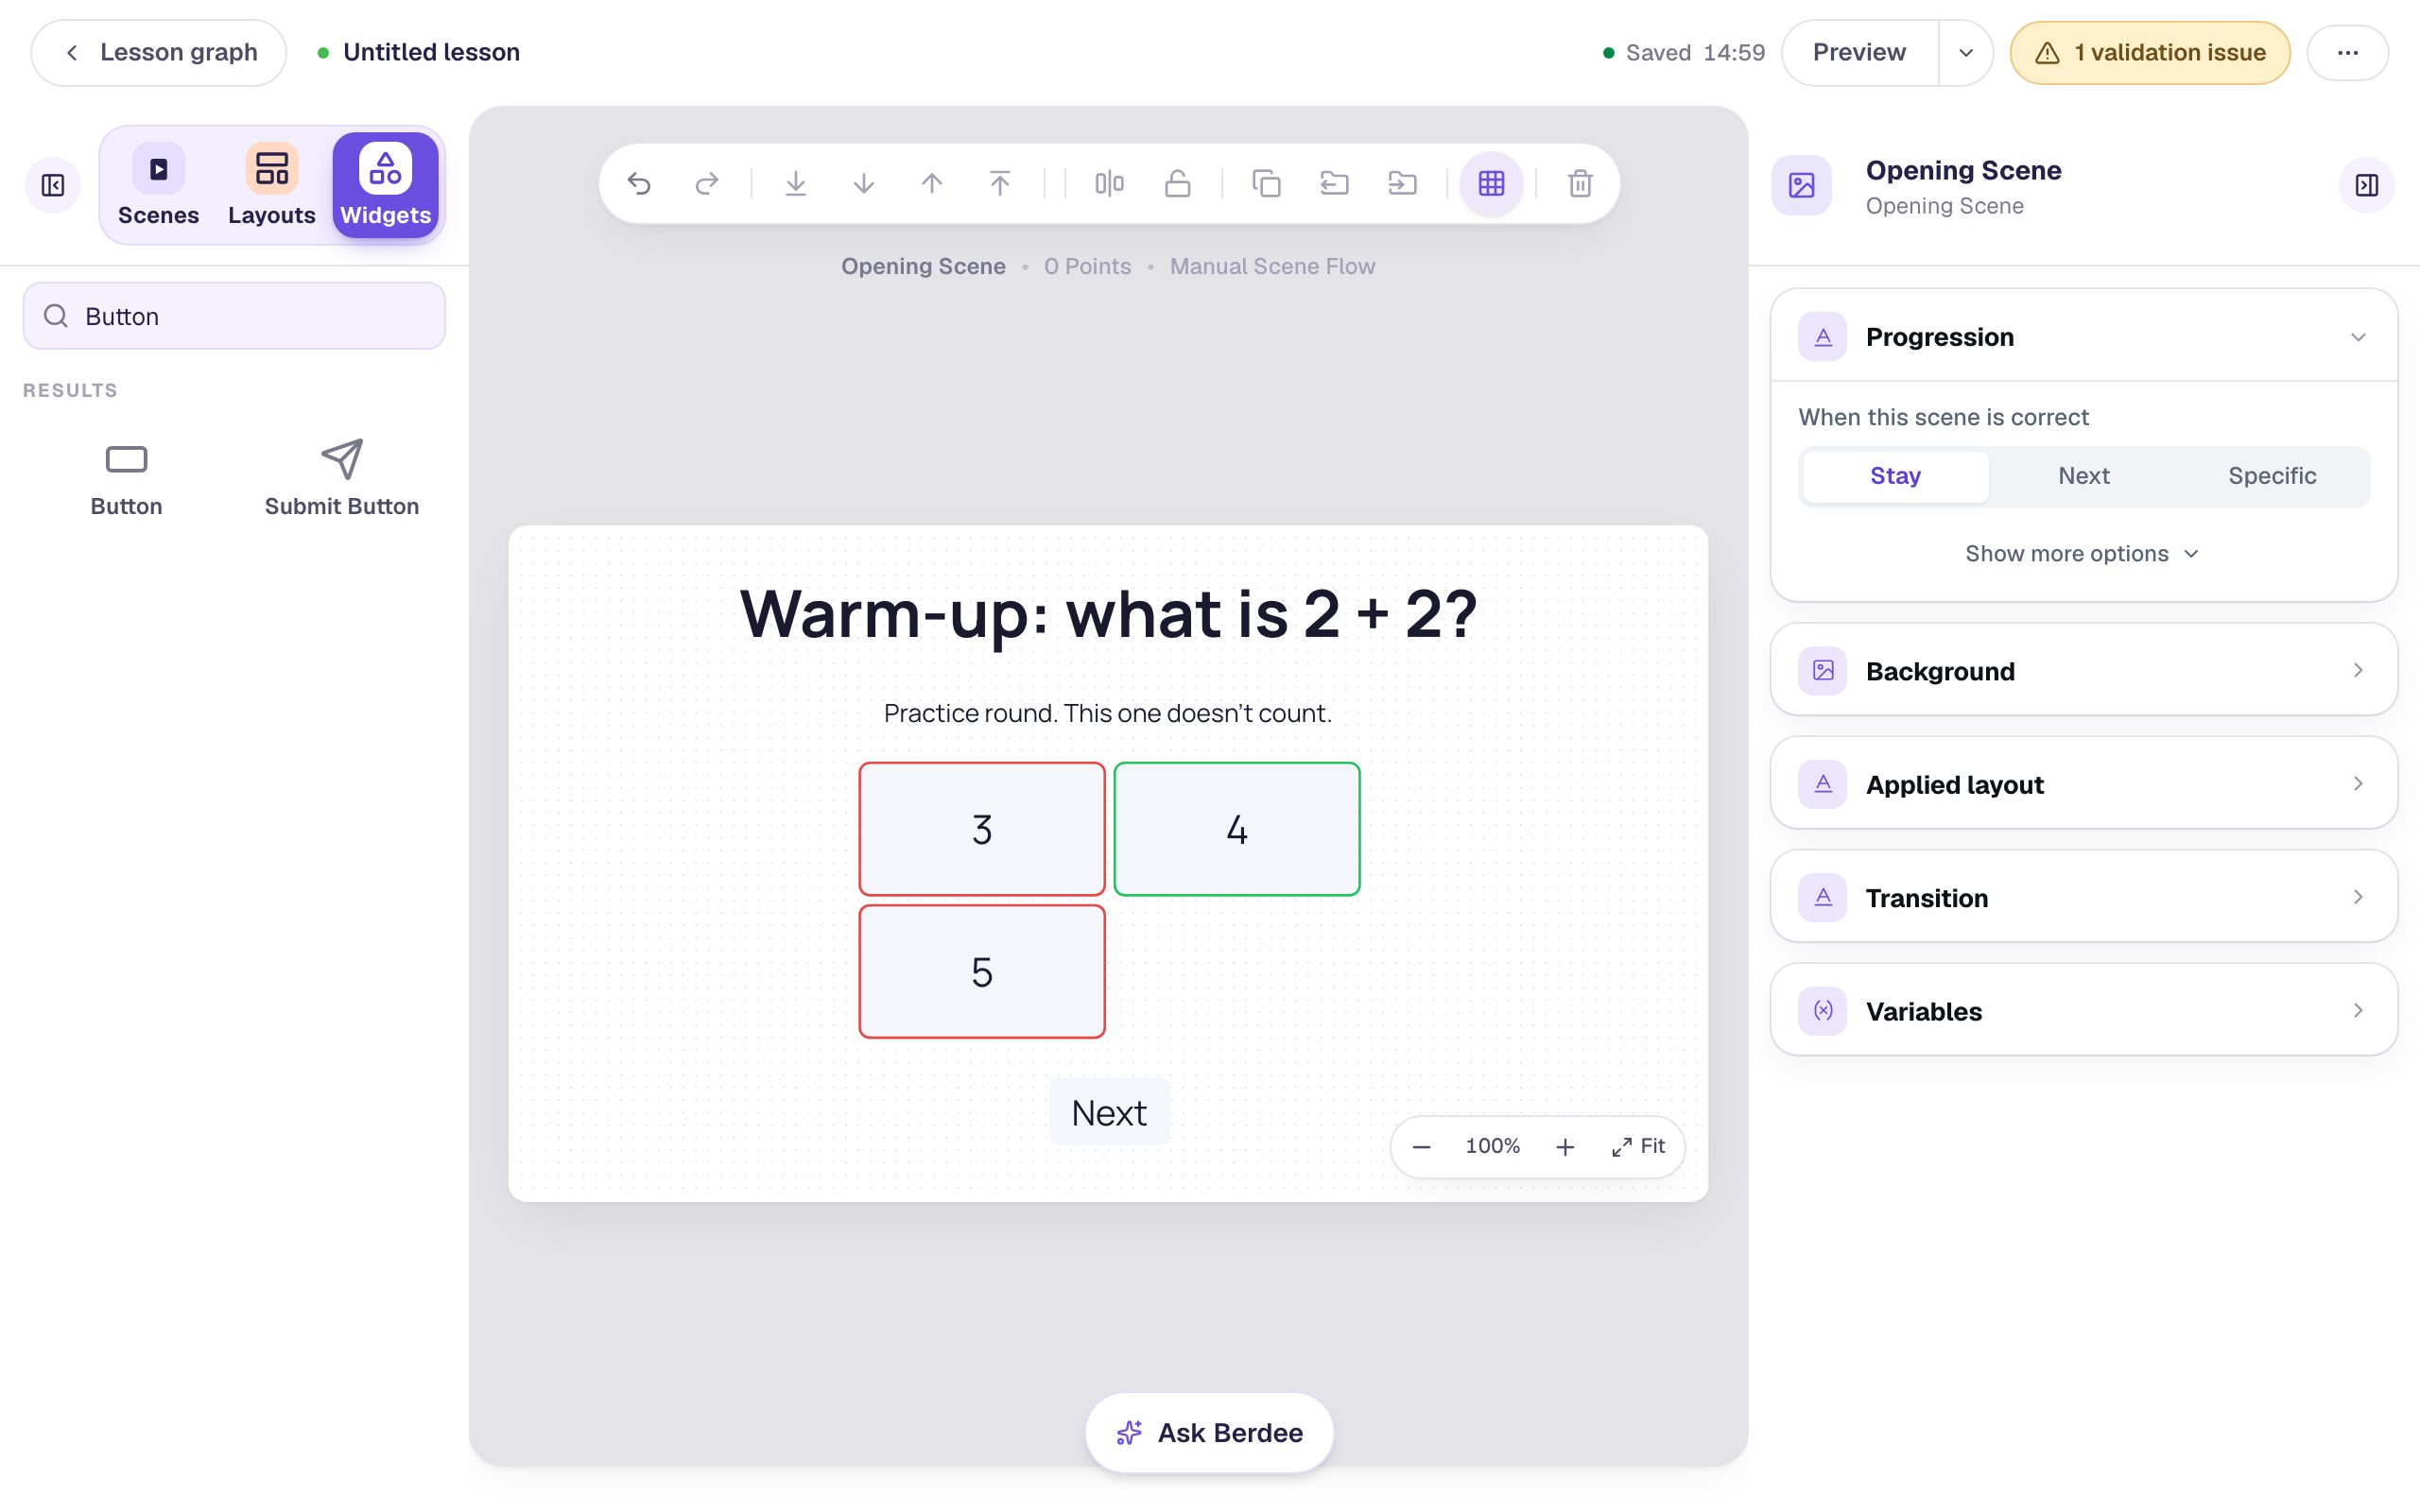
The strip above the scene says 0 Points. That's your check that the warm-up won't count.
Step 4: A question worth 1 point
Open Question 1. Add a Heading (Which is bigger?), a Body (Worth 1 point.), and a Multi Choice with two answers, 1/2 and 1/4. A new question starts with its first answer marked correct, which is right here, so leave it.
Leave Scoring on. A new question is worth 1 point, so there's nothing to change. Set the font size, then add a Next button the same way as in Step 3 (it goes to Question 2) and set Progression to Stay.
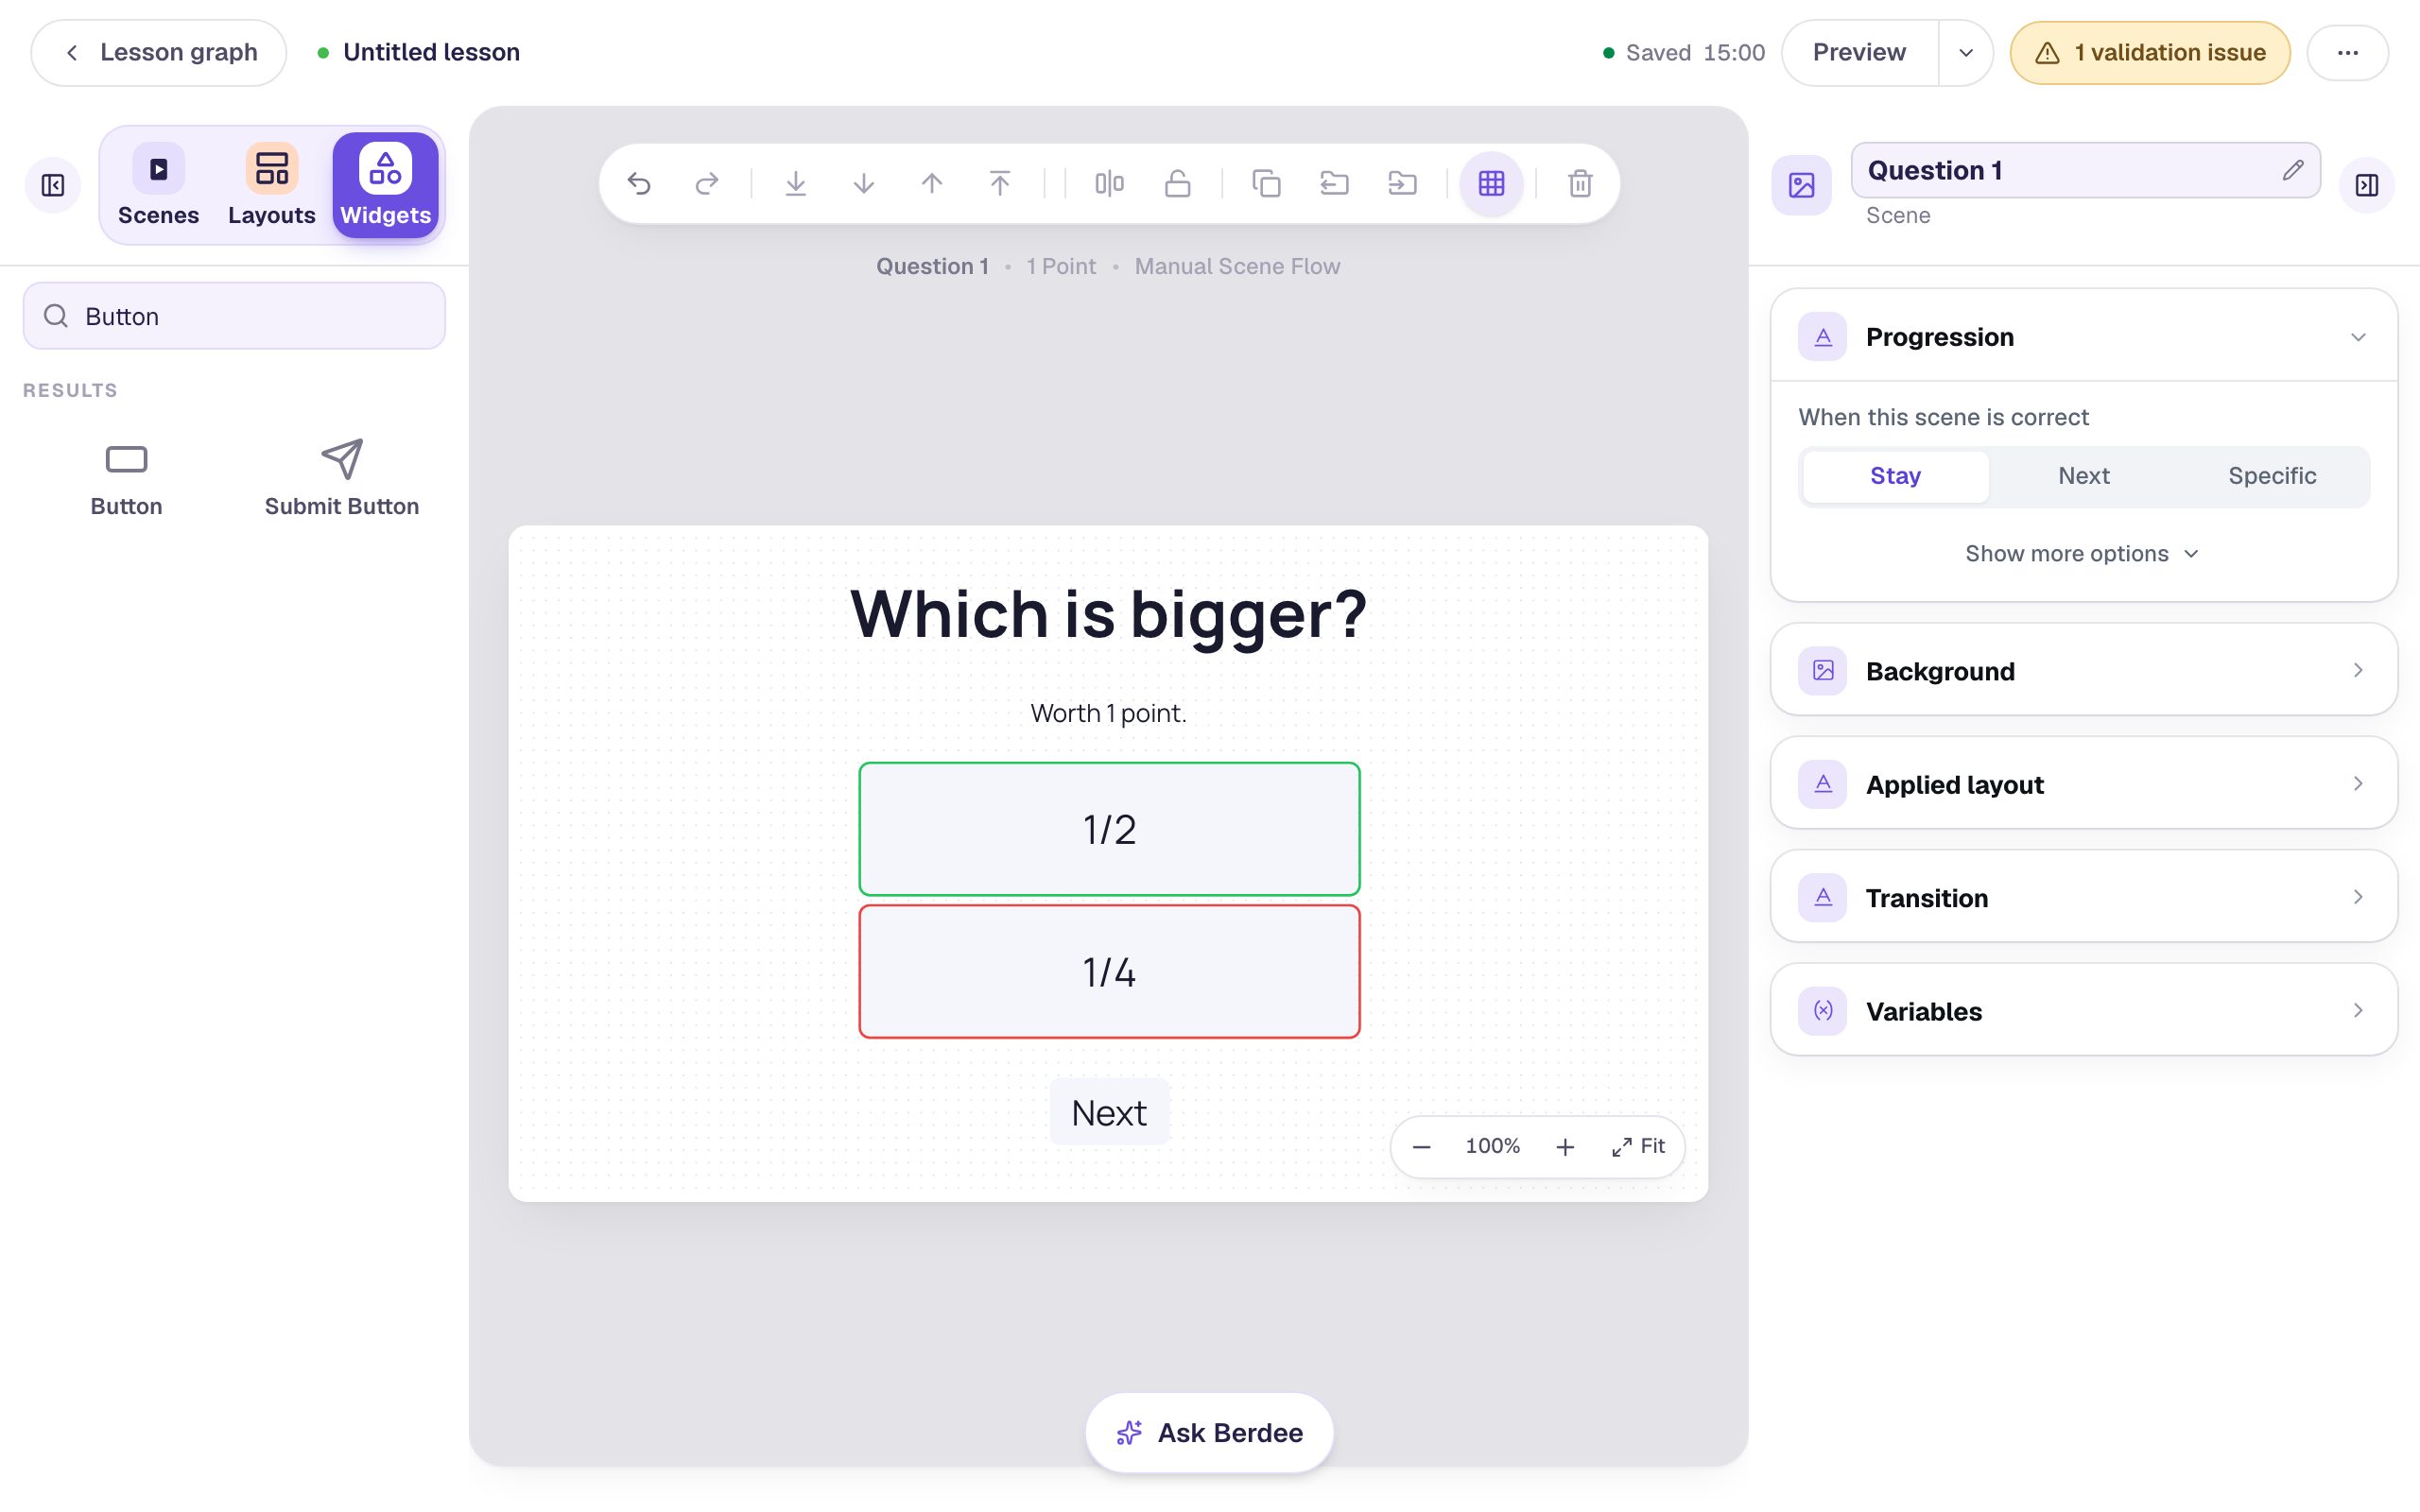
Why Stay? If you leave Progression on Next, a right answer moves the student on the moment they tap it, while a wrong answer waits for them to press Next. The scene's reaction gives the answer away, and students can keep tapping until it moves. With Stay, every answer waits for the Next button, right or wrong, and the score shows how they did.
Step 5: A question worth 3 points
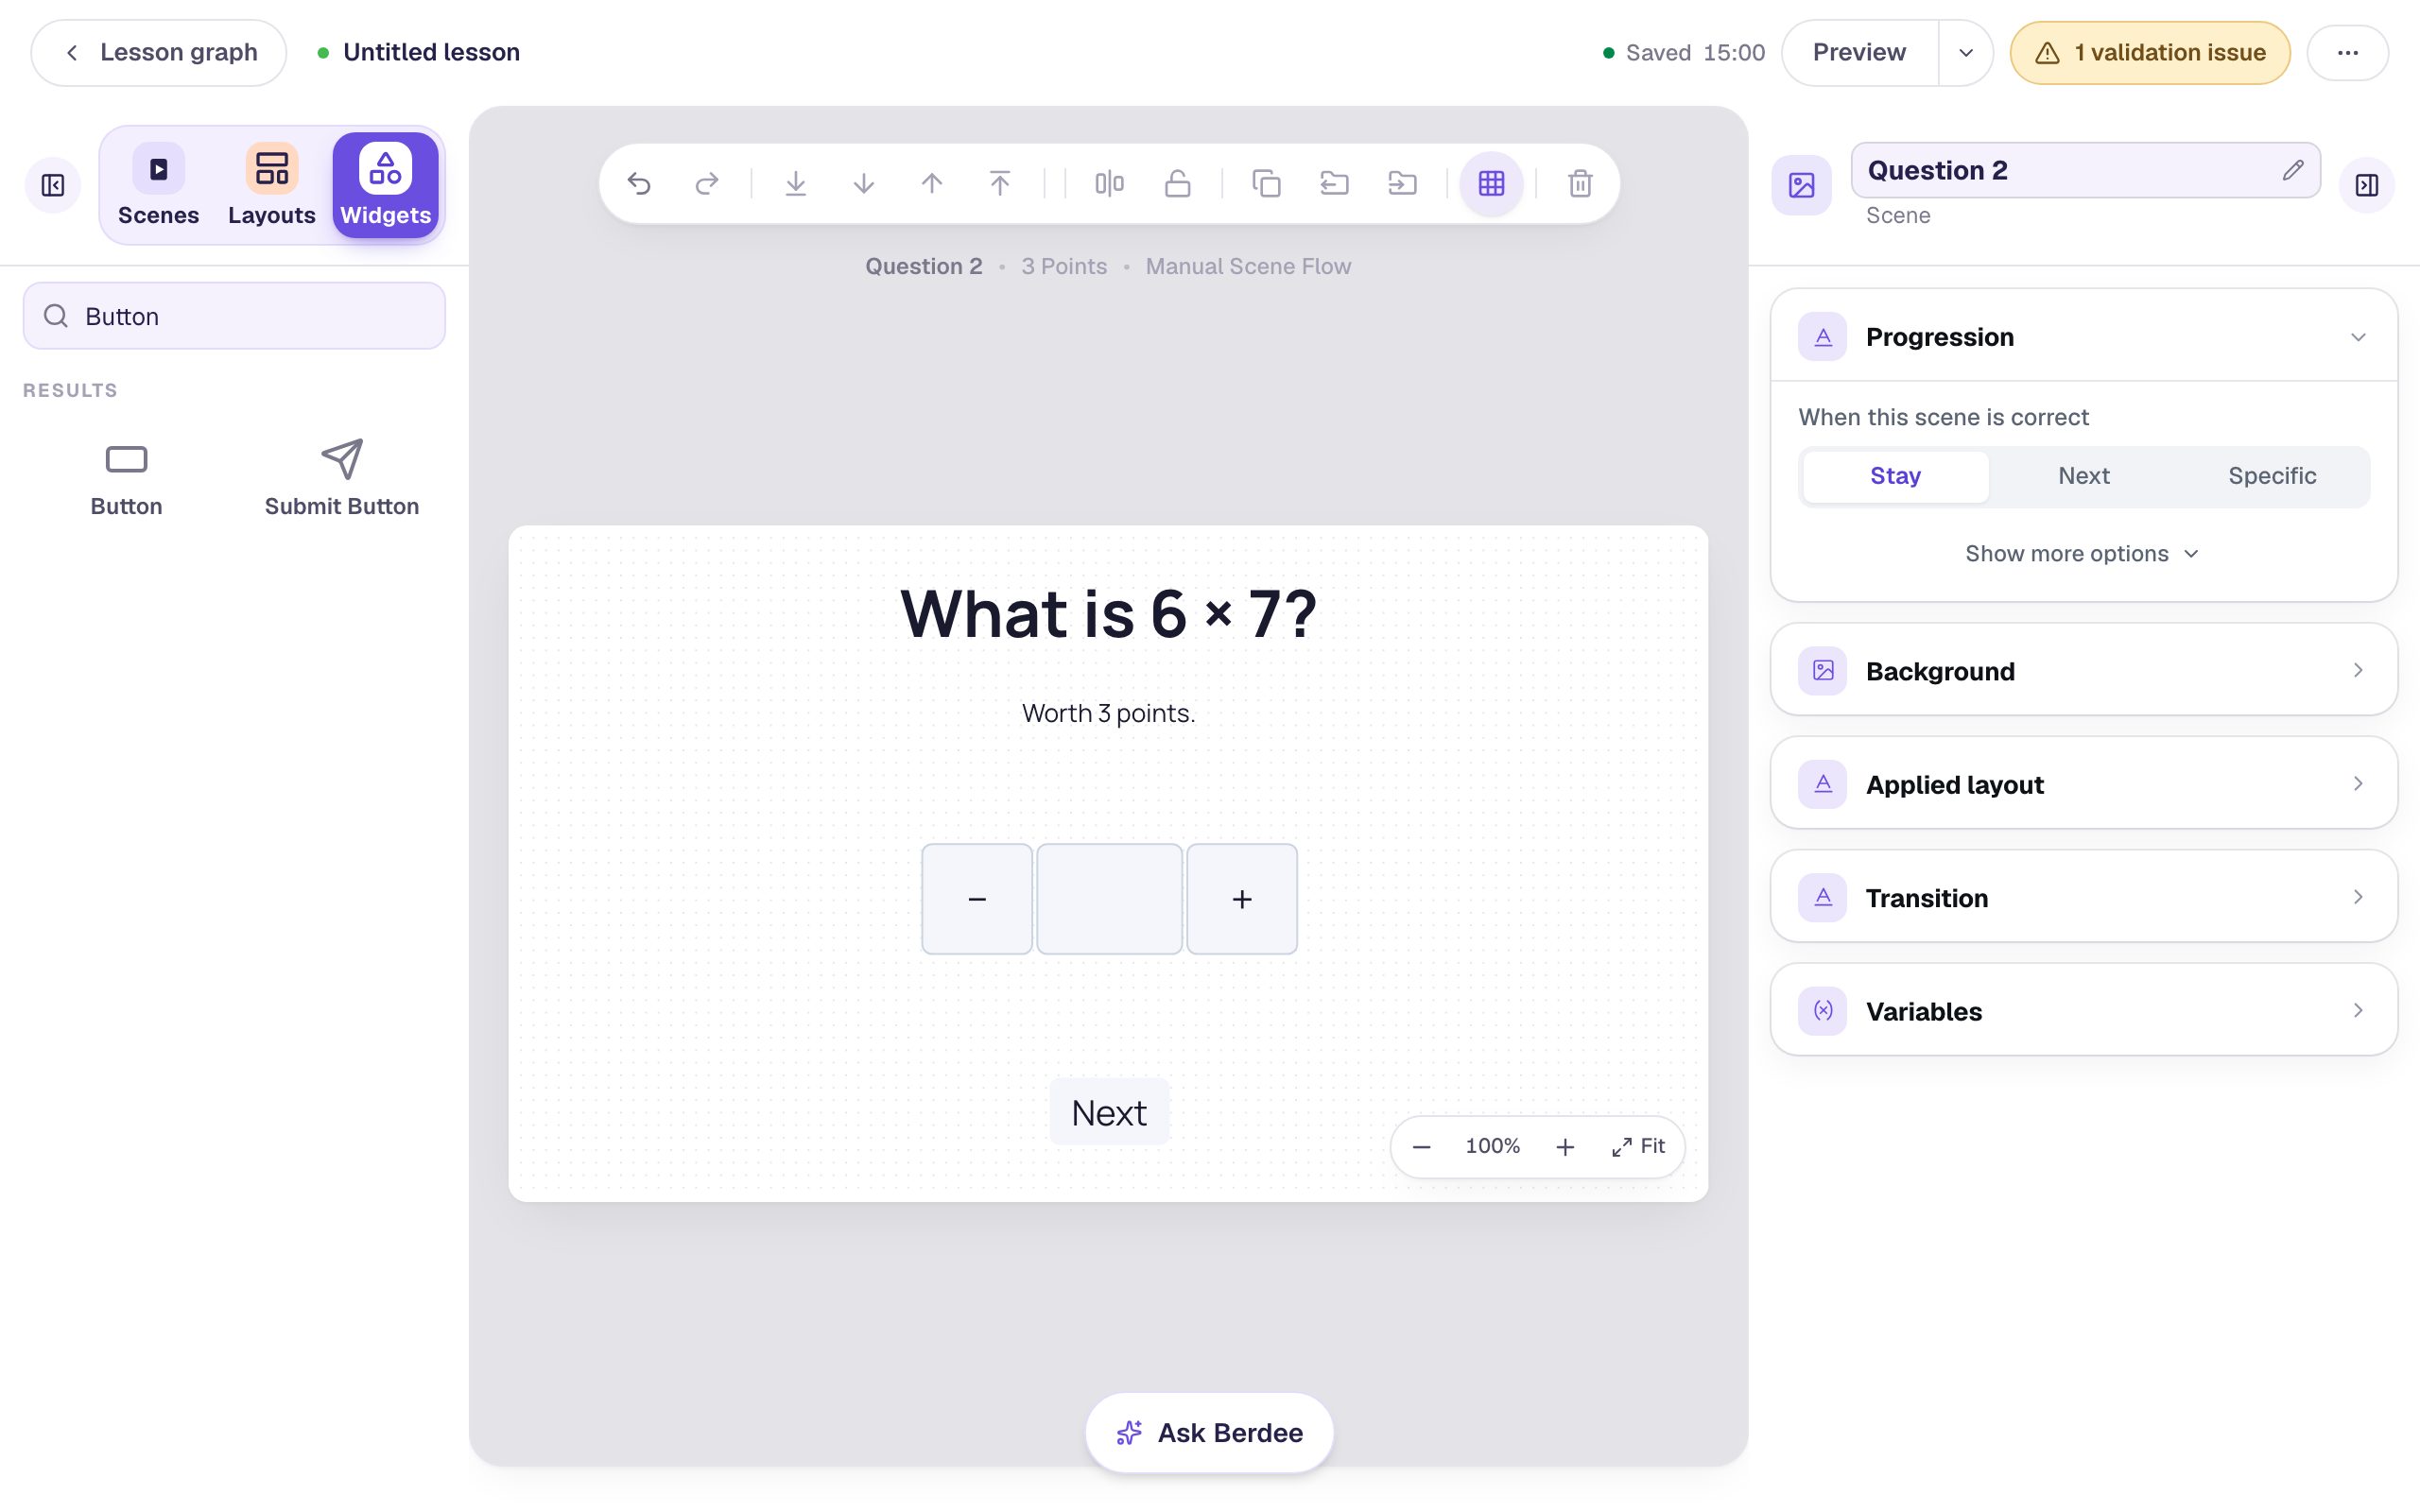
Open Question 2. Add a Heading (What is 6 × 7?) and a Body (Worth 3 points.). Telling students what a question is worth helps them decide where to spend their effort.
This time the answer is a number, so add a Number Input and click ⚙ Configure:
- Set Points to
3. - Set Correct Value to
42.
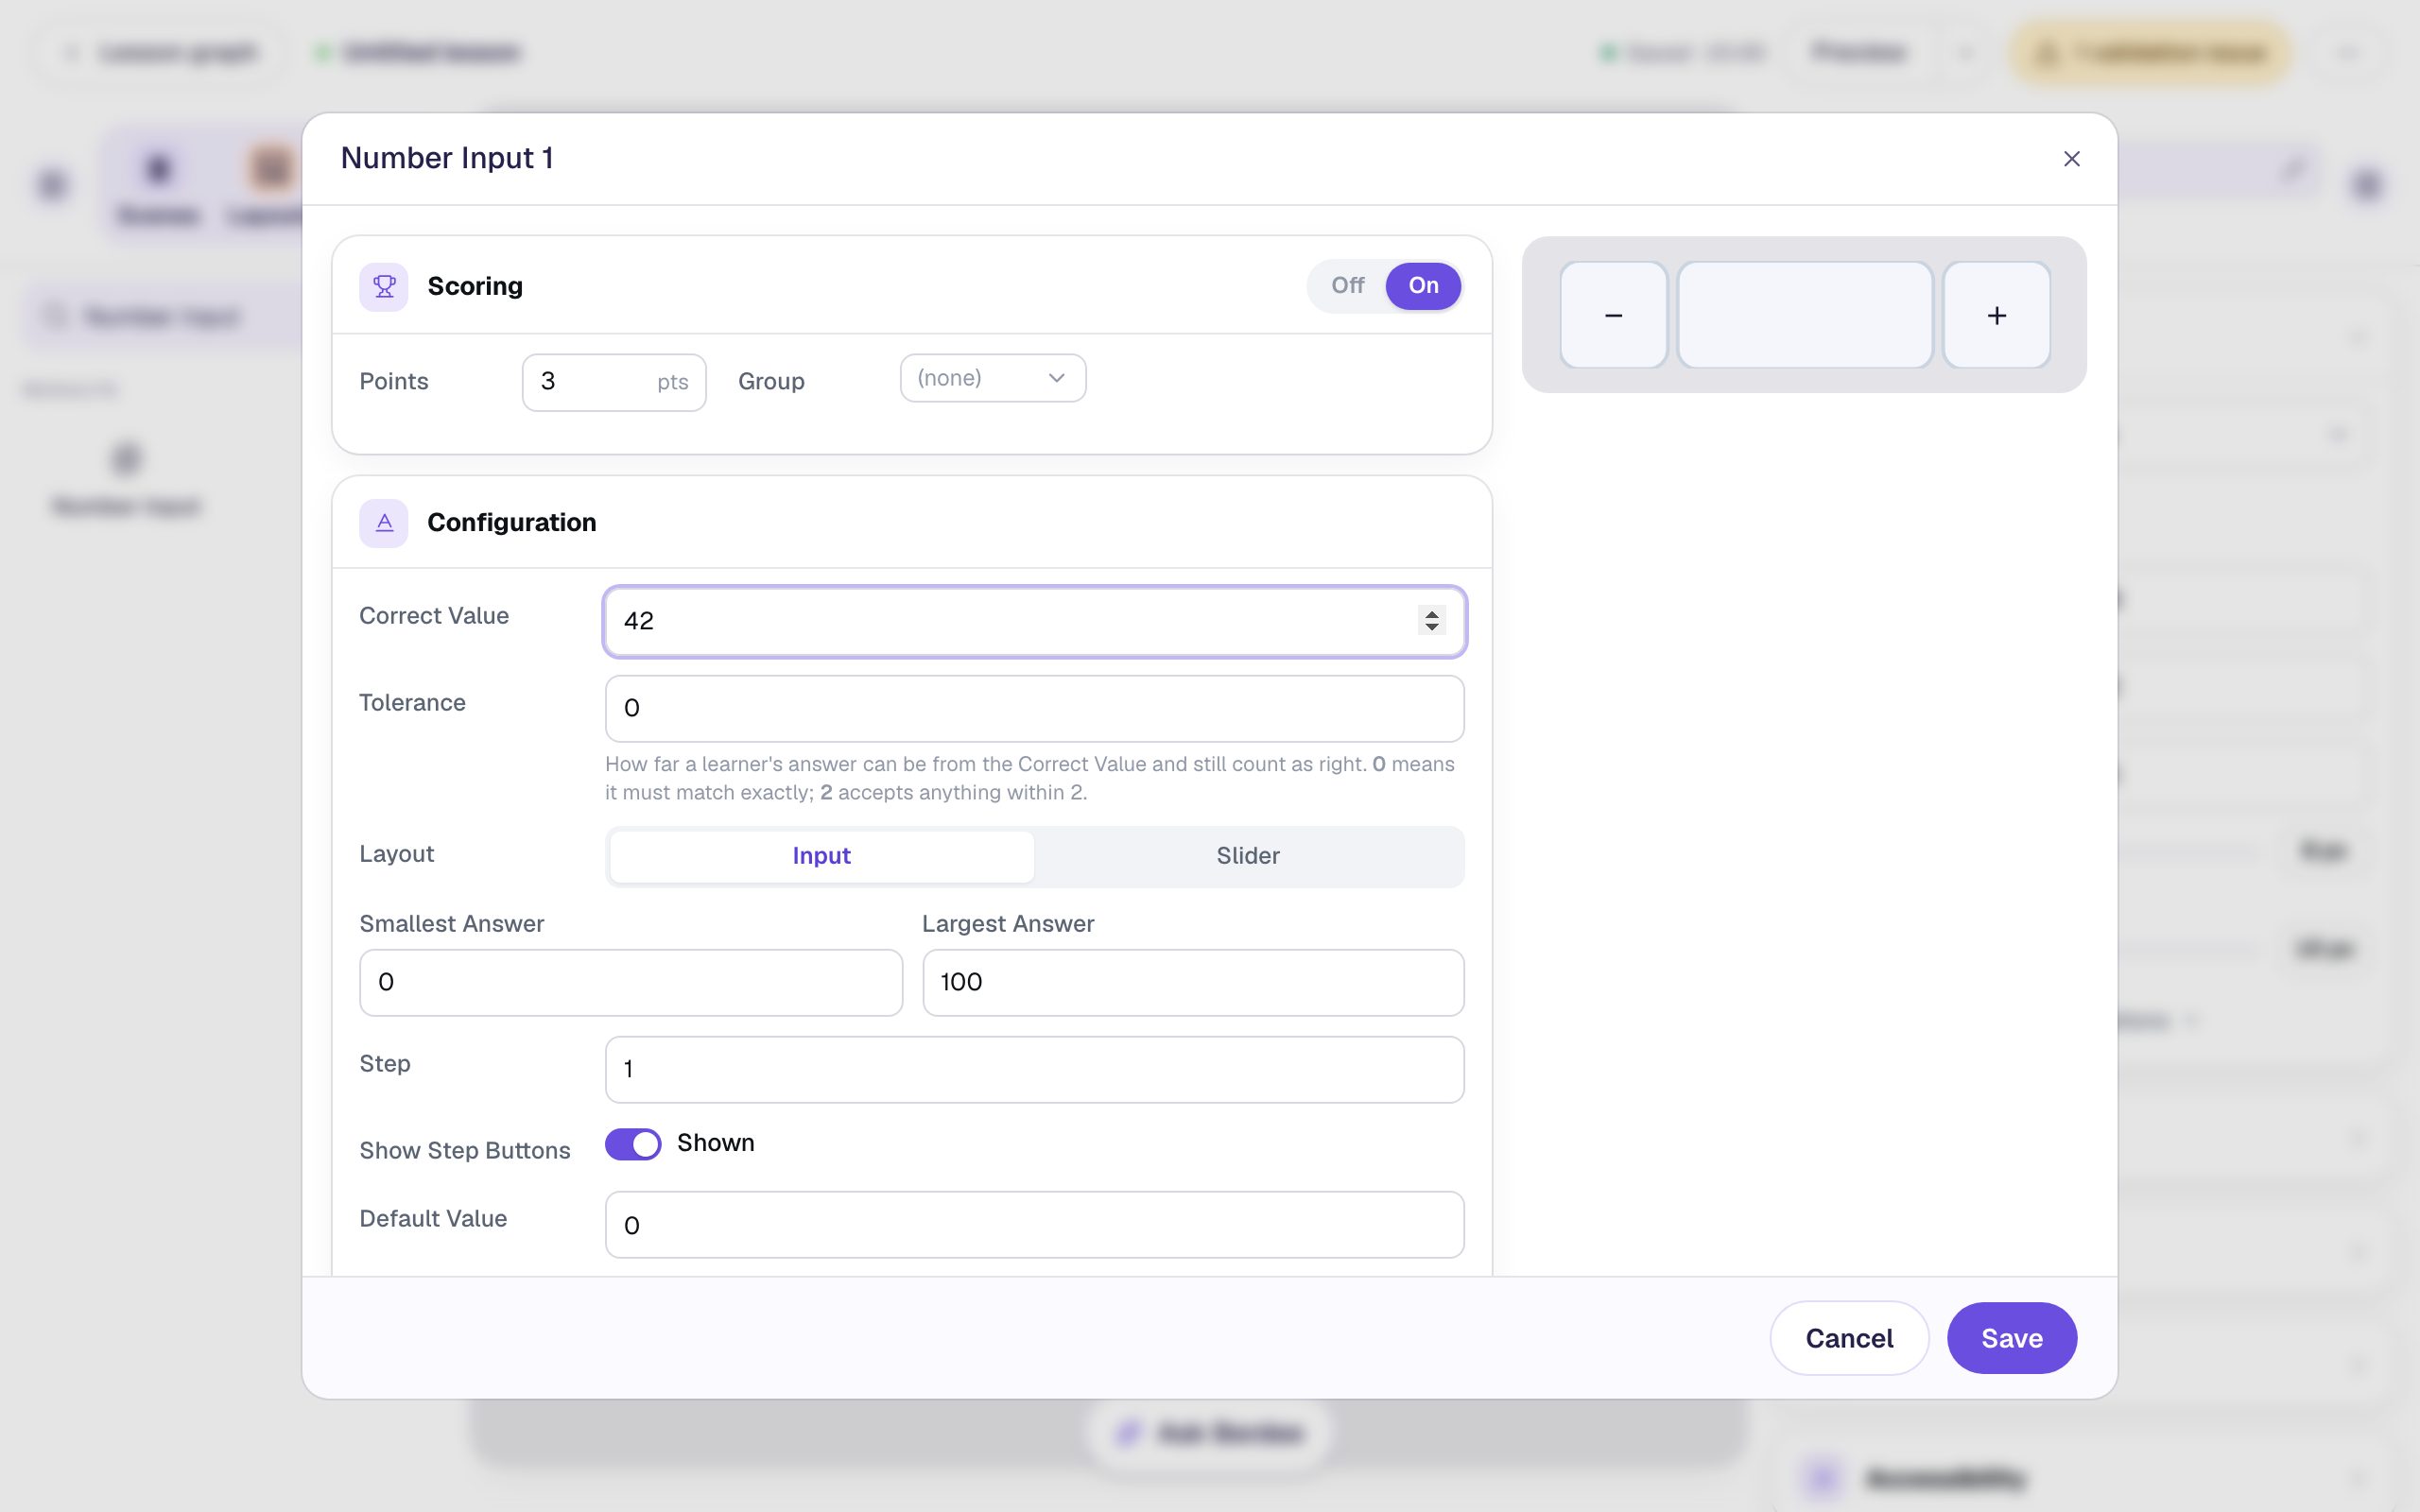
Click Save. In Style & Layout, set Font Size to 32. Then click Show more options and set Width to 300, so the box has room for a two-digit answer.
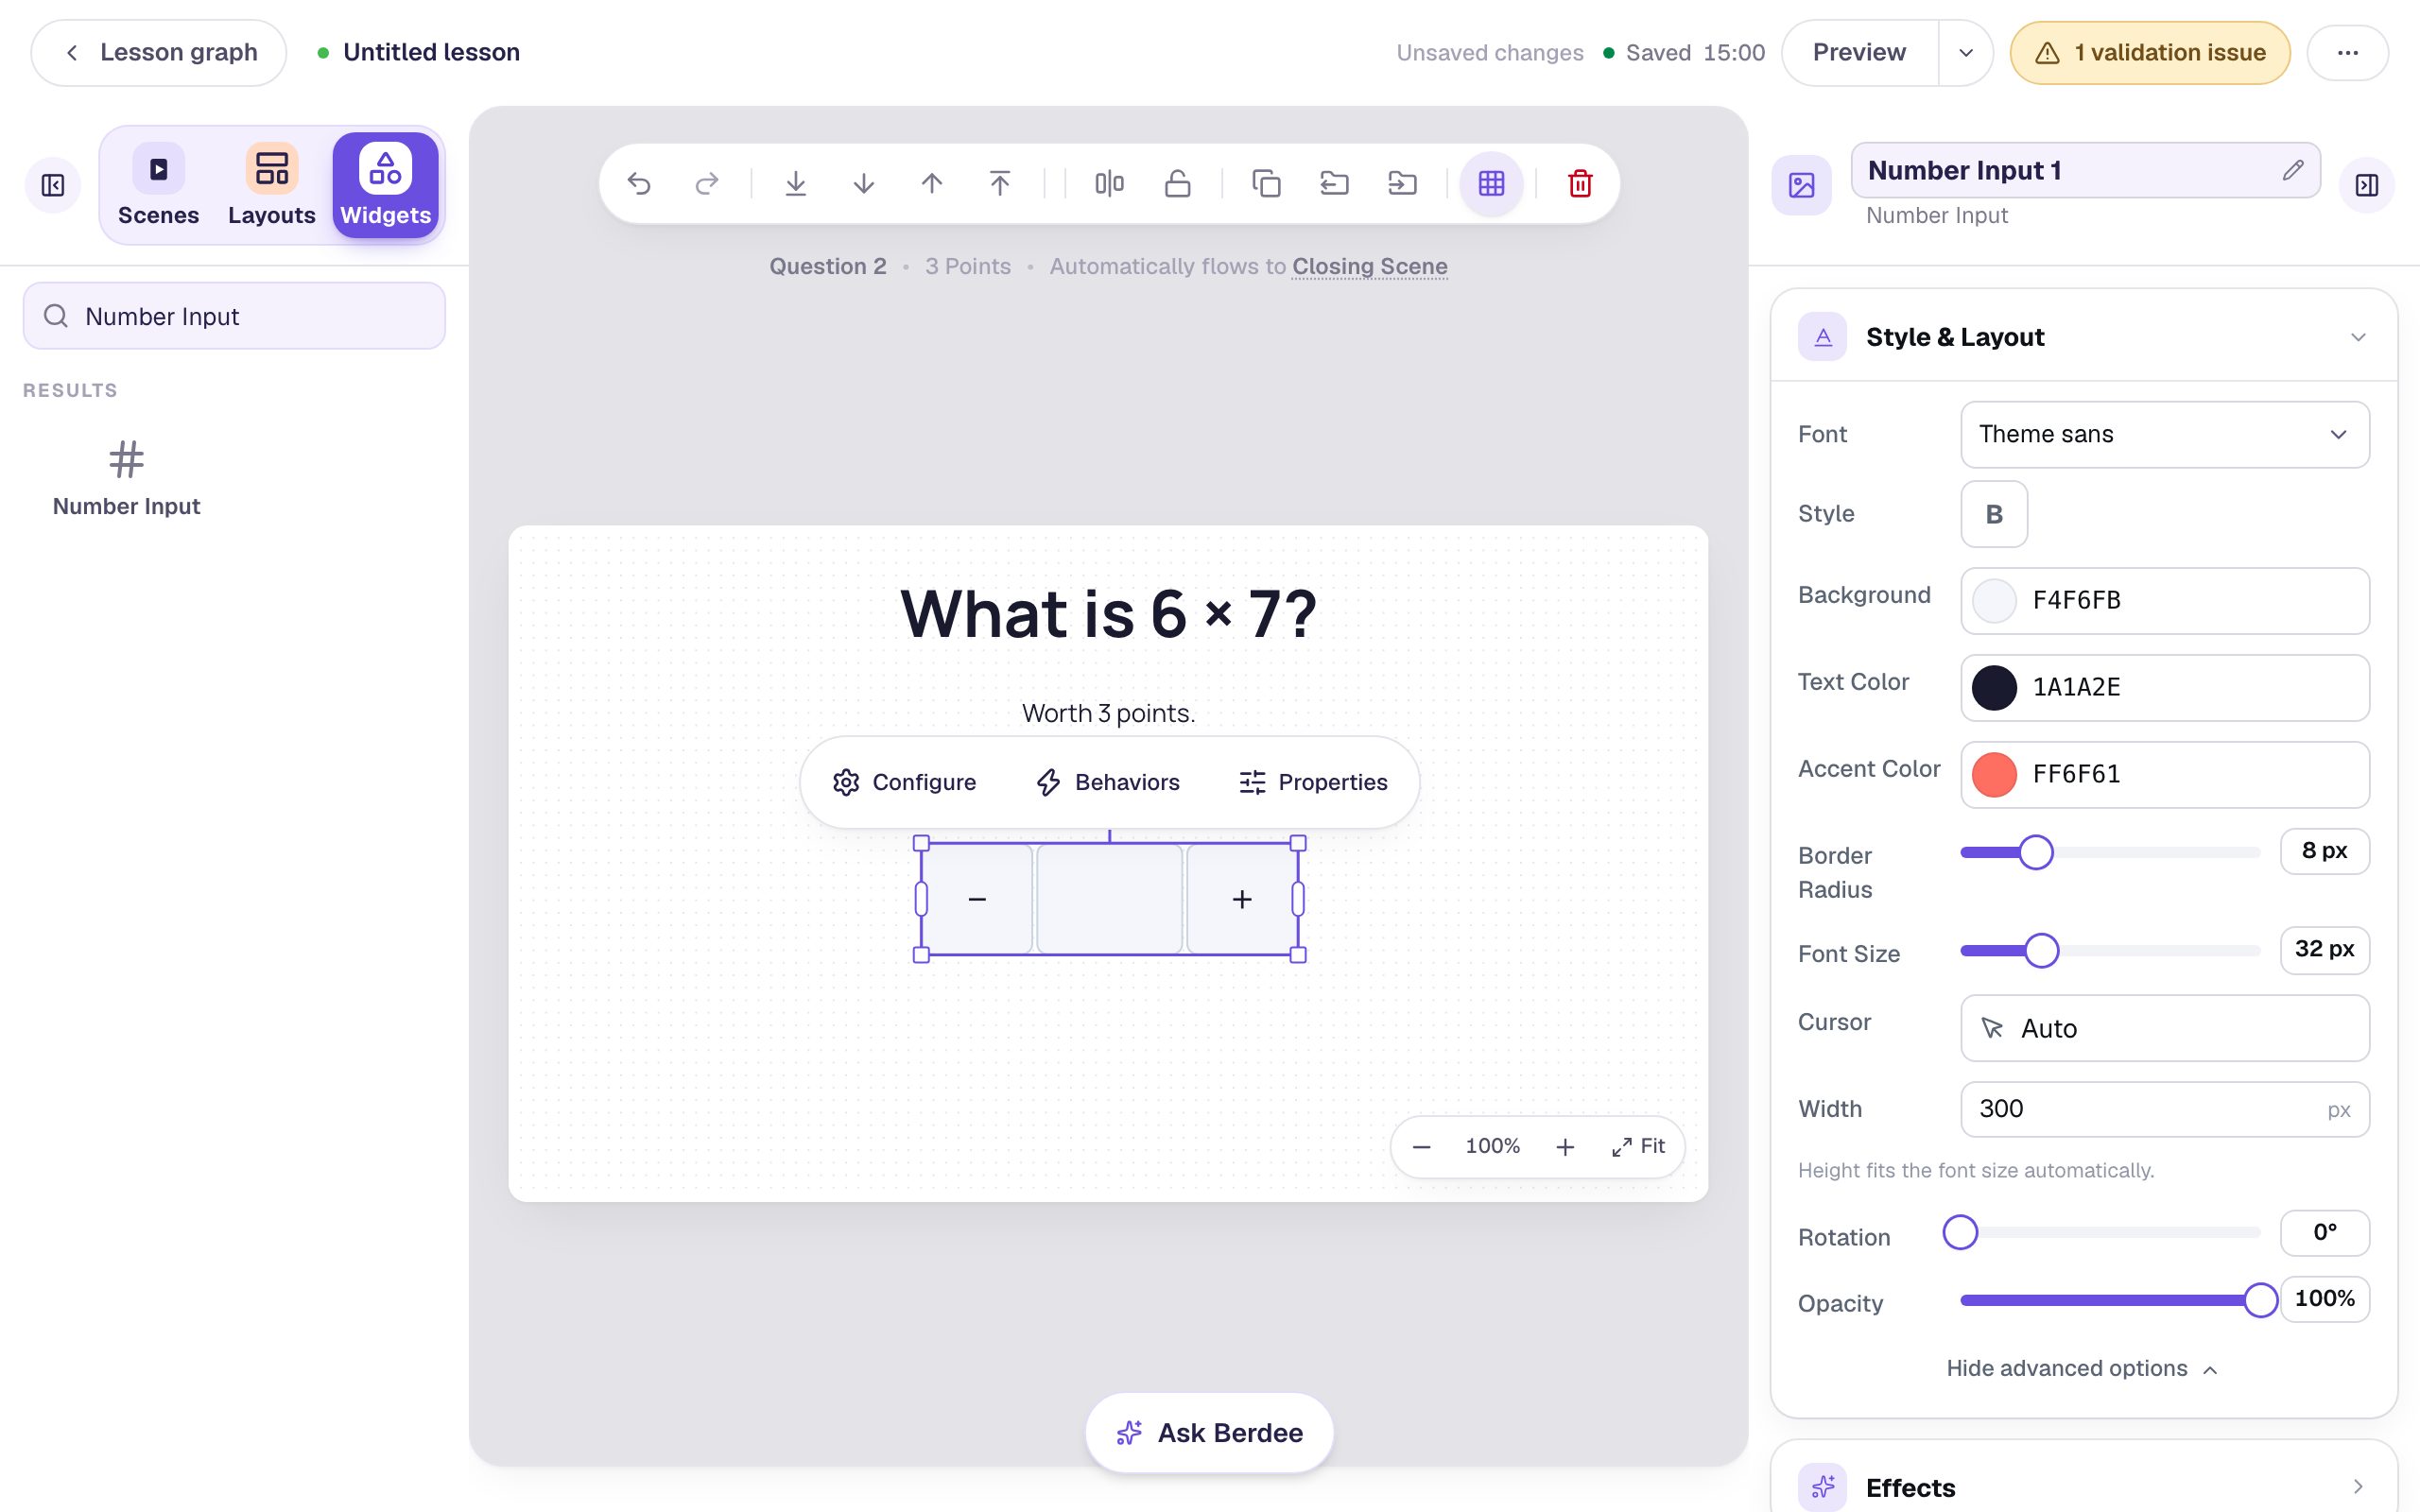
Add a Next button and set Progression to Stay, as before. This Next button goes to the Closing Scene, since Question 2 is the last question.
Step 6: Look at the score on the ending
Open the Closing Scene. Berdee already put the student's score on it, under You finished the lesson!. Click the left end of the score box to select it.
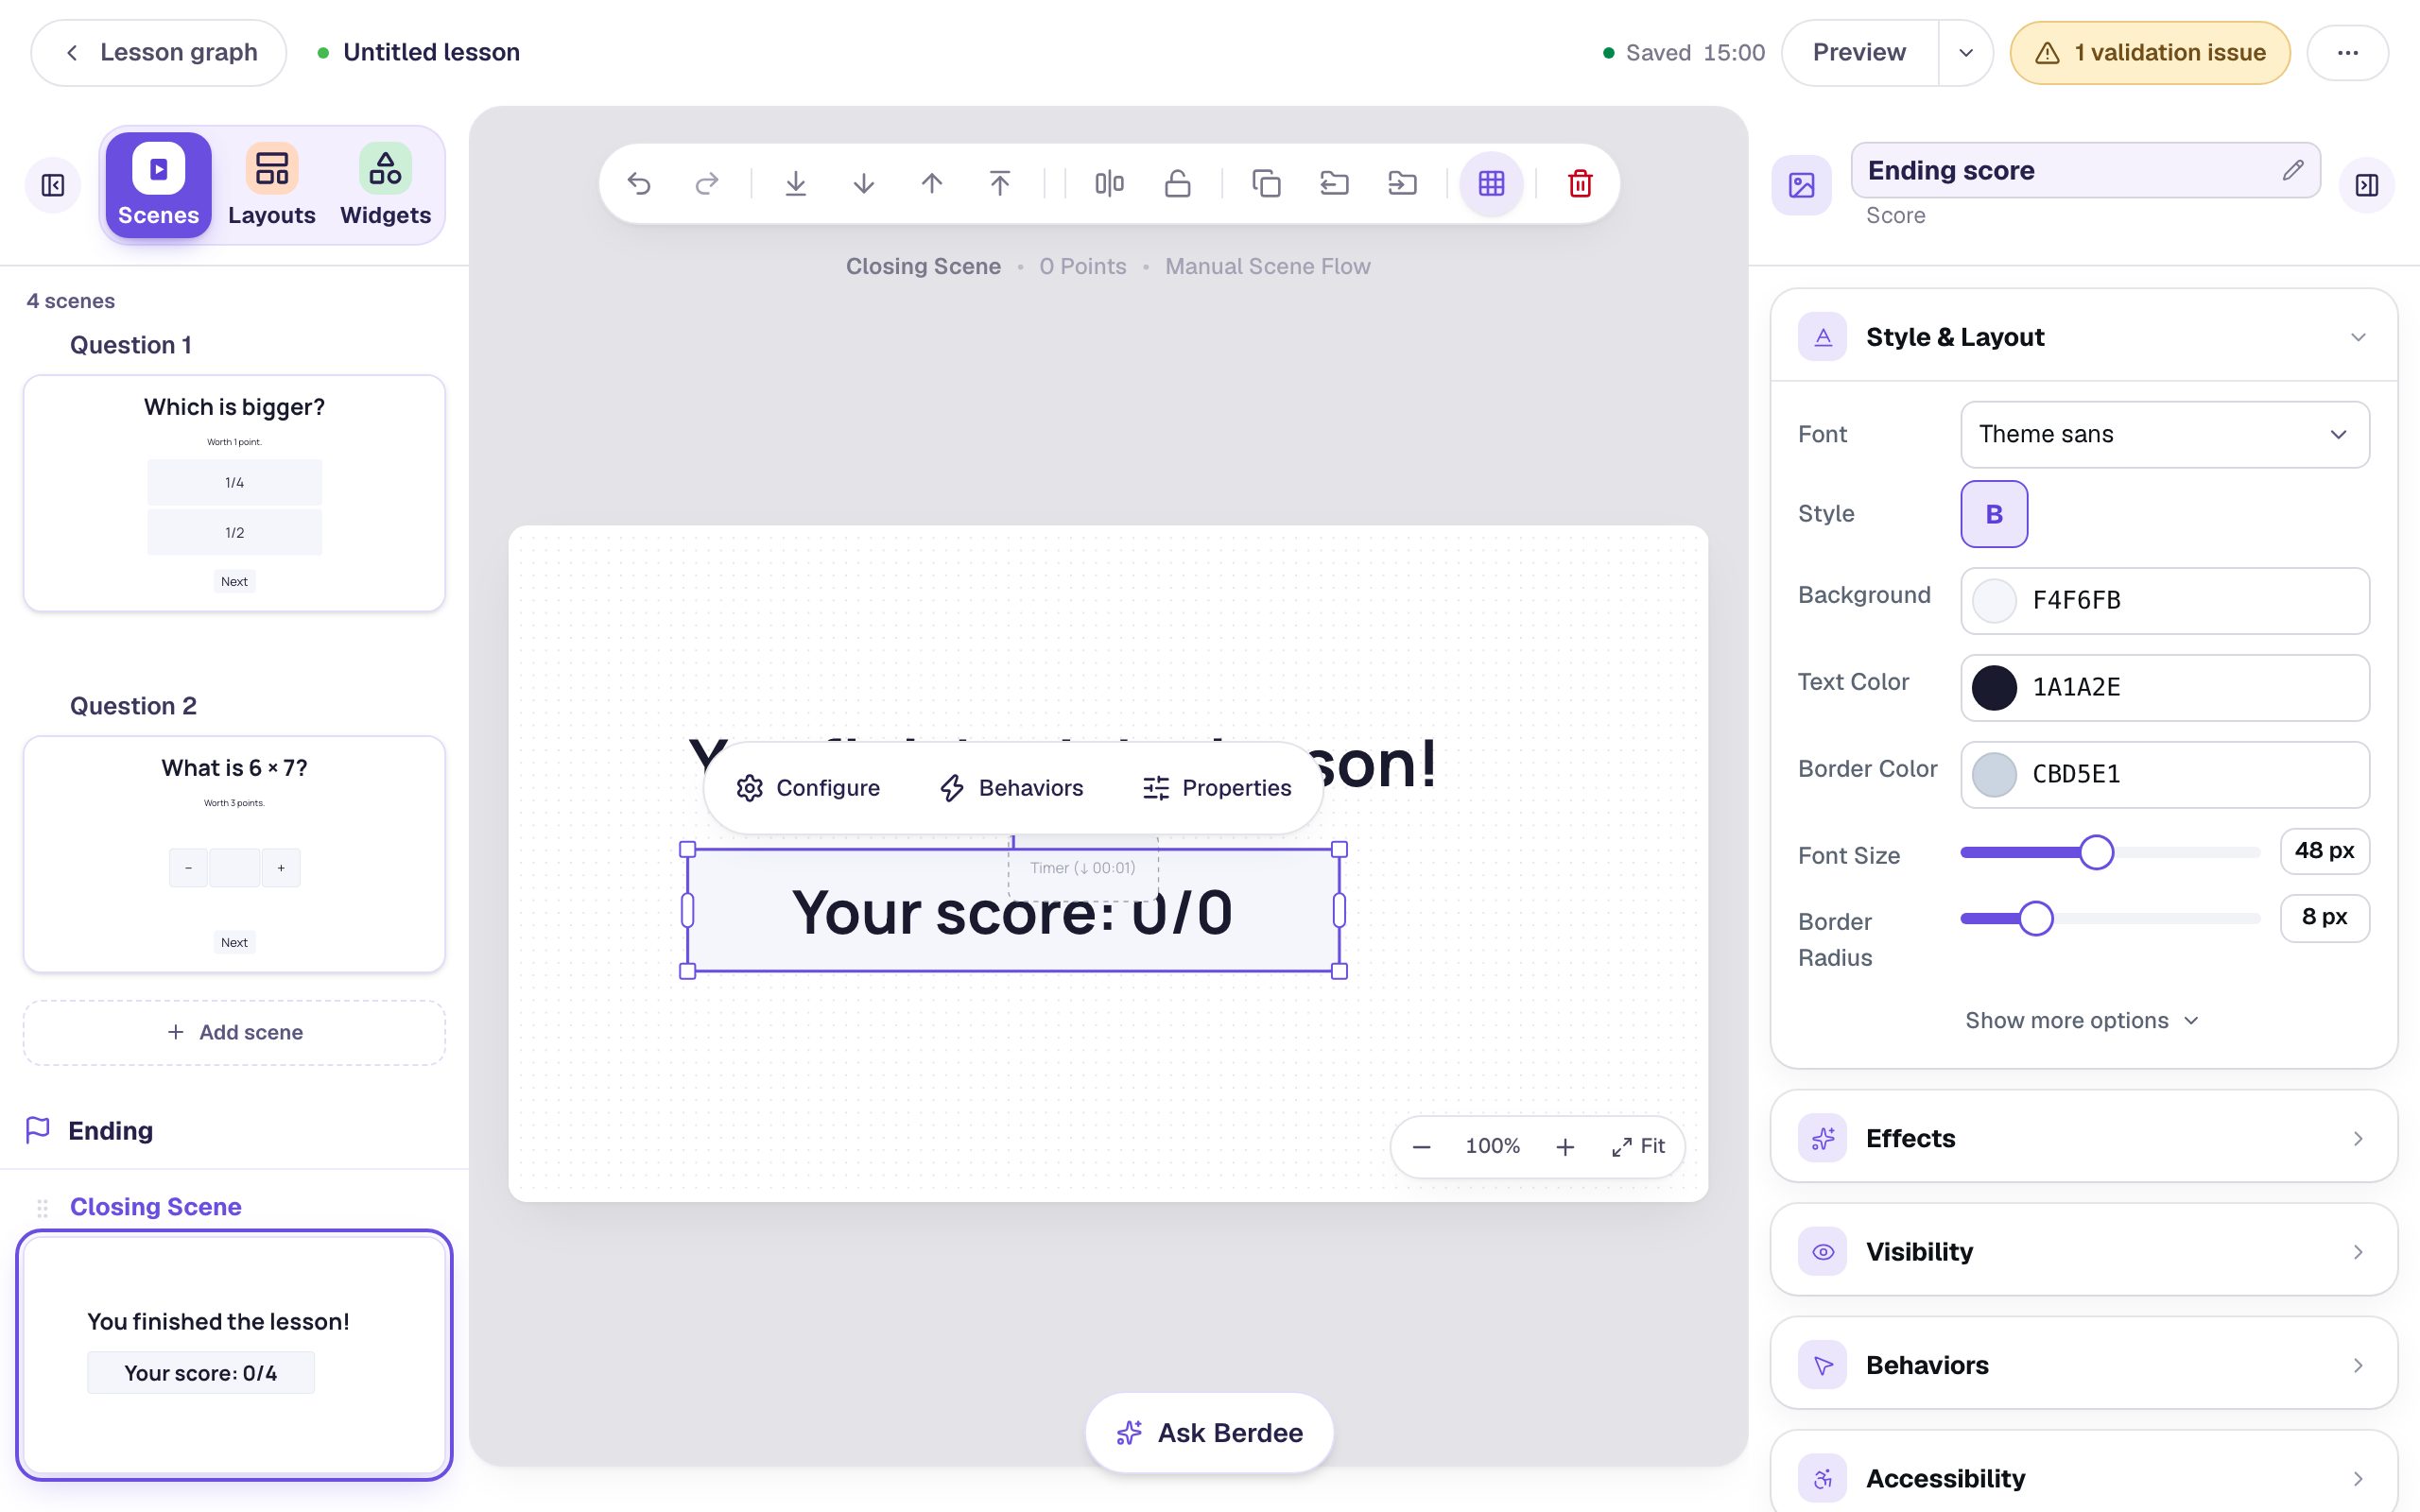
The small dashed box over the middle of the score is a hidden timer that starts the celebration. Students never see it, but clicking the middle of the score selects the timer instead.
Click ⚙ Configure to see what the score shows:
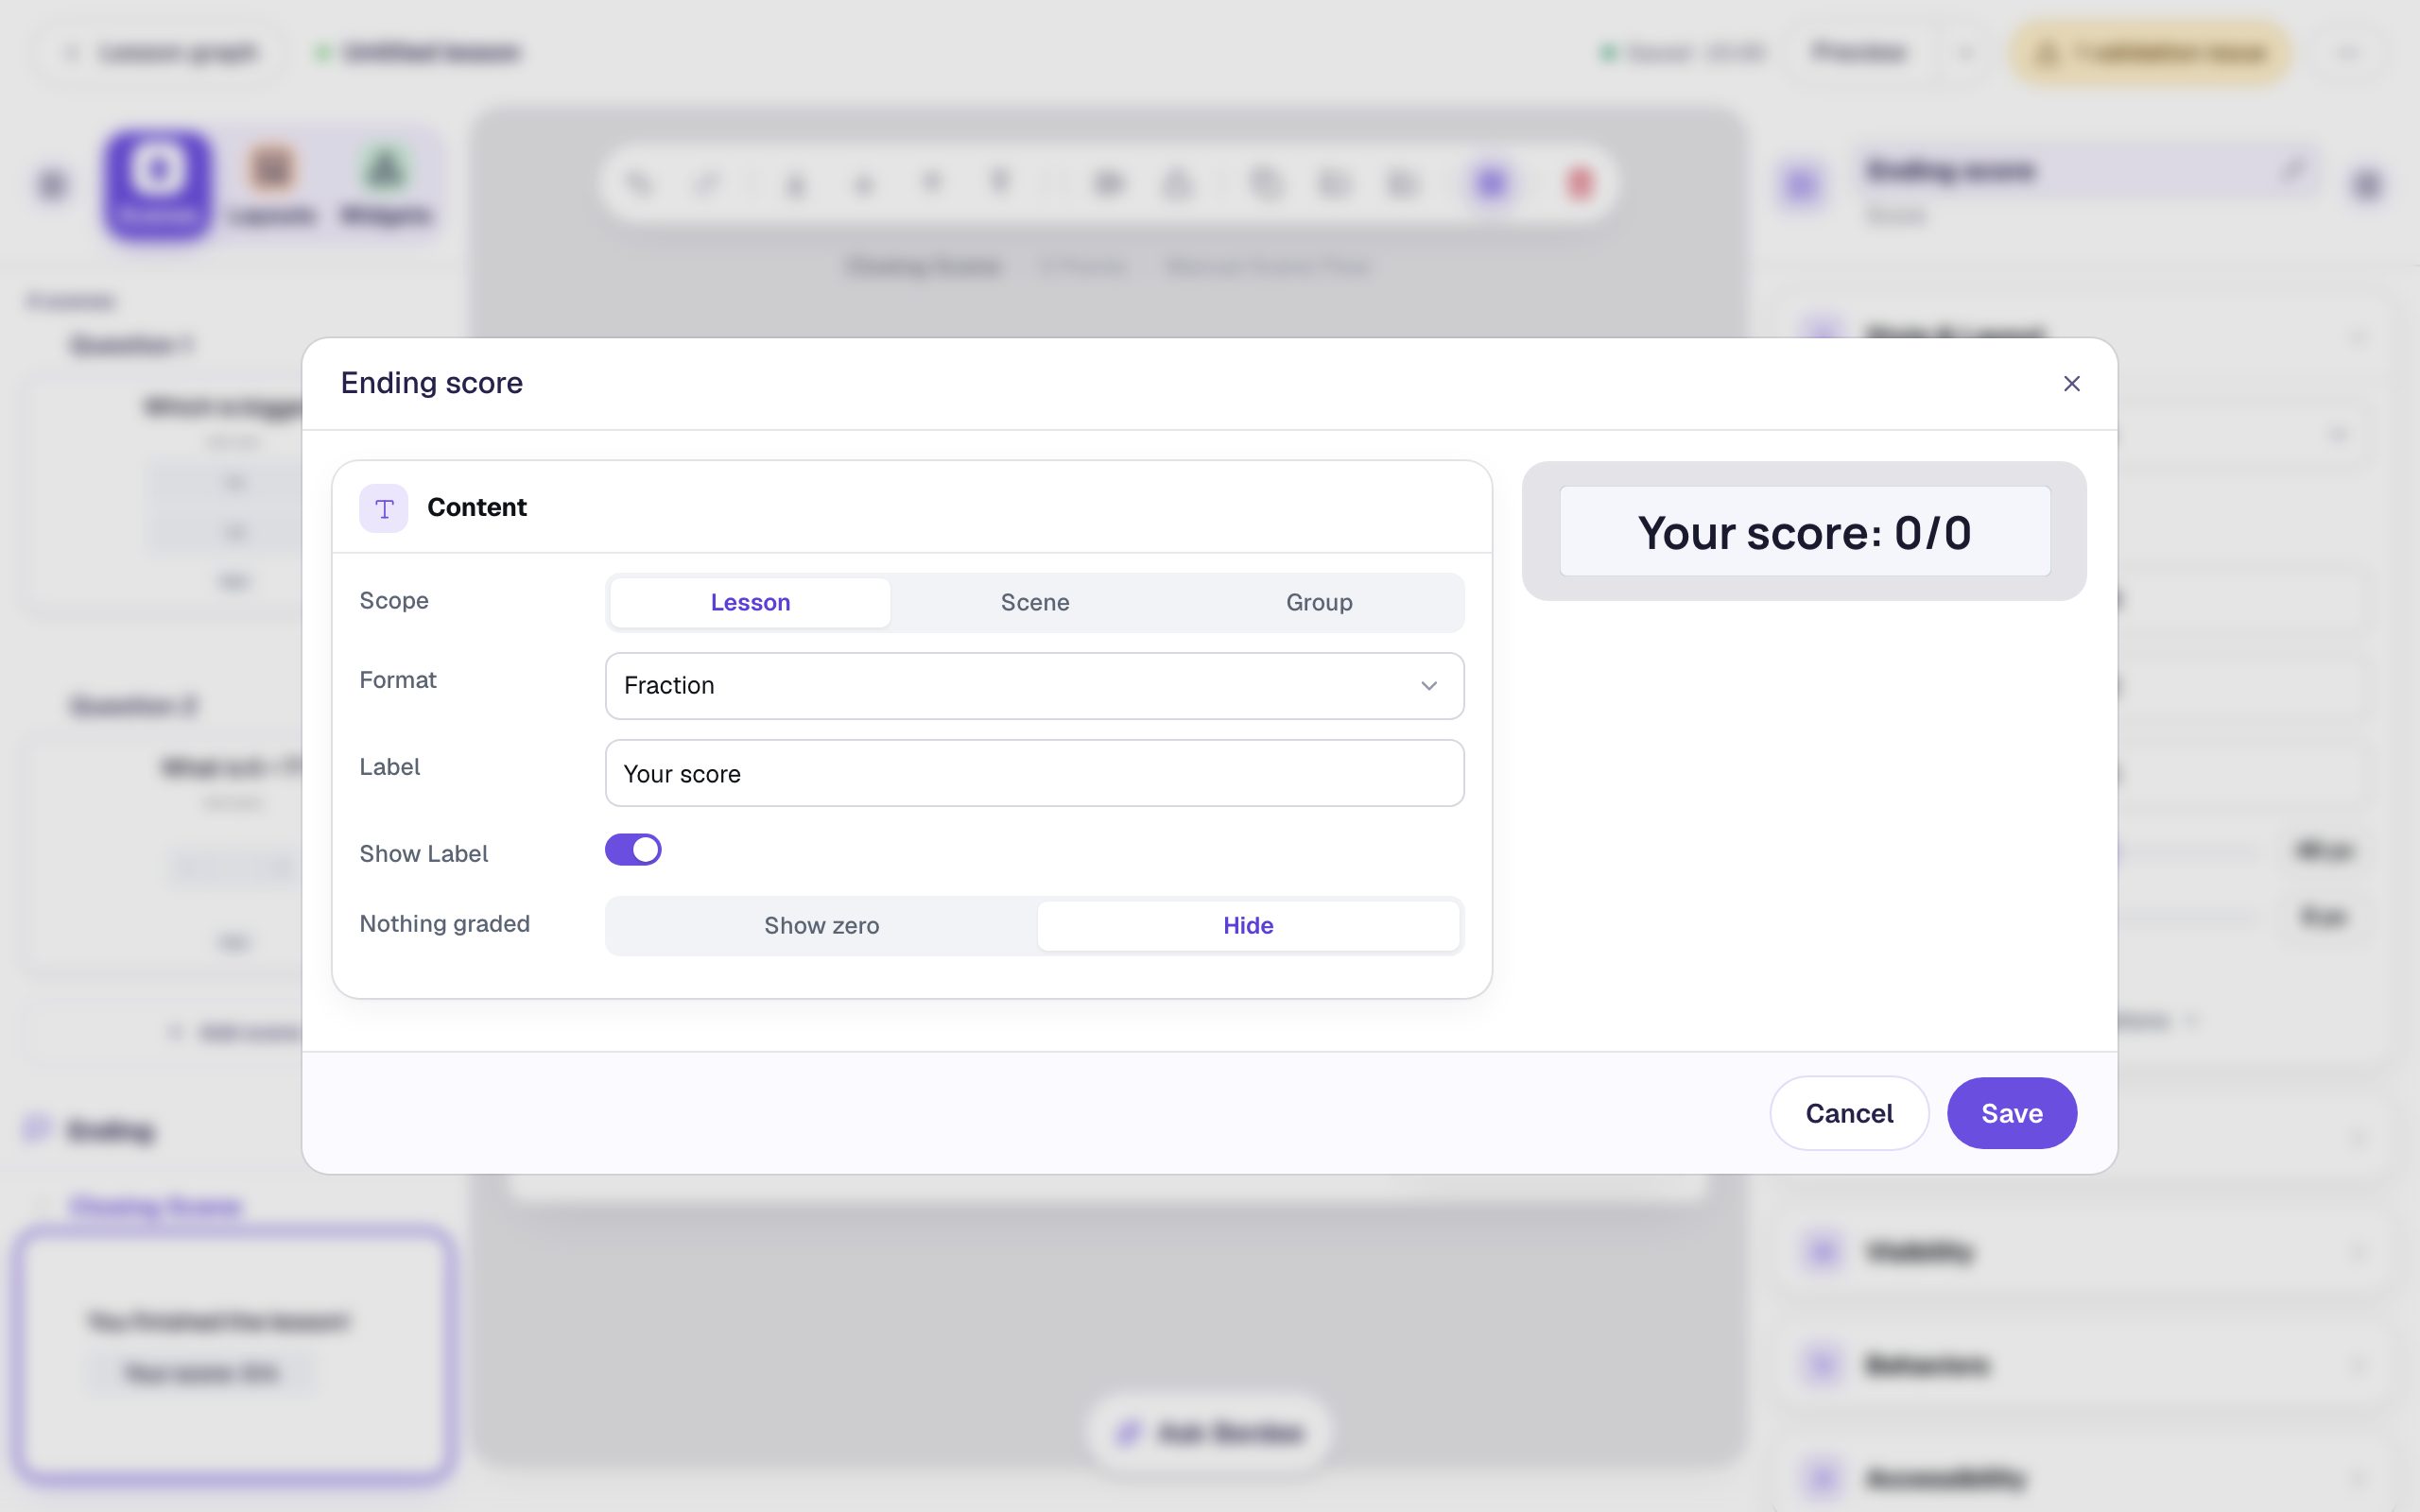
- Scope: Lesson adds up every graded question across the lesson. The warm-up isn't graded, so it isn't in the total.
- Format: Fraction shows points earned out of points possible, like
3/4. Choose Percent to show75%instead. - Label is the words before the number. Leave the colon off: Berdee adds it.
The preview in this window reads 0/0 because nobody has answered anything yet. You don't need to change anything, so click Cancel.
Step 7: Check what's left before publishing
Click the validation pill at the top right.
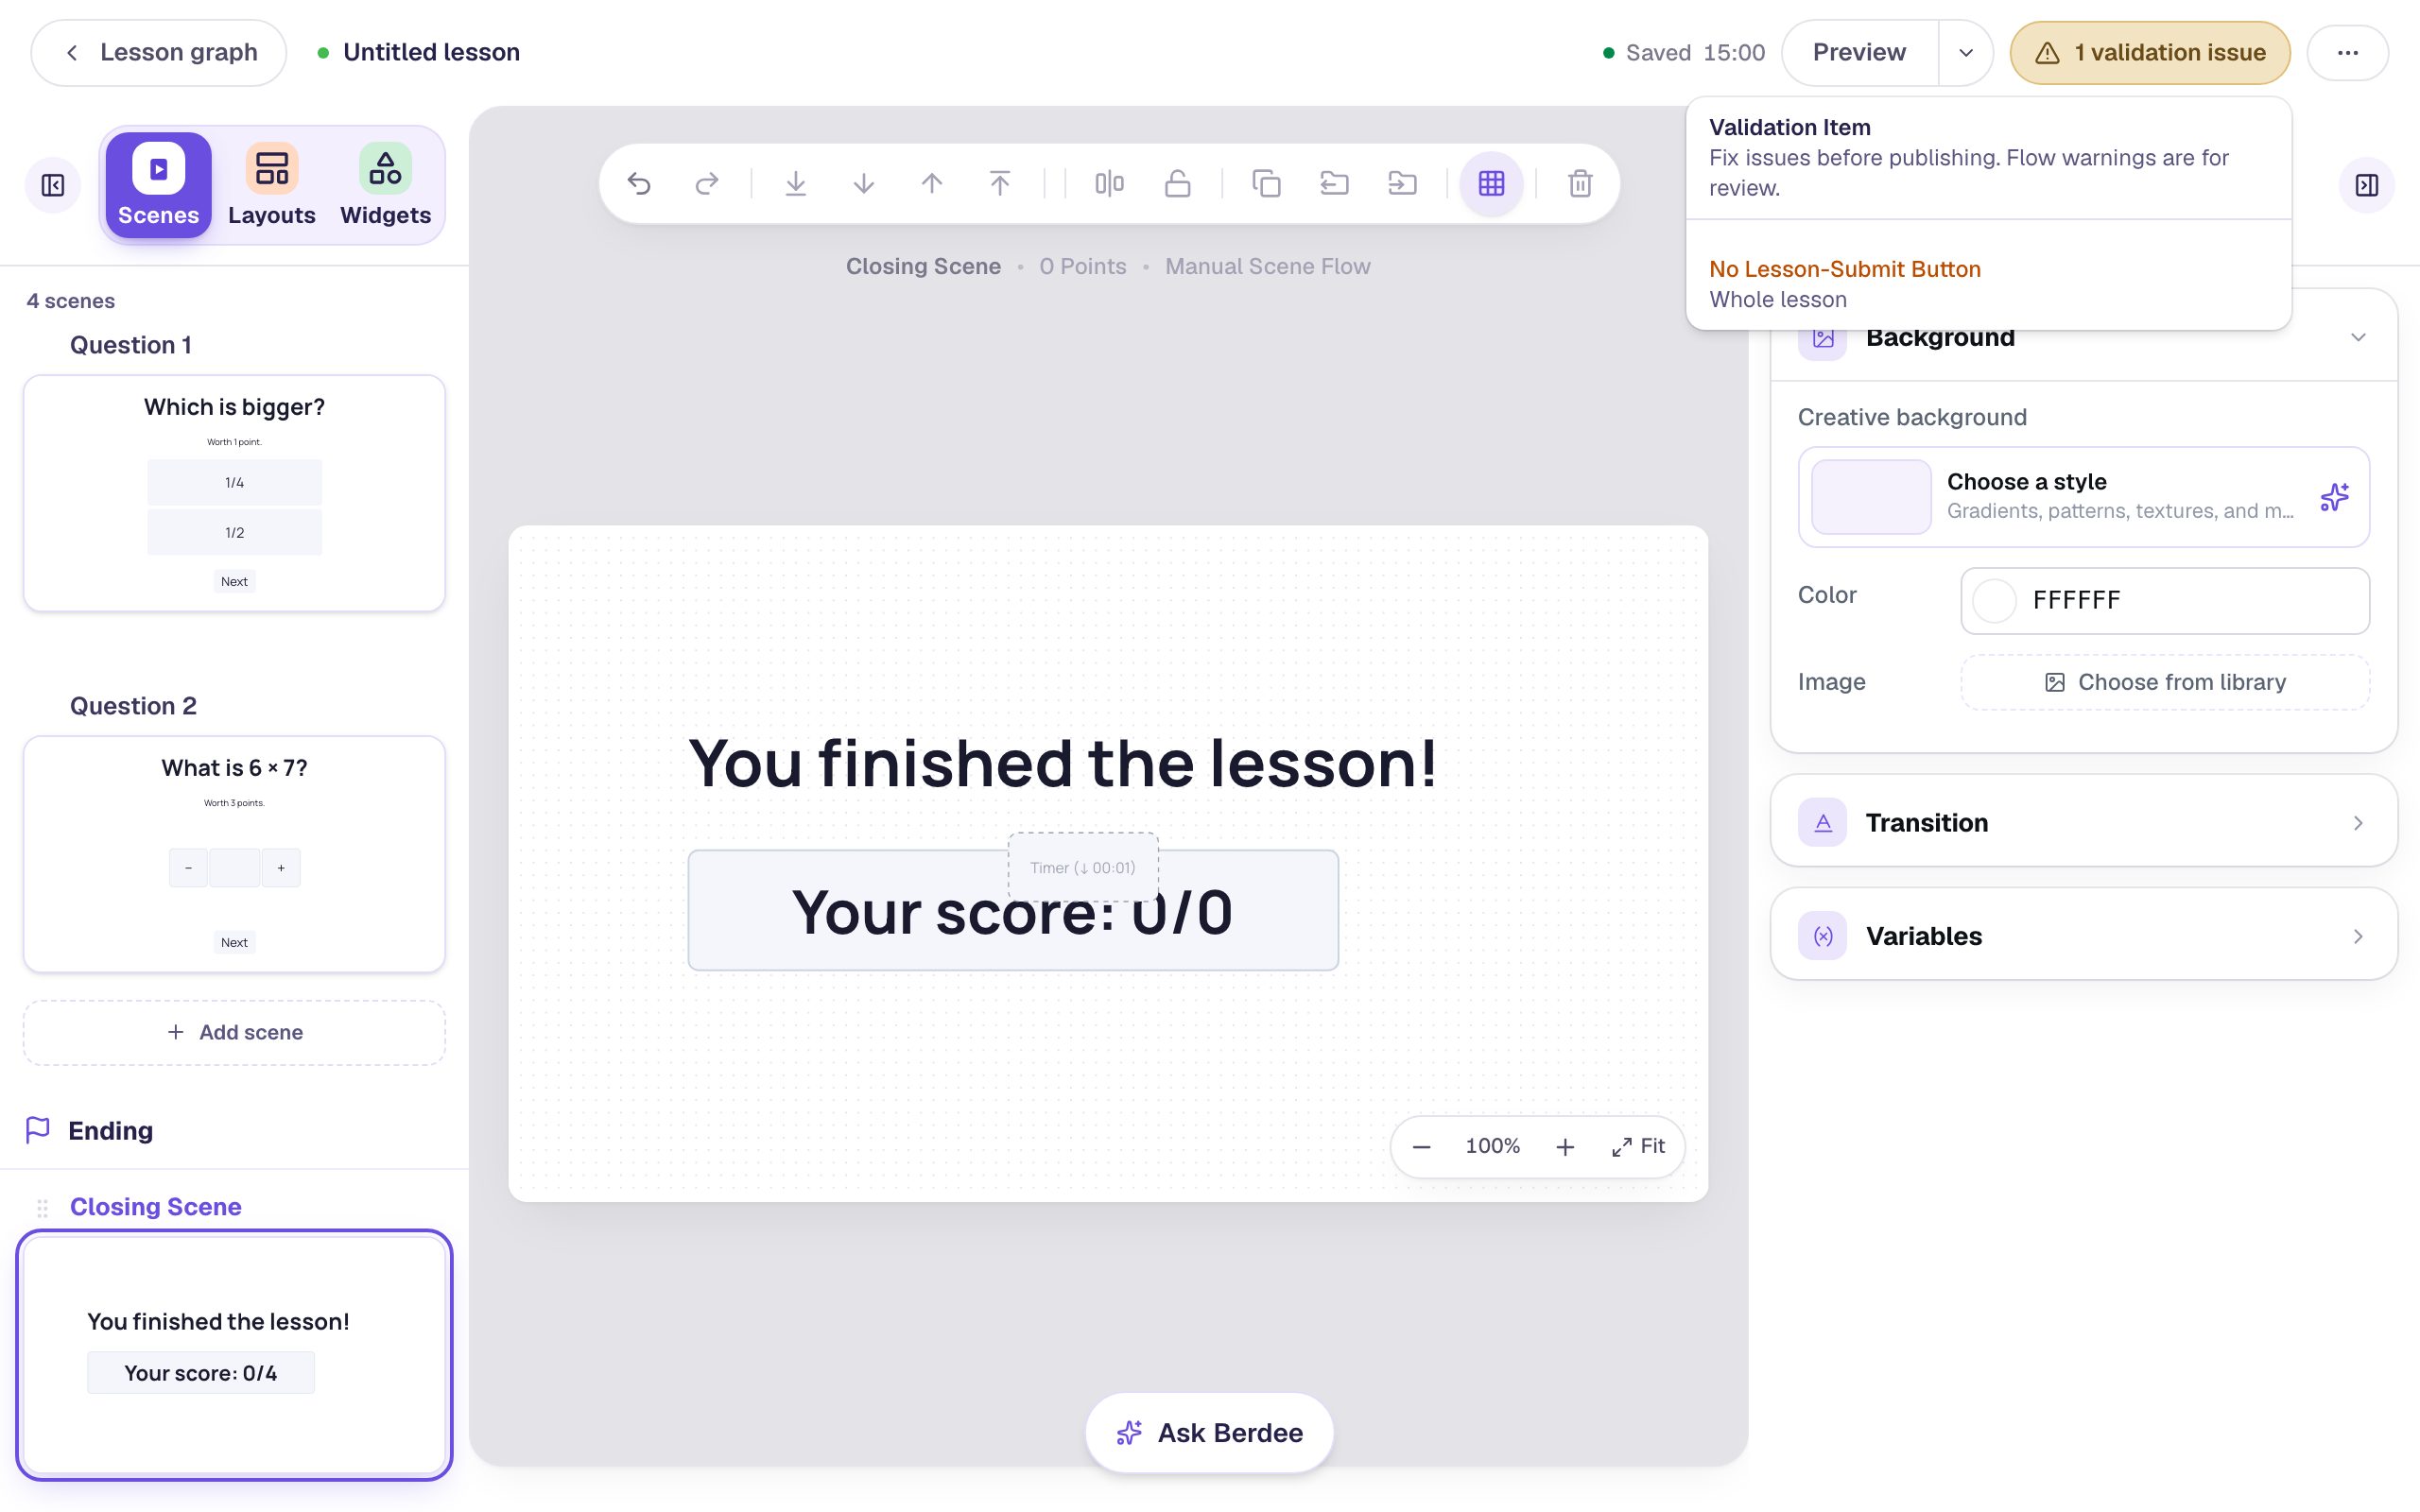
The only item left is No Lesson-Submit Button. Students already finish by reaching the Closing Scene, but Berdee still needs a Submit button set to Lesson somewhere before it will publish. You don't need one to preview, and Build your first quiz question shows how to add one when you're ready.
Step 8: Try it as a student
Name the lesson (click Untitled lesson at the top left and type Math check-in), go back to the Opening Scene, and click Preview. Answer like a student who's still learning:
- On the warm-up, pick 3 (wrong) and press Next.
- On Question 1, pick 1/4 (wrong) and press Next.
- On Question 2, type
42(right) and press Next.
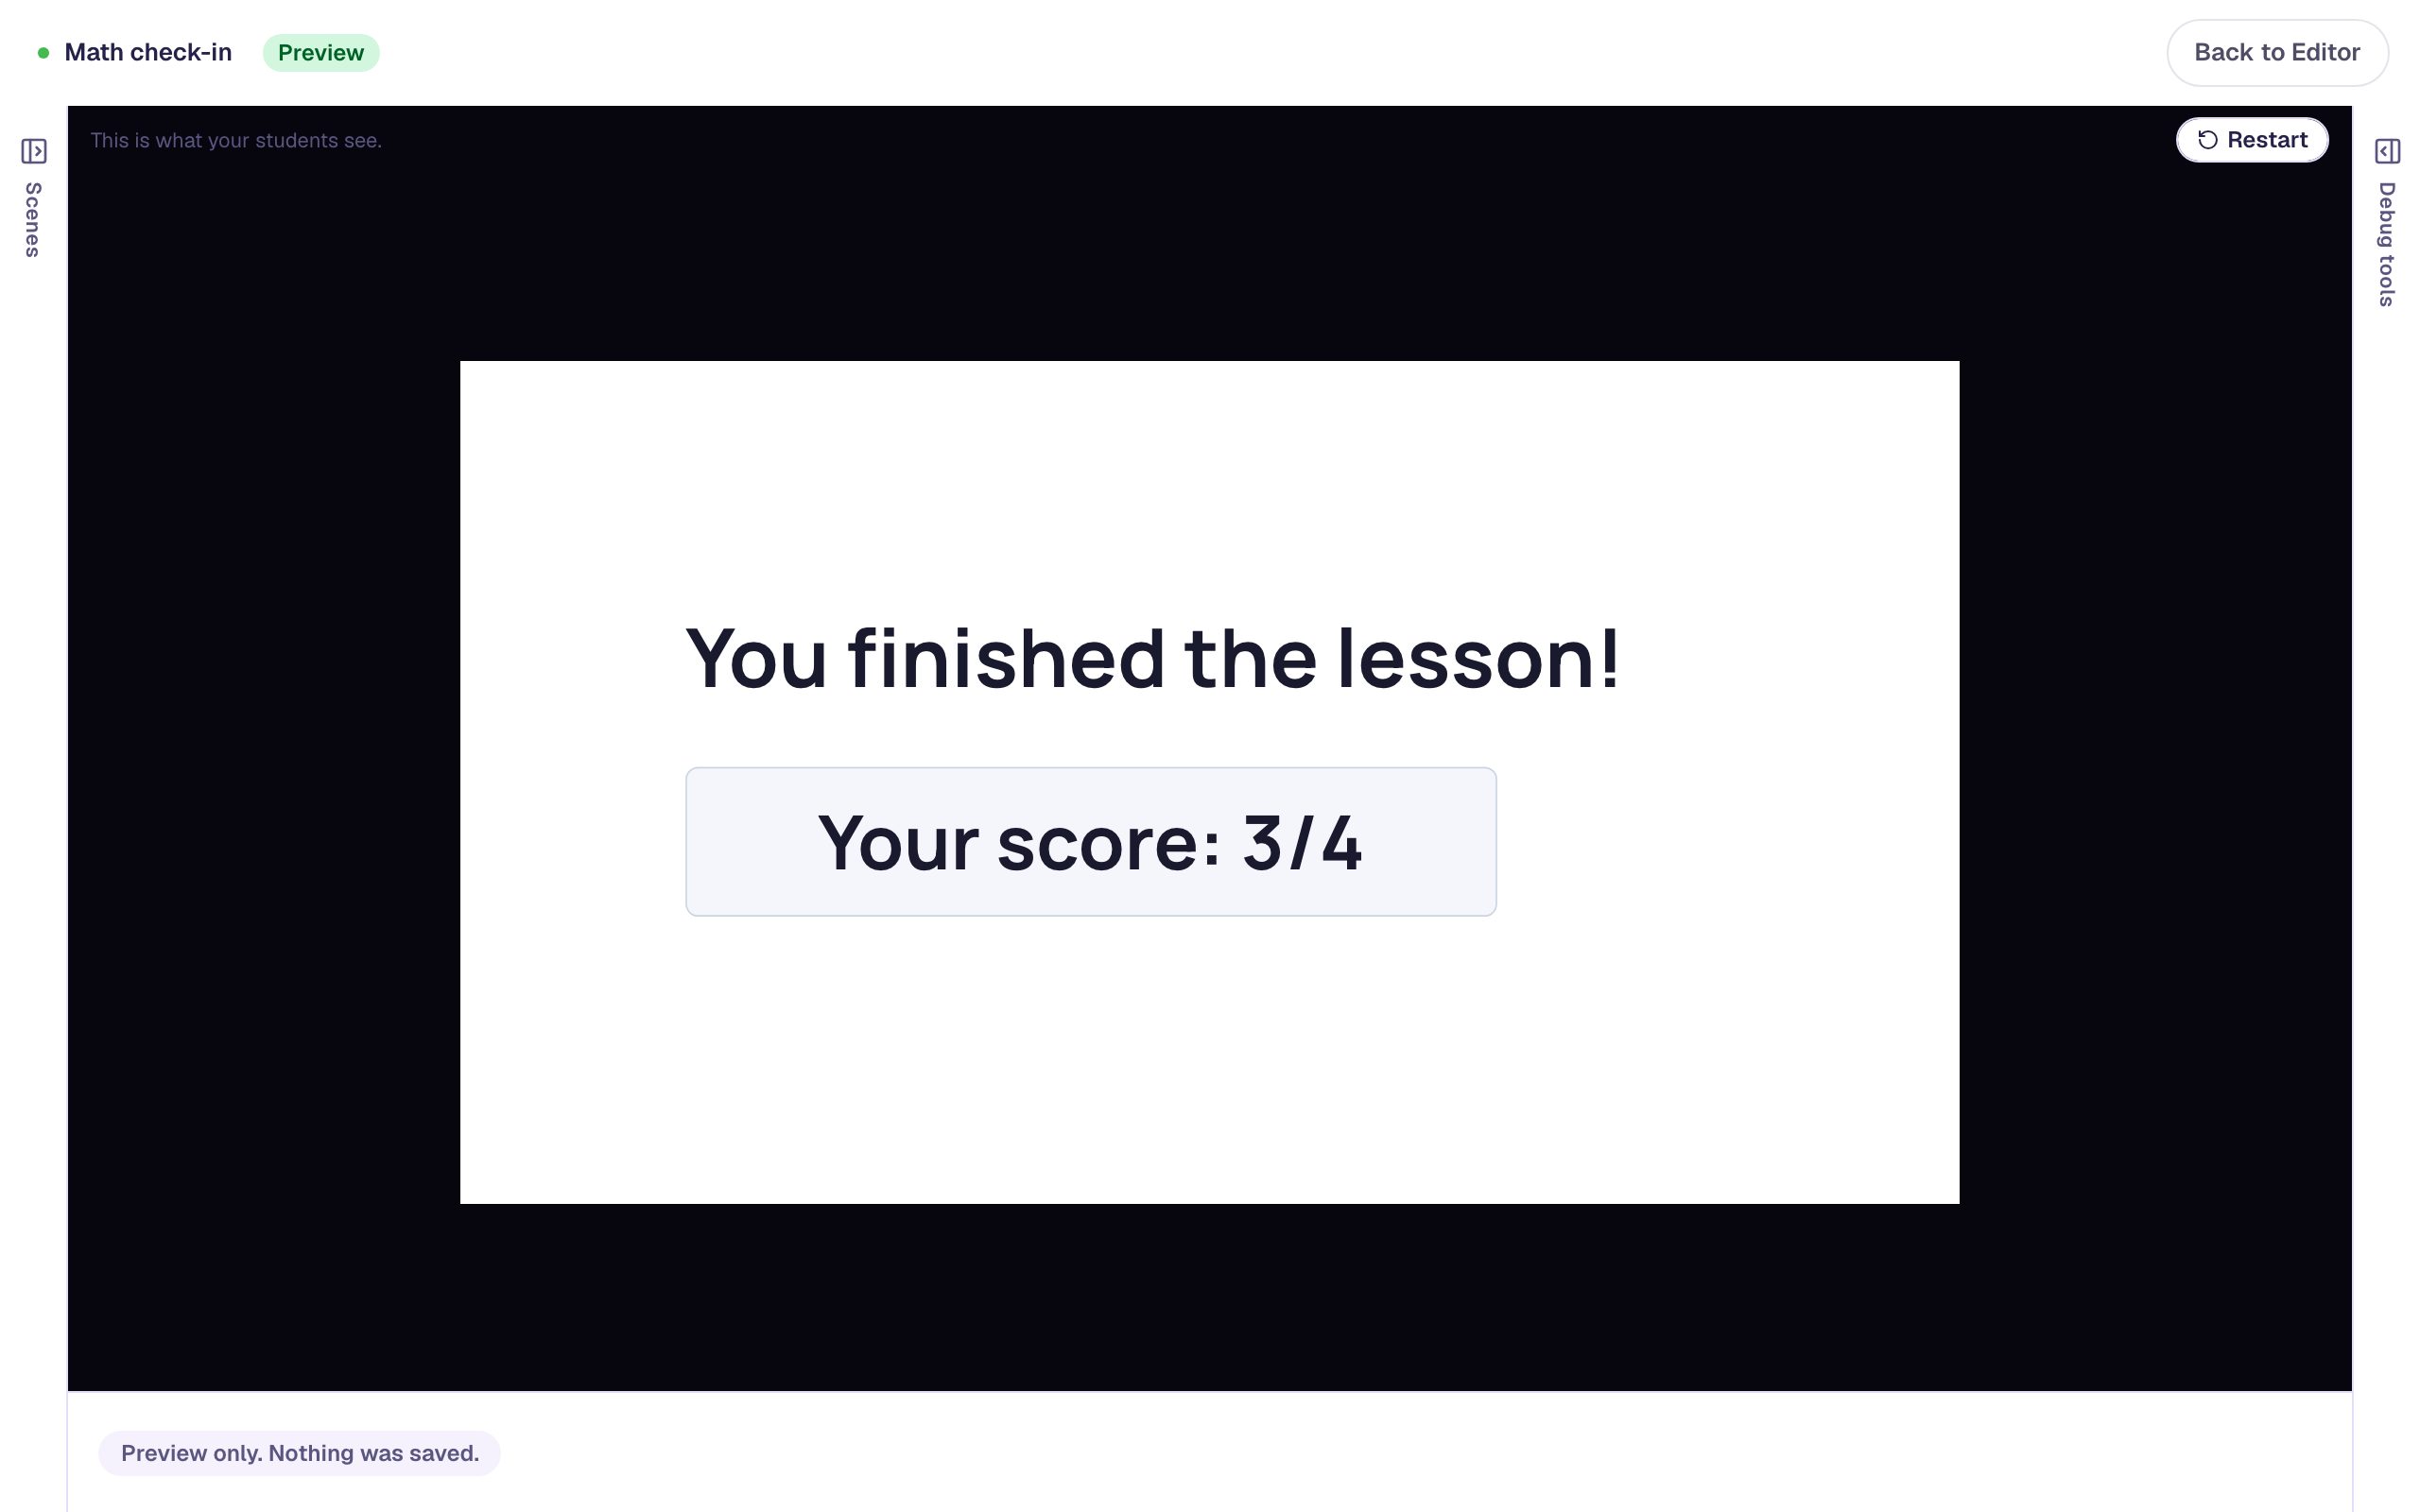
The ending shows Your score: 3/4. The missed warm-up didn't count at all, the missed easy question cost 1 point, and the harder question earned 3. Your gradebook shows the same score when a real student finishes.
What you built
A three-question check-in where questions count differently:
- a warm-up with Scoring off, which students answer but which never touches the score,
- a question worth the default 1 point,
- a question worth 3 points, set with Points in ⚙ Configure,
- Next buttons and Stay progression, so every answer waits for the student and a wrong answer counts as wrong, and
- the ending's Lesson score, which adds it all up.
The strip above each scene shows how many points that scene is worth, so you can check your weights at a glance as you build. To see how scene, lesson, and group scores fit together, read Grading and Score. To give credit for an answer that's close but not exact, continue with Accept close-enough answers to a number question. To make the ending cheer a high score and encourage a low one, see Cheer a high score and encourage a low one on the ending.
Make this lesson yours
Add the lesson you just watched being built to your account, then change it for your class: your questions, your pictures, your colors.
Free to sign up, and you'll come straight back here. I have an account