Play a ten-second memory game that moves on by itself
Show students a picture for ten seconds, then move them on to a question about it automatically, with a Time runs out path in the Lesson Graph.
- Level
- Beginner
- Time
- About 10 min
- Steps
- 6
- Updated
- Oct 12, 2026
A memory game where students study a tray of six objects for ten seconds, the lesson moves on by itself, and they answer which object was on the tray.
Get the finished lesson
Skip straight to the result, or keep it open beside the steps. Add this tutorial's lesson to your account and explore how it works in the studio.
Free to sign up, and you'll come straight back here. I have an account
A memory tray is a classic warm-up: show a few objects, take them away, and ask what was there. It sharpens attention, and it works for vocabulary, shapes, or the parts of a diagram as well as everyday objects.
In this tutorial you'll build it in two scenes. The first shows a tray of six objects. Ten seconds later the lesson moves on by itself, with no button to press, to a question: Which of these was on the tray? The trick is a Time runs out path, drawn in the Lesson Graph.
If you haven't built anything in the studio yet, start with Build your first quiz question: this tutorial moves quickly through the parts it already covers.
Step 1: Build the picture scene
Start a blank lesson (New lesson, then Start from scratch) and name it Memory tray. On the Opening Scene:
- Give the scene a background: open Background, click Choose a style, and pick Lagoon gradient under Gradients. Do the same on the Closing Scene, so the ending matches.
- Add a Heading that says
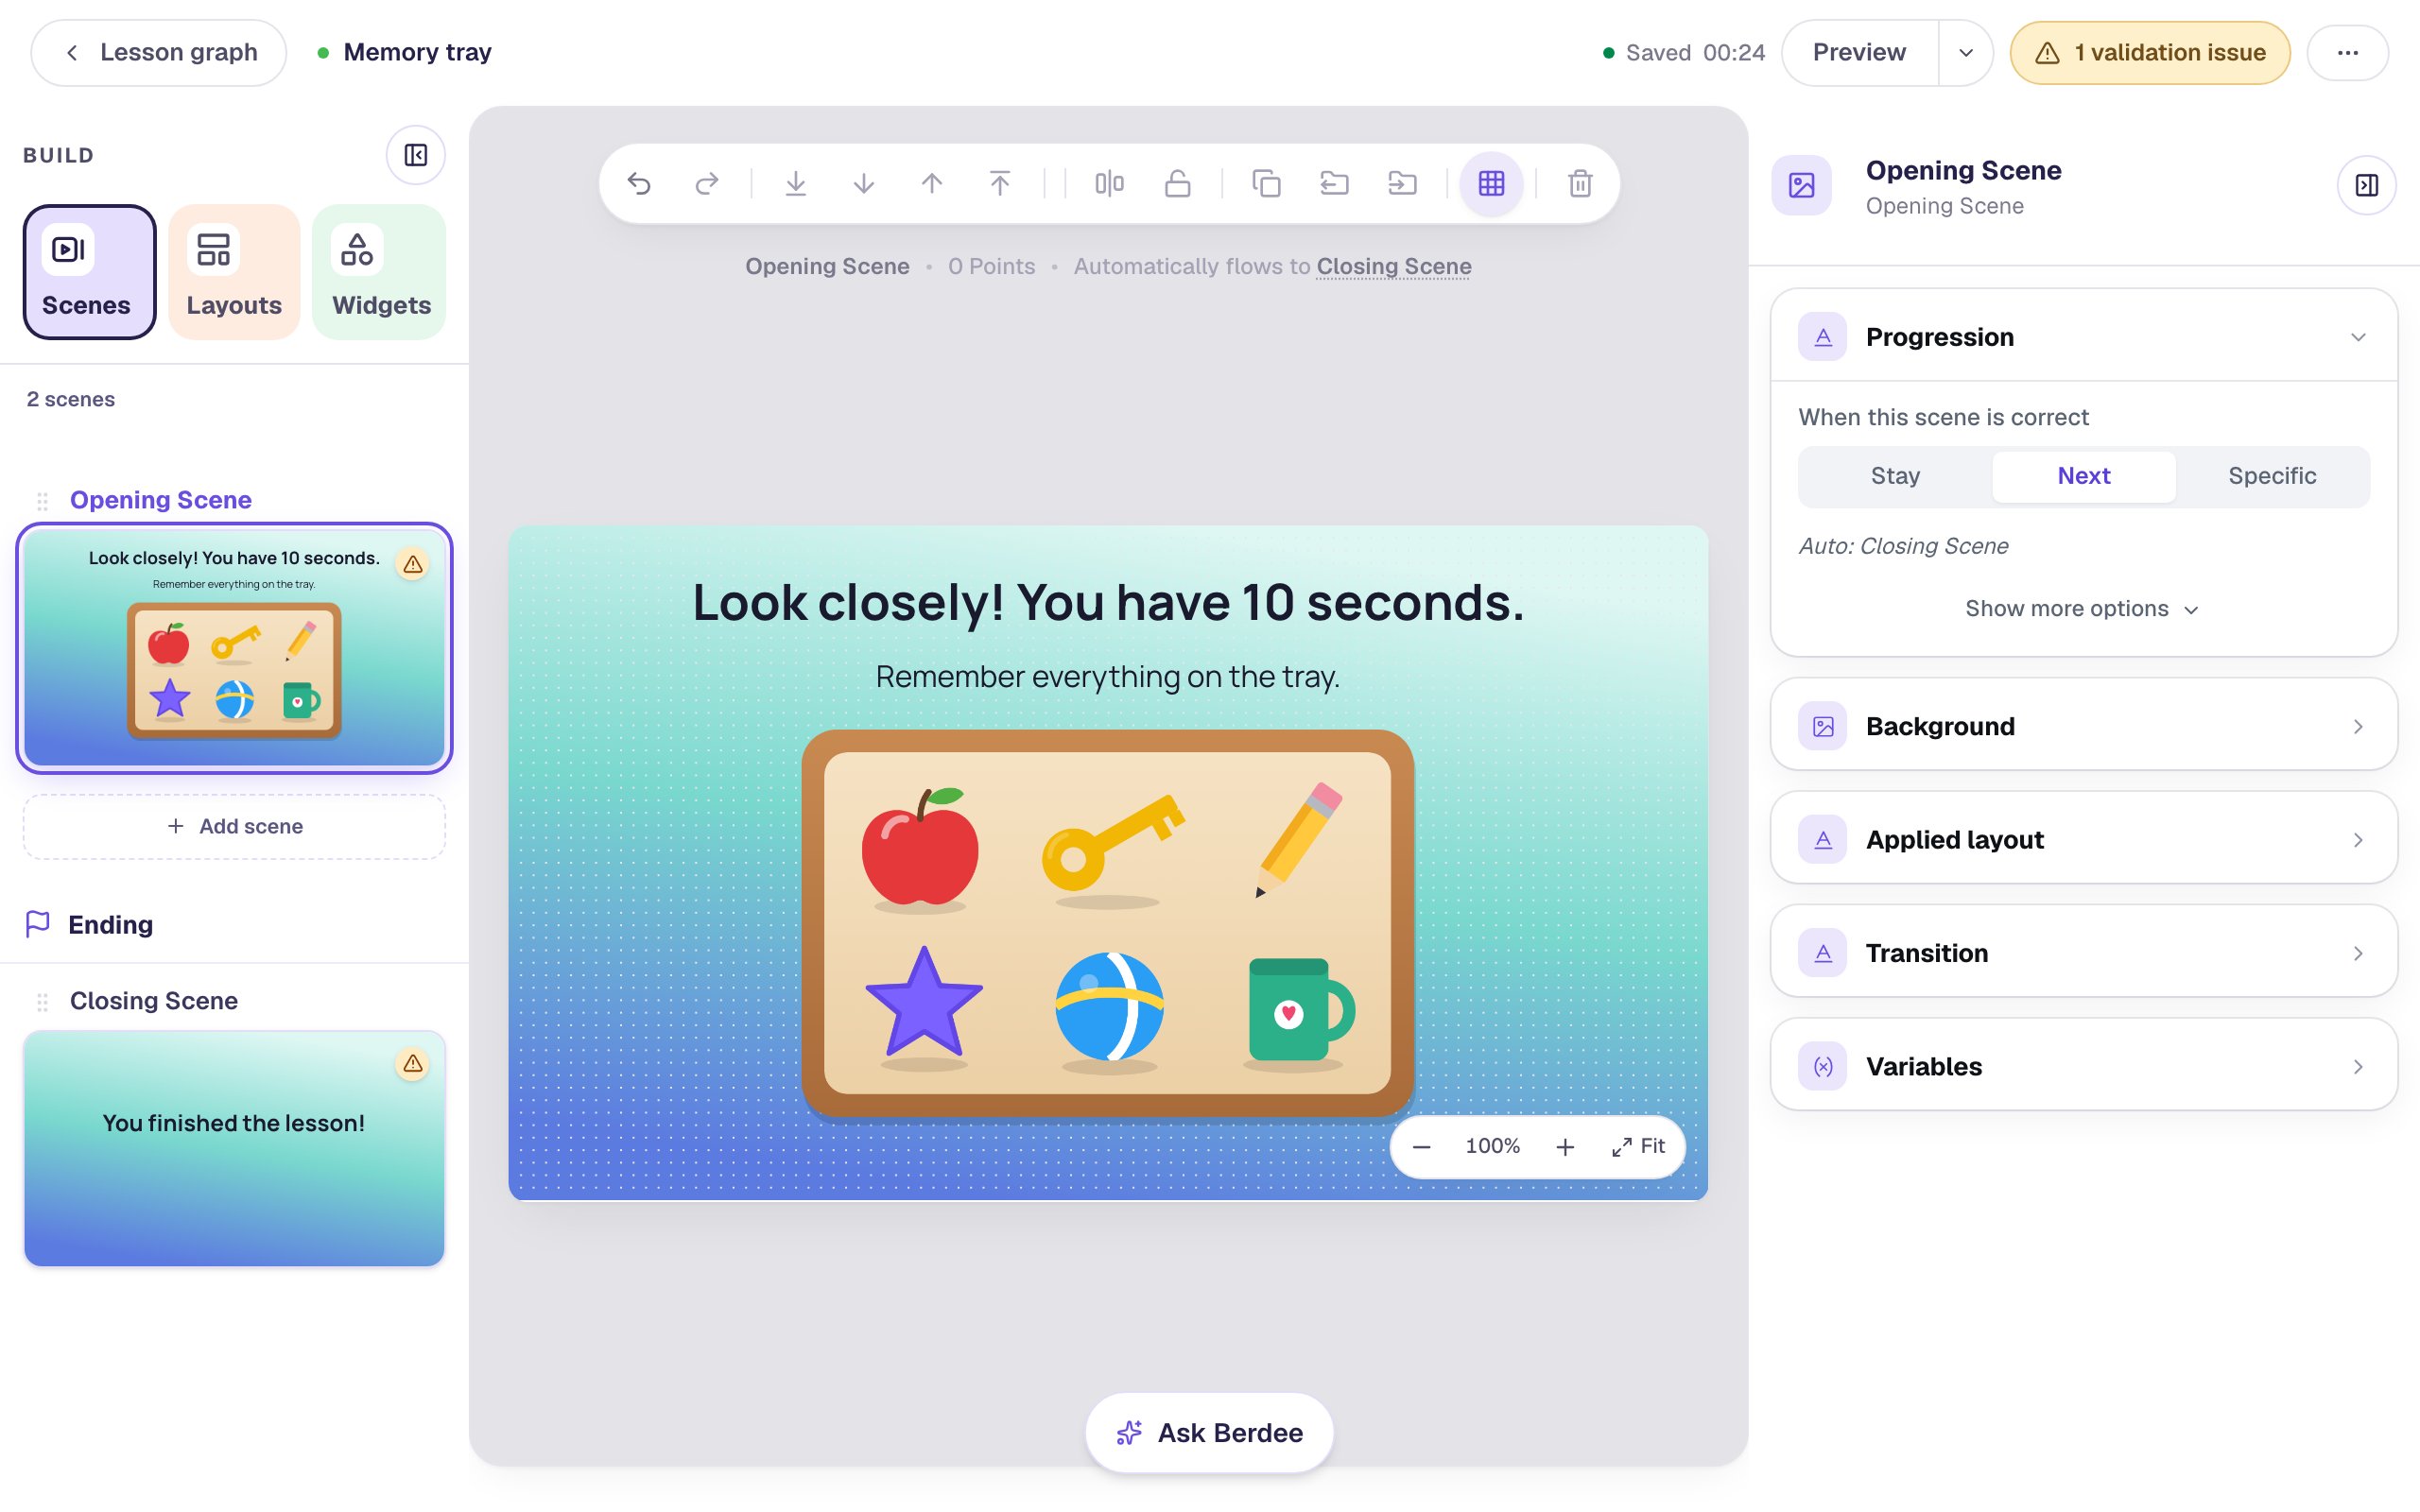
Look closely! You have 10 seconds.at40px, and a Body under it that saysRemember everything on the tray.at24px. - Add an Image and click Choose image. Upload your picture on the Upload tab (ours is a tray with an apple, a key, a pencil, a star, a ball and a mug). Size it to about
500×325and drag it under the text. - In the image's Accessibility section, describe it in the alt text:
A wooden tray holding an apple, a key, a pencil, a star, a ball and a mug. A student using a screen reader hears that list instead of the picture.
Six objects is a good number for young students. Older students can take eight or ten, or a shorter time.
Step 2: Add the question scene with a timed path
The next scene is reached by time, not by a tap or an answer, so create it from the Lesson Graph. Click Lesson graph at the top left of the studio. If a card explains how to read the map, close it.
- Hover over the Opening Scene card and click the dot on its right edge.
- What do you want to add? Leave A new scene selected and click Next.
- Name the scene
What was on the tray?. - Under Students go there when…, choose Time runs out.
- Set Move on after to
10seconds, and click Add scene.
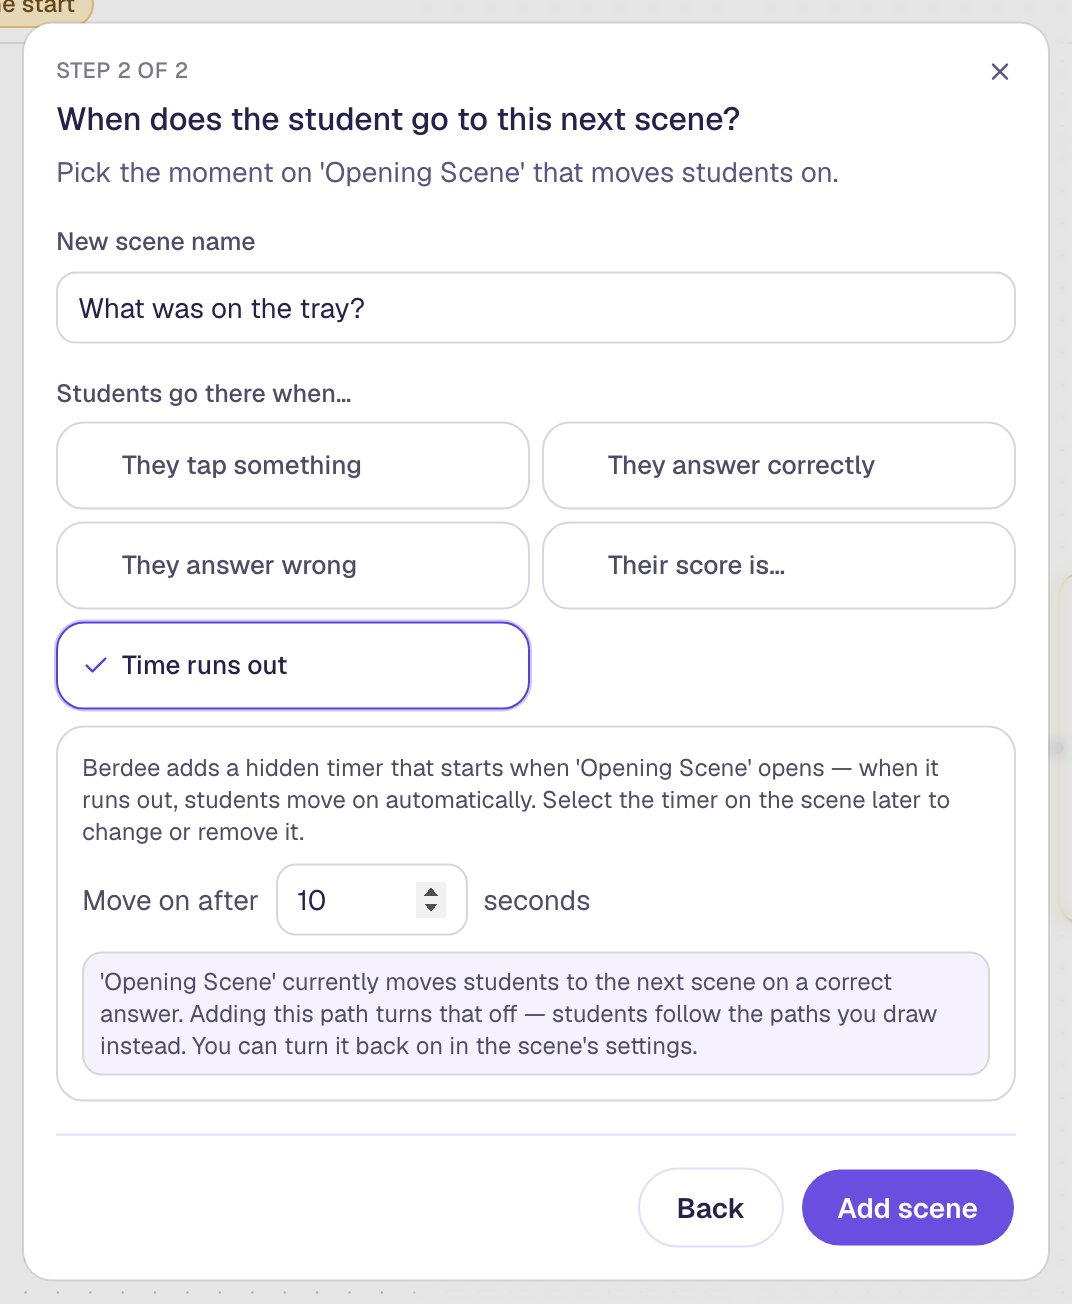
Read the two notes in the window. Berdee adds a hidden timer to the picture scene: students never see a clock, they just move on when it runs out. And because you drew a path, the picture scene stops moving students on after a correct answer. It has no question anyway, so the timer is now the only way forward, which is what you want.
Step 3: Build the question
Hover over the new What was on the tray? card and click Edit. On the empty scene:
- Give it the same Lagoon gradient background.
- Add a Heading that says
Which of these was on the tray?at40px. - Add a Multi Choice and click ⚙ Configure. Type the answers
A banana,A keyandA balloon, and delete the fourth answer with its trash button. A new question starts with its first answer marked correct, so click the check mark next to A key to move the mark there. Click Save. - In Style & Layout, set Font Size to
32, then the Width to720and the Height to120so the three answers sit in one row. Drag it under the heading.
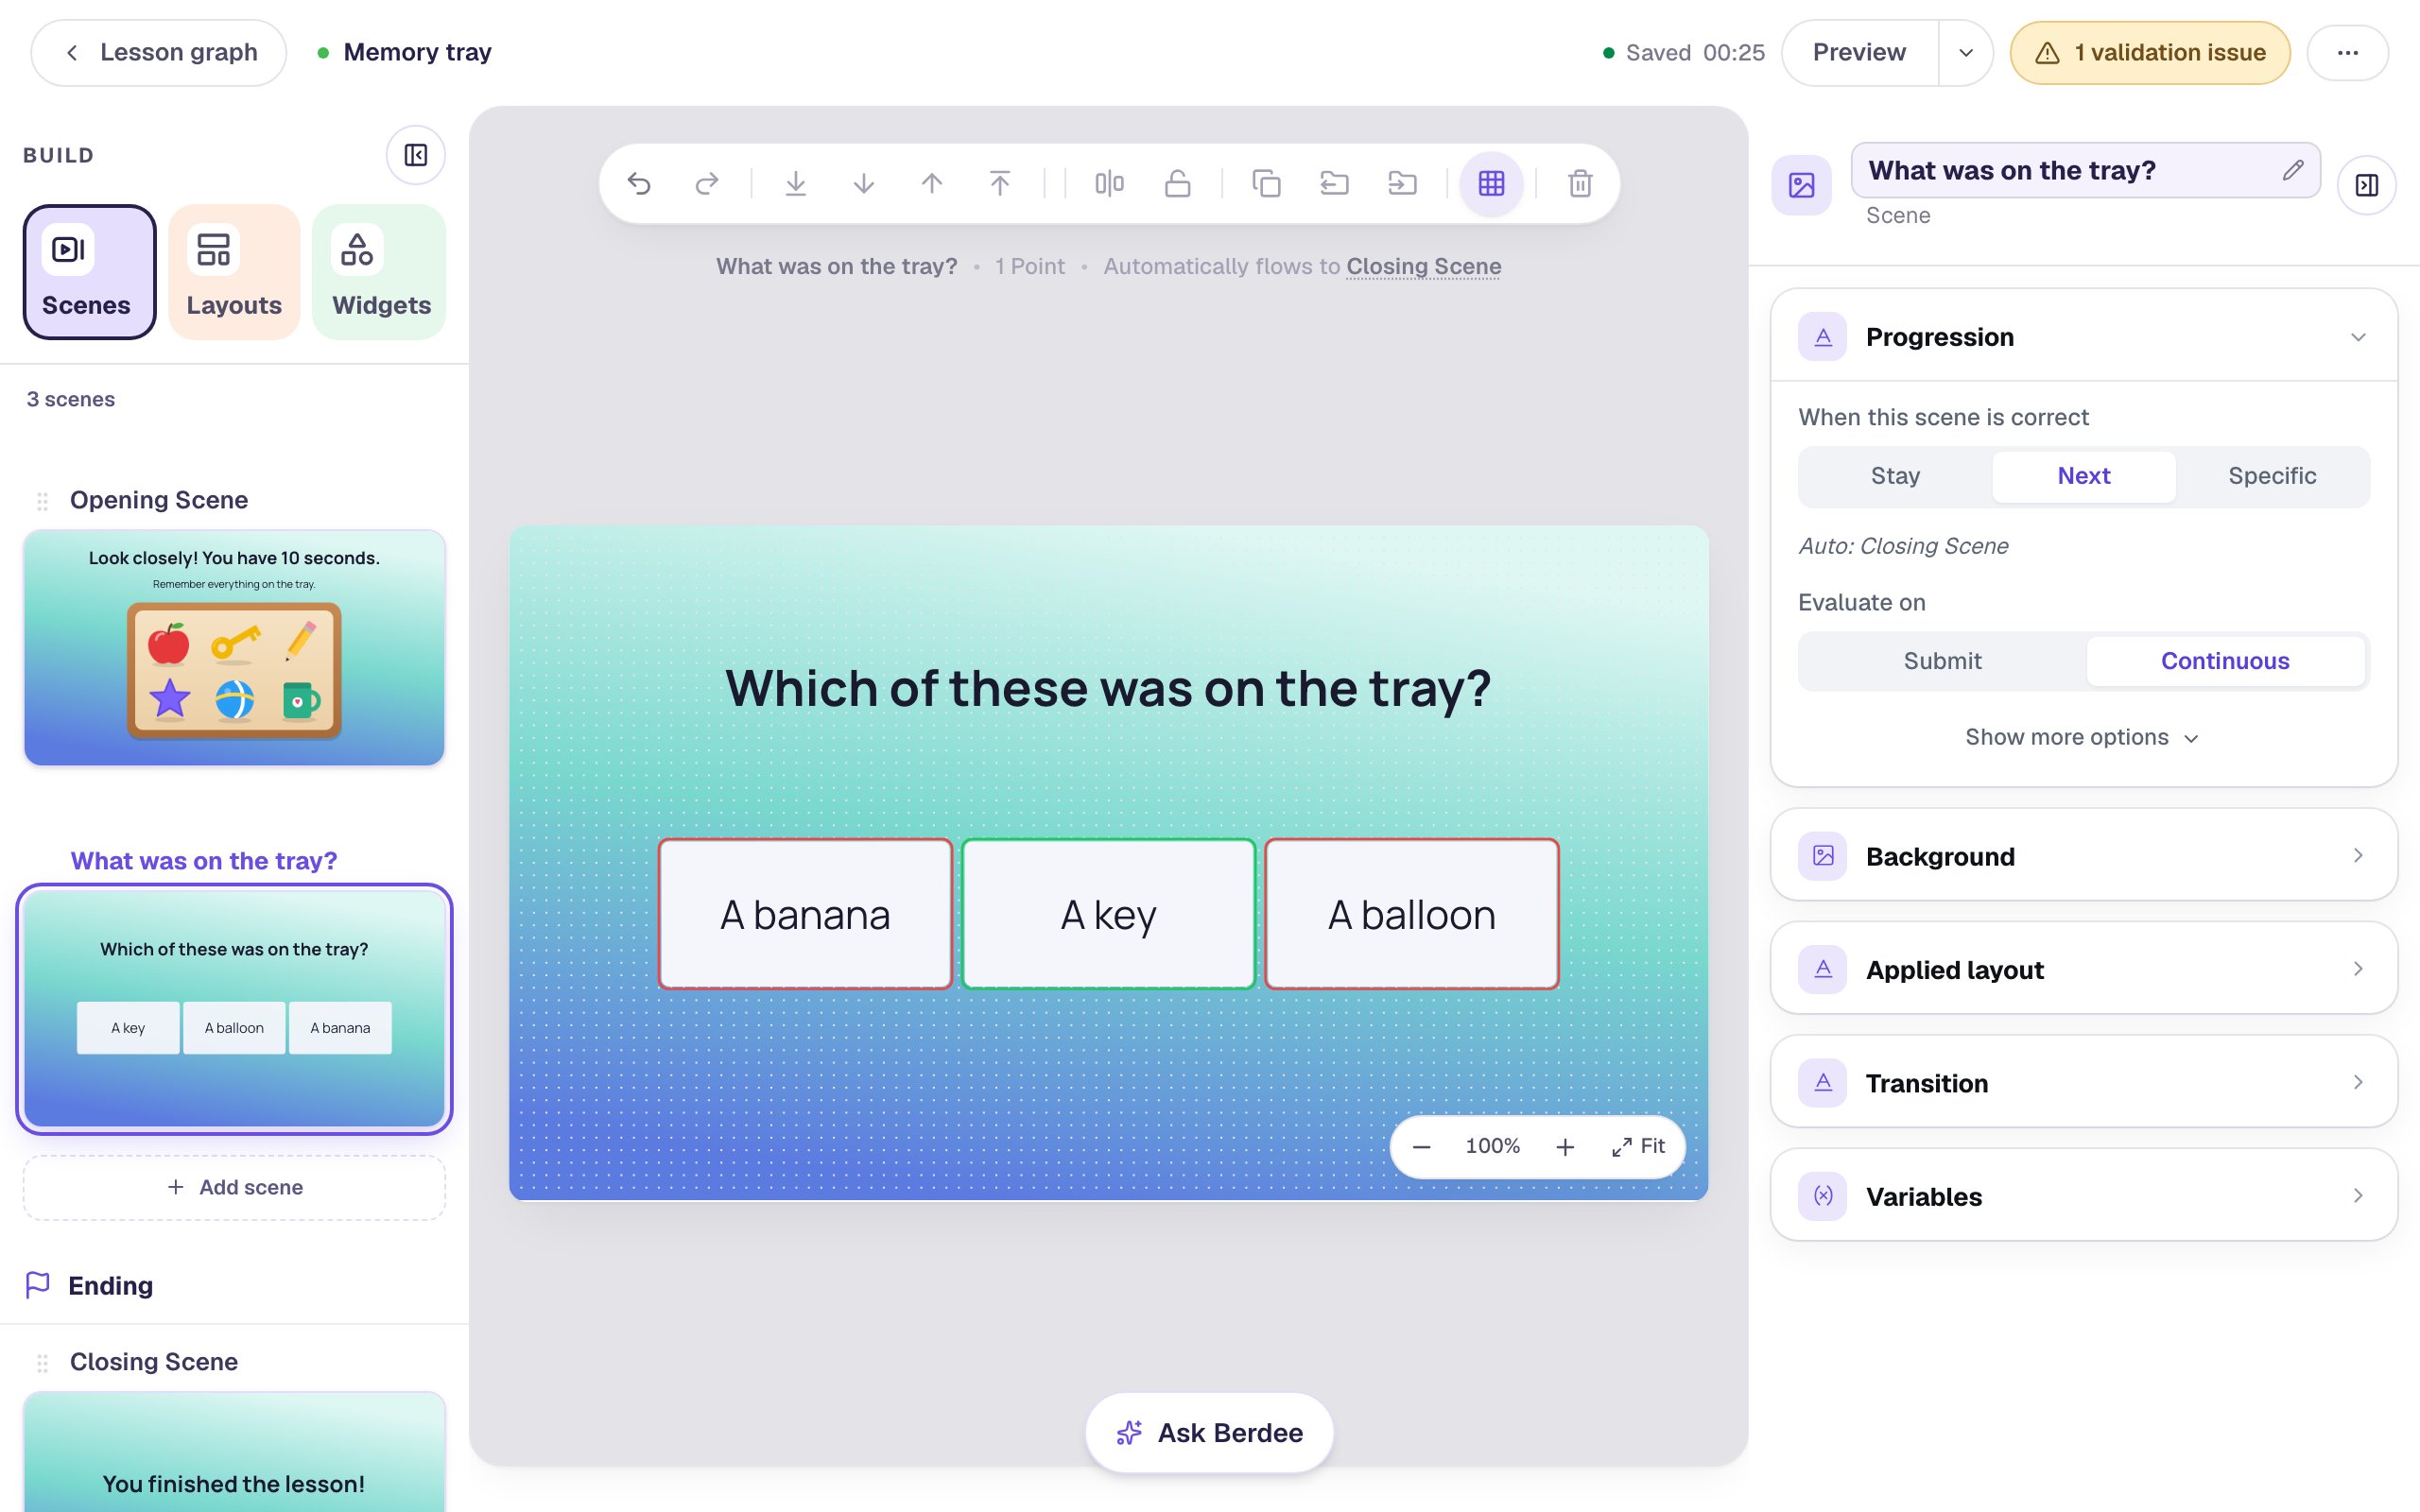
Pick wrong answers that sound just as likely as the right one. Only students who really looked will know the key was there and the banana wasn't. In Preview, the answers come up in a different order each time.
You don't need to wire this scene to the ending. A new scene moves students on as soon as they answer correctly, and from here that means the Closing Scene.
Step 4: Check the map
Click Lesson graph again. The lesson now runs left to right: the picture scene, a solid path labelled After 10 seconds with a small clock, the question, and a dashed When answered correctly path to the ending. Hover over the clock path to read exactly what it does:
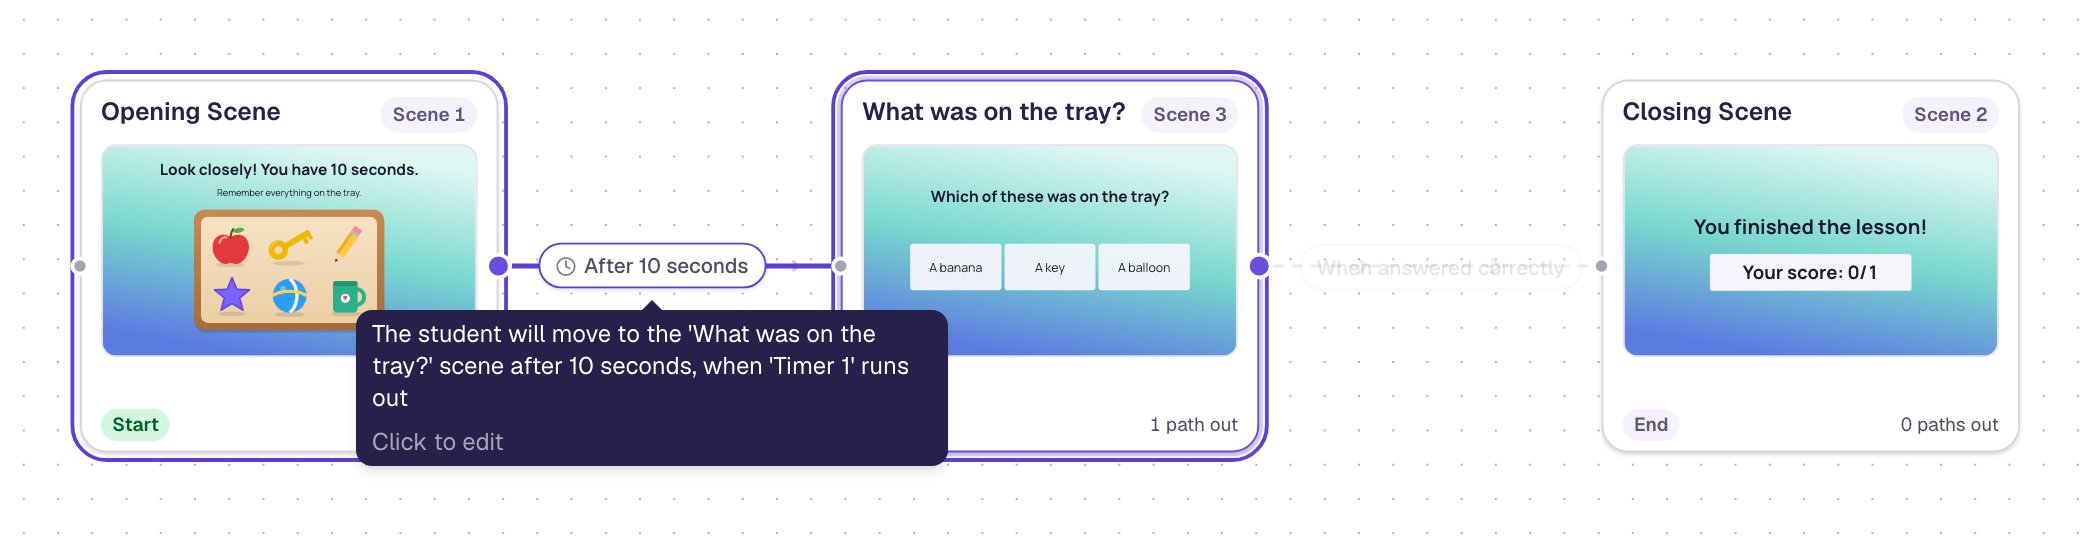
To change the time later, click the path's label and edit the seconds there.
Step 5: Find the hidden timer
Hover over the Opening Scene card and click Edit. The hidden timer shows on the canvas as a small dashed box, Timer (↓ 00:10). Berdee put it in the middle of the scene, on top of your picture. Click it to select it:
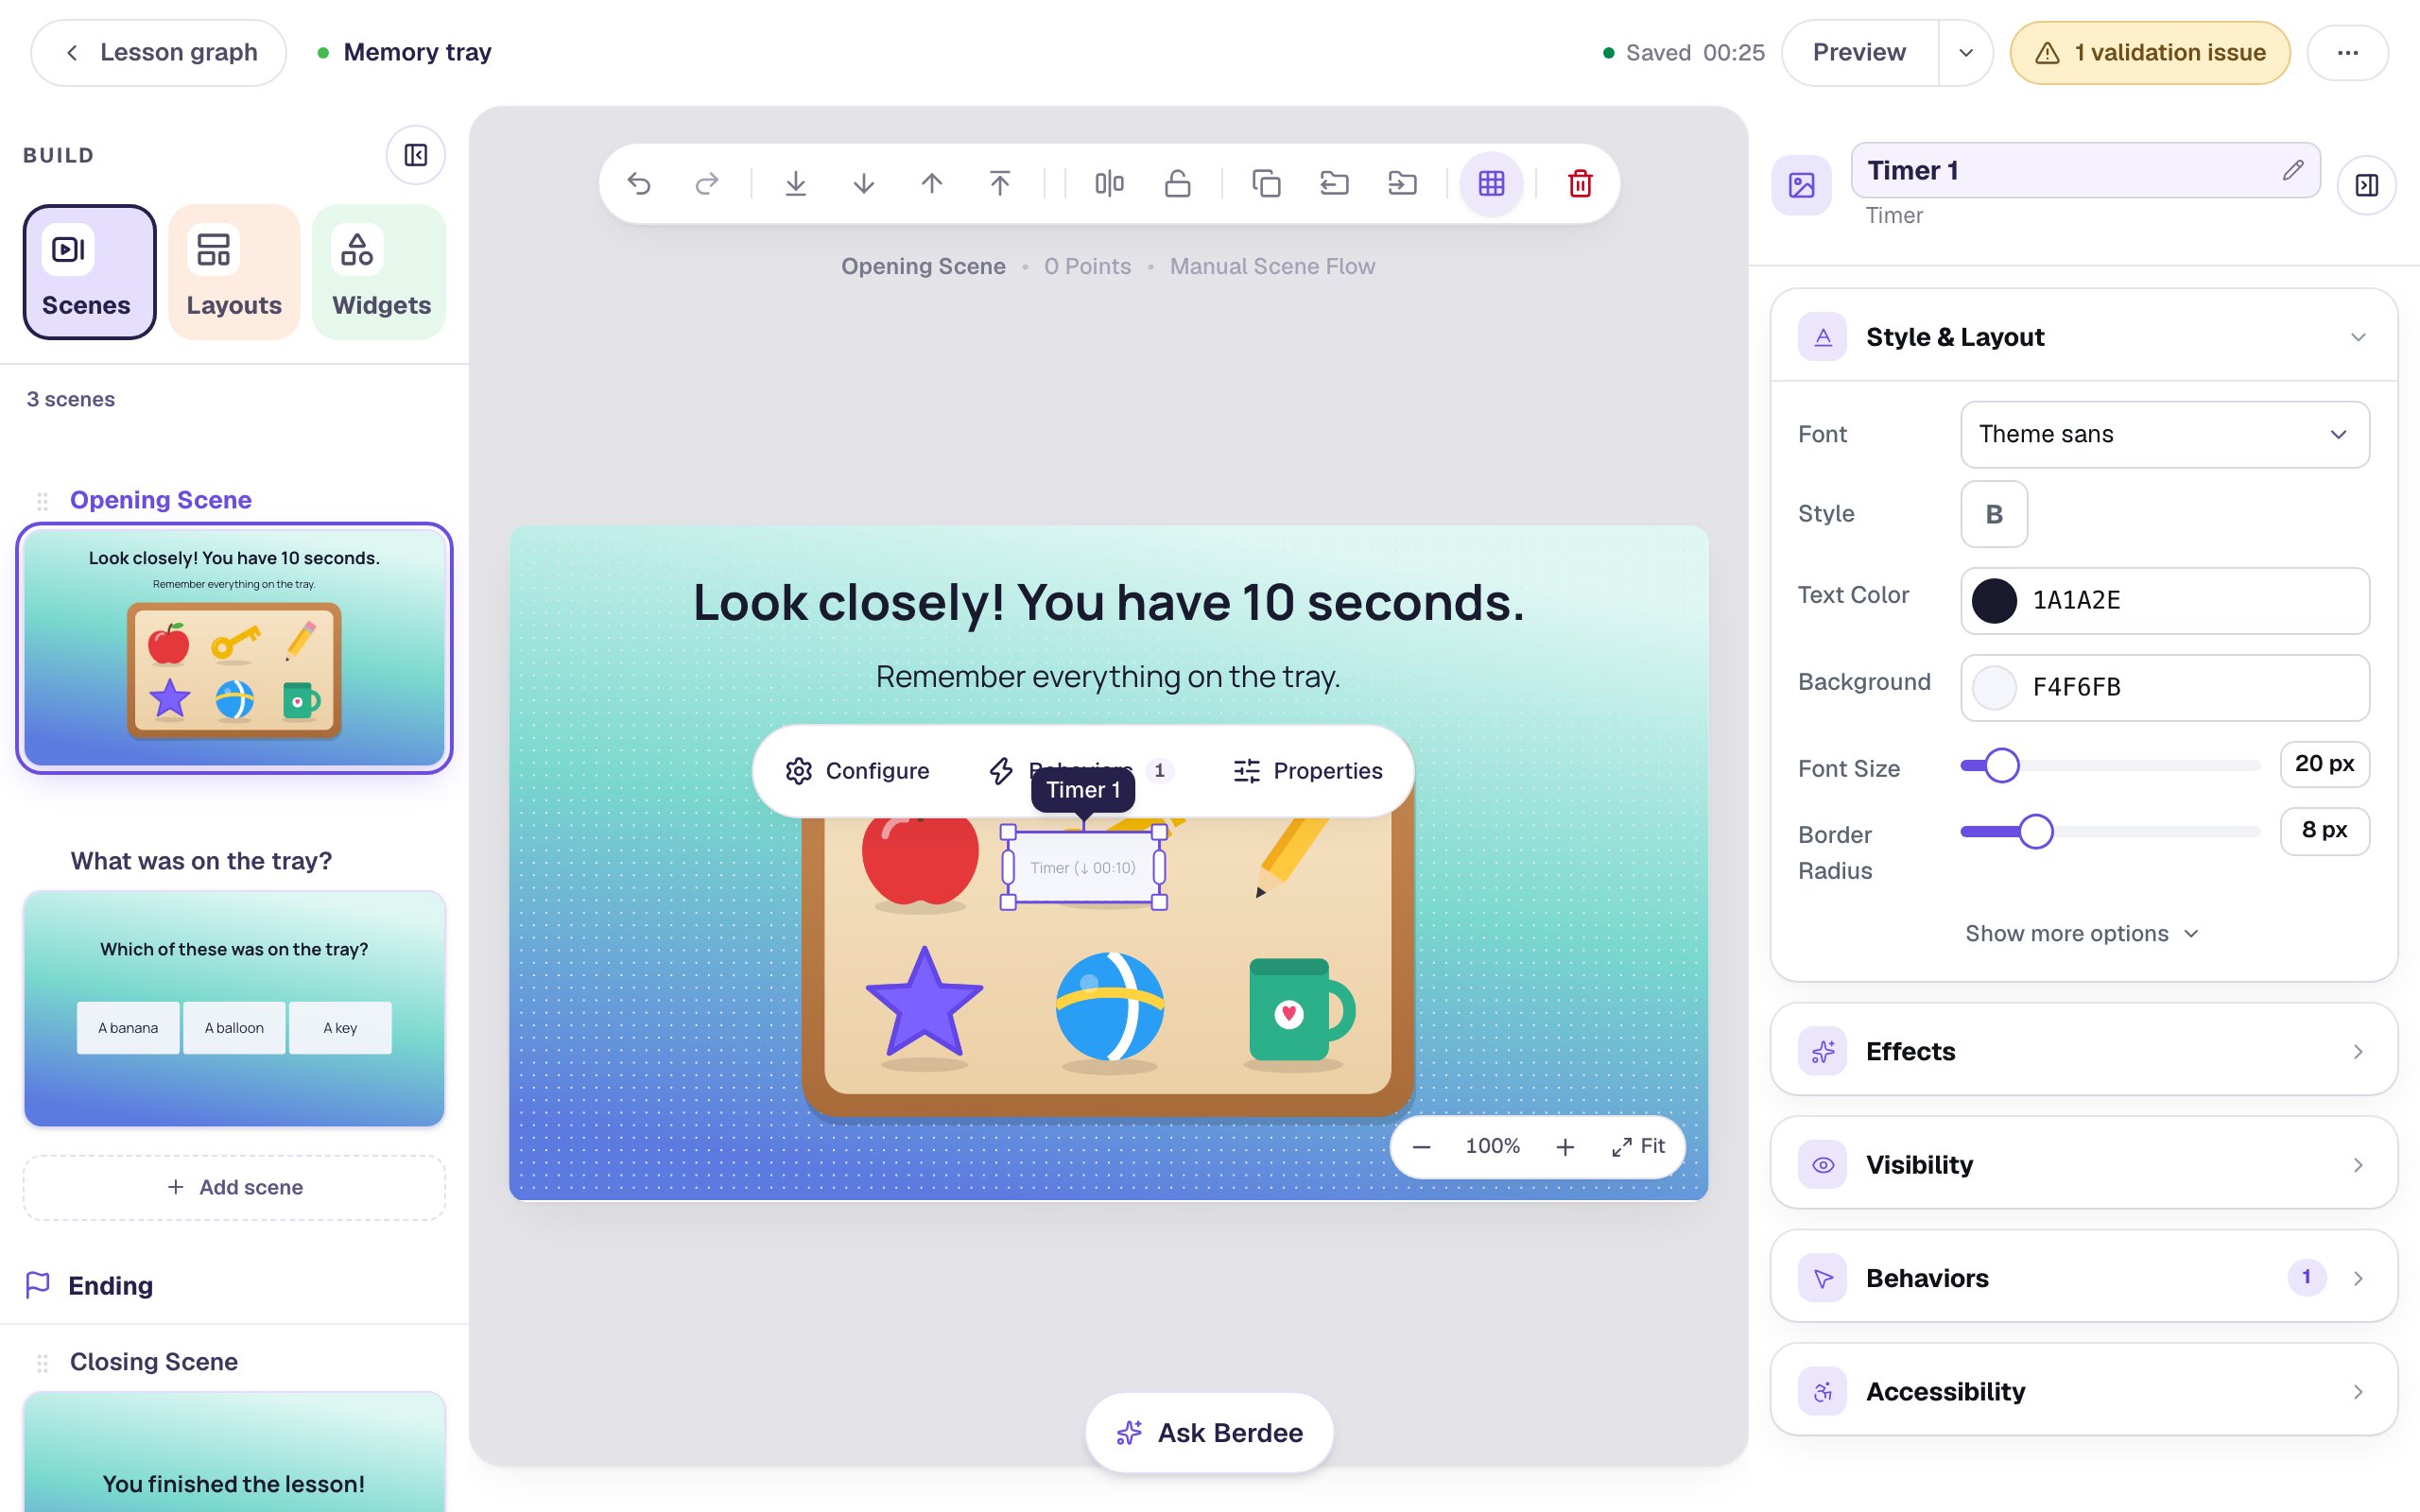
Students never see this box, but you'll keep clicking it by accident while you edit the picture. Drag it to an empty corner of the scene:
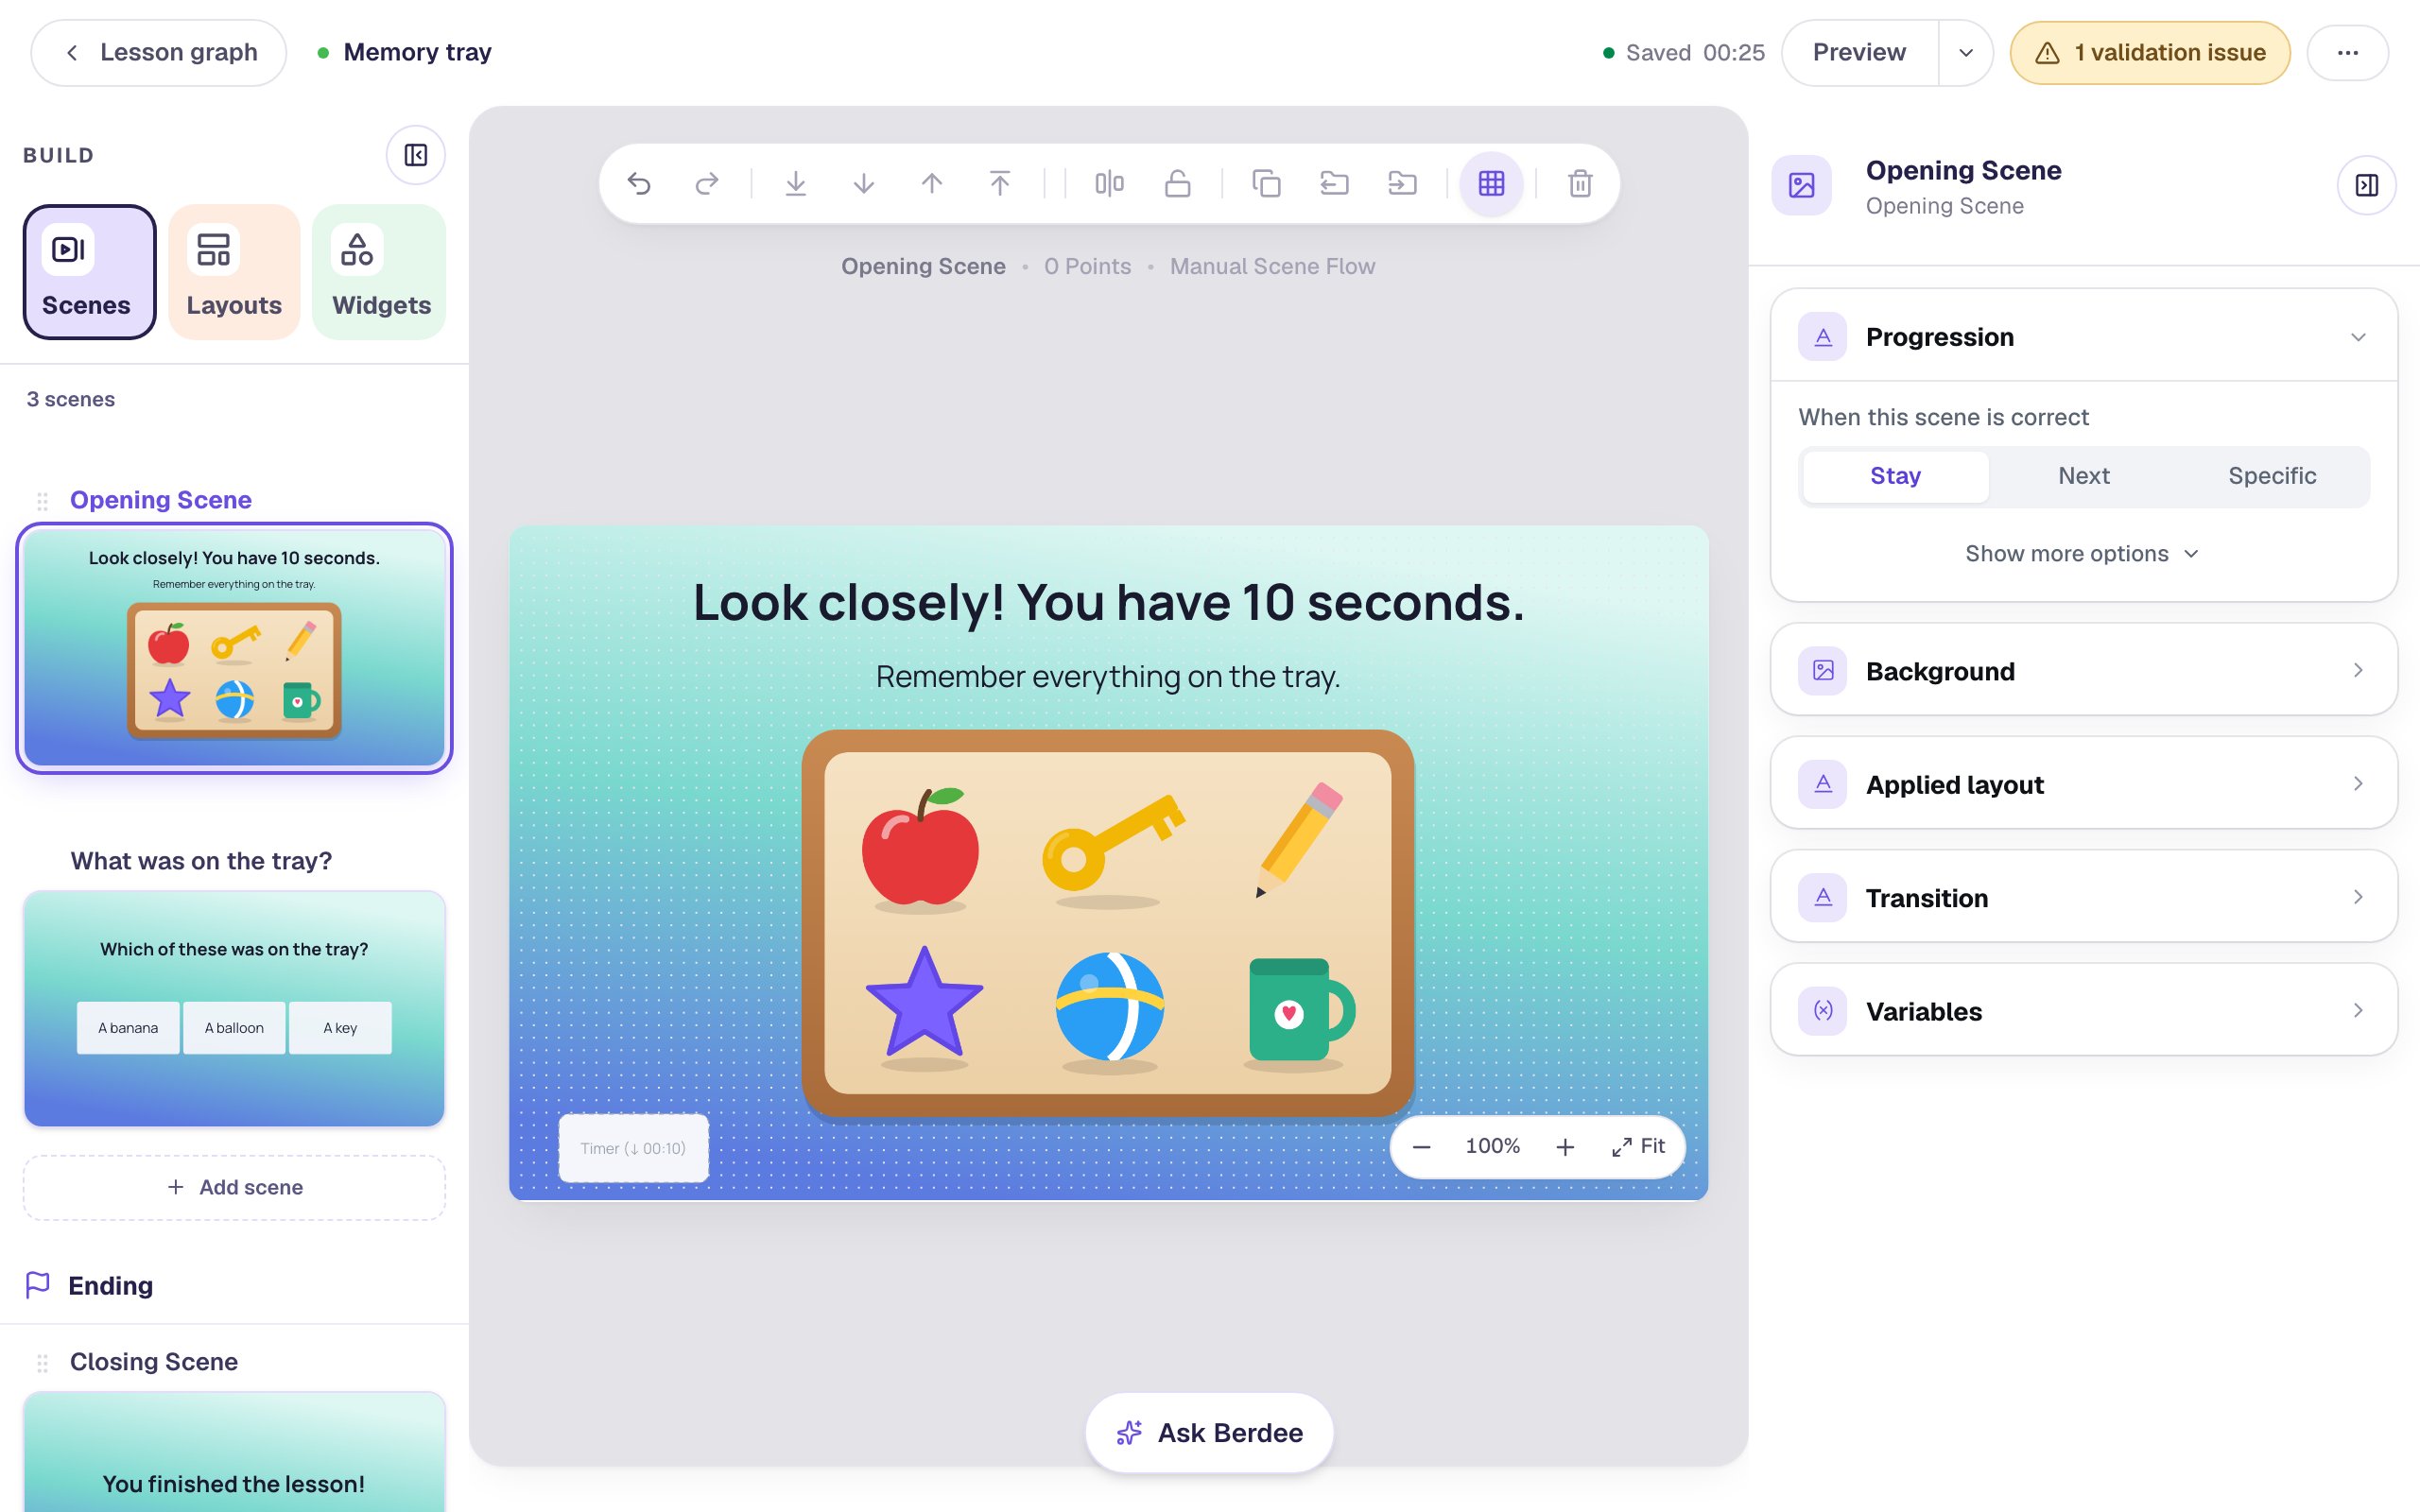
The timer and the path are one thing. Deleting this box removes the After 10 seconds path, and removing the path in the graph deletes the box. If you want students to see the countdown, switch the timer's Display to Visible in ⚙ Configure and style it like any clock: Give students 15 seconds to answer a question shows how.
Step 6: Preview it as a student
Click Lesson graph, then Preview. Preview from the graph always starts at the Opening Scene, which is what a timed lesson needs. Look at the tray, and don't press anything:
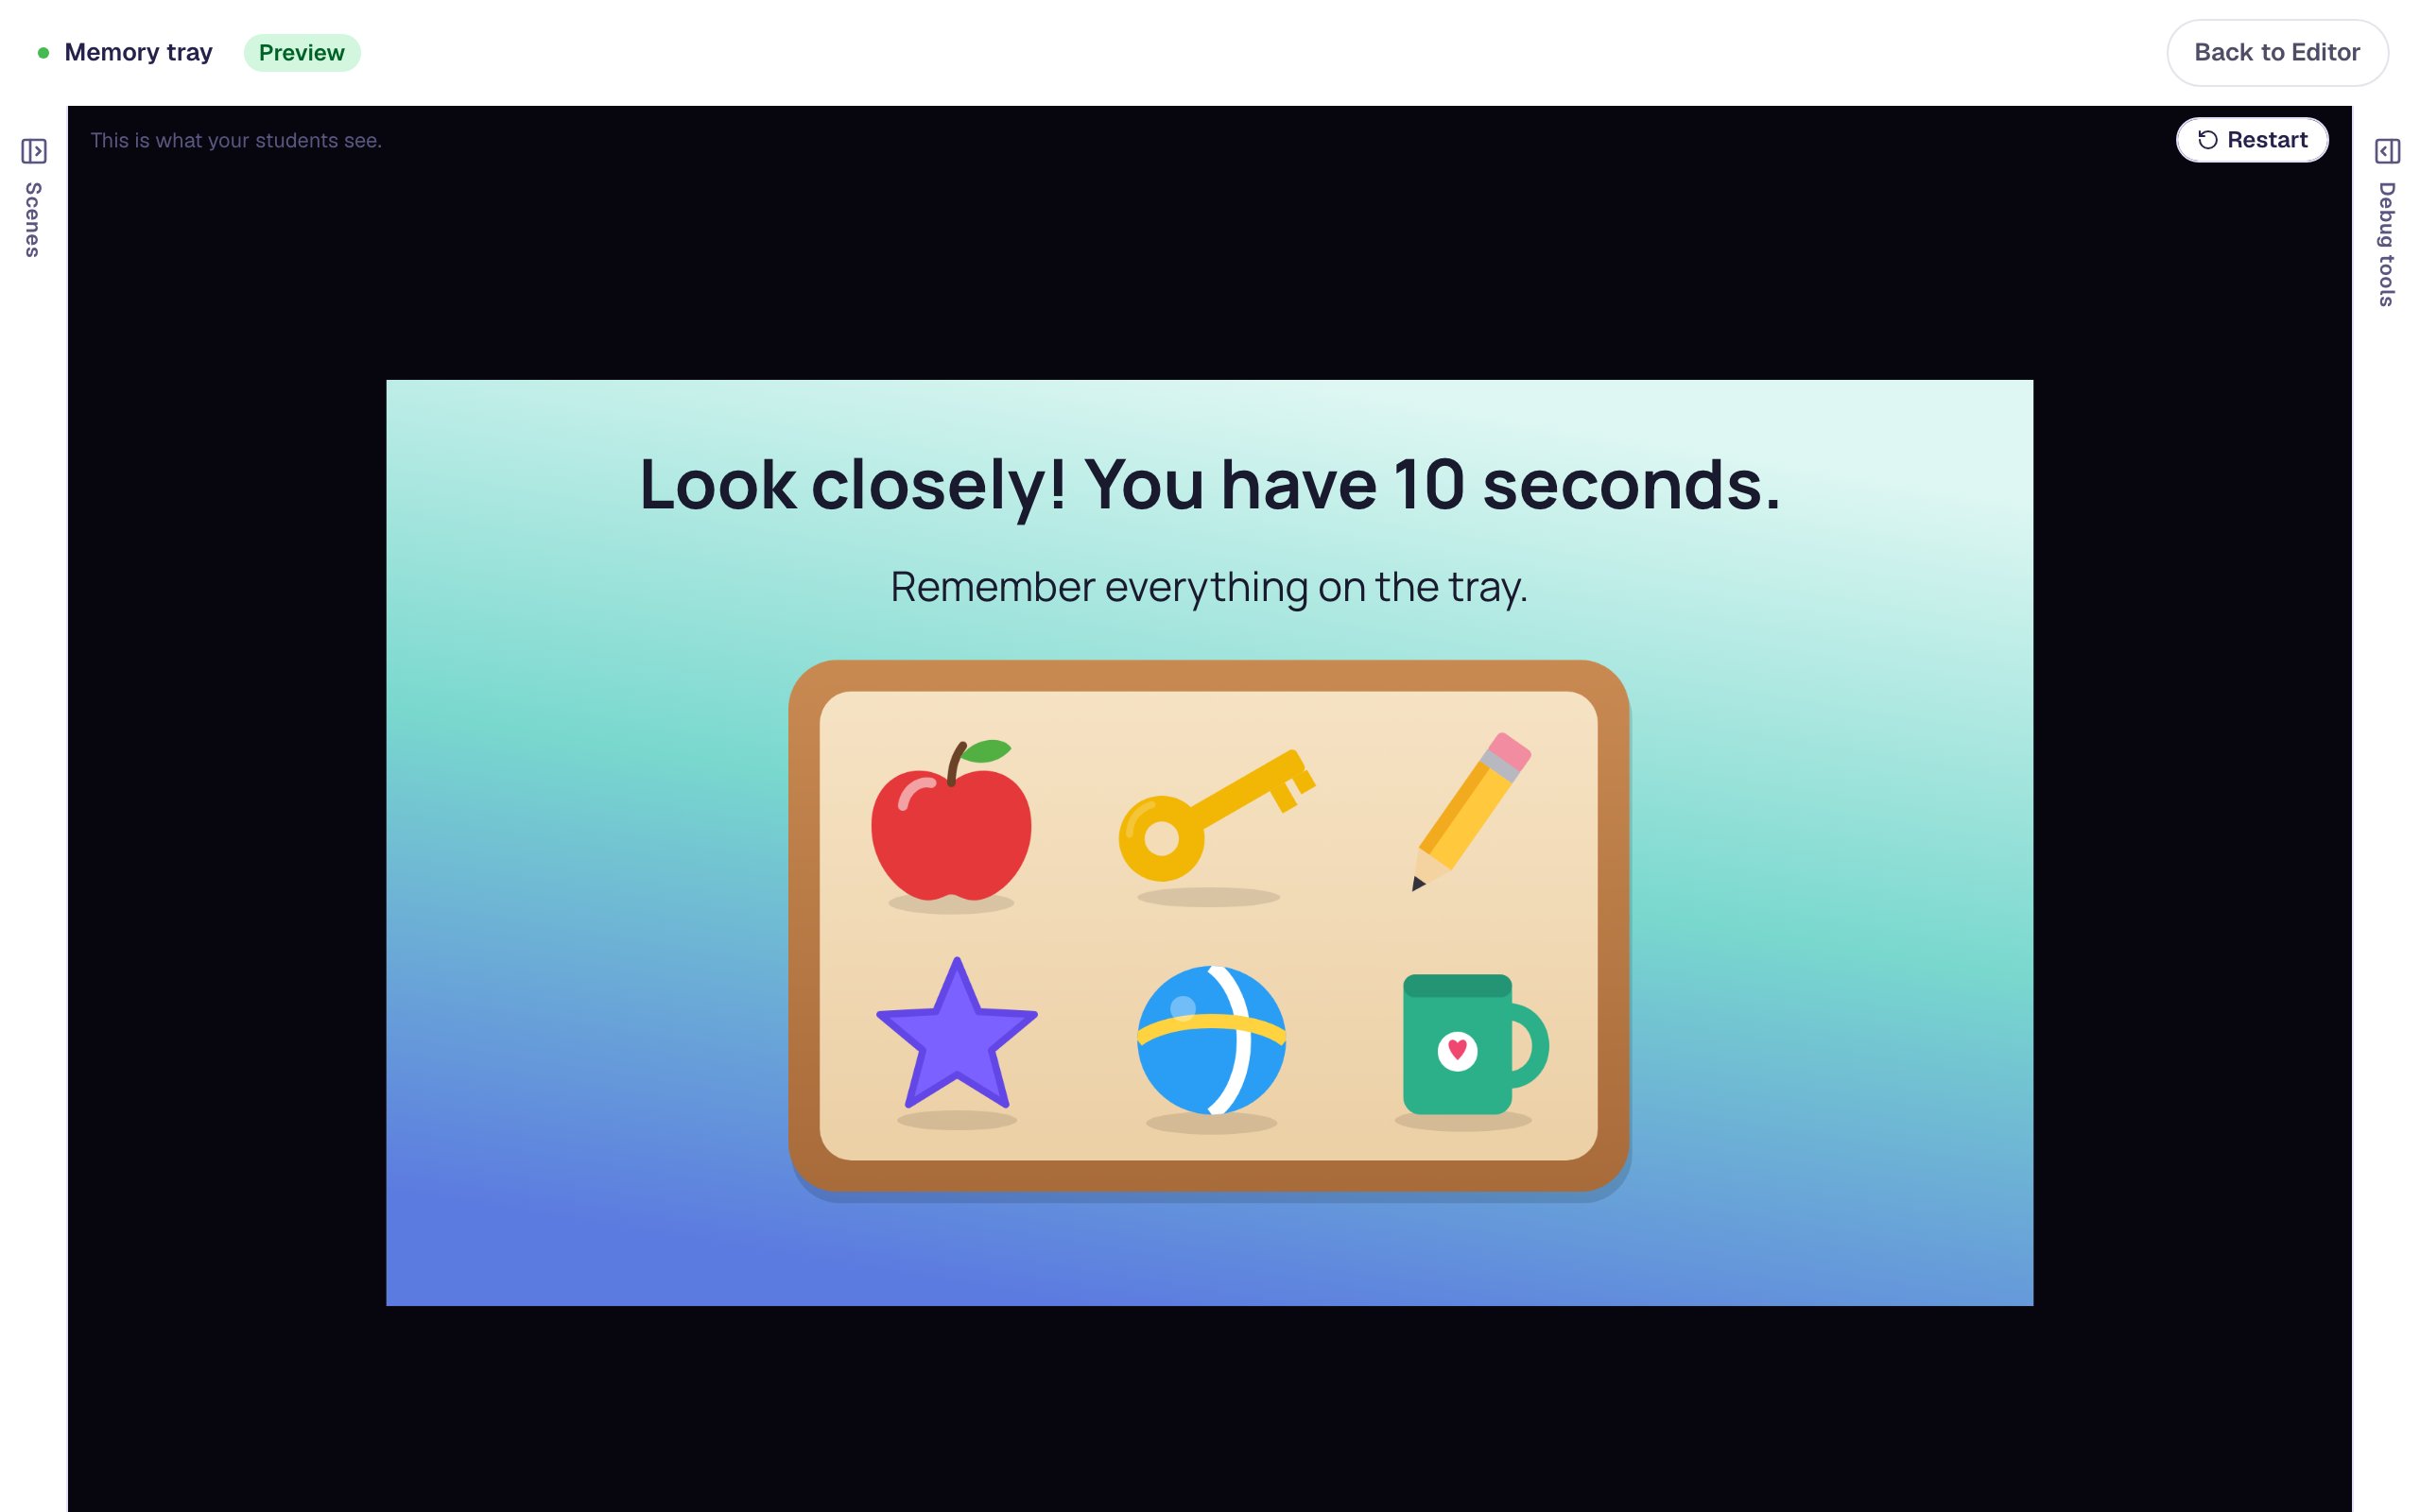
After ten seconds the question replaces the picture:
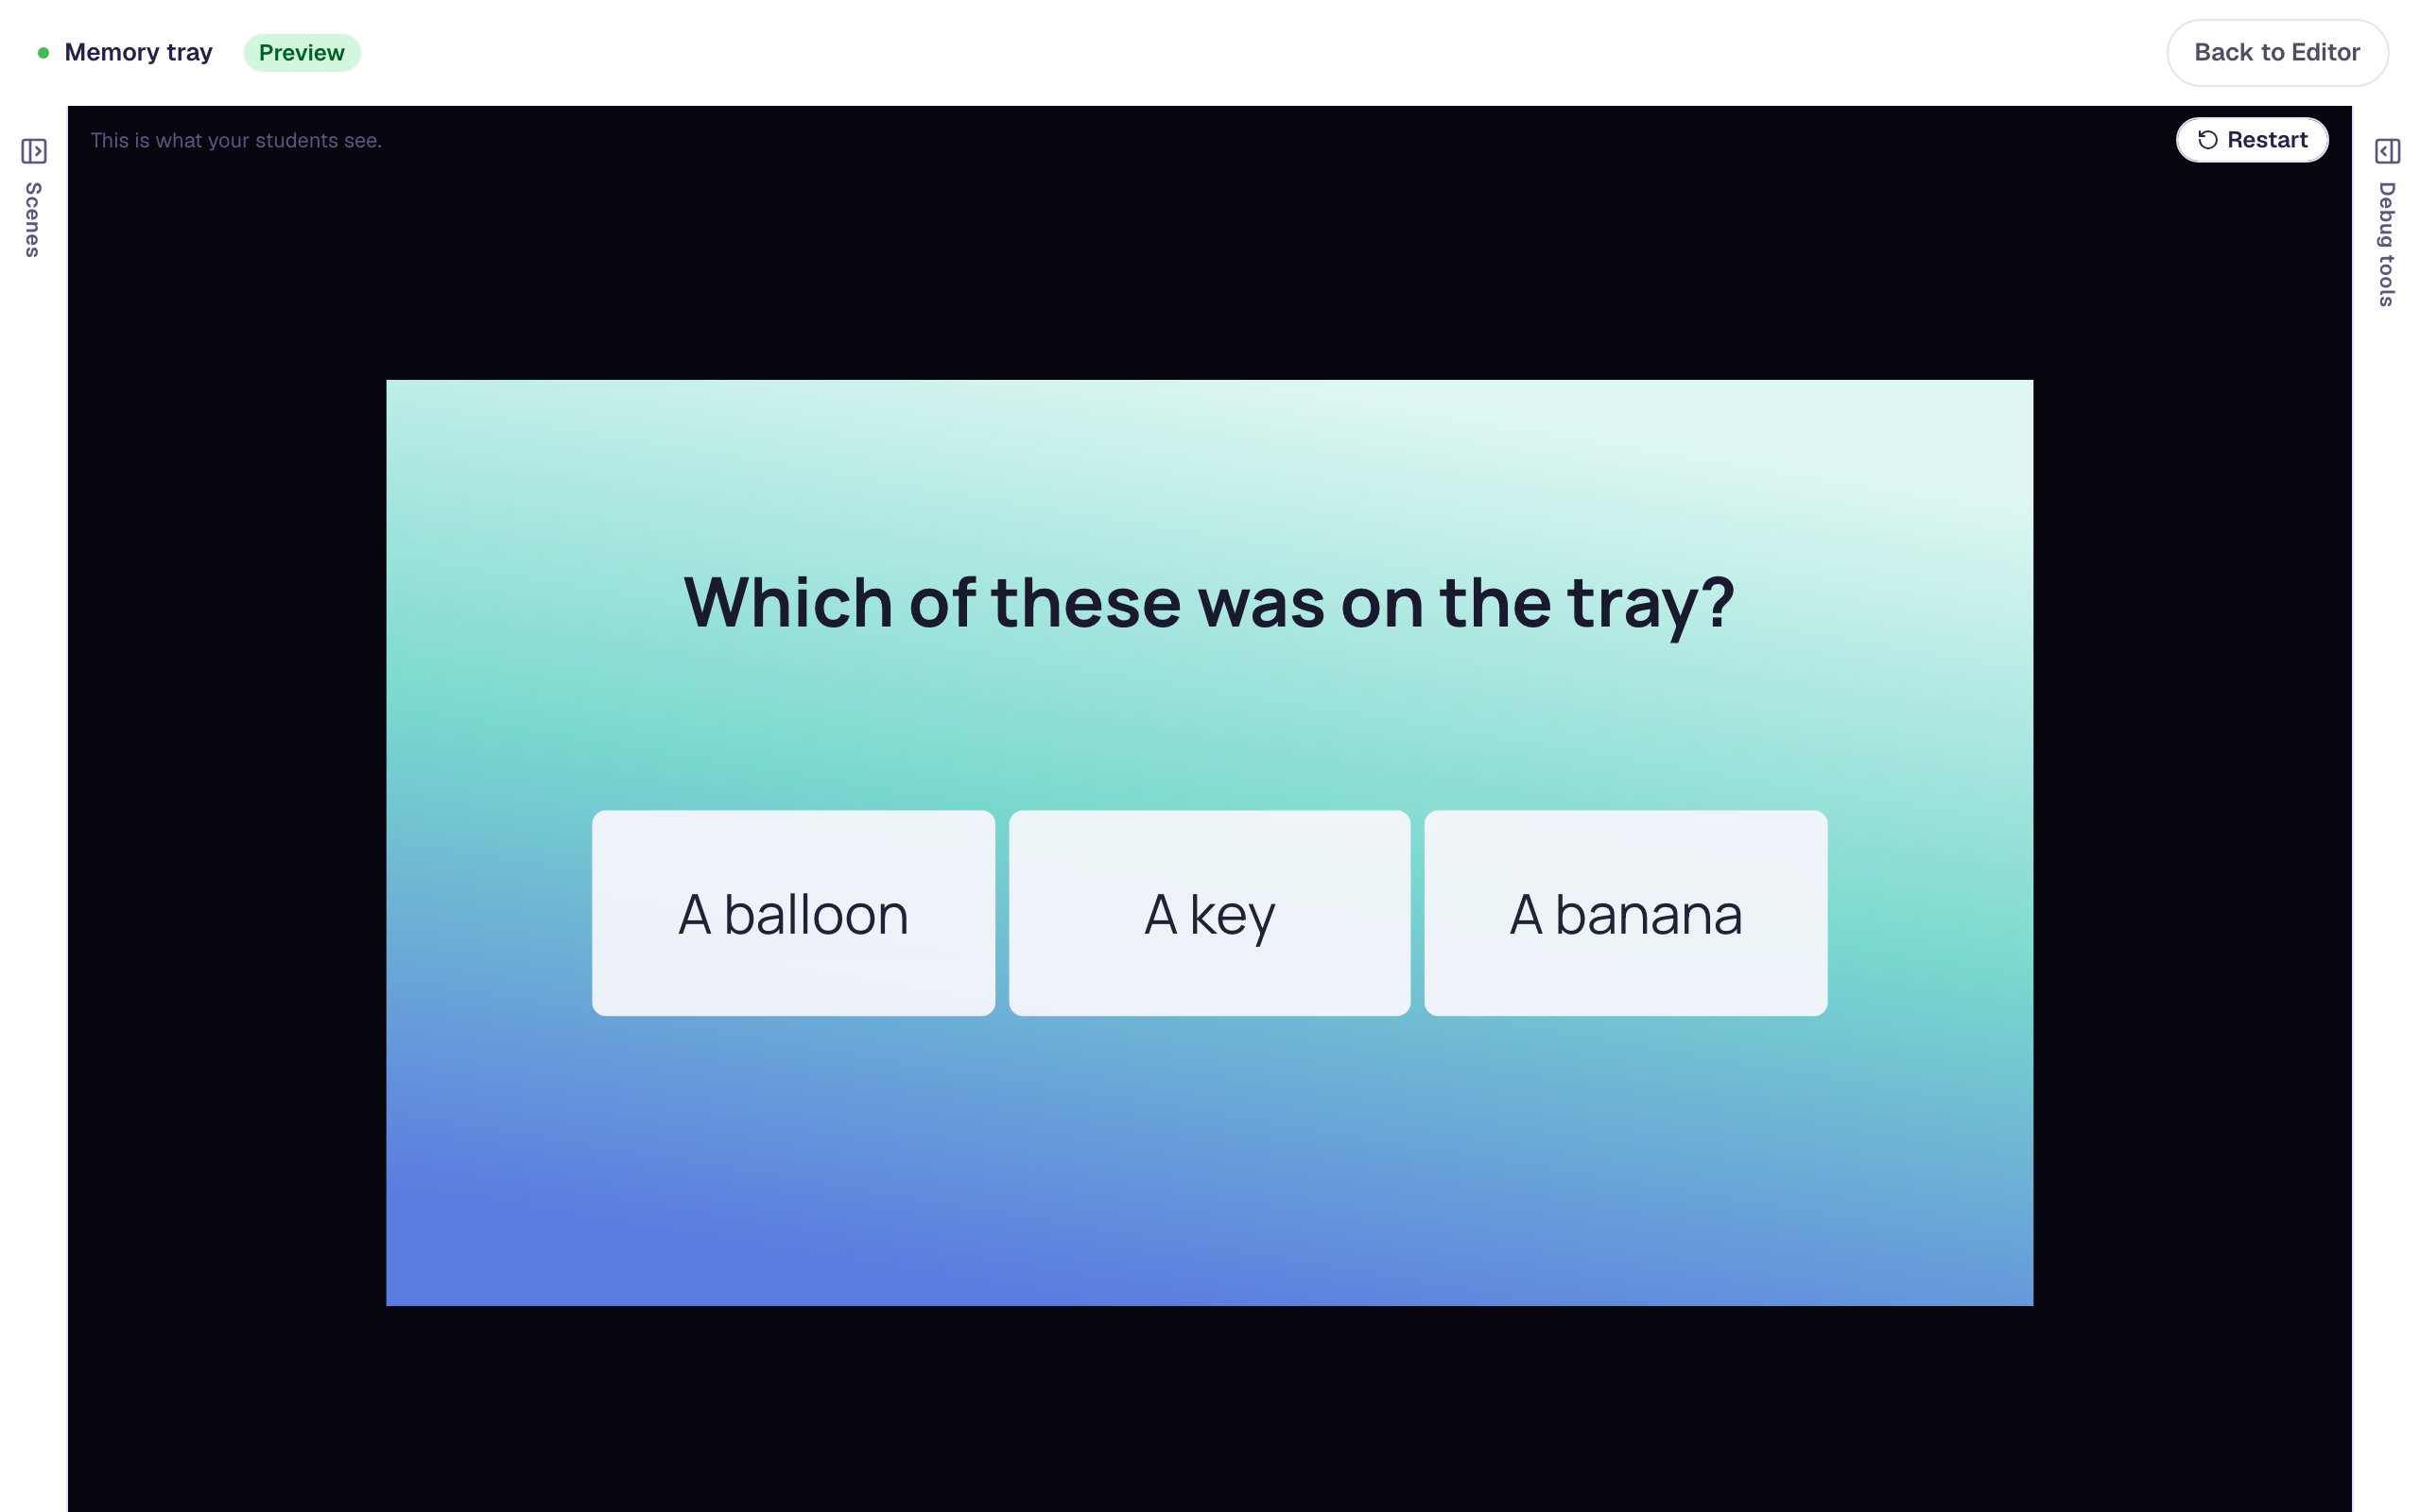
Pick A key, and the lesson moves straight on to the ending:
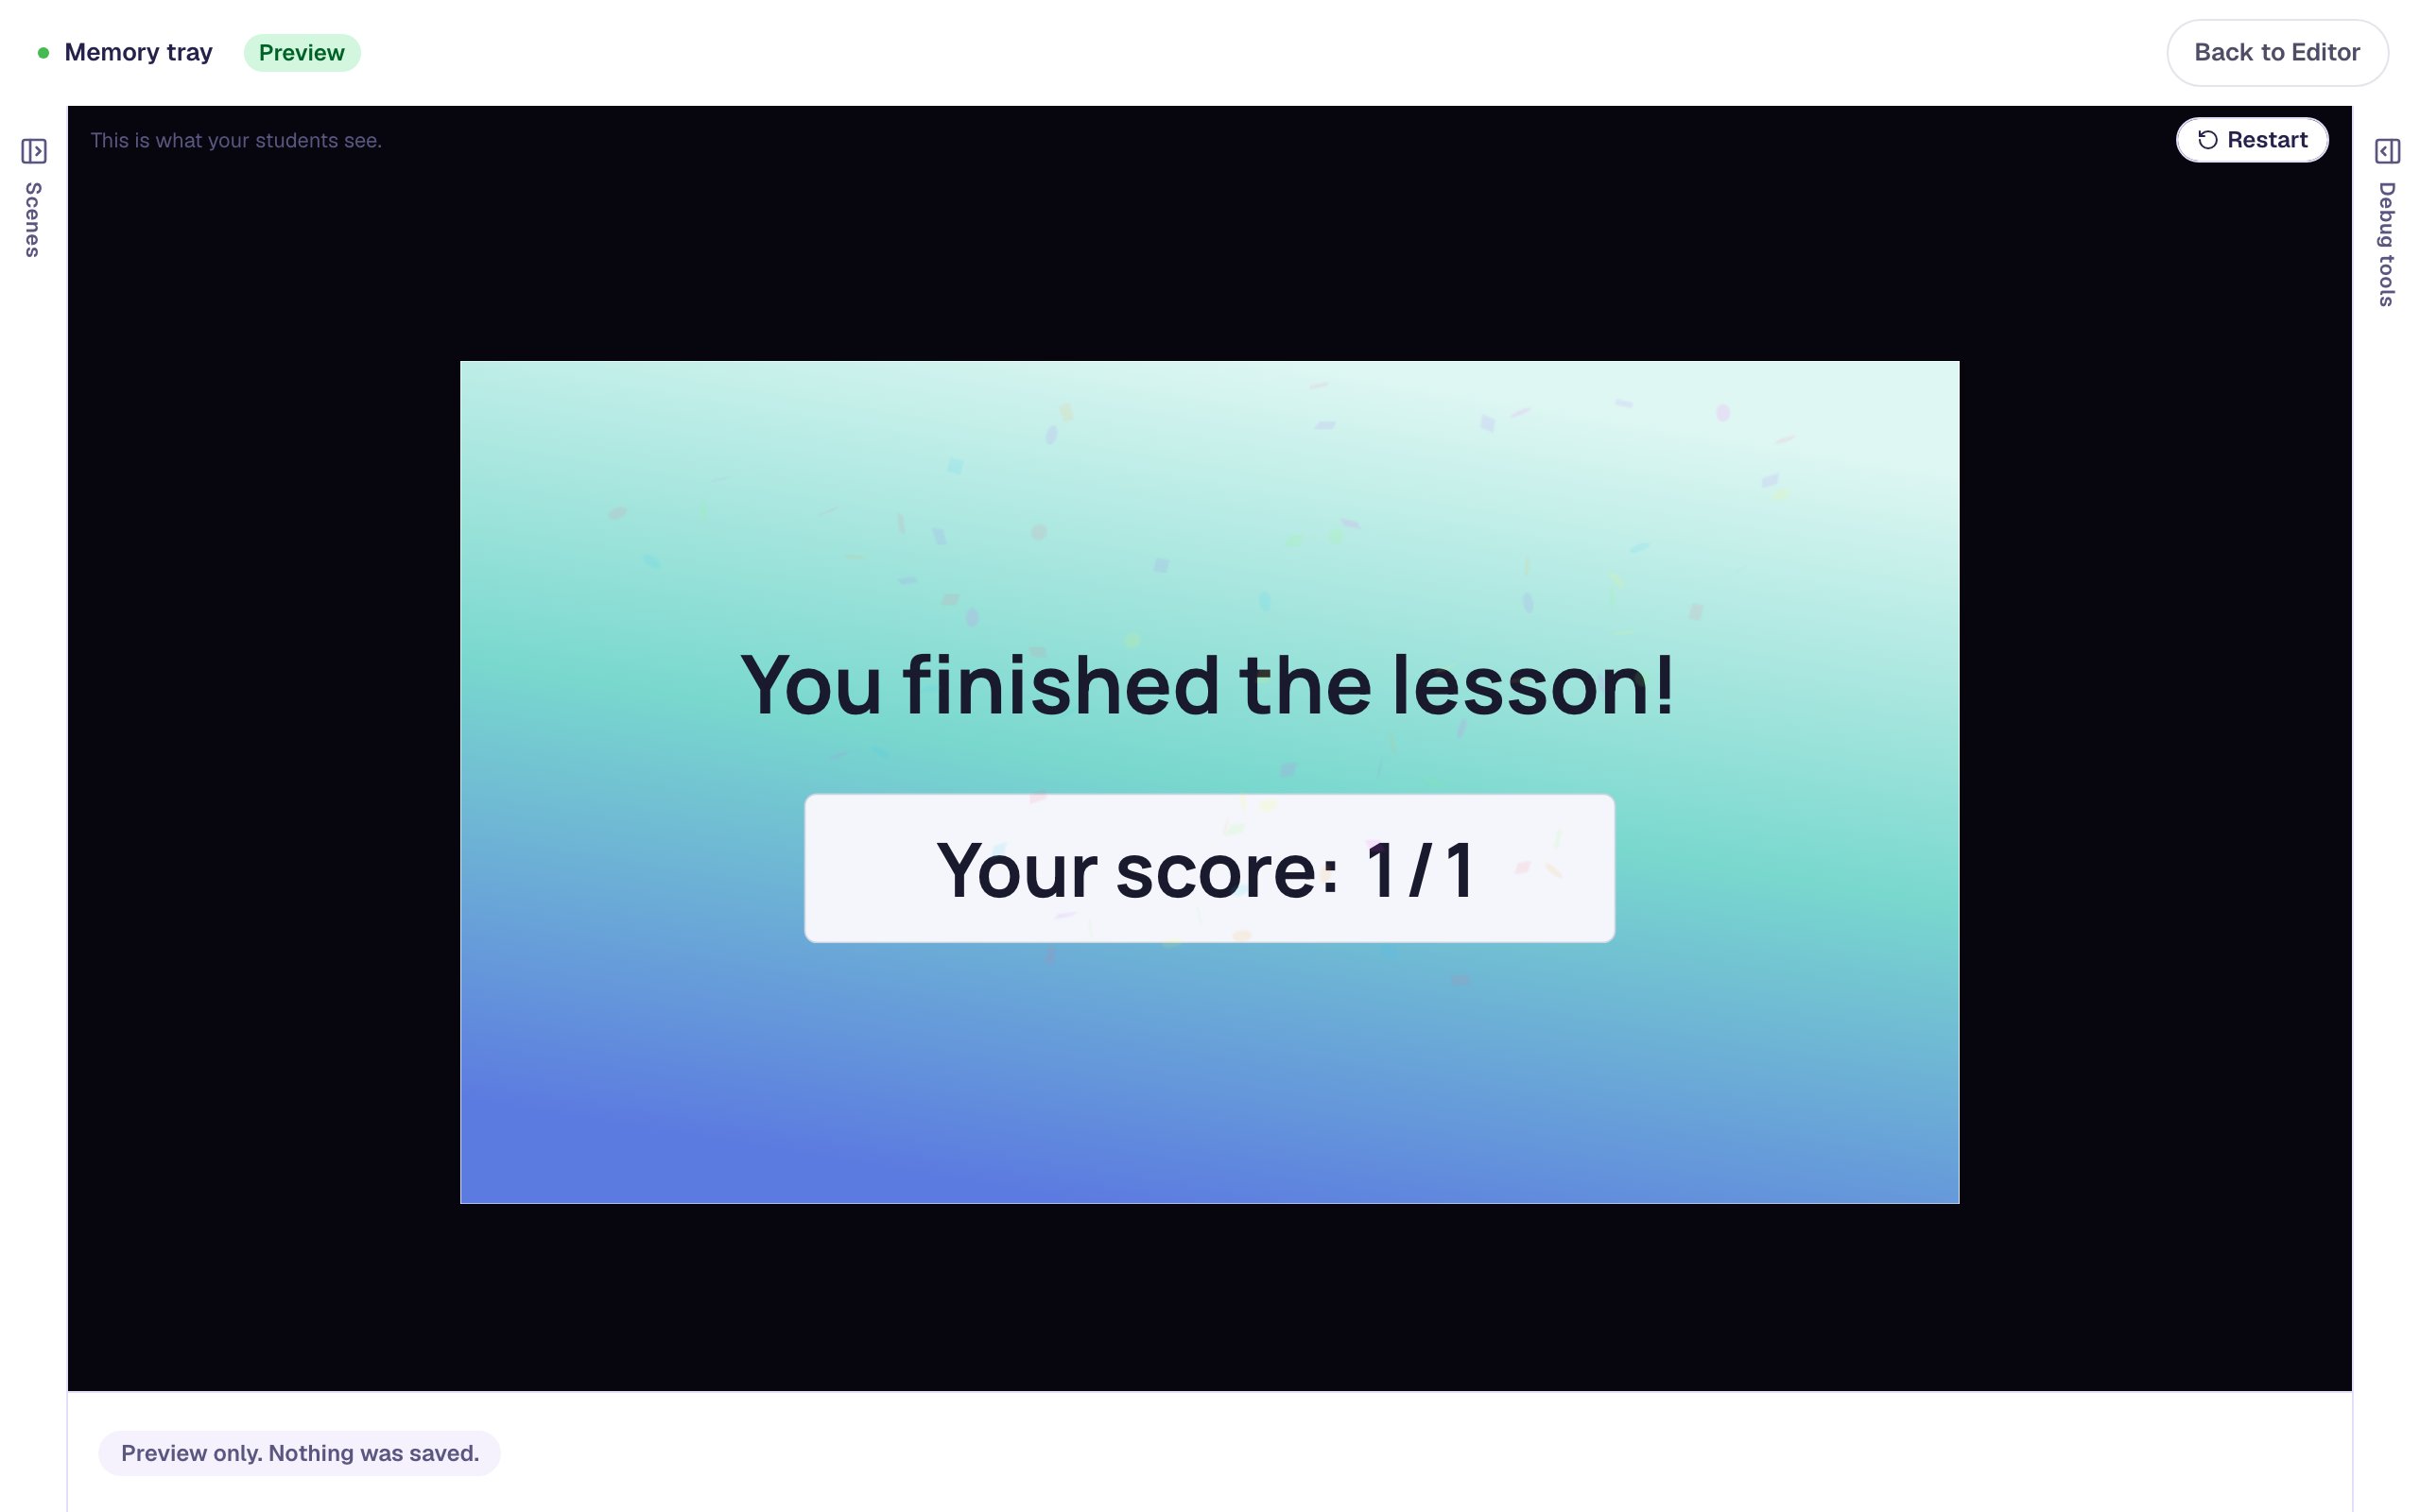
Use Restart to watch the timer again.
What you built
A two-scene memory game that paces itself: students get exactly ten seconds with the picture, then the lesson moves them on to a question about it, with no button to press and no way to keep peeking.
- A Time runs out path, drawn in the Lesson Graph, moves students on after the number of seconds you choose. Berdee adds a hidden timer to the scene that drives it.
- The timer shows in the studio as a dashed box you can move out of the way. The timer and the path are one thing: delete either and both go.
- Drawing a timed path turns off the scene's automatic move on a correct answer, so the timer is the only way forward.
The yellow validation pill still lists No Lesson-Submit Button. You don't need one to preview, but Berdee asks every lesson for a button that lets a student finish early before it publishes: Build a drag-and-drop sorting activity adds a small one. To make the game longer, add more rounds: a second tray, then its own question, each tray scene with its own Time runs out path.
Make this lesson yours
Add the lesson you just watched being built to your account, then change it for your class: your questions, your pictures, your colors.
Free to sign up, and you'll come straight back here. I have an account