Give students 15 seconds to answer a question
Put a countdown Timer next to a multiple-choice question and send students to an "Out of time" scene when it reaches zero, while a quick right answer goes straight to the ending.
- Level
- Intermediate
- Time
- About 15 min
- Steps
- 8
A times-tables speed round with a big 15-second countdown. A right answer in time goes to the ending; when the clock runs out, students see the answer on an "Out of time" scene first.
Get the finished lesson
Skip straight to the result, or keep it open beside the steps. Add this tutorial's lesson to your account and explore how it works in the studio.
Free to sign up, and you'll come straight back here. I have an account
Fluency practice is about recall, not working it out. A times-tables fact a student can answer in 15 seconds is one they know; one that takes a minute of counting on fingers is one to practice. A visible clock turns a plain question into a speed round, and it tells you which facts are still slow.
In this tutorial you'll build that speed round. Three pieces work together:
- a Multi Choice question,
What is 7 × 8?, - a Timer that counts down from 15 seconds as soon as the scene opens, and
- an Out of time scene the timer sends students to when it reaches zero, with the answer and a tip for remembering it.
A student who answers in time goes straight to the ending. If you haven't used the studio before, start with Build your first quiz question: this tutorial moves quickly through the parts it already covers.
Step 1: Build the question
Start a blank lesson (New lesson, then Start from scratch) and name it Times tables speed round. On the Opening Scene:
- Give the scene a background: open Background, click Choose a style, and pick Mesh sunrise under Gradients. Do the same on the Closing Scene, so the ending matches.
- Add a Heading that says
What is 7 × 8?and a Body that saysAnswer before the clock runs out!at26px. Drag them toward the top left, leaving the top-right corner free for the clock. - Add a Multi Choice, click ⚙ Configure, and type the answers
54,56,48, and64. A new question starts with its first answer marked correct, so click the check mark next to 56 to move the mark there. Click Save. - In Style & Layout, set Font Size to
36and drag the answers under the instruction.
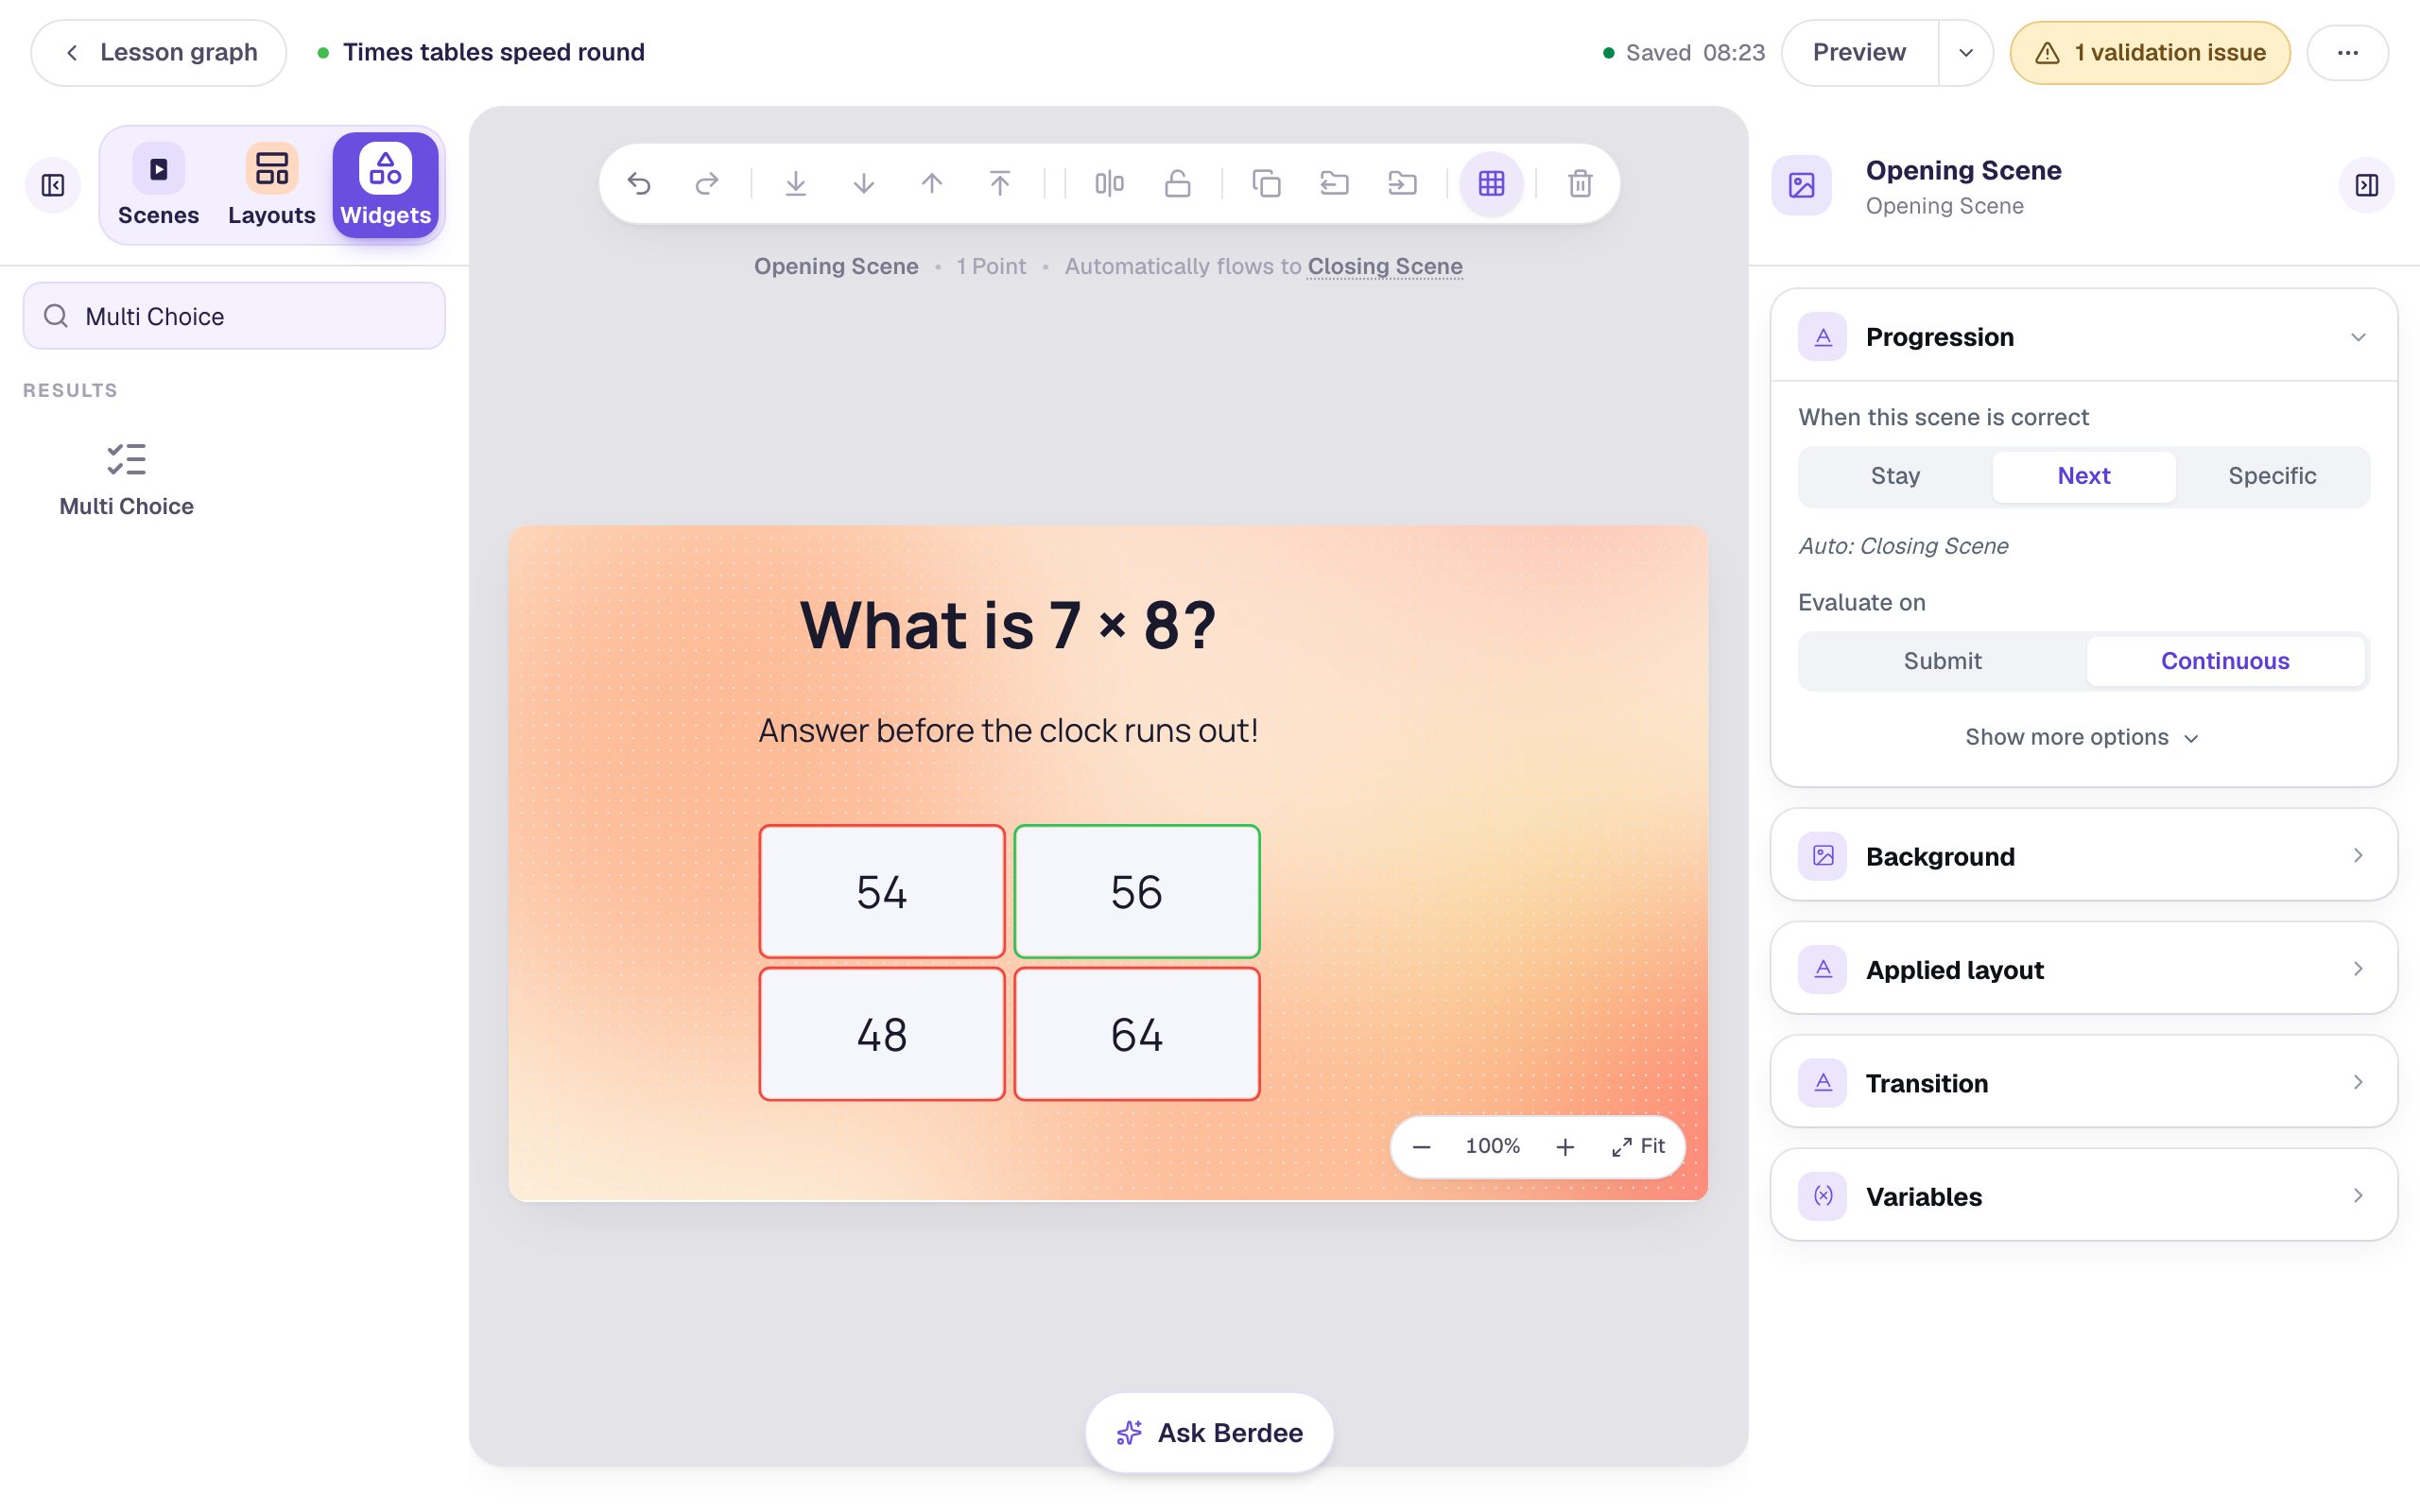
Short answers are best for a timed question: a student should spend the 15 seconds thinking, not reading.
Step 2: Add a countdown Timer
Search the widgets for Timer and add one. A new timer counts down from one minute and waits for a student to press it, so change both:
- Click ⚙ Configure.
- Leave Mode on Count Down.
- Set Start Time to
0m and15s. - Switch on Auto Start, so the clock starts the moment the scene opens.
- Leave Display on Visible, and click Save.
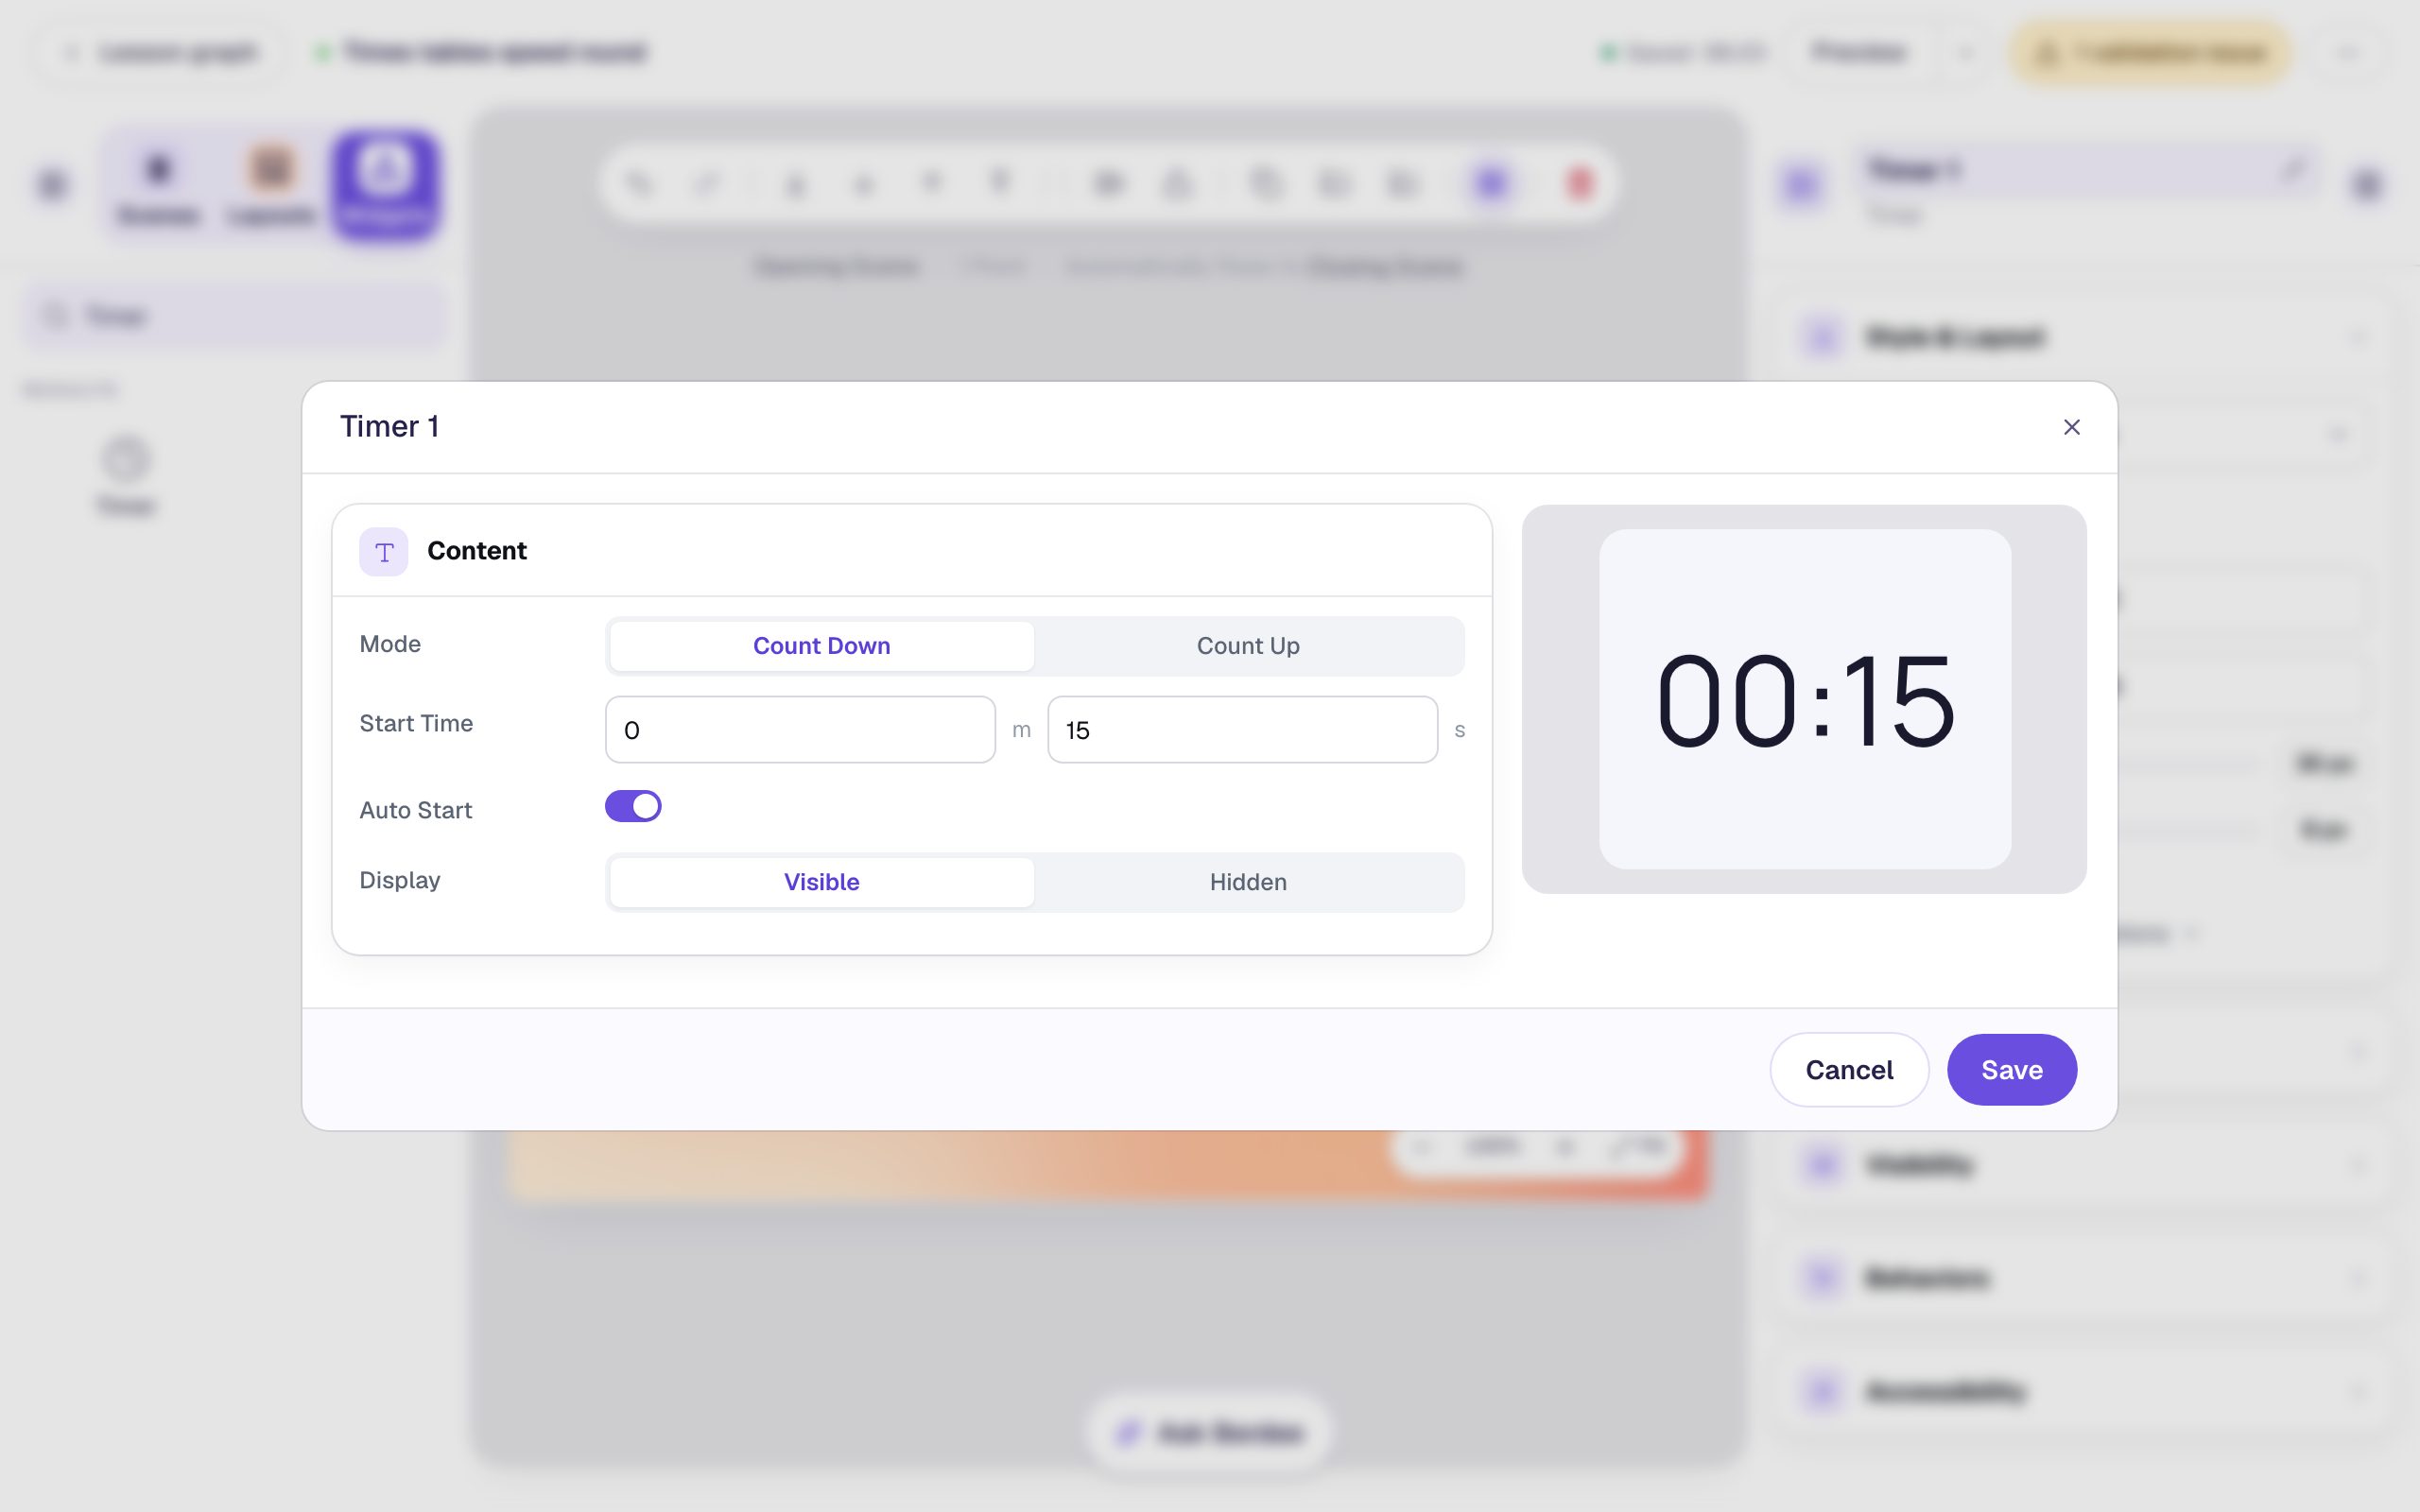
Auto Start also locks the clock. A timer that waits to be pressed doubles as a start and pause button for the student; one that starts on its own can't be paused, so a speed round stays timed.
Step 3: Make the clock easy to see
A clock in the corner of the eye should be impossible to miss. With the timer selected:
- Rename it
Countdown: click its name at the top of the properties panel, type the new one, and press Enter. You'll pick it by name in Step 5. - In Style & Layout, set Font Size to
40and turn on bold (B). - Set Background to a warm yellow (
#FFC222in the colour picker) and Text Color to near-black (#1A1A1A), so the digits stand out on the peach background. - Drag it into the top-right corner.
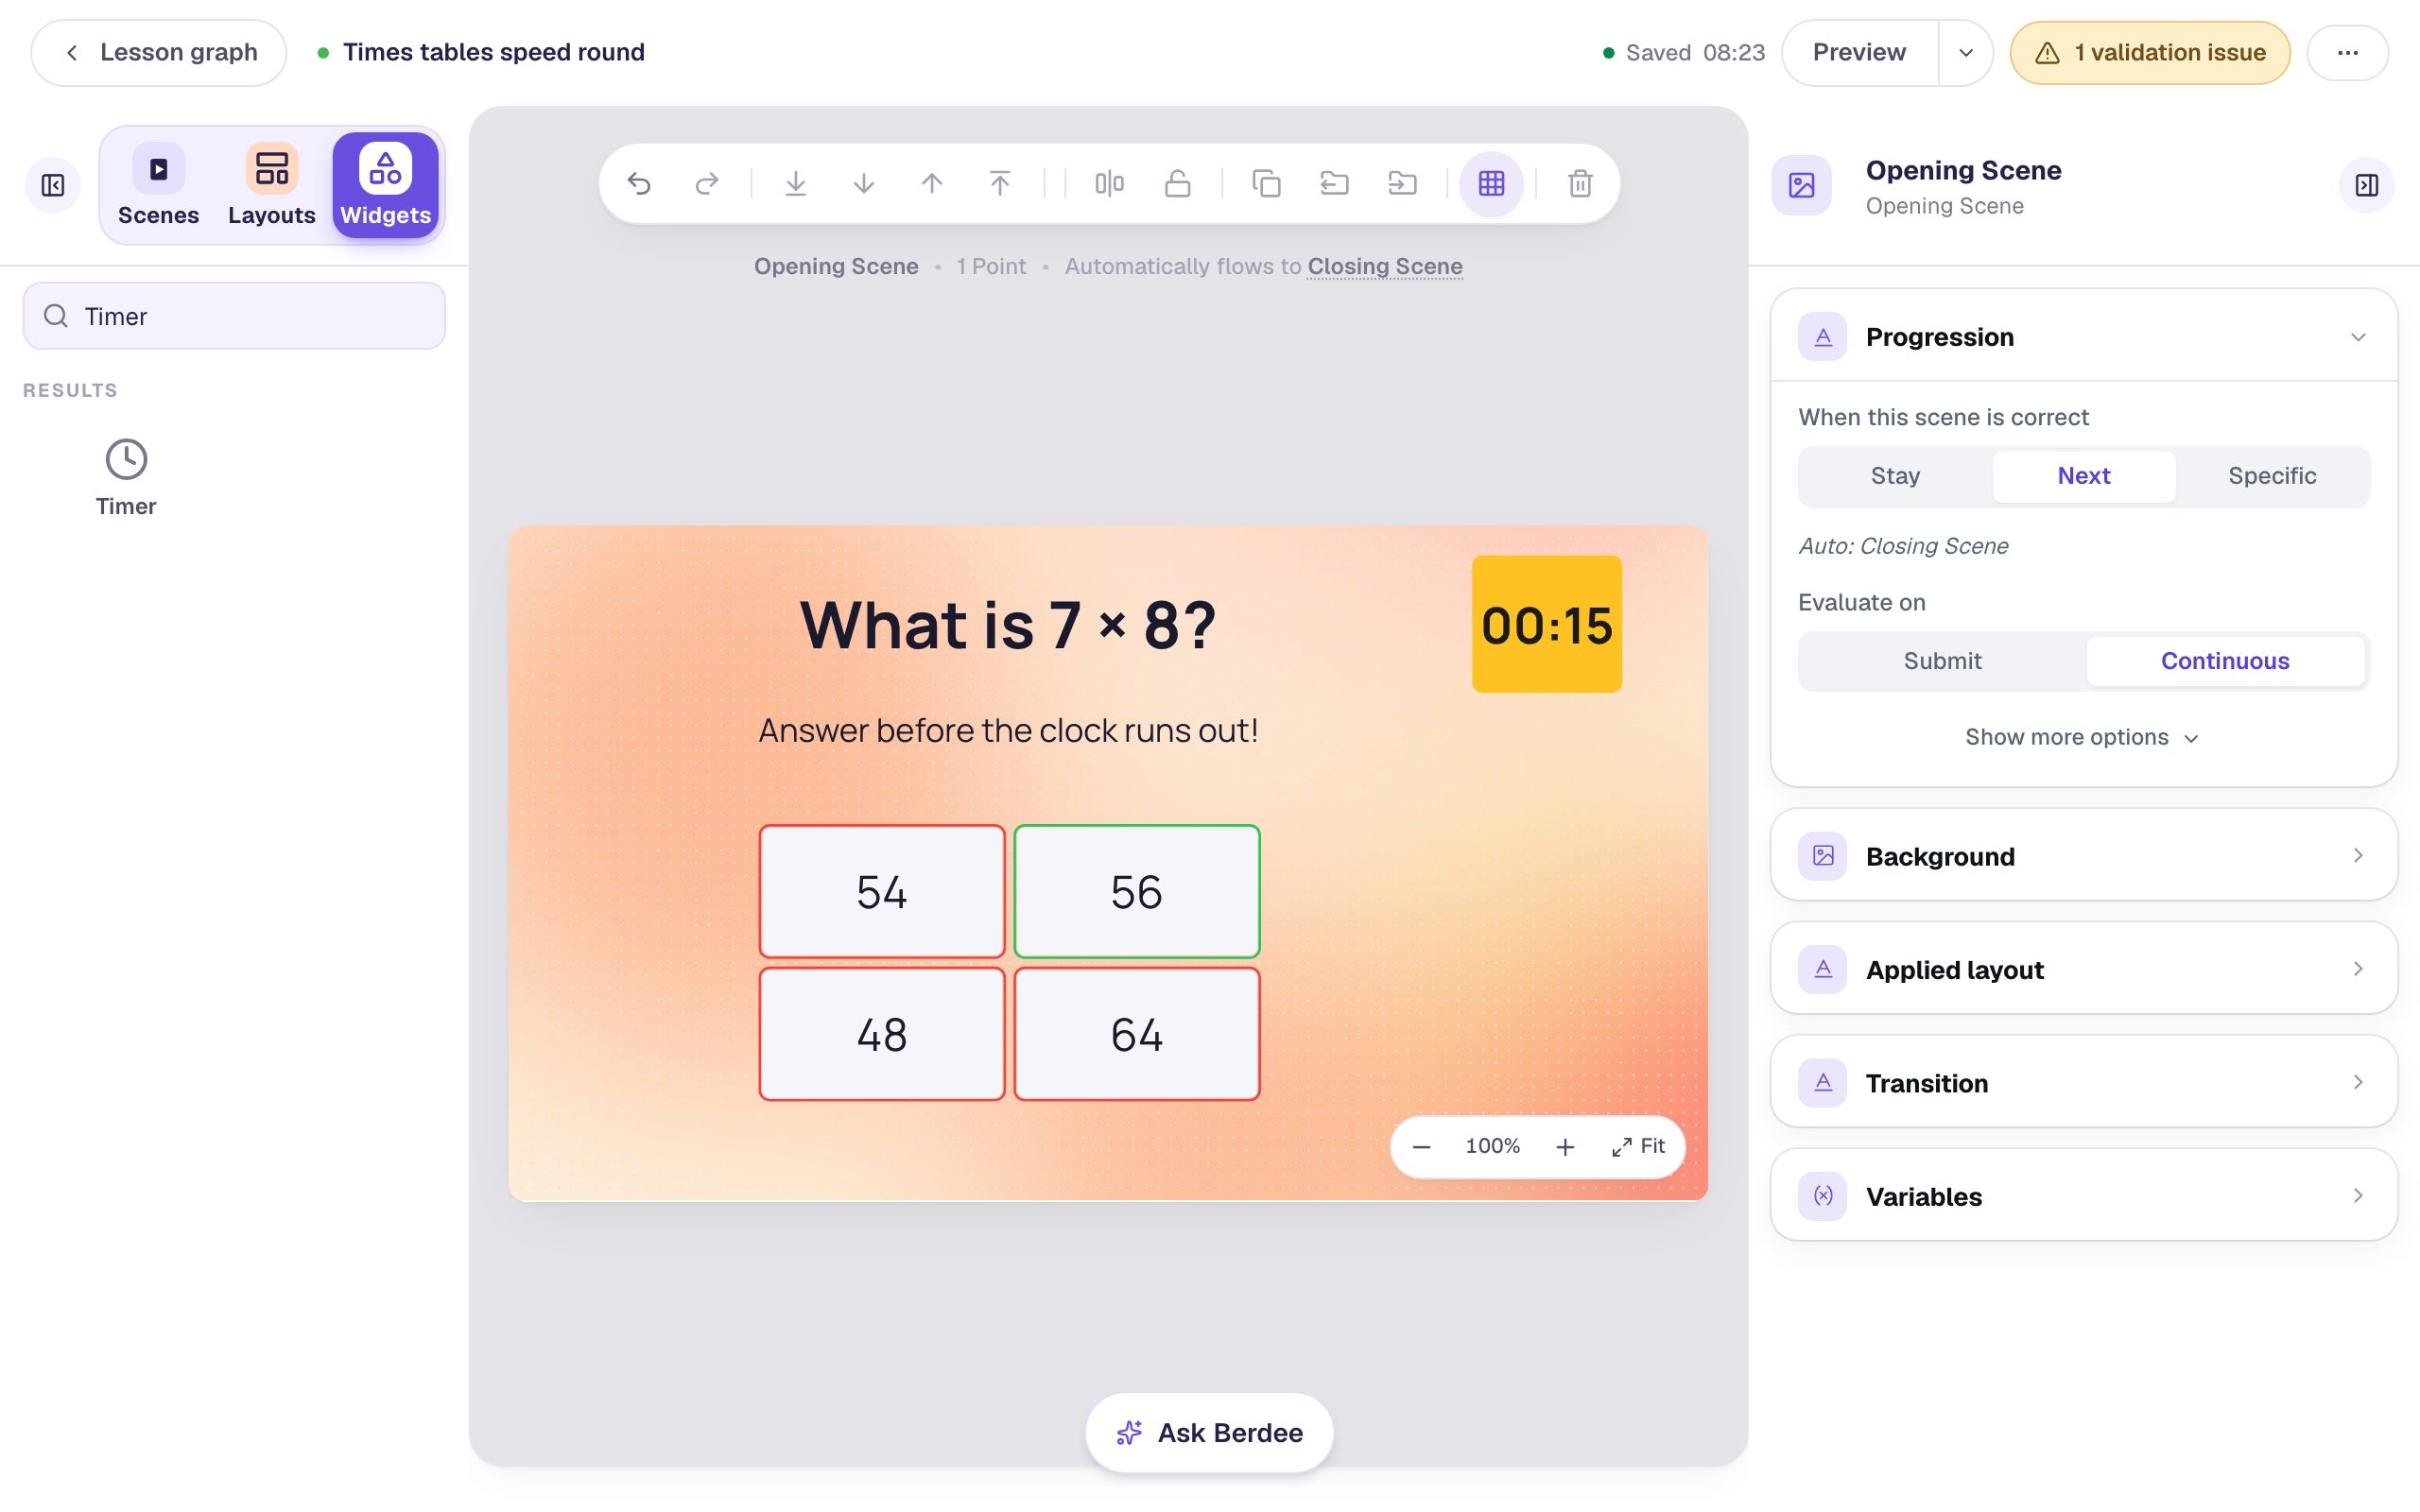
The clock always shows two digits for minutes and two for seconds, and every digit is the same width, so the box doesn't jump around as the time changes.
Step 4: Build the Out of time scene
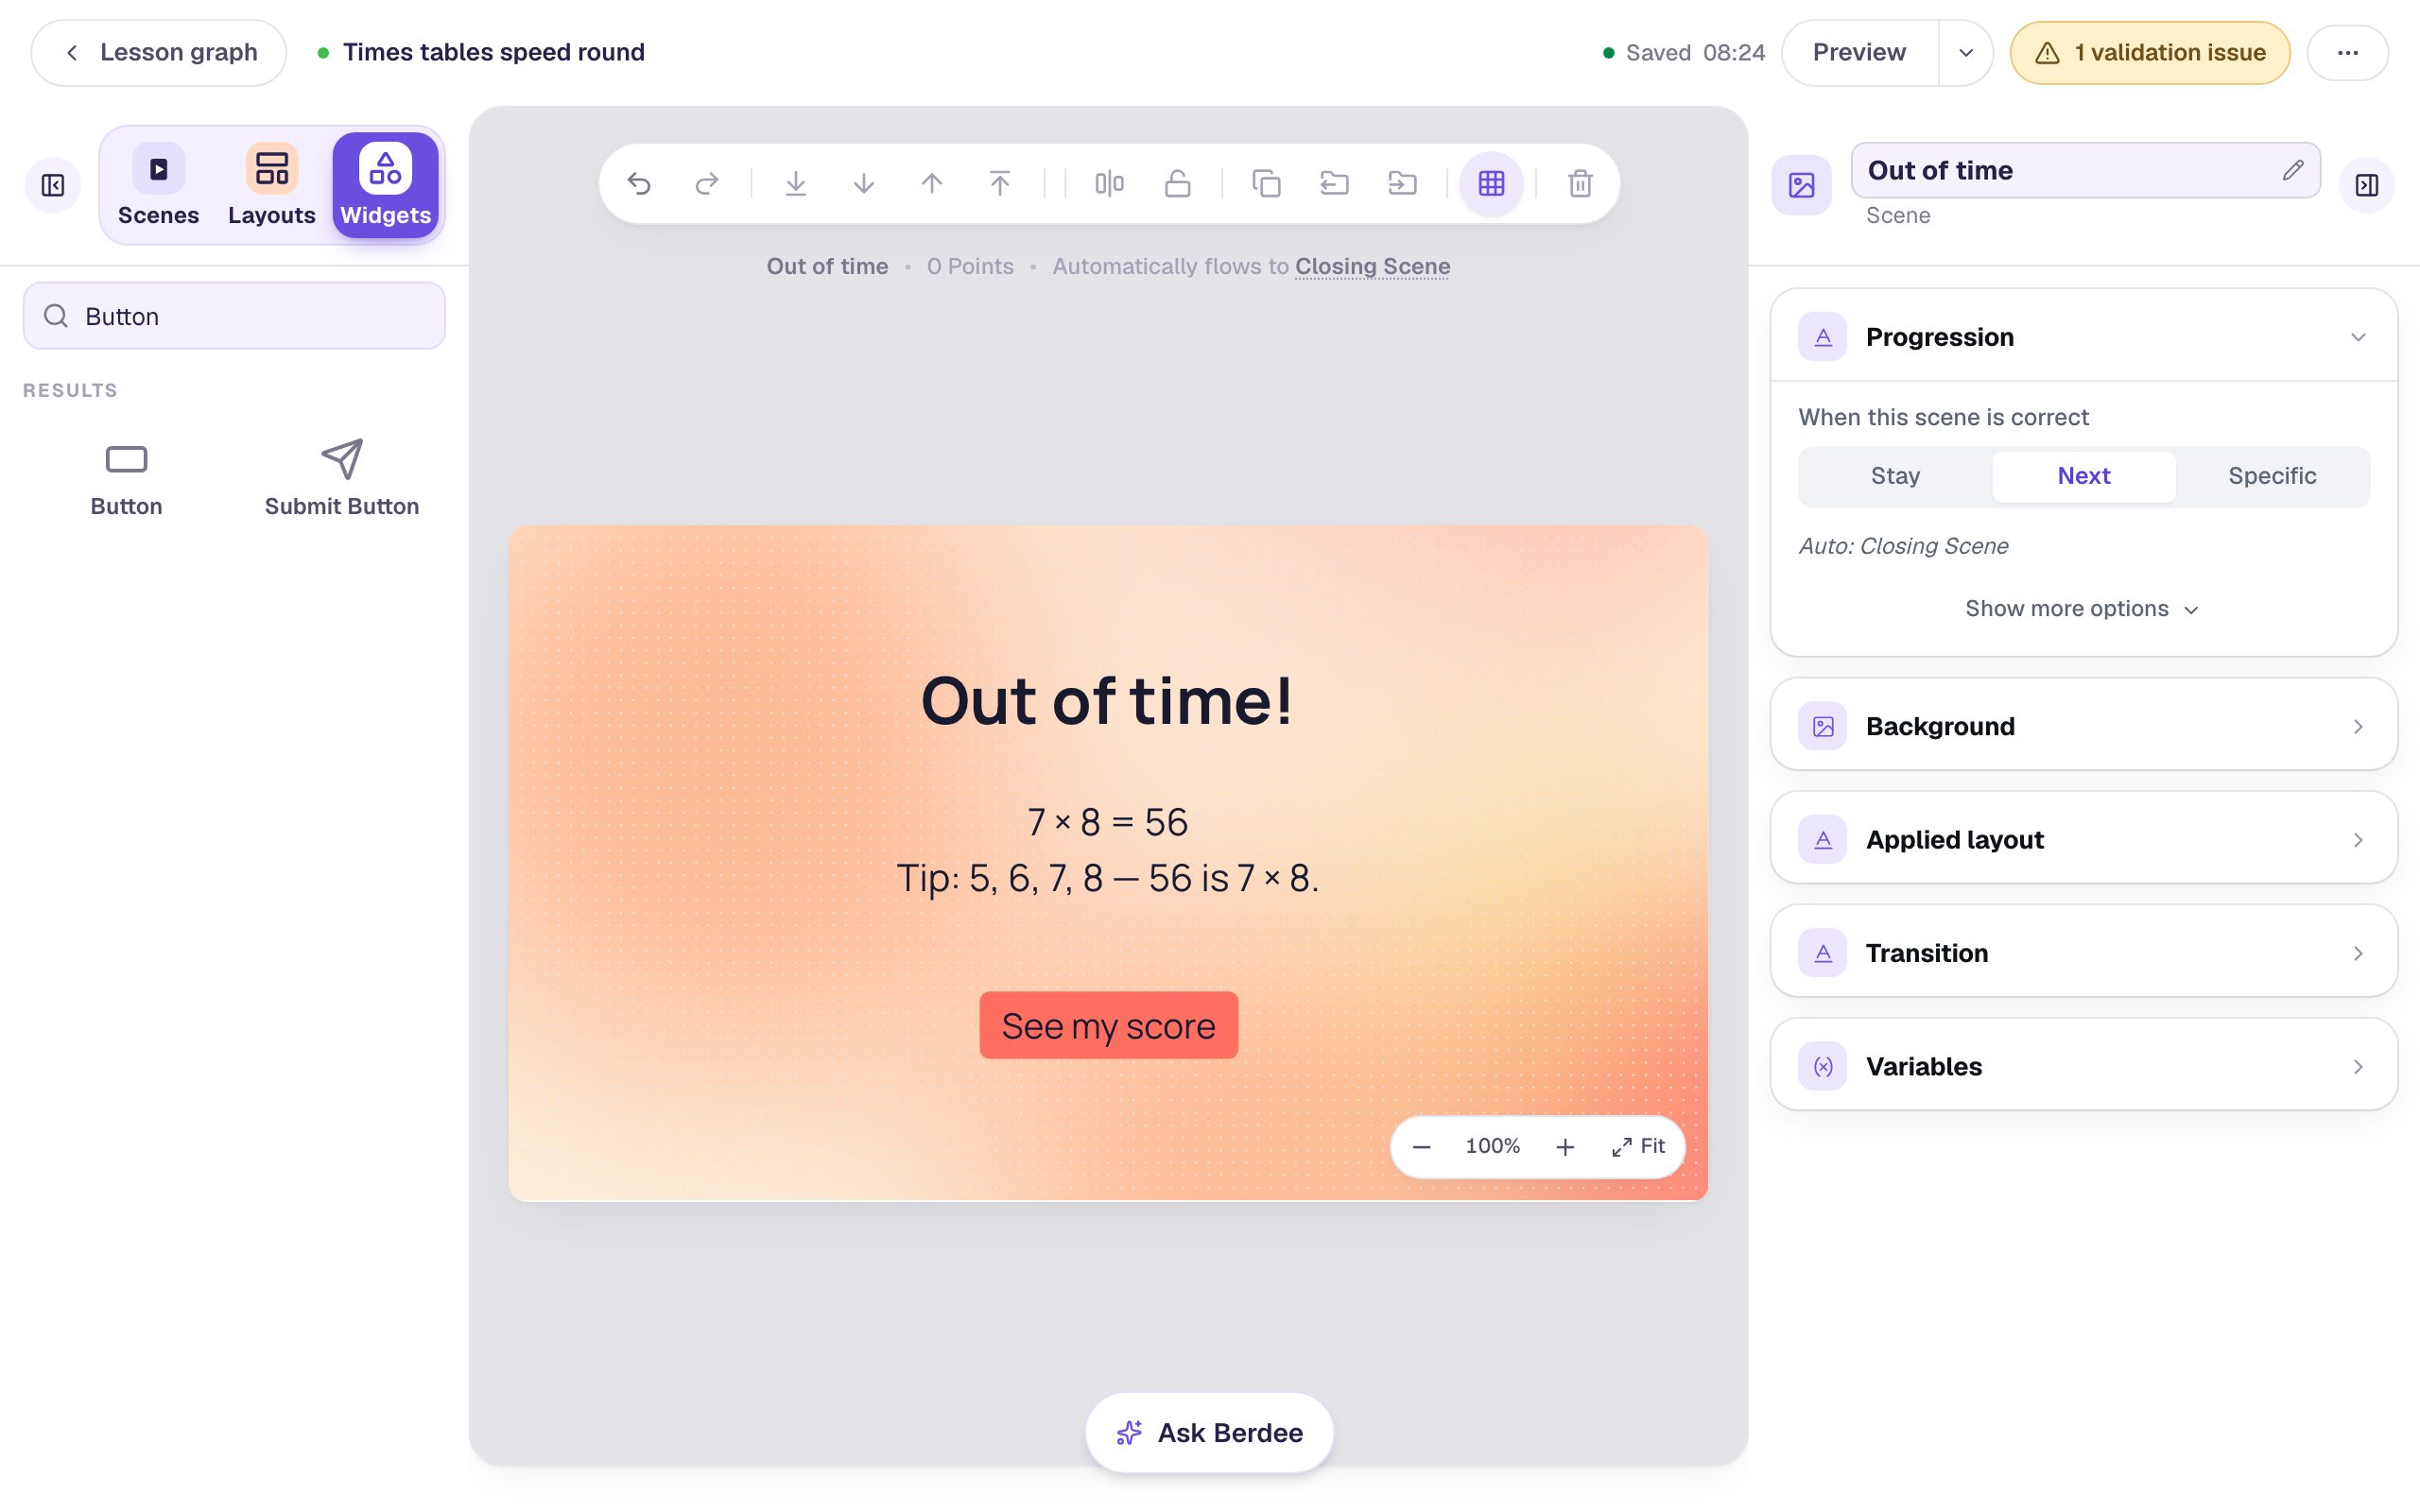
When the clock runs out, students should still learn the fact. Give them a scene that shows the answer:
- Open Scenes in the left rail and click Add scene. The new scene goes before the Closing Scene.
- Double-click the new scene's name and rename it
Out of time. - Give it the same Mesh sunrise background.
- Add a Heading that says
Out of time!and a Body at30px with two lines:7 × 8 = 56andTip: 5, 6, 7, 8 — 56 is 7 × 8. - Add a Button, click ⚙ Configure, change its Label to
See my score, and click Save. Rename the buttonSee my scoretoo. Then click ⚡ Behaviors on the canvas and choose Make this a "Next" button, then Add behavior, so it leads on to the ending.
Step 5: Send students there when the clock runs out
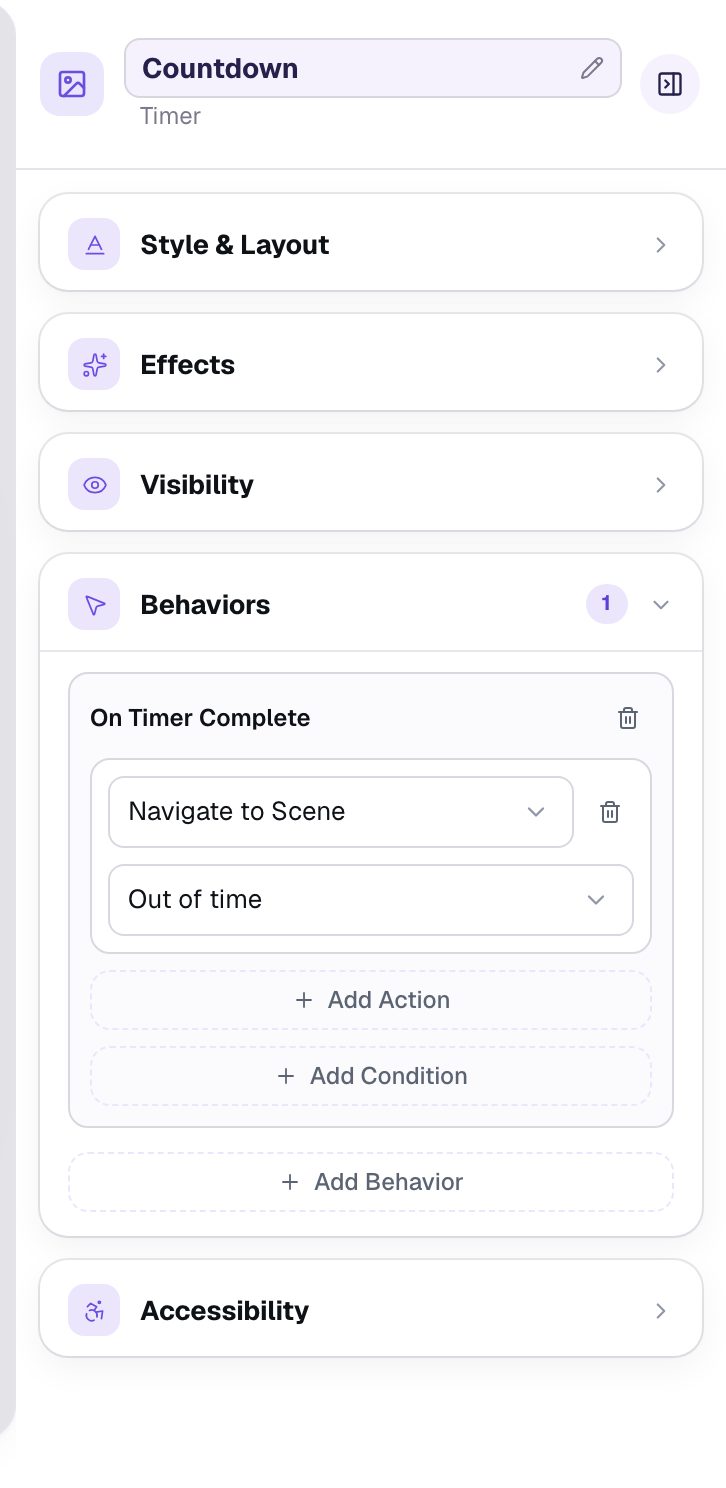
Now connect the clock to the new scene. Go back to the Opening Scene and click the clock to select it.
- Open Behaviors in the properties panel and click Add Behavior.
- Choose On Timer Complete. A timer is the only widget that offers it: it runs once, when the countdown reaches
00:00. - Change the action to Navigate to Scene, and pick Out of time in the list below it.
Step 6: Send right answers straight to the ending
There's one catch. A scene with a question moves students on as soon as they answer correctly, to the Next scene in the list. Click an empty spot on the scene to see the scene's settings: Progression says Next, and the next scene is now Out of time, not the ending.
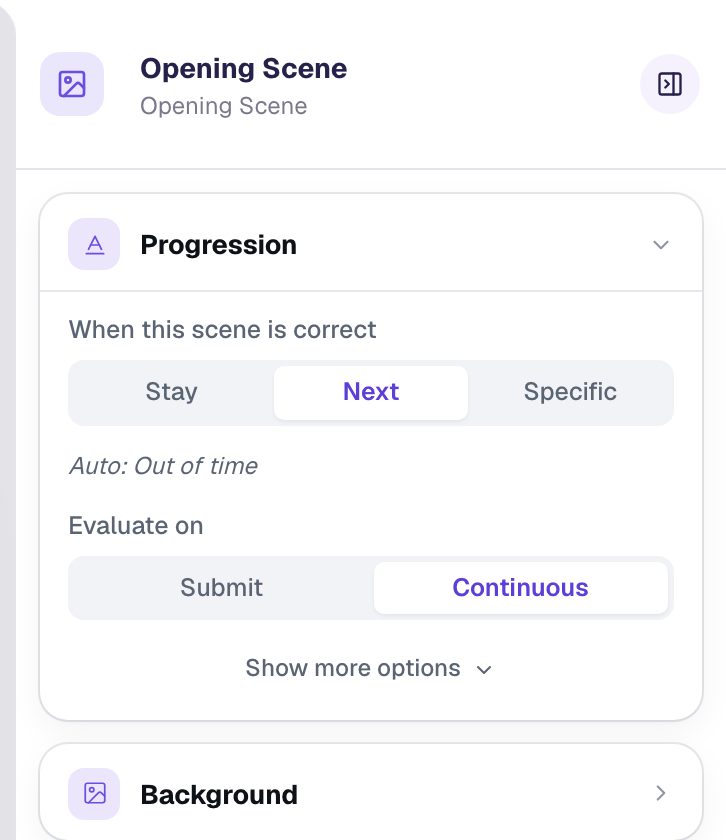
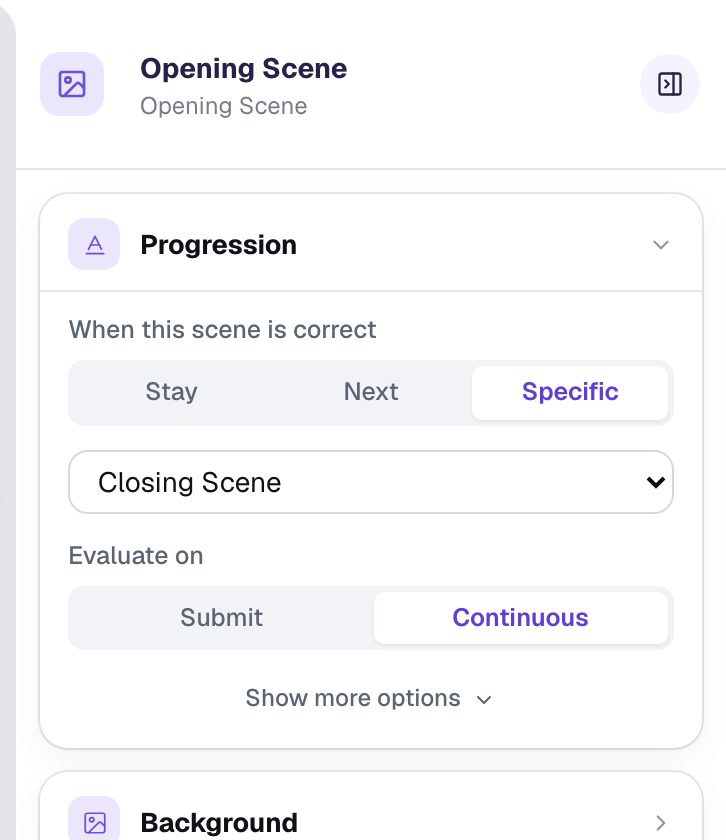
Left like this, a student who answers in time would be told they ran out of time. Fix it under When this scene is correct: click Specific and pick Closing Scene.
While you're on this scene, clear the lesson's one validation issue: a lesson needs a button that submits it before you can publish. Add a Submit Button, set its Label to I'm done and its scope to Lesson, make it small (18 px), and tuck it into the bottom-left corner. Students who answer will never need it, because the lesson moves on by itself.
Step 7: Check the map
Click Lesson graph at the top left. The graph draws every way a student can move through the lesson, so it's the quickest way to check the wiring:
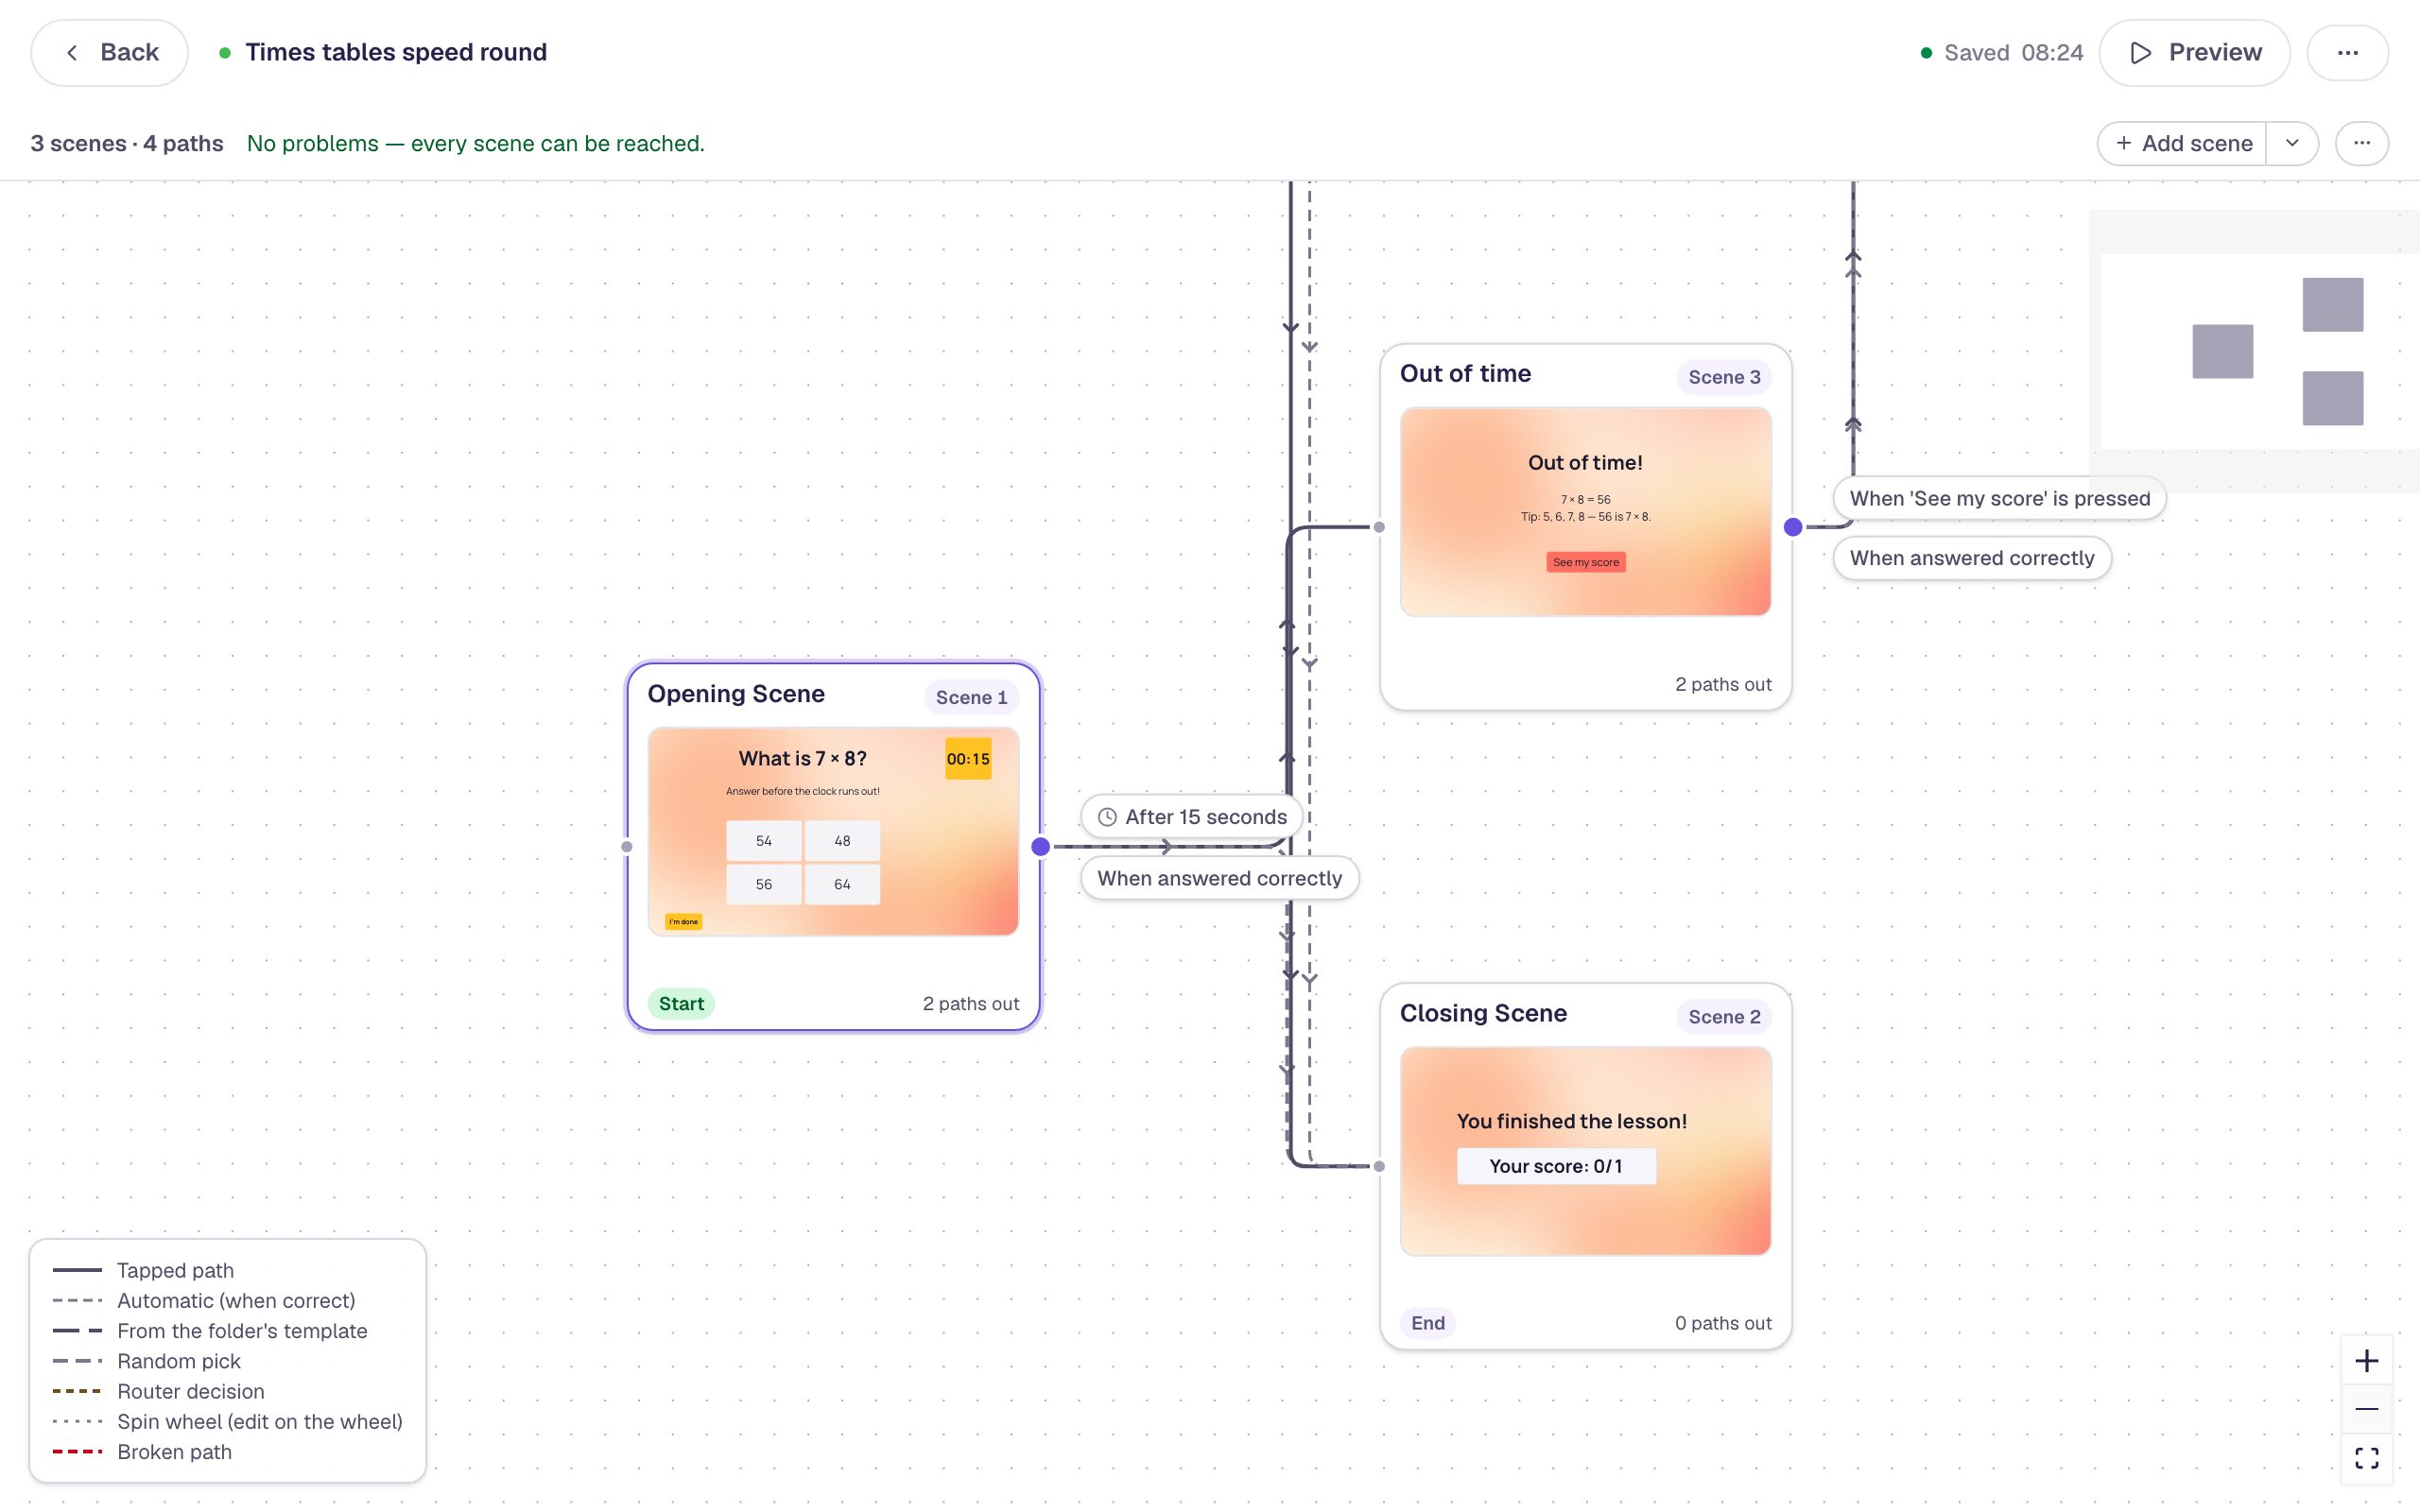
The Opening Scene has two paths out: When answered correctly goes to the Closing Scene, and After 15 seconds goes to Out of time. That second label is your timer's behavior. Out of time leads to the ending when See my score is pressed. The header says No problems — every scene can be reached.
Hover the Opening Scene card and click Edit scene to go back.
Step 8: Try it as a student, twice
Click Preview and answer quickly:
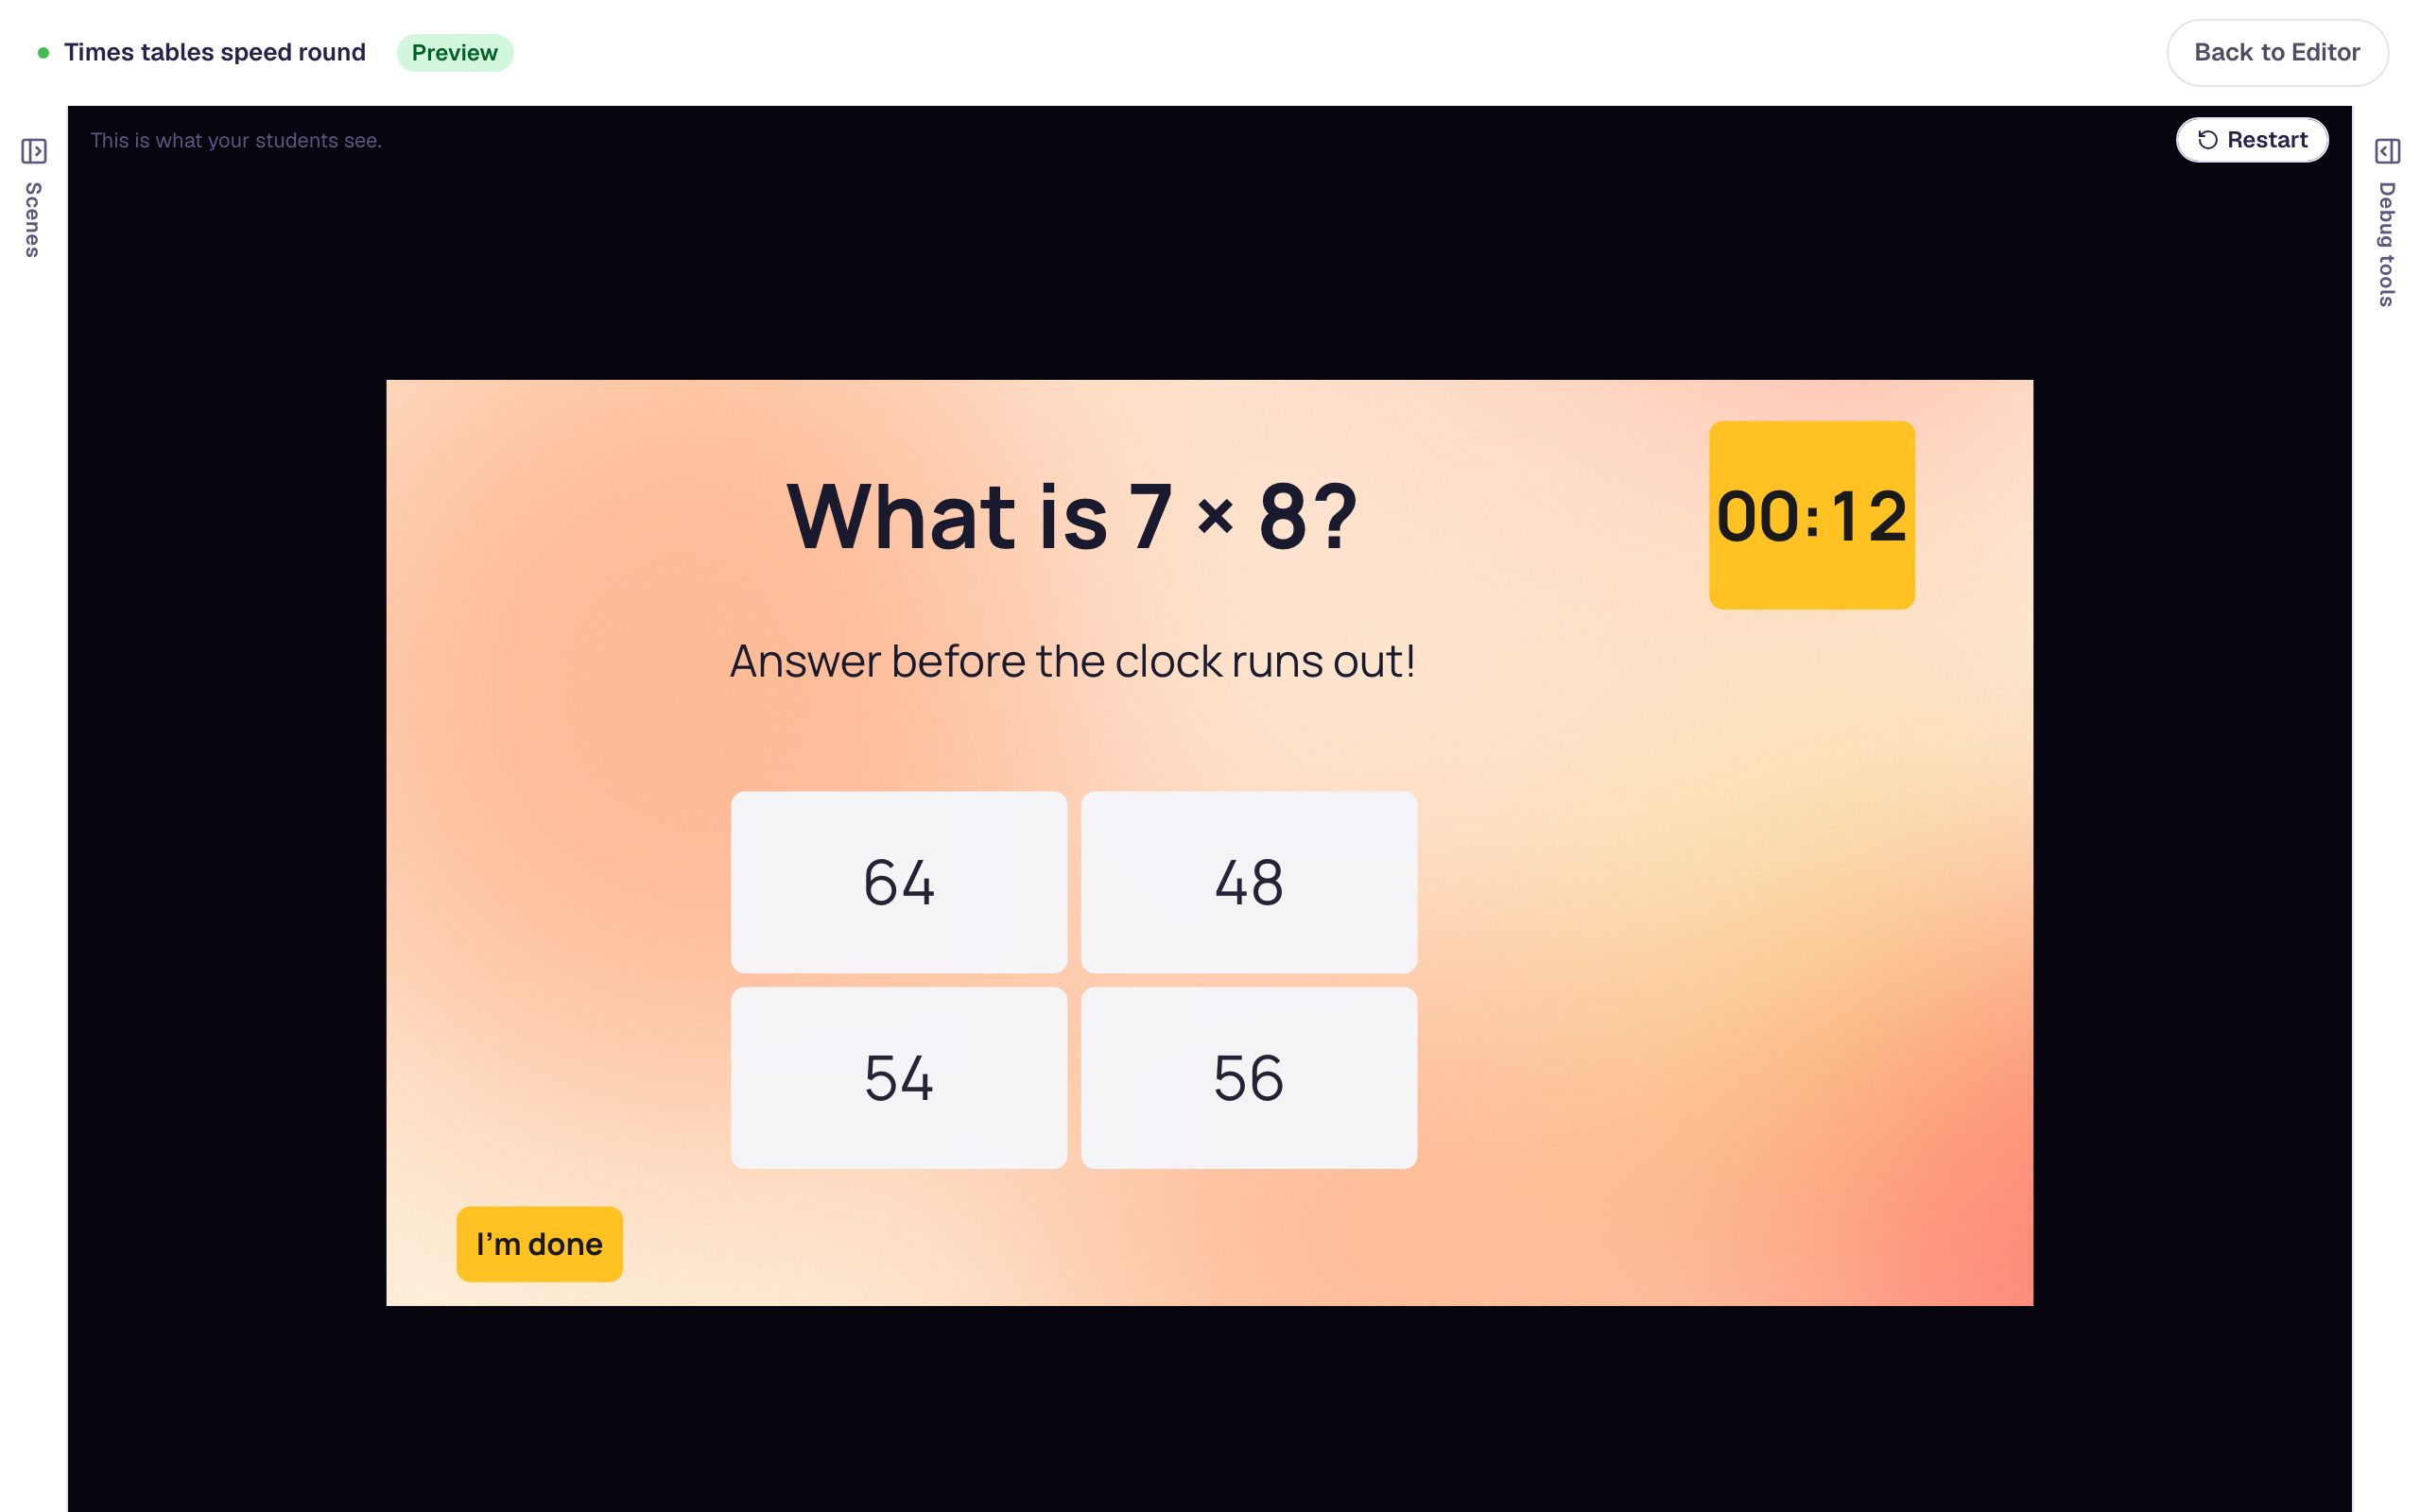
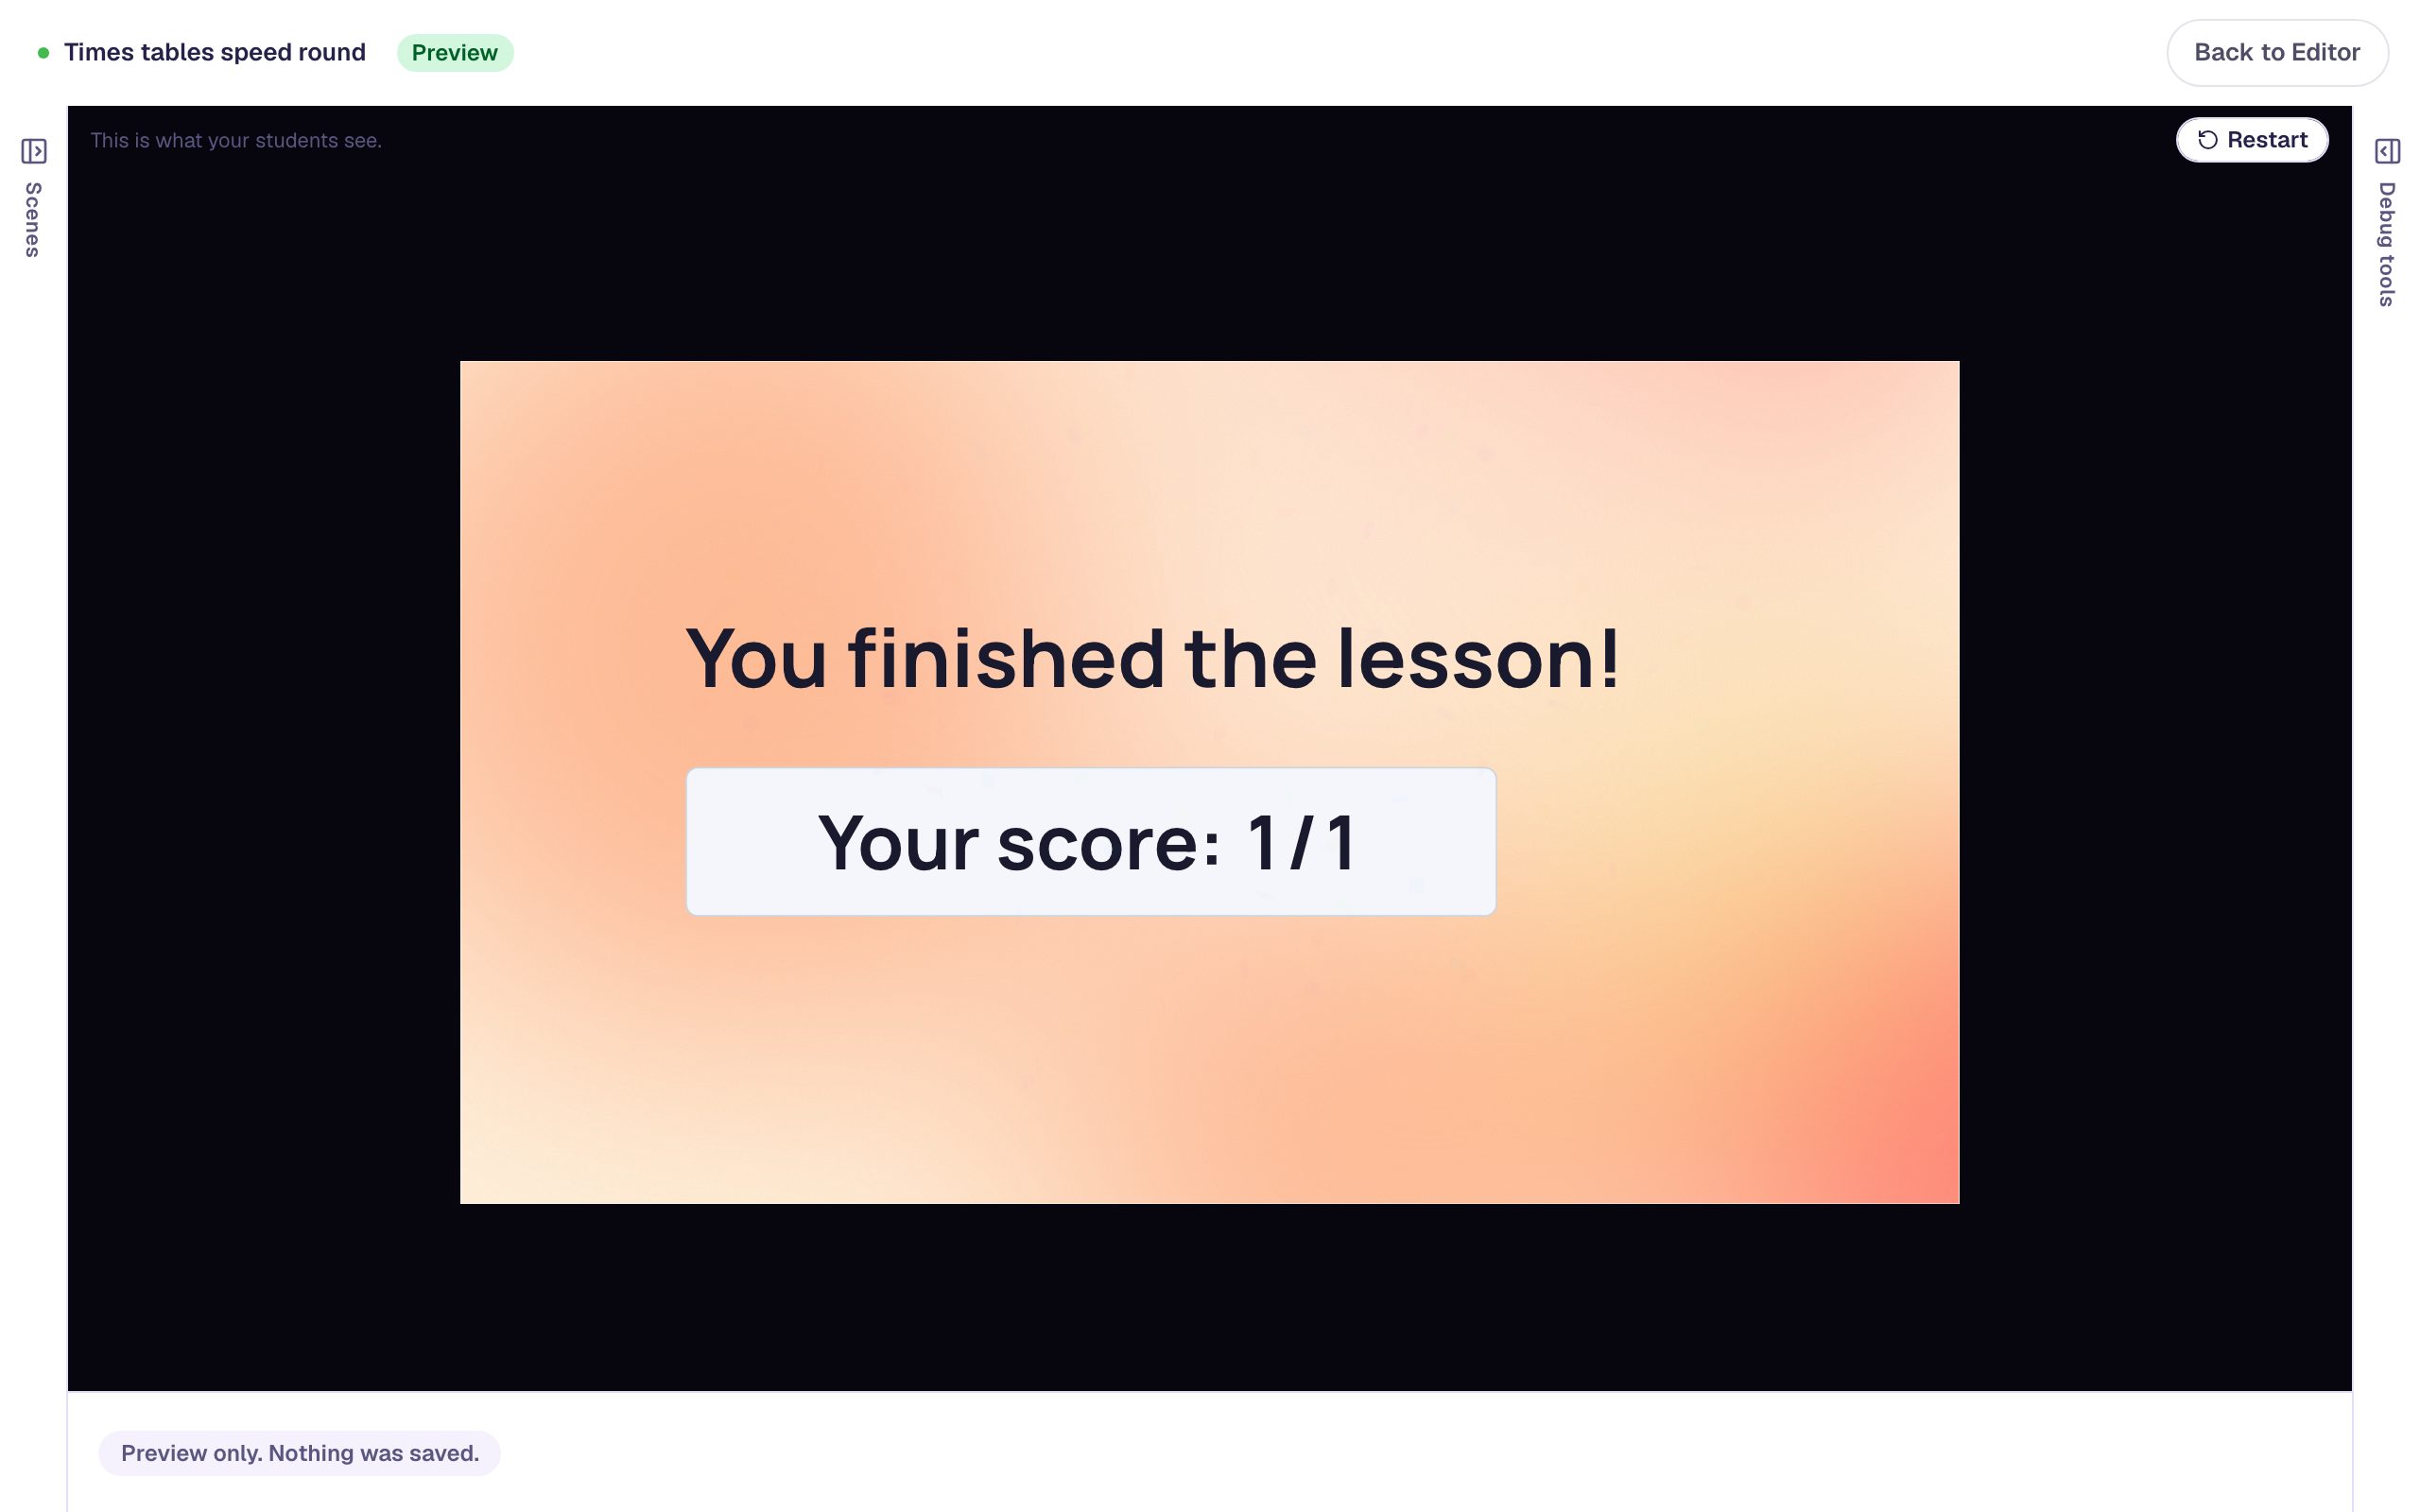
The clock starts counting the moment the scene appears. Pick 56 and the lesson goes straight to the ending with Your score: 1/1. The answers may come up in a different order than in the studio: a multiple-choice question shuffles them each time, unless you turn off Randomize Order in ⚙ Configure.
Now click Restart and don't answer. Watch the clock run down:
At 00:00 the student lands on Out of time and sees the answer.
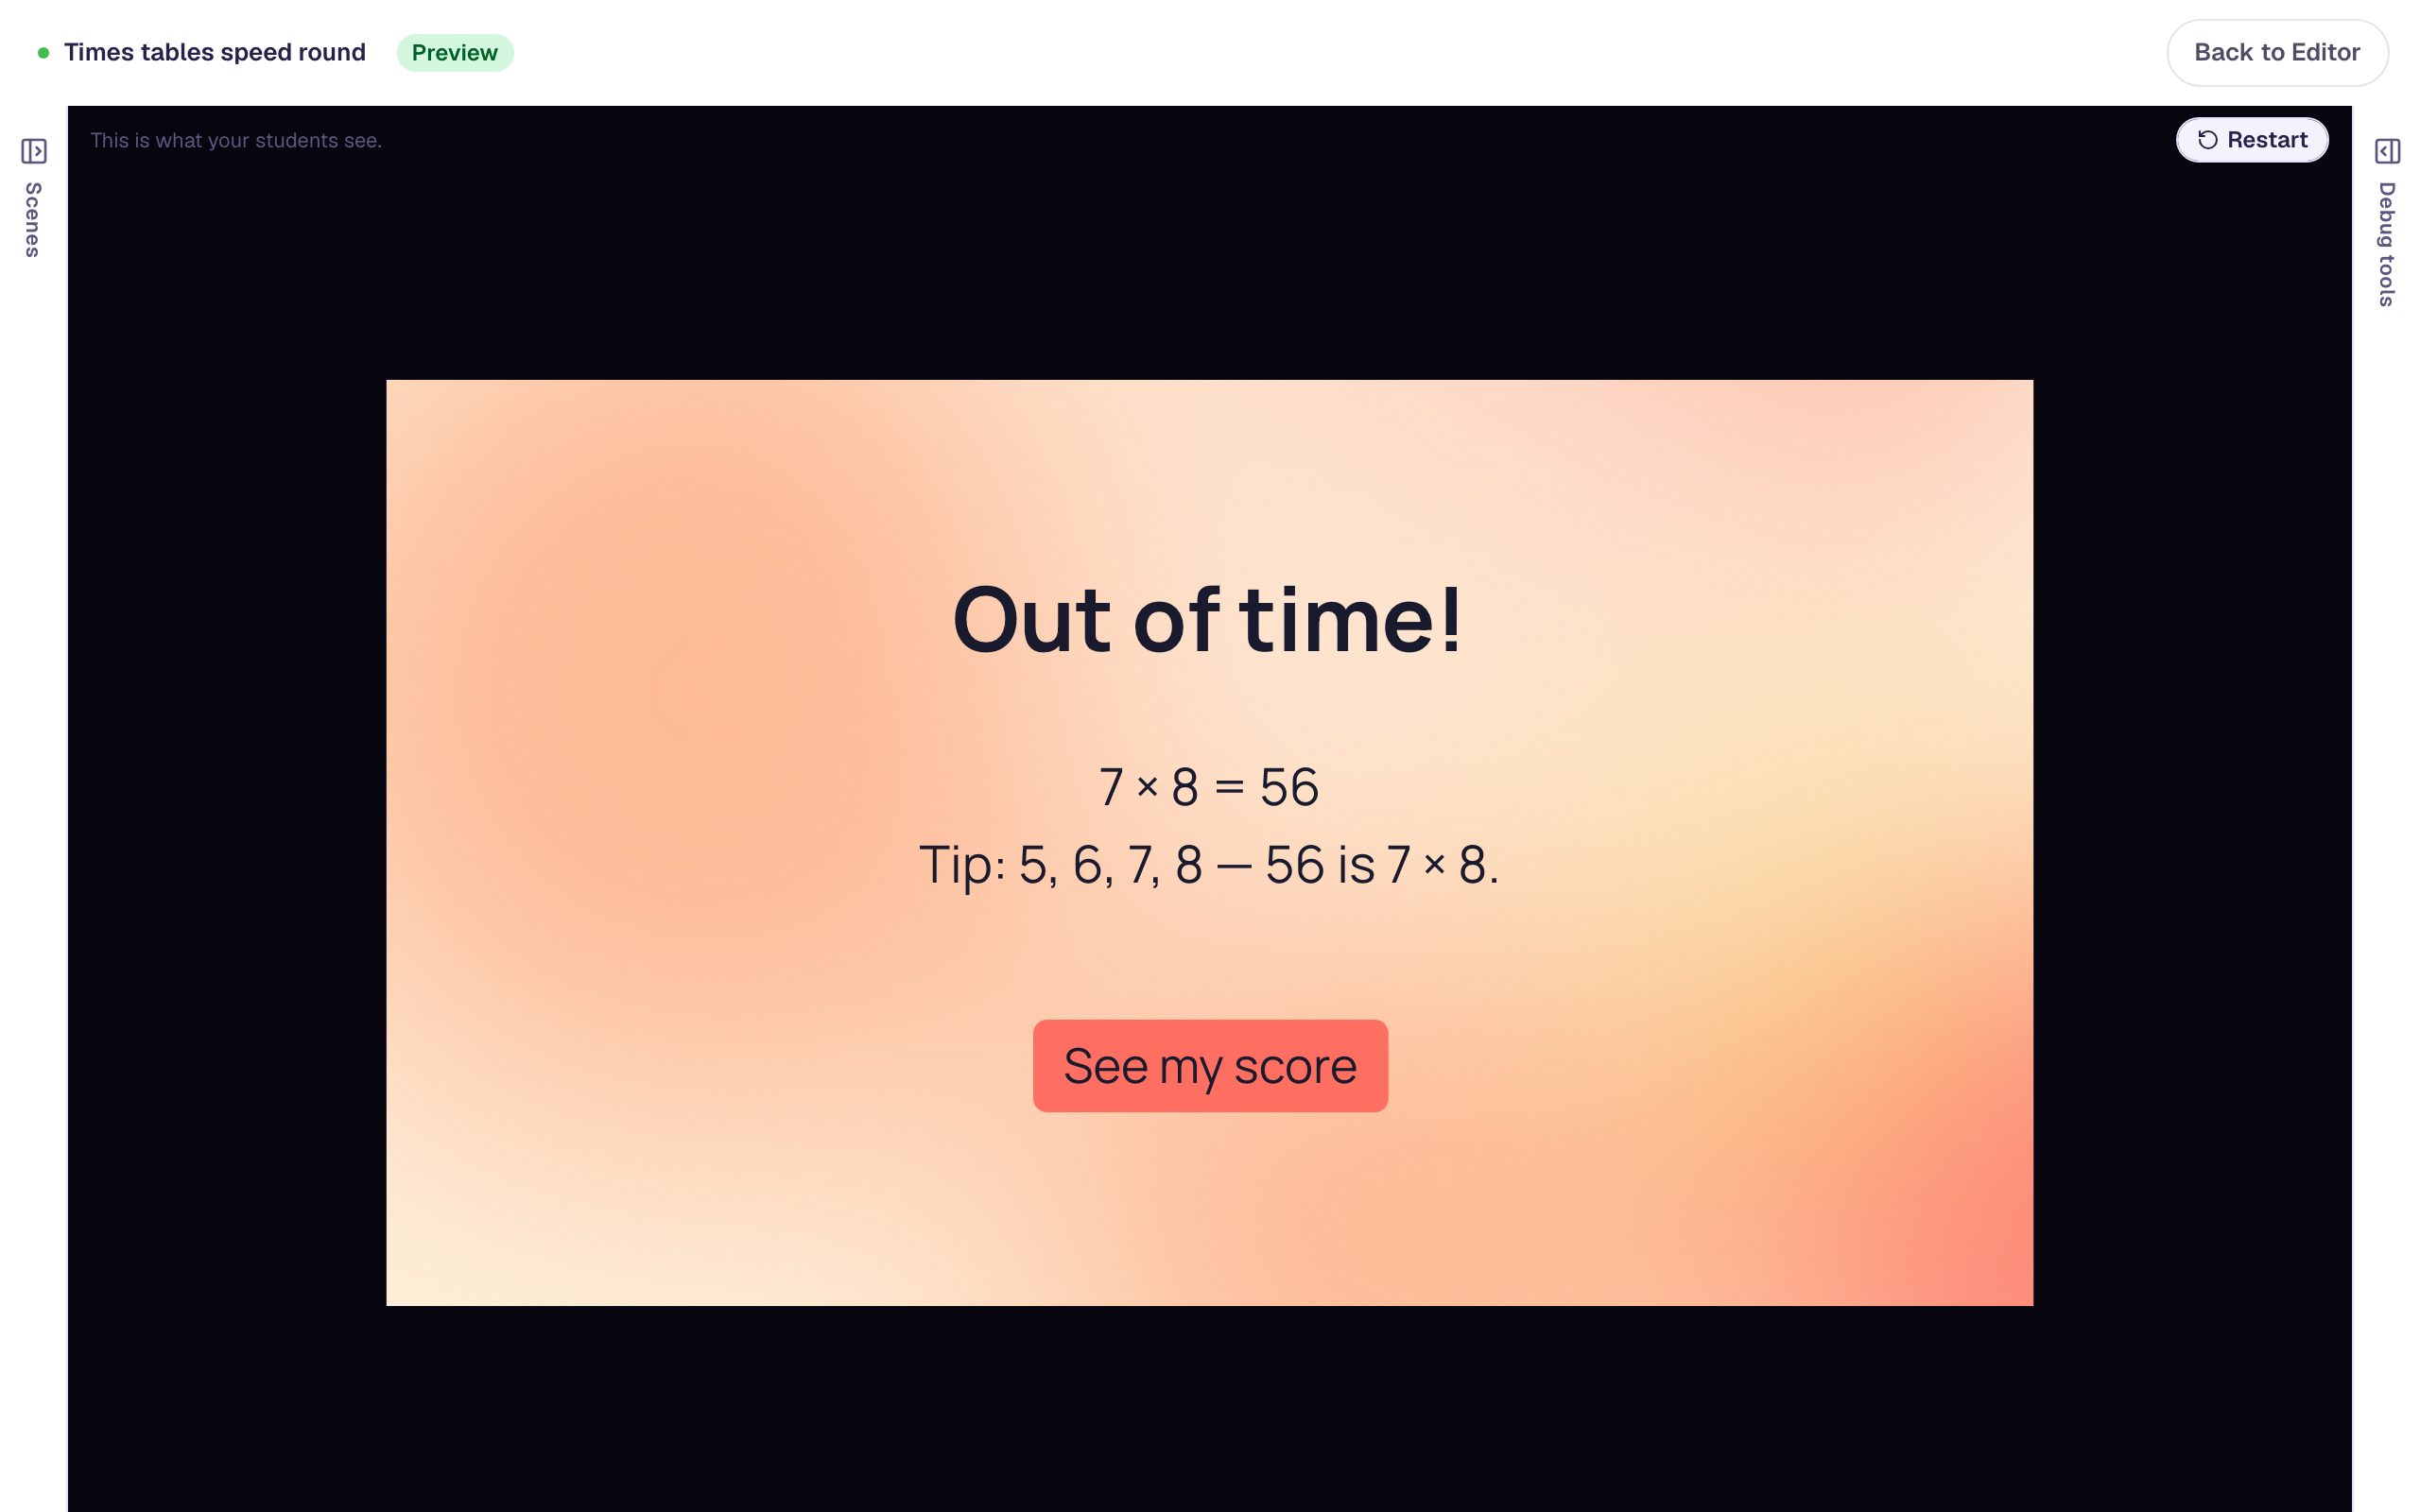
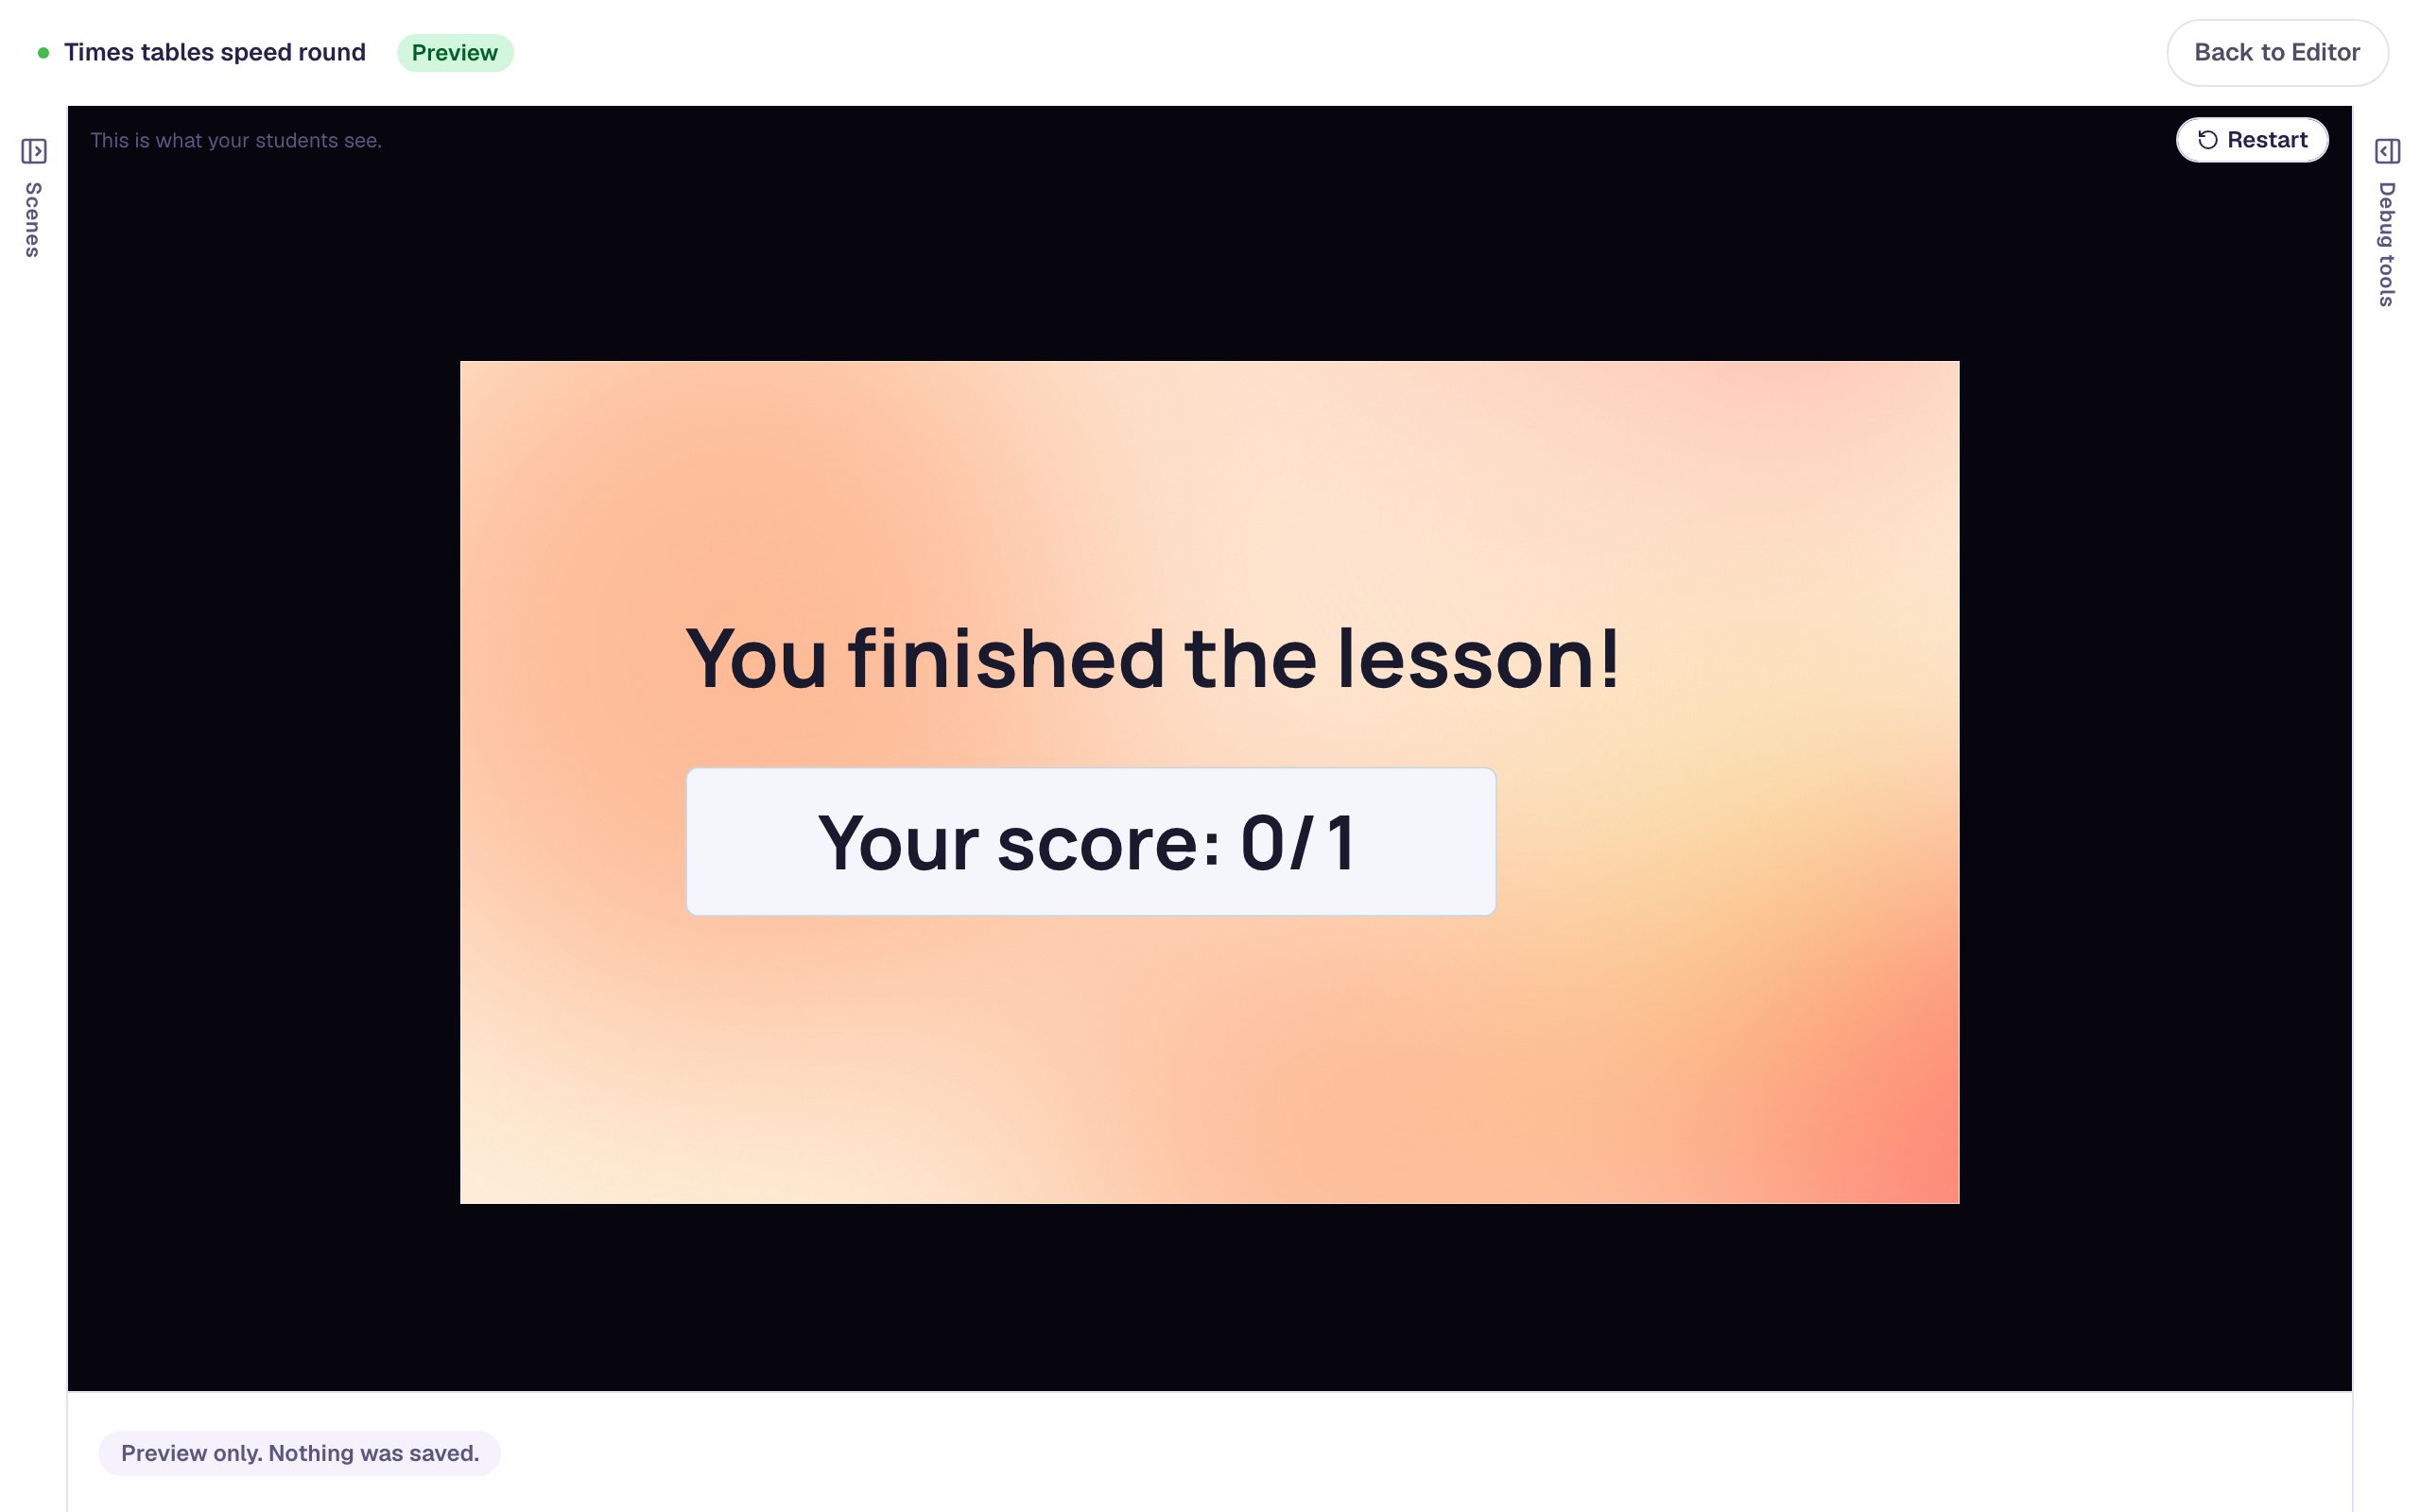
Press See my score. The ending shows Your score: 0/1, because the question was never answered.
A wrong answer doesn't end the round. The scene stays put, the student can pick again, and the clock keeps running, so a student who guesses wrong still has until 00:00 to find the right one.
What you built
A timed question made from two widgets and one behavior:
- a Multi Choice question whose scene sends a right answer to the Closing Scene (Progression → Specific),
- a Timer counting down from 15 seconds with Auto Start on, styled so students can't miss it, and
- an On Timer Complete behavior on the timer that navigates to an Out of time scene, which teaches the answer before the ending.
The same timer works with any question: a fill-in-the-blank, a number input, a matching game. In a longer round, point each question's Specific progression at the next question instead of the ending, and its timer at that question's own Out of time scene. If you'd rather move students on silently, without a clock on screen, the Lesson Graph can add a hidden timer for you: see Time runs out in The Lesson Graph.
For a game where the pace comes from the question itself, Build a conveyor-belt math game with a live score scrolls numbers past for students to tap.
Make this lesson yours
Add the lesson you just watched being built to your account, then change it for your class: your questions, your pictures, your colors.
Free to sign up, and you'll come straight back here. I have an account