Make a picture students can tap to explore
Put Hotspot dots on a picture of a plant and make each one reveal what that part does, so students explore a diagram by tapping it instead of reading a wall of labels.
- Level
- Beginner
- Time
- About 15 min
- Steps
- 7
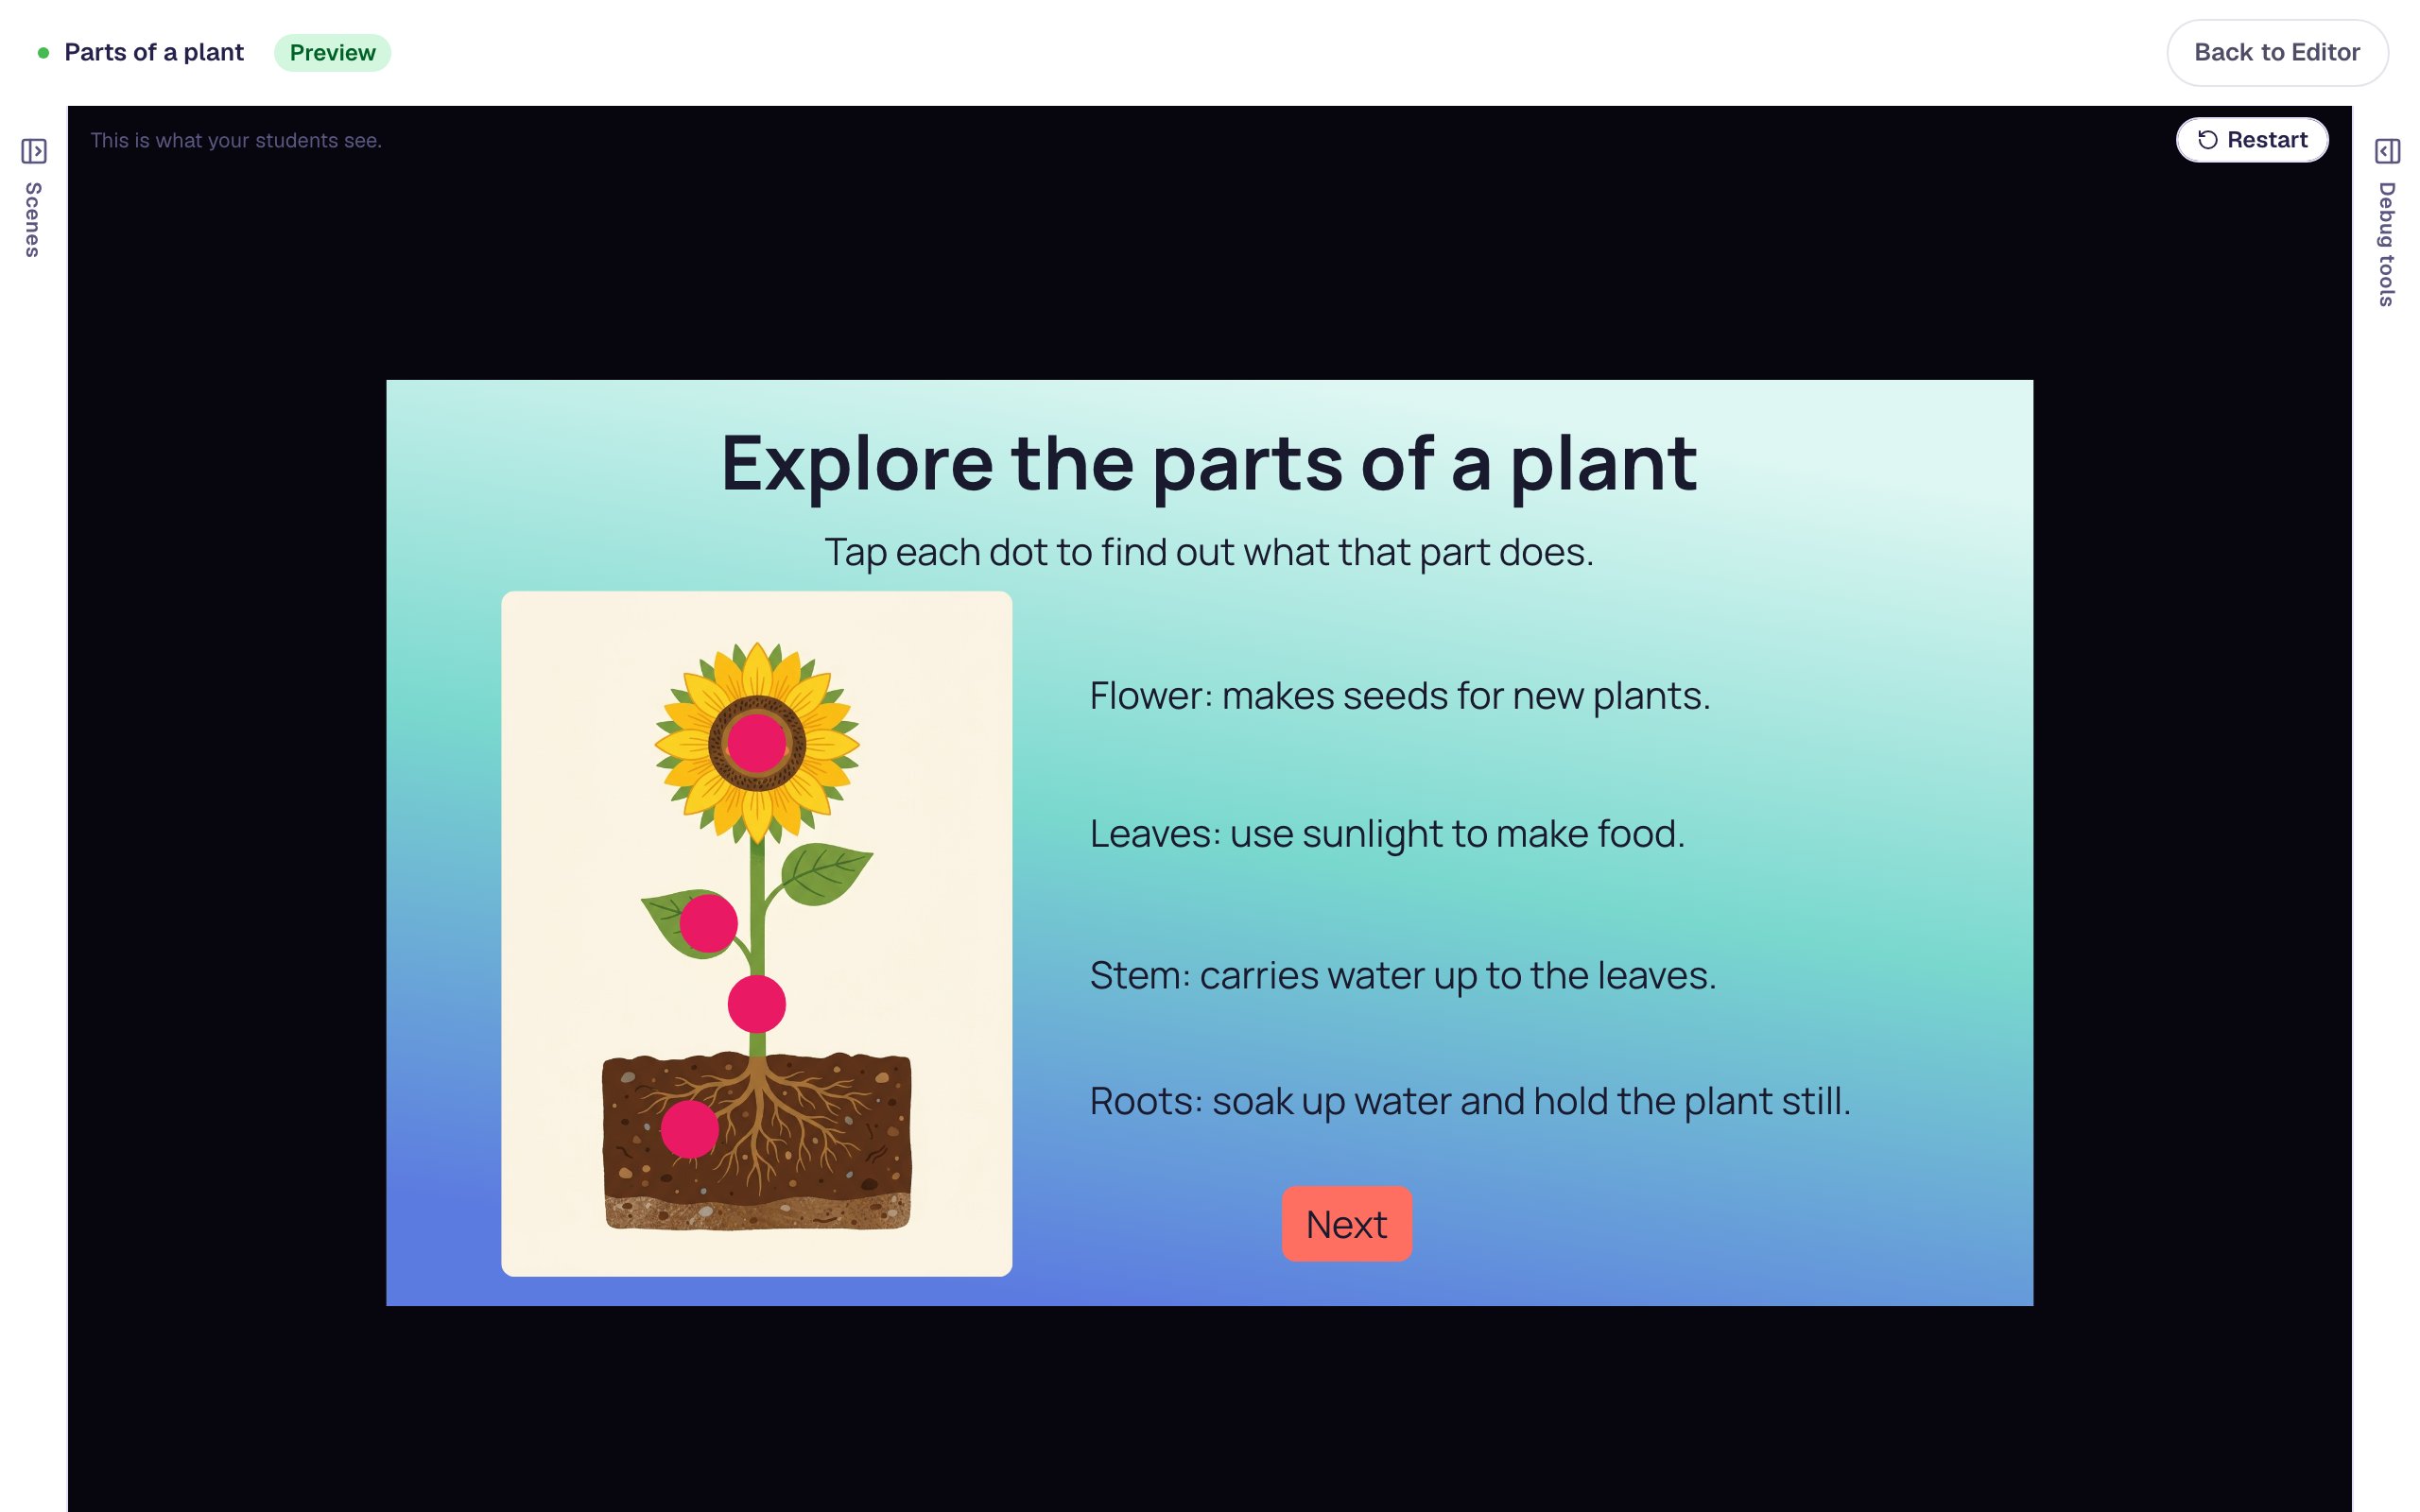
A "Parts of a plant" scene with a sunflower picture and four tappable dots. Each dot reveals one fact beside the picture, so after four taps the diagram is fully labelled, and a Next button finishes the lesson.
Get the finished lesson
Skip straight to the result, or keep it open beside the steps. Add this tutorial's lesson to your account and explore how it works in the studio.
Free to sign up, and you'll come straight back here. I have an account
A labelled diagram gives students every answer at once, so many of them glance at it and move on. A diagram they uncover one part at a time keeps them looking: they have to find the flower, tap it, and read what it does before they find the next part.
In this tutorial you'll build that diagram for a science lesson on the parts of a plant. Three kinds of widget work together:
- an Image of a whole sunflower plant, roots and all,
- four Hotspots, small round dots on the flower, a leaf, the stem and the roots, and
- four Body texts, one fact per part, set to Hidden until a student taps its dot.
When a student has tapped all four dots, every fact is showing and the picture is fully labelled. If you haven't used the studio before, start with Build your first quiz question: this tutorial moves quickly through the parts it already covers.
Step 1: Set the scene
Start a blank lesson (New lesson, then Start from scratch) and name it Parts of a plant by clicking Untitled lesson at the top left. Then, on the Opening Scene:
- Click an empty spot on the scene, open Background, click Choose a style, and pick Lagoon gradient under Gradients. Give the Closing Scene the same background, so the lesson ends in the same colors.
- Add a Heading that says
Explore the parts of a plant, and under it a Body that saysTap each dot to find out what that part does. - Add an Image. In Style & Layout set its Width to
300and Height to400, and drag it to the left side of the scene, under the instructions. - Click Choose image on the image and pick a picture of a whole plant. Ours is a sunflower with its roots showing in the soil, drawn with the image picker's Generate tab; Illustrate a lesson with pictures you generate shows how. The Upload tab works just as well for a photo or a scan from your textbook.
- In the image's Accessibility section, replace the alt text with a sentence a screen reader can read out:
A sunflower plant with its flower, leaves, stem and roots in the soil.
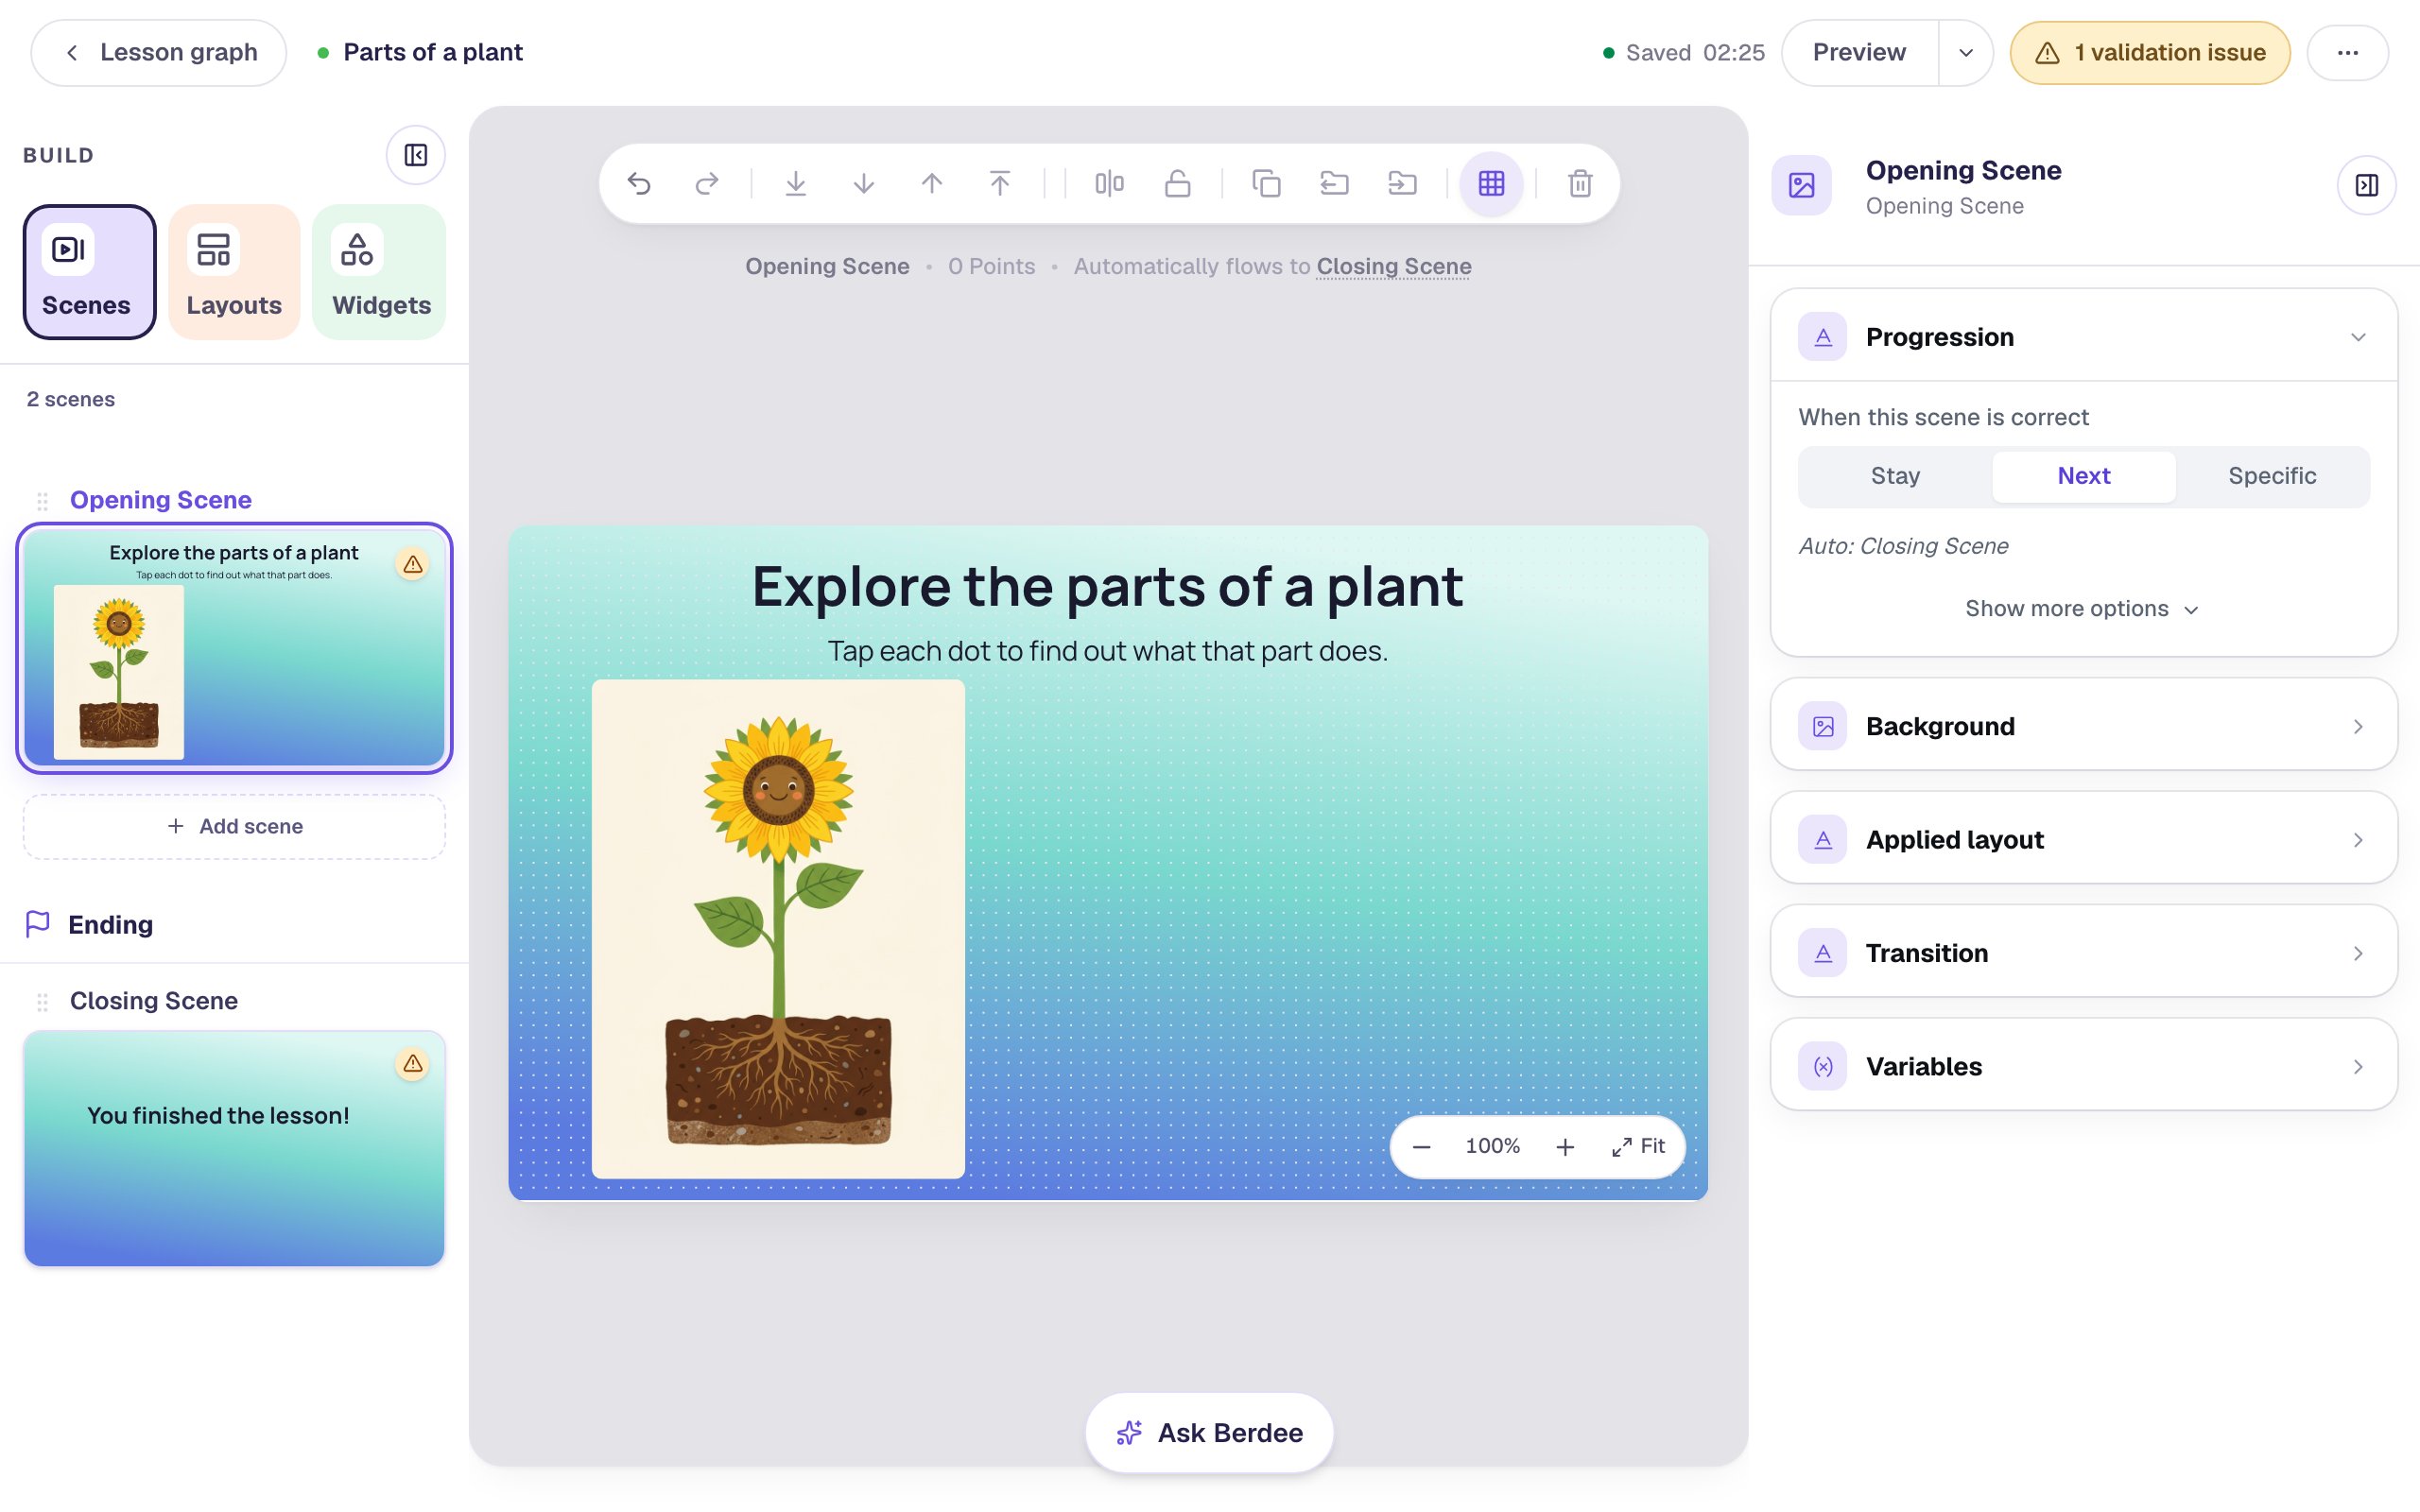
Pick a picture where every part you want to teach is big enough to tap. A dot needs a part at least as wide as a fingertip, so a tiny stem in the corner of a photo won't work.
Step 2: Turn a hotspot into a dot
A Hotspot is an invisible-until-you-style-it tap target: a rectangle or circle that students can press, and that does whatever you tell it to when they do.
Add a Hotspot from the widget list, then click ⚙ Configure on the canvas pill:
- Change Label to
Flower. Students won't see it, but you'll see it on the canvas and use it to tell the dots apart. - Set Shape to Circle.
- Switch Show Label off. The fact will do the explaining, so the dot itself stays clean.
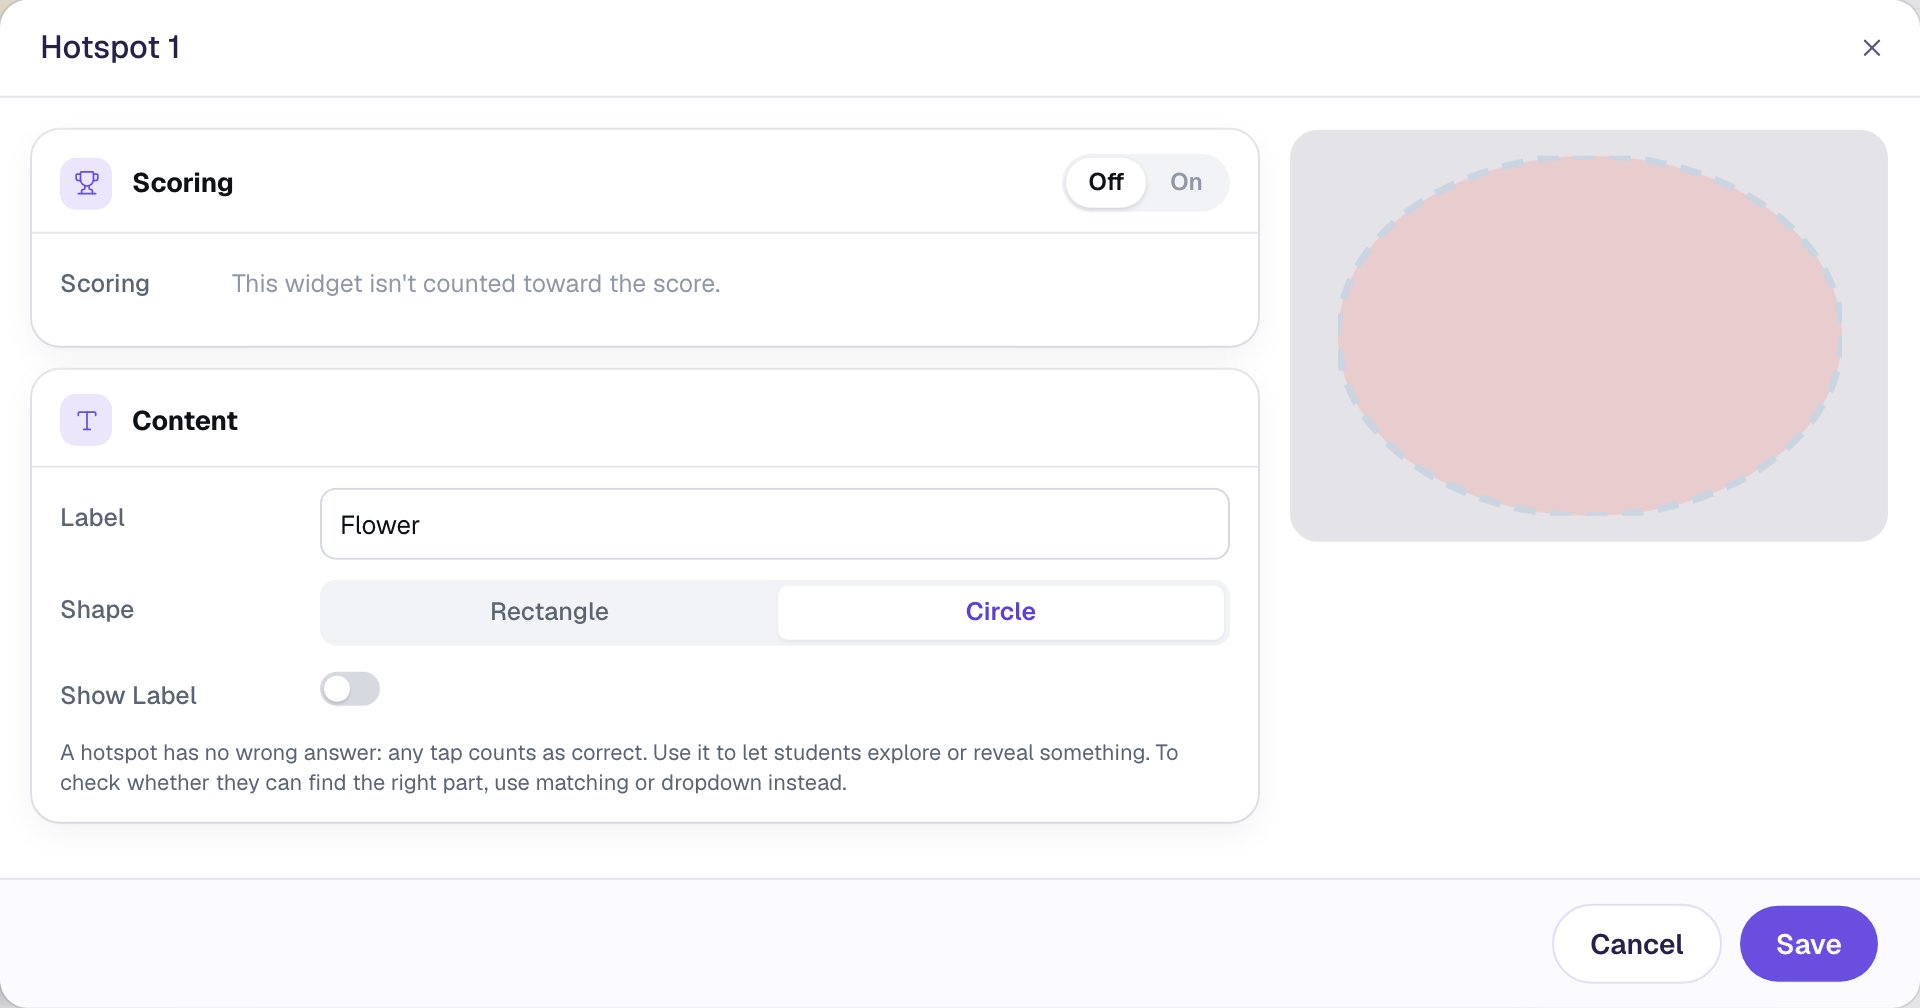
Leave Scoring on Off. A hotspot counts any tap as correct, so it can't check whether a student found the right part. It's for exploring, not for testing; to check that students can name the parts afterwards, use a question like Matching on the next scene.
Click Save. Now make it look like a dot. In Style & Layout:
- Set Width and Height to
34. - Set Fill Color to white (
#ffffff). - Set Border Color to a bright color that stands out against every part of your picture. We used a pink,
#e91963.
Drag the dot onto the middle of the flower.
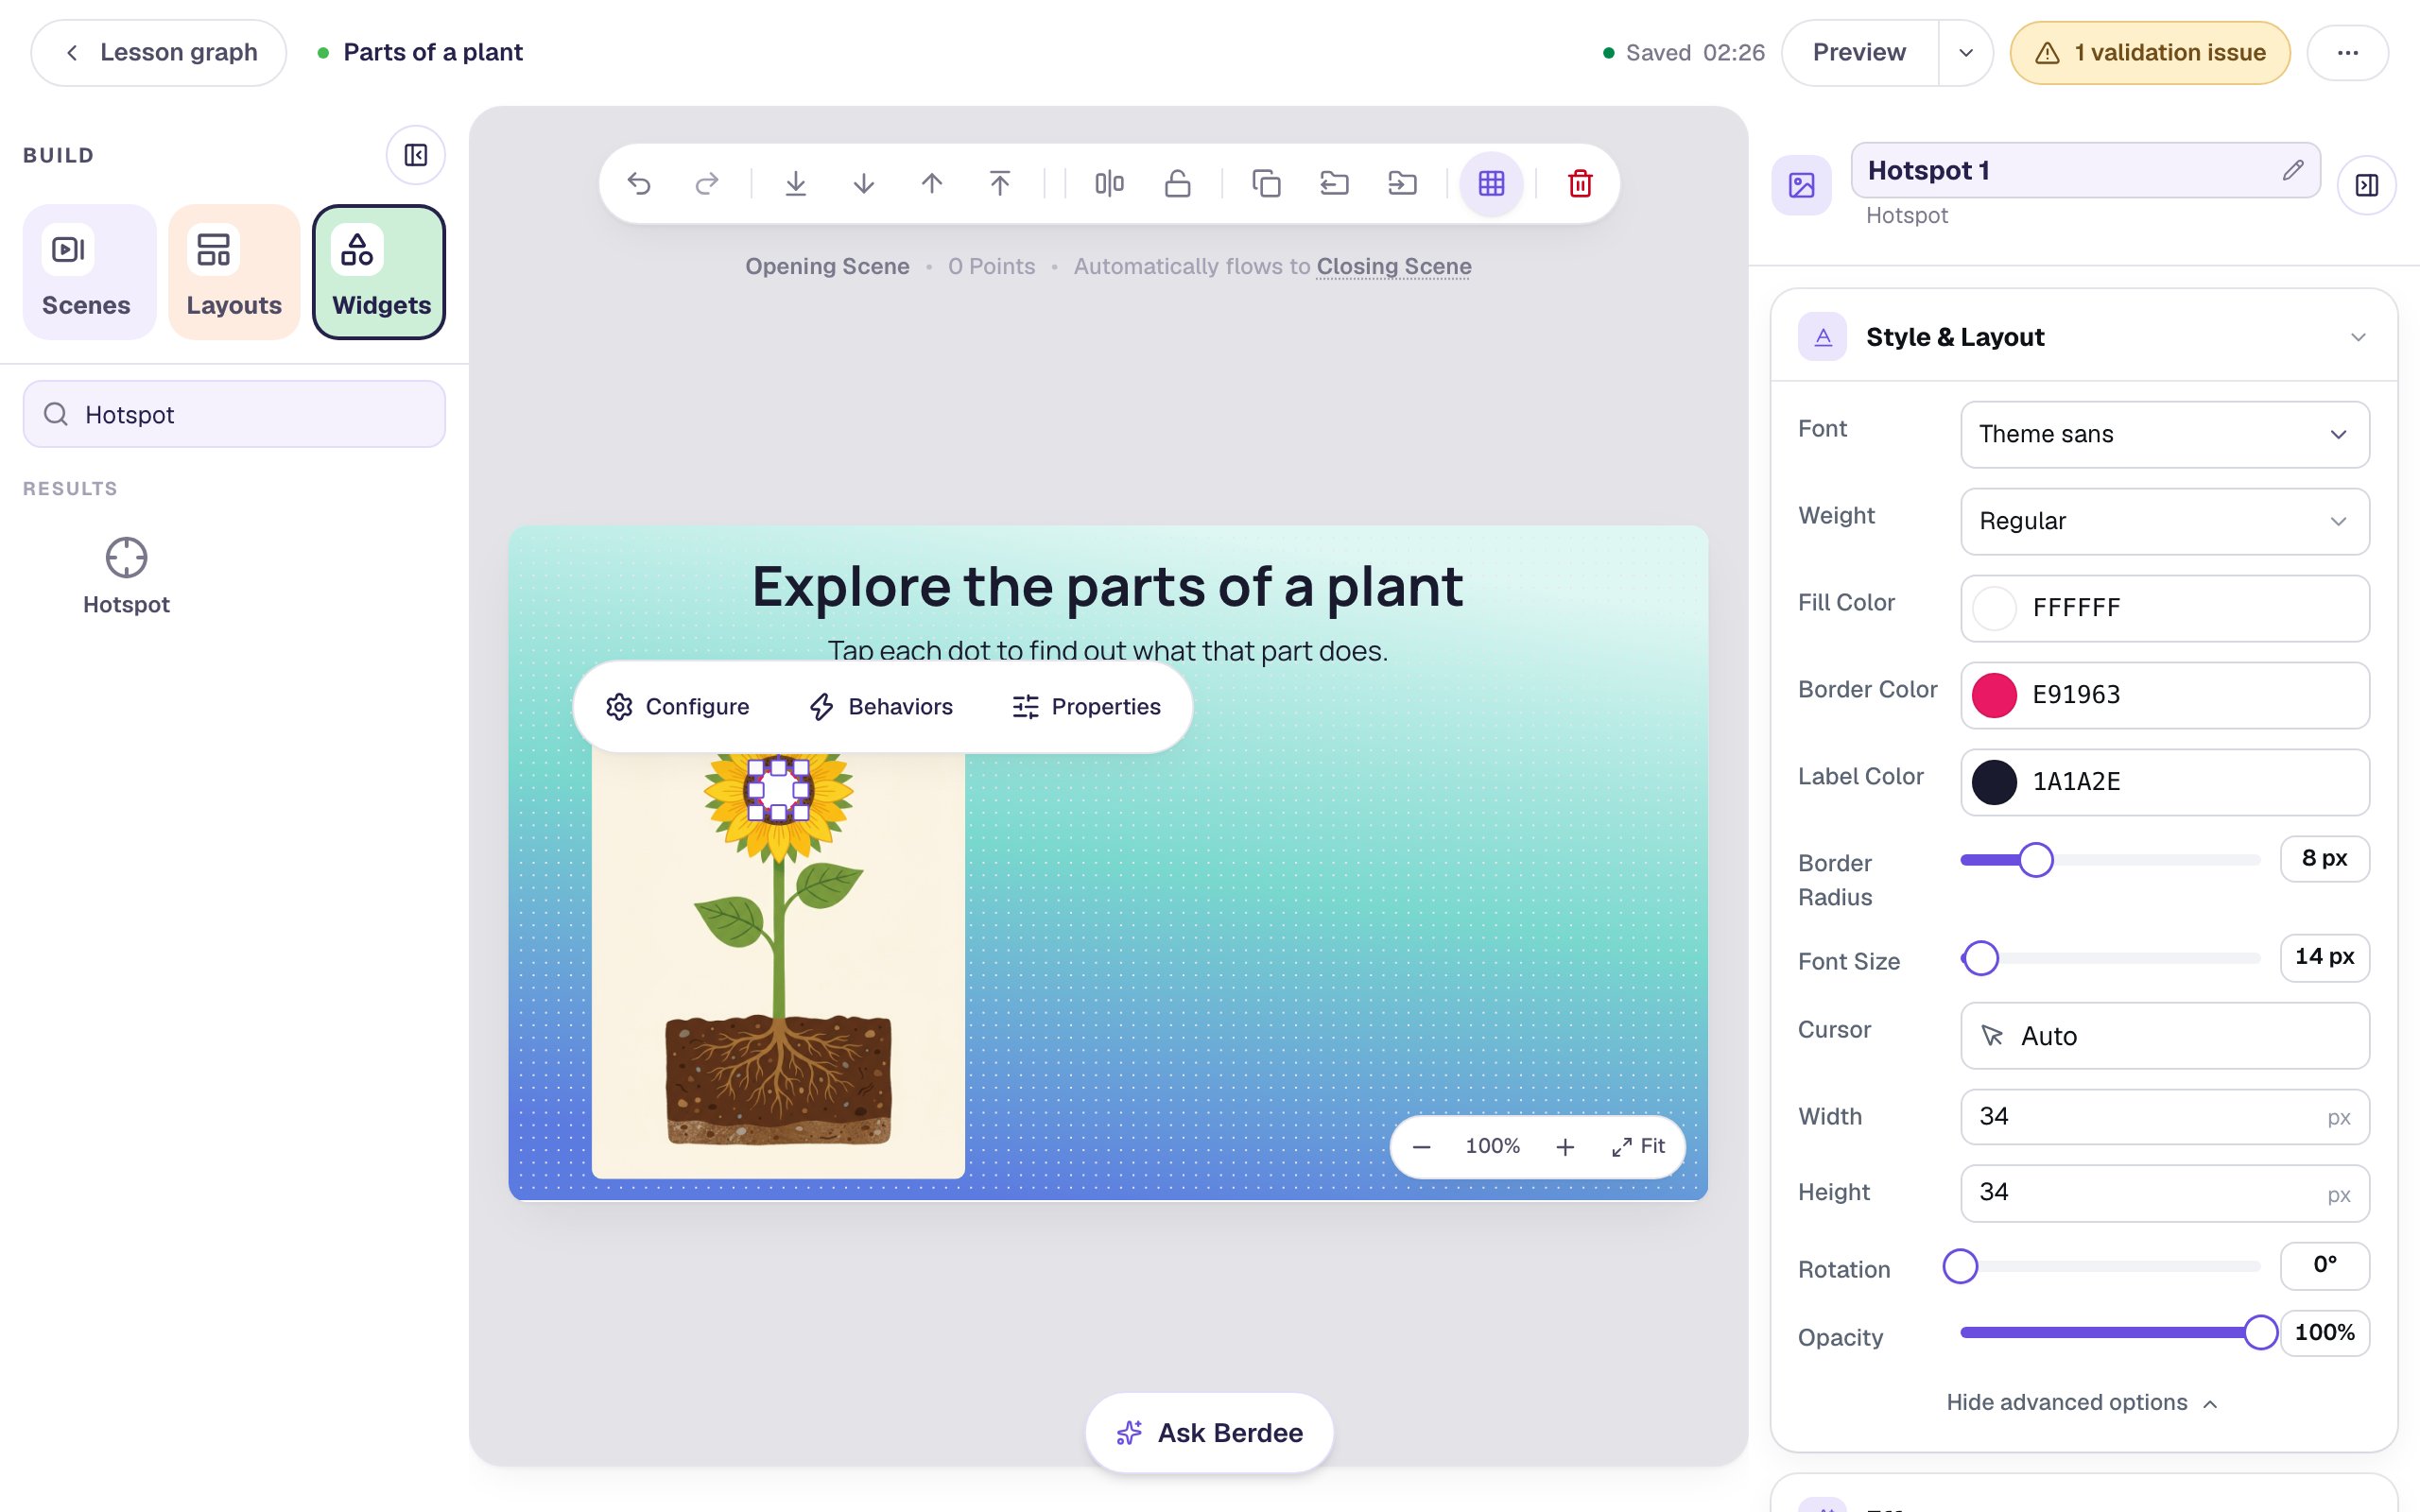
The border color matters more than it looks. When a student taps a hotspot, it fills with its Border Color, so a tapped dot turns solid pink. That shows students which parts they've already explored.
Step 3: Put a dot on every part
With the dot still selected, press ⌘ D (Ctrl + D on Windows) to copy it, and drag the copy onto a leaf. Click ⚙ Configure and change its Label to Leaves. Do the same twice more: a dot on the stem labelled Stem, and a dot on the roots labelled Roots.
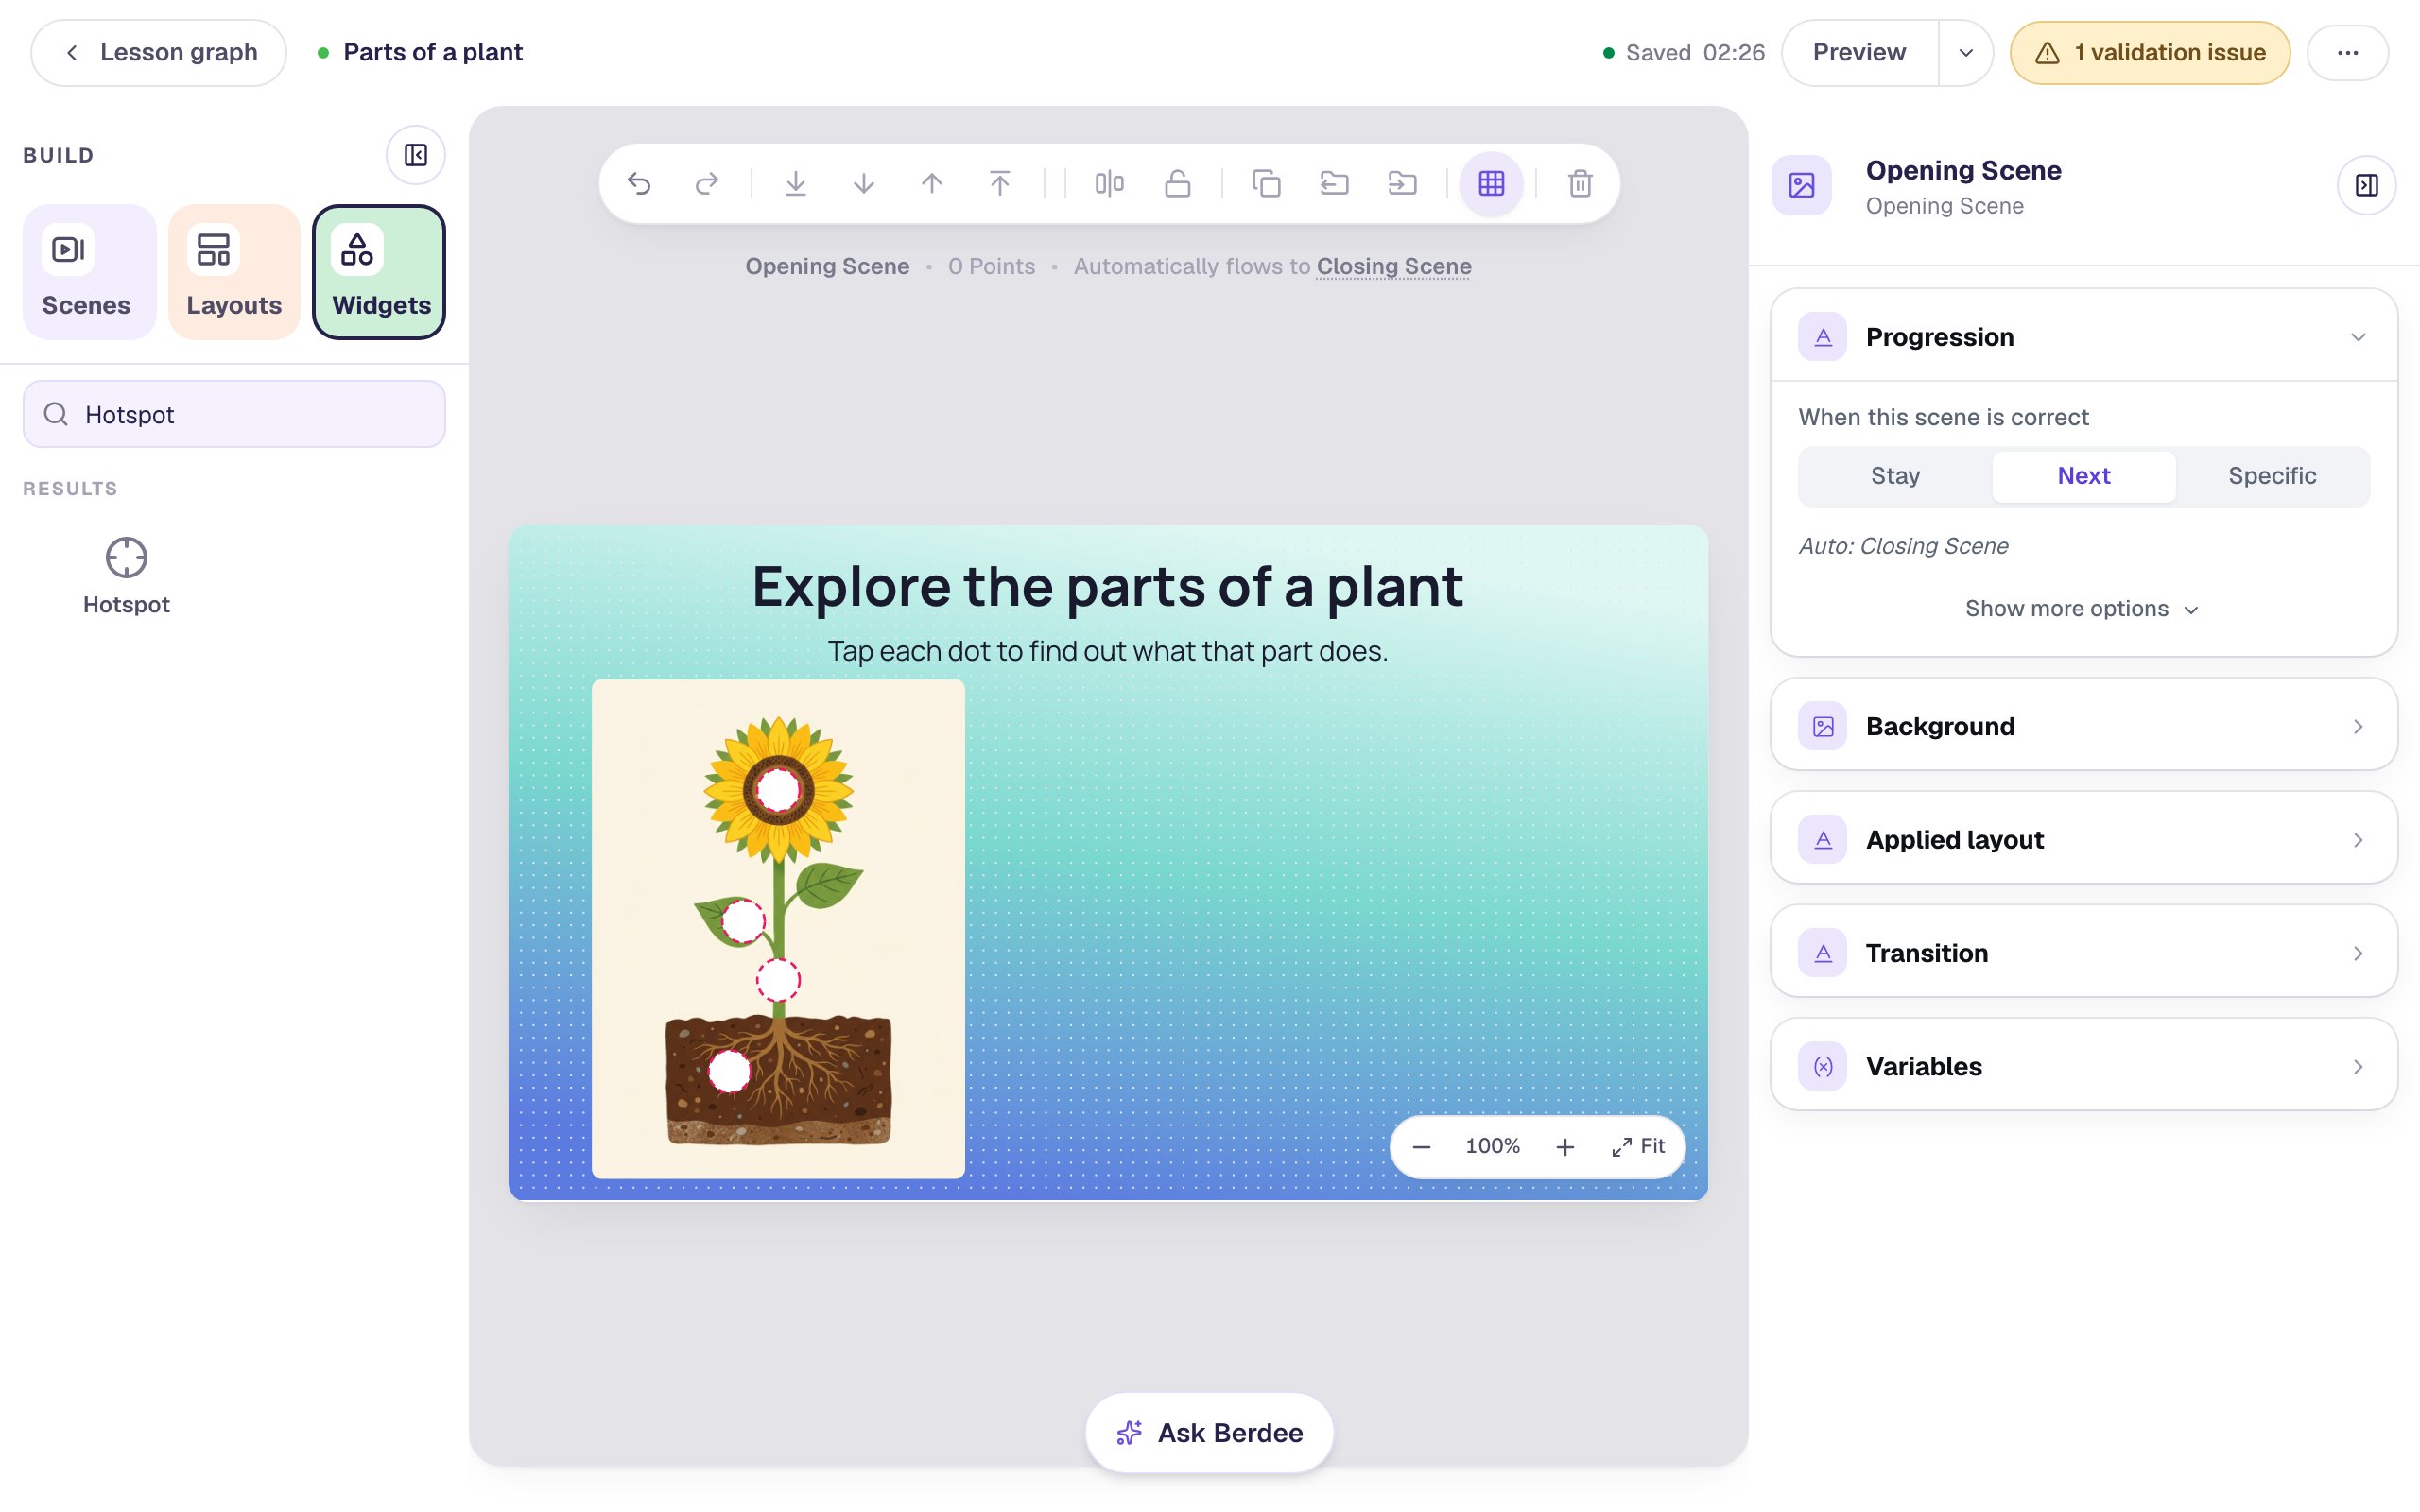
The studio draws a hotspot's ring dashed, so you can find it even on a busy picture. Students see a solid ring.
Step 4: Write what each part does, then hide it
Add four Body texts in the empty space on the right, one per part:
Flower: makes seeds for new plants.Leaves: use sunlight to make food.Stem: carries water up to the leaves.Roots: soak up water and hold the plant still.
For each one, set Font Size to 22, choose Fixed width and a Width of 480, and pick Align left, so the four facts line up on the same left edge. Line them up from top to bottom in the same order as the parts on the plant.
Then rename each one so you can find it later. At the top of the properties panel, click the widget's name (it starts as something like Text 3), type Flower fact, and press Enter. Name the others Leaves fact, Stem fact and Roots fact.
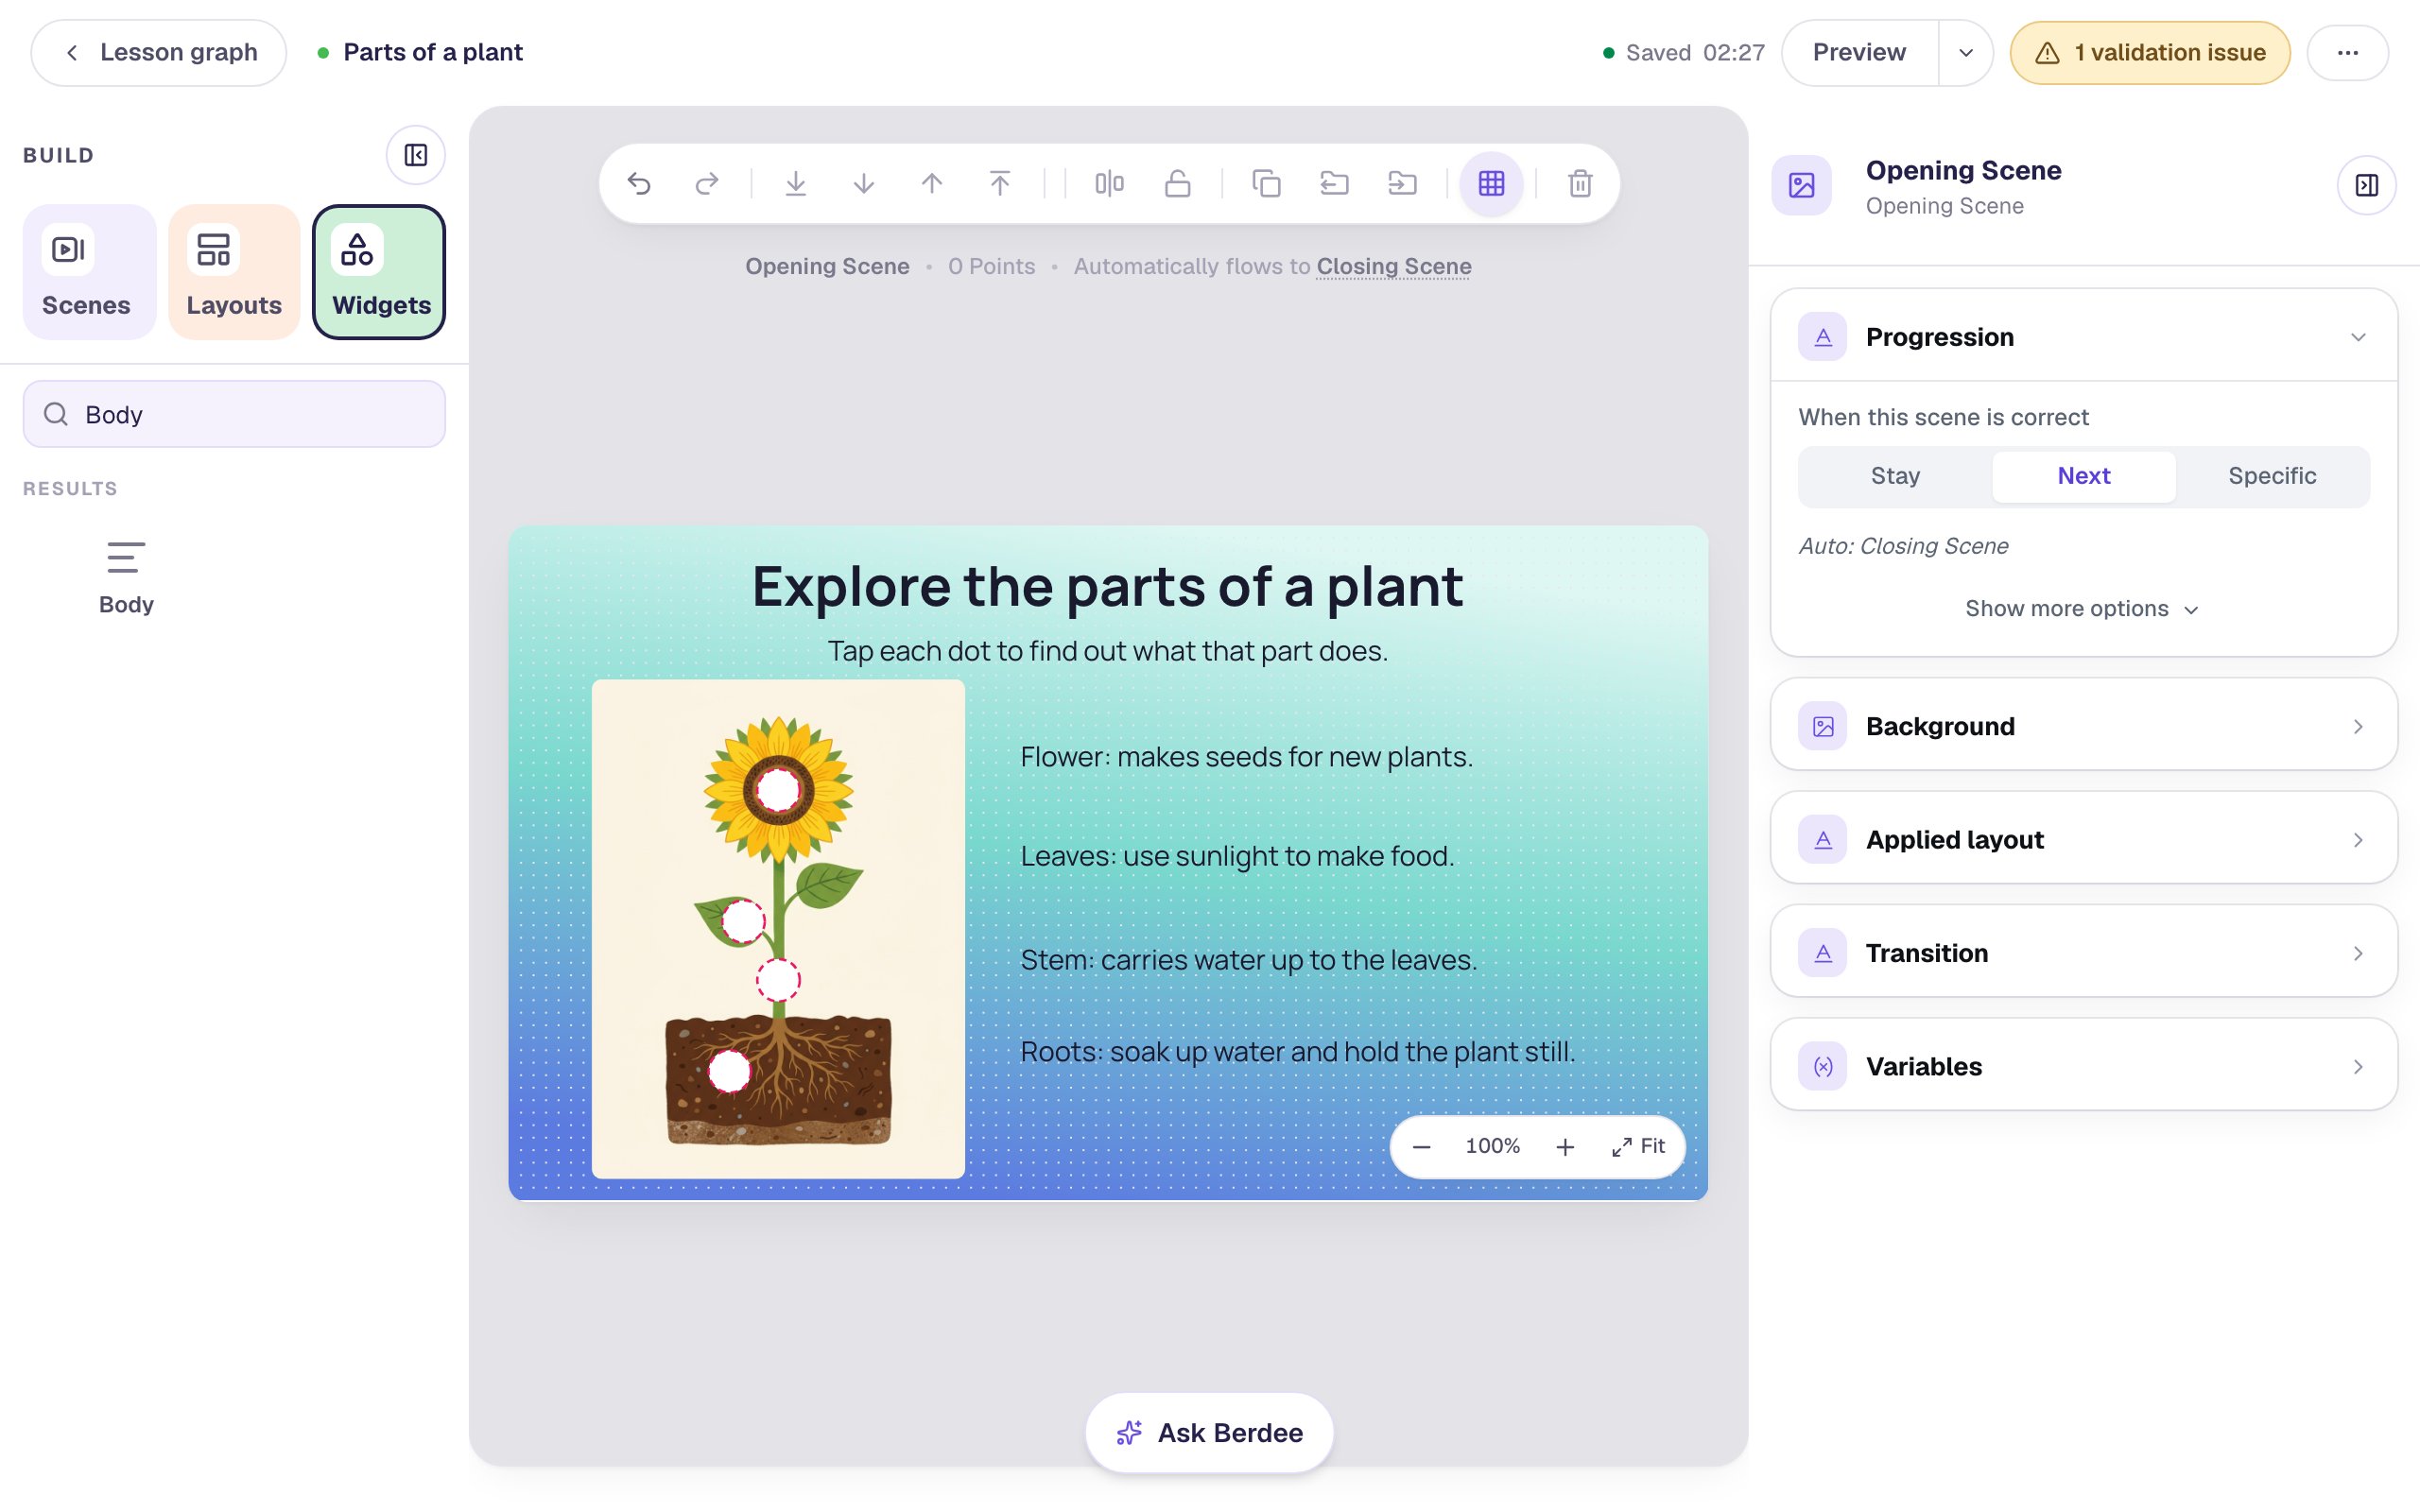
Now hide them. Select each fact, open Visibility, and change Mode from Visible to Hidden.
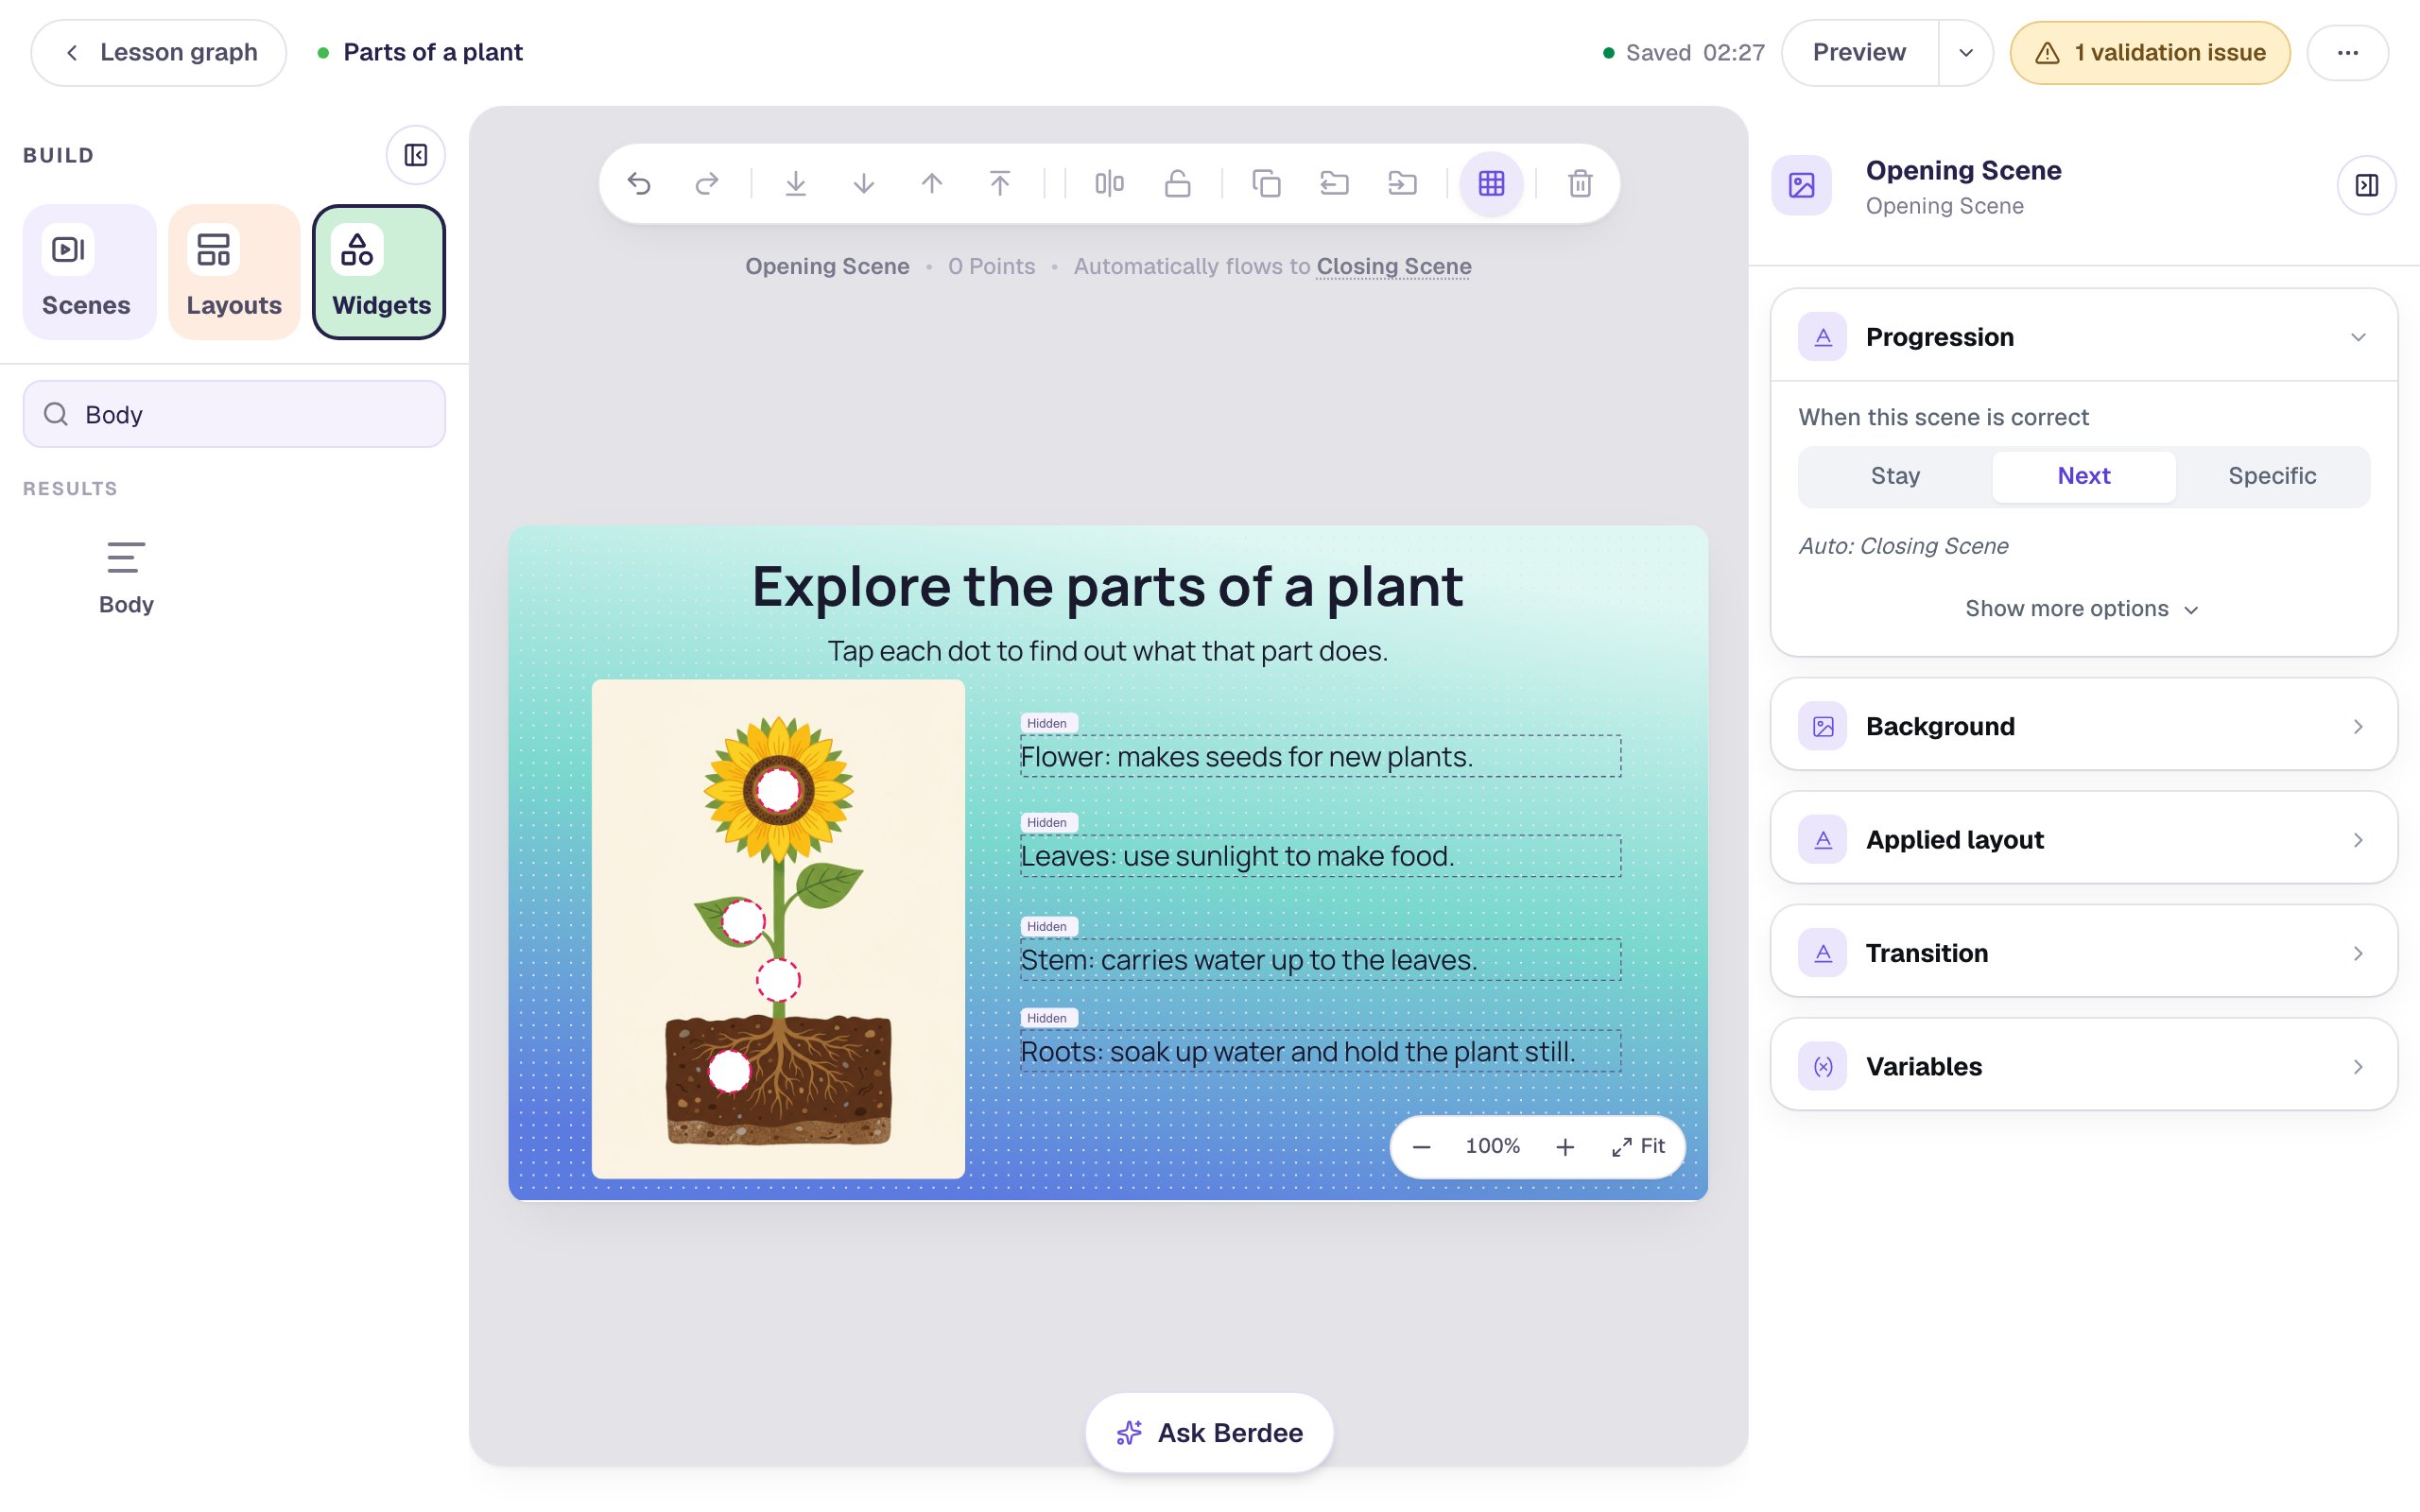
The facts don't vanish from the canvas: the studio draws every widget so you can still select and edit it. The dashed outline and the Hidden tag mean students won't see the fact when the scene opens.
Step 5: Make each dot show its fact
A dot does nothing until you give it a behavior. Click the flower dot, then open Behaviors in the properties panel:
- Click Add Behavior and choose On Press. A new behavior starts with a Display Message action.
- Change Display Message to Widget Method. Two more lists appear.
- In the first list, pick Text: Flower fact. In the second, pick Show.
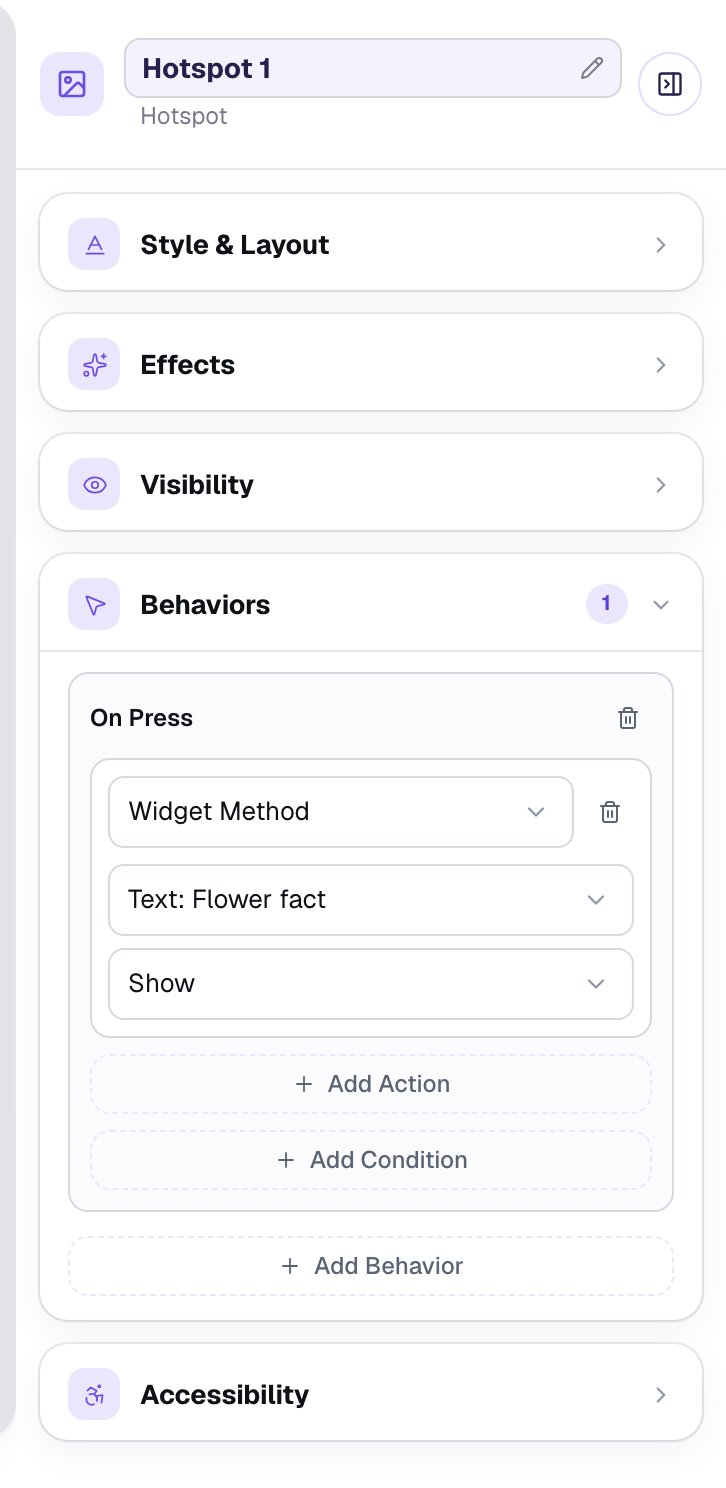
Give the other three dots the same behavior, each with its own fact: the Leaves dot shows Text: Leaves fact, the Stem dot shows Text: Stem fact, and the Roots dot shows Text: Roots fact.
Use Show, not Toggle Visibility. A hotspot switches on and off with each tap, so a second tap turns the dot white again. With Show, the fact stays up whatever the dot does, and a student who taps twice doesn't lose what they've read.
Step 6: Add a Next button
Because none of the dots is graded, this scene never counts as "correct", so it won't move on by itself. Students need a button to finish.
Add a Button, click ⚙ Configure, change its Label to Next, and click Save. Click Behaviors on the canvas pill, then Make this a "Next" button, check that Goes to says Closing Scene, and click Add behavior. Set its Font Size to 22 and drag it under the facts.
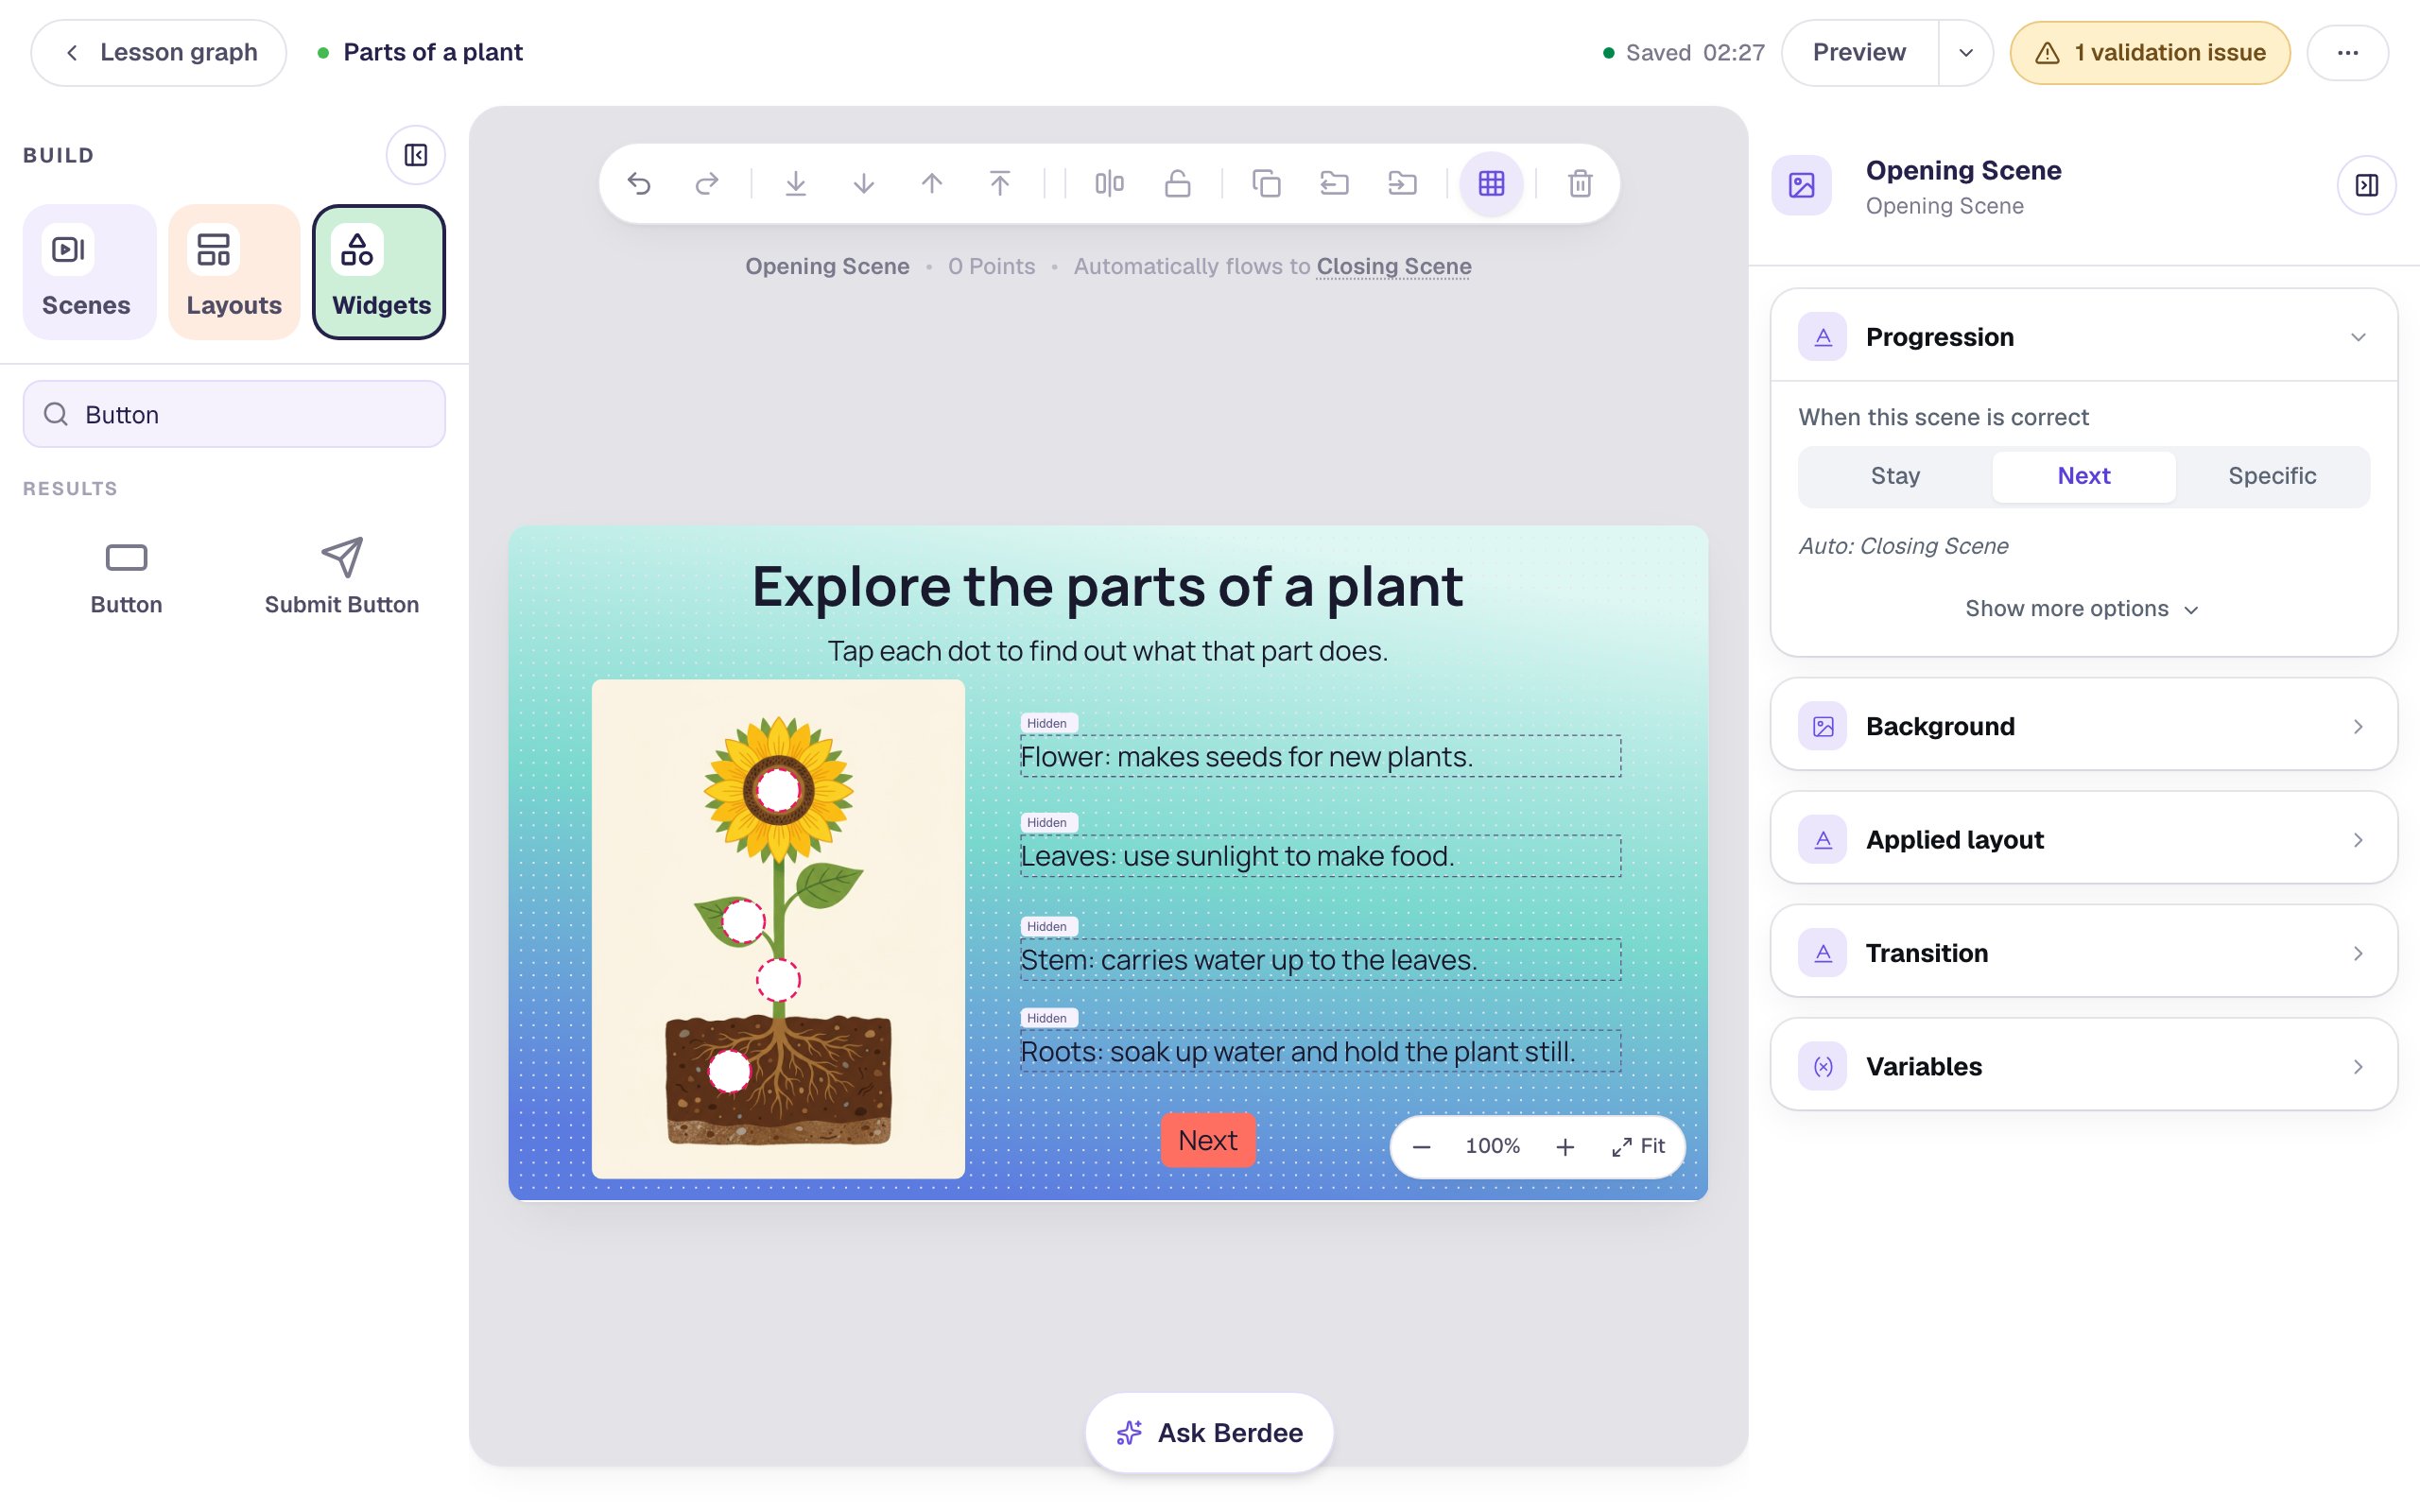
The yellow 1 validation issue pill at the top right is about publishing, not about this scene: before you publish, Berdee needs one Submit button set to Lesson somewhere in the lesson. A lesson this short usually has a quiz scene after it, and that's the place for it. Build your first quiz question shows how.
Step 7: Try it as a student
Click Preview and explore the plant like a student would:
- Tap the dot on the flower. It turns pink, and Flower: makes seeds for new plants. appears on the right.
- Tap the other dots in any order. Each fact appears in its own place, so the list fills in from top to bottom whatever order students choose.
- Press Next to finish.
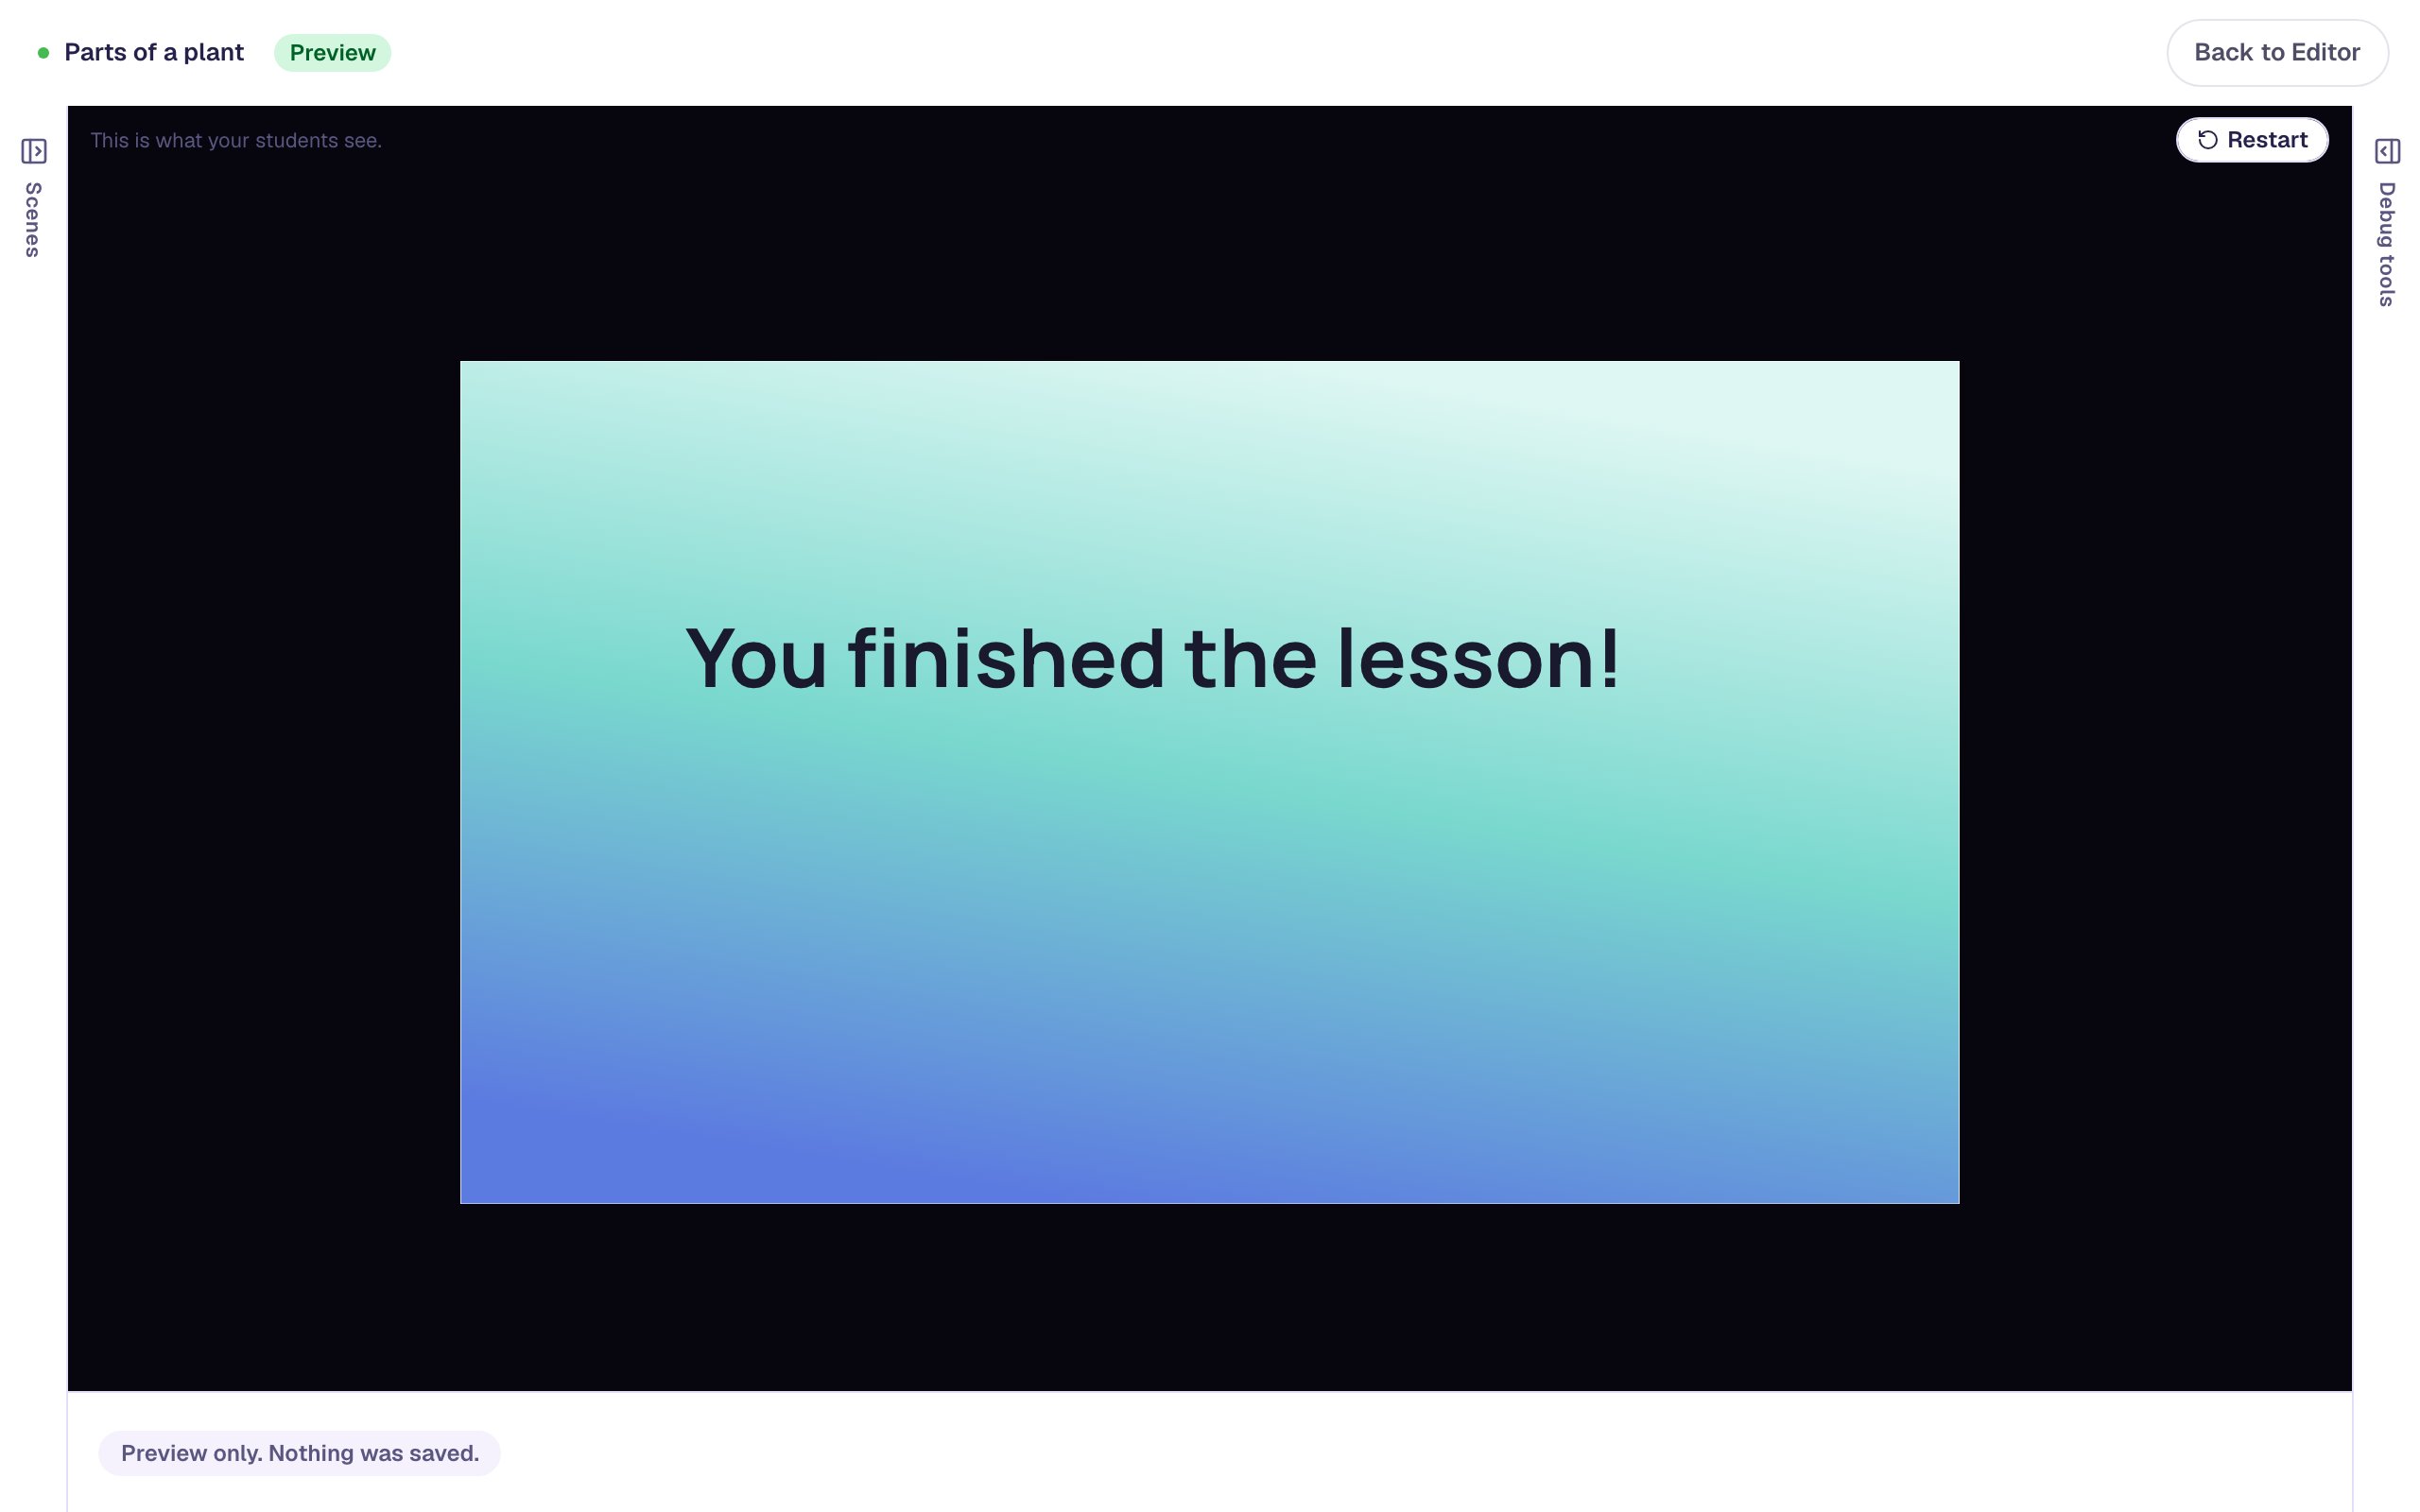
The ending shows no score because nothing in this lesson is graded. That's right for an exploring scene.
Students using a screen reader or a keyboard can explore too. Each dot is a button they can reach with Tab and press with Enter or Space. A hidden label is never read aloud, since it's often the answer, so a screen reader announces the dots as "Hotspot 1 of 4", "Hotspot 2 of 4" and so on, from top to bottom. To give them more helpful names without giving the parts away, type something neutral like Part of the plant into each dot's Alt Text under Accessibility.
What you built
A picture students explore by tapping:
- an Image of the whole plant, with alt text,
- four round Hotspots with hidden labels, white fill and a bright border that fills in once tapped,
- four Body facts set to Hidden, each renamed so it's easy to pick from a list,
- an On Press behavior on each dot that runs Show on its fact, and
- a Next button, because a scene with nothing graded doesn't move on by itself.
The same pattern works for any picture with parts: a map where each dot reveals a country's capital, a painting where each dot points out a technique, or a diagram of the water cycle. To check what students learned afterwards, add a scene with a Matching question that pairs each part with its job. Build a matching game with instant feedback shows how. Or test the names right on the picture with Label a diagram with dropdowns.
To reveal help only when students ask for it instead, see Add a hint students can open when they're stuck, which uses the same Show action on a button.
Make this lesson yours
Add the lesson you just watched being built to your account, then change it for your class: your questions, your pictures, your colors.
Free to sign up, and you'll come straight back here. I have an account