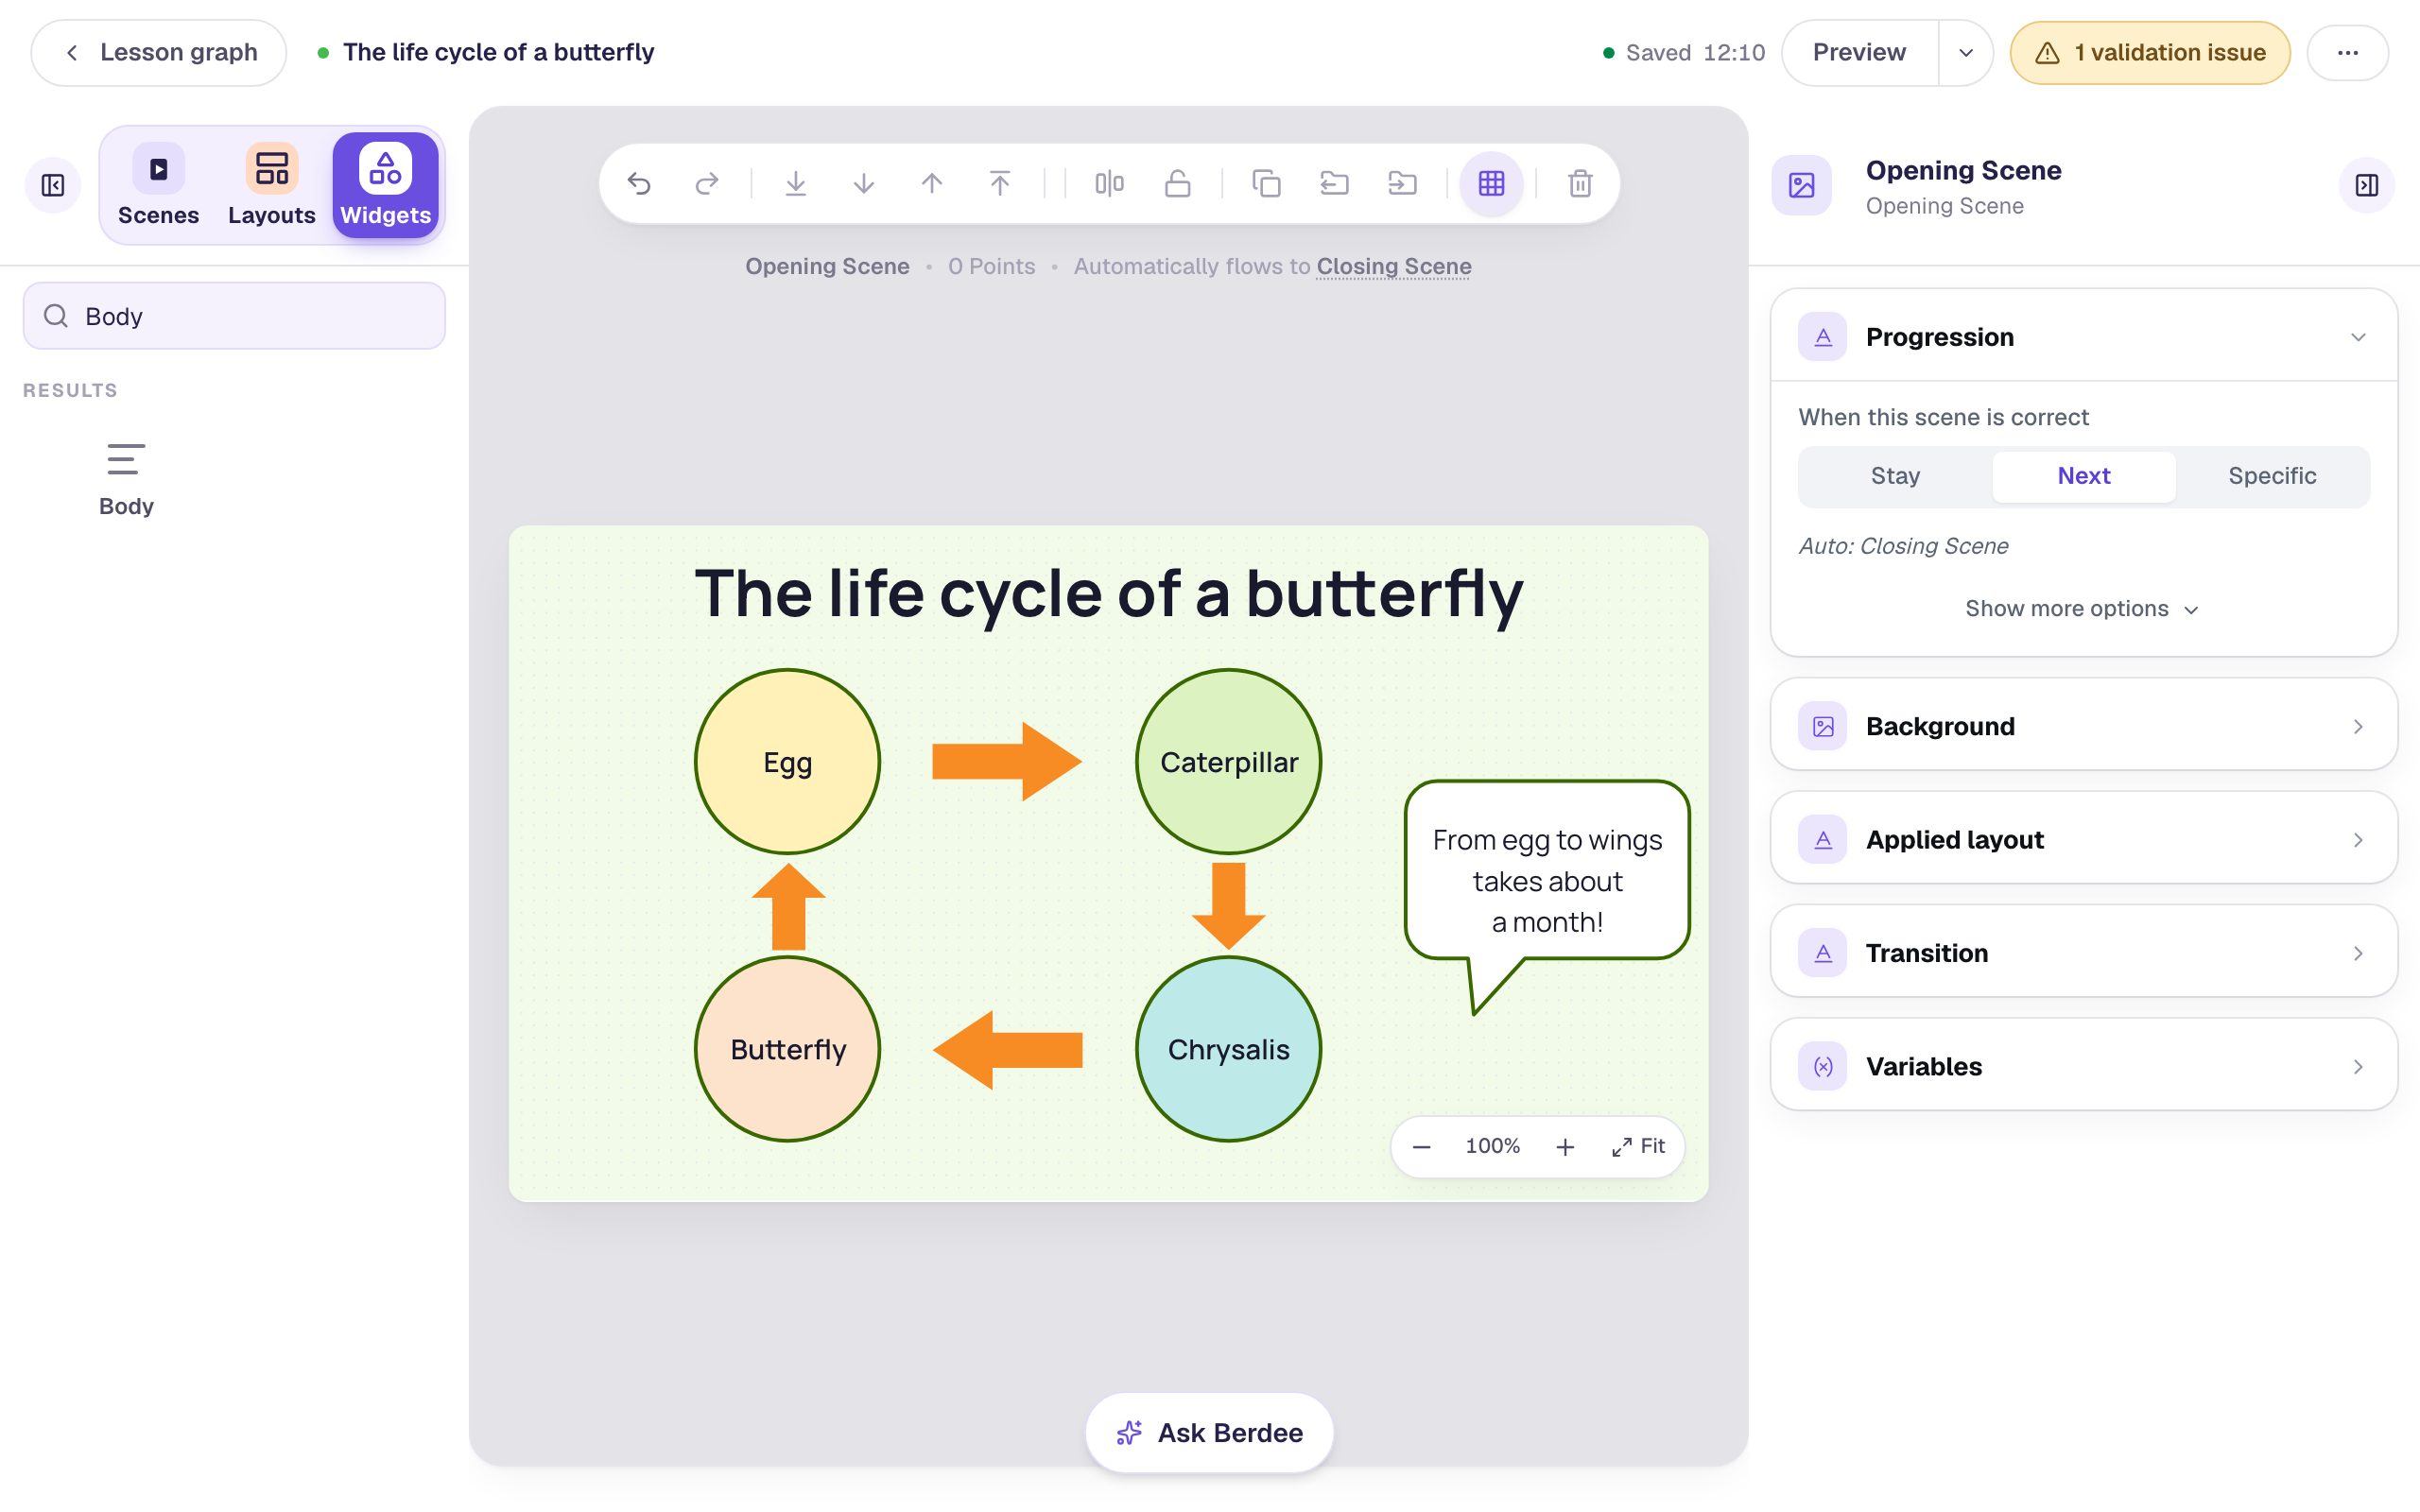
Build a matching game with instant feedback
Build a five-pair matching game where students connect each animal to its baby. Add a gentle message for every wrong pairing, confetti when the set is complete, and a Start over button.
- Level
- Beginner
- Time
- About 10 min
- Steps
- 9
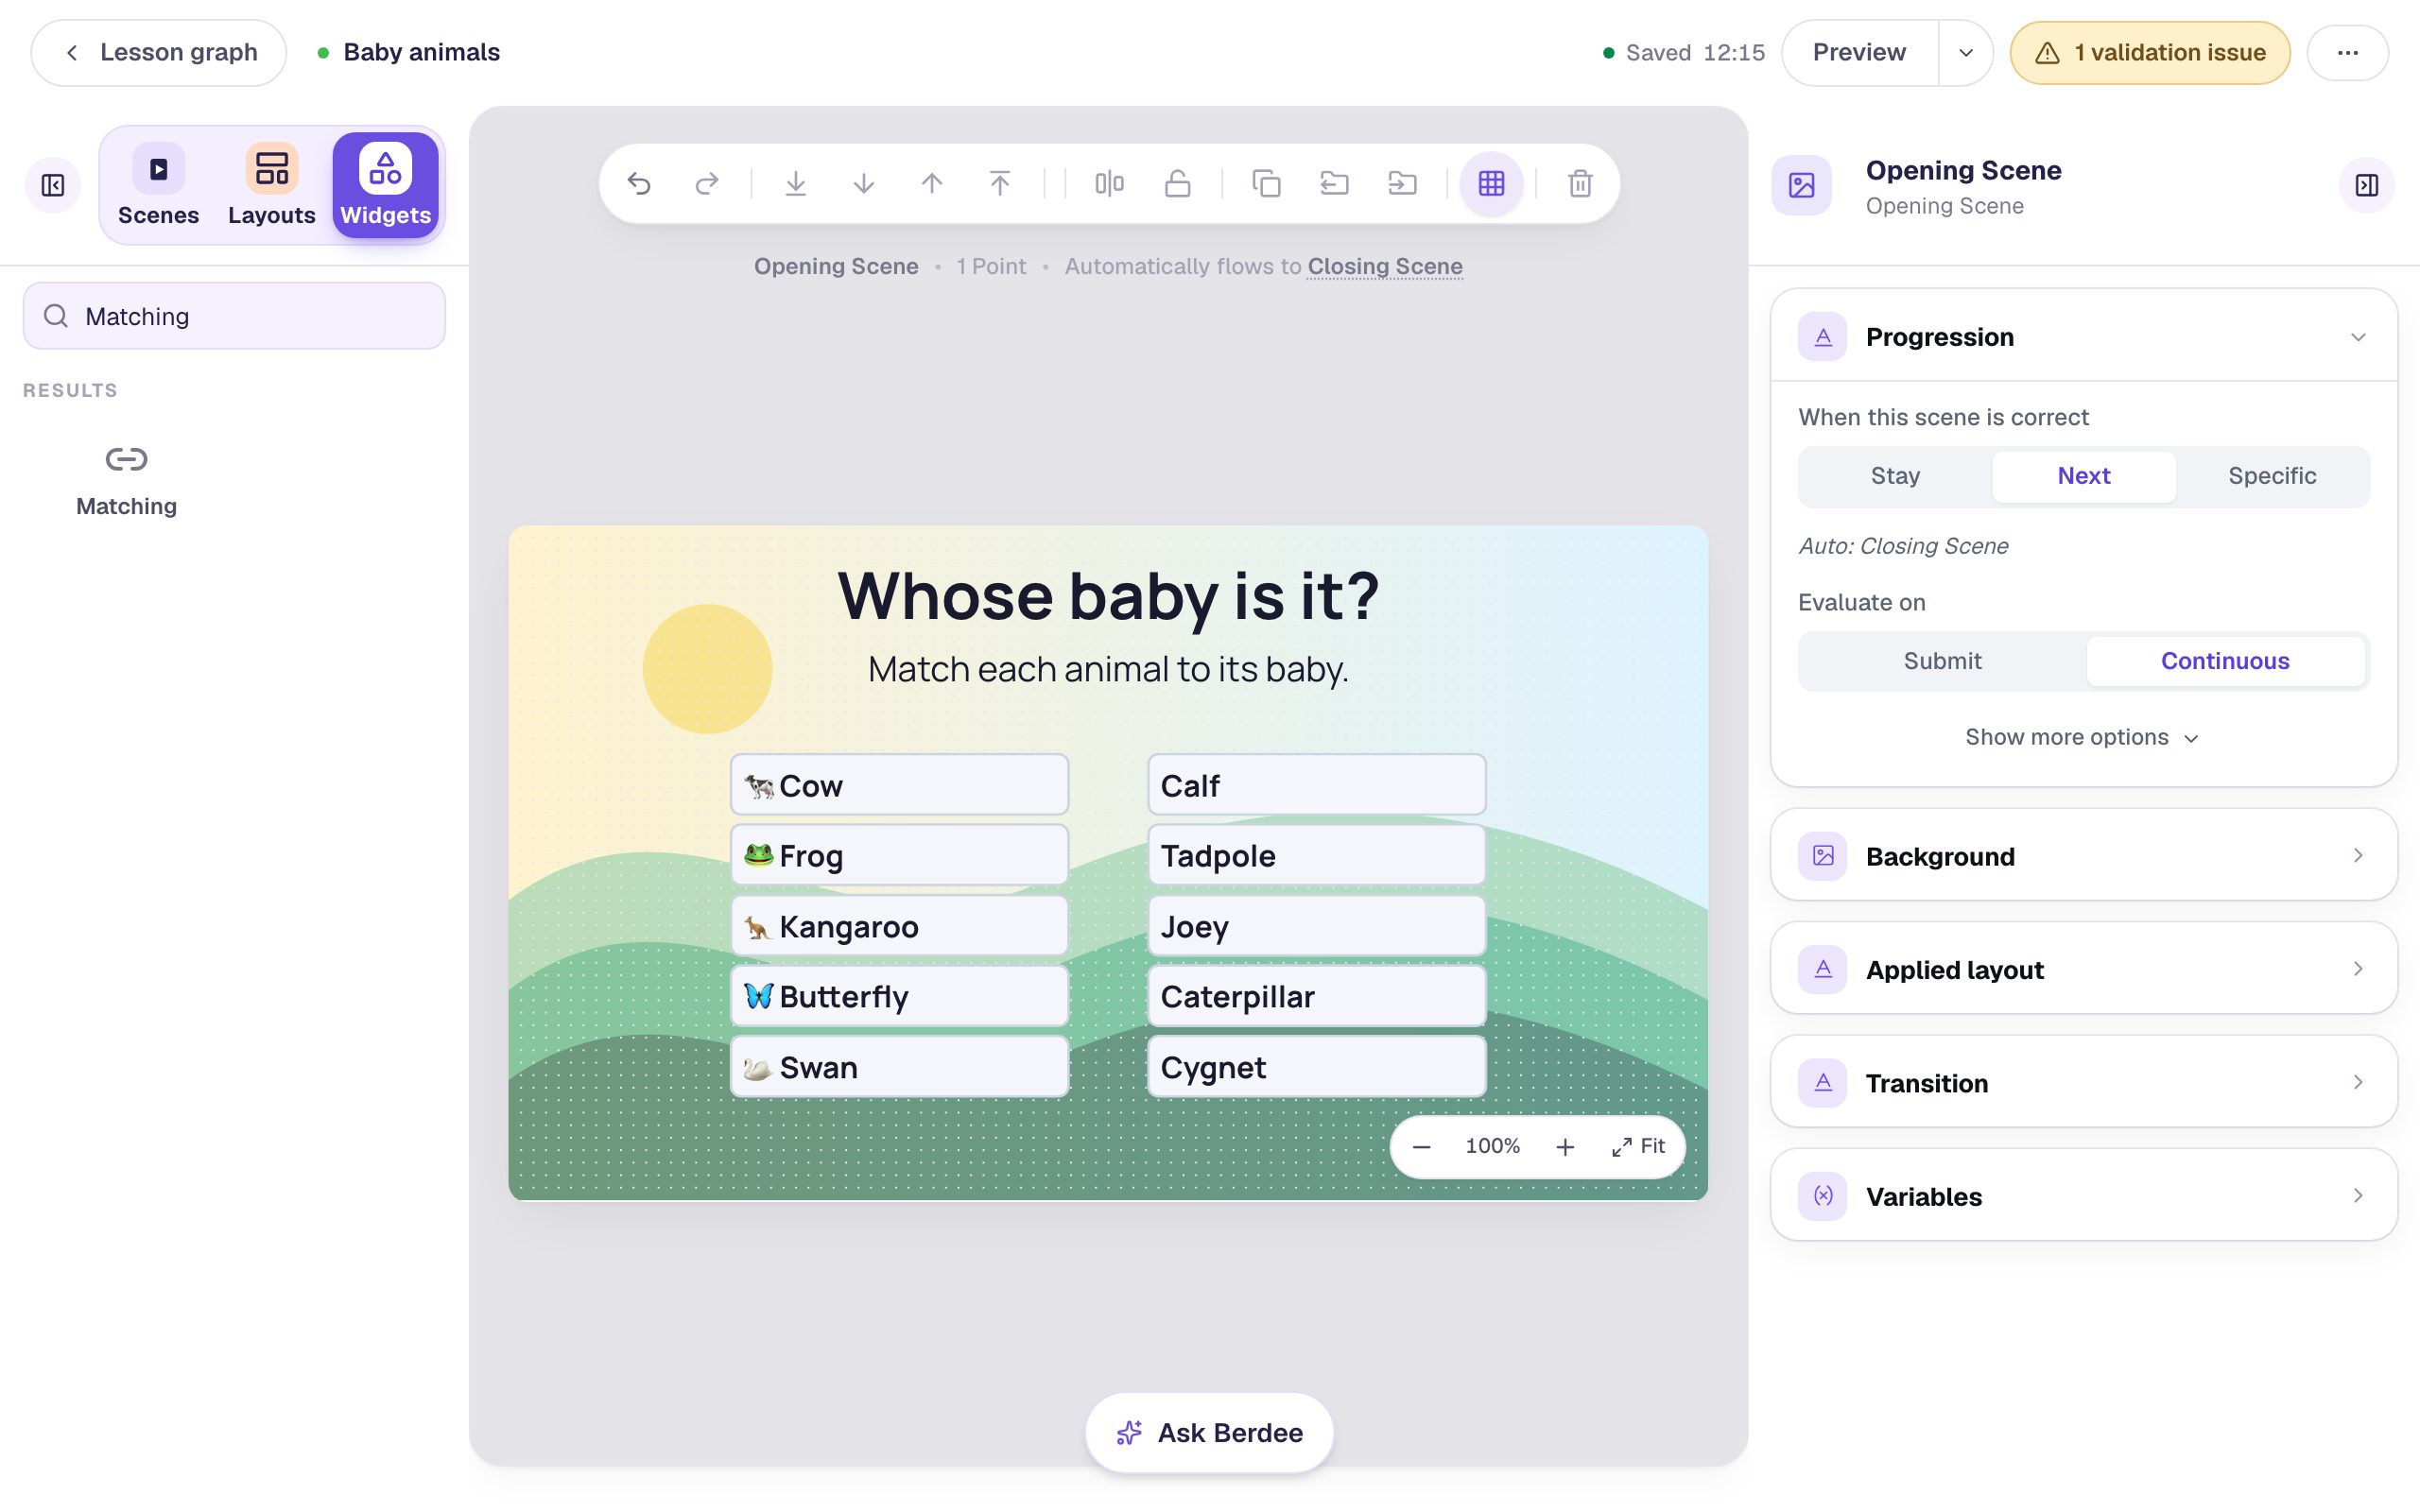
A "Baby animals" scene where students match five animals to their babies, hear about each wrong pairing straight away, get confetti for a full set, and can start over at any time.
Get the finished lesson
Skip straight to the result, or keep it open beside the steps. Add this tutorial's lesson to your account and explore how it works in the studio.
Free to sign up, and you'll come straight back here. I have an account
A matching activity asks students to connect each item on the left with its partner on the right. It's quick to build and works for any one-to-one relationship: a word and its meaning, a country and its capital, a parent animal and its baby. In this tutorial you'll build that last one:
🐄 Cow → Calf · 🐸 Frog → Tadpole · 🦘 Kangaroo → Joey · 🦋 Butterfly → Caterpillar · 🦢 Swan → Cygnet
Then you'll turn it into a game: a friendly message every time a student makes a wrong pairing, confetti when they get the whole set, and a Start over button that clears their lines.
If you haven't used the studio before, start with Build your first quiz question: this tutorial moves quickly through the parts it already covers.
Step 1: Set the scene
Start a blank lesson (New lesson, then Start from scratch) and name it Baby animals by clicking Untitled lesson at the top.
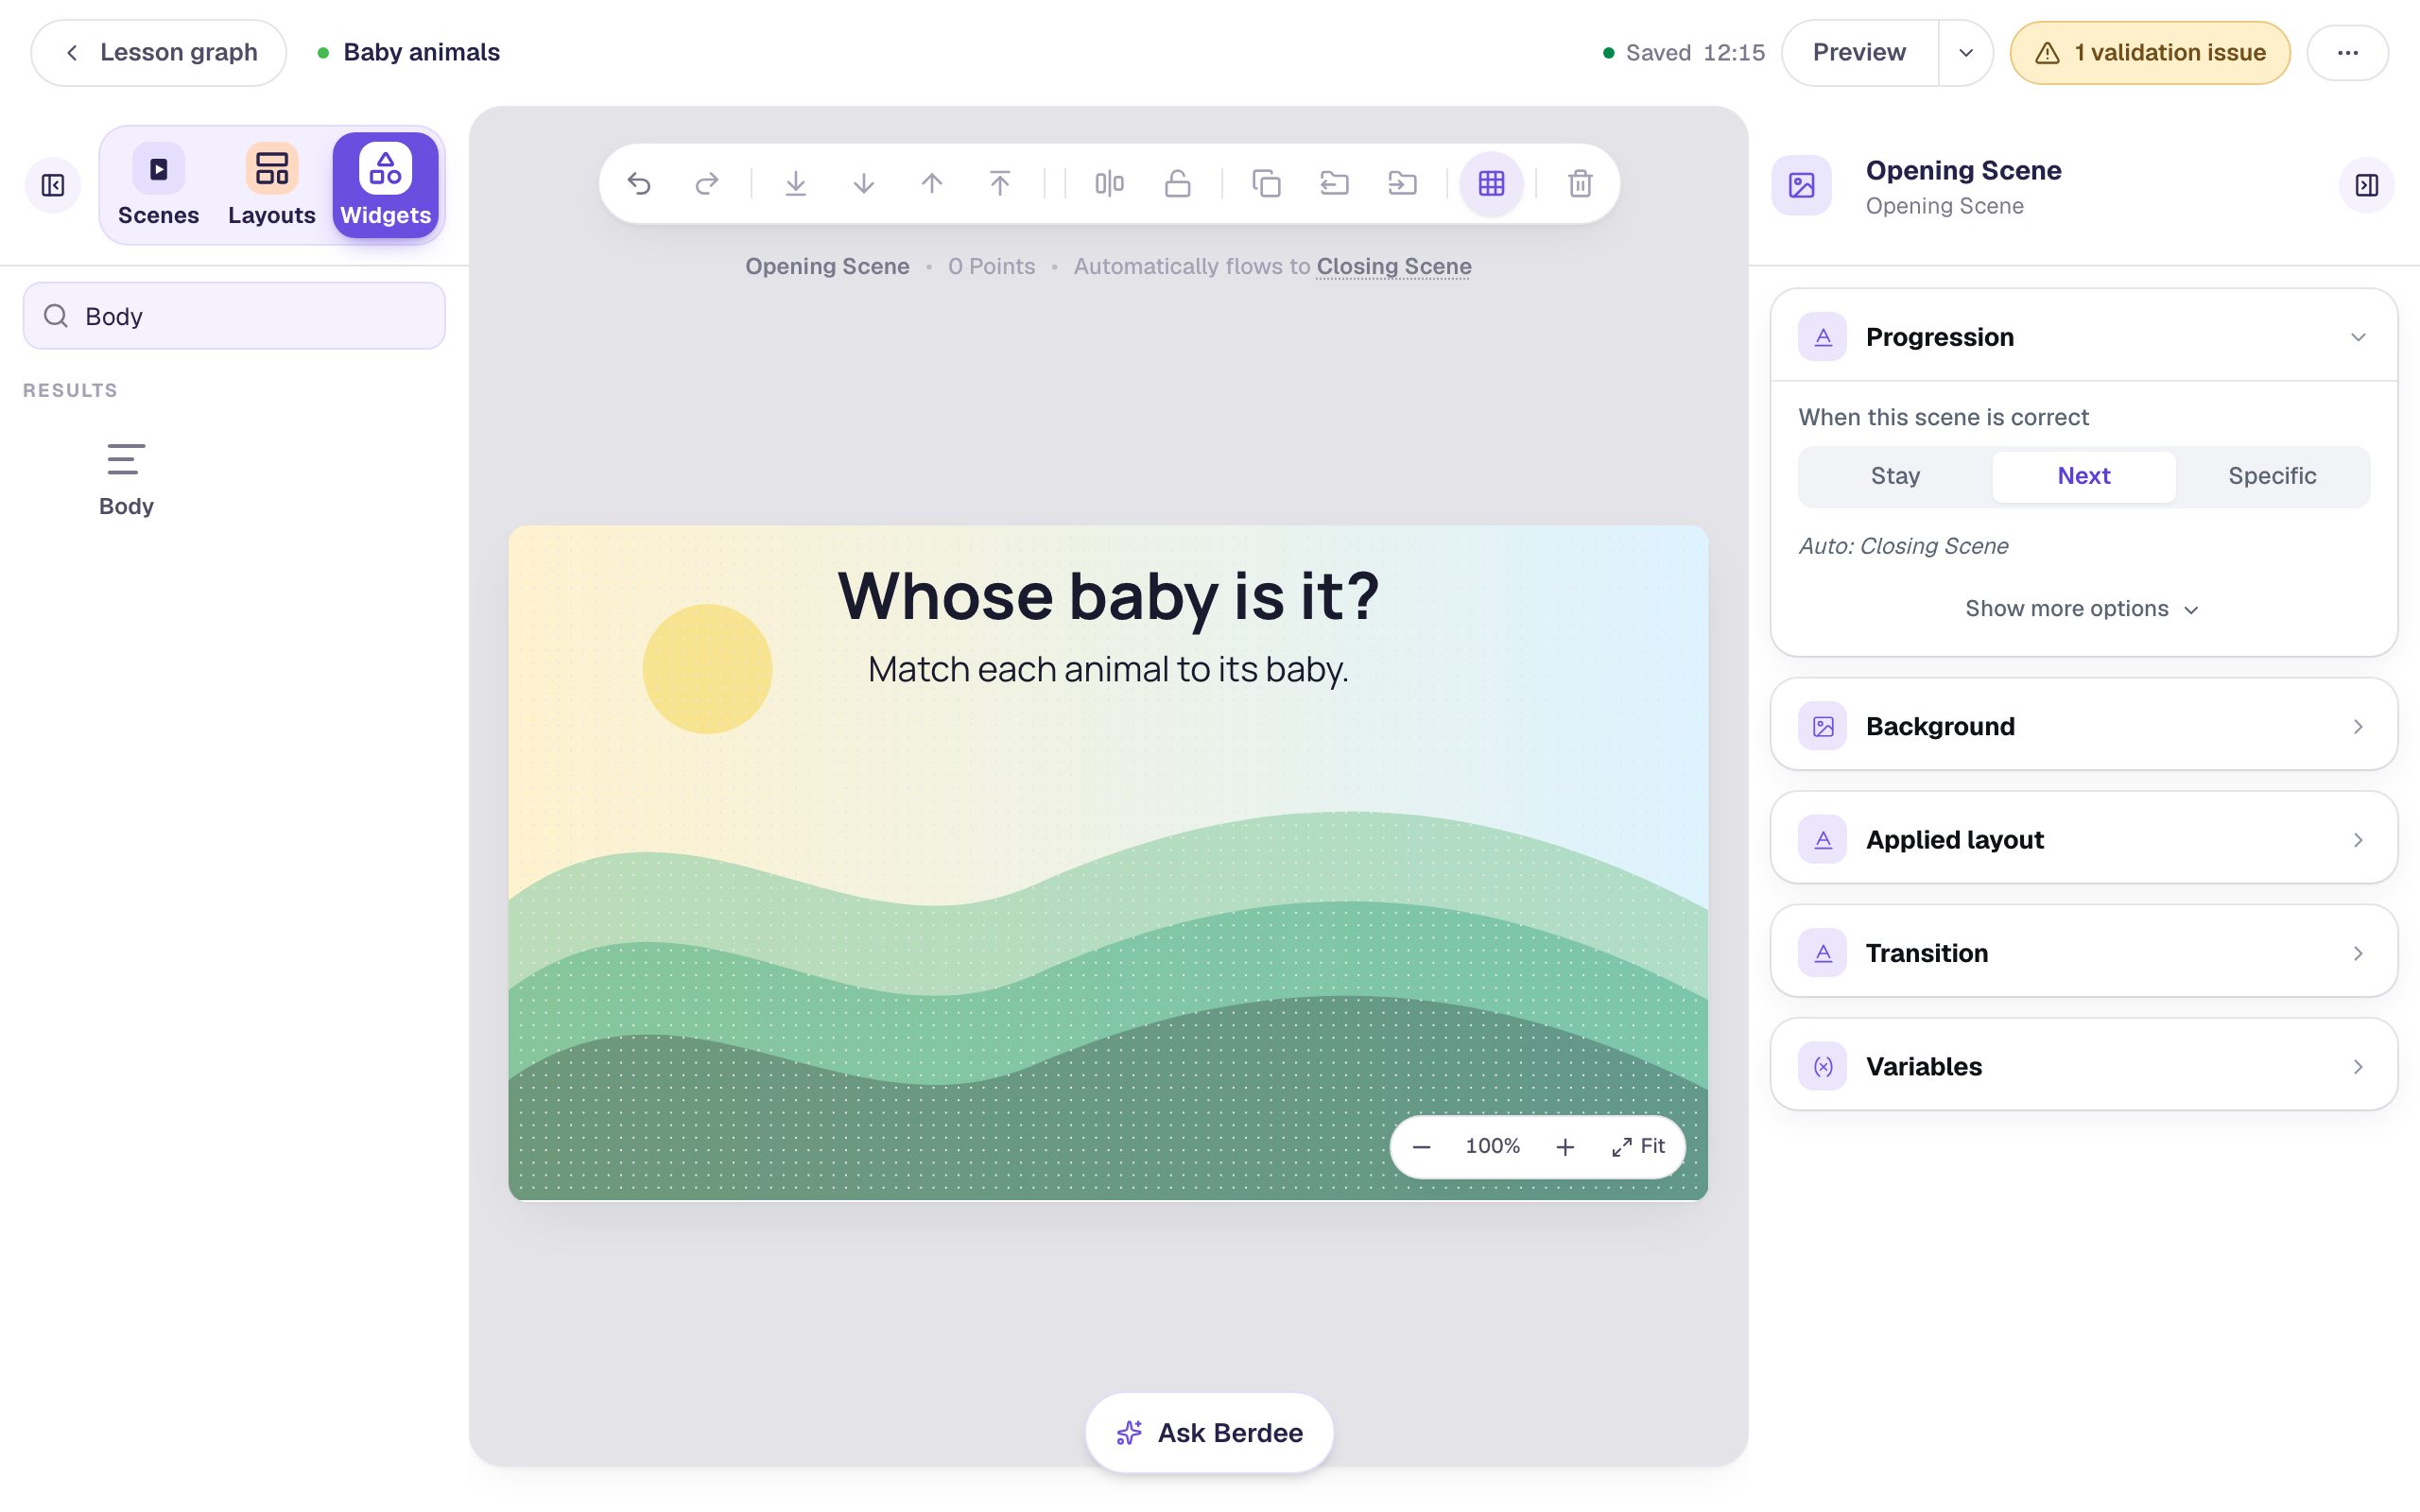
With nothing selected, open Background, click Choose a style, pick Nature, then Rolling hills. If the sun lands where your title will go, click Randomize composition until it sits off to one side, then click Apply background. Select the Closing Scene in the Scenes panel and give it the same background, so the ending matches. Creative Backgrounds covers the gallery in more detail.
Back on the Opening Scene, add a Heading that says Whose baby is it? and a Body text under it: Match each animal to its baby. Set the Body's Font Size to 28.
Step 2: Add a Matching widget
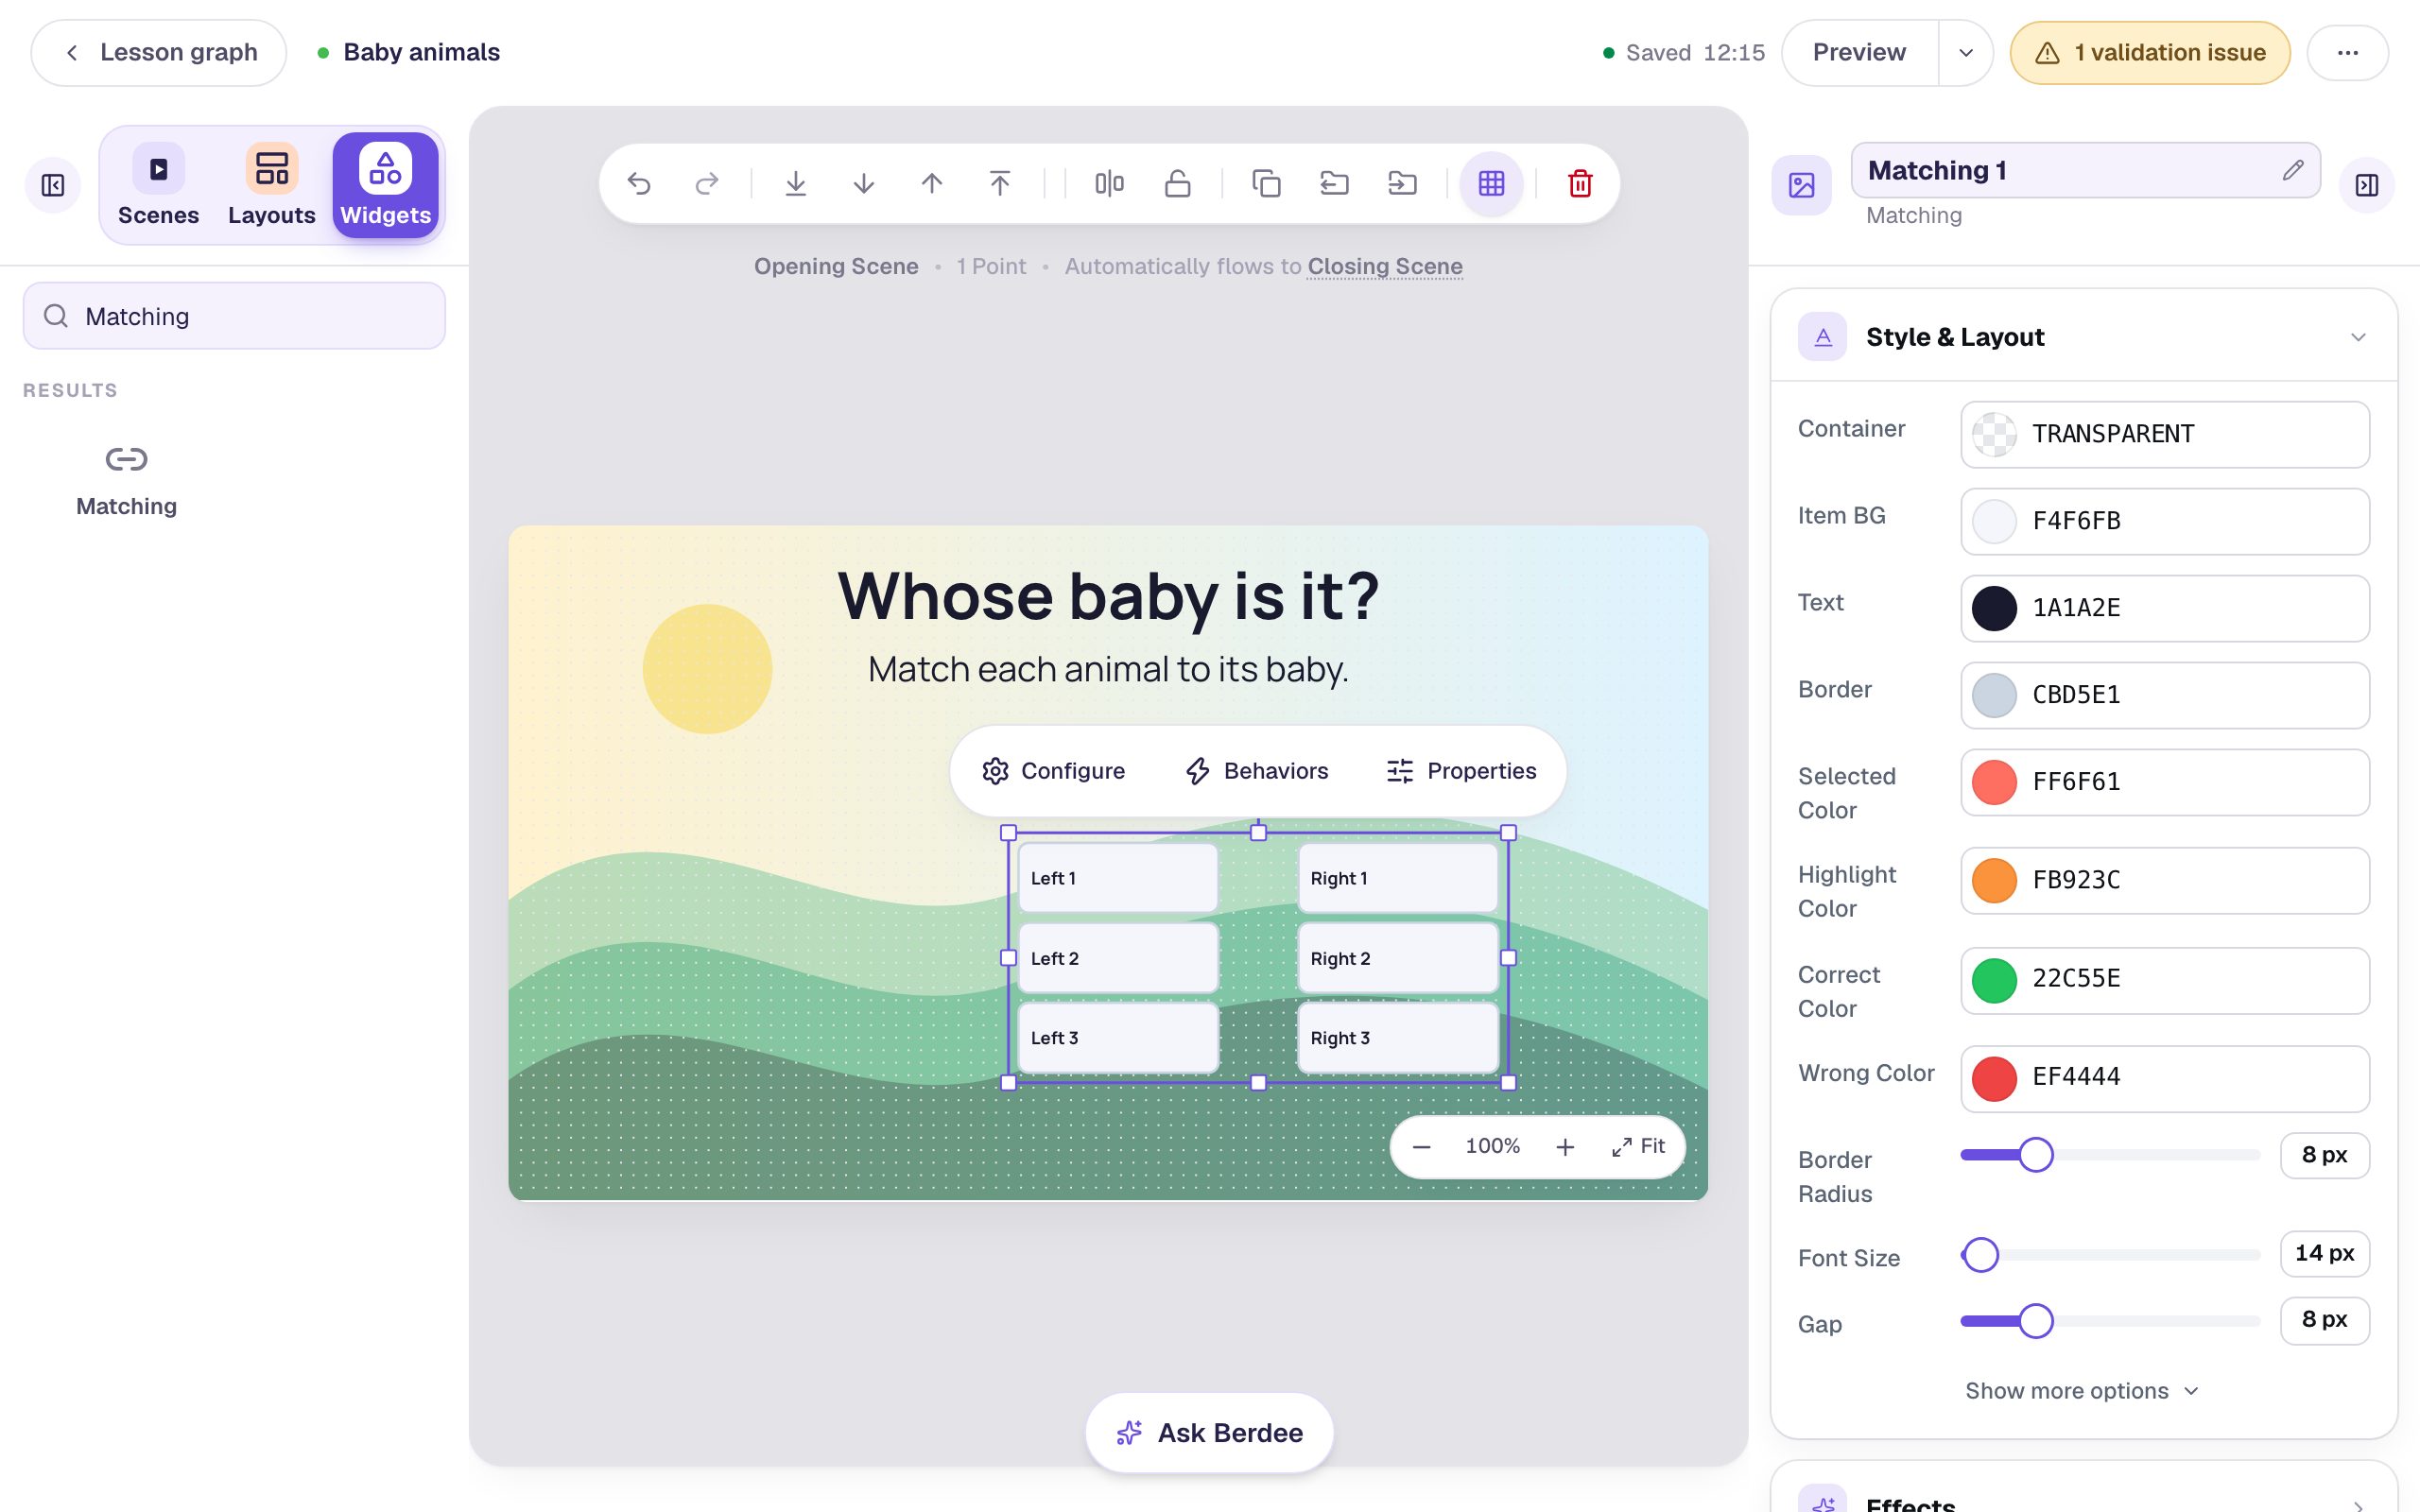
In Widgets, search for Matching and click it. The new activity has three sample pairs, Left 1 to Right 3, which you'll replace next.
Step 3: Write the pairs
Click ⚙ Configure above the widget. Click Add Pair twice so there are five pairs, then type each animal as the Prompt and its baby as the Match:
| Prompt | Match |
|---|---|
🐄 Cow | Calf |
🐸 Frog | Tadpole |
🦘 Kangaroo | Joey |
🦋 Butterfly | Caterpillar |
🦢 Swan | Cygnet |
The emoji are ordinary characters: paste them in, or use your computer's emoji picker (Ctrl + Cmd + Space on a Mac, Windows + . on Windows). They give young readers a picture to match from without uploading any images. To use a real photo instead, click the image button beside a field.
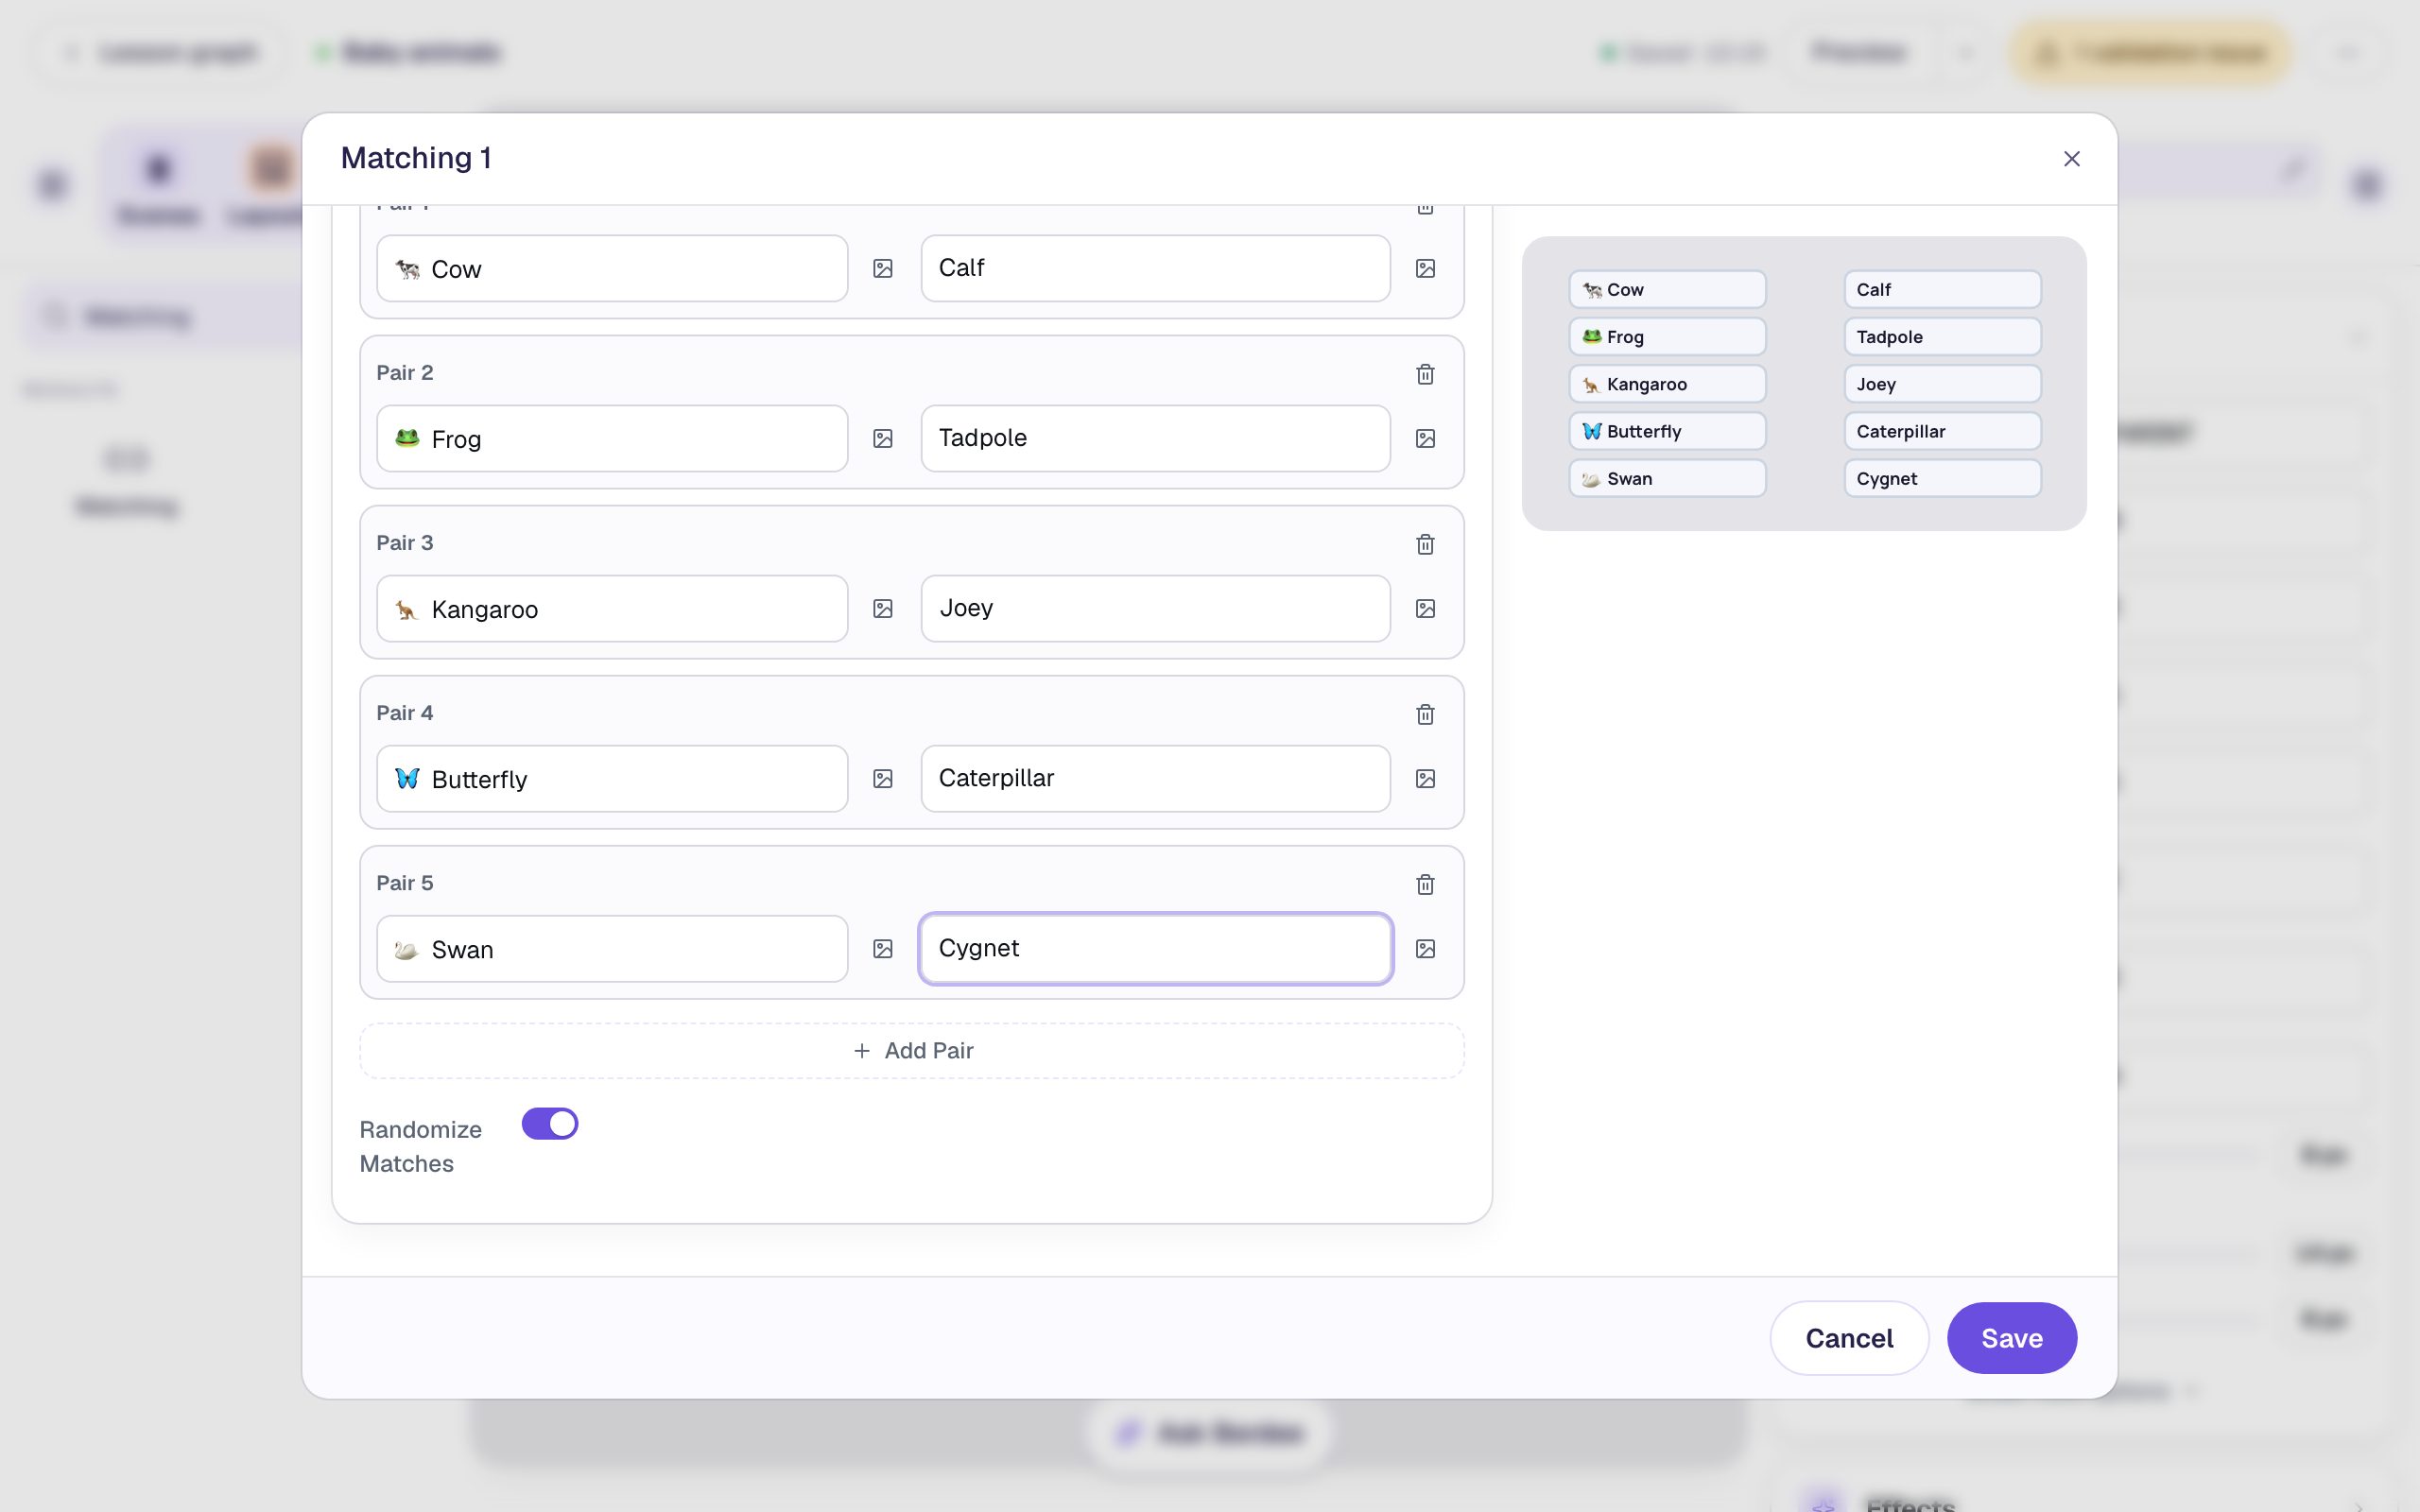
There's no separate answer key: the match you type beside a prompt _is_ its answer. Leave Randomize Matches on, so each student sees the babies in a different order and the right answer is never simply the one opposite. The animals on the left stay in the order you typed them.
Scoring is on at the top of the window, and the whole activity is worth 1 point, earned when every pair is right. Click Save.
Step 4: Give it room
A new matching activity uses small 14 px text. With it selected, rename it Animal babies by clicking its name at the top of the properties panel, so it's easy to find in lists later. Then open Style & Layout:
- Set Font Size to
24. - Click Show more options and set Width to
620and Height to290.
Drag it under the instructions.
Step 5: Tell students straight away when a pairing is wrong
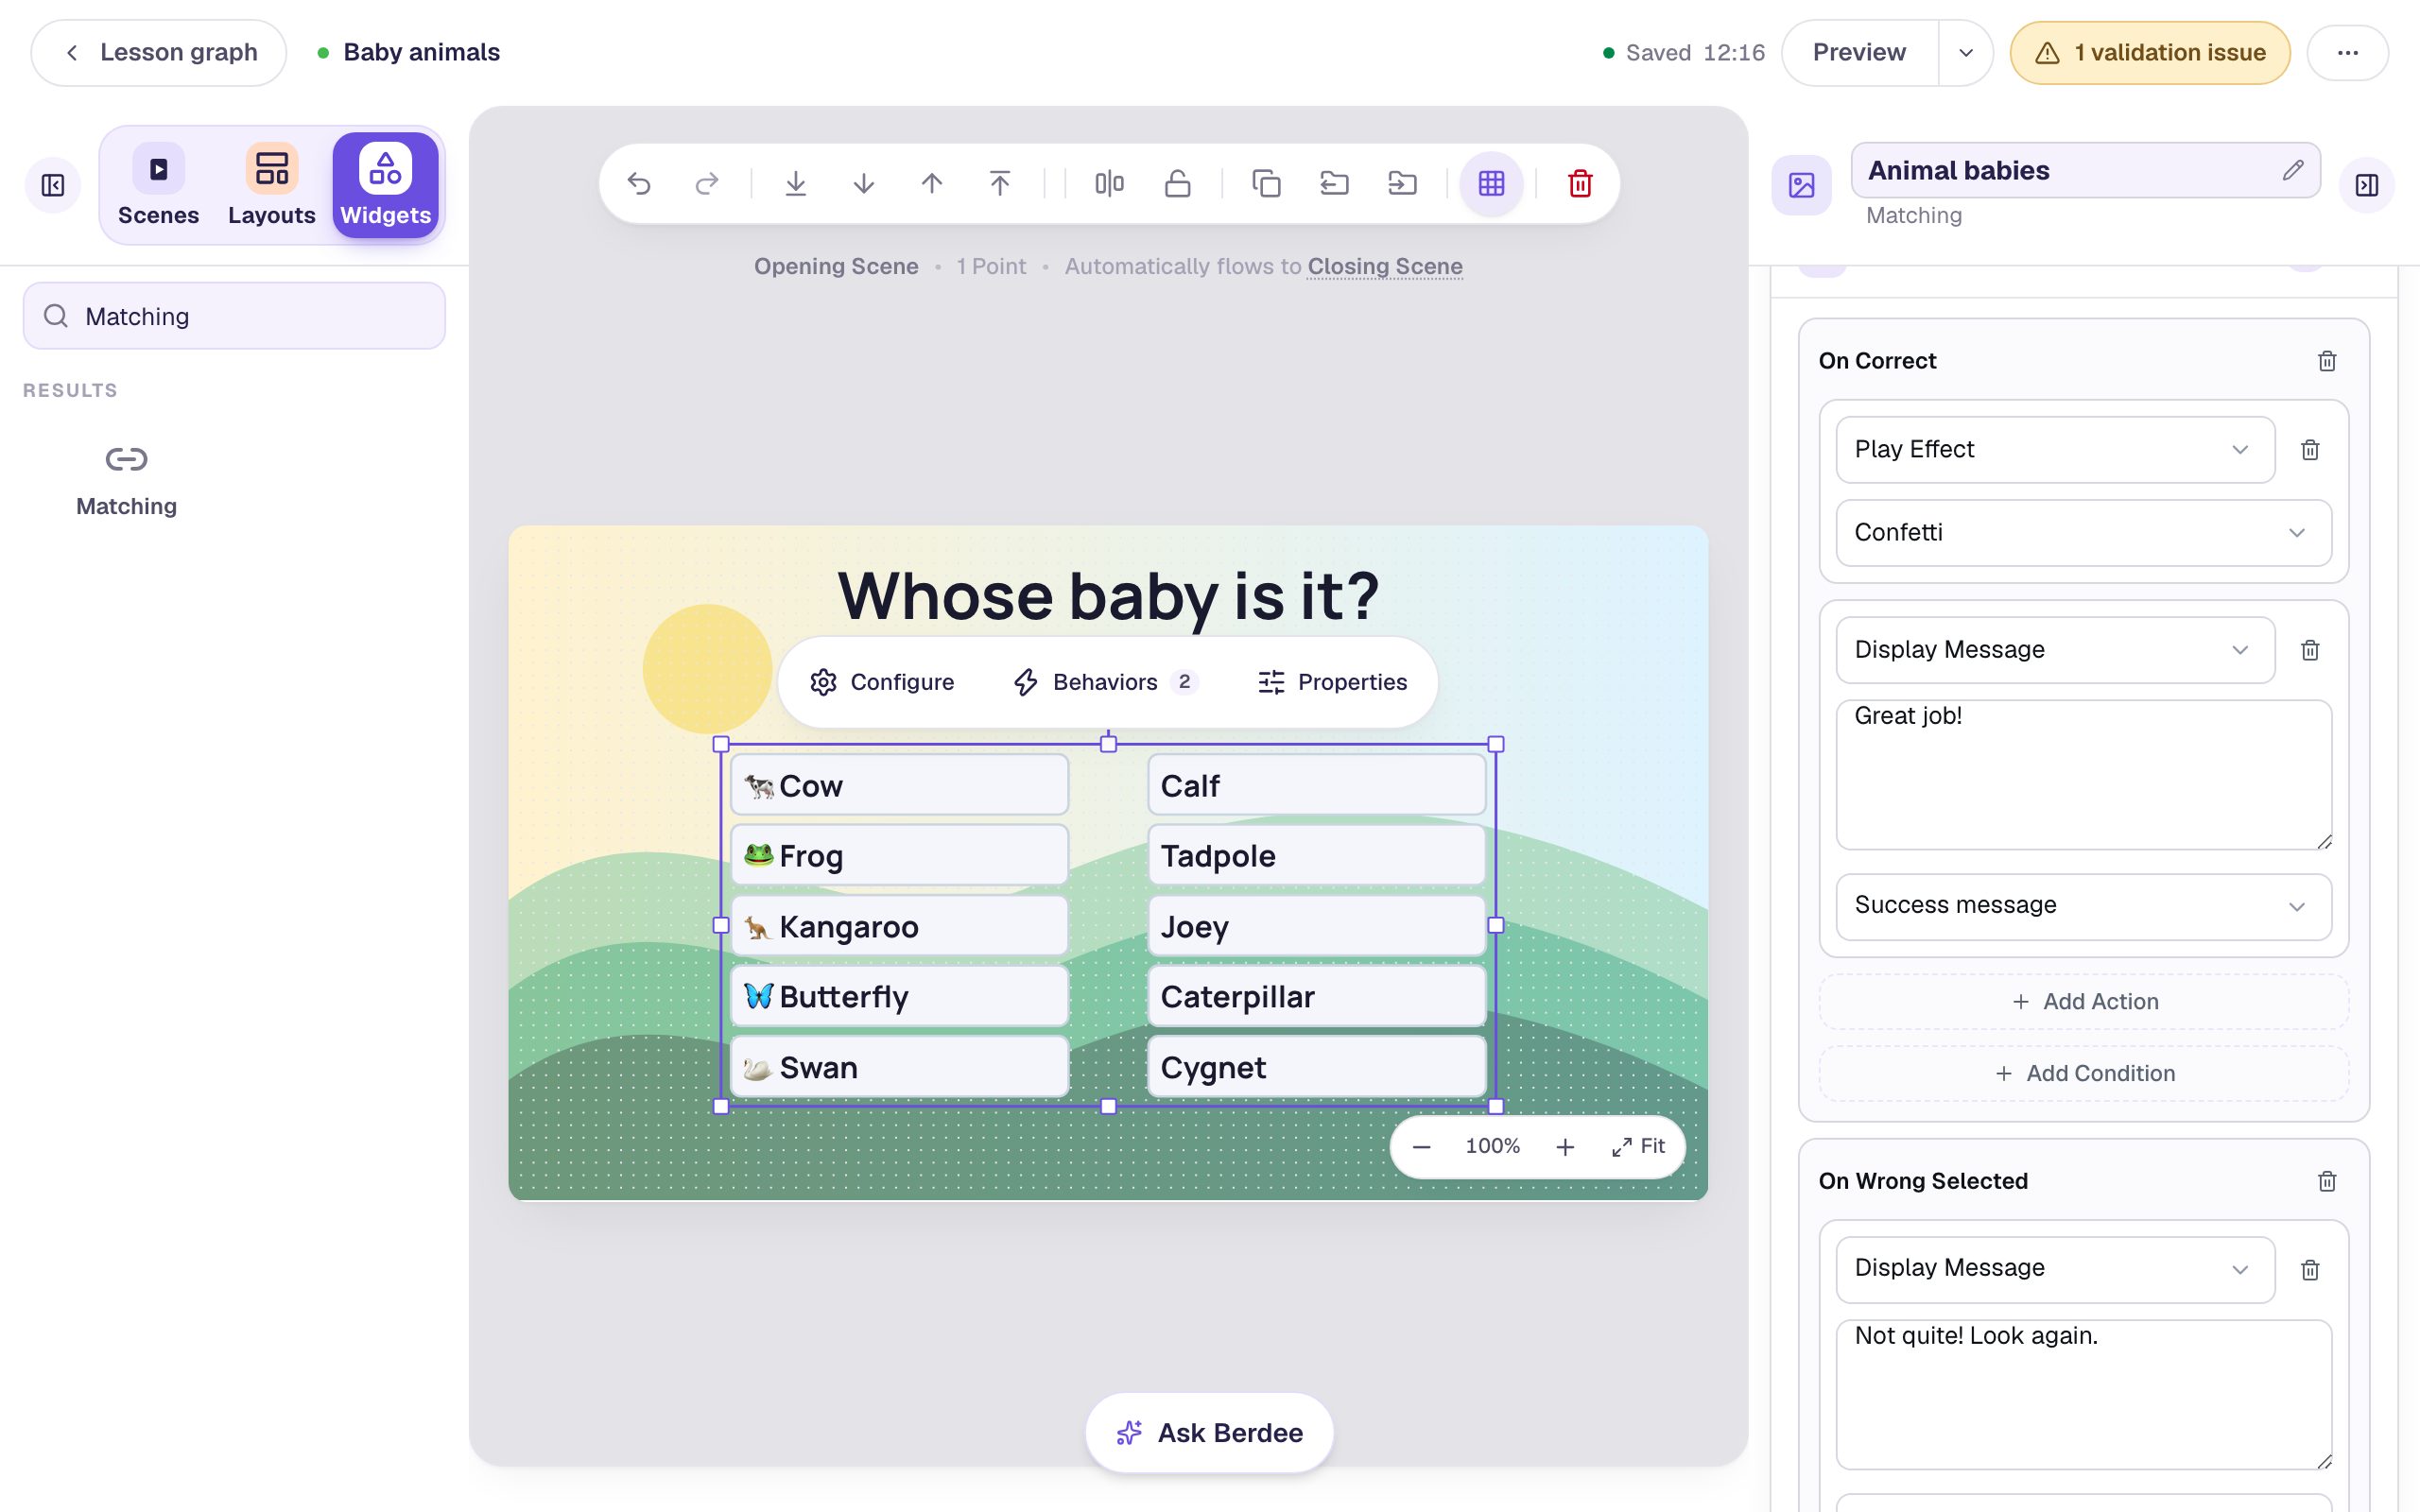
With the activity selected, click Behaviors above it. Berdee suggests ideas that fit a matching activity. Click Give instant feedback on a wrong pick, change the message to Not quite! Look again., and click Add behavior.
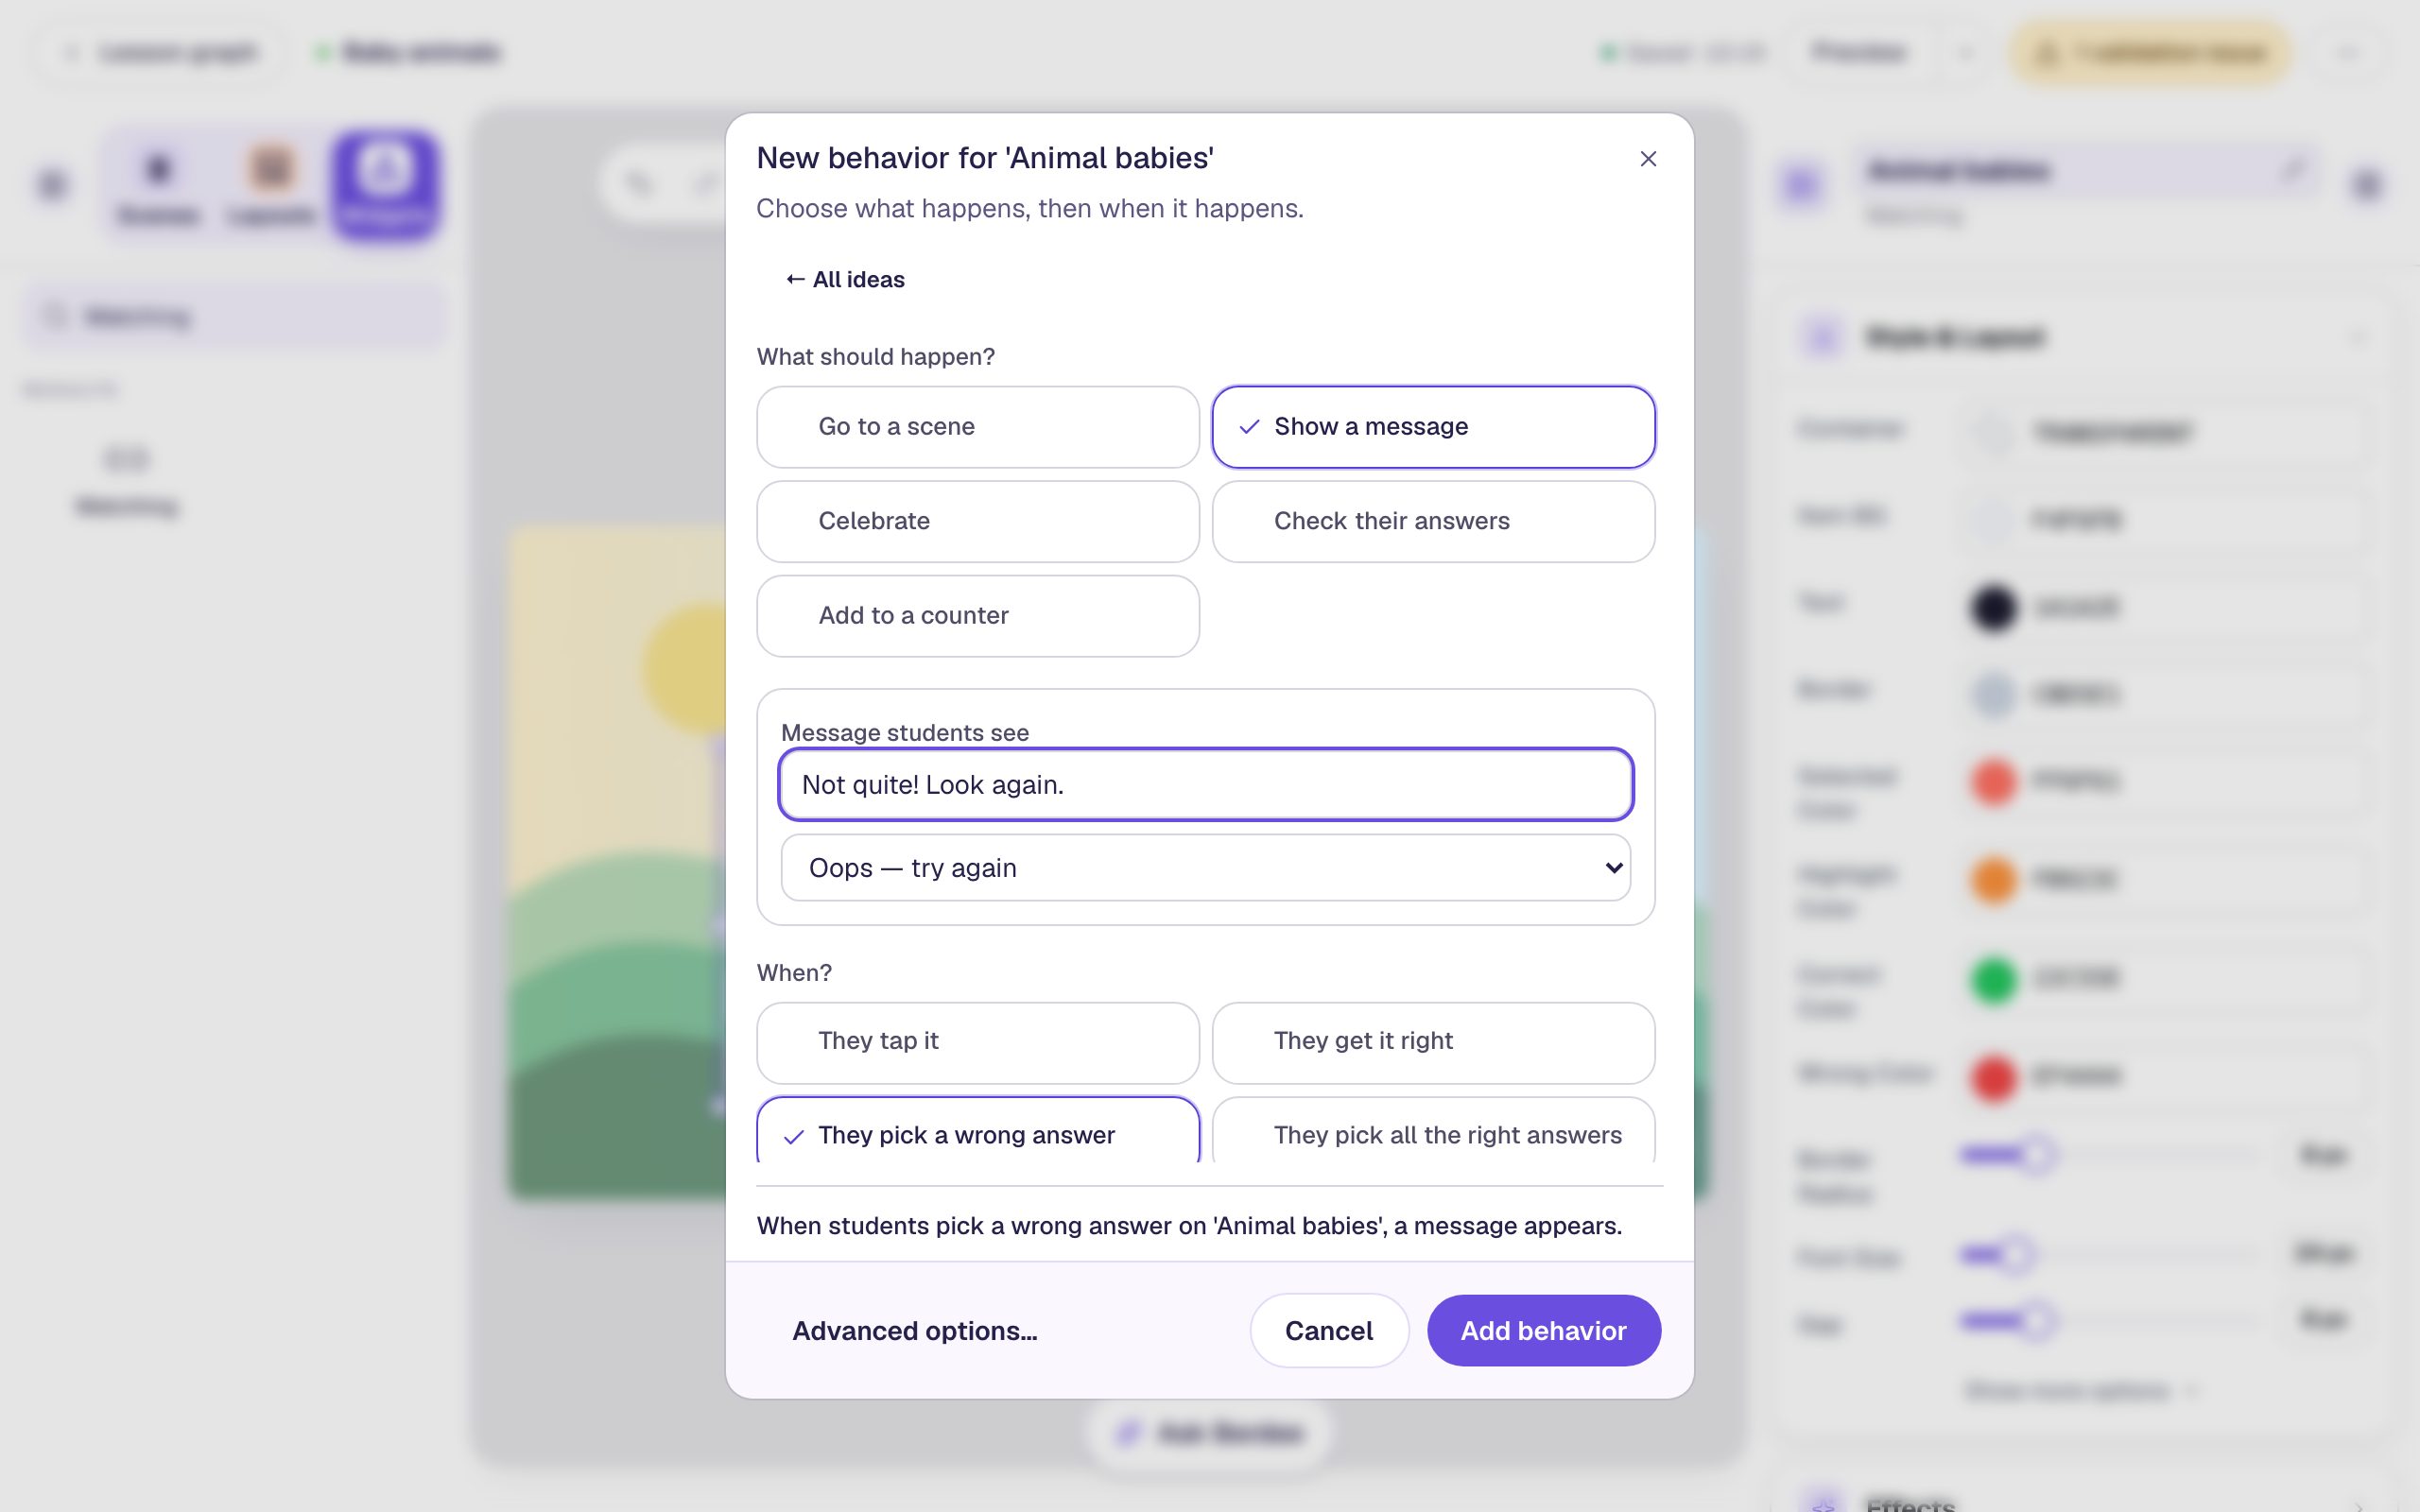
They pick a wrong answer runs for every wrong pairing a student makes, not just the first, so each wrong guess gets the message. Students dismiss it and keep going: nothing is locked, so they can draw a new line from the same animal, and the old one is replaced.
Step 6: Celebrate a complete set
Click Behaviors again and choose Celebrate the right answer. It's set to Celebrate with Confetti, When they get it right, and it also shows a short Great job! message (the window doesn't list it, but you'll see it in the next screenshot and can change its words there). Click Add behavior.
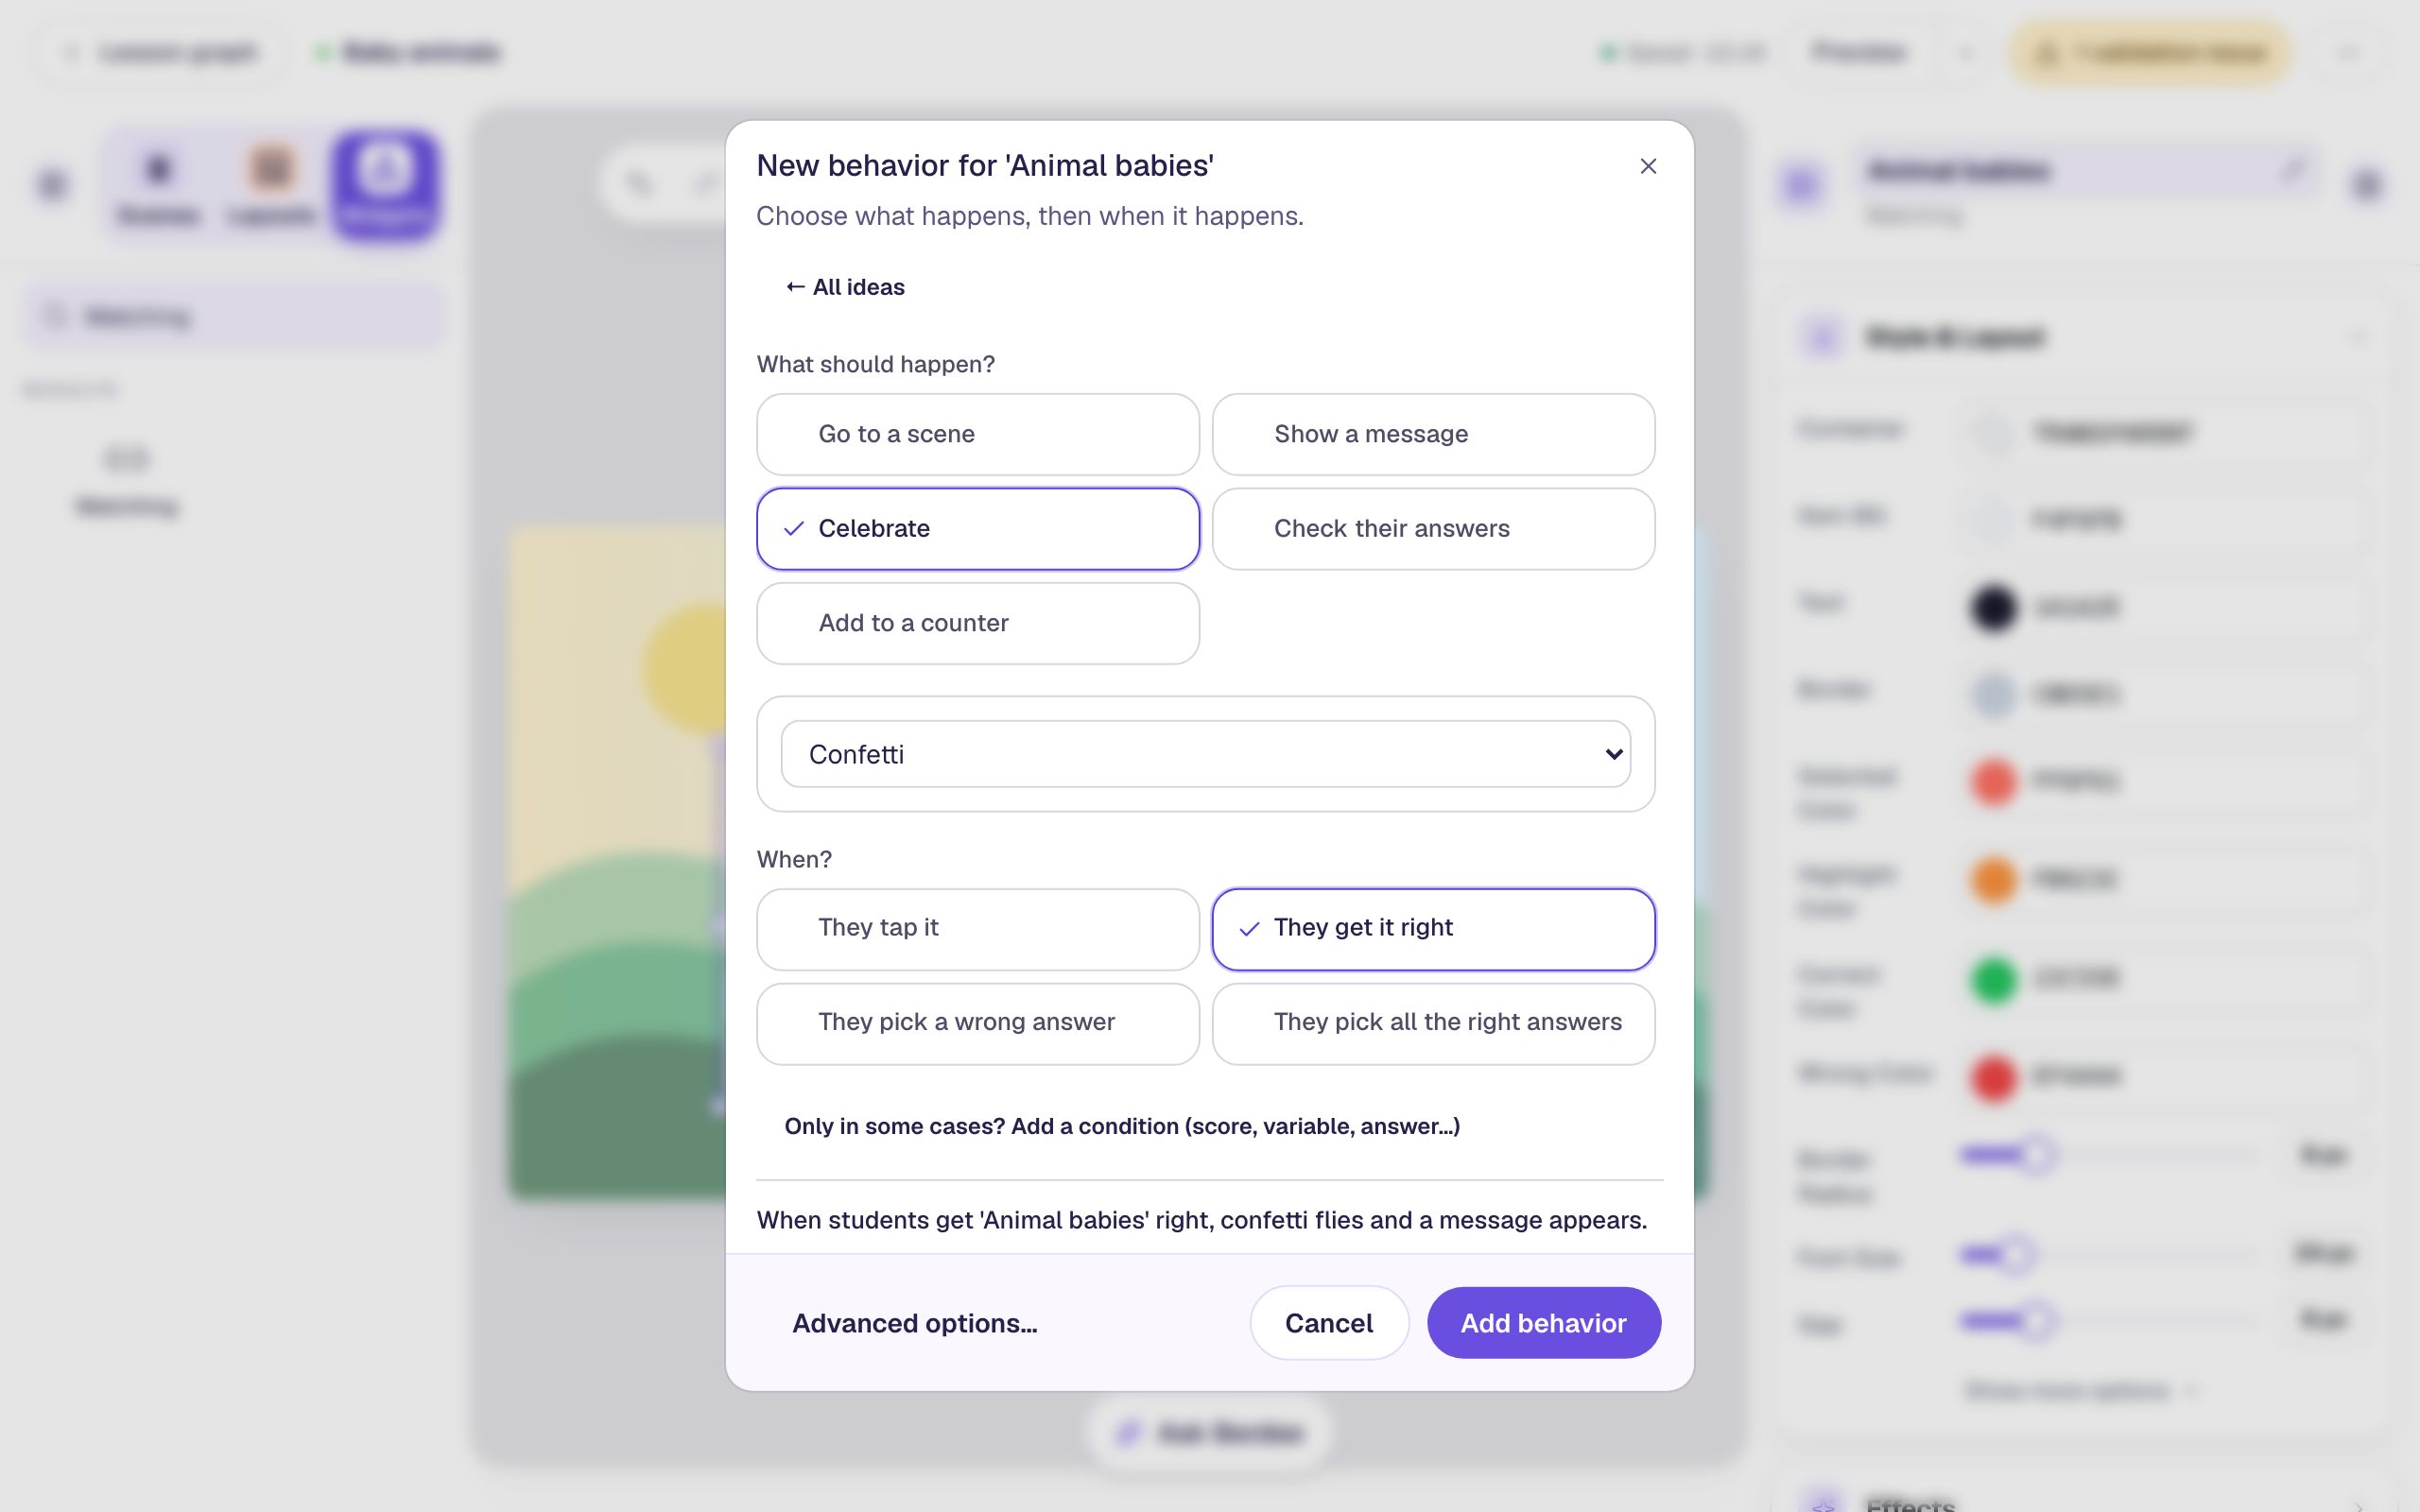
For a matching activity, "right" means every pair is matched correctly, so the confetti comes once, when the last correct line goes in. Open the Behaviors section in the properties panel to see both behaviors listed:
Step 7: Add a Start over button
Sometimes a student wants a clean slate. Add a Button, click ⚙ Configure, change its Label to Start over, and click Save. Rename it Start over too, set its Font Size to 22, and drag it under the activity, a little left of center.
Now make it clear the lines. Open Behaviors in the properties panel, click Add Behavior, and choose On Press. Then set the action to Widget Method, the widget to Animal babies, and the method to Reset.
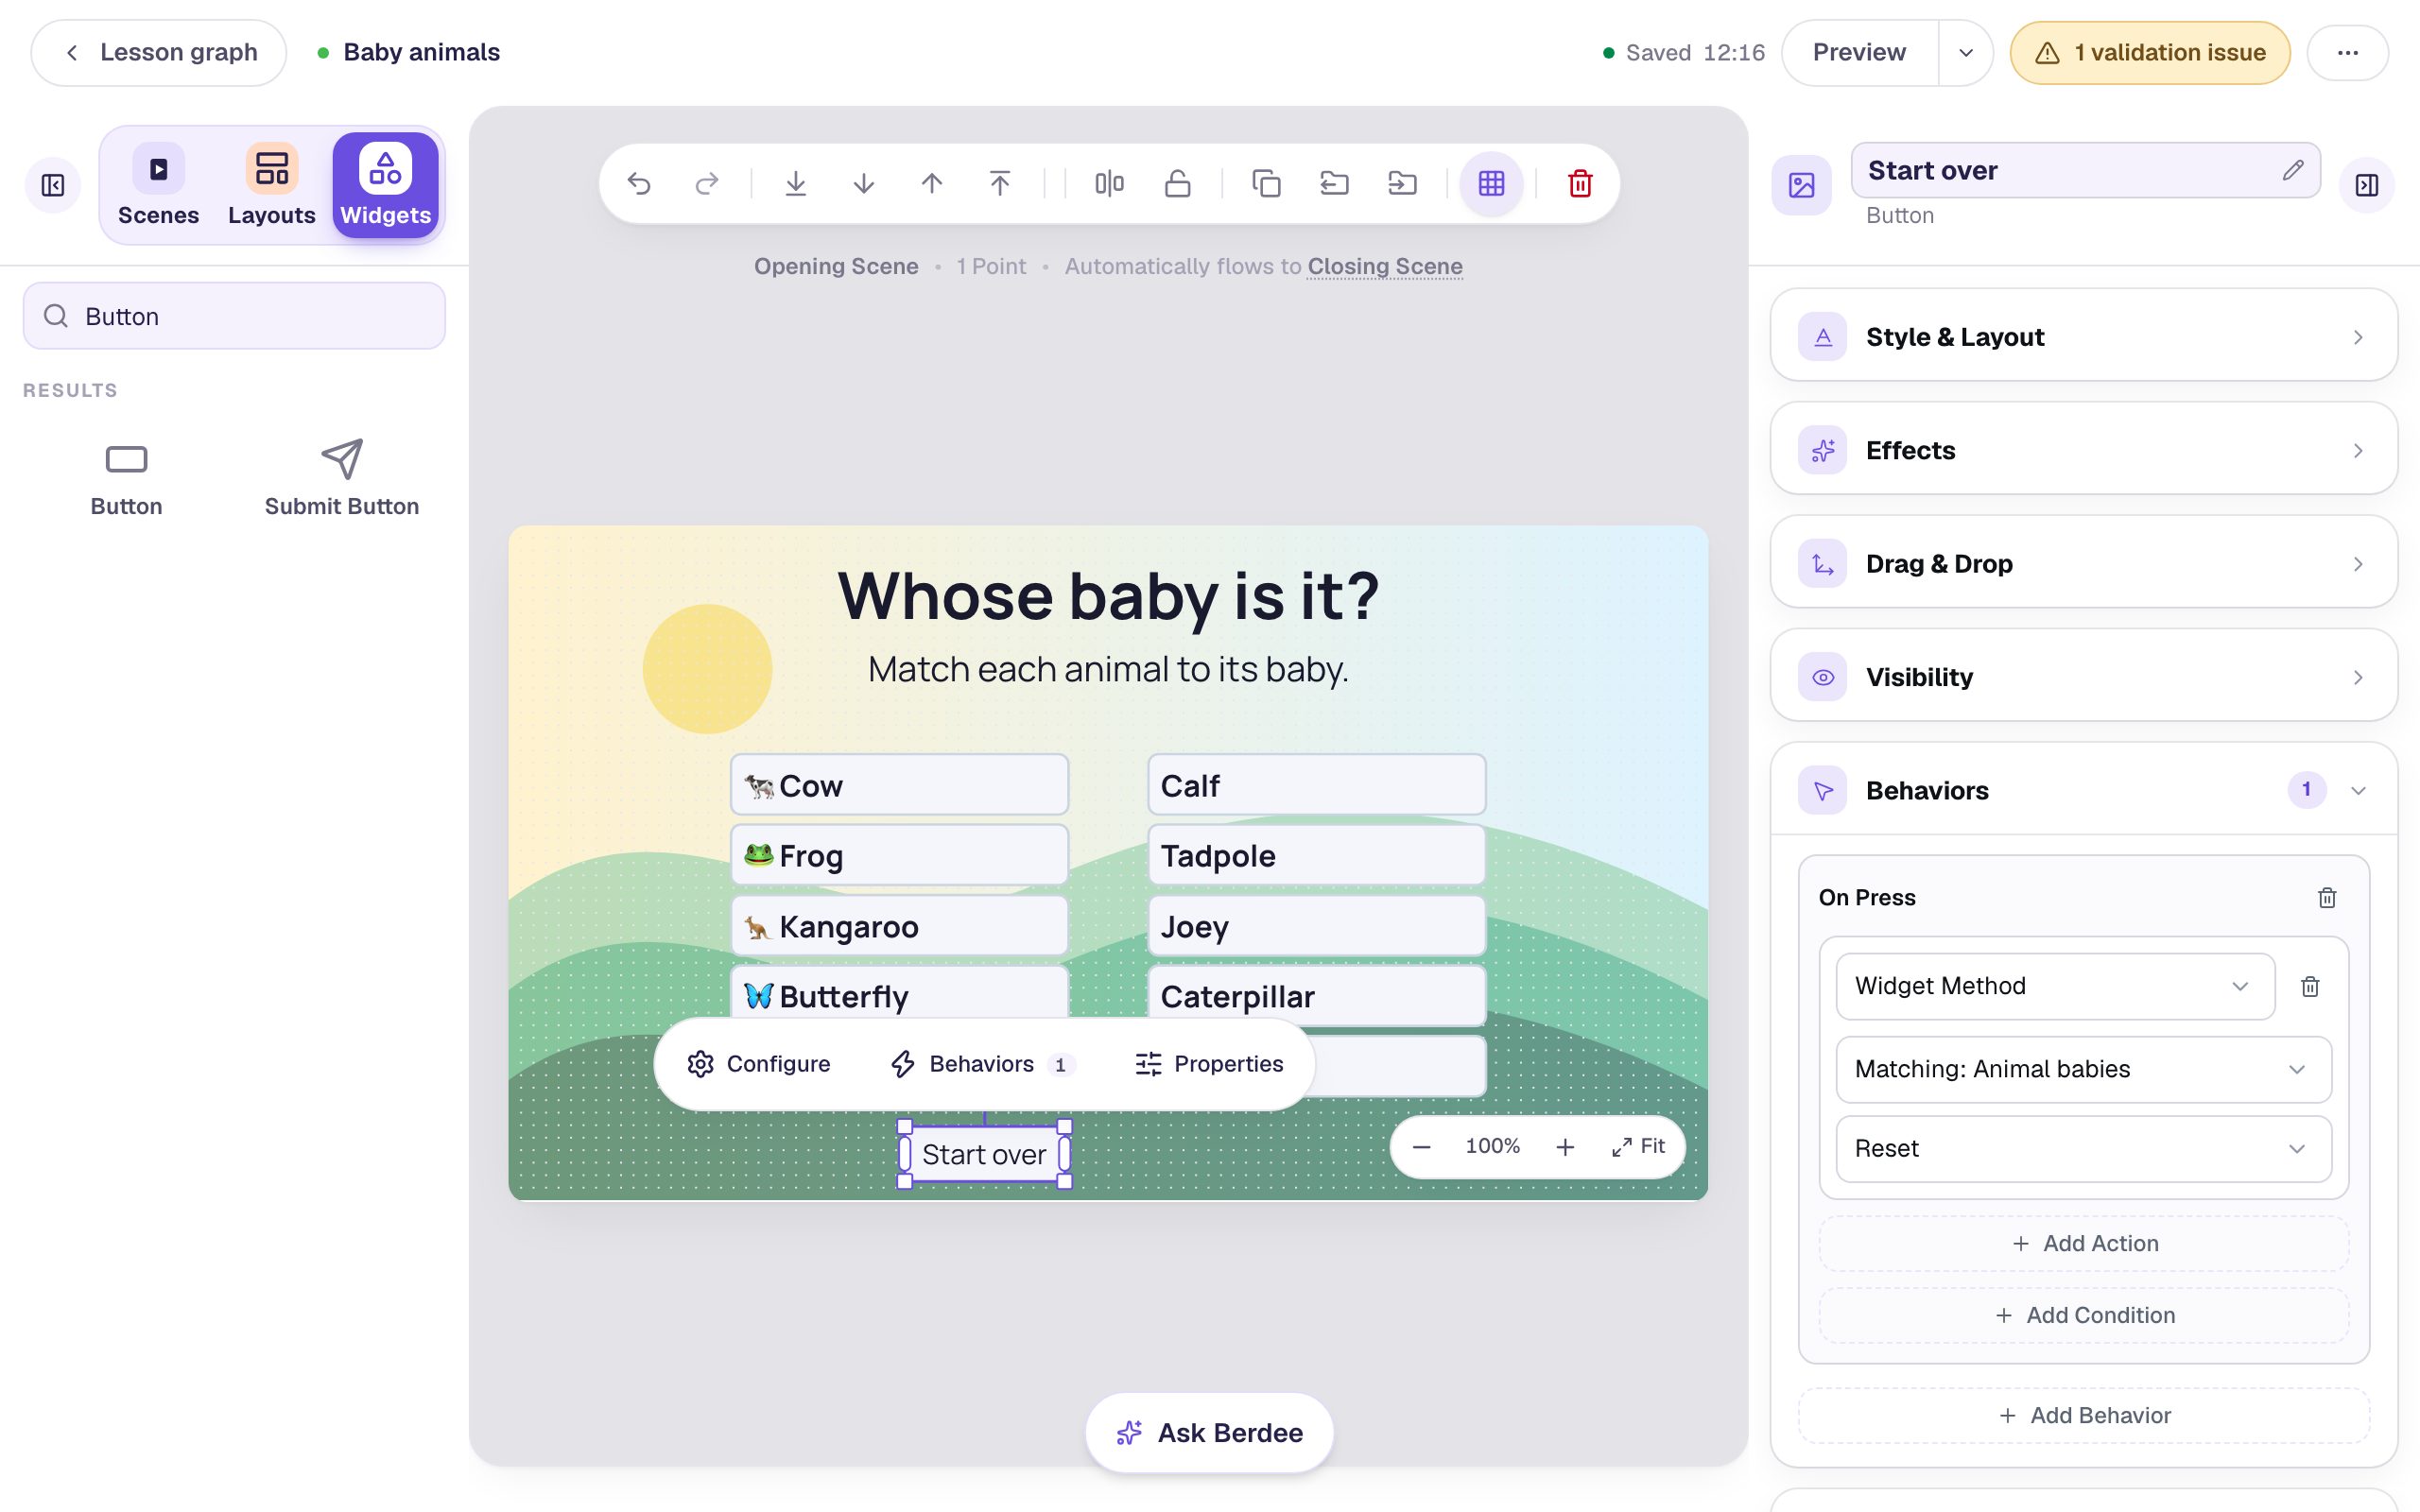
Reset clears every pairing so the student can match again from scratch. Widget State and Actions lists what other widgets can do.
Step 8: Add a Next button
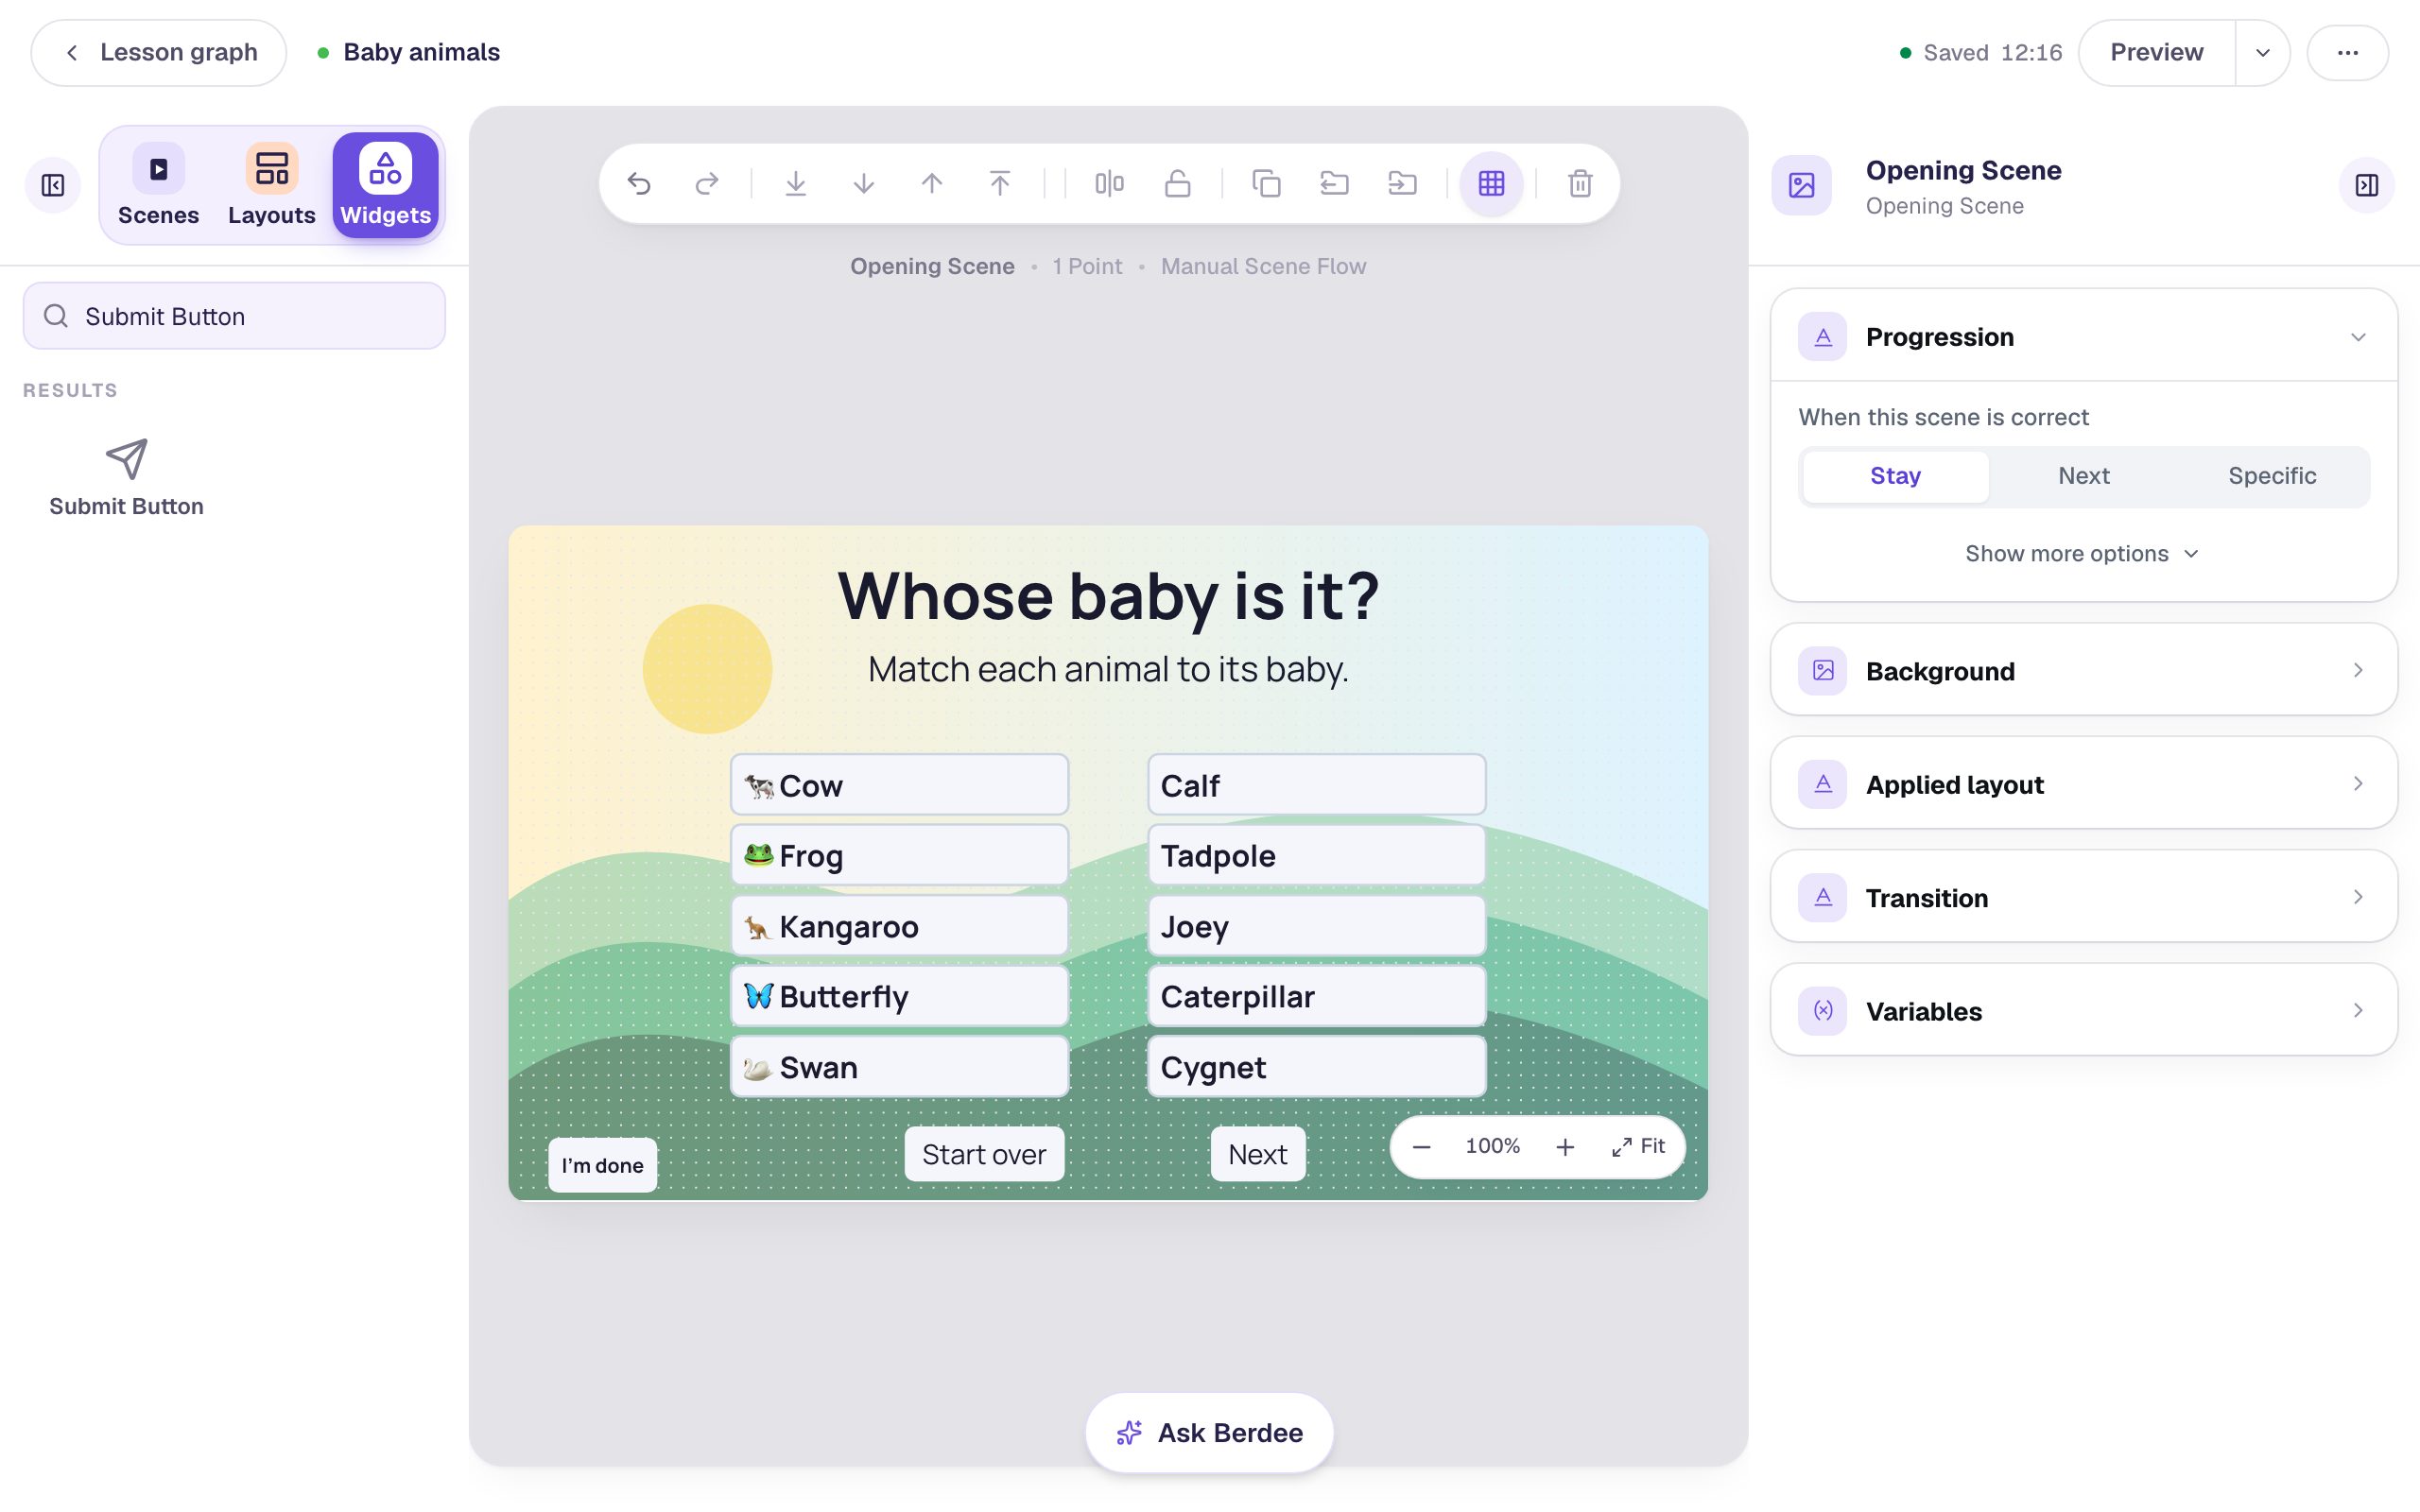
Students need a way to move on. Add another Button, click ⚙ Configure, change its Label to Next, and click Save. Click Behaviors, then Make this a "Next" button, check that Goes to says Closing Scene, and click Add behavior. Set its Font Size to 22 and drag it beside Start over.
Then click an empty spot on the scene and, in Progression, change When this scene is correct from Next to Stay.
Why Stay? On Next, the scene jumps to the ending the moment the last pair is right, before the student has seen the confetti and the message. With Stay, they get to enjoy it, and press Next when they're ready. A student who gives up can press Next too, and the score at the end shows they didn't finish.
Berdee needs a way for students to finish the lesson early before it will publish. Add a Submit Button, set its Label to I'm done and Submits to Lesson in Content, set its Font Size to 16, and tuck it into the bottom-left corner.
Step 9: Play it as a student
Click Preview. Make a wrong pairing first: click 🐄 Cow, then Joey. You can also drag a line from one to the other.
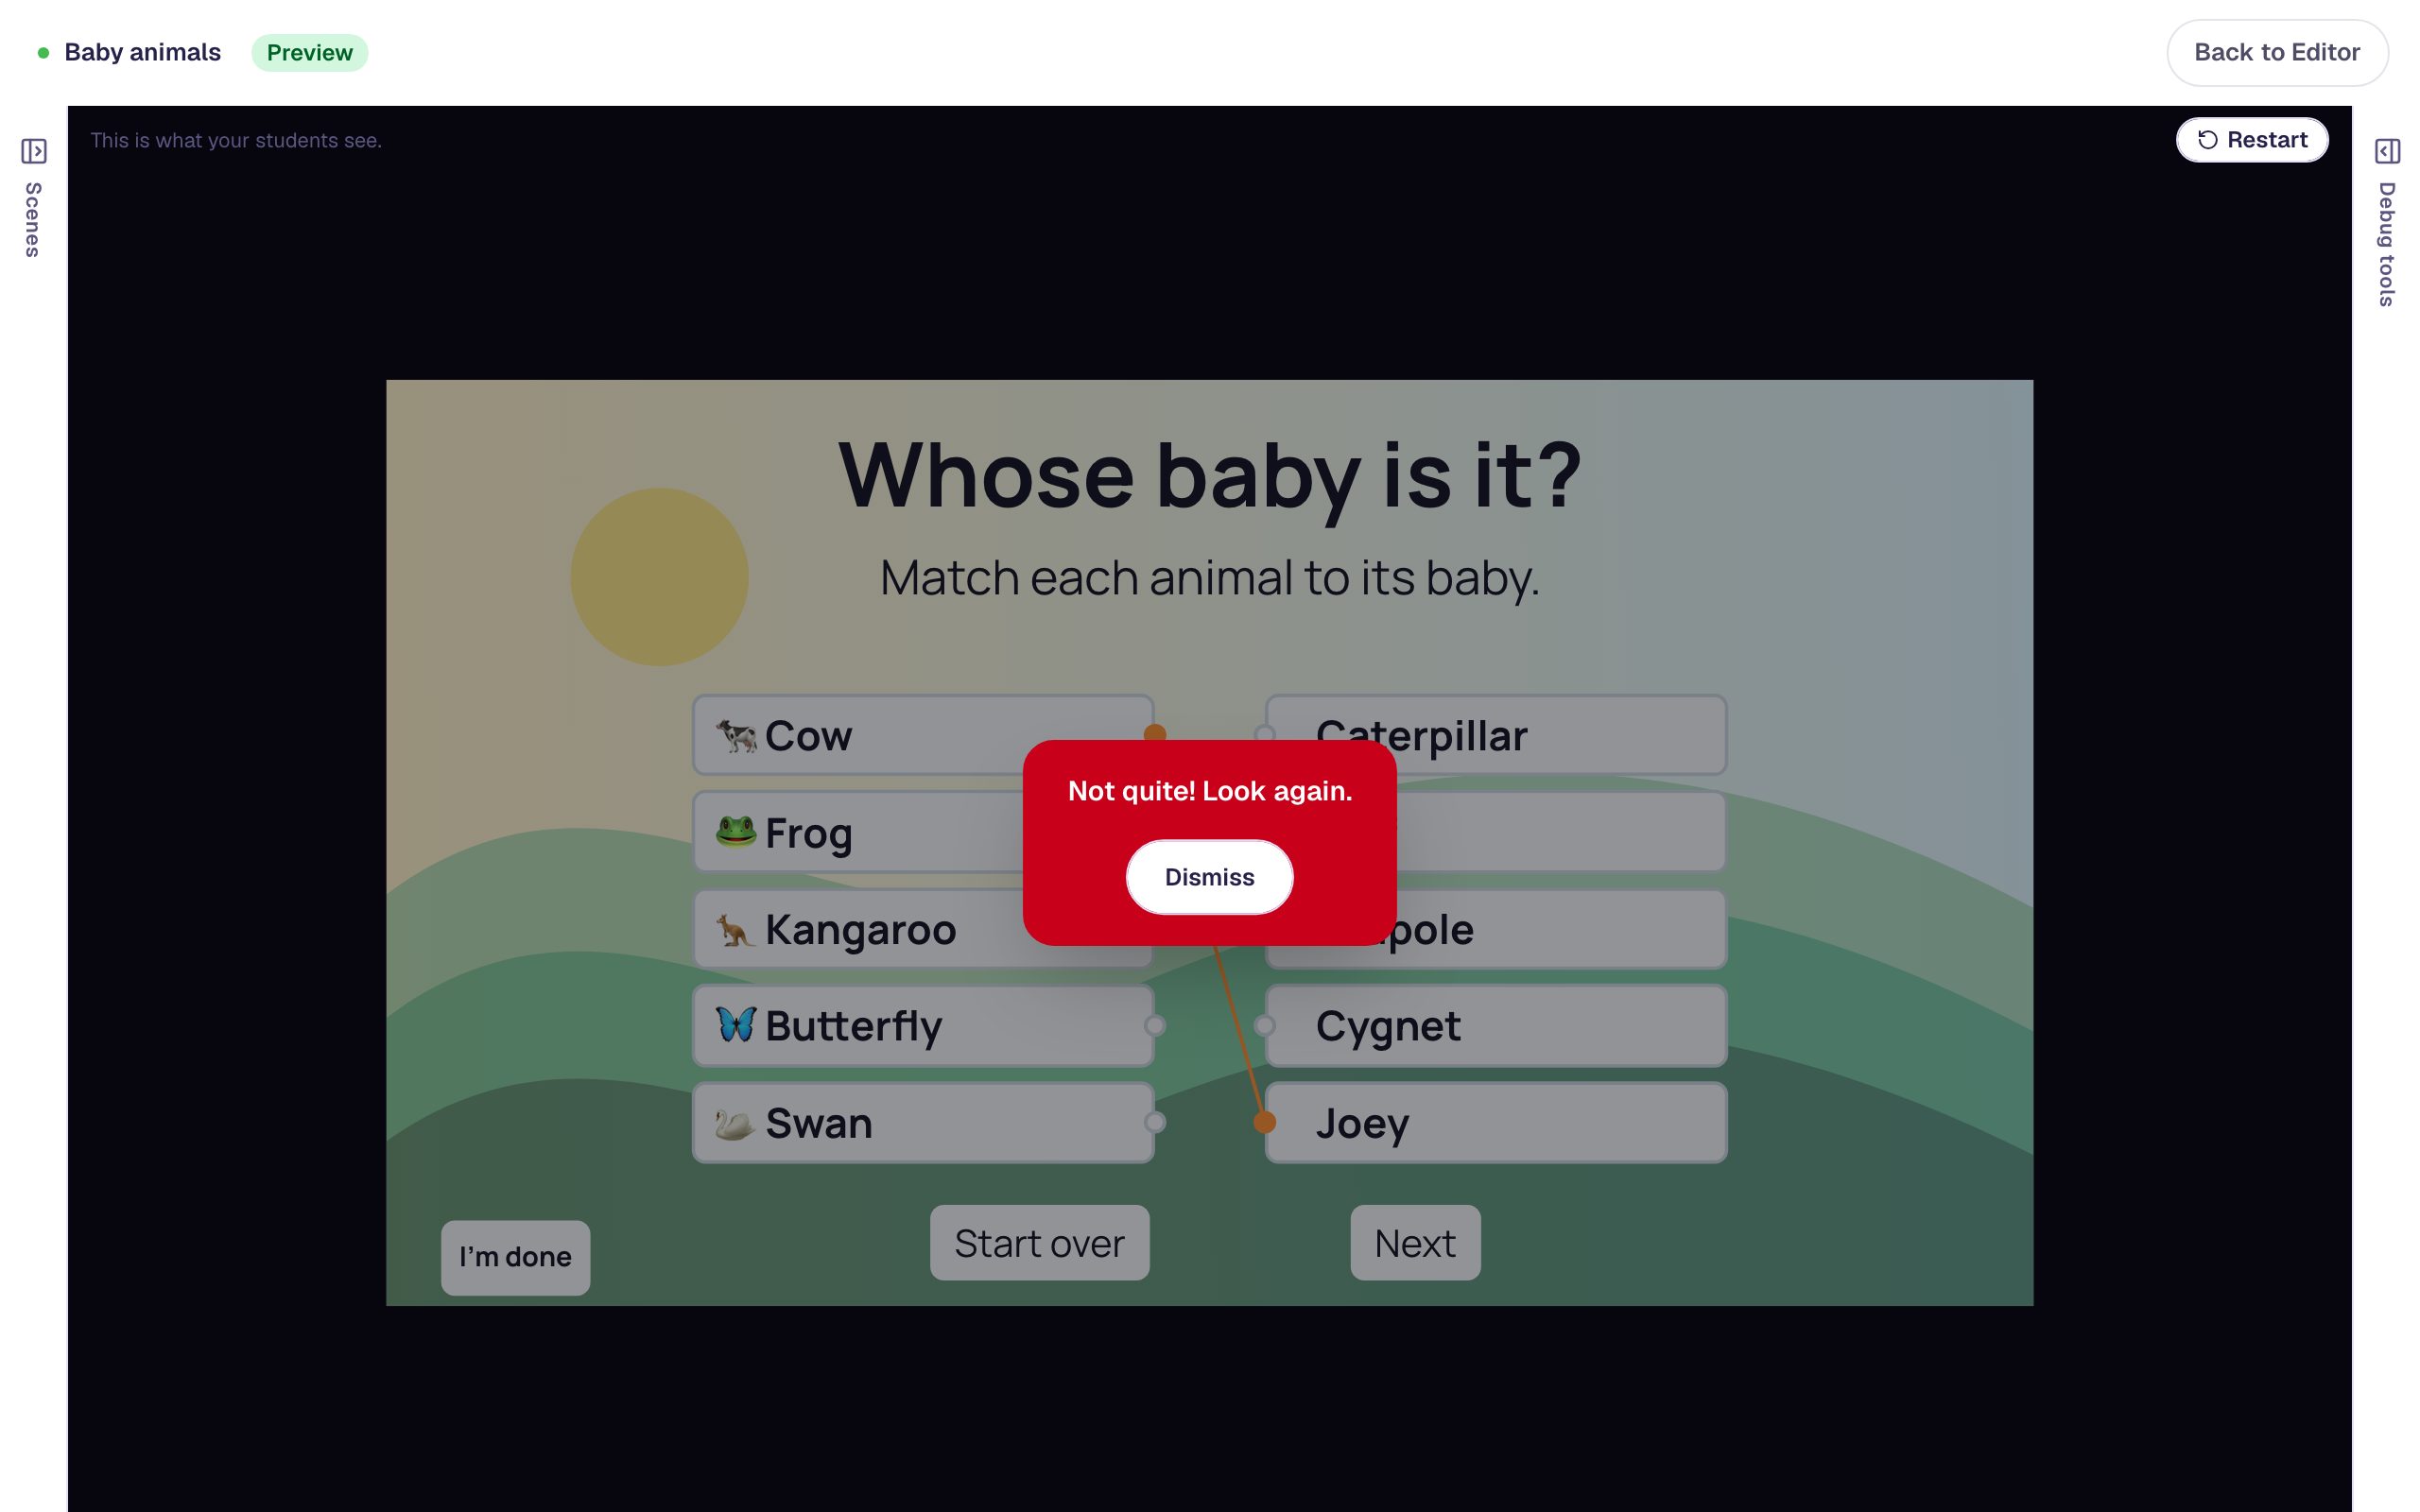
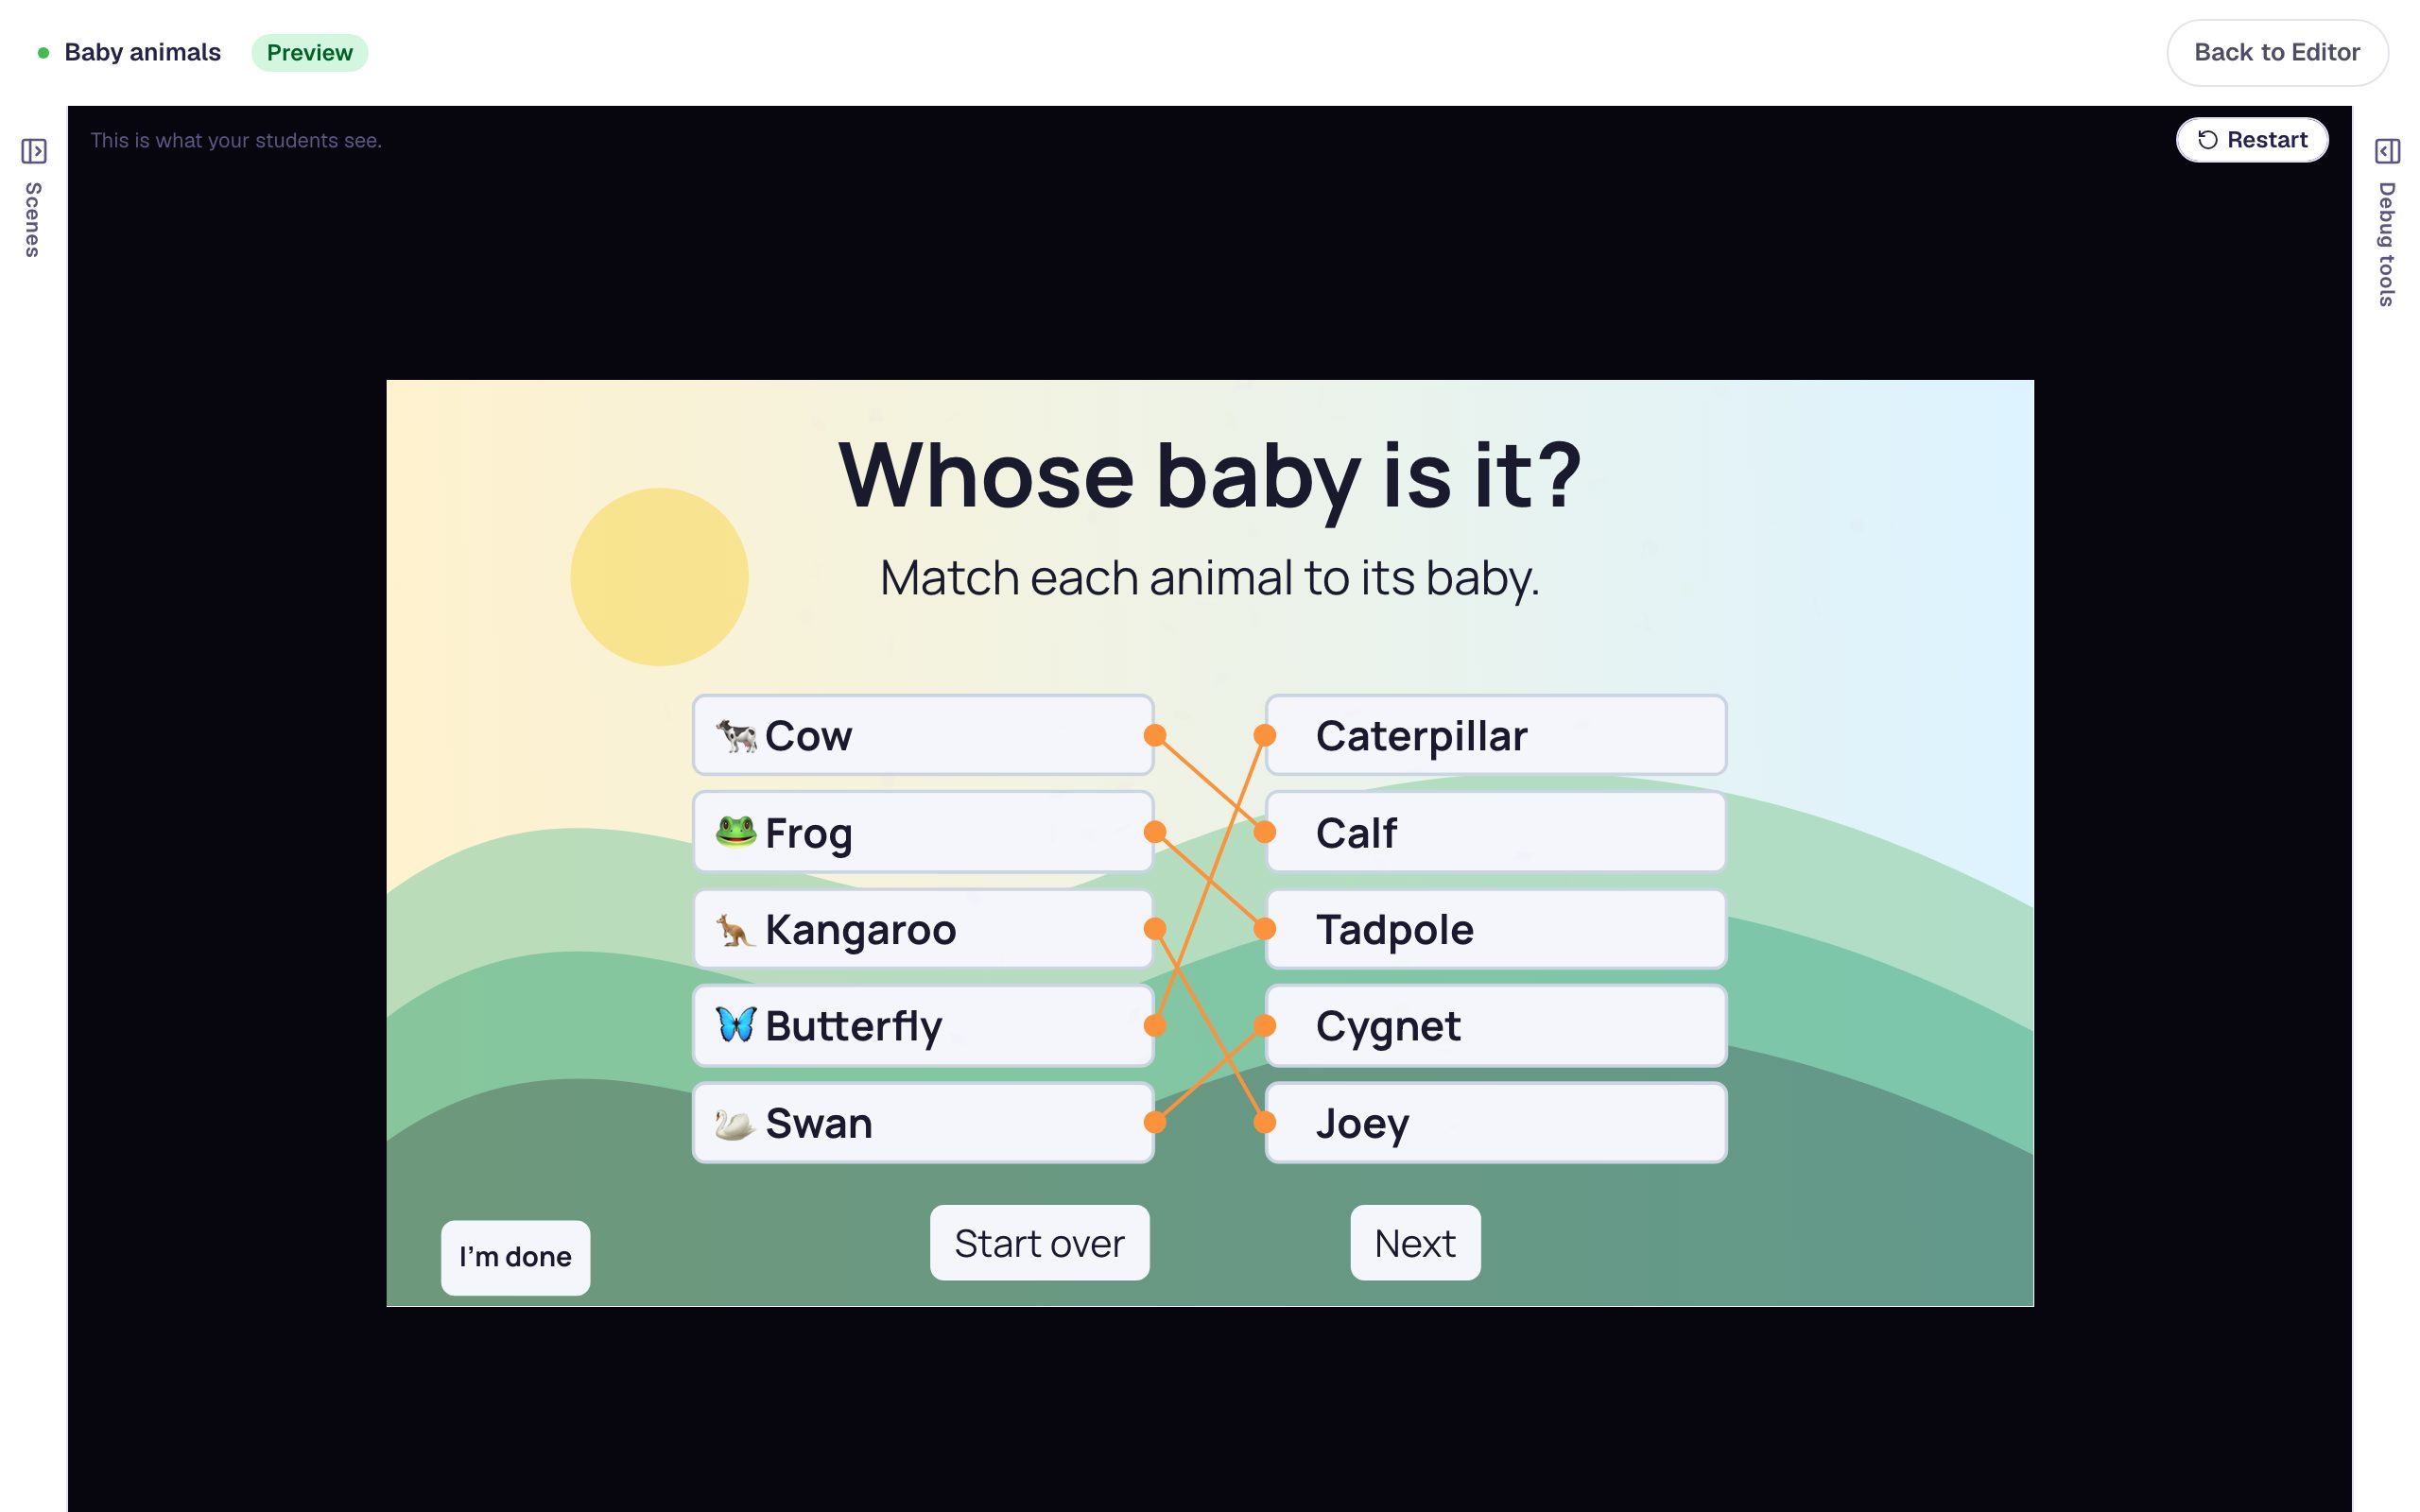
Dismiss the message and match all five correctly. Pairing 🐄 Cow with Calf replaces its wrong line, and pairing 🦘 Kangaroo with Joey takes Joey back. When the last line goes in, confetti flies and Great job! appears. Dismiss it to see the finished set:
Press Next. The ending shows Your score: 1/1.
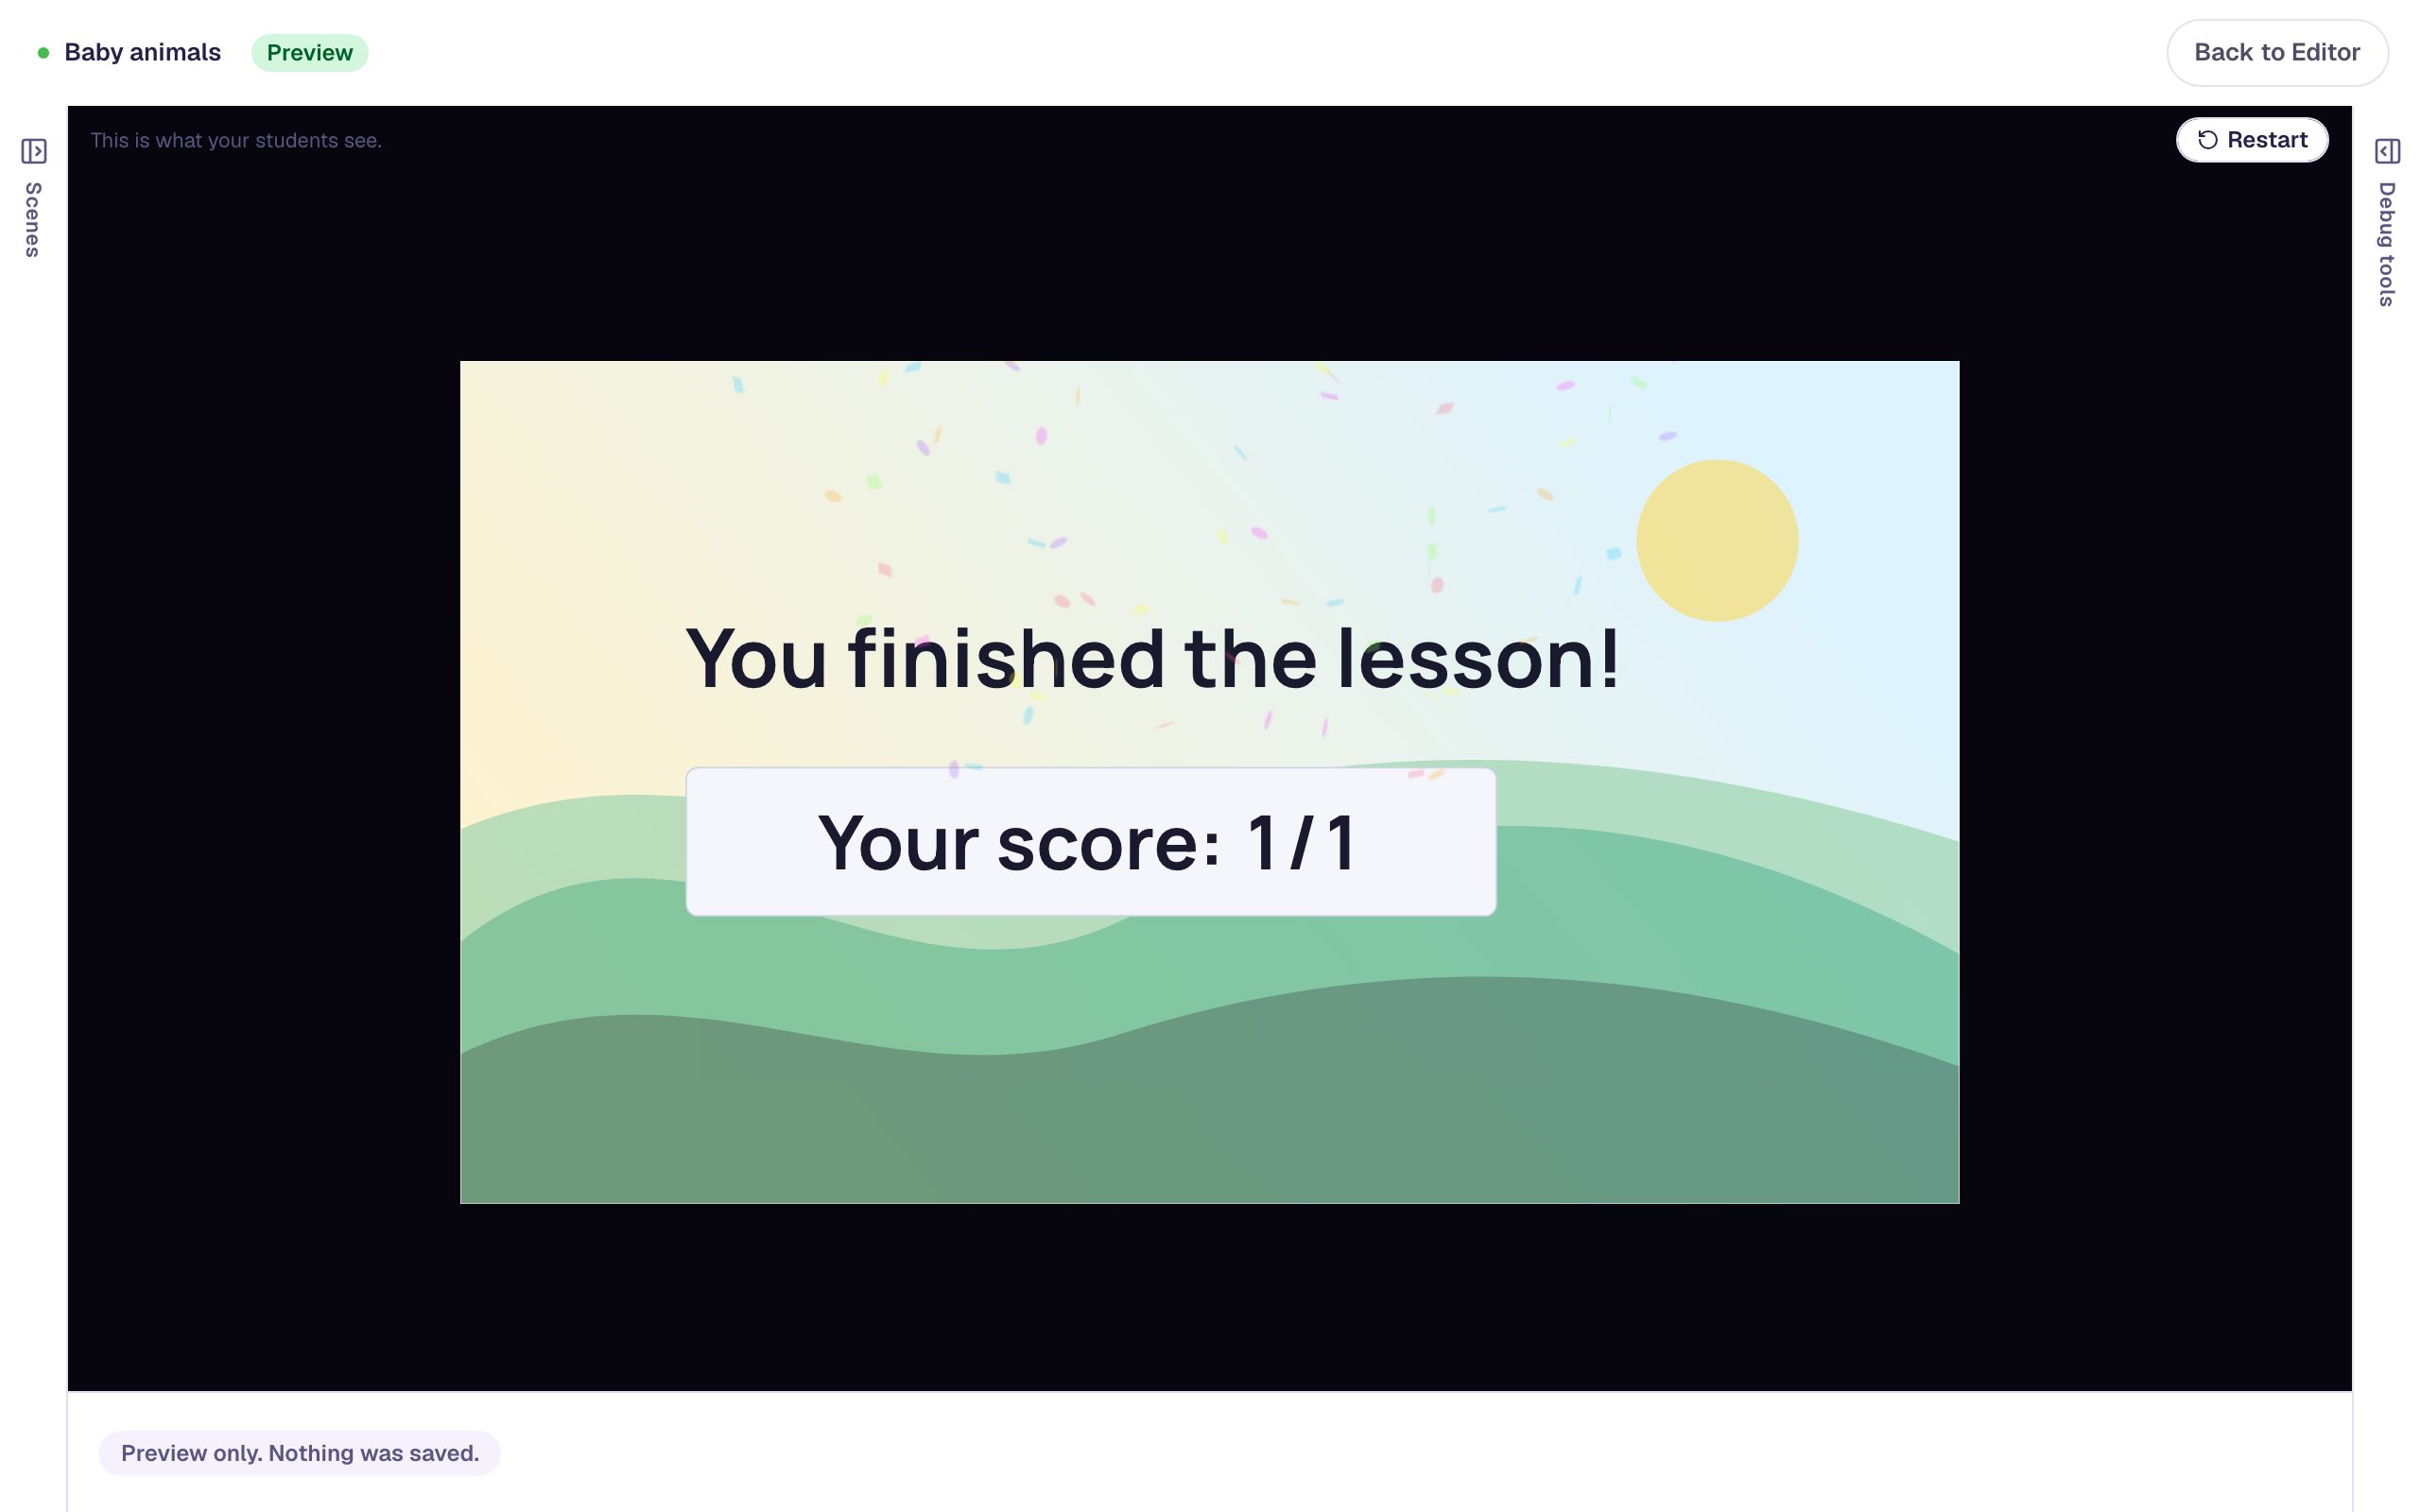
Click Restart to try Start over too: make a few pairings, press it, and watch every line disappear.
What you built
A matching game about baby animals with:
- five pairs, with an emoji on each animal so young readers have a picture to go on,
- Randomize Matches on, so the babies are shuffled for every student,
- a Not quite! Look again. message for every wrong pairing, and confetti when the whole set is right,
- a Start over button that runs the activity's Reset, and
- a Next button with Stay progression, so students see the celebration before they move on.
To grade more strictly, try the same activity with a Submit Button that locks the answers and colors each line green or red, as described in Matching Widget. To sort several items into shared groups instead of pairs, see Build a drag-and-drop sorting activity.
Make this lesson yours
Add the lesson you just watched being built to your account, then change it for your class: your questions, your pictures, your colors.
Free to sign up, and you'll come straight back here. I have an account