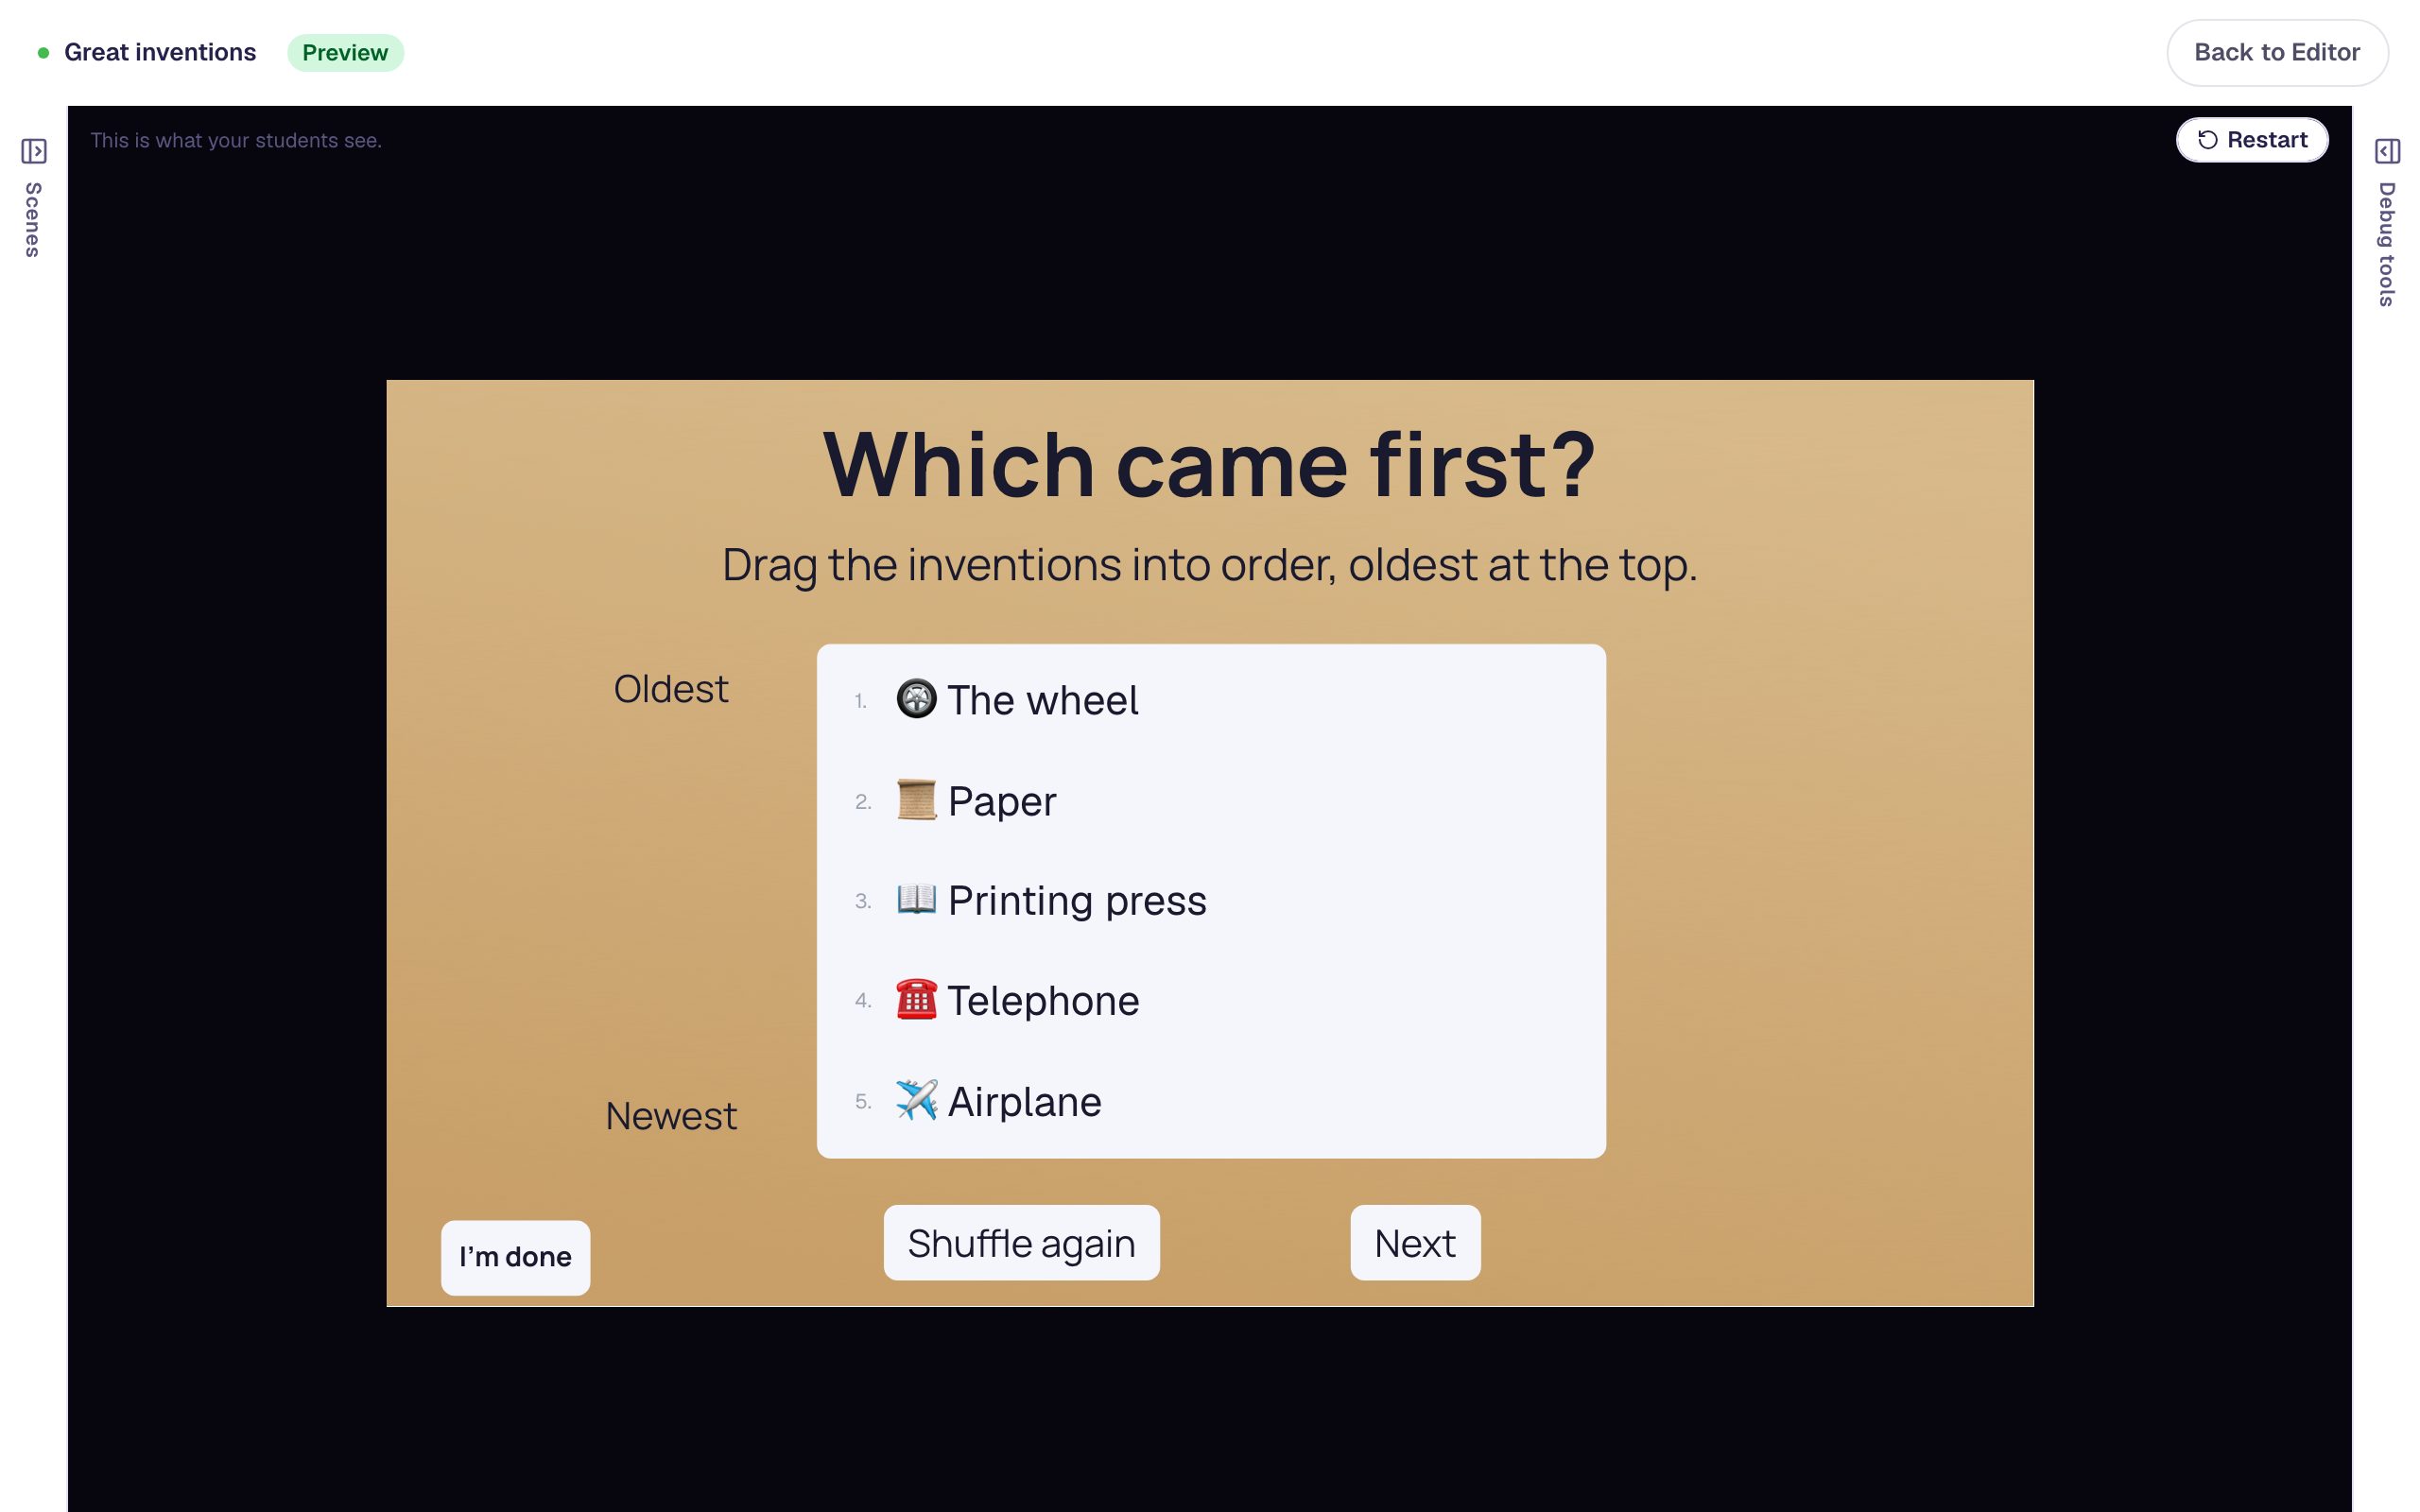
Draw a life-cycle diagram with shapes and arrows
Build a butterfly life-cycle diagram from Shape widgets. Pick shapes from the library, colour them, put labels on top, copy a finished stage, and turn copies of one arrow in each direction.
- Level
- Beginner
- Time
- About 10 min
- Steps
- 8
A scene with four coloured stages (egg, caterpillar, chrysalis, butterfly) joined by arrows in a loop, and a fun fact in a speech bubble.
Get the finished lesson
Skip straight to the result, or keep it open beside the steps. Add this tutorial's lesson to your account and explore how it works in the studio.
Free to sign up, and you'll come straight back here. I have an account
A cycle is easier to understand as a picture than as a list. In this tutorial you'll draw the life cycle of a butterfly using only the Shape widget and some text: four coloured stages, an arrow between each pair, and a fun fact in a speech bubble.
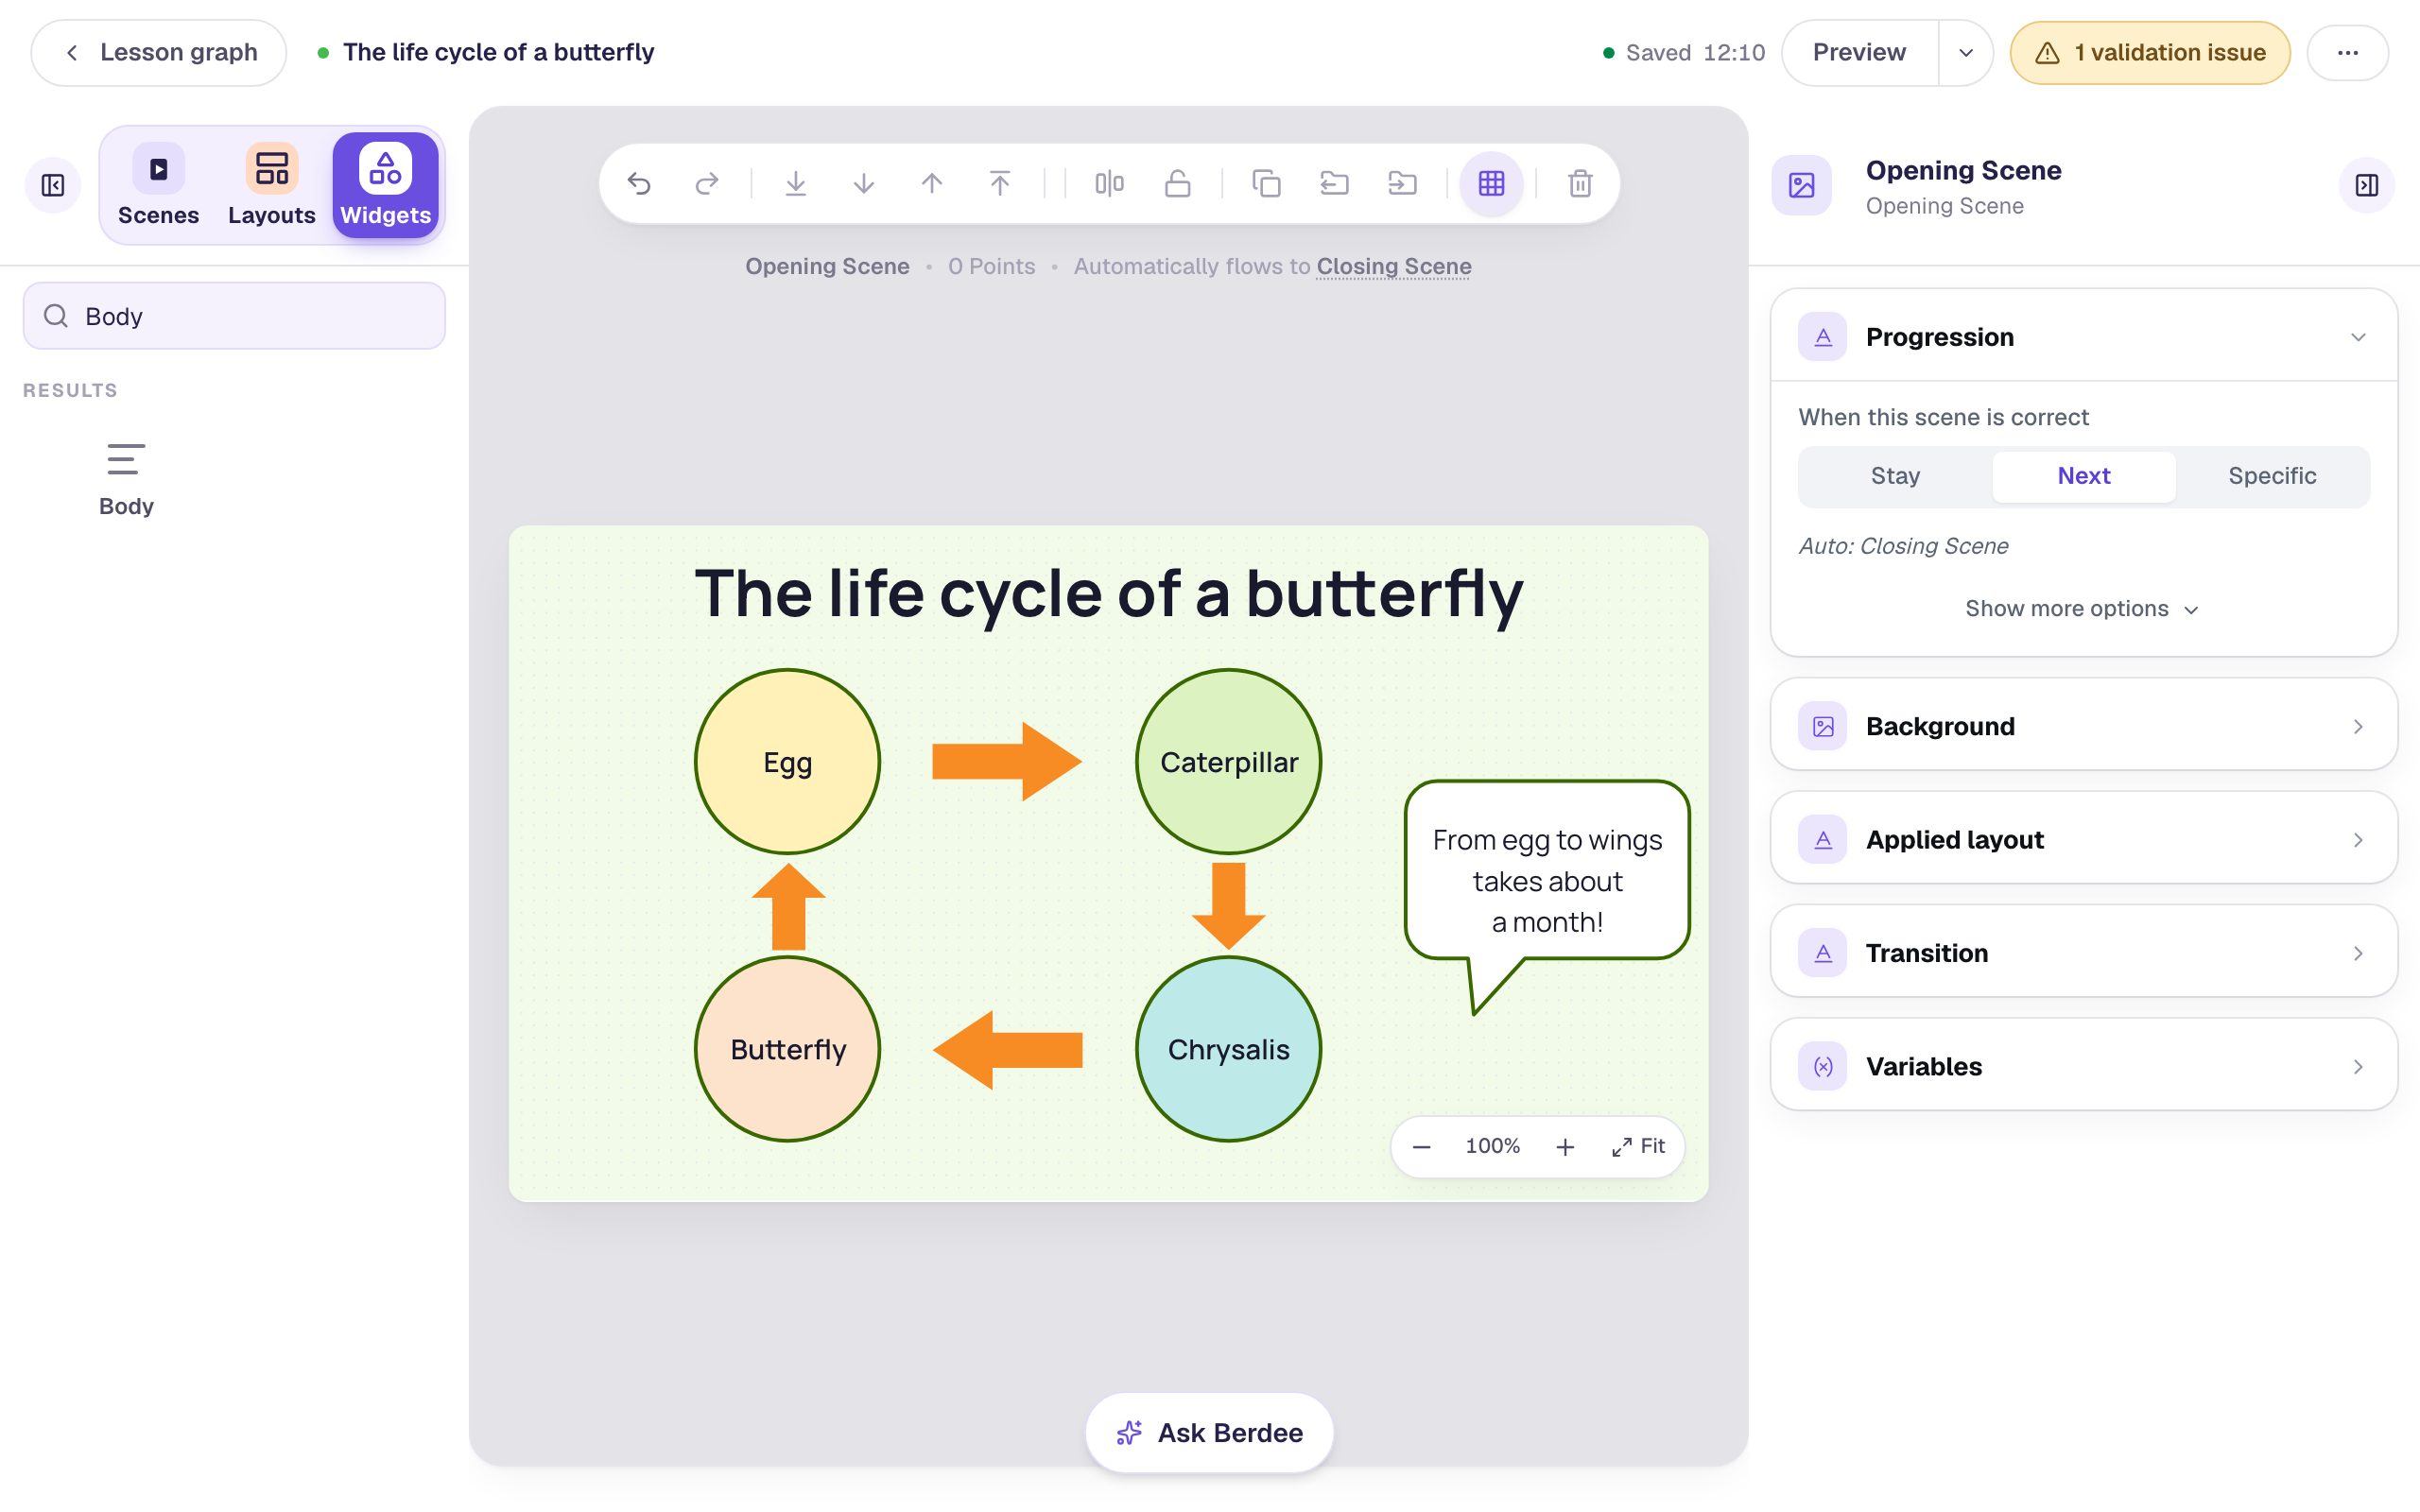
You'll learn four habits that make every diagram faster: pick the shape you want instead of restyling a rectangle, finish one piece before you copy it, put labels on top of shapes, and turn copies of one arrow instead of drawing four.
If you haven't used the studio before, start with Build your first quiz question: this tutorial moves quickly through the parts it already covers.
Step 1: Set the scene
Start a blank lesson (New lesson, then Start from scratch) and name it The life cycle of a butterfly by clicking Untitled lesson at the top.
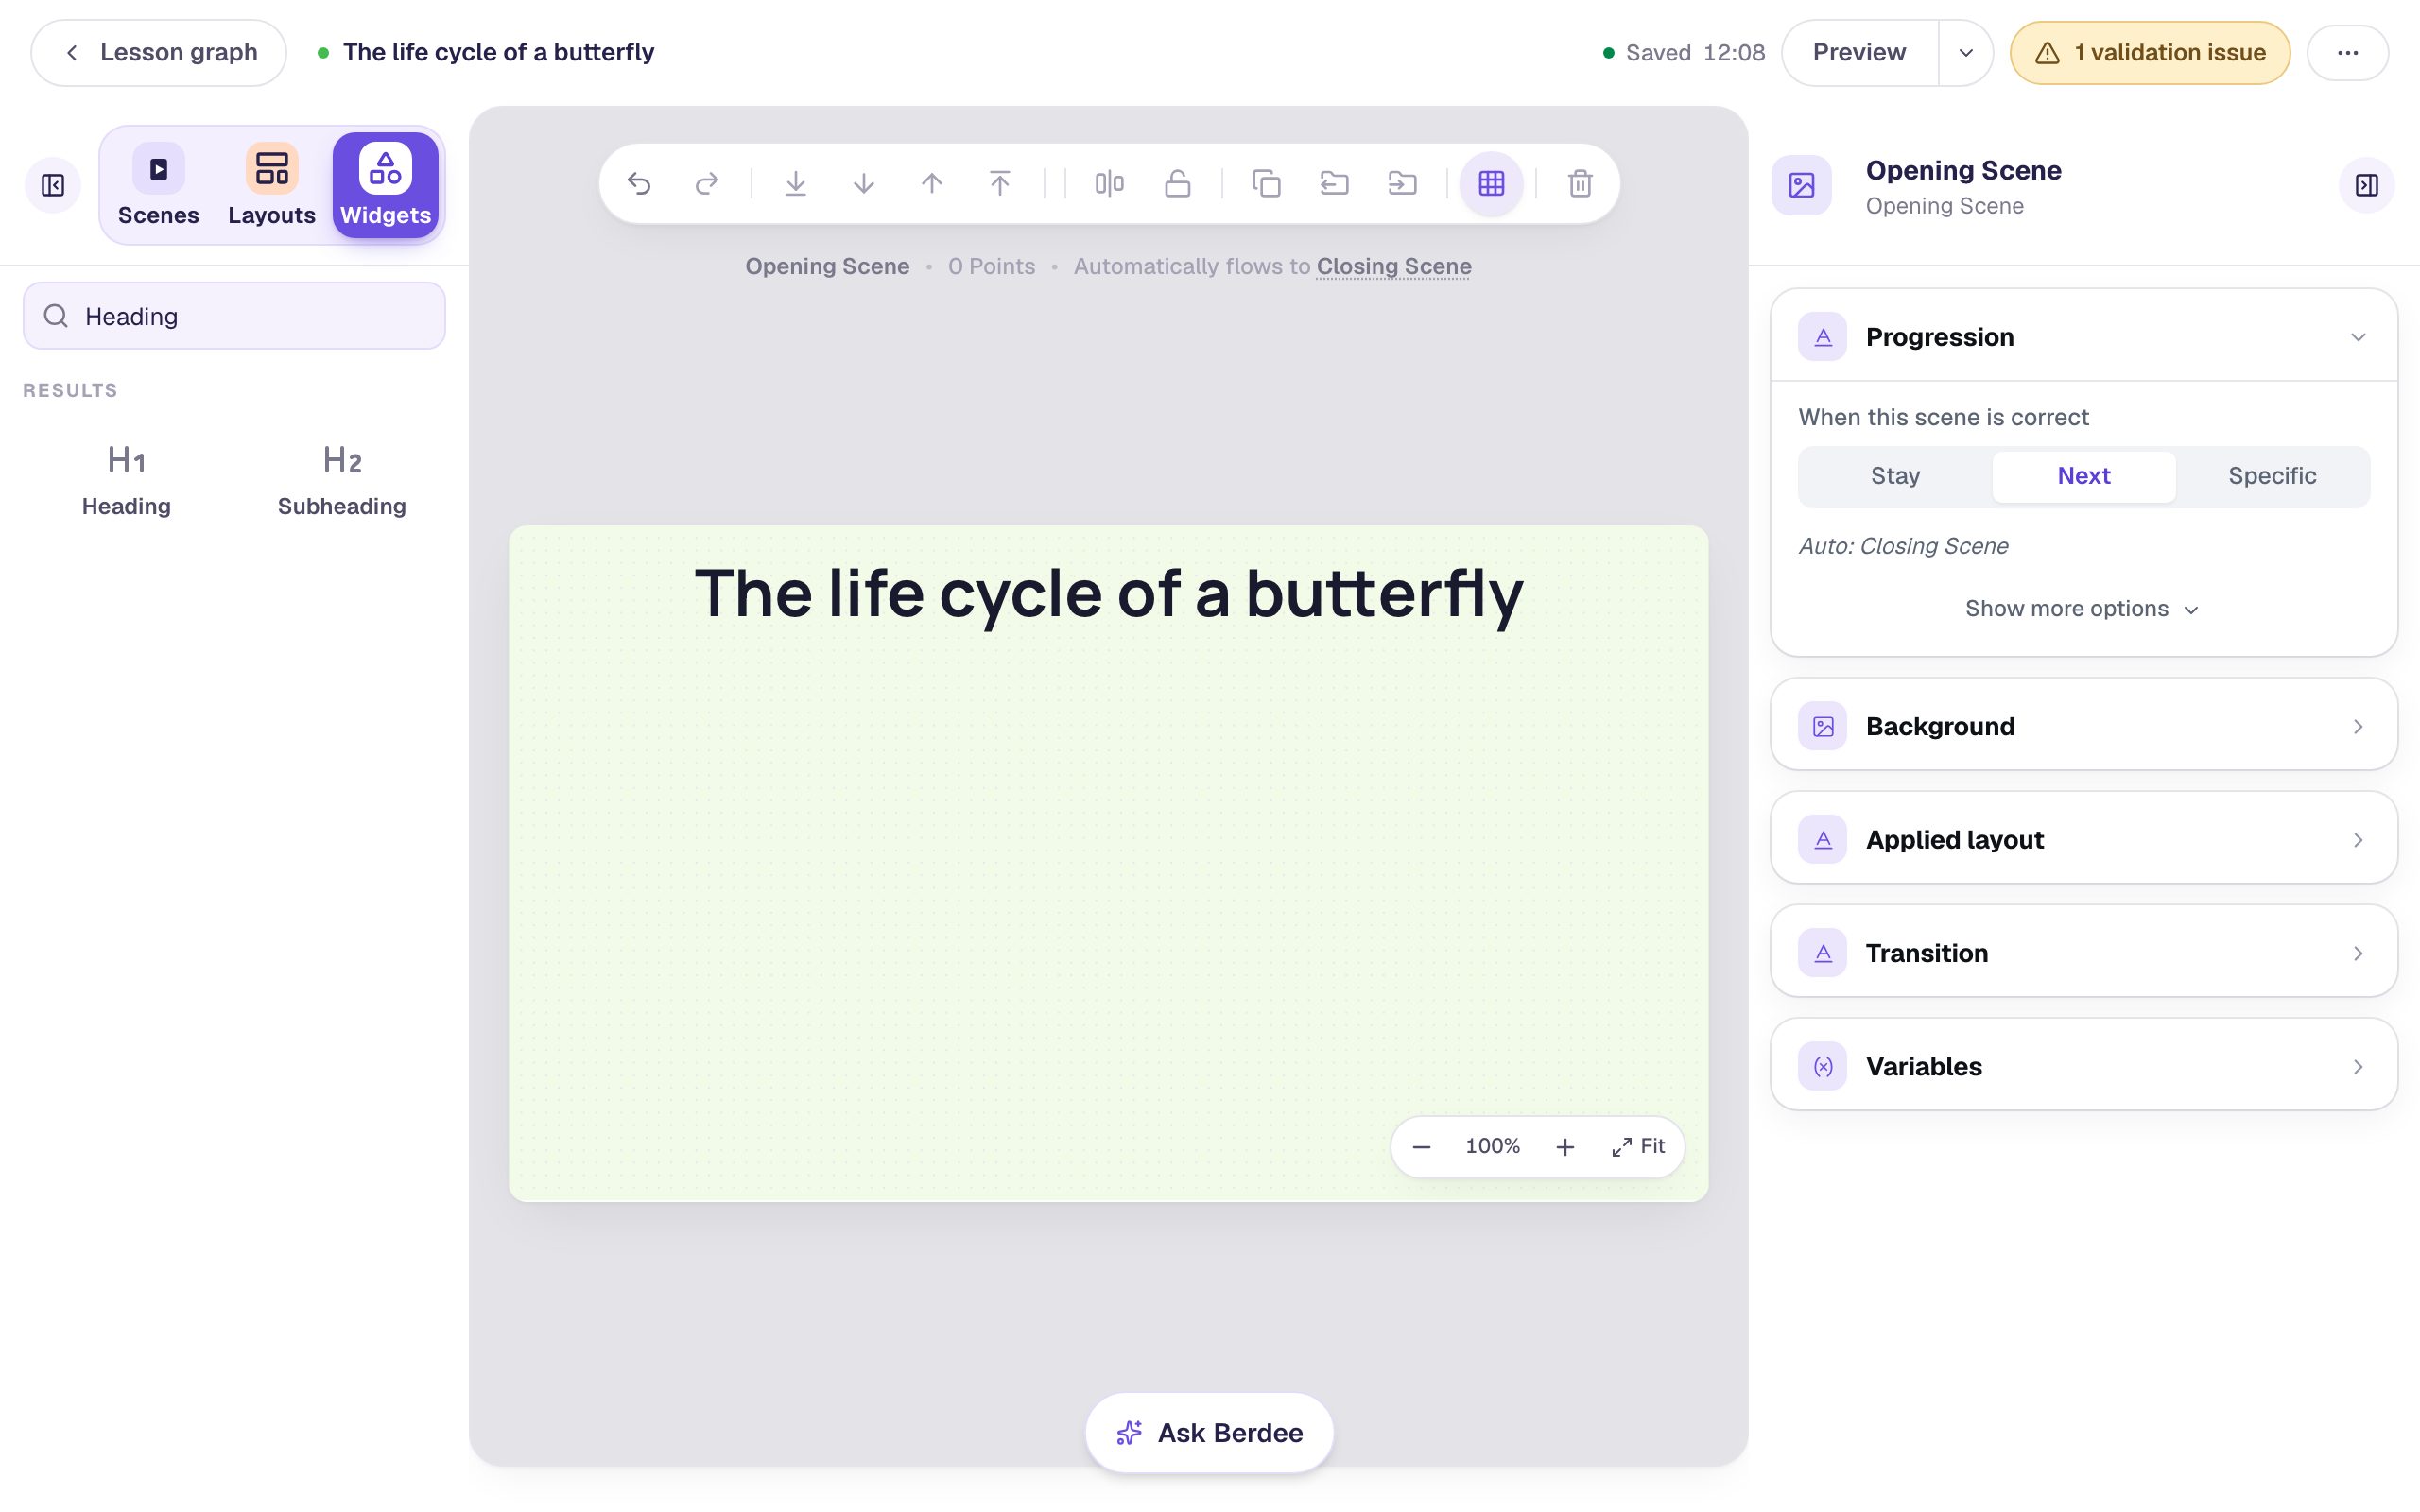
On the Opening Scene, click an empty spot so nothing is selected, open Background, click the Color swatch, and pick the palest green in the palette (#F1FBE7). A soft colour behind a diagram keeps the eye on the shapes. Then add a Heading that says The life cycle of a butterfly and drag it to the top of the scene.
Step 2: Add a shape and pick a circle
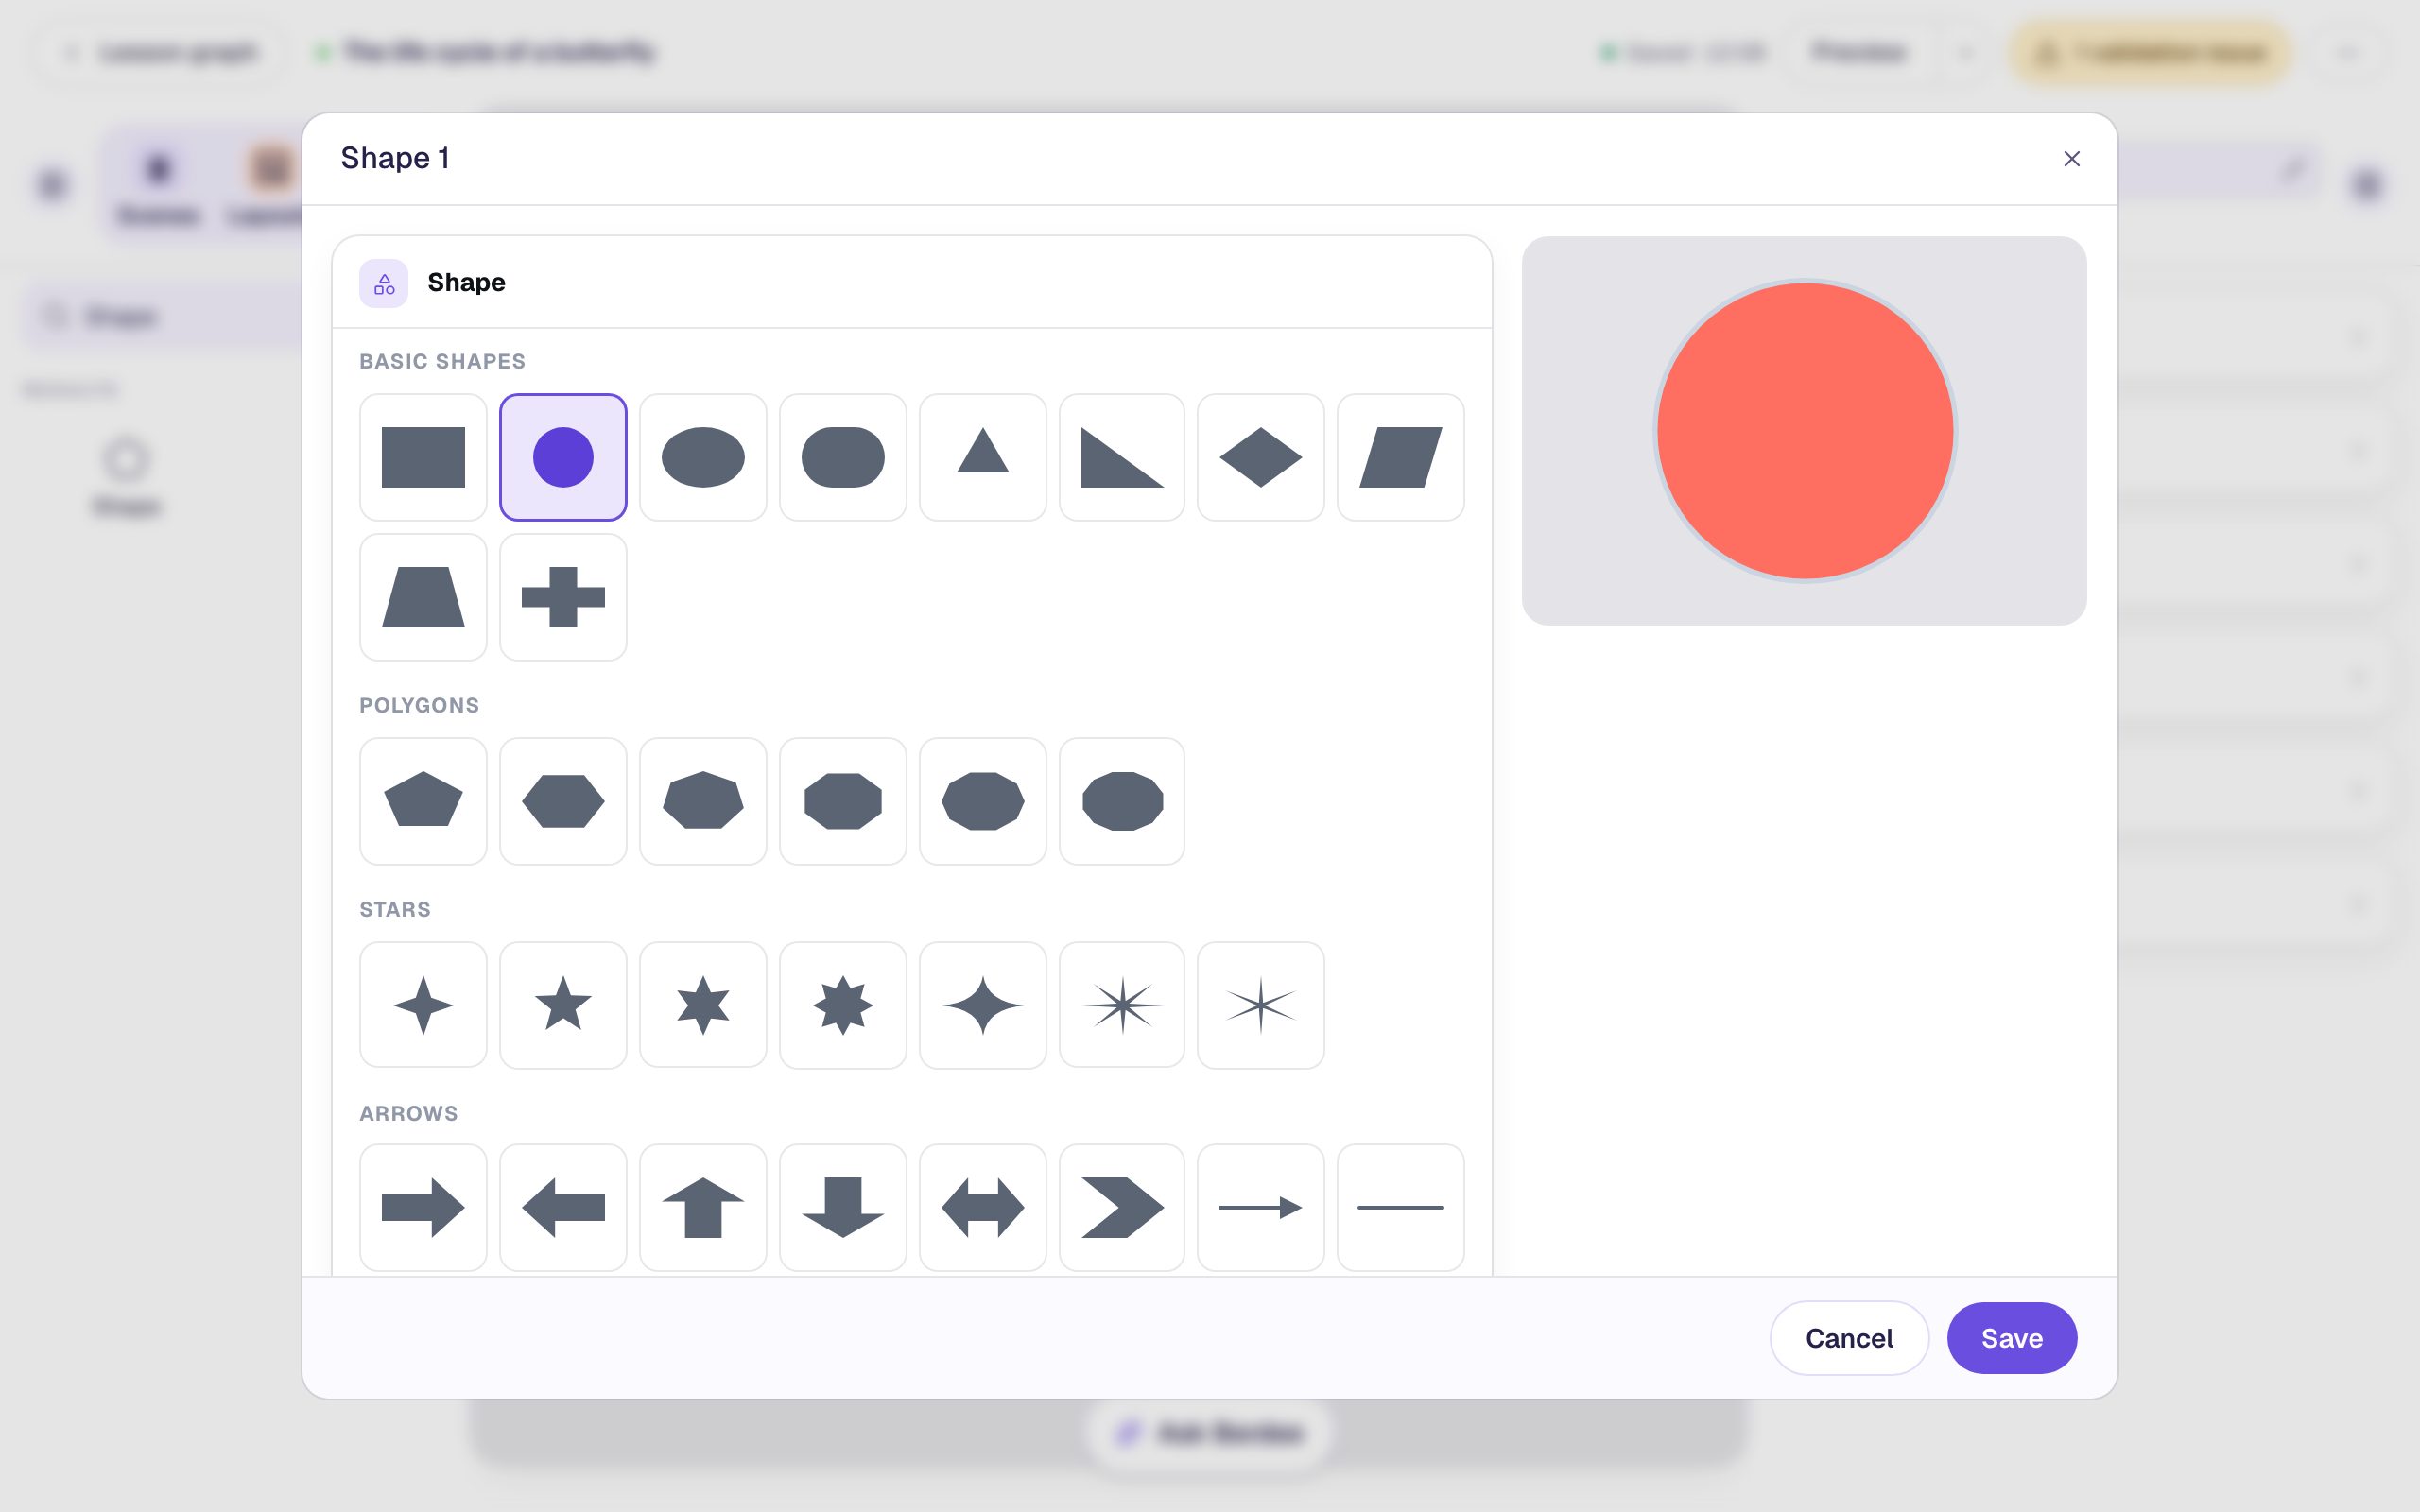
In Widgets, search for Shape and click it. The shape's Configure window opens straight away, because the first thing to decide is which shape you want. Click Circle in Basic shapes.
The preview on the right shows the shape at its real proportions and colours. Scroll down to see the whole library: polygons, stars, arrows, speech bubbles, clouds, hearts, banners, and more.
Click Save.
Step 3: Size and colour the circle
With the circle still selected, open Style & Layout in the panel on the right:
- Click the Fill Color swatch and pick a soft yellow (
#FFF1B8). - Click the Stroke Color swatch and pick a deep green (
#3A6800). - Drag Stroke Width to
3 px. - Click Show more options and set Width and Height to
150.
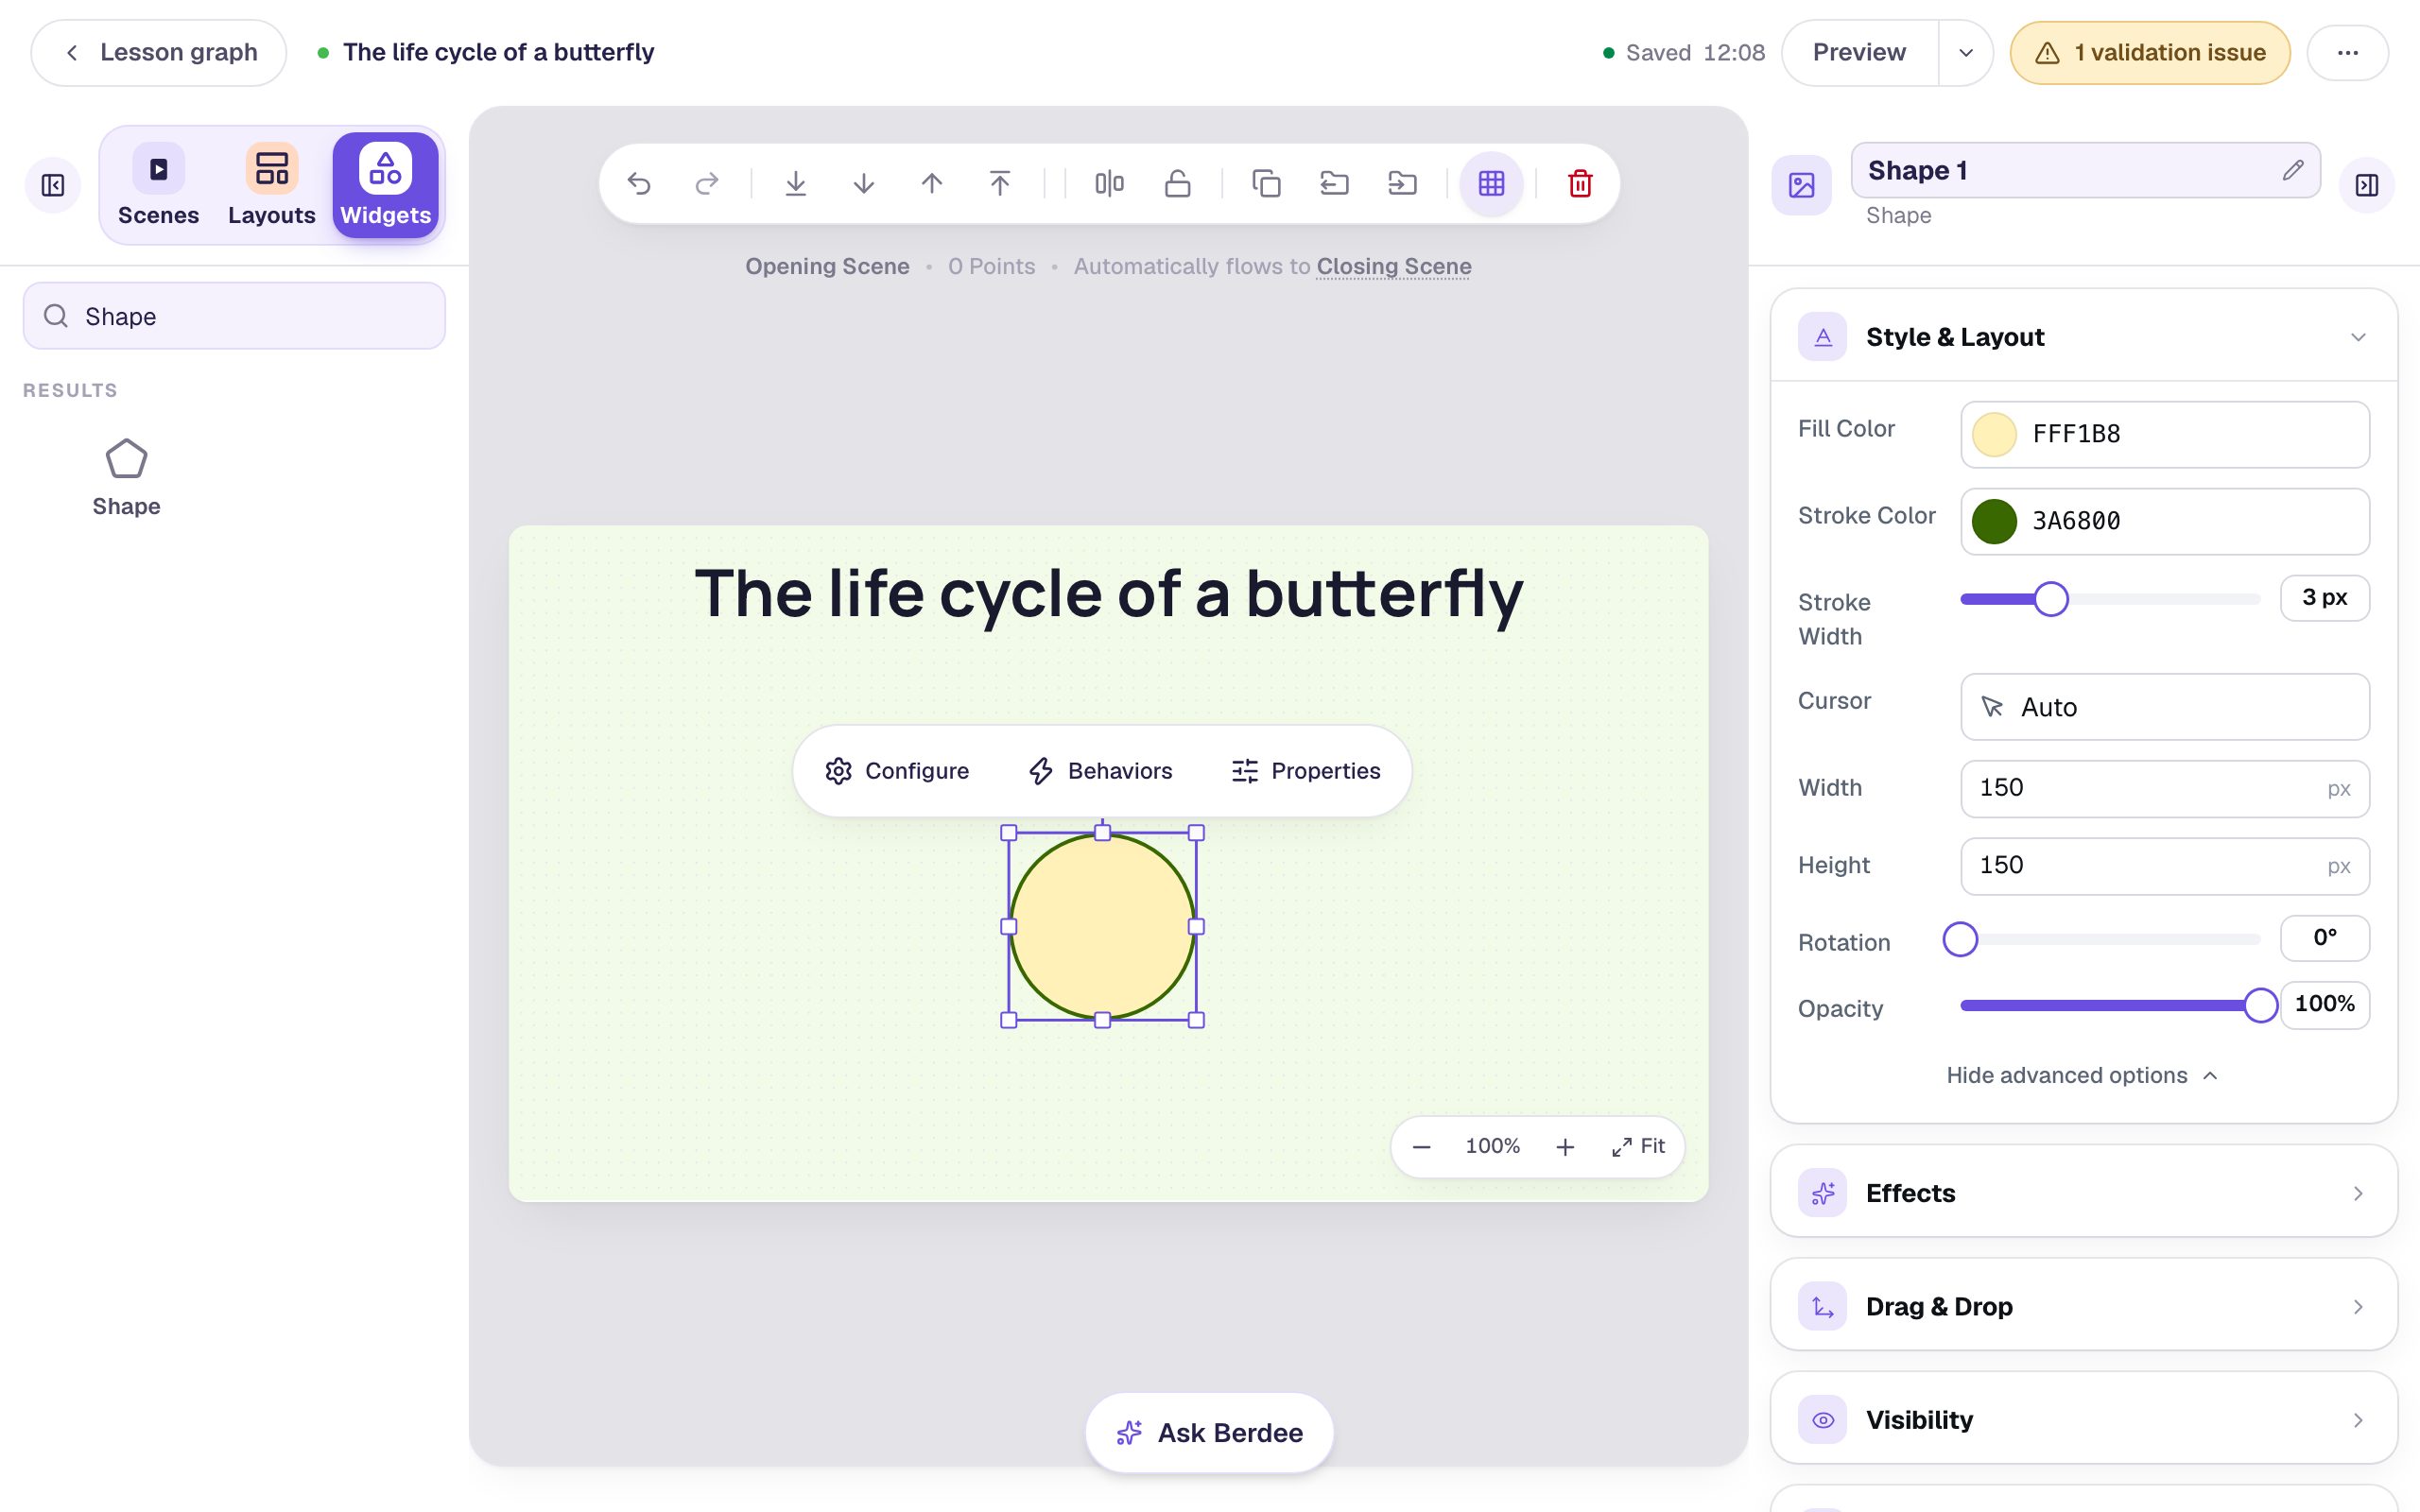
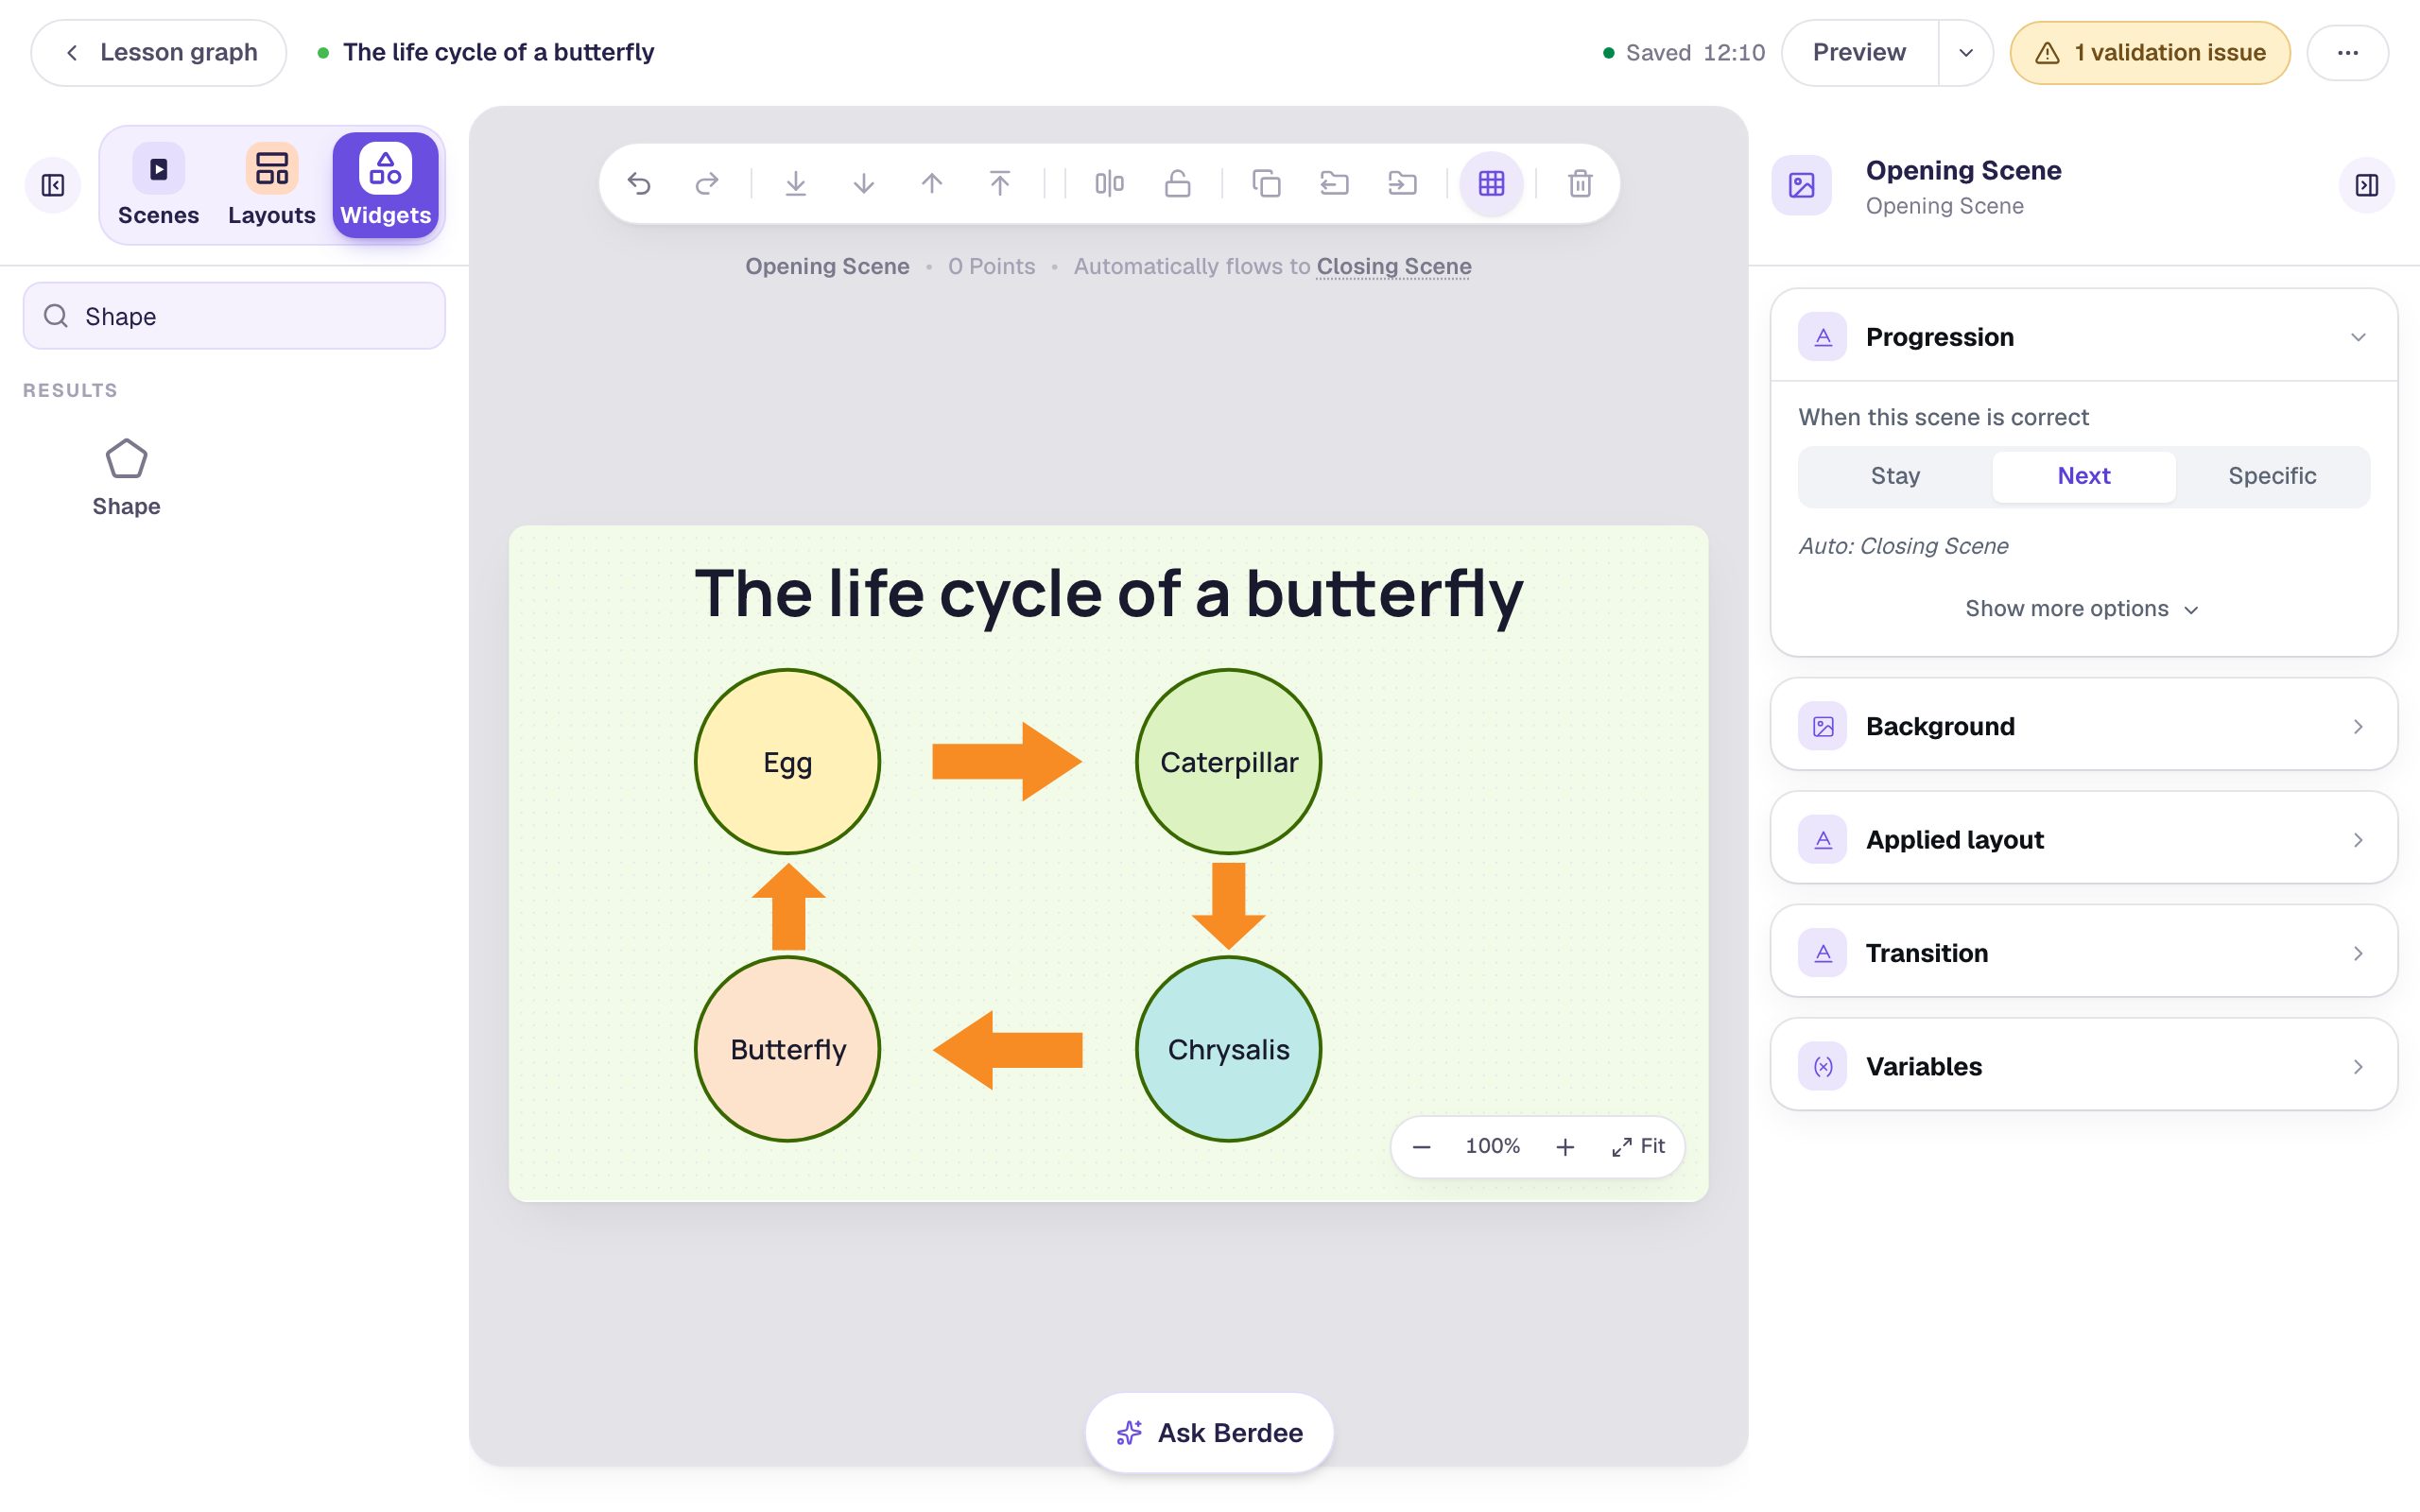
Keep Width and Height equal, or the circle stretches into an oval. Then drag the circle to the top left of the scene, under the title. This is the egg.
Step 4: Put a label on top
Add a Subheading, type Egg, and press Escape to finish typing. In Style & Layout, set its Font Size to 22. Then drag the label into the middle of the circle.
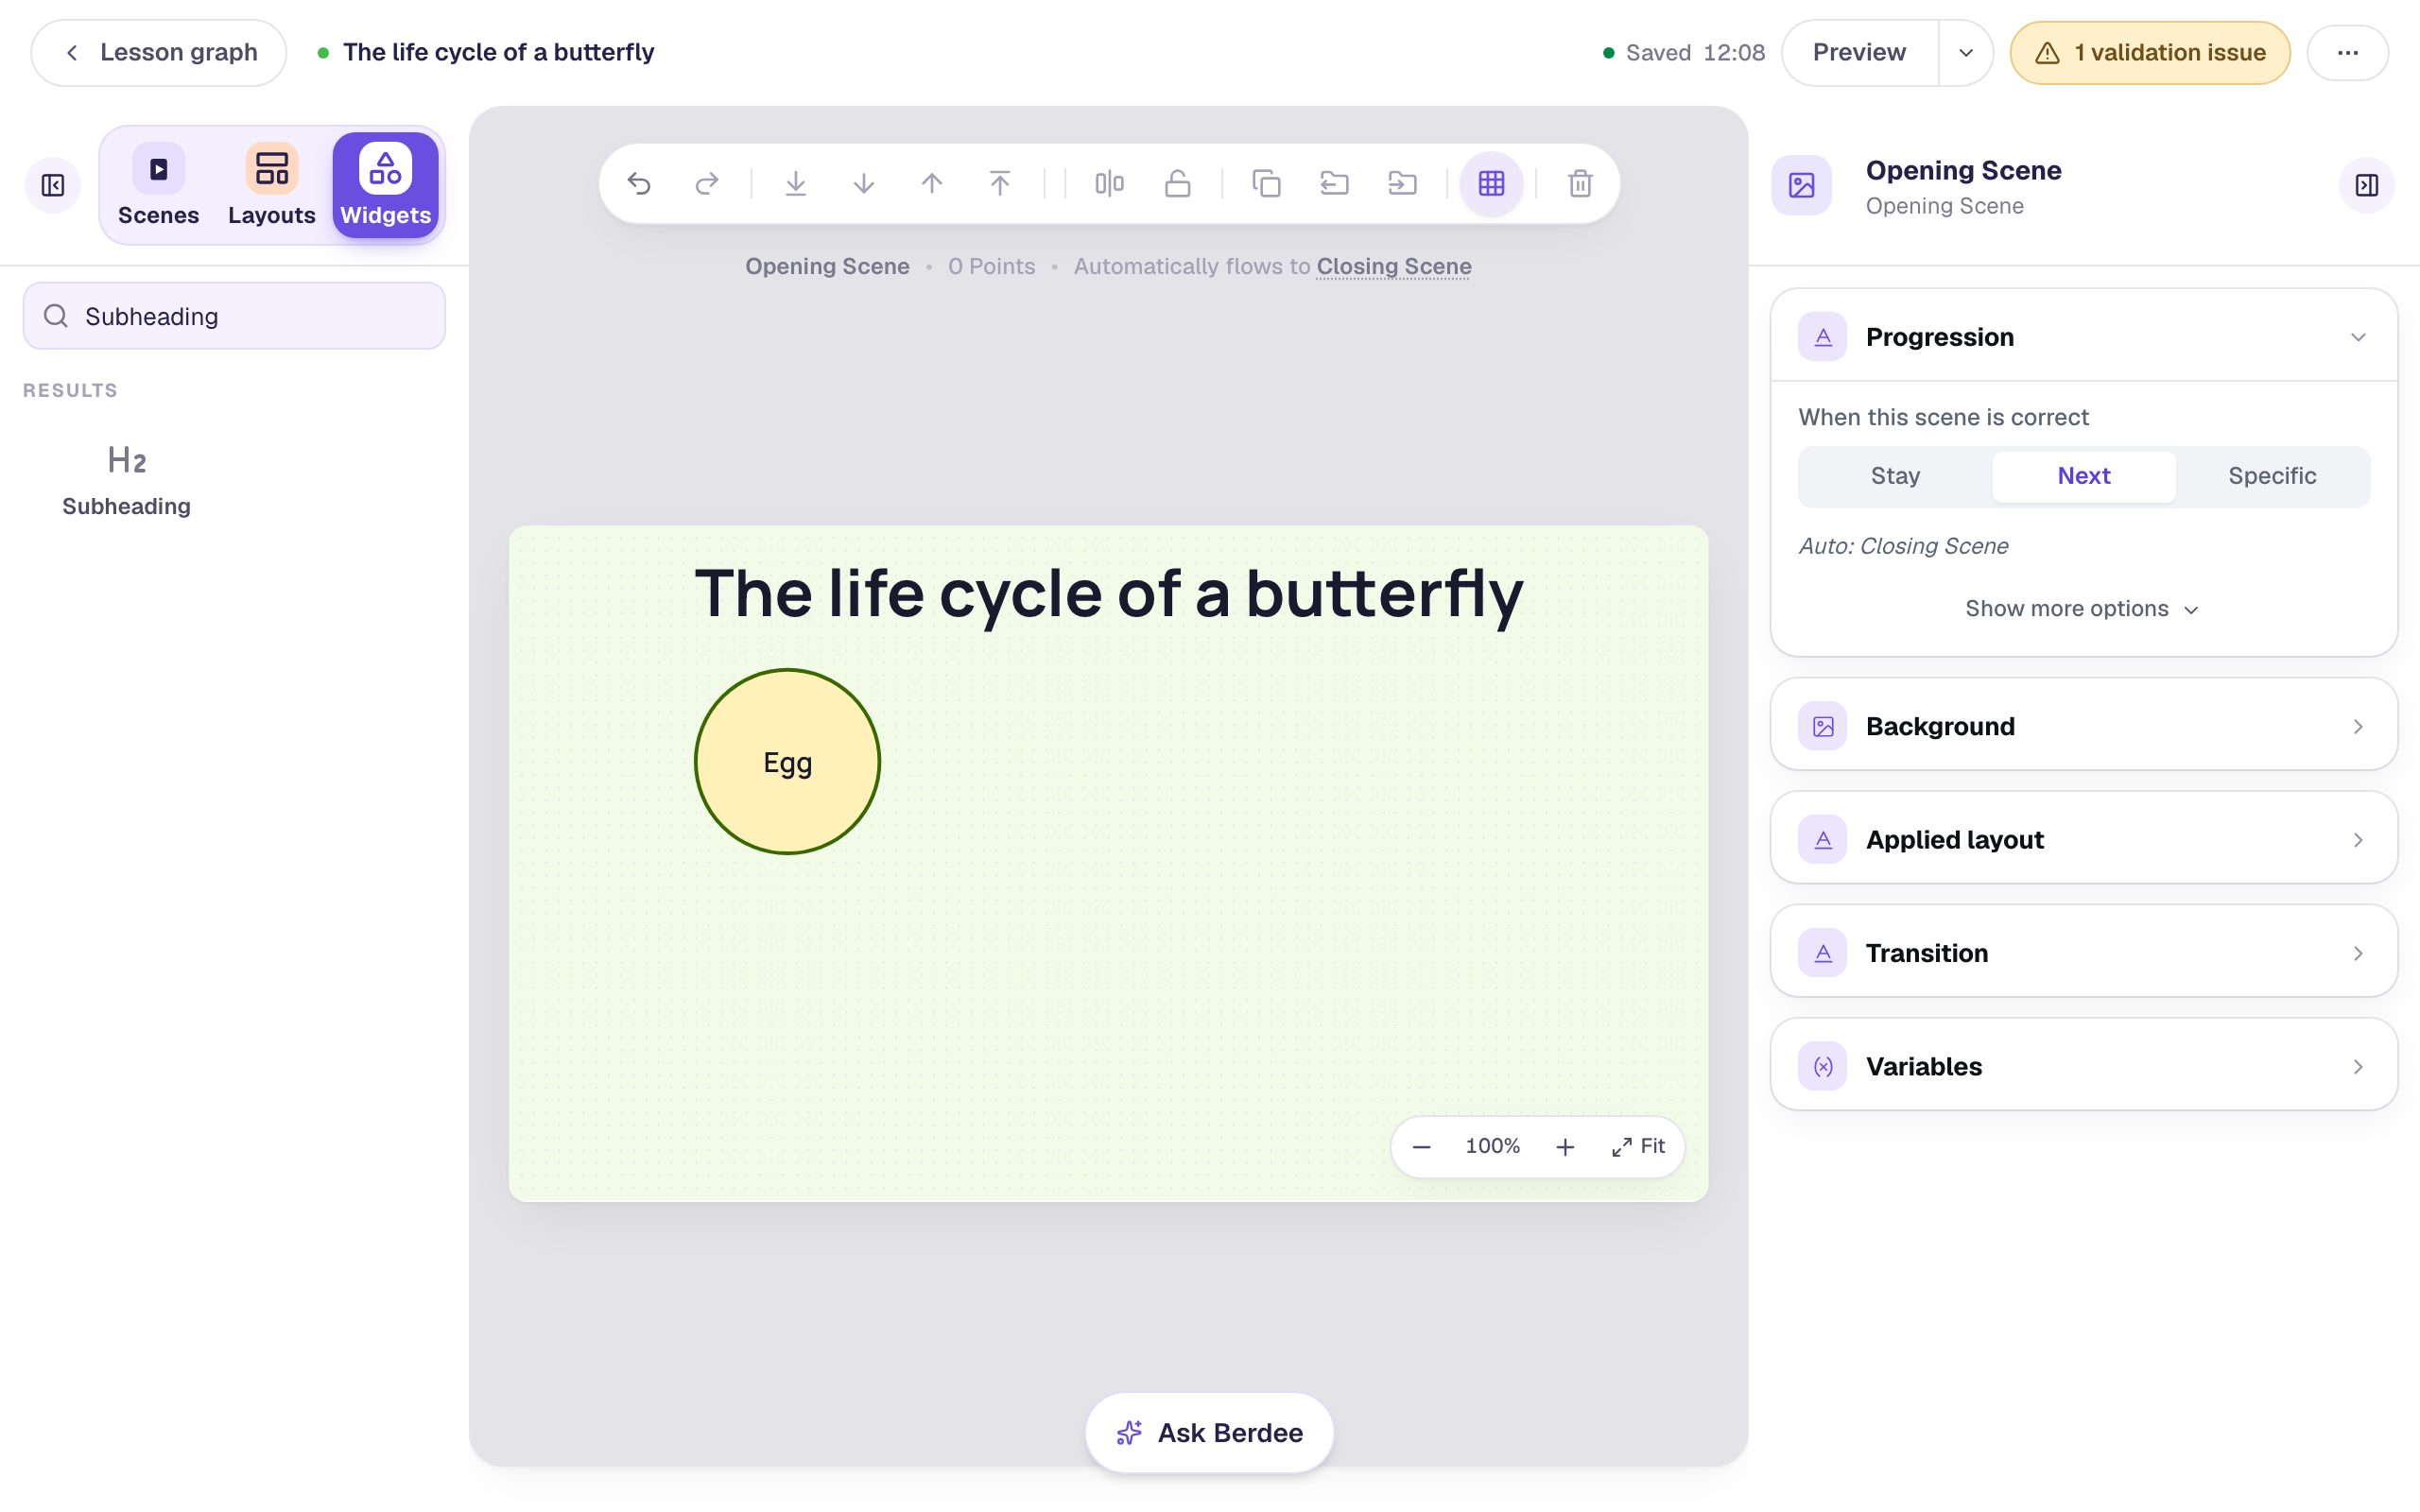
The label sits in front of the circle because you added it after the circle. If a label ever ends up behind its shape, select the label and use the toolbar's stacking buttons to bring it forward. Widget Toolbar Actions has the details.
Step 5: Copy the finished stage three times
You've done the styling once. Now copy it rather than building the other three stages from scratch.
- Click the circle near its edge, below the label, so the circle is selected.
- Hold Shift and click the label, so both are selected.
- Click Duplicate in the toolbar at the top of the canvas.
- Drag the copy to the top right of the scene.
- Double-click the copy's label and type
Caterpillar.
To give the caterpillar its own colour, click its circle (not the label) and pick a soft green Fill Color (#DCF3C1). The outline and size stay the same, so the stages still match.
Do the same twice more for the bottom row: Chrysalis on the right in a soft teal (#BEE9E9) and Butterfly on the left in a soft peach (#FDE2CC). The order goes clockwise, so the last stage sits under the first and the cycle can loop back to the egg.
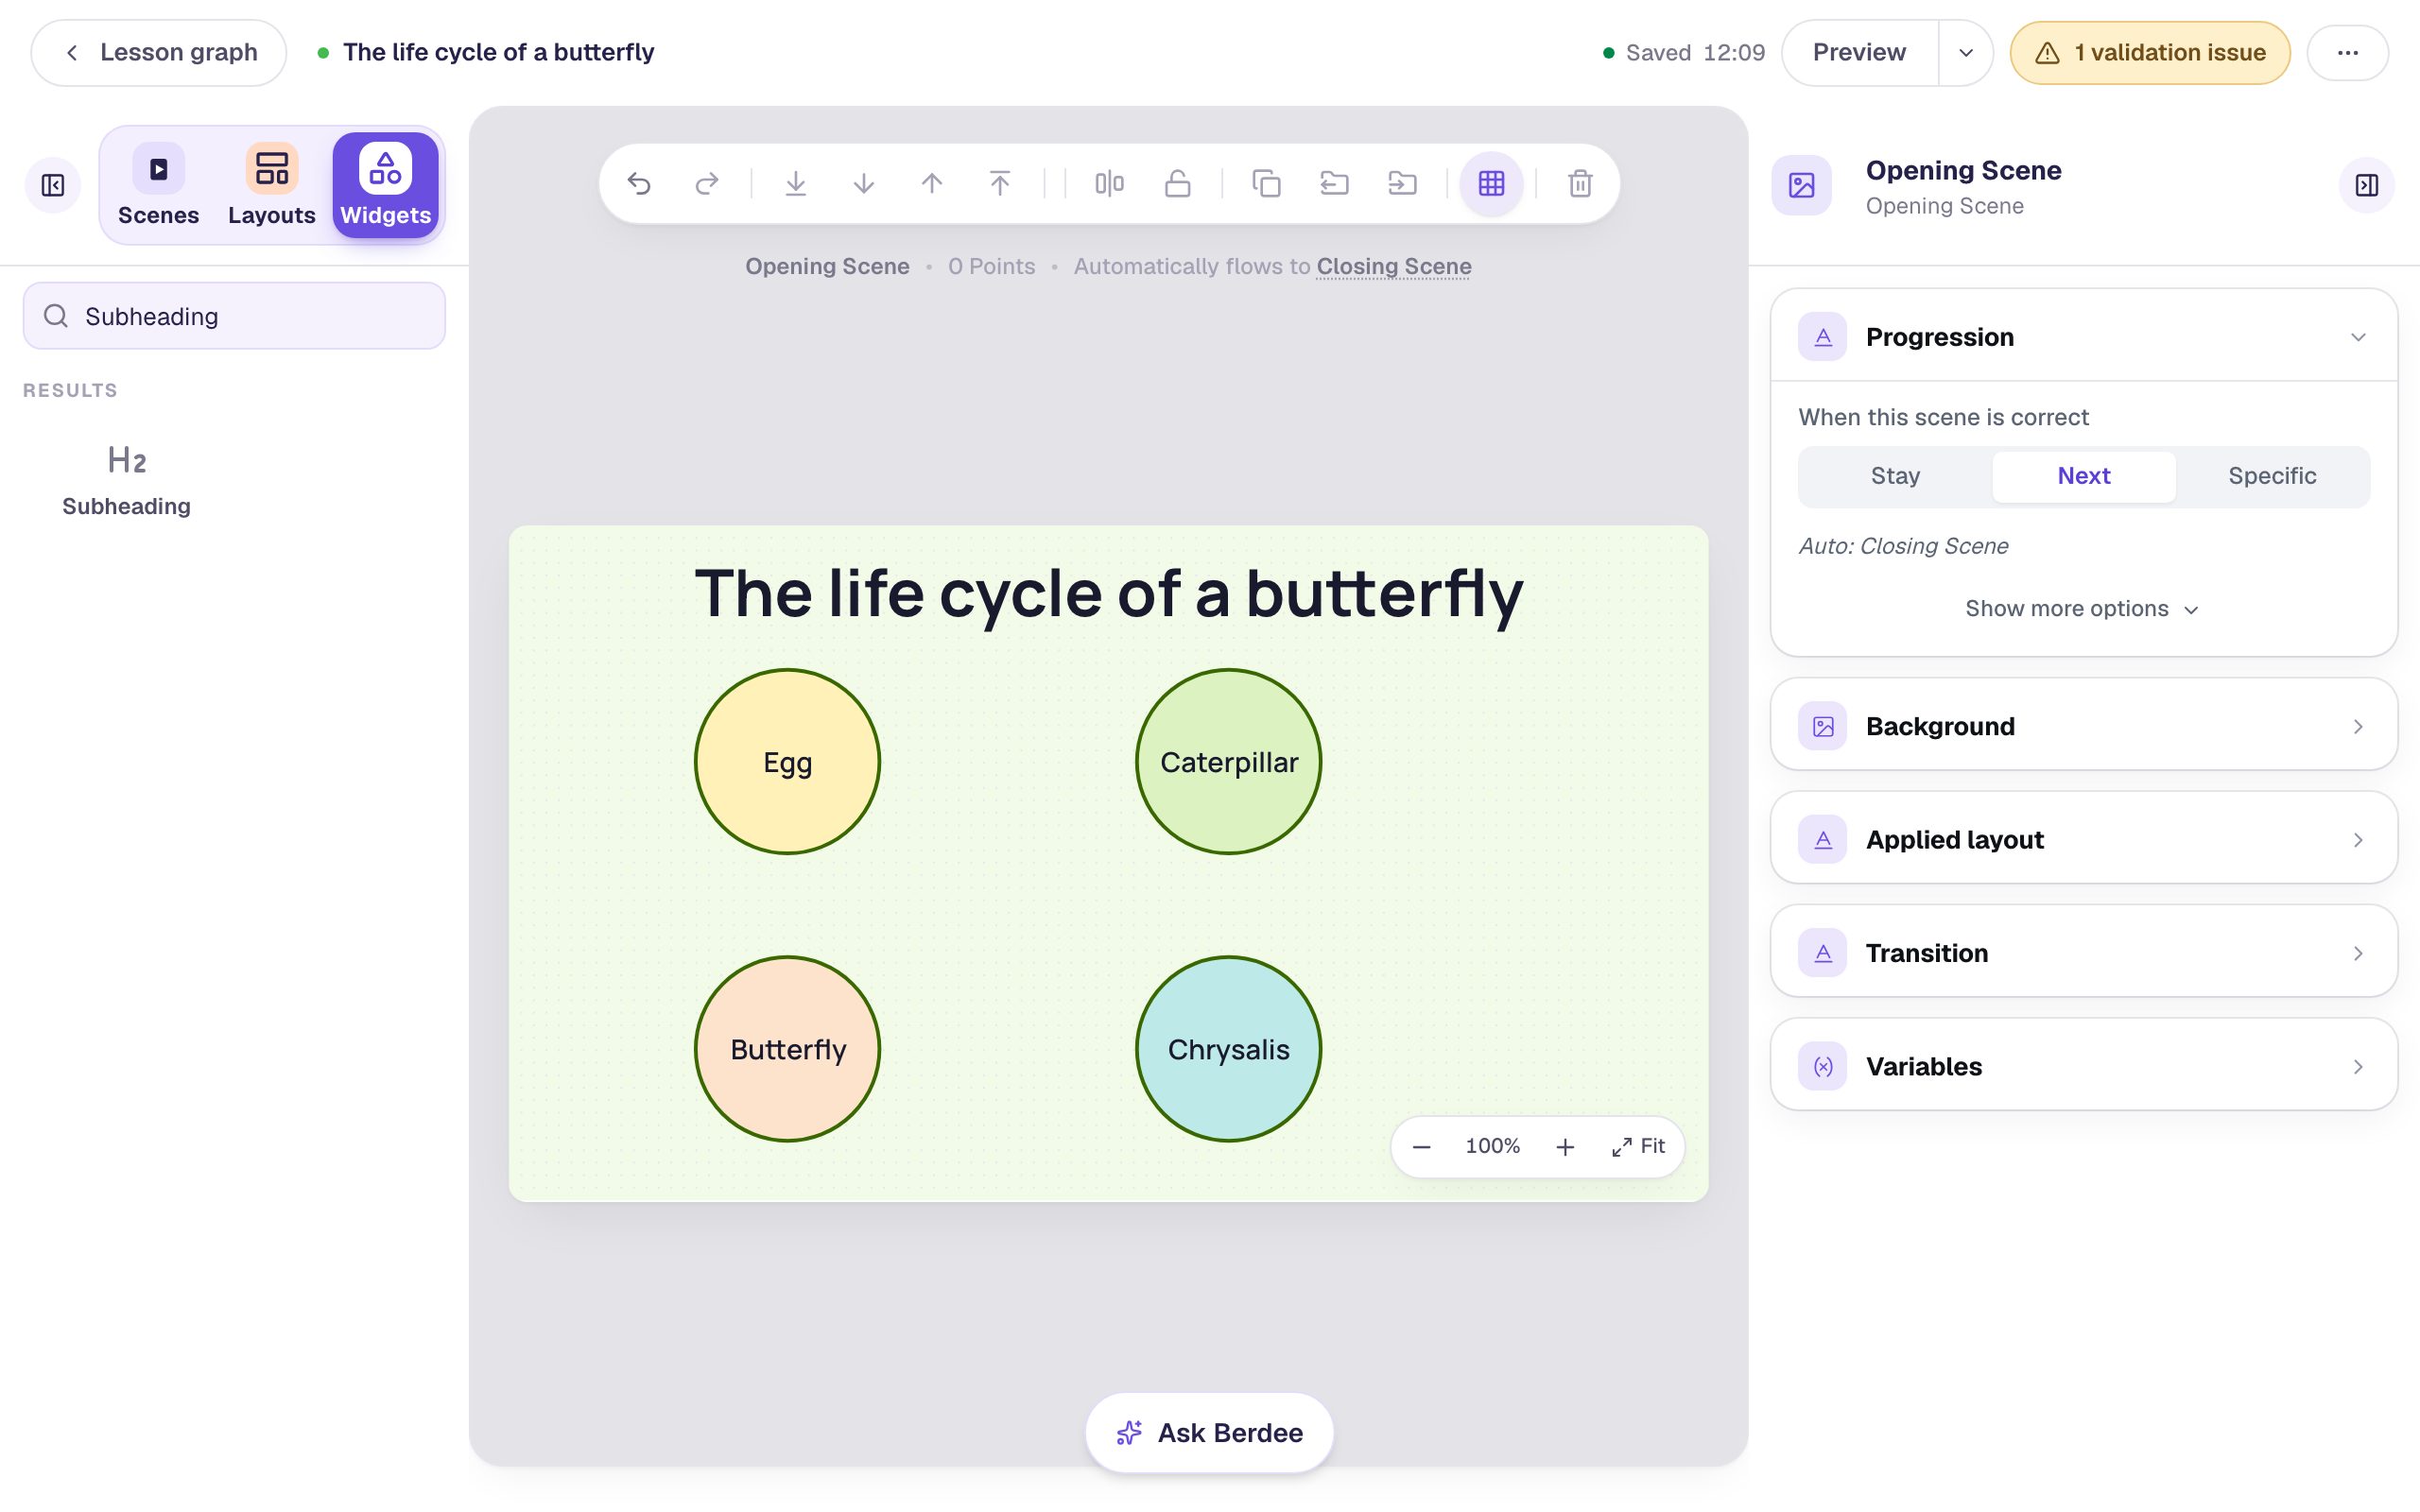
To line the stages up exactly, select two of them and use the toolbar's alignment button. See Aligning and Distributing Widgets, or follow Line up a row of pictures with Tidy up, Gap, and Lock for the whole workflow.
Step 6: Draw the arrows
Add another Shape. In the Configure window, scroll to Arrows, click Arrow right, and click Save. In Style & Layout, pick an orange Fill Color (#F78B24), drag Stroke Width to 0 px so it has no outline, and set Width to 120 and Height to 64. Drag it into the gap between Egg and Caterpillar.
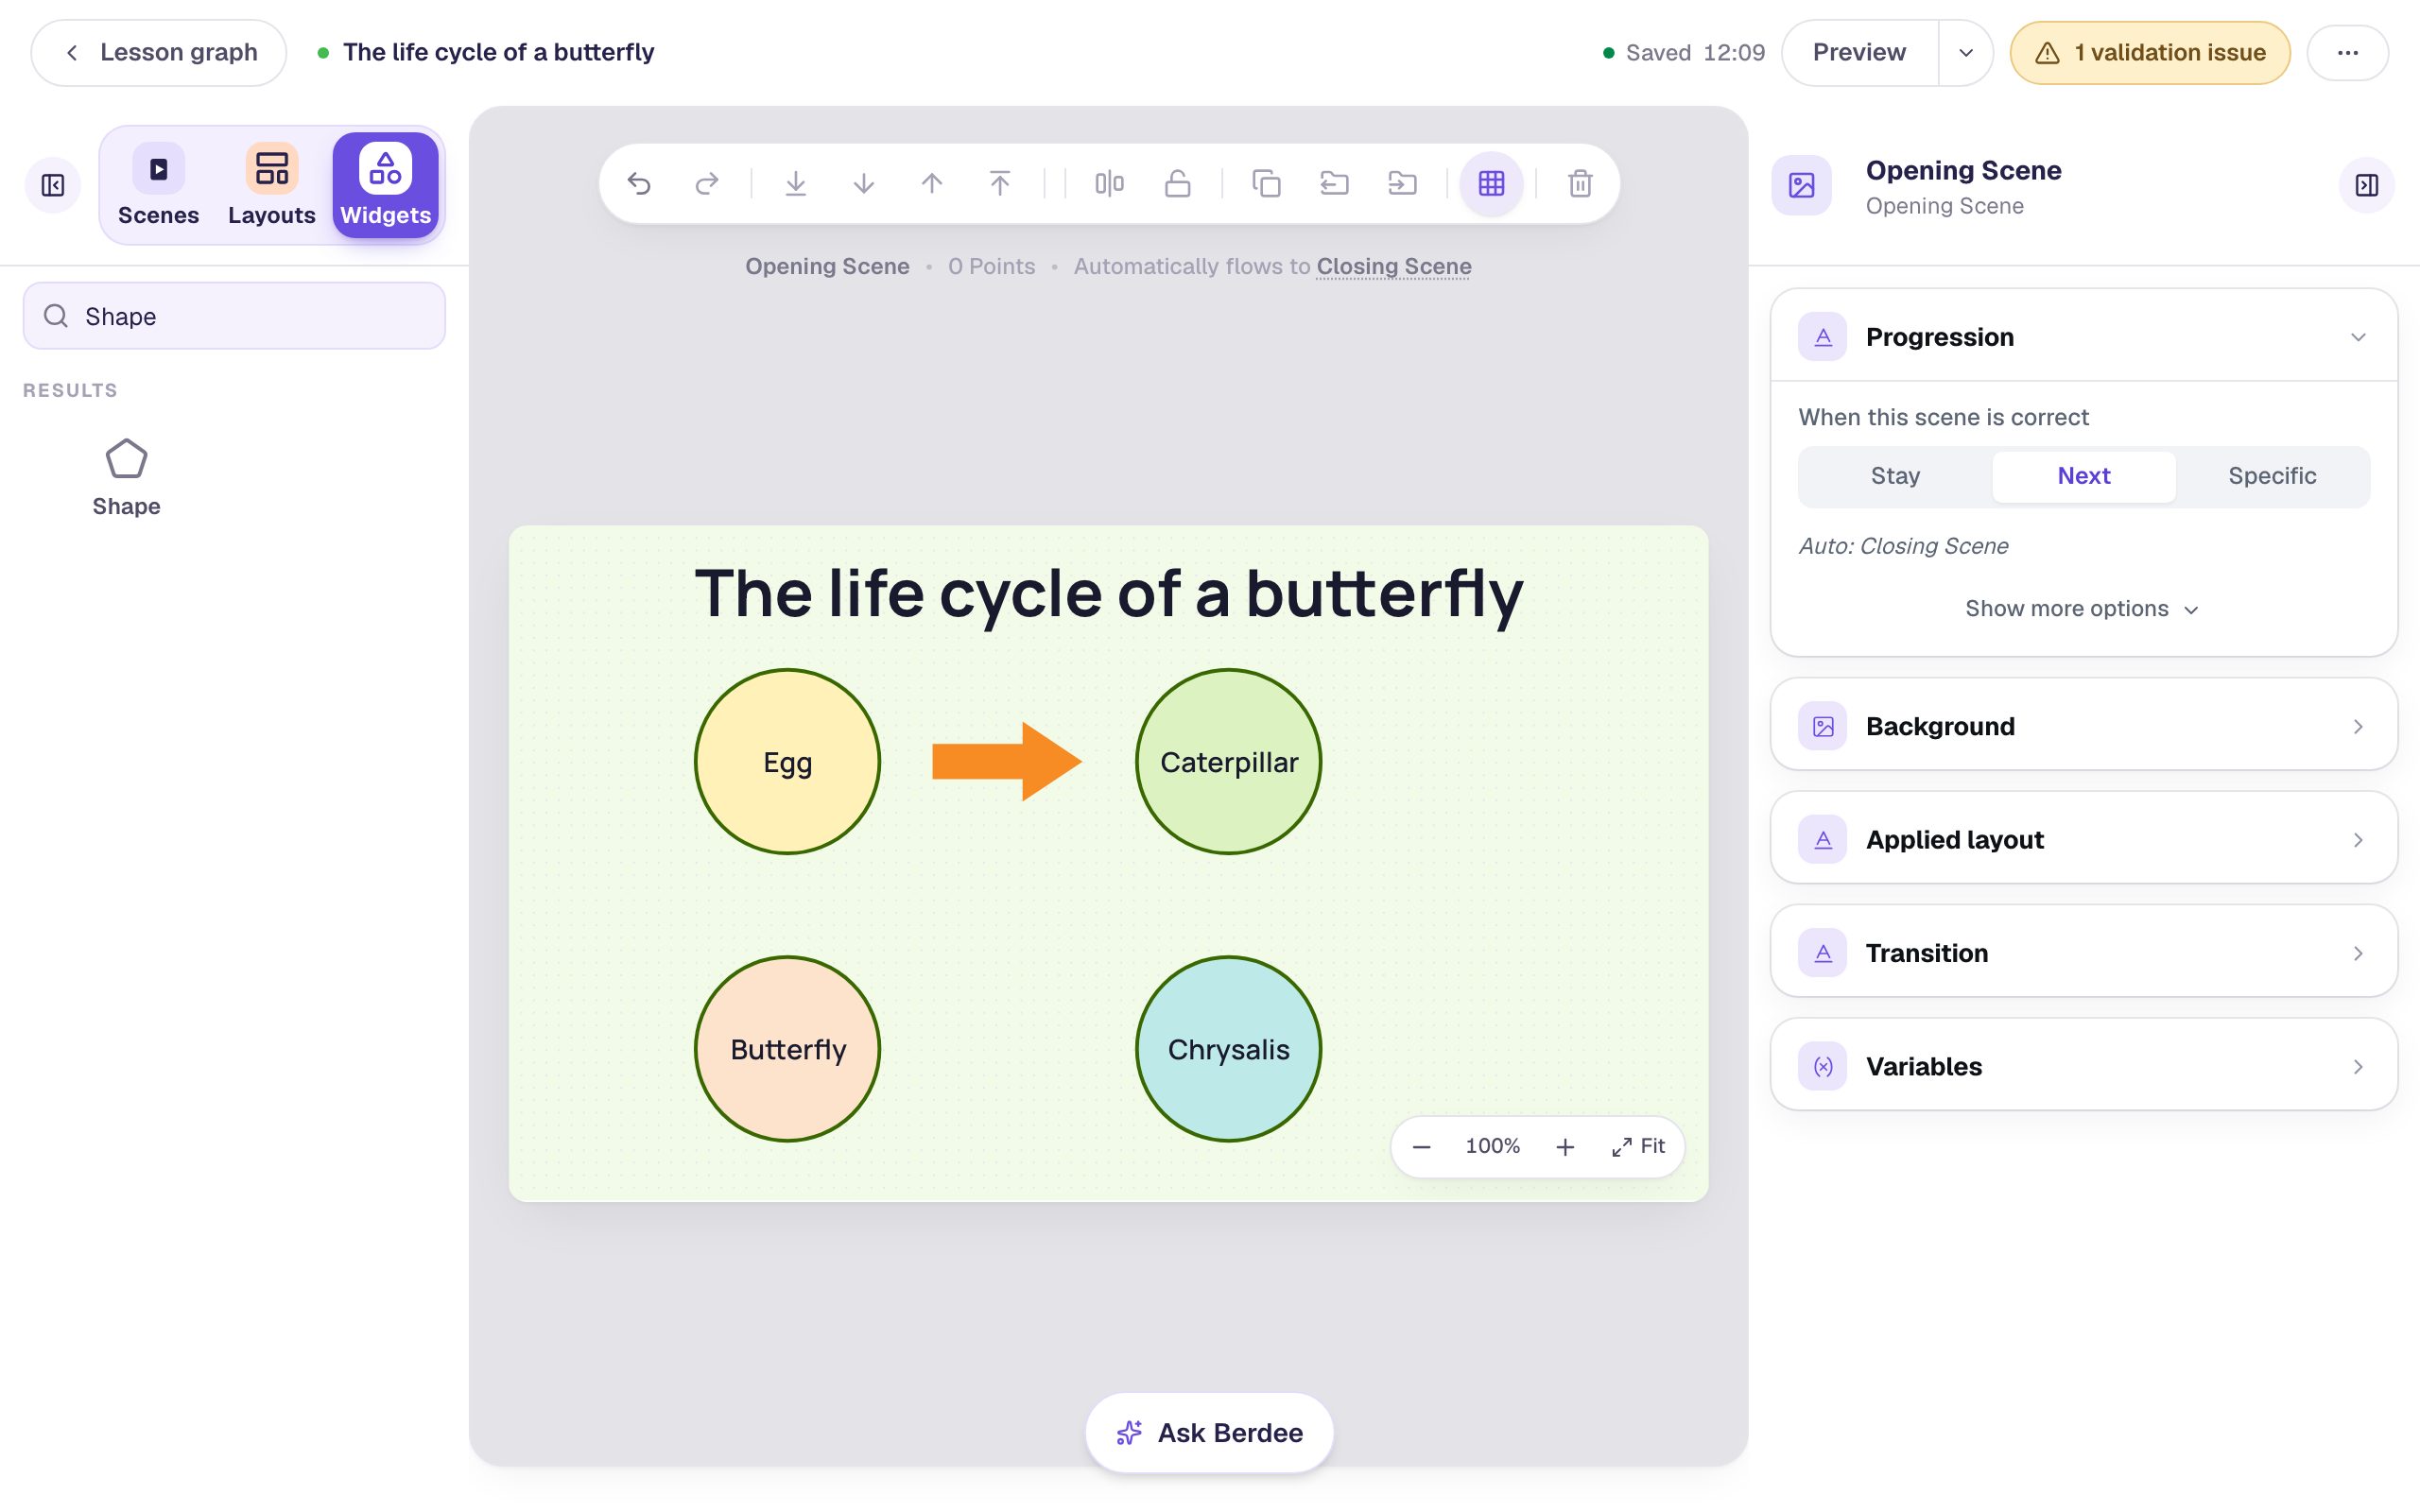
Drag an arrow by its body. Only the coloured part of a shape can be clicked. The empty corners around an arrow's head belong to whatever is behind it, so grab the arrow's shaft when you move it.
For the other three, copy the arrow and turn the copy. Select the arrow, click Duplicate, then click ⚙ Configure above the copy. Under Direction, click Down, and click Save.
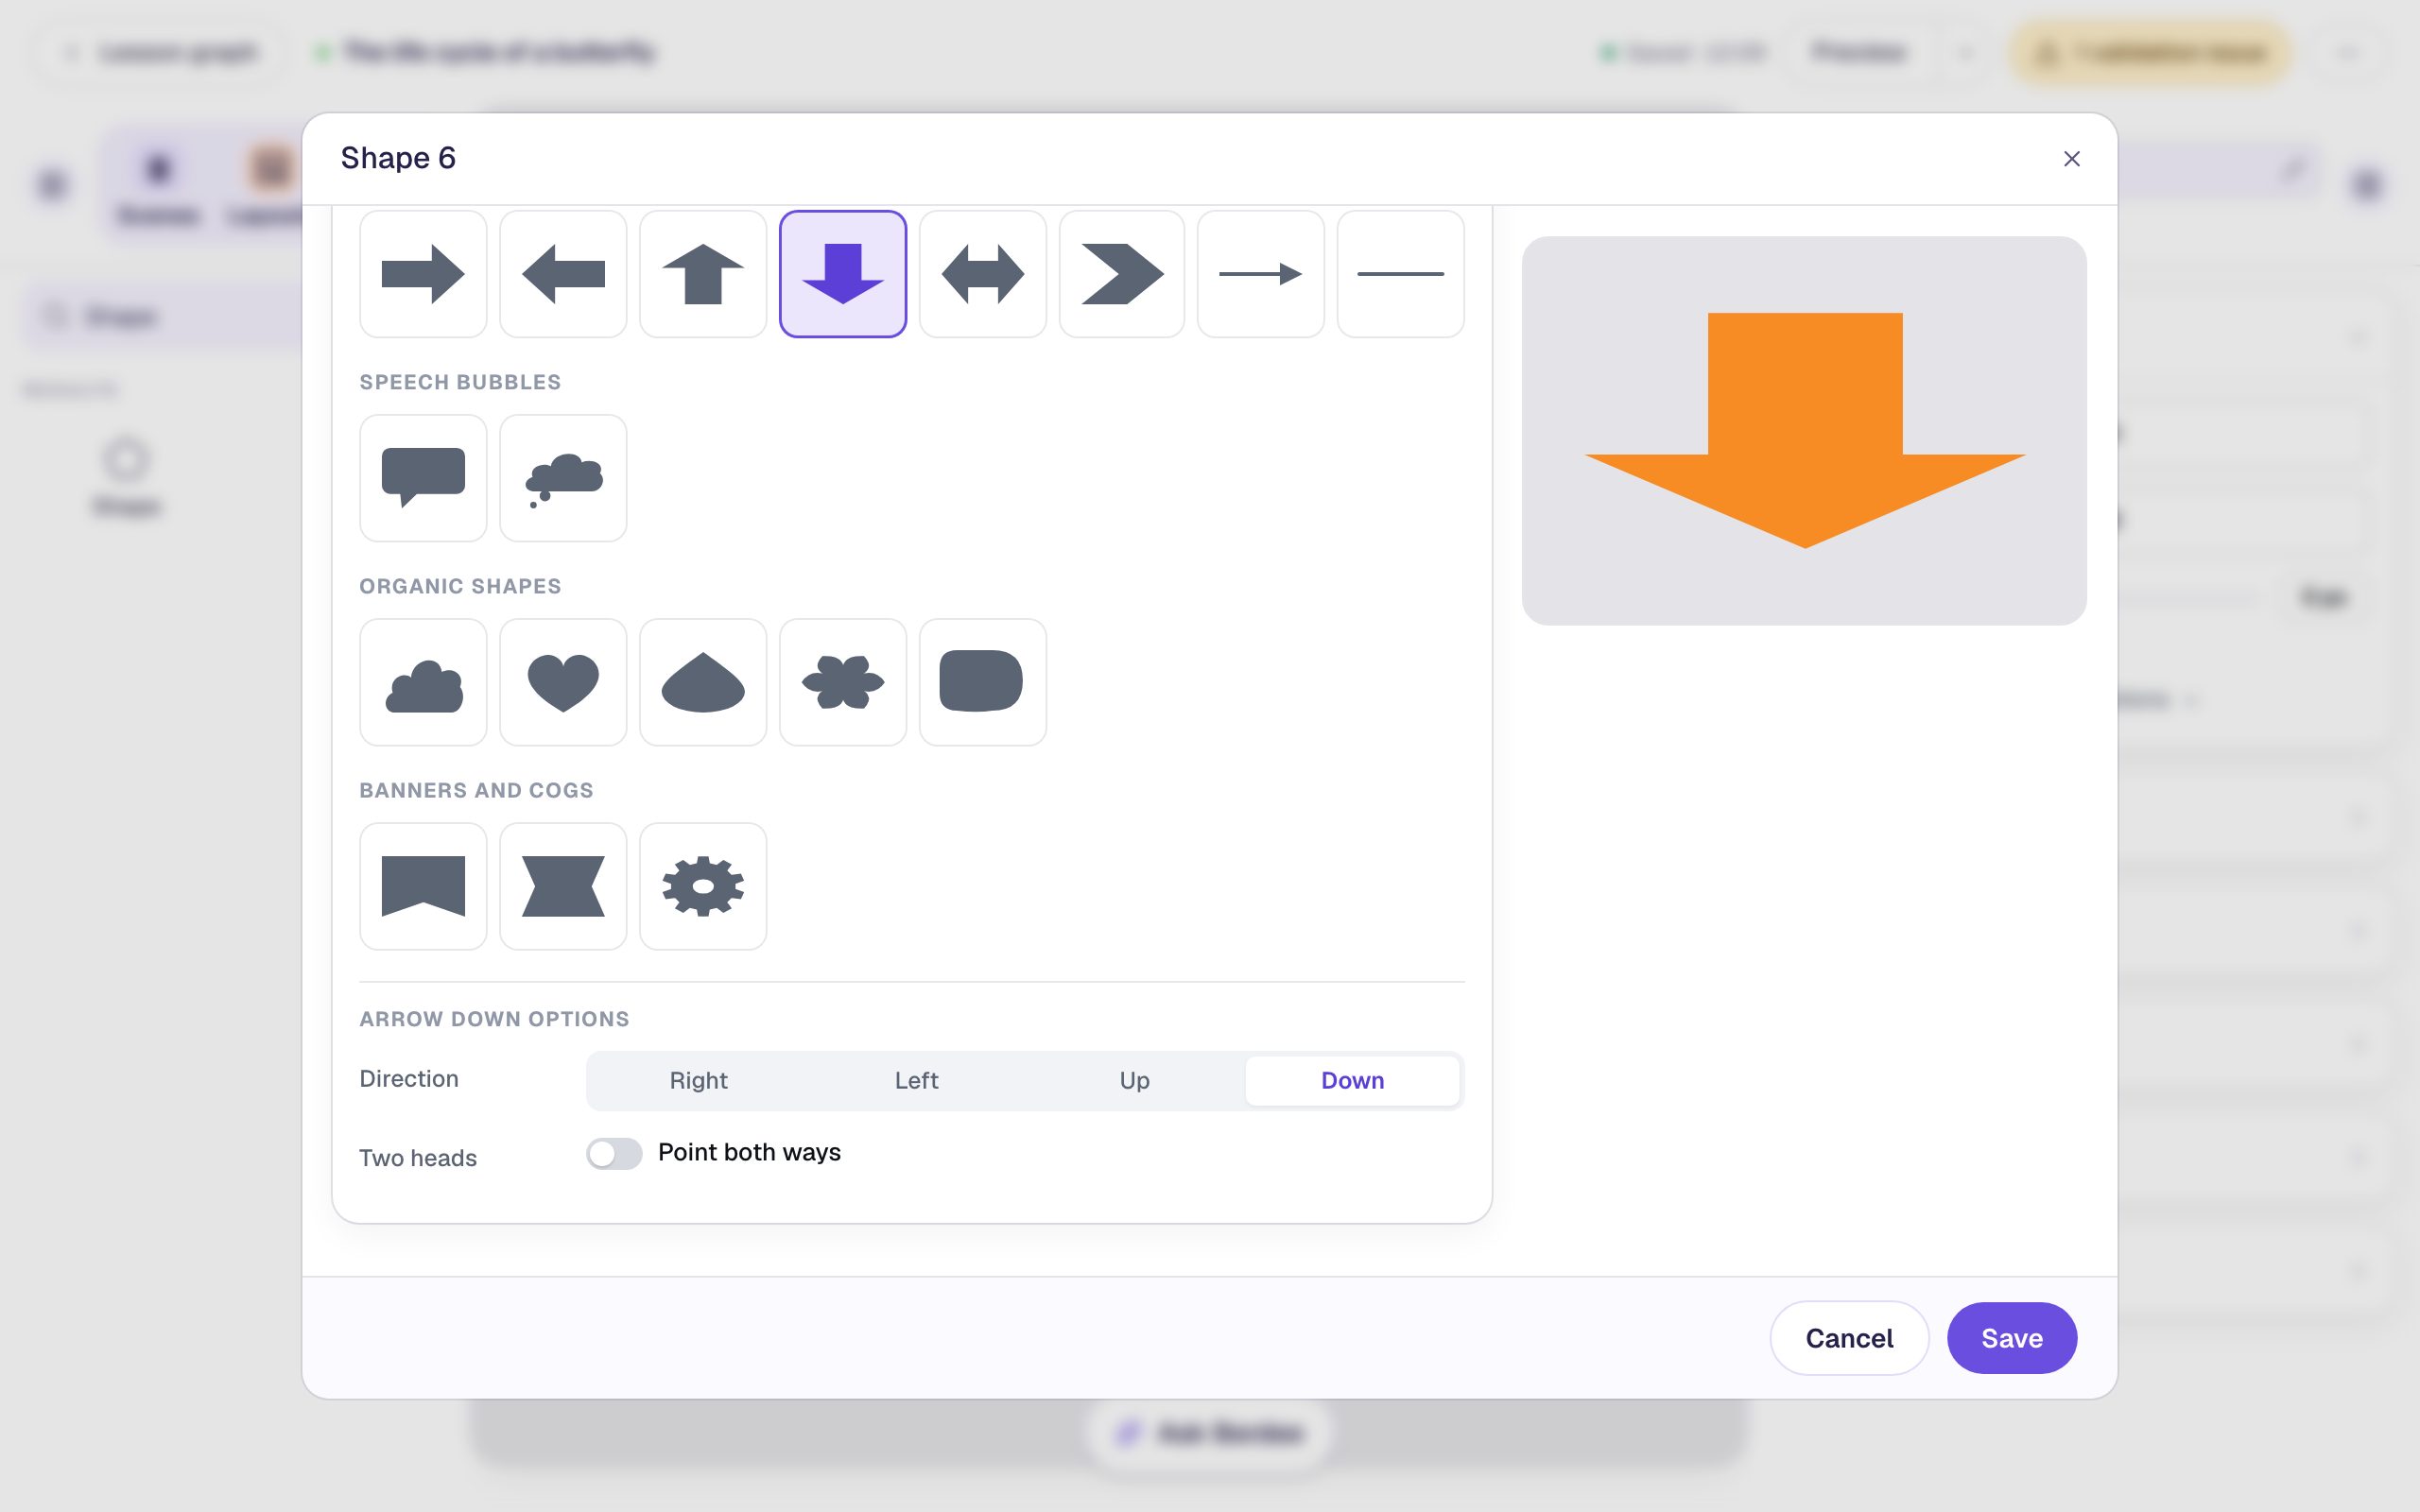
A down arrow needs to be tall rather than wide, so set its Width to 60 and Height to 70, and drag it between Caterpillar and Chrysalis. Then make two more copies: Left, at 120 × 64, between Chrysalis and Butterfly, and Up, at 60 × 70, between Butterfly and Egg.
Step 7: Add a fun fact in a speech bubble
There's room on the right for one more idea. Add a Shape and pick Speech bubble from Speech bubbles. Give it a white Fill Color (#FFFFFF), the same deep green Stroke Color (#3A6800) and a Stroke Width of 3 px, so it matches the stages. Set Width to 230 and Height to 190, and drag it to the right of the diagram.
Then add a Body text on top of the bubble and type the fact on three short lines, pressing Enter between them:
From egg to wings
takes about
a month!
Set its Font Size to 22 and drag it into the upper part of the bubble, above the tail.
Short lines fit a bubble better than one long sentence, because a text box grows to fit its longest line.
Step 8: Preview it
Click Preview to see the scene the way students will:
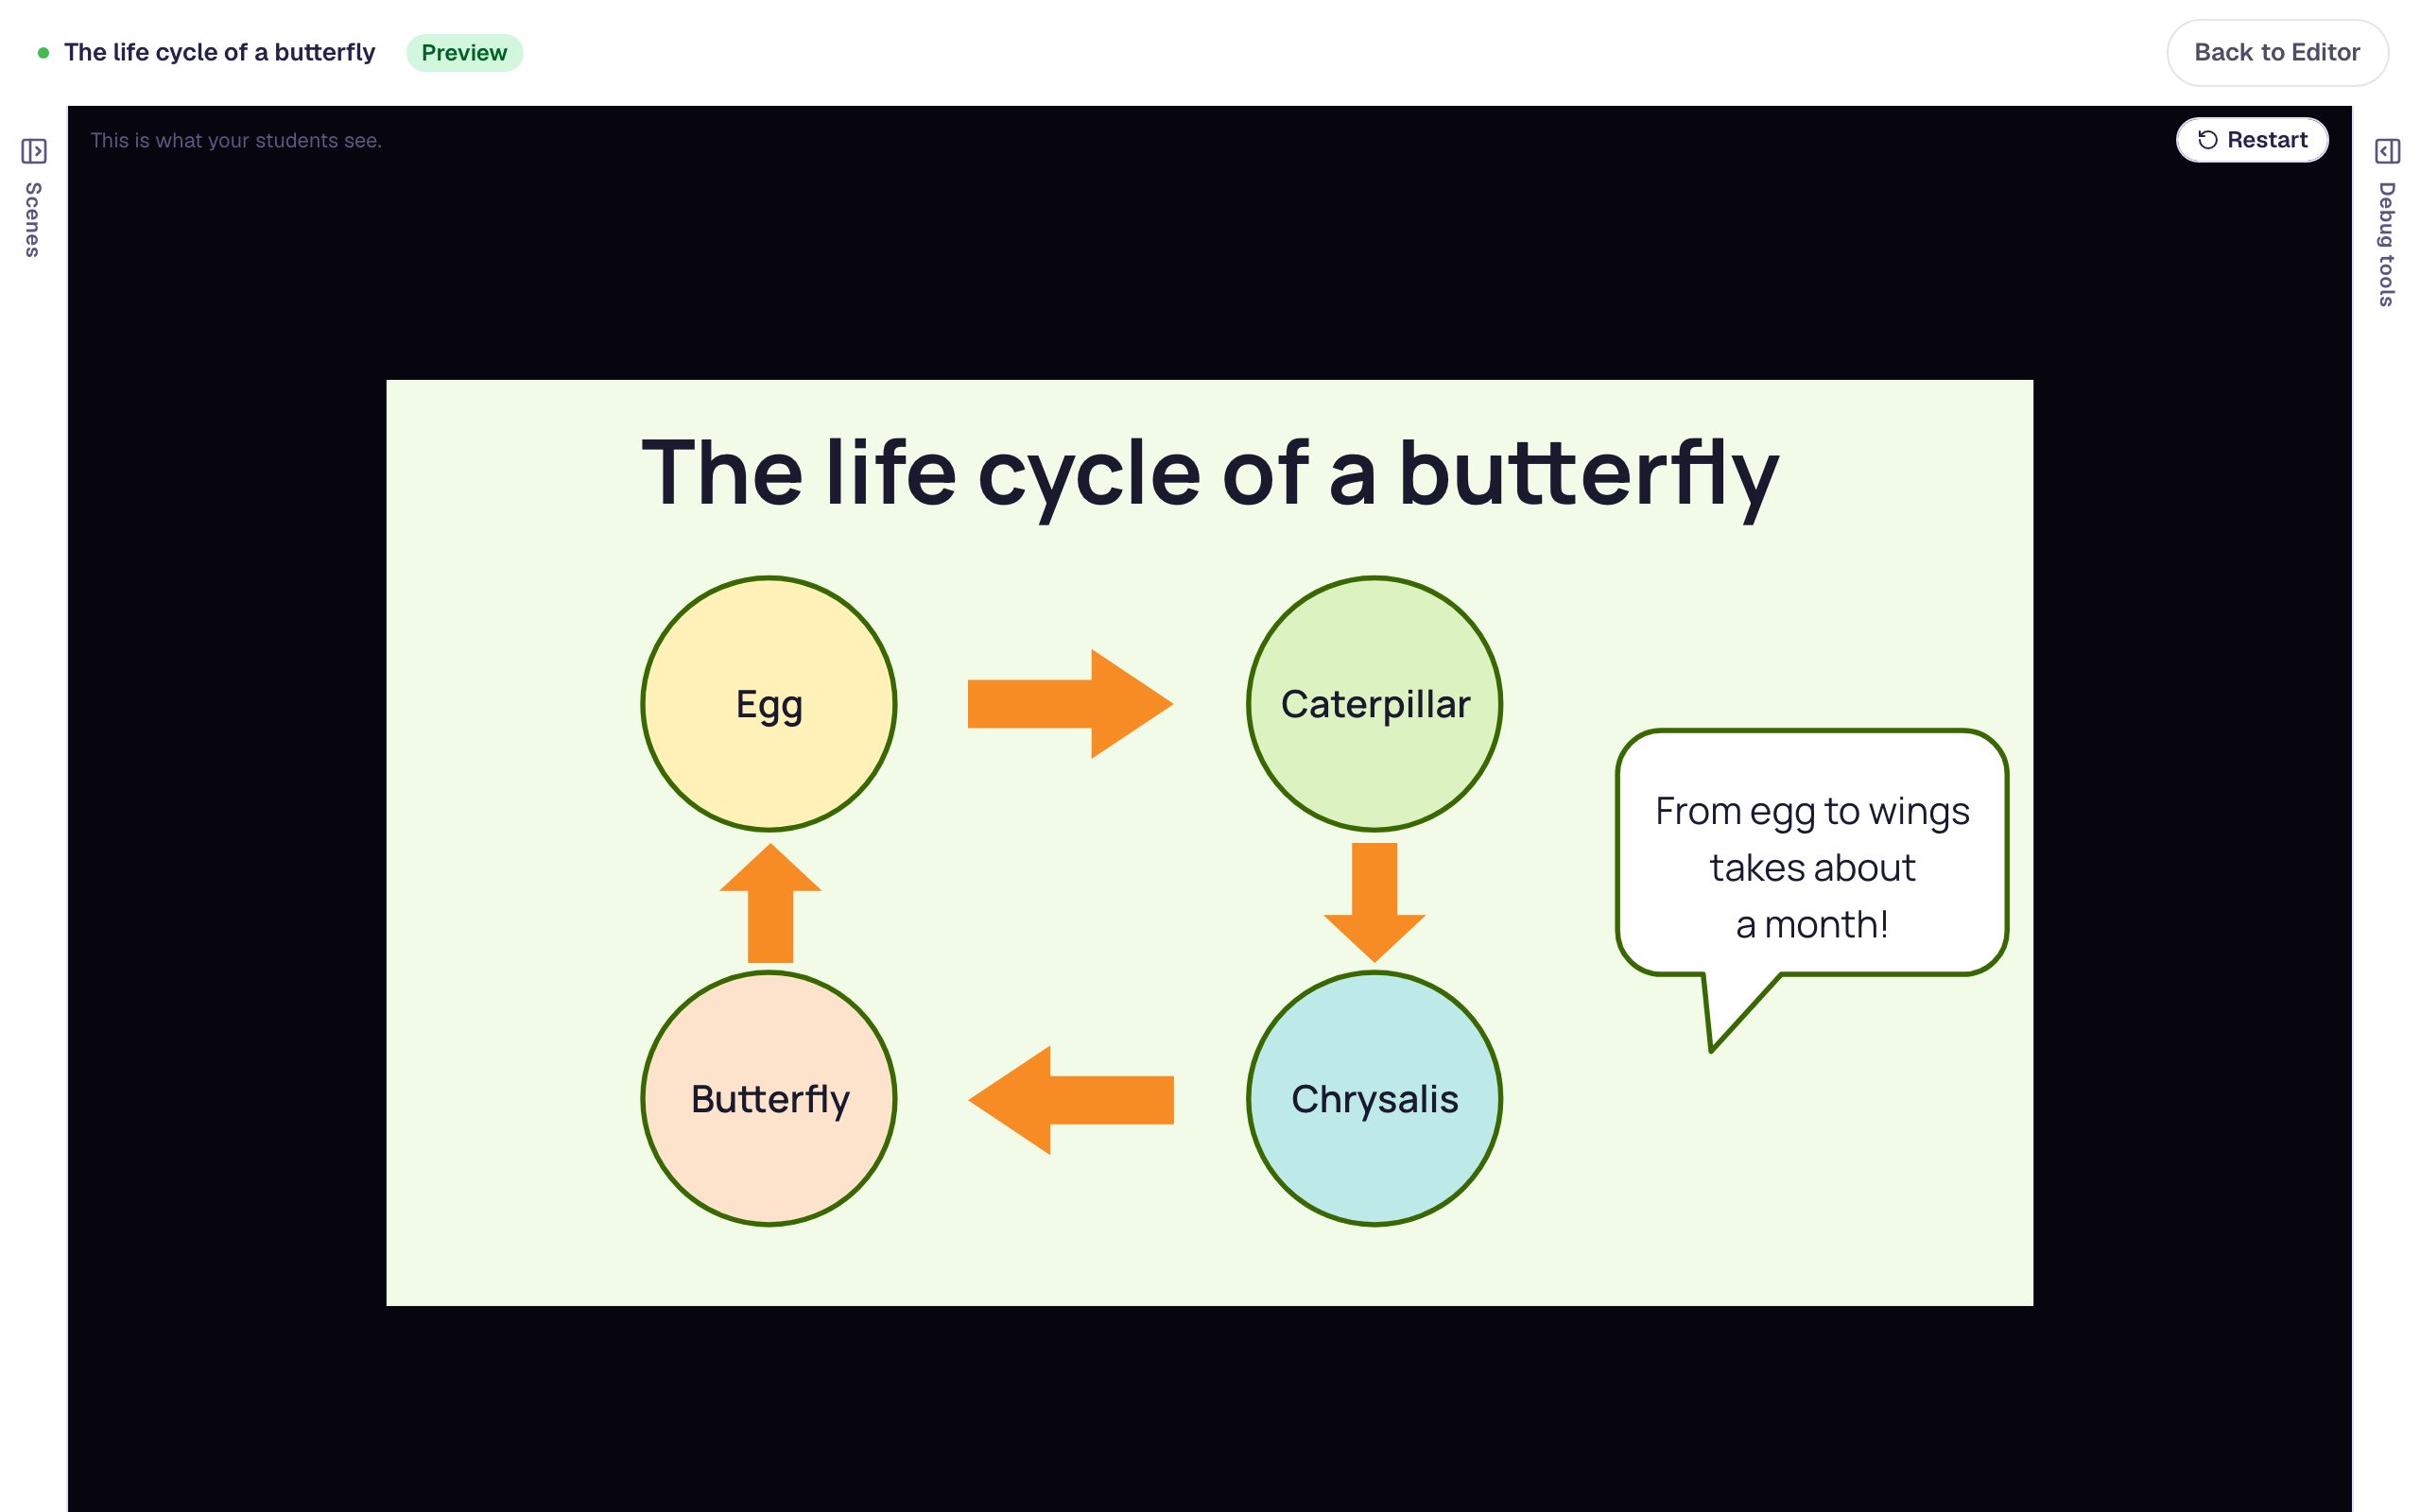
Shapes are drawn rather than loaded as pictures, so there's nothing to download and they stay sharp on a phone or a classroom screen.
What you built
A butterfly life-cycle diagram made entirely from shapes and text, with:
- four circles chosen from the shape library, all the same size and outline, each with its own fill colour,
- a Subheading on top of each circle as its label,
- stages made by duplicating one finished stage, so the styling only had to be done once,
- four arrows made from one, each turned with Direction and resized to fit its gap, and
- a fun fact in a Speech bubble with a text on top.
The diagram is a strong first scene for a lesson. Follow it with questions, such as "What comes after the caterpillar?", the way Build a three-question quiz by duplicating a scene does. That tutorial also adds the small I'm done Submit Button that a lesson needs before you can publish it. Every shape and its options are listed in Shape Widget.
Make this lesson yours
Add the lesson you just watched being built to your account, then change it for your class: your questions, your pictures, your colors.
Free to sign up, and you'll come straight back here. I have an account