Put events in order with a sorting list
Build a "Which came first?" activity where students drag five inventions into time order. Type the cards in the right order, label the ends of the list, celebrate a correct order, and add a Shuffle again button.
- Level
- Beginner
- Time
- About 10 min
- Steps
- 9
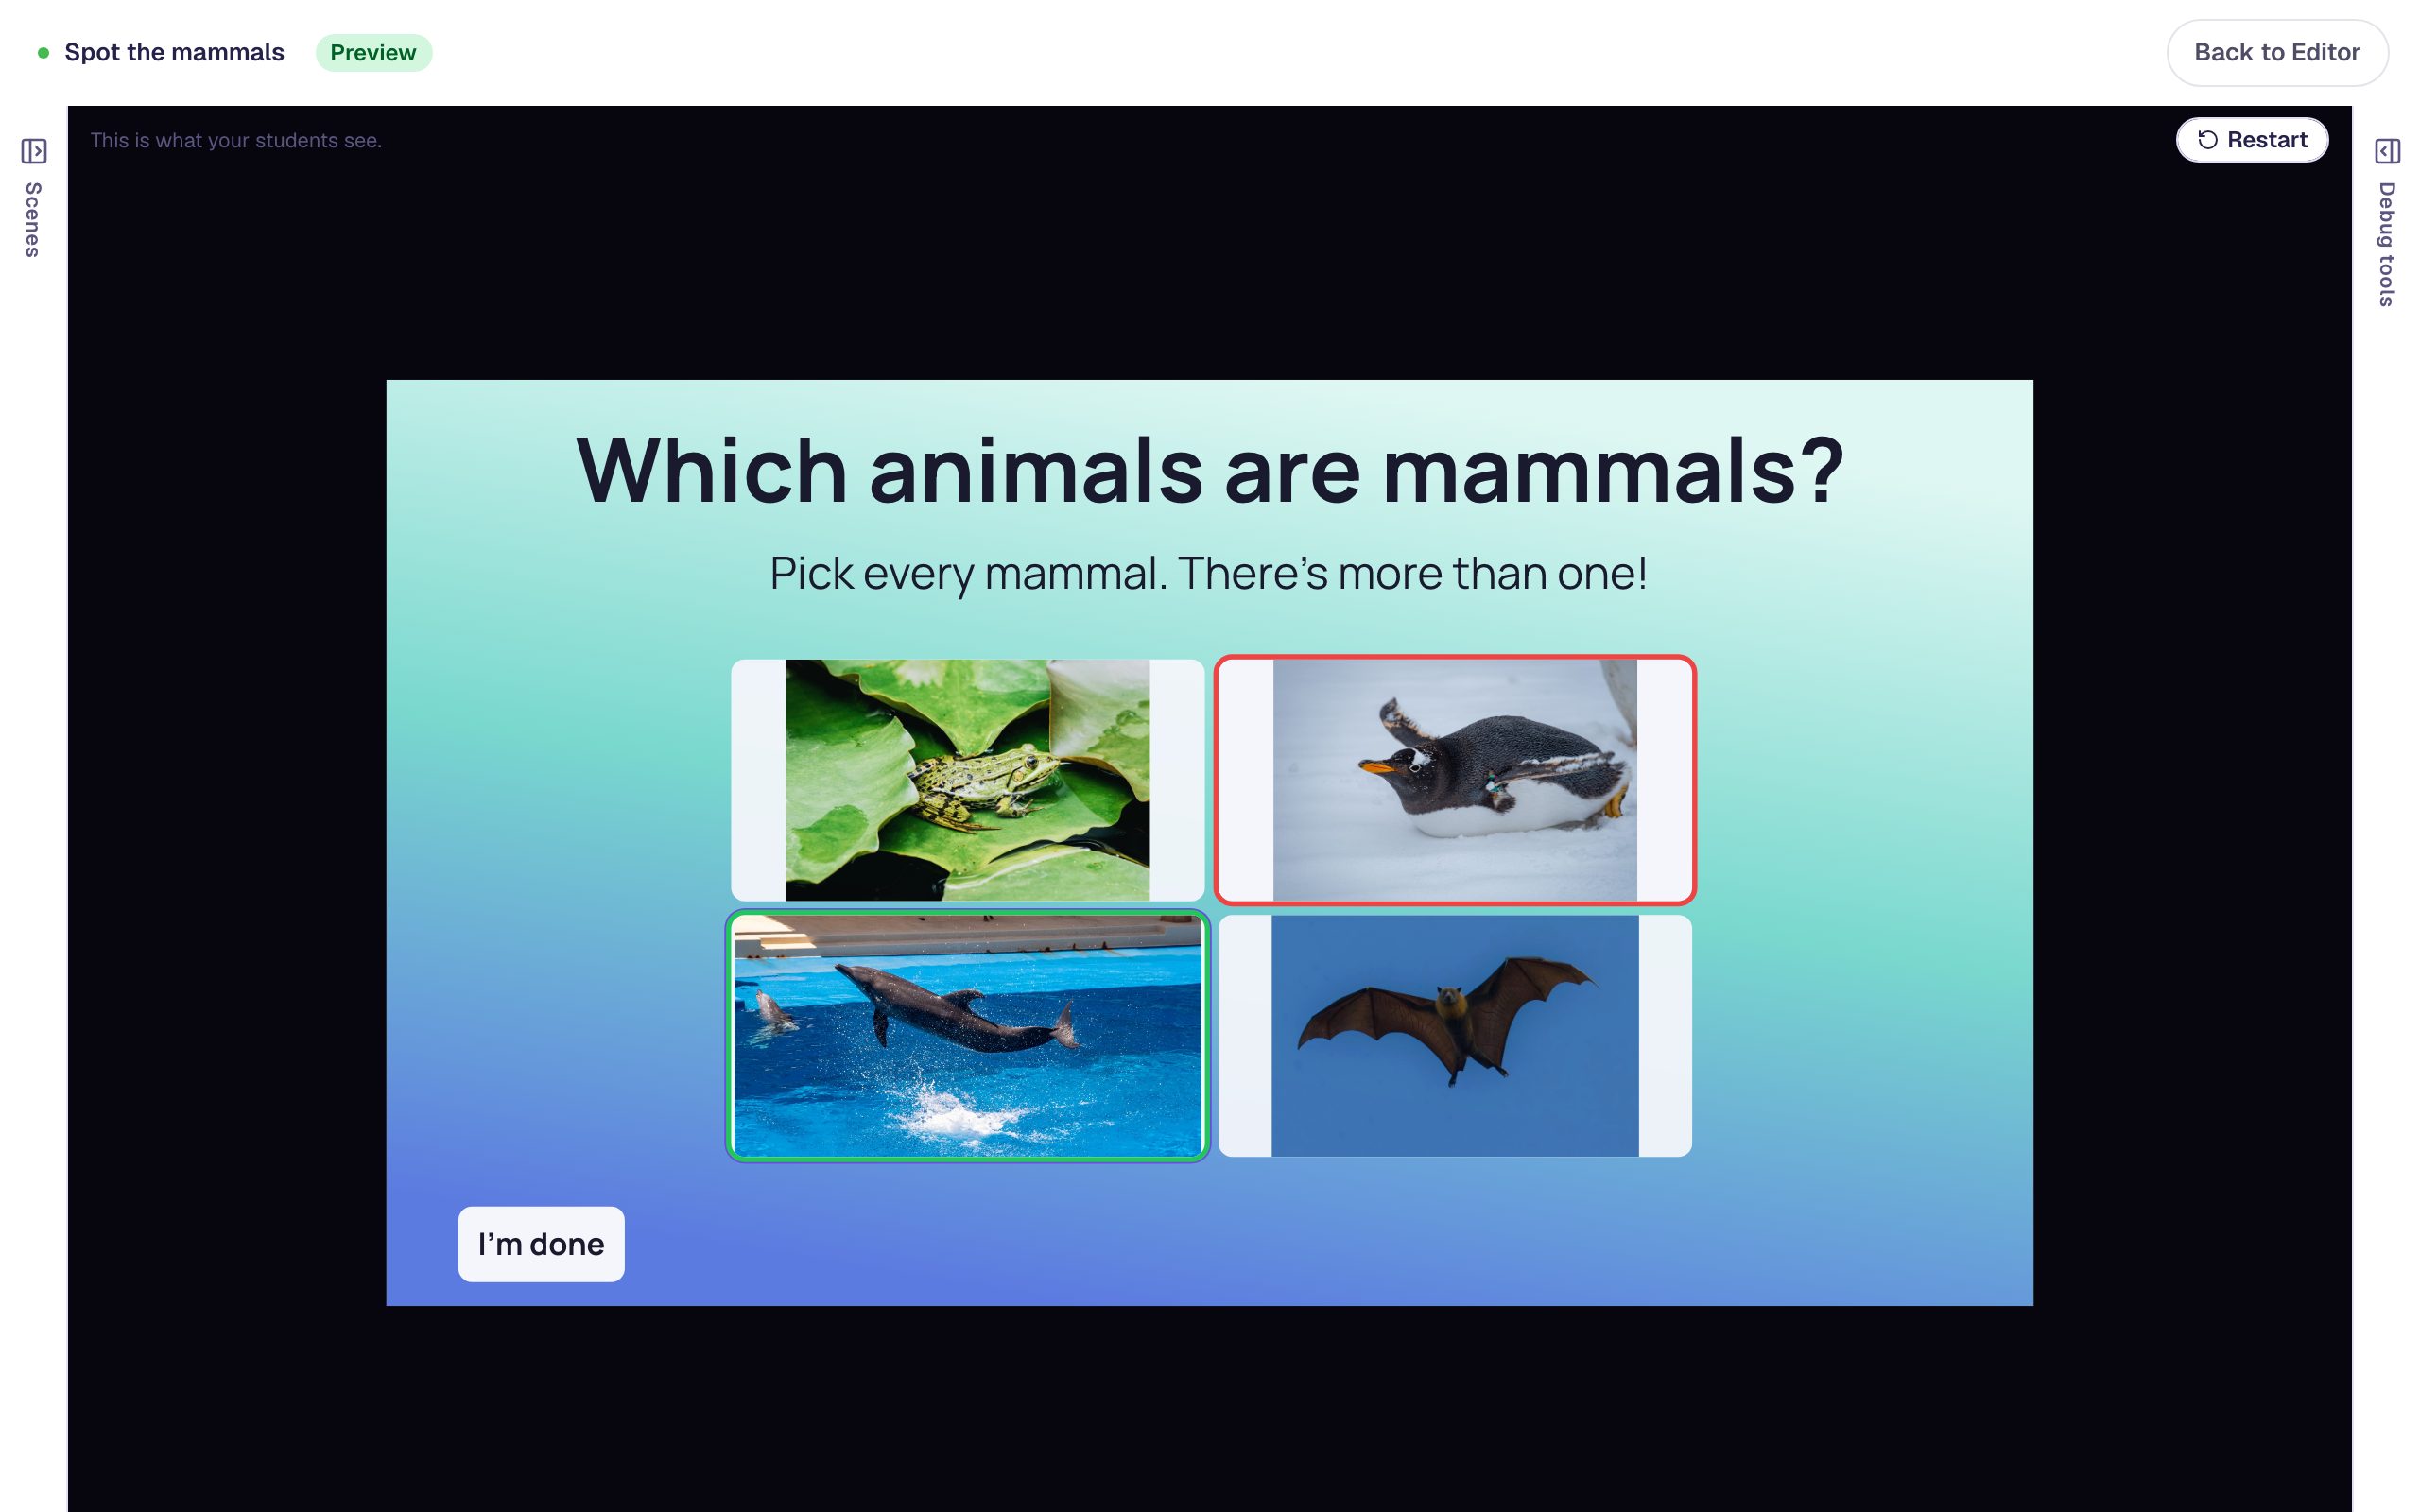
A "Great inventions" scene where students drag five shuffled inventions from oldest to newest, get confetti when the order is right, and can reshuffle to practice again.
Get the finished lesson
Skip straight to the result, or keep it open beside the steps. Add this tutorial's lesson to your account and explore how it works in the studio.
Free to sign up, and you'll come straight back here. I have an account
Putting things in order makes students think about how they relate: what came before what, which step depends on which. A sorting list gives them a stack of cards to drag into the right sequence. In this tutorial you'll build a quick history activity:
🛞 The wheel → 📜 Paper → 📖 Printing press → ☎️ Telephone → ✈️ Airplane
Students see the five inventions shuffled and drag them from oldest to newest. Along the way you'll label the two ends of the list so the rule is never in doubt, celebrate a correct order with confetti, and add a Shuffle again button for another try.
If you haven't used the studio before, start with Build your first quiz question: this tutorial moves quickly through the parts it already covers.
Step 1: Set the scene
Start a blank lesson (New lesson, then Start from scratch) and name it Great inventions by clicking Untitled lesson at the top.
With nothing selected, open Background, click Choose a style, pick Textures, then Kraft paper, and click Apply background. The warm paper suits a history lesson. Select the Closing Scene in the Scenes panel and give it the same background, so the ending matches. Creative Backgrounds covers the gallery in more detail.
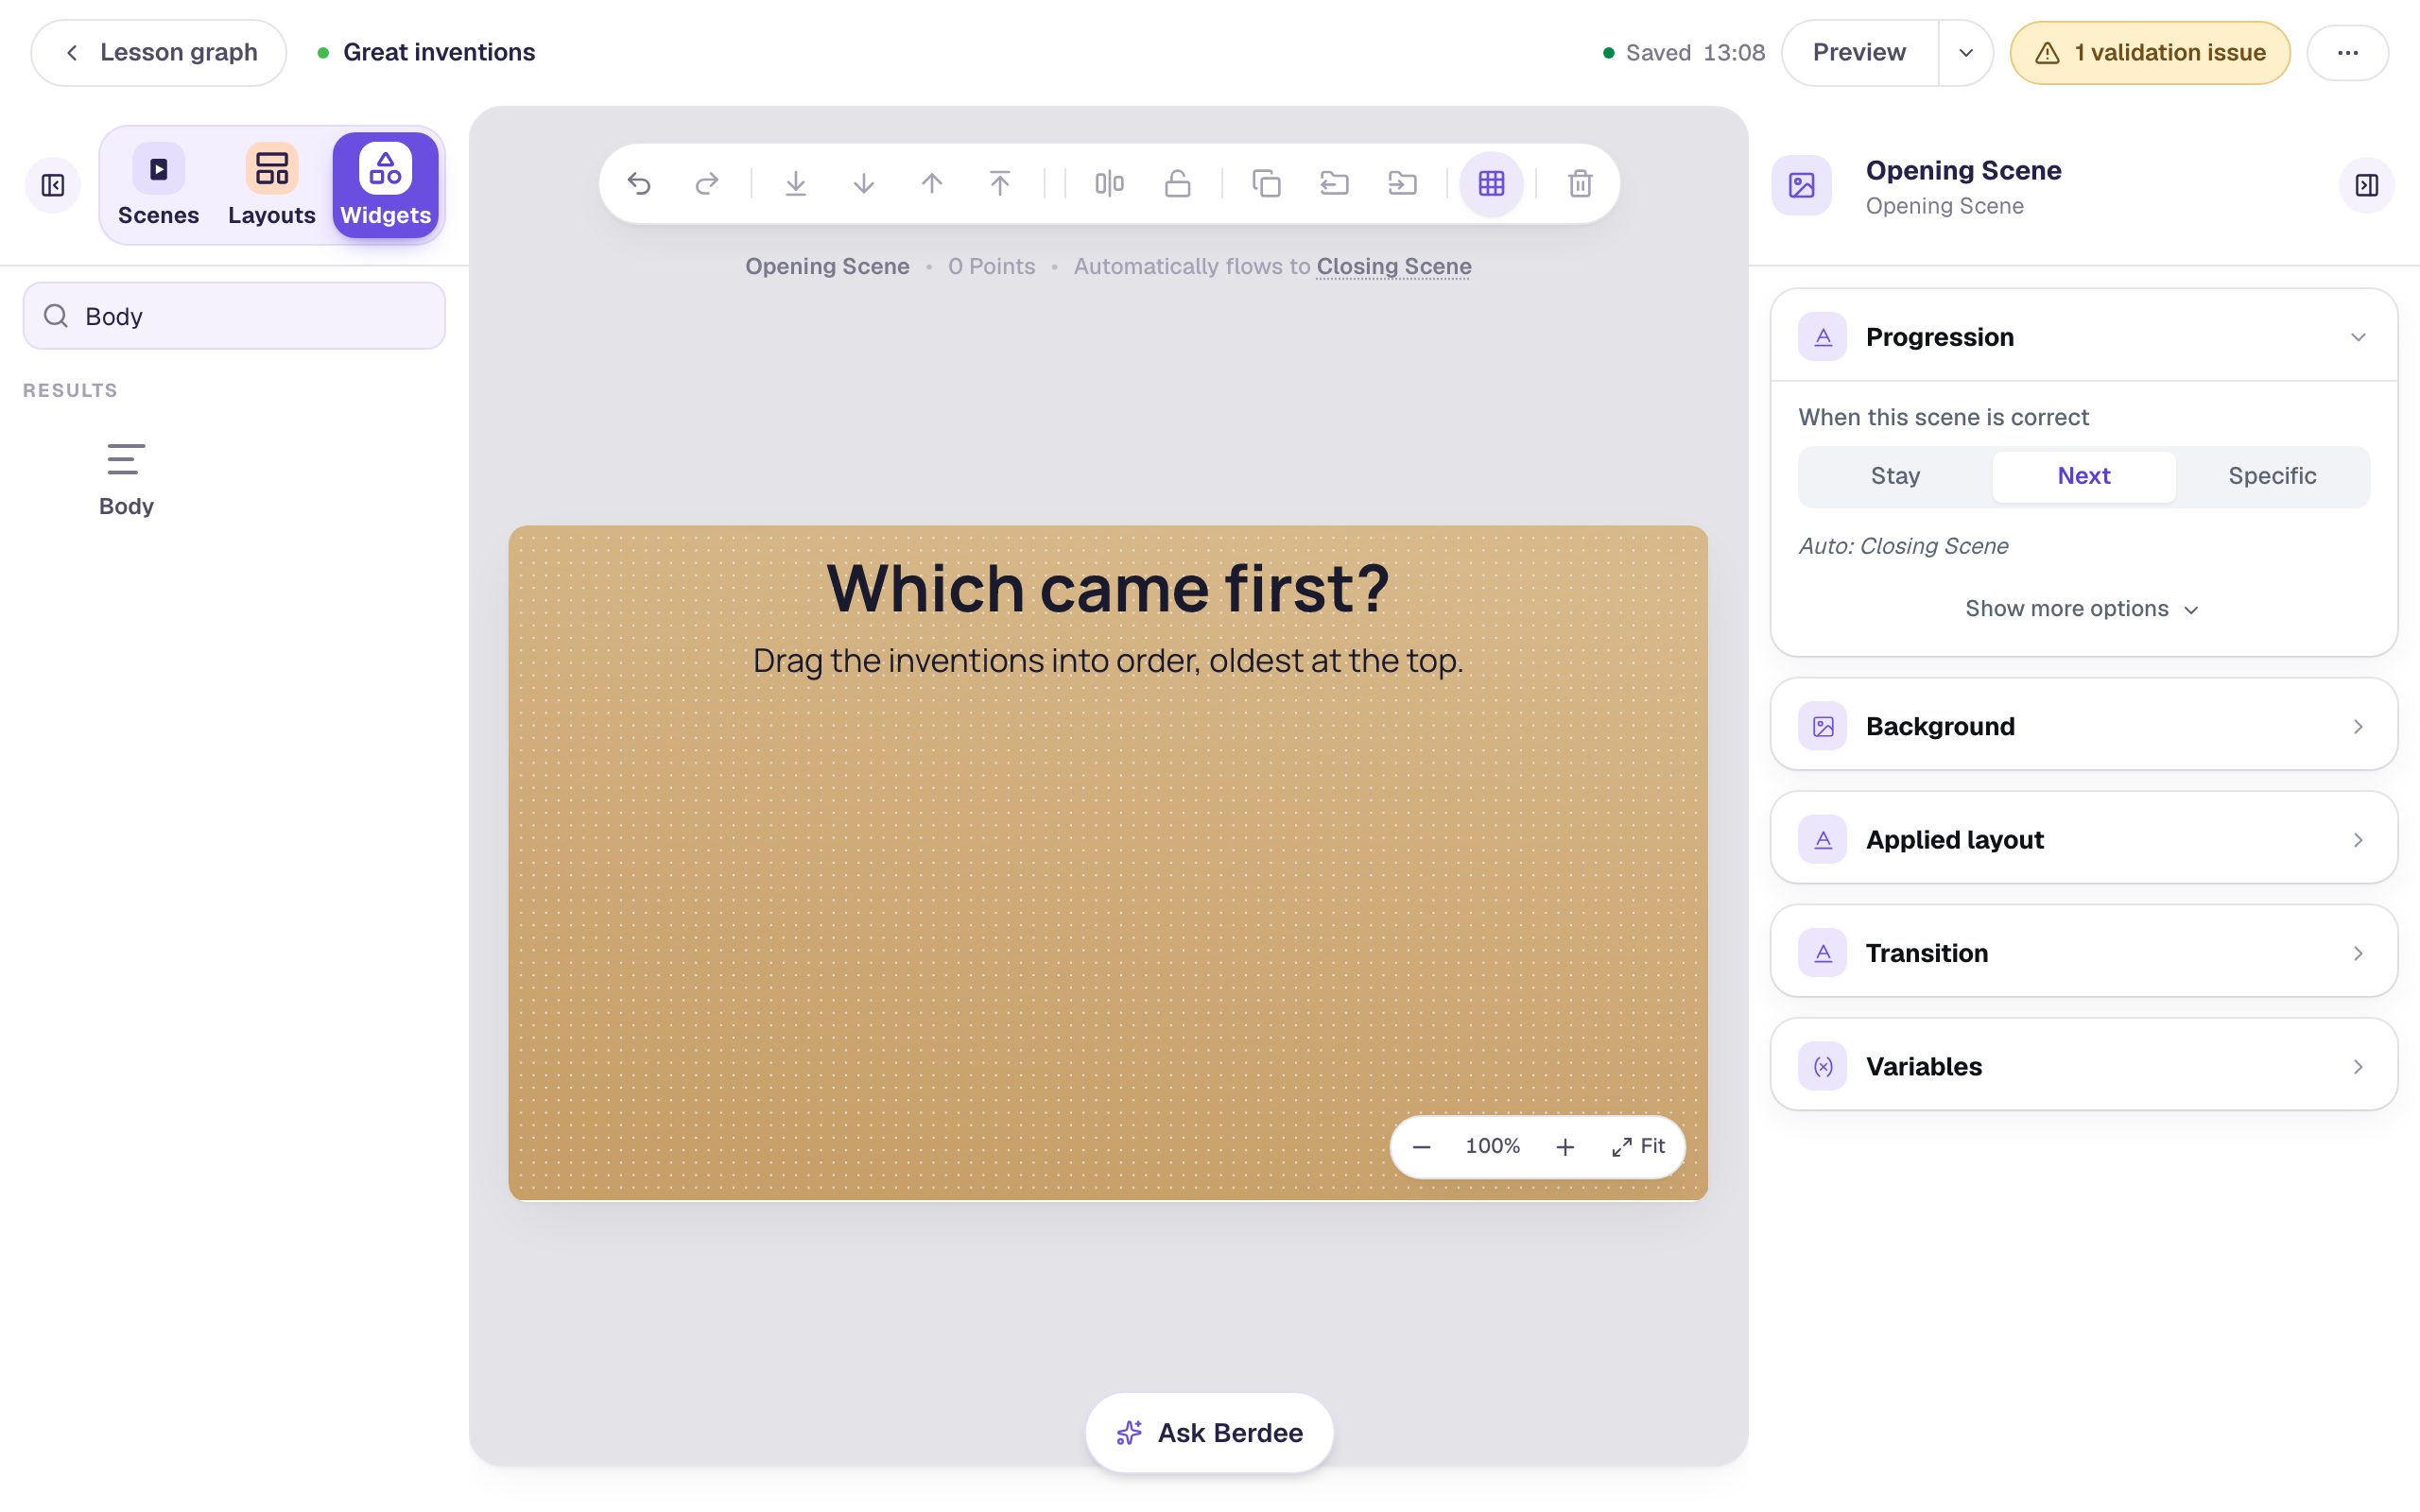
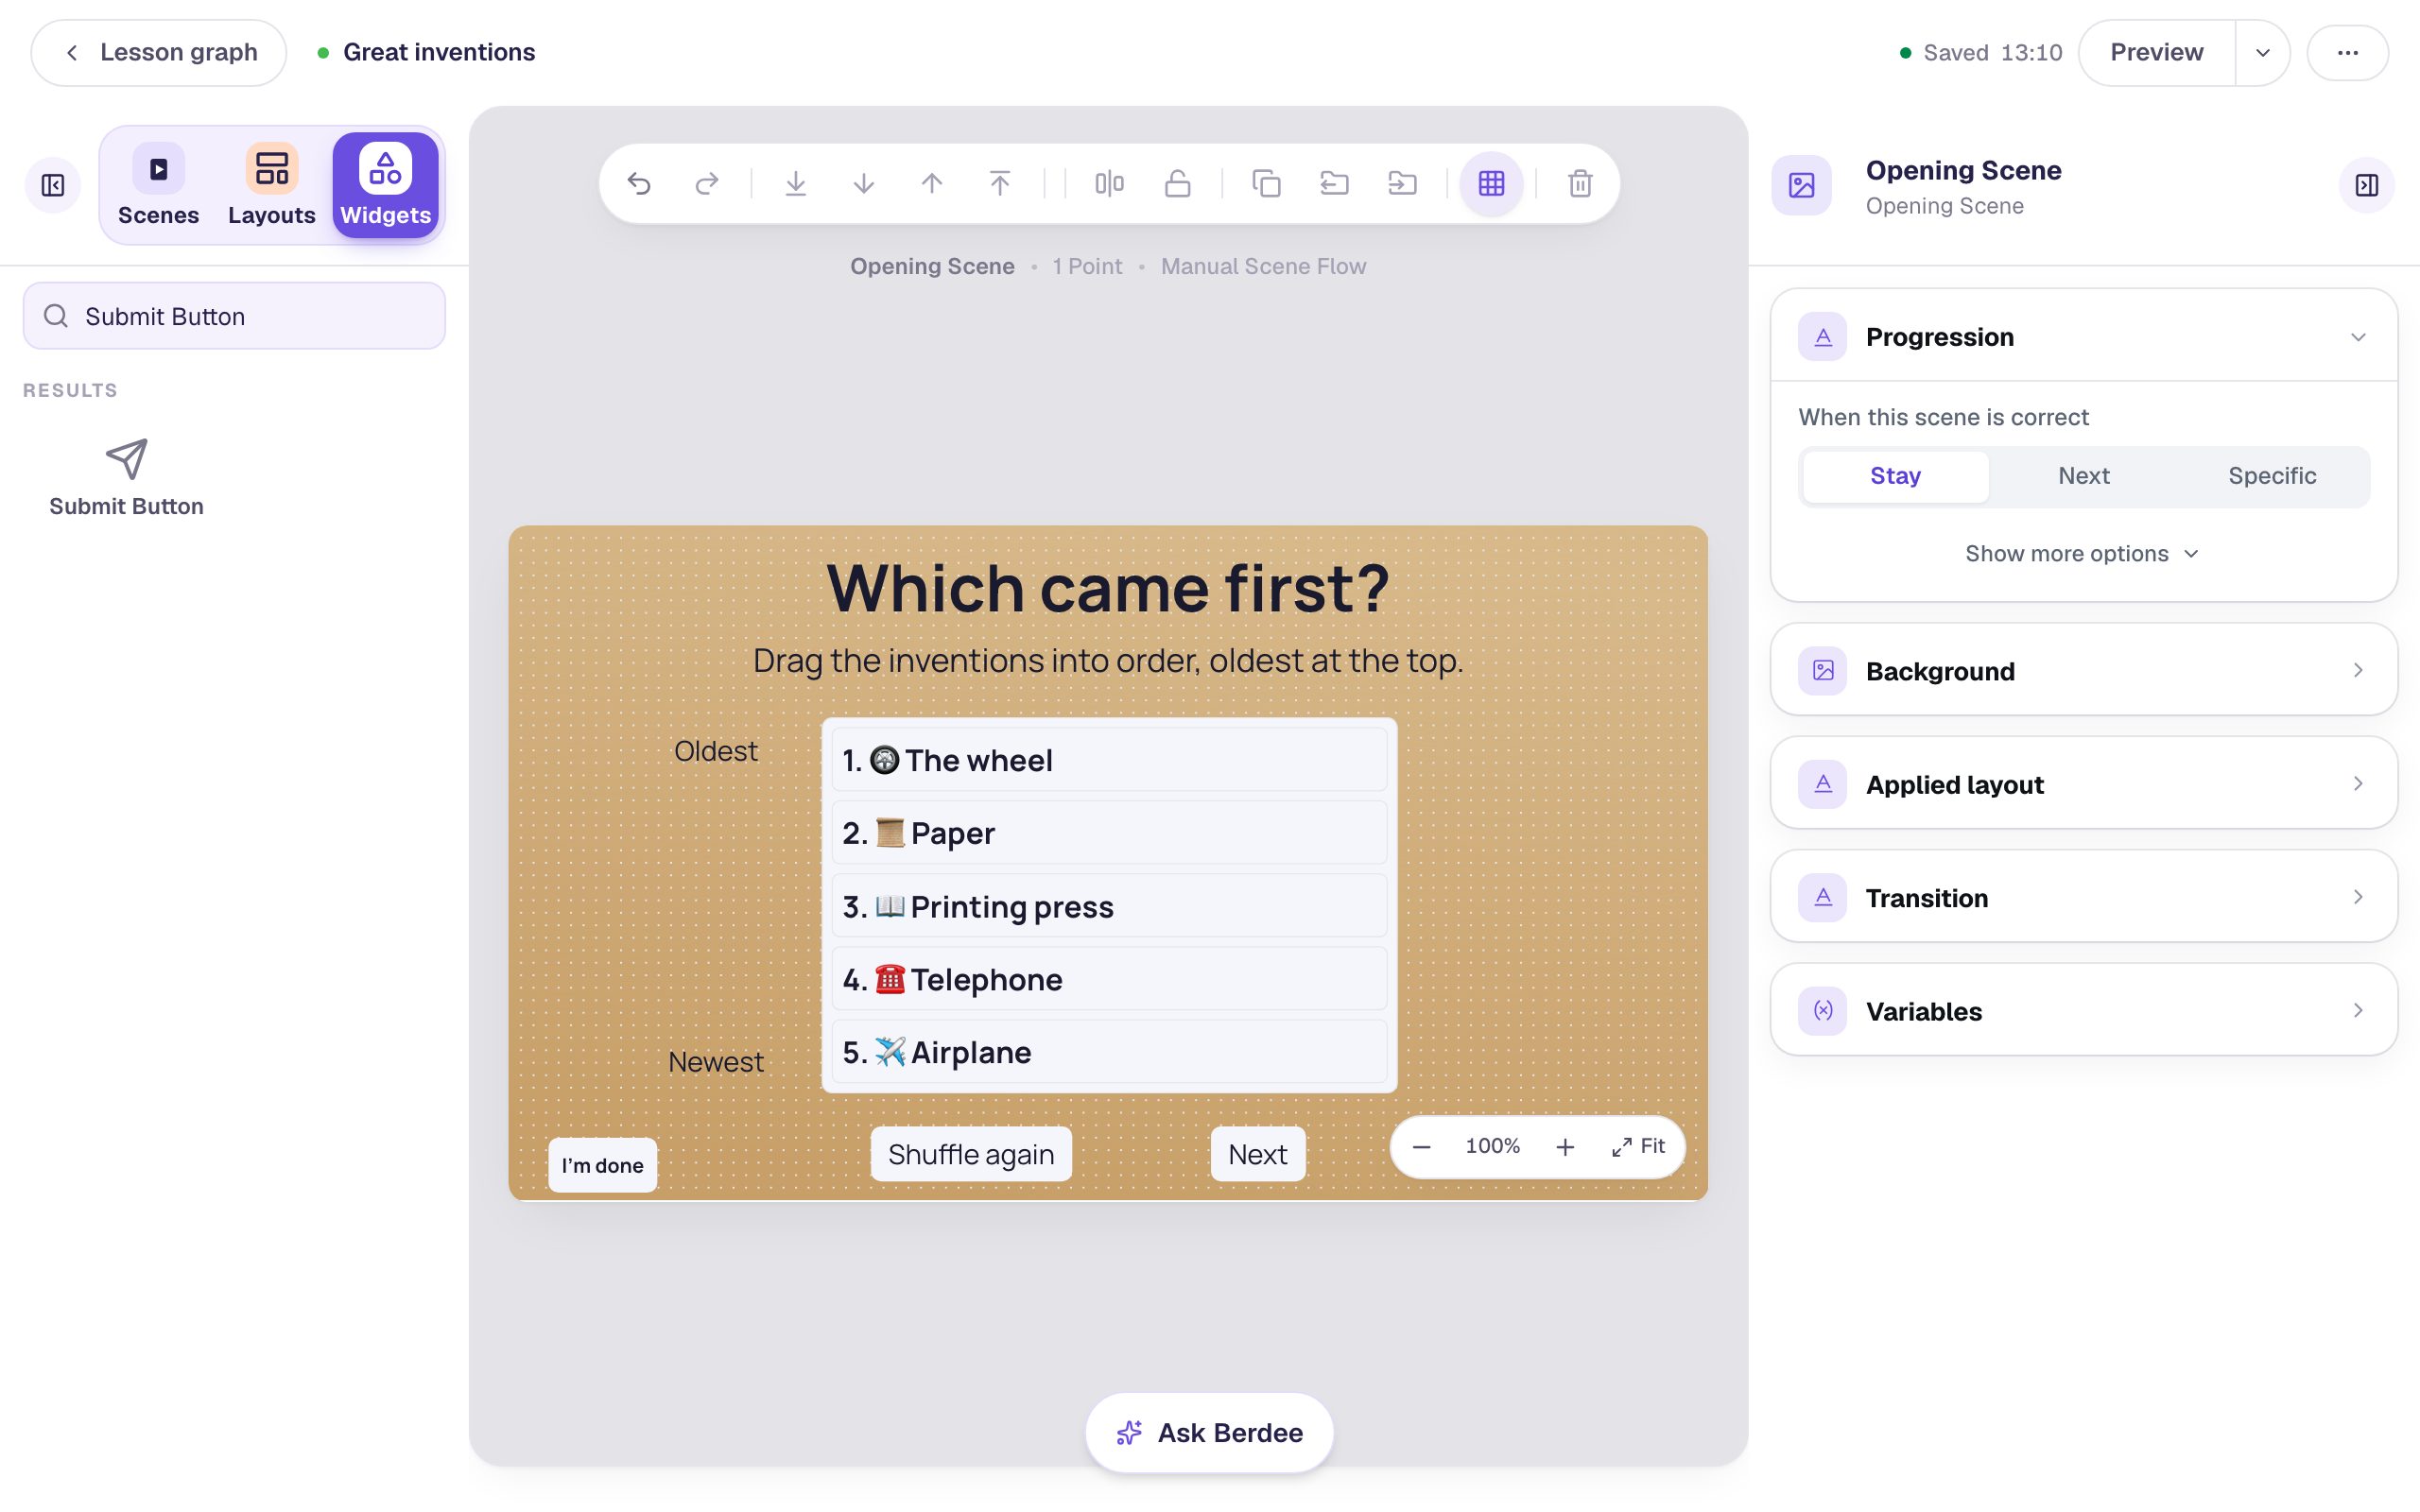
Back on the Opening Scene, add a Heading that says Which came first? and a Body text under it: Drag the inventions into order, oldest at the top. Set the Body's Font Size to 26.
Step 2: Add a Sorting List
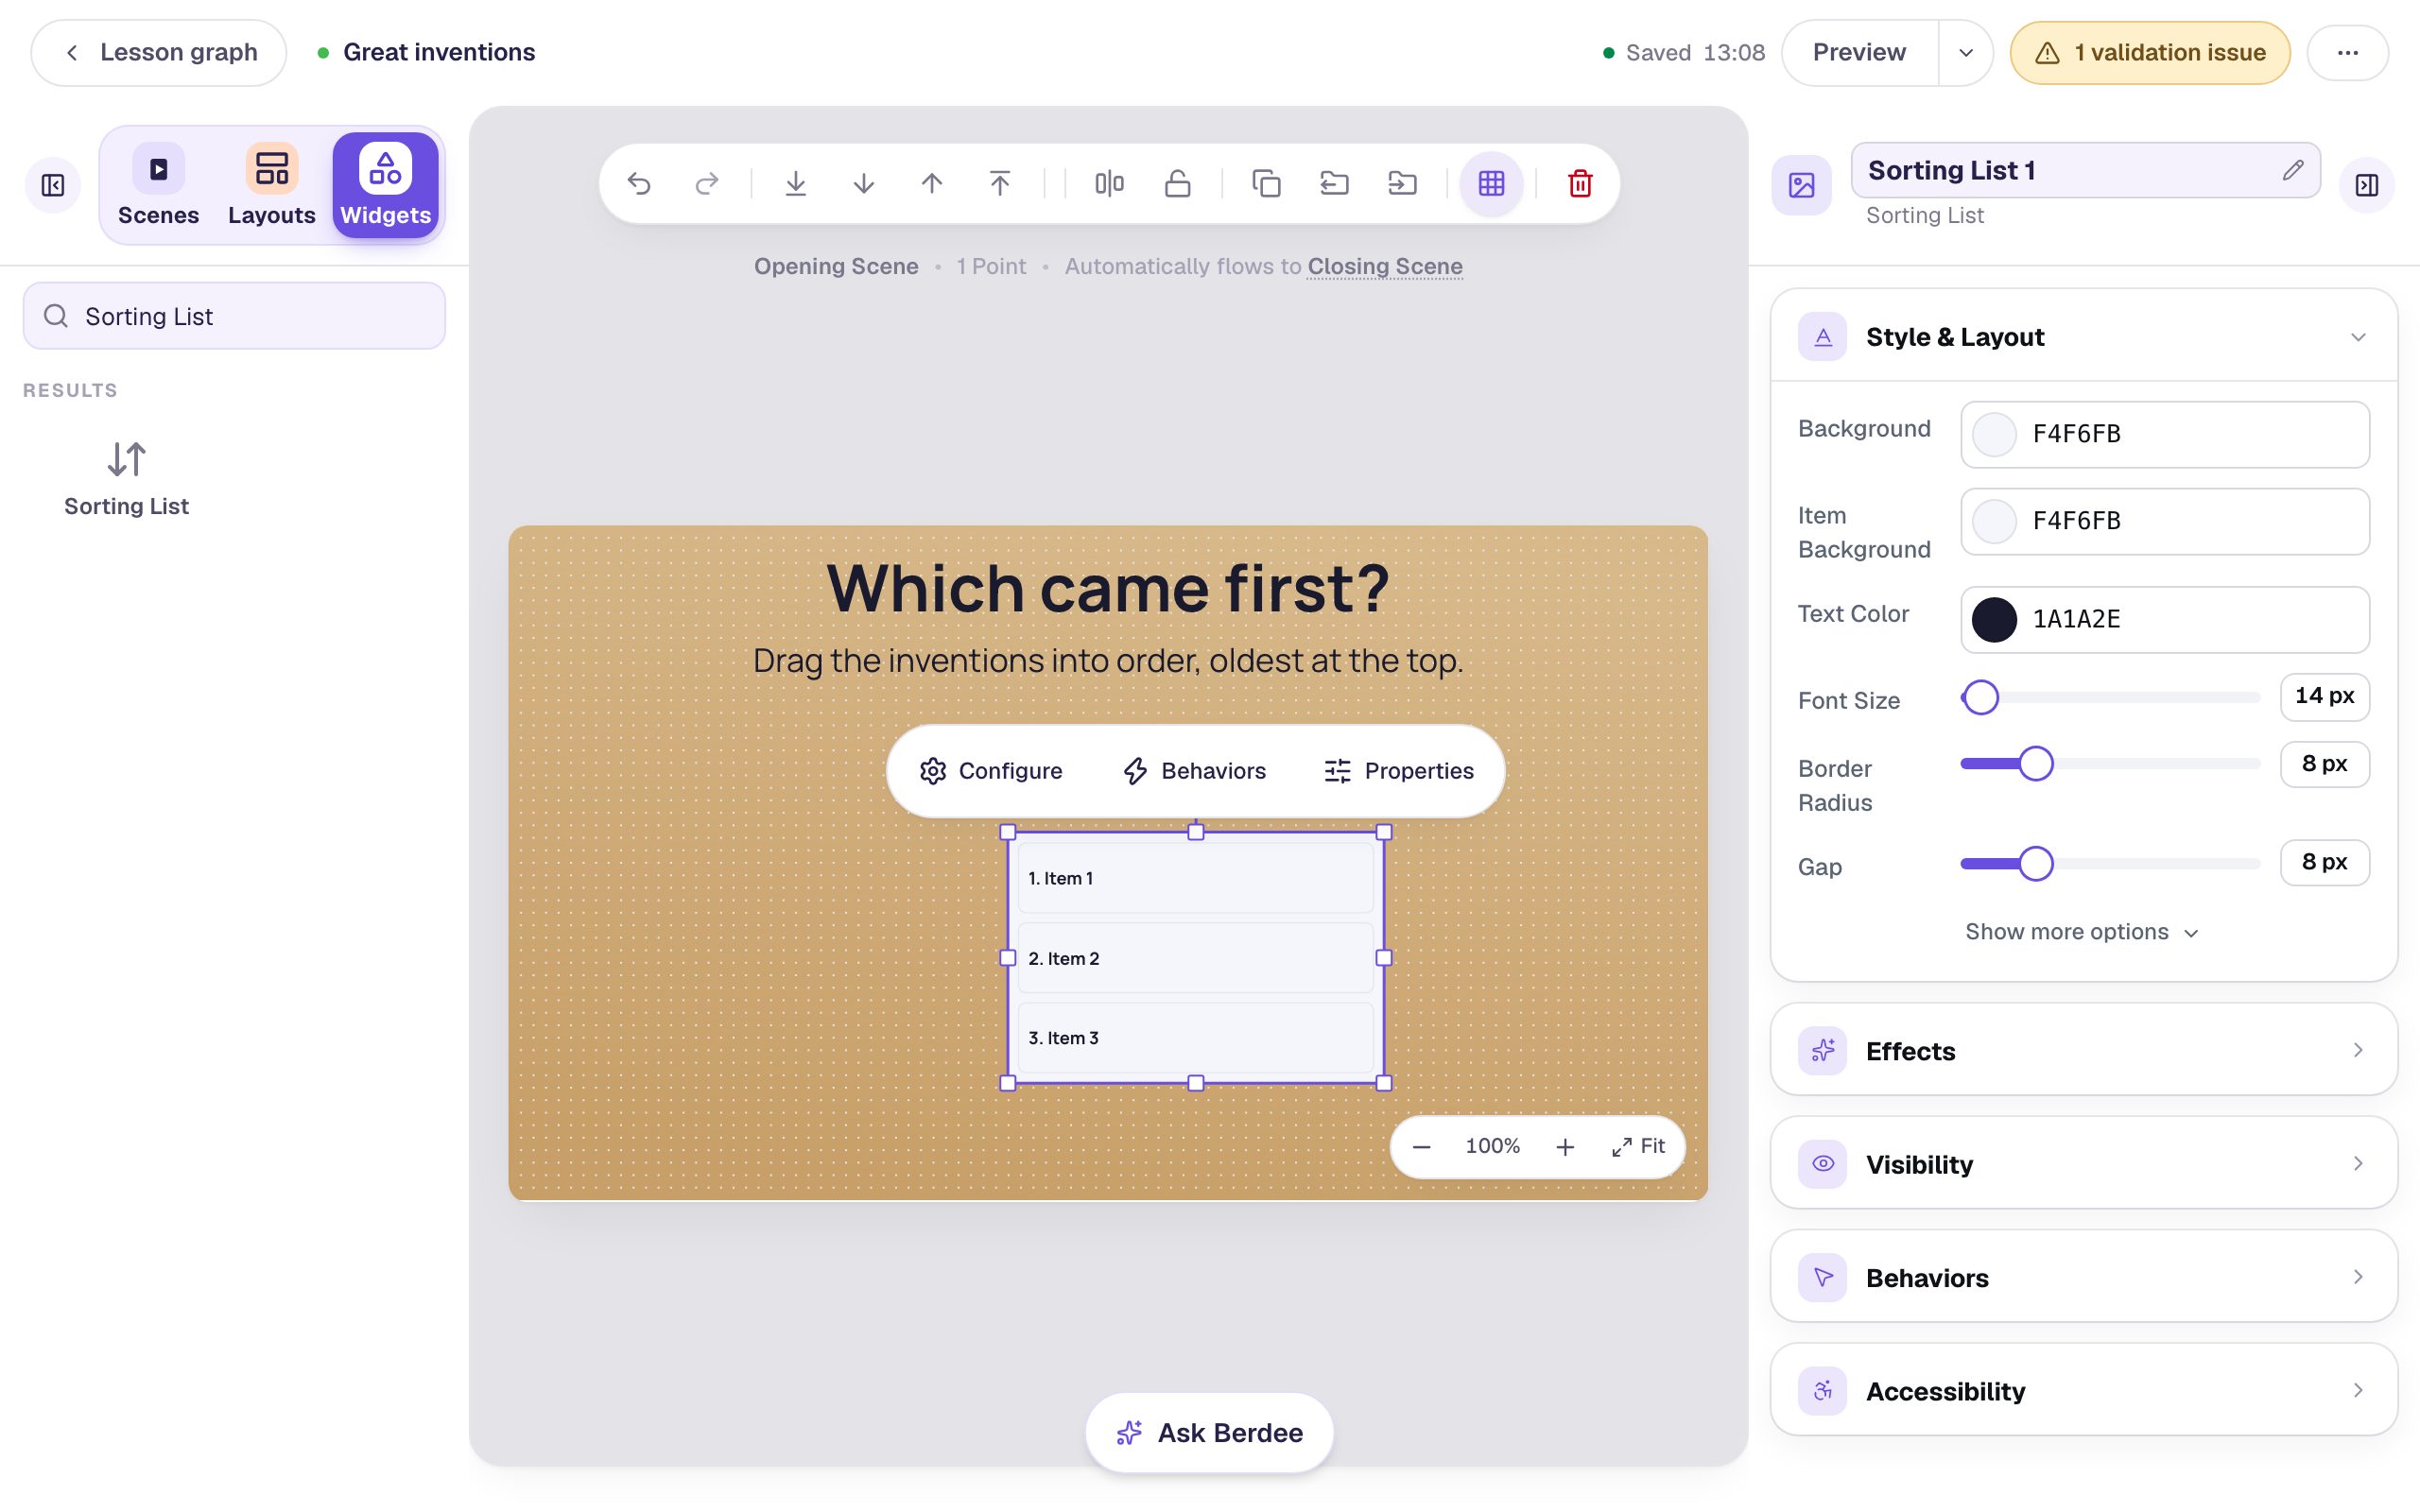
In Widgets, search for Sorting List and click it. The new list has three sample cards, Item 1 to Item 3.
Step 3: Type the cards in the right order
Click ⚙ Configure above the list. Click Add Item twice so there are five cards, then type the inventions in the correct order, oldest first:
🛞 The wheel📜 Paper📖 Printing press☎️ Telephone✈️ Airplane
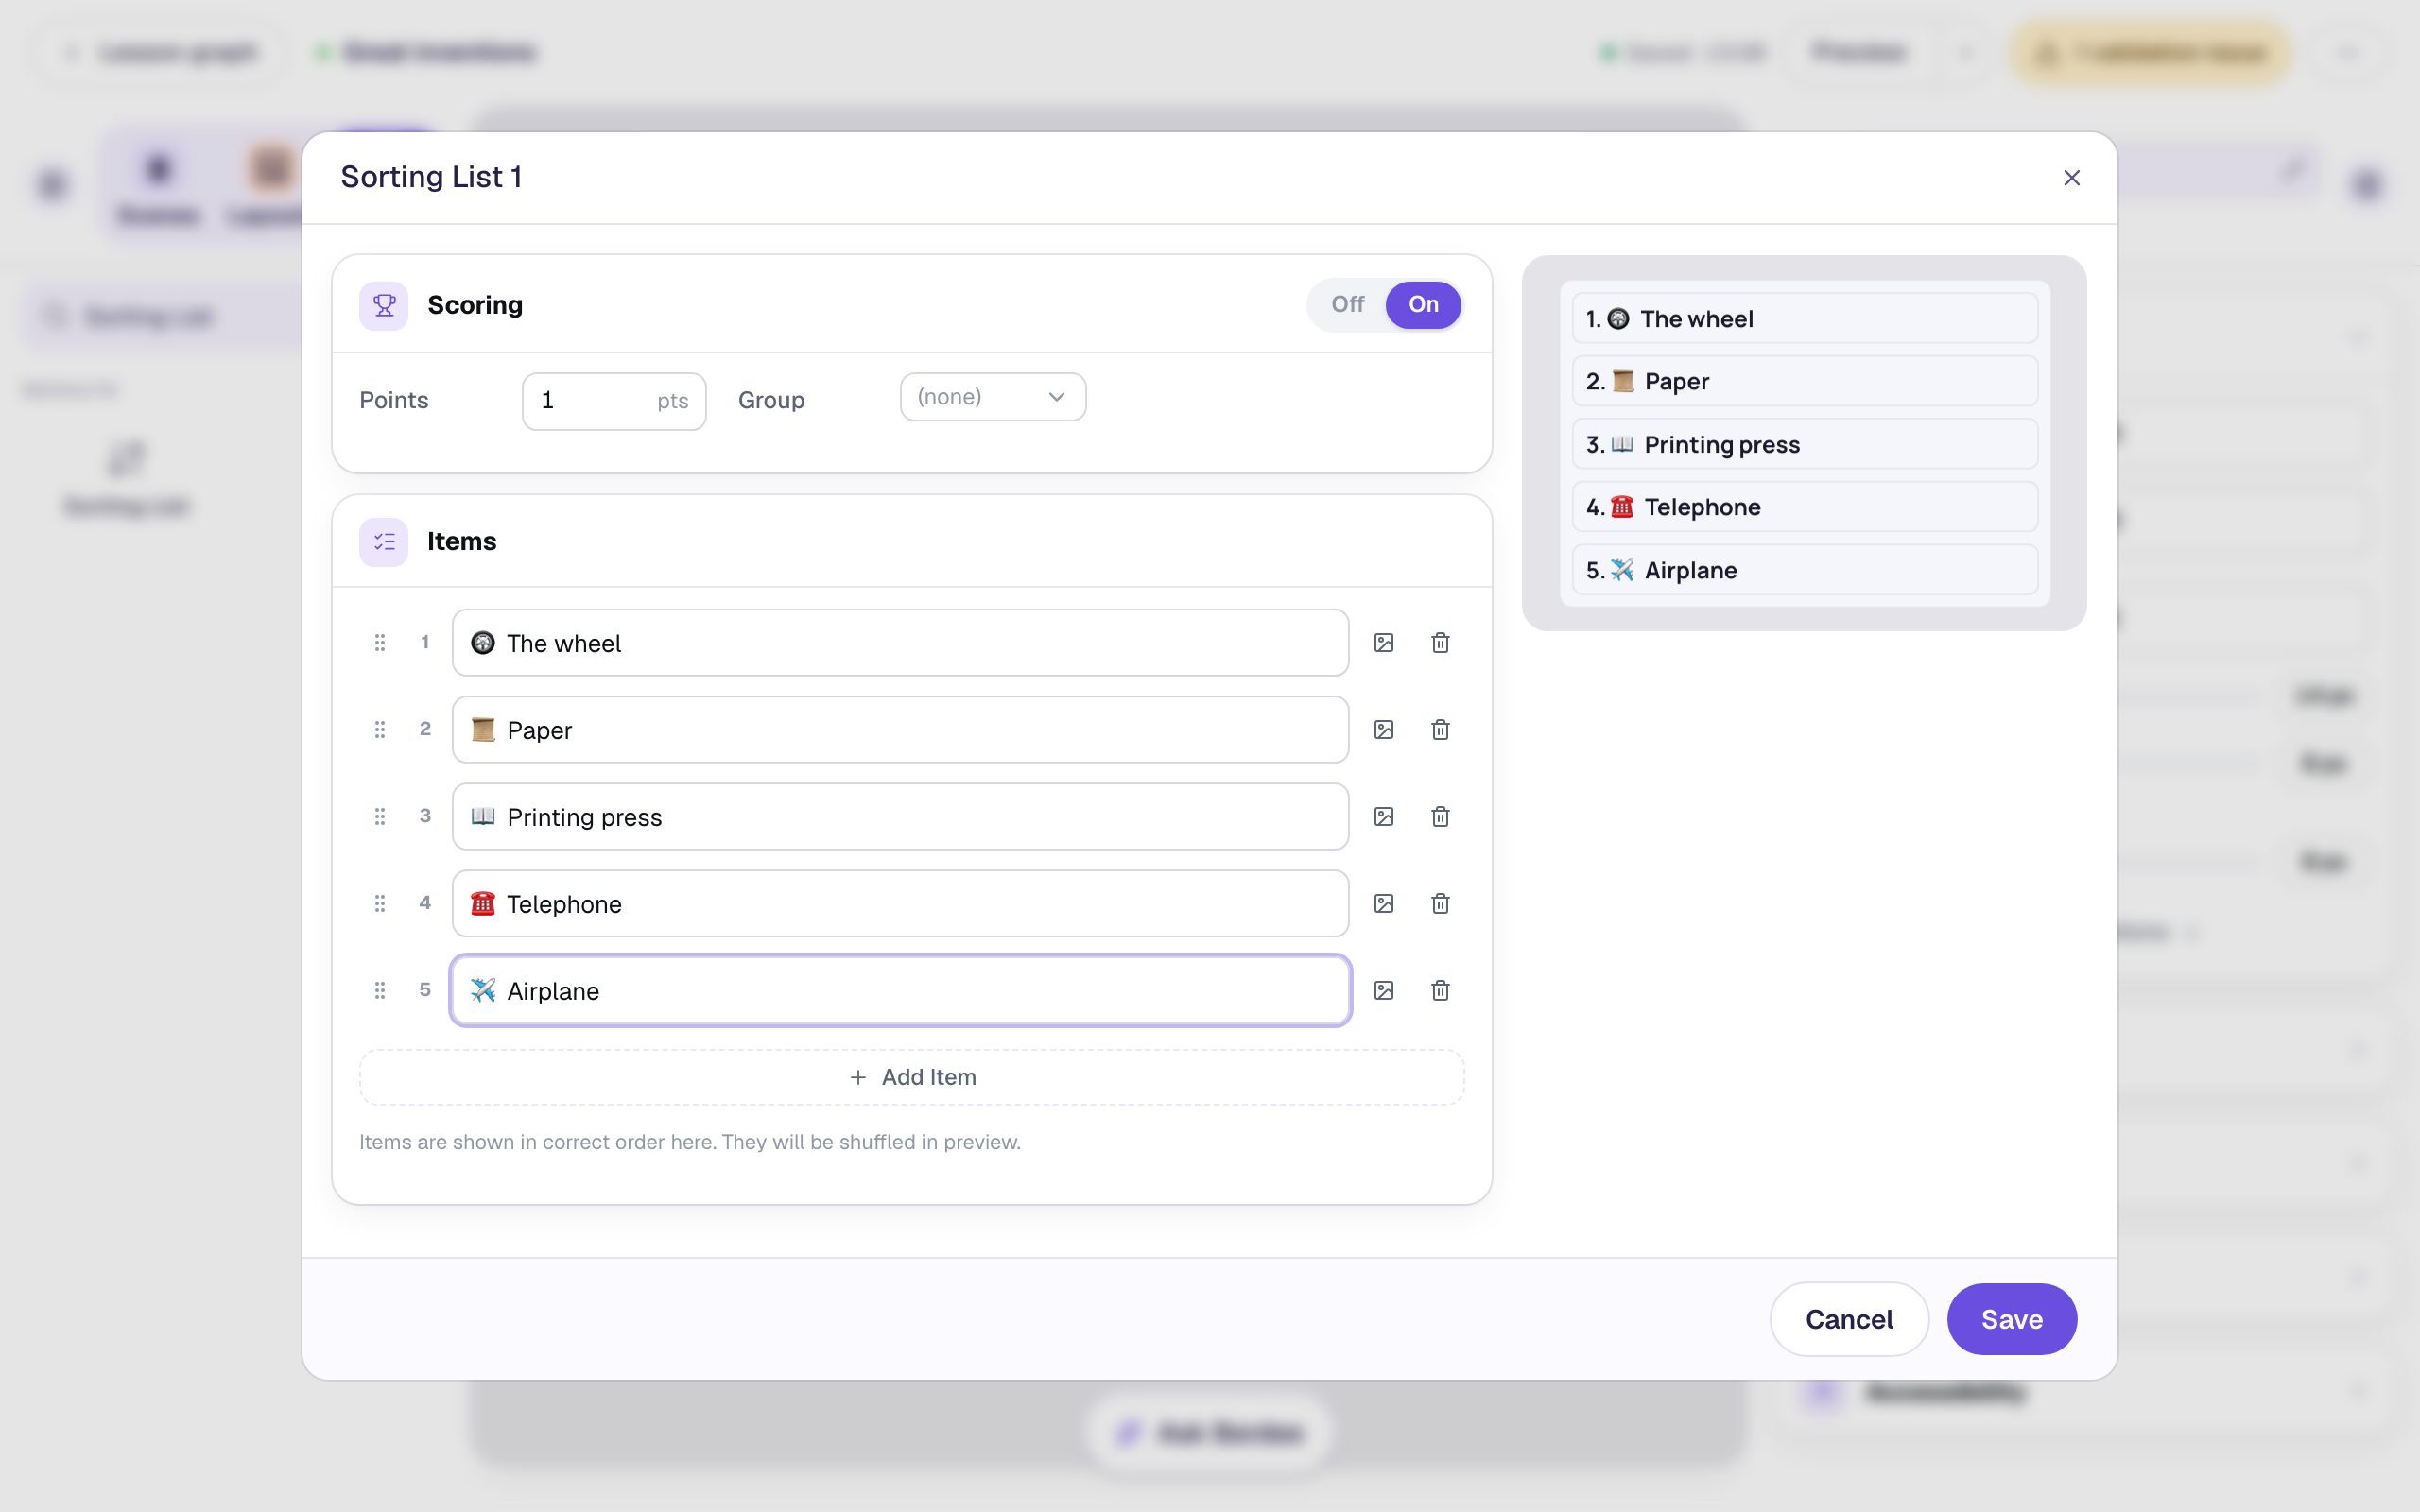
There's no separate answer key: the order of the cards in this window _is_ the right answer. Berdee shuffles them for every student, so you never scramble them yourself. Got one in the wrong place? Drag it by the grip on the left of its row.
The emoji are ordinary characters: paste them in, or use your computer's emoji picker (Ctrl + Cmd + Space on a Mac, Windows + . on Windows). A card can also show a picture: click the image button on its row.
Scoring is on, and the activity is worth 1 point when every card is in place. Click Save.
Step 4: Size it and describe it
Rename the list Inventions by clicking its name at the top of the properties panel. Then open Style & Layout, set Font Size to 24, click Show more options, and set Width to 460 and Height to 300. The cards share the list's height, so a taller list gives every card a bigger target to grab. Drag the list under the instructions.
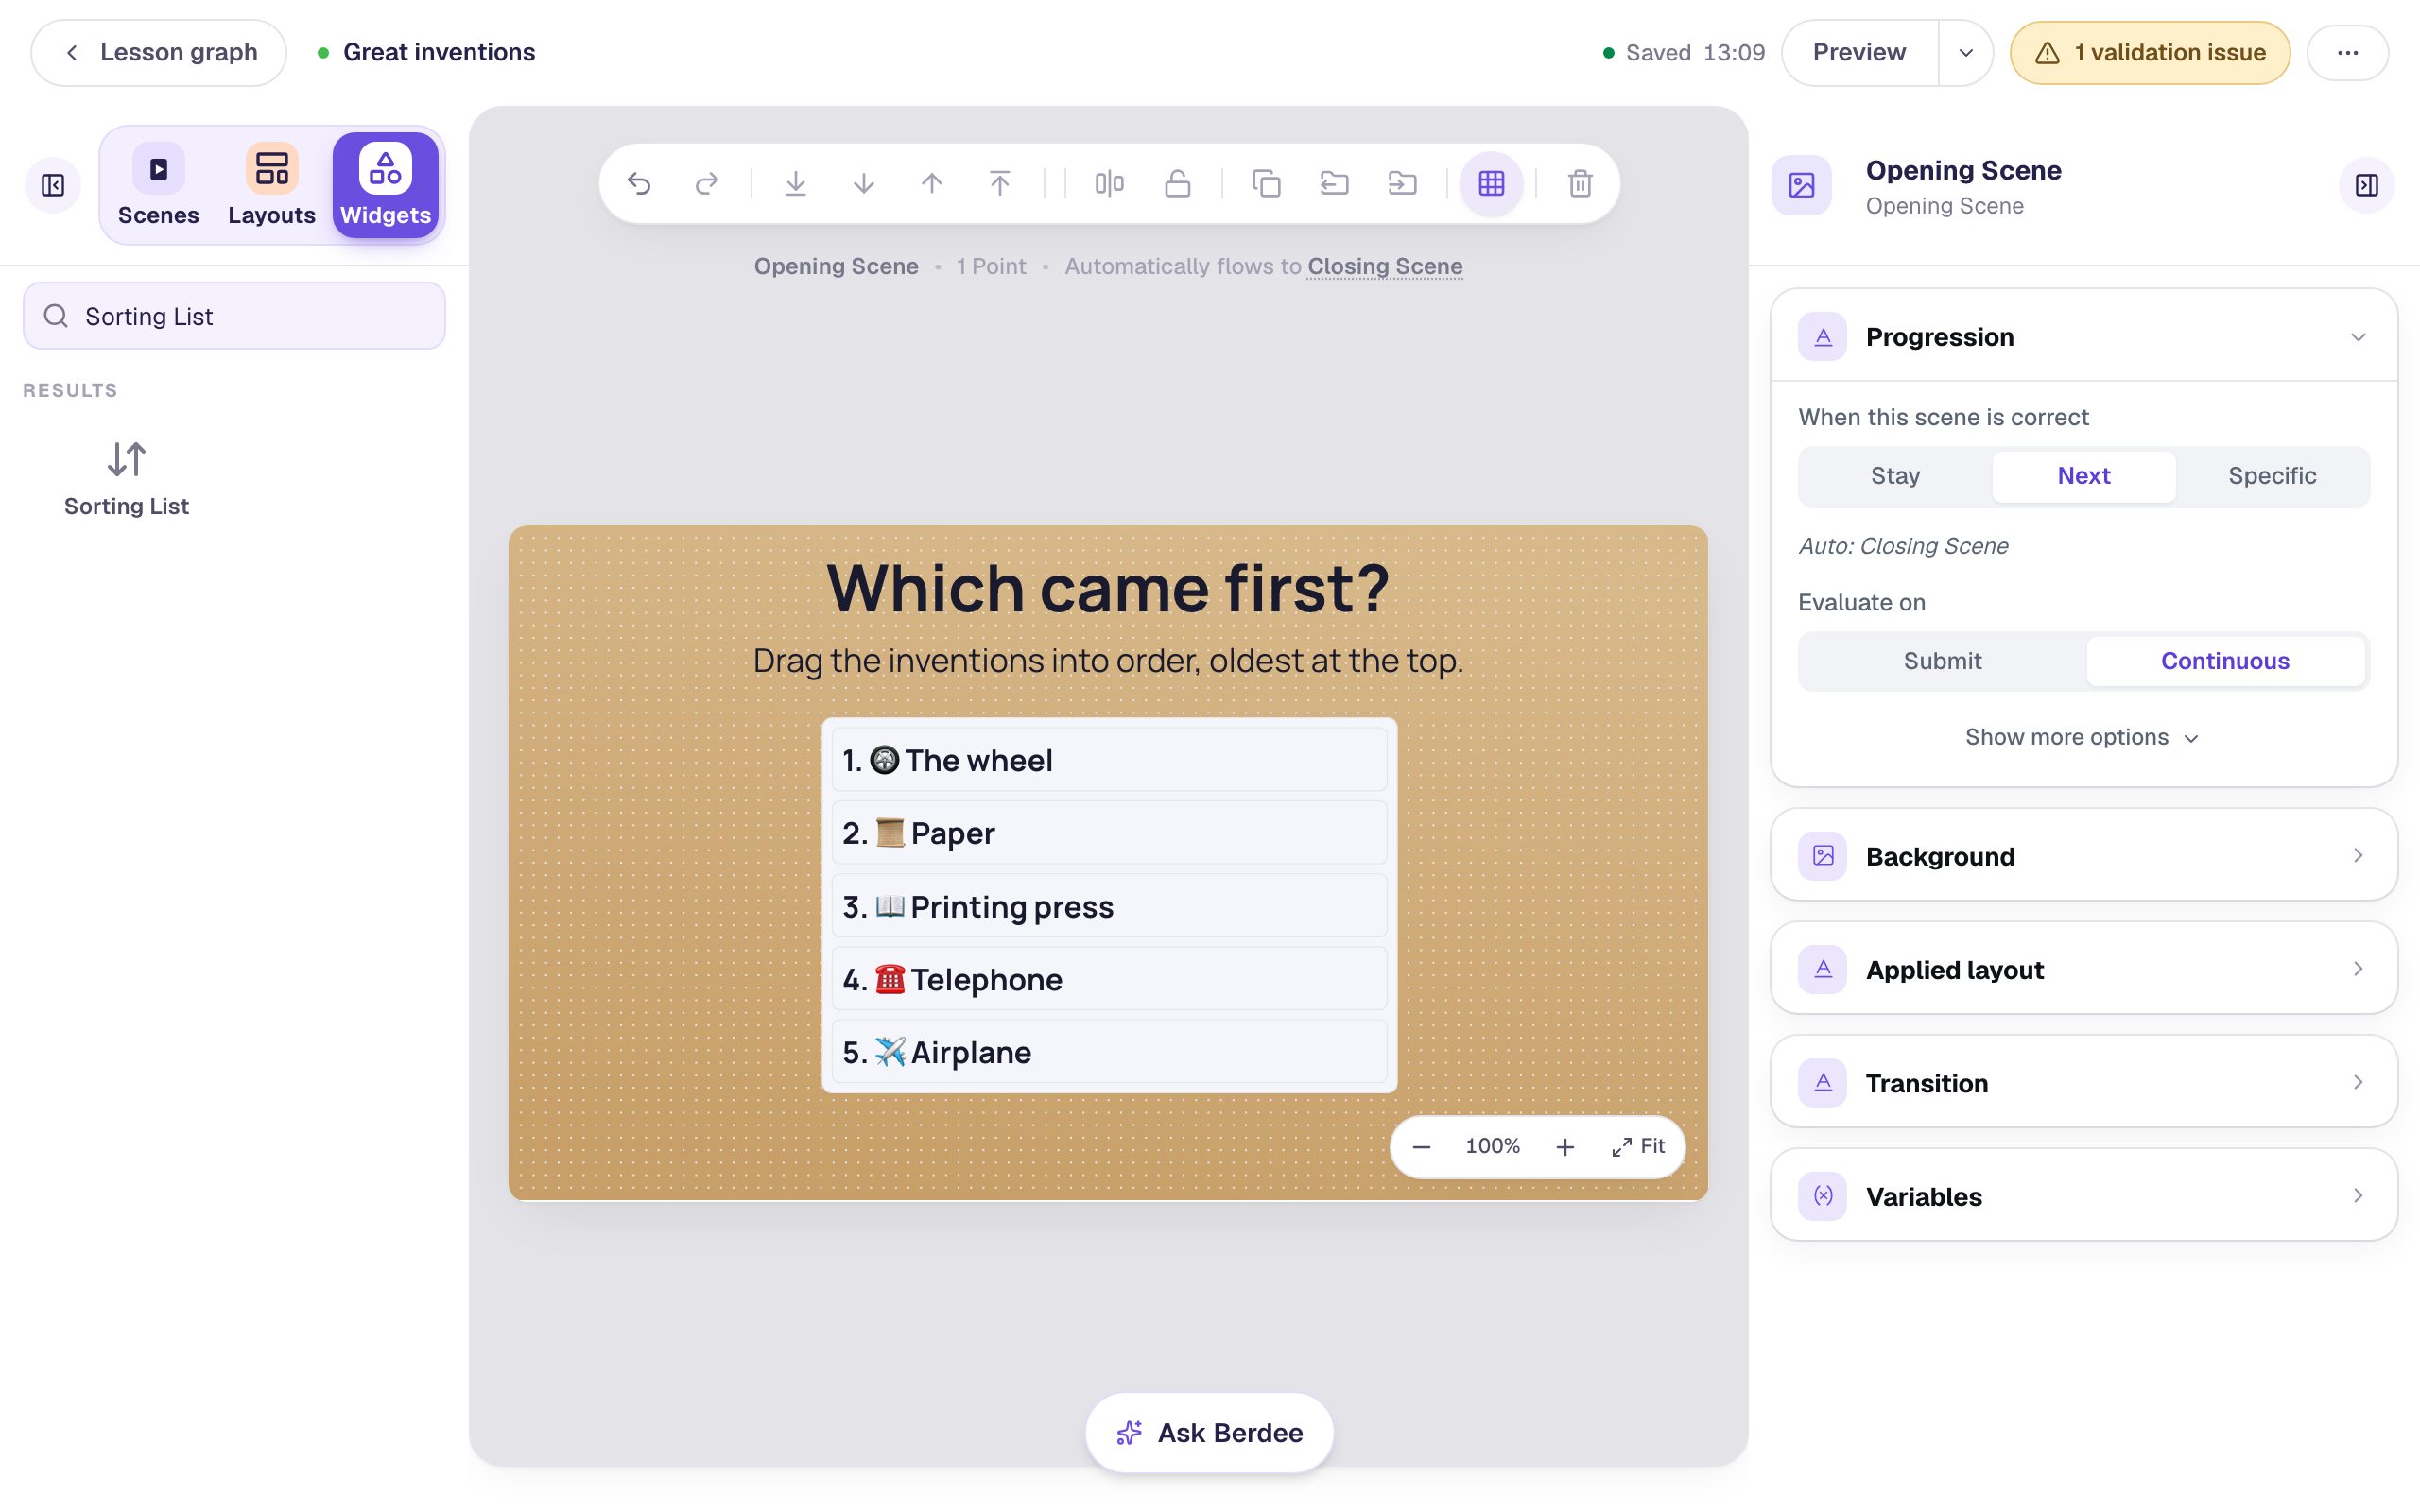
The canvas always shows the cards in the right order, so you can check the answer at a glance. Students never see this order until they've made it.
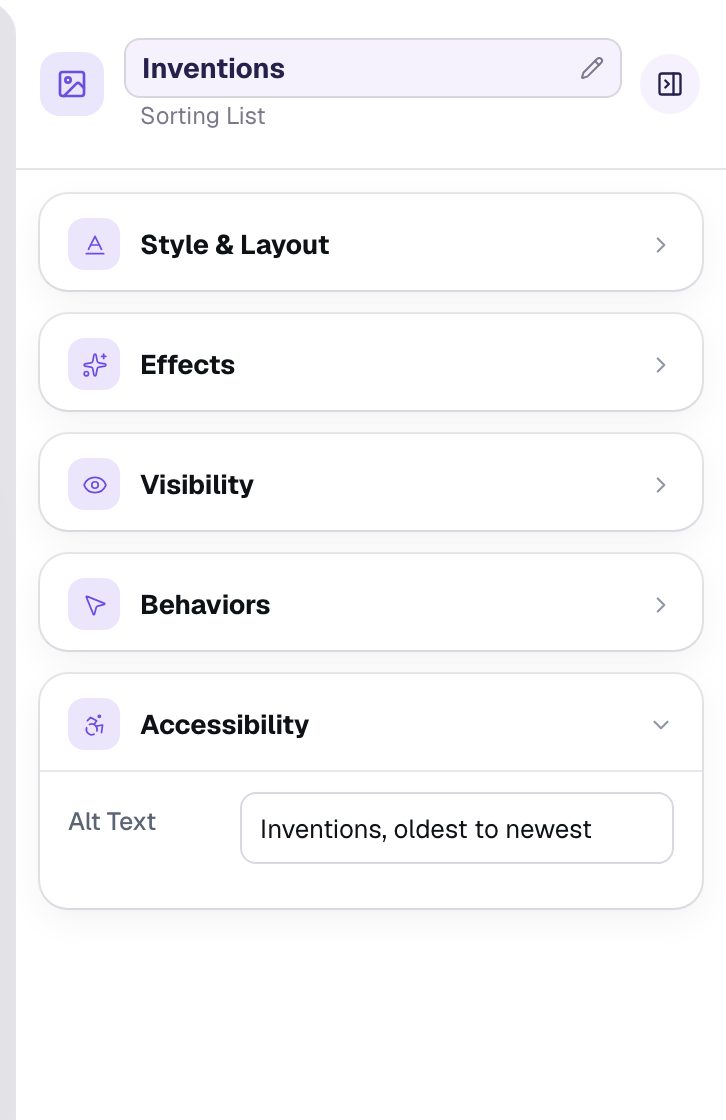
Now open Accessibility and set Alt Text to Inventions, oldest to newest. A screen reader reads this when a student reaches the list, so put the rule in it, not just "Sorting list".
Step 5: Label the two ends
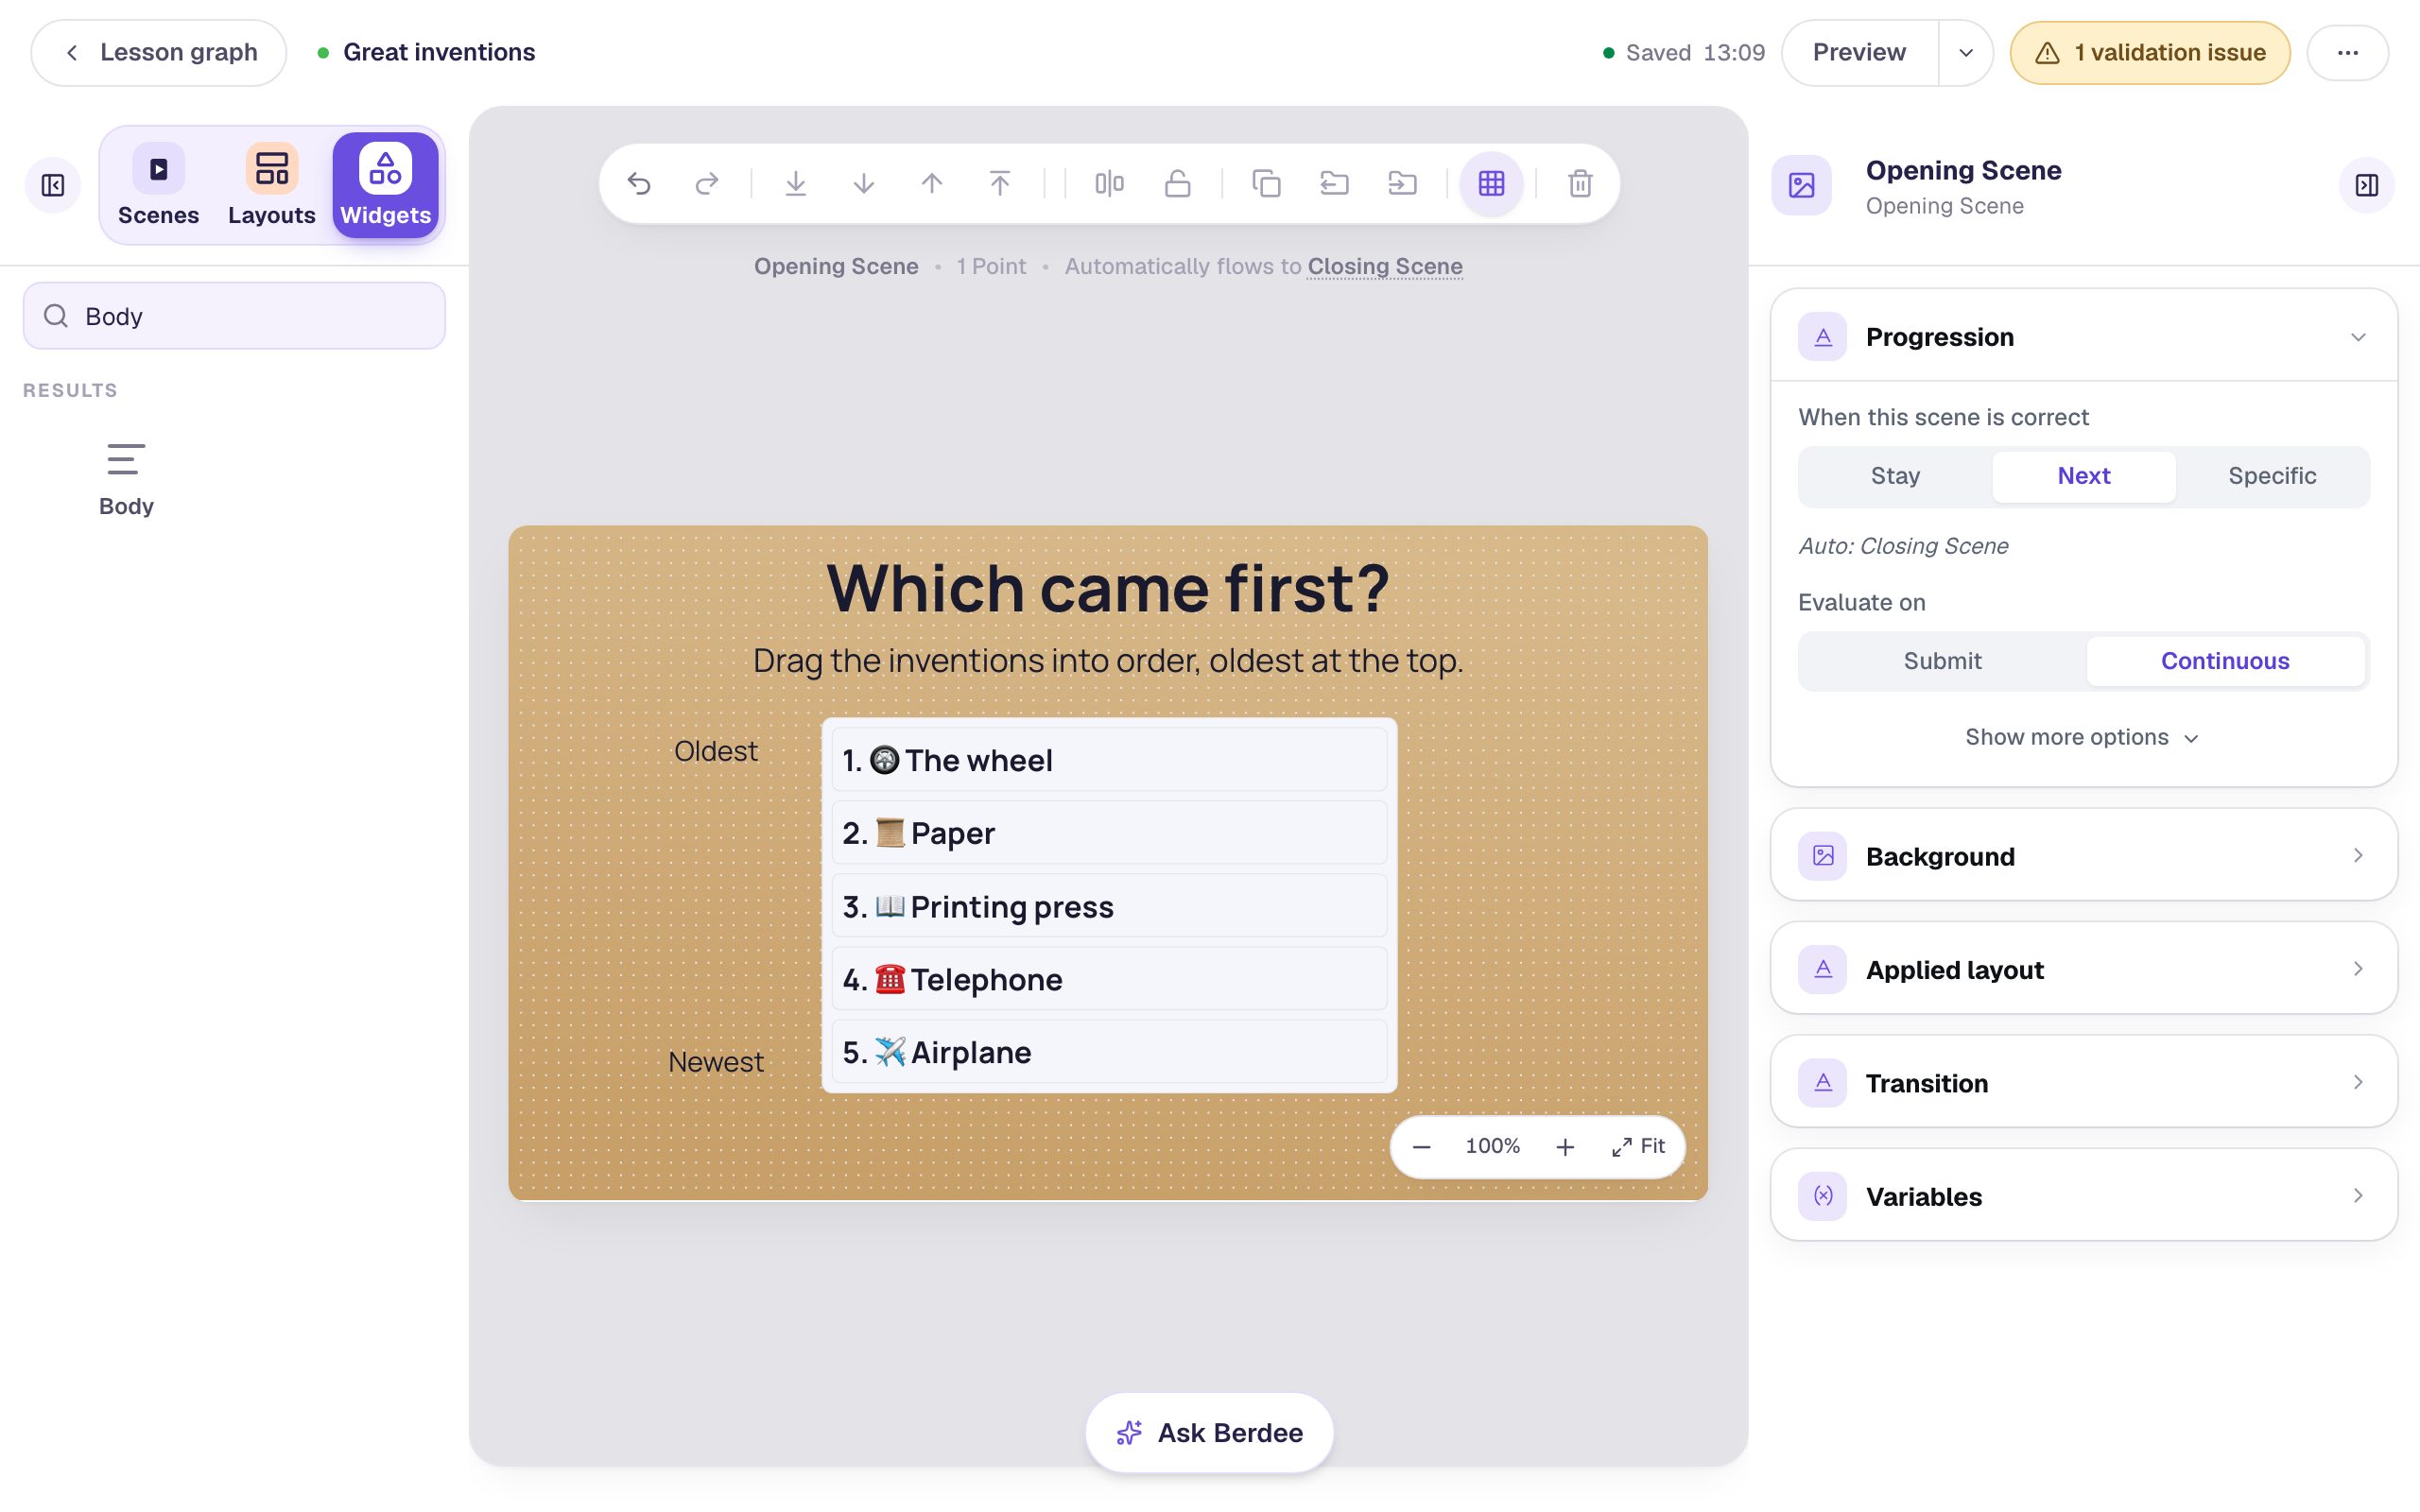
"Oldest at the top" is easy to forget halfway through. Add two small Body texts, Oldest and Newest, set their Font Size to 22, and place them beside the first and last cards.
Step 6: Celebrate the right order
Select the list and click Behaviors above it. Berdee suggests ideas that fit a scored widget:
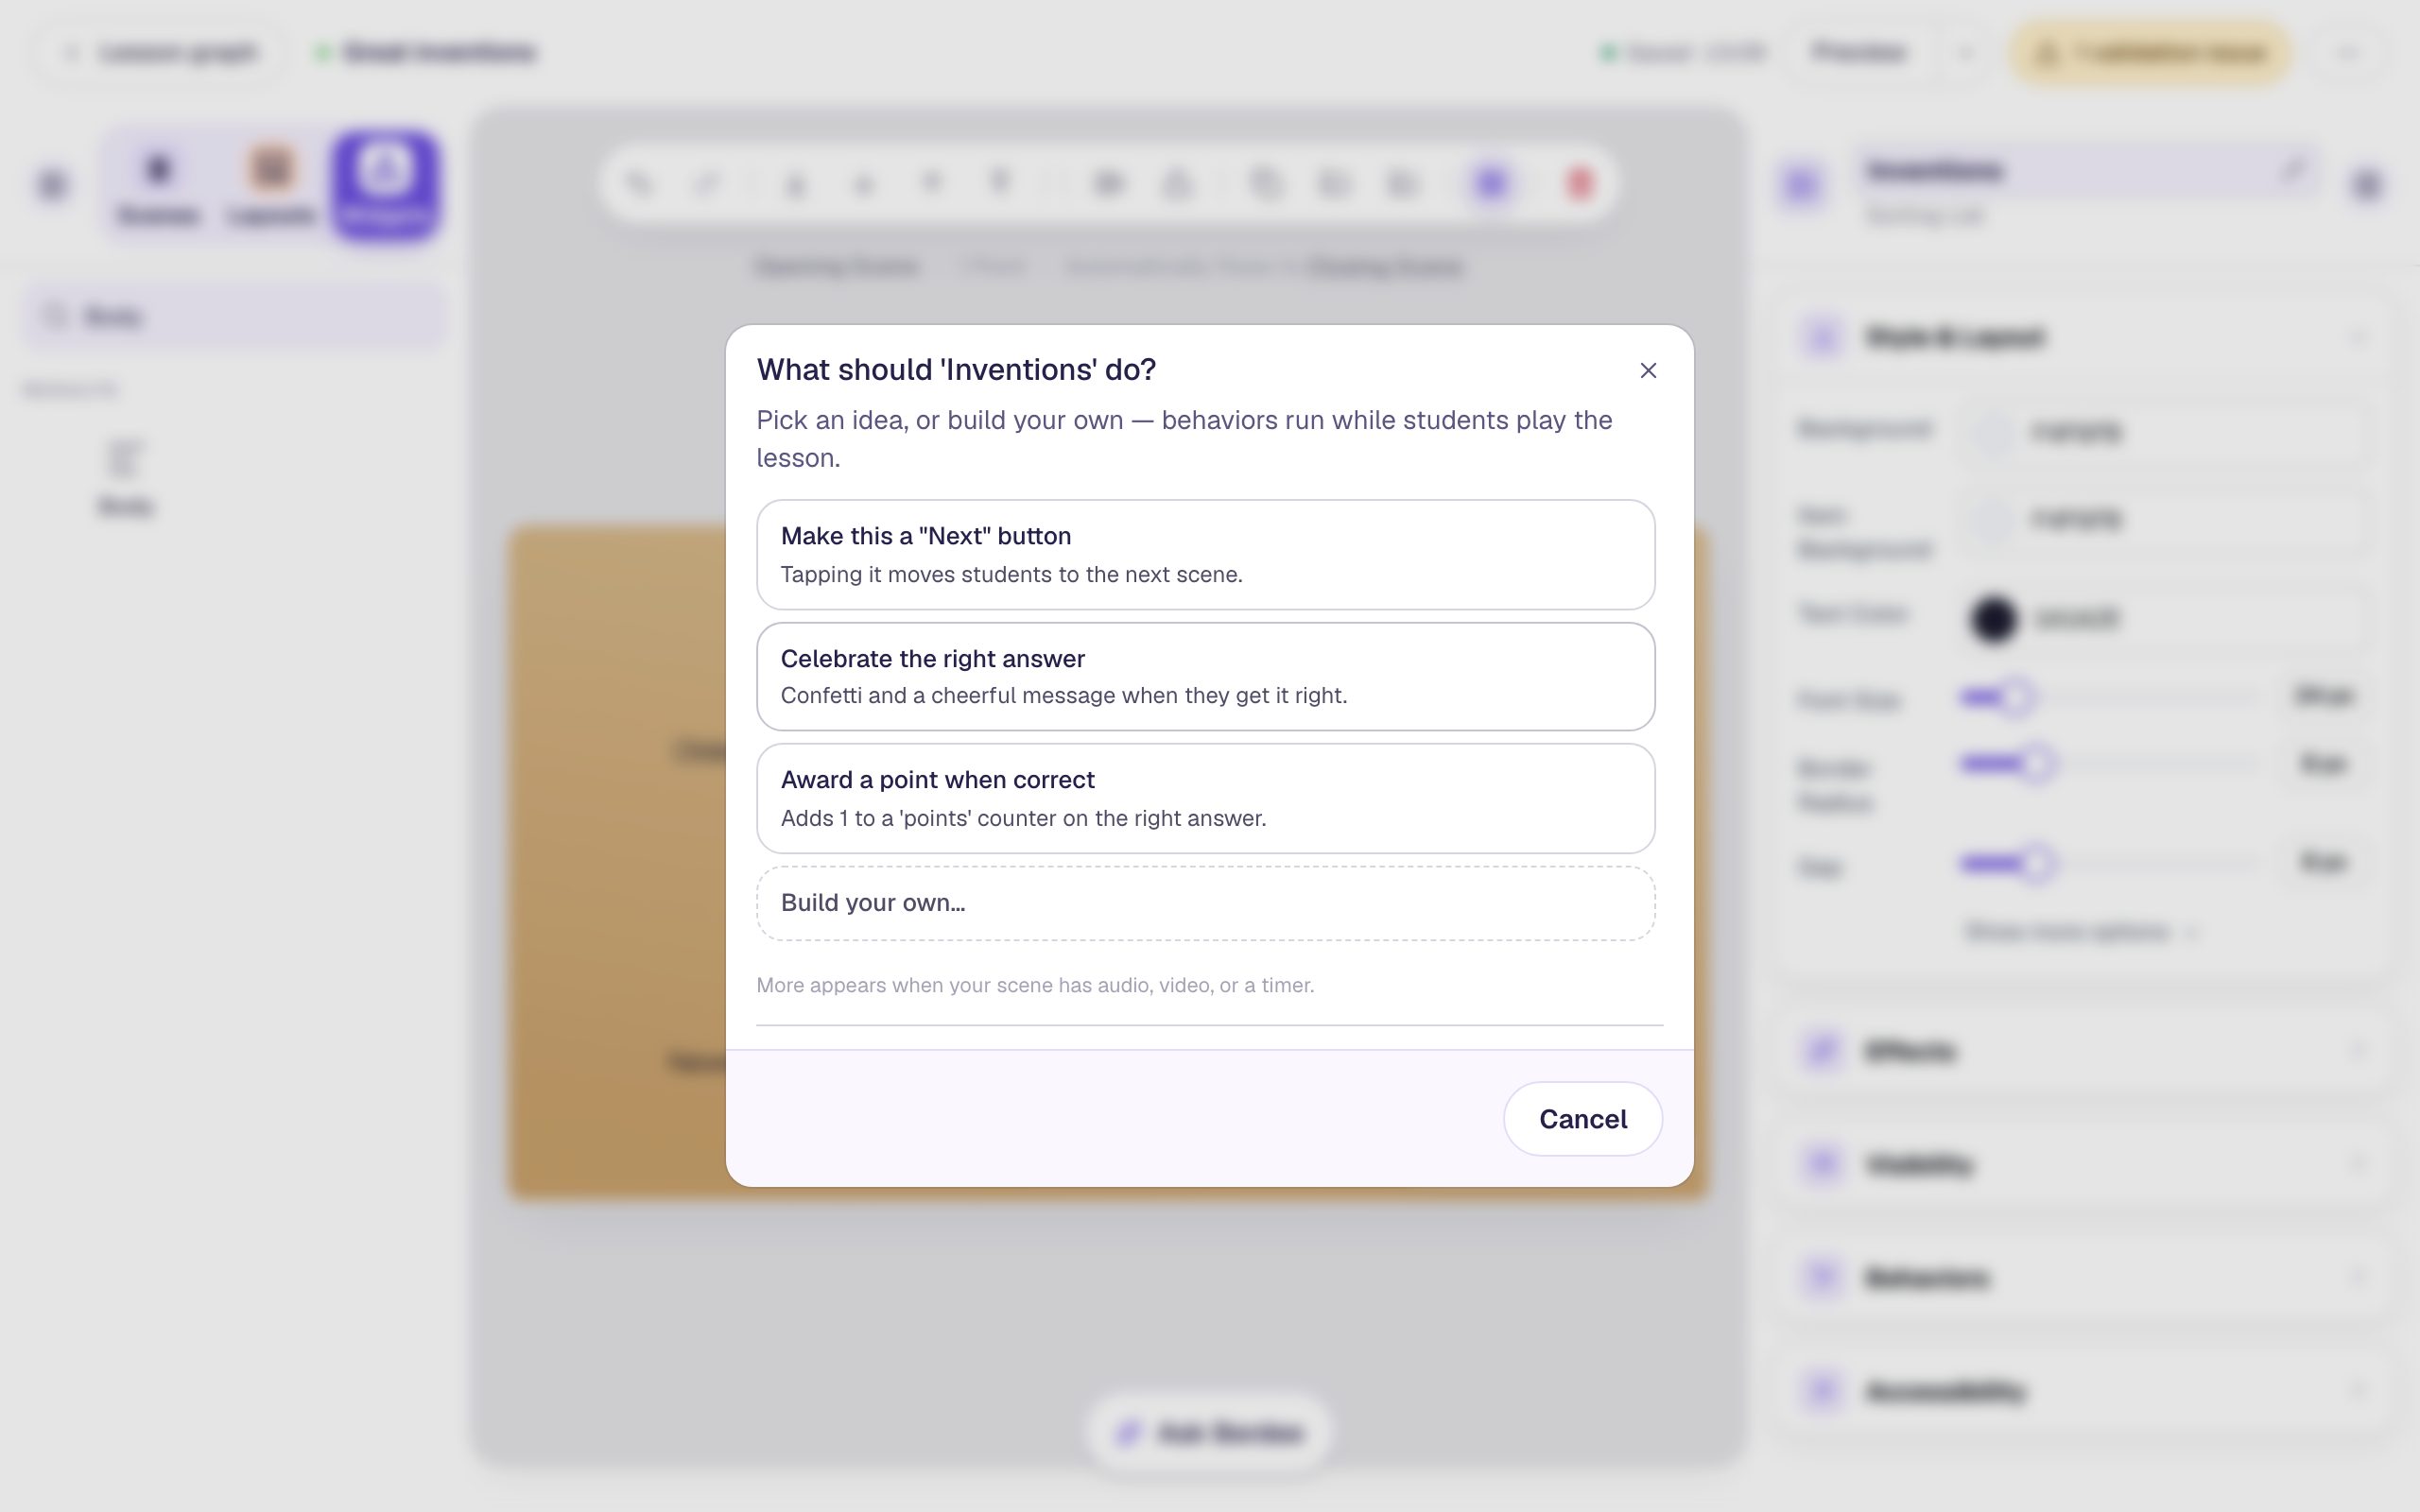
Click Celebrate the right answer, then Add behavior. When the last card lands in the right place, confetti flies and a short Great job! message appears.
Step 7: Add a Shuffle again button
A sorting activity is good practice to repeat. Add a Button, click ⚙ Configure, change its Label to Shuffle again, and click Save. Rename it Shuffle again too, set its Font Size to 22, and drag it under the list, a little left of center.
Open Behaviors in the properties panel, click Add Behavior, and choose On Press. Then set the action to Widget Method, the widget to Inventions, and the method to Reset.
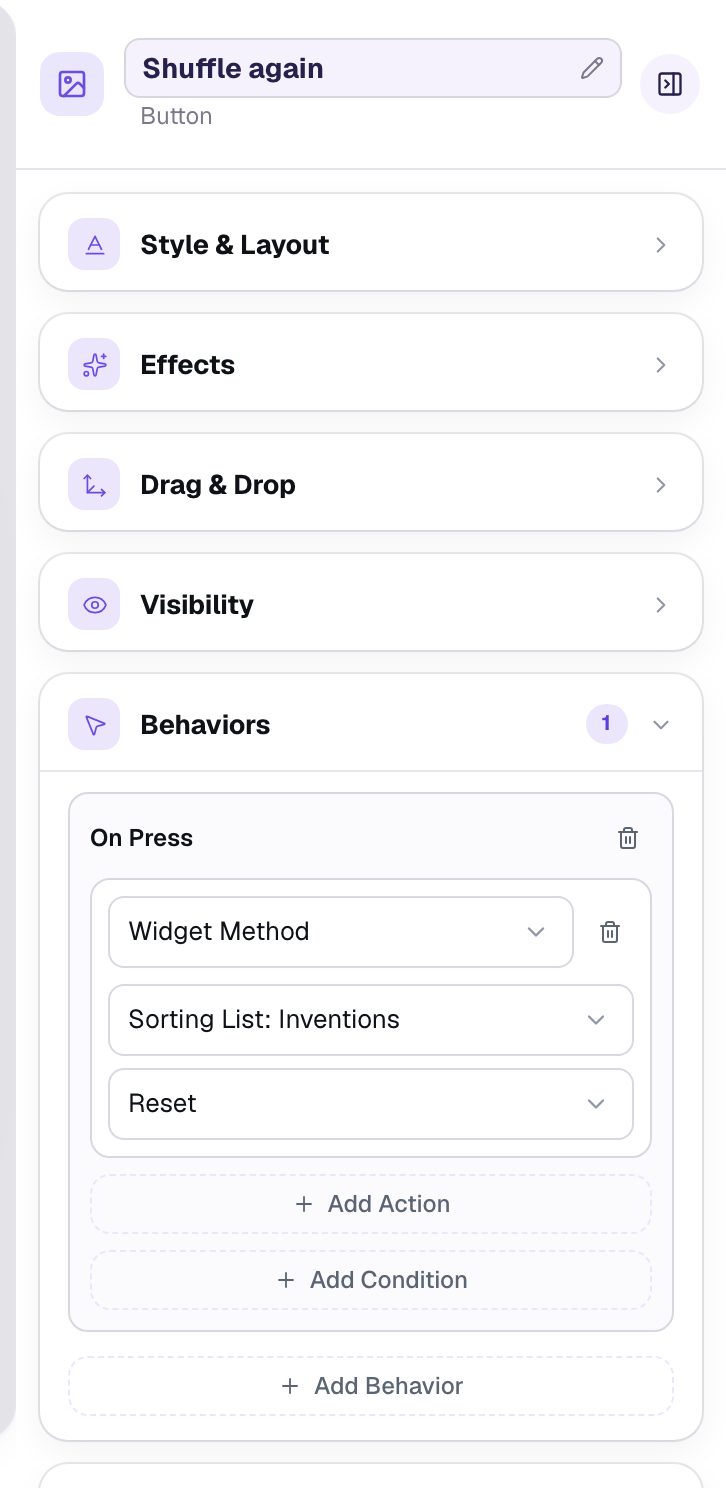
Reset shuffles the cards into a new order, and that new order is now the student's answer. Widget State and Actions lists what other widgets can do.
Step 8: Add a Next button
Add another Button, click ⚙ Configure, change its Label to Next, and click Save. Click Behaviors, then Make this a "Next" button, check that Goes to says Closing Scene, and click Add behavior. Set its Font Size to 22 and drag it beside Shuffle again.
Then click an empty spot on the scene and, in Progression, change When this scene is correct from Next to Stay.
Why Stay? On Next, the scene jumps to the ending the instant the order is right, so students miss the confetti. With Stay, they see it and press Next when they're ready. A student who gives up can press Next too, and the score shows they didn't finish.
Berdee needs a way for students to finish the lesson early before it will publish. Add a Submit Button, set its Label to I'm done and Submits to Lesson in Content, set its Font Size to 16, and tuck it into the bottom-left corner.
Step 9: Try it as a student
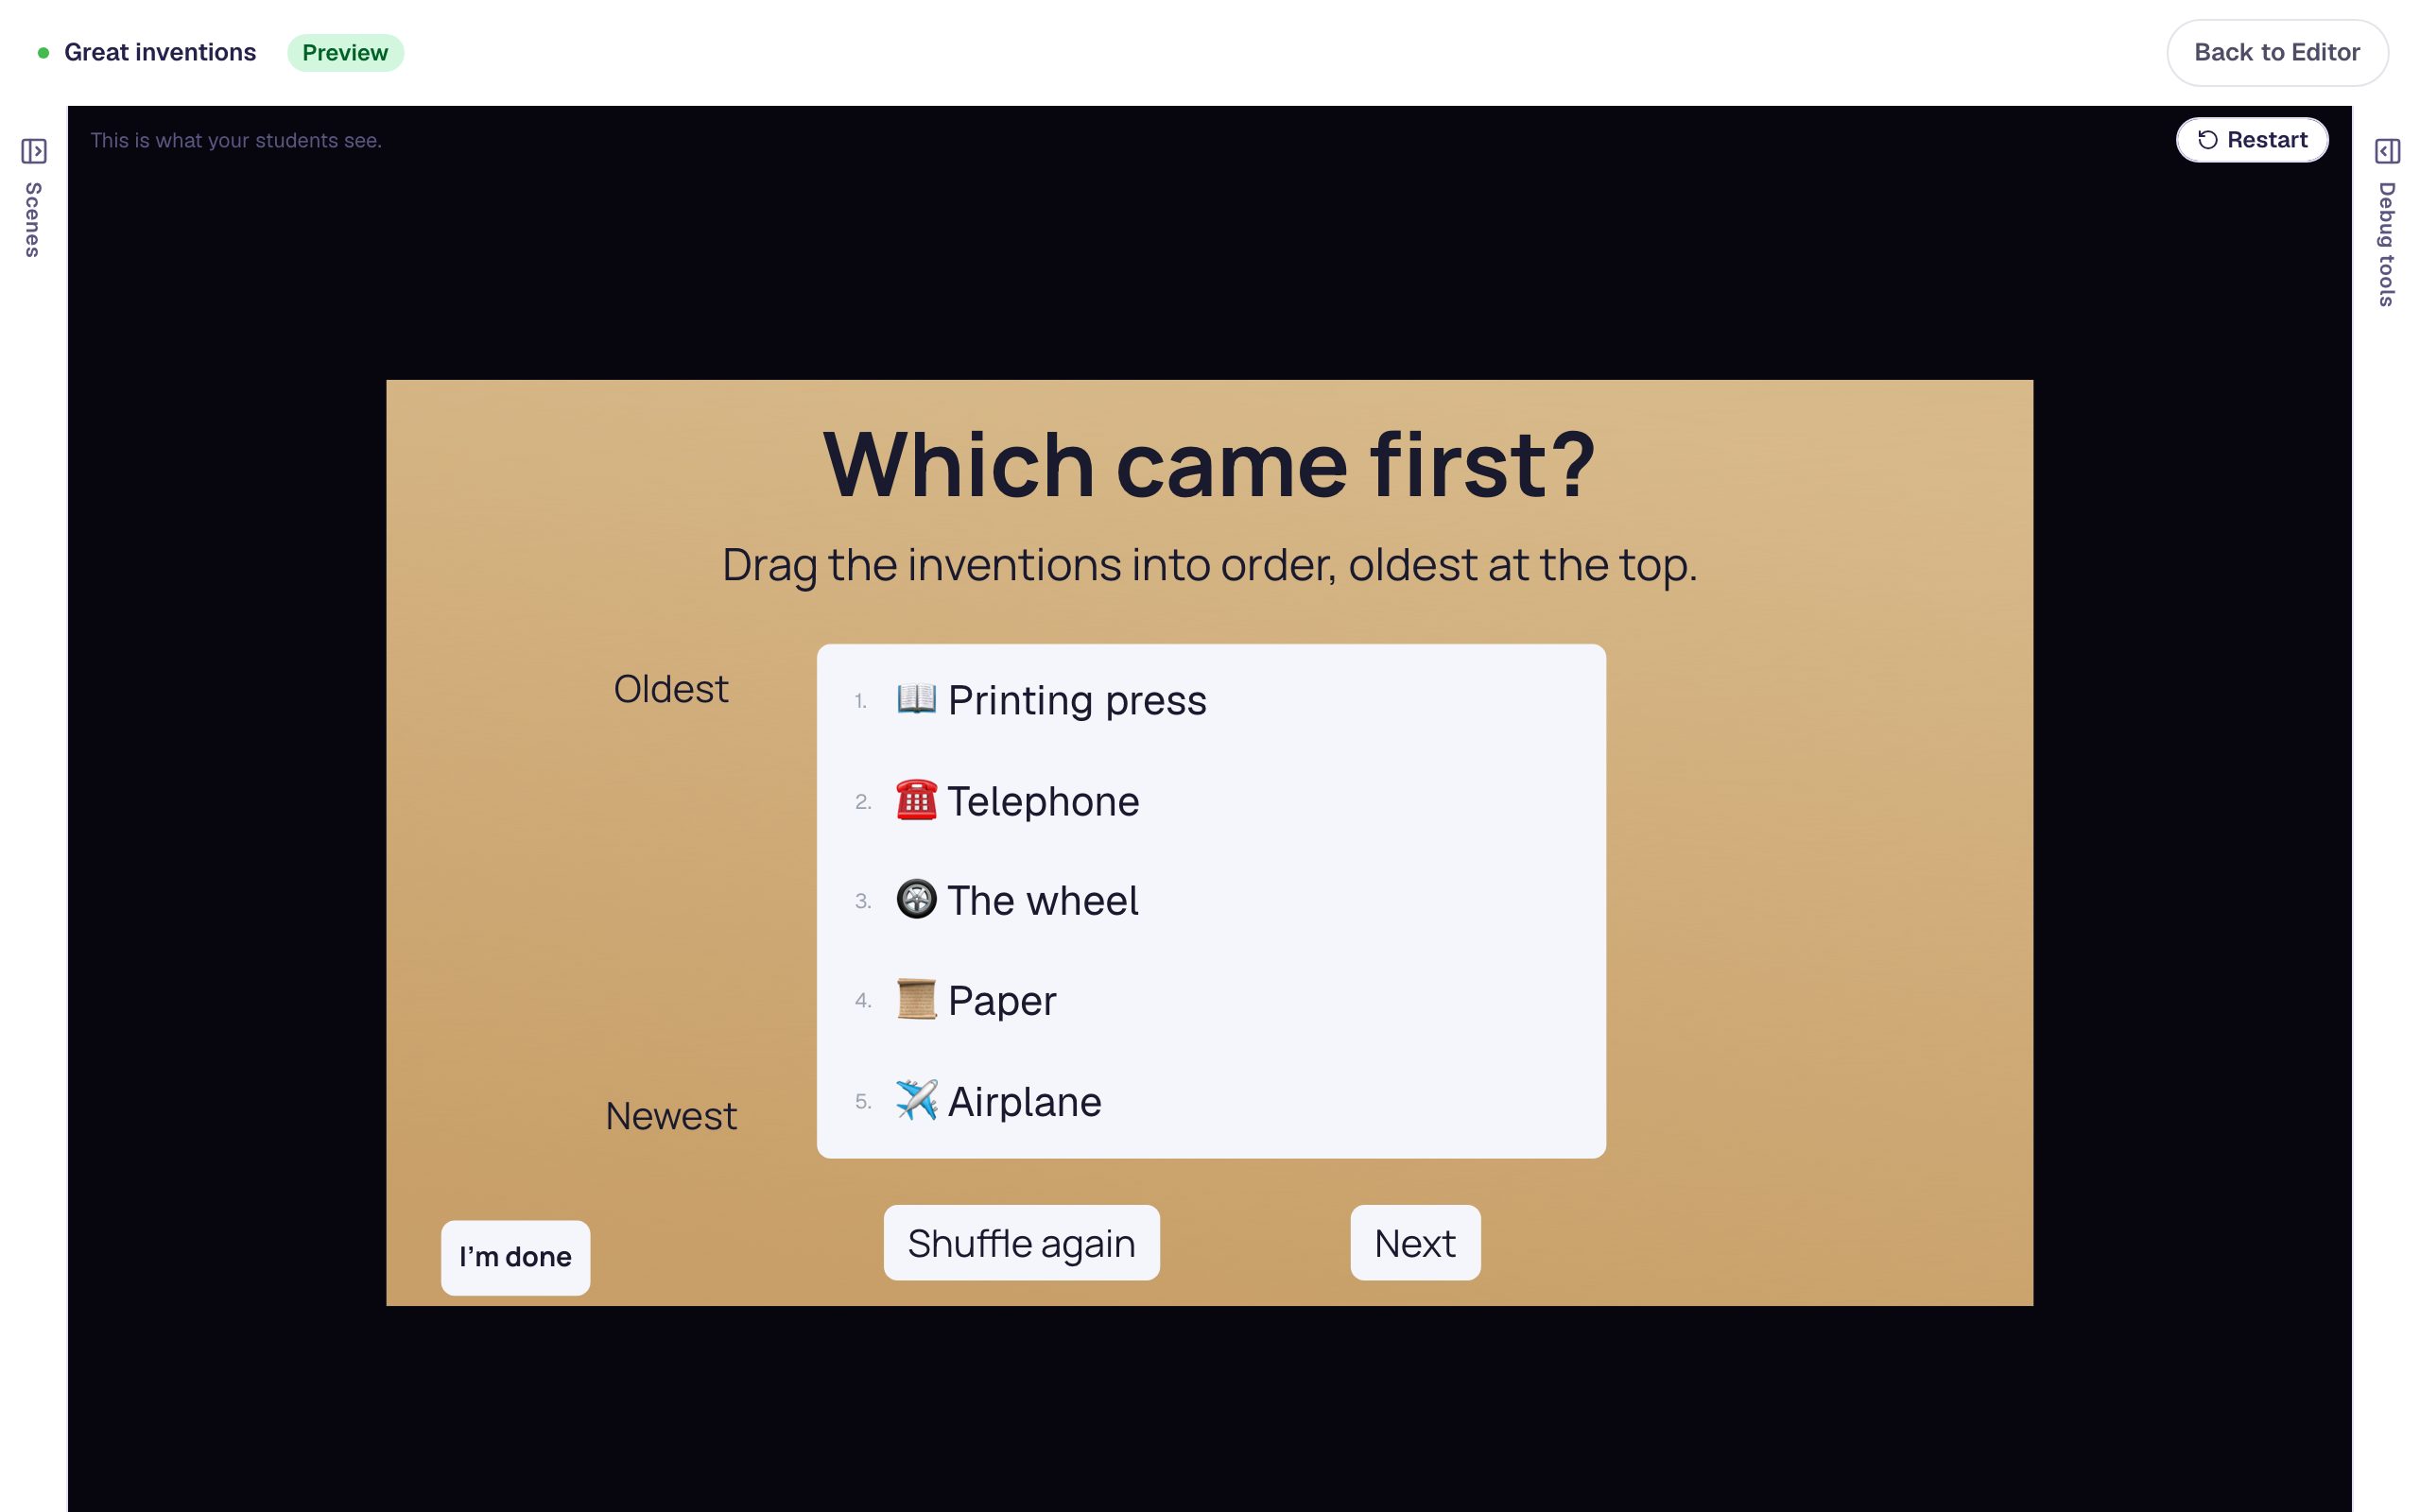
Click Preview and drag each card into place, starting with the oldest. A card you drag pushes the others aside to make room.
The cards arrive in a different order for every student:
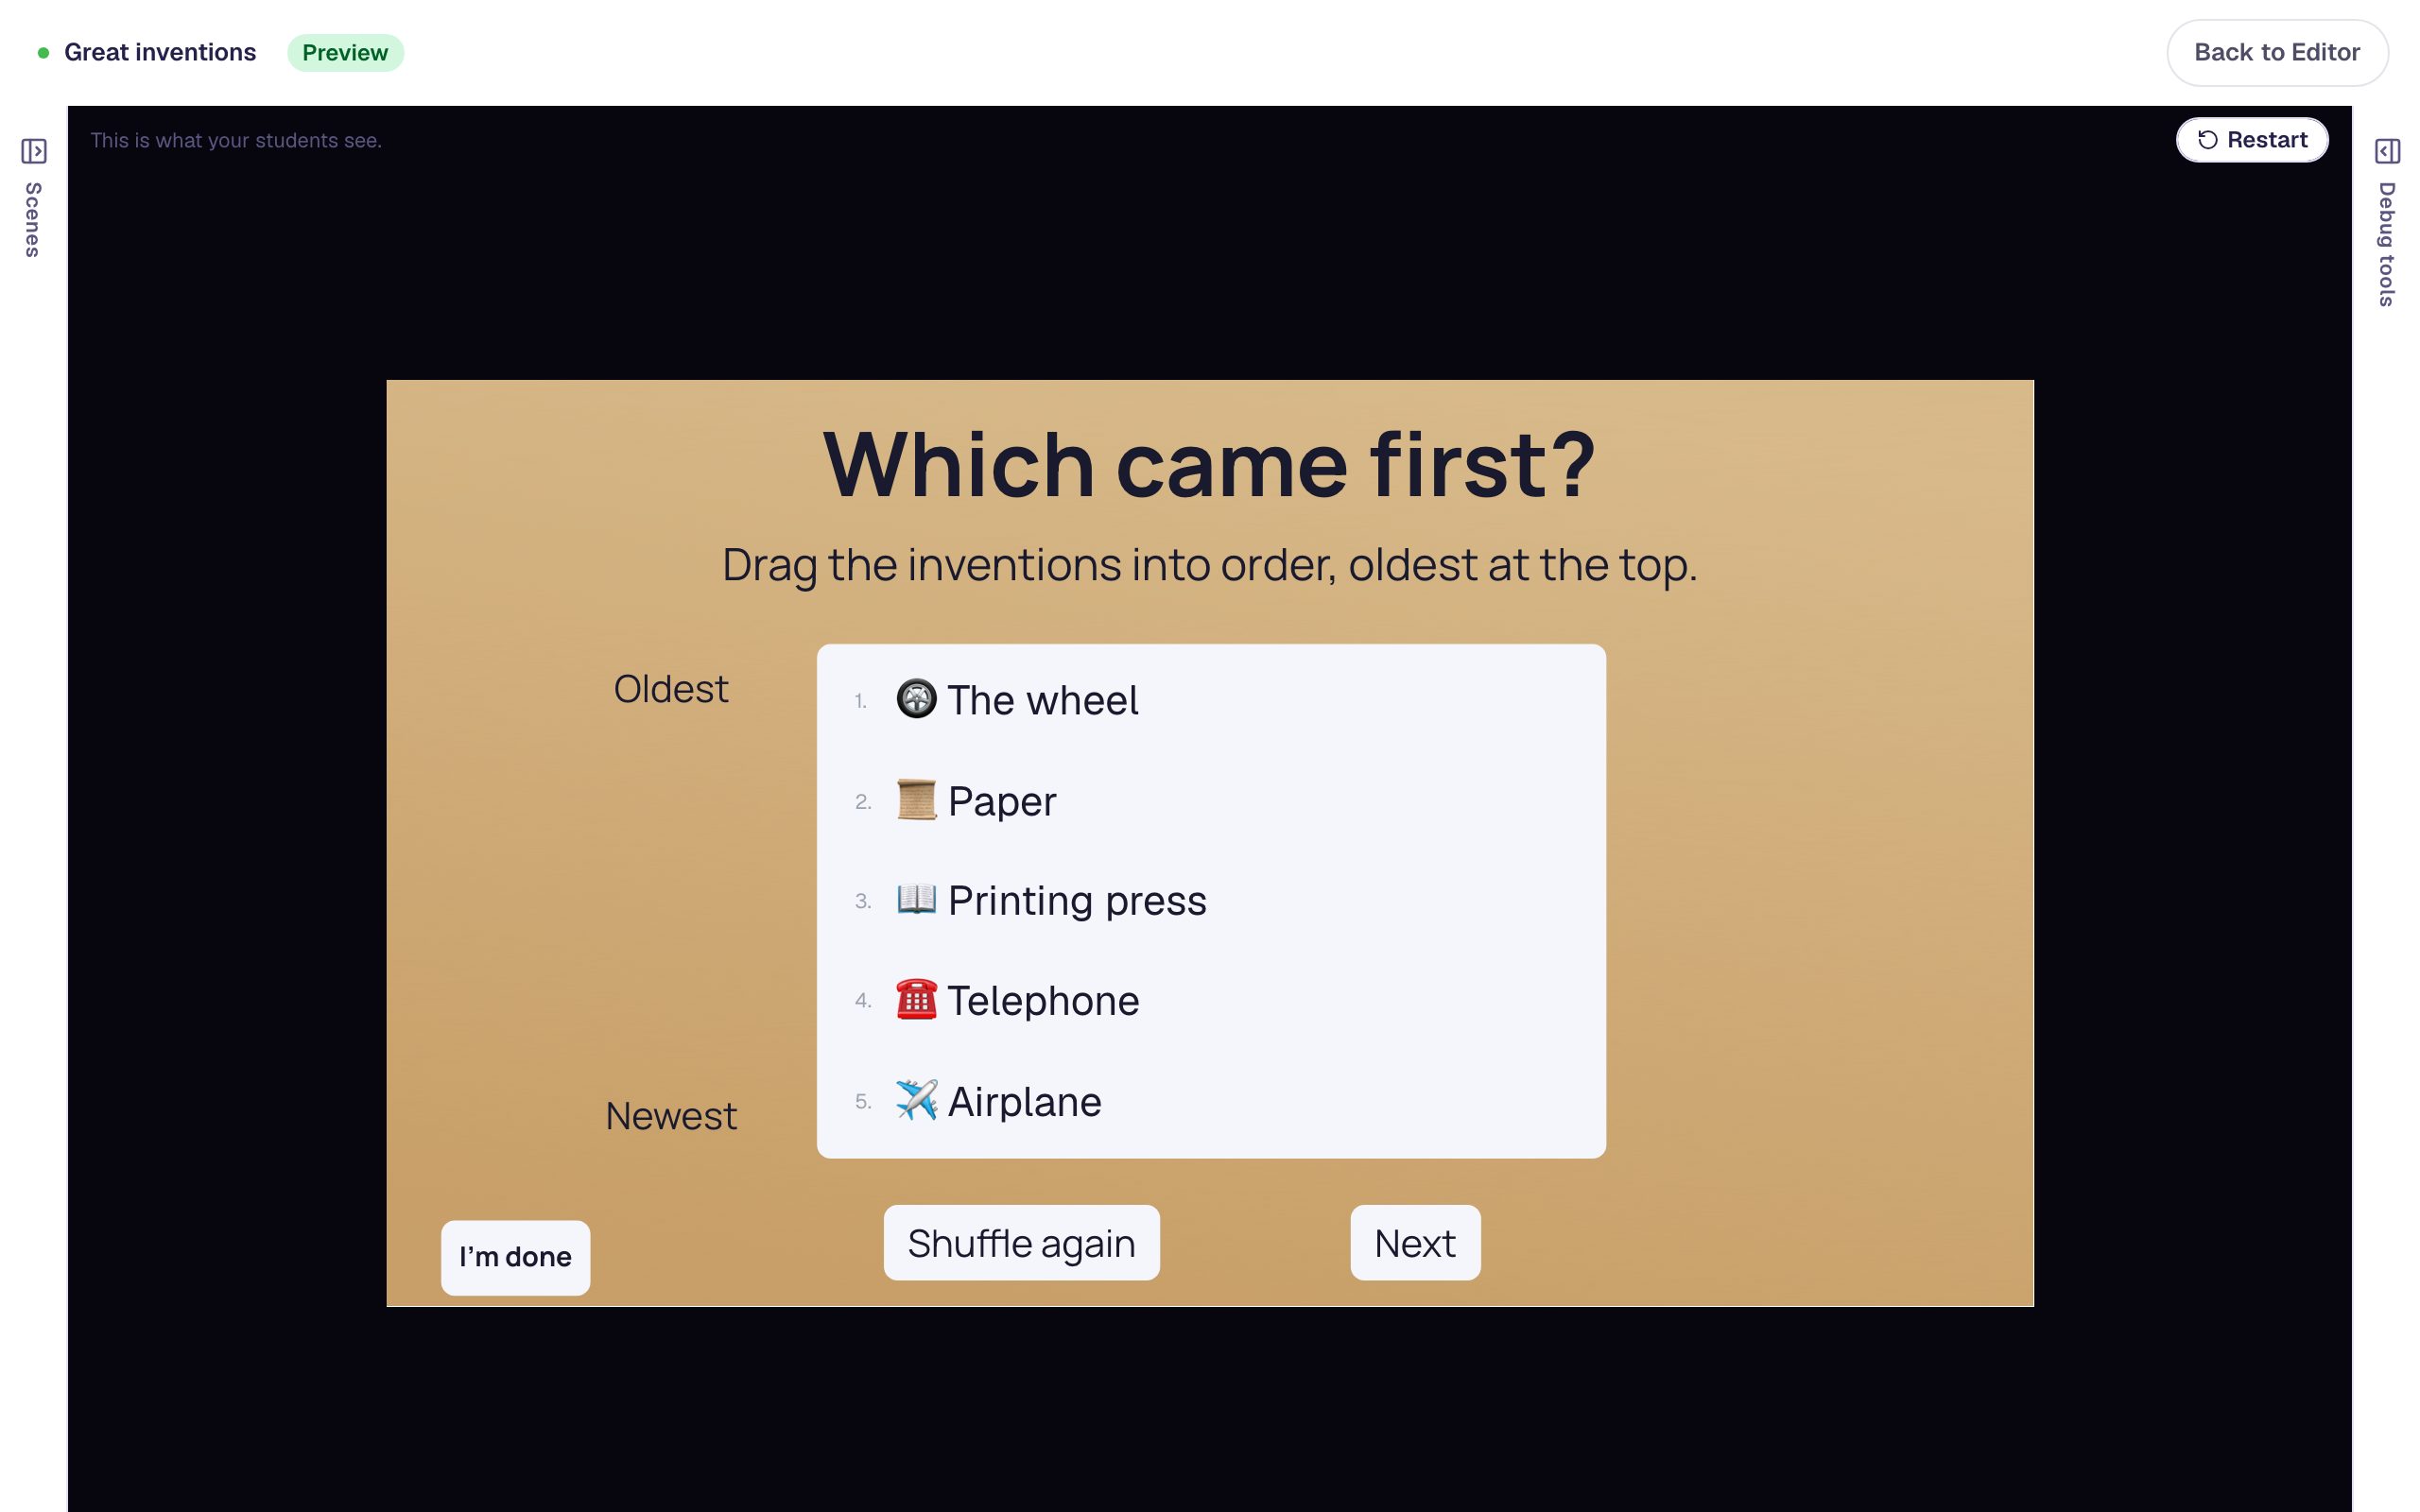
When the last card lands, confetti flies and Great job! appears. Dismiss it to see the finished order:
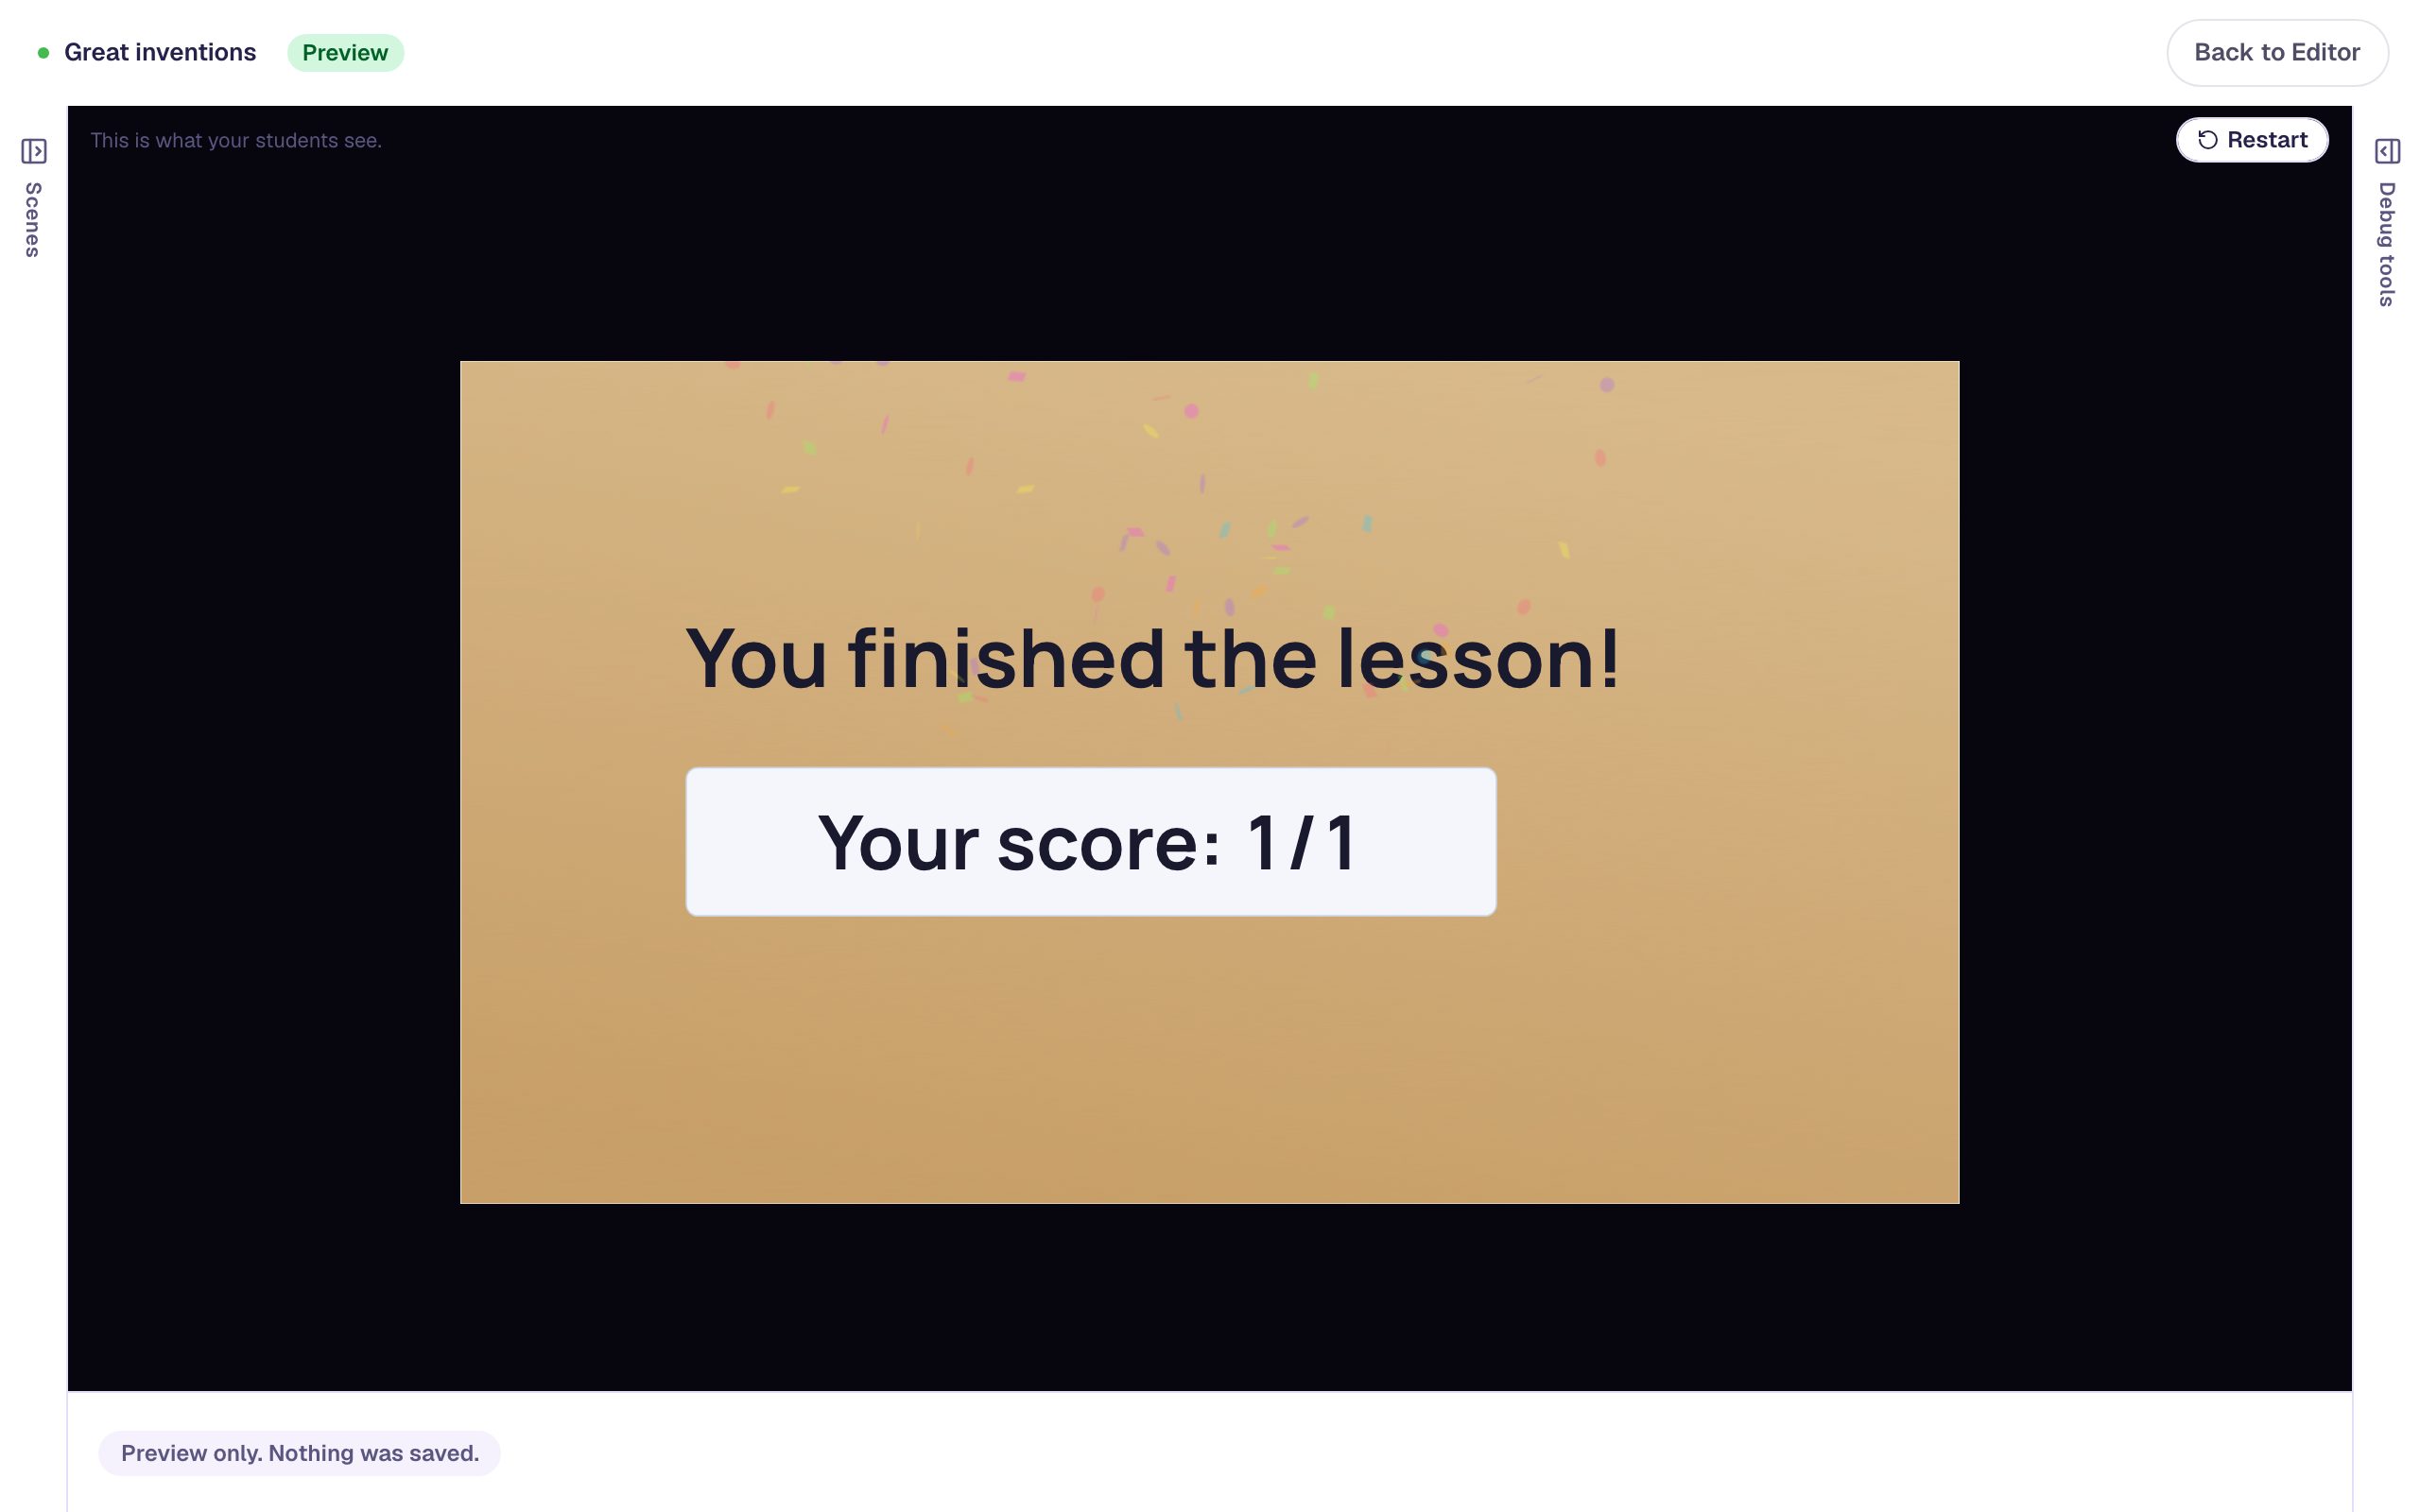
Press Next. The ending shows Your score: 1/1.
Students who'd rather not drag can sort with the keyboard: Tab to a card, press Space to pick it up, move it with the arrow keys, and press Space again to drop it. Click Restart and try Shuffle again too, and press Next with the cards out of order to see the score drop to 0/1.
What you built
A history activity with:
- five inventions typed in the right order, which is the answer key, and shuffled for every student,
- Alt Text that tells screen-reader users the rule,
- Oldest and Newest labels so the rule stays in view,
- confetti and a Great job! message when the order is right,
- a Shuffle again button that runs the list's Reset, and
- a Next button with Stay progression, so students see the celebration before they move on.
The same pattern works for the steps of a science experiment, the stages of a story, or numbers from smallest to largest. Every Sorting List setting is in Sorting List Widget.
Make this lesson yours
Add the lesson you just watched being built to your account, then change it for your class: your questions, your pictures, your colors.
Free to sign up, and you'll come straight back here. I have an account