Ask a "select all that apply" question with pictures
Turn a Multiple Choice question into a select-all question with more than one right answer, give every answer a stock photo, and describe each picture so screen readers can read it.
- Level
- Beginner
- Time
- About 10 min
- Steps
- 8
A "Which animals are mammals?" scene with four photo answers. Students pick every mammal, see each pick marked right or wrong, and move on once they have picked both mammals and nothing else.
Get the finished lesson
Skip straight to the result, or keep it open beside the steps. Add this tutorial's lesson to your account and explore how it works in the studio.
Free to sign up, and you'll come straight back here. I have an account
Some questions have more than one right answer. "Which of these are mammals?" is a better question than "Which one is a mammal?", because a student has to think about every picture, not just spot one and stop.
In this tutorial you'll build that question: four animal photos, two of them right. Students pick every mammal, and the scene moves on only when they've picked both mammals and nothing else. If you've never built a Multiple Choice question, start with Build your first quiz question; this tutorial picks up where it leaves off.
Step 1: Set the scene
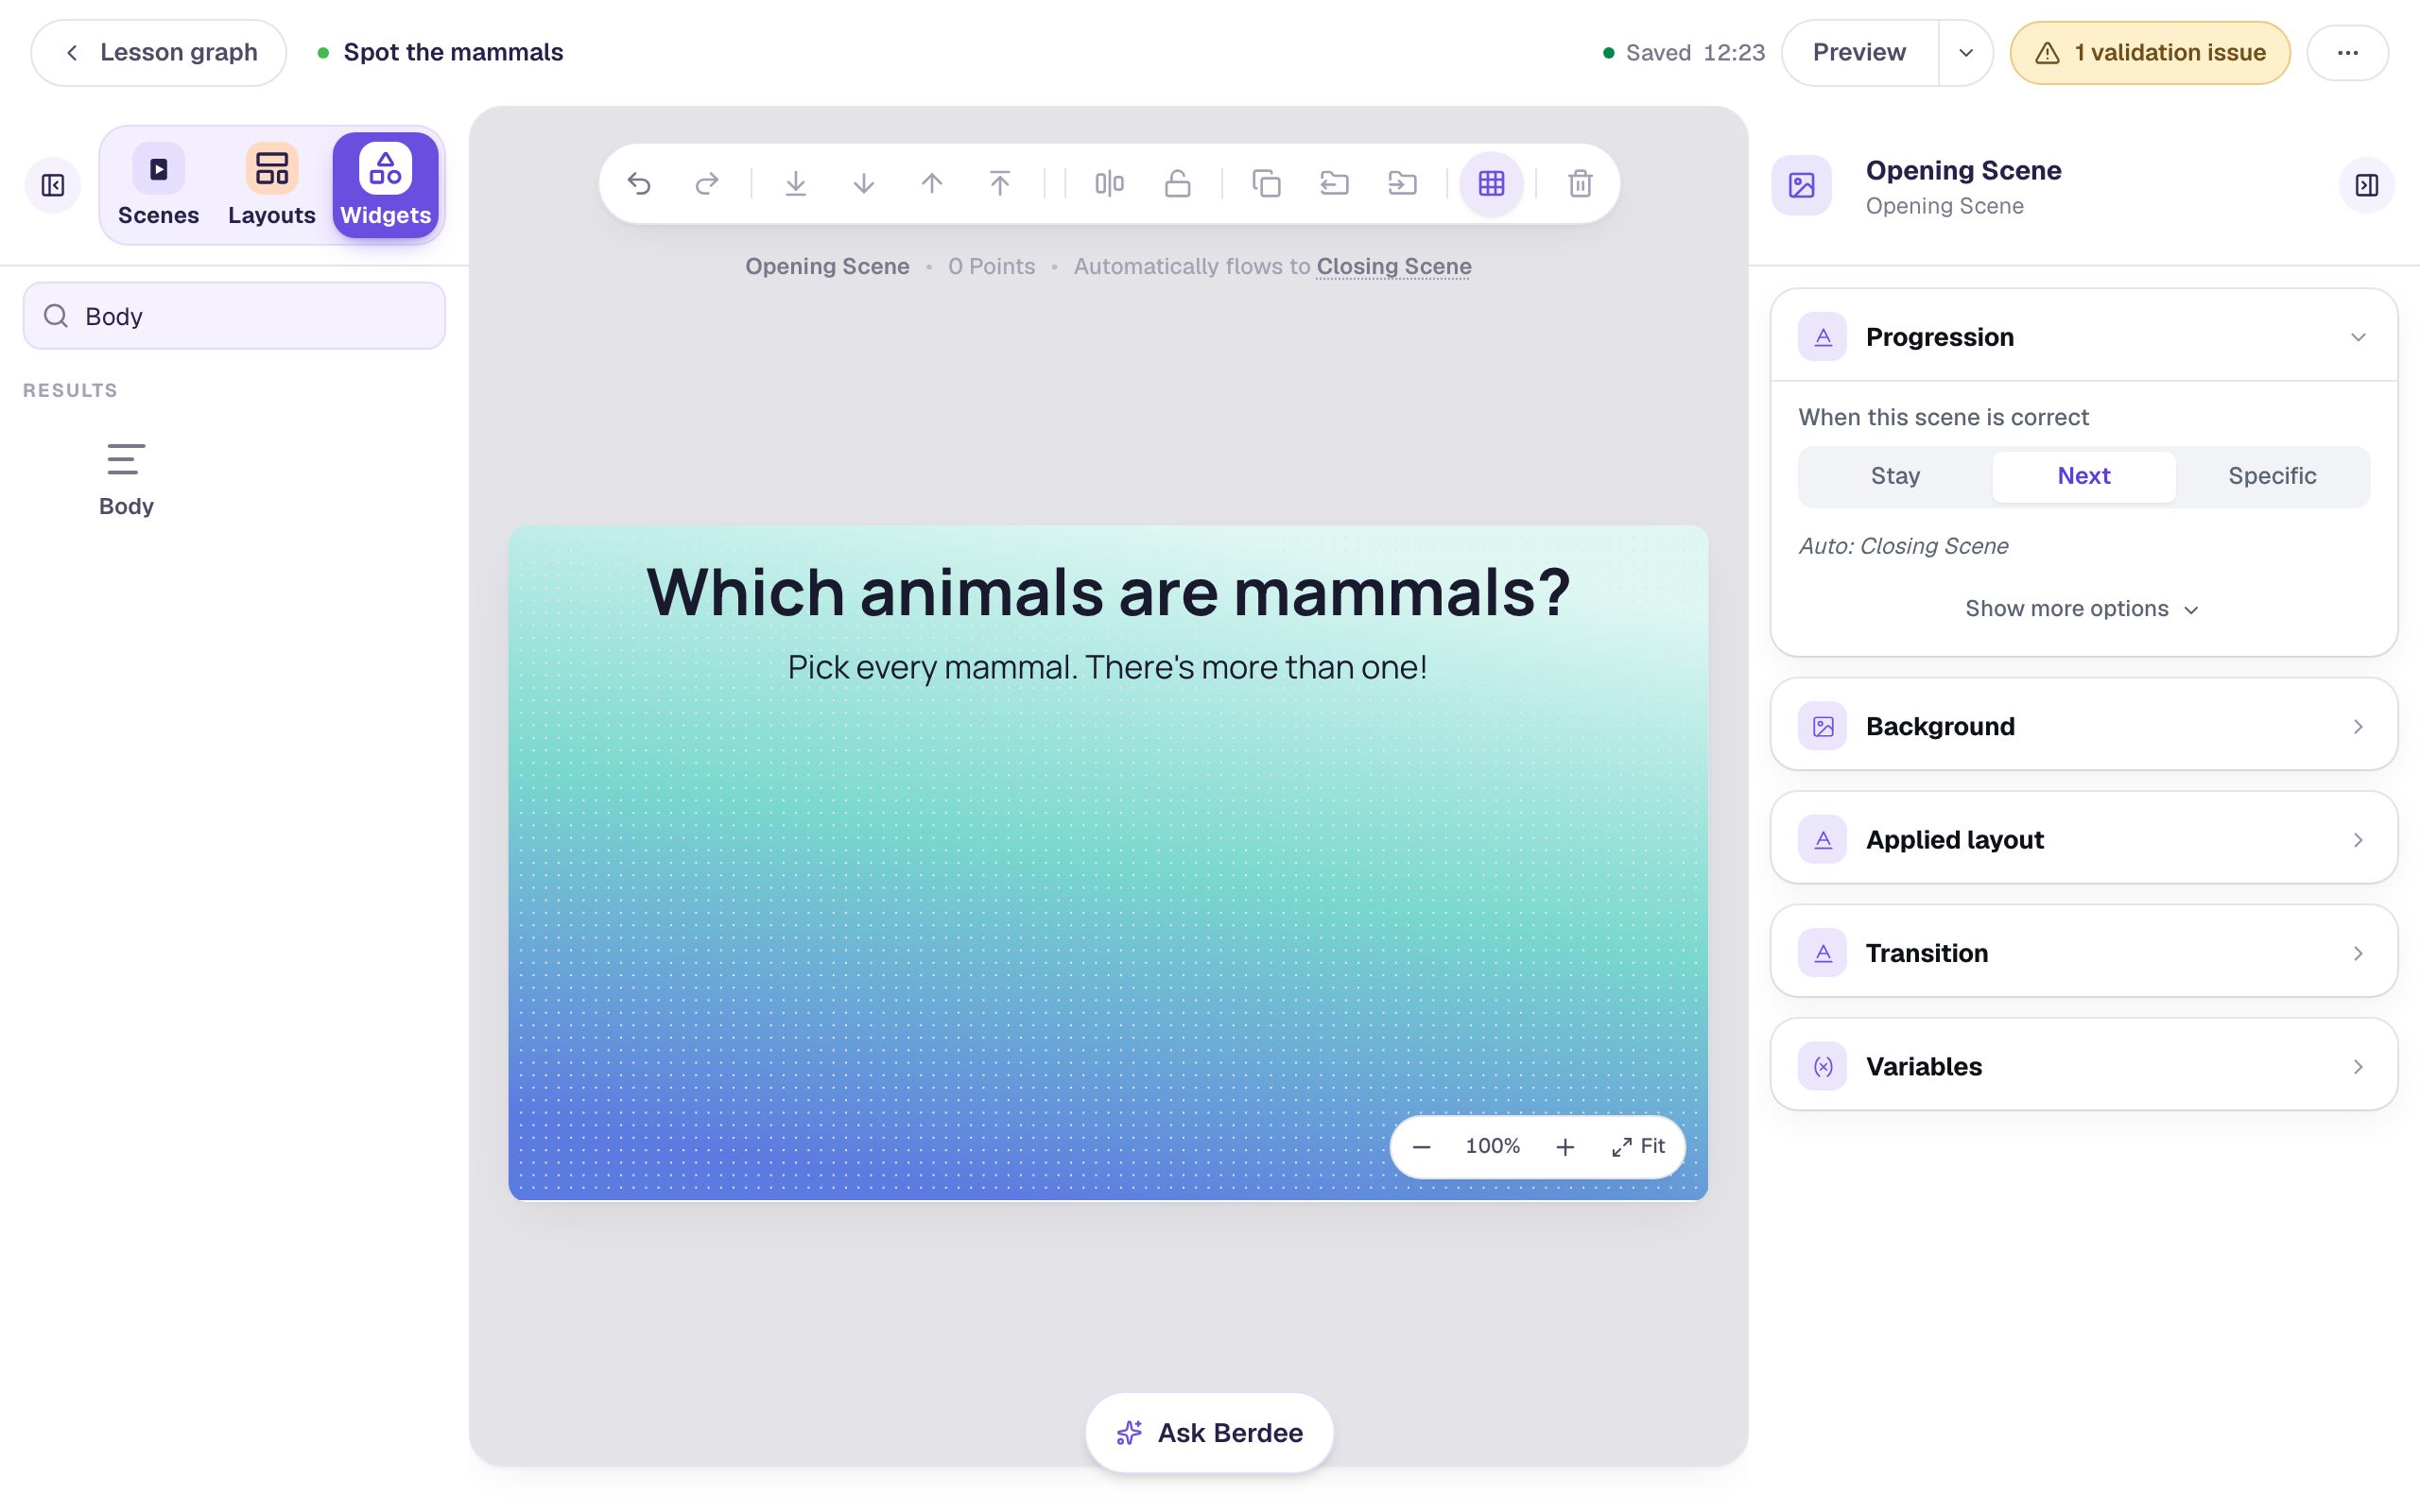
Start a blank lesson and name it (we used Spot the mammals). Then dress the Opening Scene before you add the question, so you can see how the photos will look against it:
- Click an empty part of the canvas, open Background in the properties panel, and click Choose a style. We picked Lagoon gradient. Give the Closing Scene the same background, so the ending matches.
- From the Widgets tab, add a Heading and type
Which animals are mammals?. - Add a Body text under it:
Pick every mammal. There's more than one!That second line matters. Without it, a student who finds one mammal has no reason to keep looking.
Step 2: Add a Multiple Choice question and give it room
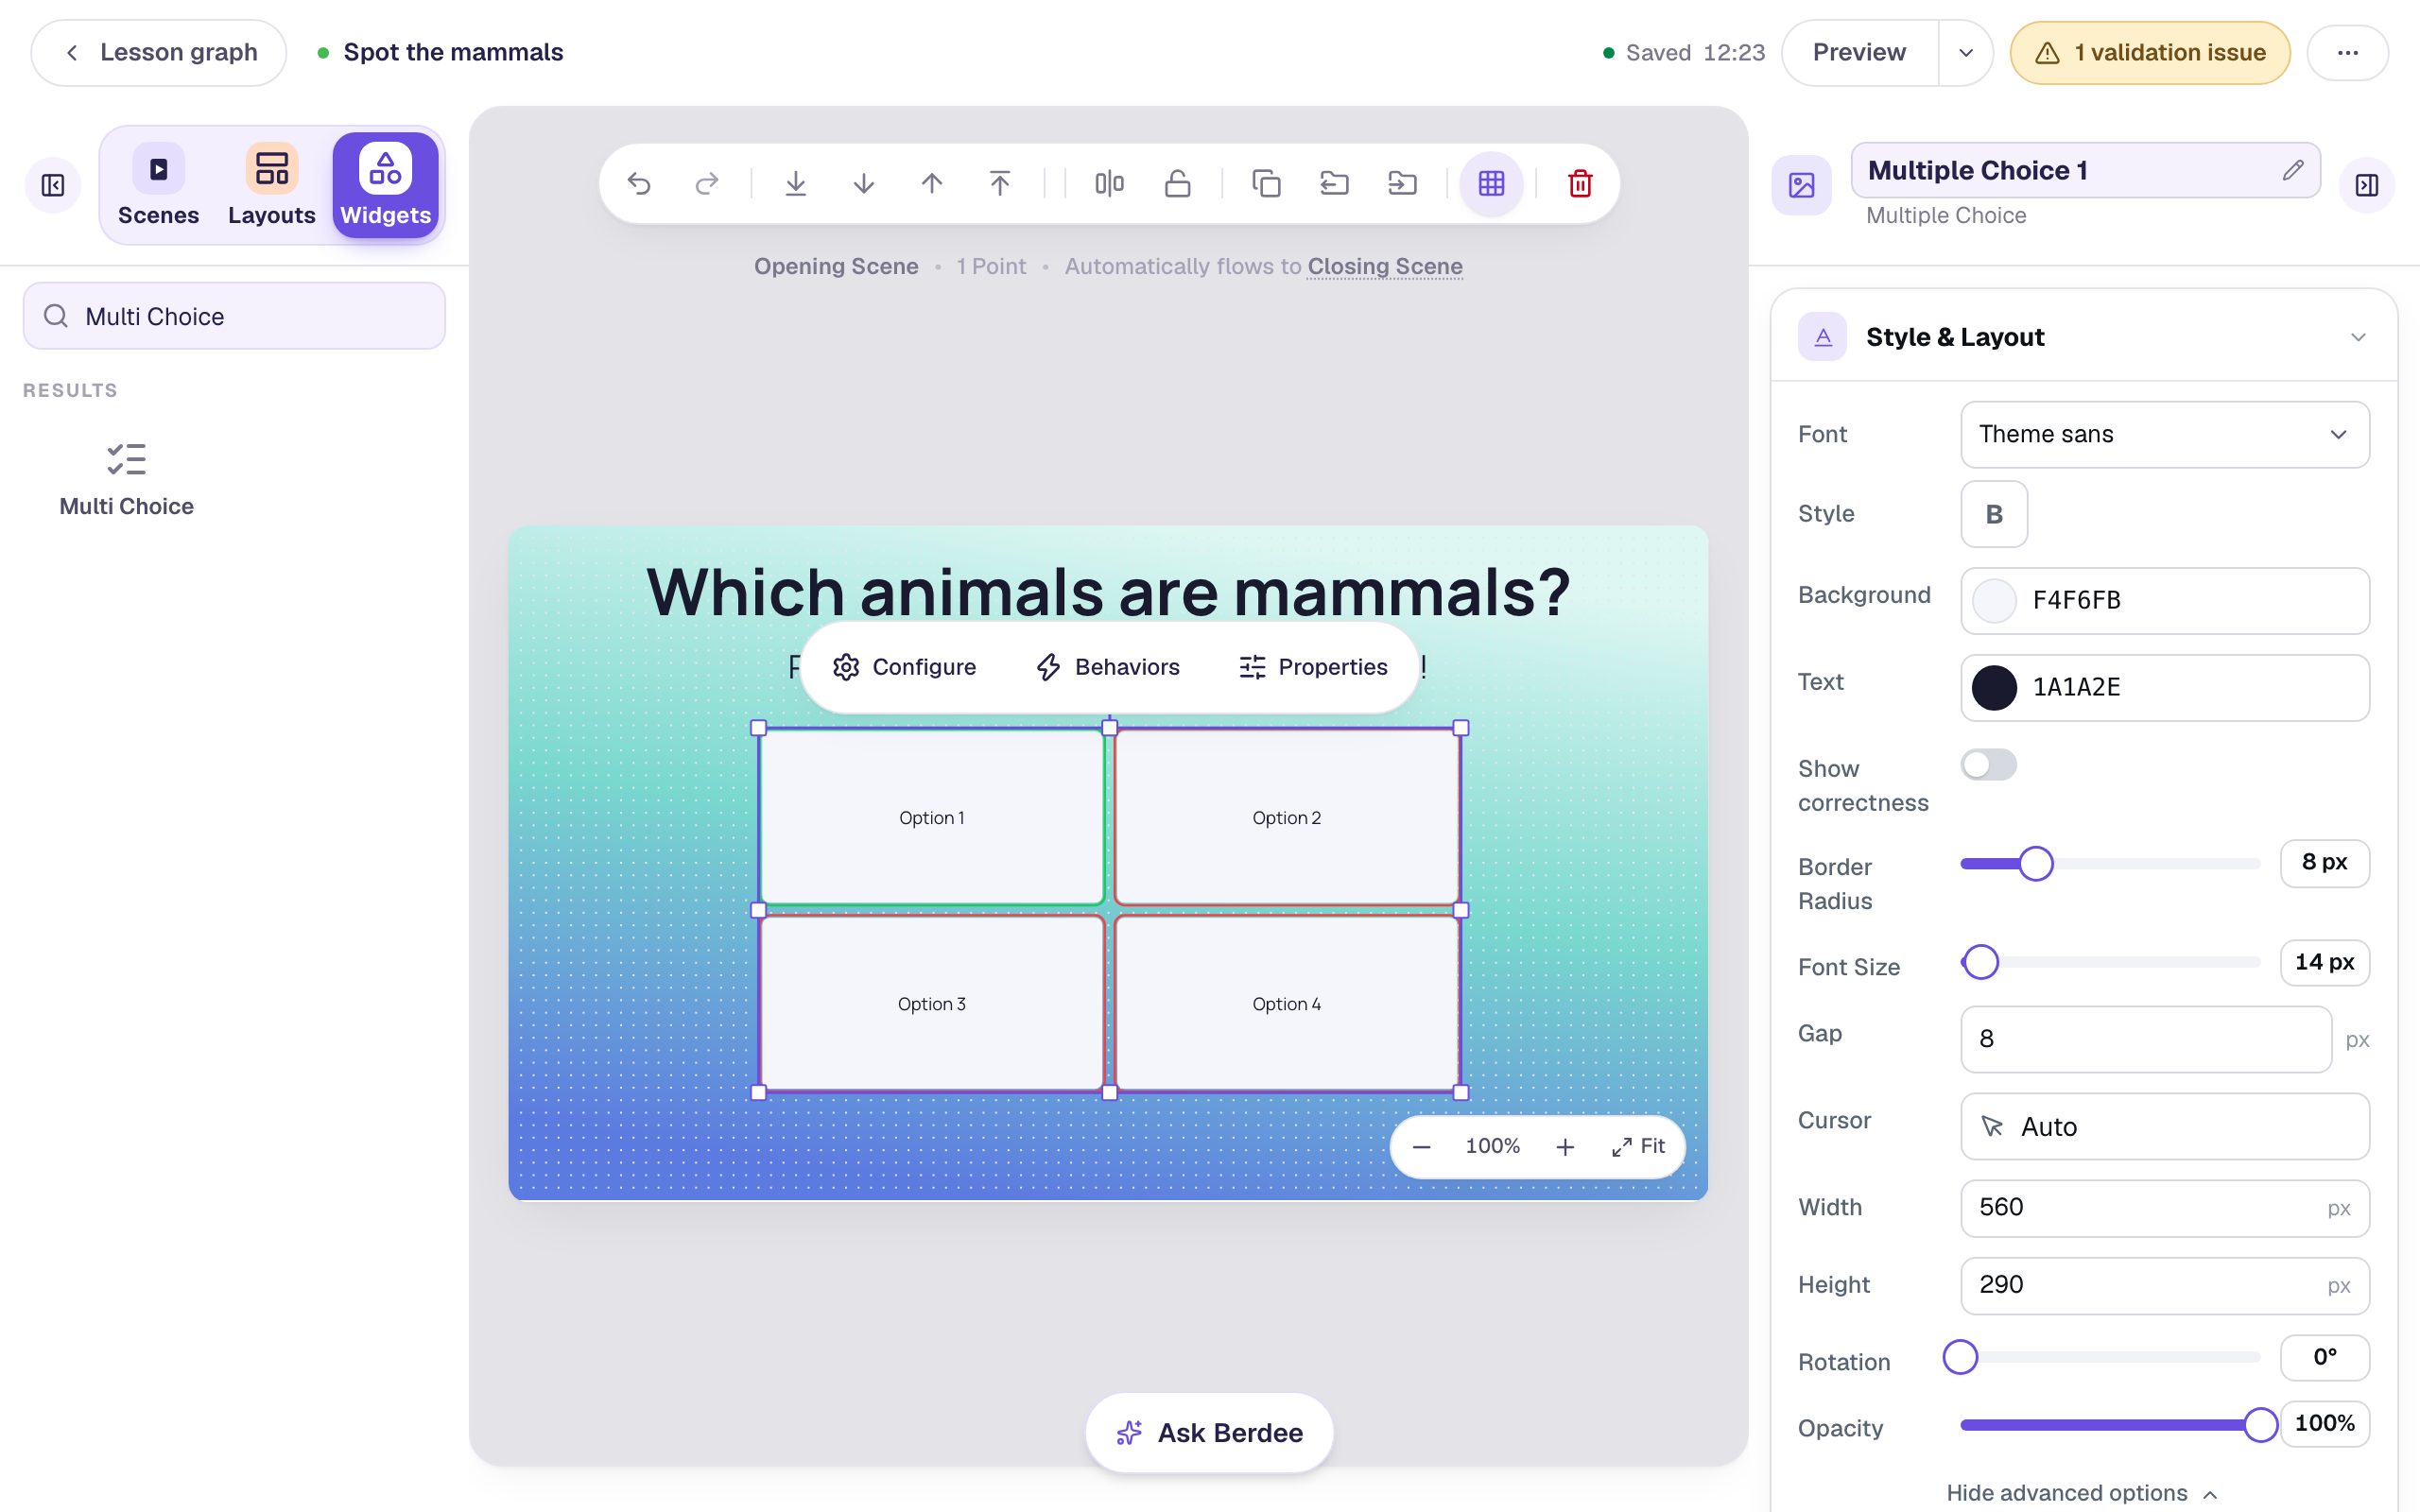
Search the Widgets tab for Multi Choice and click it. The question lands with four answers called Option 1 to Option 4.
Pictures need more room than words. With the question selected, open Style & Layout, click Show more options, and set Width to 560 and Height to 290. Then drag the question under the instruction. The answers rearrange themselves to fit the box: this shape gives a 2 × 2 grid of wide tiles, which suits landscape photos.
Step 3: Let students pick more than one answer
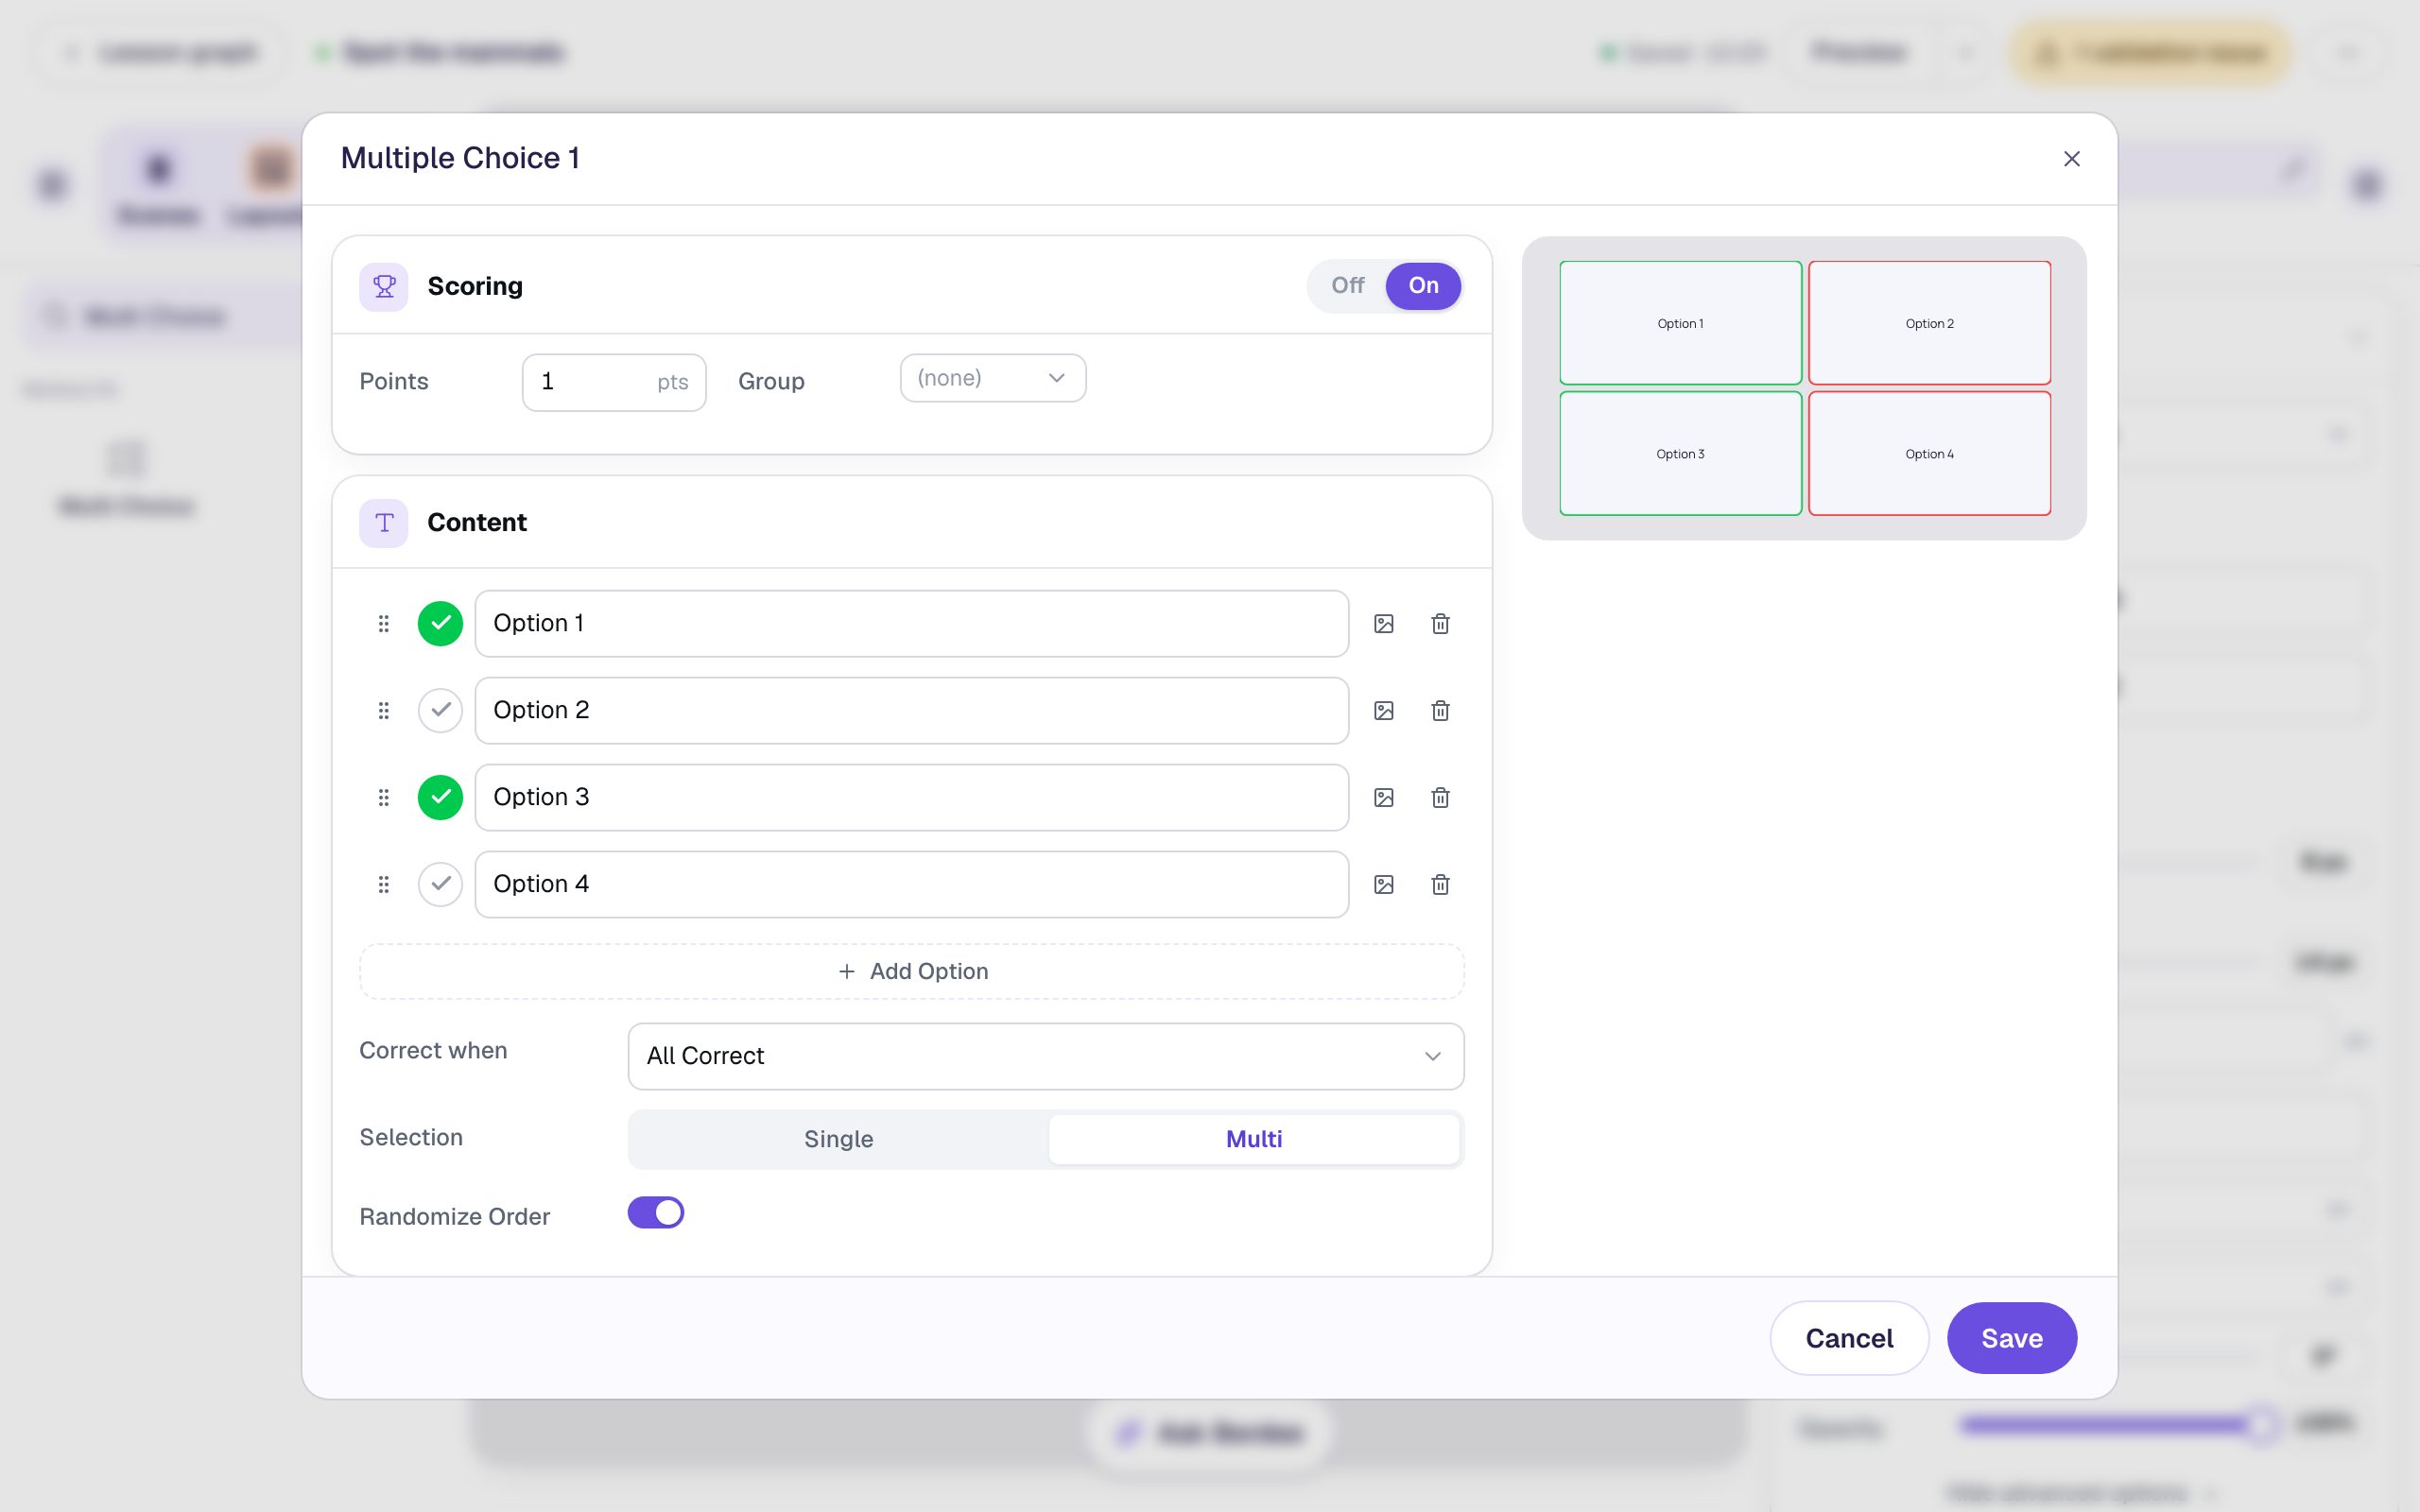
Click Configure in the pill above the question. In the Content section:
- Set Selection to Multi. Now each answer turns on and off on its own, so a student can pick several.
- Mark the right answers. The first answer is already marked correct. Click the round check mark beside the third answer too. Both turn green.
Switch to Multi before you mark answers. With Single selection, clicking a second check mark _moves_ the mark instead of adding one, because a single pick can only ever match one answer.
Leave Correct when on All Correct. That's the rule that makes this a real "select all" question: the answer counts only when the student has picked every answer you marked, and no wrong one. Picking the dolphin alone isn't enough, and neither is picking both mammals plus the penguin.
Step 4: Give each answer a picture
Each answer has a small picture button beside its text box. Click it on the first answer. The Choose Image dialog opens on Search:
- Type
dolphin jumpingand press Enter. - Click a photo you like. A larger preview opens with the photographer's credit.
- Click Import & insert. The photo is copied into your media library and attached to the answer.
Do the same for the other three answers. We used penguin for the second, flying fox for the third (a flying fox is a large bat), and frog for the fourth.
Two tips for choosing photos:
- Pick wide (landscape) photos. A picture is never cropped: it shrinks to fit its tile, so a tall photo leaves empty strips on both sides of a wide tile.
- Pick photos where the animal is big and clear. A dolphin far out at sea is a speck at tile size, and a student can't answer what they can't see.
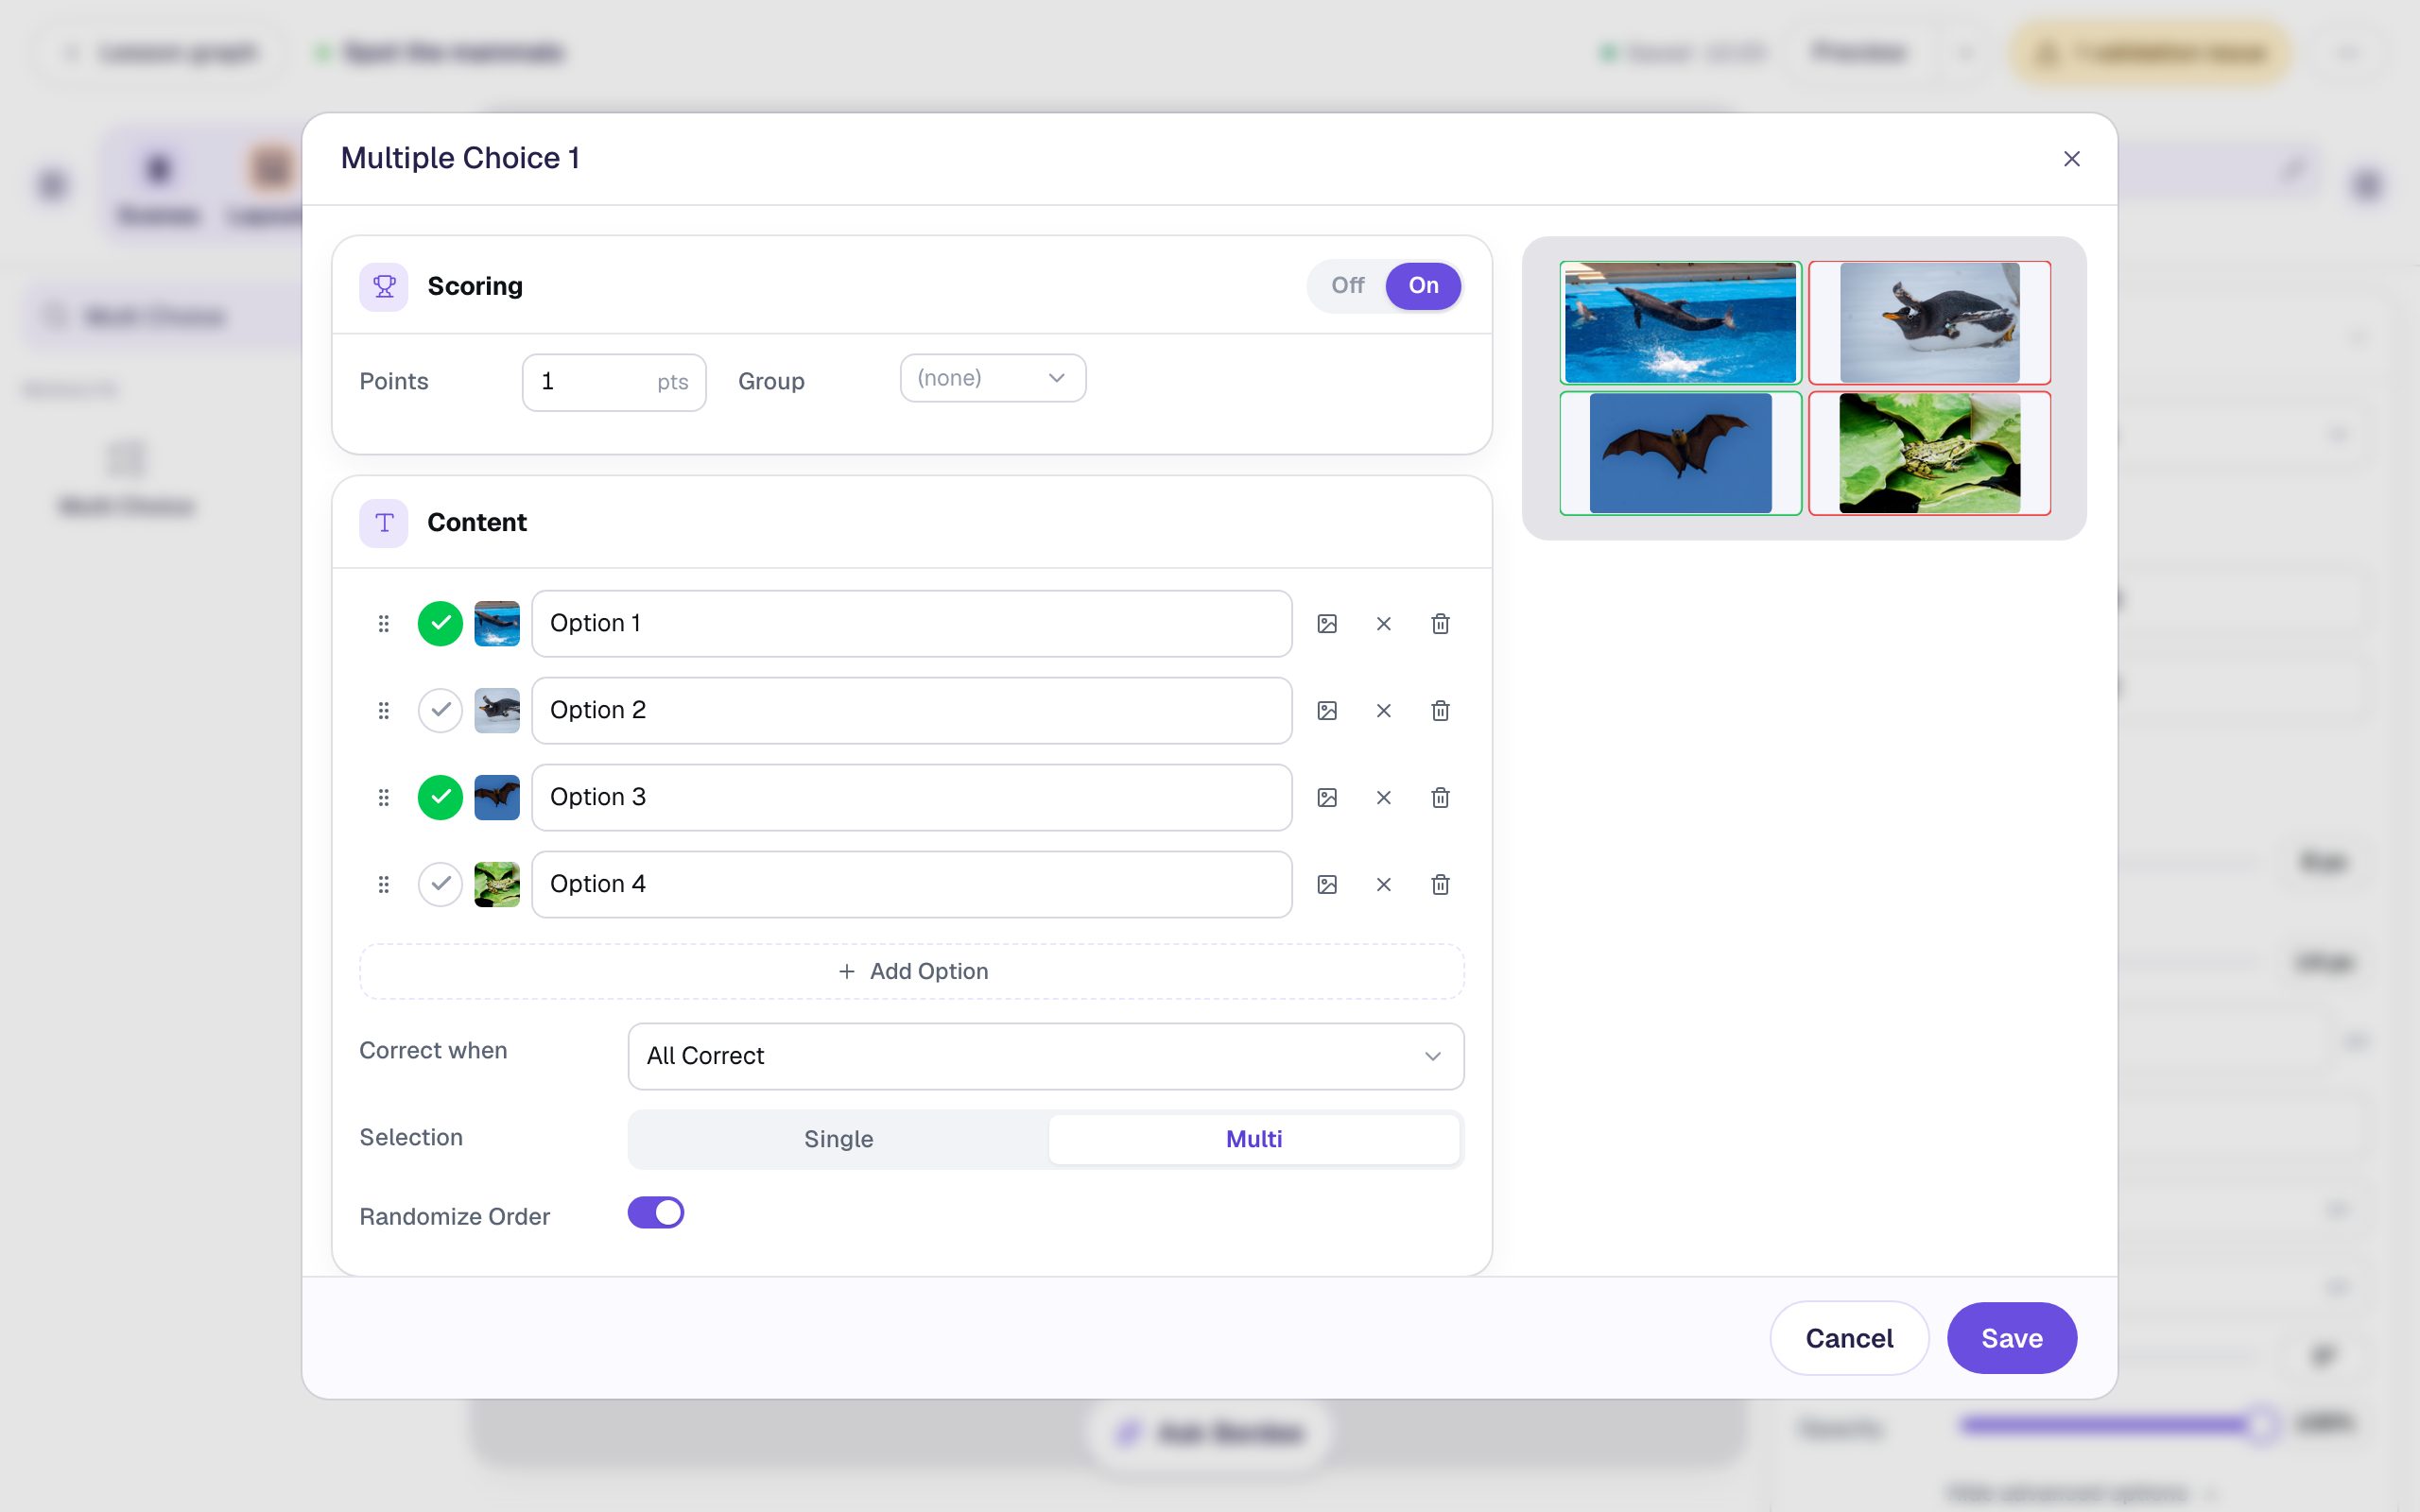
Step 5: Describe each picture
Once an answer has a picture, students see only the picture, not the text. The text box is still important: it's what a screen reader says for that answer, so a student who can't see the photo can still answer.
Replace each Option name with what the photo shows:
A dolphin leaping out of the waterA penguin lying on the snowA bat flying with its wings spread wideA green frog sitting on a leaf
Describe the picture, not the answer. A name like "Mammal" reads the answer aloud to anyone using a screen reader. The dialog warns you about the obvious ones, like "Correct" or "Wrong", but not every giveaway, so read your names back.
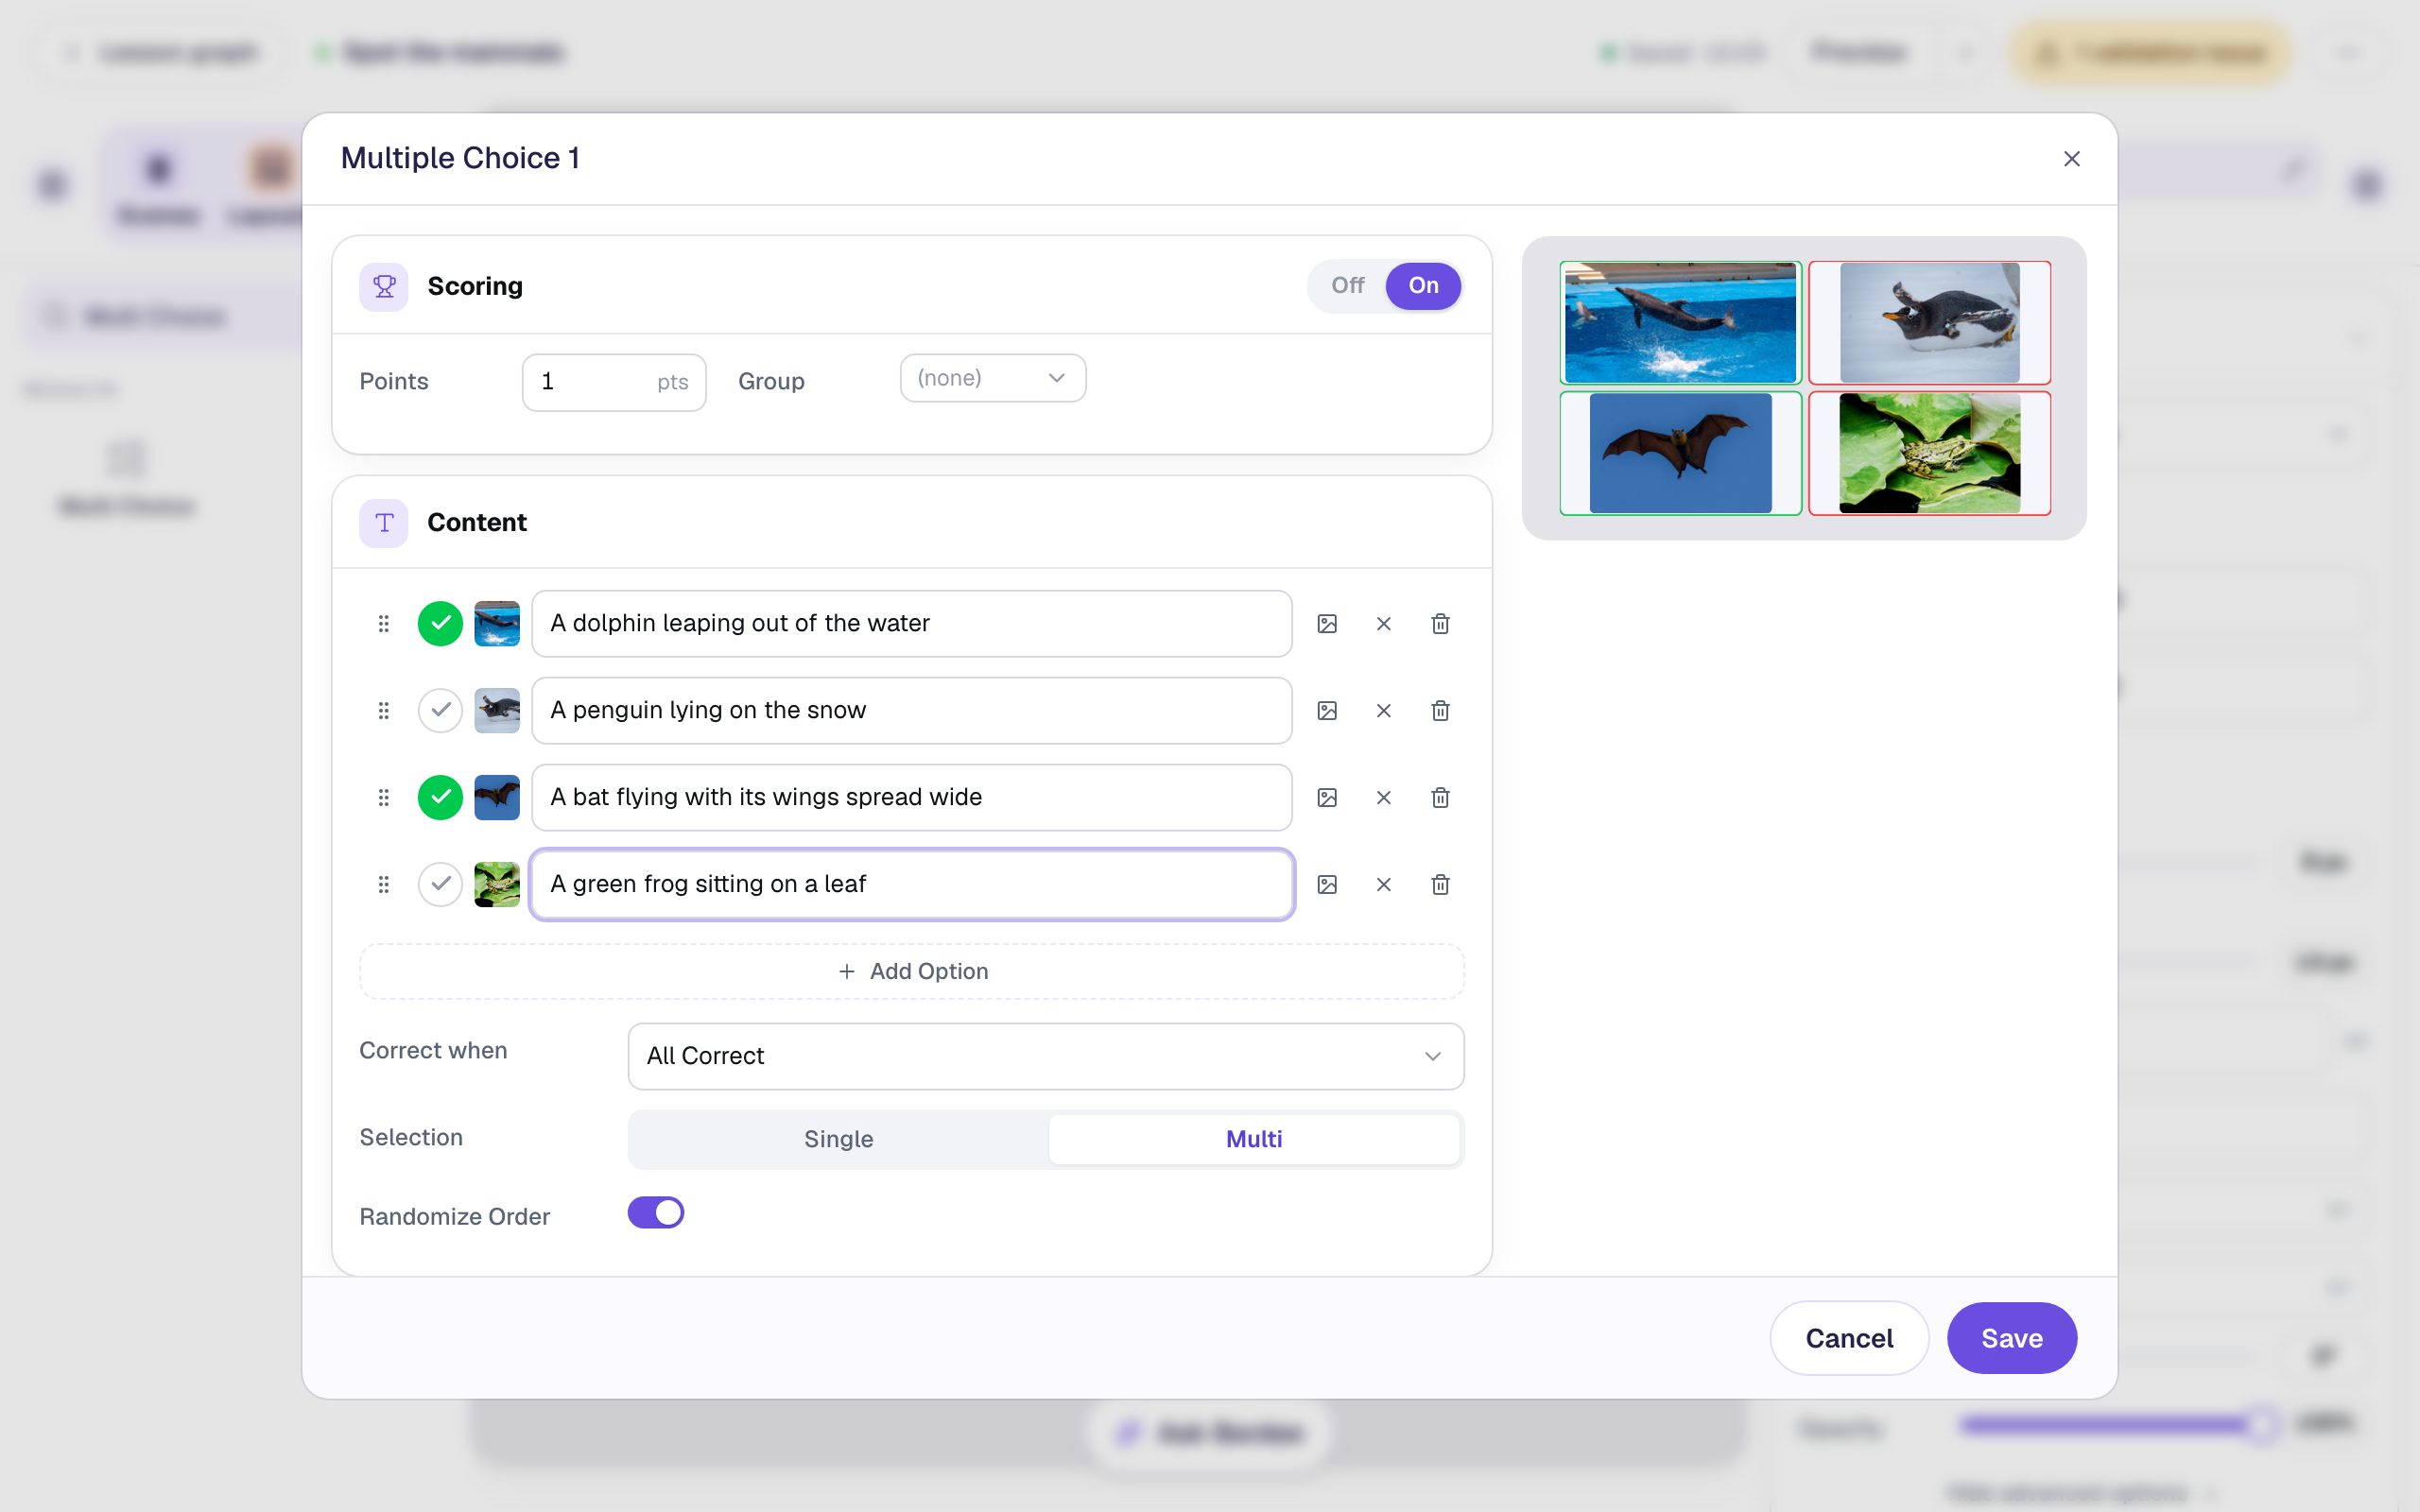
Click Save.
Step 6: Show students which picks are right
With the question still selected, open Style & Layout and turn on Show correctness. Now each pick is outlined the moment a student taps it: green for a mammal, red for anything else.
On the canvas you'll also see the answer key: right answers outlined in green and wrong ones in red, so you can check it at a glance. Students don't see those outlines until they pick.
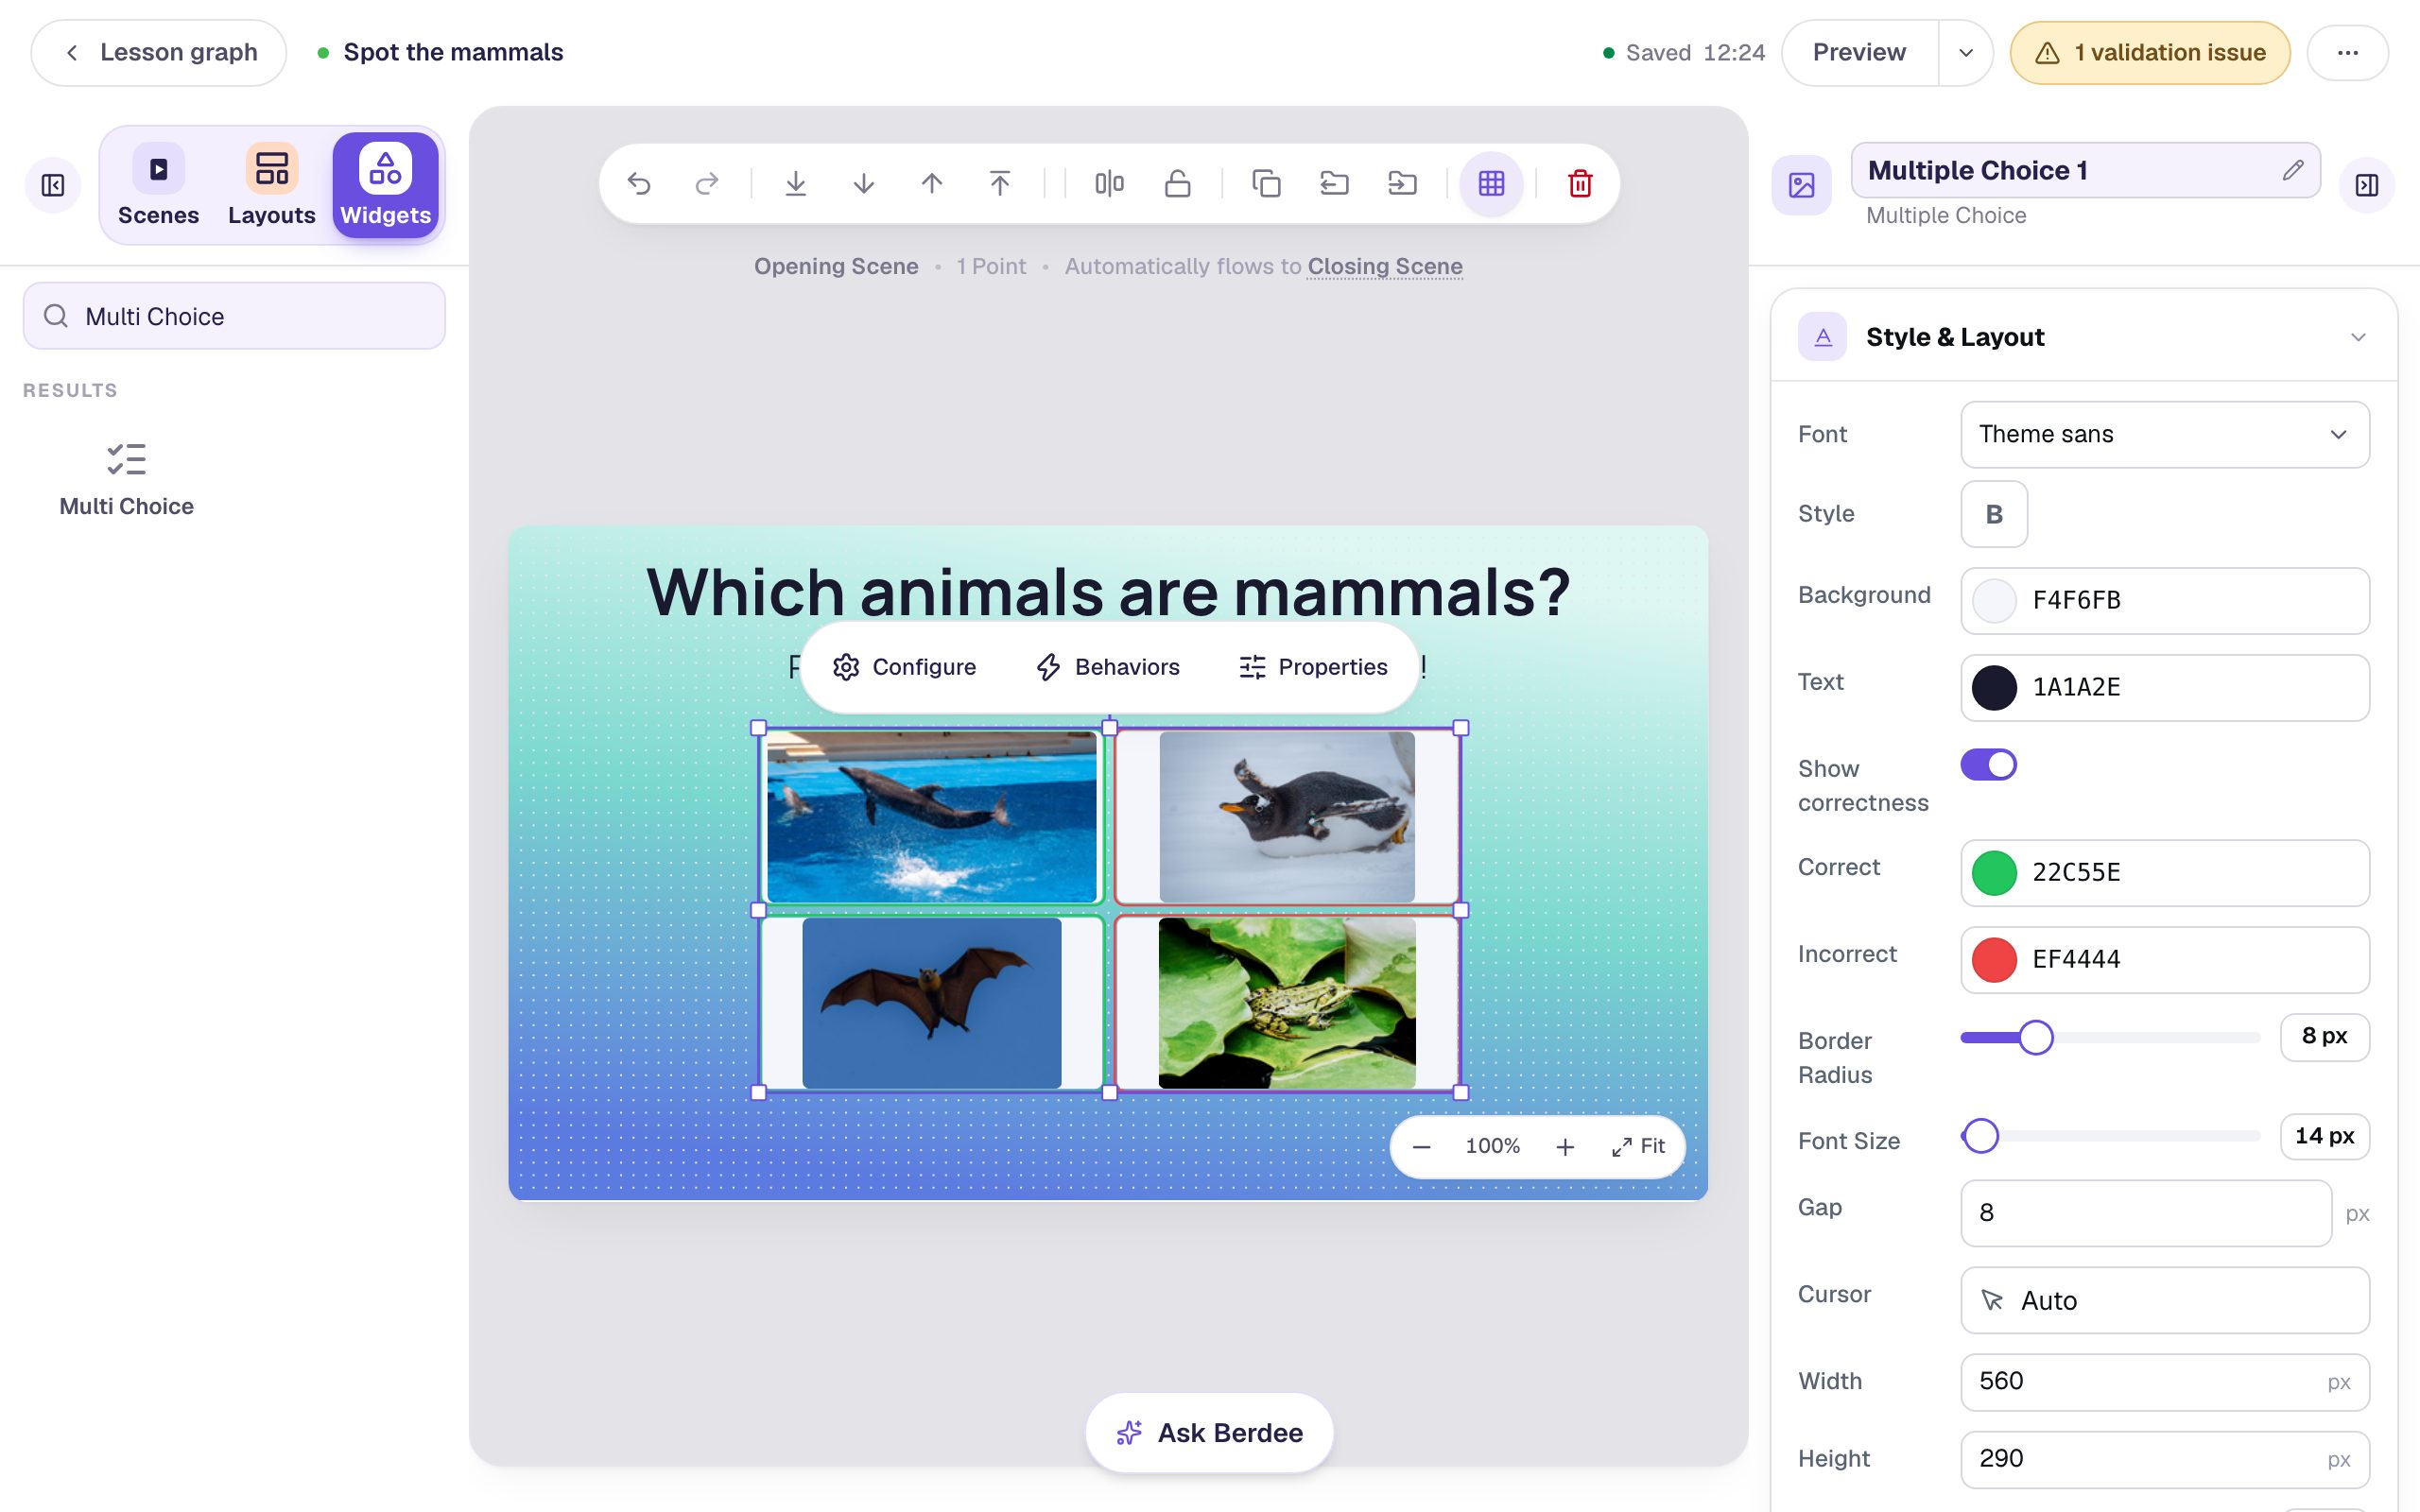
Show correctness makes this a practice question: a student who picks the penguin learns right away that it's wrong and can tap it again to take it back. For a quiz where you don't want to give hints, leave it off.
Step 7: Add an "I'm done" button
The yellow pill at the top right says 1 validation issue. Click it: it's No Lesson-Submit Button.
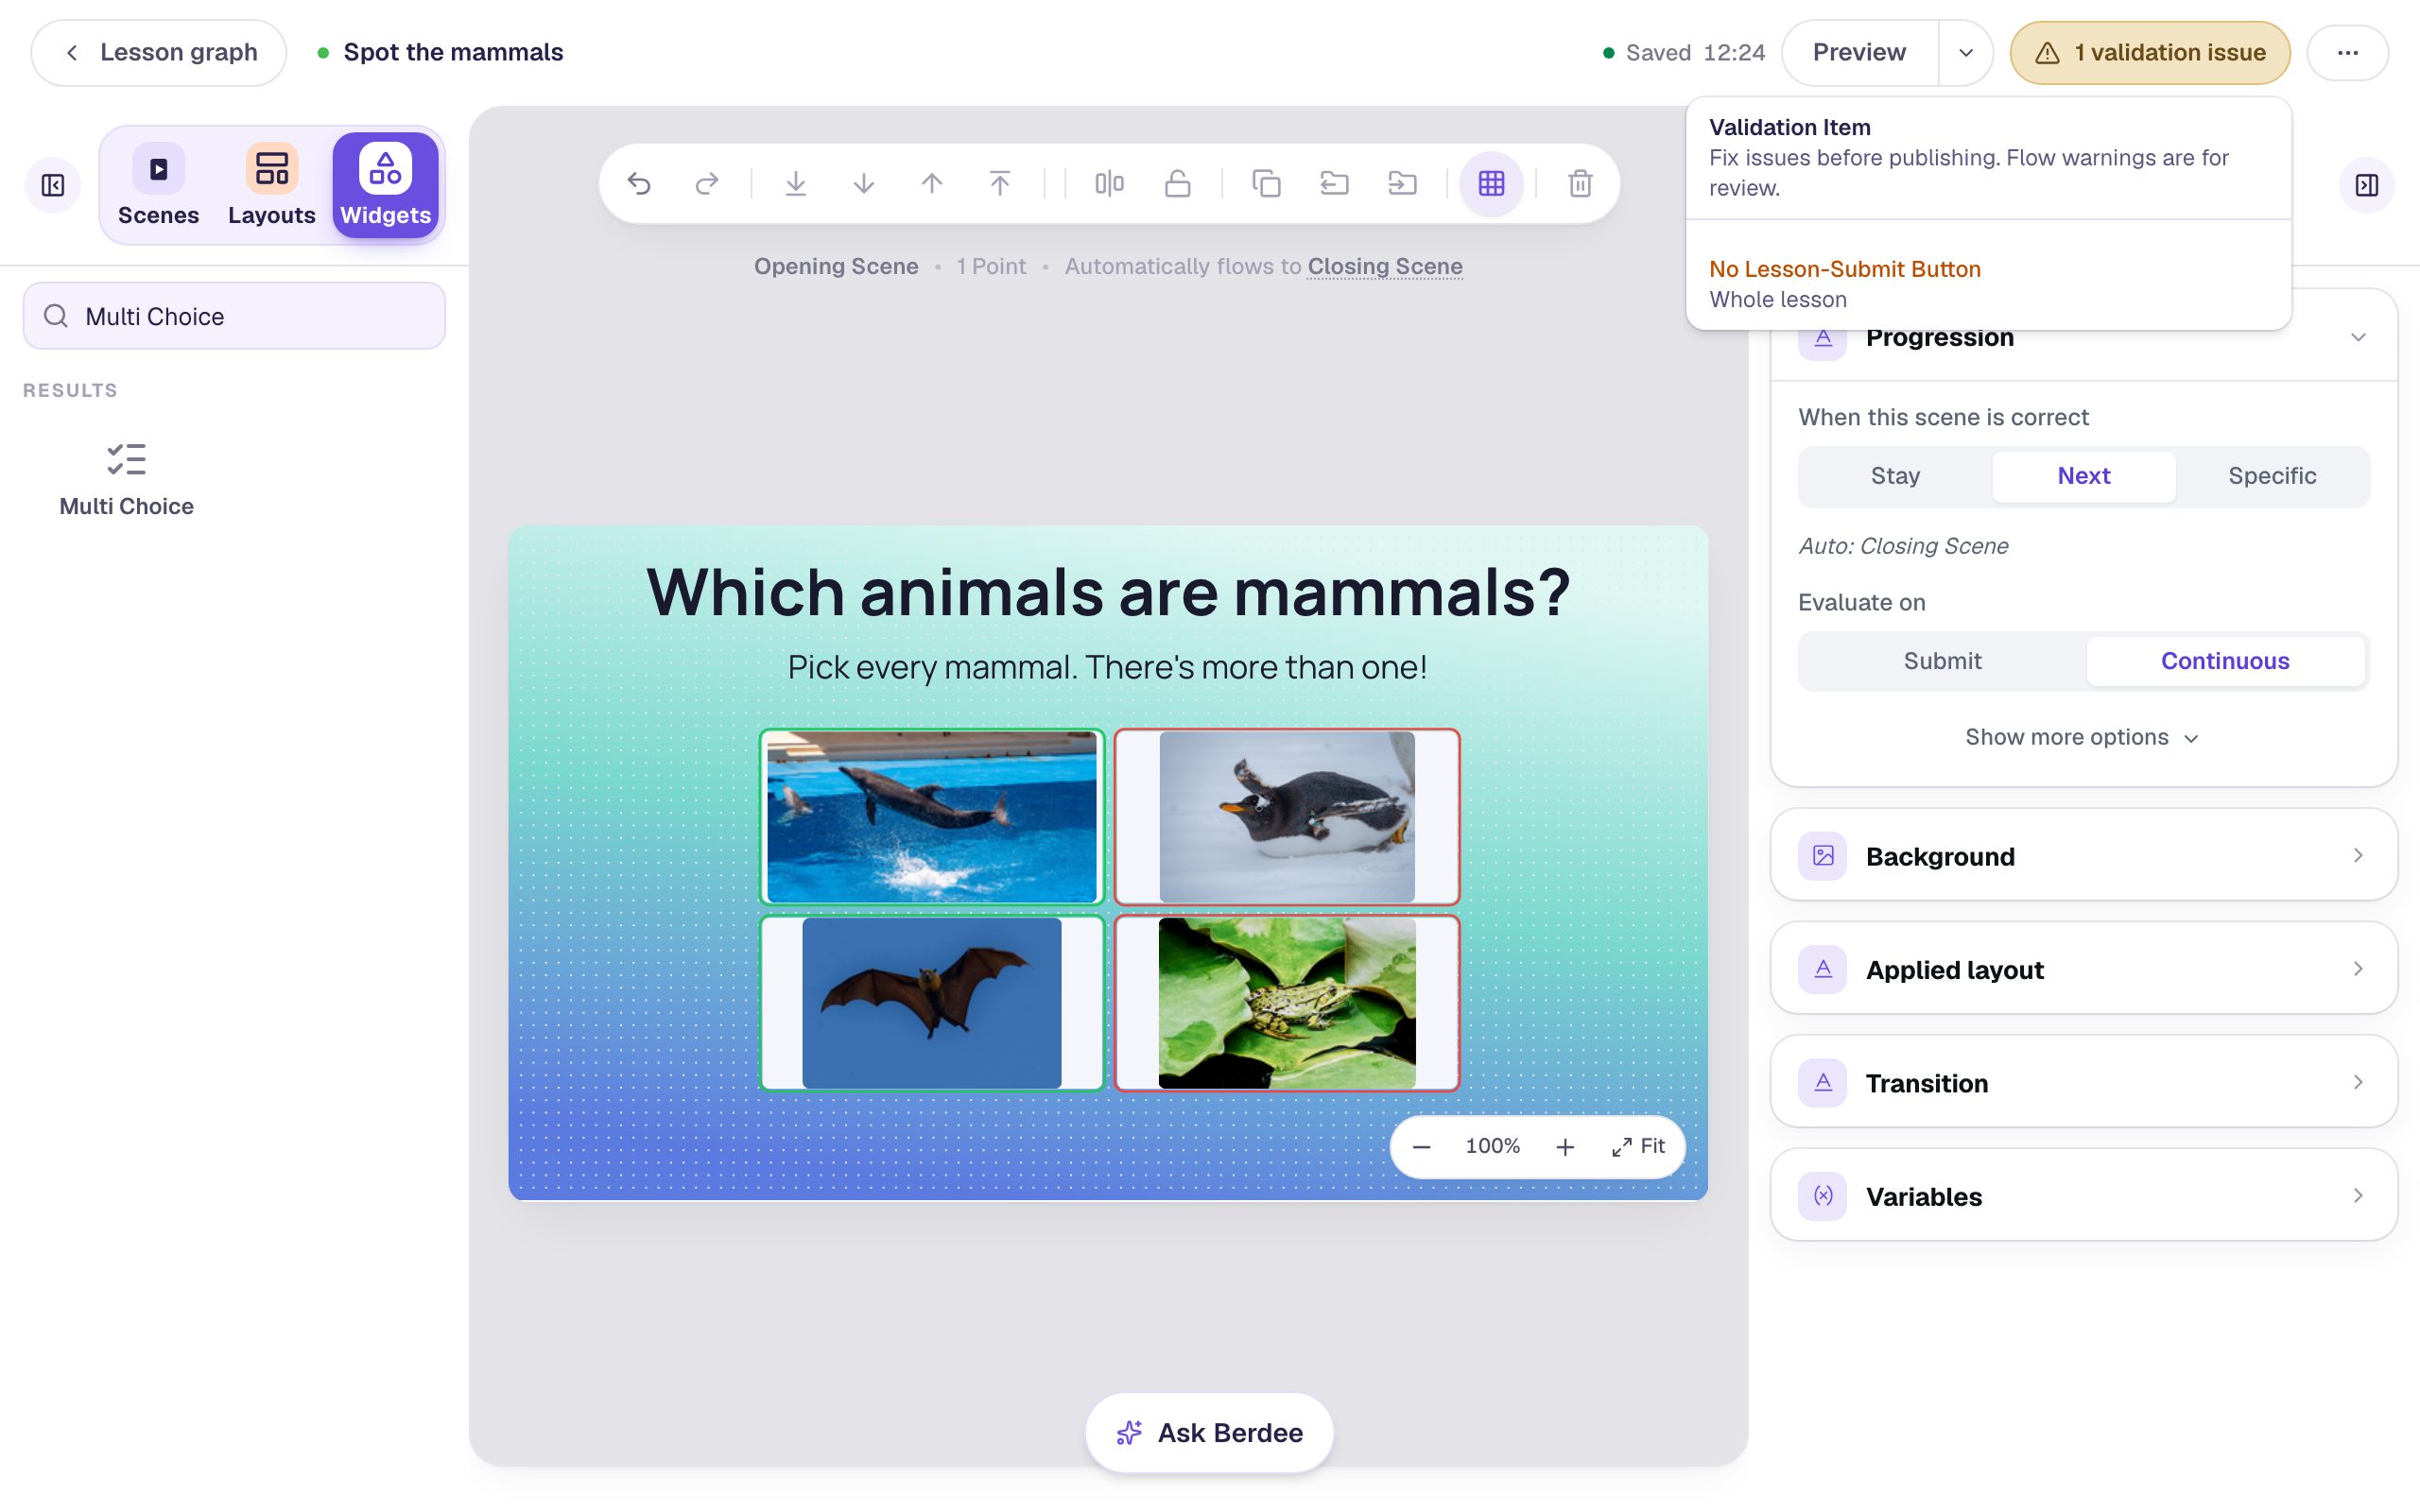
Search the Widgets tab for Submit Button and click it. In Content, change Label to I'm done and set Submits to Lesson. Make it small (we set Font Size to 18 px) and drag it to the bottom-left corner. It's a way out for a student who is stuck, not the main way forward. The validation pill disappears.
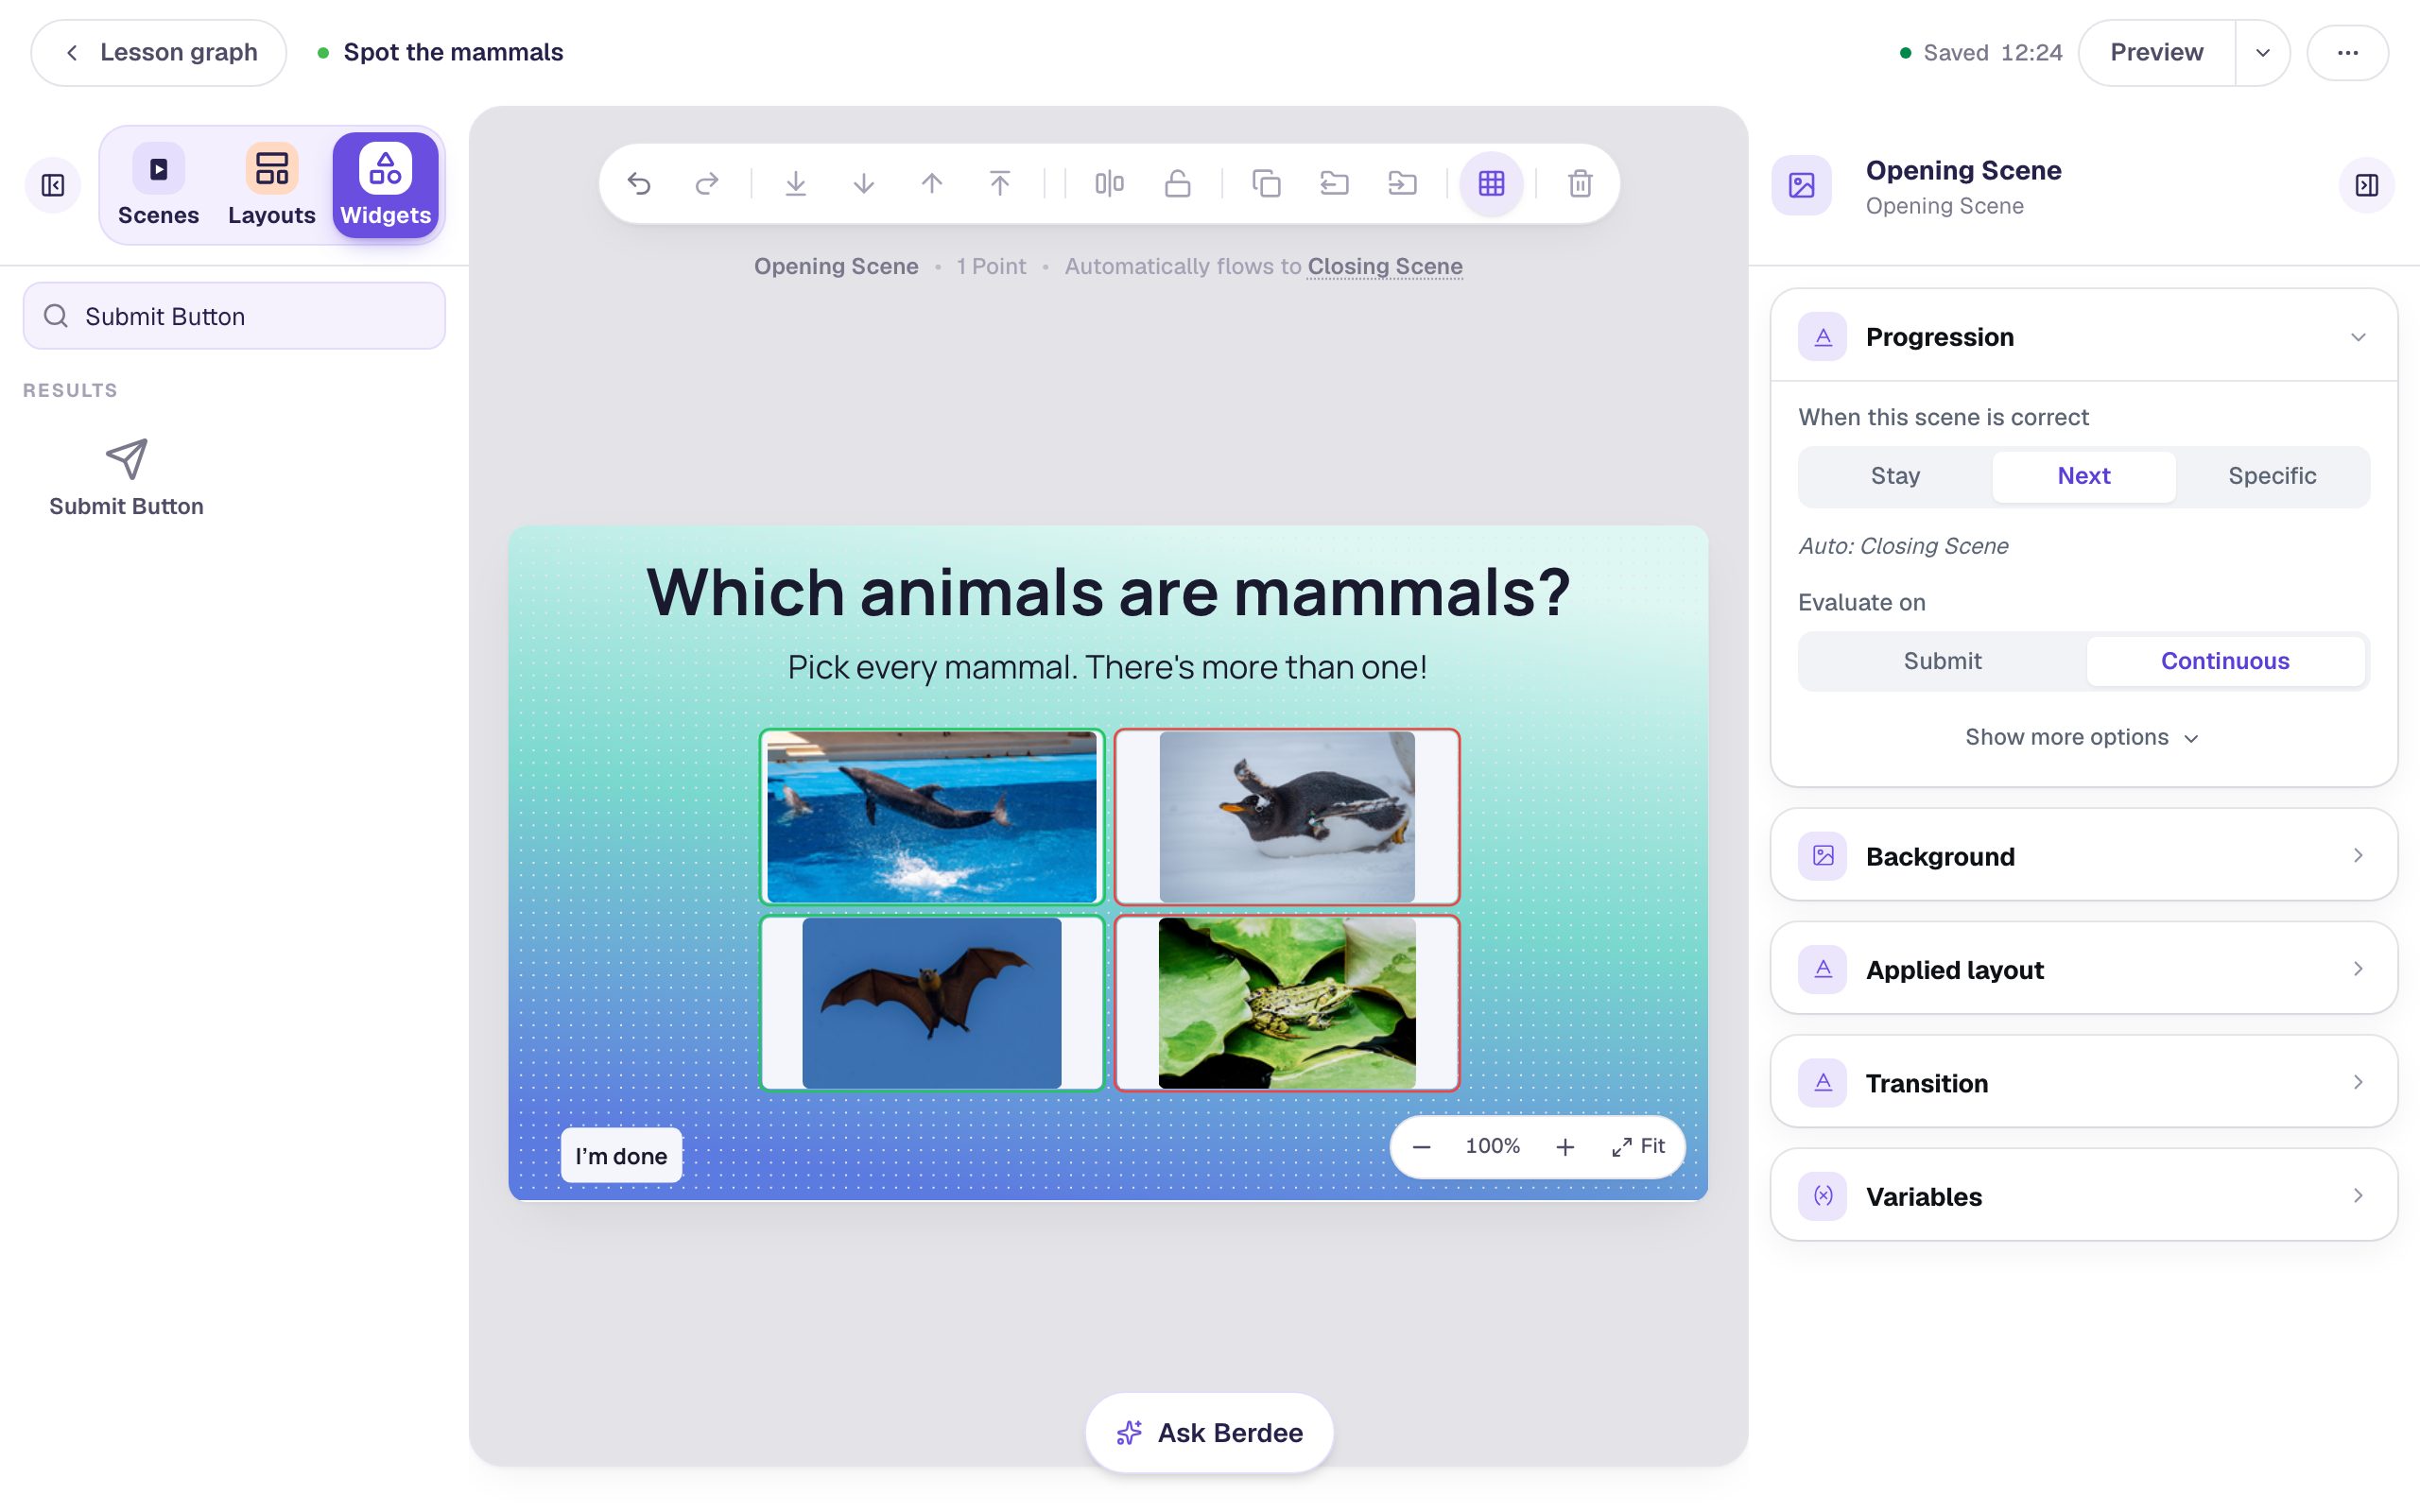
Look at the line above the canvas: Automatically flows to Closing Scene. You don't need a Next button. With Evaluate on left at Continuous (the default), Berdee checks the answer every time a student taps a picture, and moves on the moment it's right. See When the check happens.
Step 8: Try it as a student
Click Preview, then try it the way a student who isn't sure would: pick the penguin, then the dolphin.
The answers are shuffled for each student, because Randomize Order is on, so your grid may be in a different order from ours.
The penguin turns red and the dolphin green. The scene doesn't move on: the dolphin is right, but the penguin is still picked, and All Correct allows no wrong picks.
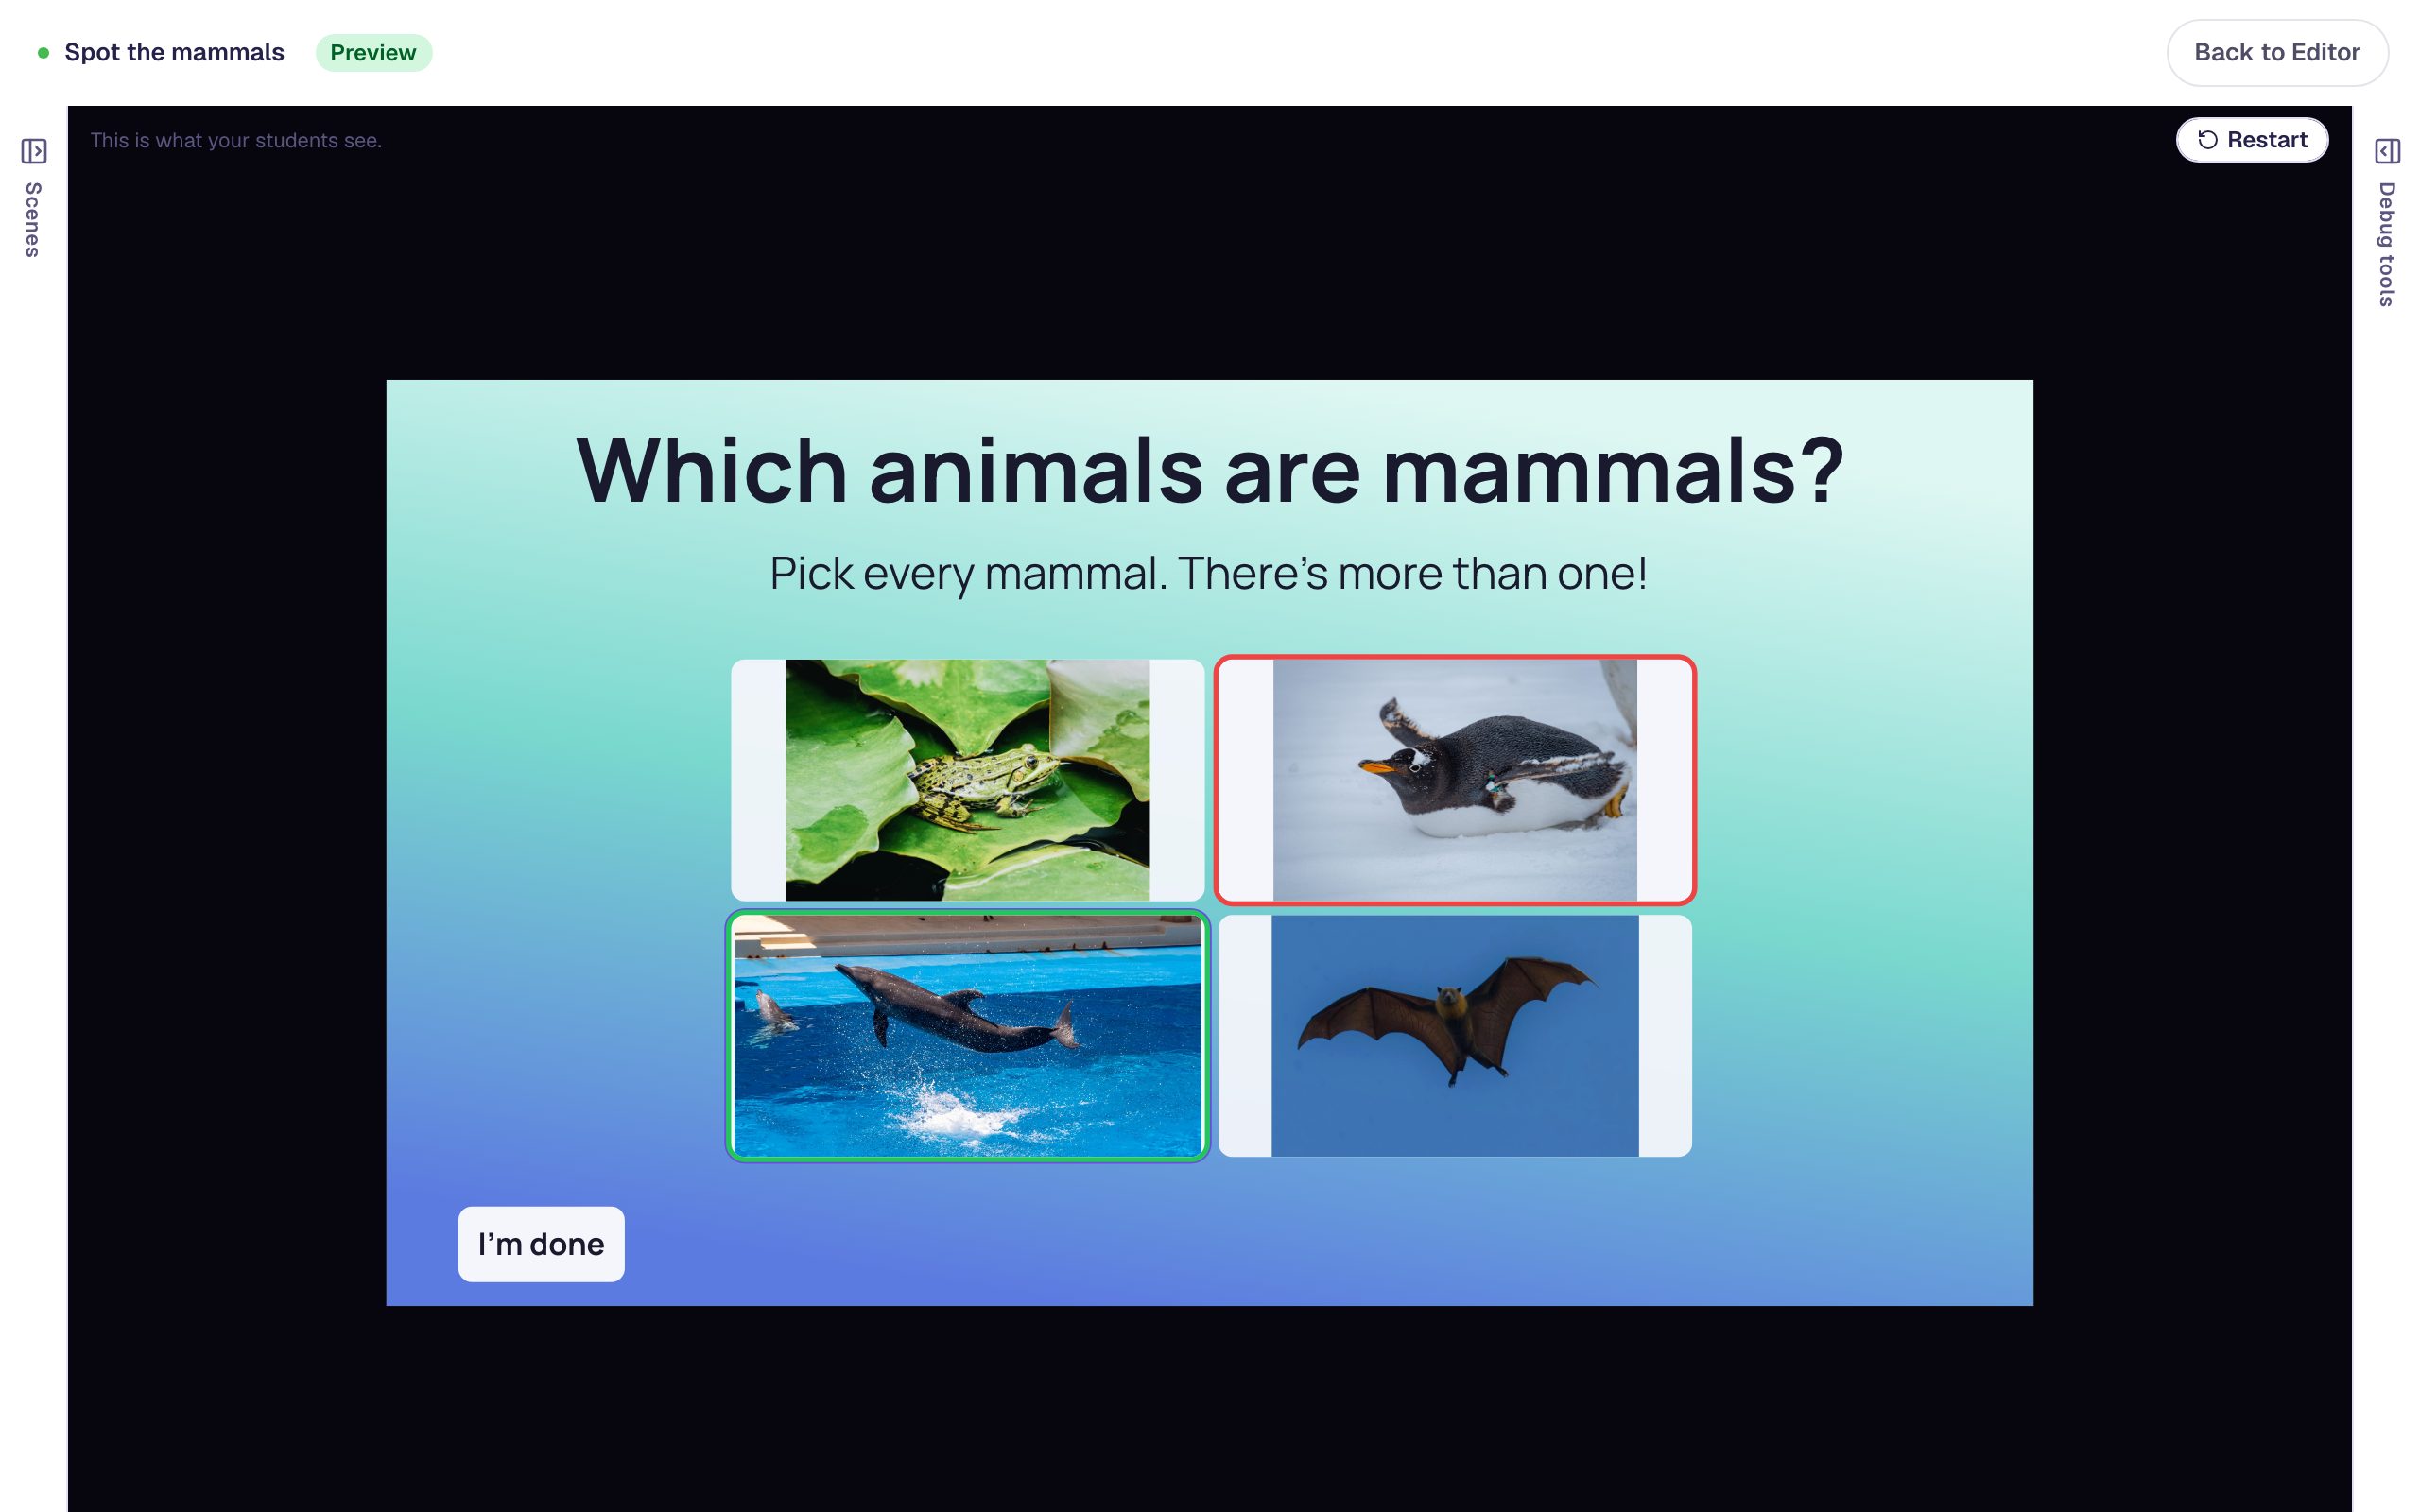
Tap the penguin again to take it back, then pick the bat. Now both mammals are picked and nothing else, so Berdee pauses for a moment and moves to the Closing Scene.
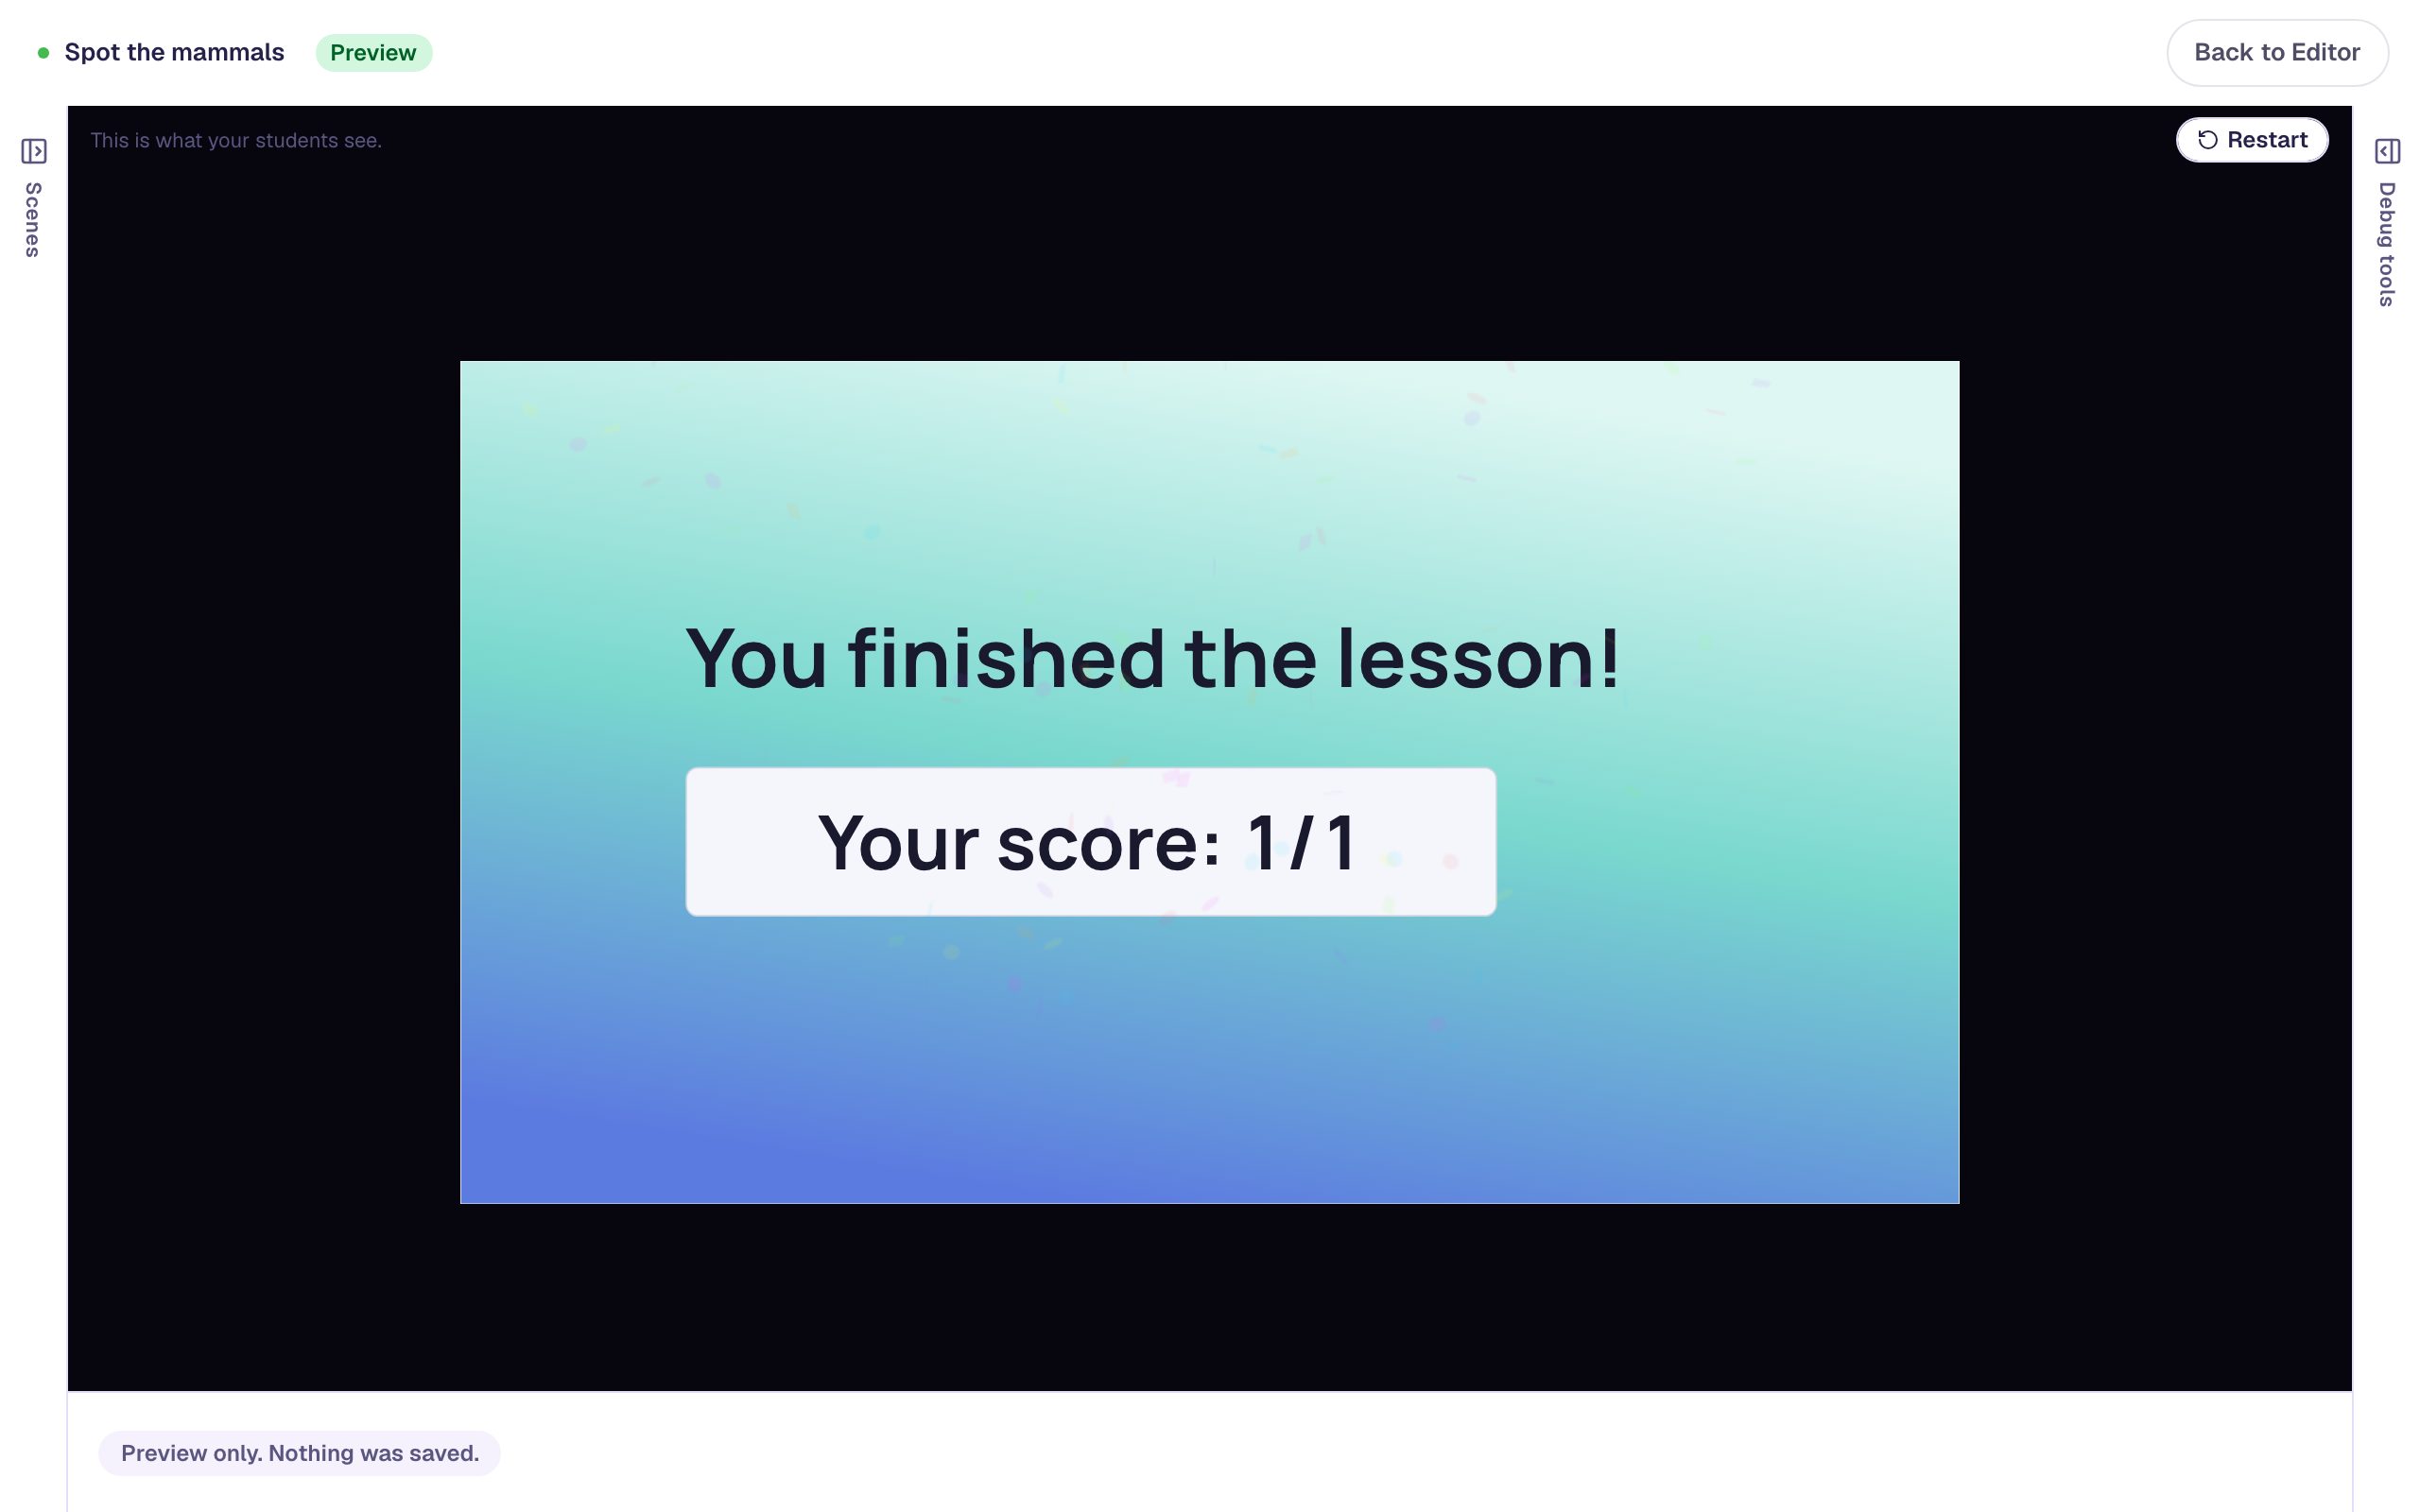
The score is 1 / 1 even though the student tried the penguin first, because this scene lets students keep trying until the answer is right. To have the first try count, add a Submit button set to Current scene and set the scene's Evaluate on to Submit: see Submit Button Widget.
What you built
You built a picture question with more than one right answer:
- Multi selection, so students can pick several answers,
- All Correct, so the answer counts only with every mammal and no wrong animal picked,
- a stock photo on every answer, with a description a screen reader can read,
- Show correctness, so every pick gets instant feedback, and
- an I'm done button, so the lesson can be published.
The same recipe works for any "select all" question: the prime numbers in a list, the nouns in a sentence, the healthy foods on a plate. If you'd rather accept any one good answer, set Correct when to At least One is Correct instead. Multiple Choice Widget explains every rule.
Teaching students who are still learning to read? Read a question aloud for students who are still learning to read adds a play button that speaks the question in a voice you choose.
Make this lesson yours
Add the lesson you just watched being built to your account, then change it for your class: your questions, your pictures, your colors.
Free to sign up, and you'll come straight back here. I have an account