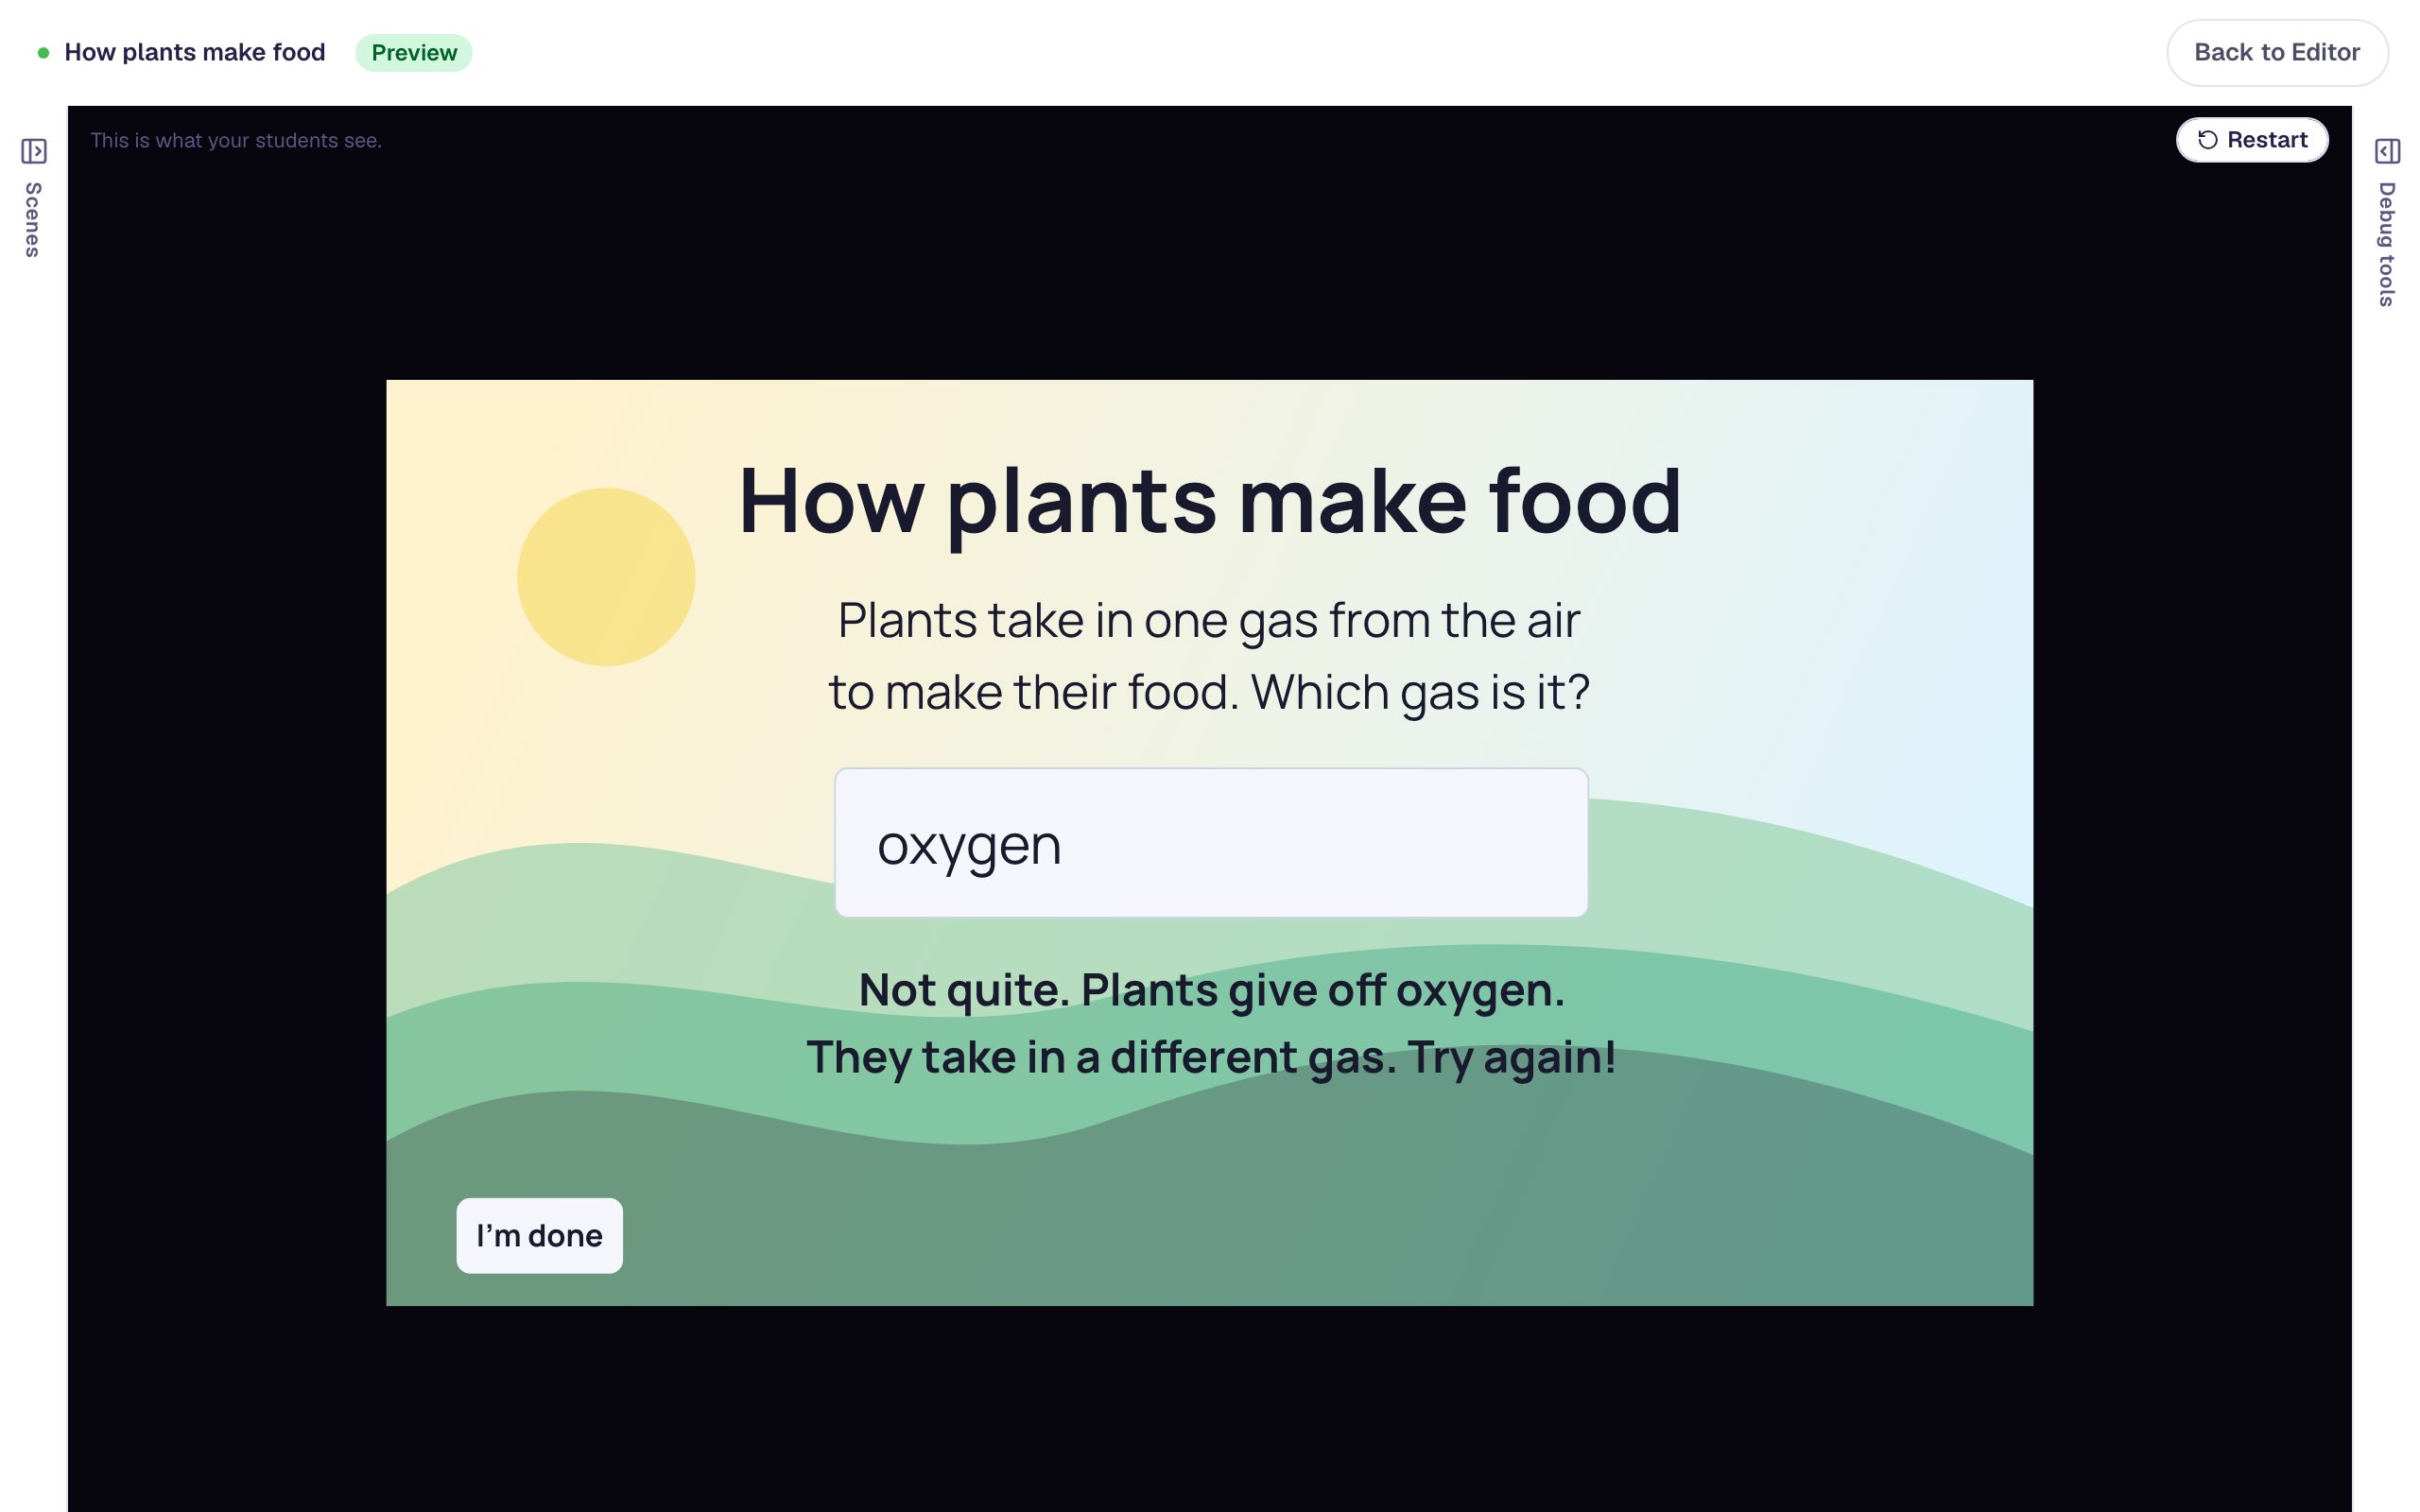
Make a deck of vocabulary flashcards
Build a row of Spanish vocabulary flashcards that students tap to flip. Write one card, style it, copy it with ⌘D, and add a Next button that only appears once every card has been turned over.
- Level
- Beginner
- Time
- About 10 min
- Steps
- 7
An "Animals in Spanish" scene with three flashcards (Spanish on the front, the English word and an emoji on a mint back) and a Next button that waits until a student has flipped every card.
Get the finished lesson
Skip straight to the result, or keep it open beside the steps. Add this tutorial's lesson to your account and explore how it works in the studio.
Free to sign up, and you'll come straight back here. I have an account
Flashcards are the oldest study trick there is: look at the word, try to remember, then flip to check. A Flashcard in Berdee works the same way. Students see the front, tap it, and the card turns over to show the back. In this tutorial you'll build a short vocabulary set:
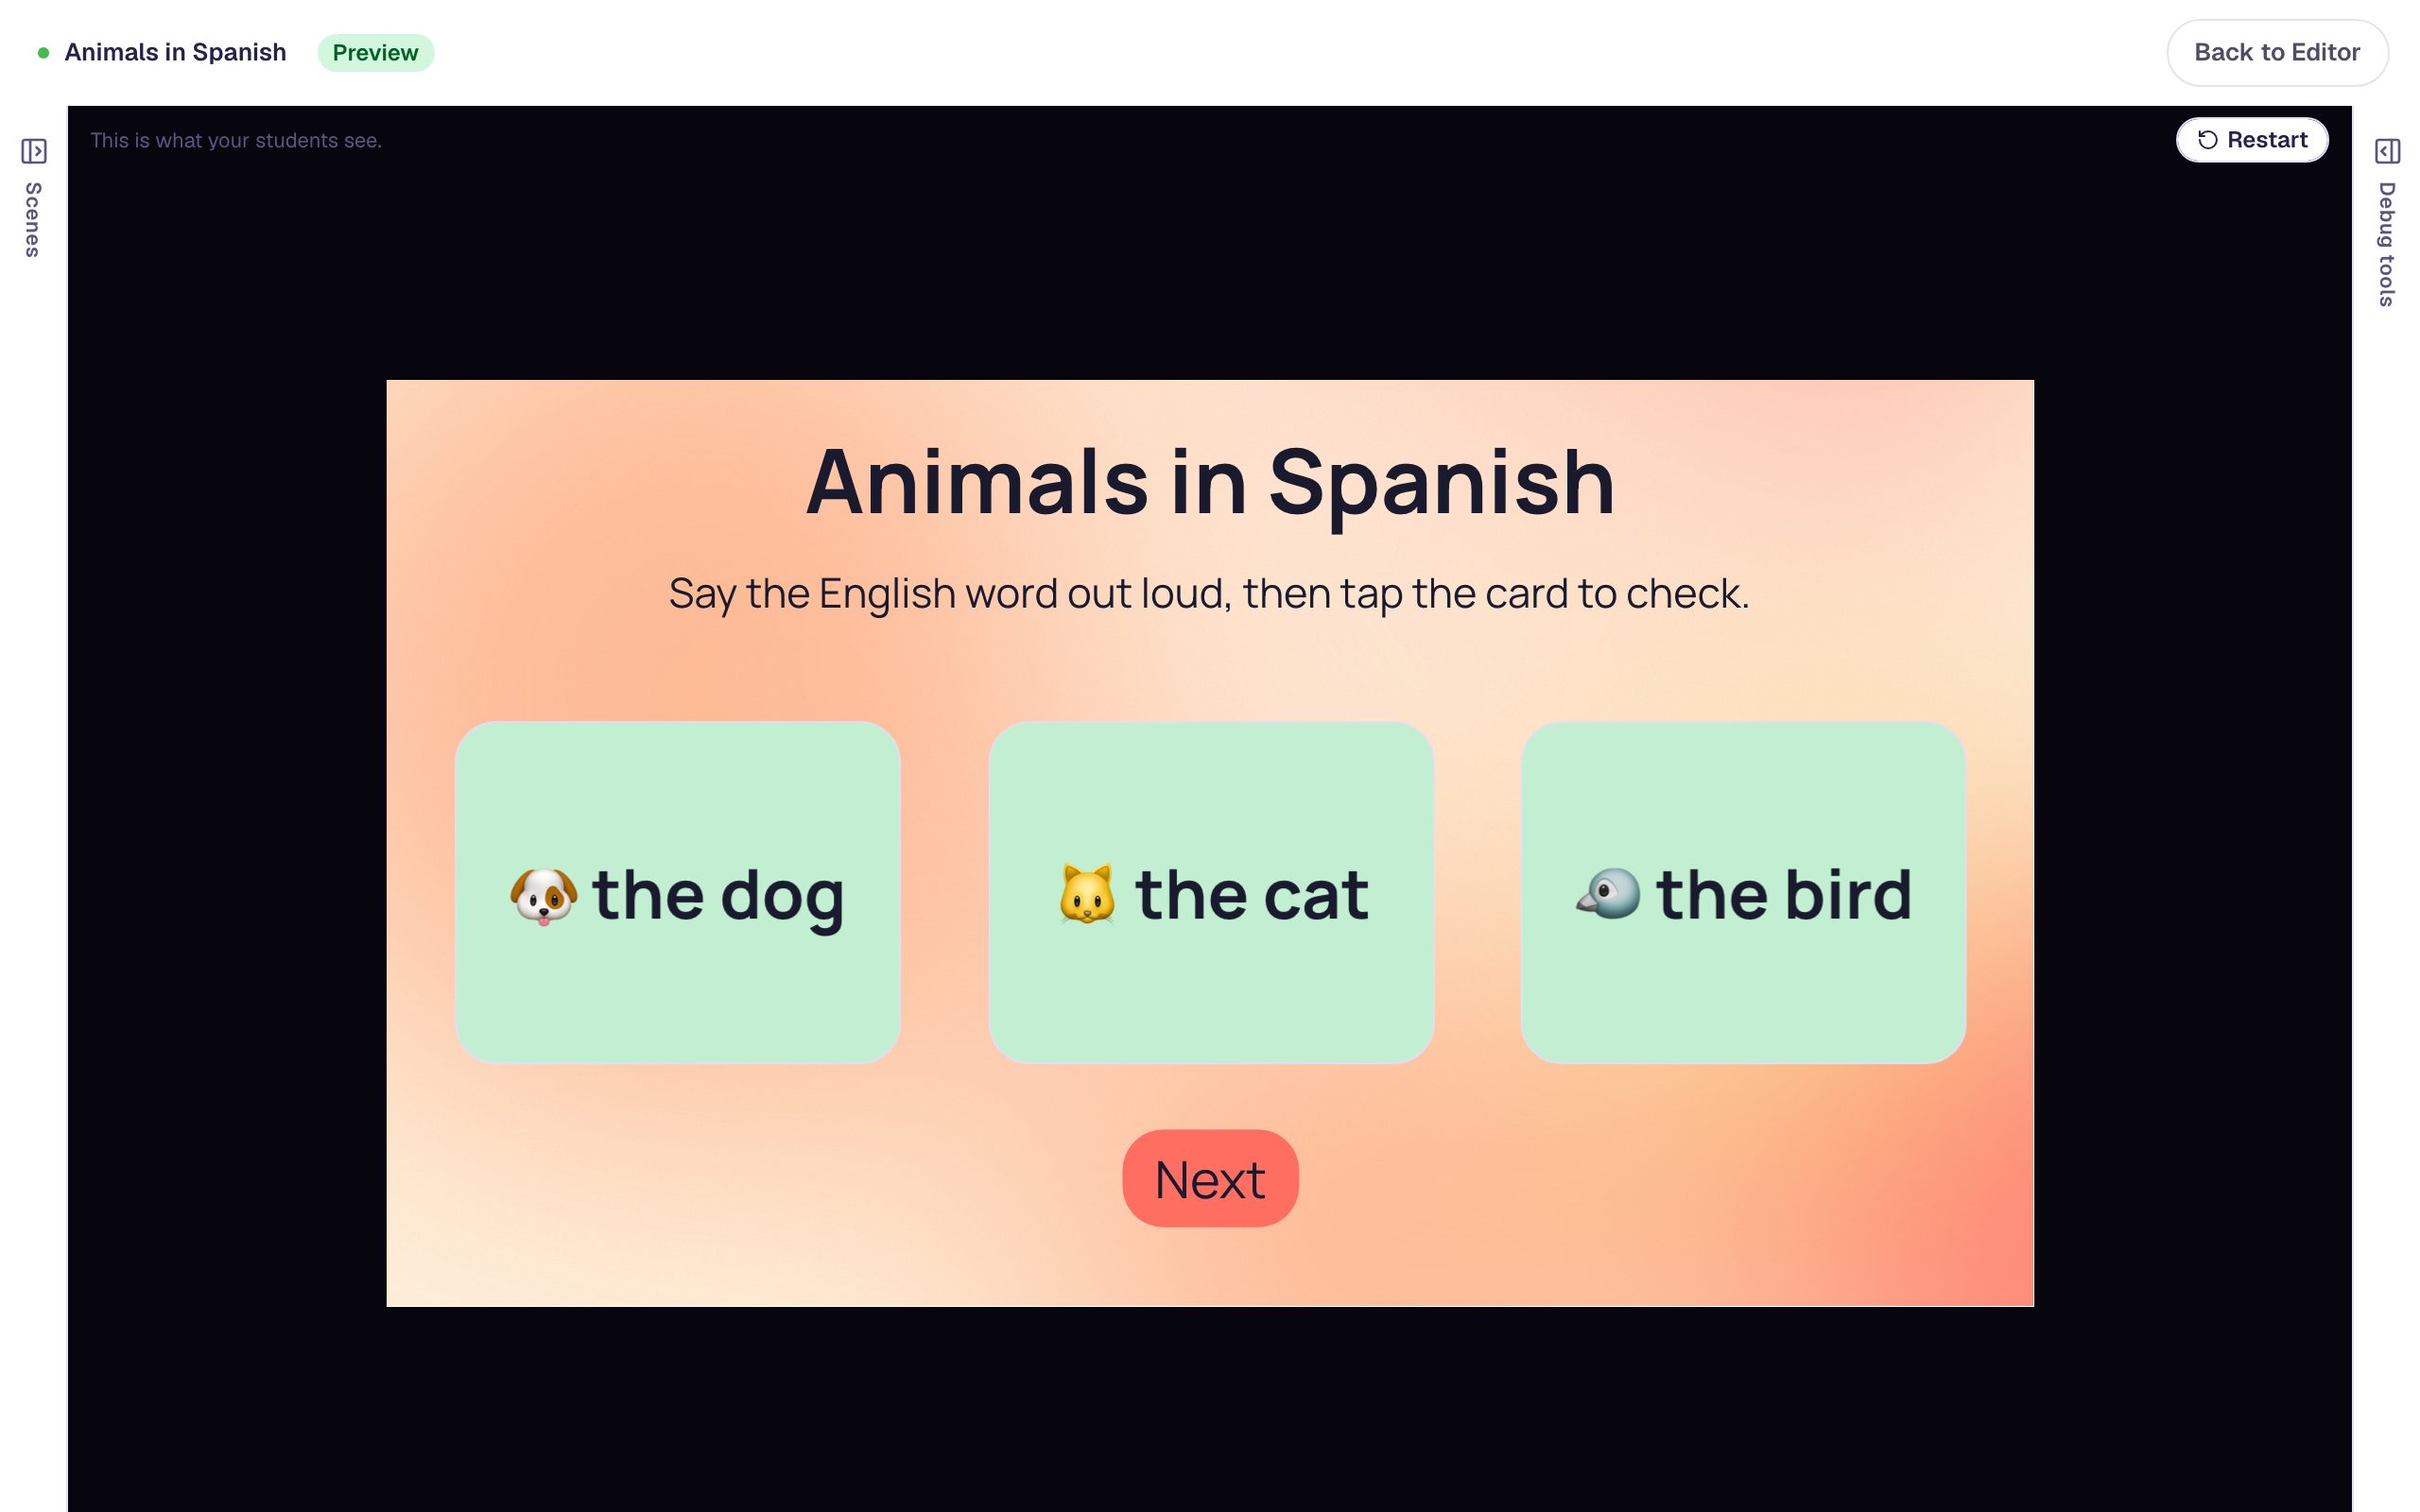
el perro → 🐶 the dog · el gato → 🐱 the cat · el pájaro → 🐦 the bird
You'll write one card, give it big bold words and a different colour on the back, copy it to make the other two, and add a Next button that stays hidden until a student has turned over every card, so nobody skips ahead without practising.
If you haven't used the studio before, start with Build your first quiz question: this tutorial moves quickly through the parts it already covers.
Step 1: Set the scene
Start a blank lesson (New lesson, then Start from scratch) and name it Animals in Spanish by clicking Untitled lesson at the top.
With nothing selected, open Background, click Choose a style, pick Gradients, then Mesh sunrise, and click Apply background. Select the Closing Scene in the Scenes panel and give it the same background, so the ending matches. Creative Backgrounds covers the gallery in more detail.
Back on the Opening Scene, add a Heading that says Animals in Spanish and a Body text under it: Say the English word out loud, then tap the card to check. Set the Body's Font Size to 24.
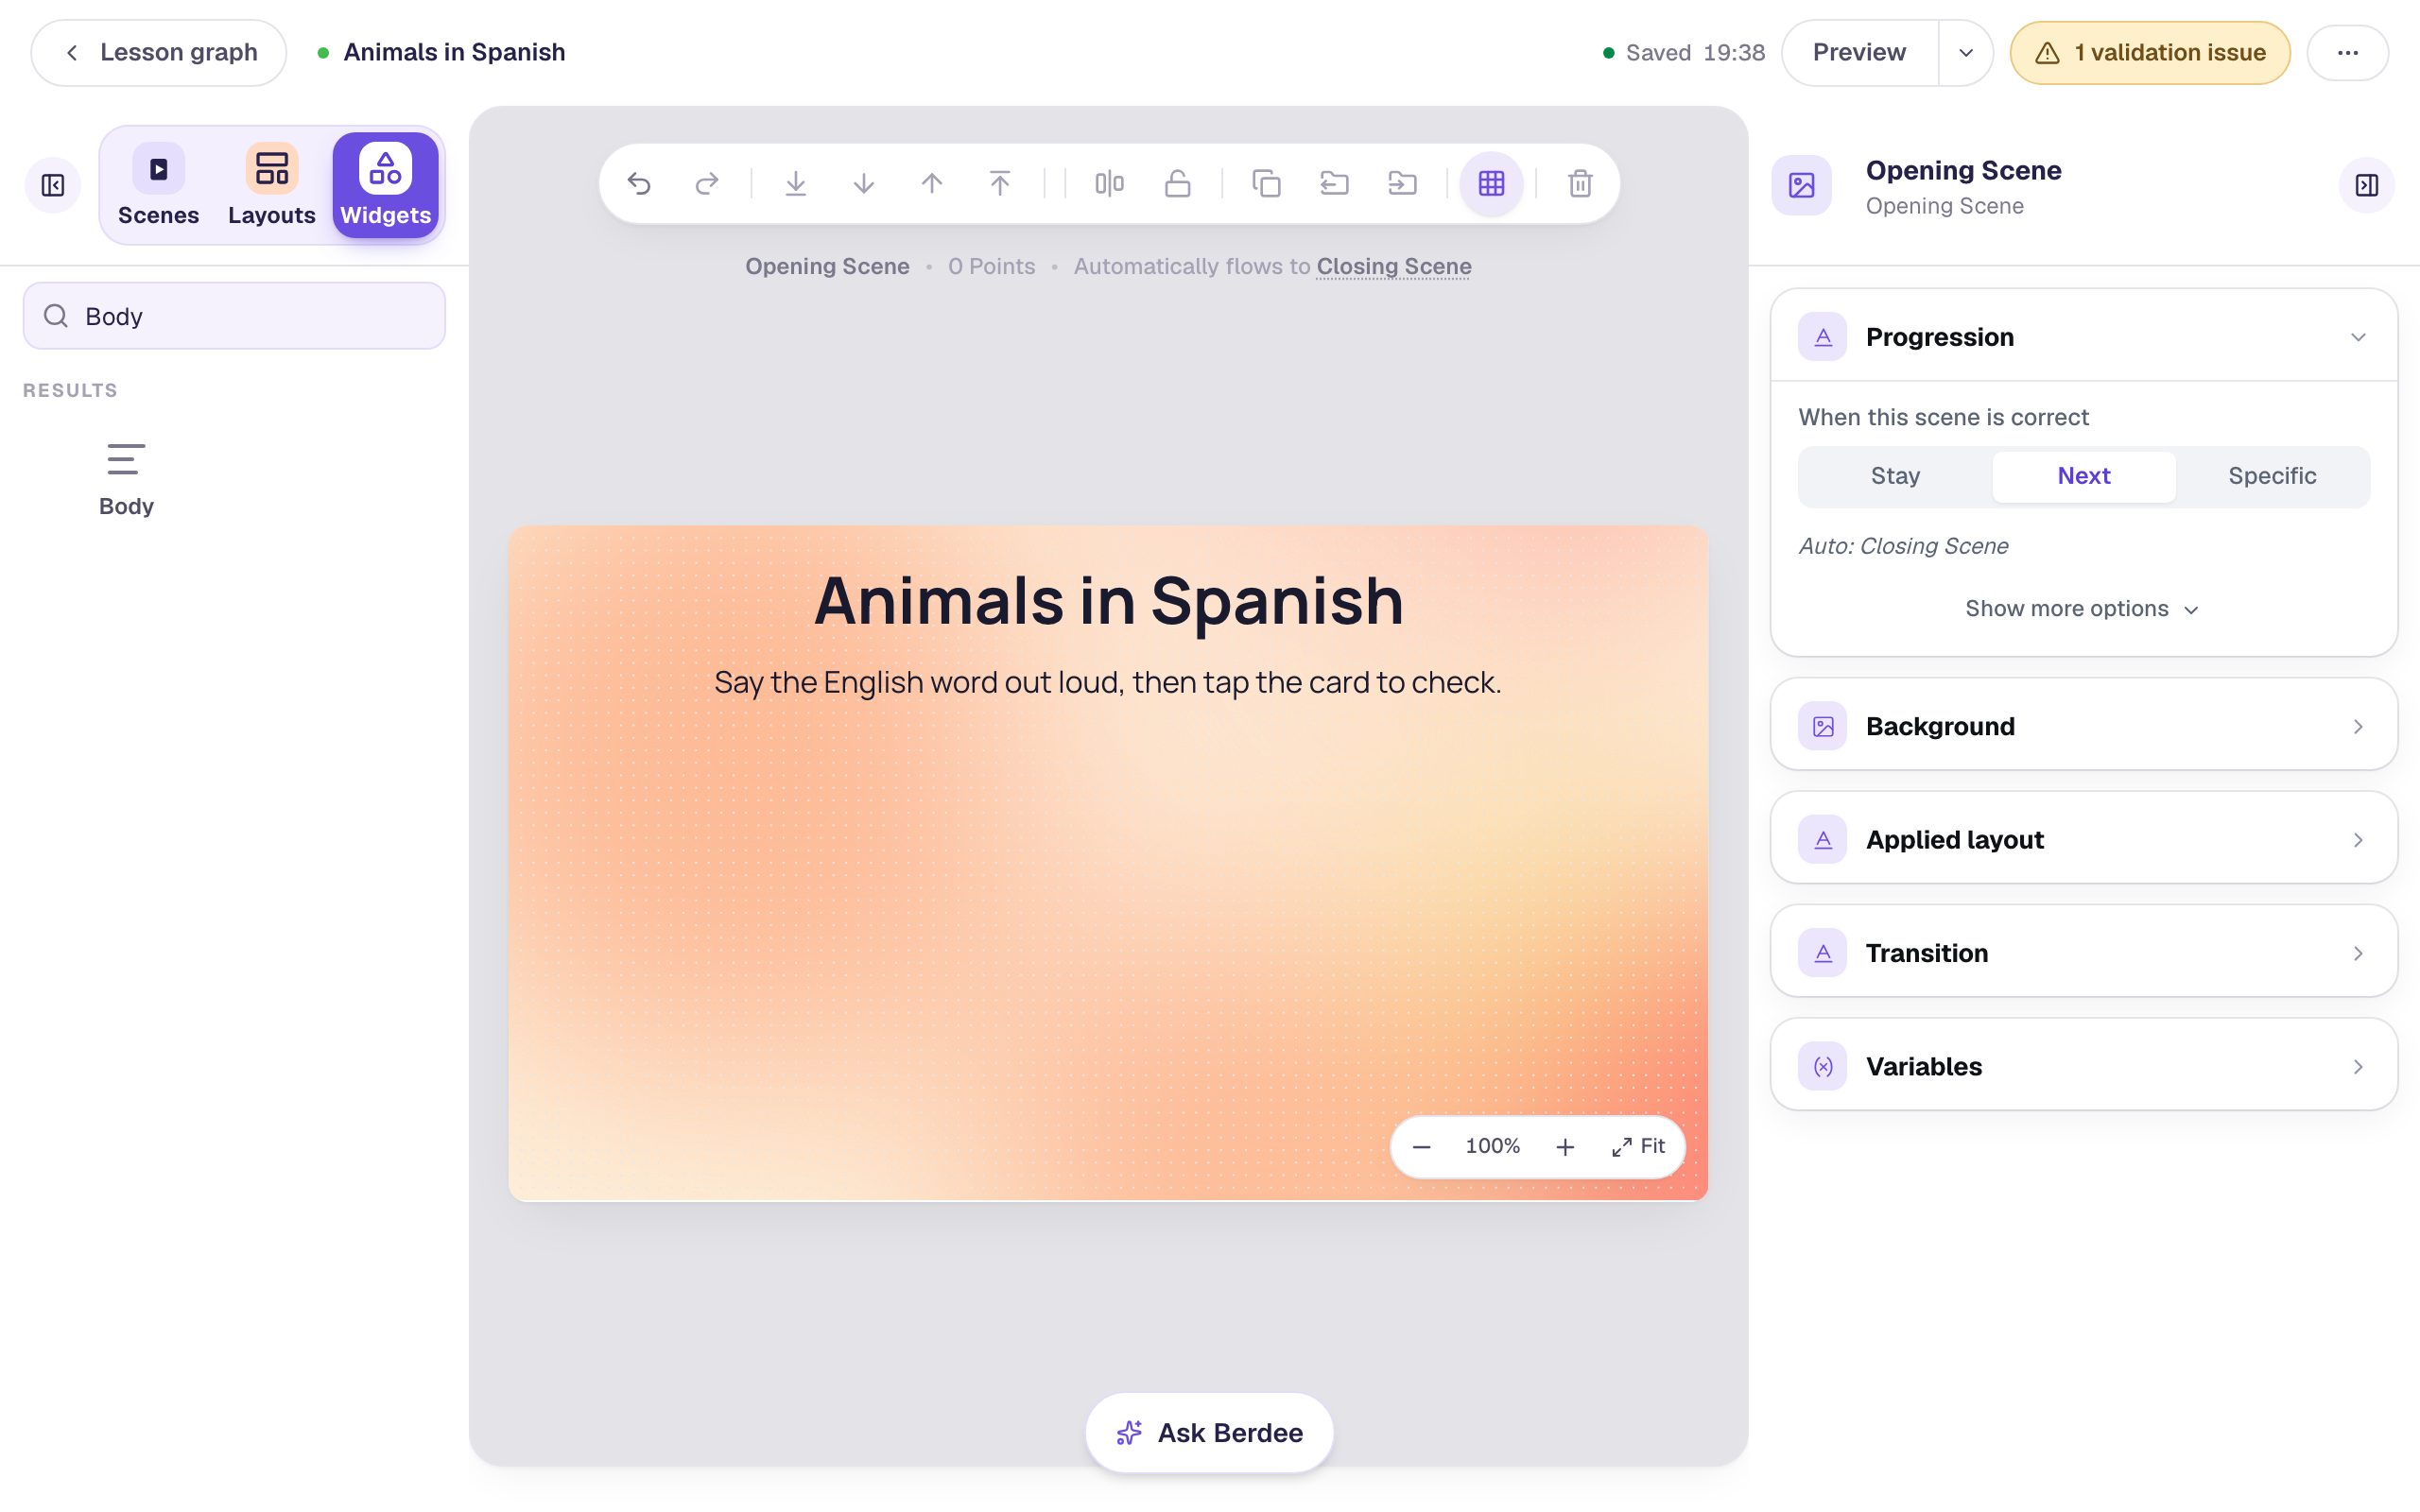
The instruction matters more than it looks. A flashcard only helps if the student tries to recall the answer _before_ turning it over.
Step 2: Write the first card
In Widgets, search for Flashcard and click it. A plain white card appears, with Front written on it.
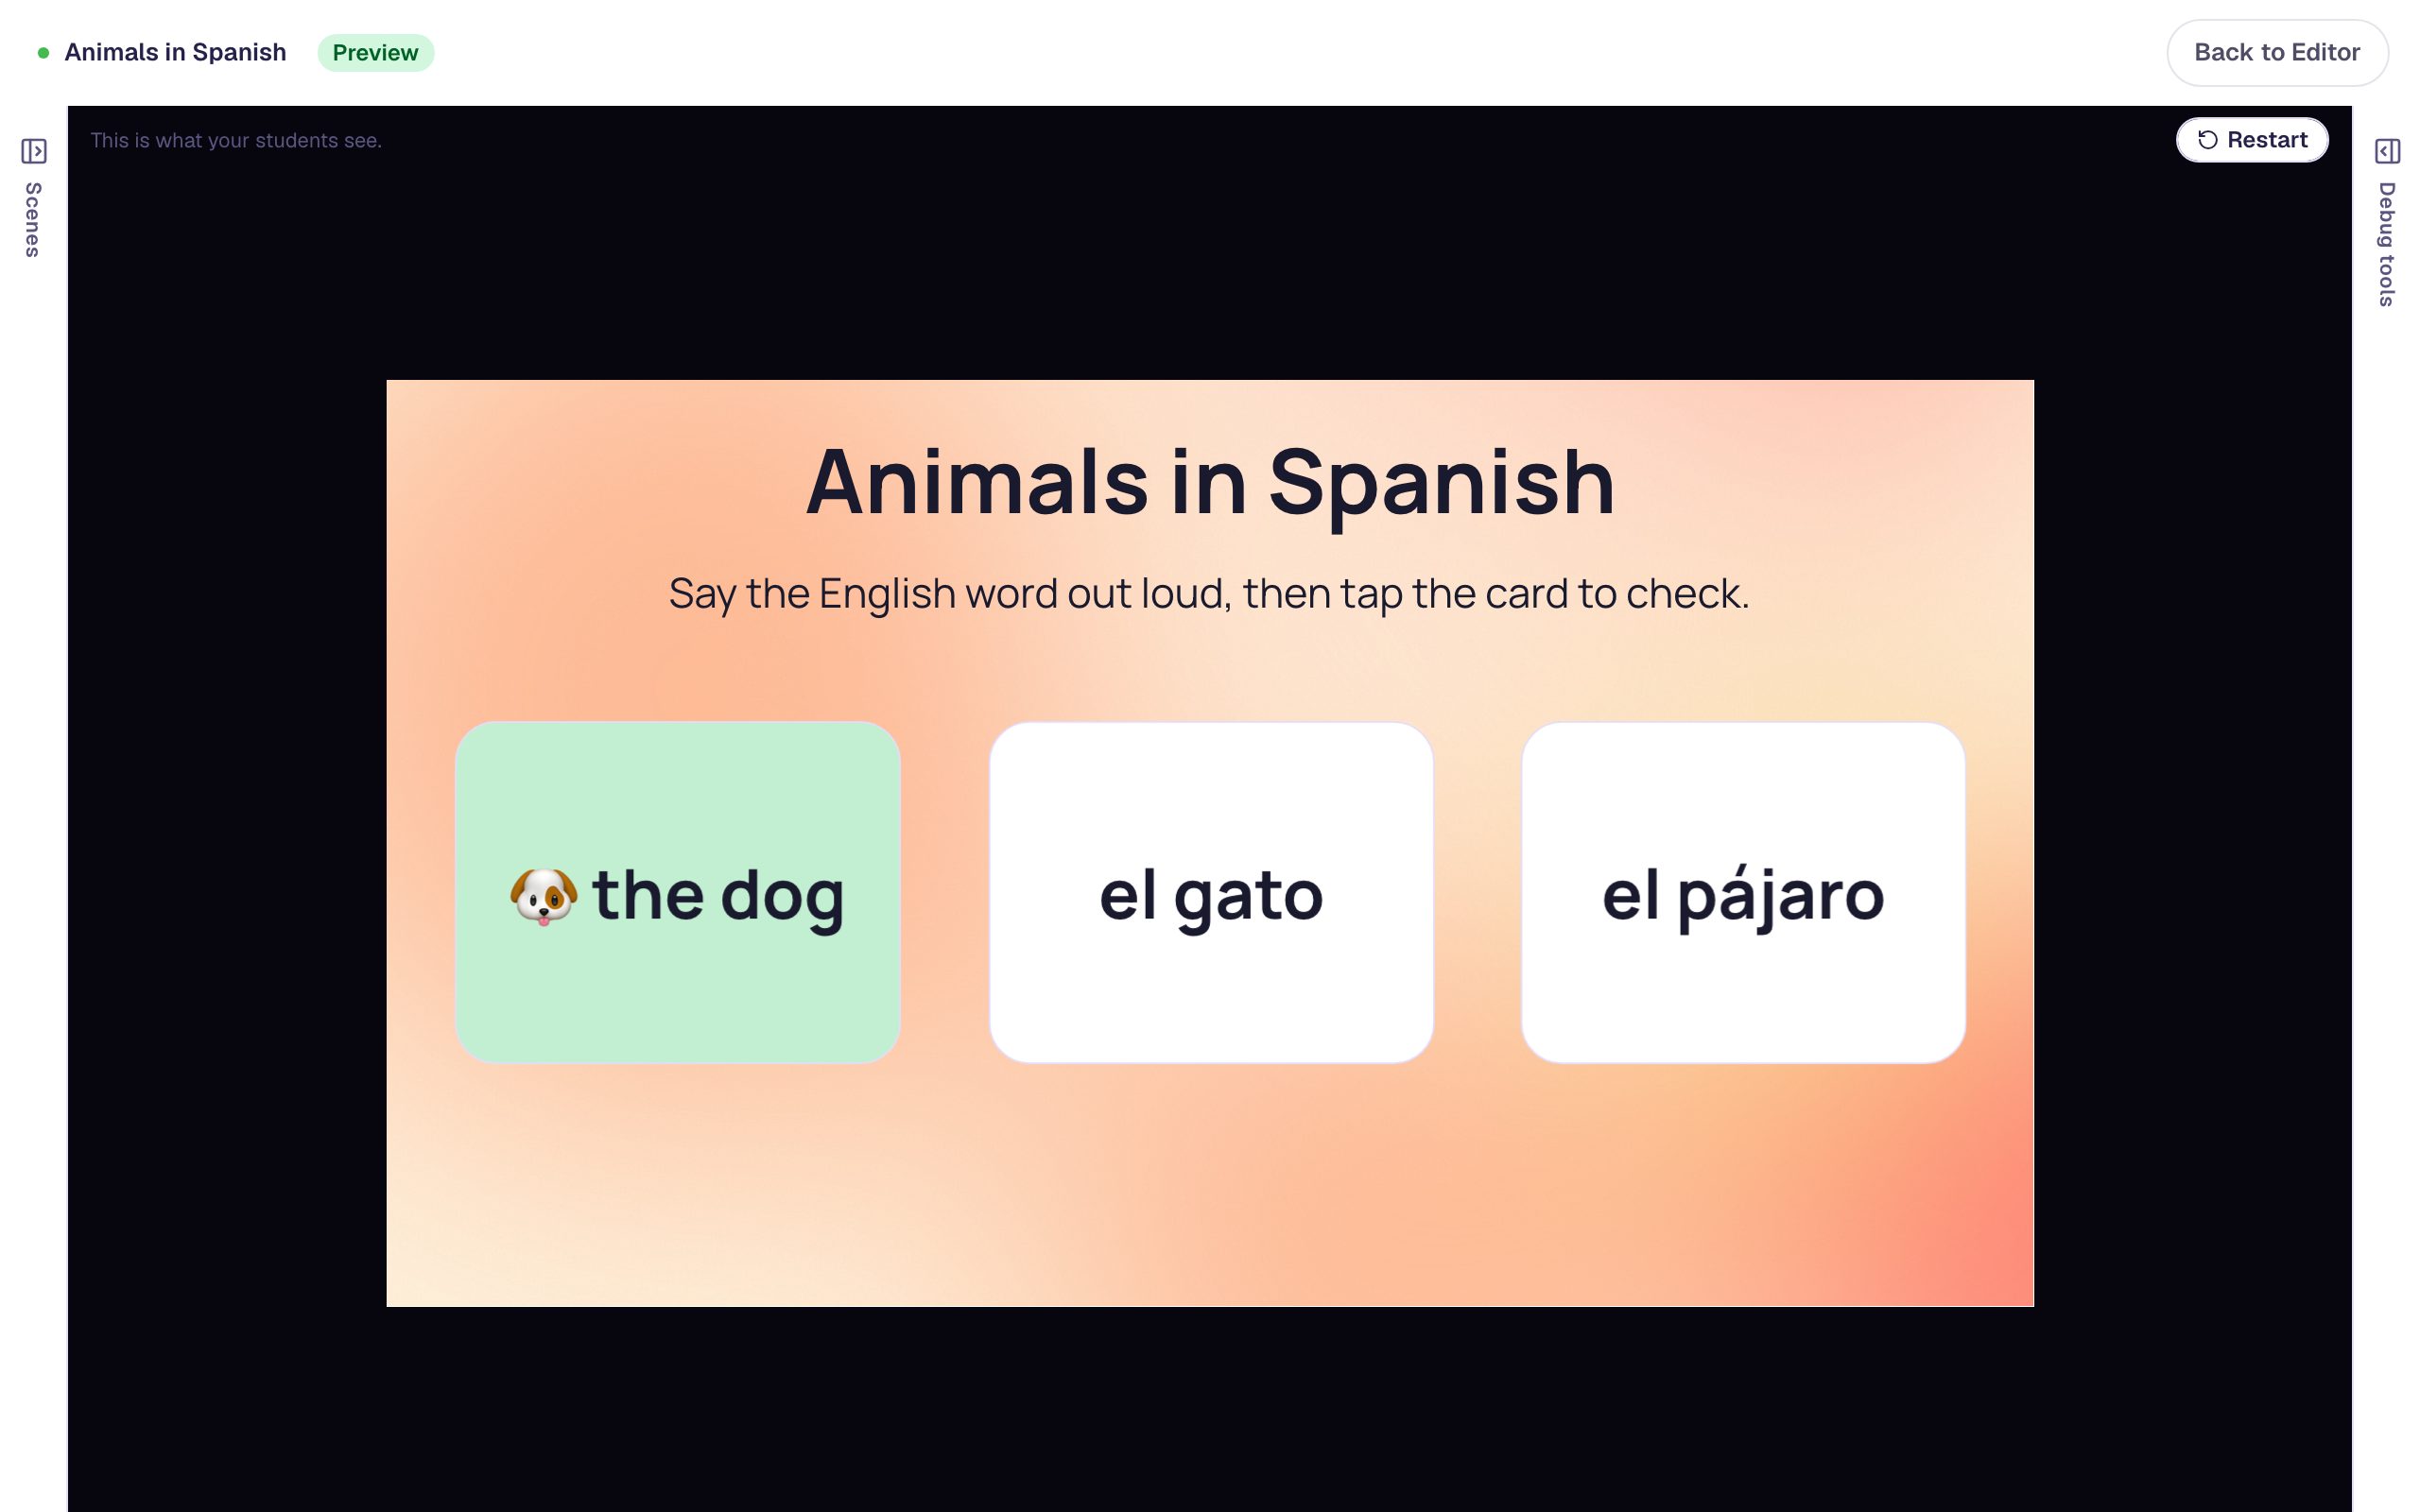
Click ⚙ Configure above the card. Replace Front Text with el perro and Back Text with 🐶 the dog. The preview on the right shows the front of the card as you type.
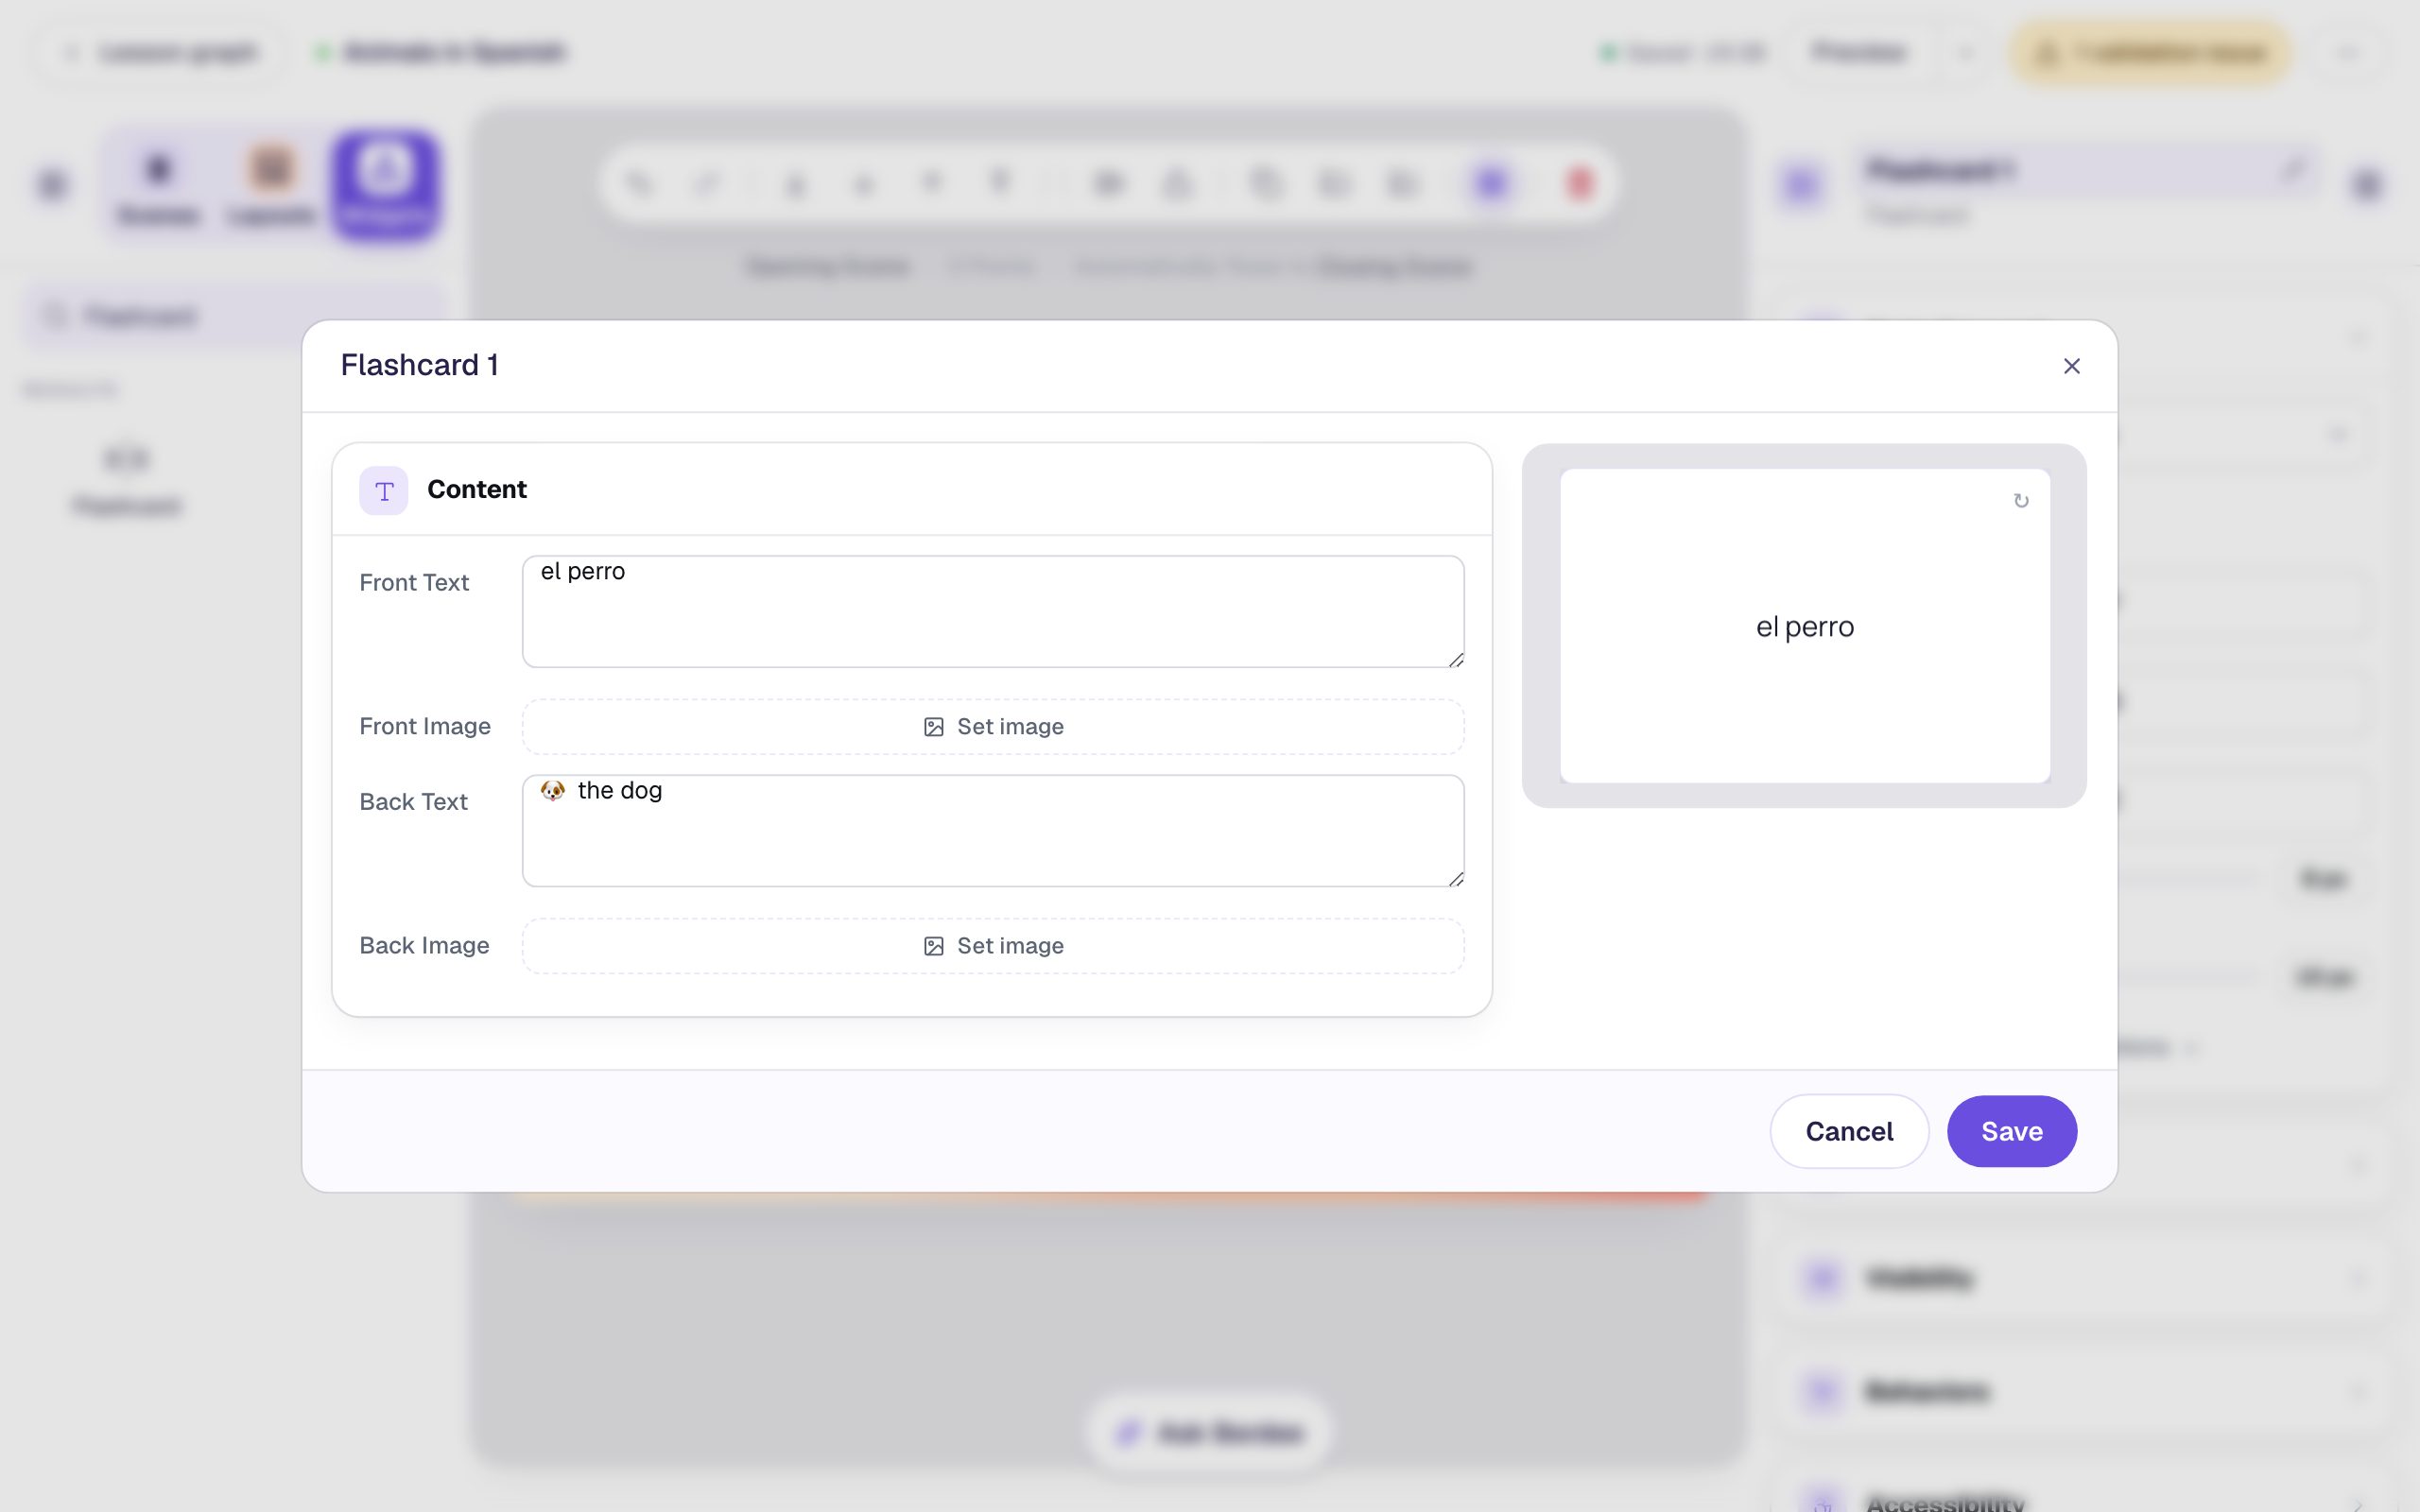
The emoji is an ordinary character: paste it in, or use your computer's emoji picker (Ctrl + Cmd + Space on a Mac, Windows + . on Windows). Keep it on the back, or it gives the answer away. Each side can also show a picture: click Set image under it.
Click Save, then rename the card Perro card by clicking its name at the top of the properties panel. You'll need the names in Step 6, where "Perro card" is much easier to find than "Flashcard 1".
Step 3: Make it big and bold, with a coloured back
With the card selected, open Style & Layout in the properties panel:
- Turn on bold (B) and set Font Size to
40, so the word is readable from the back of the room. - Set Border Radius to
24for soft, card-like corners. - Click the Back Background colour and pick a soft mint (
#c2efd2). Leave Front Background white. - Click Show more options and set Width to
260and Height to200.
Then drag the card to the left side of the scene, under the instructions.
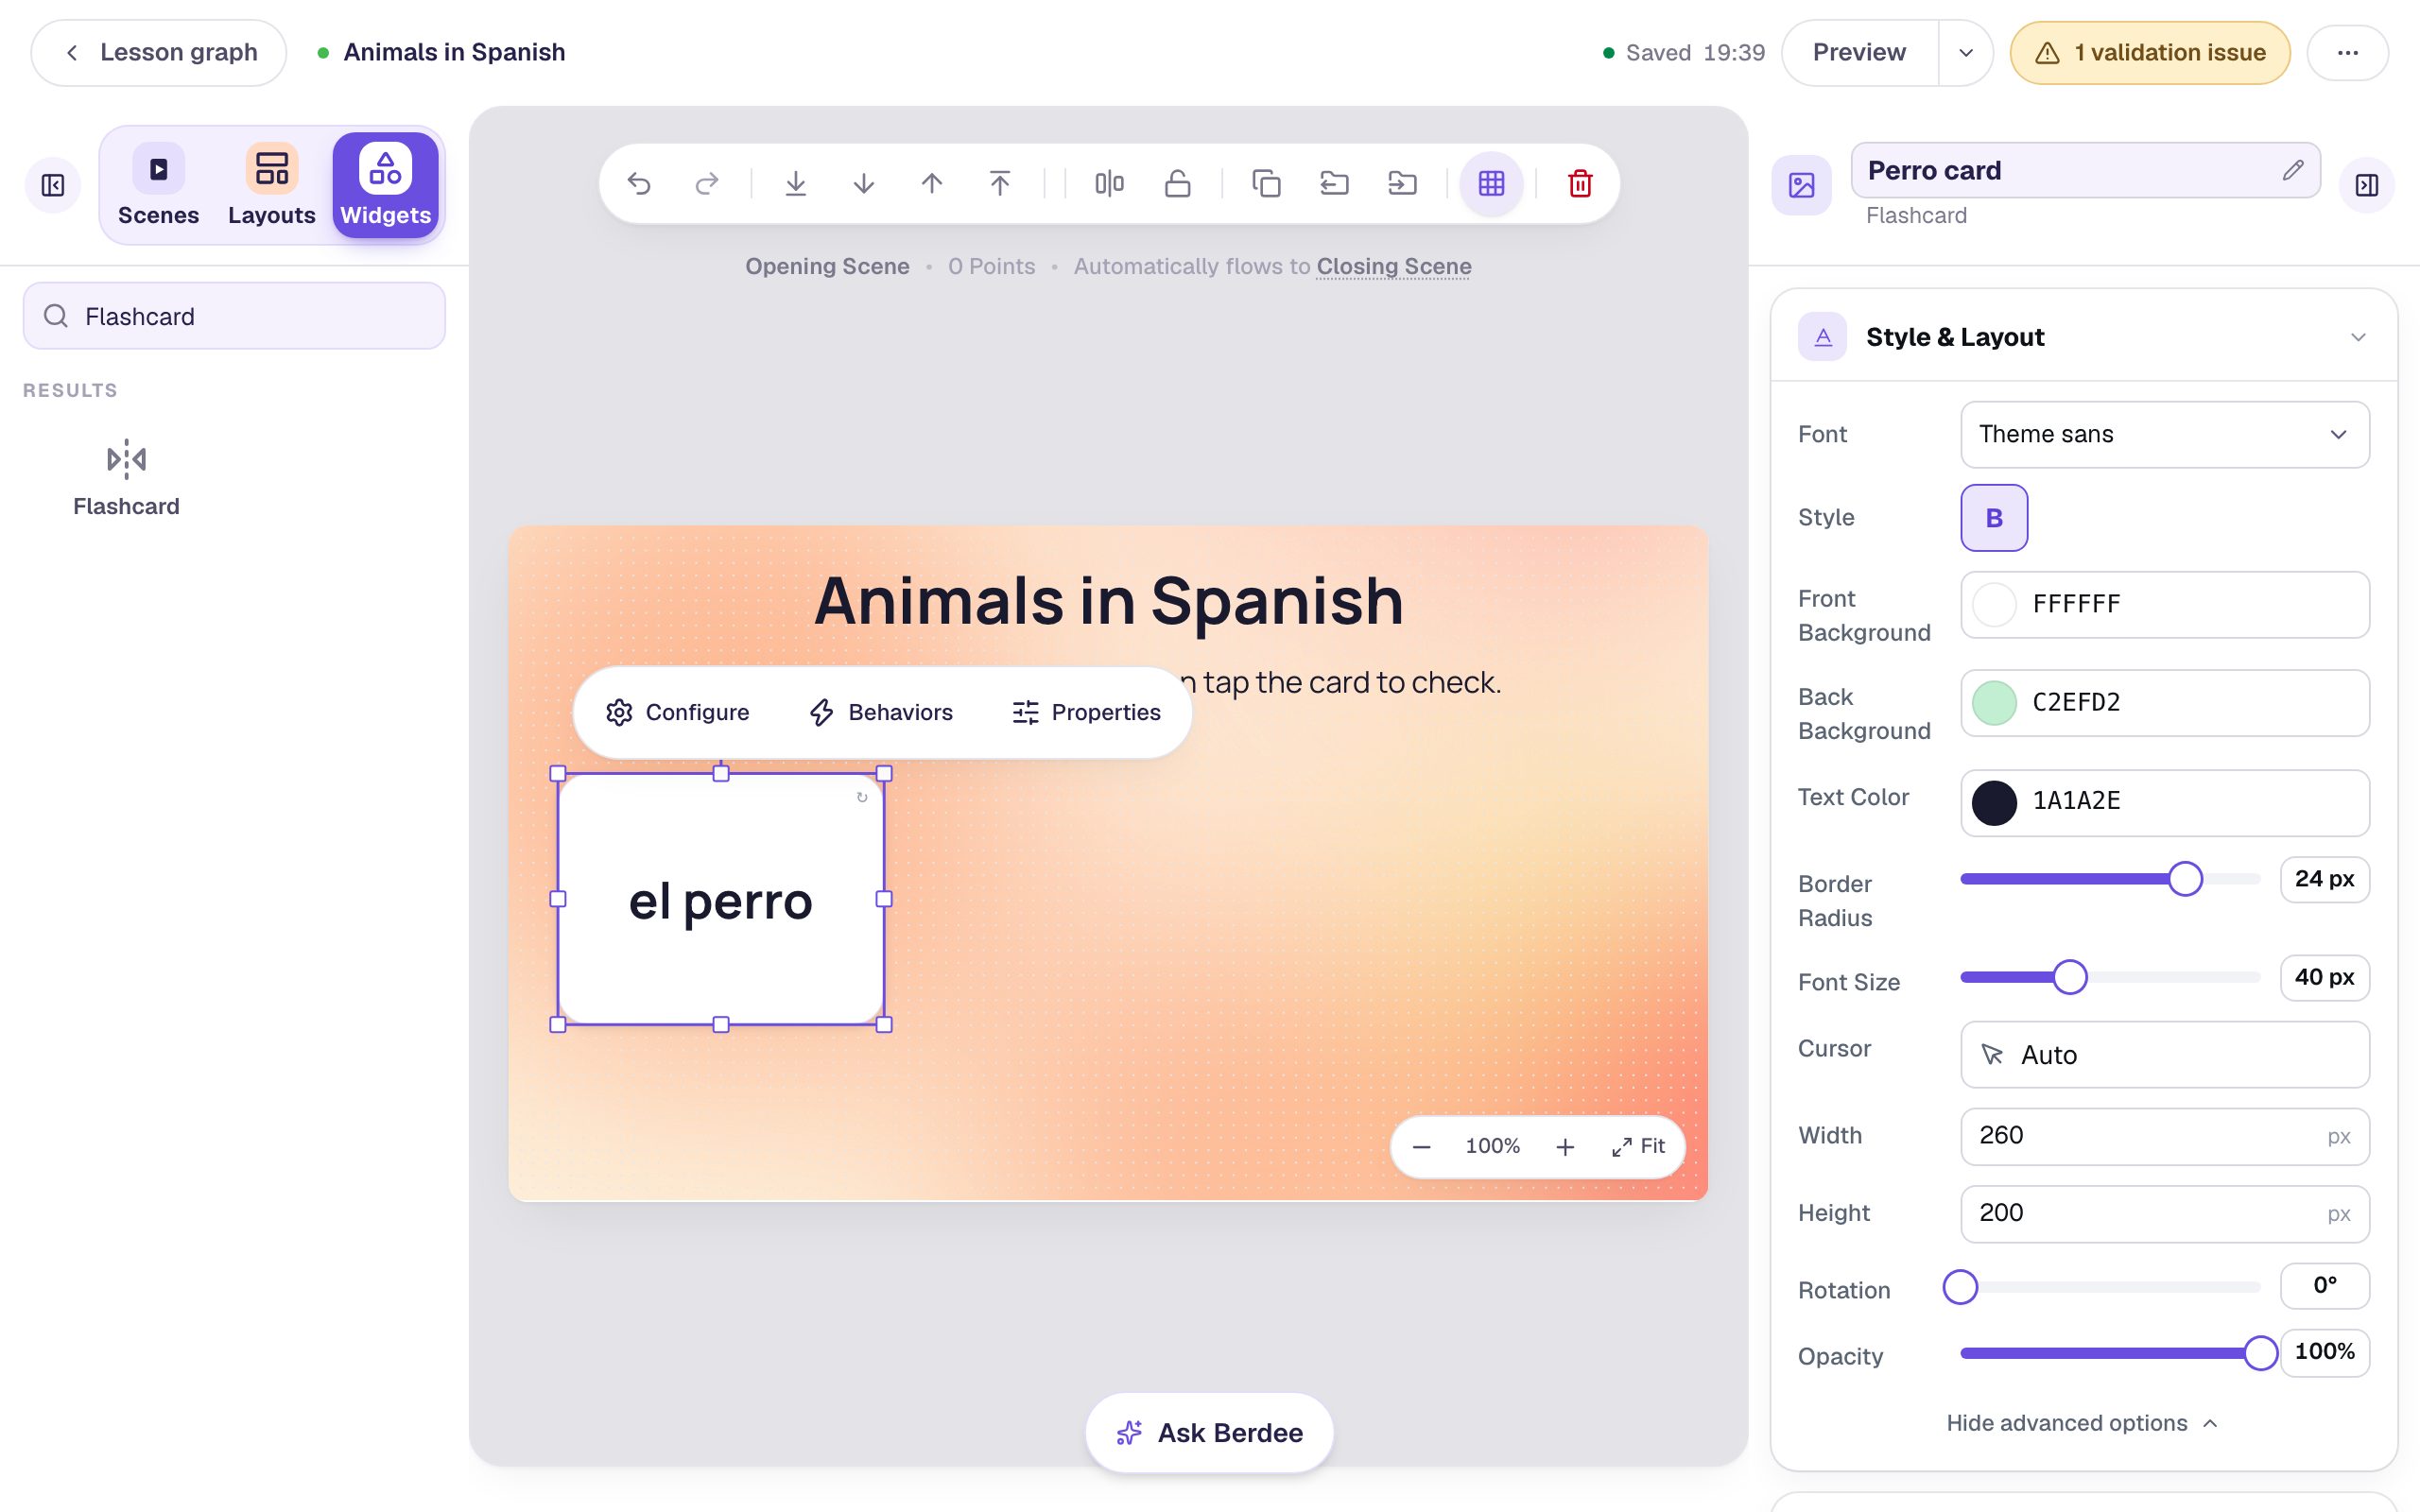
The canvas always shows the front. You'll see the mint back when you preview in Step 7.
Step 4: Copy the card for the other words
Every card in a deck should look the same, so style one and copy it. With Perro card selected, press ⌘ D (Ctrl + D on Windows). The copy lands just beside the original with all its styling. Drag it to the middle of the row, click ⚙ Configure, change the front to el gato and the back to 🐱 the cat, and click Save. Rename it Gato card.
Do it once more for the right-hand card: el pájaro on the front, 🐦 the bird on the back, named Pájaro card.
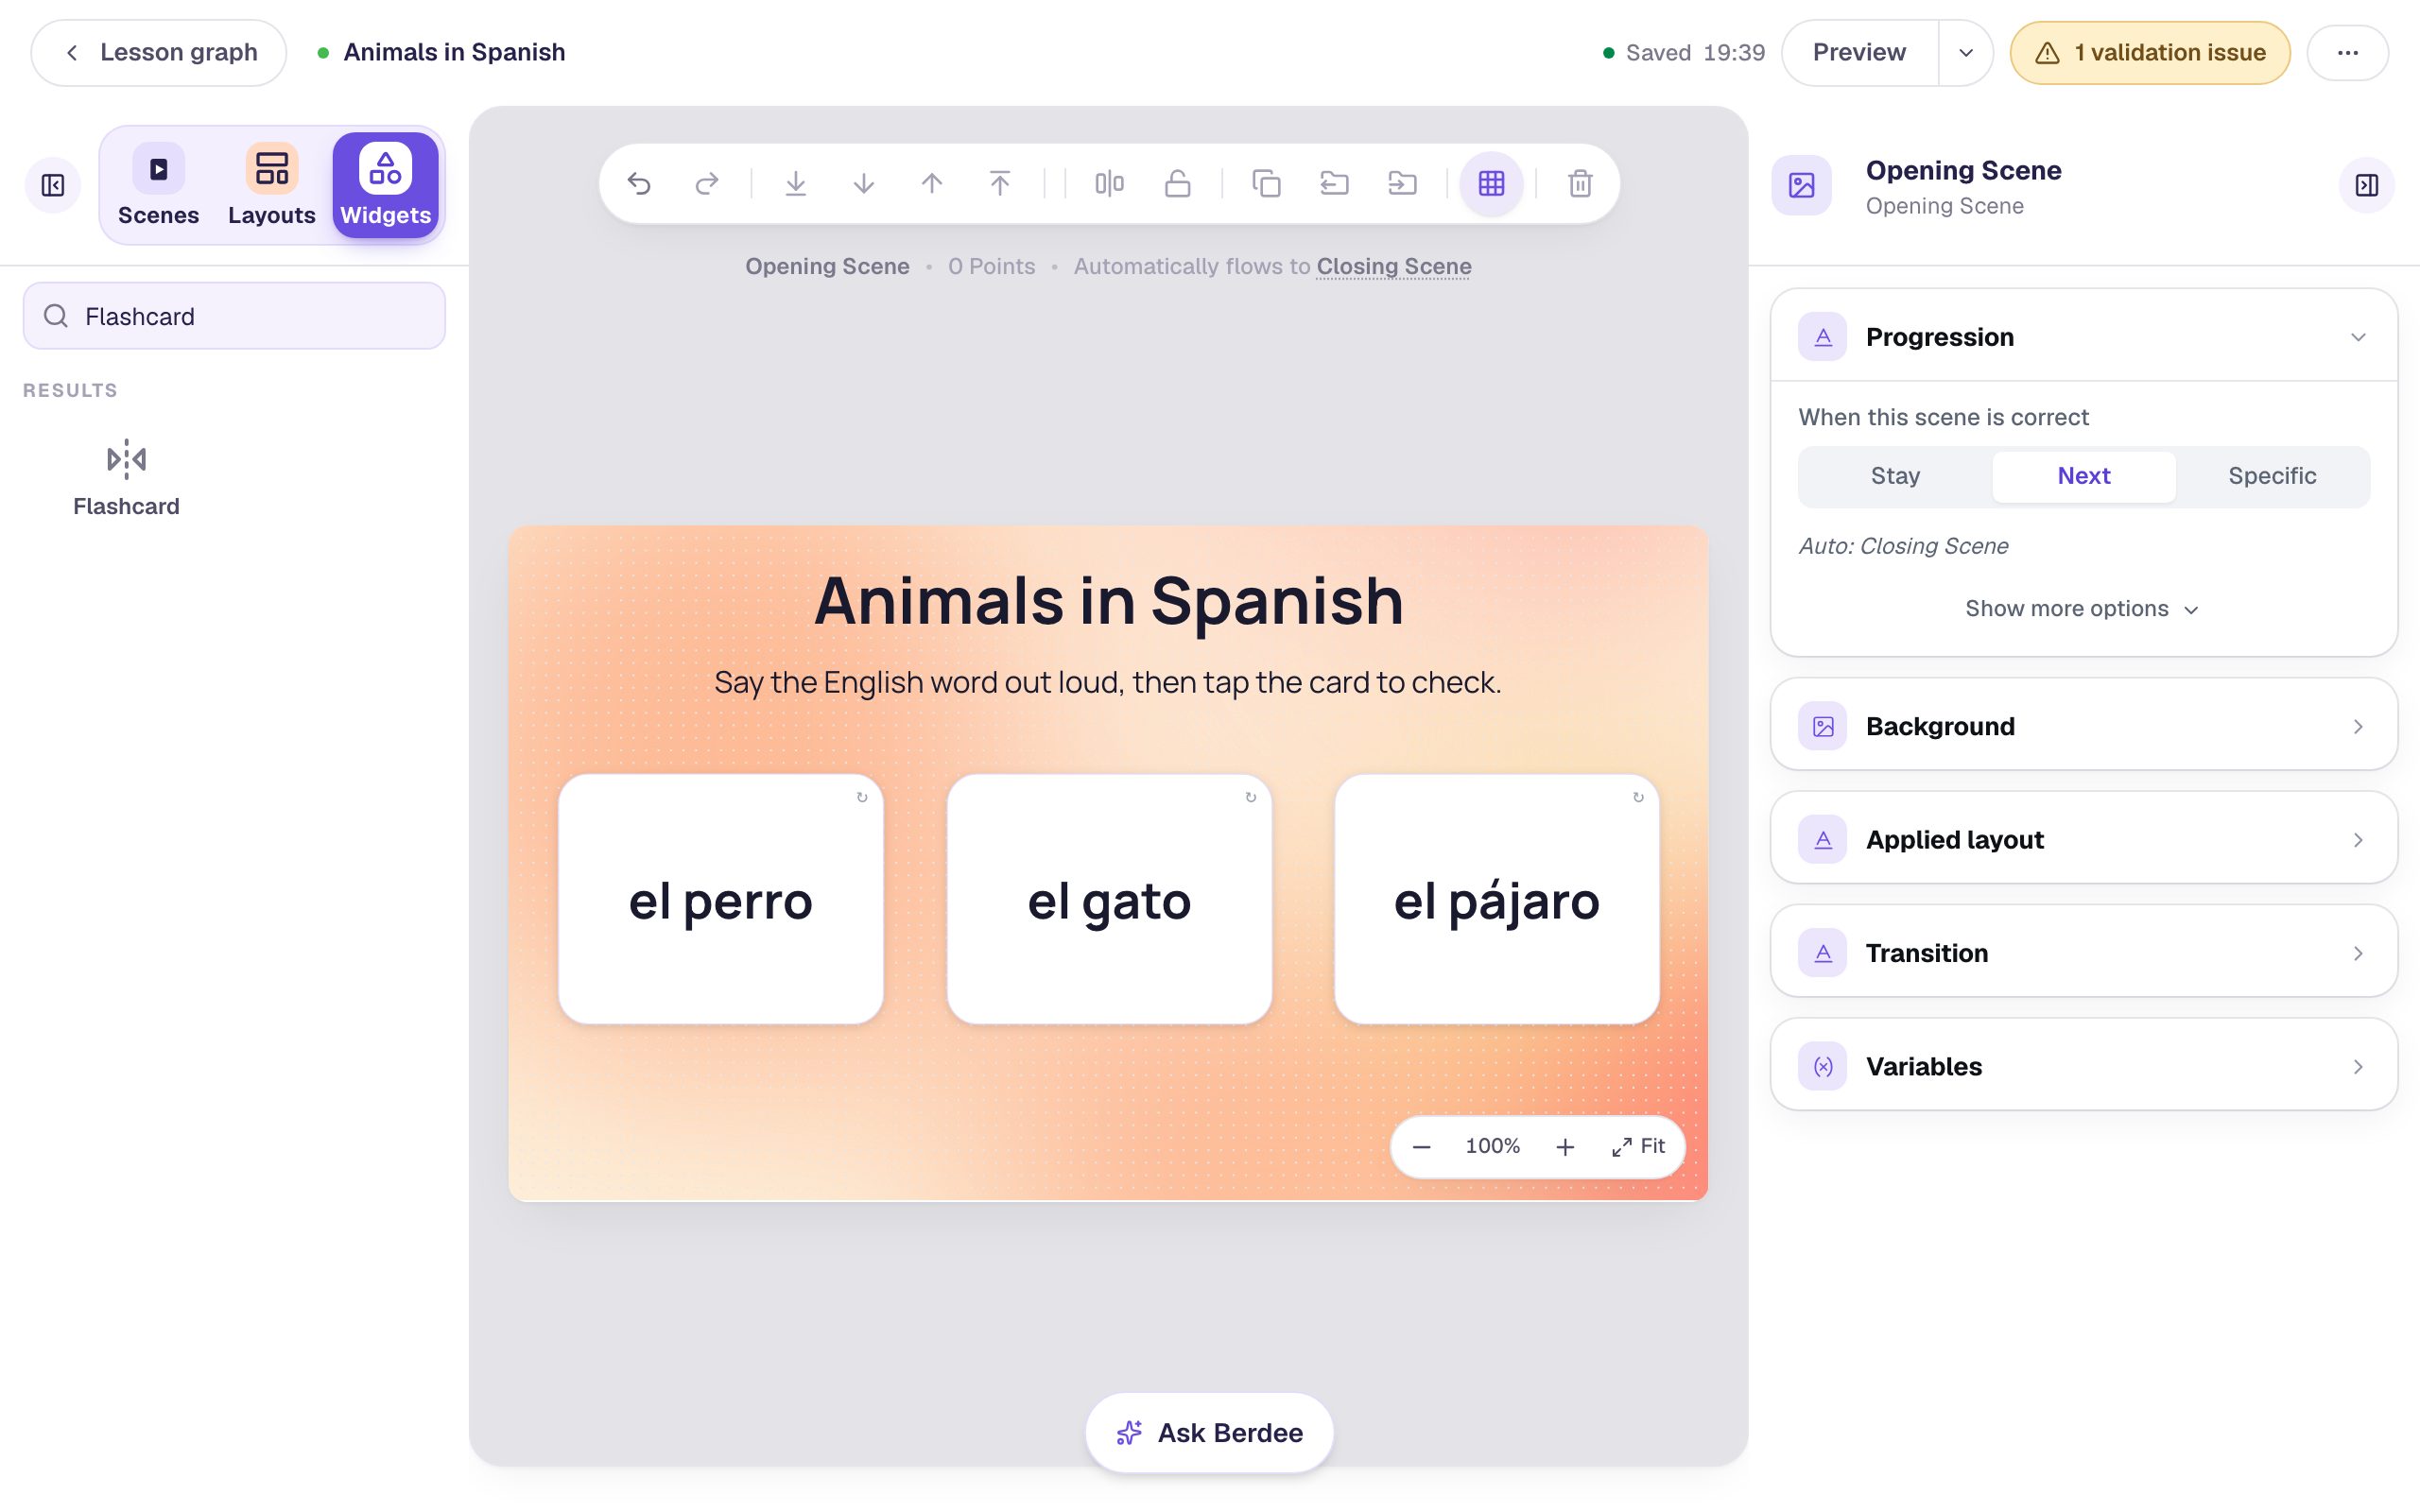
A copy is named after its original (Perro card 2), which is why you rename each one. The pink guide lines that appear while you drag help you line the cards up. Keyboard Shortcuts lists the other shortcuts, like Alt-dragging to copy with the mouse.
Step 5: Add a Next button
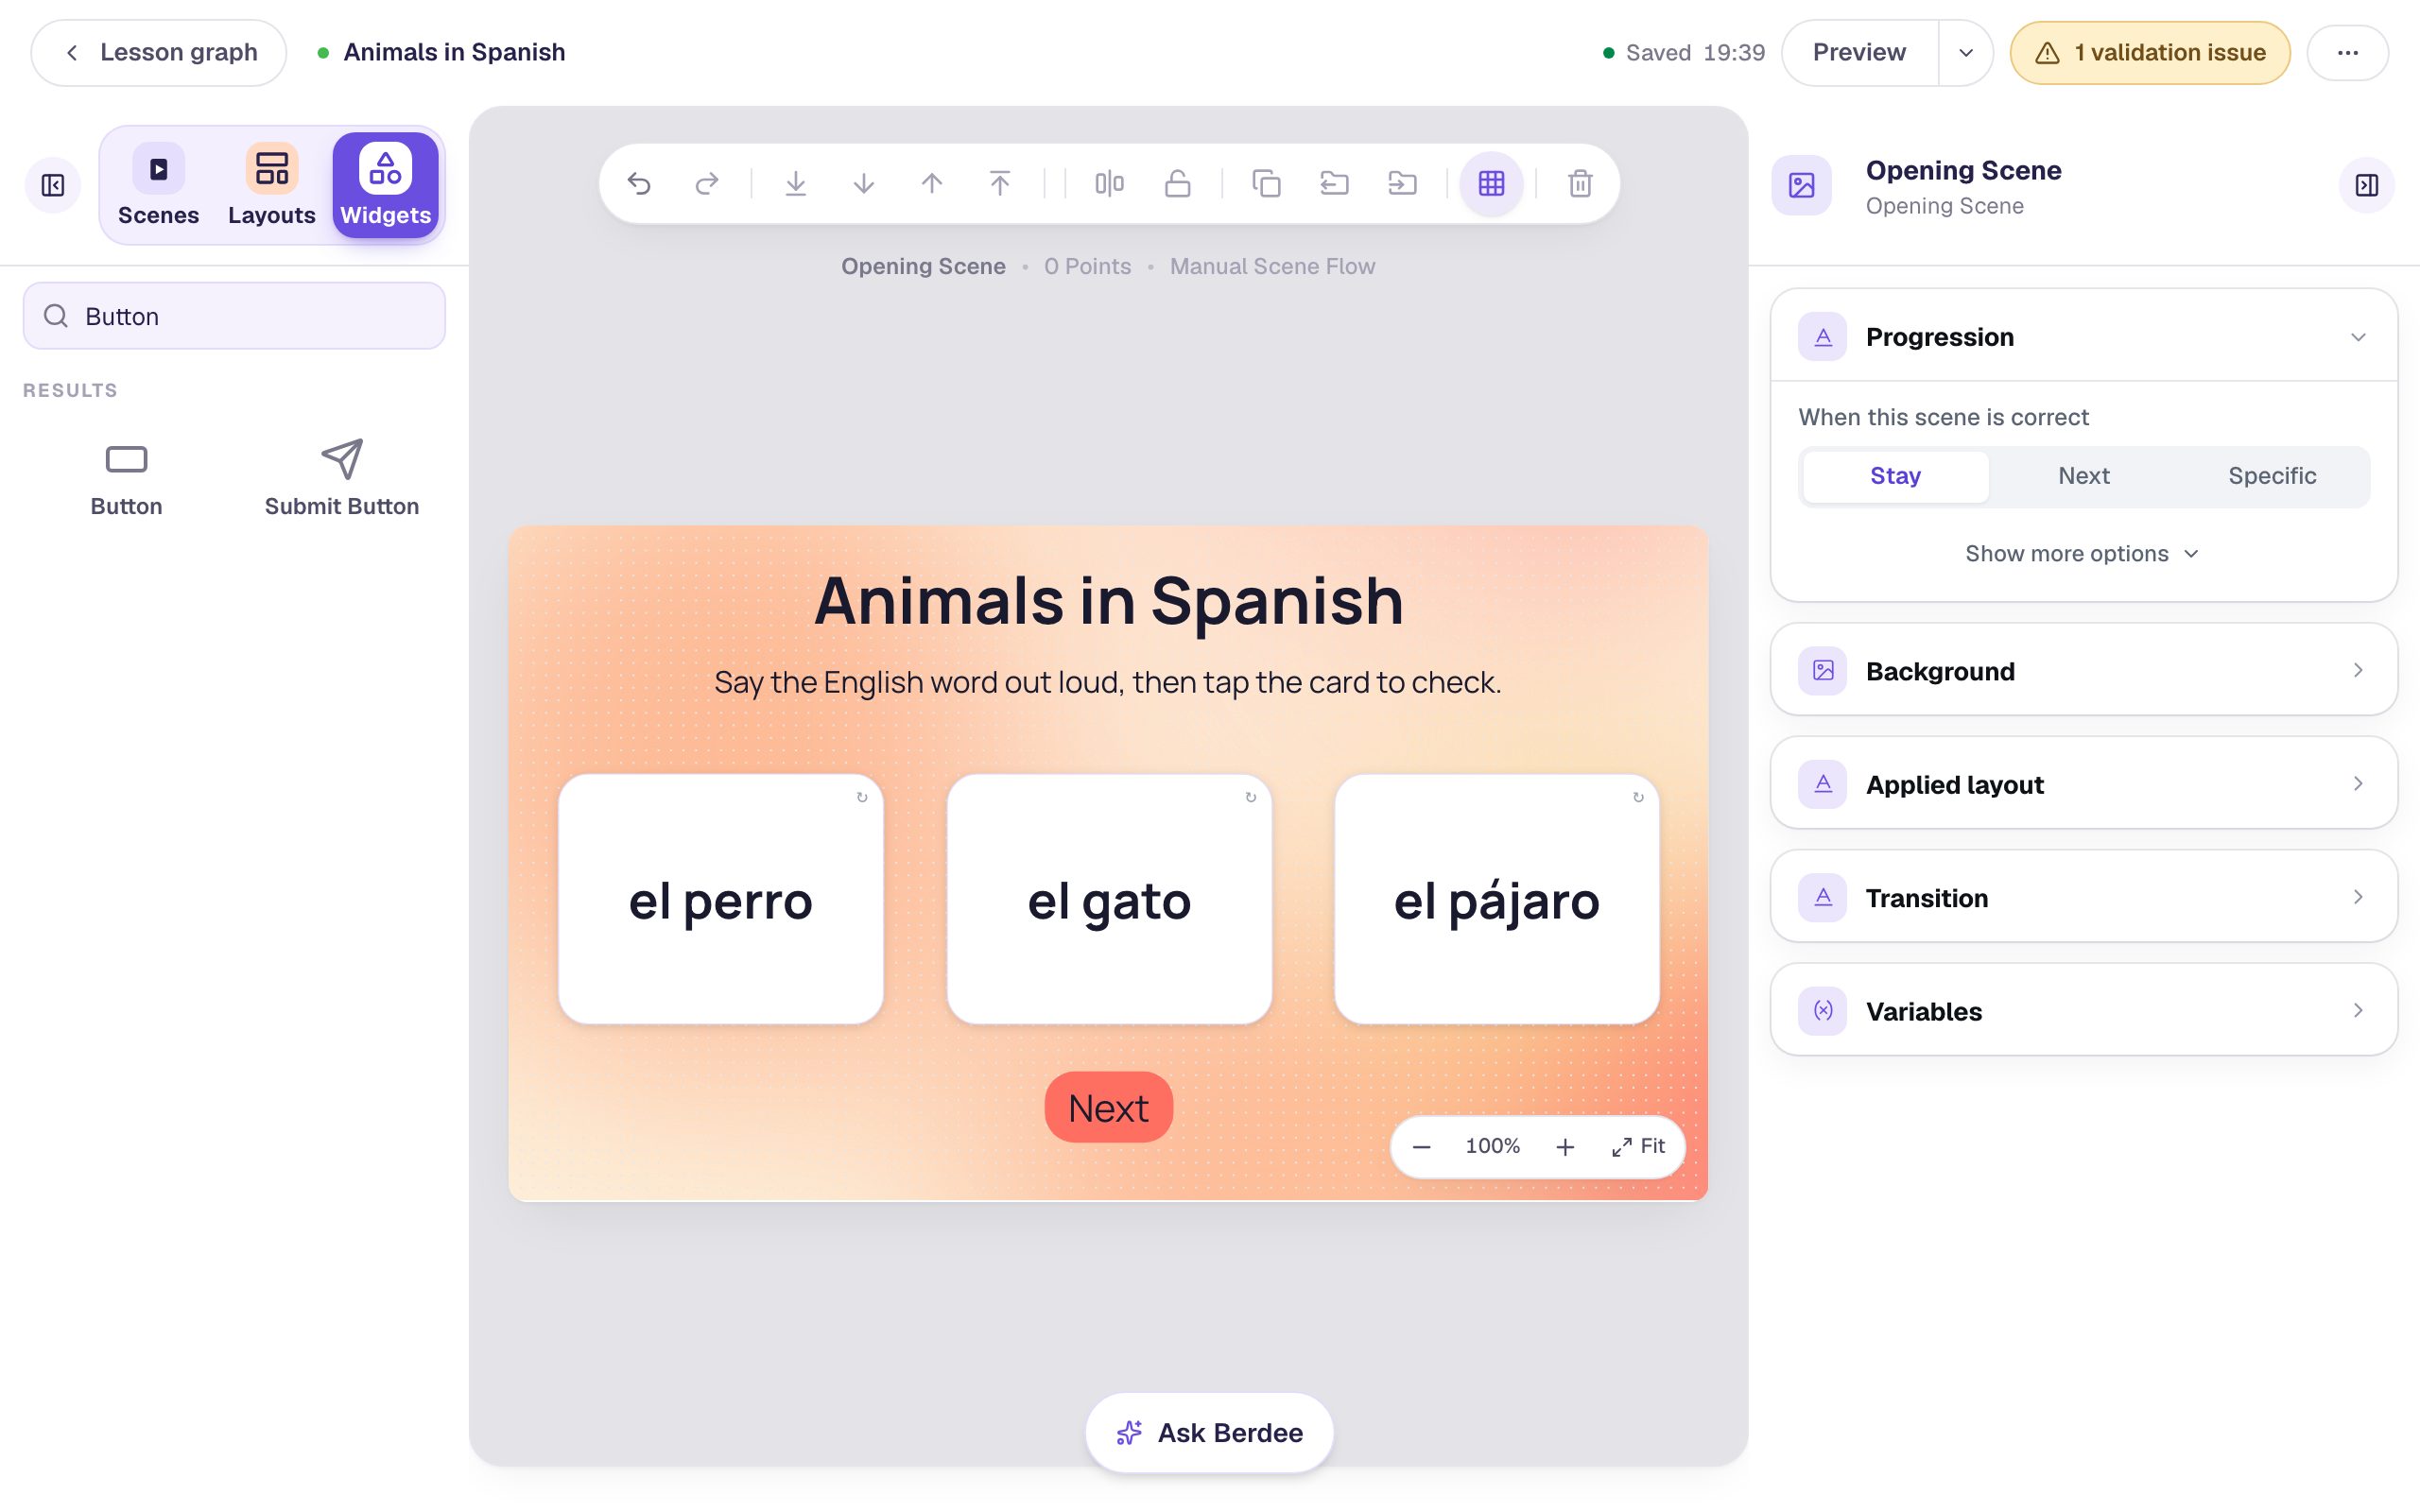
Click an empty spot on the scene and, in Progression, change When this scene is correct from Next to Stay. A scene of flashcards has nothing to get "correct", so the student decides when to move on, with a button.
Add a Button, click ⚙ Configure, change its Label to Next, and click Save. Rename it Next too. Click Behaviors above it, then Make this a "Next" button, check that Goes to says Closing Scene, and click Add behavior. Set its Font Size to 30 and drag it under the middle card.
Step 6: Show Next only after every card is flipped
Right now a student could press Next without turning over a single card. With the Next button selected, open Visibility in the properties panel:
- Set Mode to Conditional, and leave Behavior on Show and the list on All conditions are met.
- In the first condition, pick Flashcard: Perro card, then Has been pressed.
- Click Add Condition. The new row starts on some other widget, so pick Flashcard: Gato card, then Has been pressed.
- Add a third condition for Flashcard: Pájaro card, Has been pressed.
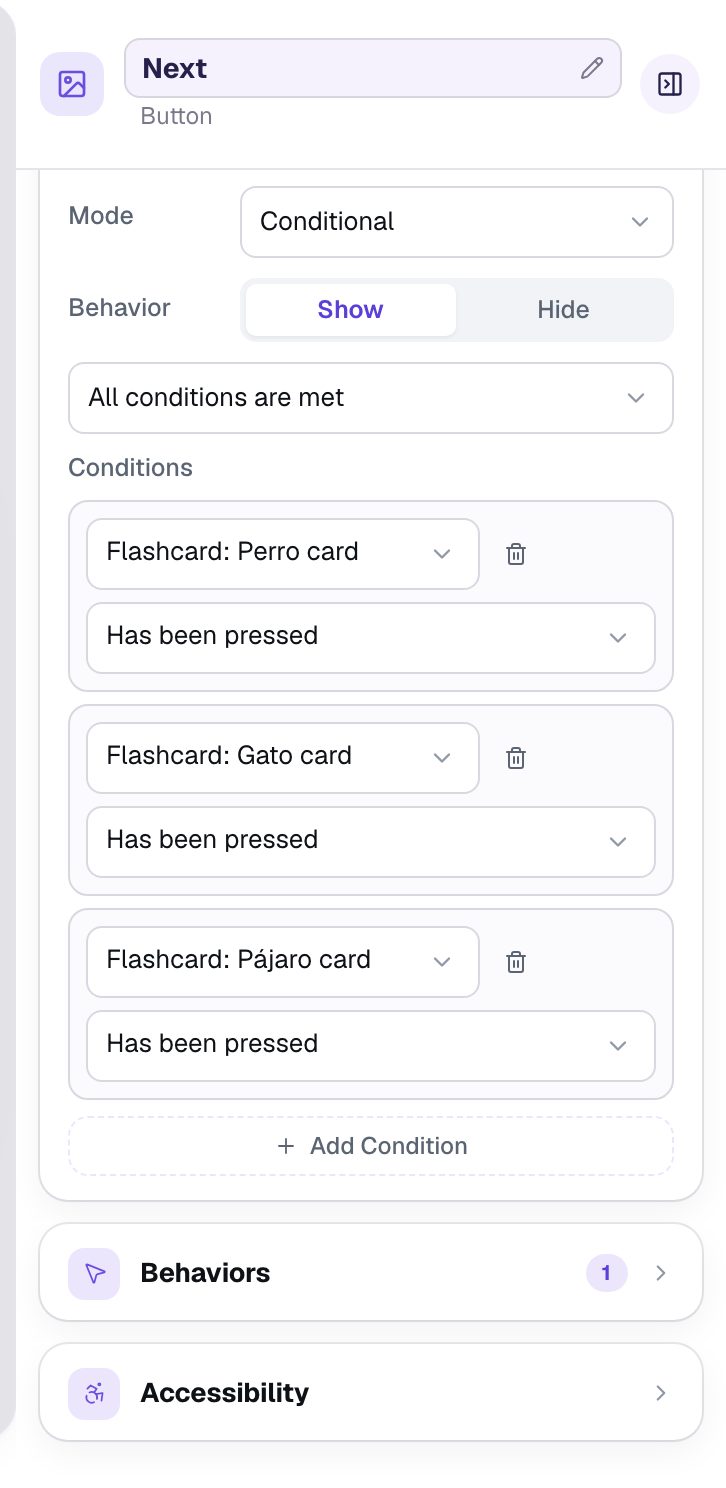
Why "Has been pressed" and not "Is flipped"? A flashcard also offers Is flipped, but that's true only while the back is showing. A student who checks the dog, then flips it back to test themselves again, would make the button vanish. Has been pressed stays true once a card has been tapped, so Next appears after the first pass through the deck and stays put.
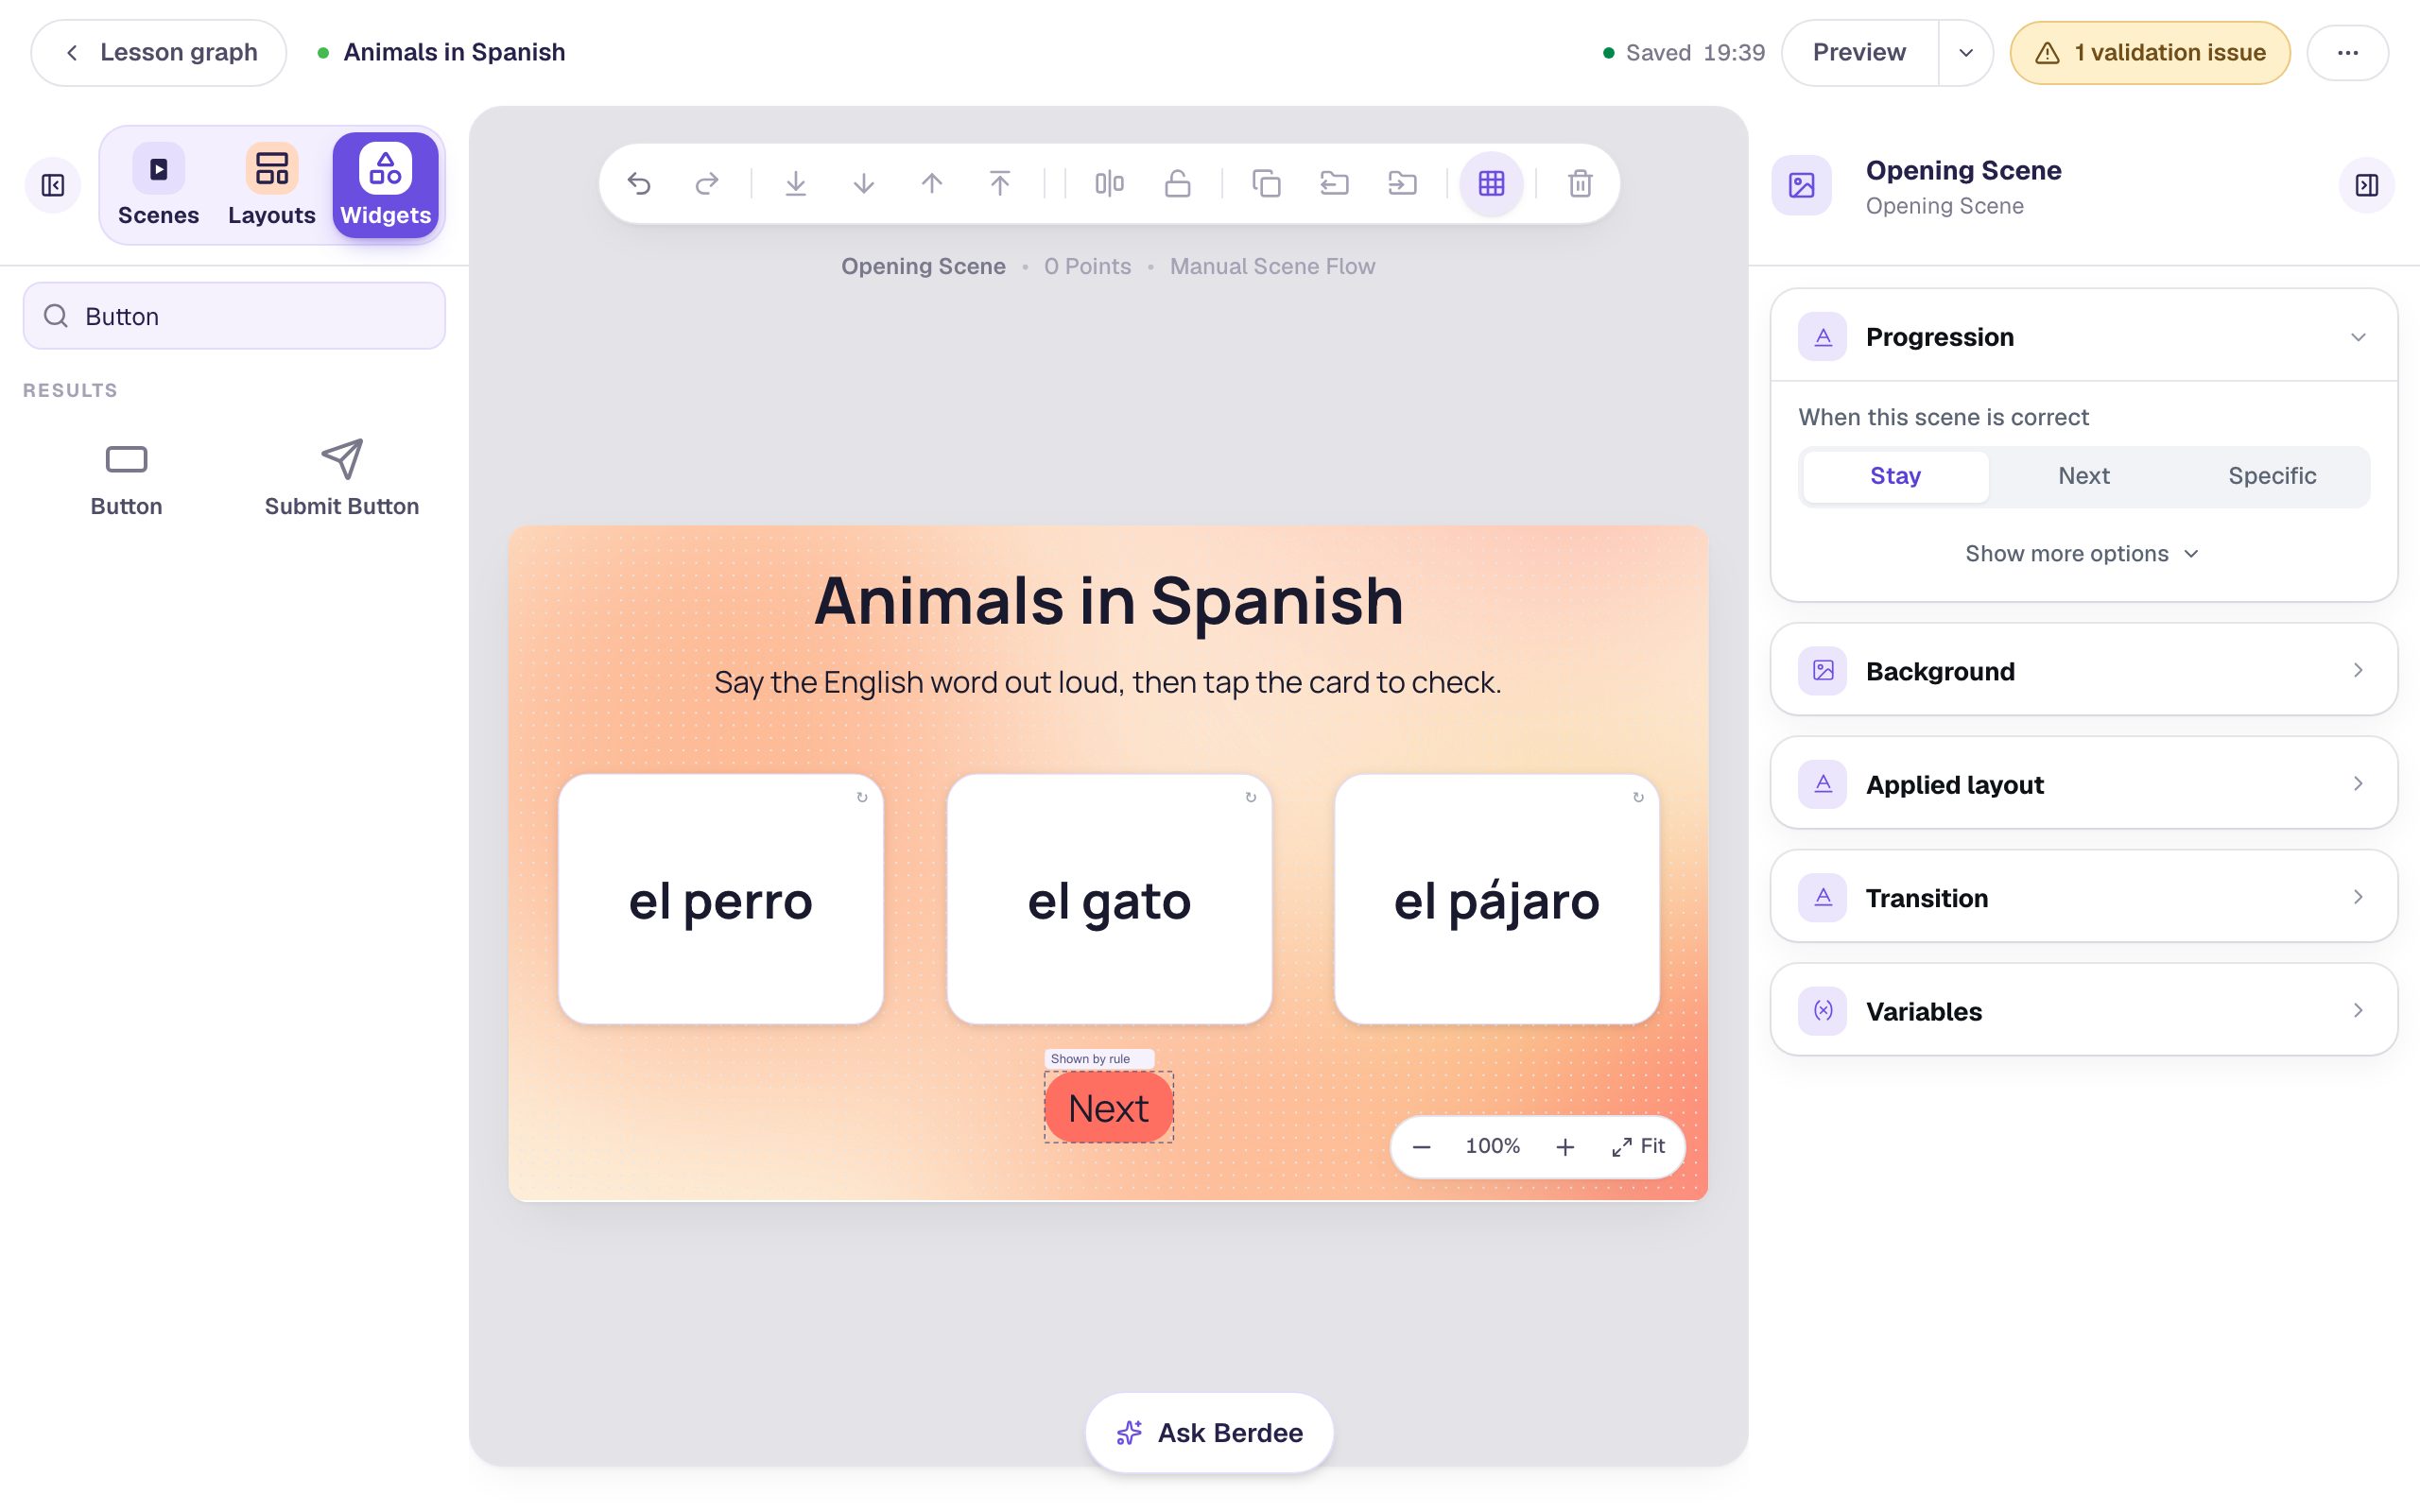
On the canvas the button gets a small Shown by rule tag, a reminder that students won't see it straight away. Visibility and Personalization has more ways to reveal things at the right moment.
Step 7: Try it as a student
Click Preview. The three cards show their Spanish side, and there's no Next button yet.
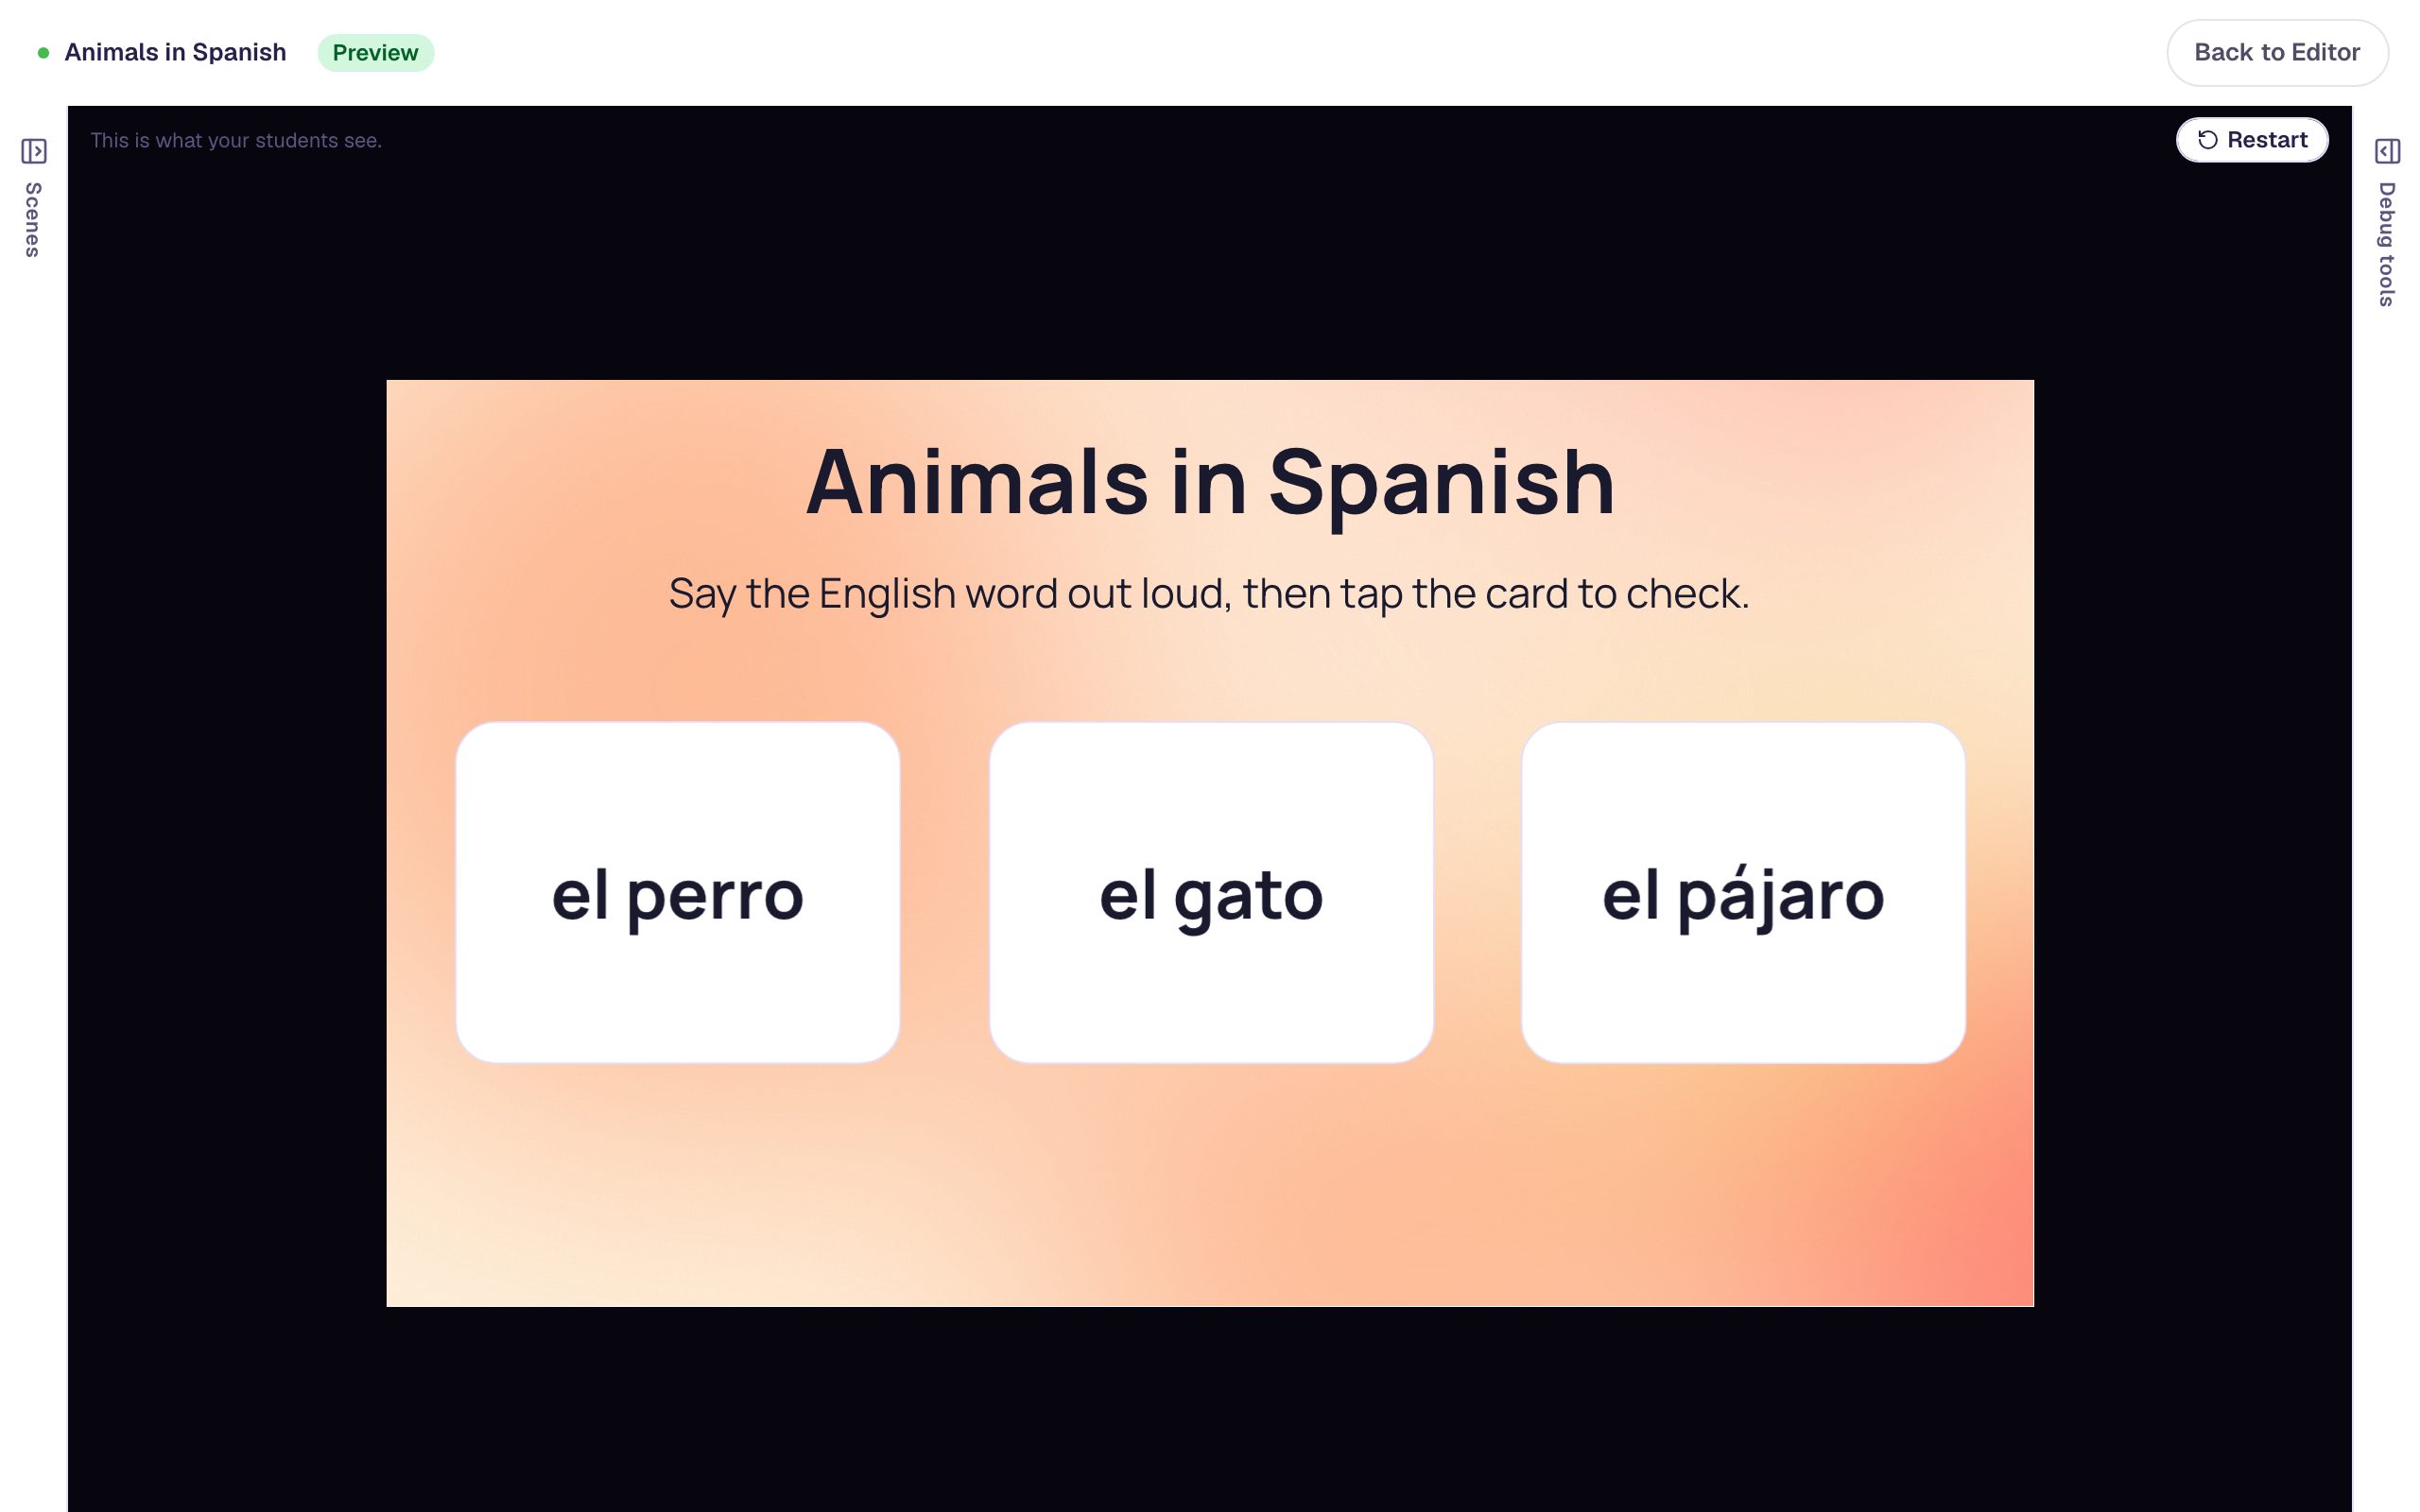
Tap el perro. The card turns over to the mint back:
Flip the other two, and Next appears:
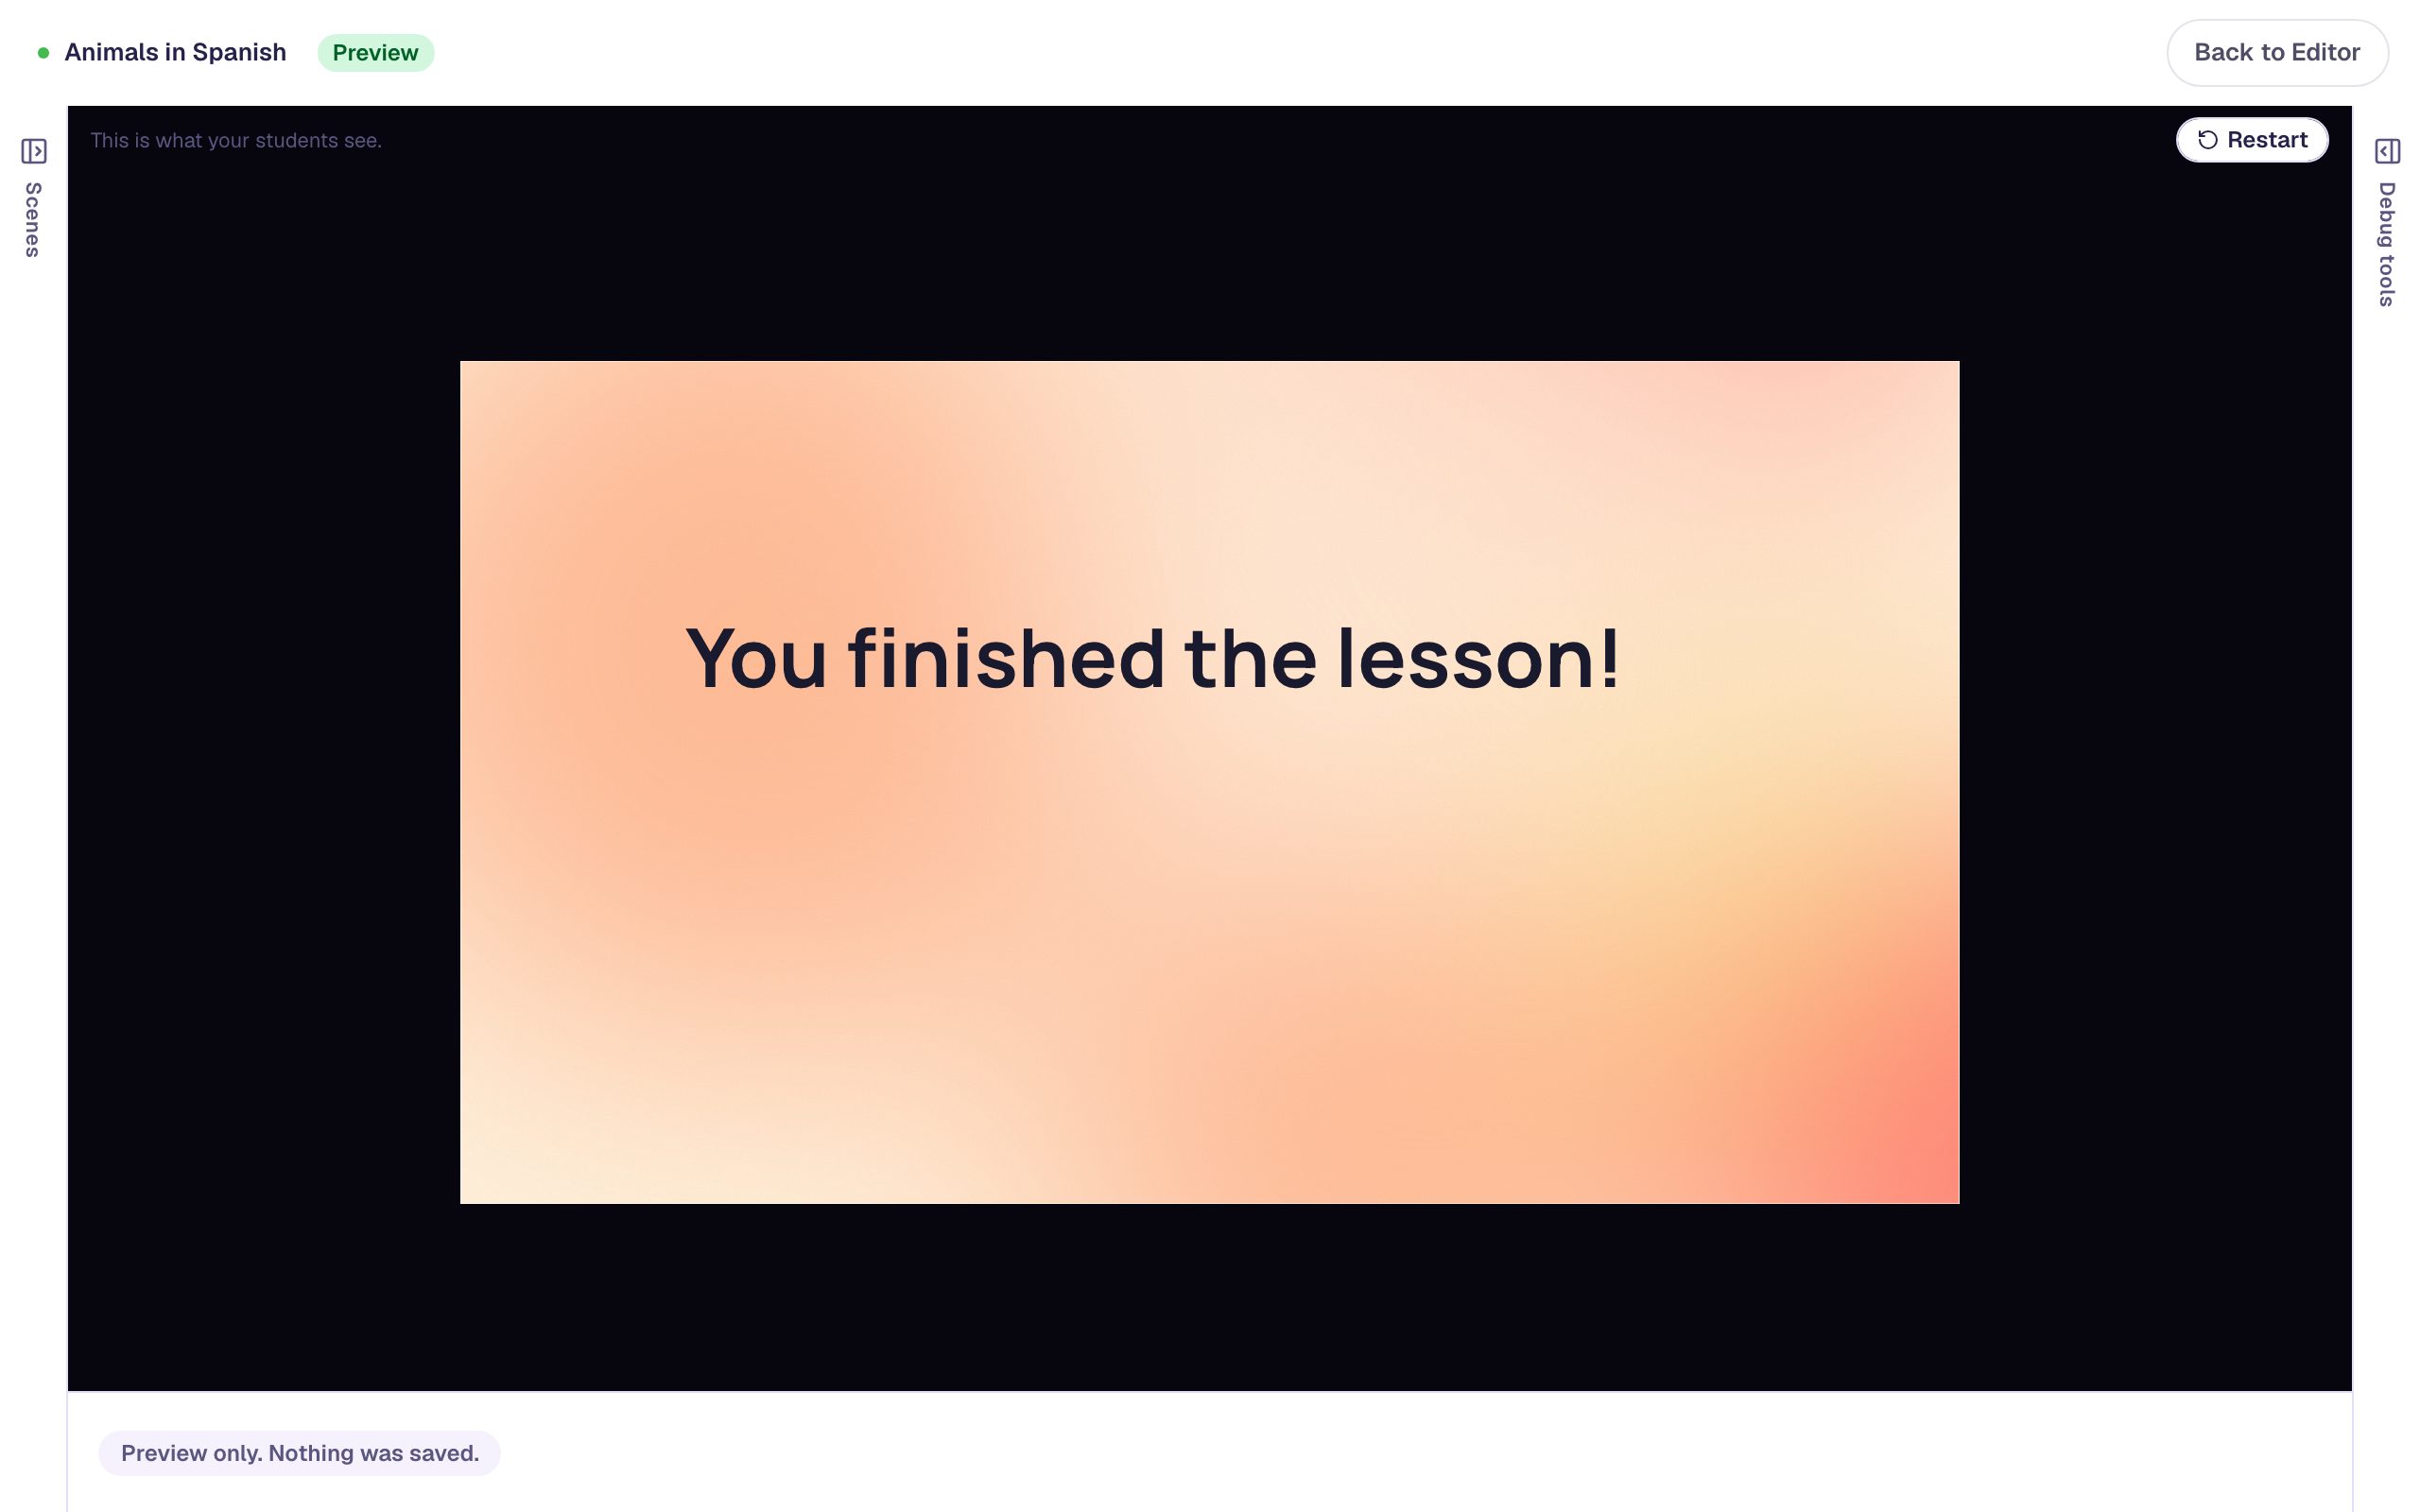
Press Next to reach the ending. The flashcards aren't graded, so the ending doesn't show a score.
Students who use a keyboard can flip a card too: Tab to it and press Space or Enter. A screen reader reads the side that's showing, and reads the other side aloud as the card turns.
What you built
A vocabulary scene with:
- three flashcards, Spanish on the front and the English word with an emoji on the back,
- a white front and a mint back, so students always know which side they're looking at,
- cards built once and copied with ⌘ D, renamed so they're easy to find, and
- a Next button on a Stay scene that appears only once every card has been tapped.
Flashcards are practice, not a test, so a deck works best right before a few questions on the same words. Build those next with Build your first quiz question or Build a matching game with instant feedback. Before you publish, the lesson also needs an I'm done button (a Submit Button that submits the Lesson); that's the one validation issue showing at the top of the studio. The quiz tutorial adds it on the last question, which is the best place for it: pressed on a scene in the middle of a lesson, it ends the lesson there. Every Flashcard setting is in Flashcard Widget.
For another quick vocabulary activity, Review vocabulary with a word search hides the week's words in a grid of letters.
Make this lesson yours
Add the lesson you just watched being built to your account, then change it for your class: your questions, your pictures, your colors.
Free to sign up, and you'll come straight back here. I have an account