Review vocabulary with a word search
Hide six ocean-animal words in a Word Search, keep the puzzle easy enough for young readers, color it to match the lesson, and add a running count of the words found. The lesson finishes by itself when the last word is found.
- Level
- Beginner
- Time
- About 10 min
- Steps
- 6
An "Ocean animals" scene with a 9 × 9 word search of six animal names, a word list that crosses off each find, and an "Animals found" count, that moves on to the ending the moment the last animal is found.
Get the finished lesson
Skip straight to the result, or keep it open beside the steps. Add this tutorial's lesson to your account and explore how it works in the studio.
Free to sign up, and you'll come straight back here. I have an account
A word search is a quick, low-pressure way to go over a week's vocabulary. Students look hard at how each word is spelled while they hunt for it, and finding one feels like a small win.
In this tutorial you'll build one for a science lesson on ocean animals. Students find six animal names in a grid of letters. Each word they find is crossed off the list, a counter beside the puzzle goes up, and when they find the last one the lesson moves on to the ending by itself. You don't need a Check button or a Next button.
Step 1: Set the scene
Start a blank lesson (New lesson, then Start from scratch) and name it Ocean animals by clicking Untitled lesson at the top left.
Give the scene a background first. Click an empty spot on the scene, open Background, click Choose a style, and pick Layered waves under Nature. Give the Closing Scene the same background, so the ending matches.
Then add the words students read first:
- A Heading at the top:
Find the ocean animals. Set its Font Size to44. - A Body text under it, saying how to play:
Drag across each word you spot in the grid.Set its Font Size to22.
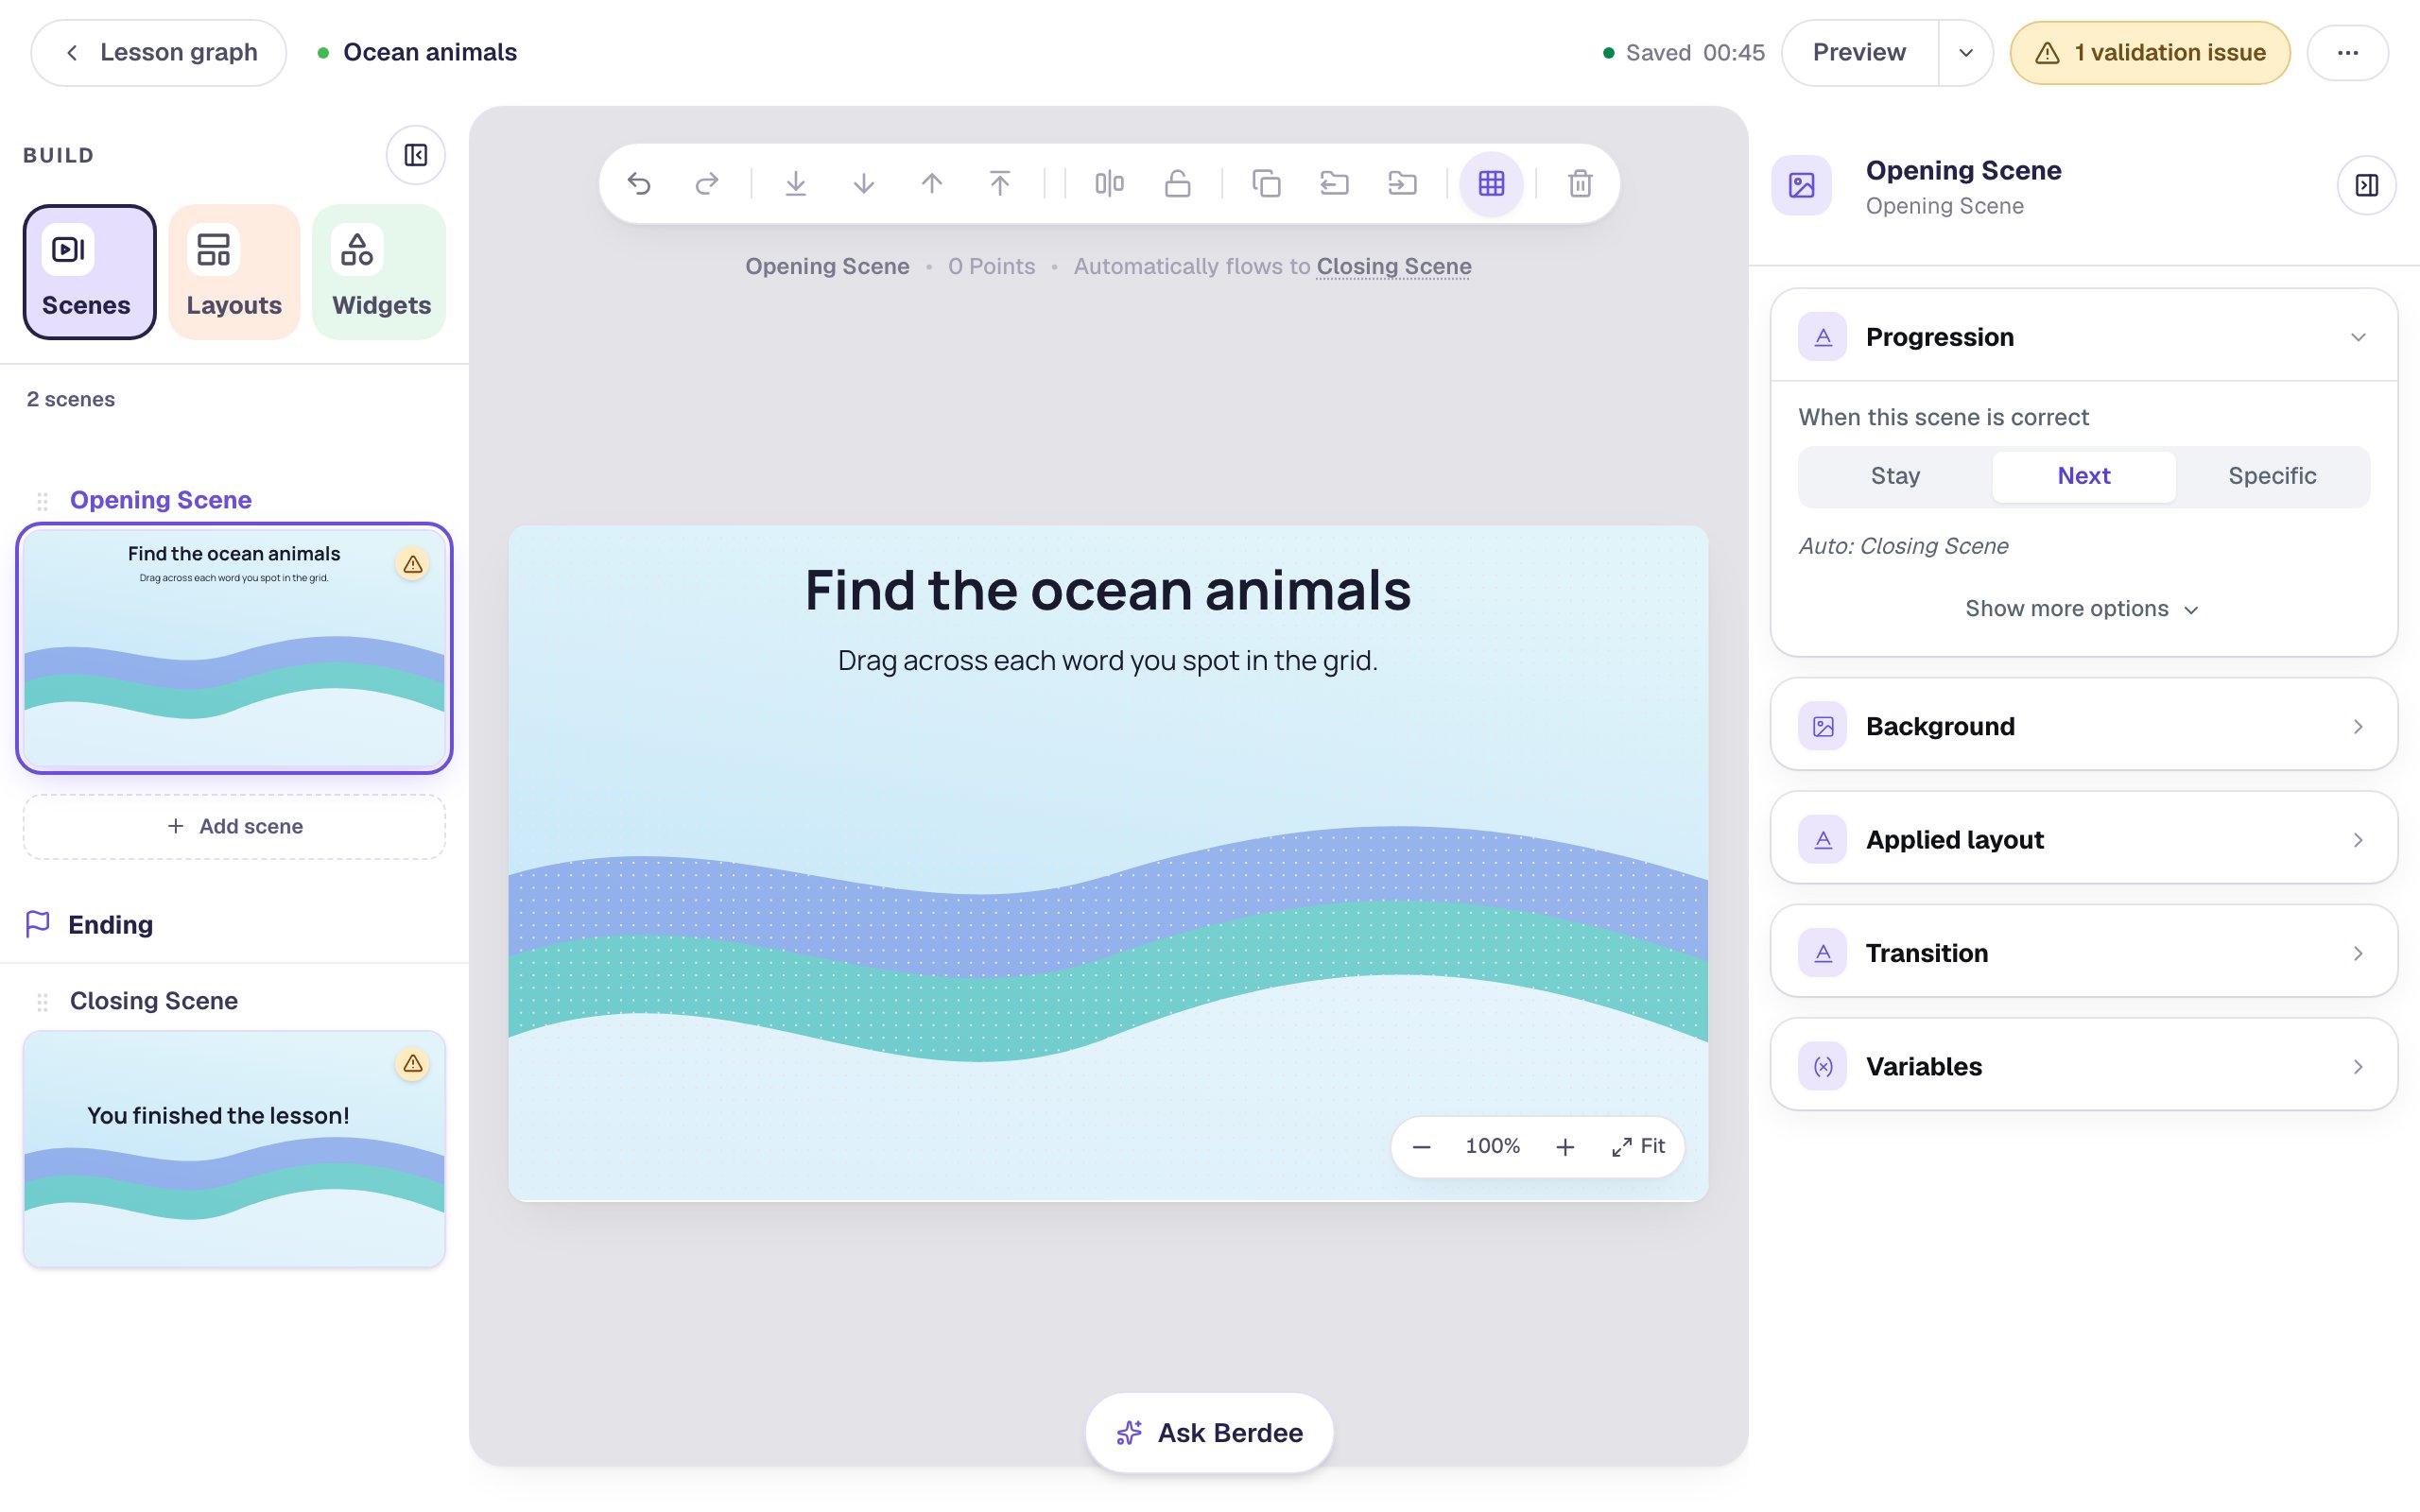
Keep the instruction to one short sentence. Students who've done a word search before will skip it, and students who haven't need to know they drag across the letters.
Step 2: Add a word search and type your words
Search the Widgets tab for Word Search and click it. It lands with three practice words: CAT, DOG and BIRD.
Click ⚙ Configure on the canvas pill. The window that opens has the word list on the left and, on the right, a preview of the grid students will get.
- Type over the three practice words with
WHALE,SHARKandOCTOPUS. - Click Add word and type
TURTLE. Do the same forCRABandJELLYFISH.
Leave each word's Points at 1. Every animal a student finds is then worth one point.
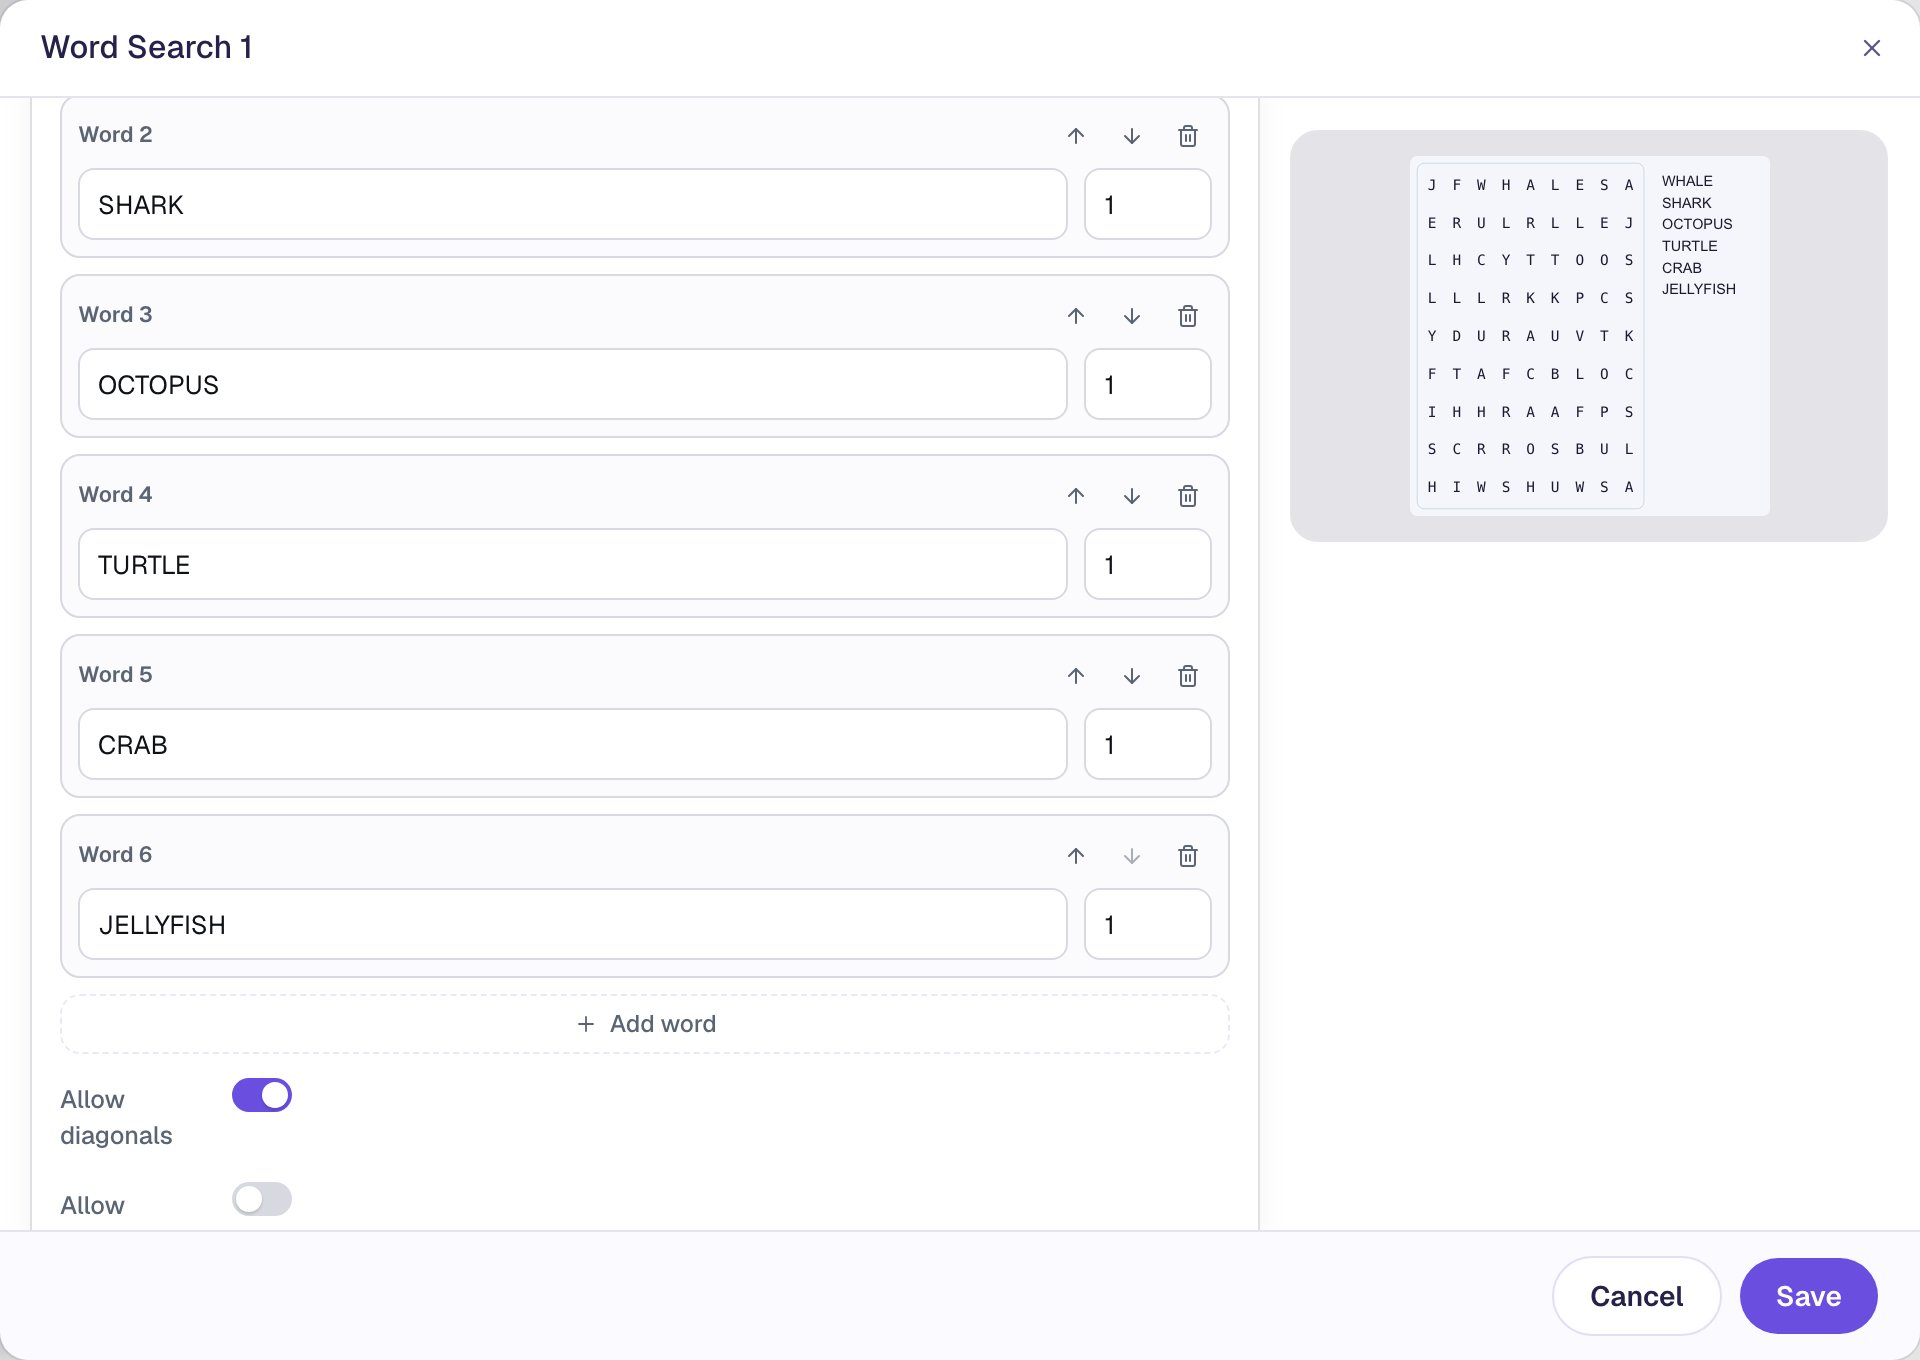
You don't have to type capitals: Berdee turns every word into capital letters and drops spaces, accents and punctuation, because a grid can only hold letters. A word needs at least two letters left after that, and the window warns you about any that don't.
Step 3: Keep the puzzle easy to read
Scroll down the same window to the options under the word list. A new word search can hide words diagonally, which is hard for younger readers, so:
- Switch Allow diagonals off.
- Check that Allow backwards is off too.
- Leave Show word list on, so students can see which animals they're looking for.
The preview rebuilds as you go. Now every word reads left to right or top to bottom.
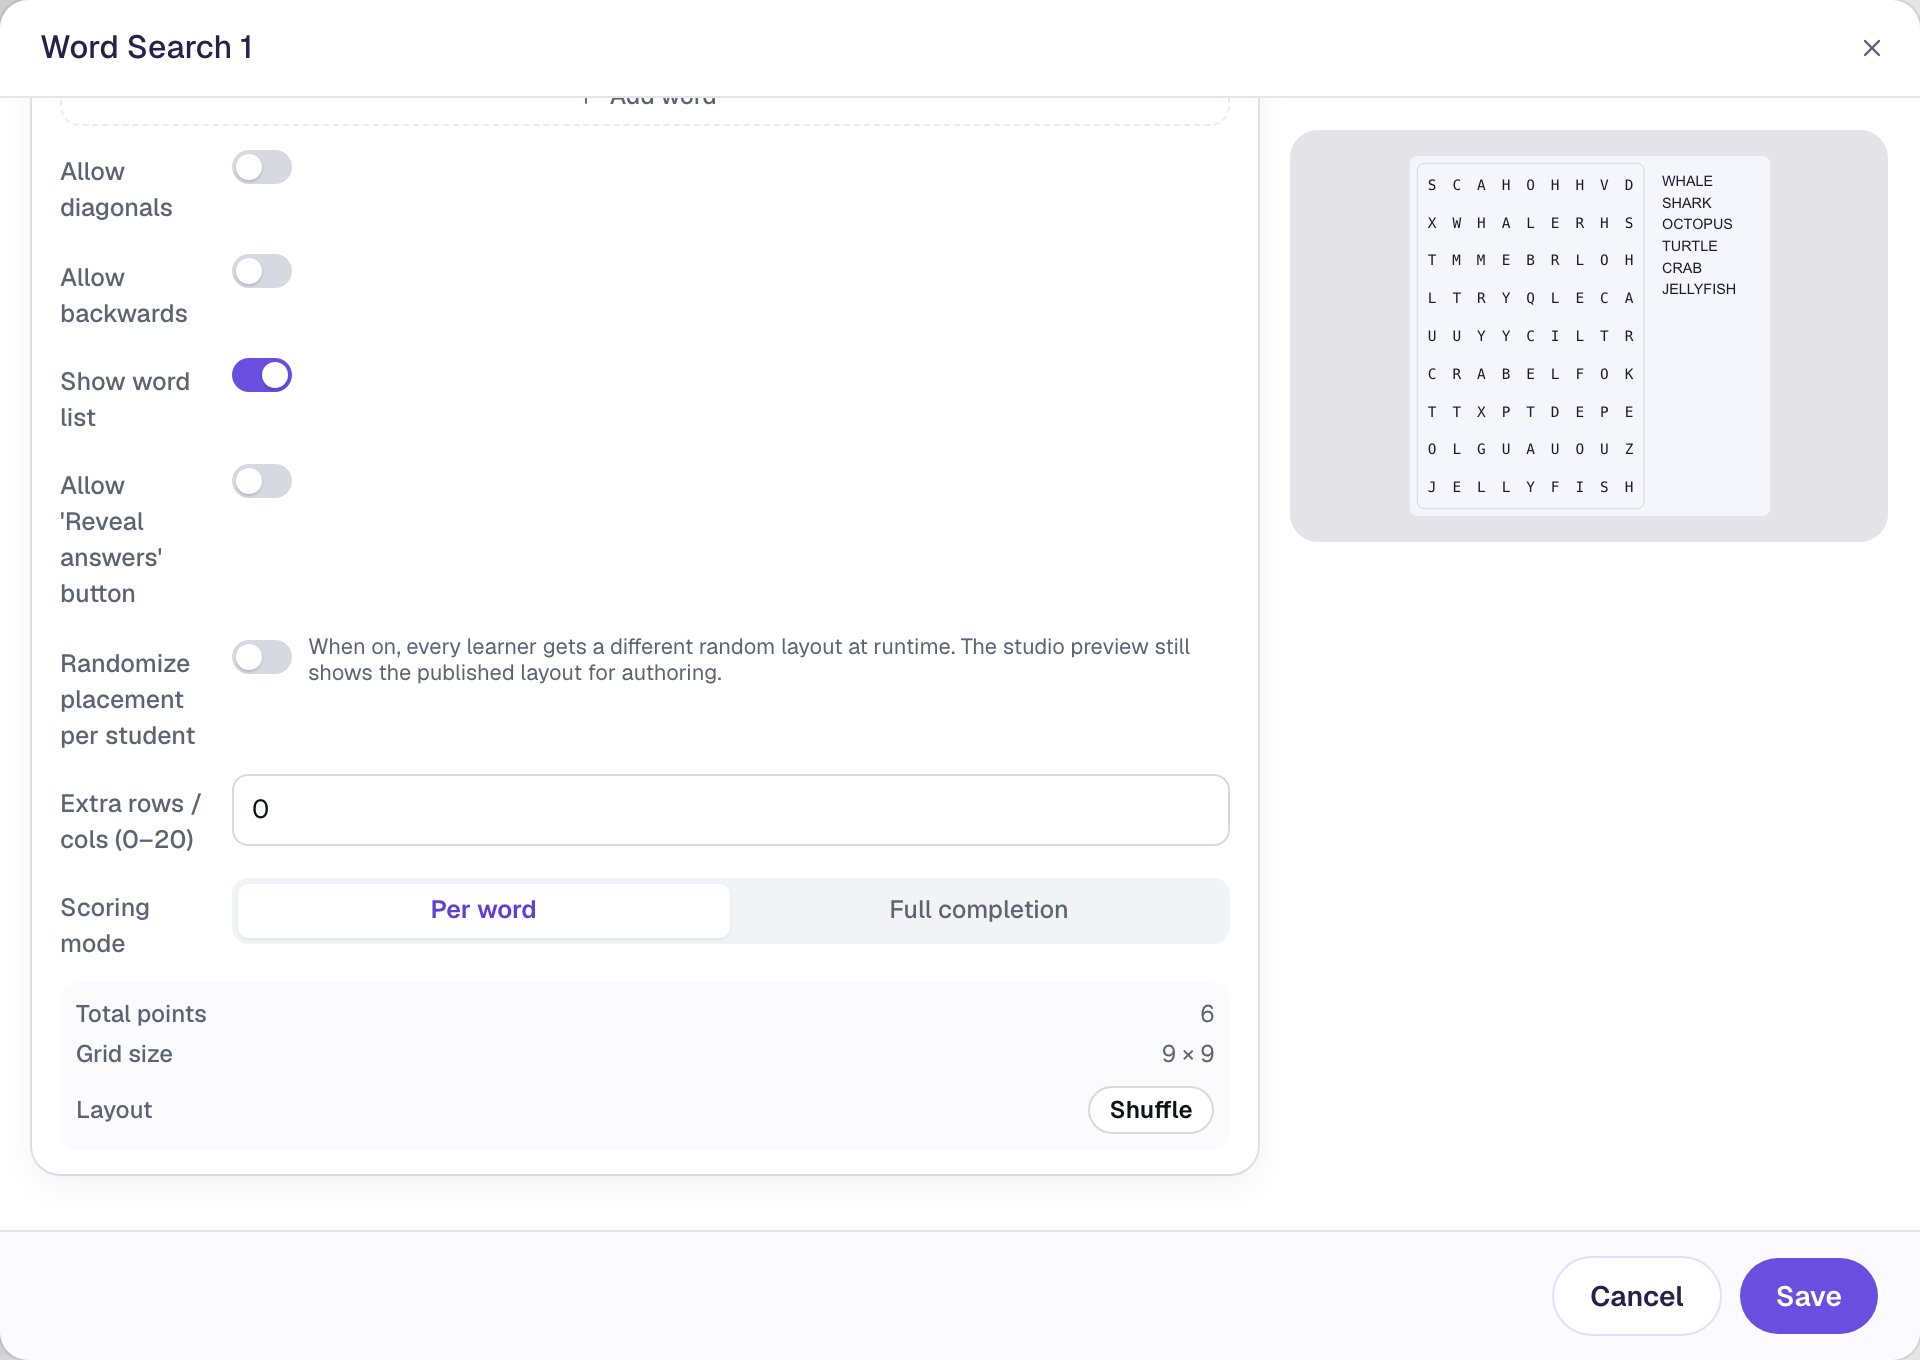
Leave Scoring mode on Per word, so each animal counts as soon as it's found. The Total points line confirms the puzzle is worth 6.
Every student gets the grid in the preview: the same words and options always give the same layout. If you don't like where a word landed (two words crossing in a confusing way, say), click Shuffle for a new arrangement of the same words. Then click Save.
Step 4: Size it and give it the lesson's colors
With the word search still selected, open Style & Layout in the properties panel:
- Under Show more options, set Width to
560and Height to360, and drag the puzzle under the instruction, a little left of center. You'll put the counter to its right. - Pick the colors. We used white for Background, a pale blue (
#e6f4fb) for Cell BG, a deep blue (#0b4566) for Letter, a light blue (#bde0f3) for Border and a soft teal (#85d3d3) for Found Color, the color a word turns once it's found. - Set Font Size to
22, so the letters are easy to read from a little way back.
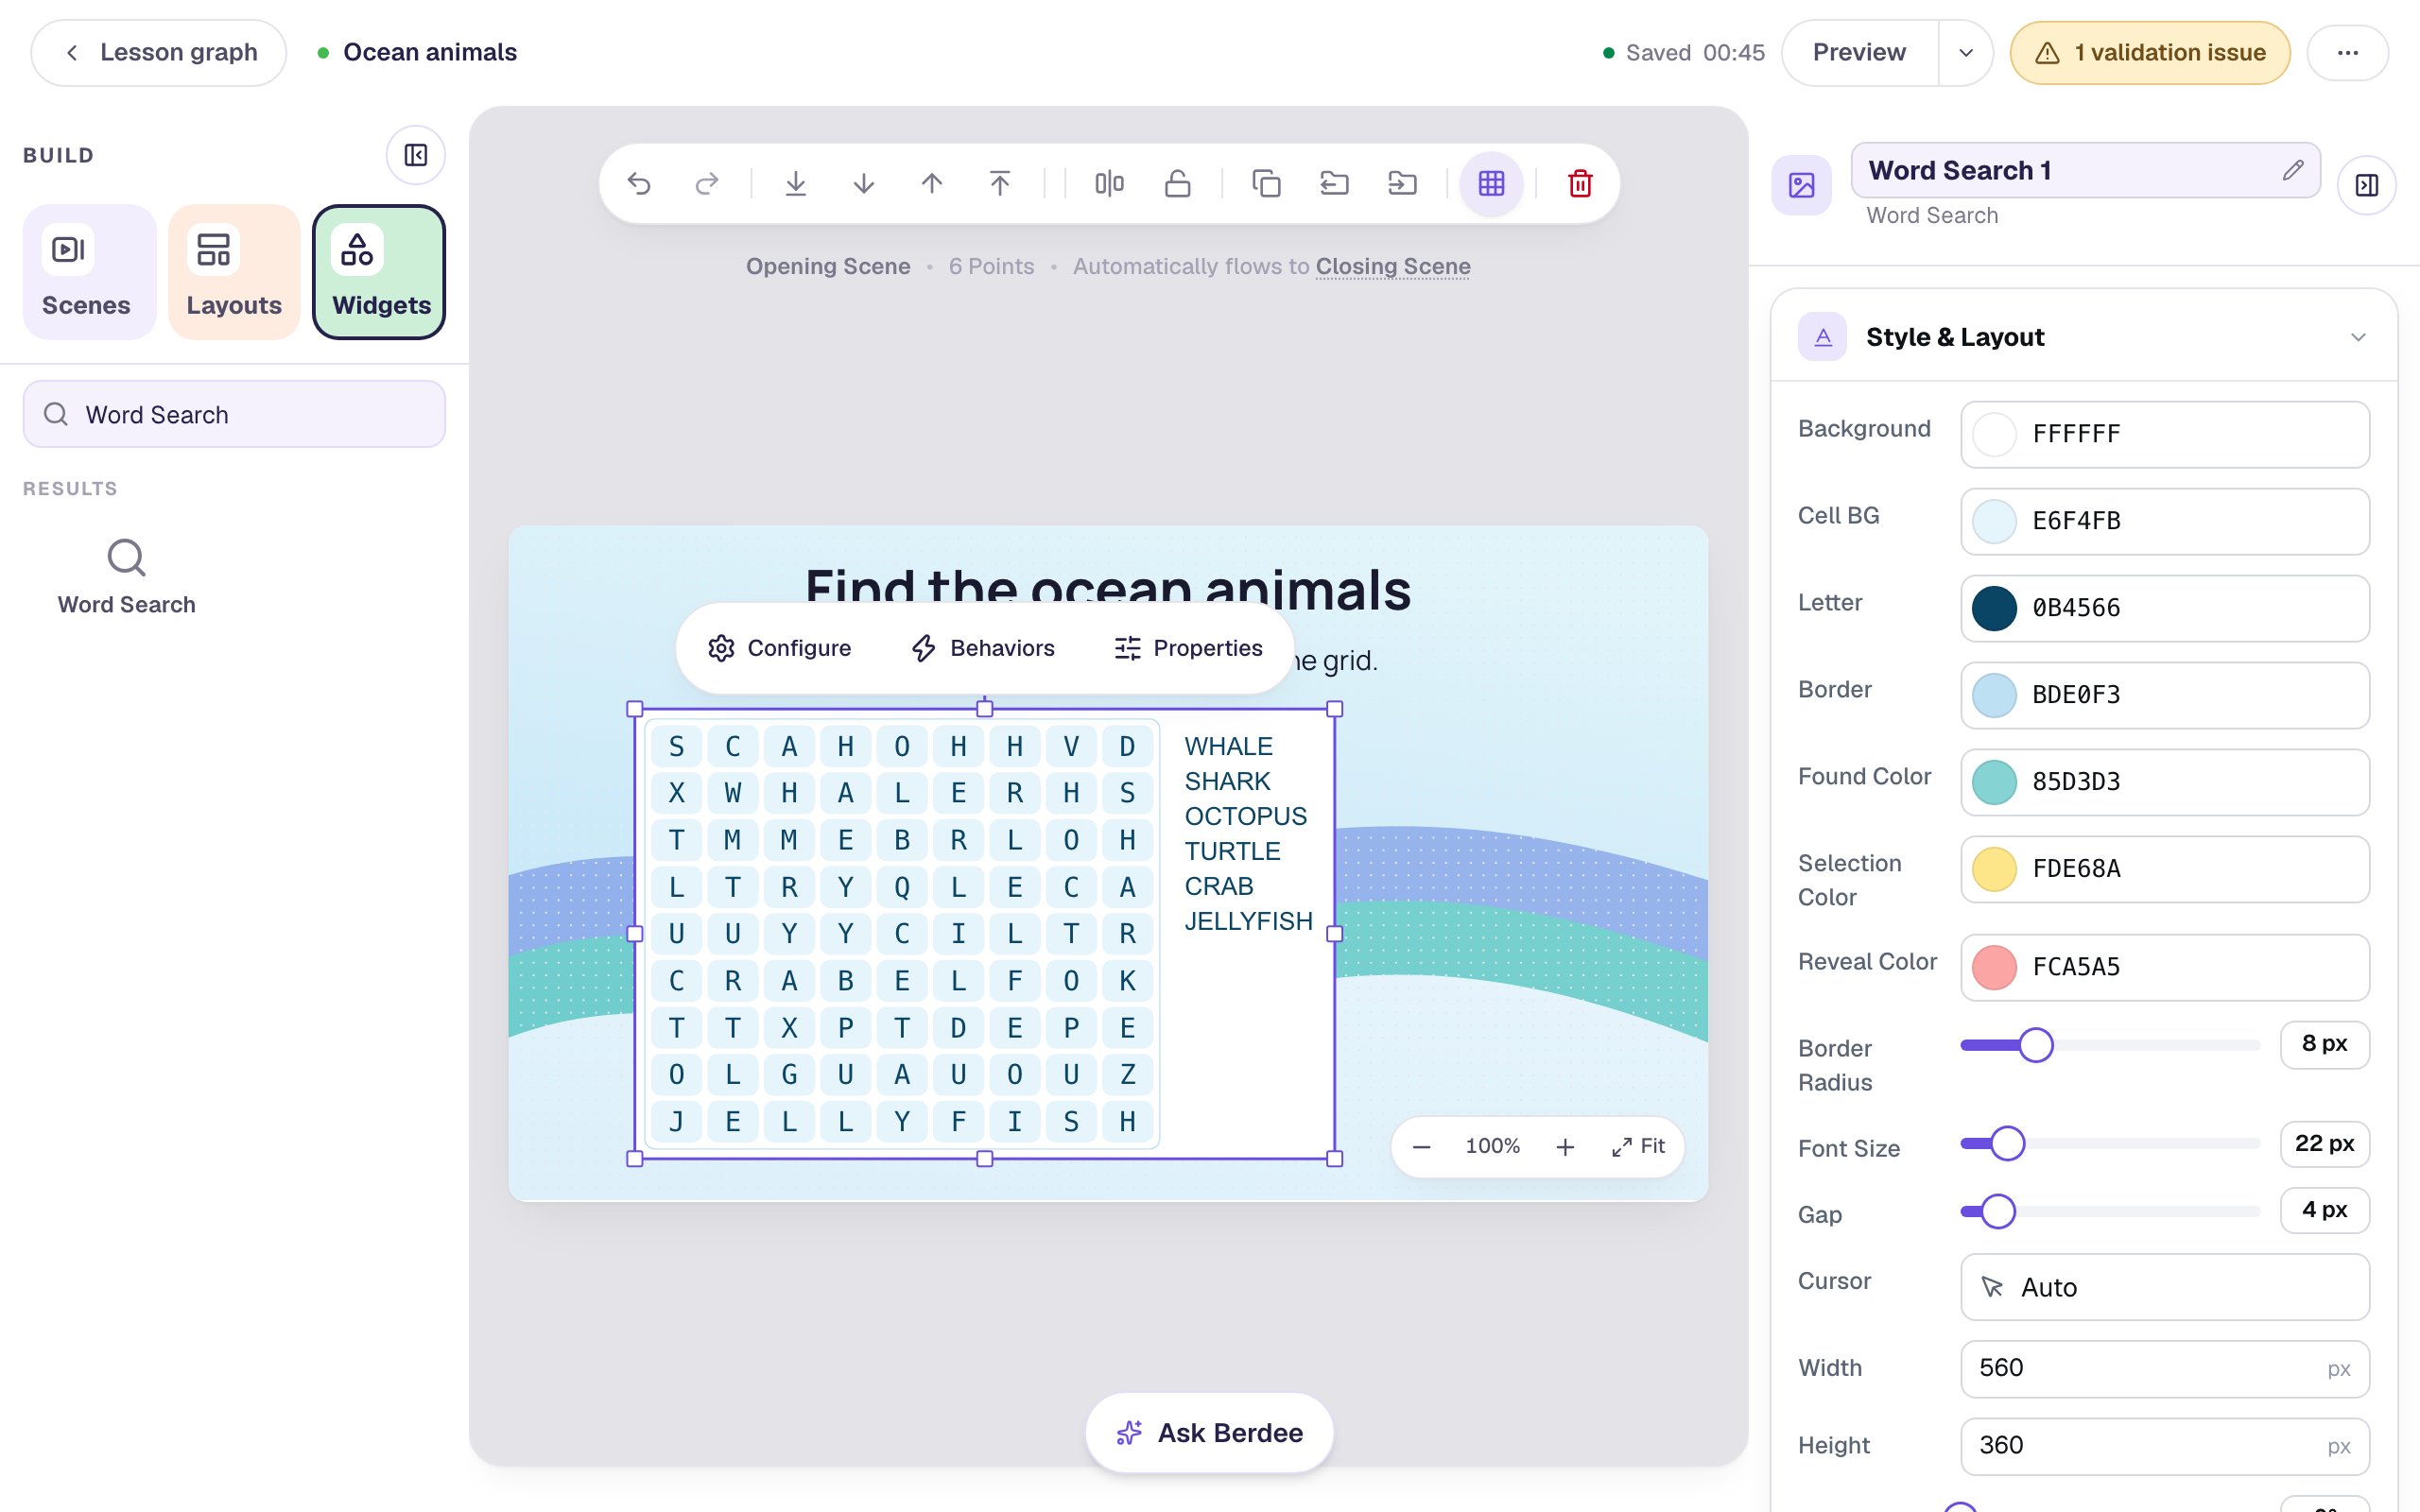
Size matters more on a word search than on most widgets. Each letter is something a student touches, so a bigger puzzle means bigger letters to start and end a drag on. On a tablet, aim for letter tiles about the size of a fingertip.
Keep Found Color light. The found letters sit on it, so a dark color makes them hard to read.
Step 5: Show how many animals they've found
A counter tells students how far they've got and how many are left. Click an empty spot on the scene, then add a Score from the Widgets tab and click ⚙ Configure:
- Leave Scope on Scene, so it counts only this puzzle.
- Change Format to Fraction, so it reads like
3/6. - Change Label to
Animals found. Berdee adds the colon for you.
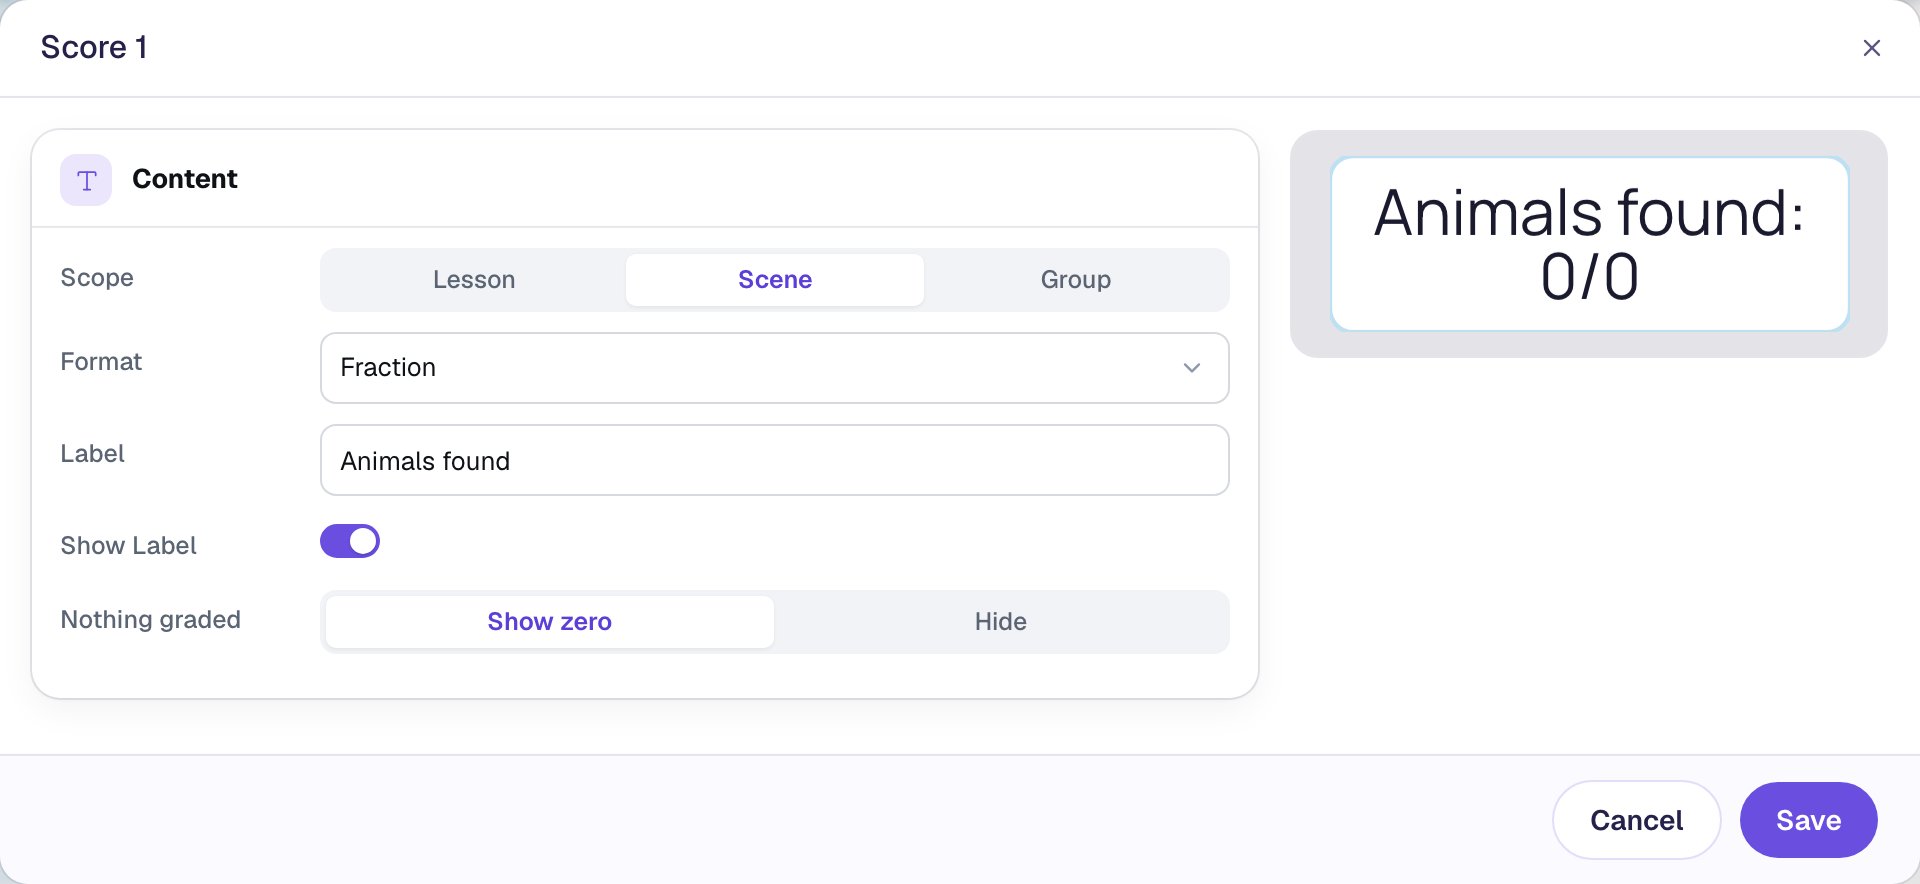
Click Save. In Style & Layout, set the score's Font Size to 24, its Width to 290 and its Text Color to the same deep blue as the letters, then drag it to the right of the puzzle.
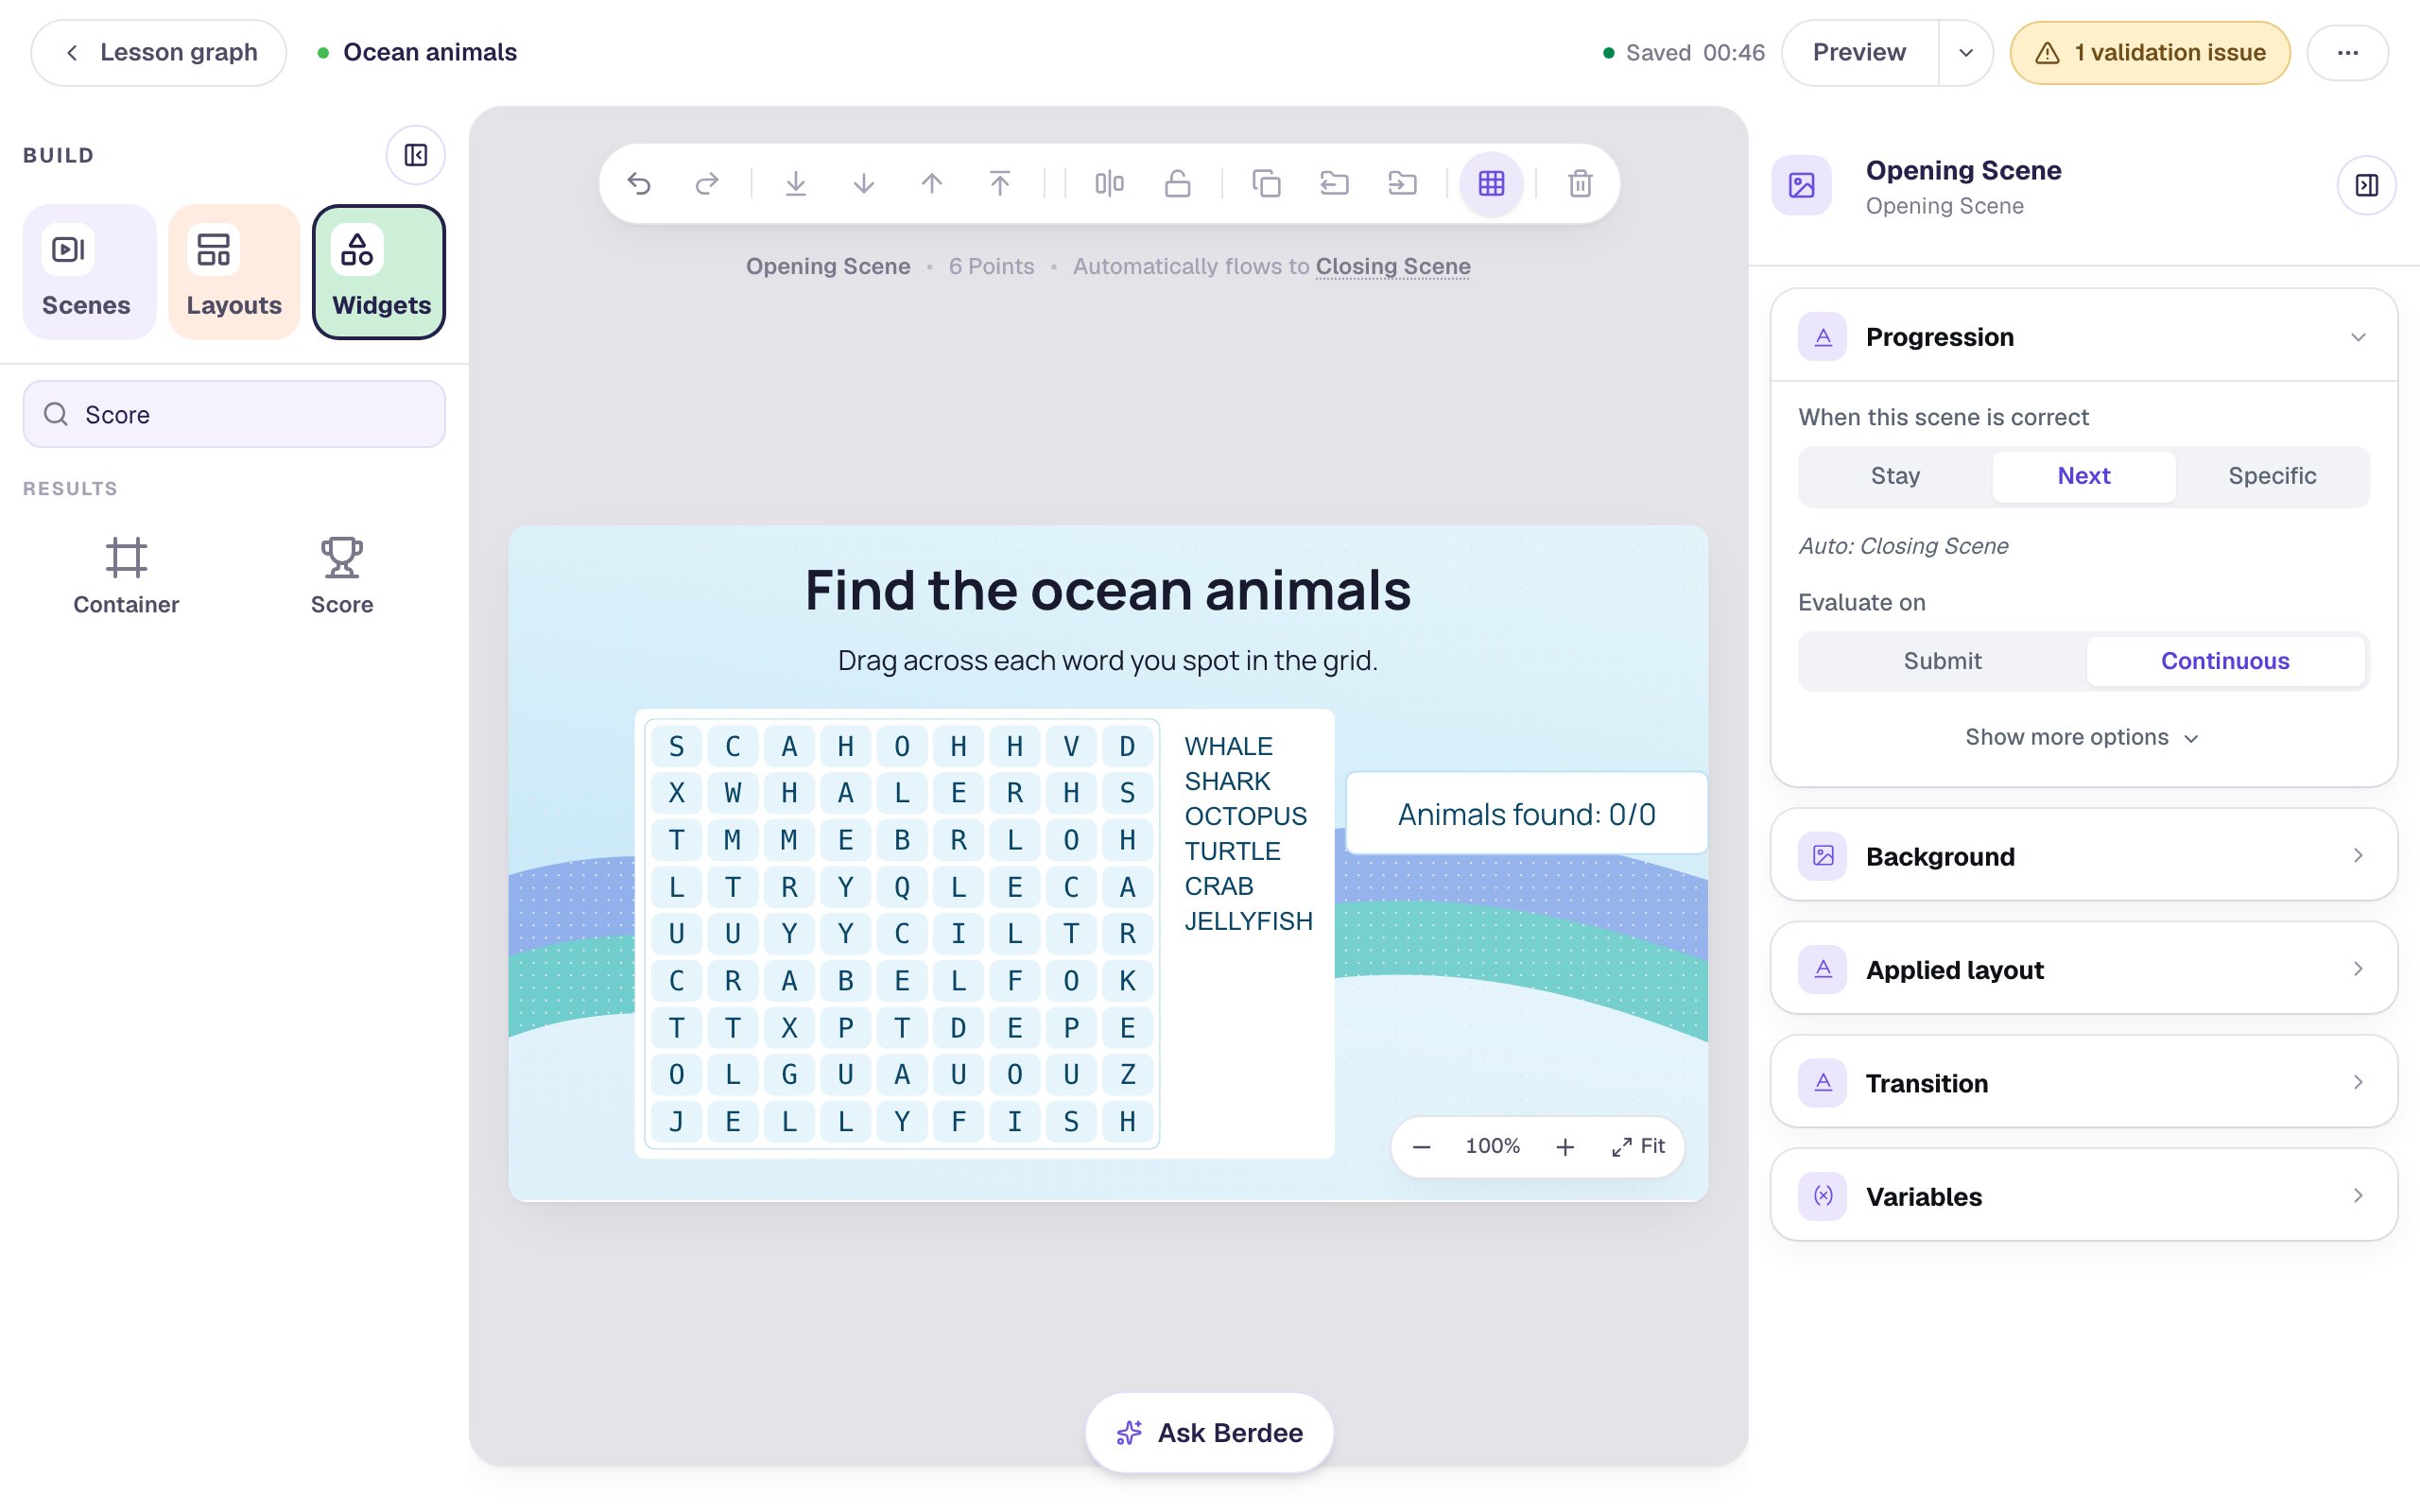
Now click an empty spot on the scene and look at Progression in the properties panel. When this scene is correct is set to Next and Evaluate on to Continuous: as soon as every word on the scene is found, the scene counts as correct and the lesson moves on to the Closing Scene by itself. That's exactly what you want here, so leave both alone.
The yellow 1 validation issue pill at the top right is about publishing, not this scene: before you publish, Berdee needs one Submit button set to Lesson somewhere in the lesson. A real lesson usually has a quiz after its warm-up, and that's the place for it. Build your first quiz question shows how.
Step 6: Try it as a student
Click Preview and hunt for the animals:
- Find a word and drag from its first letter to its last. The letters turn teal, the word is crossed off the list, and Animals found goes up by one.
- Keep going. A drag that doesn't land on a word just flashes and clears, so there's no penalty for a wrong guess.
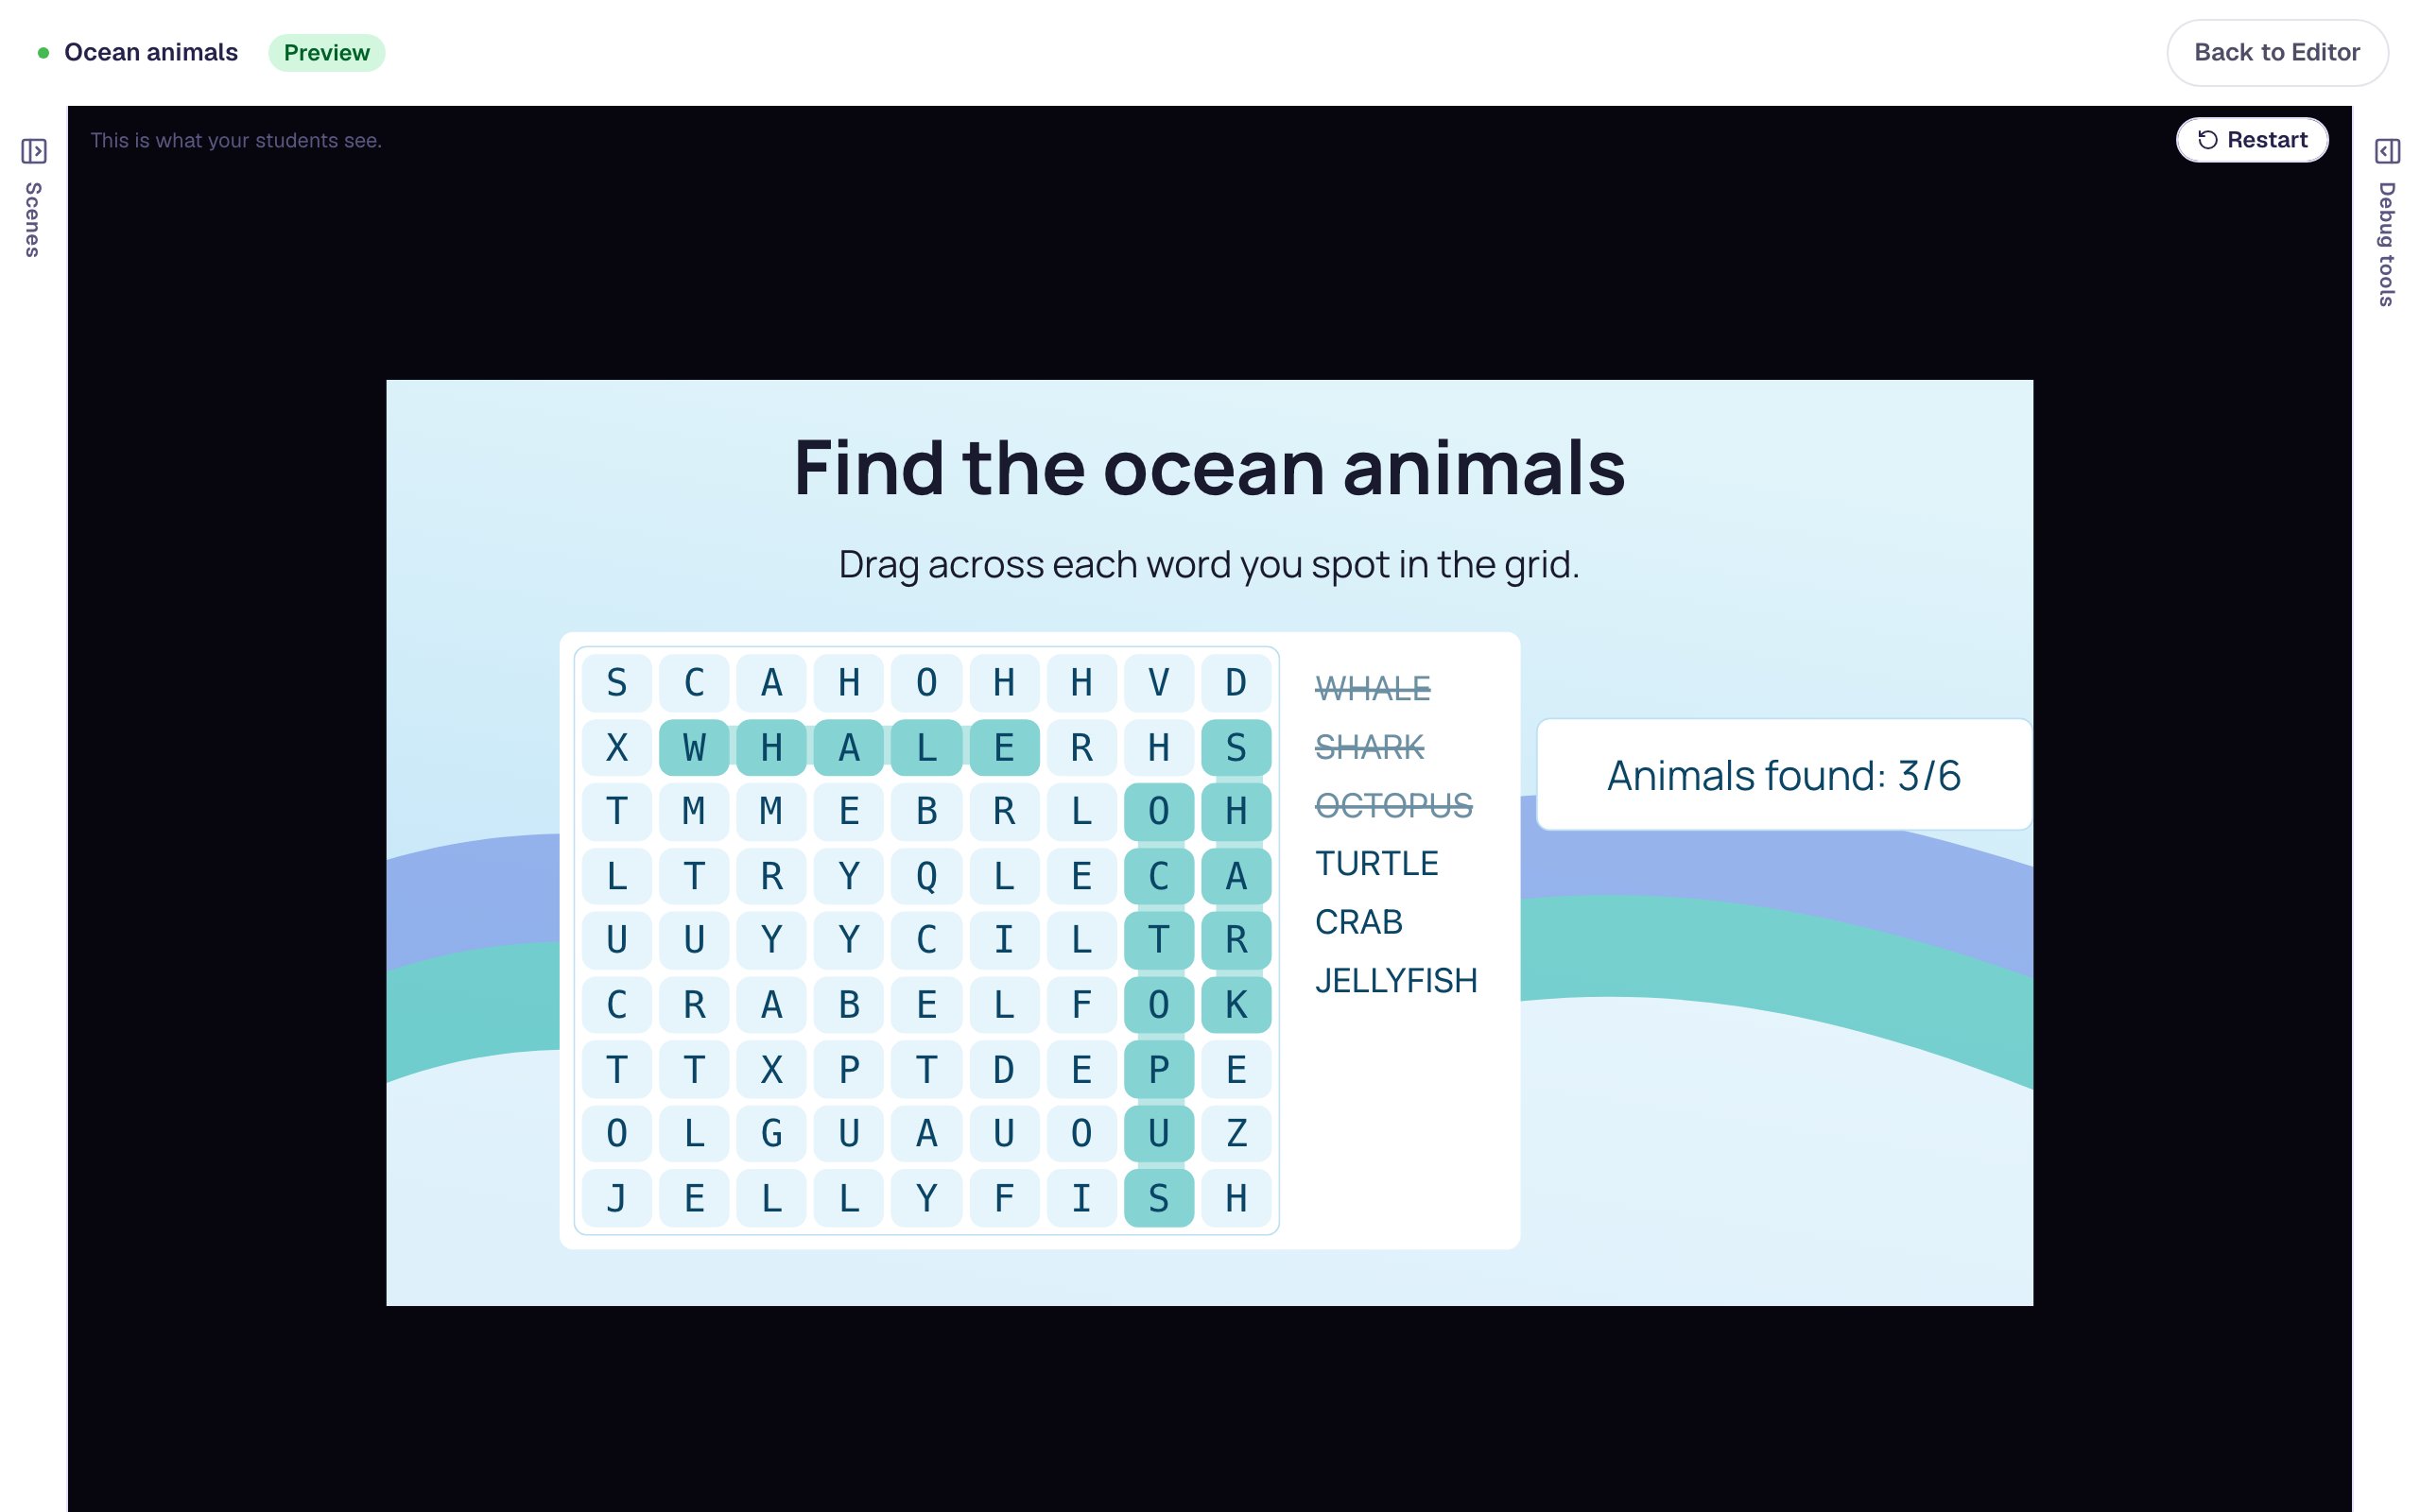
When the last animal is found, the lesson moves on to the ending:
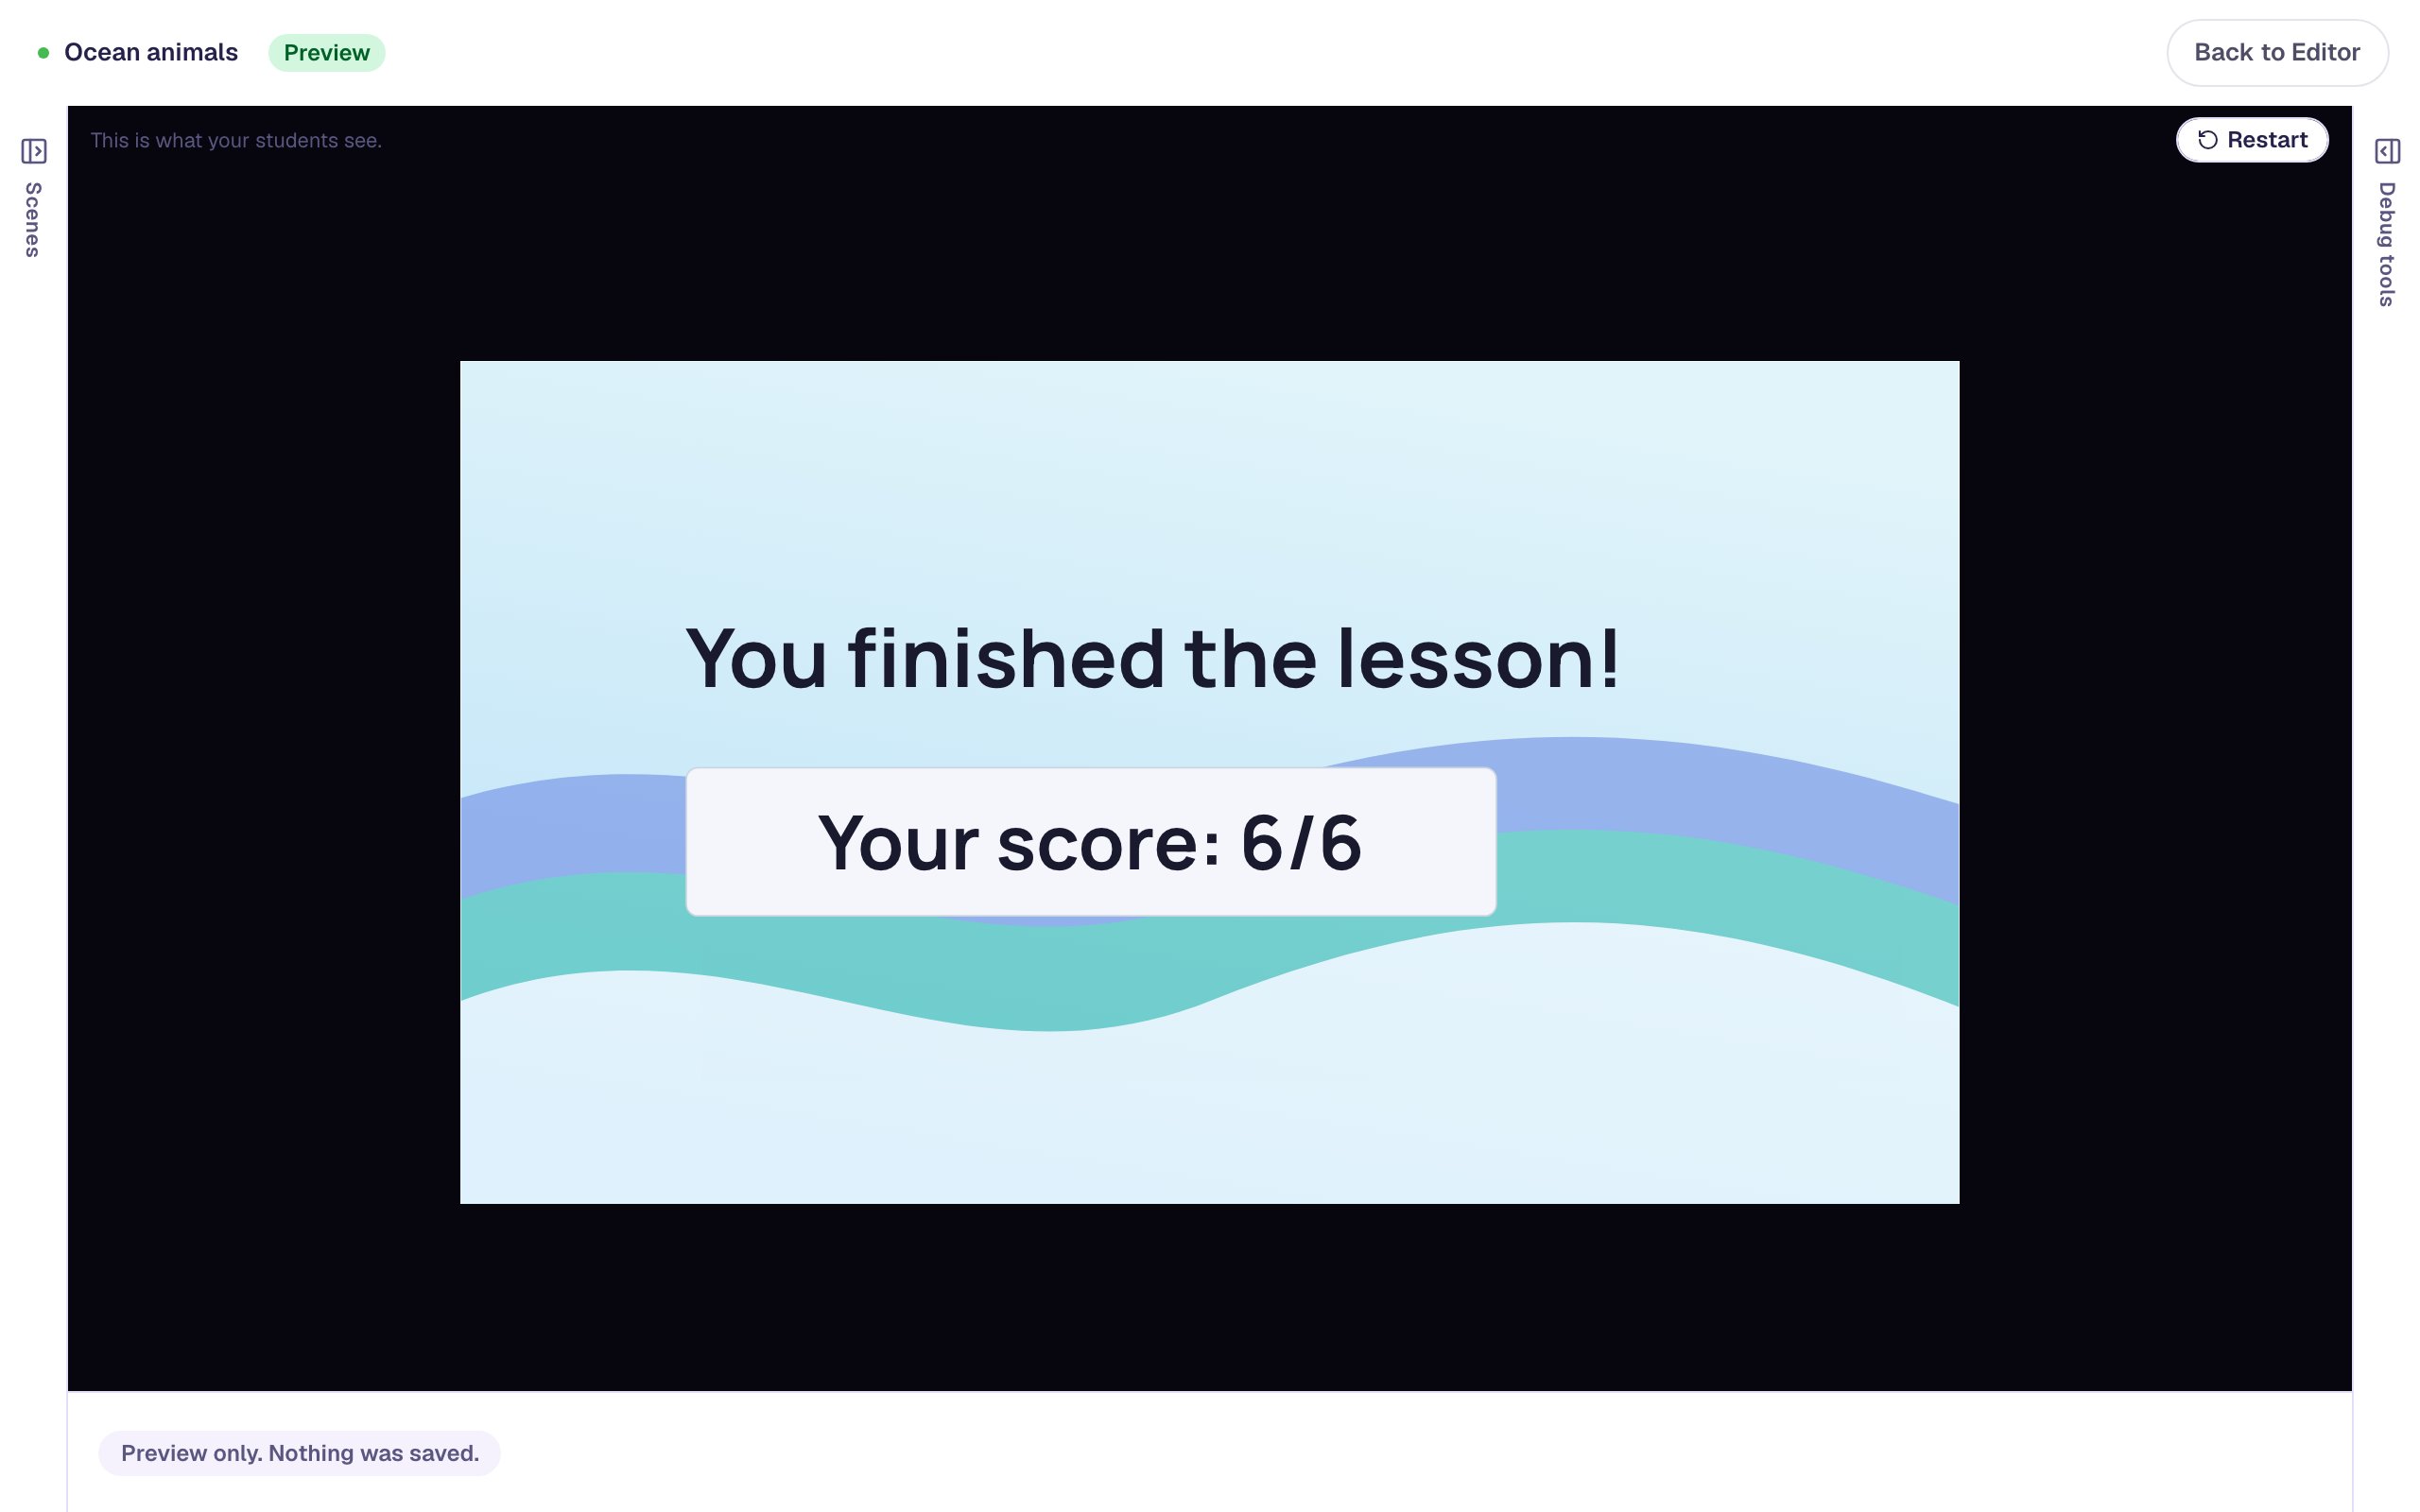
Students who'd rather not drag have two other ways to play. They can tap the first letter and then the last letter, or use the arrow keys to move around the grid and press Enter on the first and last letters. A screen reader announces each find ("Found WHALE. 5 of 6 words remain.").
What you built
A vocabulary warm-up that runs itself:
- a Word Search with six words worth one point each, placed only across and down, with the word list showing,
- ocean colors and a size that gives every letter room to be tapped,
- a Score set to Scene and Fraction, labelled Animals found, that counts up with every find, and
- the scene's default progression, which moves on to the ending the moment the last word is found.
Next week, open the word search's ⚙ Configure window and type the new words over the old ones; everything else stays. For a harder version, switch Allow diagonals back on, add a few Extra rows / cols, or turn Show word list off and let students discover the hidden words.
To make sure students can use the new words as well as spot them, follow the word search with a Matching question that pairs each animal with a fact. Build a matching game with instant feedback shows how.
Make this lesson yours
Add the lesson you just watched being built to your account, then change it for your class: your questions, your pictures, your colors.
Free to sign up, and you'll come straight back here. I have an account