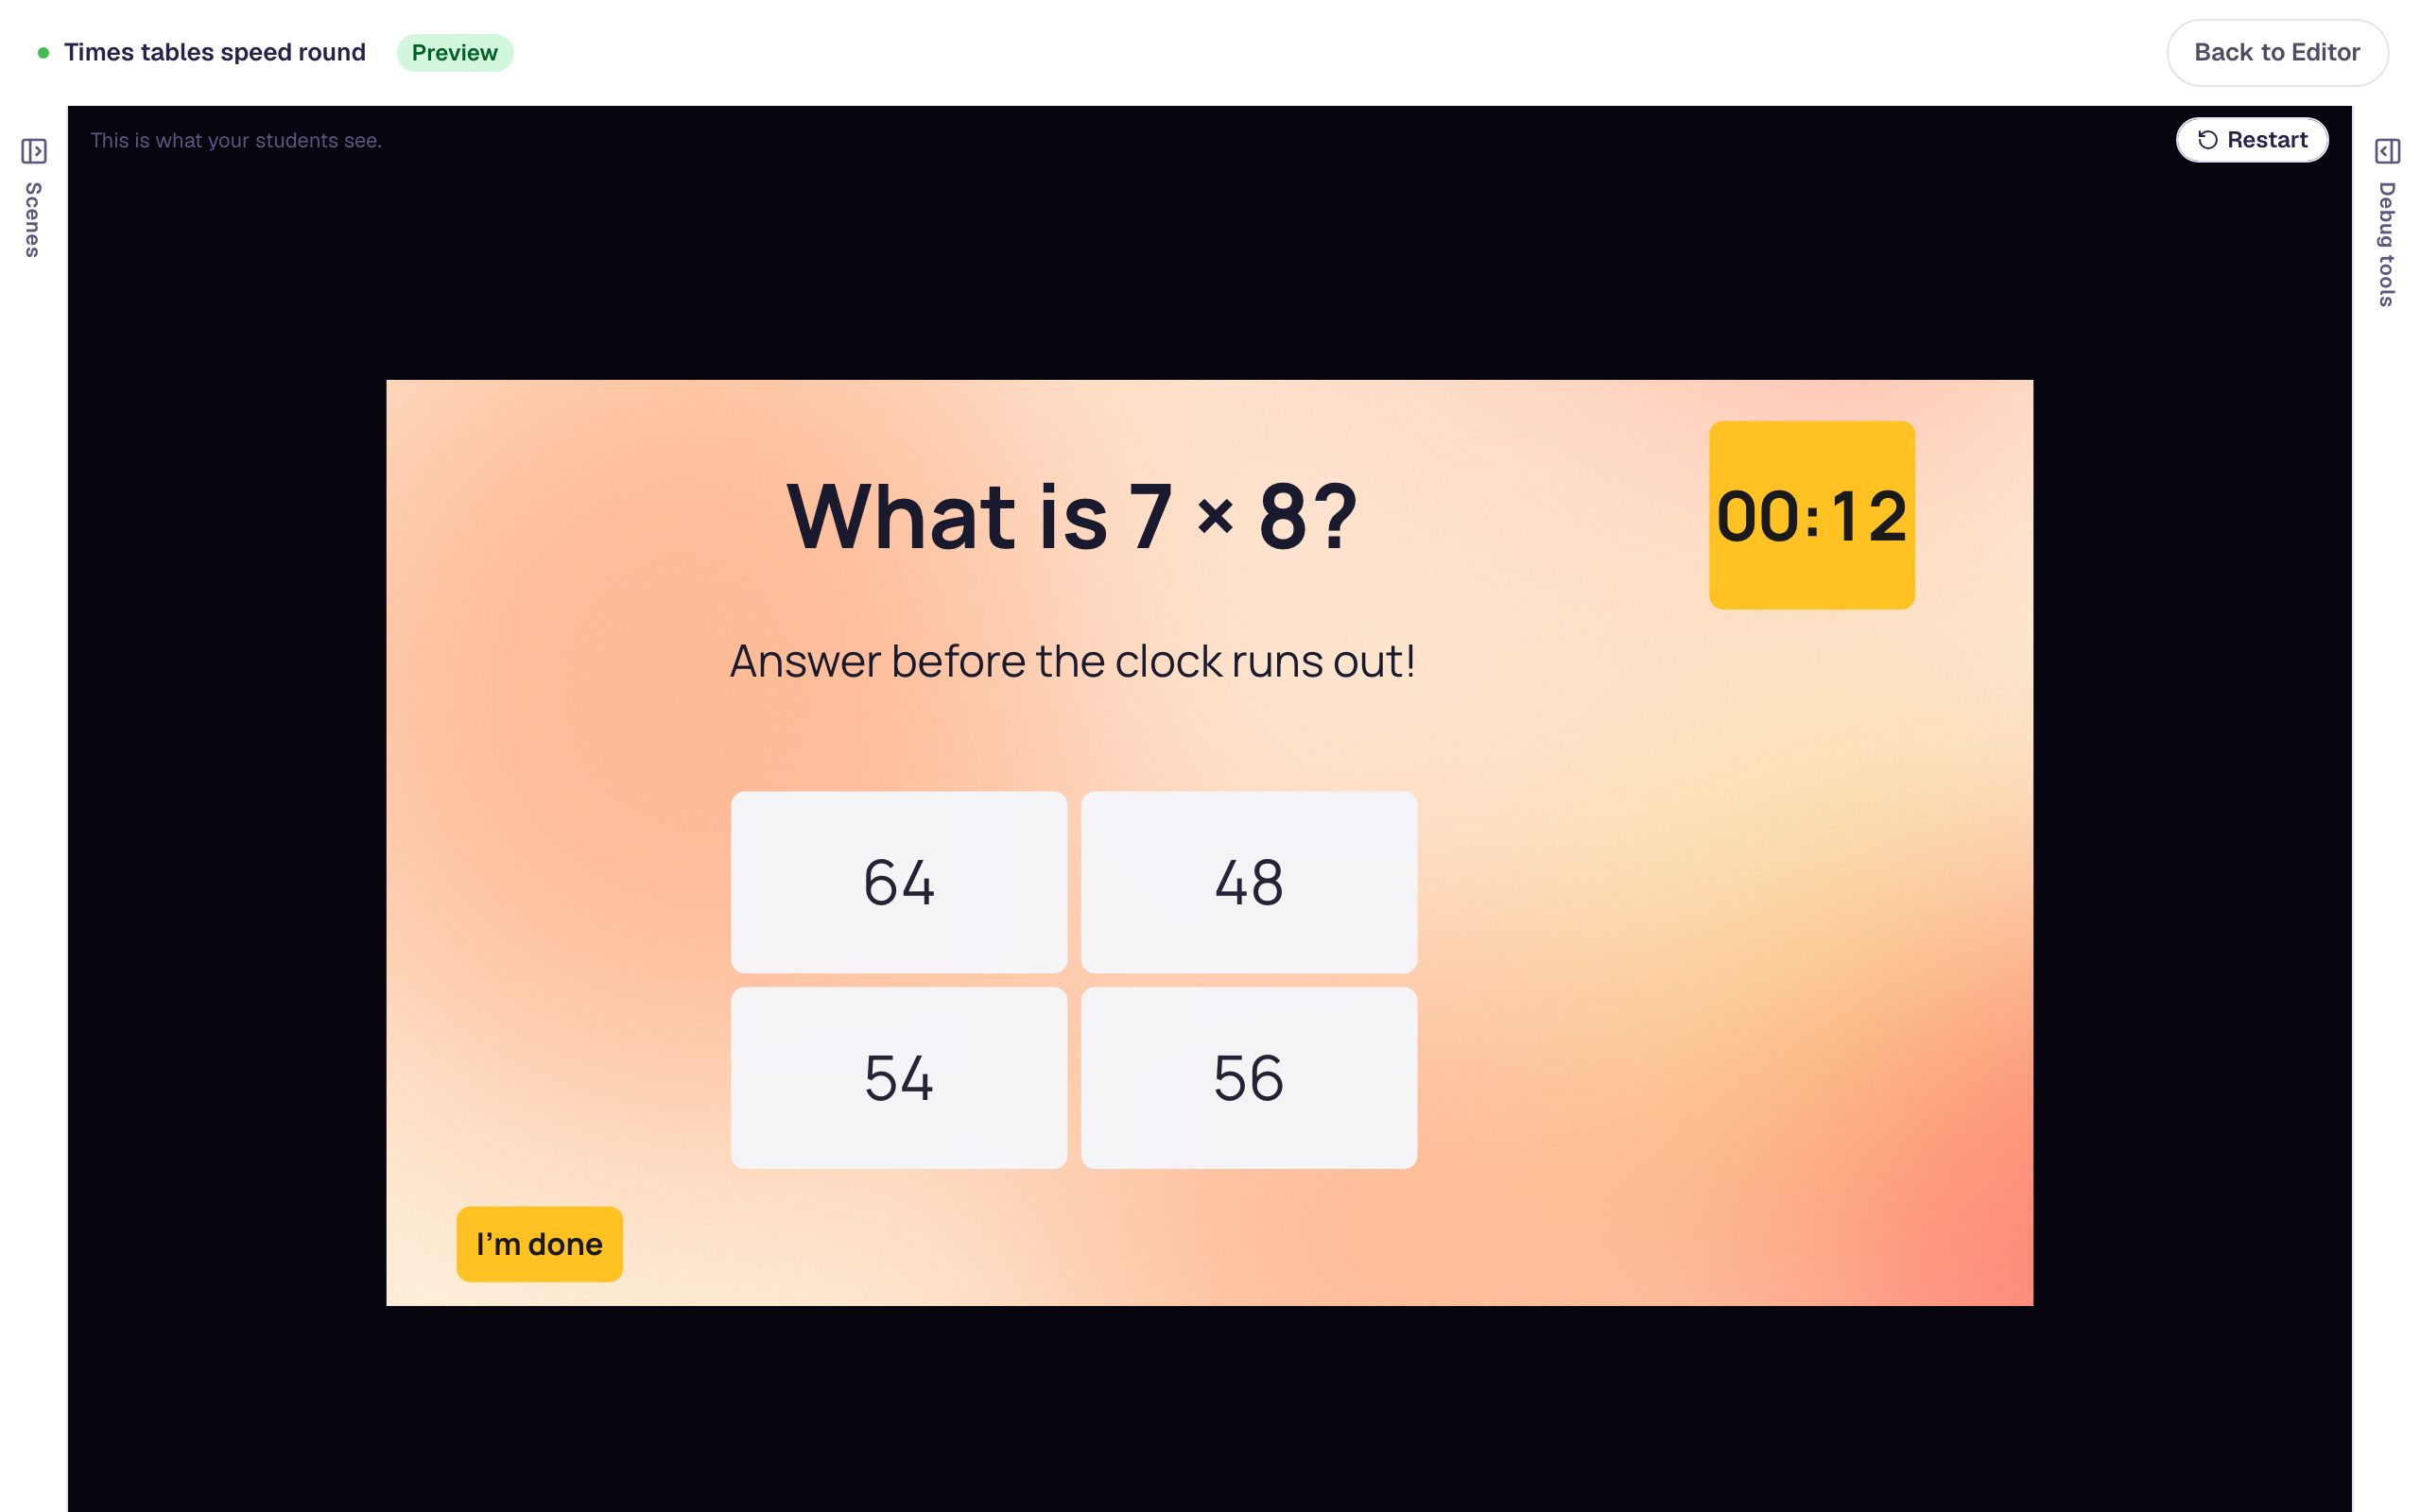
Add a hint students can open when they're stuck
Hide a hint under a question and add a Show hint button that reveals it, so students get help only when they ask for it.
- Level
- Beginner
- Time
- About 10 min
- Steps
- 6
A multiple-choice question with a hidden hint and a Show hint button. One press shows the hint and tucks the button away, and the question still checks the answer as usual.
Get the finished lesson
Skip straight to the result, or keep it open beside the steps. Add this tutorial's lesson to your account and explore how it works in the studio.
Free to sign up, and you'll come straight back here. I have an account
Some students need a nudge on a question, and some don't. If the hint is on screen from the start, everyone reads it and nobody has to think. If there's no hint at all, a stuck student just guesses.
In this tutorial you'll give students the choice. You'll put a hint under a question, hide it, and add a Show hint button that brings it back when a student asks. Two widgets do the work:
- a Text widget holds the hint, set to Hidden, and
- a Button whose On Press behavior shows the hint and then hides itself.
If you haven't used the studio before, start with Build your first quiz question: this tutorial moves quickly through the parts it already covers.
Step 1: Build the question
Start a blank lesson (New lesson, then Start from scratch). On the Opening Scene:
- Add a Heading that says
What is the capital of Australia?and drag it to the top. - Add a Multi Choice, click ⚙ Configure, and type the answers
Sydney,Canberra, andMelbourne. Delete the fourth option with its trash icon, and click the check mark next to Canberra to mark it correct. Click Save. - In Style & Layout, set Font Size to
32so the answers are easy to tap, and drag the question under the heading.
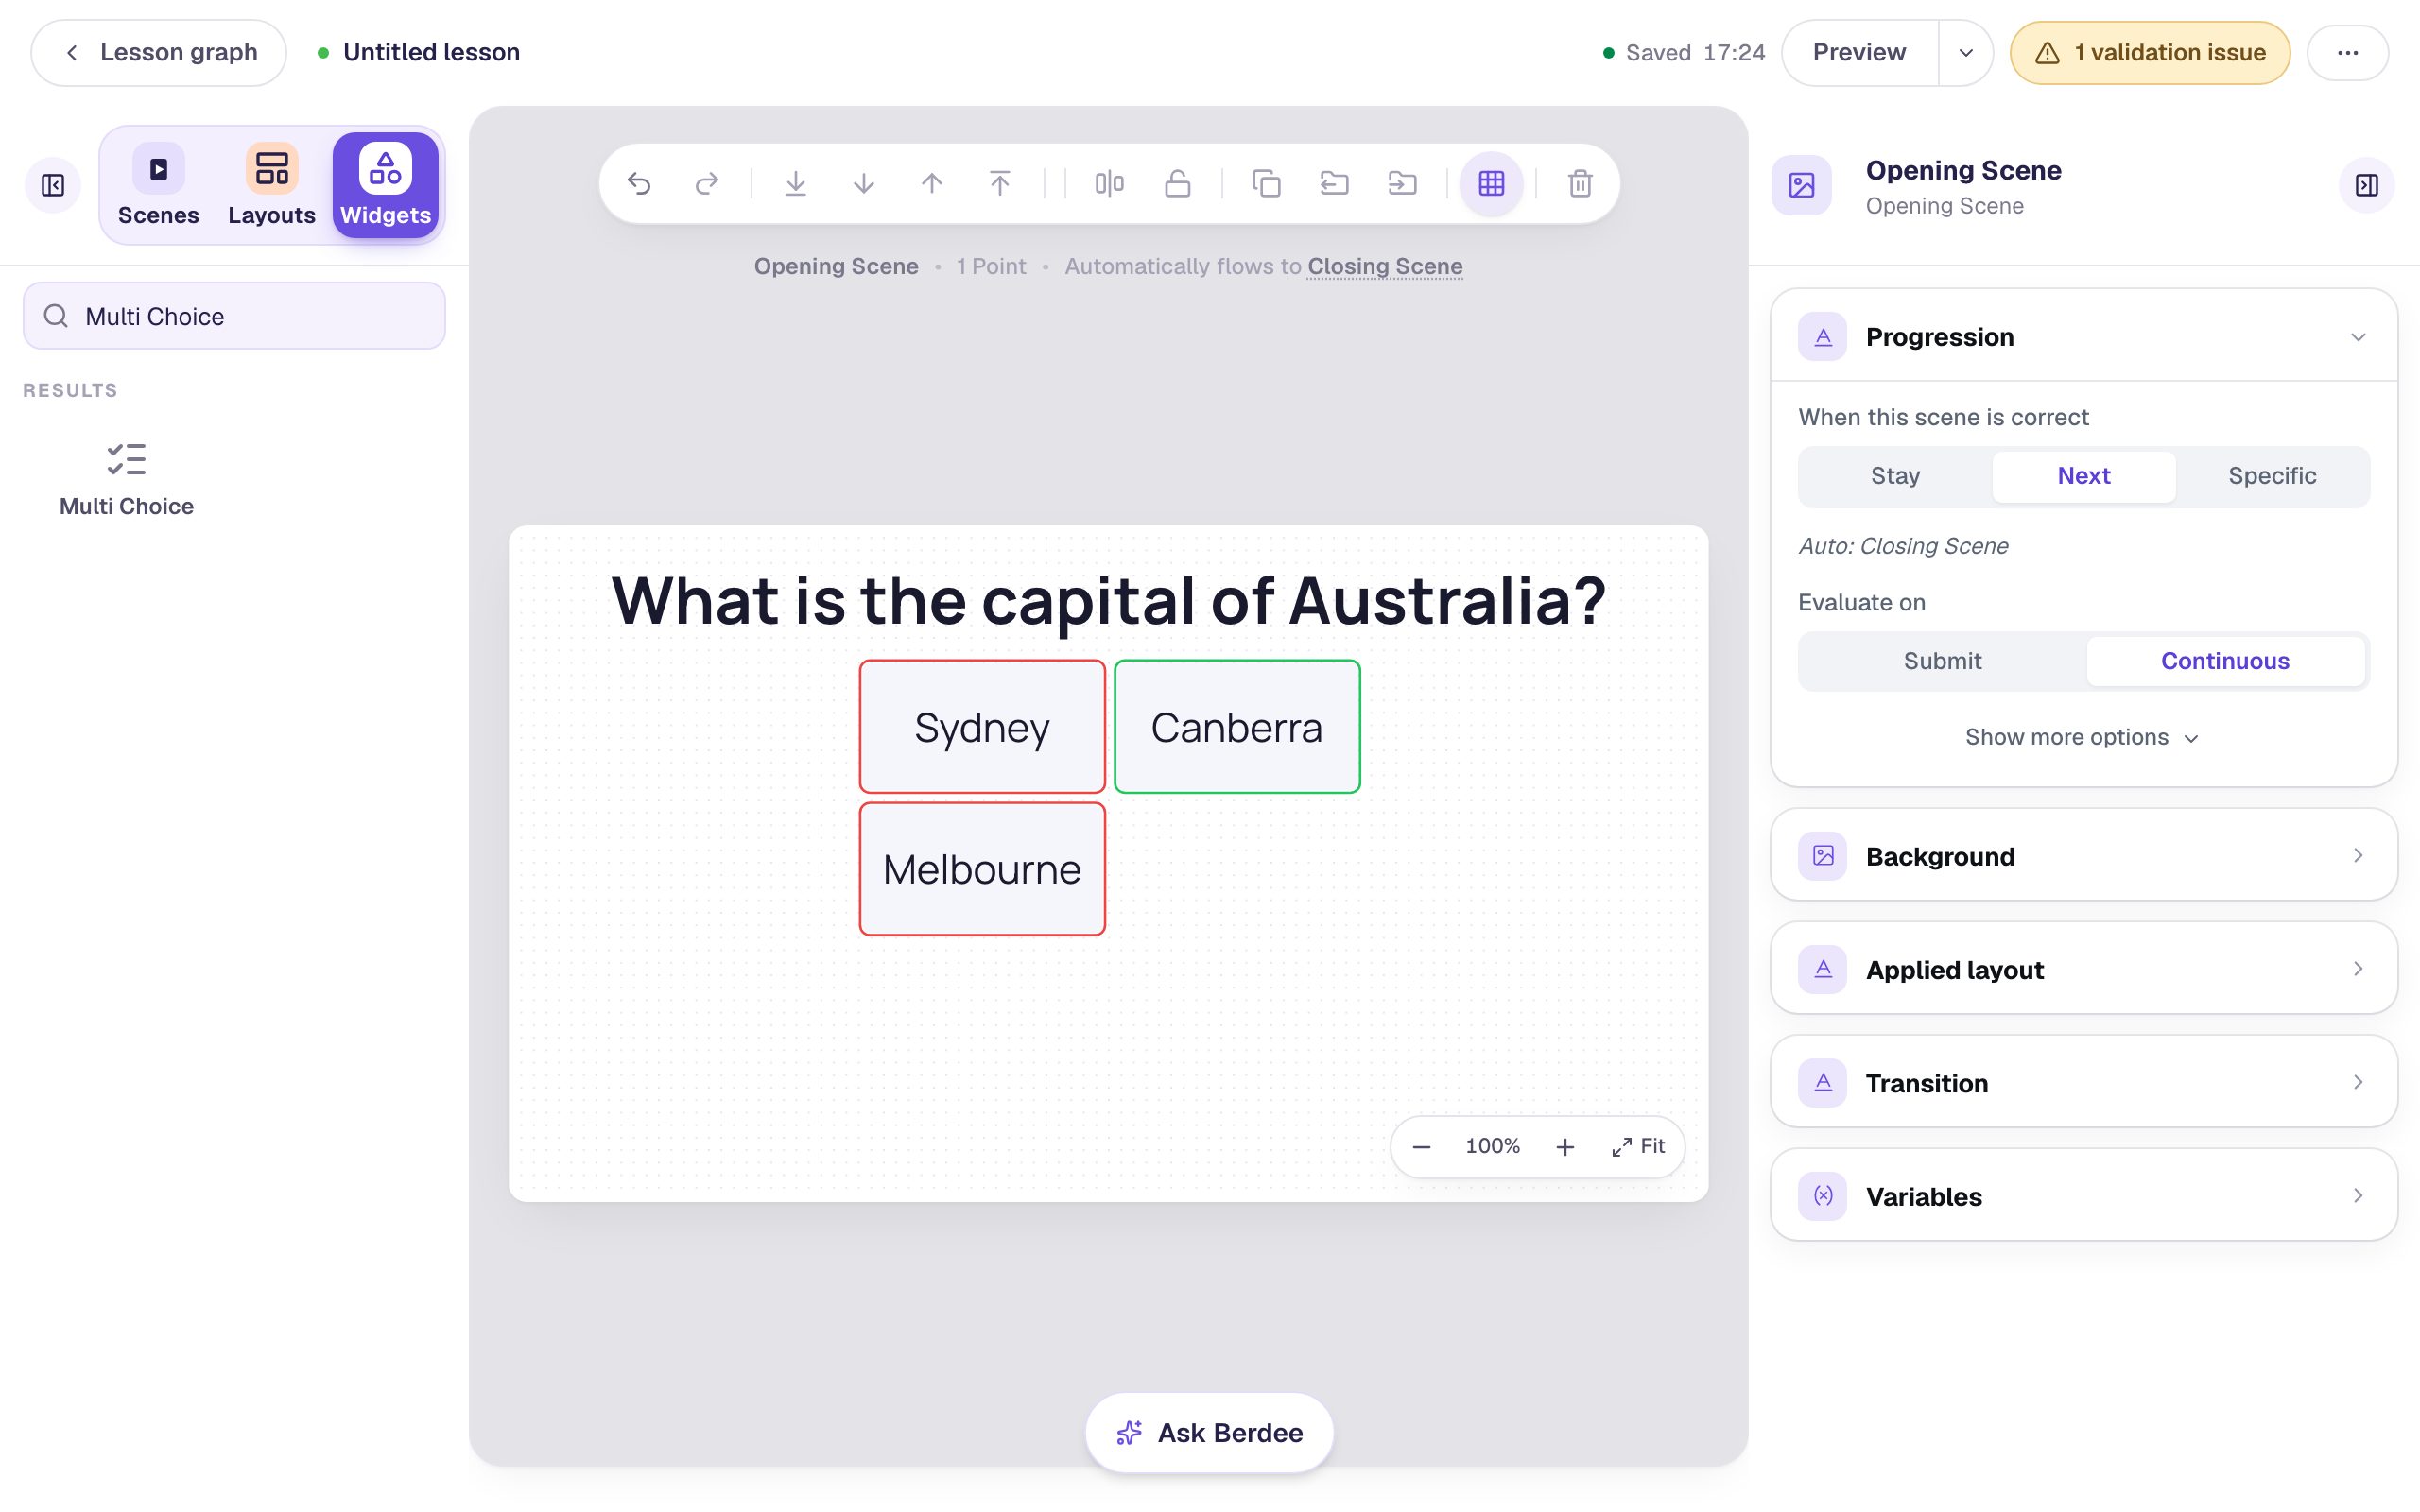
Leave space under the answers. The hint and the button go there.
Step 2: Write the hint
Add a Body text and type the hint: Hint: it isn't the biggest city. It was built to be the capital. Set its Font Size to 24 and drag it under the answers.
Now give the hint a name you'll recognize later. At the top of the properties panel, click the widget's name (it starts as something like Text 2), type Hint, and press Enter.
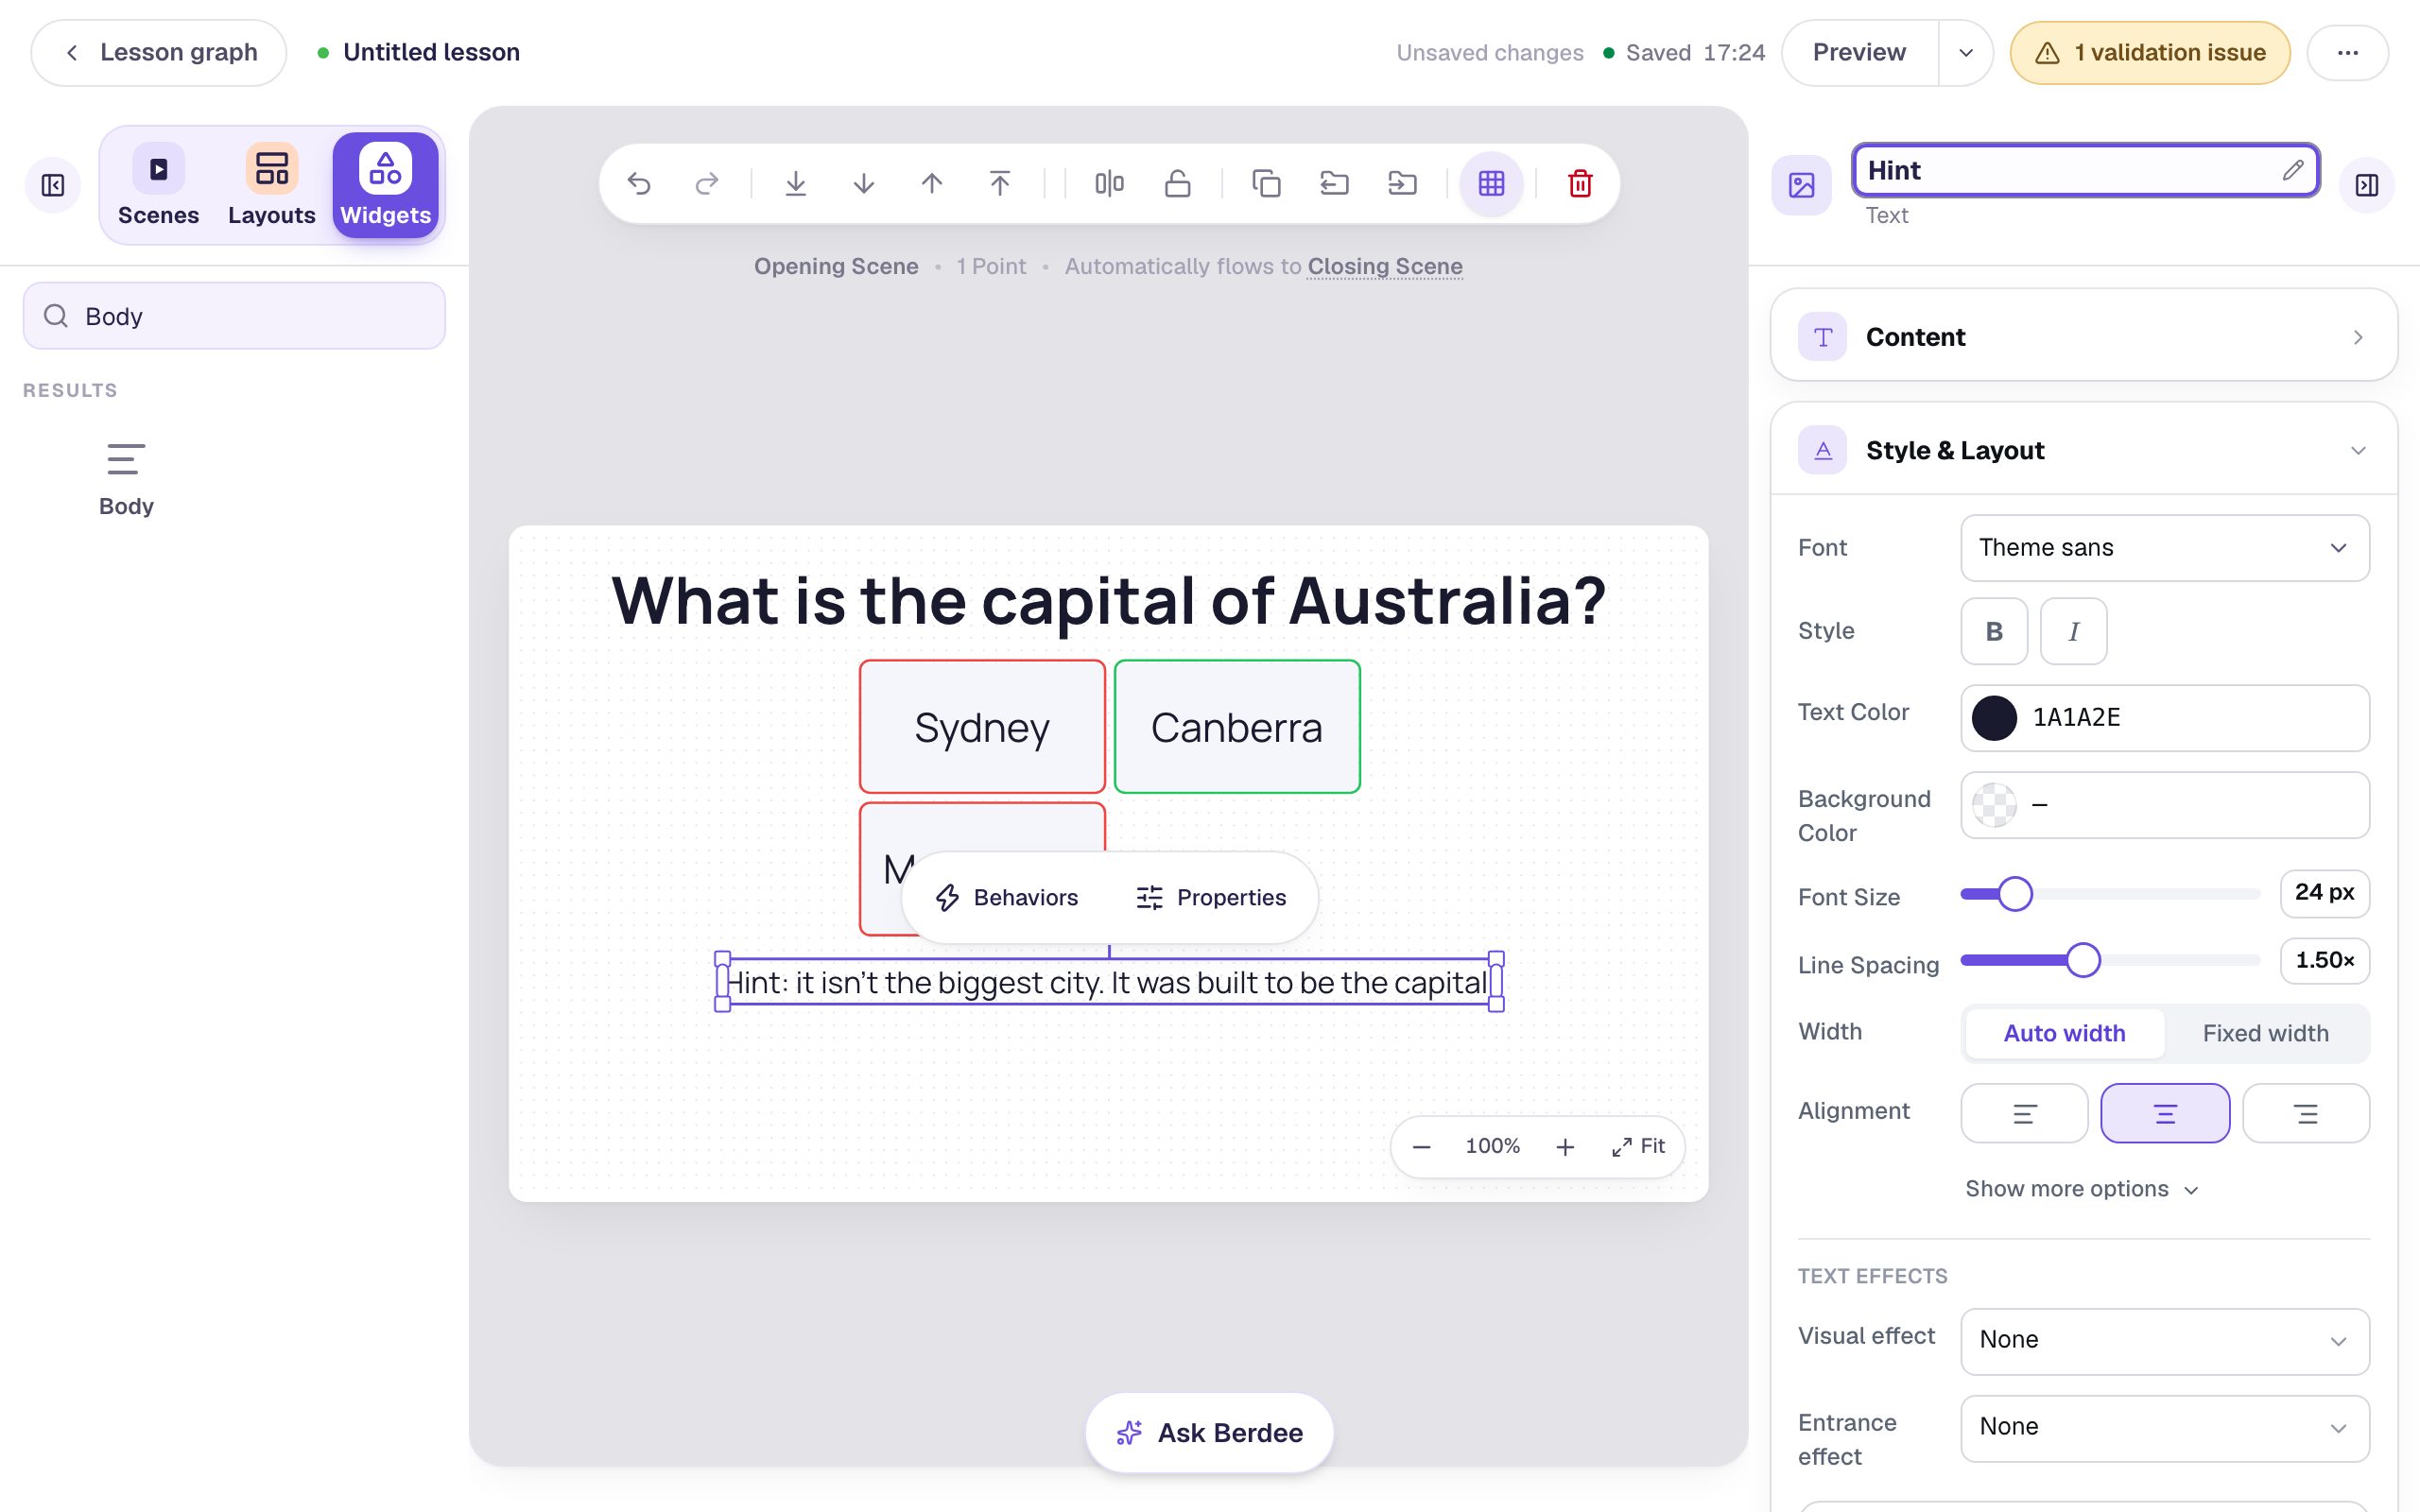
Naming matters here. In Step 5 you'll pick this widget from a list of every widget in the lesson, and Text: Hint is much easier to find than Text: Text 2.
Step 3: Hide the hint
With the hint still selected, open Visibility in the properties panel and change Mode from Visible to Hidden.
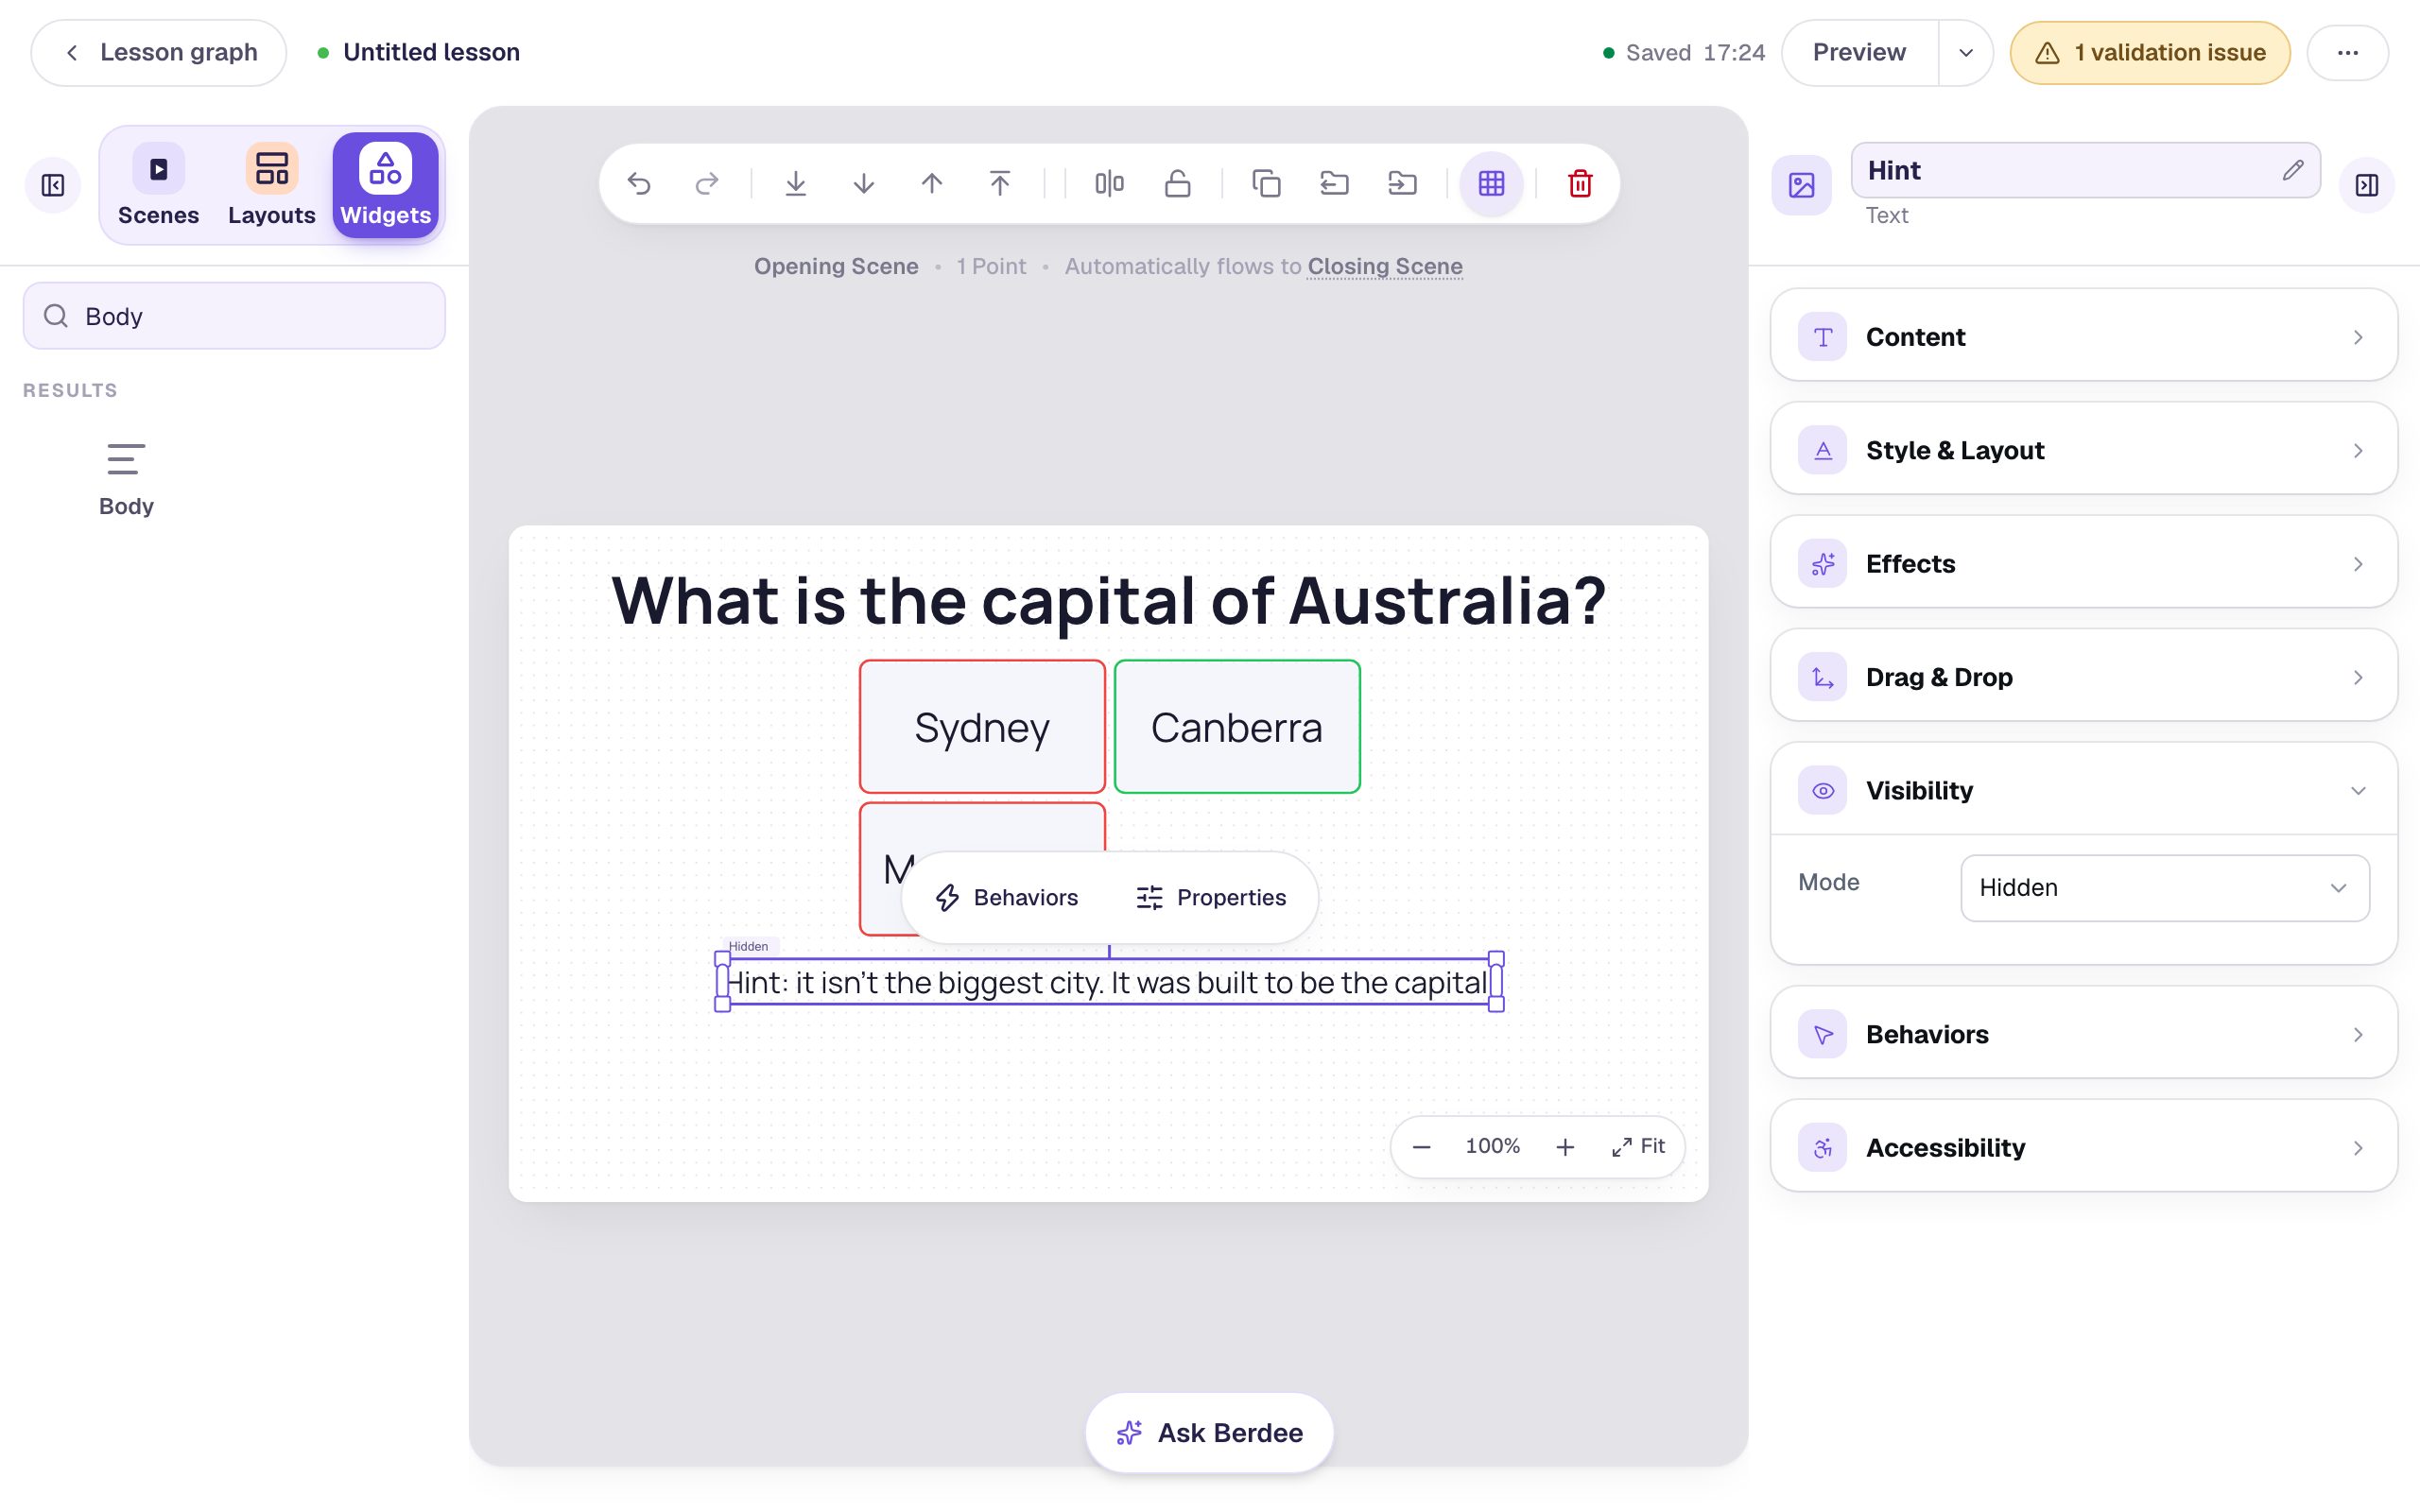
The hint doesn't disappear from the canvas. The studio still draws every widget so you can select and edit it. Click an empty spot on the scene to see how a hidden widget looks:
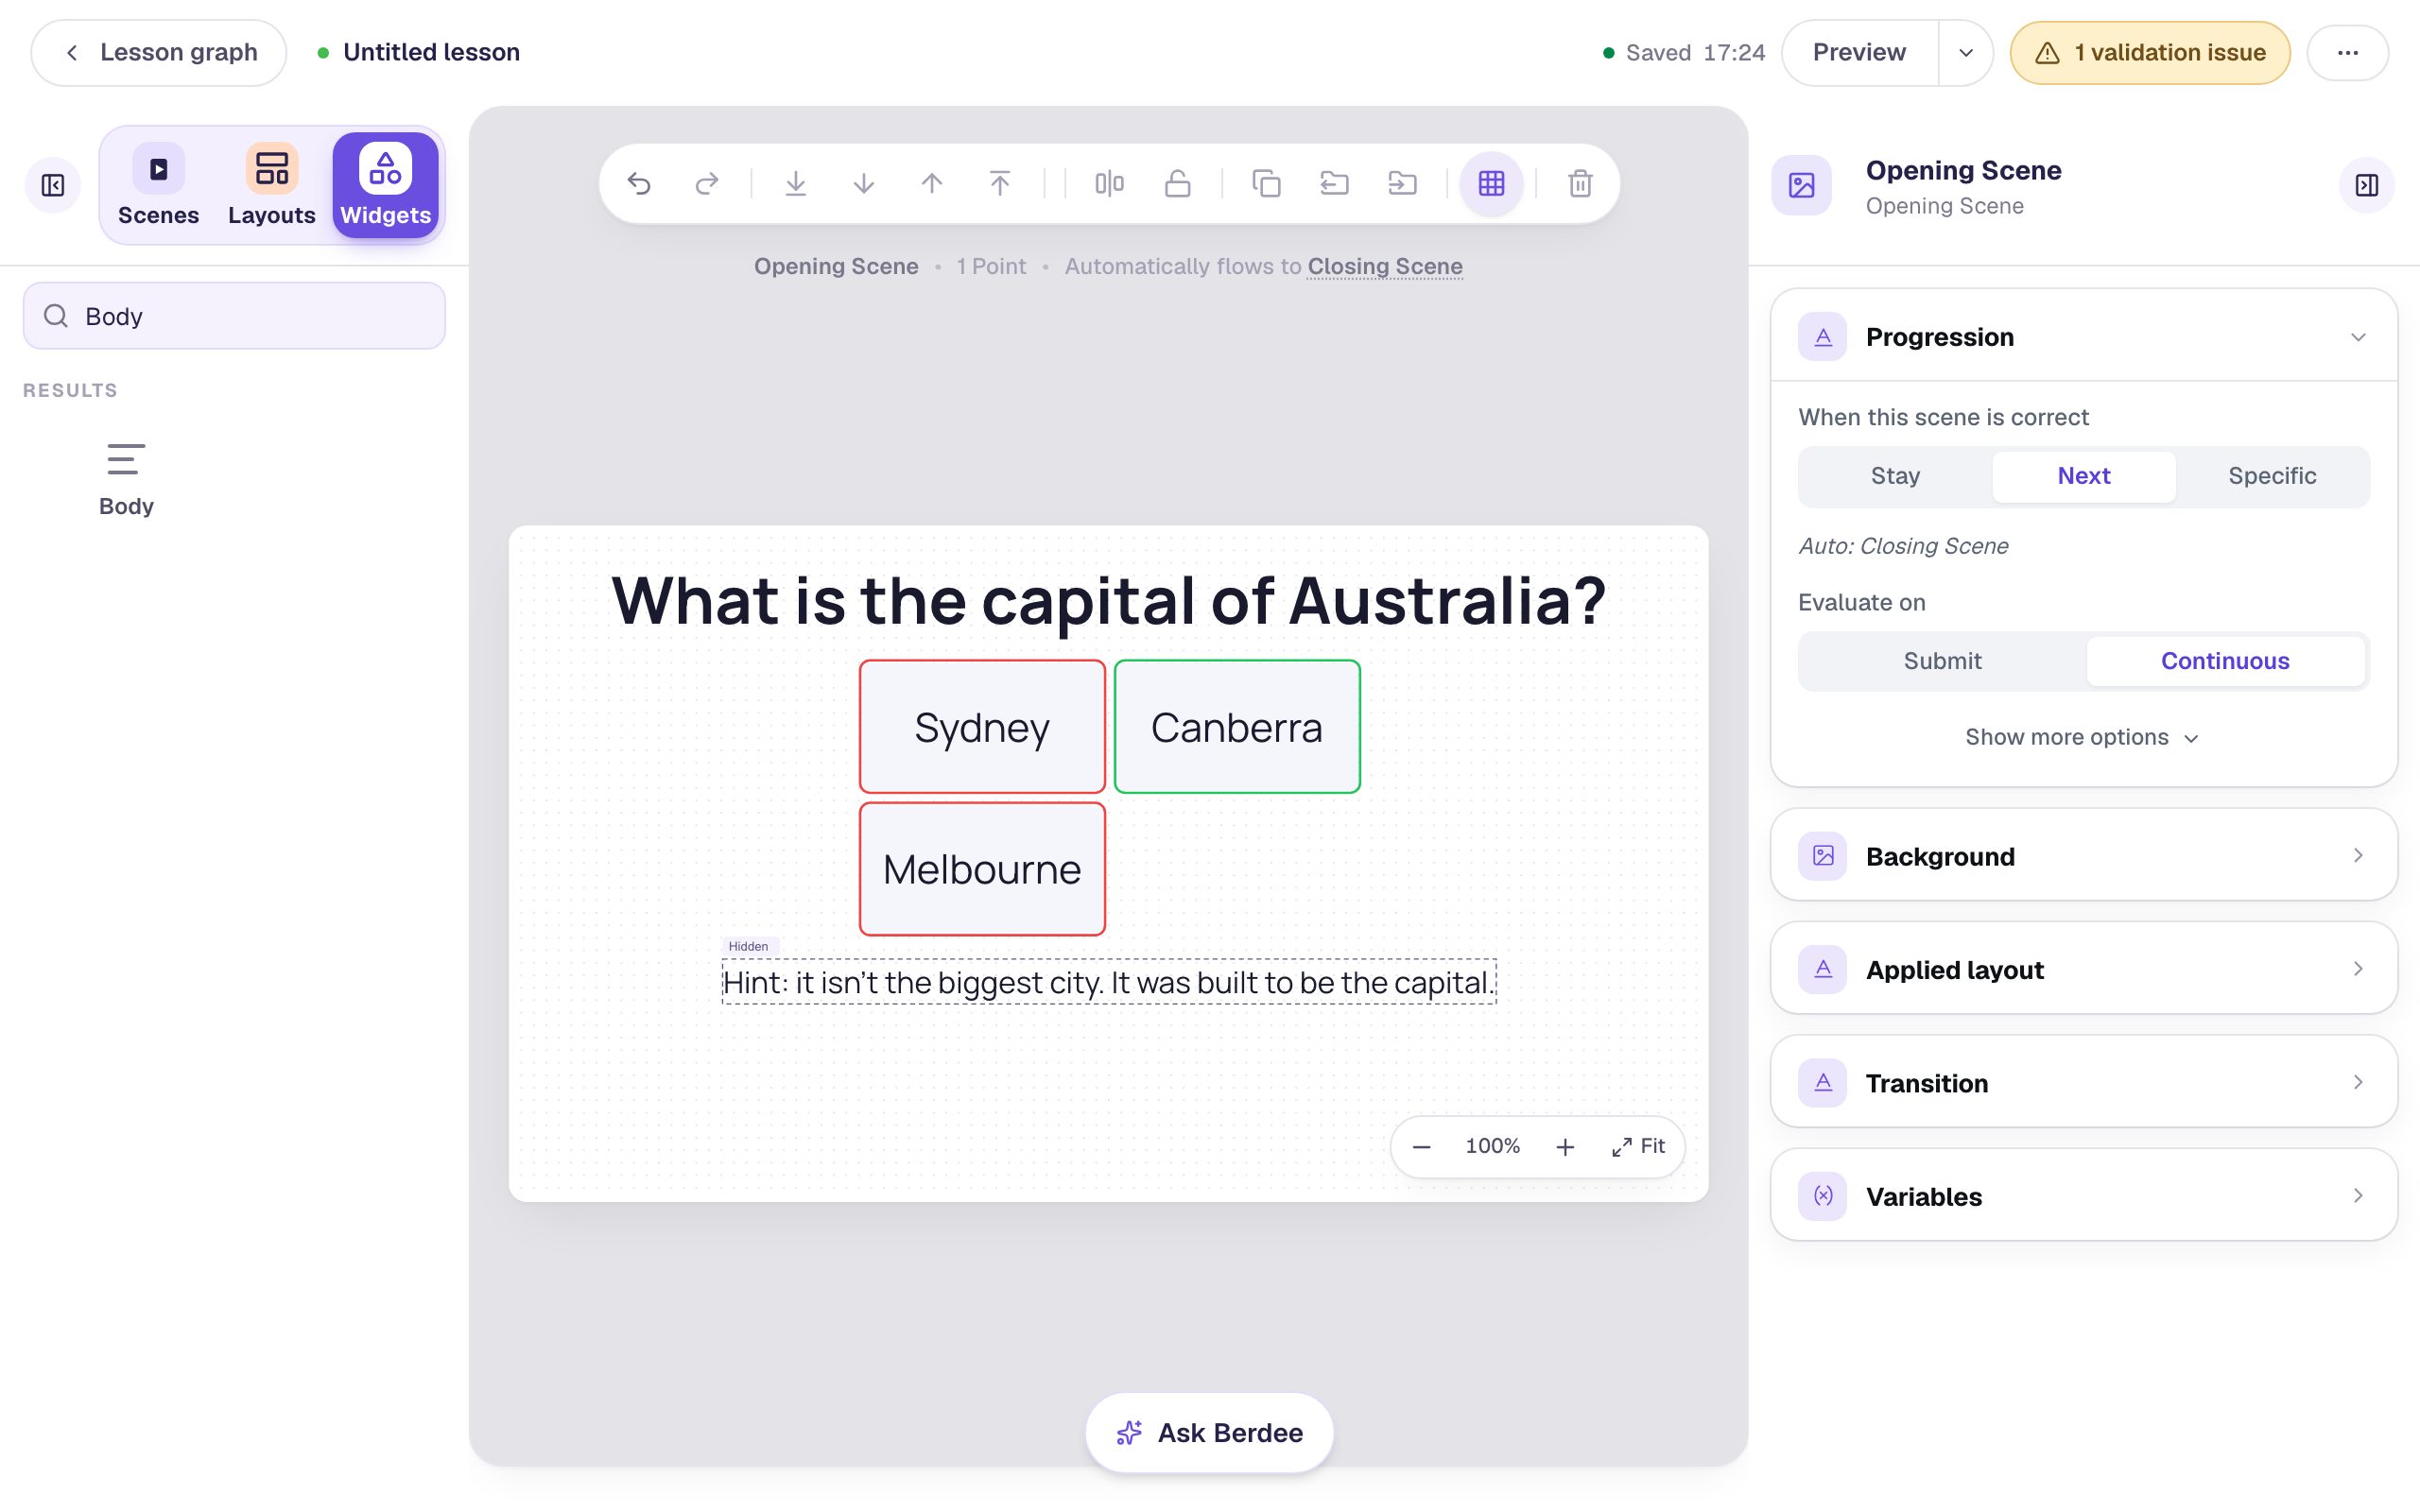
The dashed outline and the Hidden tag tell you students won't see it as the scene starts.
Step 4: Add the Show hint button
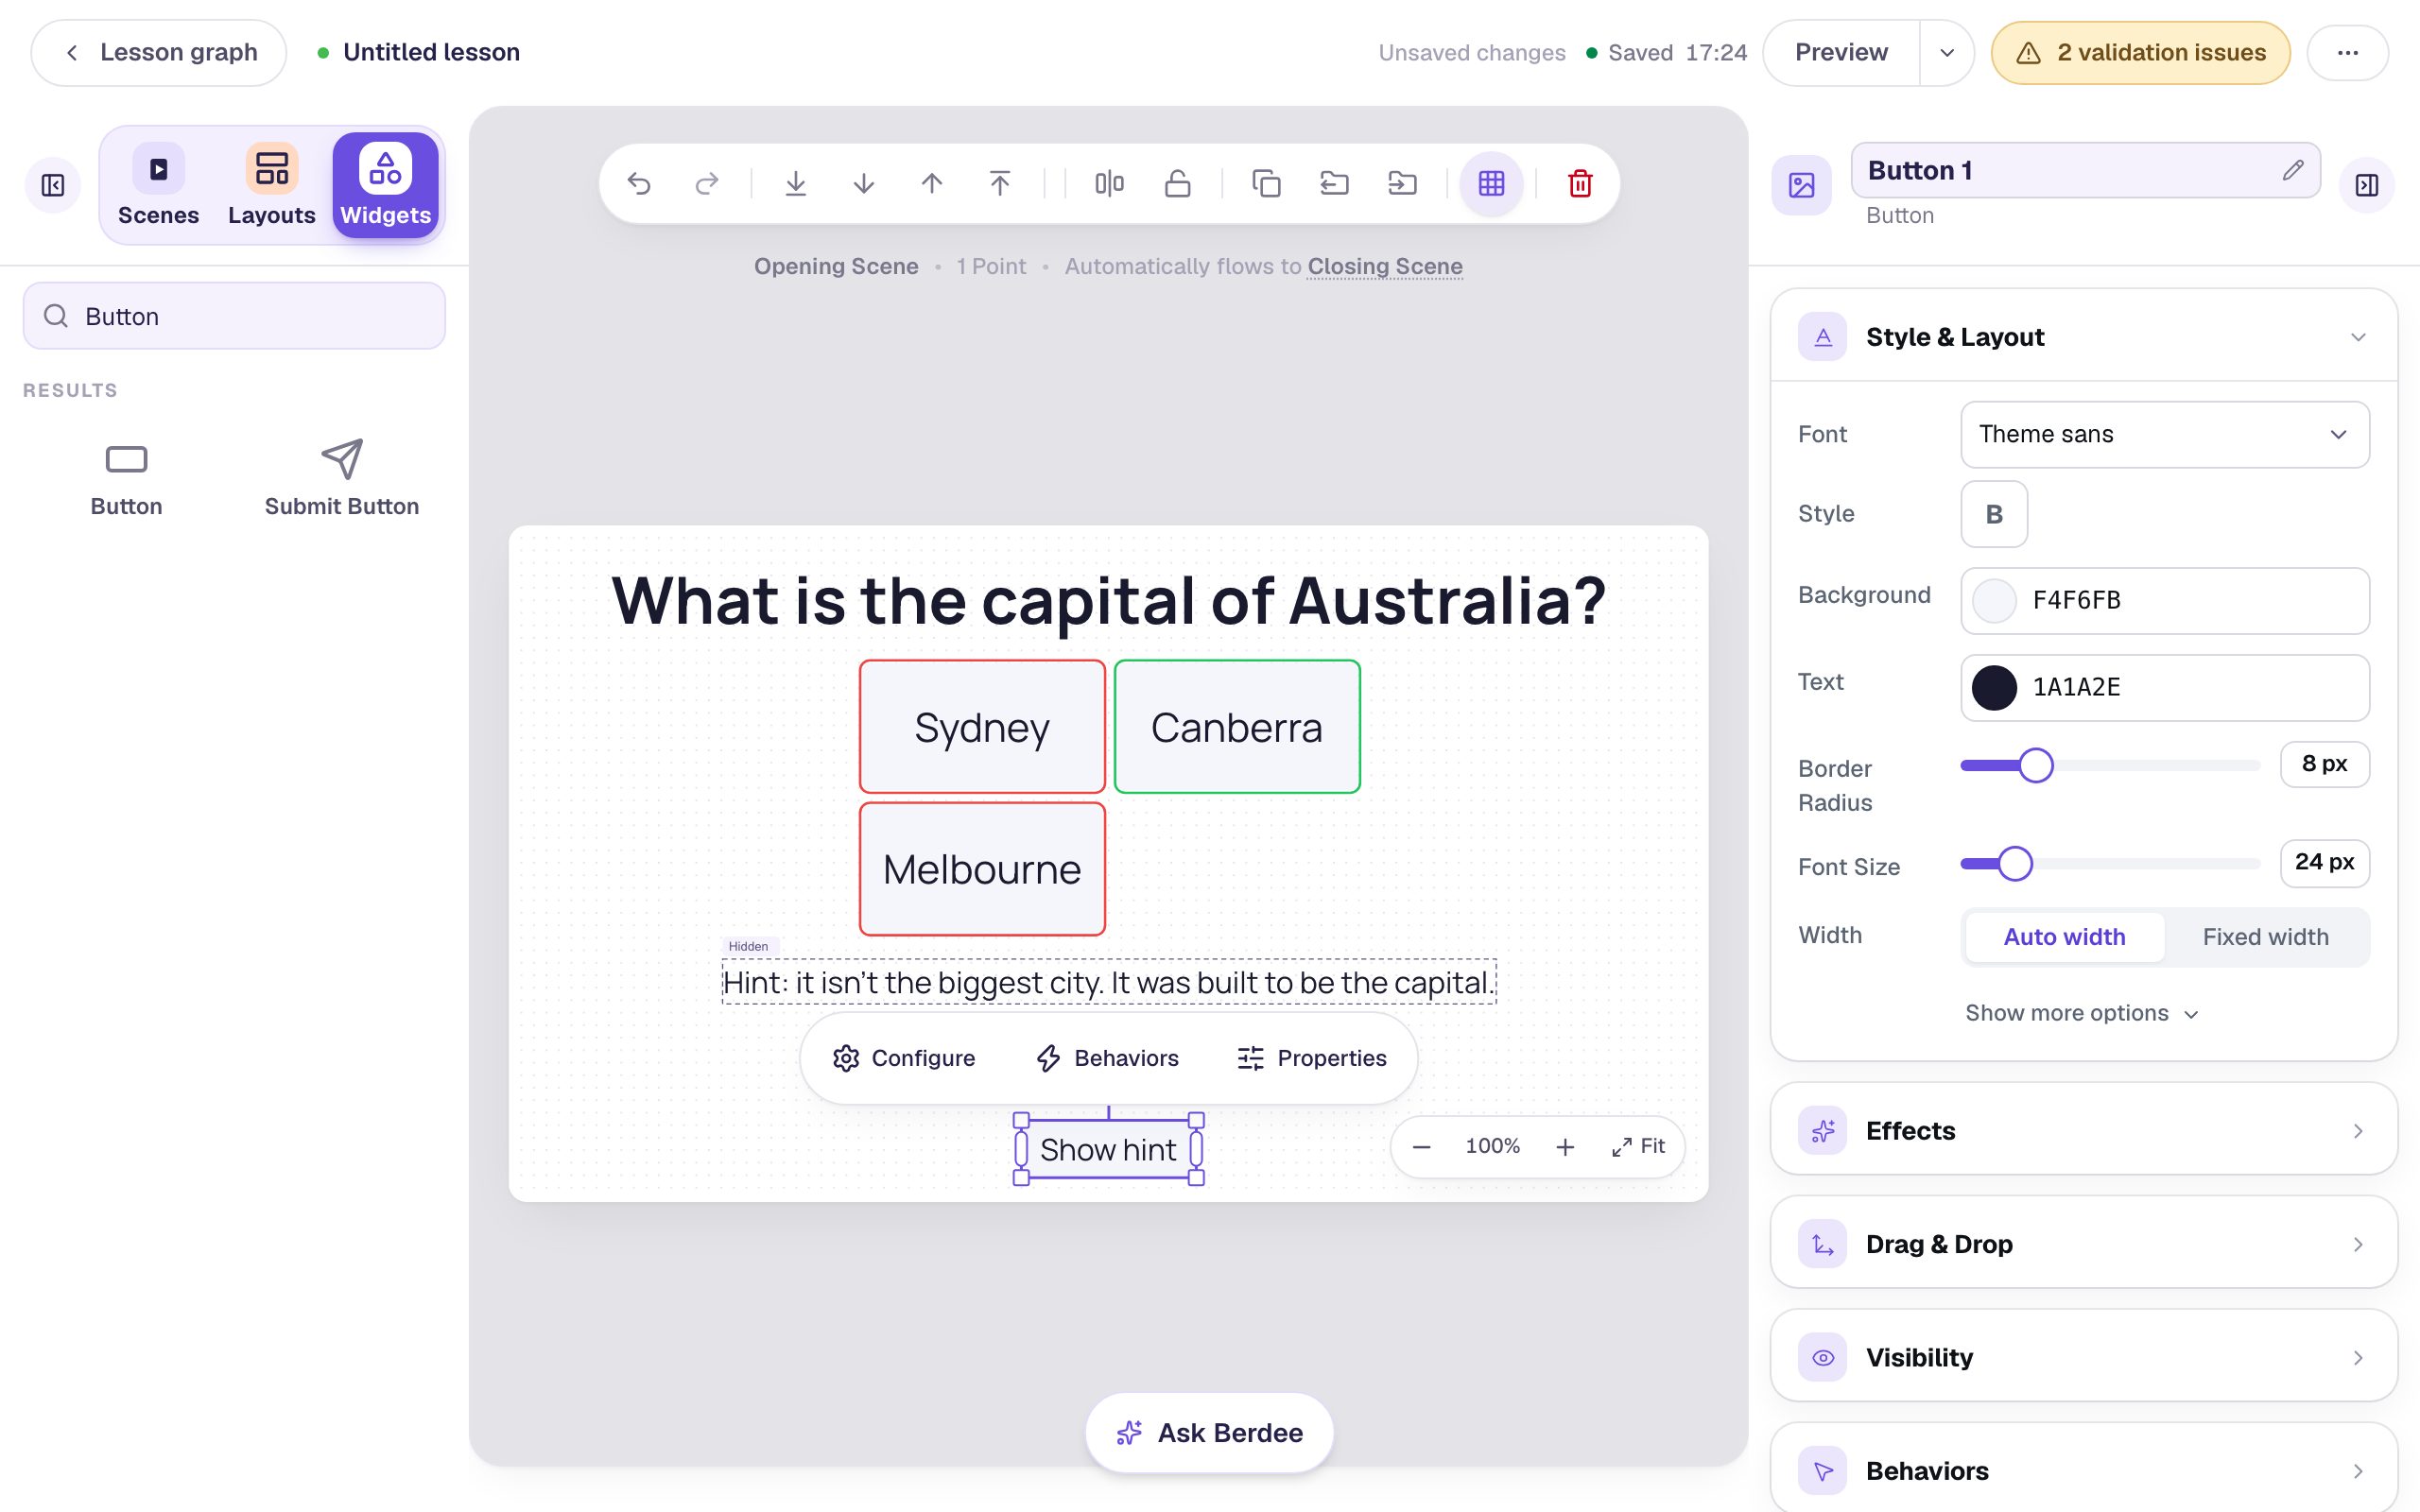
Add a Button, click ⚙ Configure, change its Label to Show hint, and click Save. Set its Font Size to 24 and drag it under the hint.
Step 5: Make the button show the hint
A button does nothing until you give it a behavior. This one needs two actions, one after the other: show the hint, then hide the button, since a student only needs it once.
With the button selected, open Behaviors in the properties panel:
- Click Add Behavior and choose On Press. A new behavior starts with a Display Message action.
- Change Display Message to Widget Method. Two more lists appear.
- In the first list, pick Text: Hint. In the second, pick Show.
- Click Add Action under the first action. The new action starts as Log to Console. Change it to Widget Method too, pick the button itself (Button: Button 1), and pick Hide.
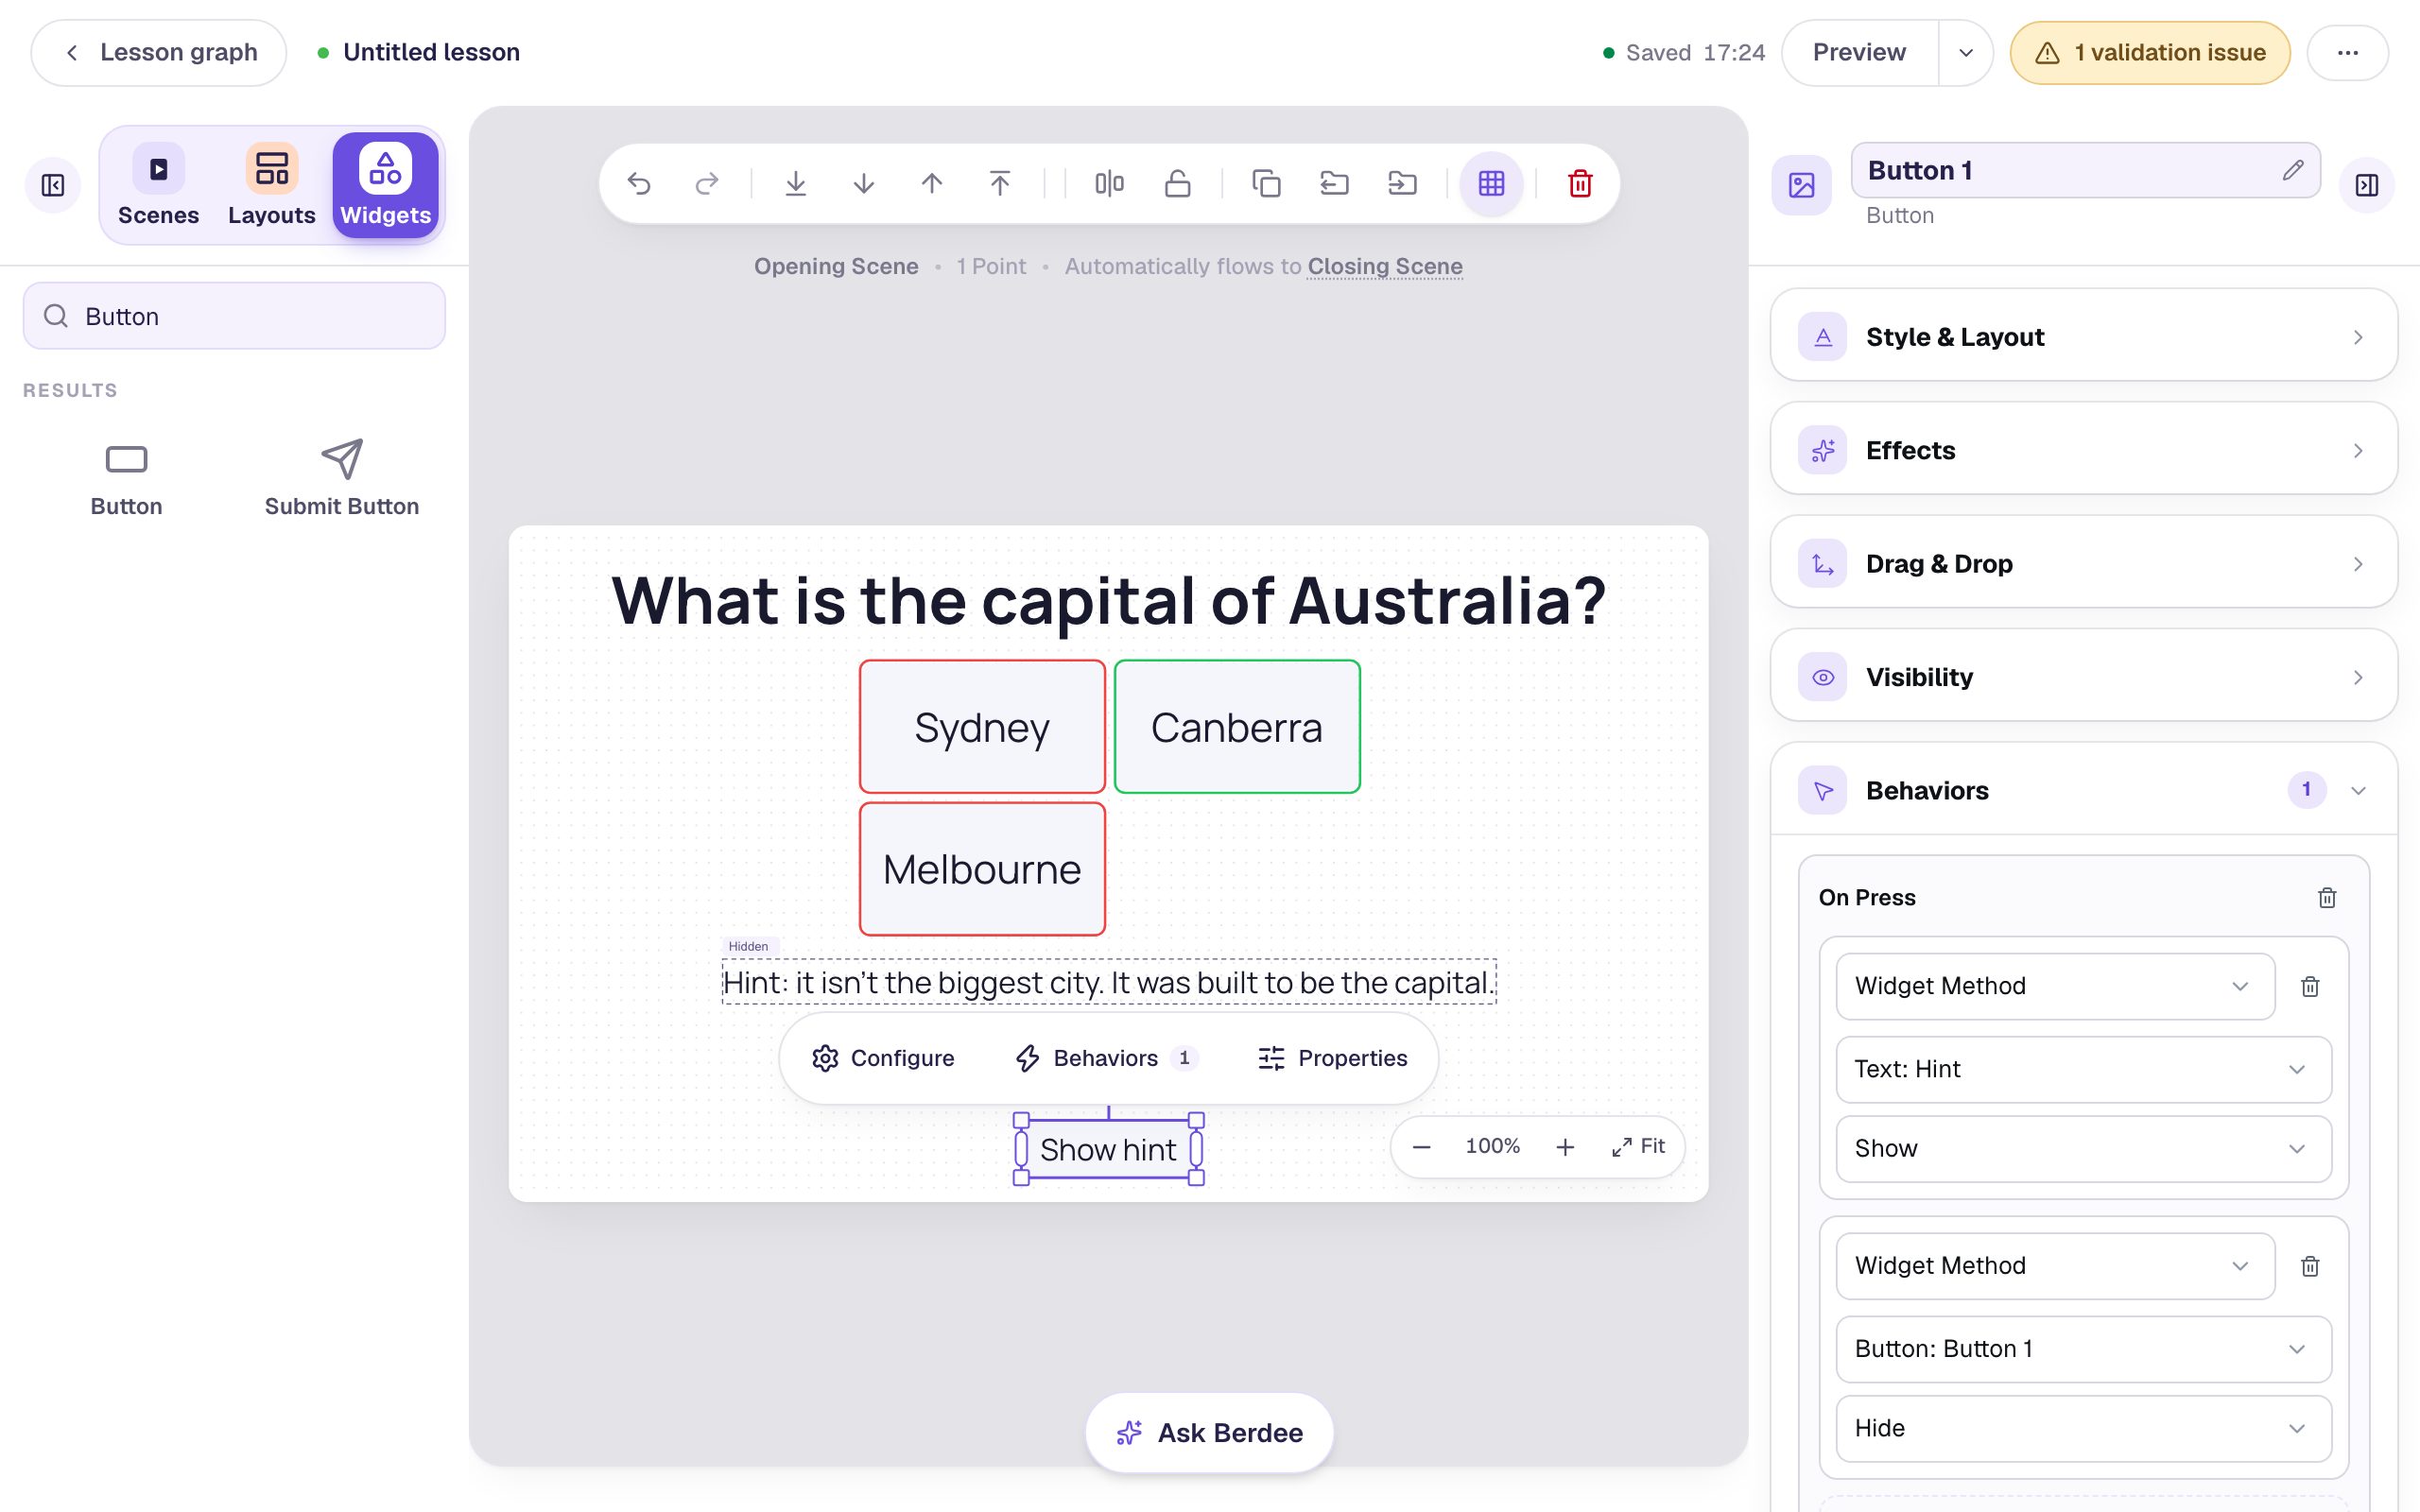
The Behaviors count on the canvas pill now reads 1. Every widget has the same three methods: Show, Hide, and Toggle Visibility, which flips between the two. If you'd rather keep the button and let students open and close the hint, use a single Toggle Visibility action on the hint instead.
Why not the ⚡ Behaviors pill? The guided Behaviors flow on the canvas covers the most common ideas, like going to a scene or celebrating a right answer. Showing and hiding other widgets lives in the properties panel's Behaviors section. Both edit the same behaviors, so a behavior you add here also shows up in the pill's list.
Step 6: Try it as a student
Name the lesson (click Untitled lesson at the top left and type Capital cities), then click Preview. Answer like a student who gets stuck:
- Pick Sydney. It's wrong, so the scene stays put.
- Press Show hint. The hint appears and the button disappears.
- Pick Canberra. It's right, so the lesson moves on to the ending.
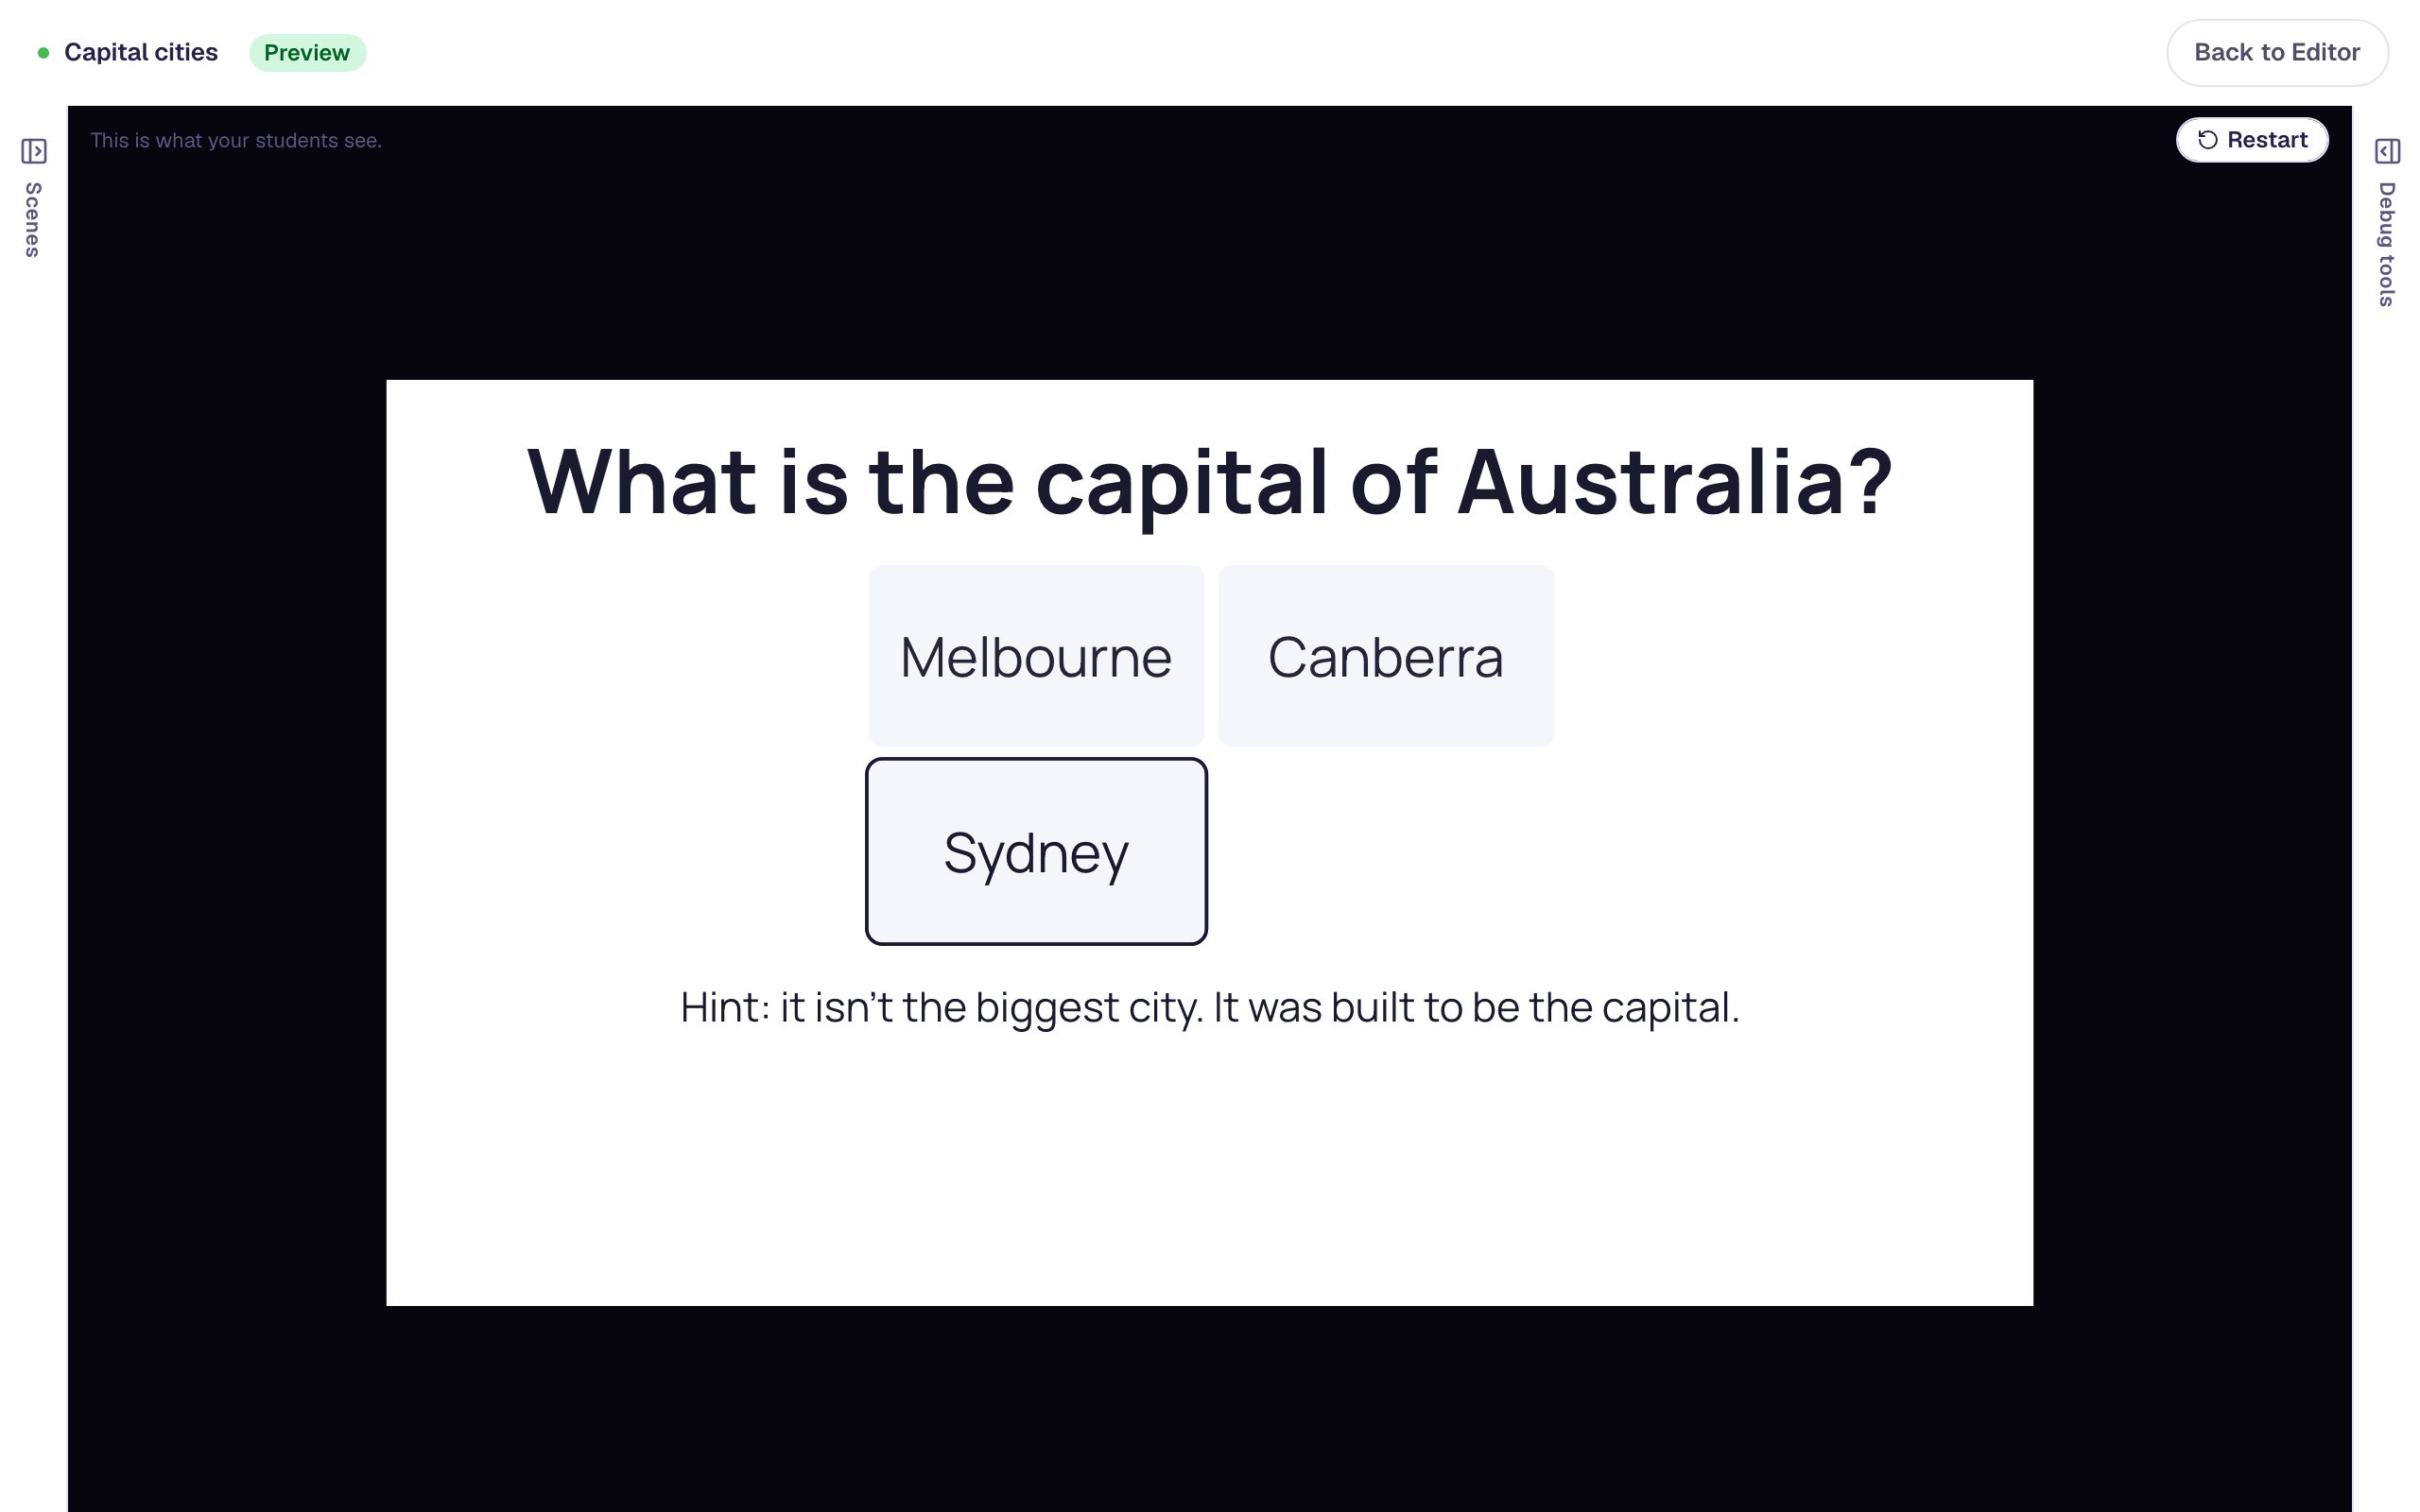
The answers may come up in a different order than in the studio. A multiple-choice question shuffles its answers each time the scene loads, unless you turn off Randomize Order in ⚙ Configure.
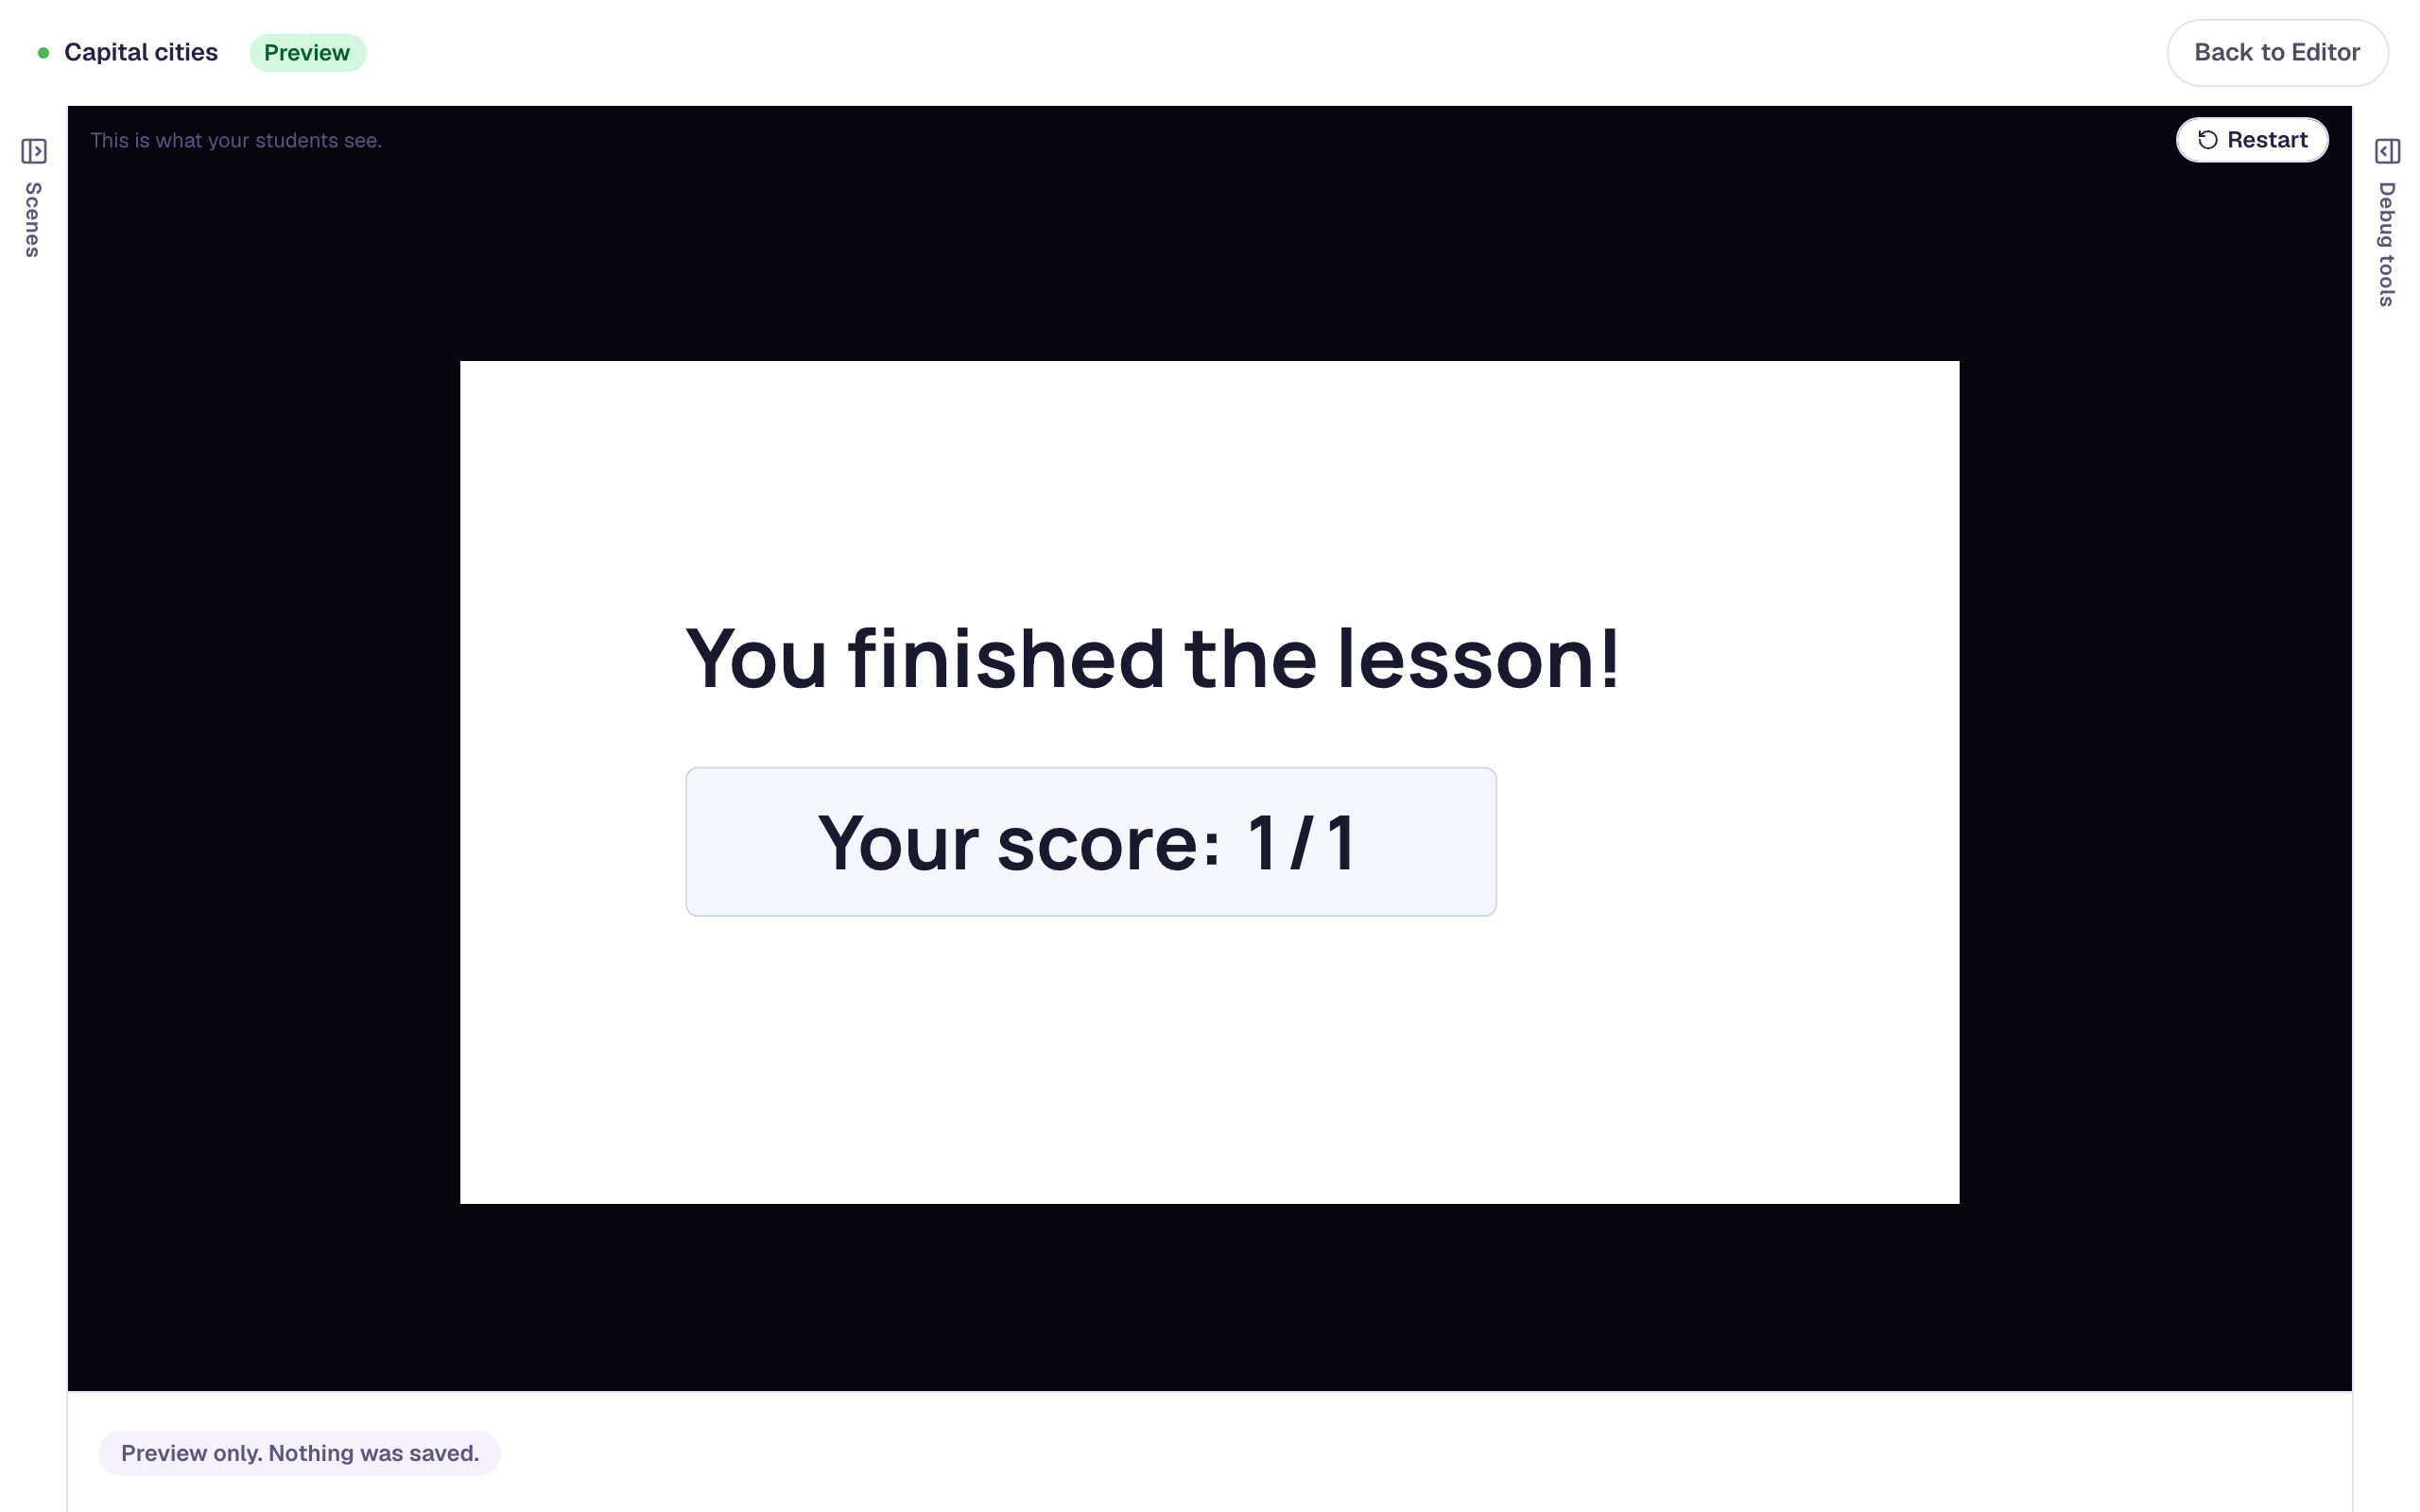
Students who don't need the hint never press the button, so they never see the hint. Opening the hint doesn't change the score: the ending still shows Your score: 1/1.
What you built
A question with help on demand:
- a Text hint with Visibility set to Hidden, renamed so it's easy to pick from a list,
- a Show hint button with one On Press behavior,
- a Widget Method action that runs Show on the hint, and
- a second action that runs Hide on the button, so it's used once.
The same pattern works for anything you want to reveal on request: an image of a worked example, a word bank, or the answer key after students have tried. You can also reveal a widget without a button, for example only once a student gets a question wrong, with a Conditional visibility rule. Show a hint after two wrong tries builds exactly that, and Visibility and Personalization explains the rules in general.
To reveal facts as students tap the parts of a picture, see Make a picture students can tap to explore, which uses the same Show action on Hotspots.
To put a clock on a question instead, so students have to answer in time, see Give students 15 seconds to answer a question.
Make this lesson yours
Add the lesson you just watched being built to your account, then change it for your class: your questions, your pictures, your colors.
Free to sign up, and you'll come straight back here. I have an account