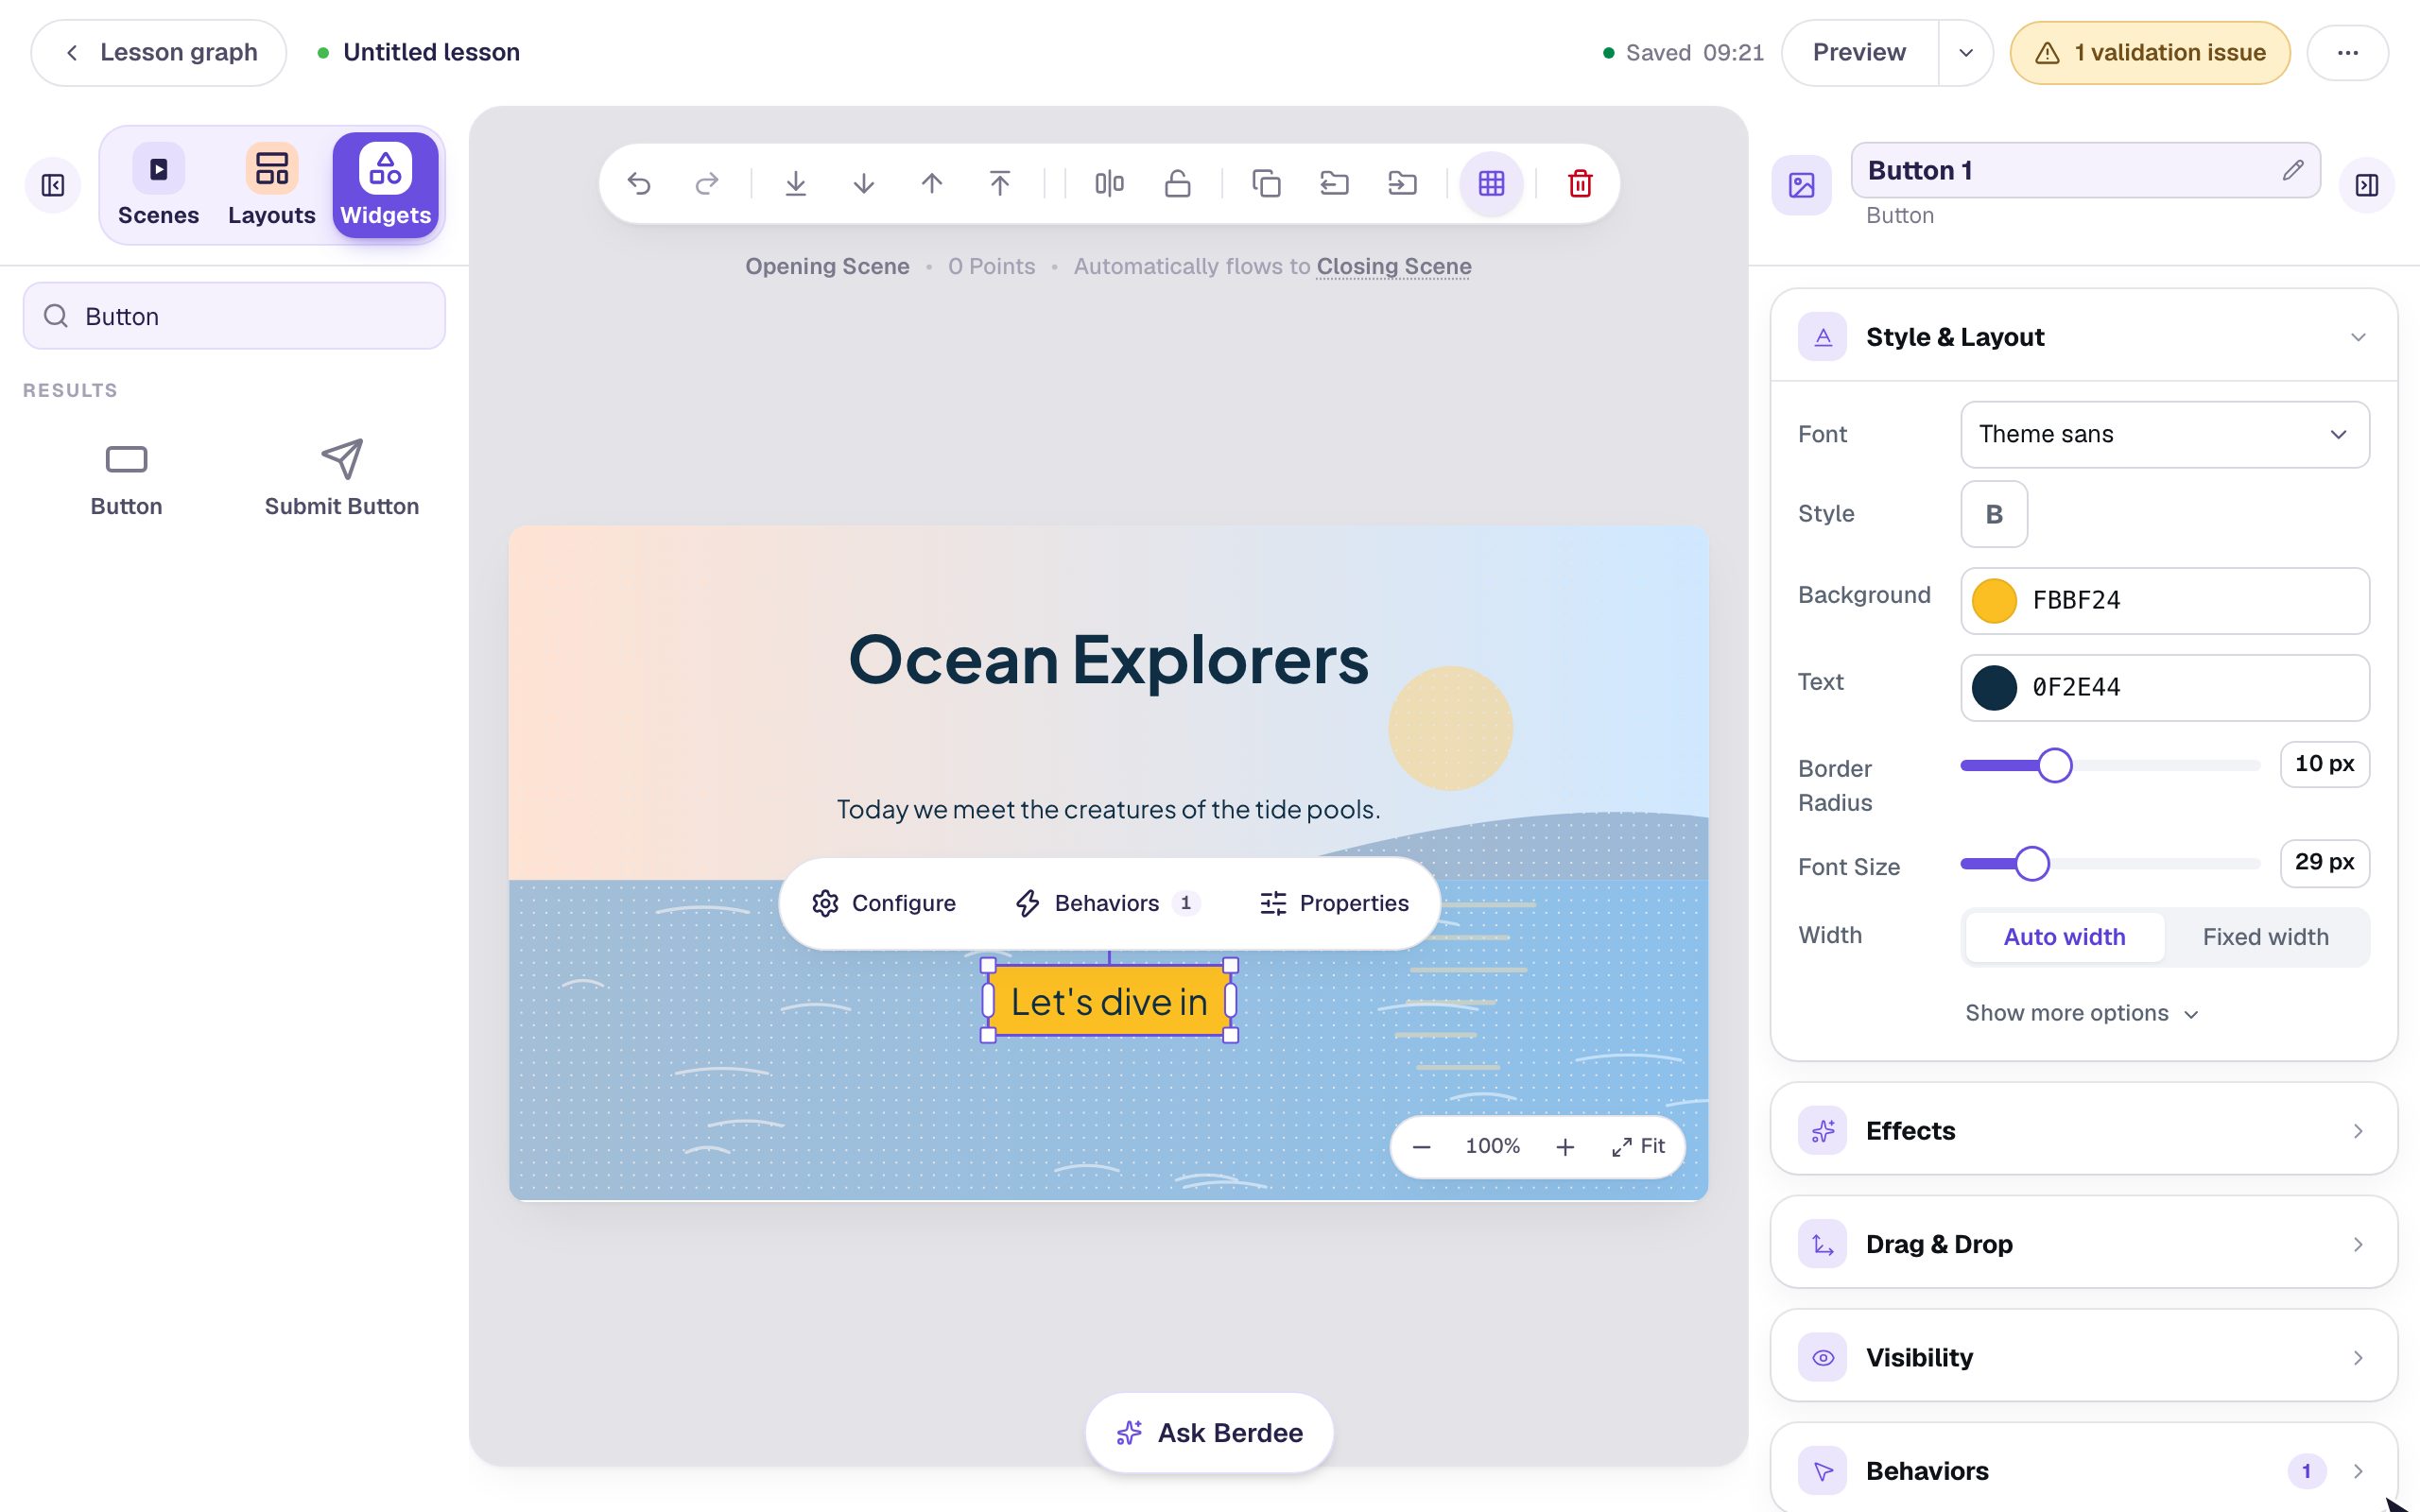
Pop up a fact card with a Container
Group a card's shape, picture, text and Close button in a Container, hide it, and open it with a Did you know? button, so one action shows or hides the whole card.
- Level
- Intermediate
- Time
- About 15 min
- Steps
- 9
- Updated
- Oct 13, 2026
A one-scene honey bee lesson where a Did you know? button pops up a white fact card with a honeycomb photo, and the card's own Close button puts it away again.
Get the finished lesson
Skip straight to the result, or keep it open beside the steps. Add this tutorial's lesson to your account and explore how it works in the studio.
Free to sign up, and you'll come straight back here. I have an account
A fun fact is a nice reward for a curious student, but it crowds the scene if it's on screen from the start. In this tutorial you'll tuck one away on a card that pops up when a student presses Did you know?, and closes again with its own Close button.
The card is five widgets: a white shape, a title, a photo, the fact, and a Close button. Showing and hiding five widgets one at a time would take five actions on every button. Instead you'll group them in a Container, so the card shows, hides and moves as one piece.
If you haven't shown or hidden a widget with a button before, Add a hint students can open when they're stuck does it with a single widget. This tutorial builds on it.
Step 1: Set the scene
Start a blank lesson (New lesson, then Start from scratch). Click the lesson's name at the top left and call it Meet the honey bee.
Click an empty spot on the scene, open Background, click Choose a style, pick Radial spotlight and click Apply background. Open the Closing Scene from Scenes and give it the same background, so the ending matches.
Back on the Opening Scene, build what students see first:
- A Heading at the top:
Meet the honey bee. - An Image on the left,
400wide and290tall (Style & Layout → Show more options). In Image Source, click Open Media Library, search forhoney bee yellow flowerand insert a photo. Set Fit to Cover and Border Radius to16, and in Accessibility give it the Alt TextA honey bee collecting nectar from a bright yellow flower. - A Body on the right:
Honey bees live together in a hive. They visit flowers to collect nectar, and turn it into honey. - A Button under it. Click ⚙ Configure, change its Label to
Did you know?, and click Save. Give it an orange Background so it stands out, and rename itDid you knowat the top of the properties panel.
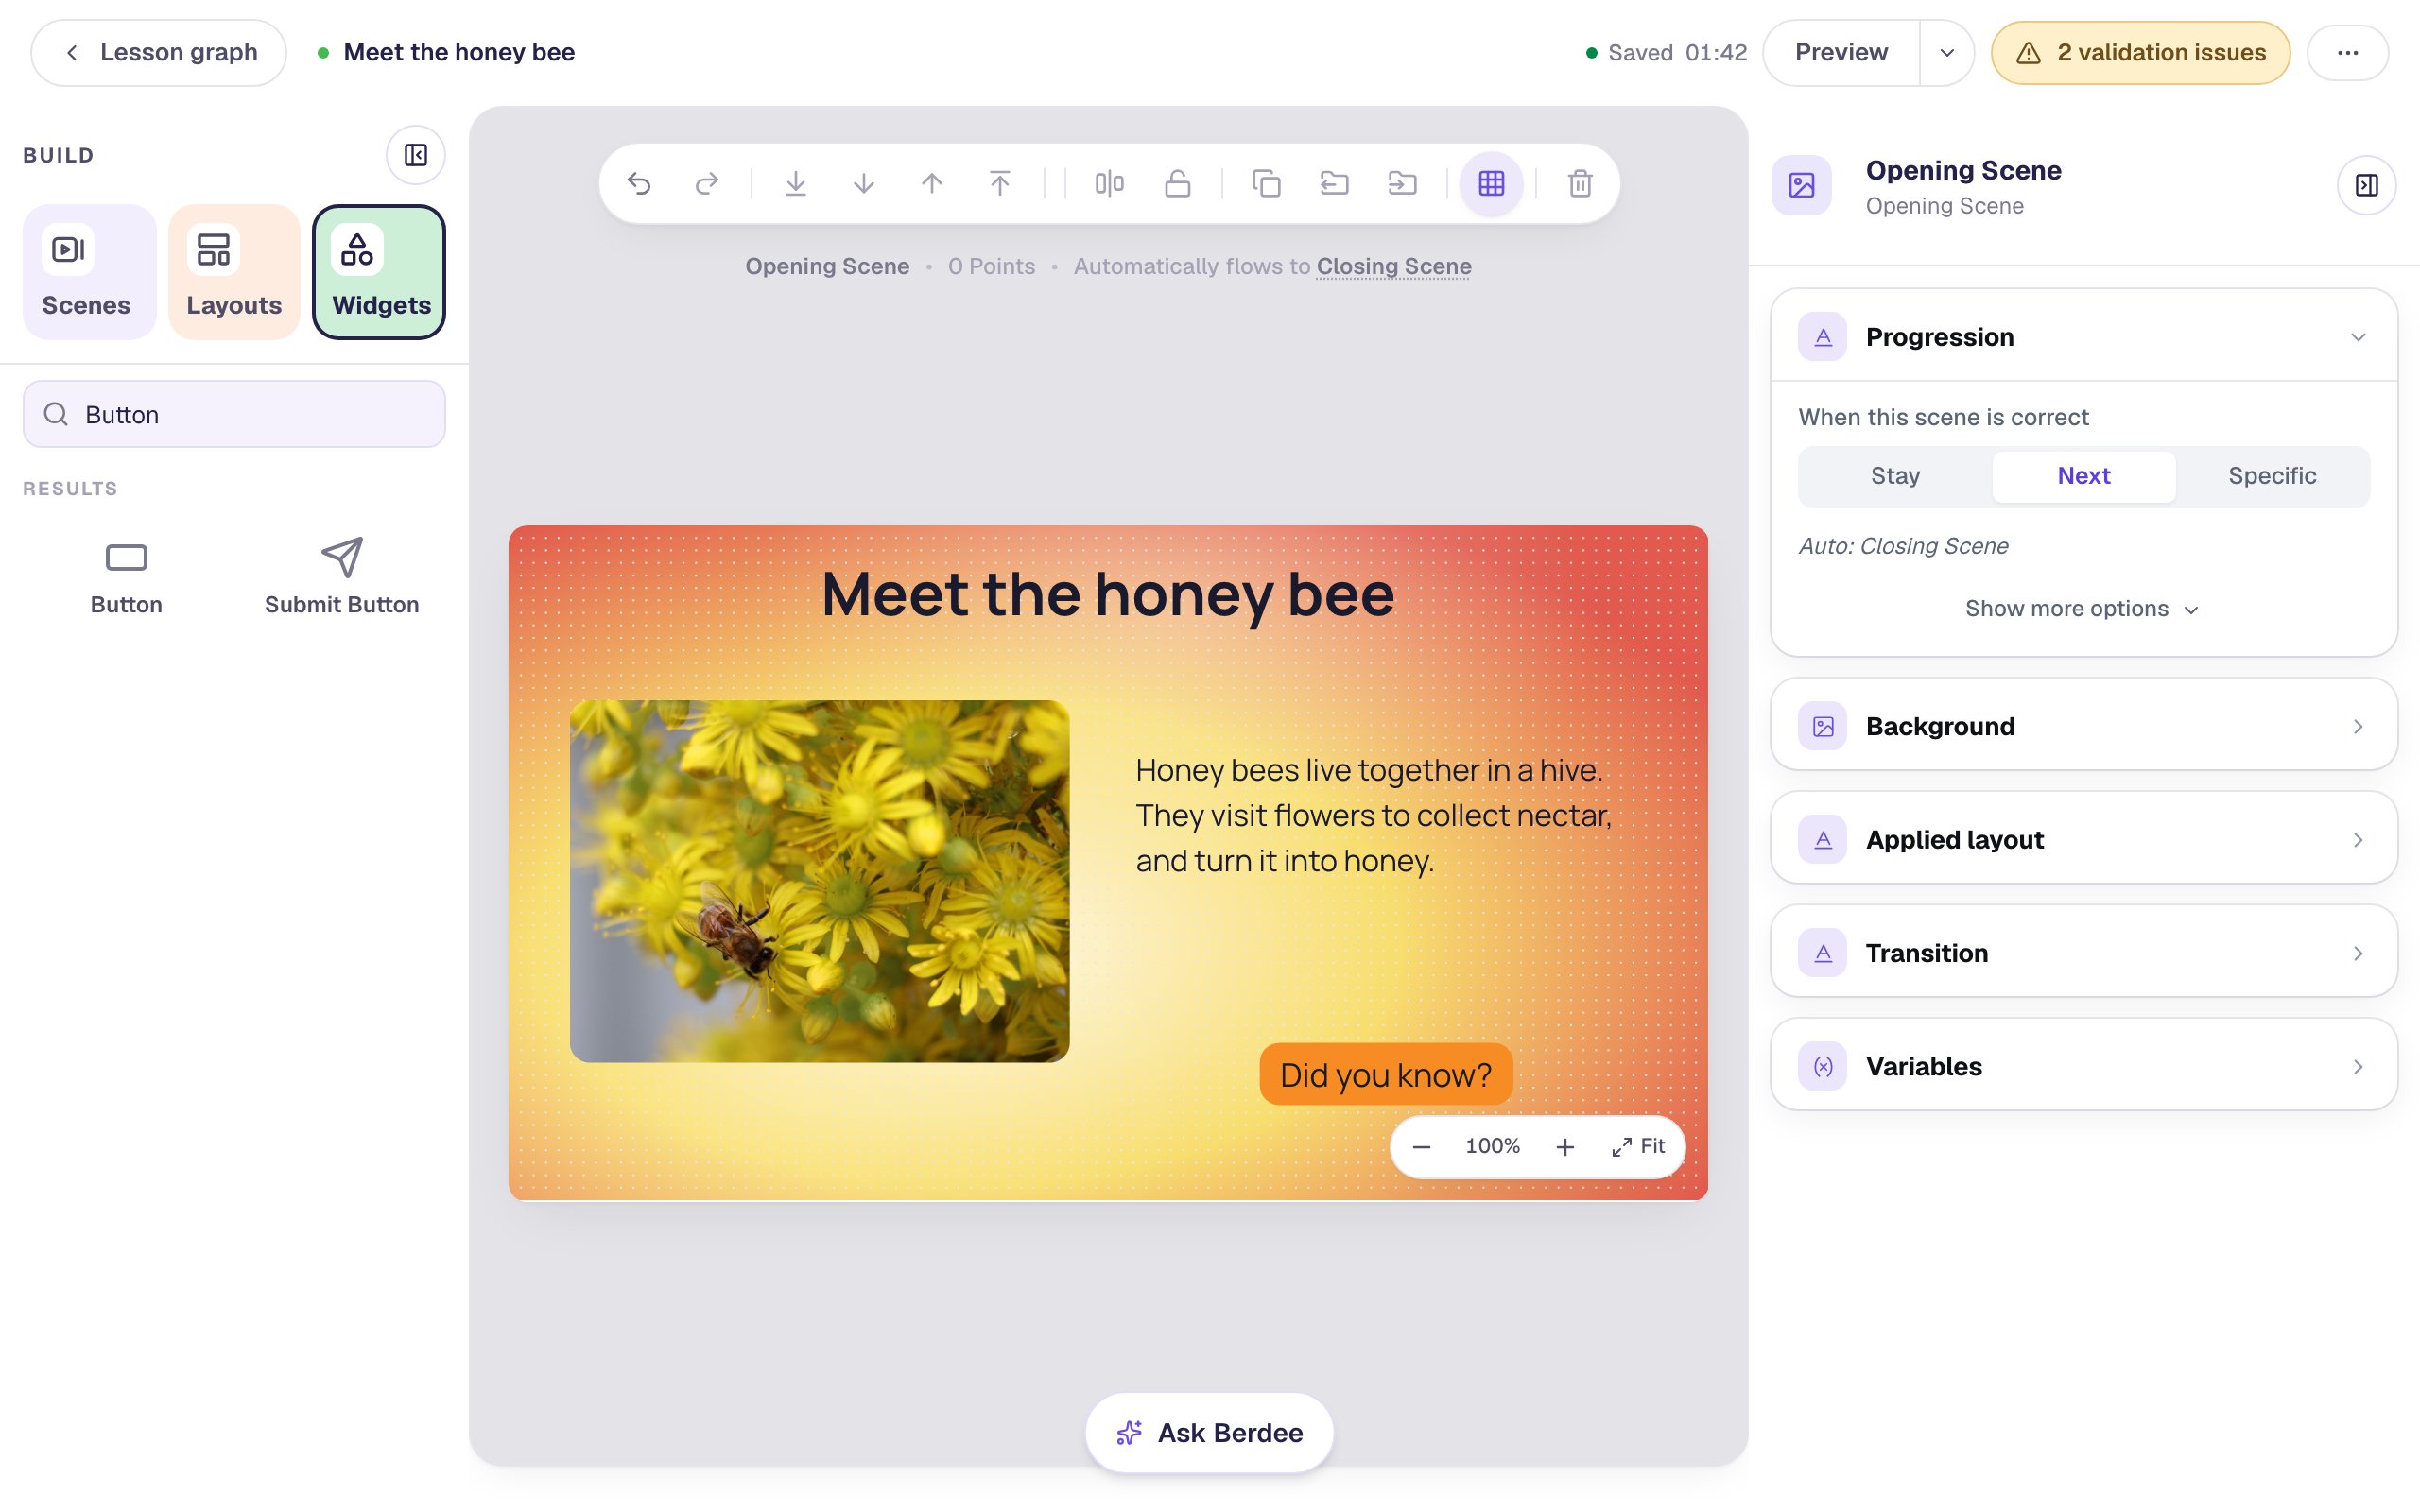
Leave the space above the button free. The card goes there, over the sentences.
Step 2: Draw the card
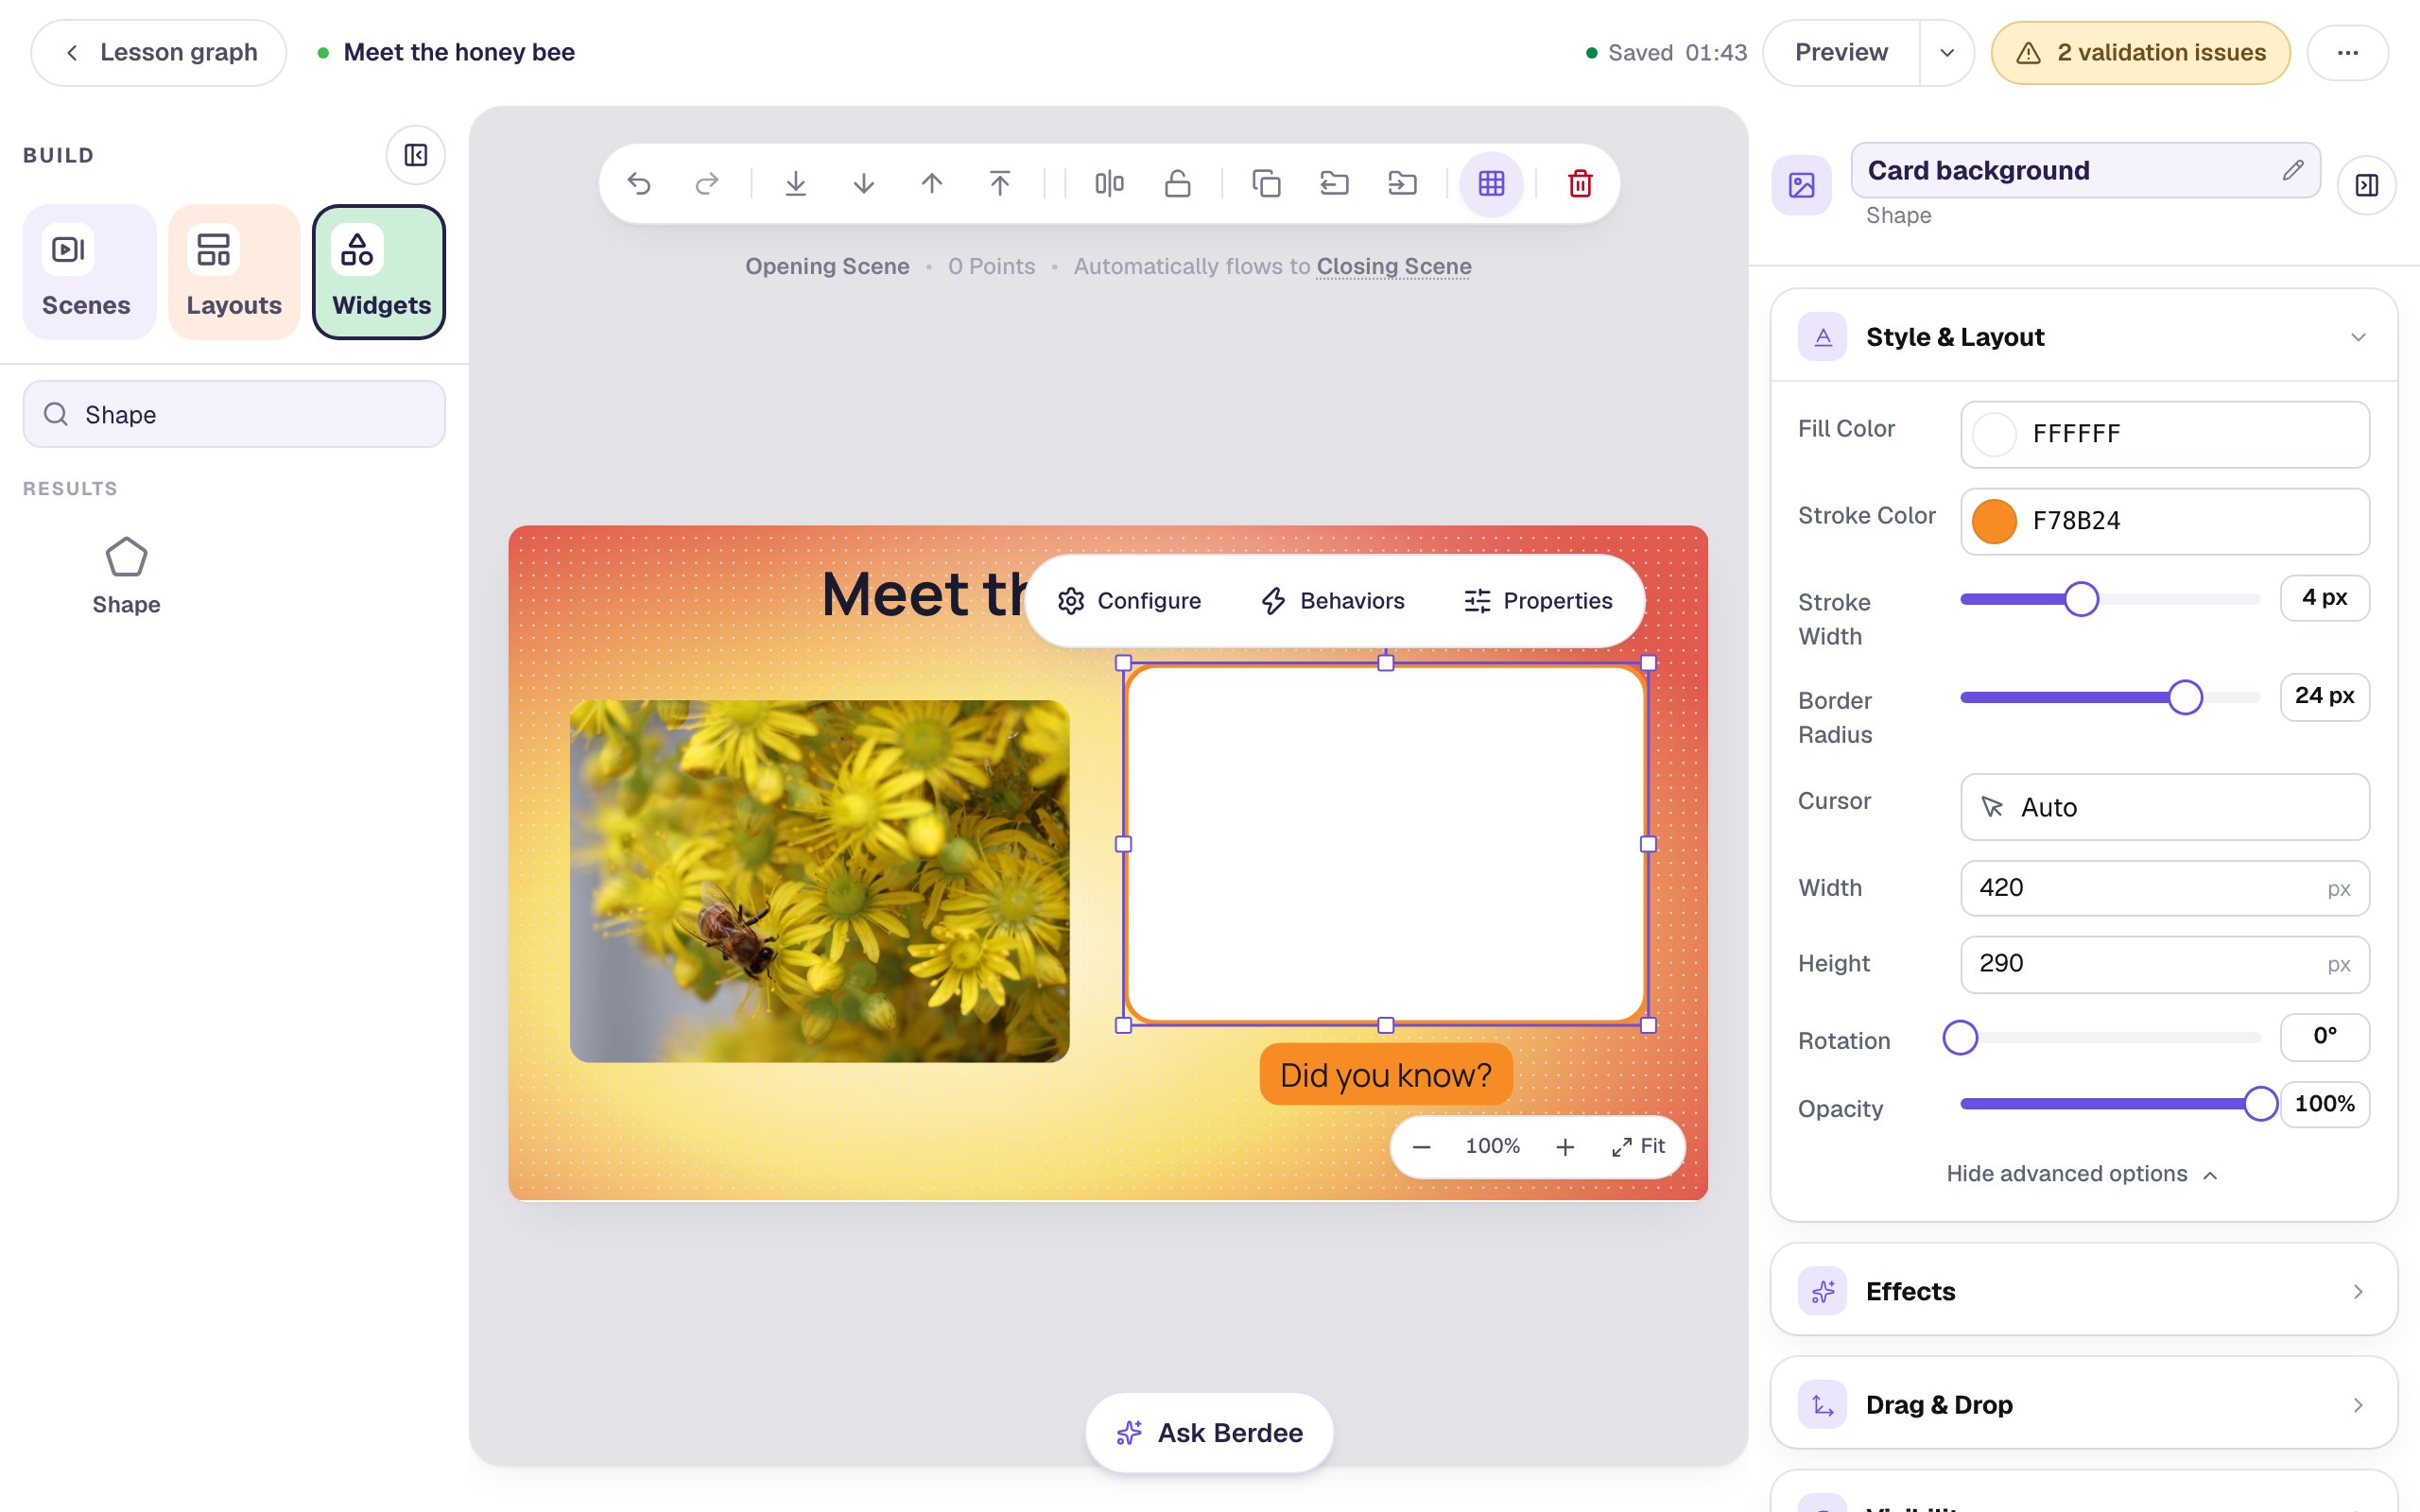
A Container is invisible to students: no fill, no border. So the card you see is a Shape, and the Container only holds it together.
Add a Shape from Widgets. The shape library opens: pick Rectangle and click Save. Rename it Card background, then in Style & Layout:
- Fill Color: white.
- Stroke Color: orange, with Stroke Width
4. - Border Radius:
24, for soft corners. - Width
420and Height290.
Drag it over the sentences, just above the Did you know? button.
Step 3: Put a fact on the card
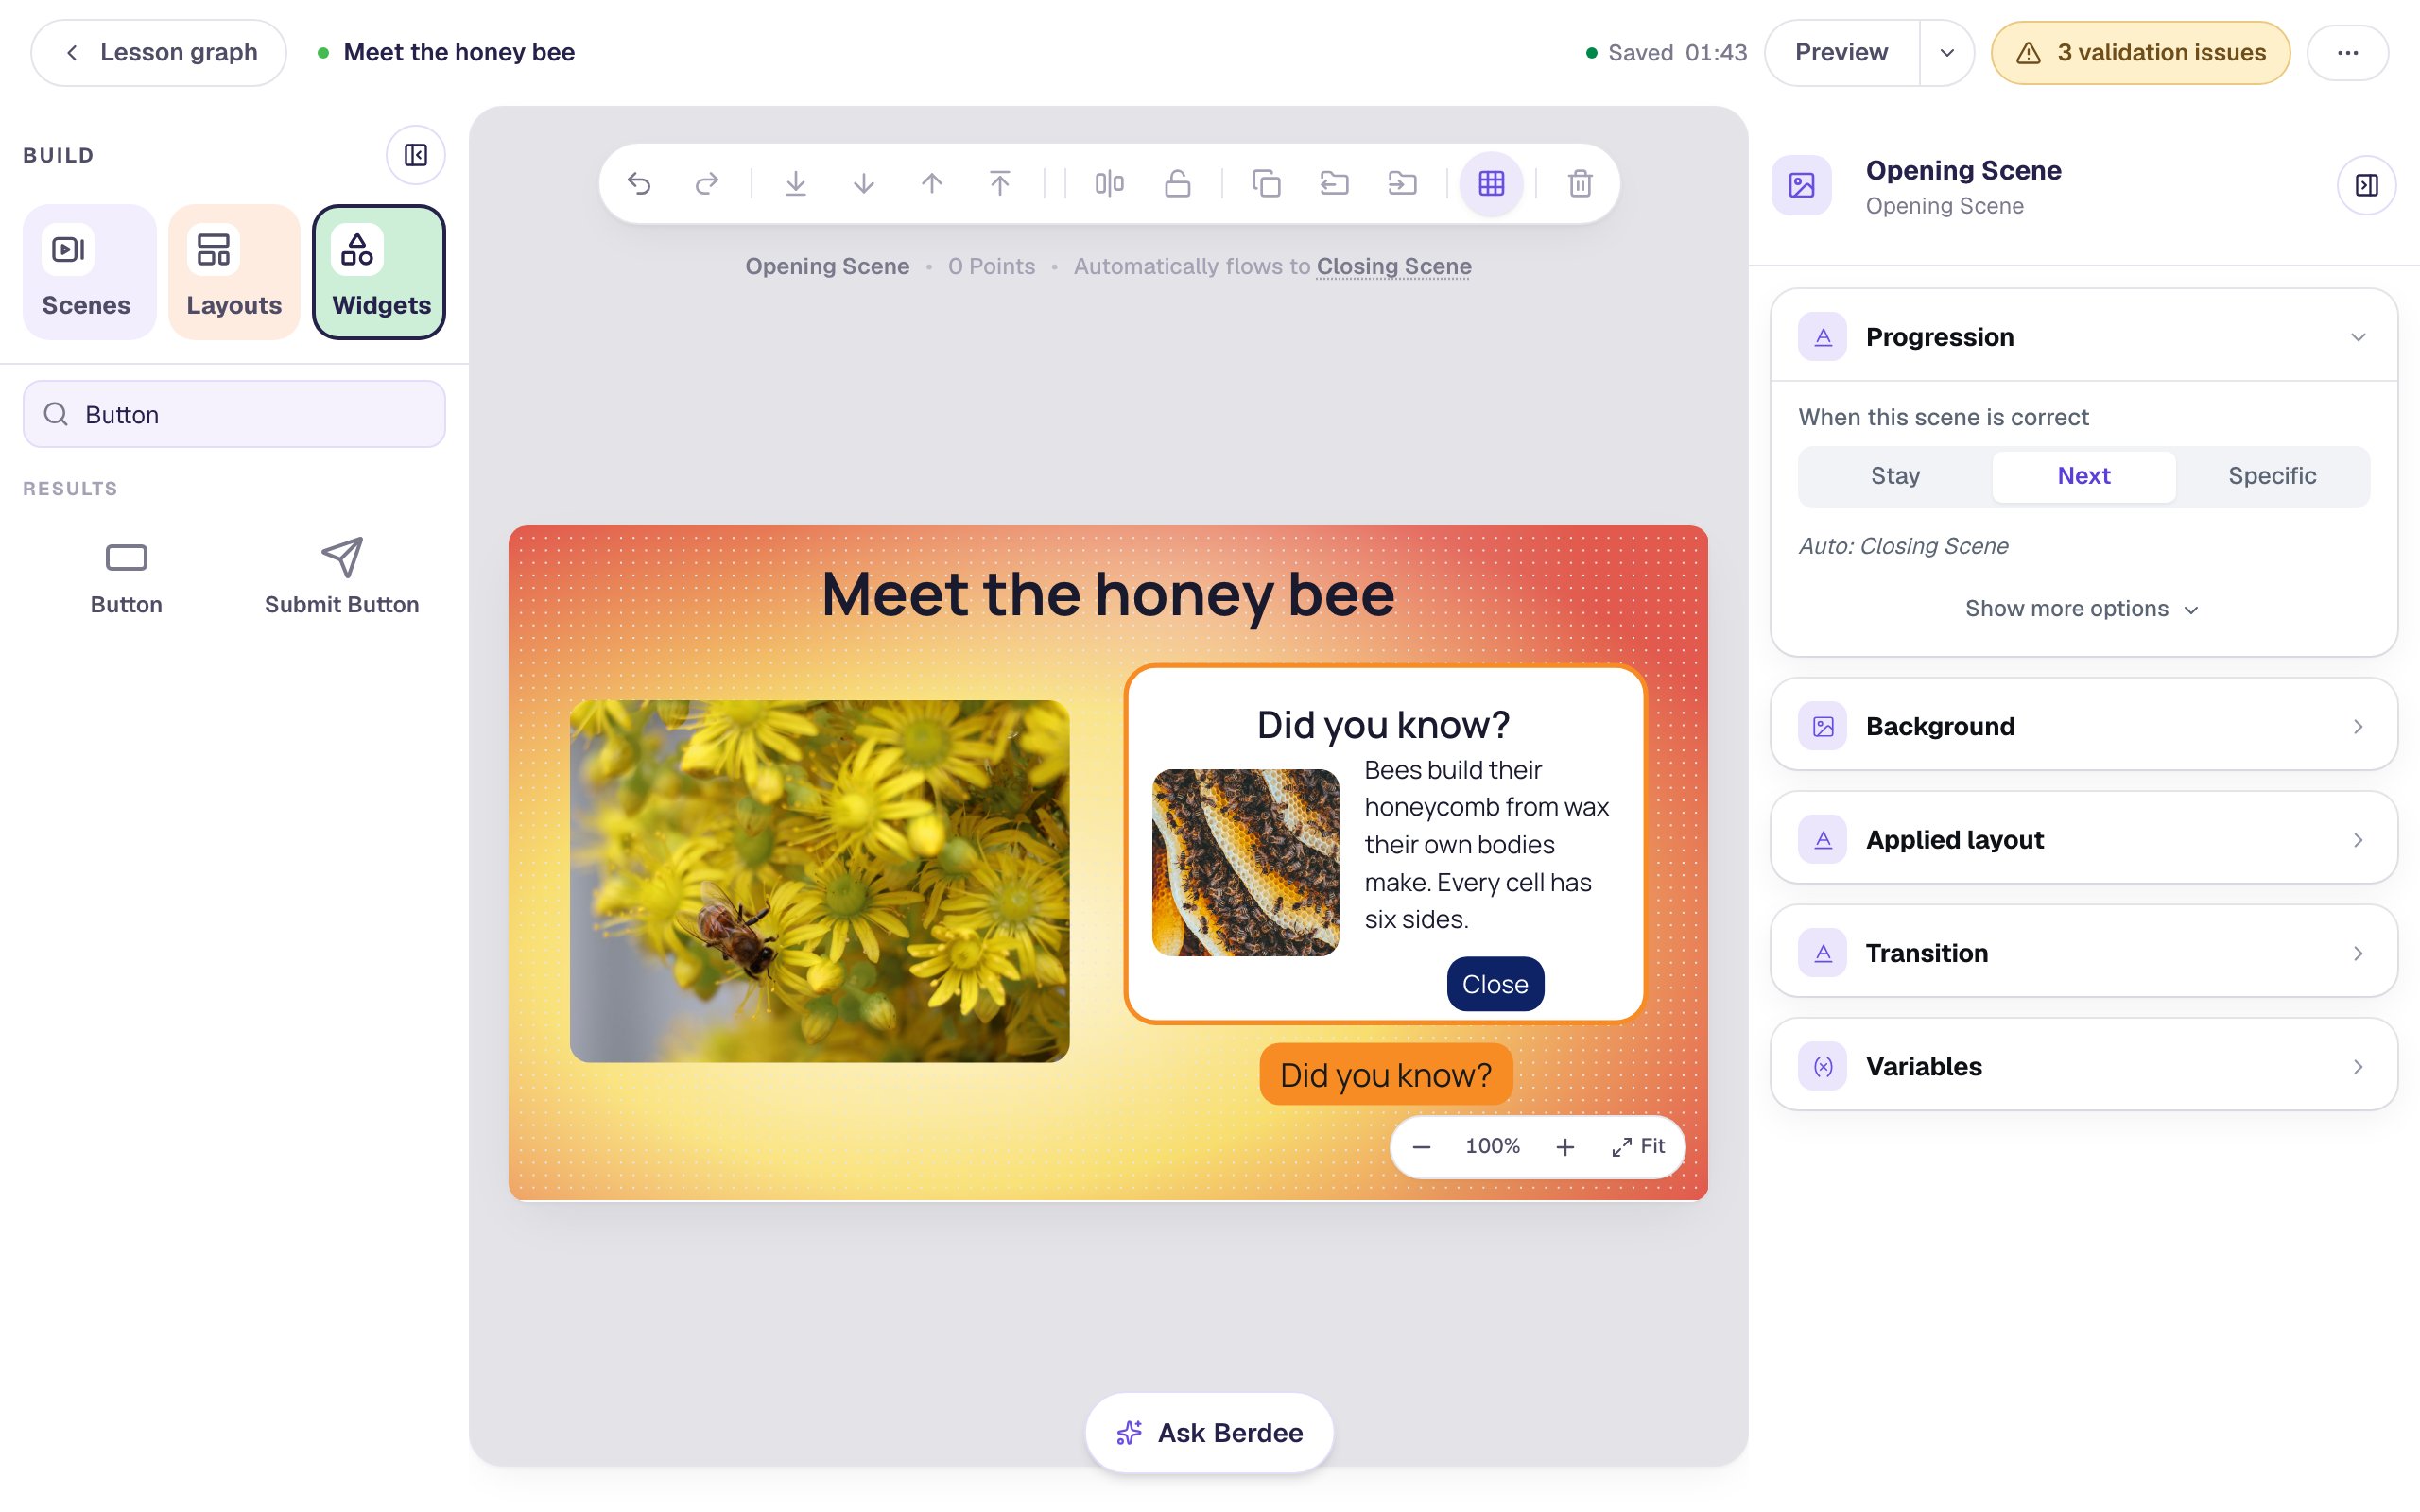
Now fill the card. Each of these is an ordinary widget placed on top of the shape:
- A Subheading across the top of the card:
Did you know? - A small Image,
150by150, on the left. Search forhoneycomb bees, pick a photo of bees on their honeycomb, set Fit to Cover, and give it the Alt TextHoney bees crawling over a wax honeycomb. - A Body beside the photo:
Bees build their honeycomb from wax their own bodies make. Every cell has six sides.Set it to Fixed width with a Width of210so it wraps beside the photo, and Font Size20. - A Button at the bottom right of the card, labelled
Close, with a navy Background and white Text. Rename itClose.
Step 4: Wrap the card in a container
Search Widgets for Container and click it. Rename it Fact card: you'll pick it from a list by that name later.
In the Layout section, click Show advanced layout and set Width to 440 and Height to 310, a little bigger than the card. Then drag the container by its purple name tab until its outline surrounds the card.
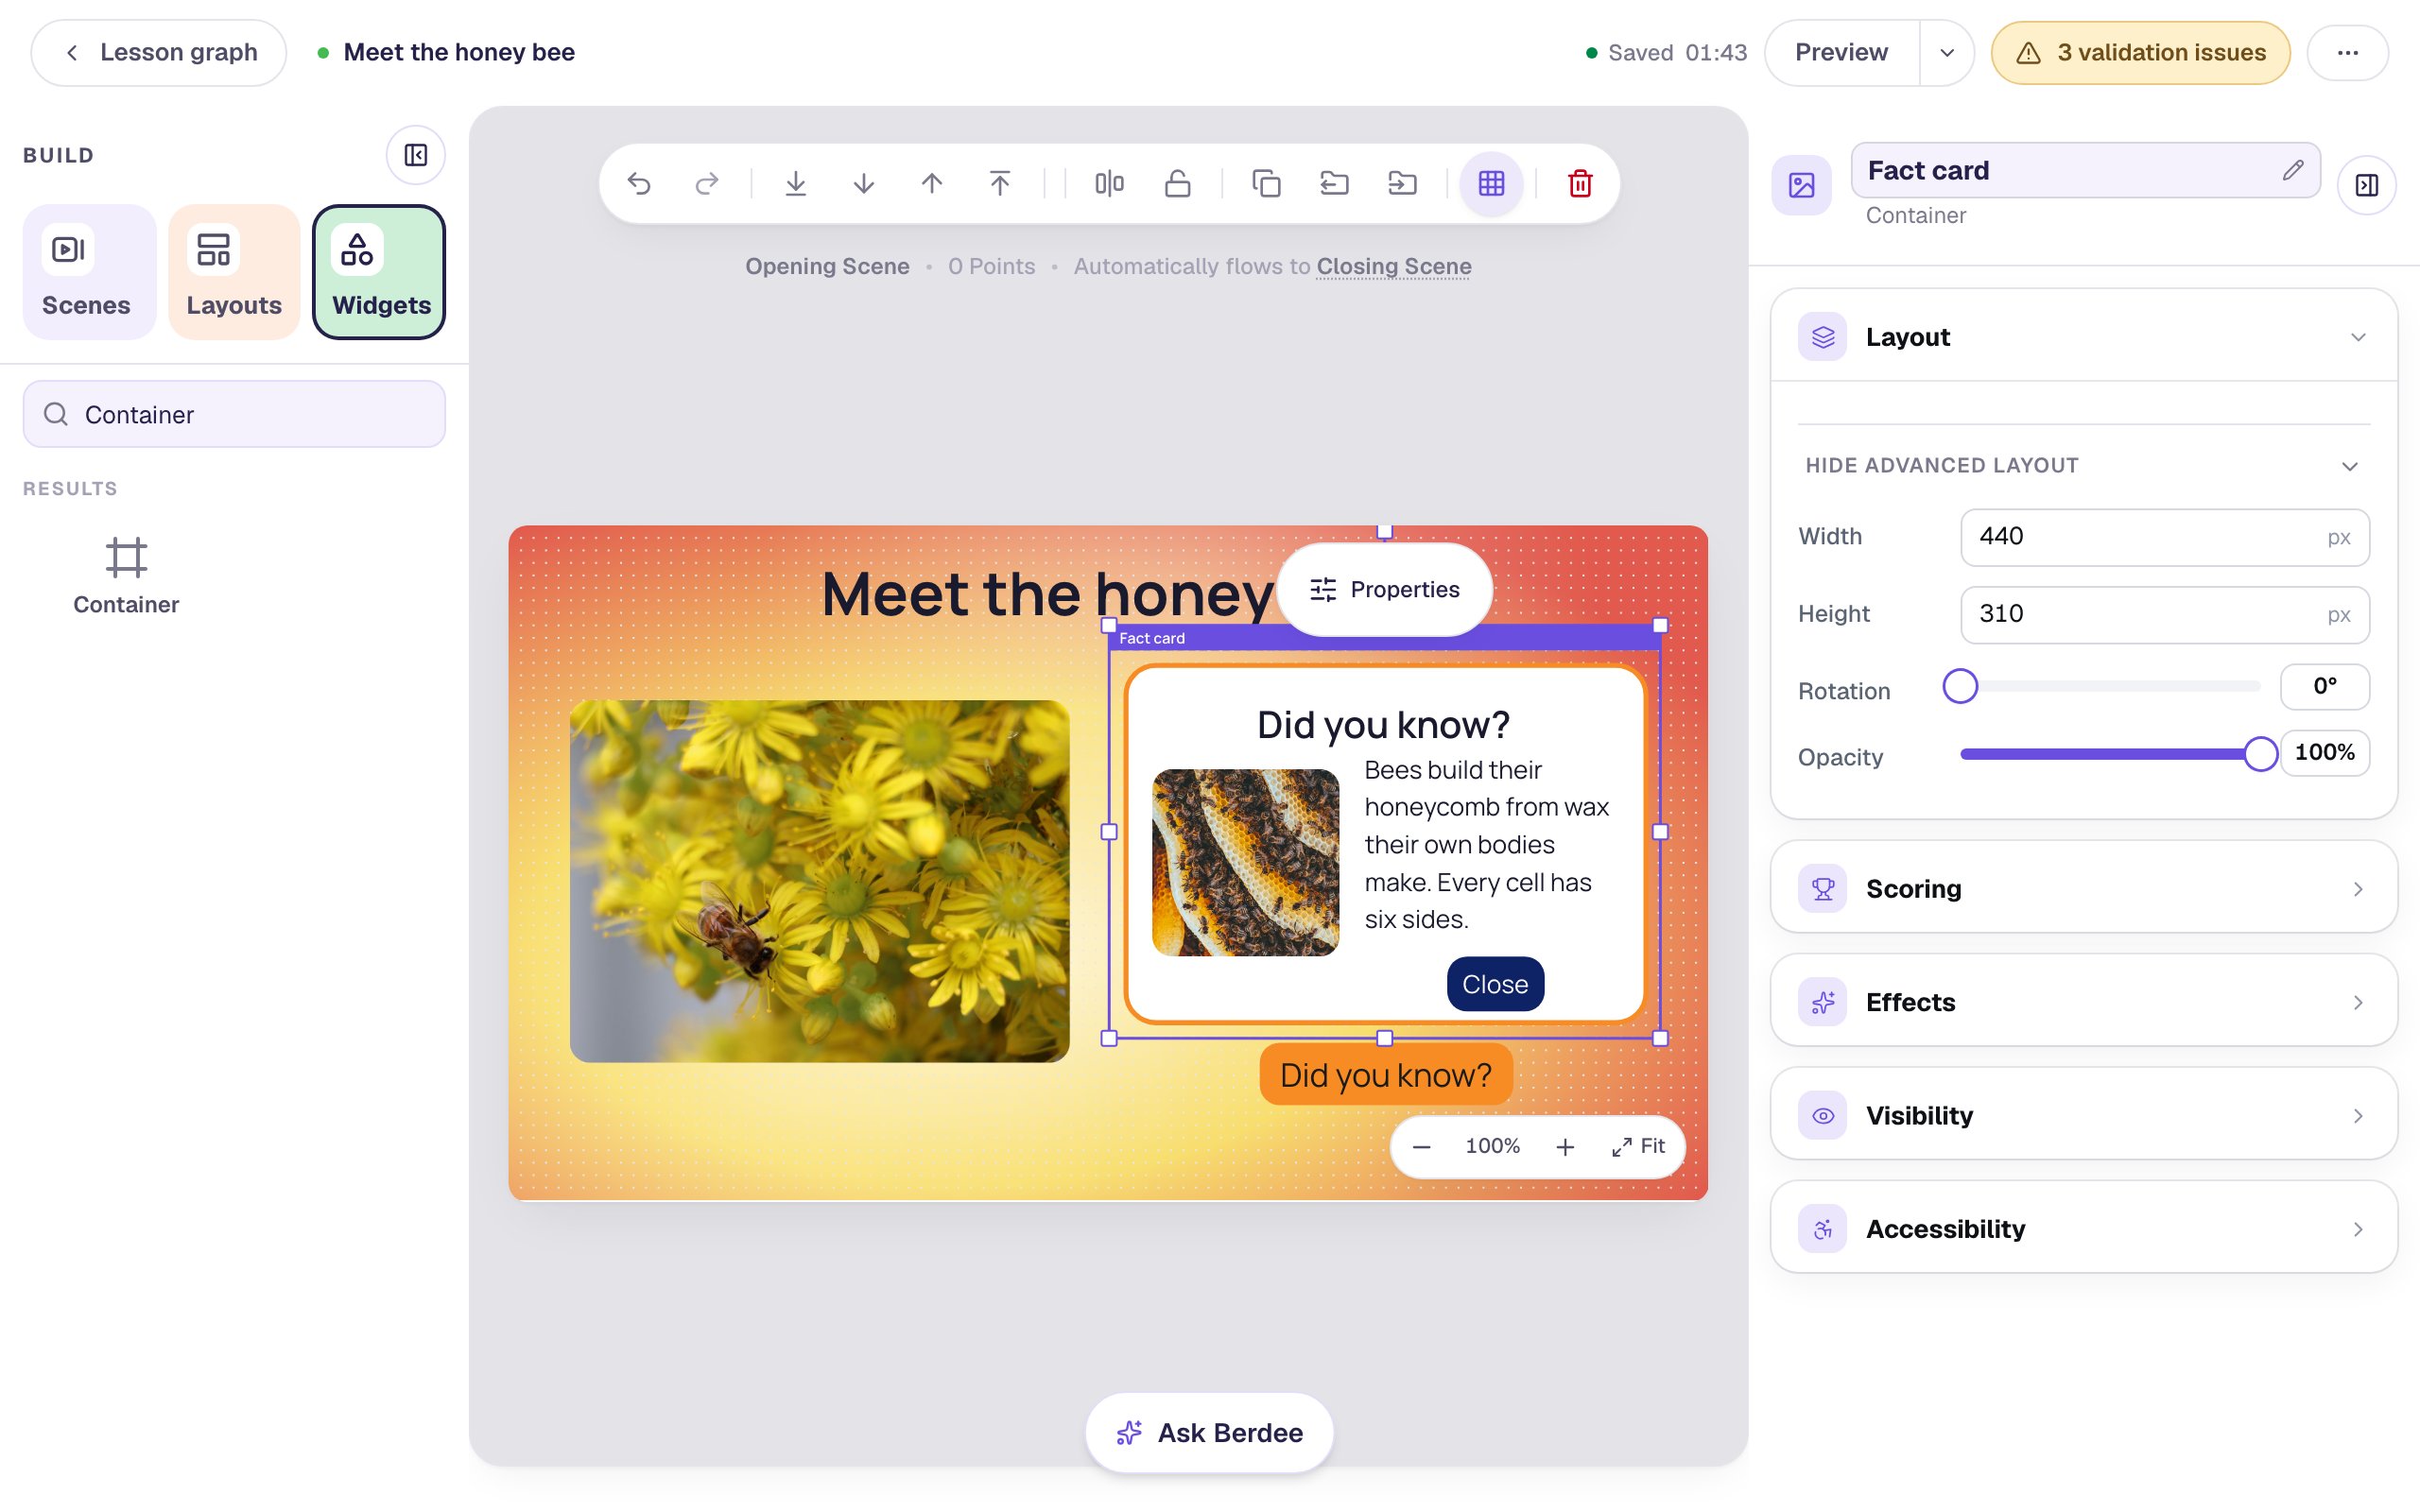
Only the name tab grabs the container. Its inside is see-through in the studio: clicking inside the outline selects whatever is underneath.
Step 5: Move the card's pieces into it
Putting a container on top of widgets doesn't put them inside it. Move each piece in:
- Right-click the piece on the canvas.
- Point at Move to Container.
- Click Fact card.
Start with the pieces on top, the title, the photo, the fact and Close, and move the white Card background in last. A widget inside a container is drawn on the container's layer, and the container you just added sits above everything else on the scene. If the white shape went in first, it would cover the pieces still outside, and you couldn't click them. Moved in last, it keeps its place behind them, because inside a container the pieces keep the order they had on the scene.
To check a piece made it in, right-click it again: a piece inside a container offers Remove from Container instead.
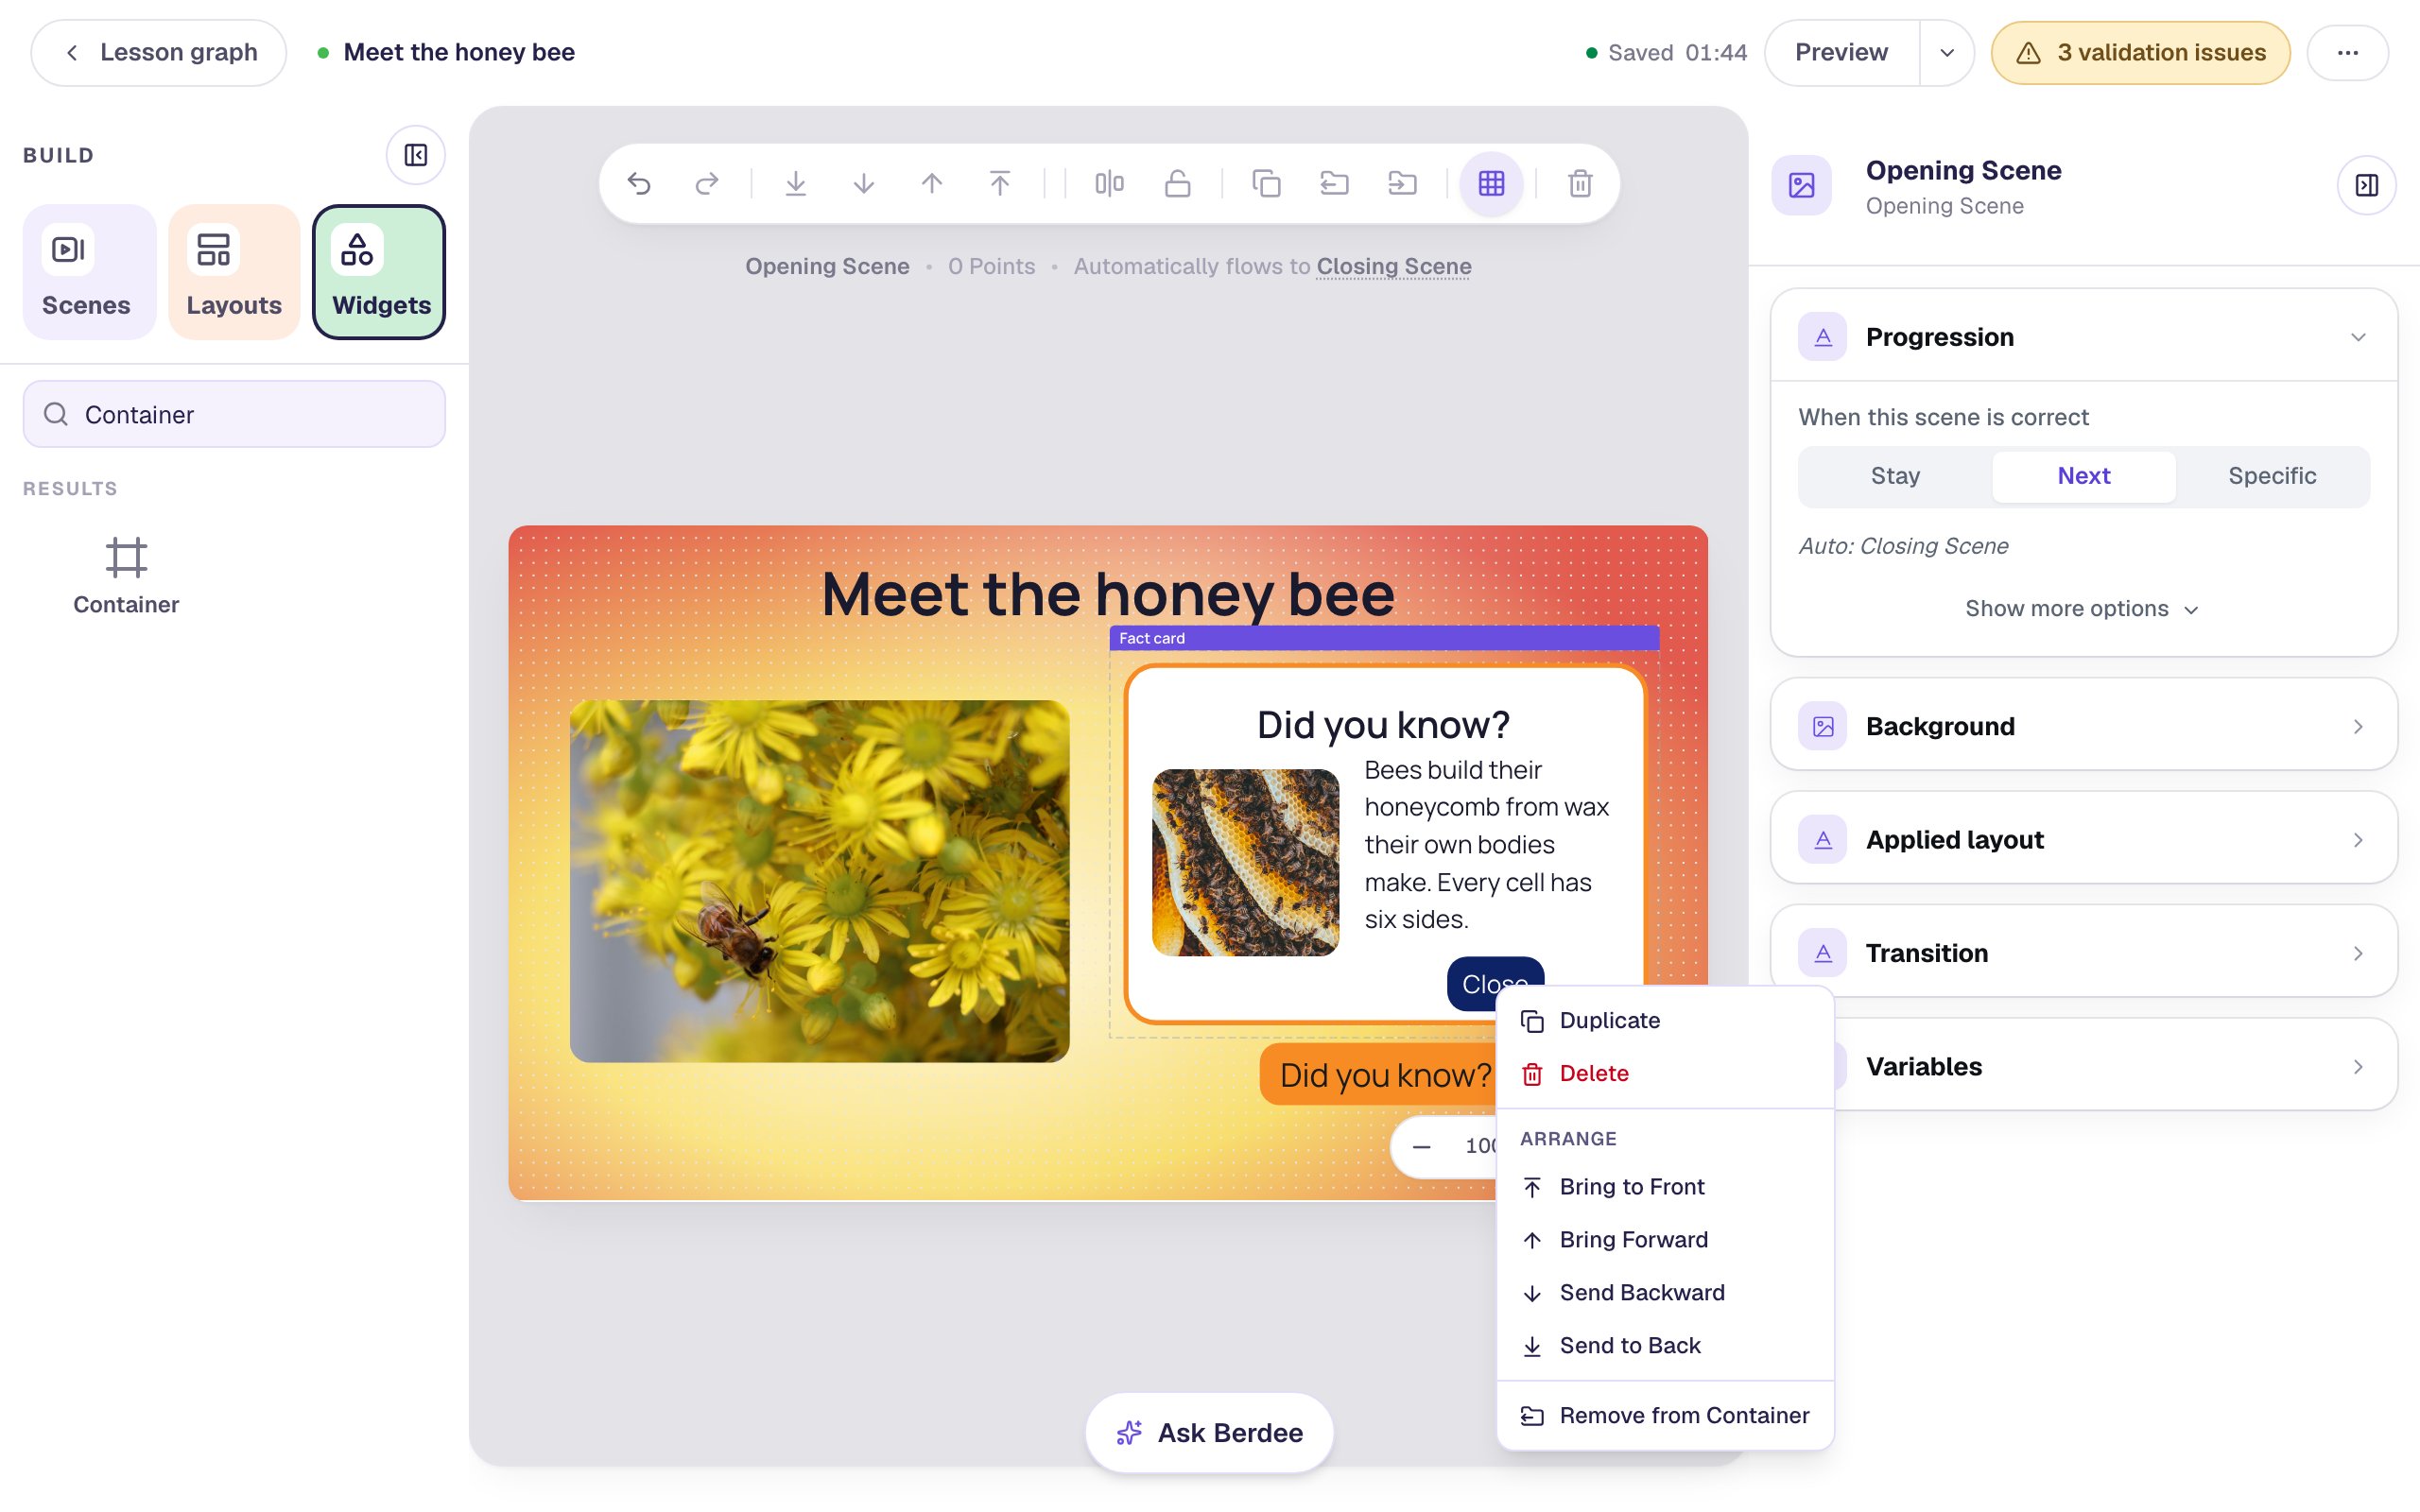
From now on, dragging the Fact card name tab moves the whole card, and the pieces keep their places on it.
Step 6: Hide the card
Click the Fact card name tab to select the container. Open Visibility and change Mode from Visible to Hidden.
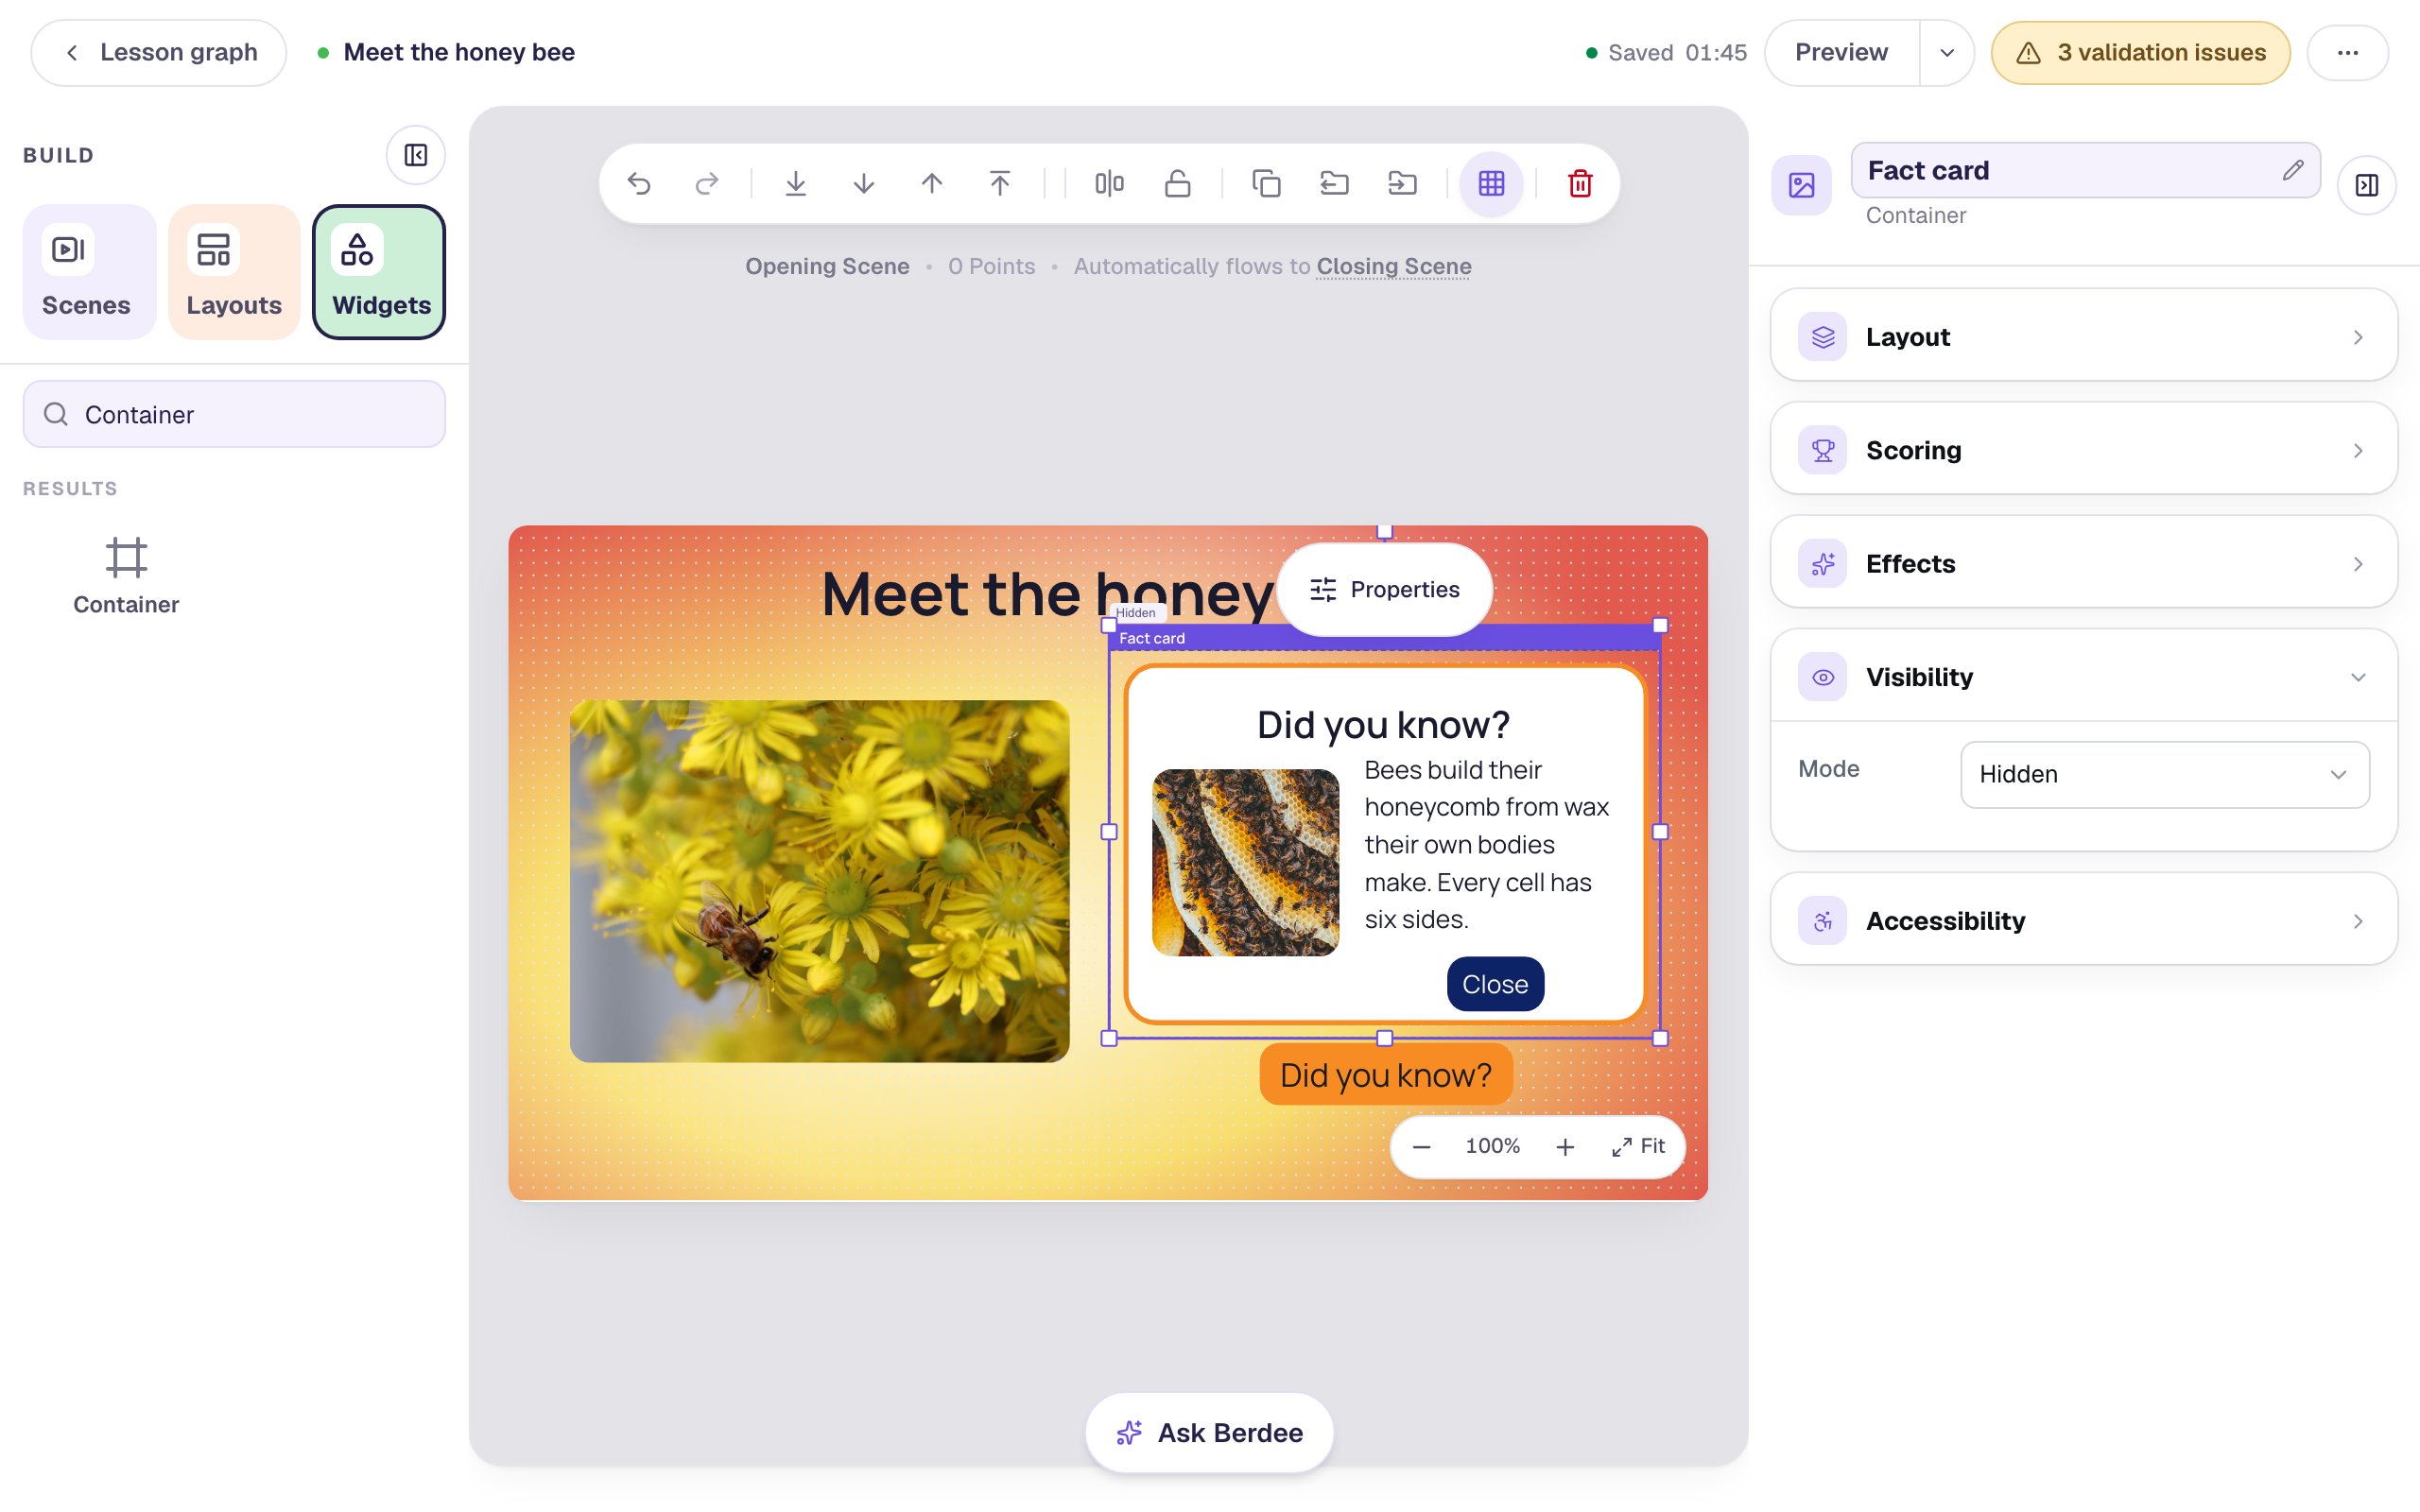
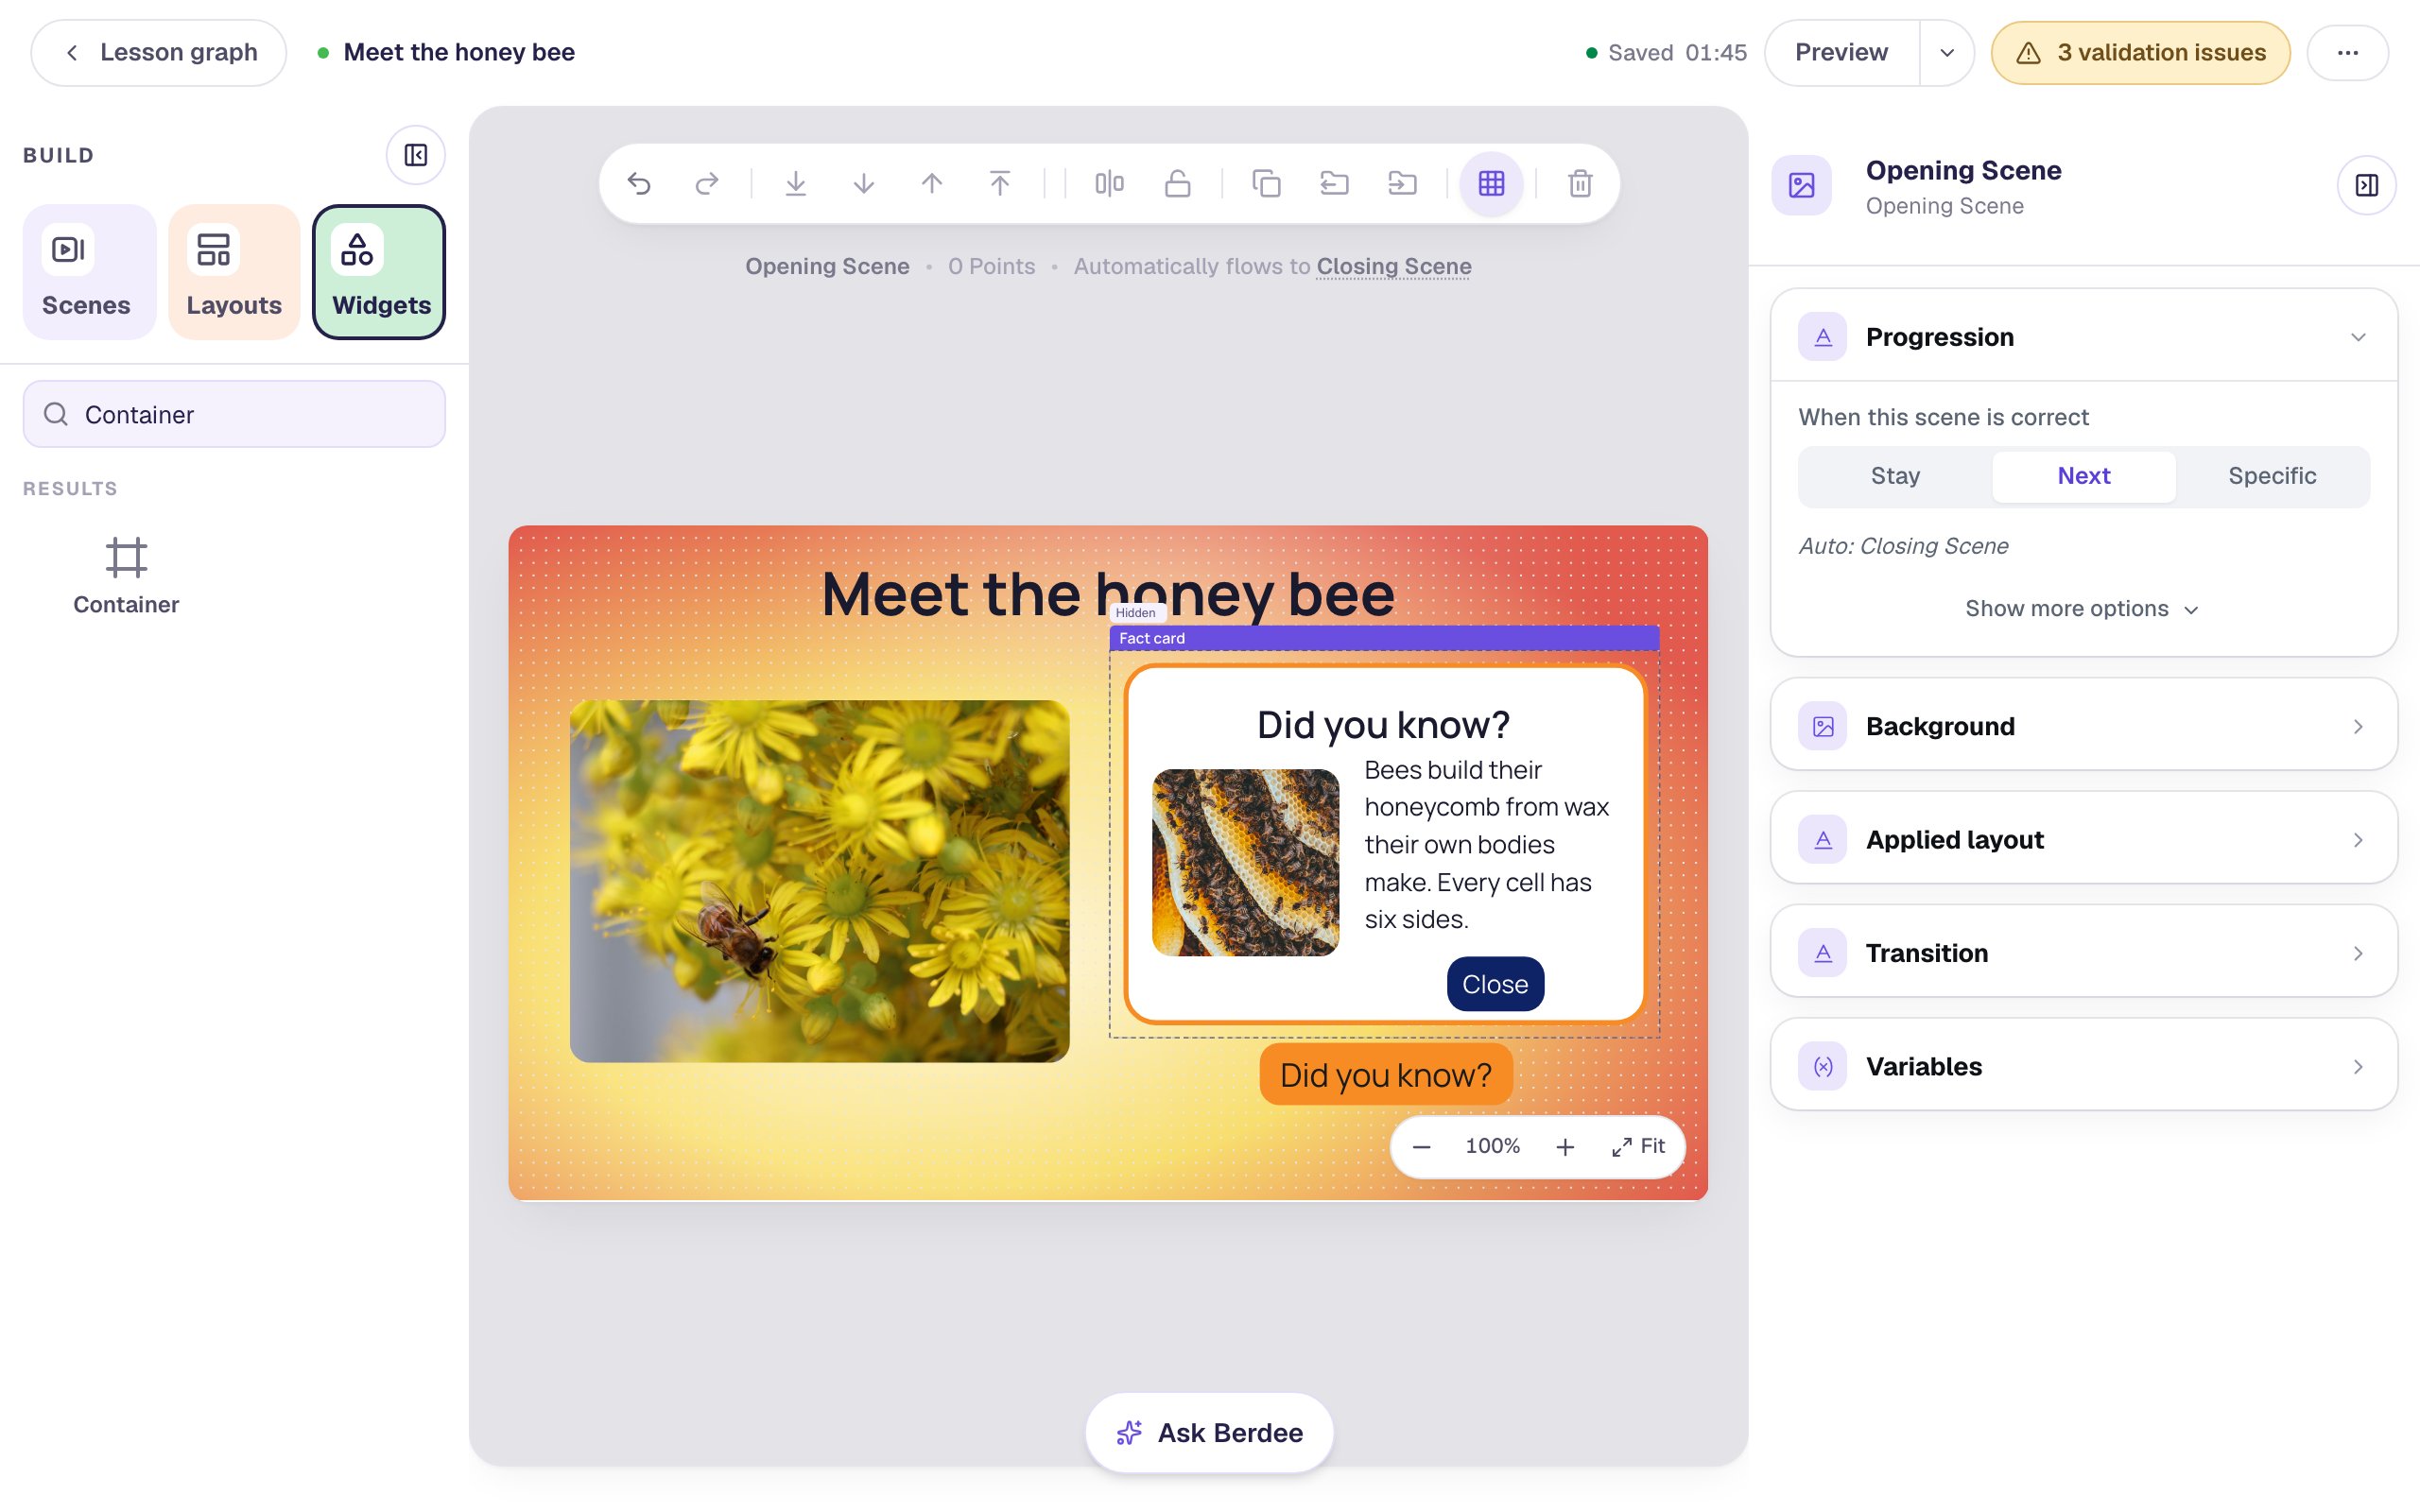
Hiding a container hides everything inside it, so this one setting hides the shape, the title, the photo, the fact and the button together. The studio still draws them so you can keep editing; a small Hidden tag above the name tab tells you students won't see the card when the scene starts.
Step 7: Open the card with Did you know?
Select the Did you know? button (the orange one under the card, not the card's title). Open Behaviors in the properties panel:
- Click Add Behavior and choose On Press.
- Change the action from Display Message to Widget Method.
- In the first list, pick Container: Fact card. In the second, pick Show.
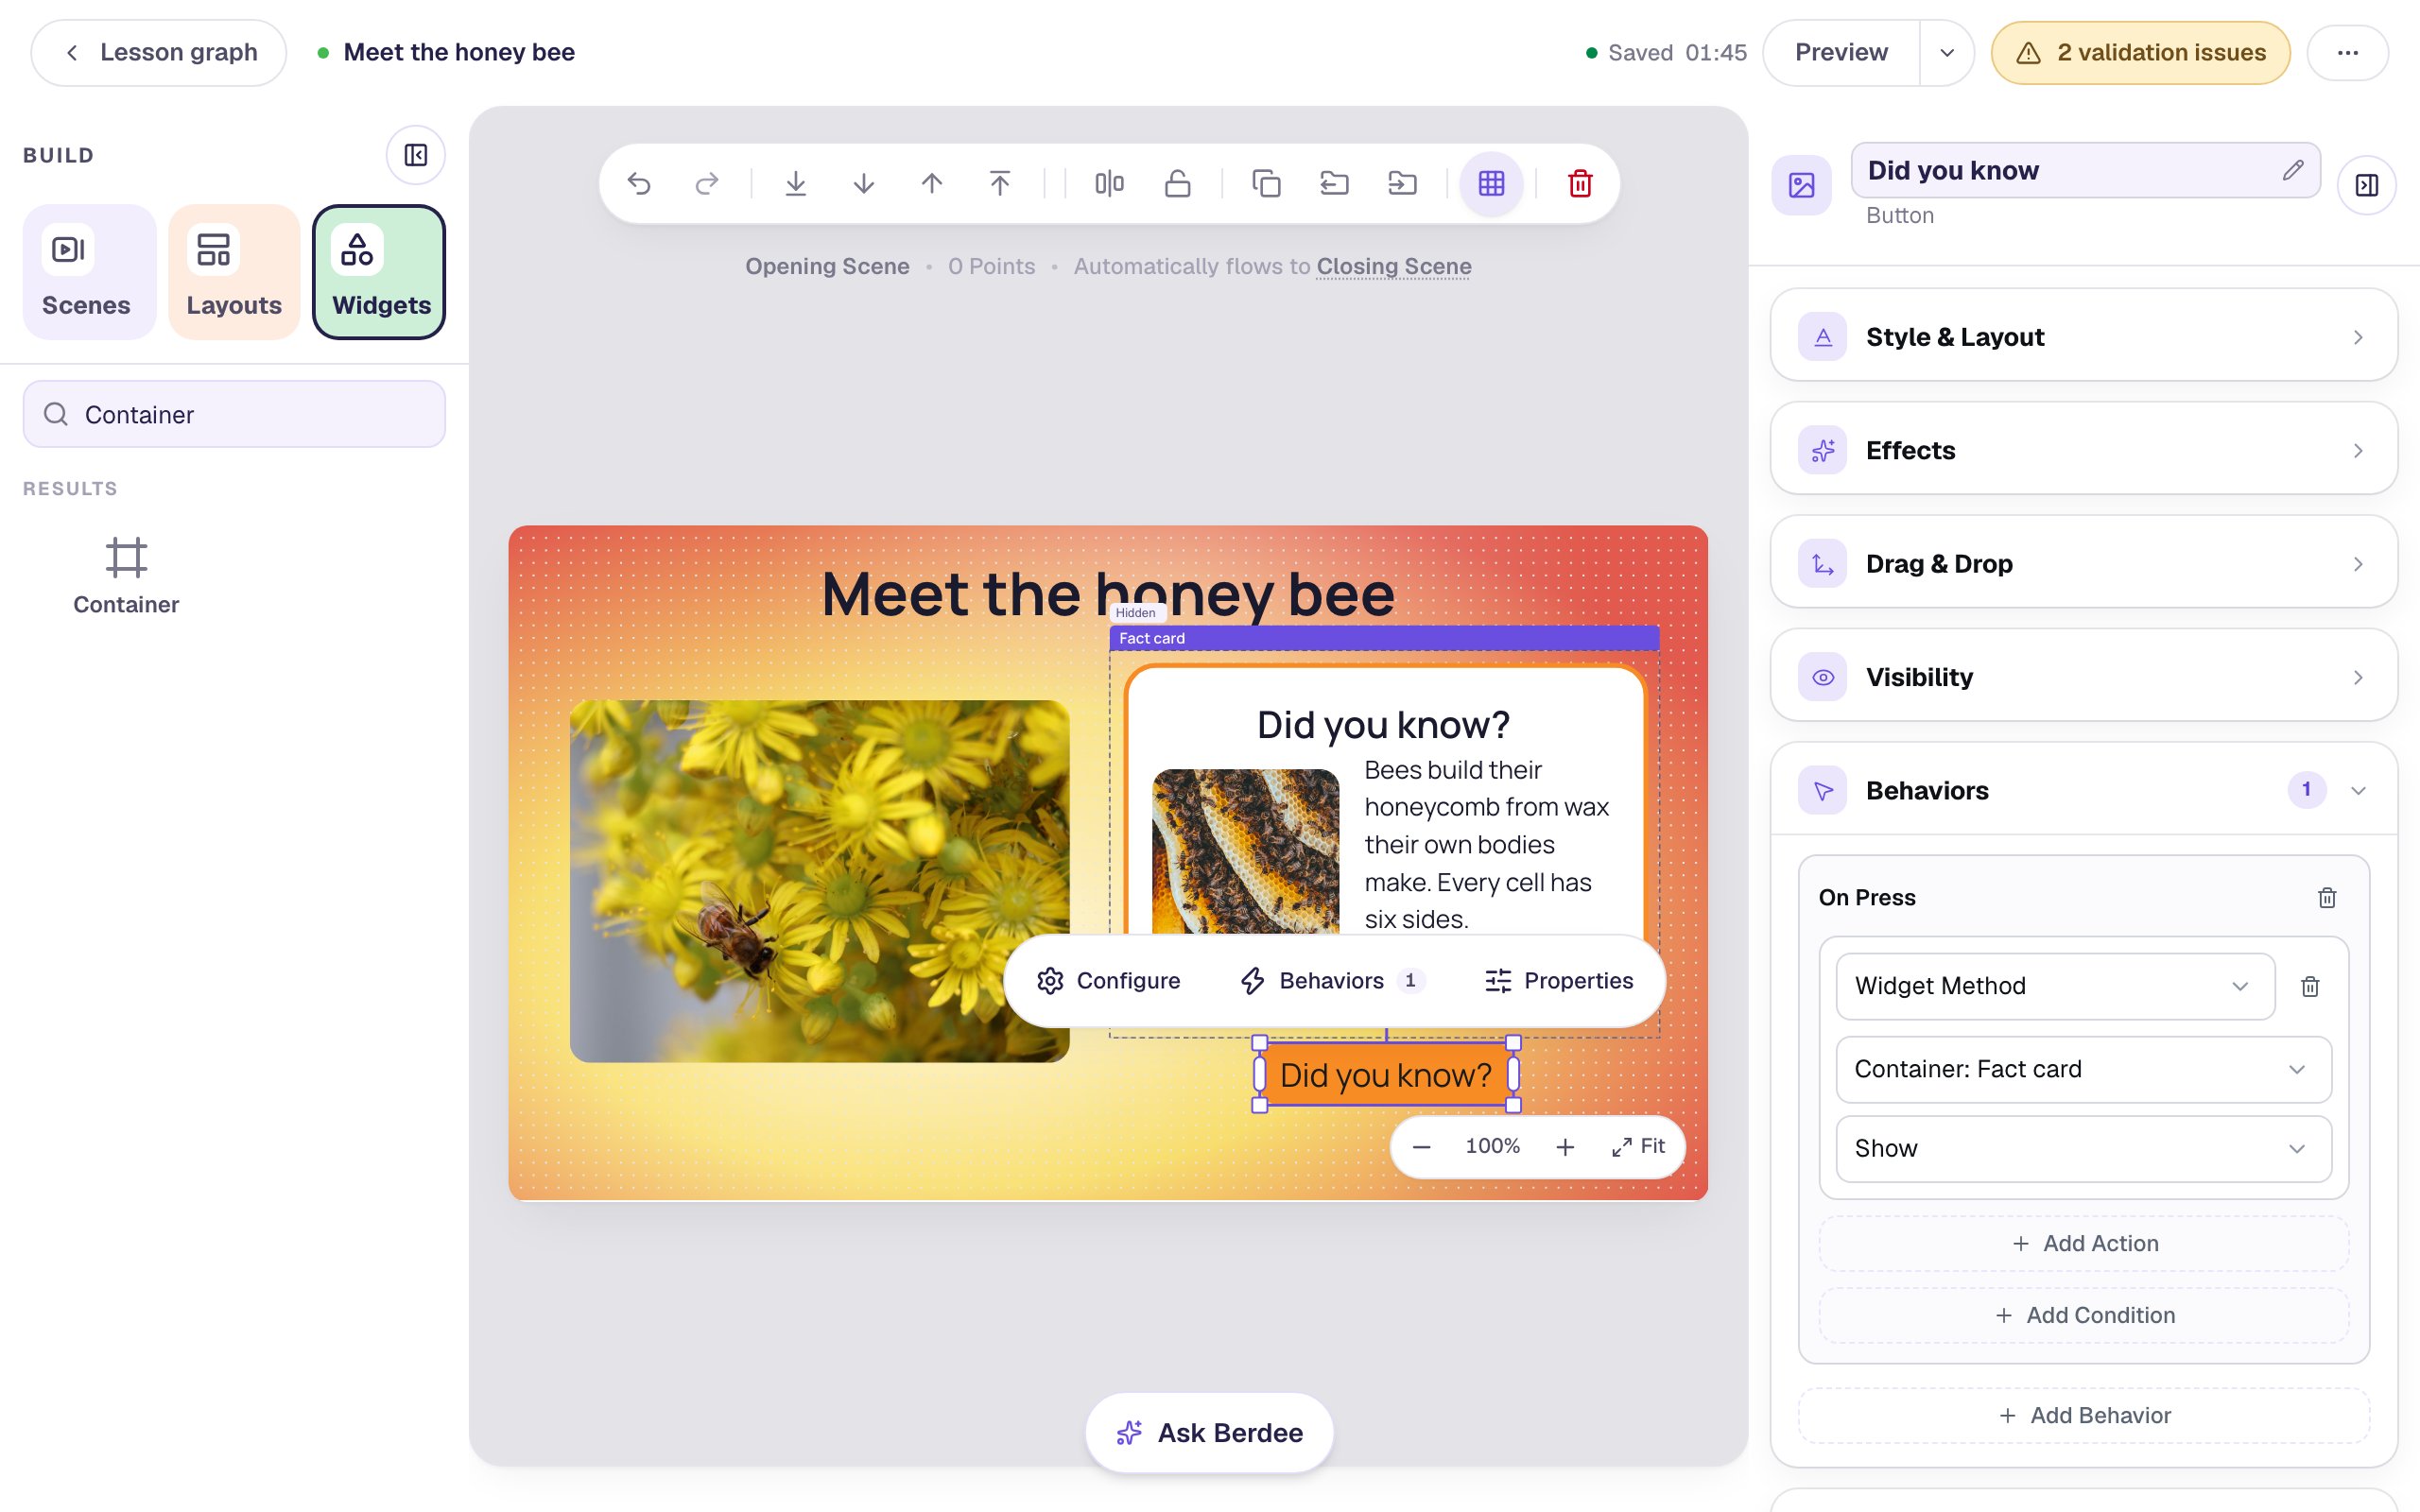
This is where the container pays off: one Show brings back all five pieces. Without it, you'd need five actions here, and five more on Close.
Step 8: Close it with the Close button
Select the Close button on the card. It's inside the hidden container, but you can still click it on the canvas. Add the same behavior with one change: pick Hide instead of Show.
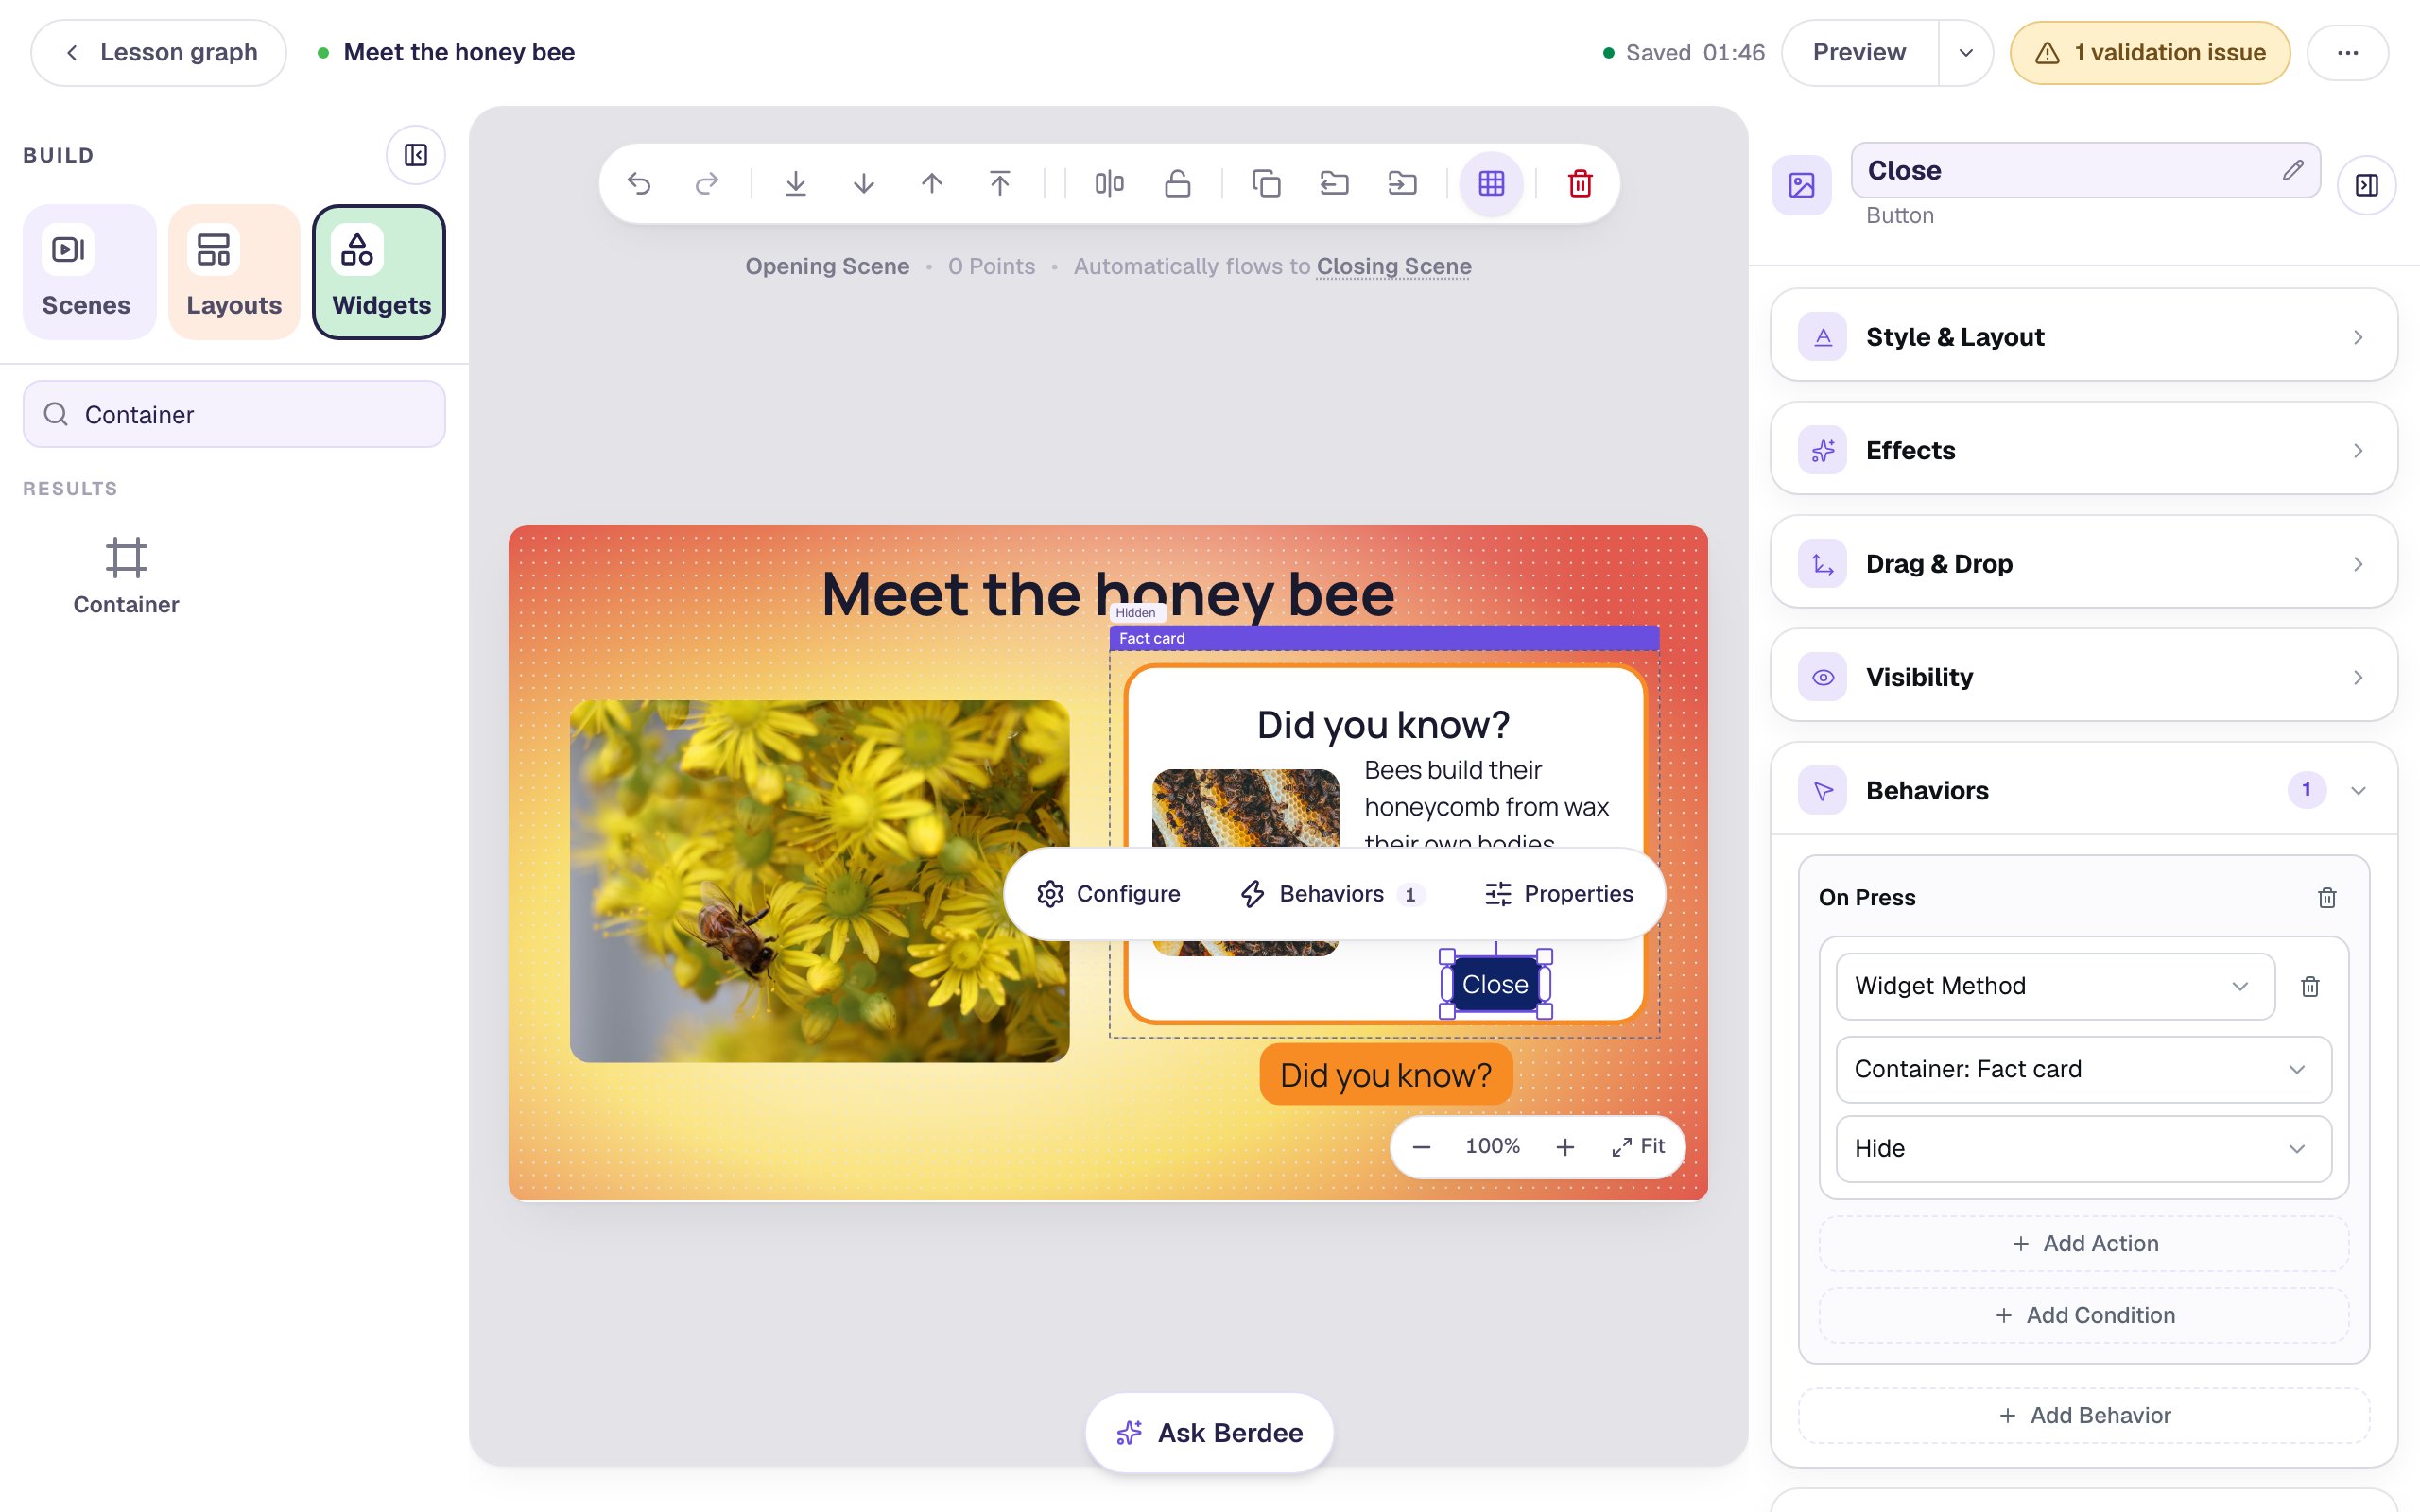
A button can hide the container it's in. When it does, it disappears along with the rest of the card, ready for the next time a student opens it.
Last, give students a way to finish. Add one more Button, label it I'm done, and drag it under the bee photo. On the canvas, click Behaviors above it and choose Make this a "Next" button, then Add behavior. The scene has no question to answer, so this button is what takes students to the ending.
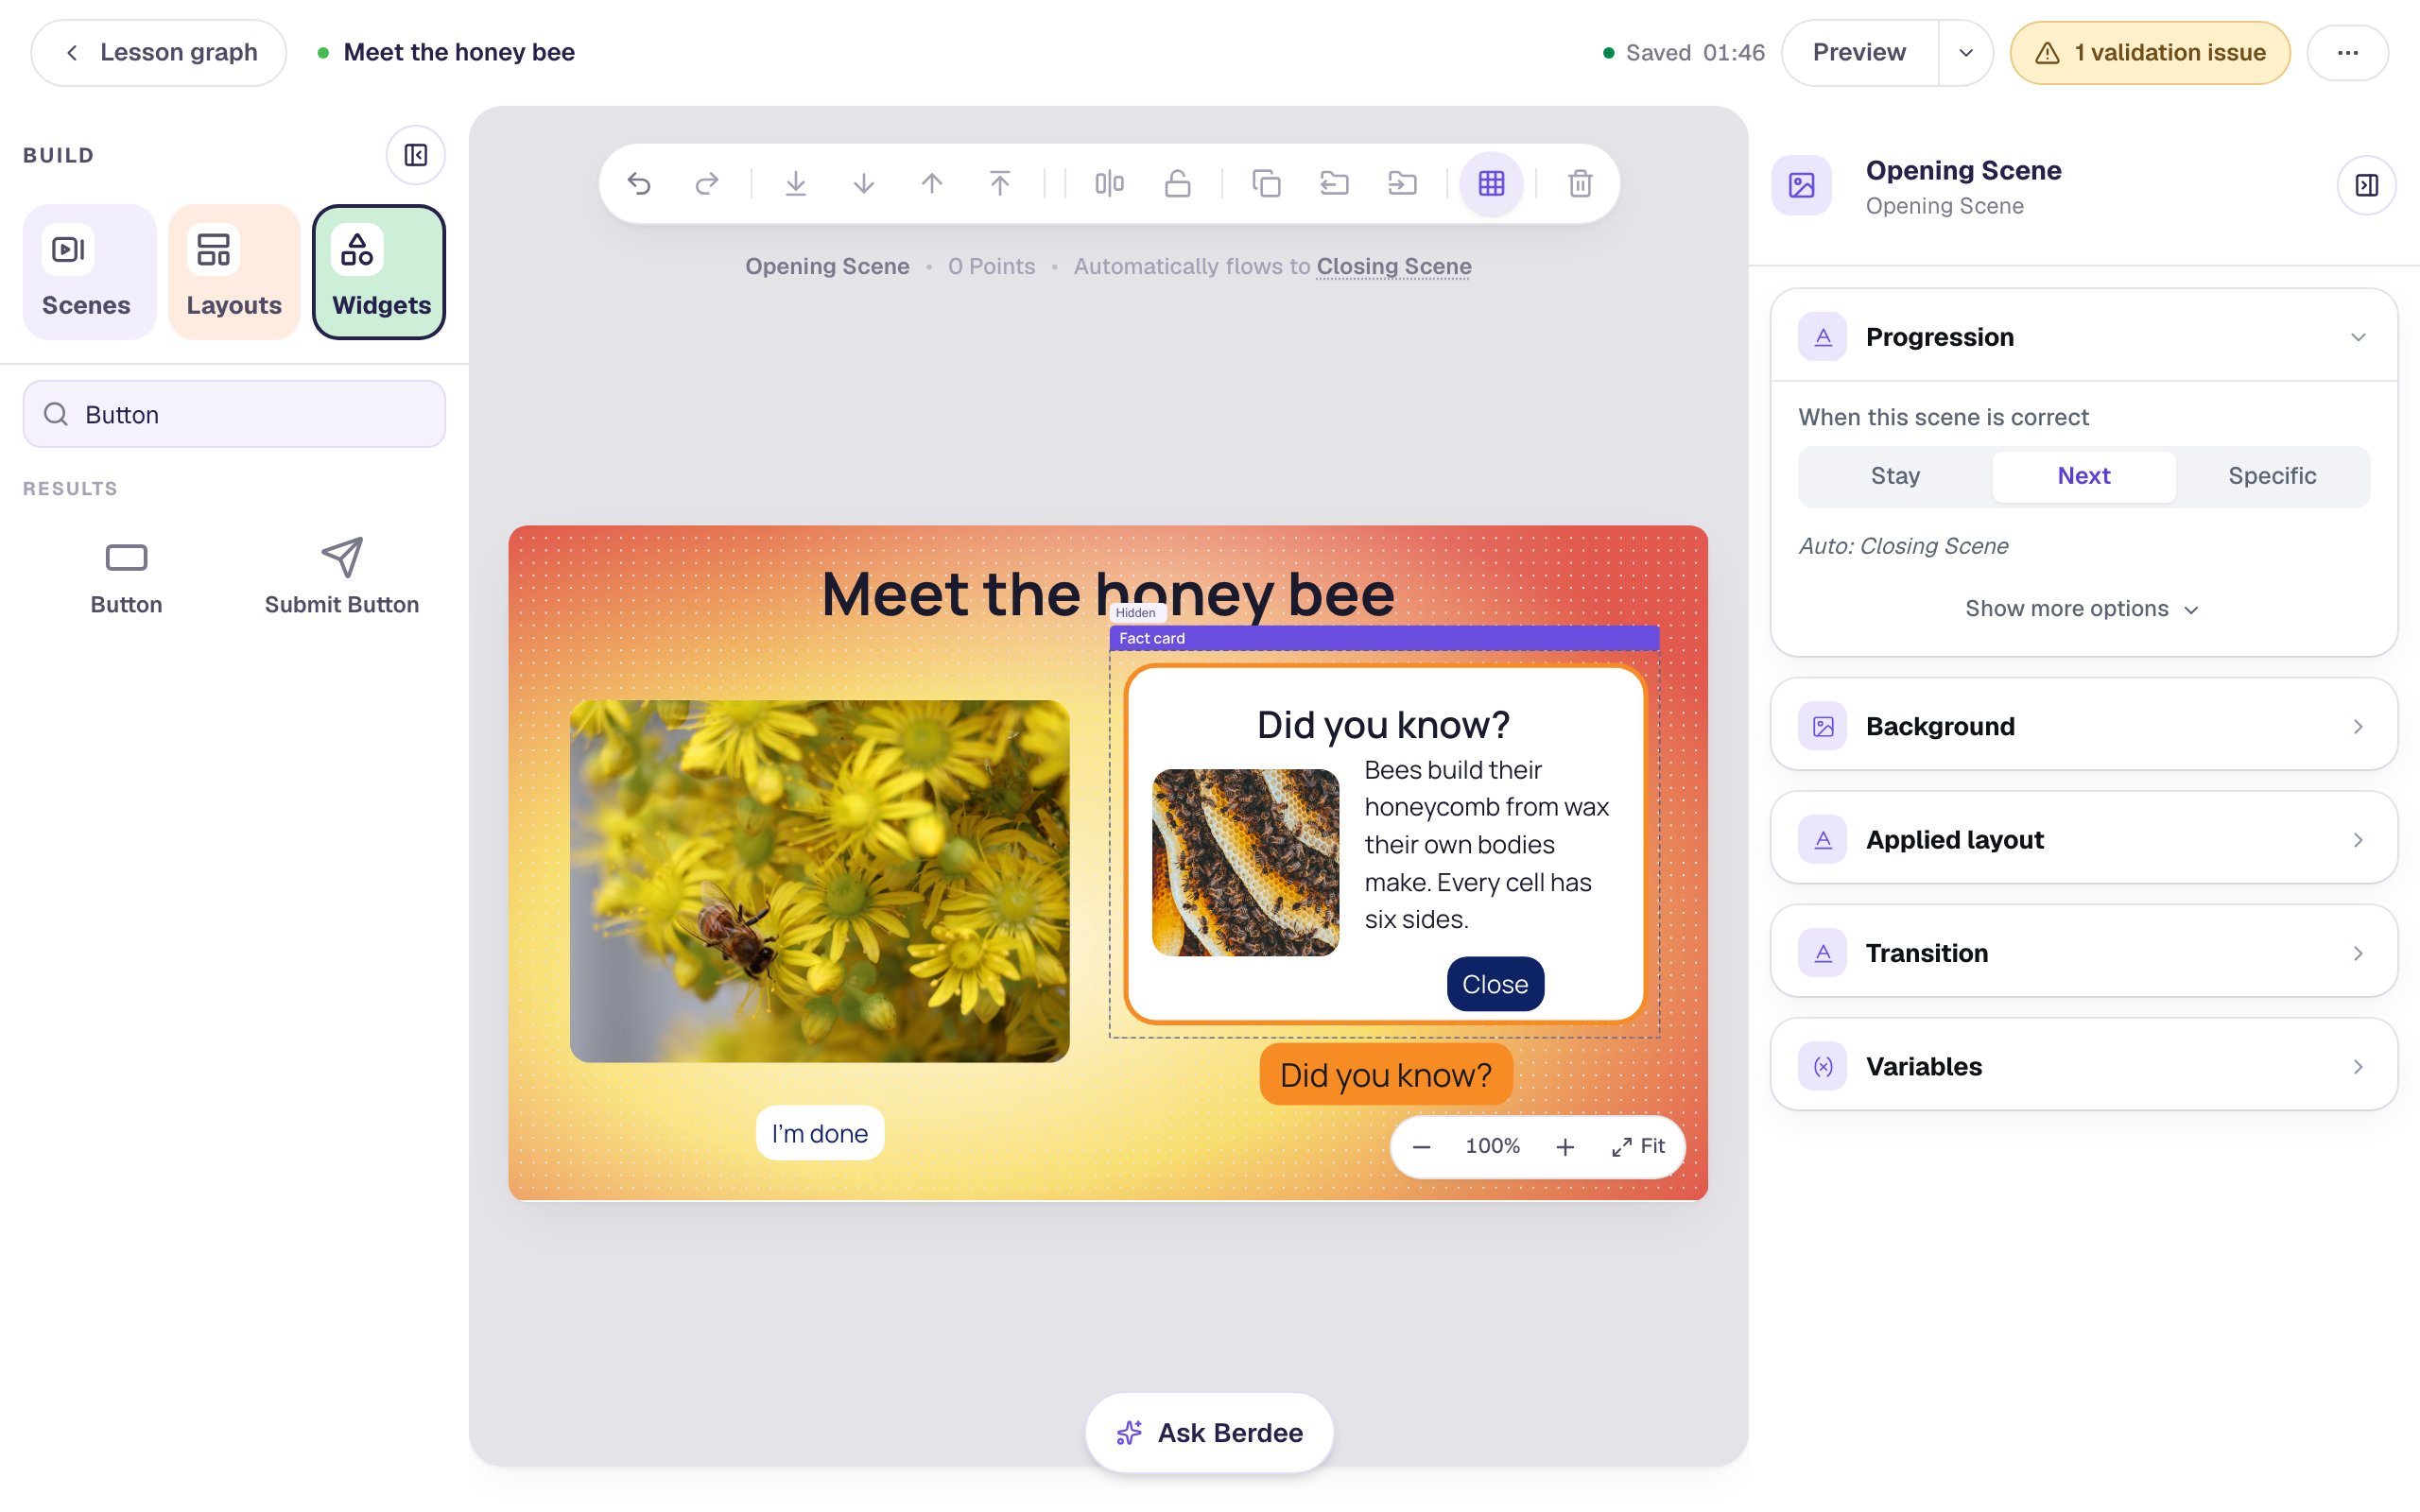
The yellow 1 validation issue pill at the top is about publishing: before you publish, Berdee needs a Submit button set to Lesson somewhere in the lesson. Build your first quiz question shows where it goes.
Step 9: Try it as a student
Click Preview. The card isn't there: students see the photo, the sentences and the Did you know? button.
- Press Did you know?. The whole card appears at once.
- Press Close. The whole card goes away, and the sentences are back.
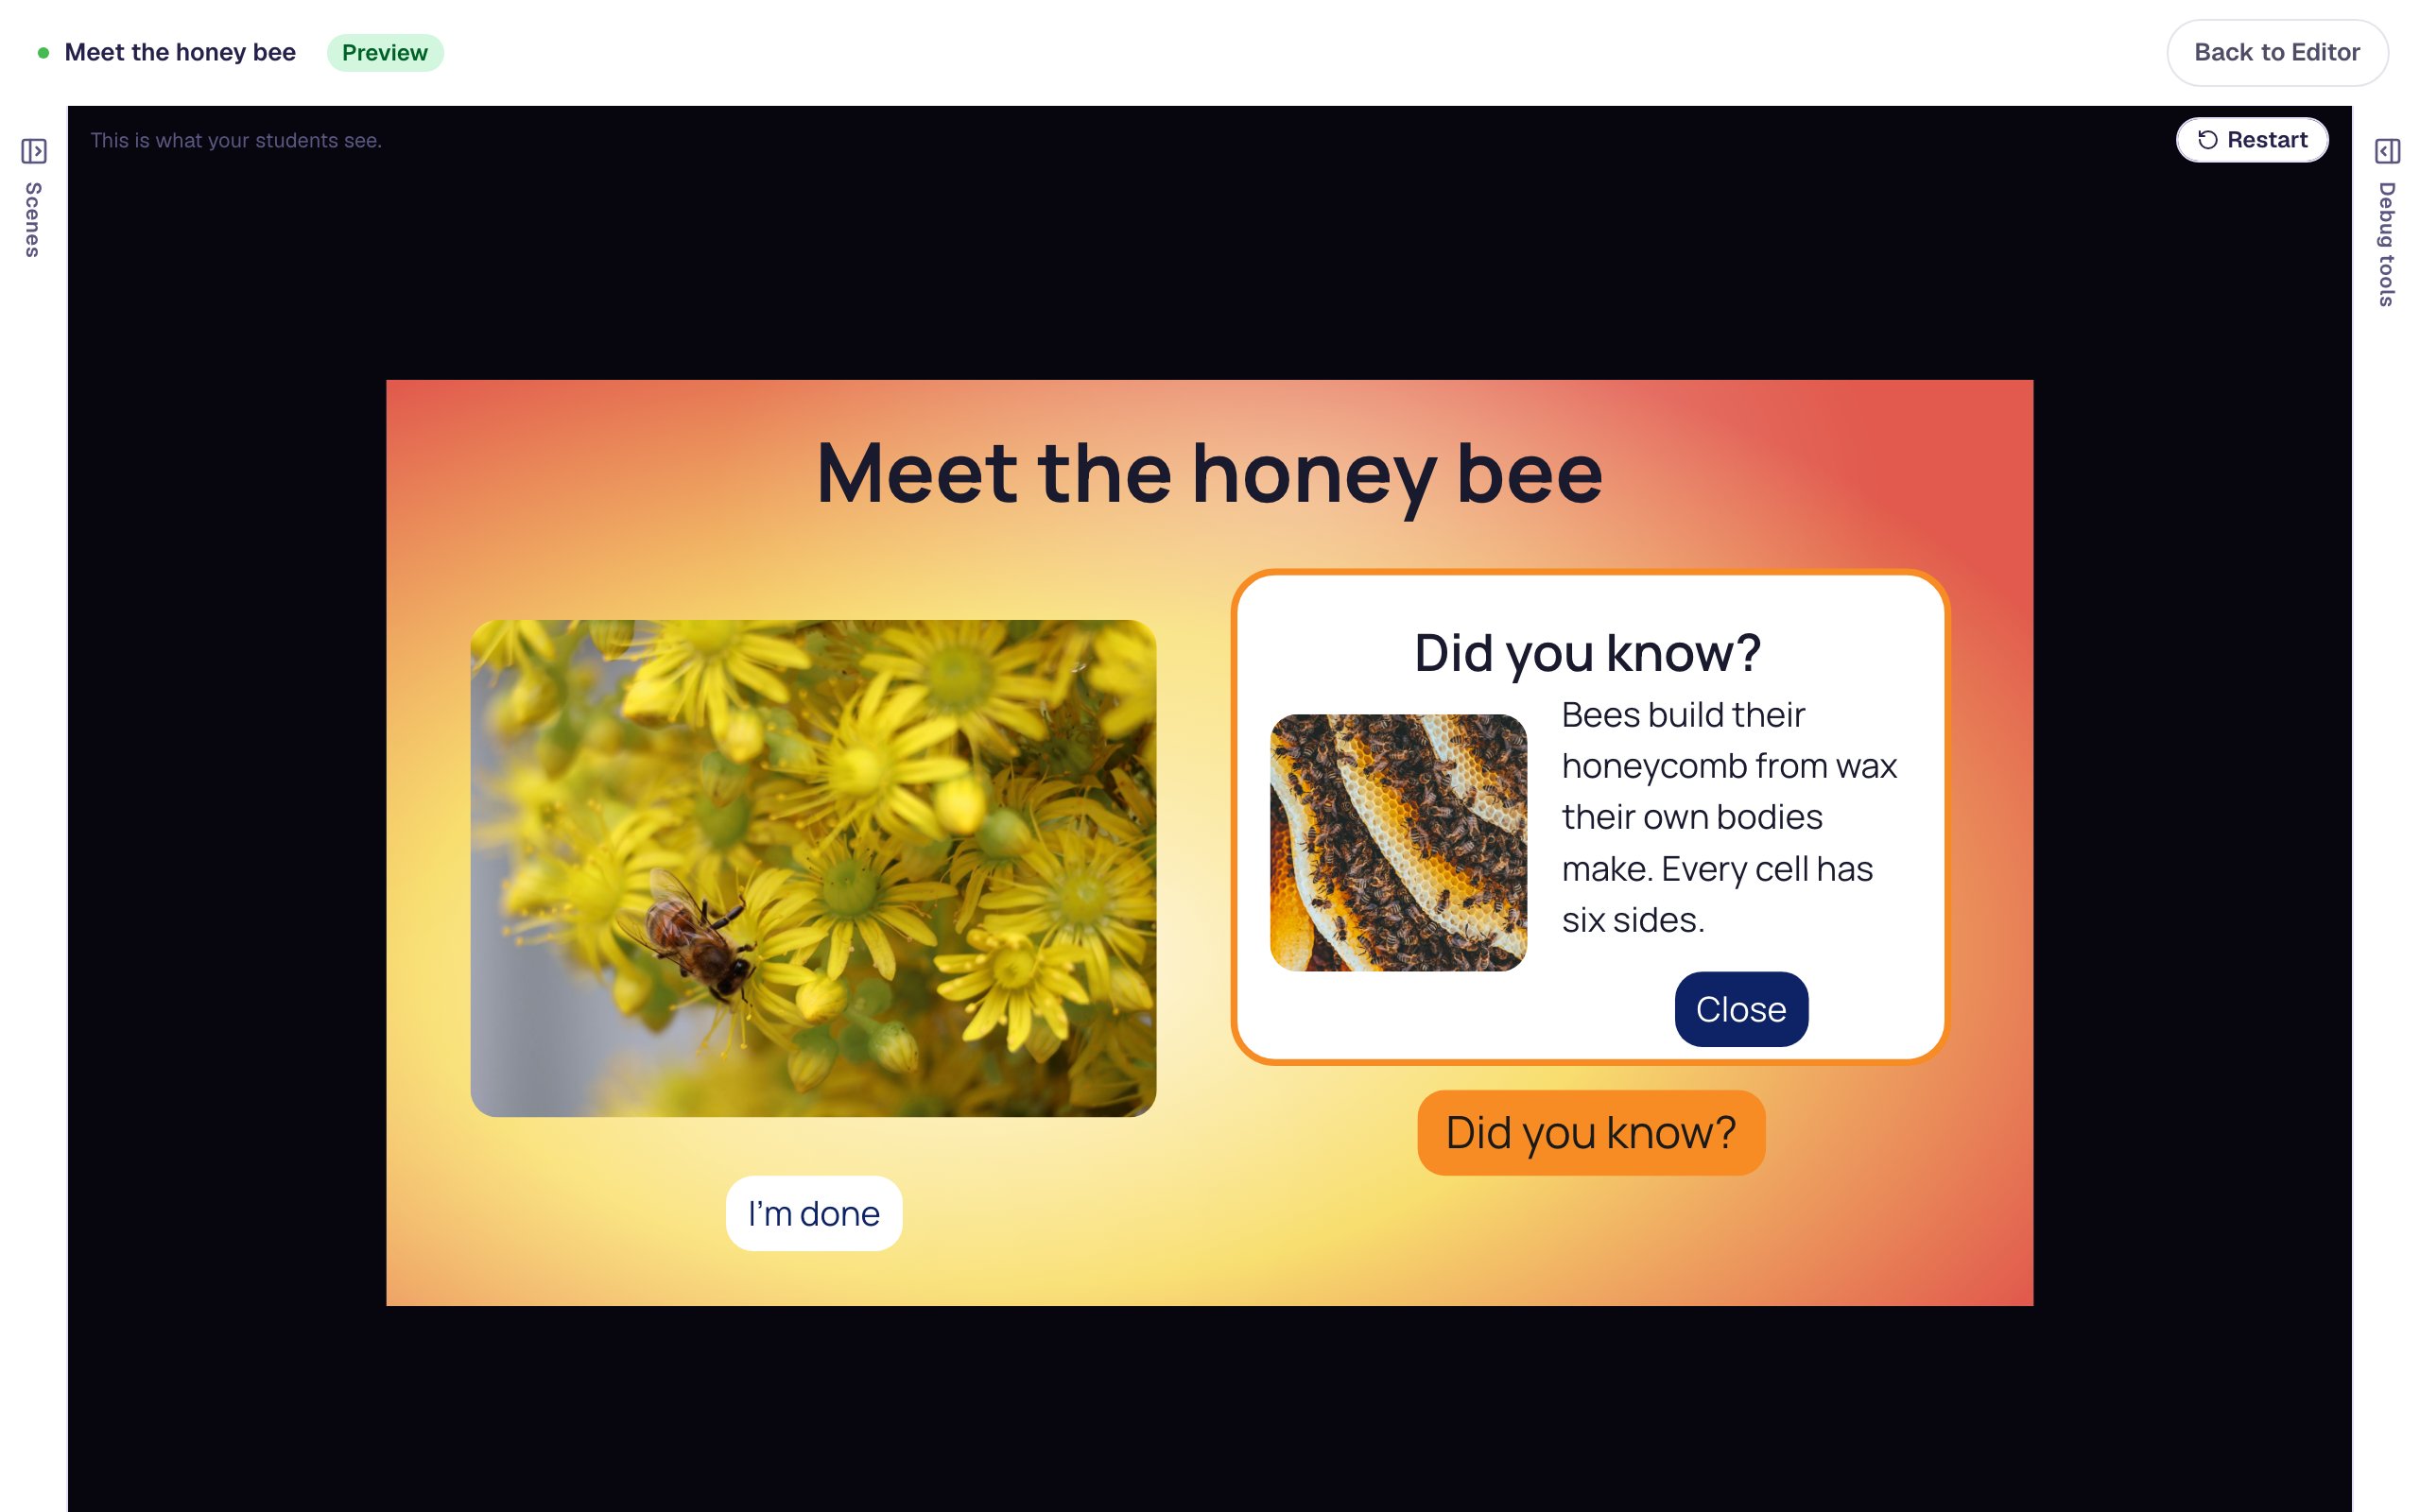
Students can open and close the card as often as they like. Press I'm done to reach the ending.
What you built
A scene with a pop-up card:
- a Shape, a Subheading, an Image, a Body and a Close button laid out as one card,
- a Container named Fact card holding all five, with the shape moved in last so it stays behind the rest,
- the container's Visibility set to Hidden, which hides everything inside it, and
- two On Press behaviors that Show and Hide the container: one on Did you know?, one on the card's own Close button.
The same container works for anything that should appear as a group: a word bank, a worked example with its steps, or a "Check your work" panel. Every scene can have more than one; give each card its own container and its own button. If you'd like the card to count toward a score, a container can also grade the questions inside it as one: see Score a three-part word problem as one question.
Make this lesson yours
Add the lesson you just watched being built to your account, then change it for your class: your questions, your pictures, your colors.
Free to sign up, and you'll come straight back here. I have an account