Unlock the Start button only when every box on a checklist is ticked
Build a lab safety checklist from three checkboxes, then give the Start button one visibility rule with three conditions so it appears only once every box is ticked.
- Level
- Beginner
- Time
- About 12 min
- Steps
- 8
A two-scene science lesson. Students tick a three-item safety checklist, a Start the experiment button appears only when all three boxes are ticked, and it leads to the steps of a fizzing volcano experiment.
Get the finished lesson
Skip straight to the result, or keep it open beside the steps. Add this tutorial's lesson to your account and explore how it works in the studio.
Free to sign up, and you'll come straight back here. I have an account
Before a hands-on activity, you want students to stop and check they're ready: goggles on, hair tied back, table clear. A checklist on the first scene does that, but only if students can't skip it. In this tutorial the Start the experiment button stays hidden until every box is ticked, and a short note tells students what they still need to do.
You'll build a two-scene lesson for a baking soda volcano:
- a Safety check scene with three Checkbox widgets,
- a Start the experiment button with one visibility rule: show it when all three boxes are Checked,
- a note that says
Tick all three boxes to start.and hides itself once the button appears, and - an Experiment scene with the steps.
No variables are needed: the checkboxes remember their own state, and the rule reads it directly. If you haven't used the studio before, start with Build your first quiz question: this tutorial moves quickly through the parts it already covers.
Step 1: Set the scene
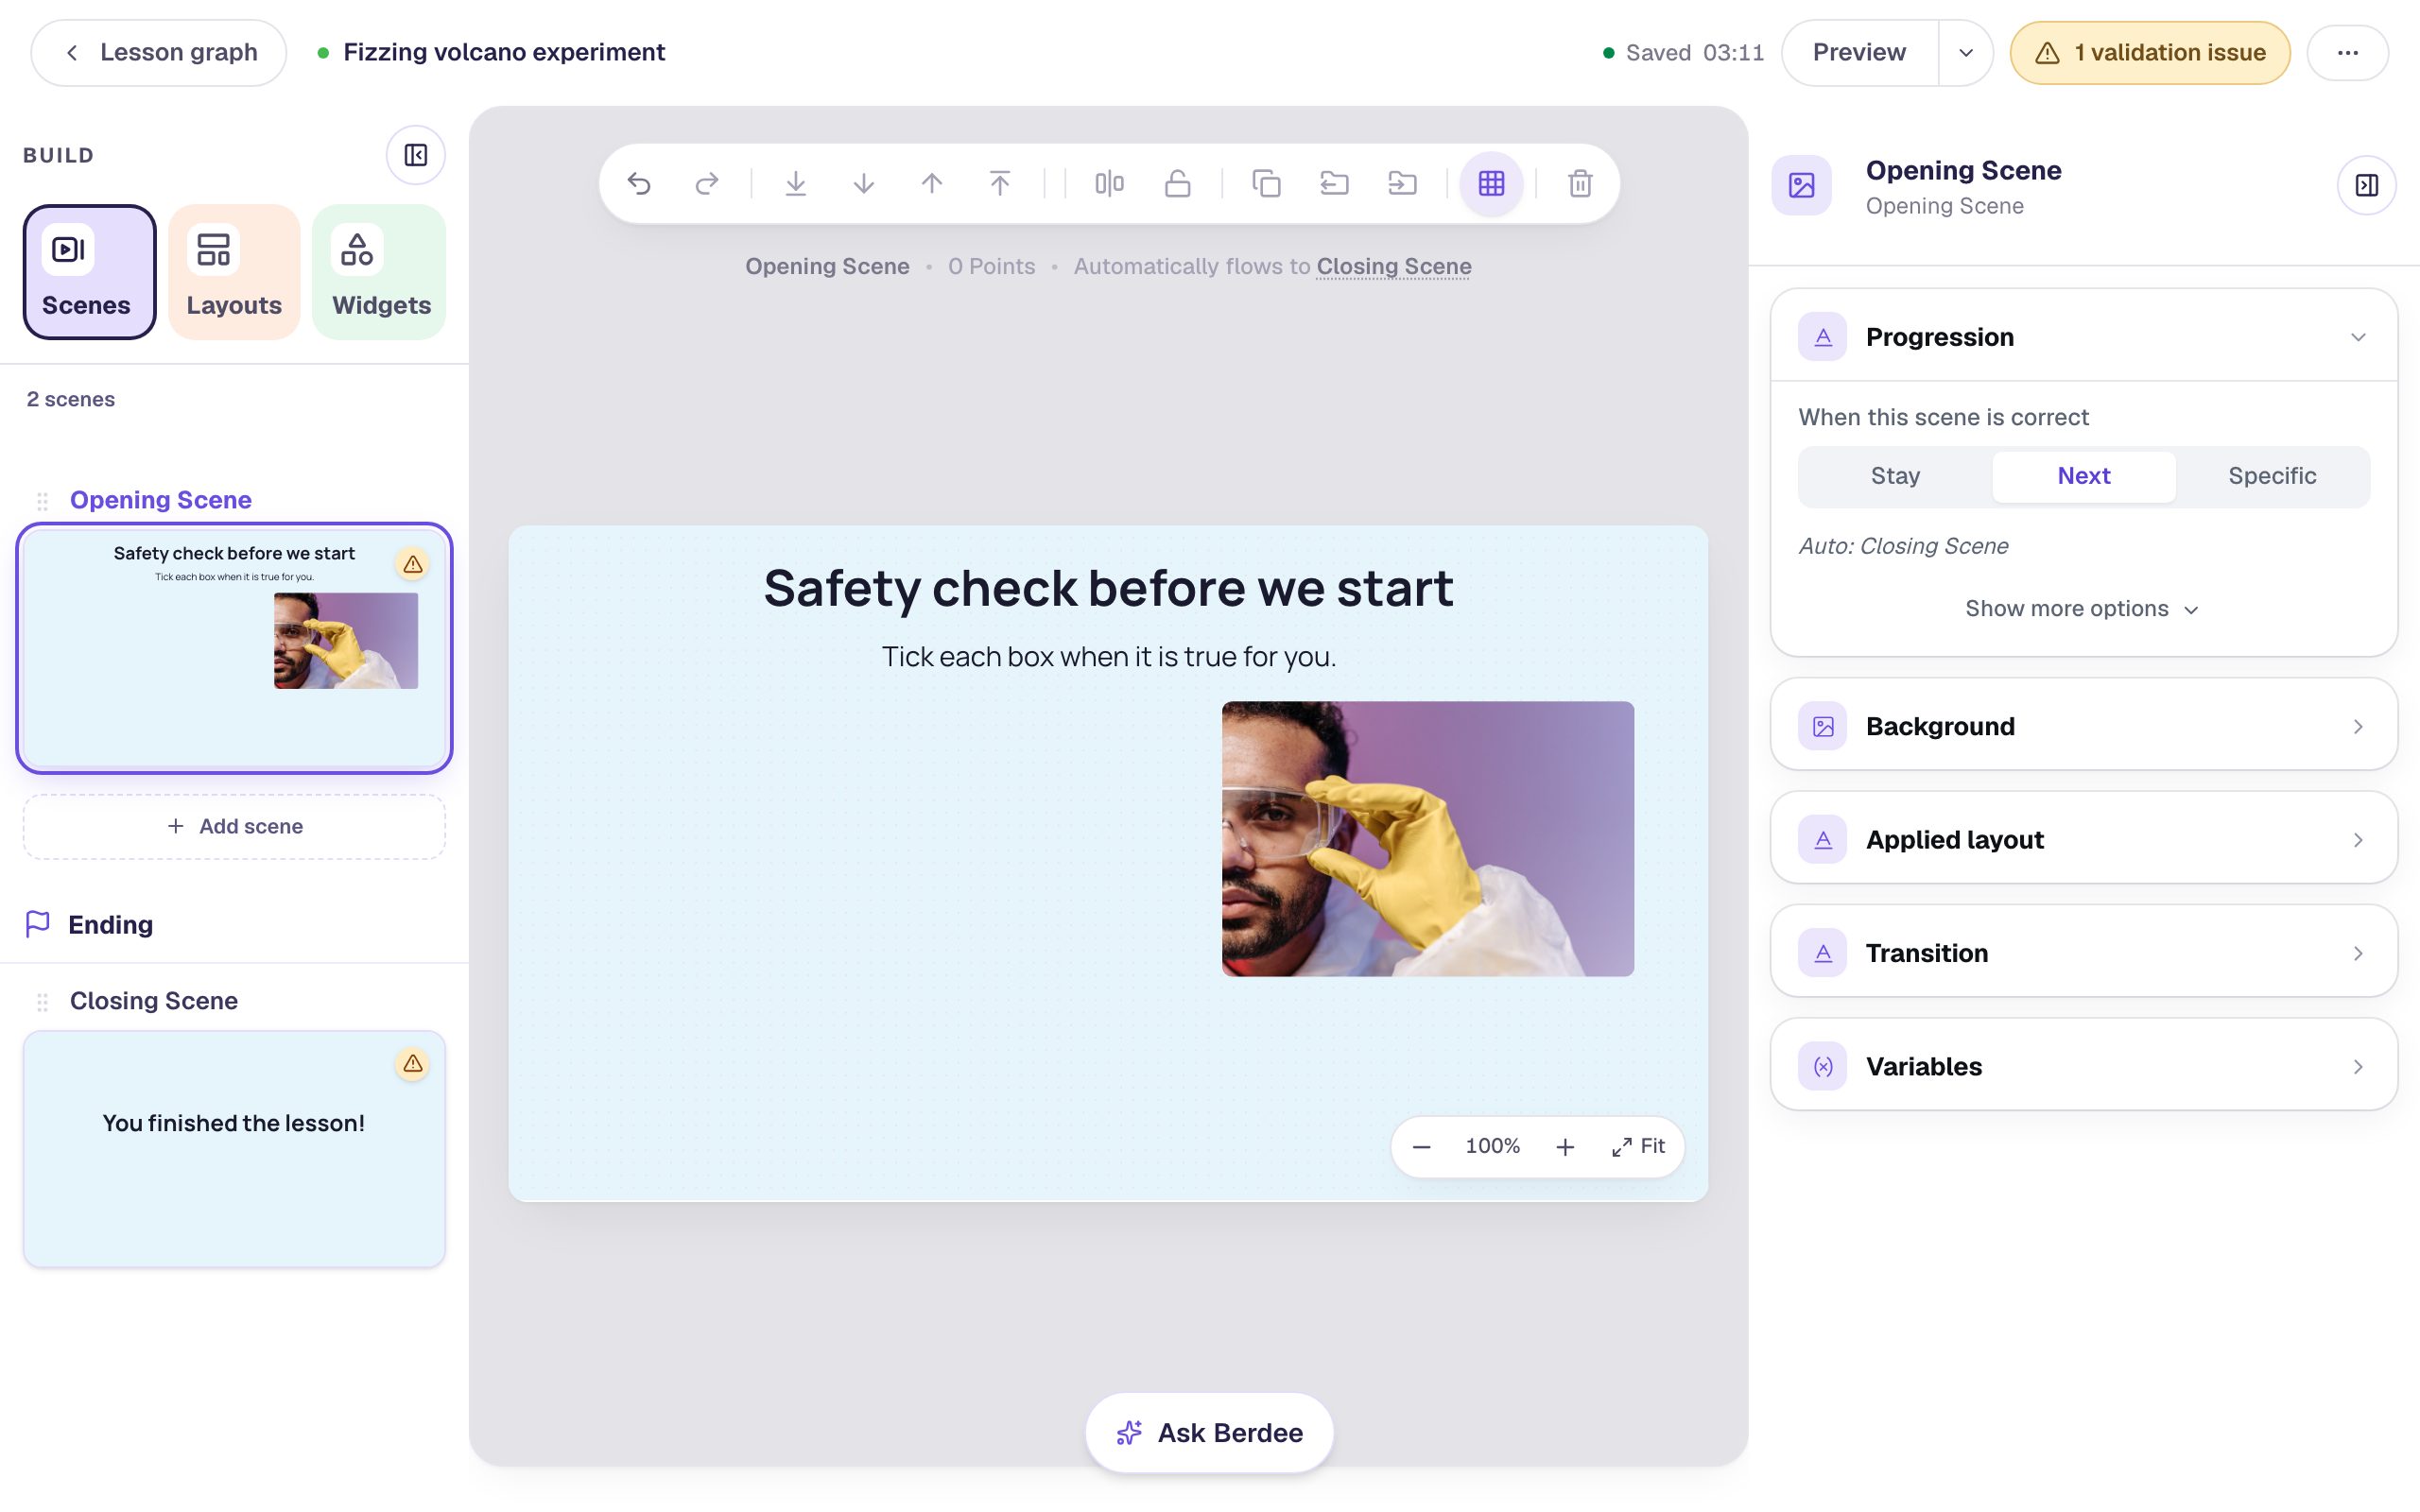
Start a blank lesson (New lesson, then Start from scratch) and name it Fizzing volcano experiment. On the Opening Scene, open Background and set Color to the pale sky blue #e6f4fb. Do the same on the Closing Scene so the ending matches.
Add a Heading that says Safety check before we start at 40 px, and under it a Body that says Tick each box when it is true for you. at 22 px. Then add an Image, set its Width to 330 and Height to 248, drag it to the right half of the scene, and click Choose image to search the stock library for safety goggles. In its Accessibility section, describe the photo in Alt Text, for example A scientist in yellow gloves adjusting clear safety goggles.
Step 2: Add the first checkbox
Open Widgets, search for Checkbox and click the Checkbox tile. Click ⚙ Configure on the new checkbox.
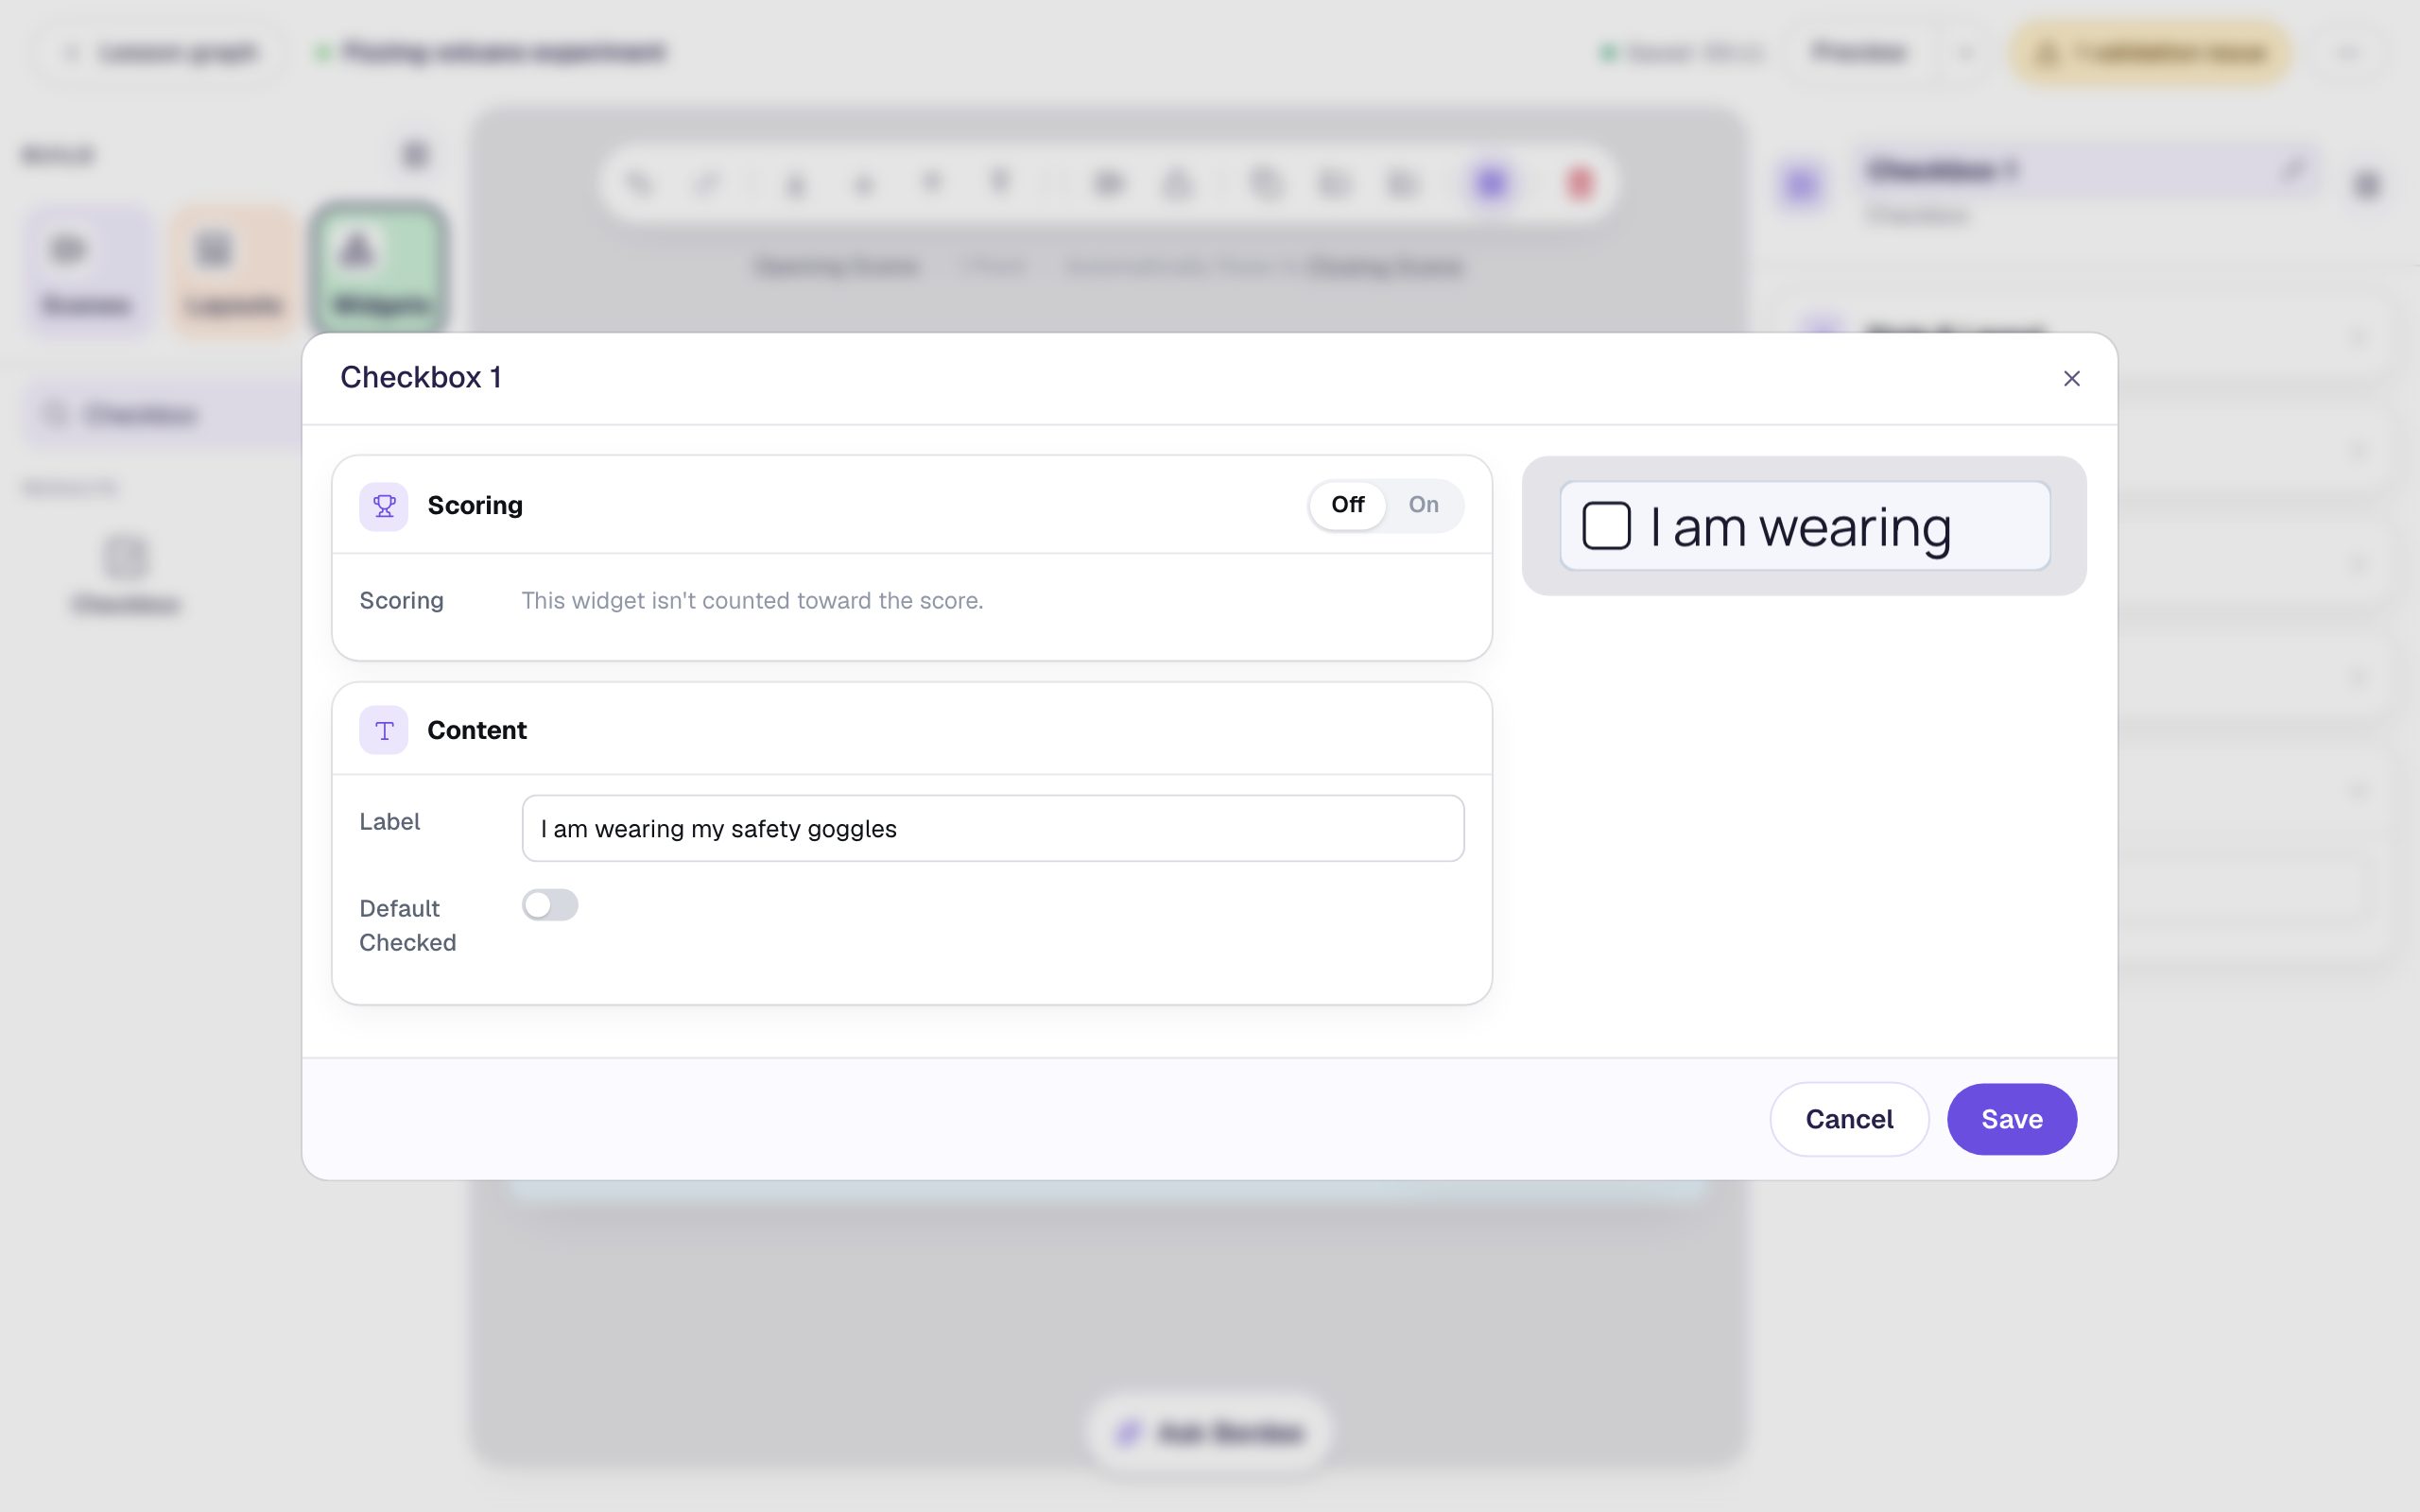
A checkbox is graded by default, as a true-or-false question. A safety checklist has no wrong answer, so set Scoring to Off. Then type the first item into Label: I am wearing my safety goggles. Leave Default Checked off, so every box starts empty. Click Save.
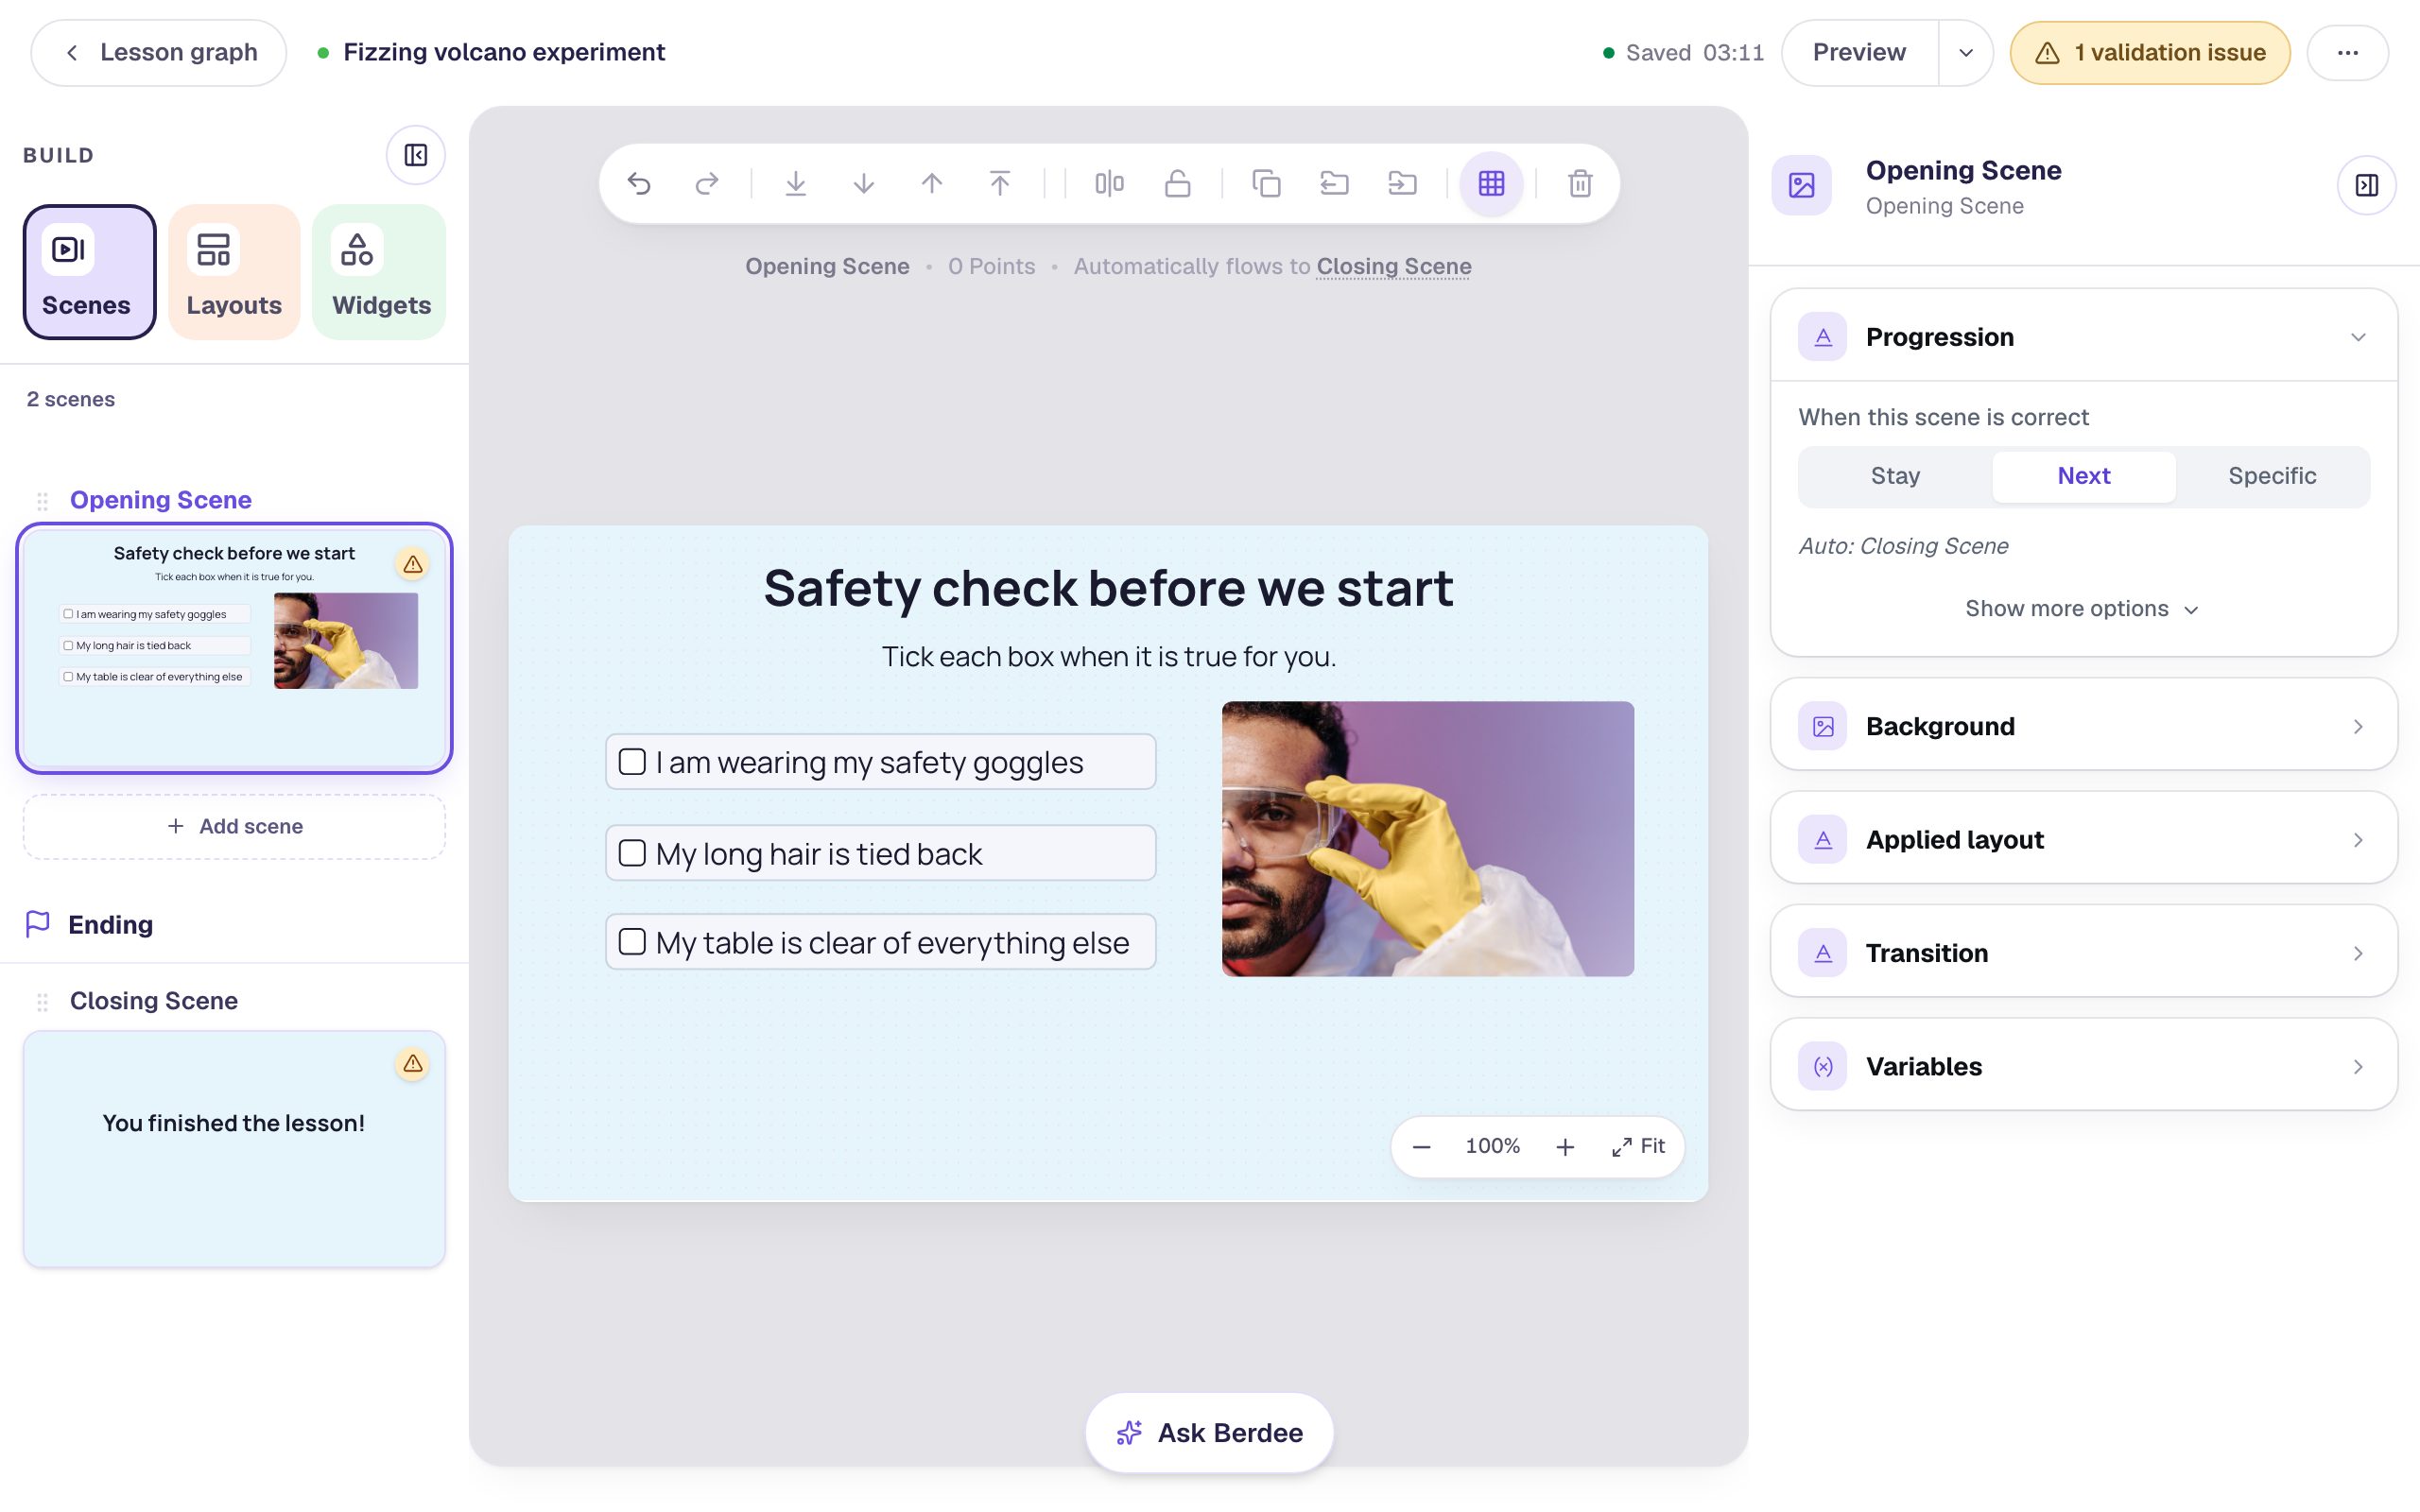
Rename the widget Goggles (click its name at the top of the properties panel). You'll pick each box by name in Step 6, so short, clear names help. In Style & Layout, set the Font Size to 24, then click Show more options and set Width to 440. Drag it under the directions, on the left.
Step 3: Copy it for the other two items
With Goggles selected, press ⌘D (Ctrl+D on Windows). The copy keeps the size, the font and Scoring off, so only its label and name need changing. Click ⚙ Configure, set Label to My long hair is tied back, click Save, and rename it Hair. Drag it under the first box.
Do it once more for My table is clear of everything else, named Table.
Step 4: Build the experiment scene
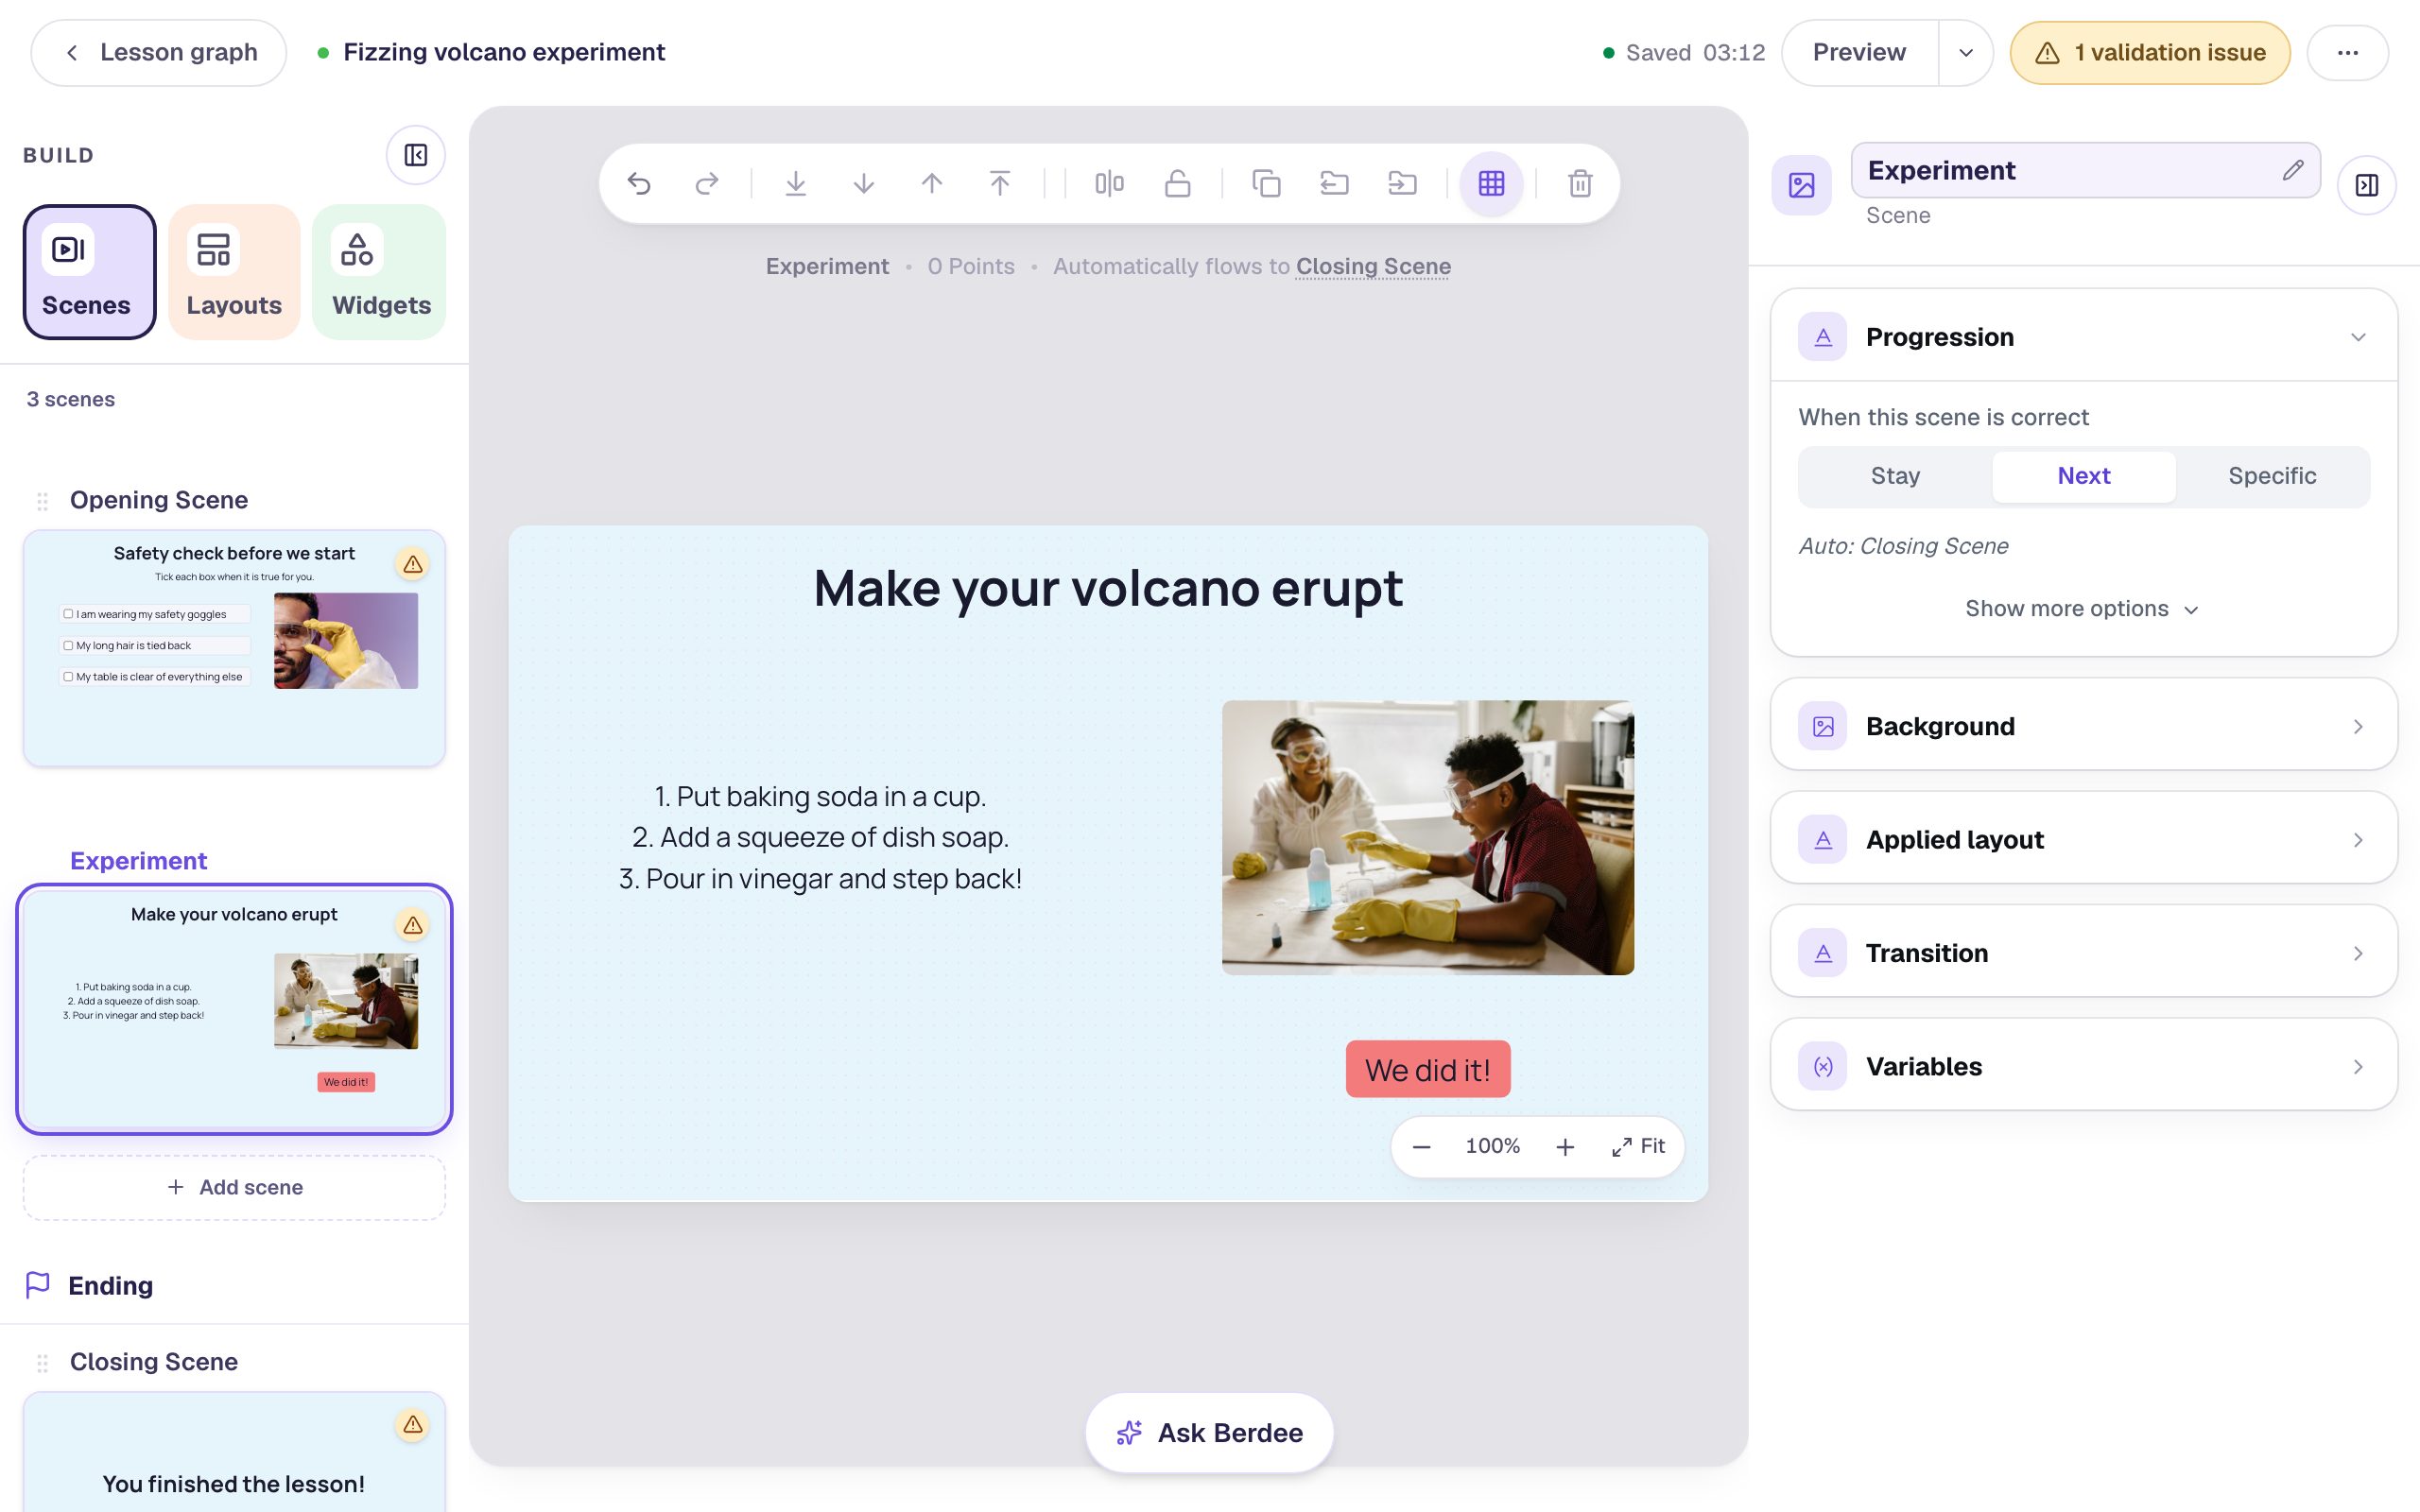
The Start button needs a scene to go to, so build that next. Open Scenes, click Add scene, double-click the new scene's name and rename it Experiment. Give it the same #e6f4fb background.
Add a Heading that says Make your volcano erupt, a Body with the three steps (press Enter between them so each starts a new line), and a photo of the experiment on the right. Finish it with a Button labelled We did it!, with its Background colour set to the coral #f47b7b: click Behaviors on its toolbar, choose Make this a "Next" button, and click Add behavior. It goes to the Closing Scene.
Step 5: Add the Start button
Go back to the Opening Scene and add a Button. Click ⚙ Configure, set its Label to Start the experiment and click Save. Rename it Start button. In Style & Layout, set its Background colour to the coral #f47b7b so it looks like something to press, and its Font Size to 24.
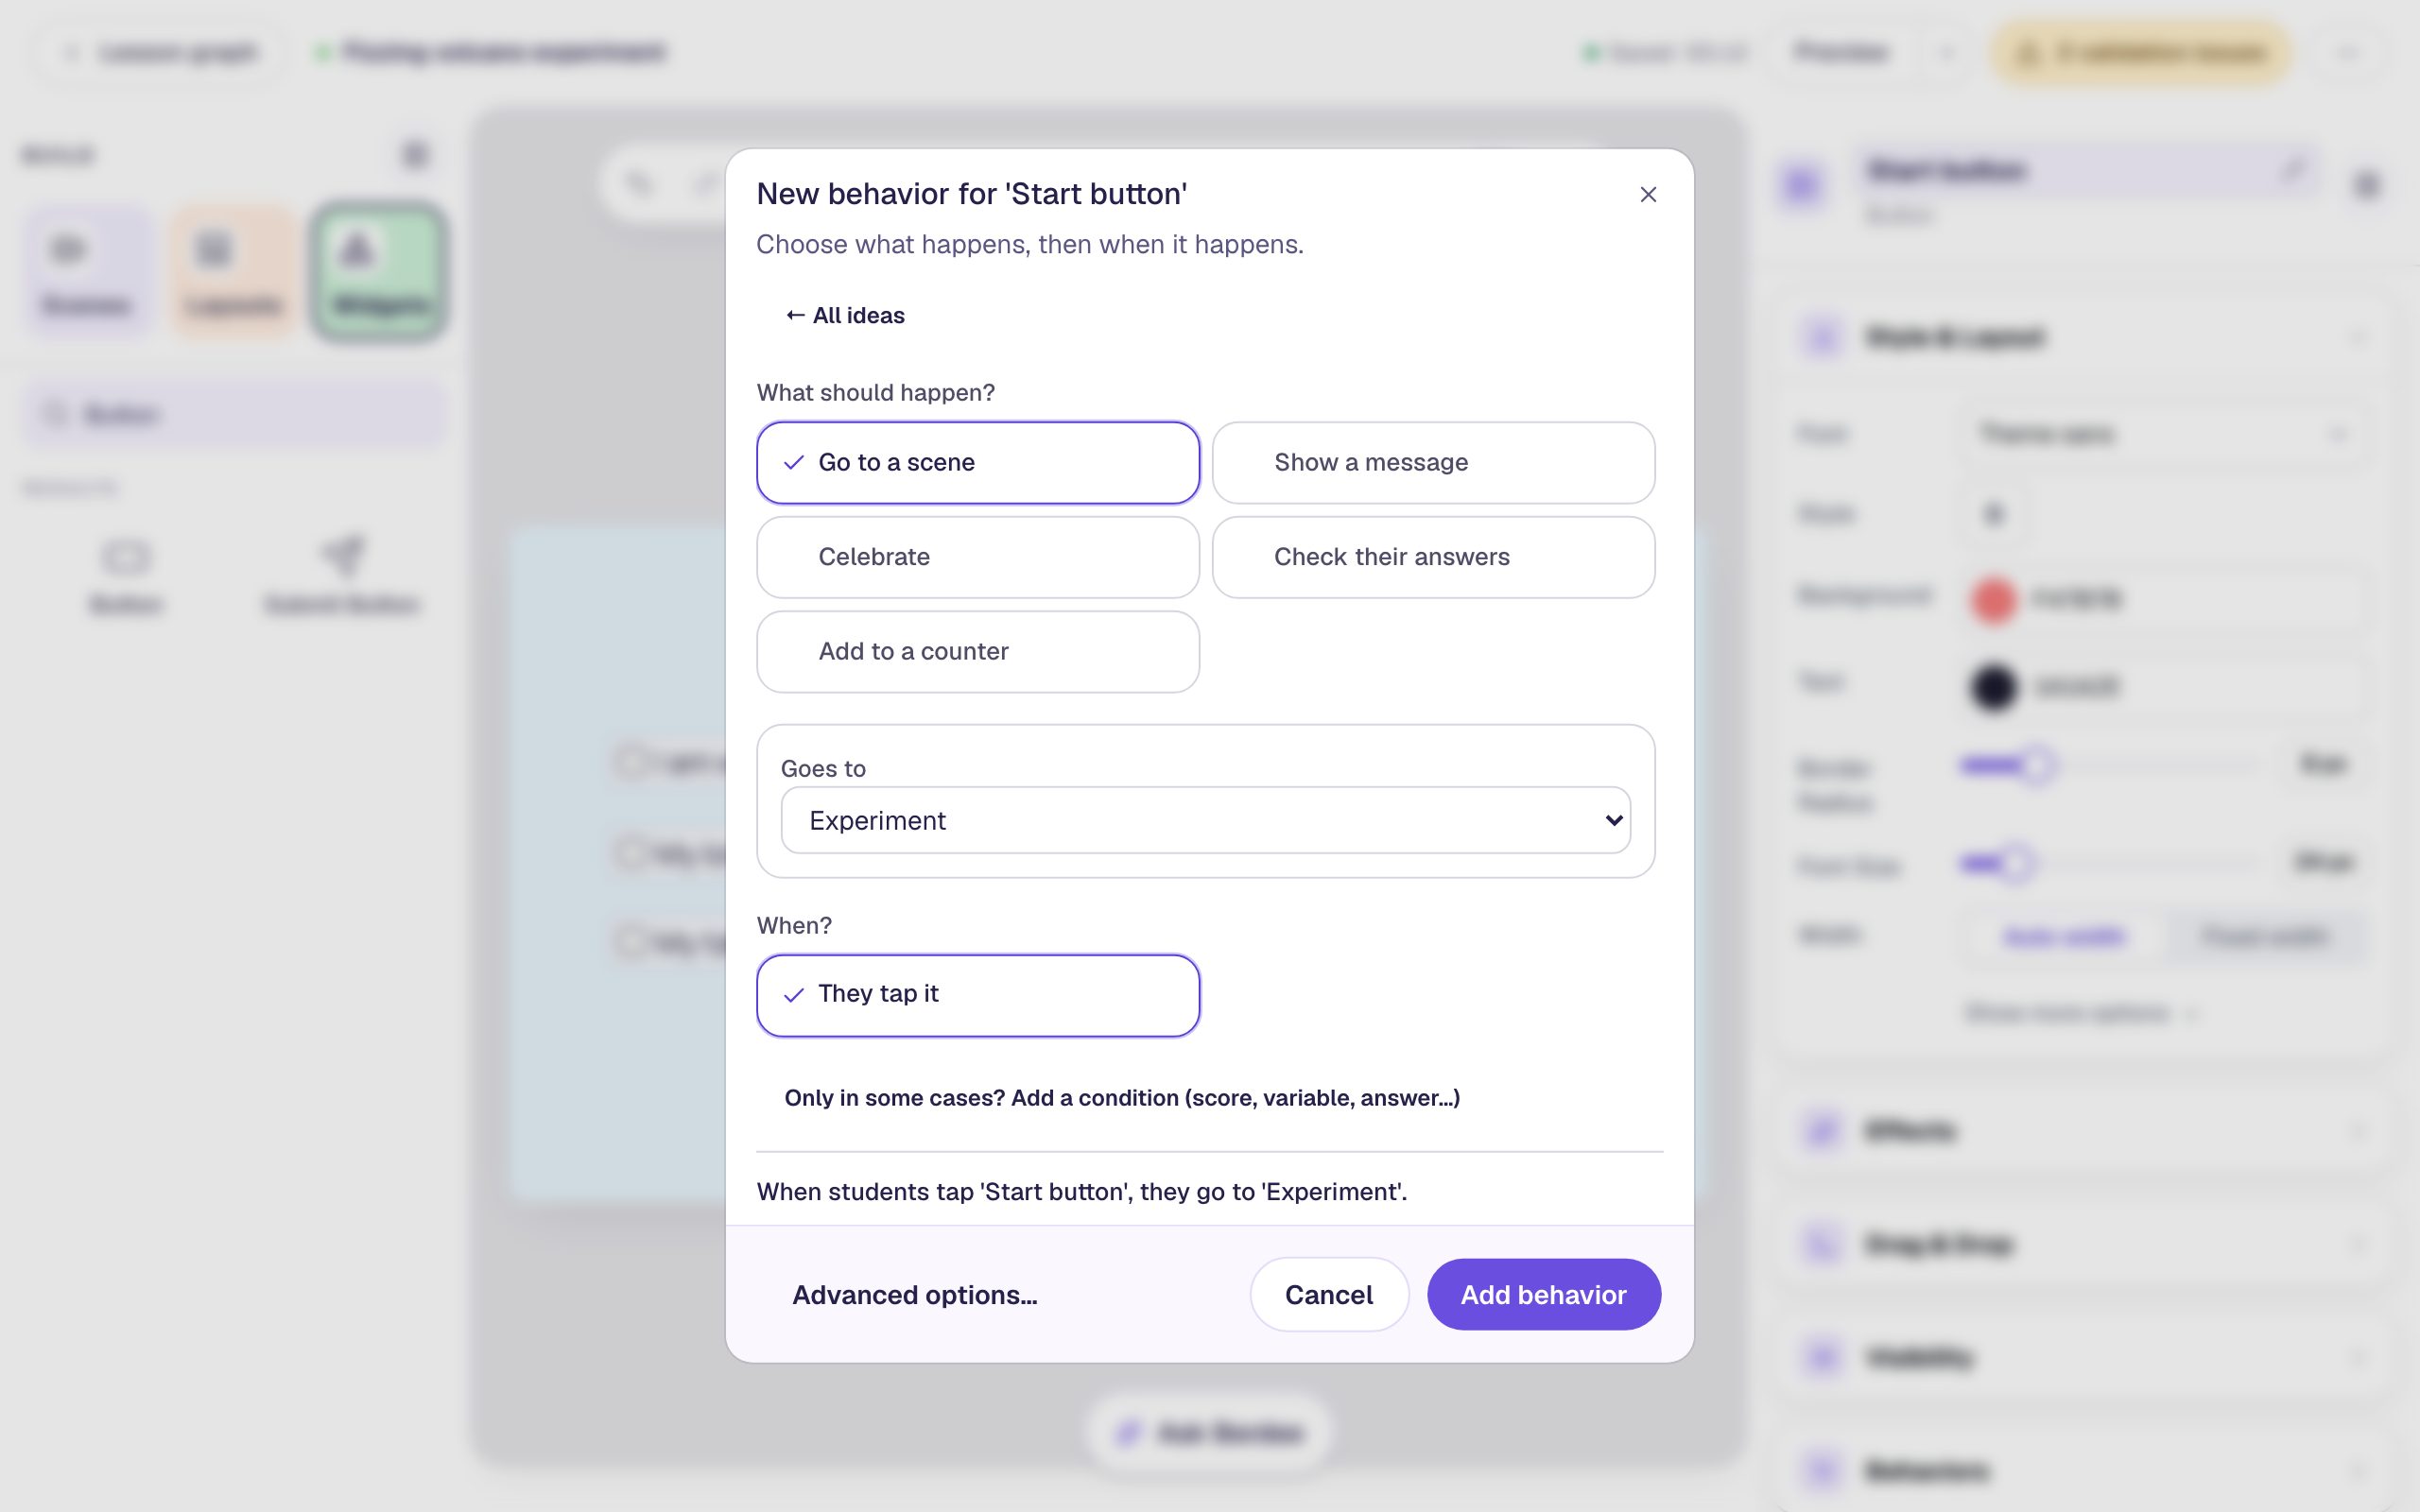
Click Behaviors on the widget's toolbar and choose Make this a "Next" button. Check that Goes to says Experiment, then click Add behavior.
Drag the button under the photo. Keep it clear of the bottom-right corner of the canvas: the zoom controls sit there in the studio and would hide it while you work.
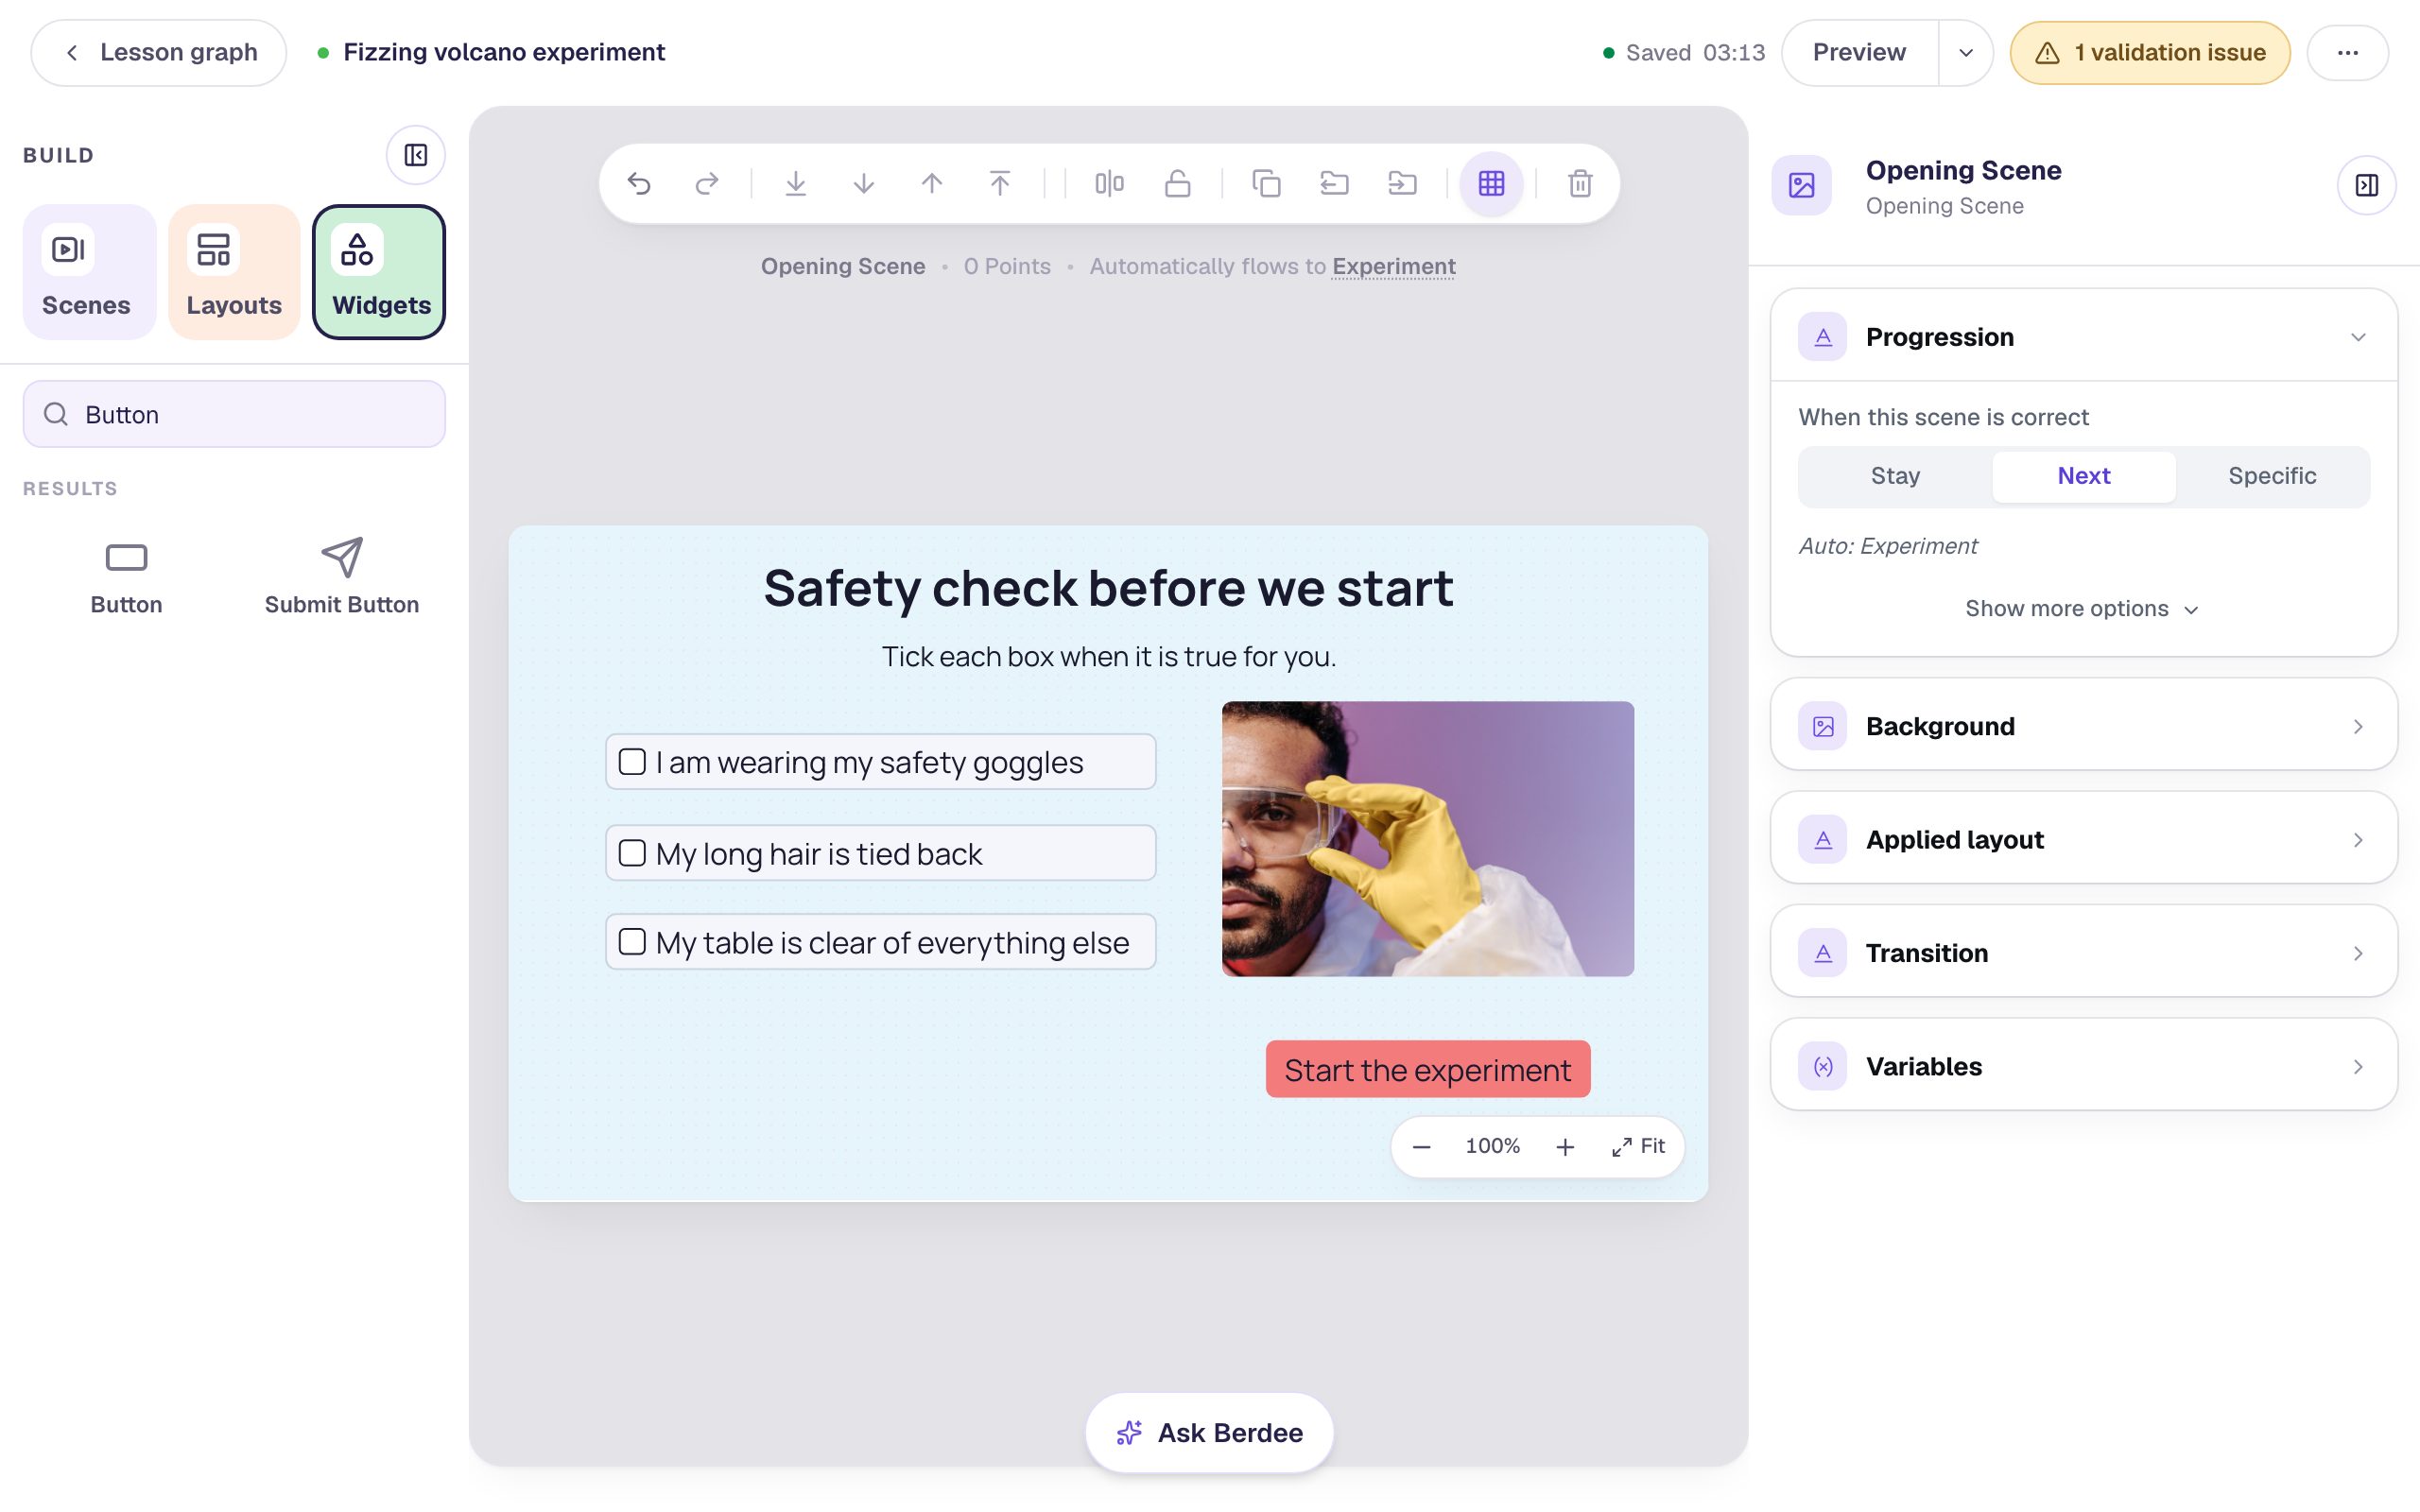
The checkboxes have Scoring off, so nothing on this scene is graded and the scene never moves on by itself. The button is the only way forward.
Step 6: Show the button only when every box is ticked
Select the Start button and open Visibility:
- Set Mode to Conditional and leave Behavior on Show.
- In the first condition, choose Checkbox: Goggles, then Checked.
- Click Add Condition and choose Checkbox: Hair, then Checked.
- Click Add Condition again and choose Checkbox: Table, then Checked.
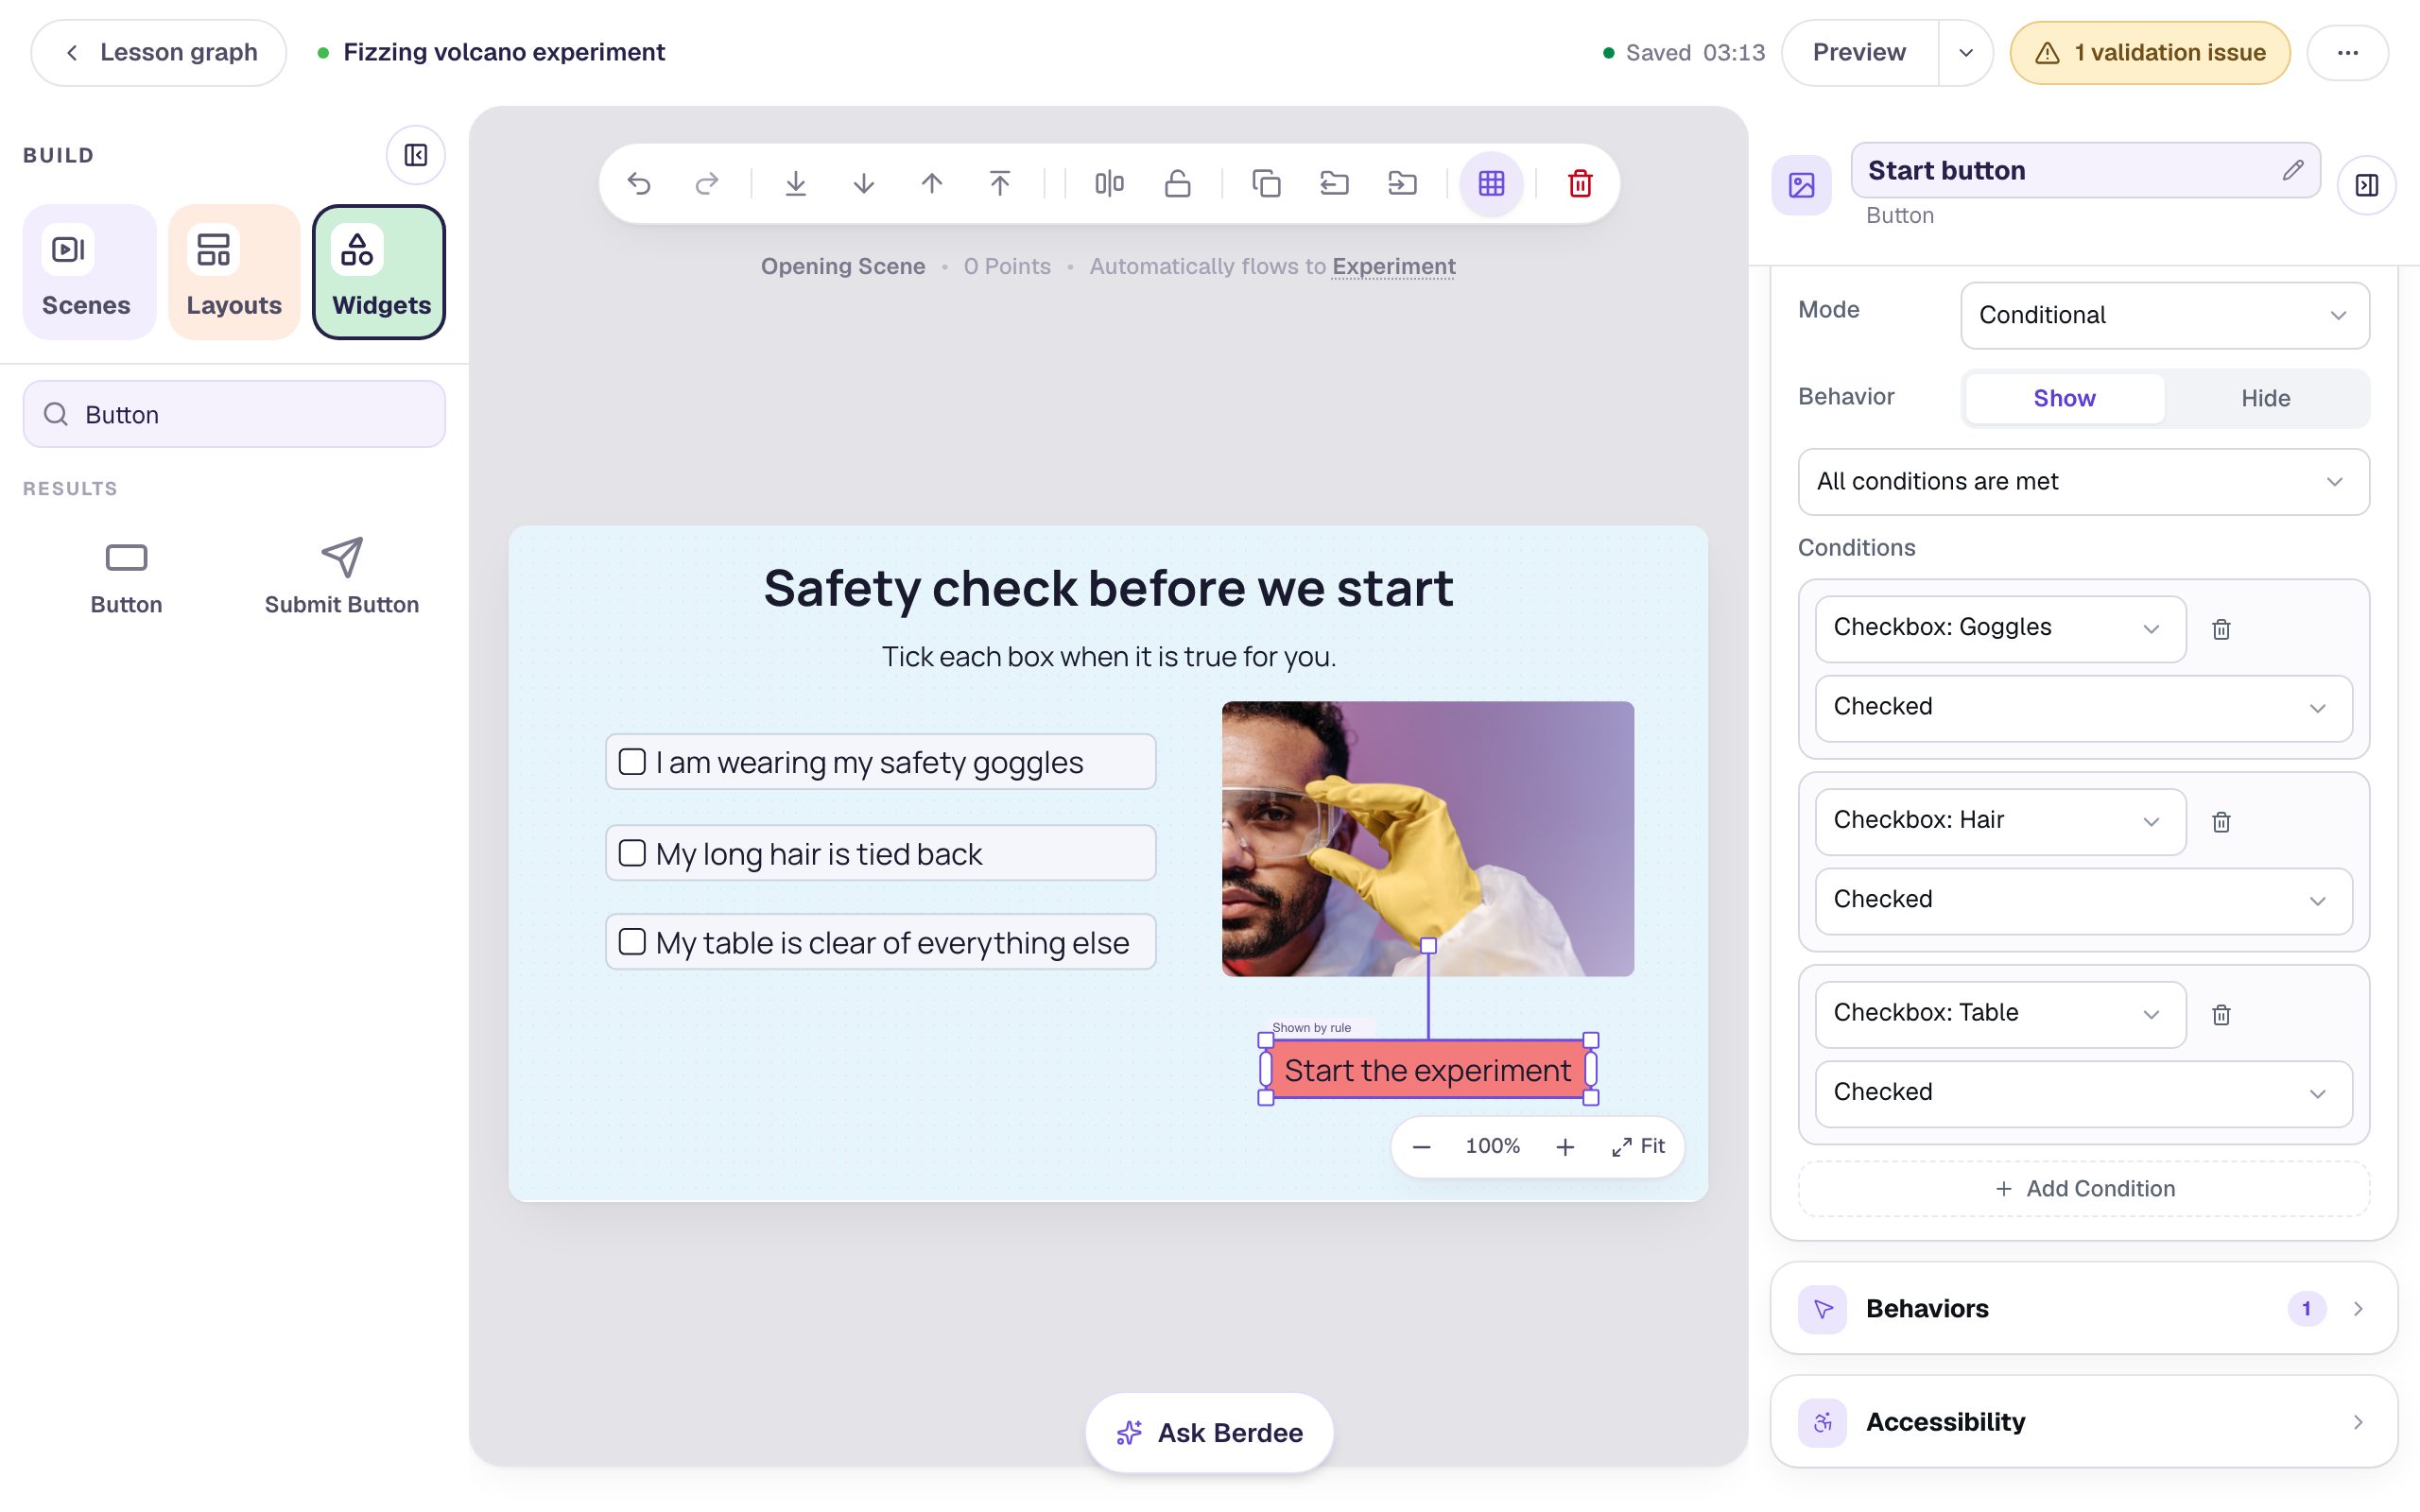
Above the conditions, the rule says All conditions are met. That's what makes this a checklist: the button shows only when every condition is true at once. Switch it to At least one condition is met and the first tick would show the button.
The rule is live in both directions. If a student unticks a box, the button hides again until it's ticked back. The button still shows in the studio so you can keep editing it; the small Shown by rule tag reminds you it's conditional.
Step 7: Tell students why there's no button yet
A scene with no way forward can look broken. Add a Body that says Tick all three boxes to start. at 22 px, rename it Tick note, and drag it under the checklist.
You could copy the three conditions over, but there's a shorter rule: hide the note whenever the button is showing. In Visibility, set Mode to Conditional, click Hide, and choose Button: Start button, then Is visible.
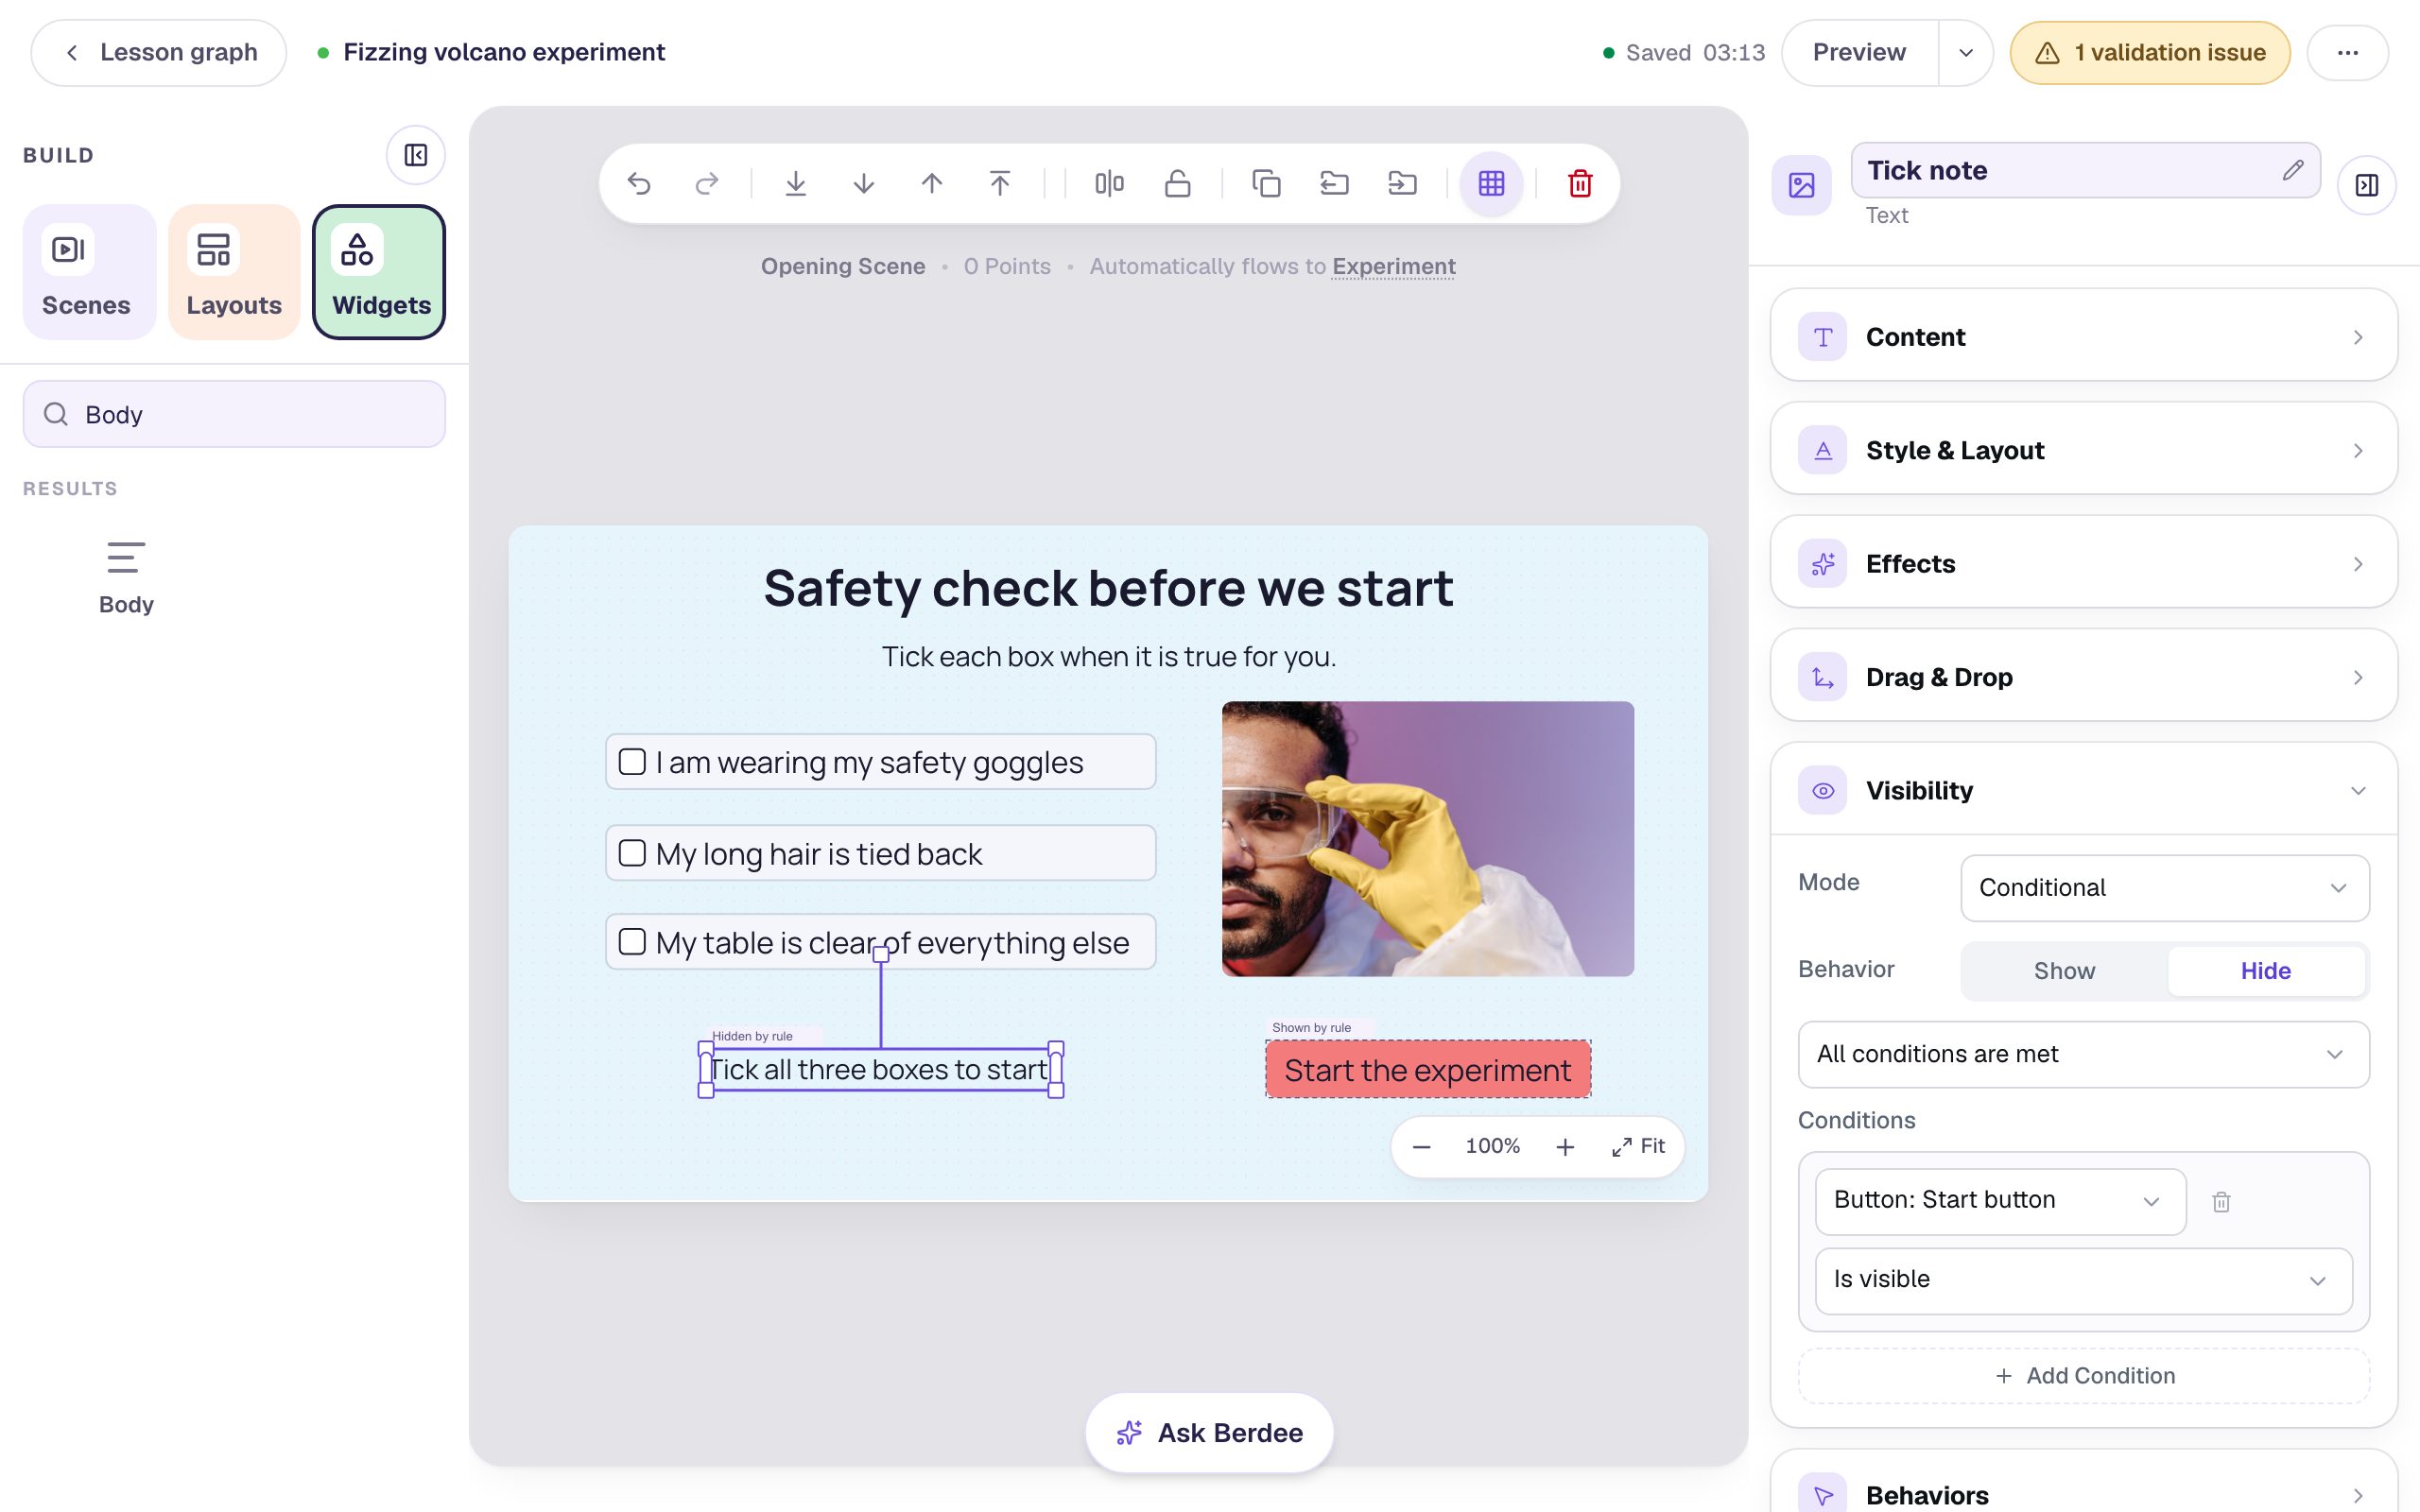
Pointing the note at the button means there's only one checklist rule to maintain. Add a fourth item later, and you change the button's rule; the note follows it.
Step 8: Preview it
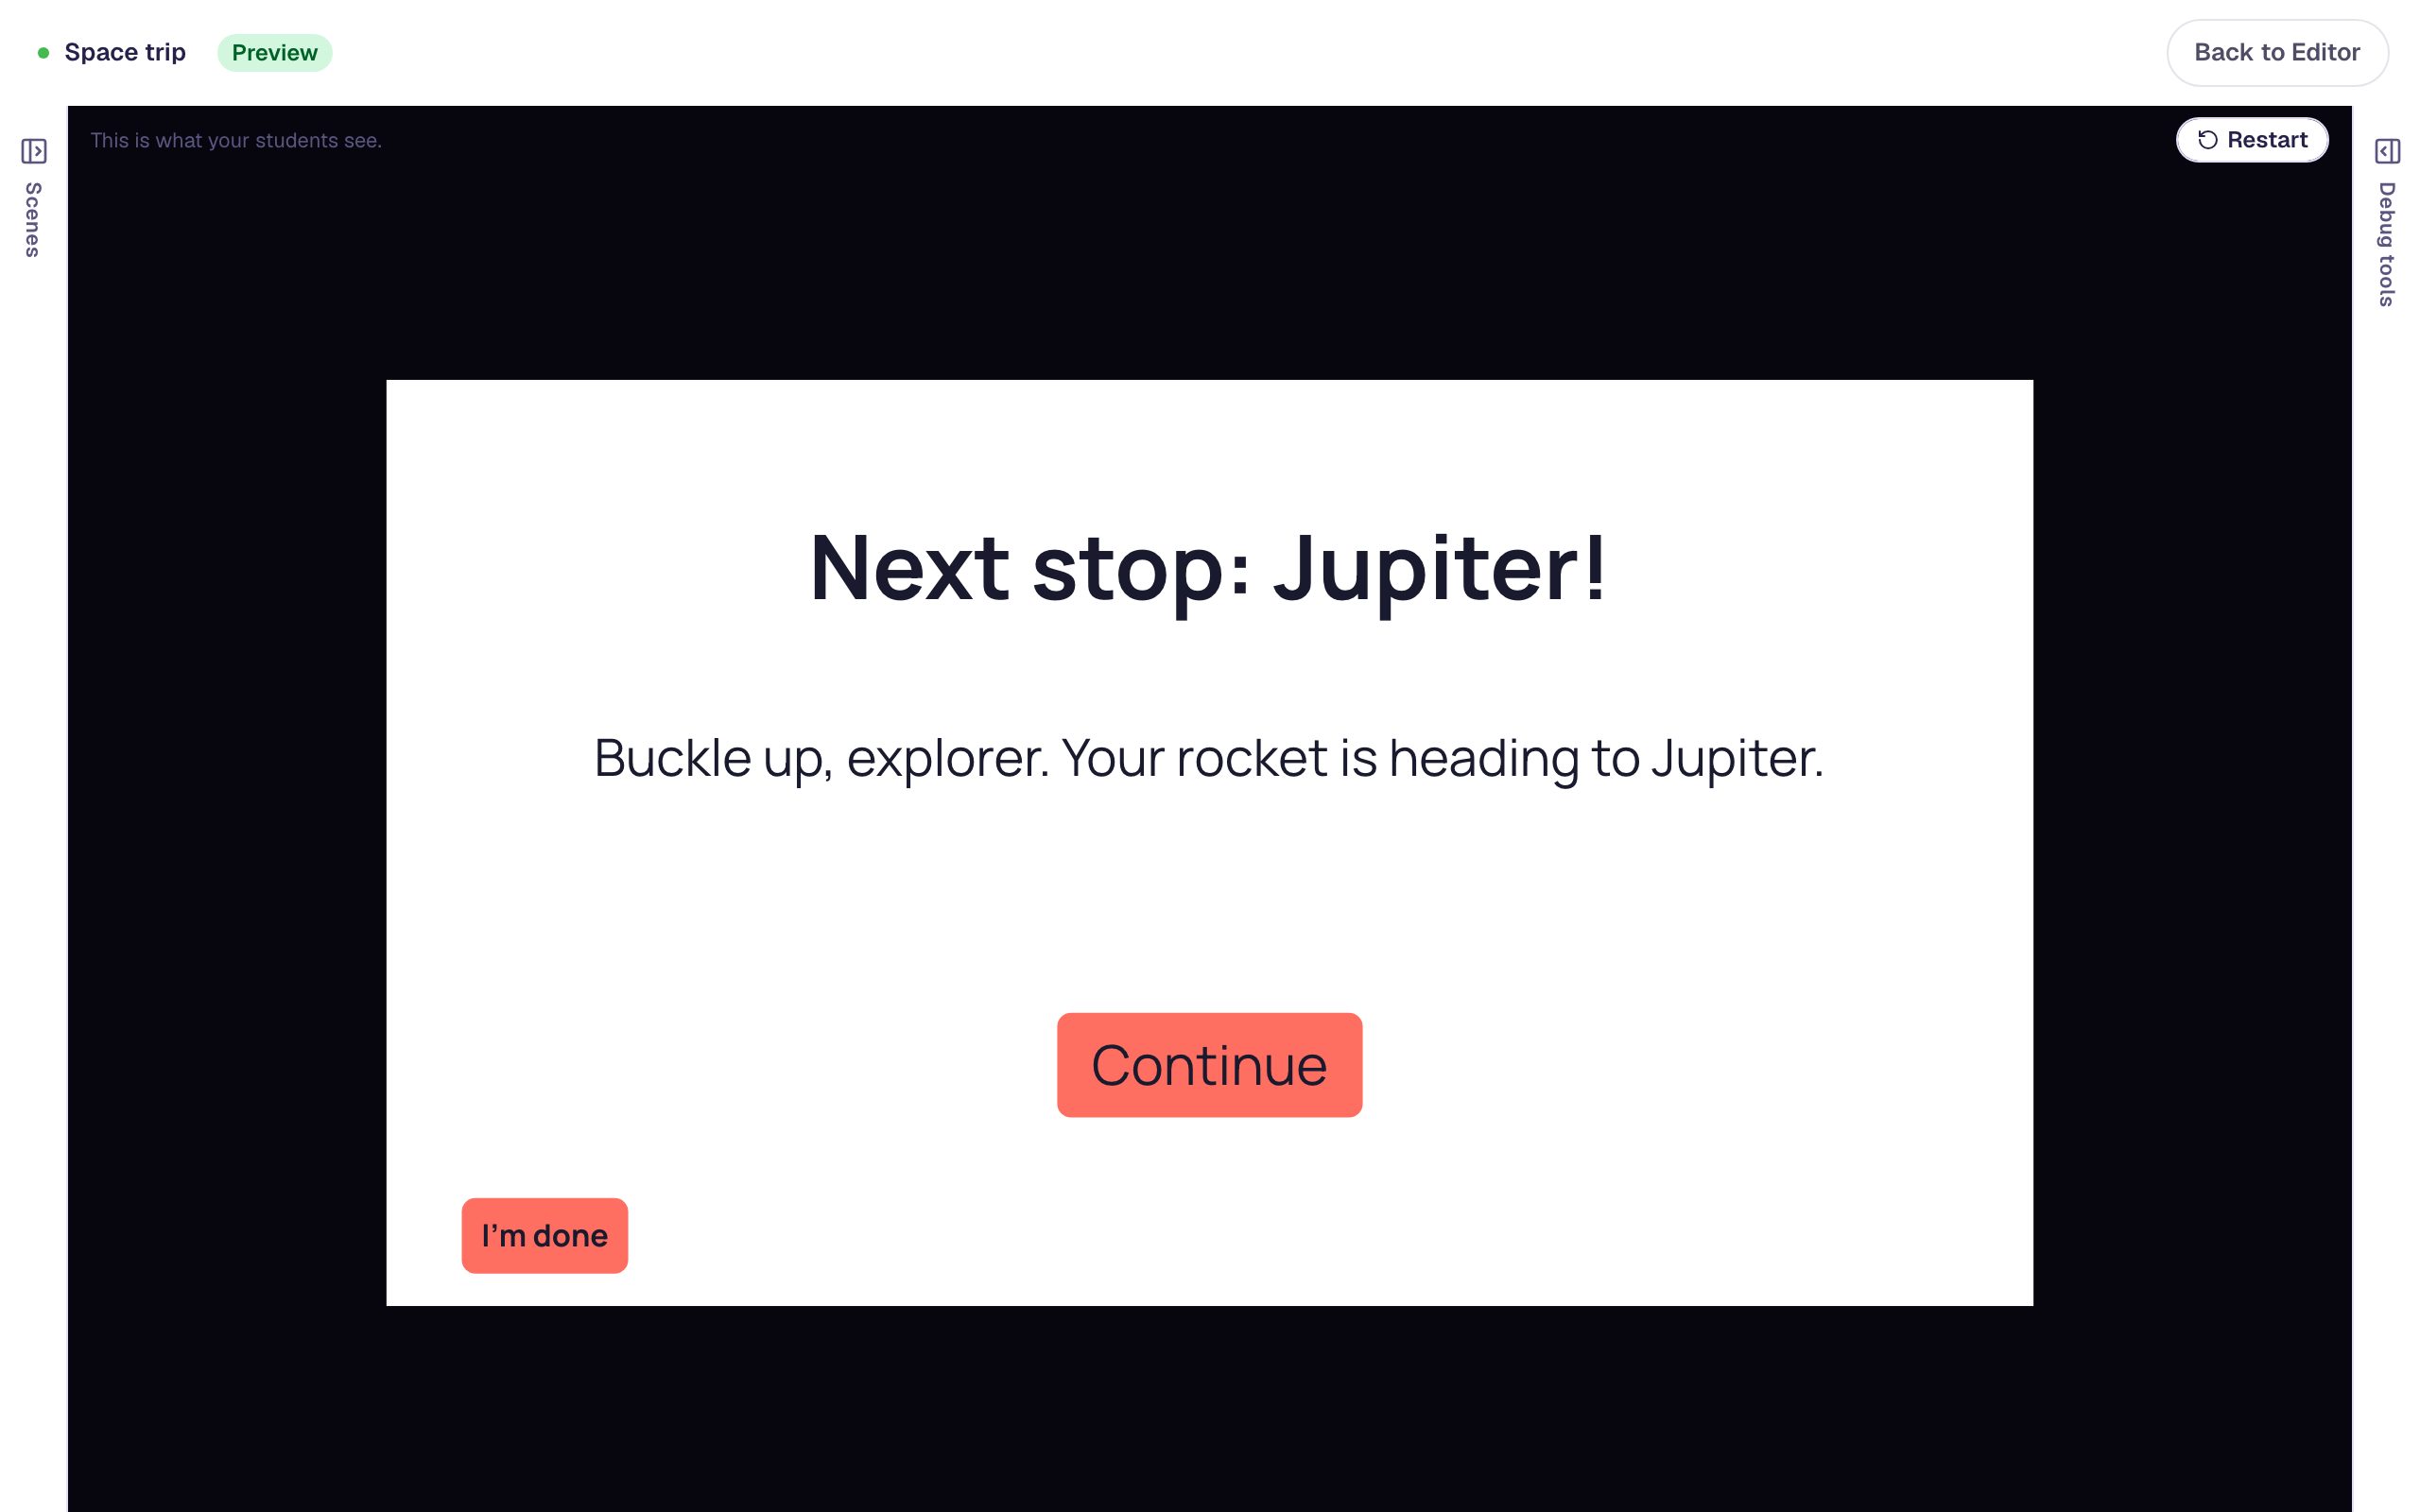
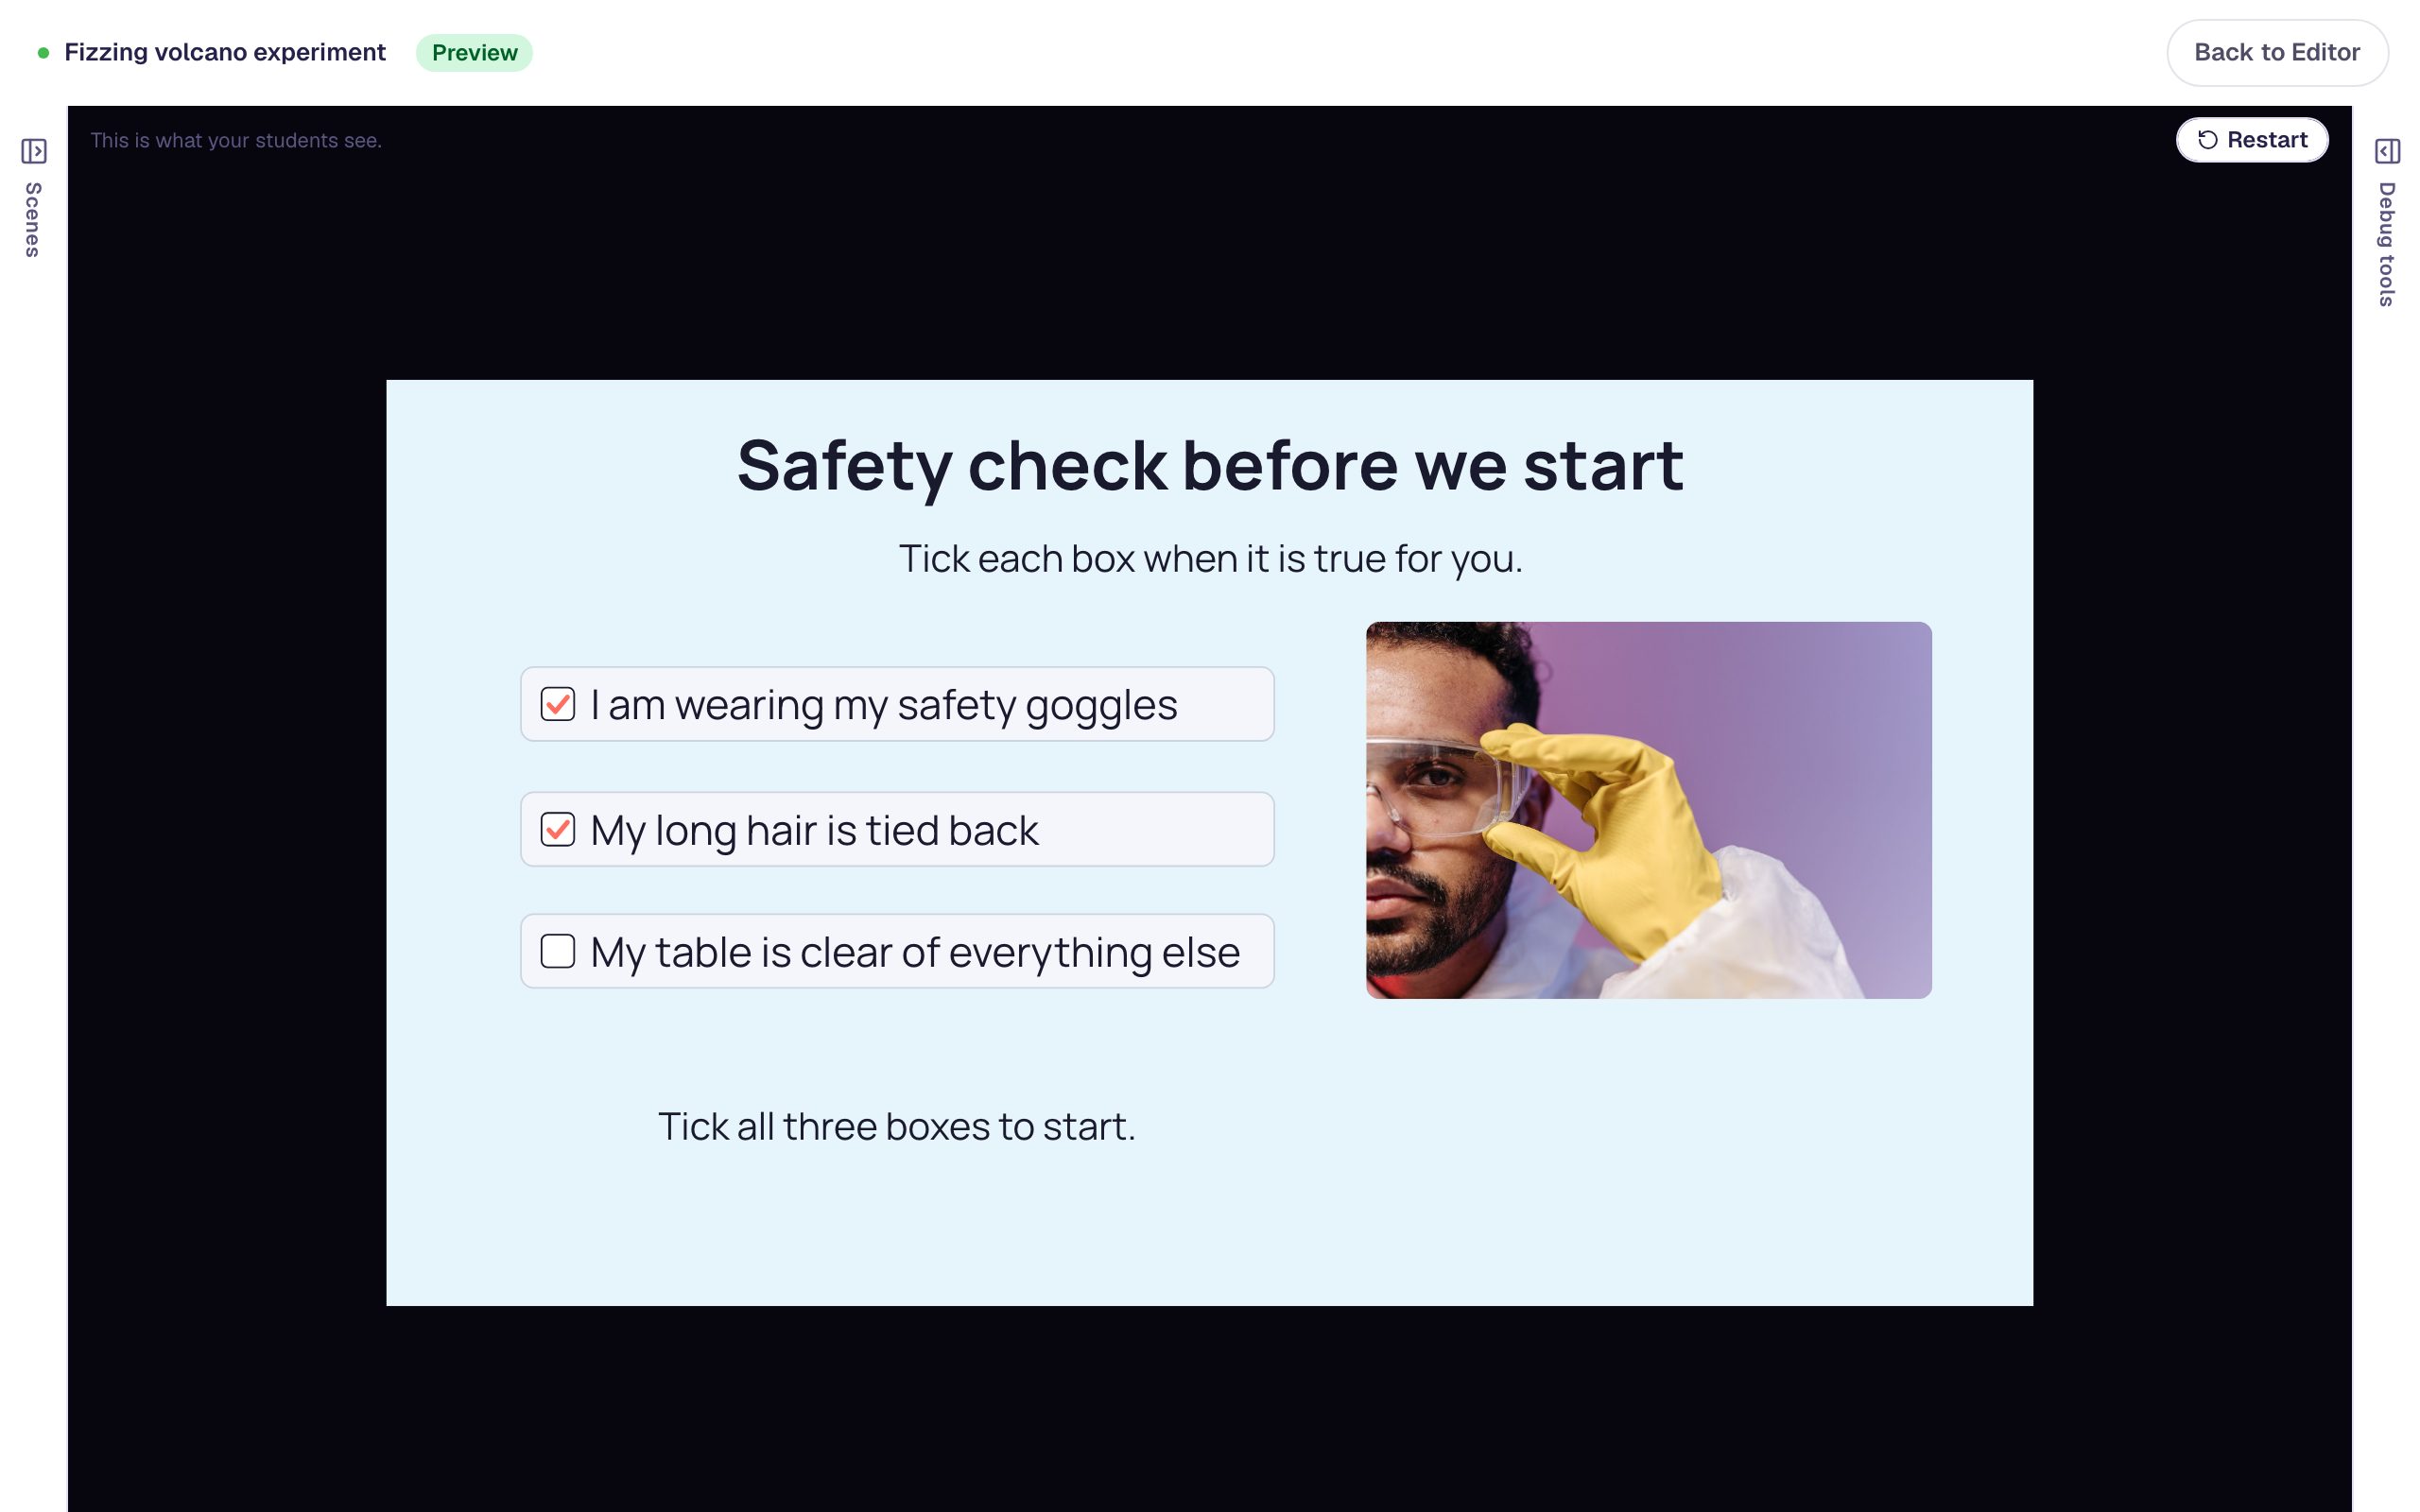
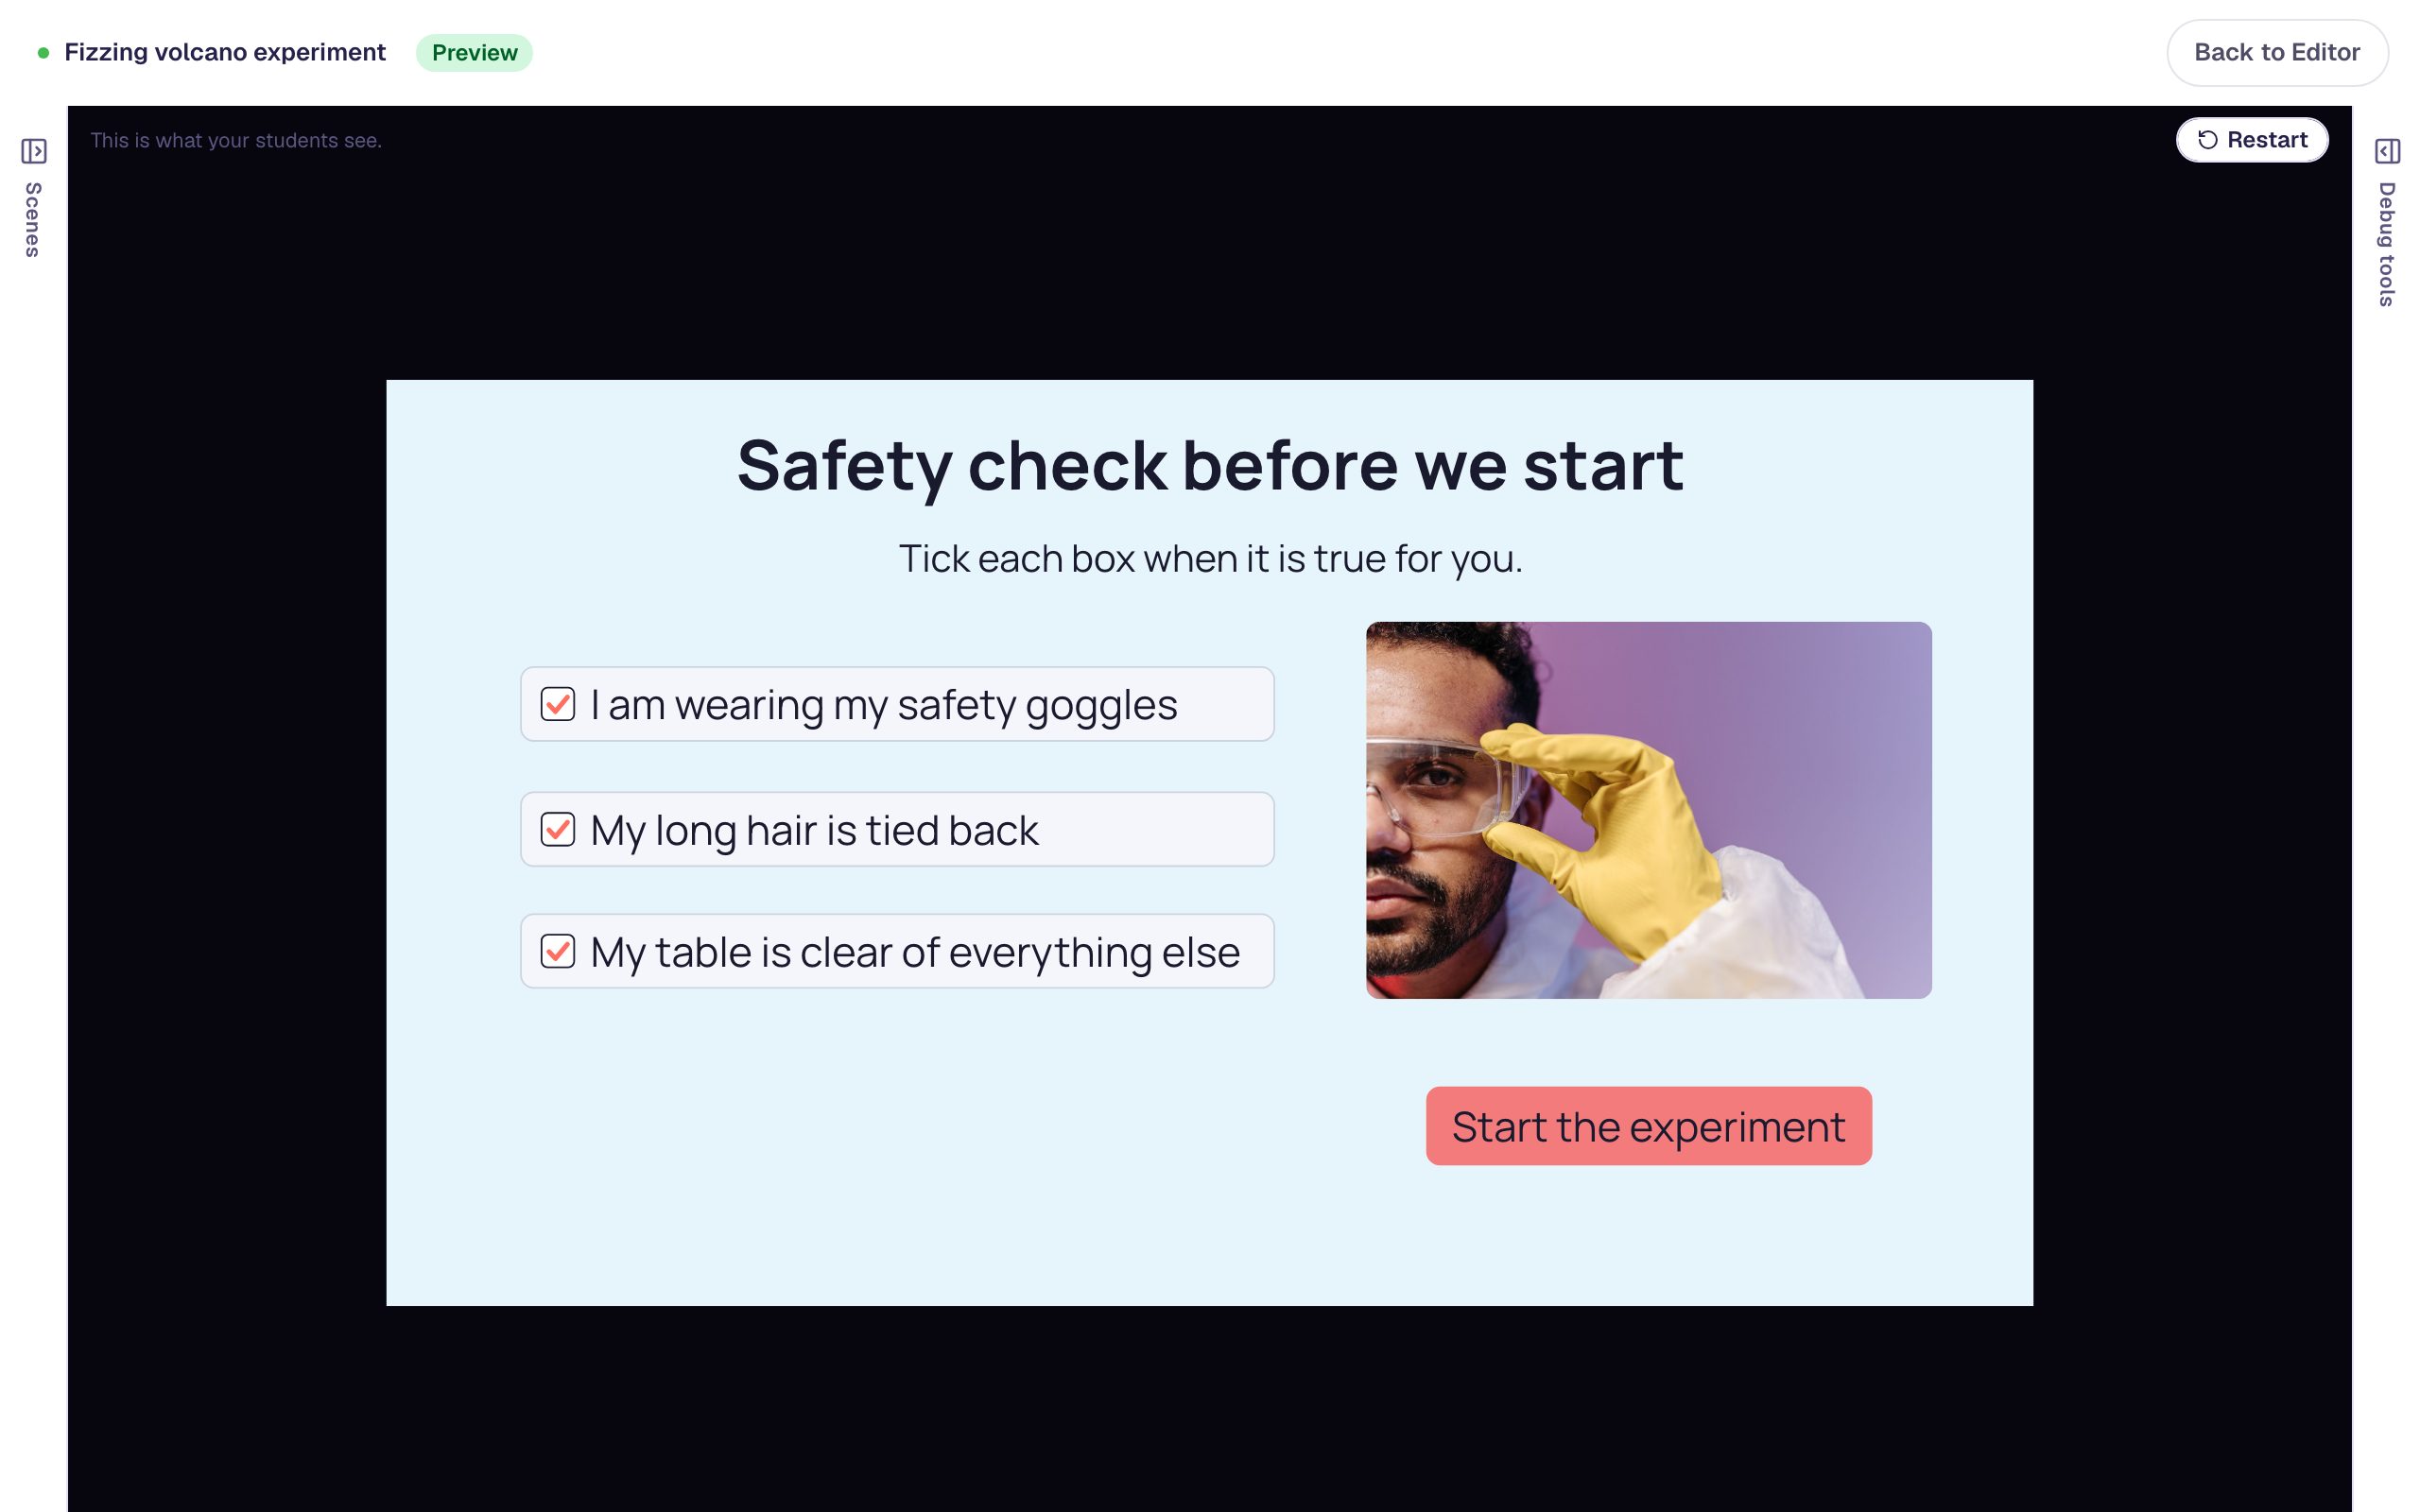
Click Preview. The scene opens with three empty boxes, the note, and no button. Tick two boxes: still no button. Tick the third and the note gives way to Start the experiment. Untick a box and the button hides again; tick it back and press the button.
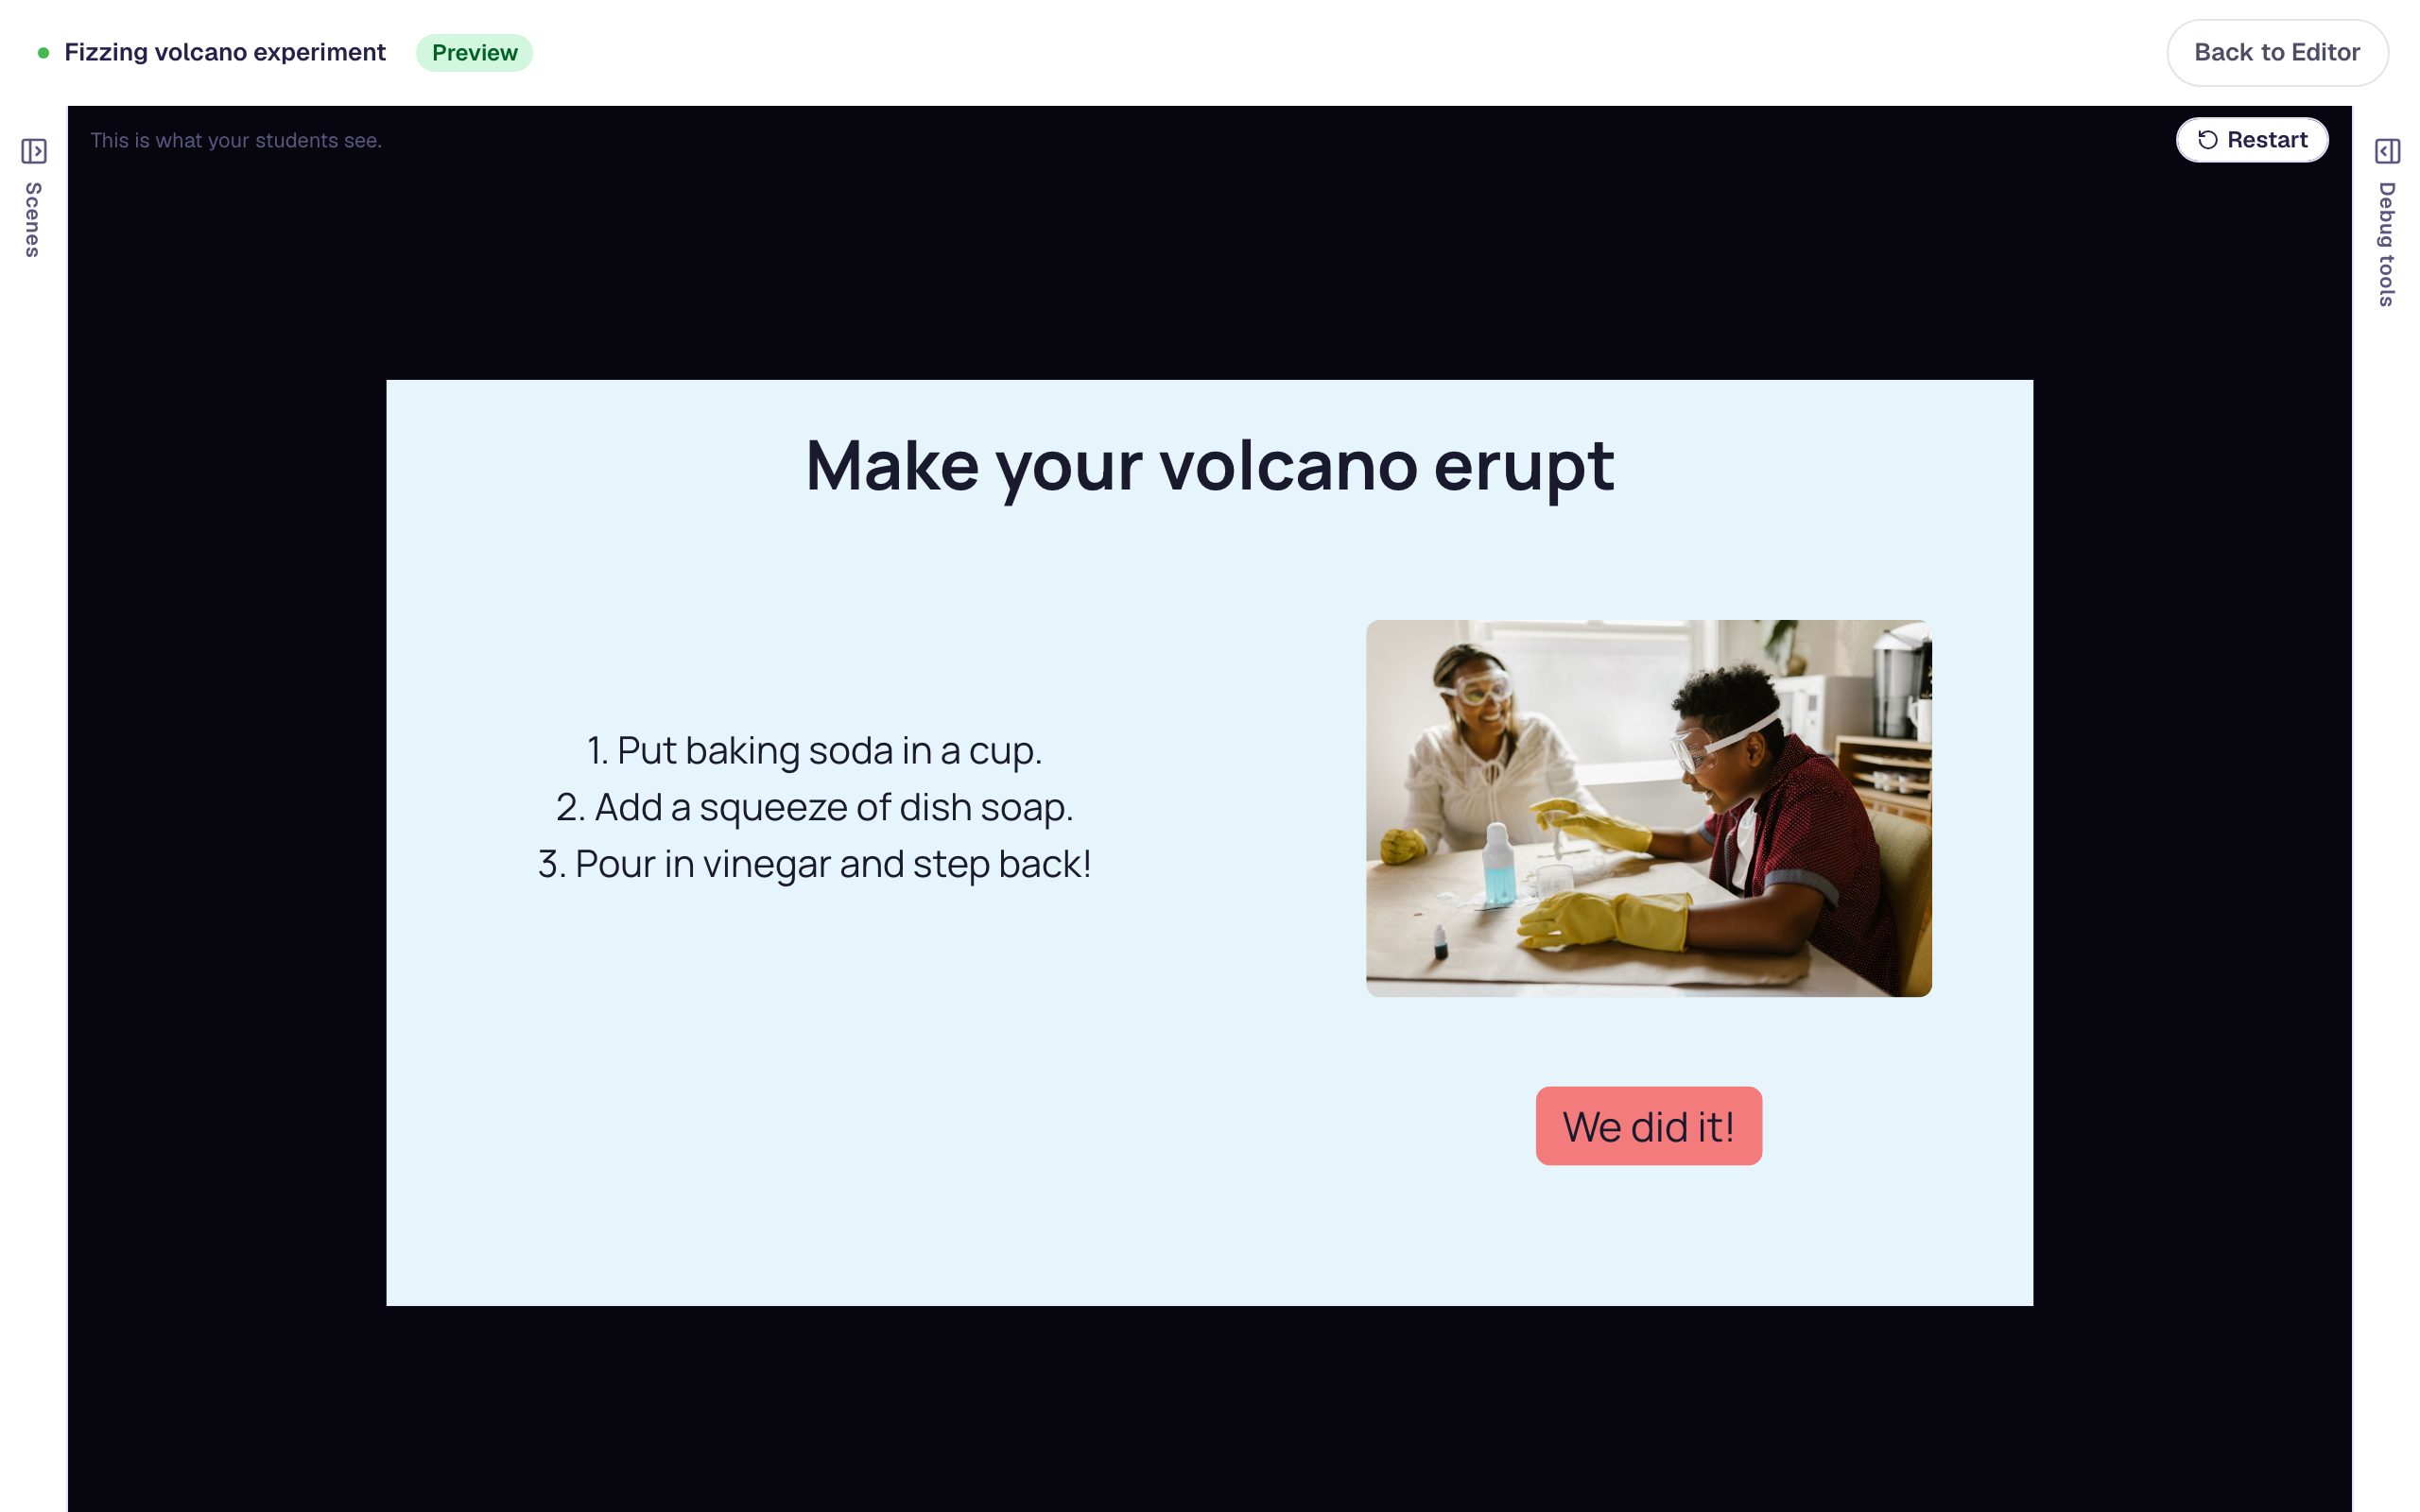
Press We did it! to reach the ending. Nothing in this lesson is graded, so the ending shows no score.
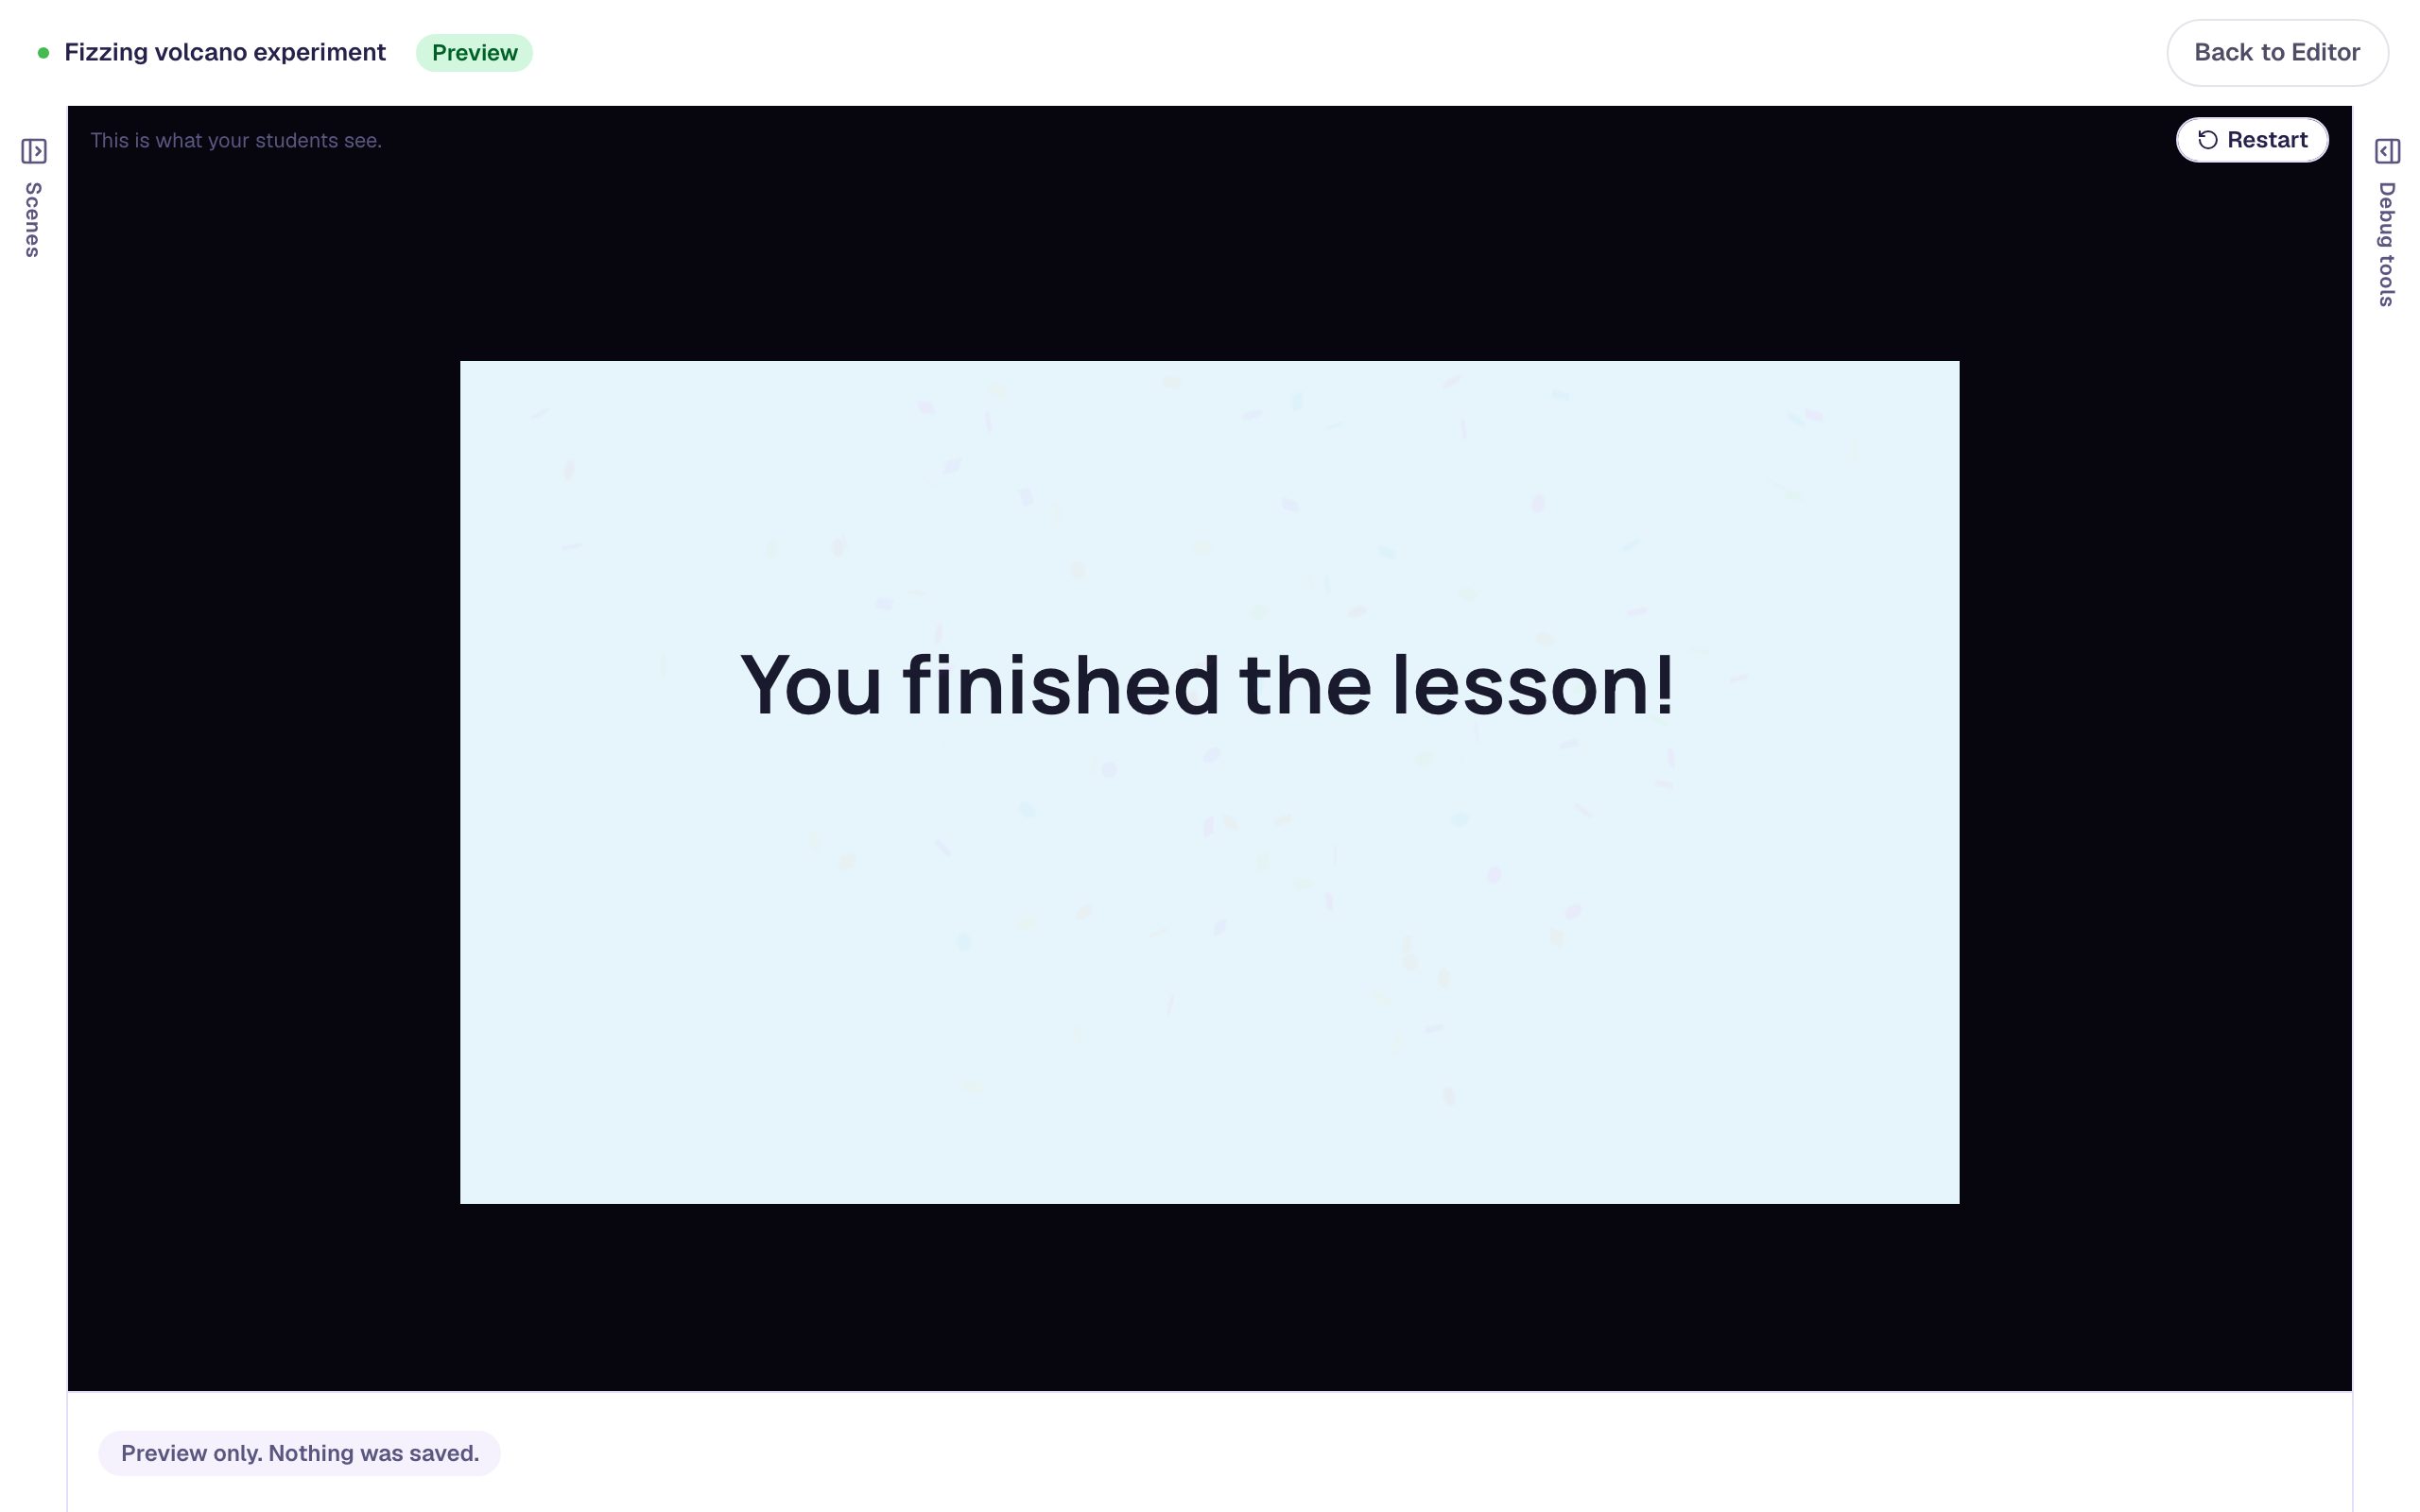
Use Restart at the top right of Preview to try it again from the start.
What you built
A checklist gate made from three checkboxes and two rules:
- three Checkbox widgets with Scoring off, one per safety item,
- a Start the experiment button that Shows when All conditions are met: every box Checked, and
- a note that Hides when the button Is visible, so students always know what's left to do.
The same pattern works anywhere students should confirm something before moving on: "I have read the instructions", "I have my worksheet and a pencil", or a reading-strategy checklist before a passage. To unlock a button by watching a clip instead of ticking boxes, see Unlock a question only after students watch a video. To remember what a student picked and use it on a later scene, see Remember a student's choice and use it later.
Make this lesson yours
Add the lesson you just watched being built to your account, then change it for your class: your questions, your pictures, your colors.
Free to sign up, and you'll come straight back here. I have an account