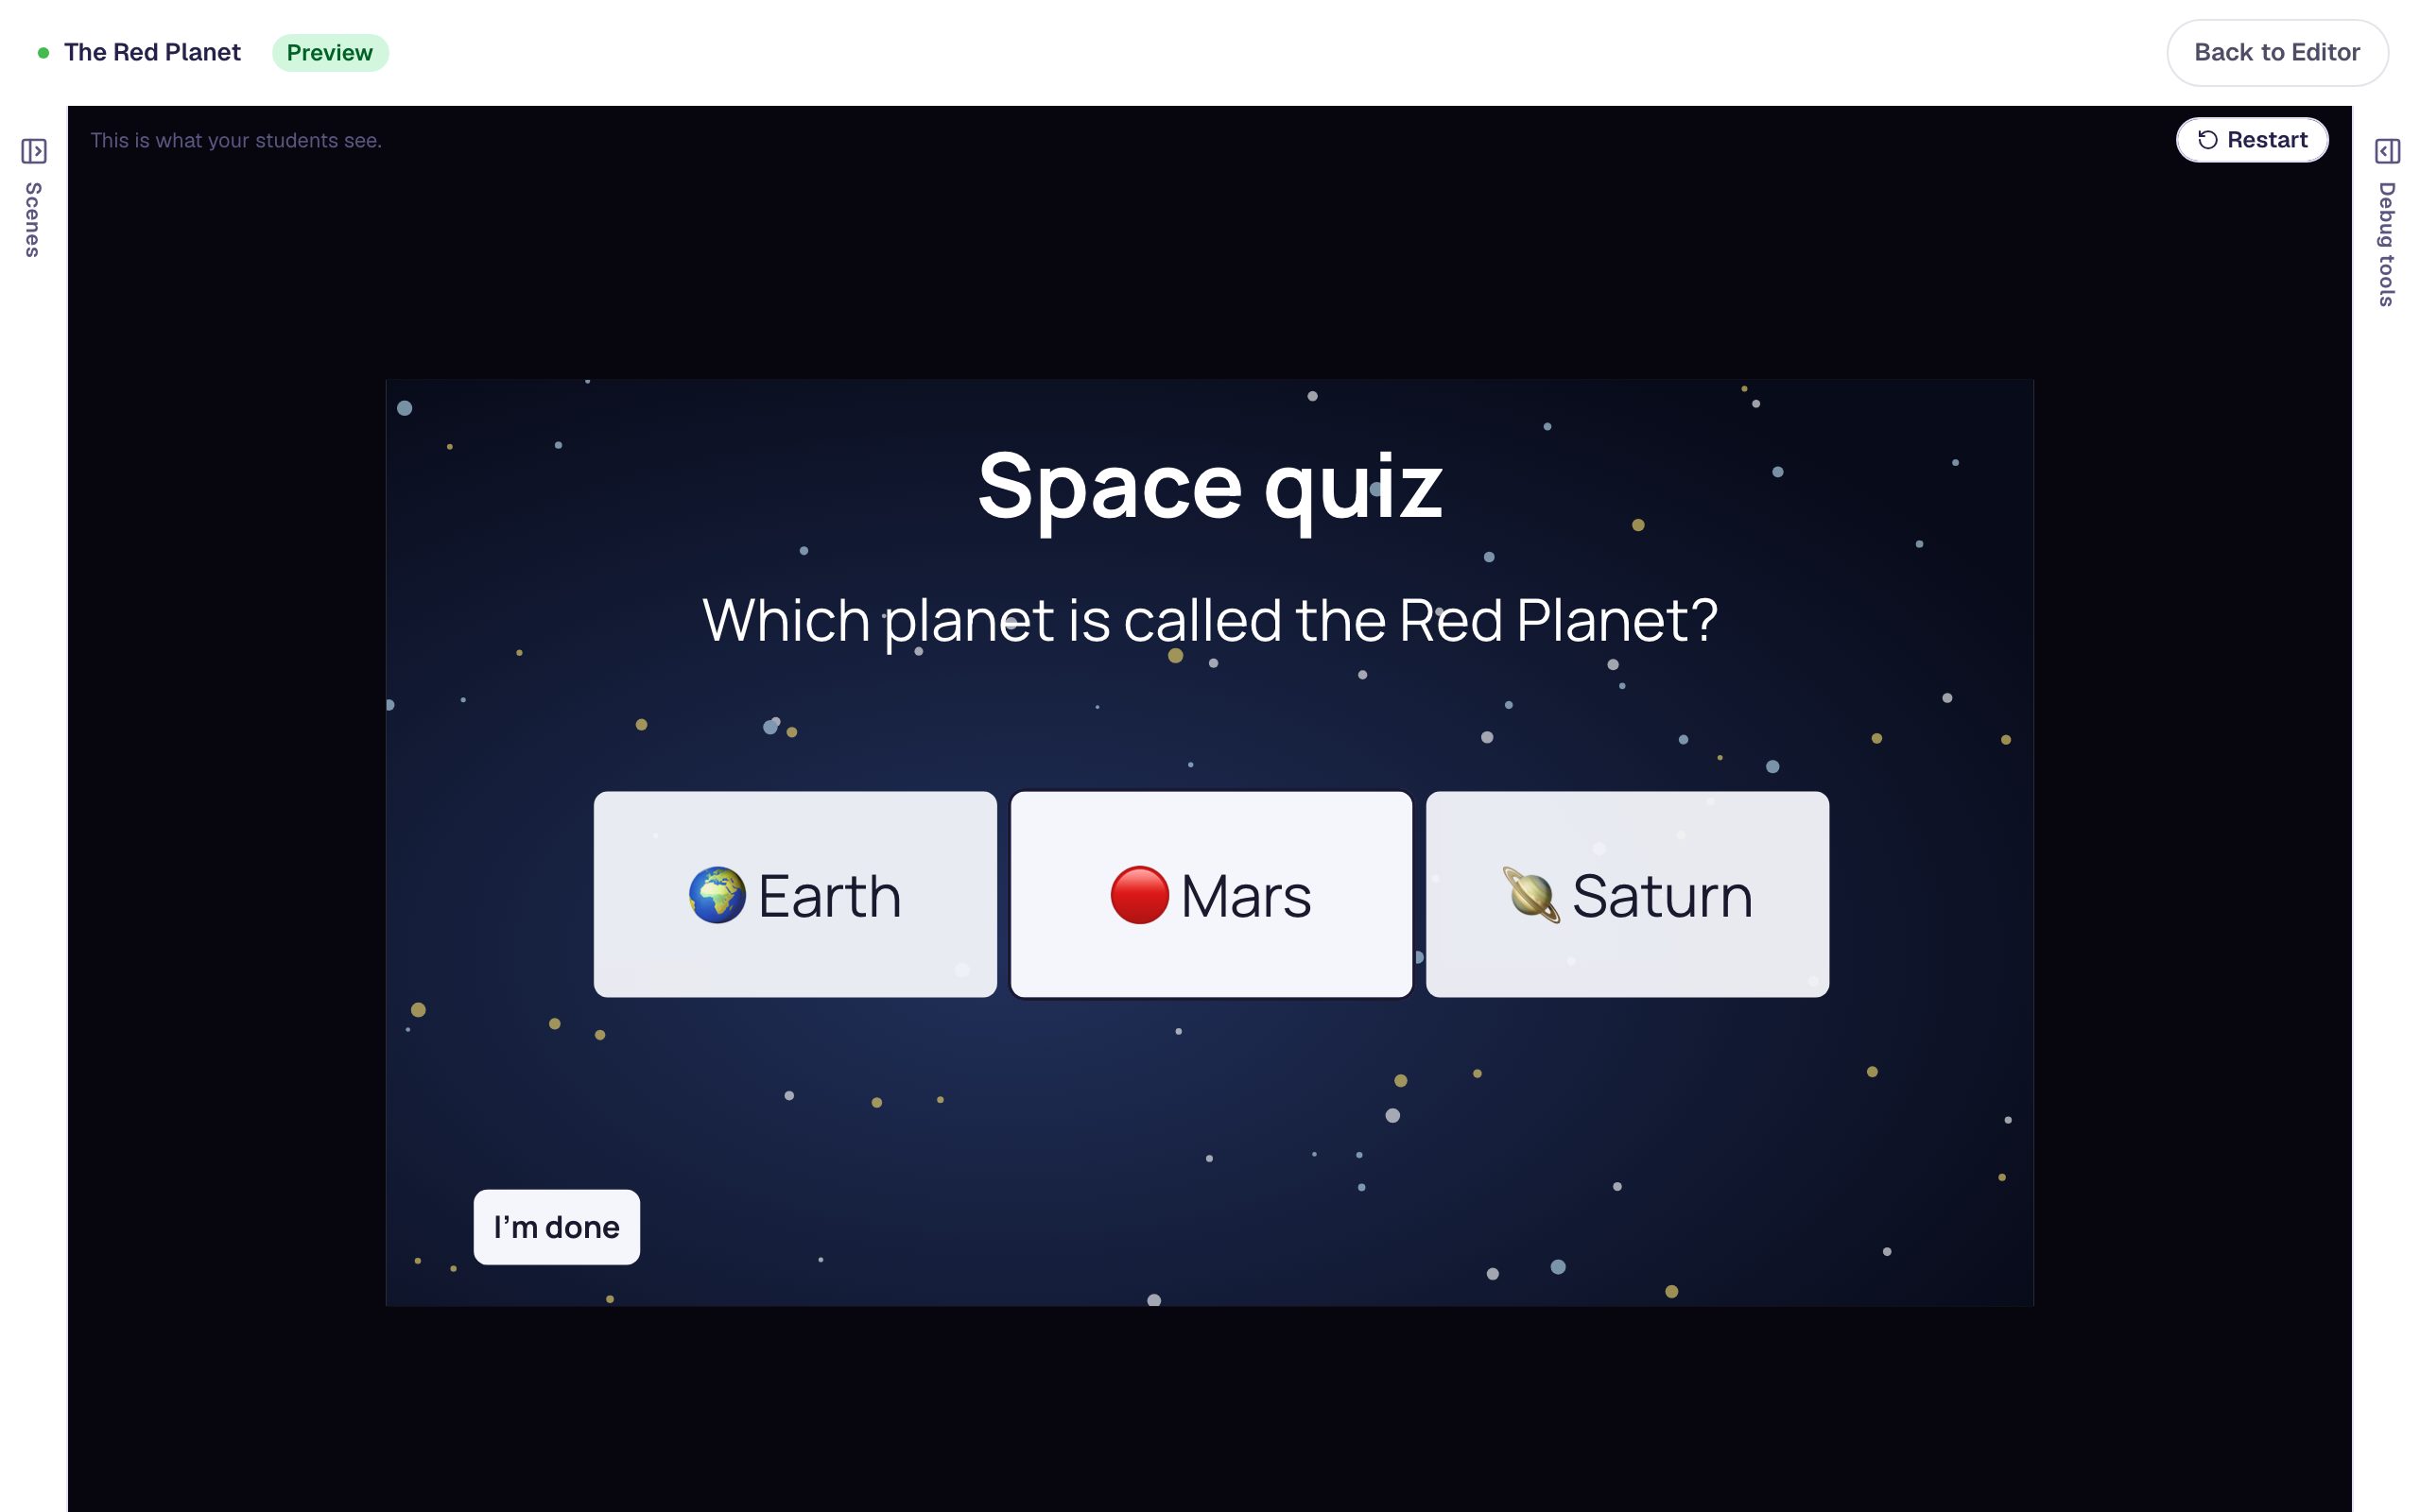
Unlock a question only after students watch a video
Upload a short clip to a Video widget, then use visibility rules so the button to the question appears only once the video has played to the end.
- Level
- Intermediate
- Time
- About 15 min
- Steps
- 8
A two-scene science lesson. Students watch a 10-second close-up of a honey bee, an "On to the question" button appears when the clip ends, and the next scene asks what the bee carries on its leg.
Get the finished lesson
Skip straight to the result, or keep it open beside the steps. Add this tutorial's lesson to your account and explore how it works in the studio.
Free to sign up, and you'll come straight back here. I have an account
A question about a video only works if students have watched the video. Give them a Next button straight away and some will skip the clip and guess. In this tutorial the button stays hidden until the clip has played to the end. A short note tells students why there's no button yet, and it disappears when the button appears.
You'll build a two-scene lesson about honey bees:
- a Video of a bee on a flower with a yellow ball of pollen on its back leg,
- an On to the question button that shows up only when the video Is complete, beside a note that says
Watch the whole clip to unlock the question., and - a Question scene that asks
What is the yellow ball on the bee's leg?
If you haven't used the studio before, start with Build your first quiz question: this tutorial moves quickly through the parts it already covers.
Step 1: Set the scene
Start a blank lesson (New lesson, then Start from scratch) and name it How bees carry pollen. On the Opening Scene, open Background and set Color to the pale honey yellow #fff1b8. Do the same on the Closing Scene so the ending matches. Then add a Heading that says Watch a honey bee at work at 40 px and drag it to the top of the scene.
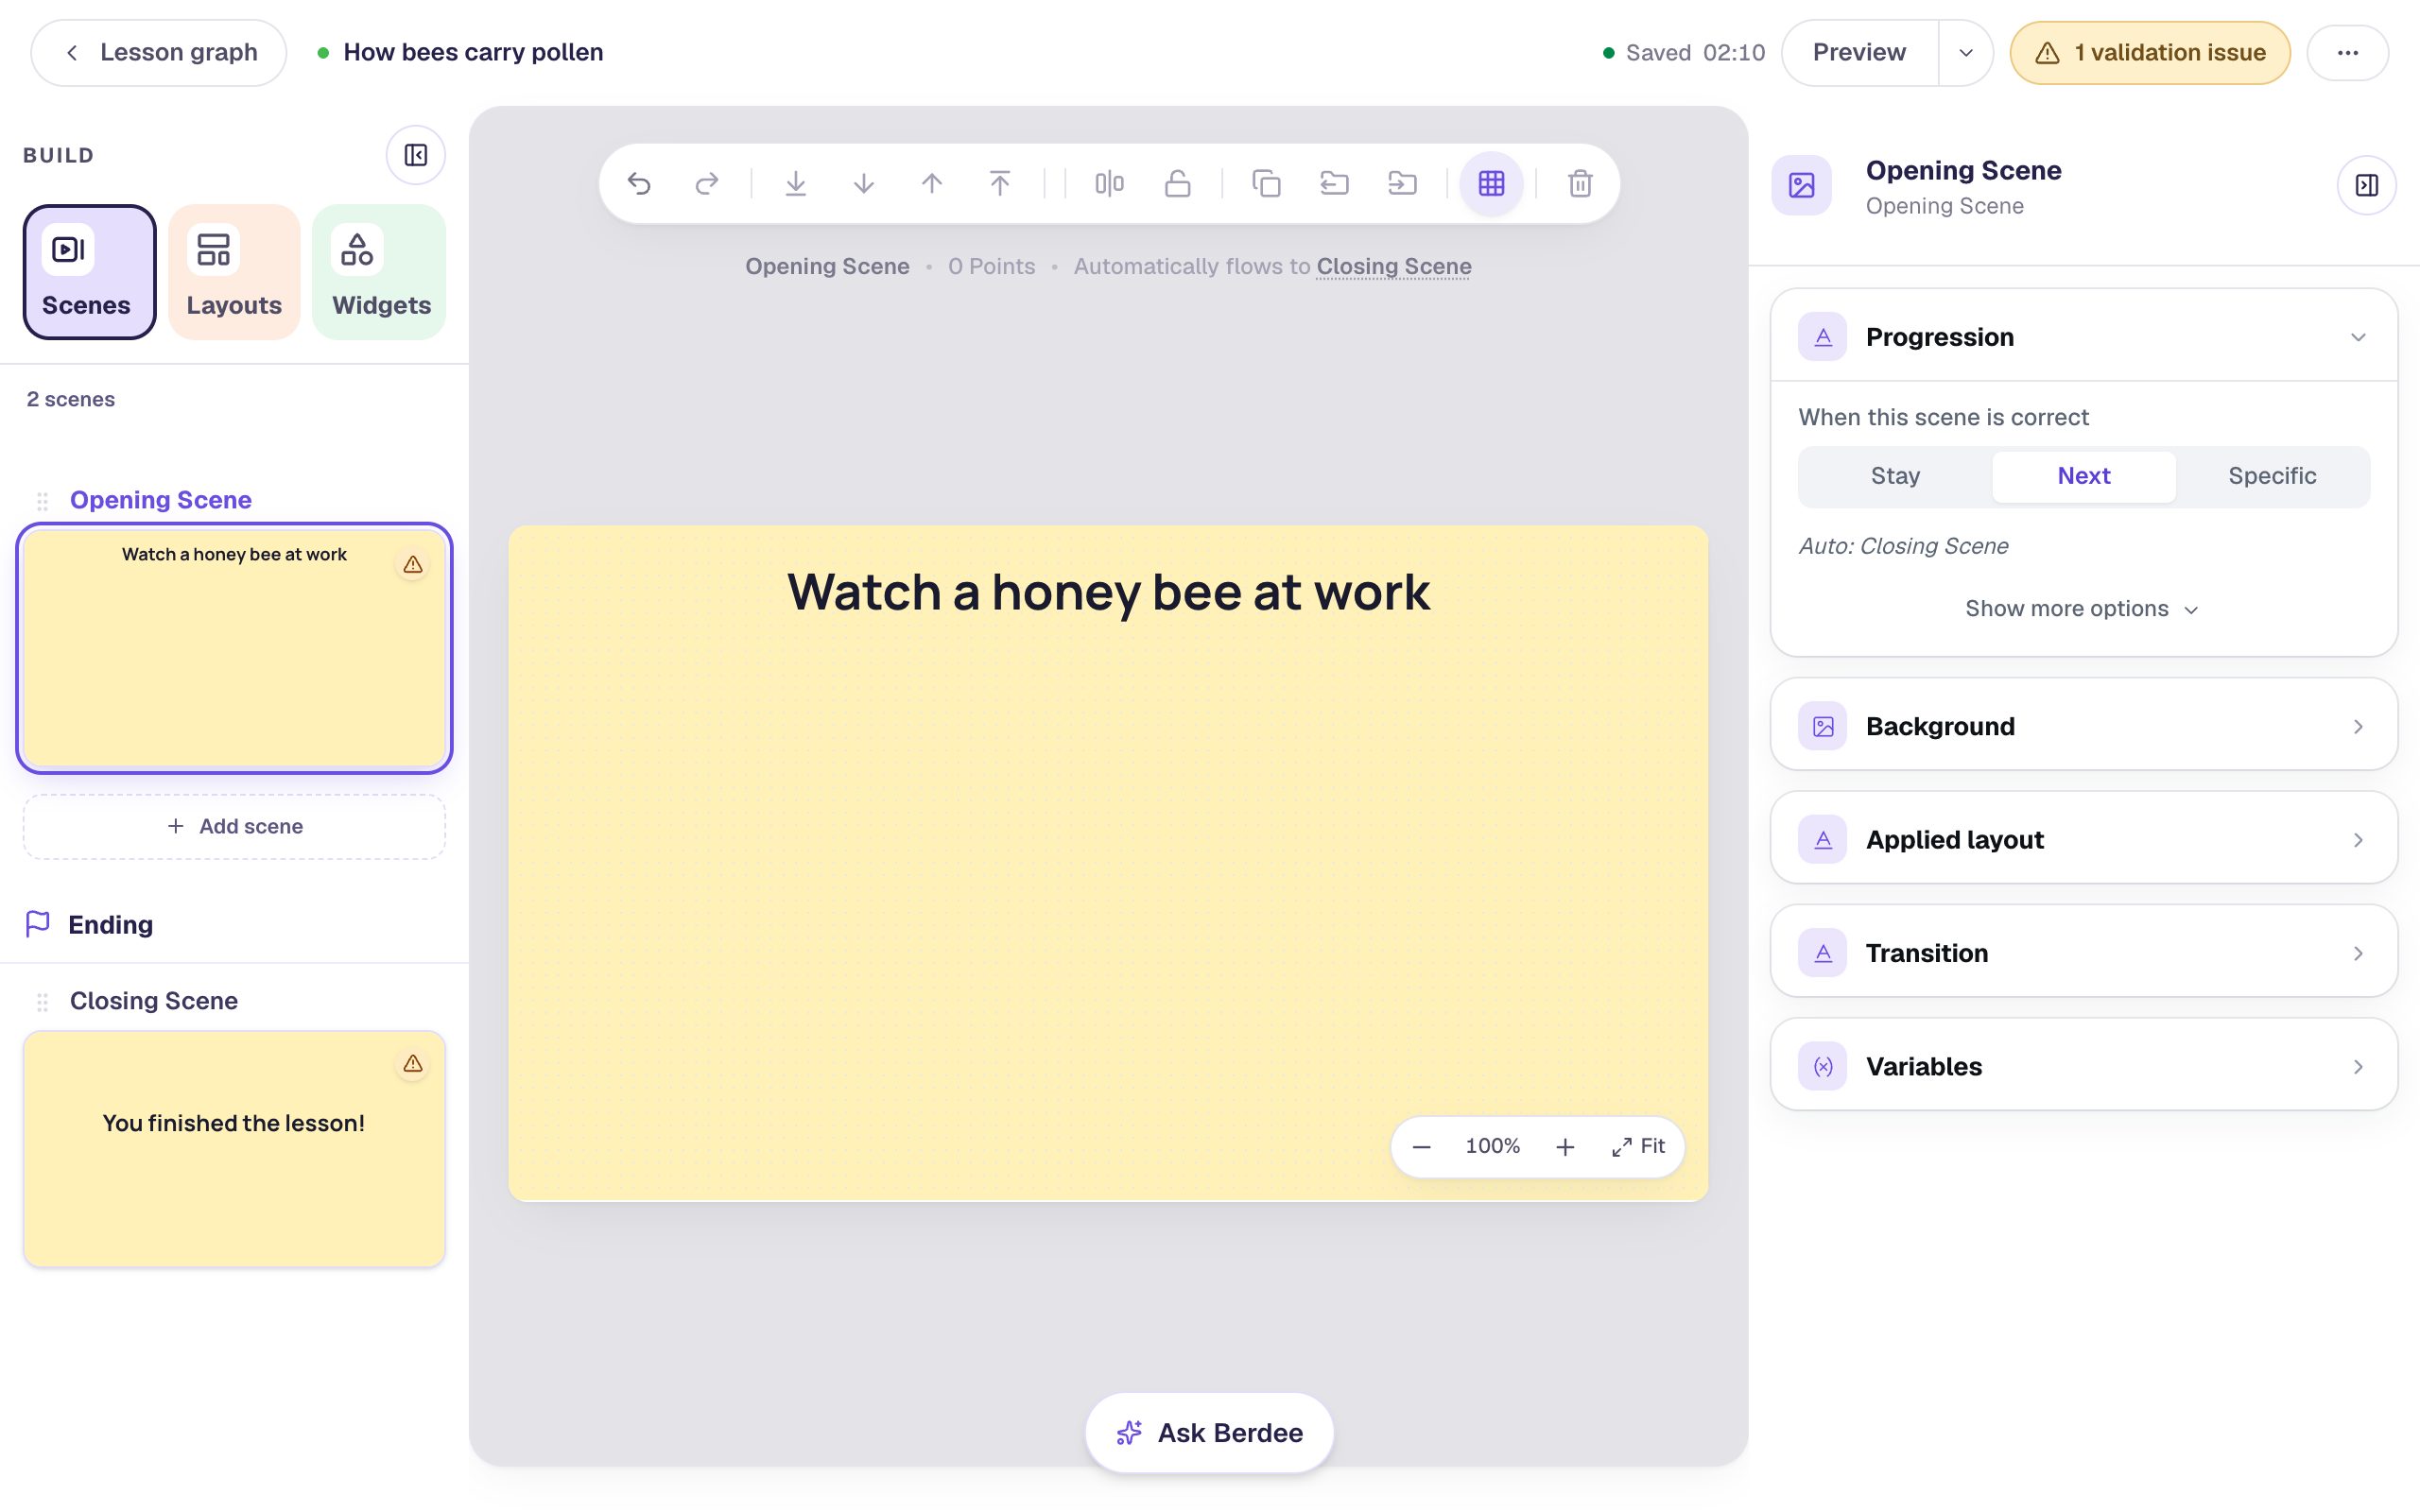
Step 2: Add a video and upload your clip
Open Widgets, search for Video and click the Video tile. Rename the widget Bee video (click its name at the top of the properties panel). You'll pick it by this name in Step 6, so a clear name helps.
Click ⚙ Configure, then Open Media Library. Open the Upload tab, click Choose a file to upload and choose your clip. The window closes on its own once the upload is done, and the clip's file name appears under Video Source.
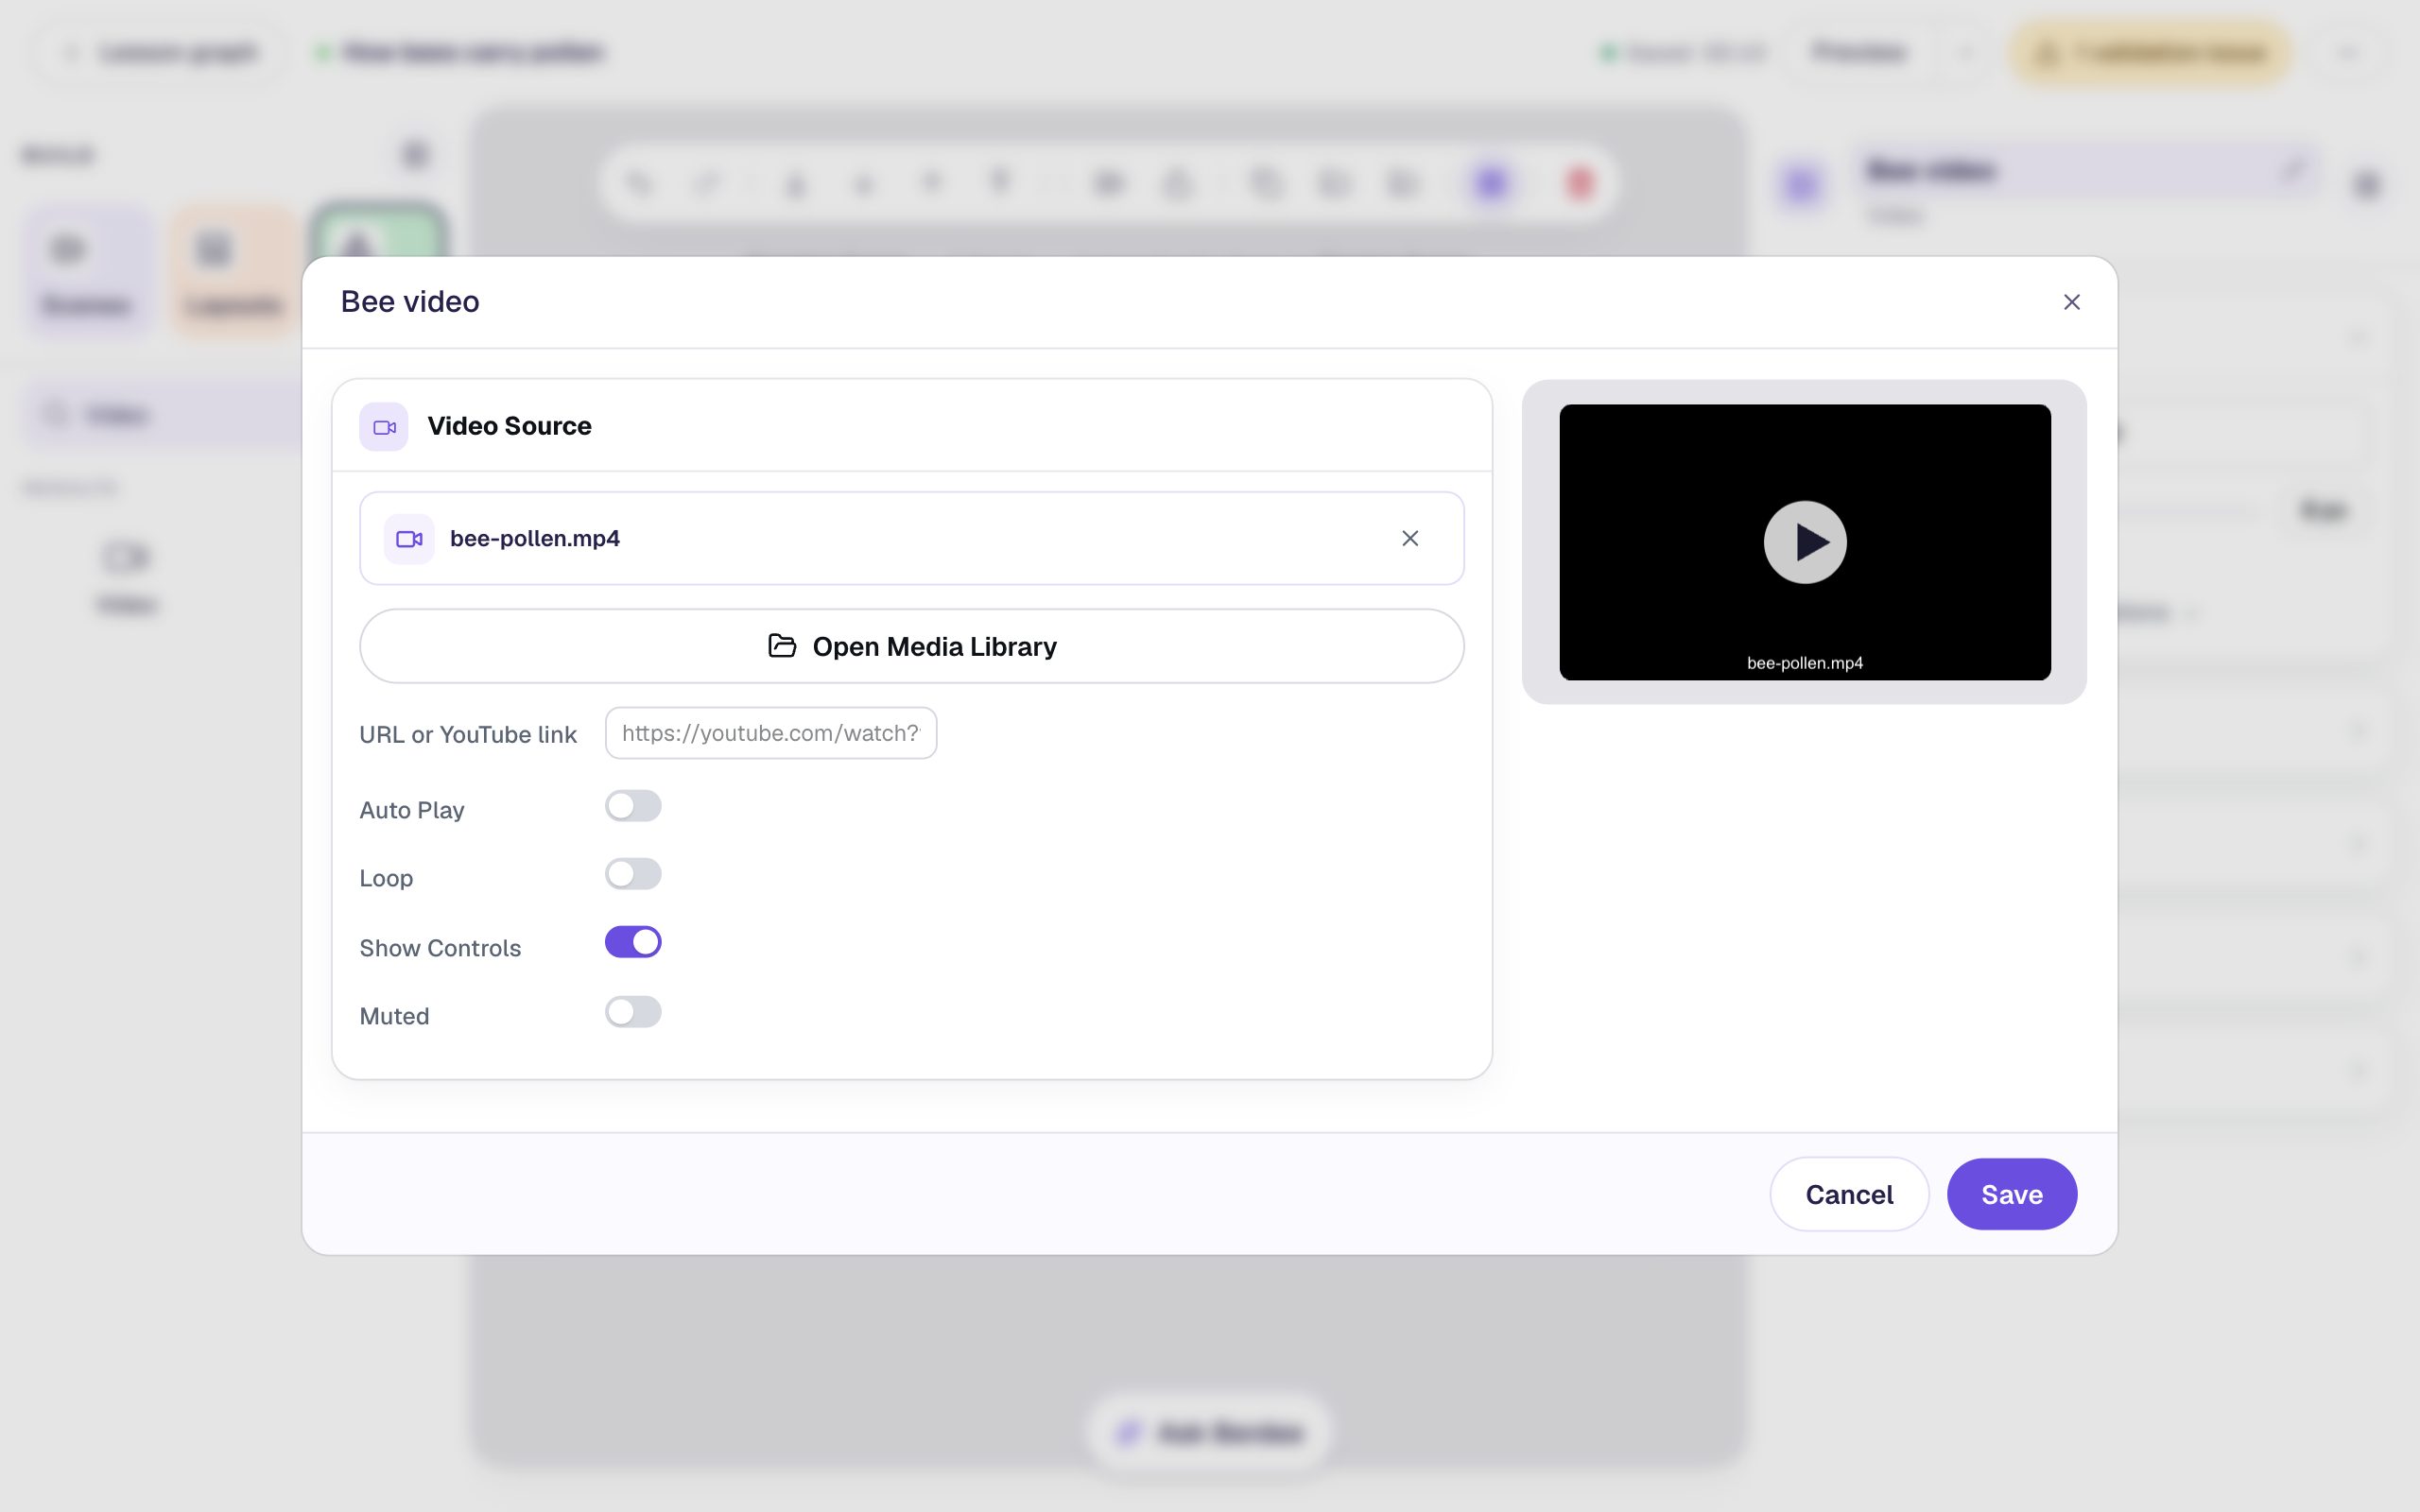
Leave the playback switches as they start: Show Controls on, and Auto Play, Loop and Muted off. Students then press play when they're ready and can pause, scrub back and watch again. Click Save.
Uploads can be MP4 or WebM files of up to 10 MB, which is plenty for a short clip like this one. The clip in this tutorial is a free close-up from Pexels. For a longer video, paste a YouTube link into URL or YouTube link instead. Downloading and uploading a clip is safer, because a link can stop working after you publish.
Step 3: Size the video and describe it
A new video is small. With it selected, open Style & Layout, click Show more options, and set Width to 520 and Height to 293. That keeps the clip's 16:9 shape, so no black bars appear. Drag it under the heading, leaving a strip free at the bottom of the scene for the note and the button.
This clip has no sound, so a student who can't see it would get nothing from it, and the question depends on what it shows. Open Accessibility and type a description into Alt Text: Close-up of a honey bee climbing over a pink flower. A round yellow ball is packed onto its back leg. A screen reader reads it out as the player's name. Describe what the question needs without naming the answer.
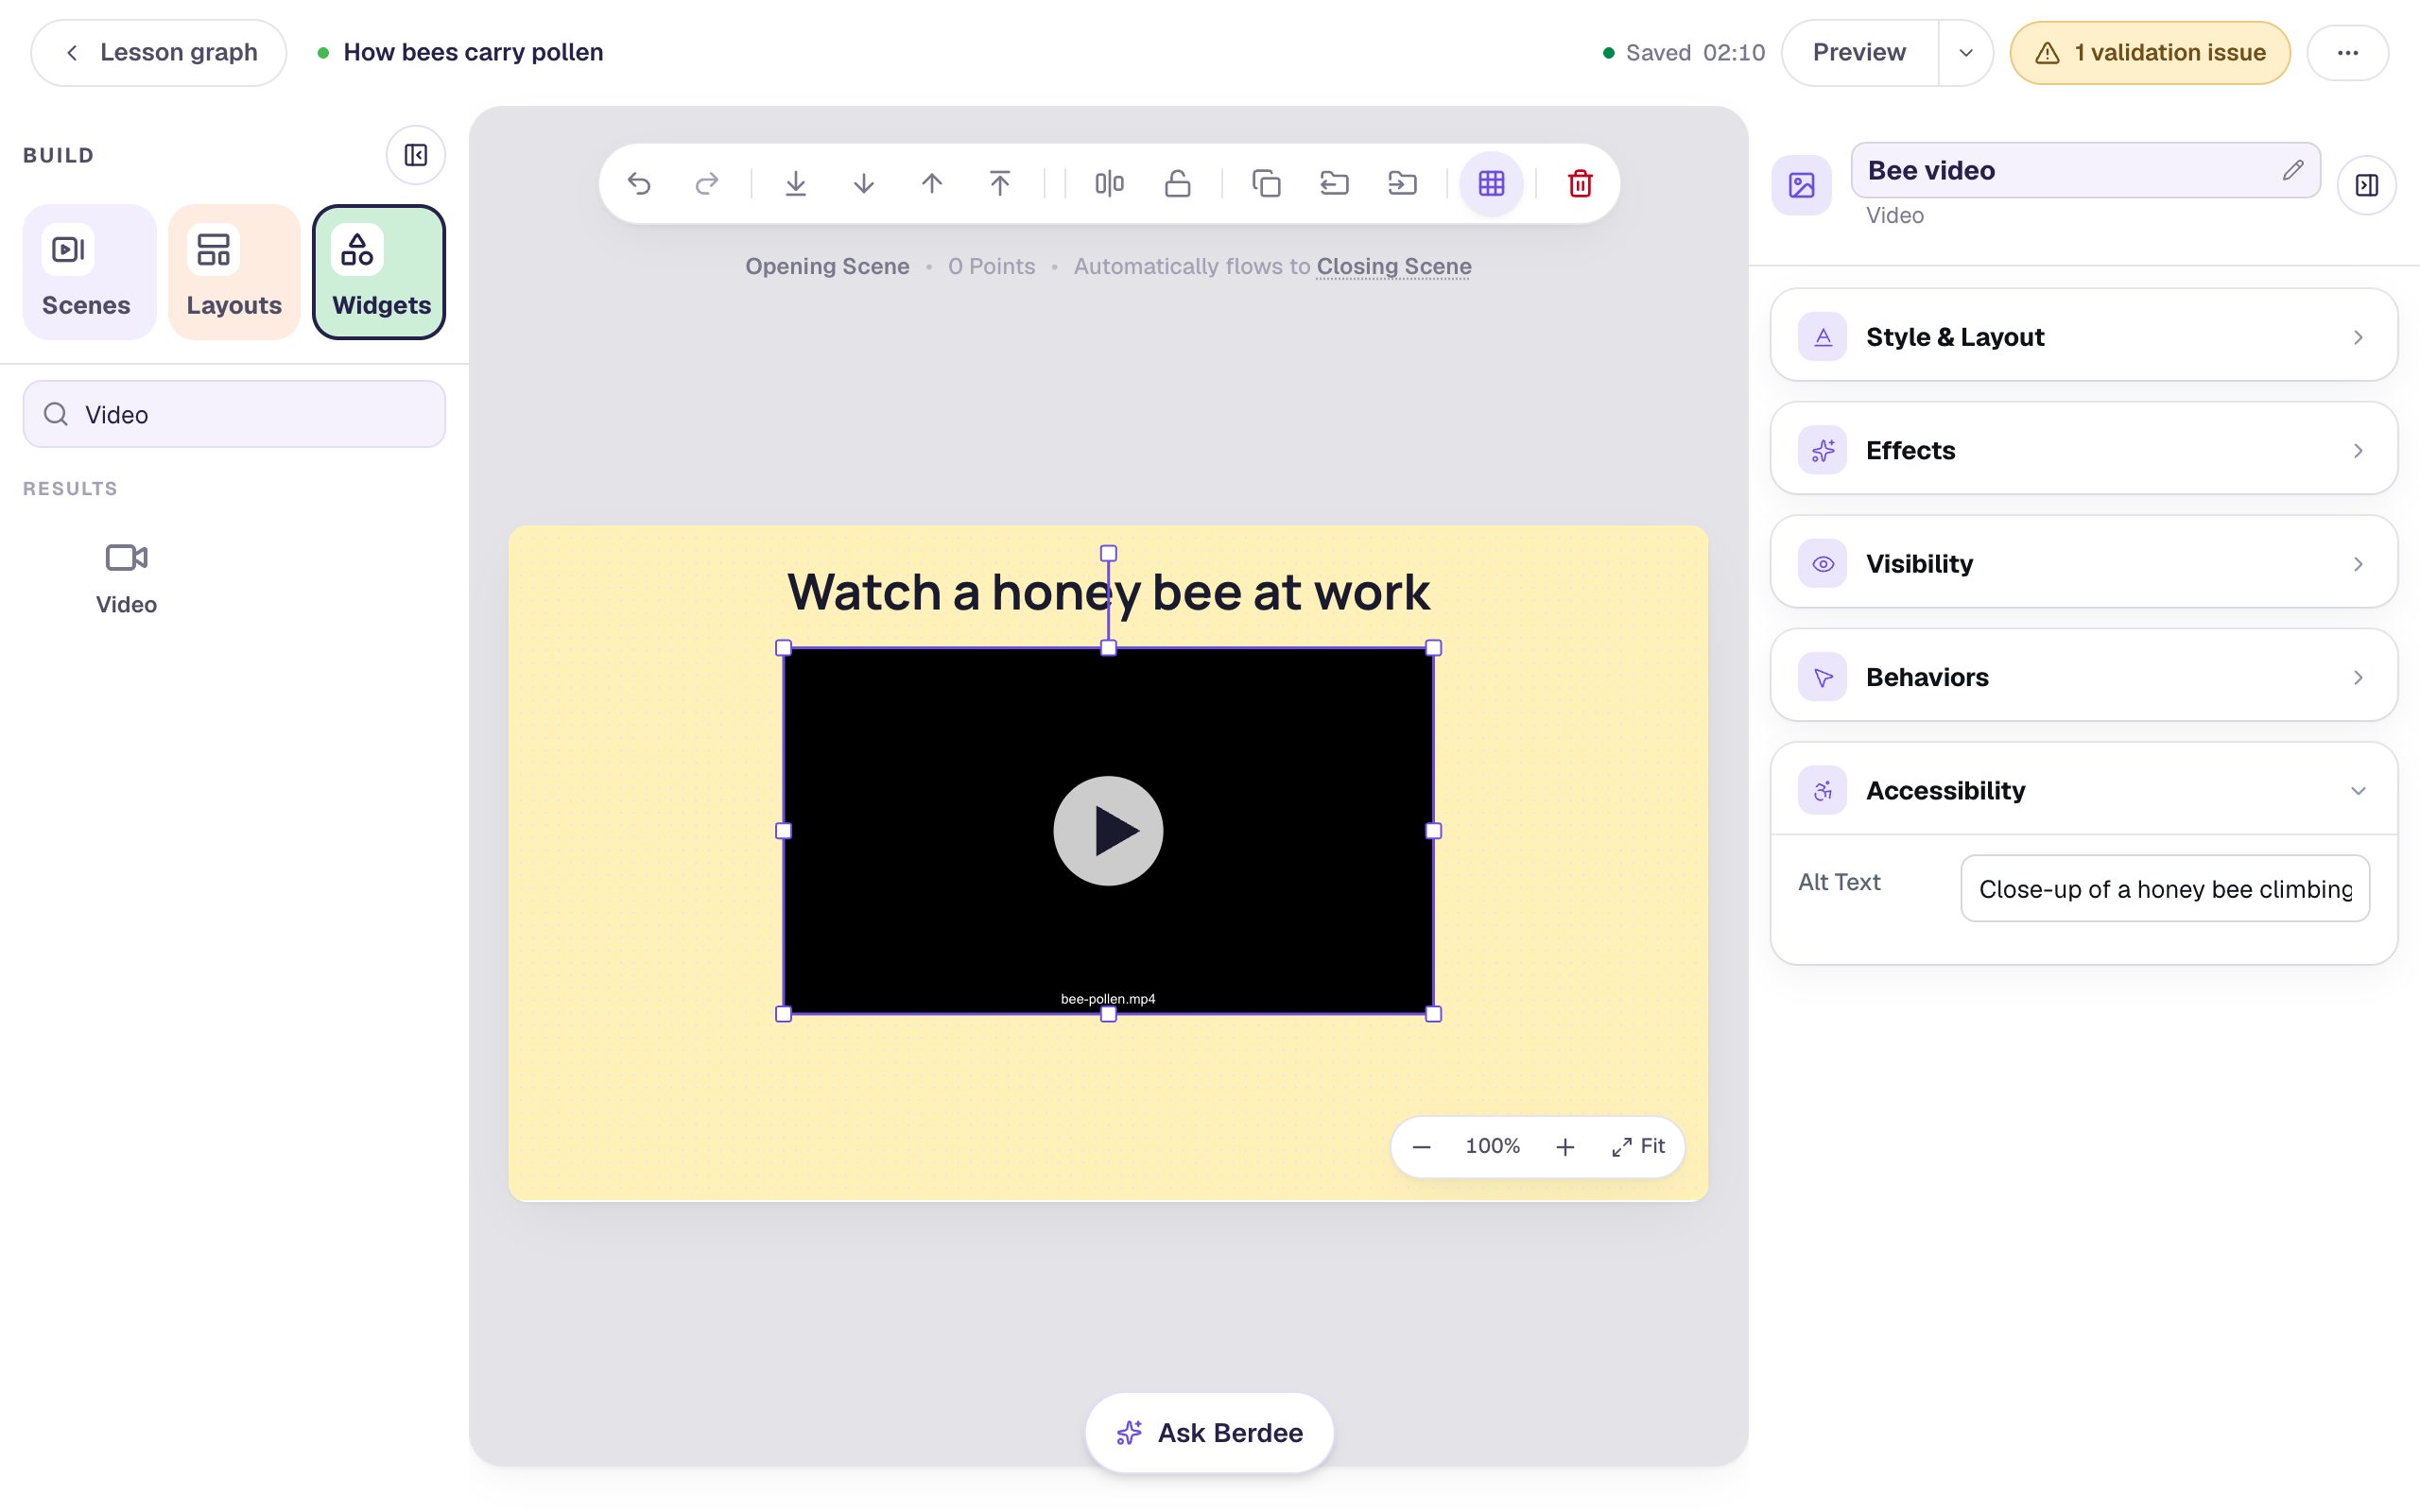
On the canvas the video shows only a play button and its file name. Don't worry: the clip itself plays in Preview and for students.
Step 4: Build the question scene
The button you add next has to point at the question's scene, so build that scene first. Open Scenes and click Add scene. Double-click the new scene's name and rename it Question. Give it the same #fff1b8 background.
Add a Heading that says What is the yellow ball on the bee's leg? at 36 px. Then add a Multi Choice, click ⚙ Configure, and type the answers Pollen, Honey, Wax and Mud. A new question starts with its first answer marked correct, and Pollen is the right one here, so leave the mark where it is. Click Save, set the answers' Font Size to 32, and drag them under the heading.
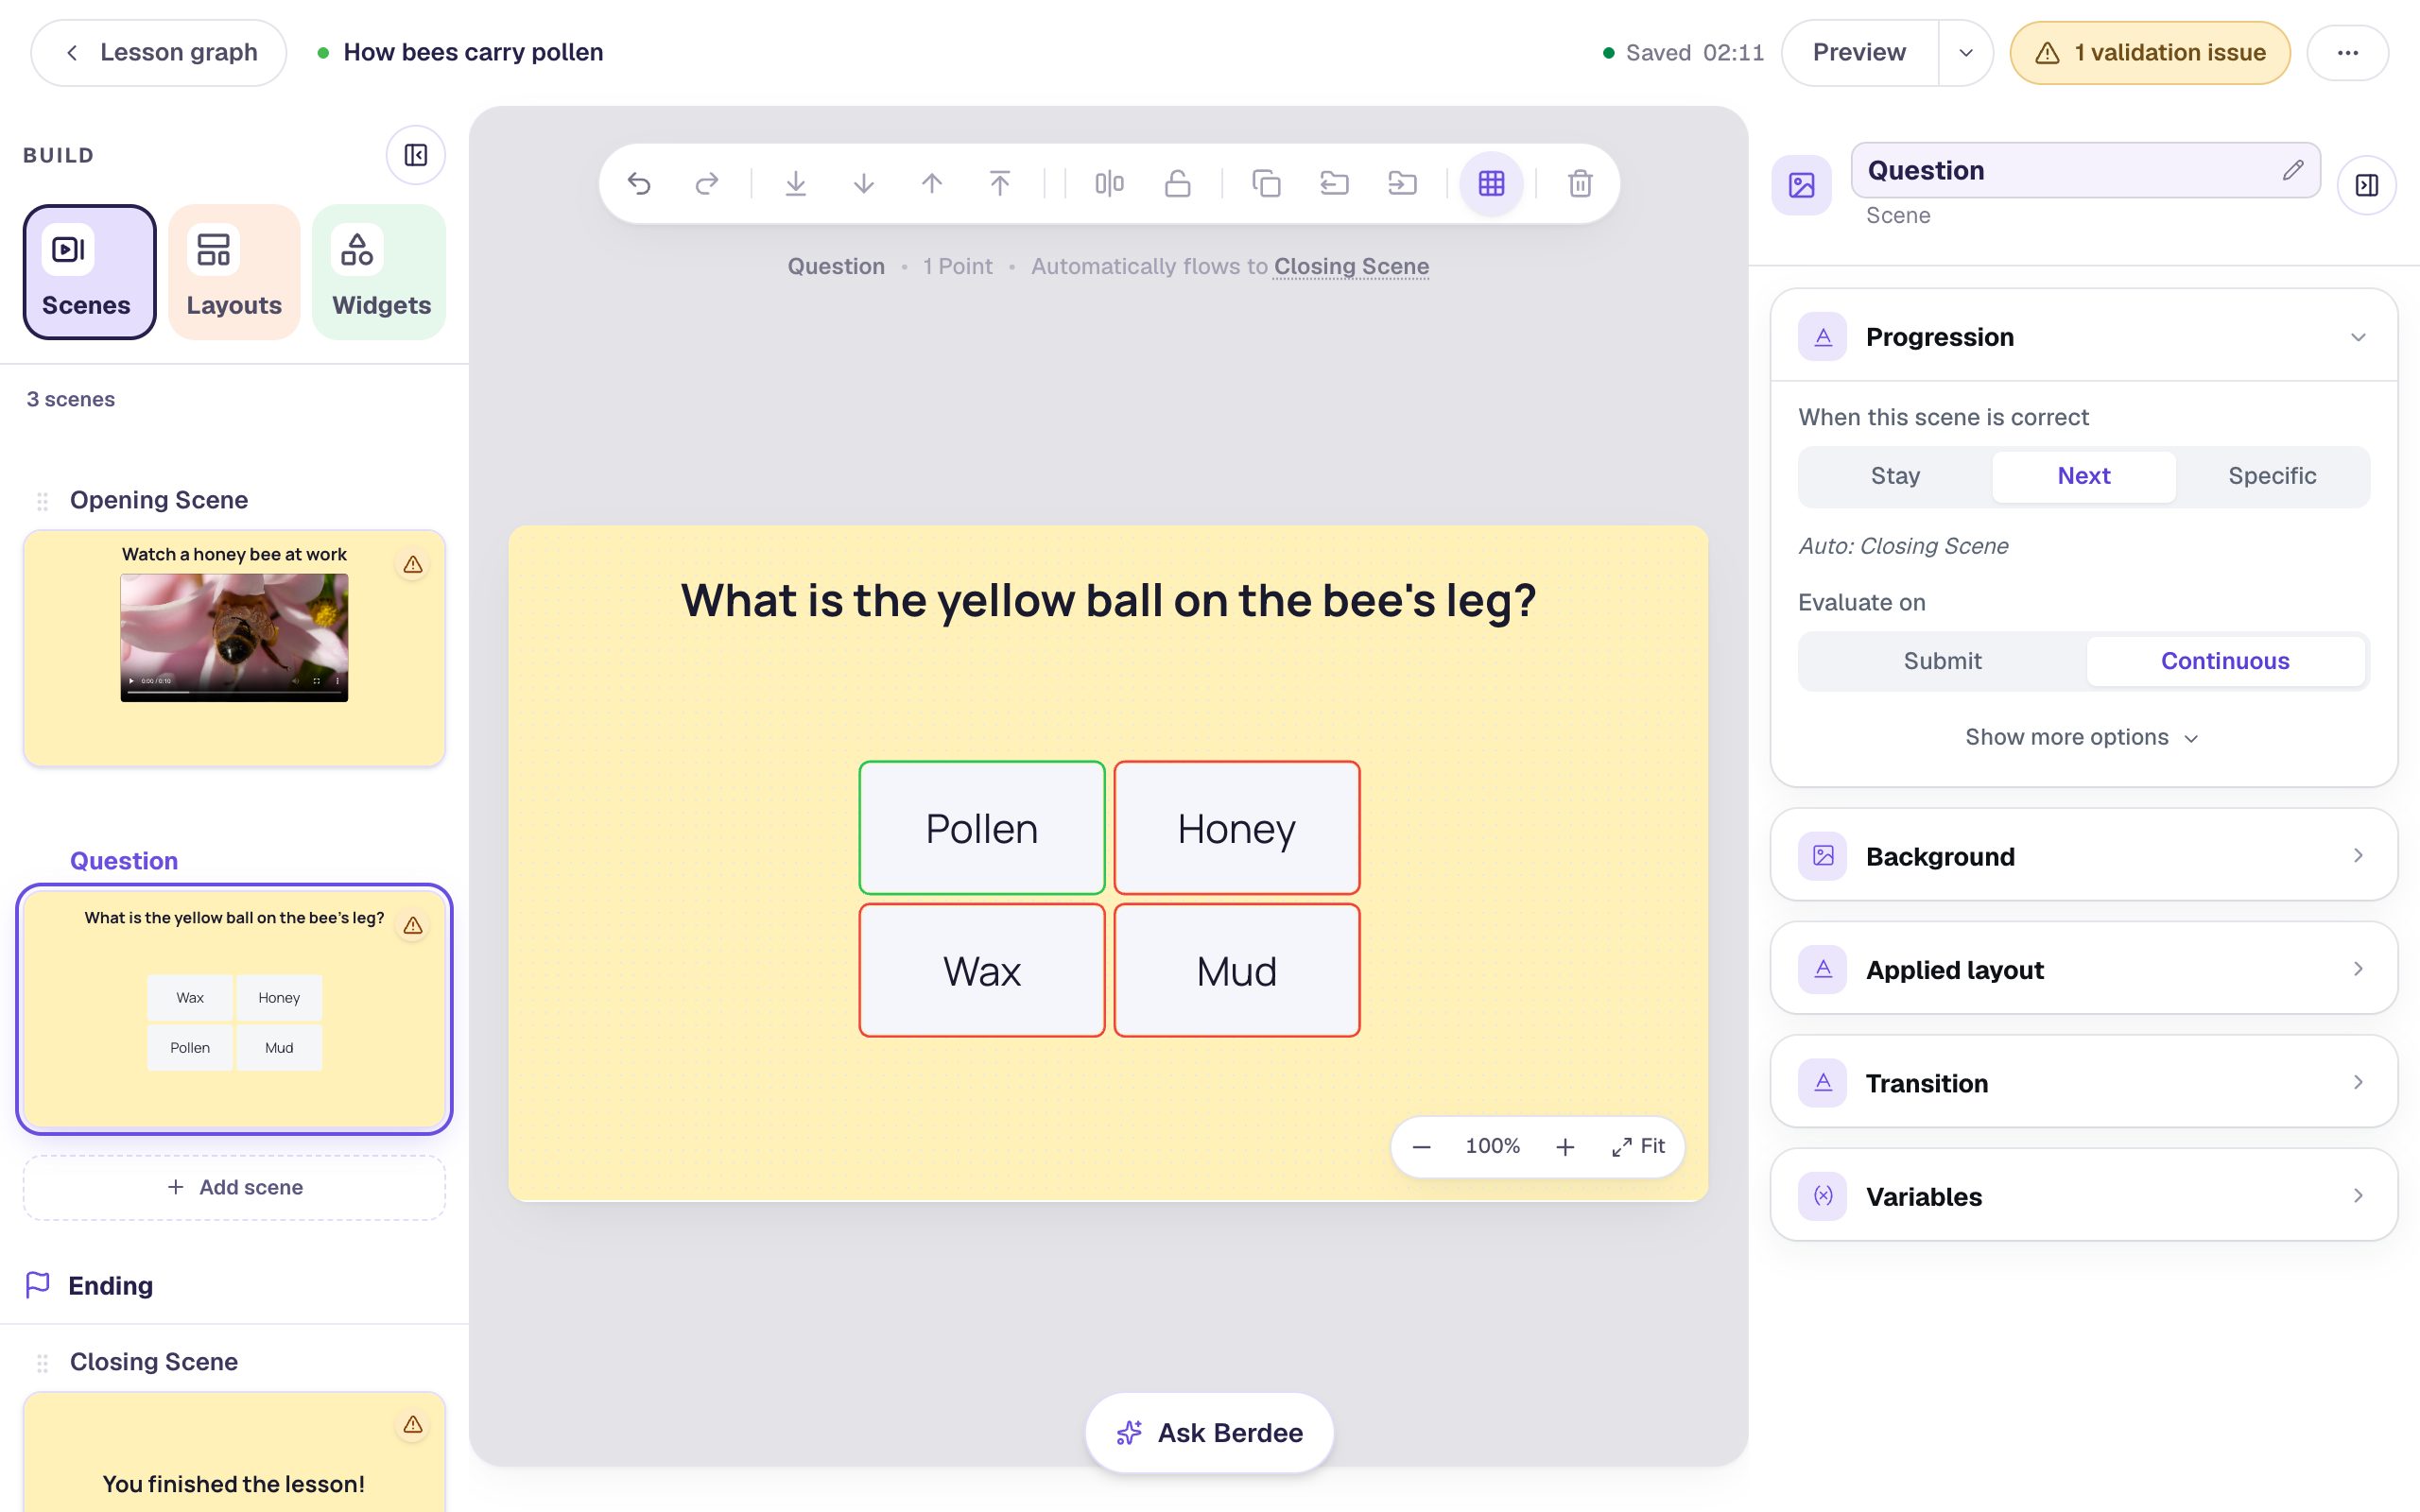
The Question scene is set to go to the Closing Scene when it's answered correctly, so it needs no button of its own.
Step 5: Add a button to the question
Go back to the Opening Scene and add a Button. Click ⚙ Configure, set its Label to On to the question and click Save. Rename it Next button.
Click Behaviors on the widget's toolbar and choose Make this a "Next" button. The behavior window opens already filled in: Go to a scene, Goes to Question, when They tap it. Click Add behavior.
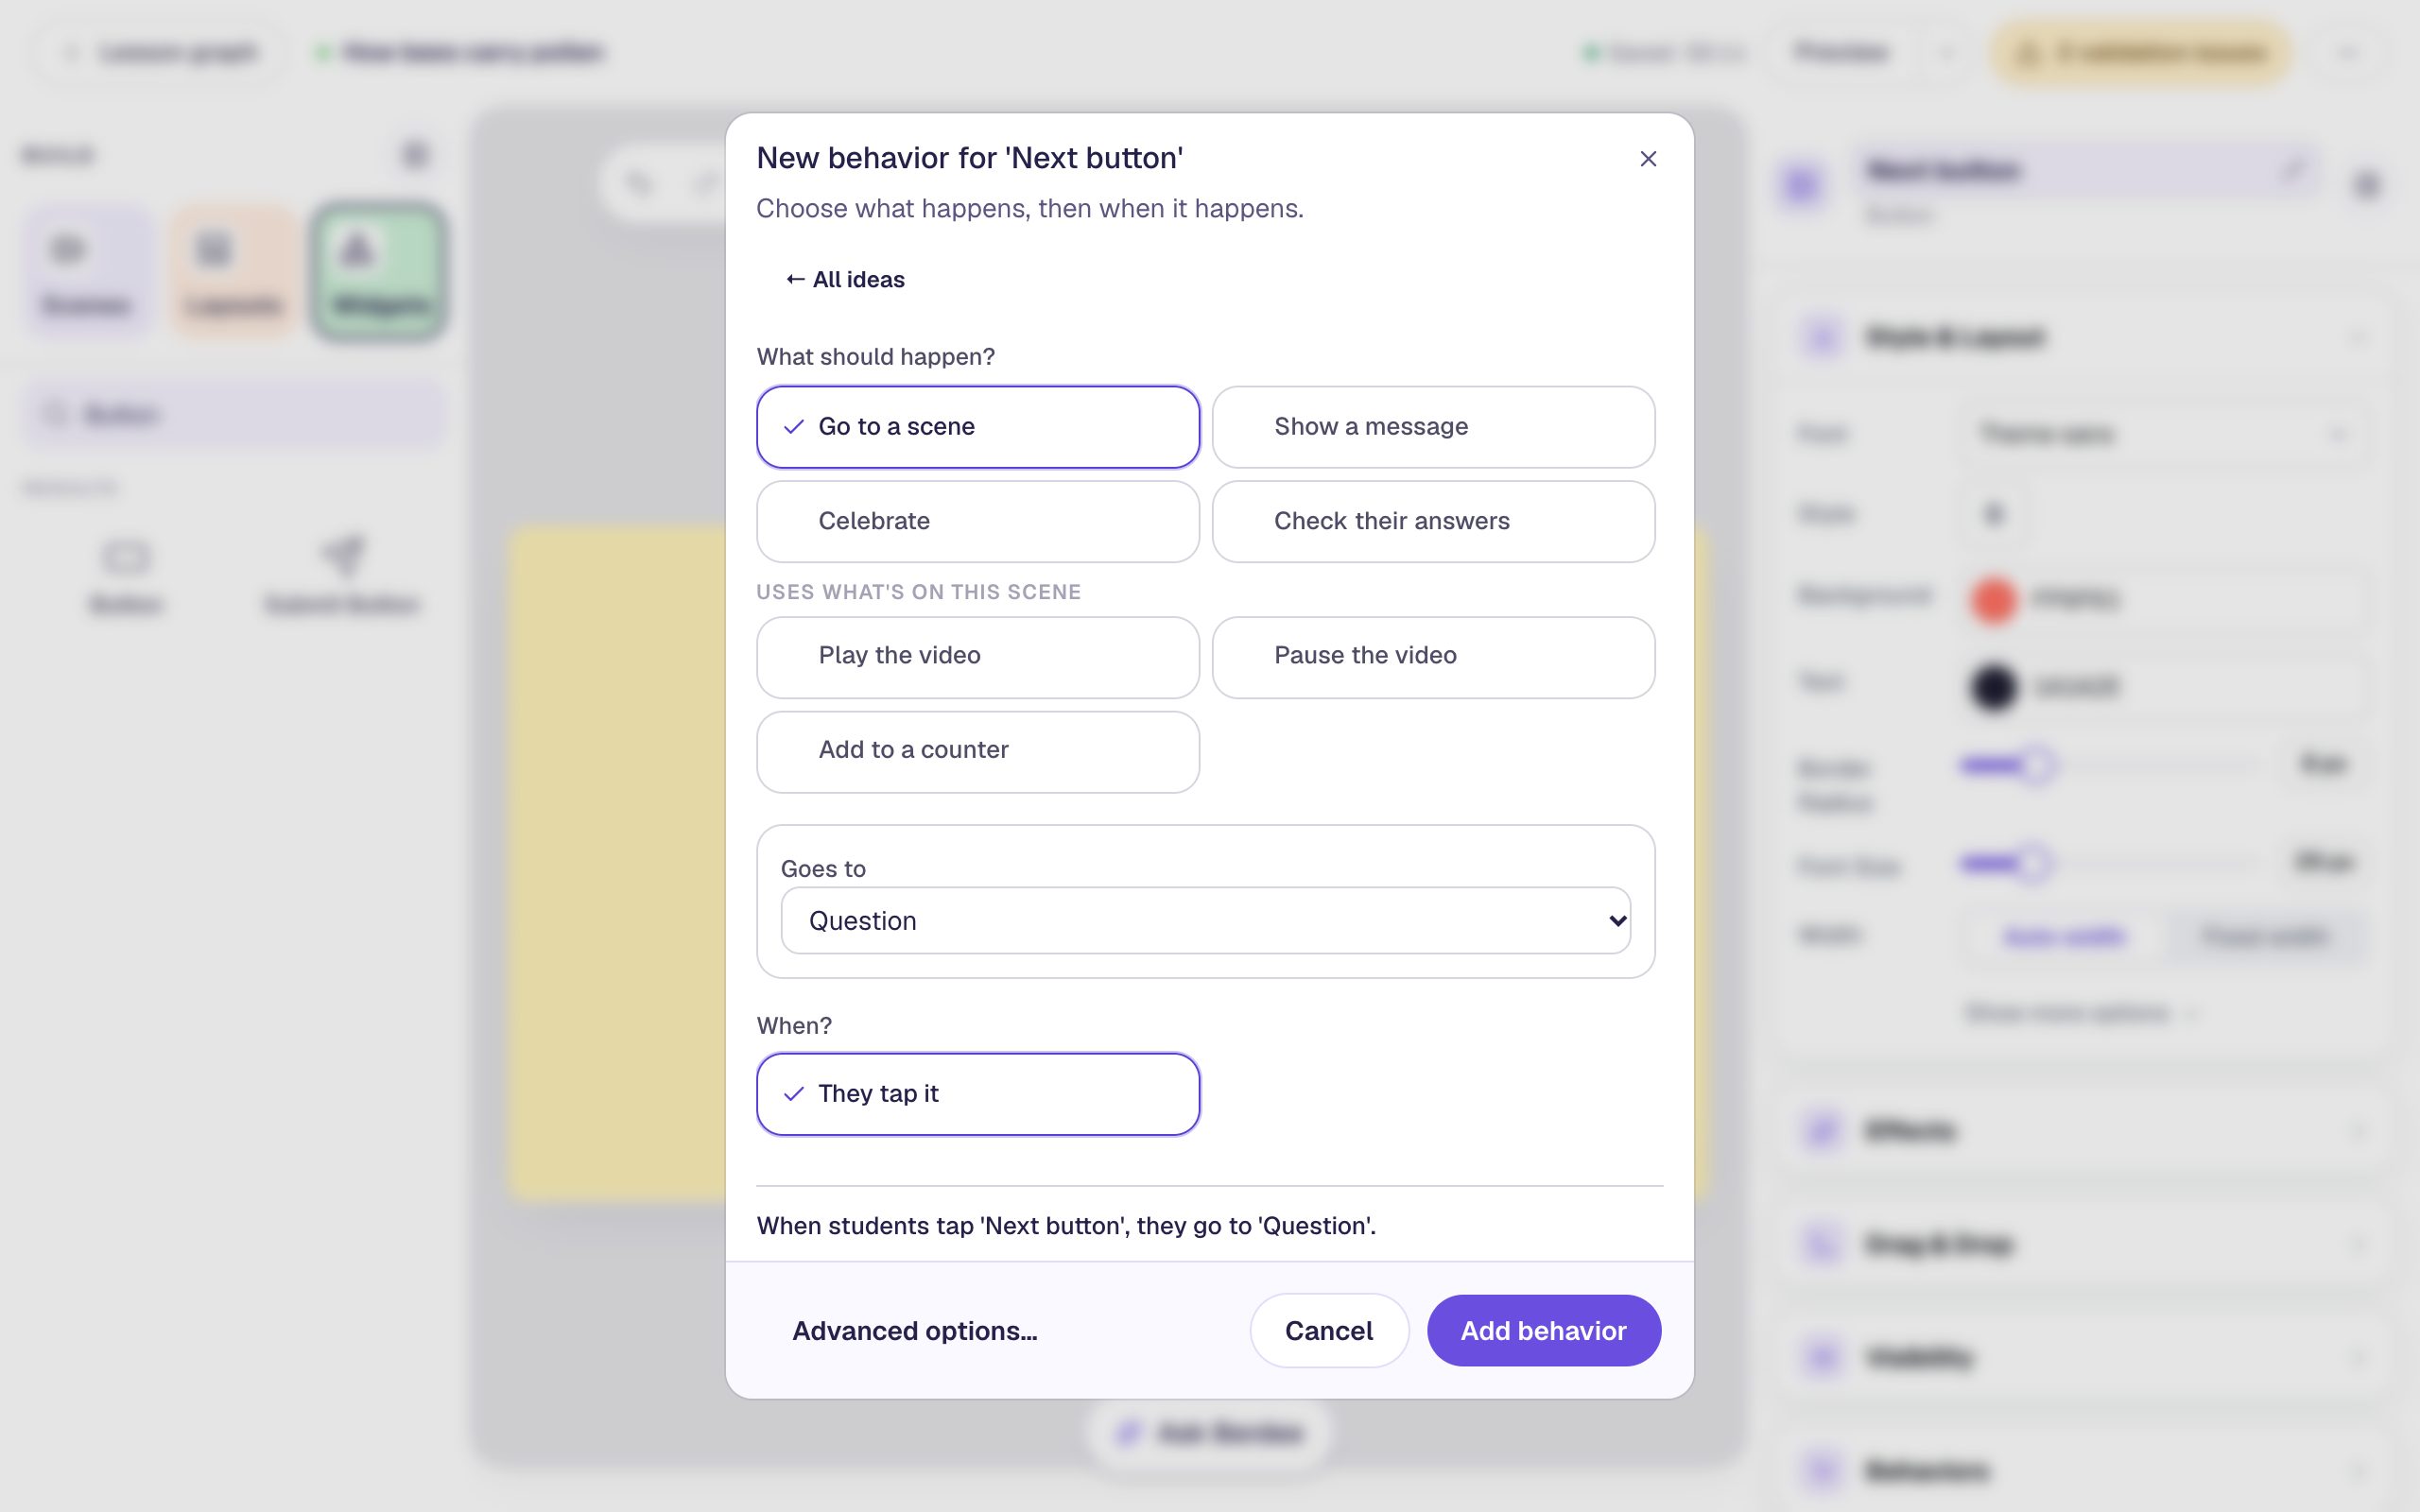
Set the button's Font Size to 24 and drag it under the right side of the video. Then click an empty spot on the scene so nothing is selected, and in Progression change When this scene is correct from Next to Stay. That way the button is the only way off this scene.
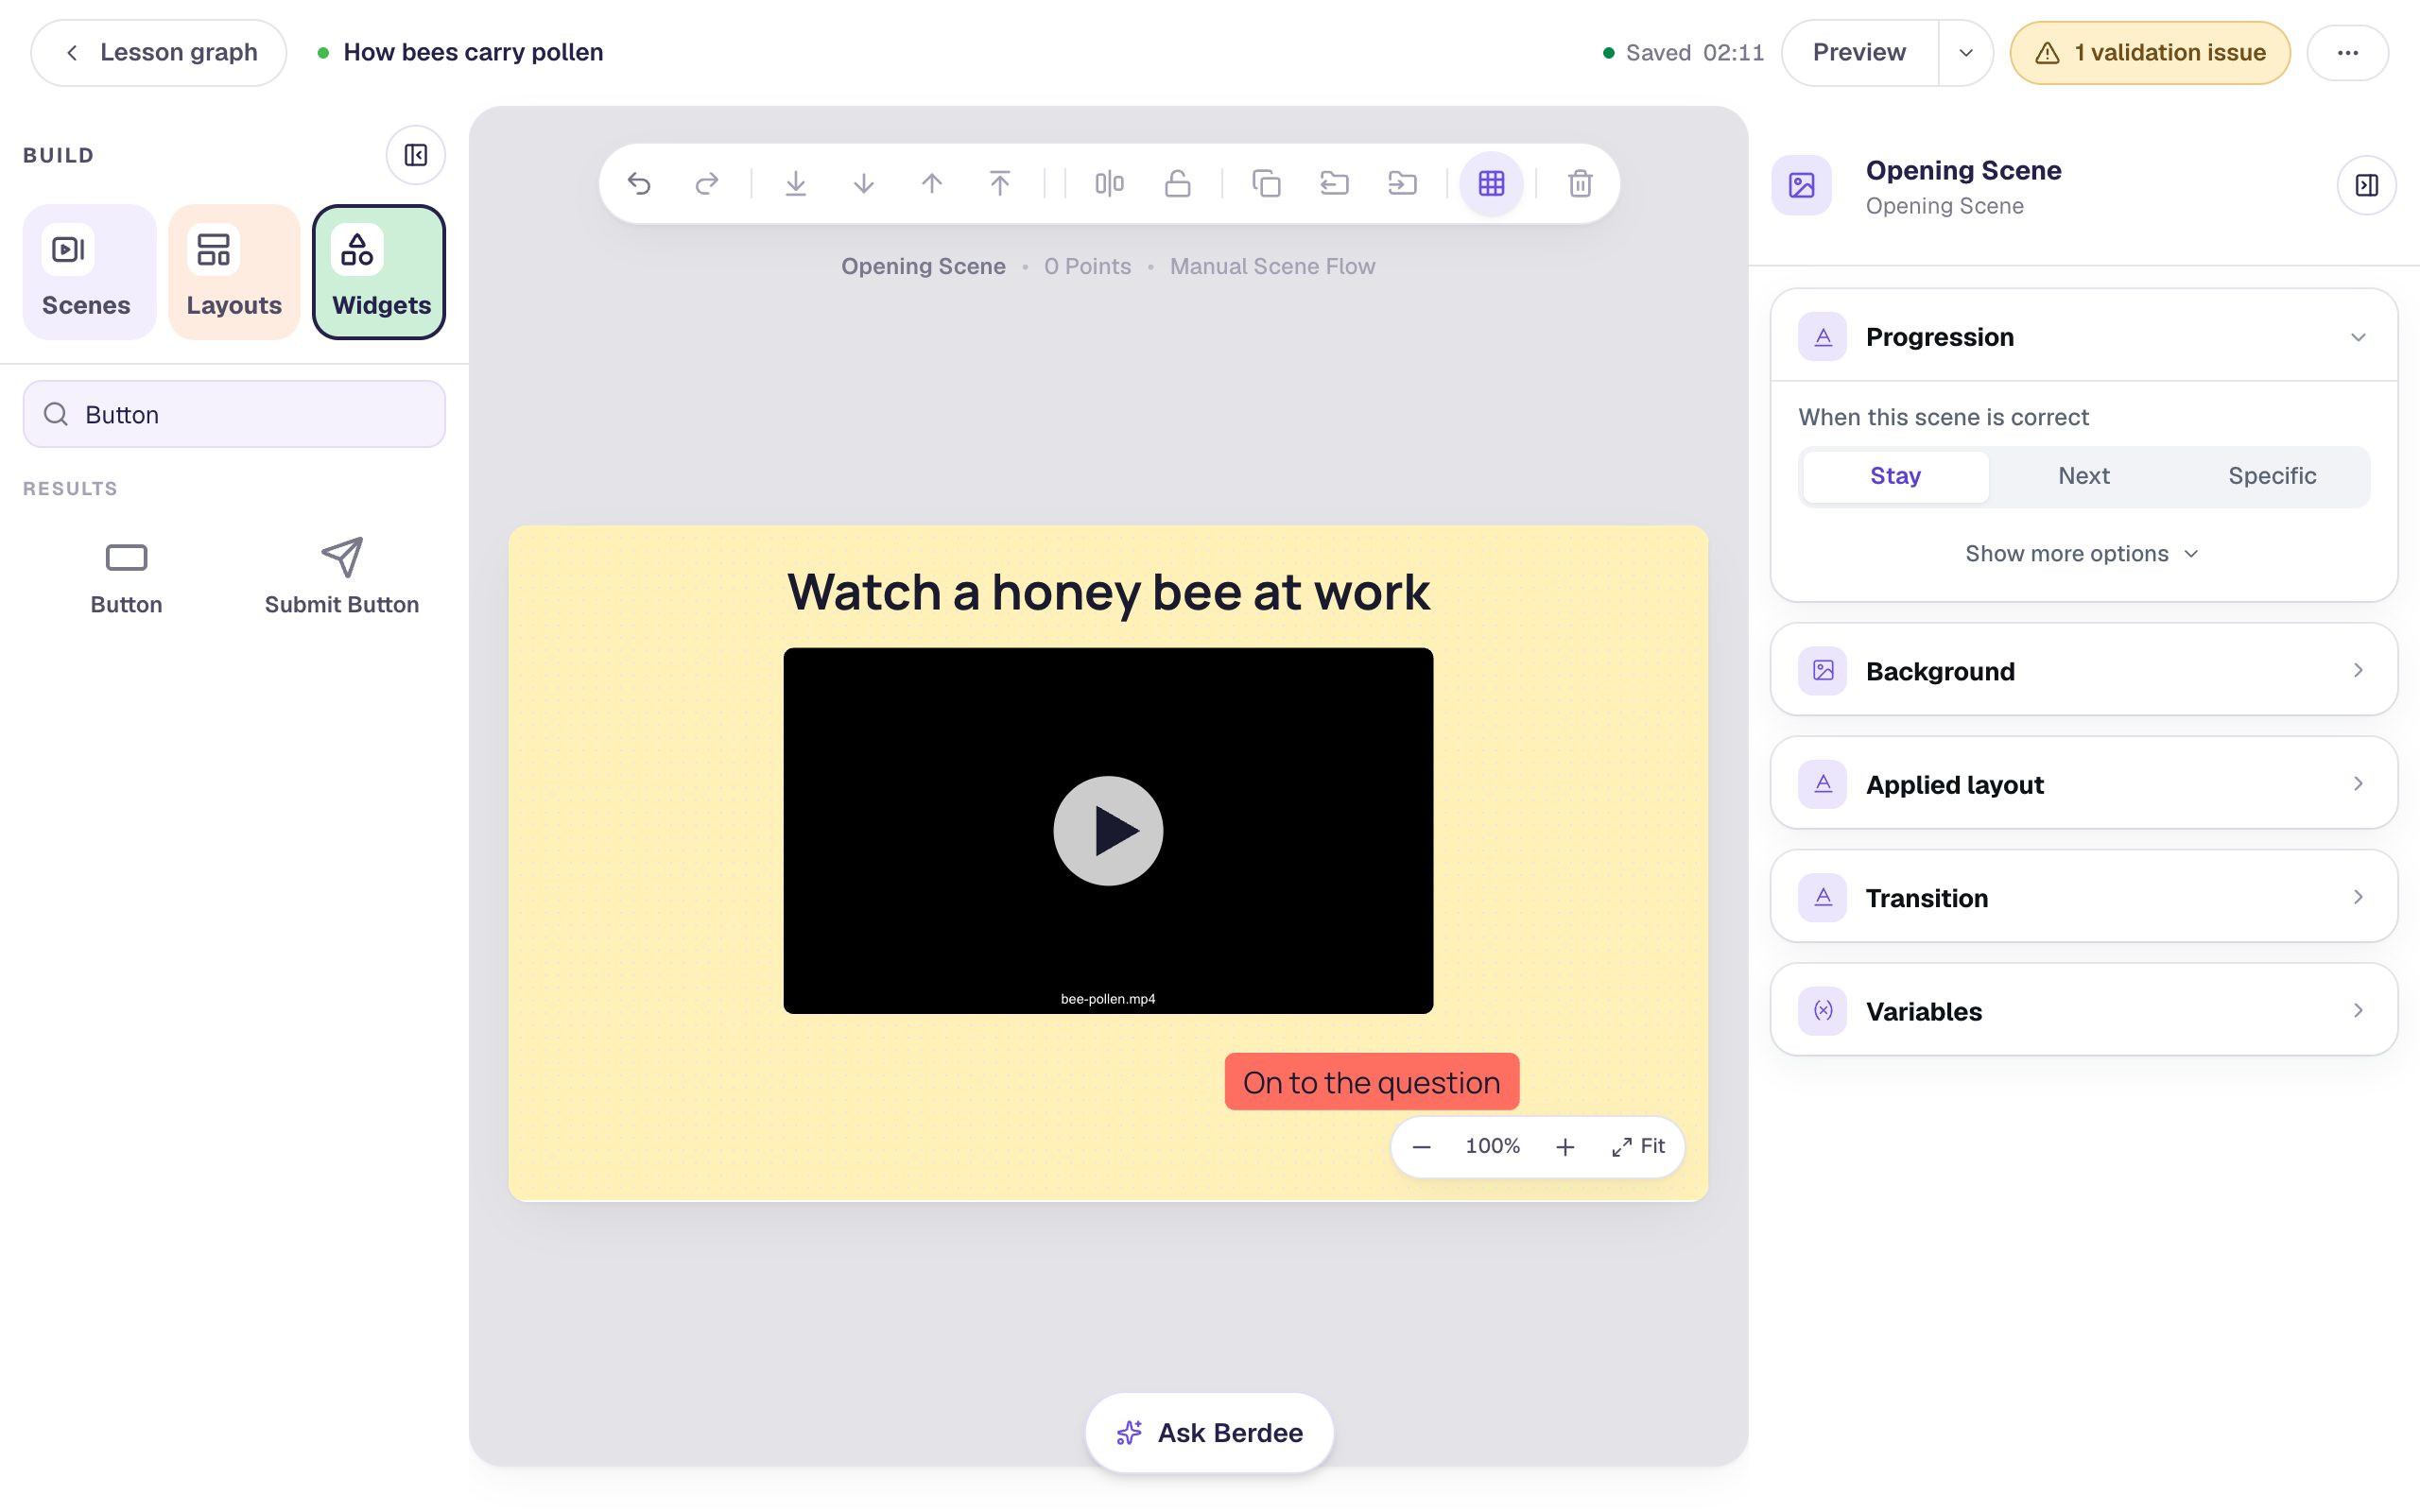
Keep the button clear of the bottom-right corner of the canvas. The zoom controls sit there in the studio and would hide it while you work.
Step 6: Show the button only once the video is complete
Right now students would see the button straight away. Select it and open Visibility:
- Set Mode to Conditional.
- Leave Behavior on Show.
- In the condition, choose Video: Bee video, then Is complete.
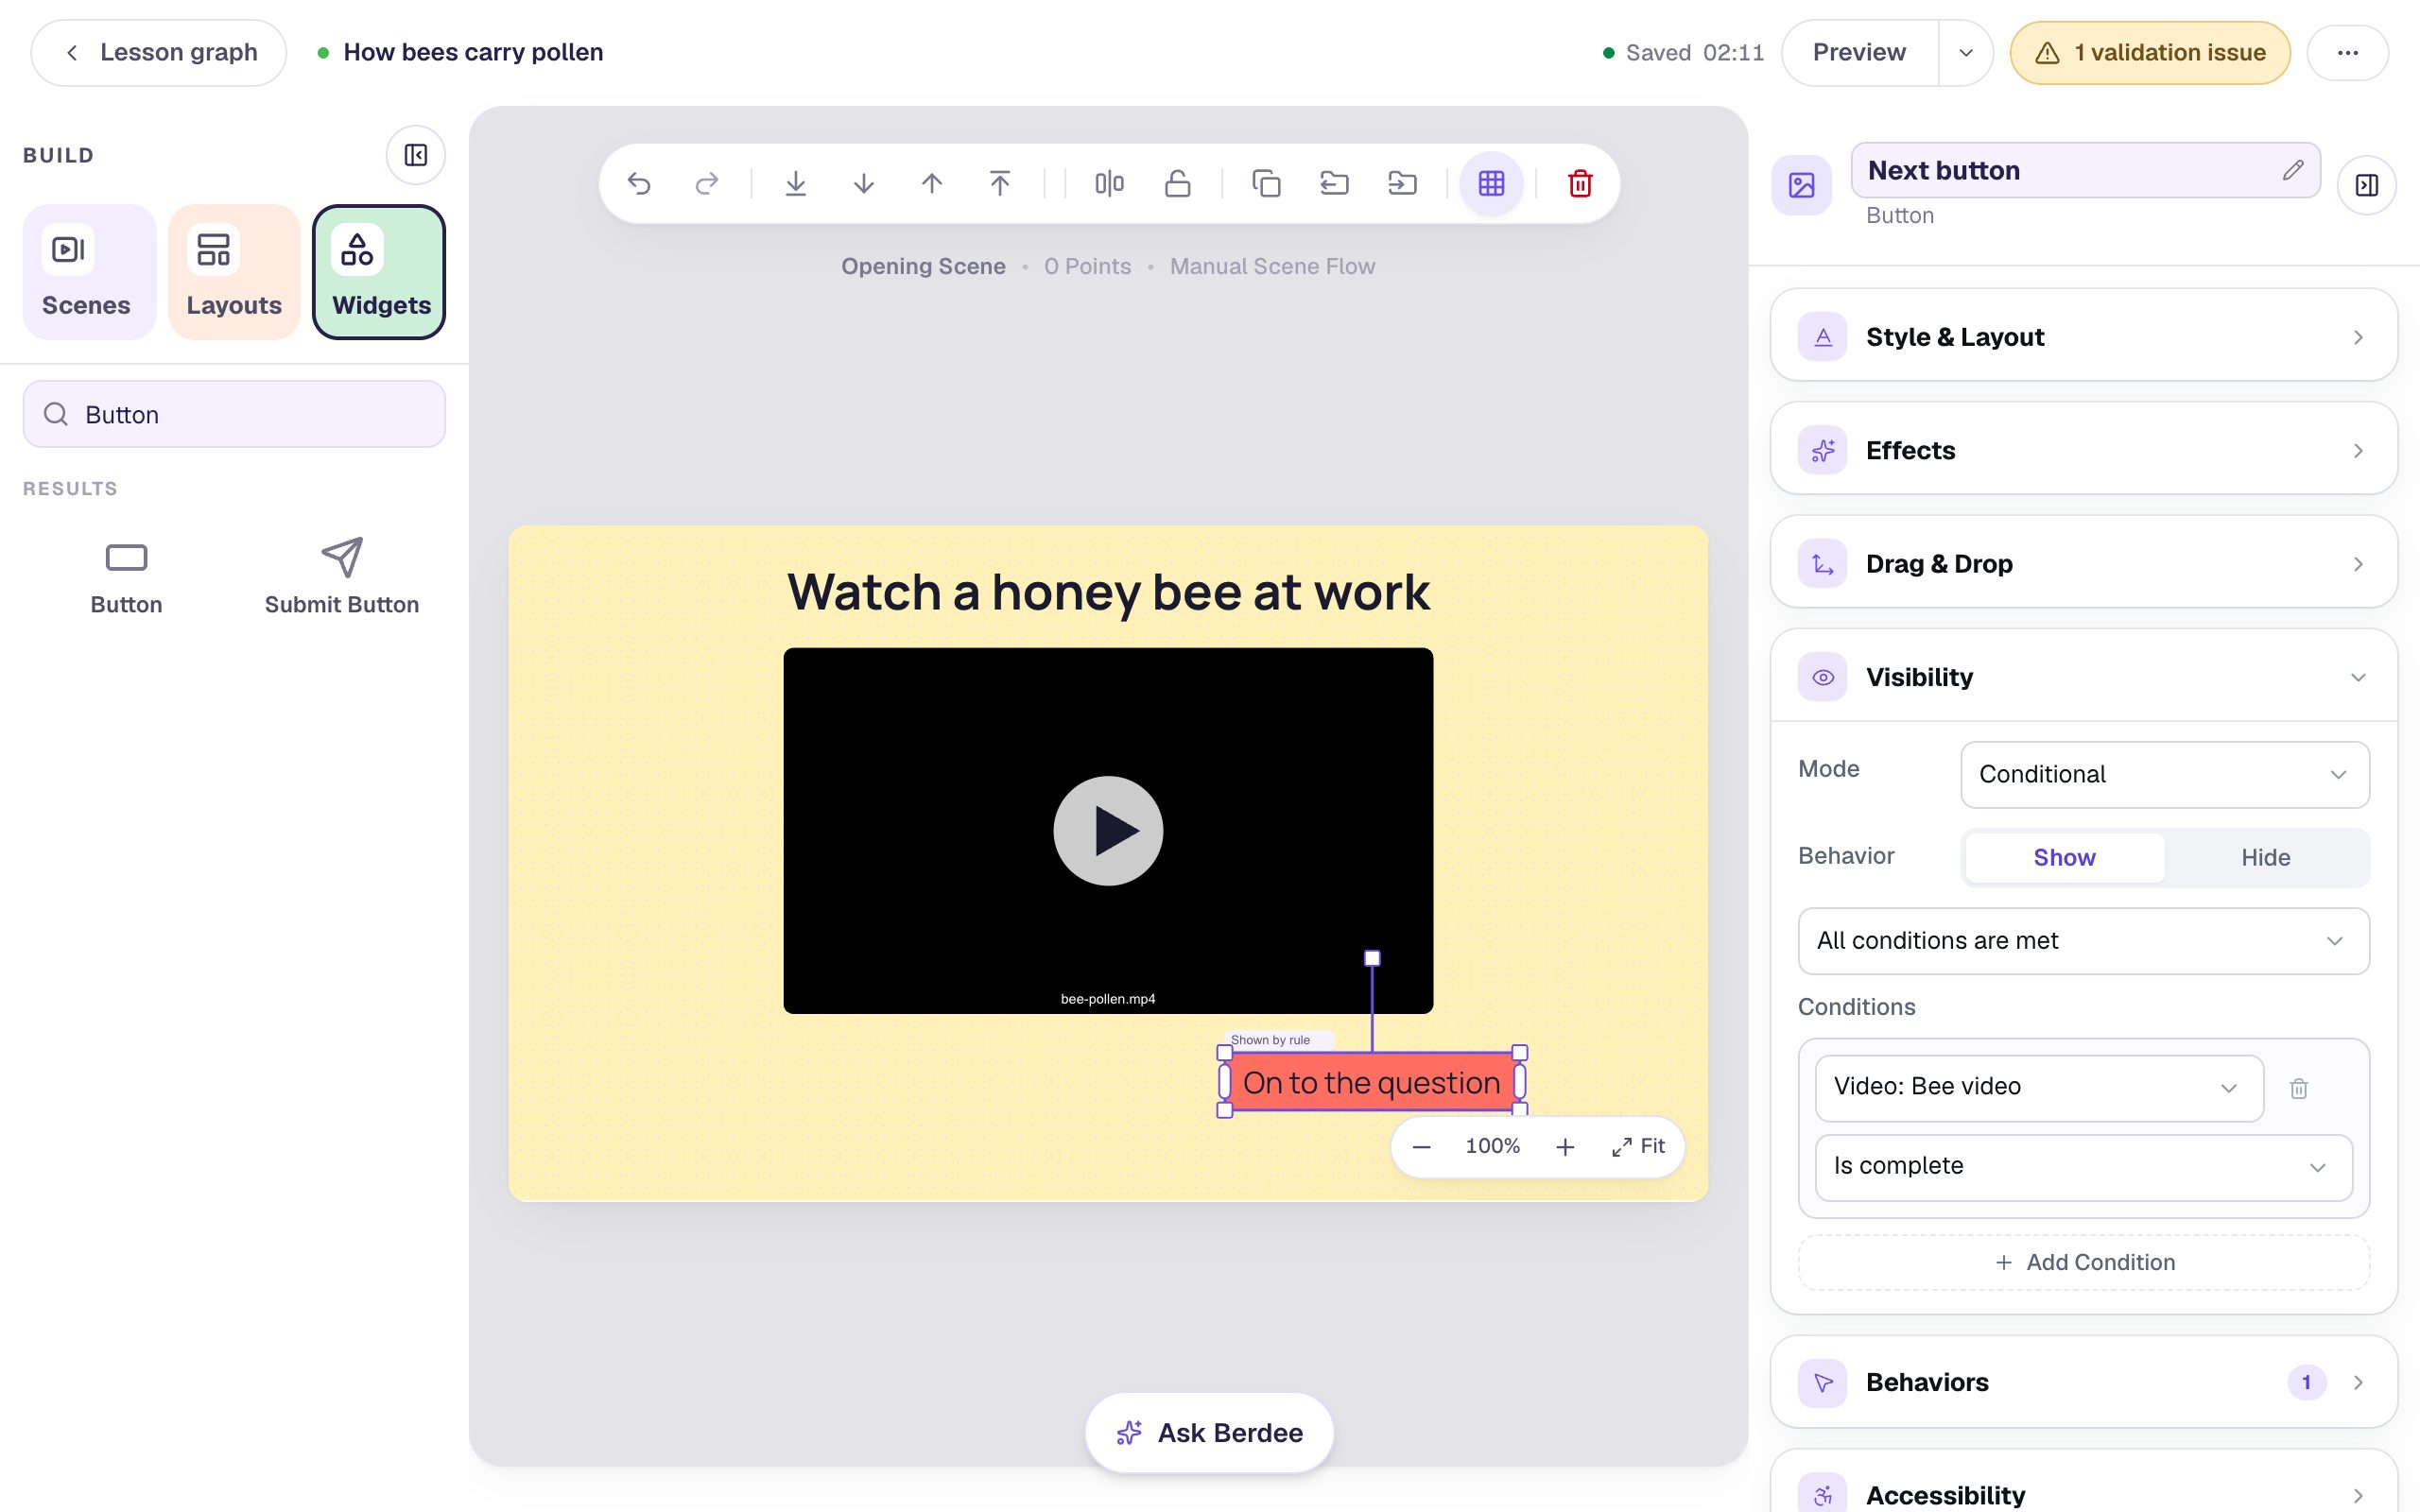
Is complete turns on the first time the clip plays to its last second, and it stays on. A student who replays the clip or scrubs back doesn't lose the button. With Show Controls on, students can still drag ahead through the clip: the rule stops the habit of skipping the video, not the chance to skim it.
The button still shows in the studio, so you can keep editing it. Only students (and Preview) see the rule in action.
Step 7: Tell students why there's no button yet
A scene with a video and no way forward can look broken. Add a Body that says Watch the whole clip to unlock the question. at 20 px, rename it Watch note, and drag it under the left side of the video.
Give it the opposite rule: in Visibility, set Mode to Conditional, click Hide, and choose Video: Bee video and Is complete. The note shows while the clip hasn't finished, and it disappears when the button appears.
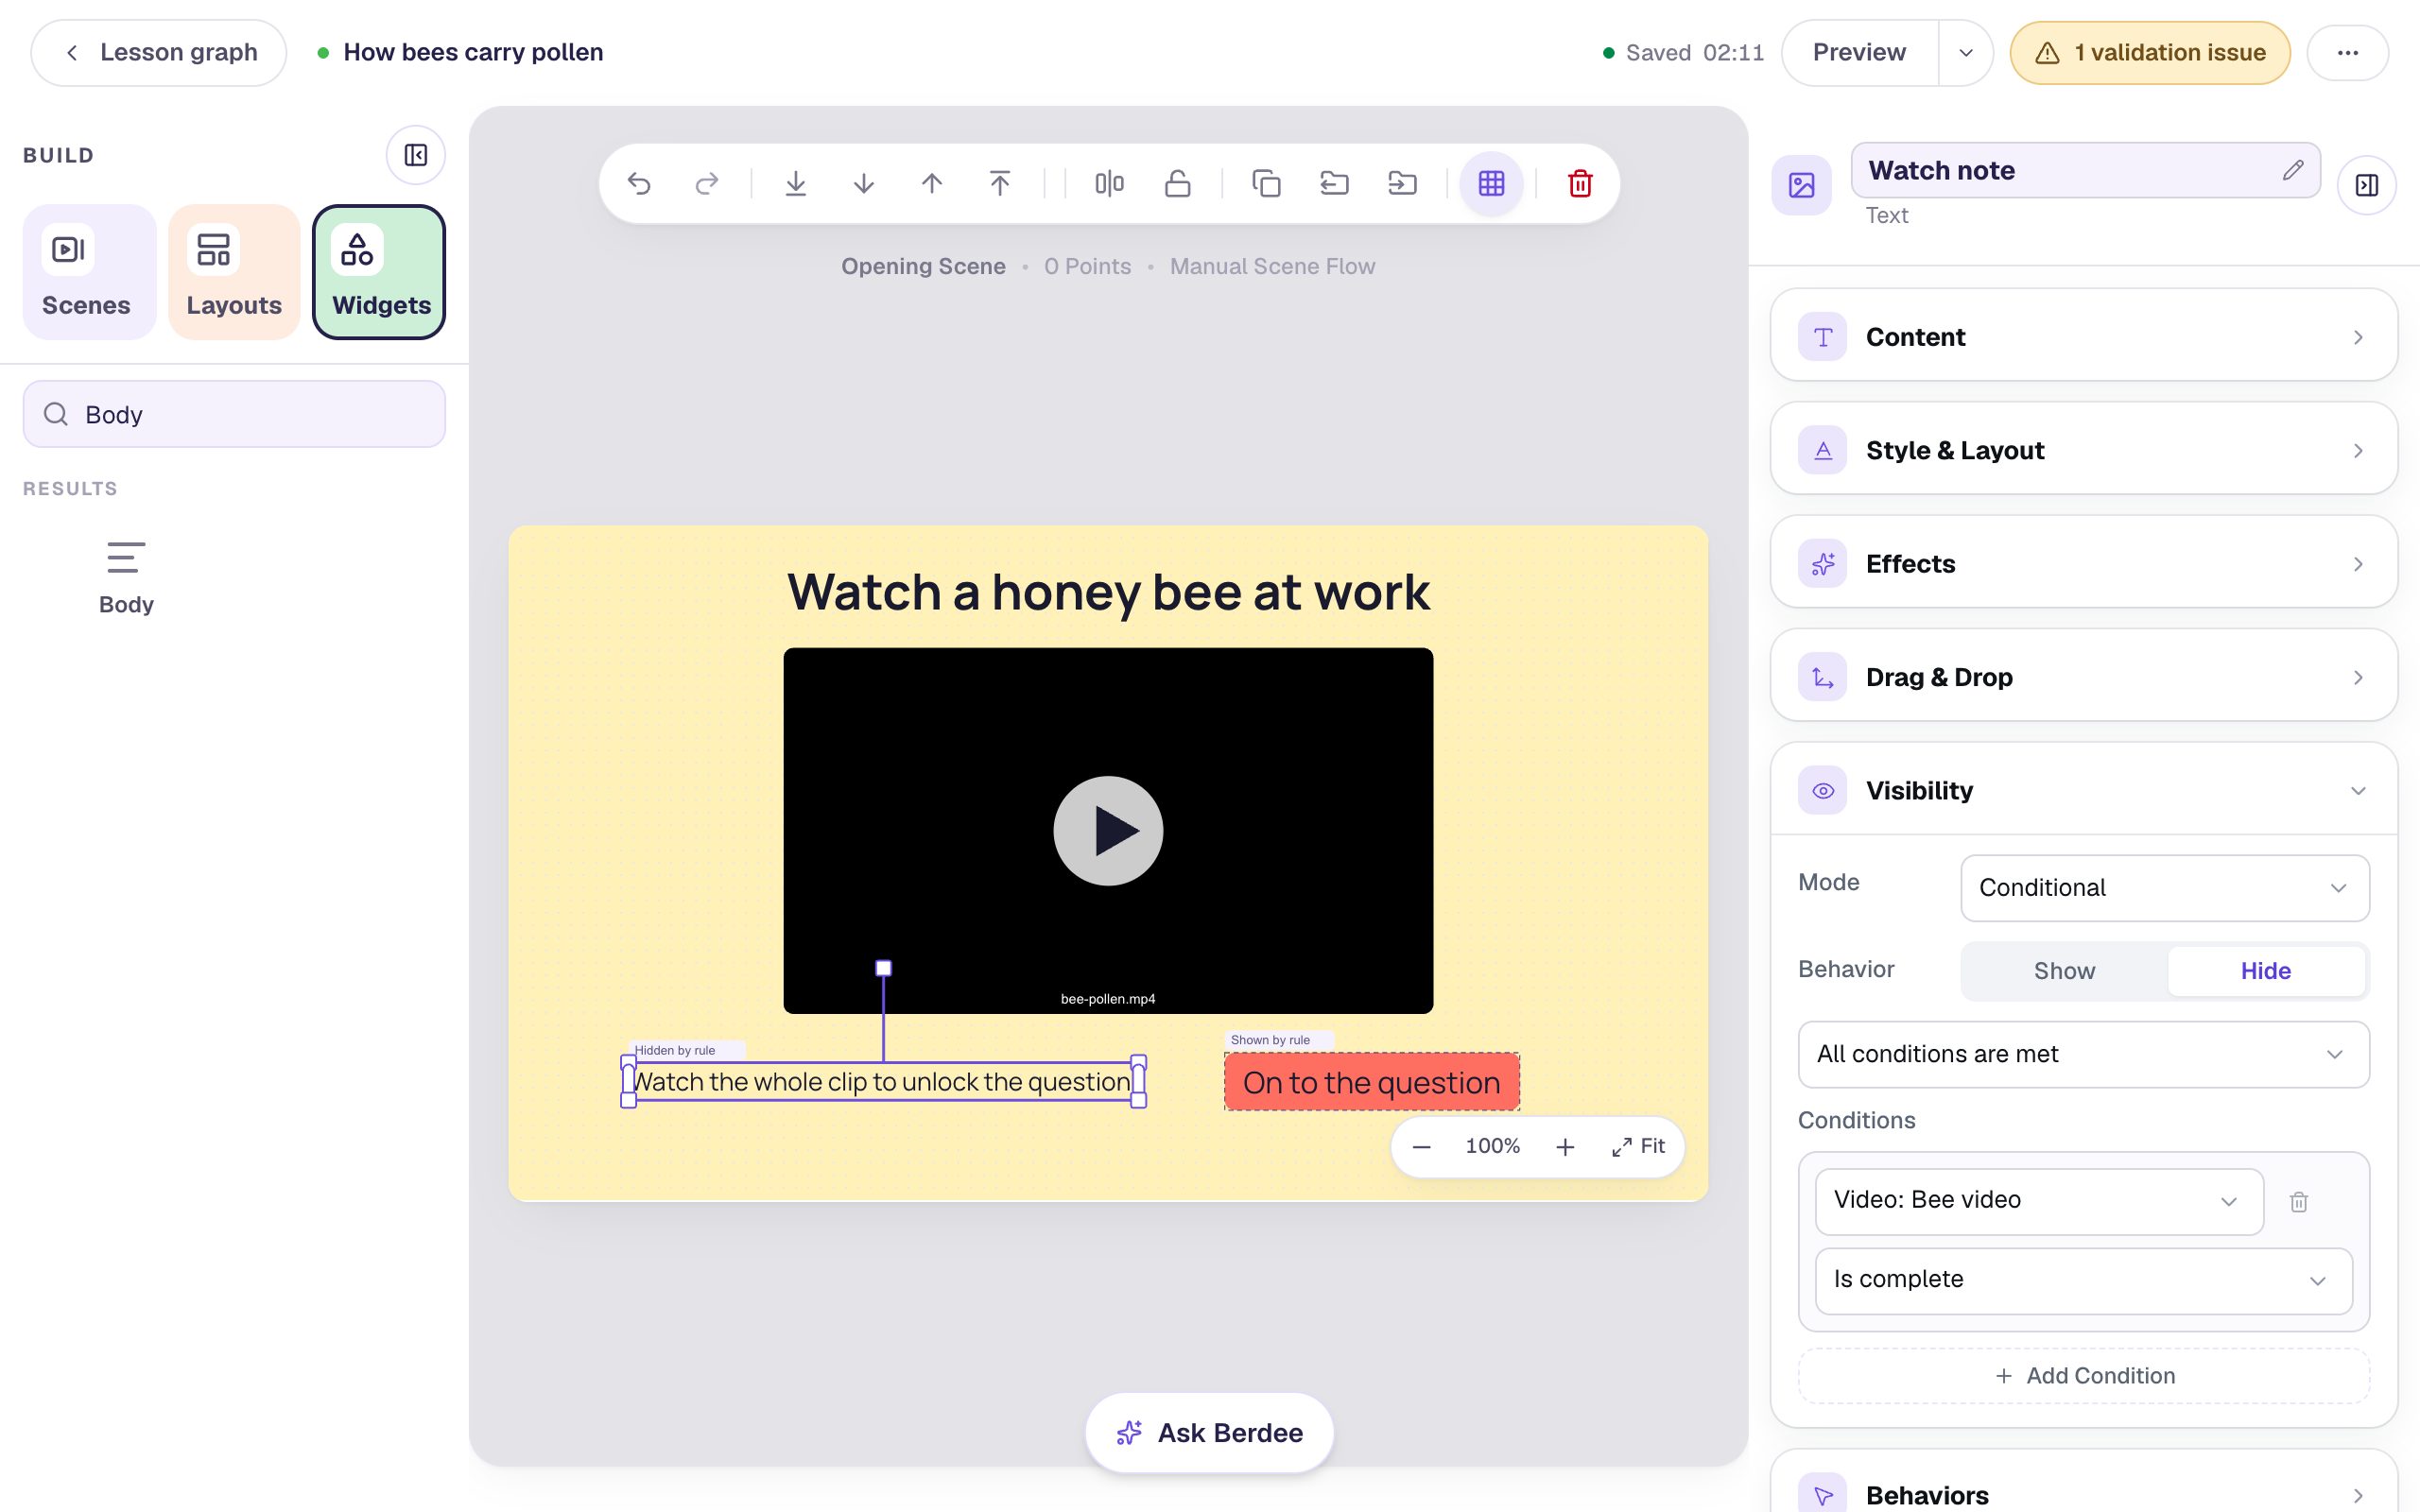
The note and the button sit side by side here, so the studio stays easy to read. Students only ever see one of them.
Step 8: Preview it
Click Preview. The scene opens with the clip and the note, and no button. Press play and watch to the end: the note disappears and On to the question appears. Press it, try a wrong answer, then pick Pollen.
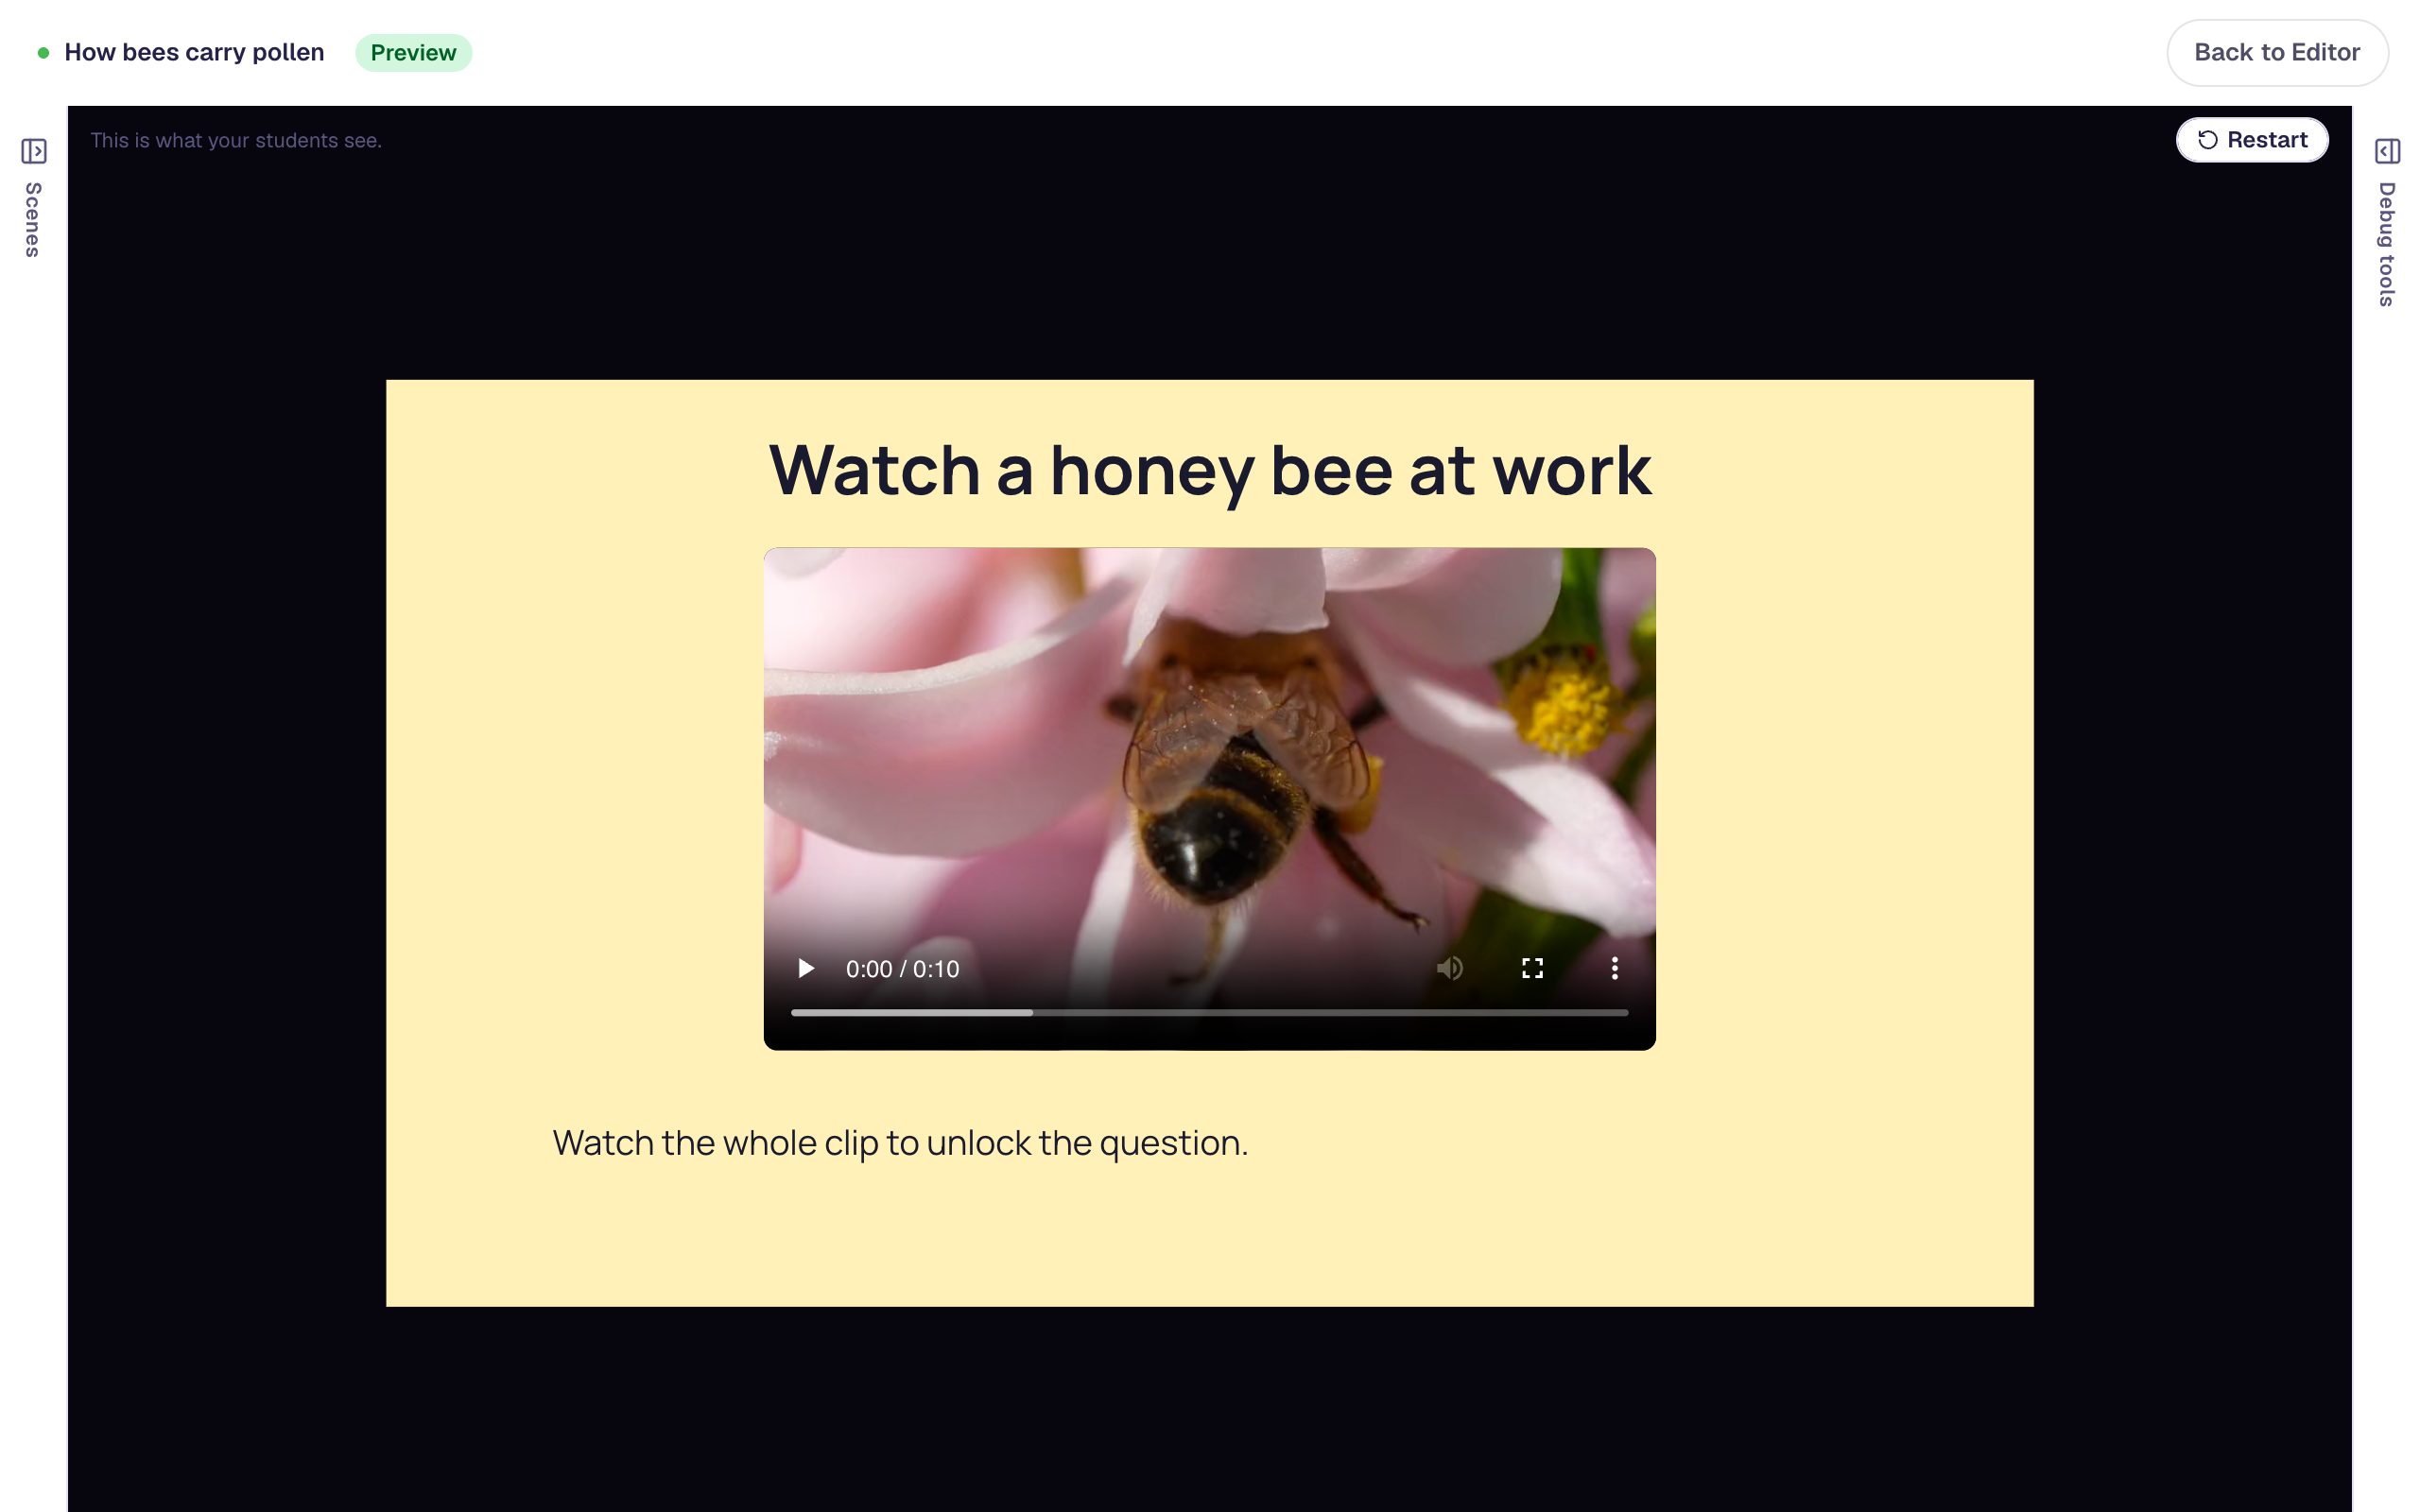
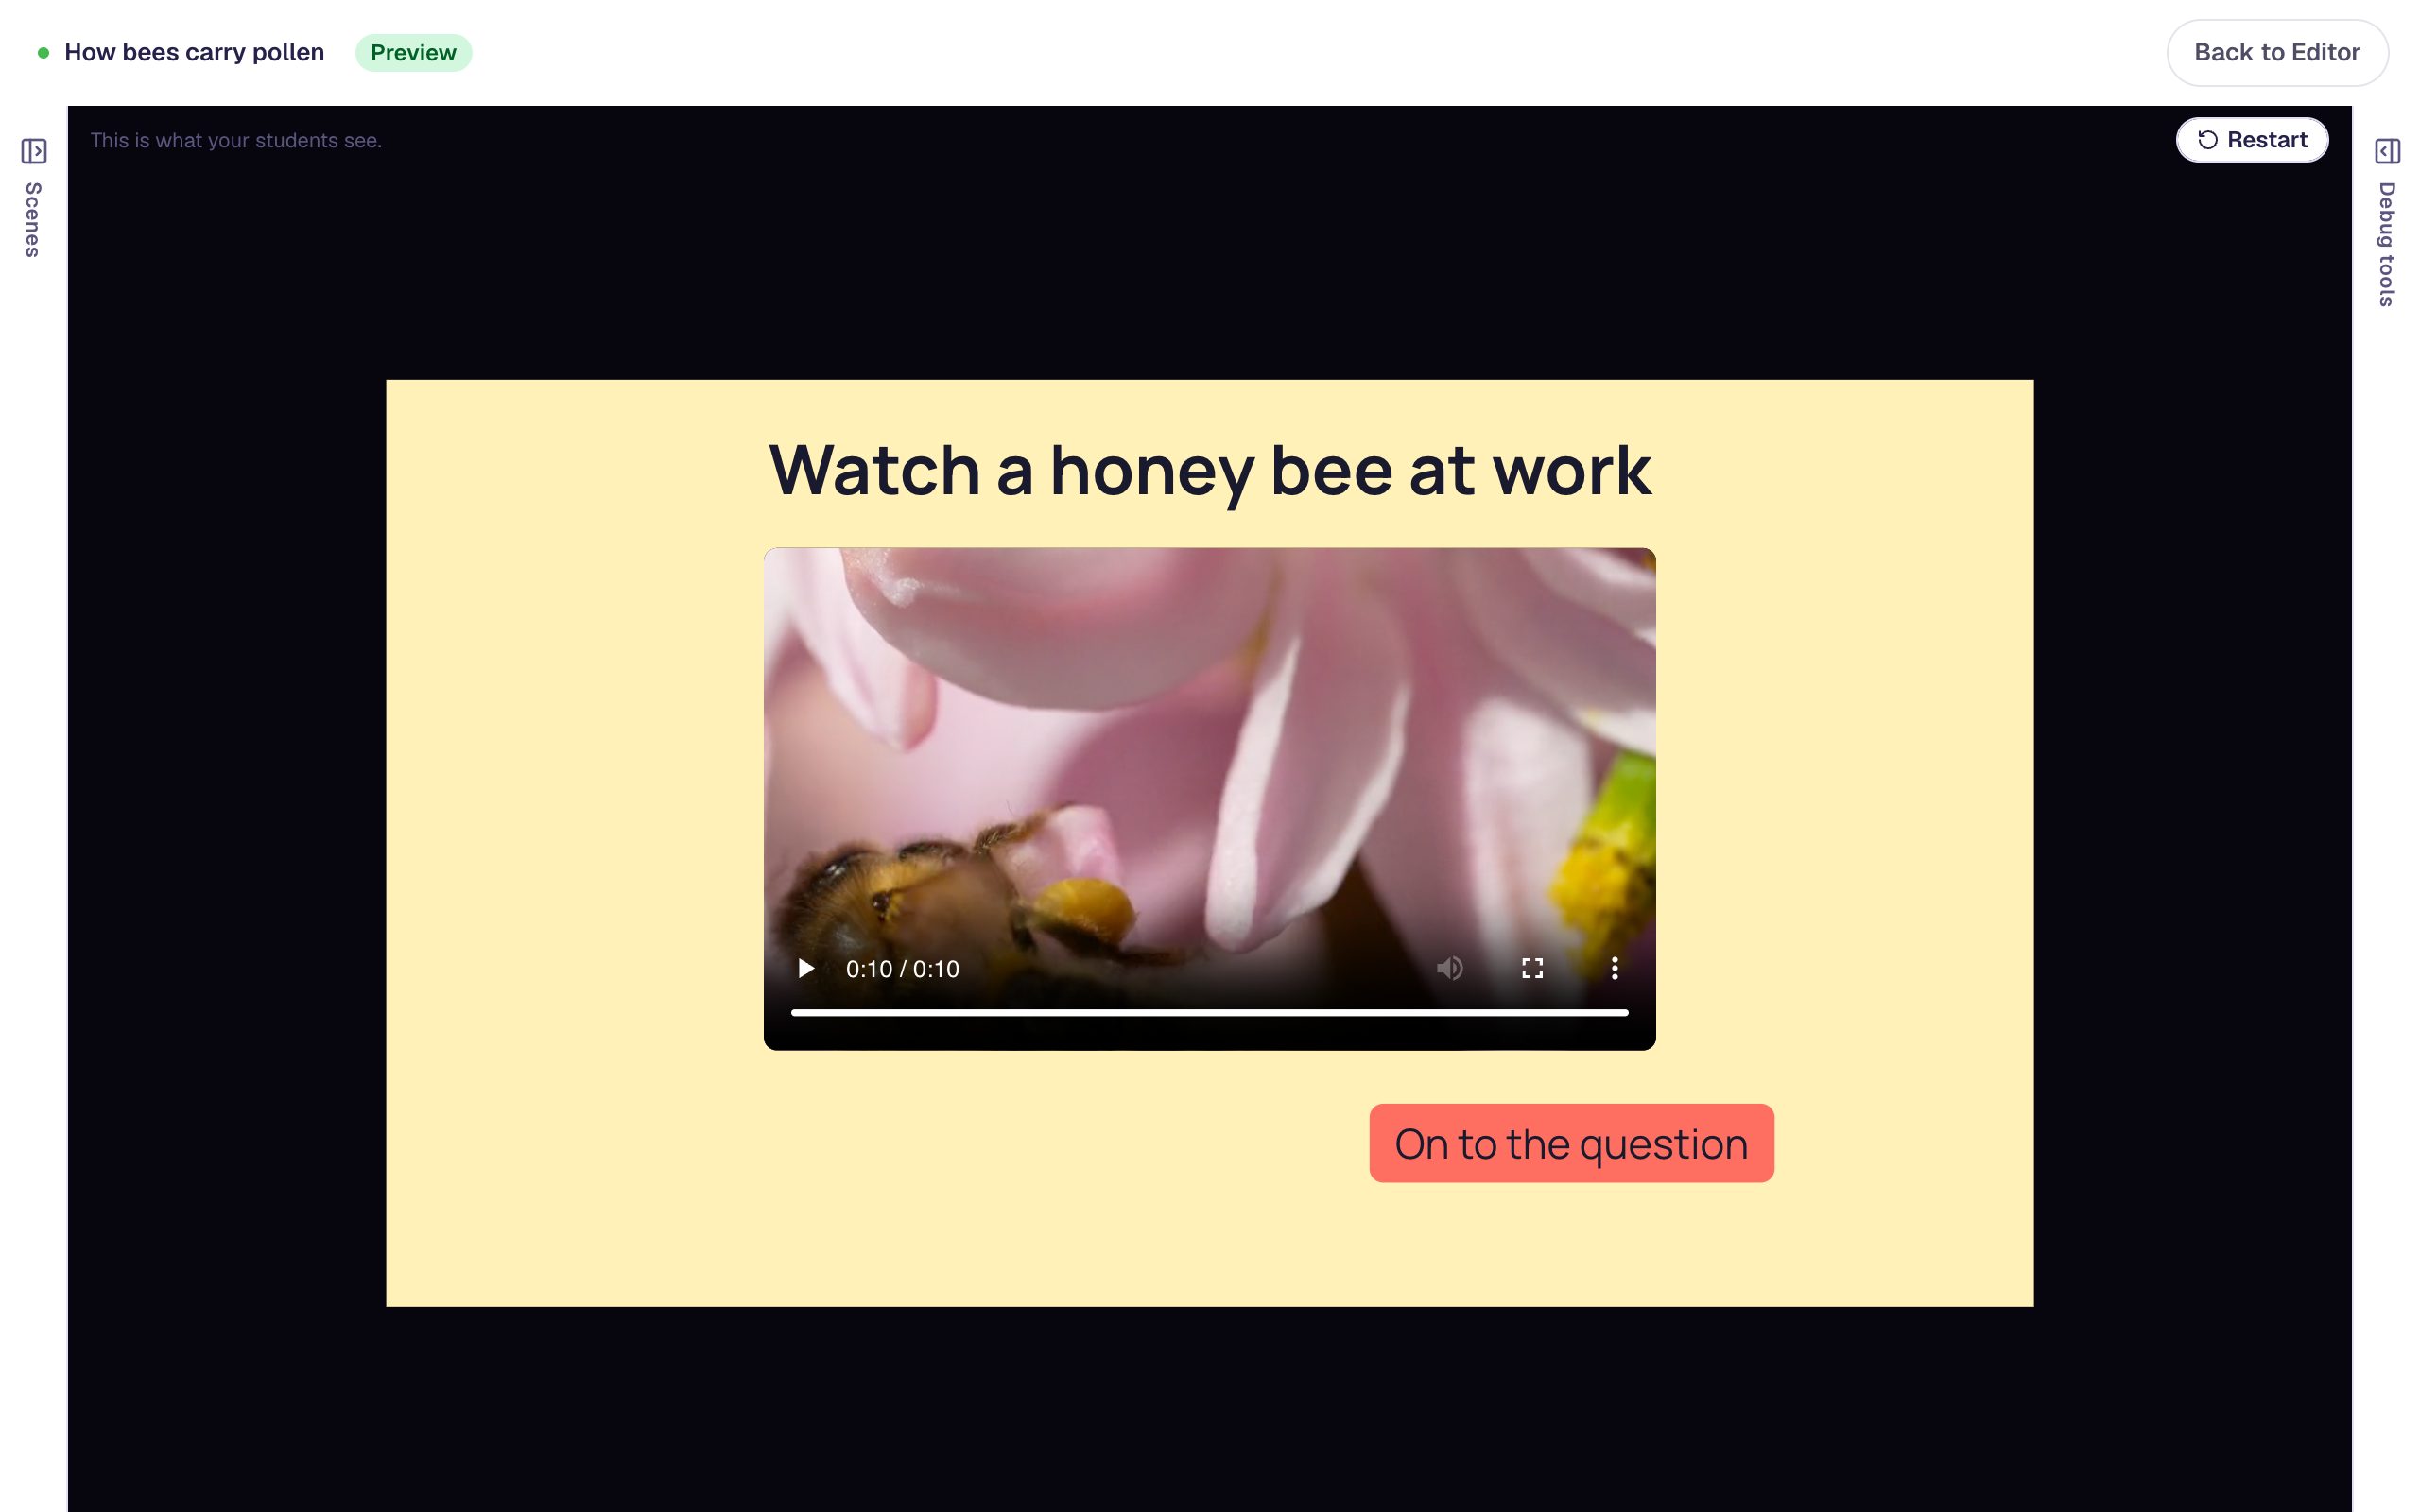
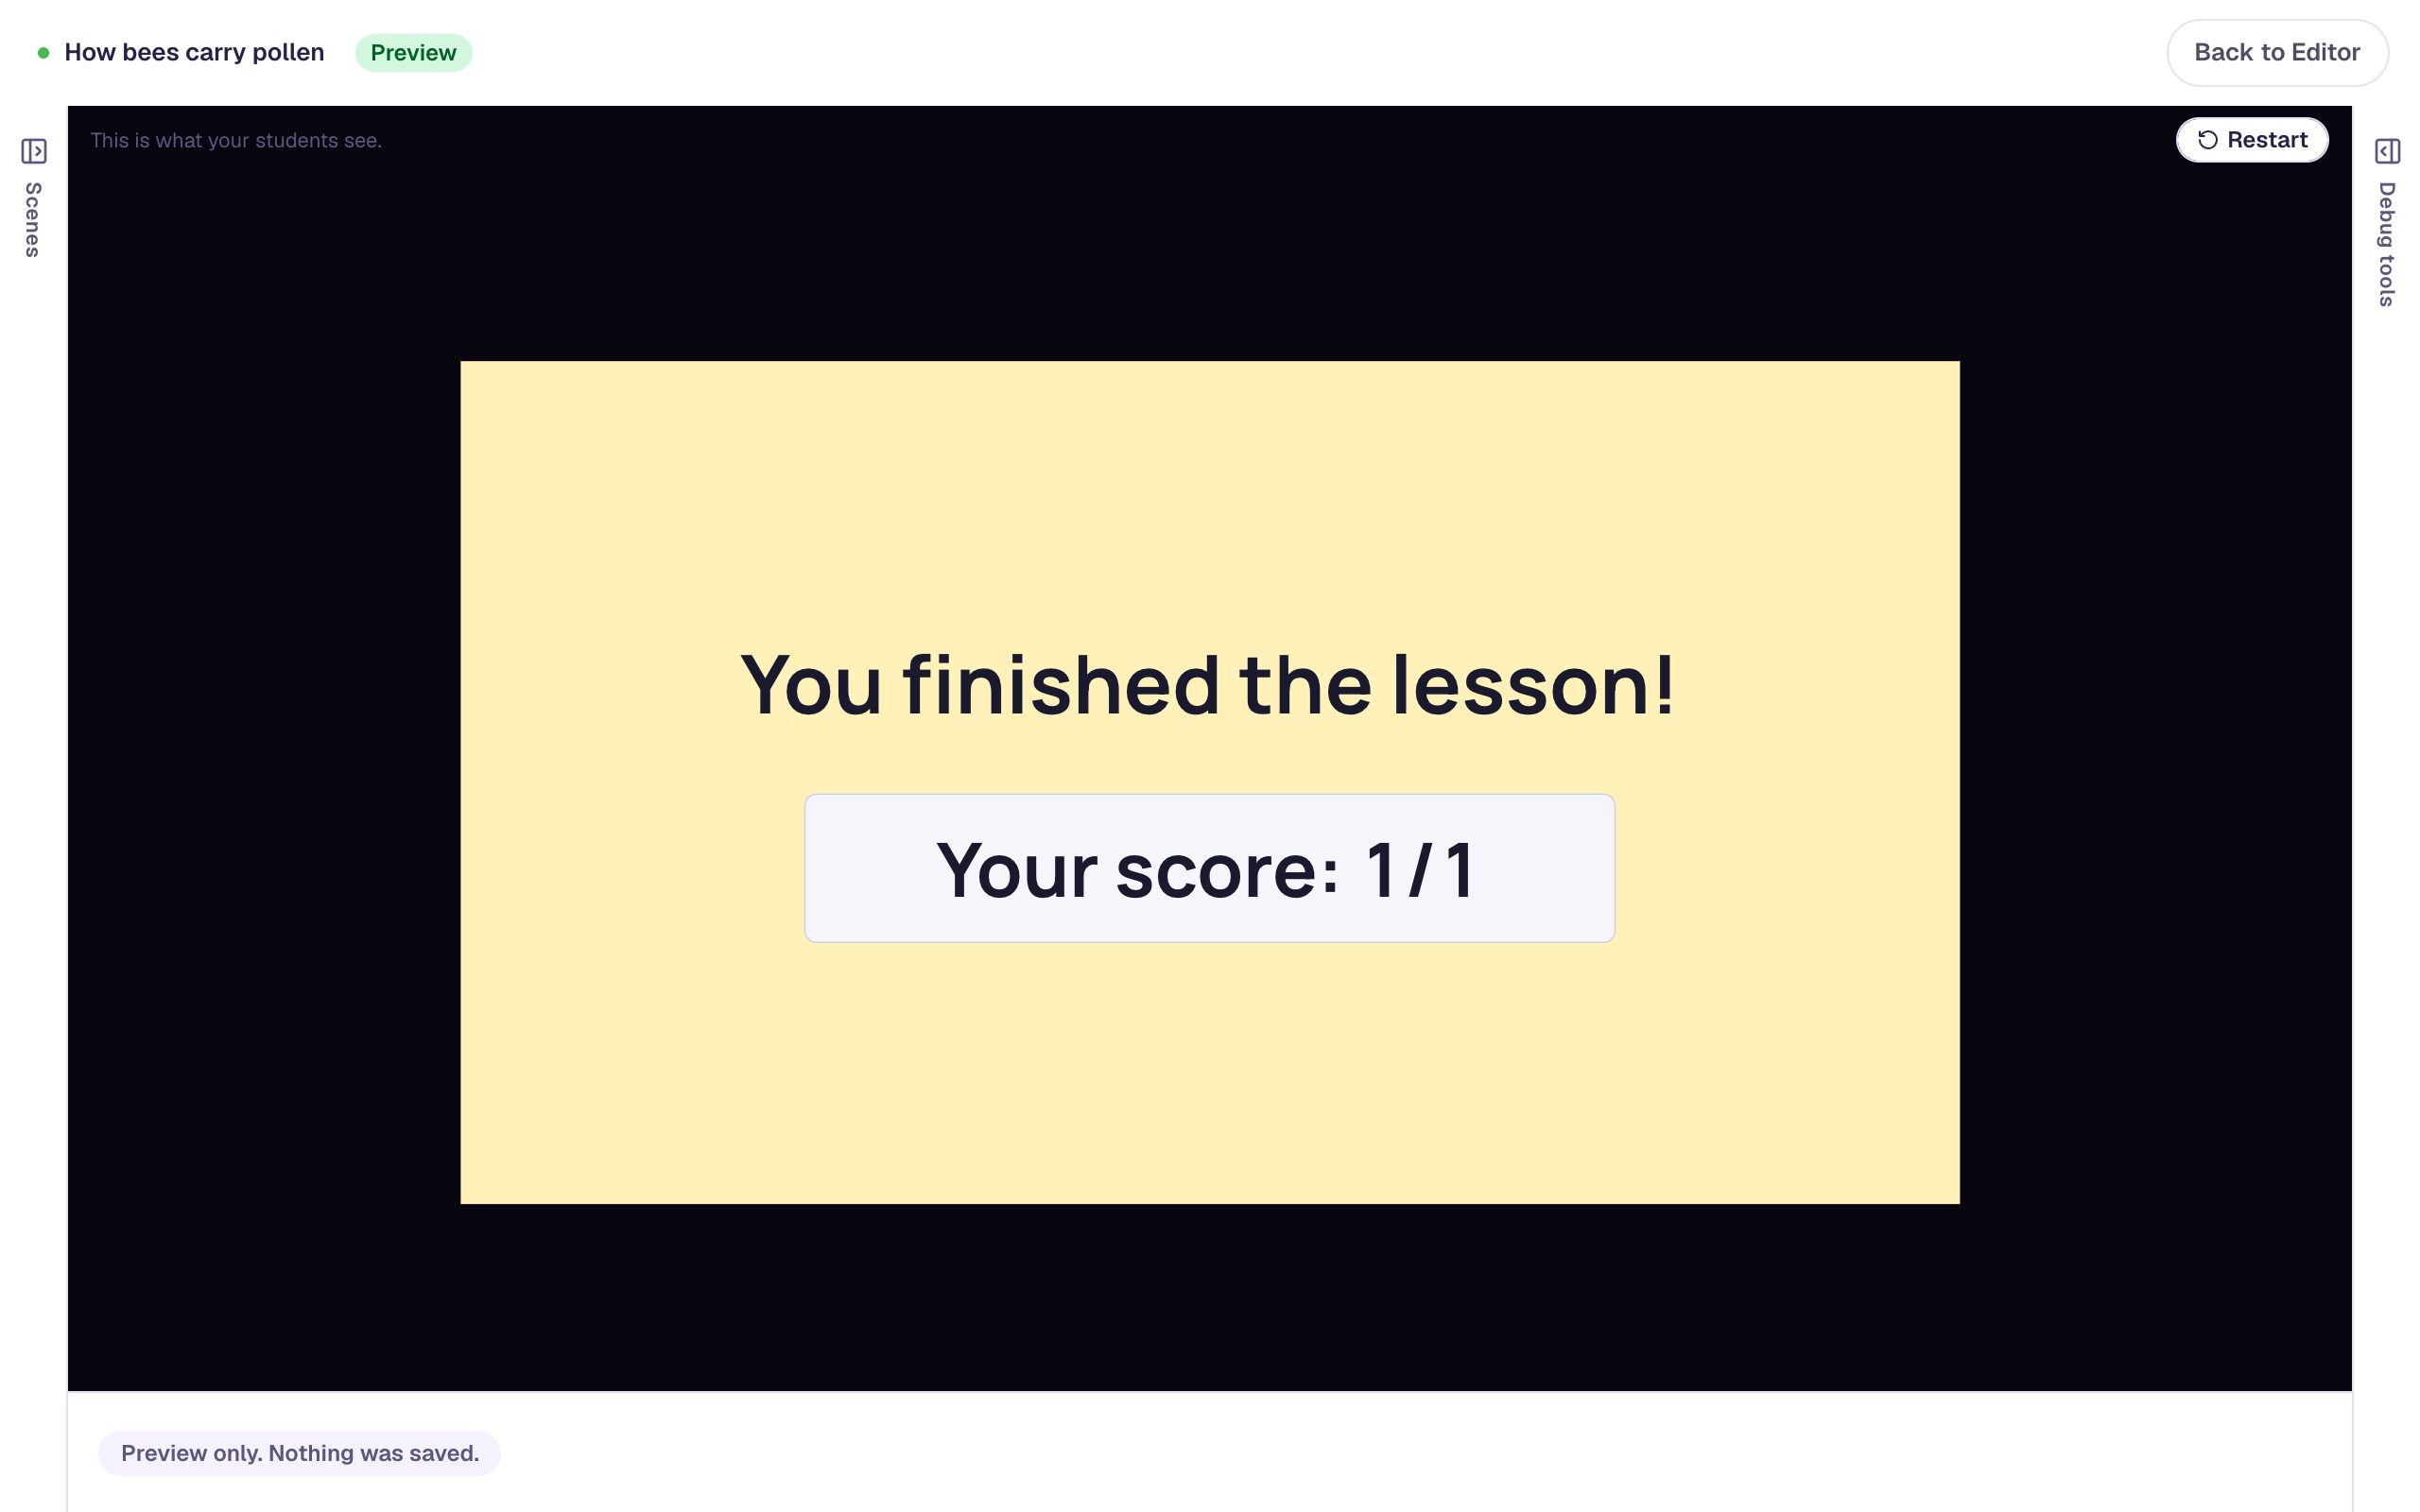
Use Restart at the top right of Preview to try it again from the start.
What you built
A video gate made from three widgets and two rules:
- a Video with your own uploaded clip, its controls on, and a description for screen readers,
- an On to the question button that Shows only when the video Is complete, with Progression set to Stay so it's the only way on, and
- a note that Hides on the same condition, so students always know what to do next.
The same pattern works for any media. An Audio clip has the same Is complete condition, so a listening task can unlock its questions the same way. You can also gate the question itself instead of a button: give the question and its heading the Show rule, and keep everything on one scene.
To gate a button on several things at once, such as a safety checklist where every box must be ticked, see Unlock the Start button only when every box on a checklist is ticked.
To check the answer as soon as it's picked and explain a wrong one, see Show an explanation when a student gets it wrong.
Make this lesson yours
Add the lesson you just watched being built to your account, then change it for your class: your questions, your pictures, your colors.
Free to sign up, and you'll come straight back here. I have an account