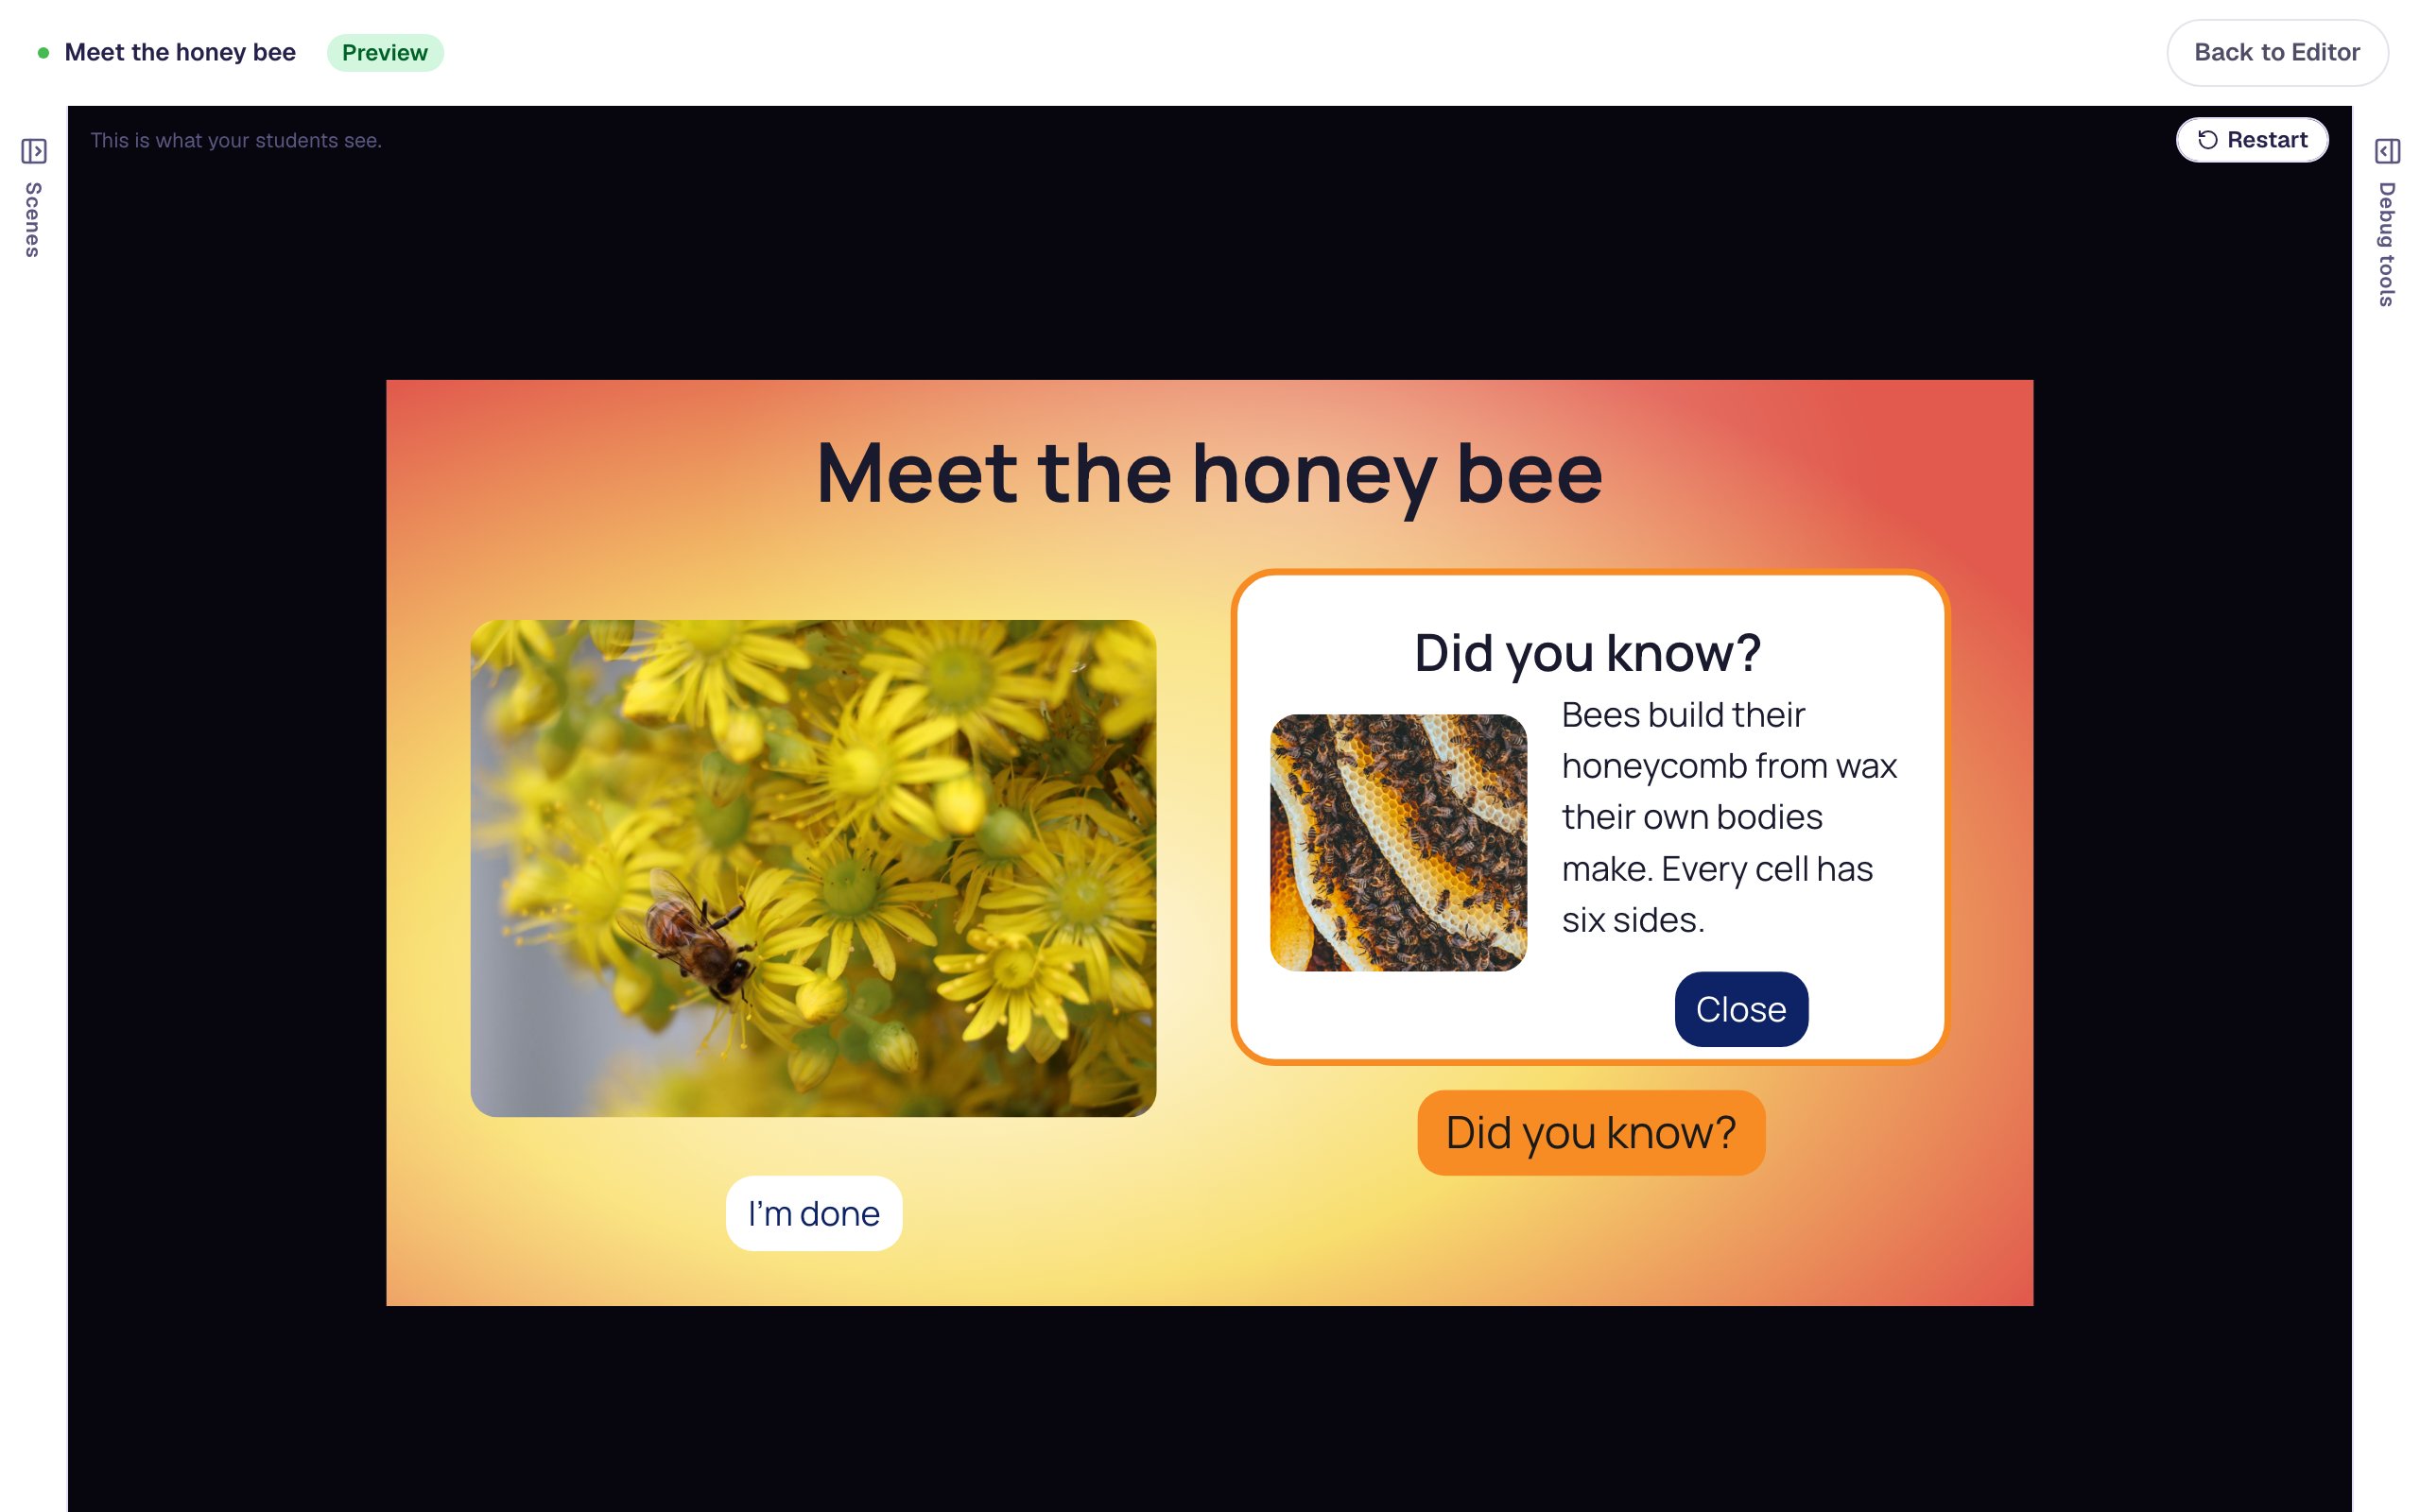
Sort animal pictures into their habitats
Lay see-through Drop Buckets over three habitat photos and turn six animal photos into draggable cards, so students drag each animal to the place it lives.
- Level
- Beginner
- Time
- About 20 min
- Steps
- 8
- Updated
- Oct 12, 2026
A one-scene picture sort where students drag six animal photos onto ocean, forest and desert photos, see a habitat turn red when an animal doesn't belong, and move on to the ending once every animal is home.
Get the finished lesson
Skip straight to the result, or keep it open beside the steps. Add this tutorial's lesson to your account and explore how it works in the studio.
Free to sign up, and you'll come straight back here. I have an account
Young students often can't read the word "camel" yet, but they know one when they see it. In this tutorial you'll build a picture sort for them: six animal photos that students drag onto a photo of the ocean, a forest or a desert.
It uses the same two widgets as Build a drag-and-drop sorting activity, with two new ideas. The cards are Image widgets, so students sort pictures instead of words. And each Drop Bucket is see-through and sits on top of a habitat photo, so students drop each animal straight onto the place it lives instead of into a plain box.
Step 1: Set the scene
Start a blank lesson (New lesson, then Start from scratch). Click the lesson's name at the top left and call it Animal homes.
Give the scene a calm background: click an empty spot on the scene, open Background, click Choose a style, pick Lagoon gradient and click Apply background. Open the Closing Scene from Scenes and give it the same background, so the ending matches.
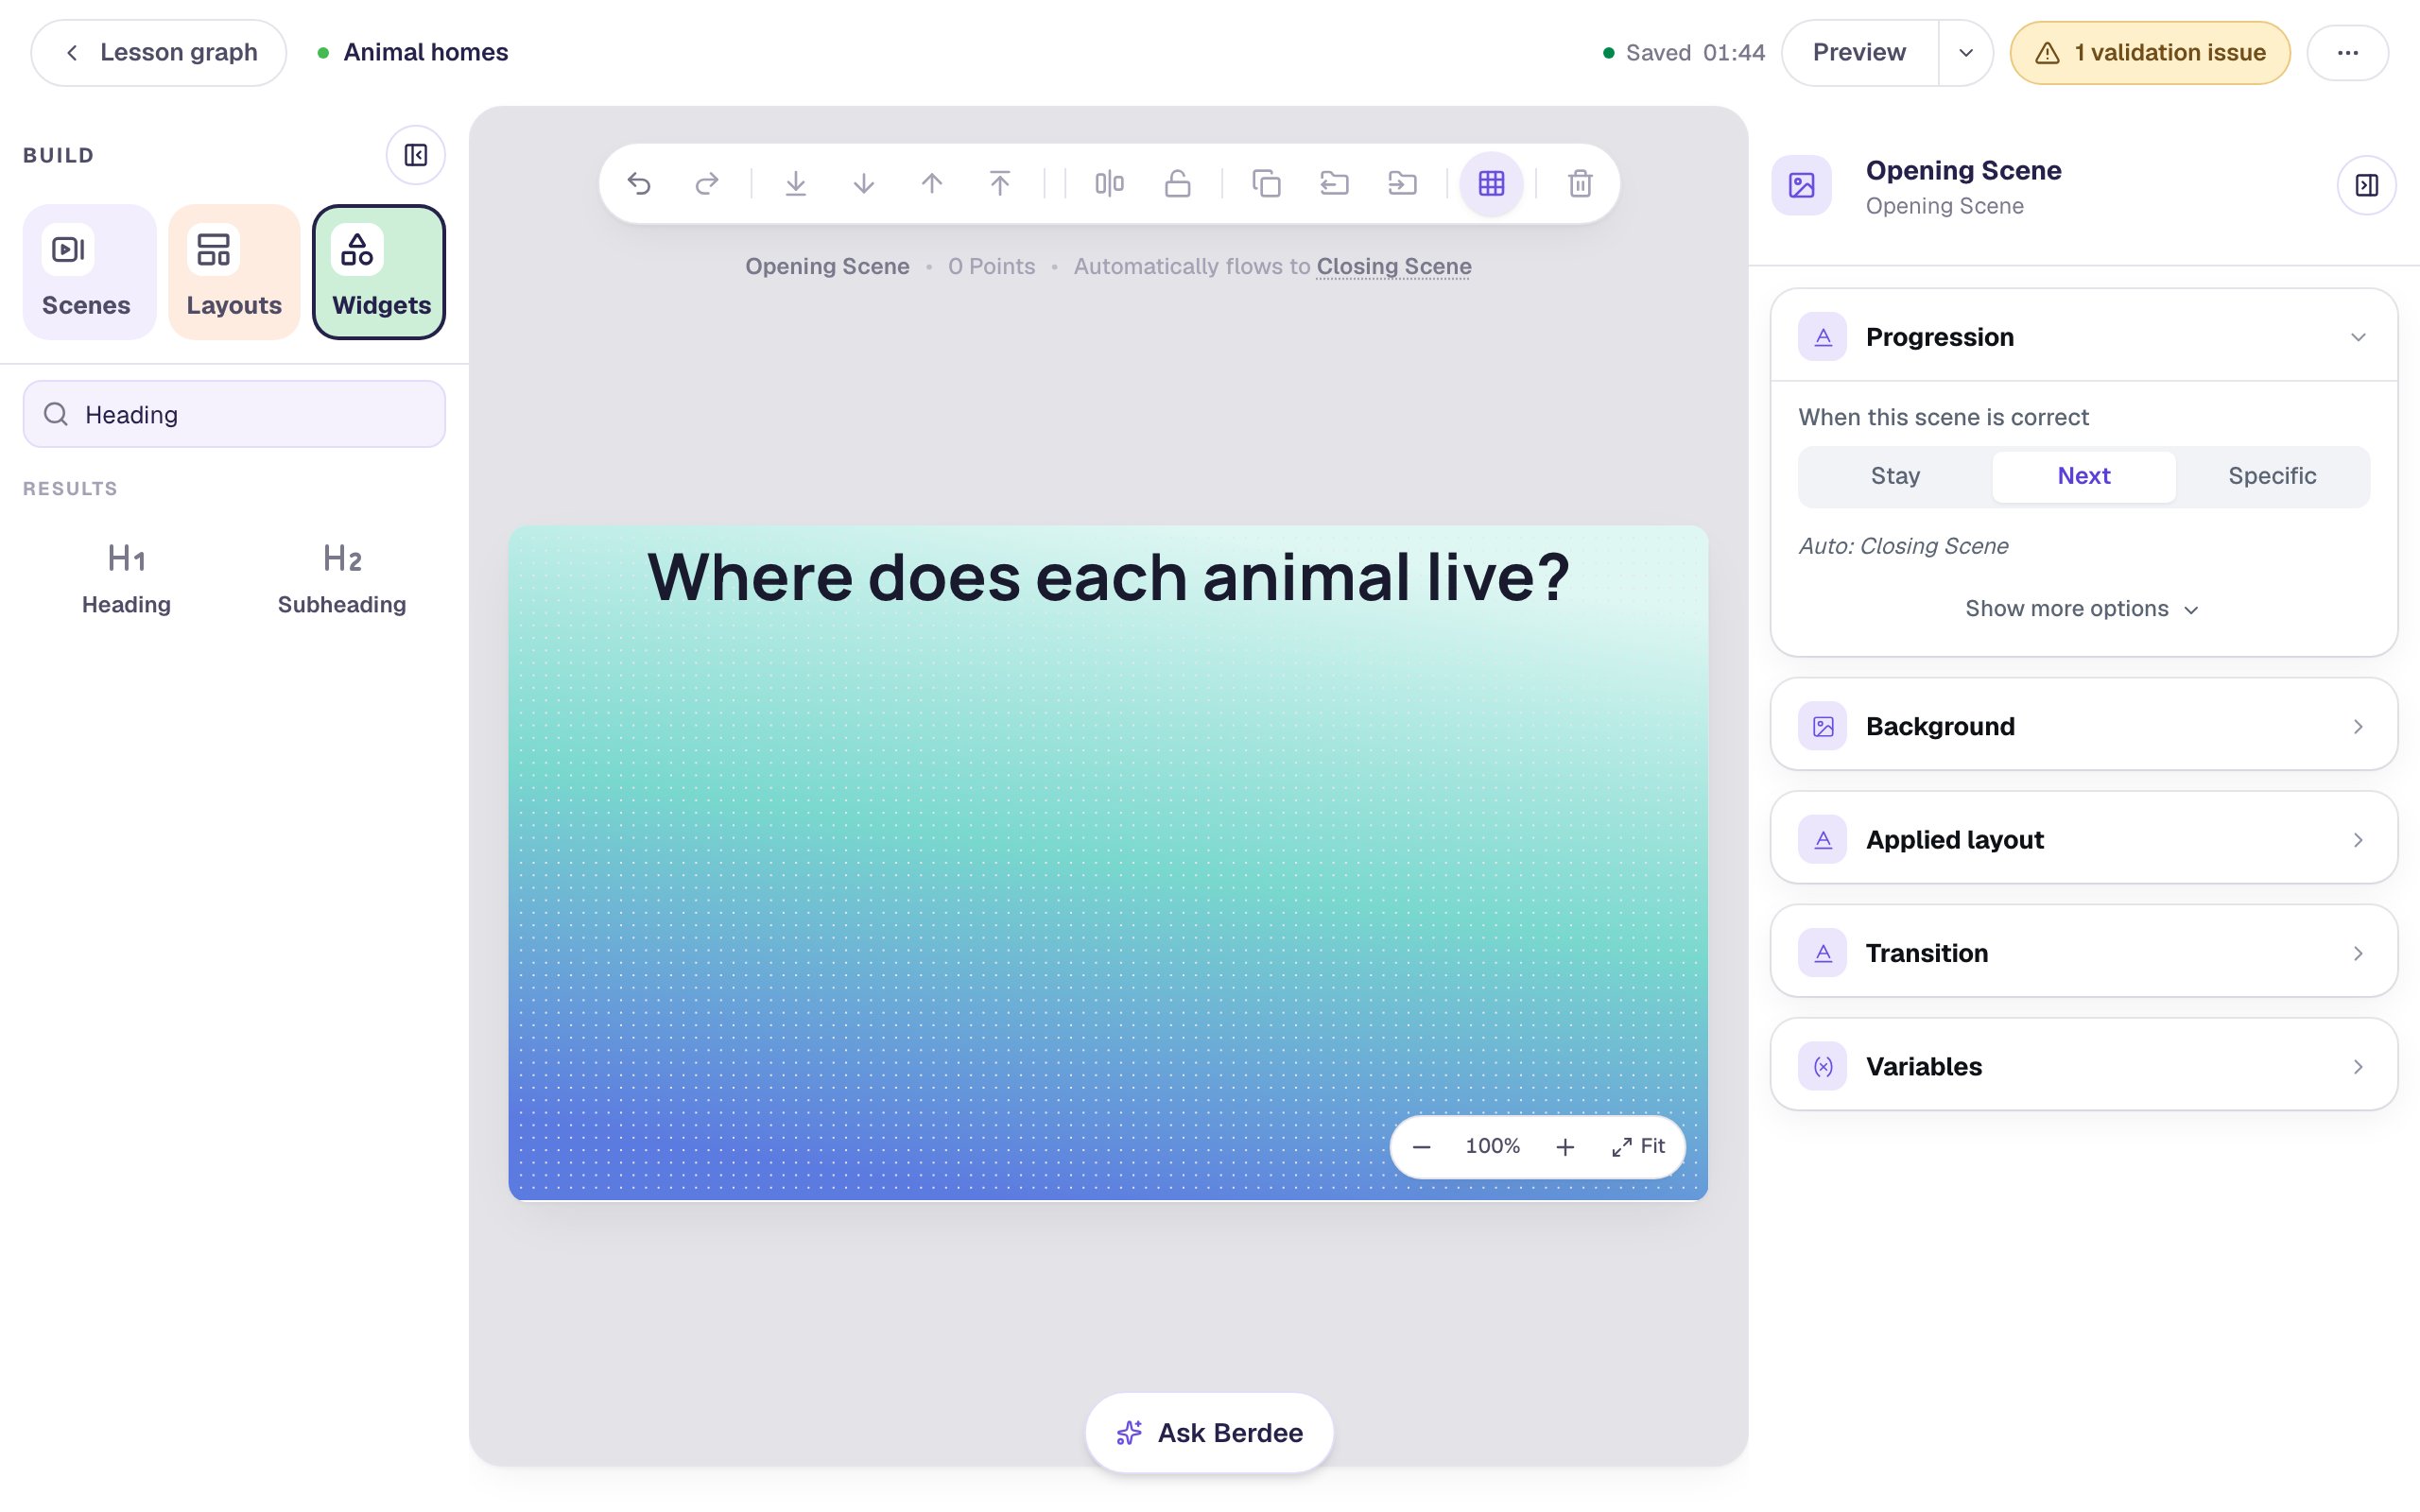
Back on the Opening Scene, add a Heading, type Where does each animal live?, and drag it to the top of the scene.
Step 2: Add three habitat photos
Add an Image widget from Widgets. Under Style & Layout, click Show more options and set Width to 270 and Height to 200, then drag it to the lower left of the scene.
To give it a picture, open Image Source in the properties panel and click Open Media Library. Search for coral reef underwater, click a photo you like, and click Import & insert.
Three more settings make it look finished:
- In Style & Layout, set Fit to Cover, so the photo fills the whole frame instead of leaving bars at the sides.
- Raise Border Radius to
16for soft corners. - In Accessibility, replace the Alt Text with a short description:
A coral reef under the sea.
Do the same for a forest (green forest trees) in the middle and a desert (sand dunes desert) on the right. Then add a Subheading above each photo and type Ocean, Forest and Desert, so students who can read have a word to match too.
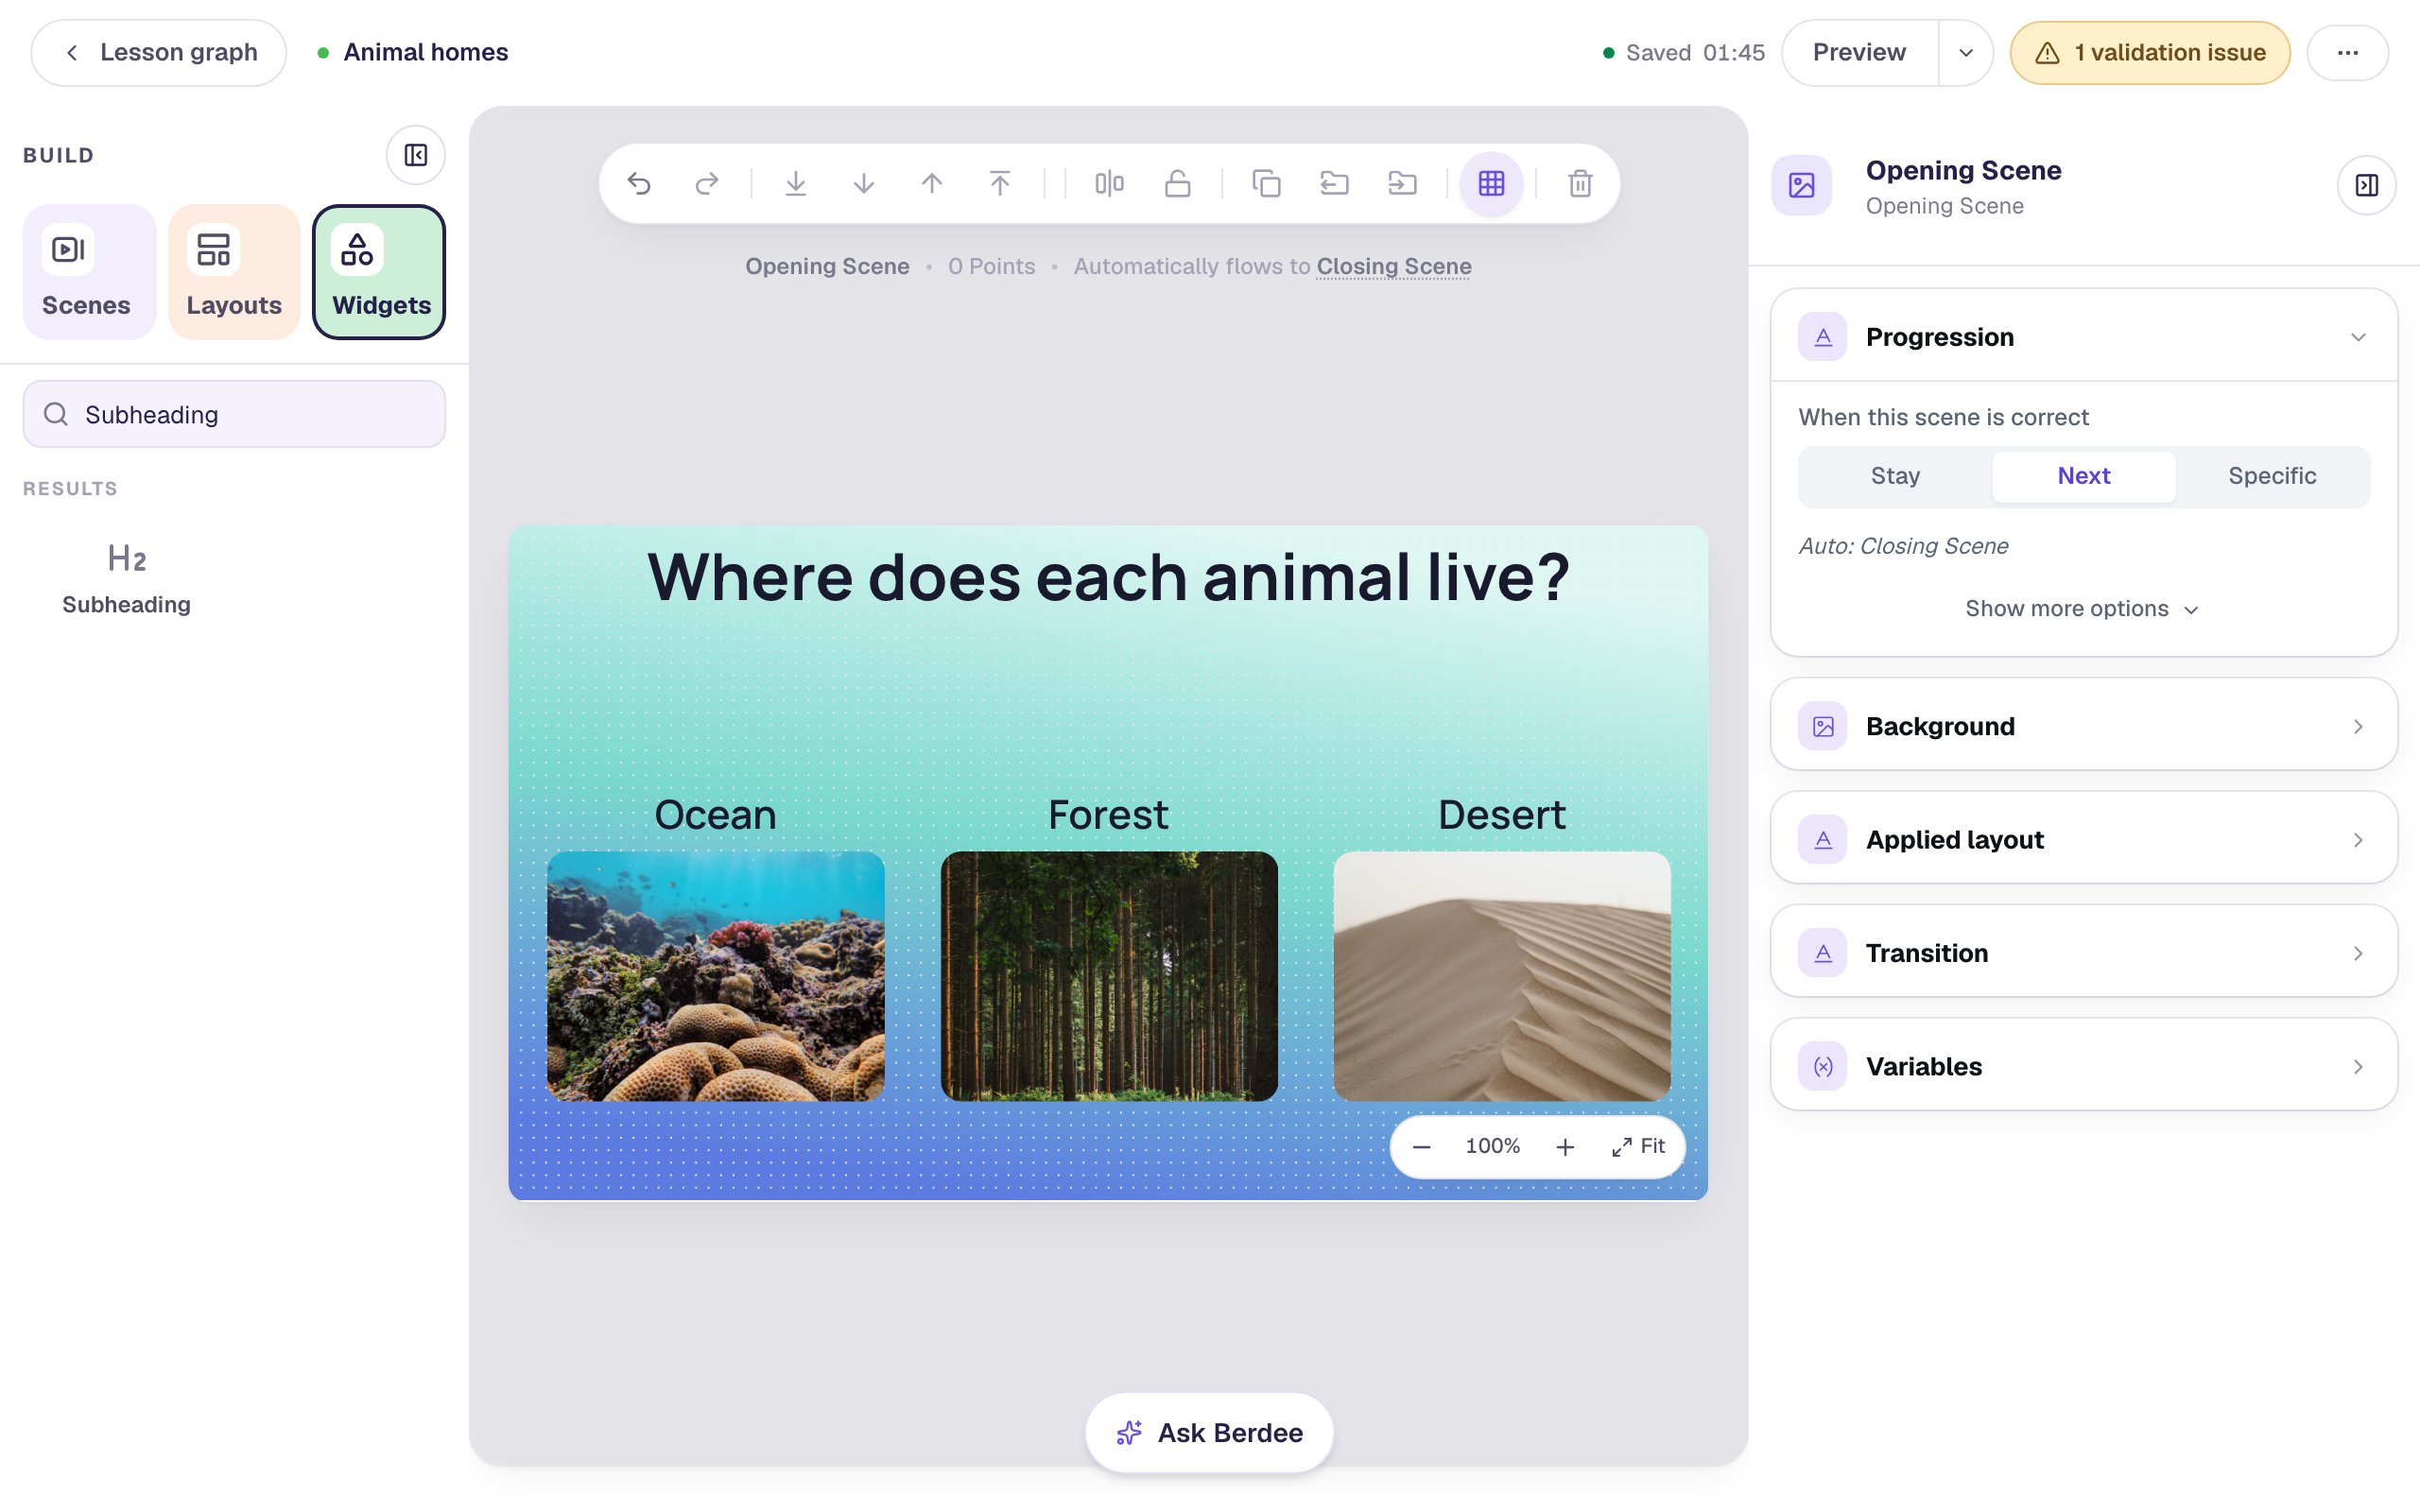
Pick landscape photos: the frames are wider than they are tall, so a tall photo loses most of itself to Cover.
Step 3: Lay a see-through bucket over each photo
The photos can't catch anything. Only a Drop Bucket can, so put one on top of each photo and make it invisible except for its outline.
- Add a Drop Bucket and, under Style & Layout, set Width to
270and Height to200, the same size as the photo. - Drag it on top of the ocean photo until the two line up.
- Click Background and choose Transparent. The reef shows through.
- Click Border Color and choose white, so students can see where the drop zone is.
- Set Border Radius to
16, to match the photo's corners.
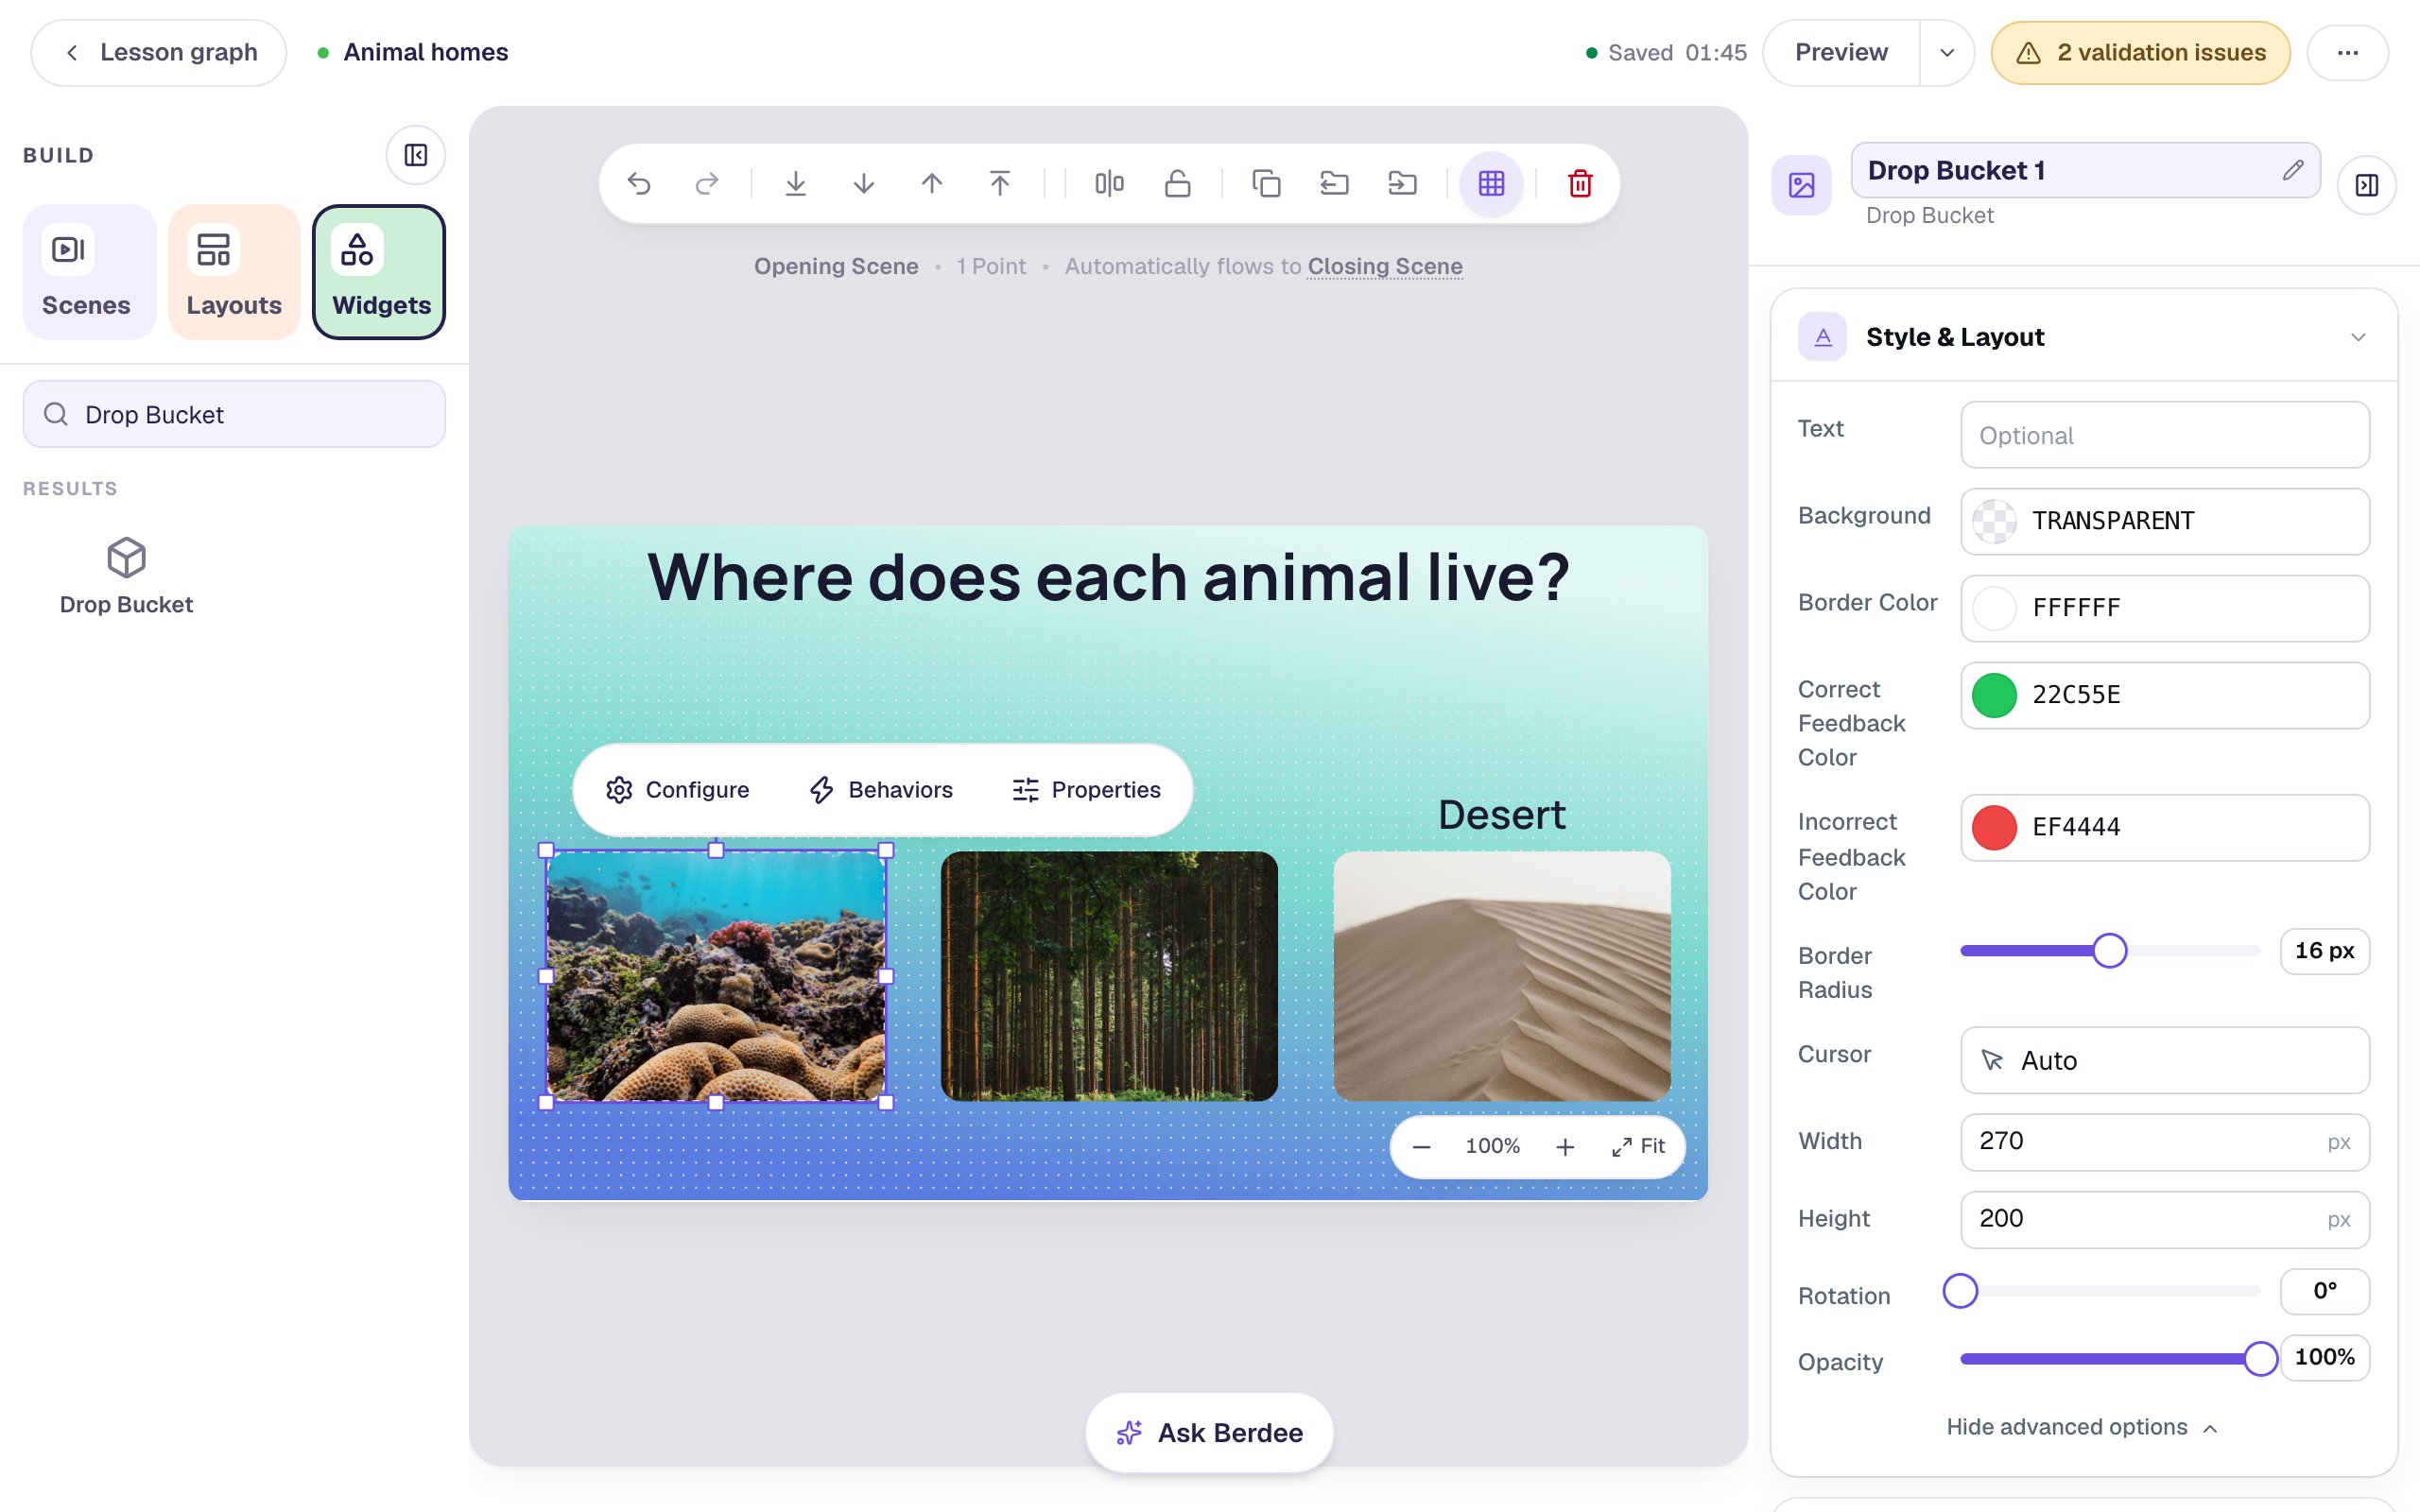
Rename the bucket Ocean (click Drop Bucket 1 at the top of the properties panel), and in Accessibility set its Alt Text to Ocean animals go here. Screen readers announce that name when a student moves an animal over it.
Leave the bucket's own Text empty. It's a hint that only shows while the bucket is empty, and the photo already says what goes there.
Repeat for Forest and Desert.
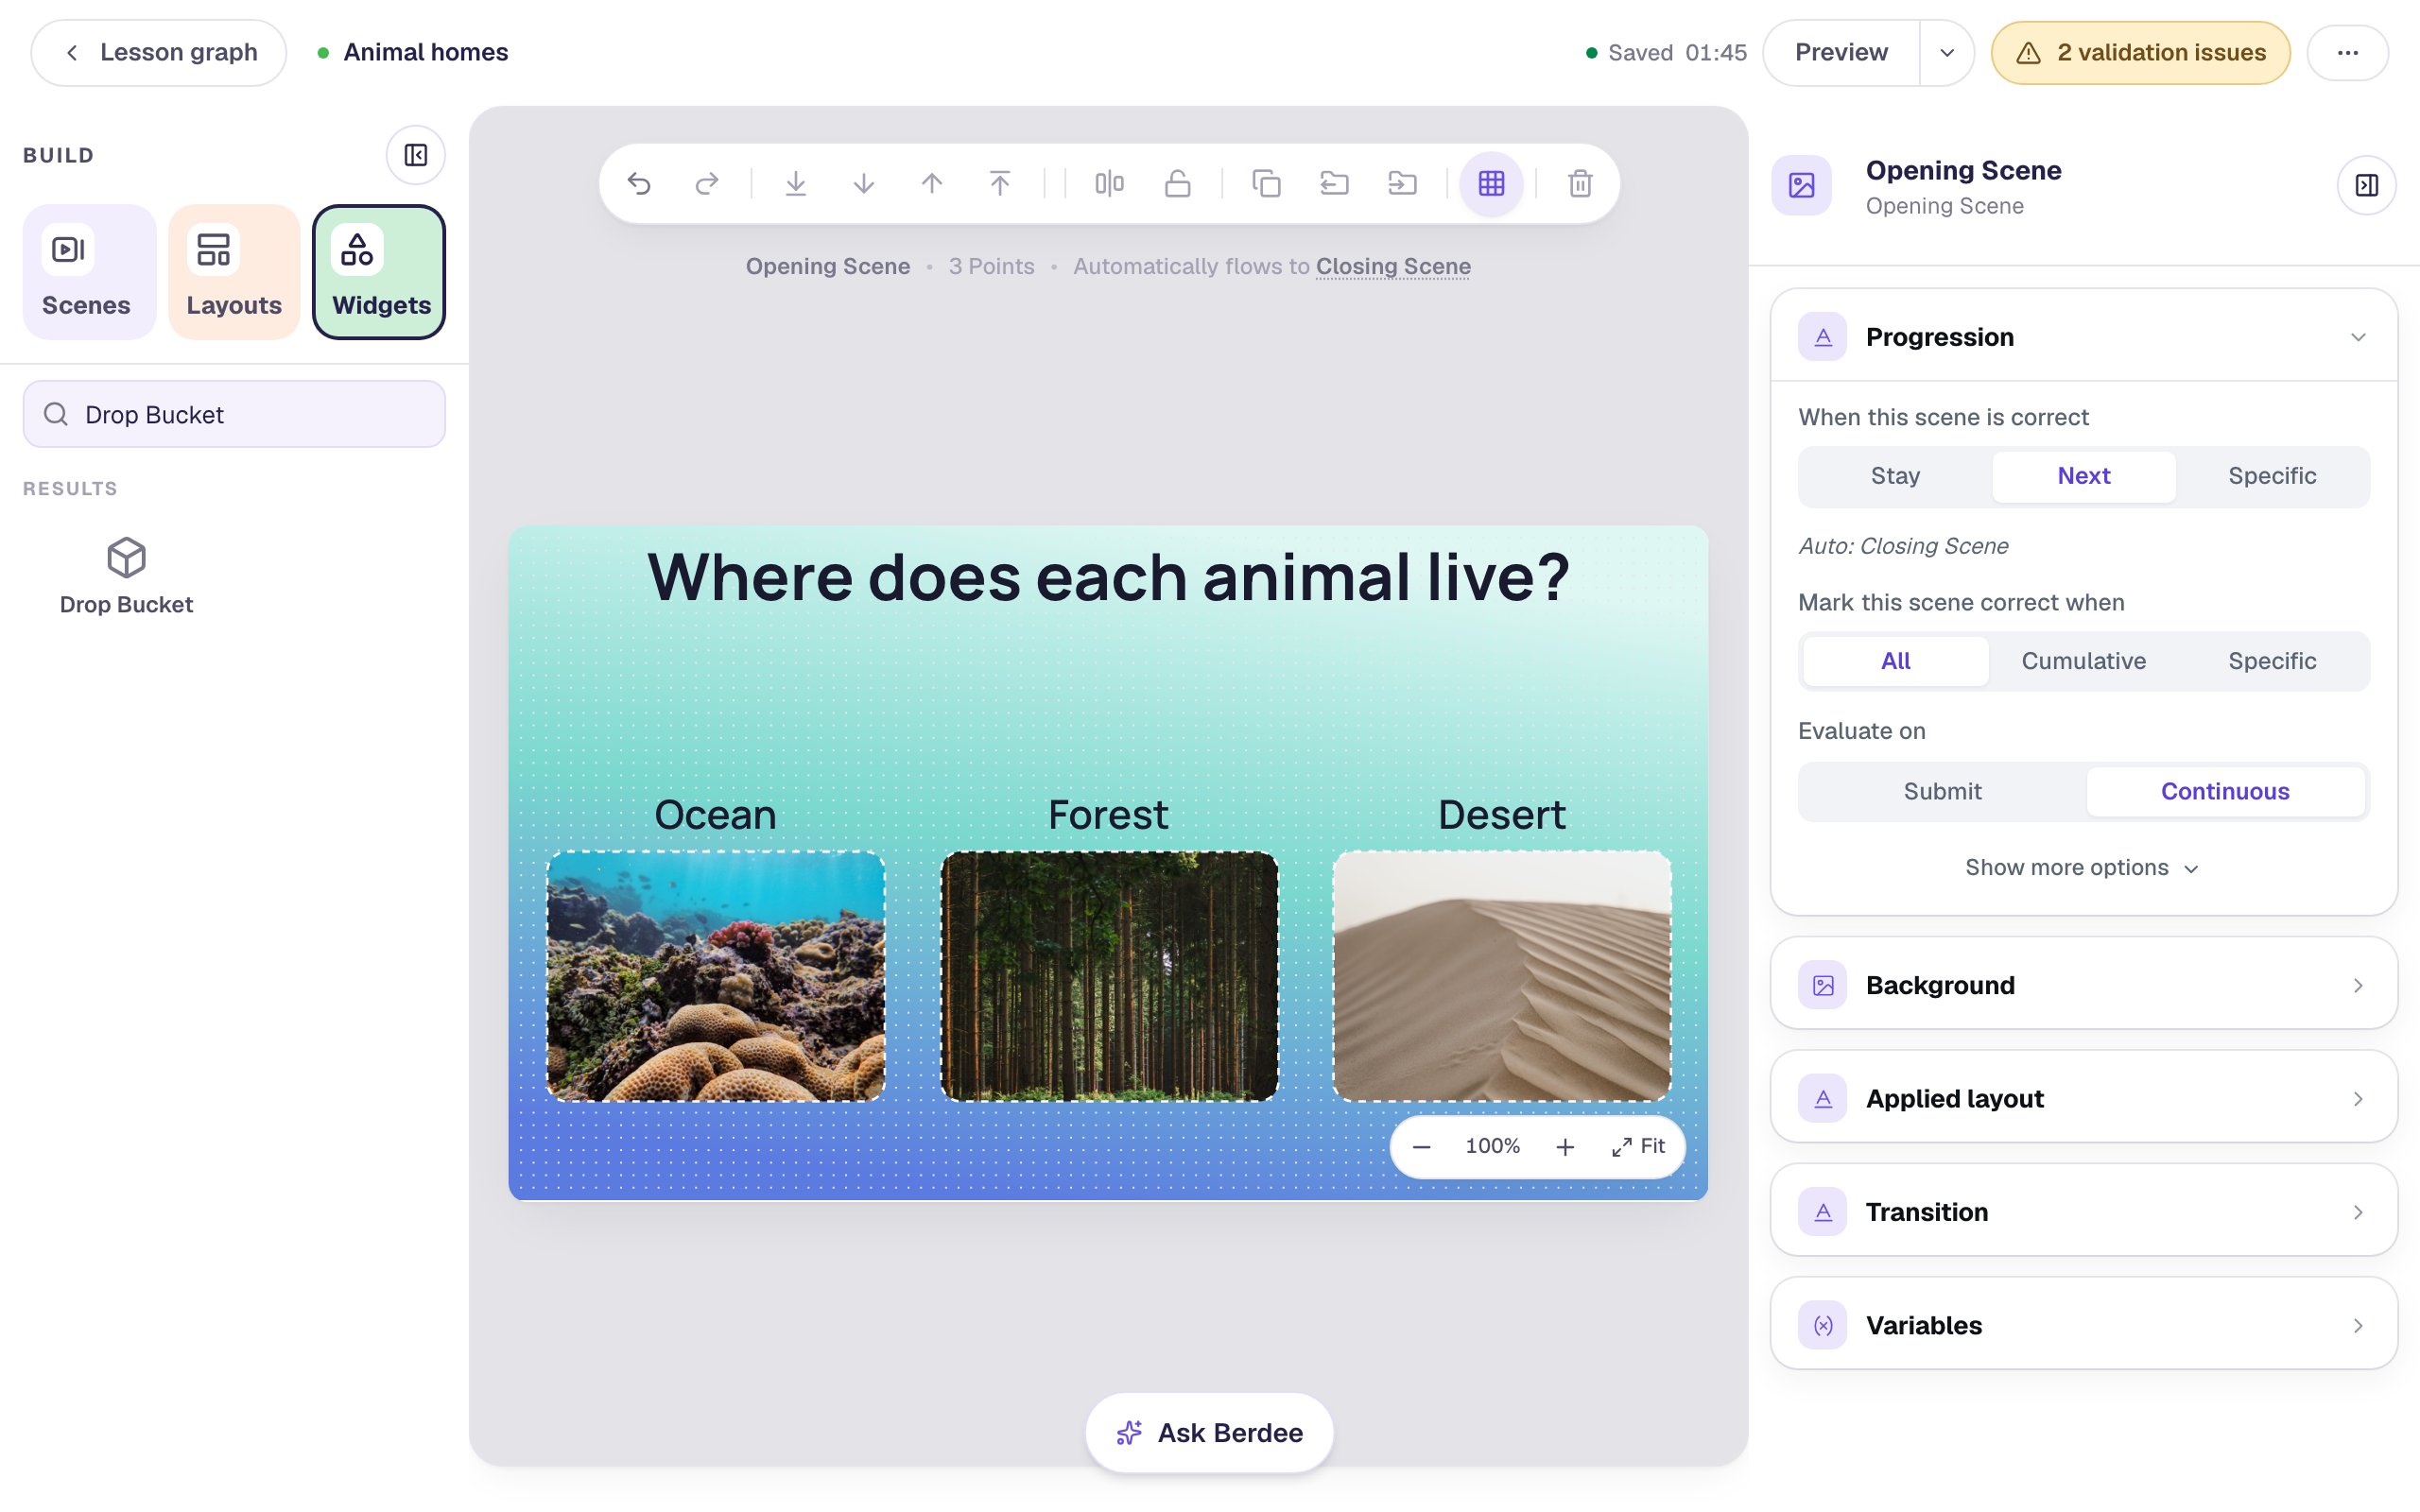
The bucket has to be added after the photo. Widgets added later sit on top, so the bucket catches the drop instead of the photo hiding it.
Step 4: Make the first animal card
Add another Image and set it to 100 × 100. Drag it to the left end of the space under the heading. Pick a photo the same way as before: search sea turtle, then set Fit to Cover and Border Radius to 16. Rename the widget Sea turtle.
Now make it something students can pick up. Open Drag & Drop and set Mode to Draggable. The header now says DRAGGABLE, and a round link badge appears in the middle of the photo. You'll use it in Step 6.
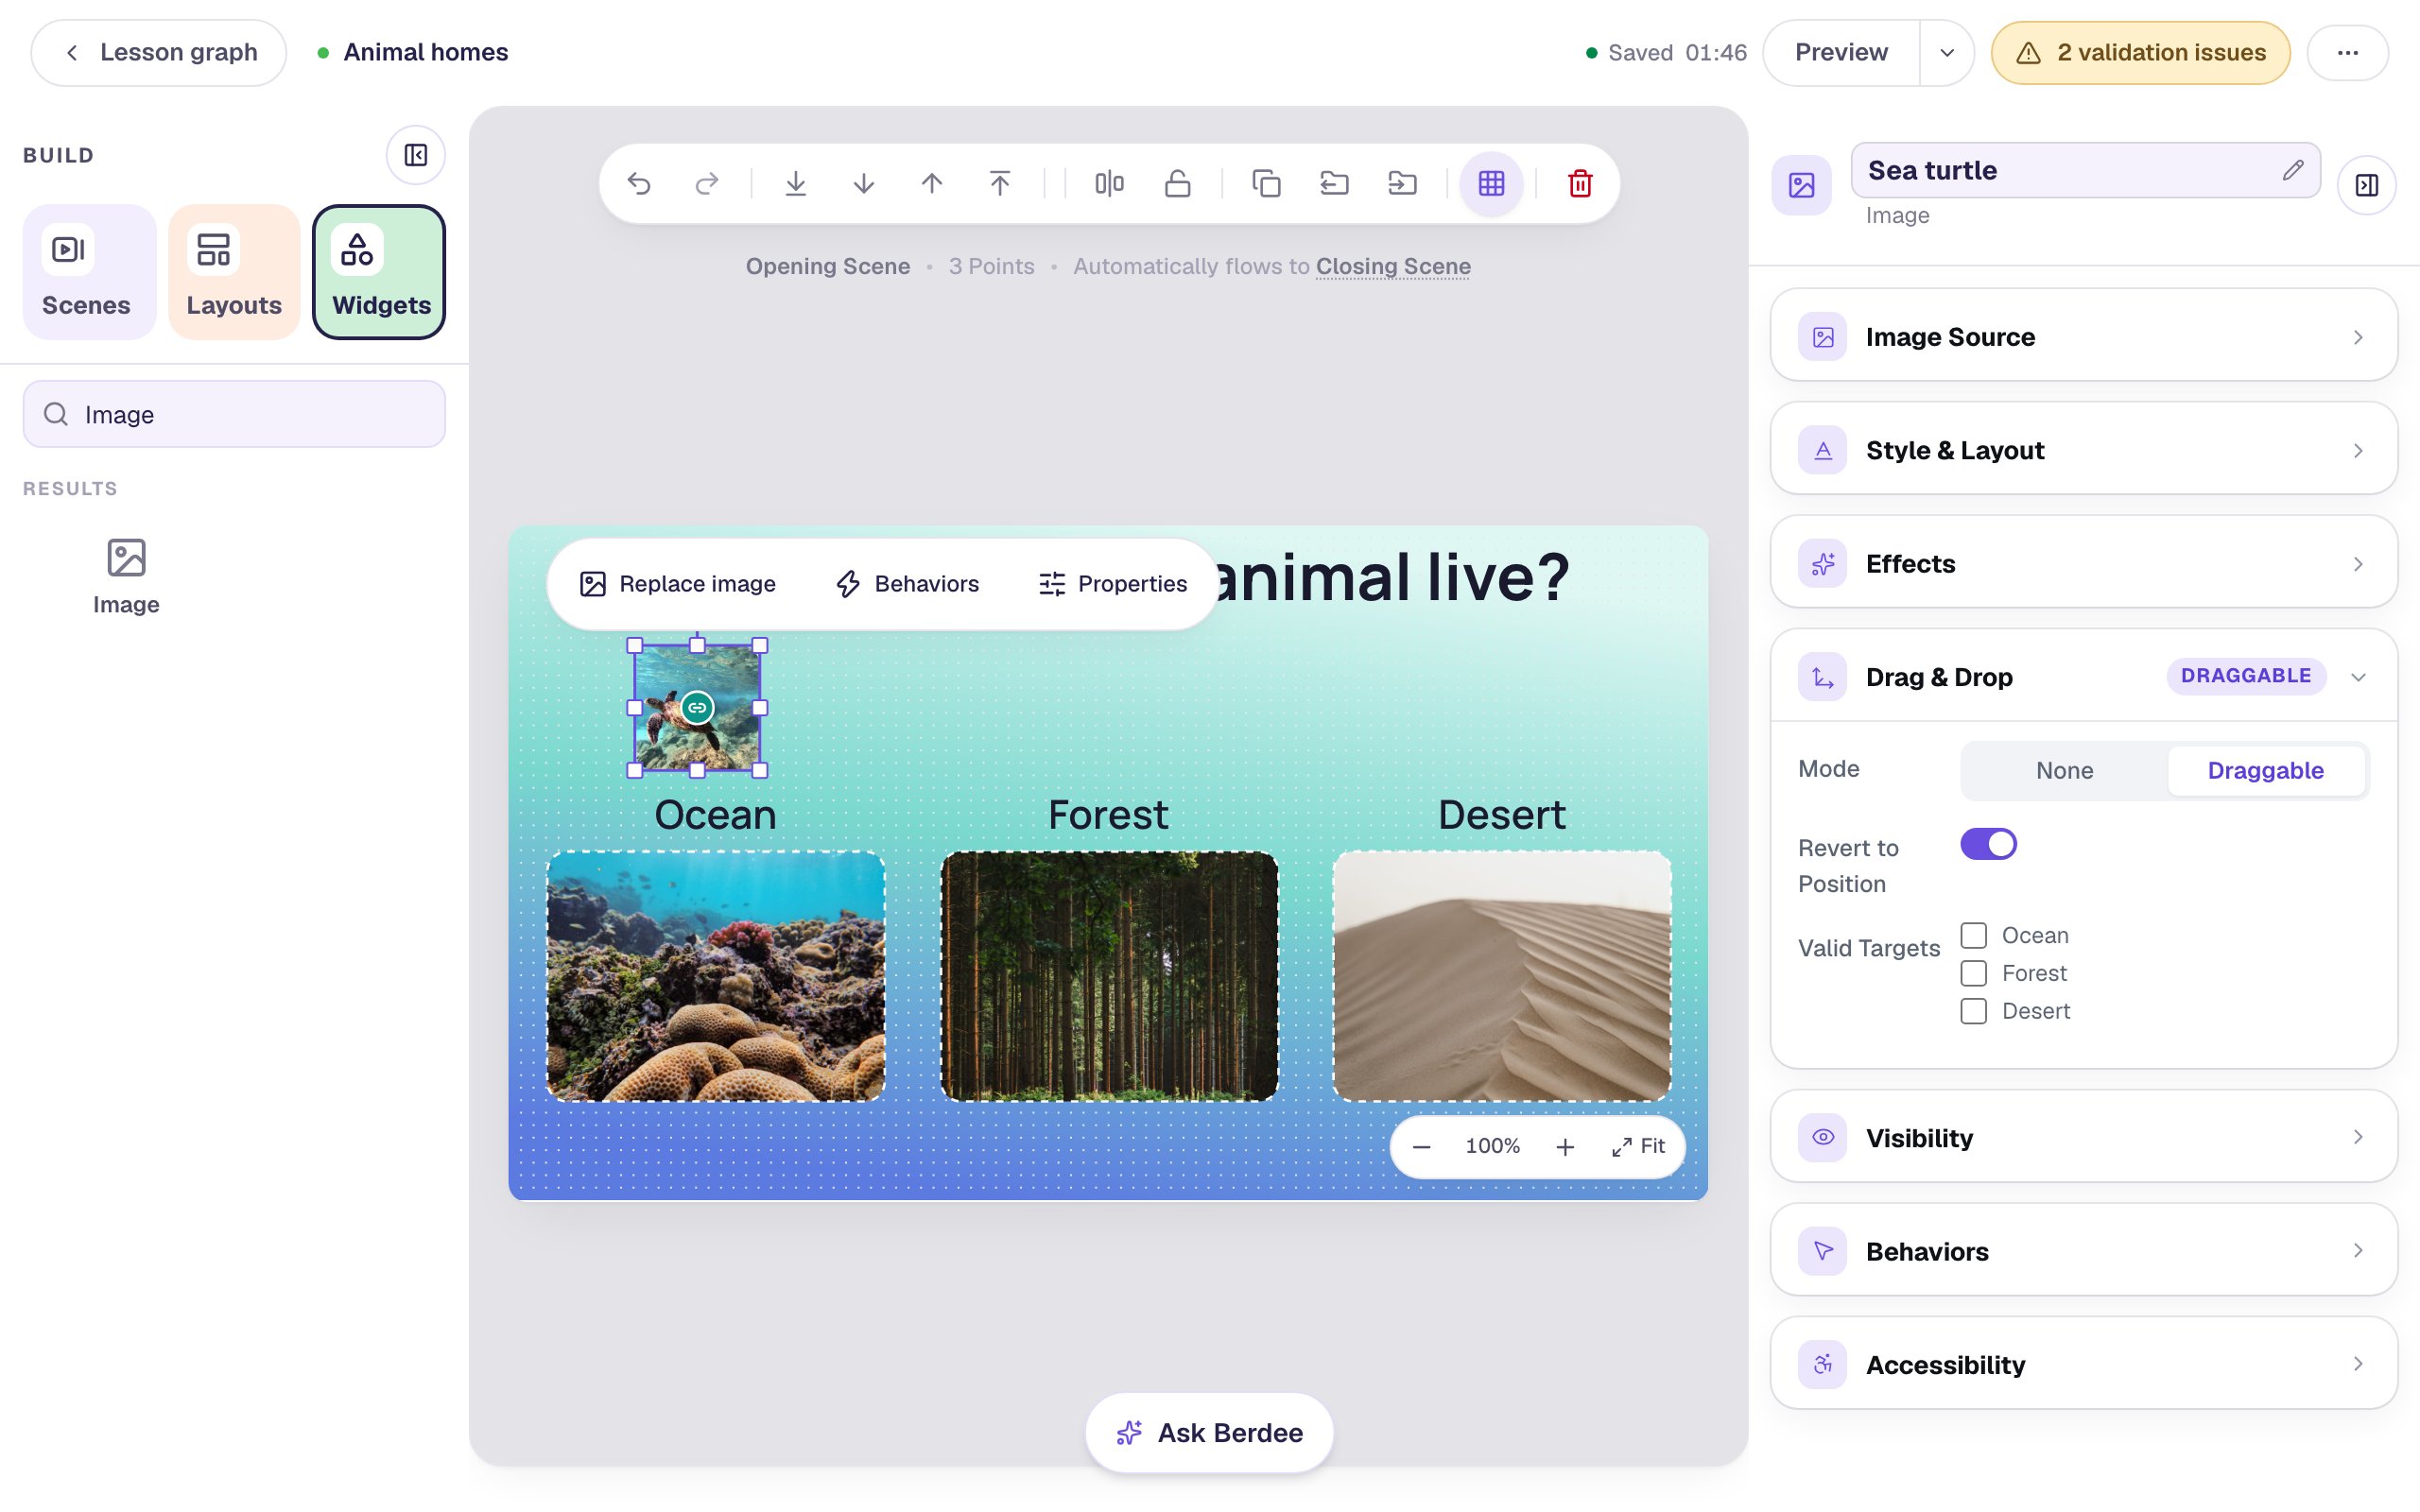
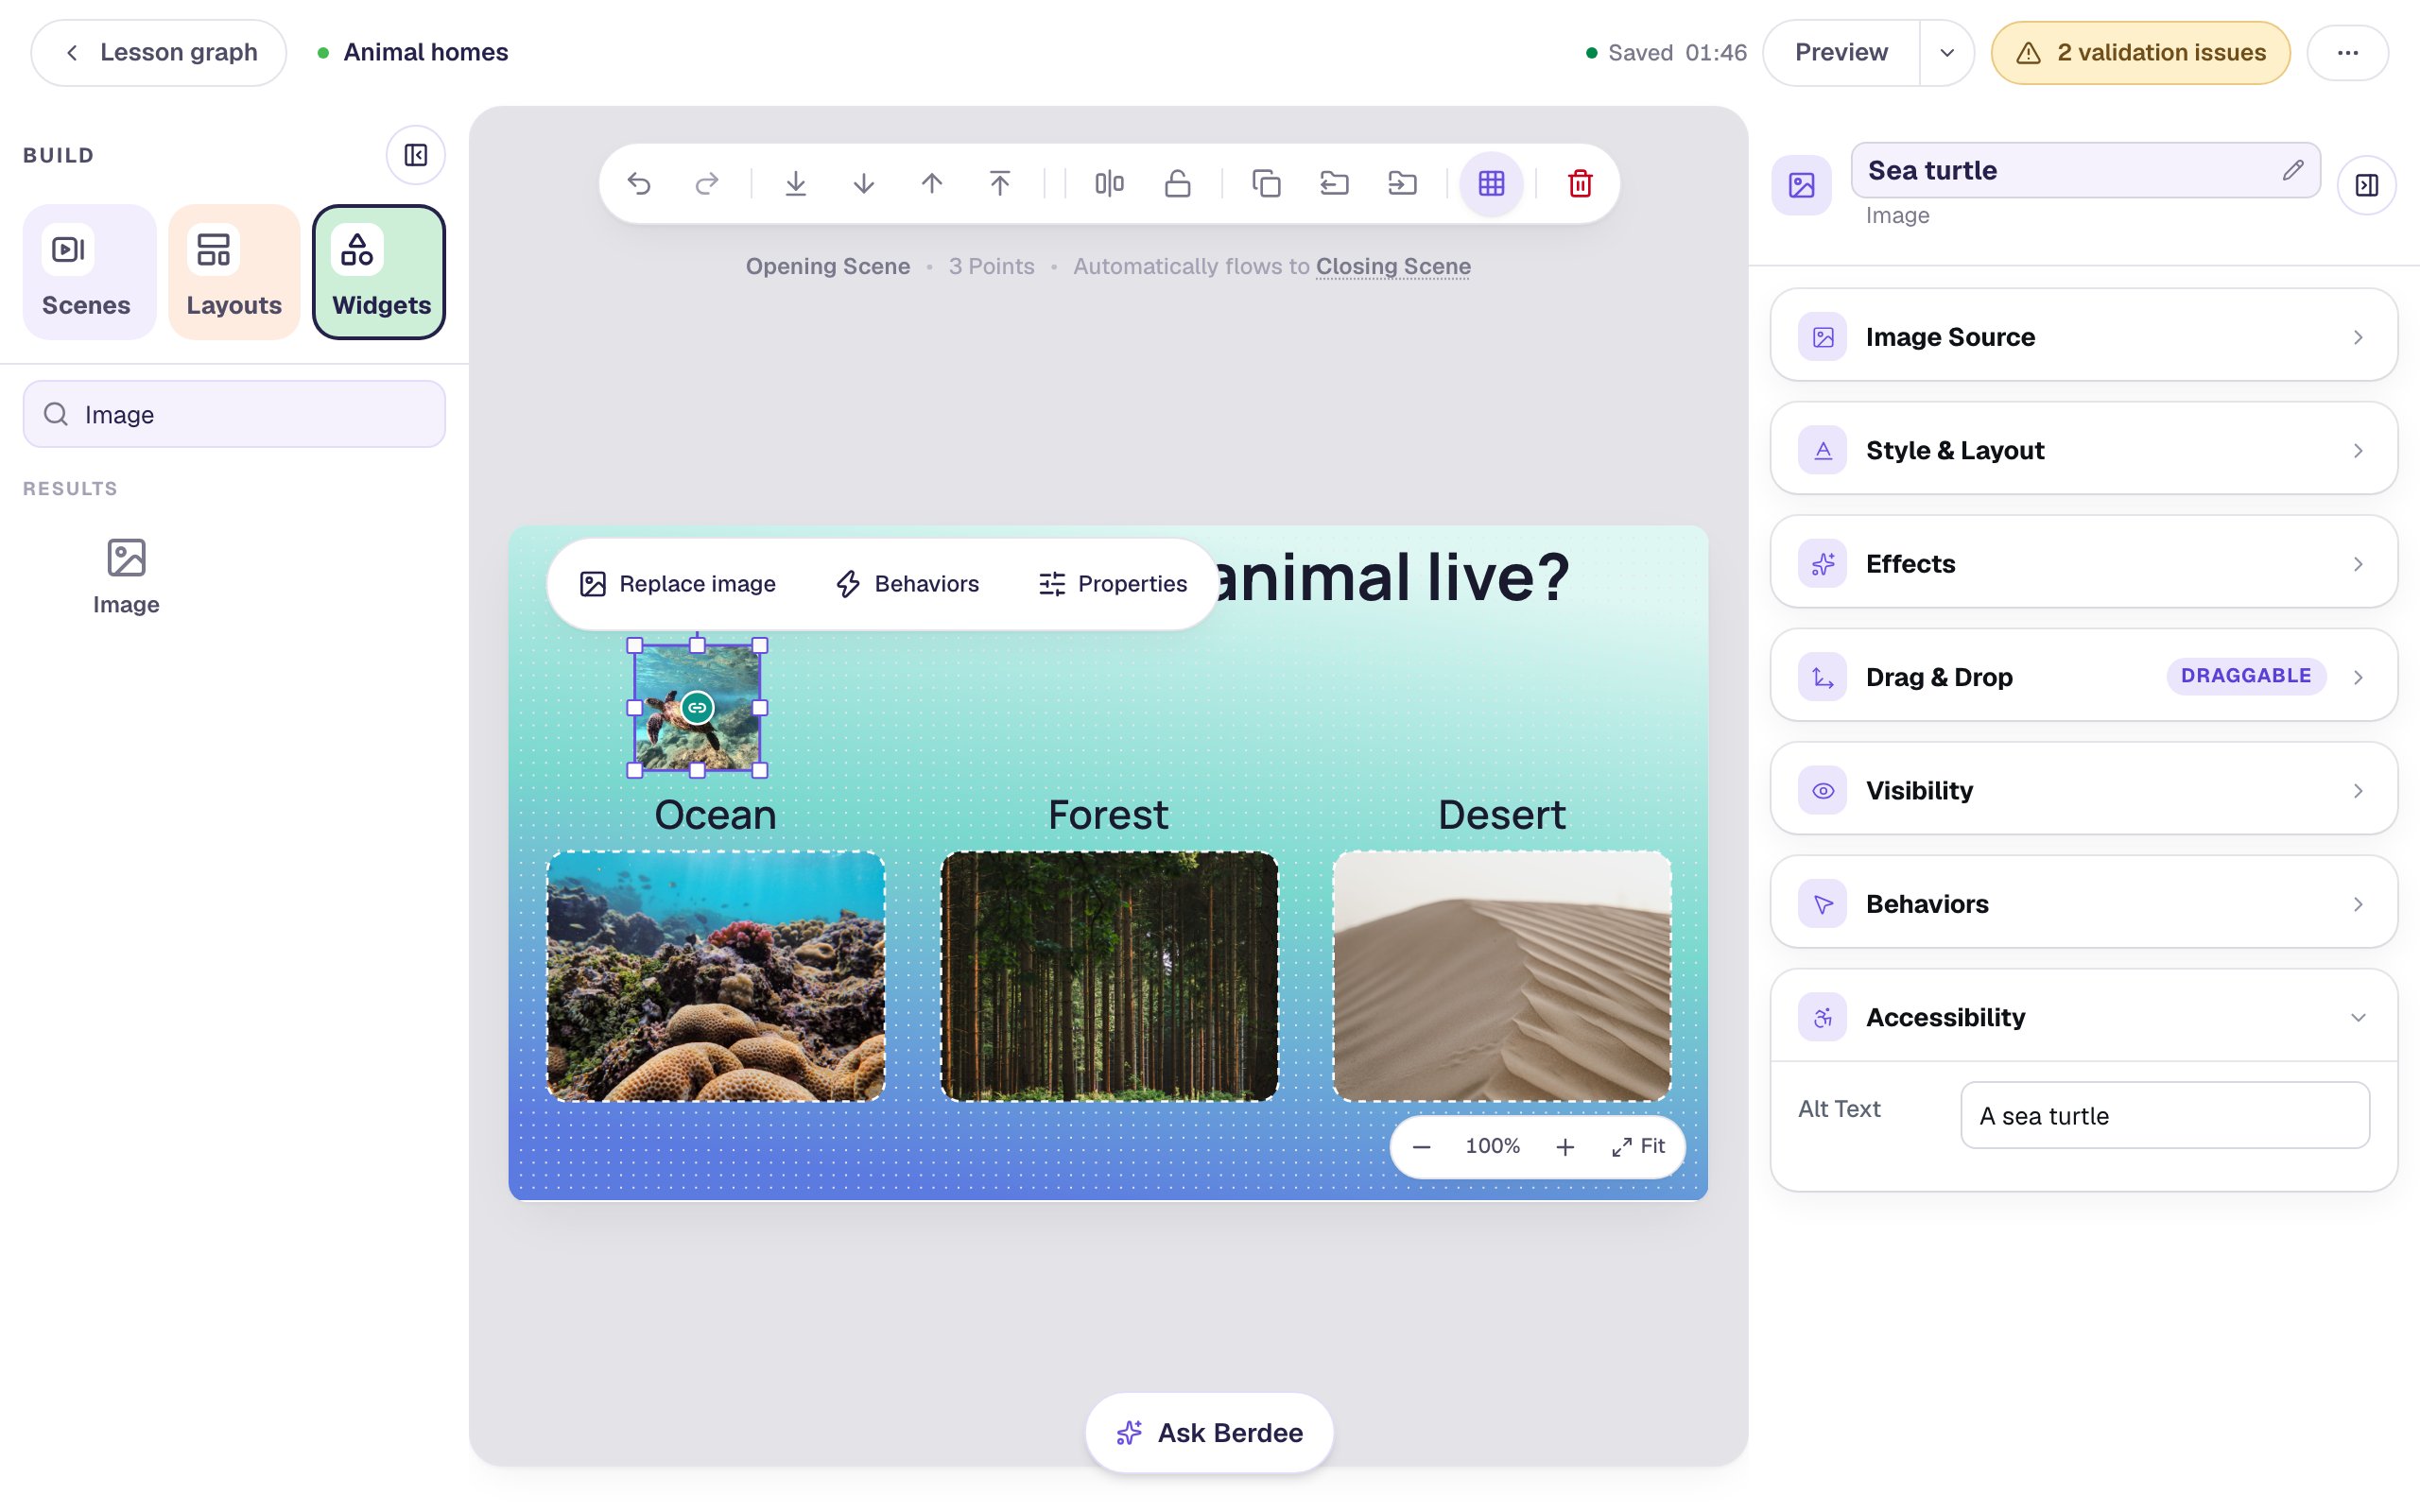
Then open Accessibility and set Alt Text to A sea turtle. For a picture card this matters more than usual: there's no word on the card, so the alt text is the only thing a screen reader can say when a student picks it up, moves it or drops it.
Step 5: Copy the card for the other five animals
The turtle card already has the right size, corners, Fit and Draggable mode, so copy it rather than starting over. With it selected:
- Click Duplicate in the toolbar above the canvas, and drag the copy along the row. Grab it near a corner: the middle is the link badge, and dragging that draws a connection instead of moving the card.
- Open Image Source, click Open Media Library, and pick the new animal's photo.
- Rename the widget, and change its Alt Text.
Don't skip step 3. A swapped photo keeps the alt text you typed for the old one, so a copy you forget still tells screen-reader users it's "A sea turtle".
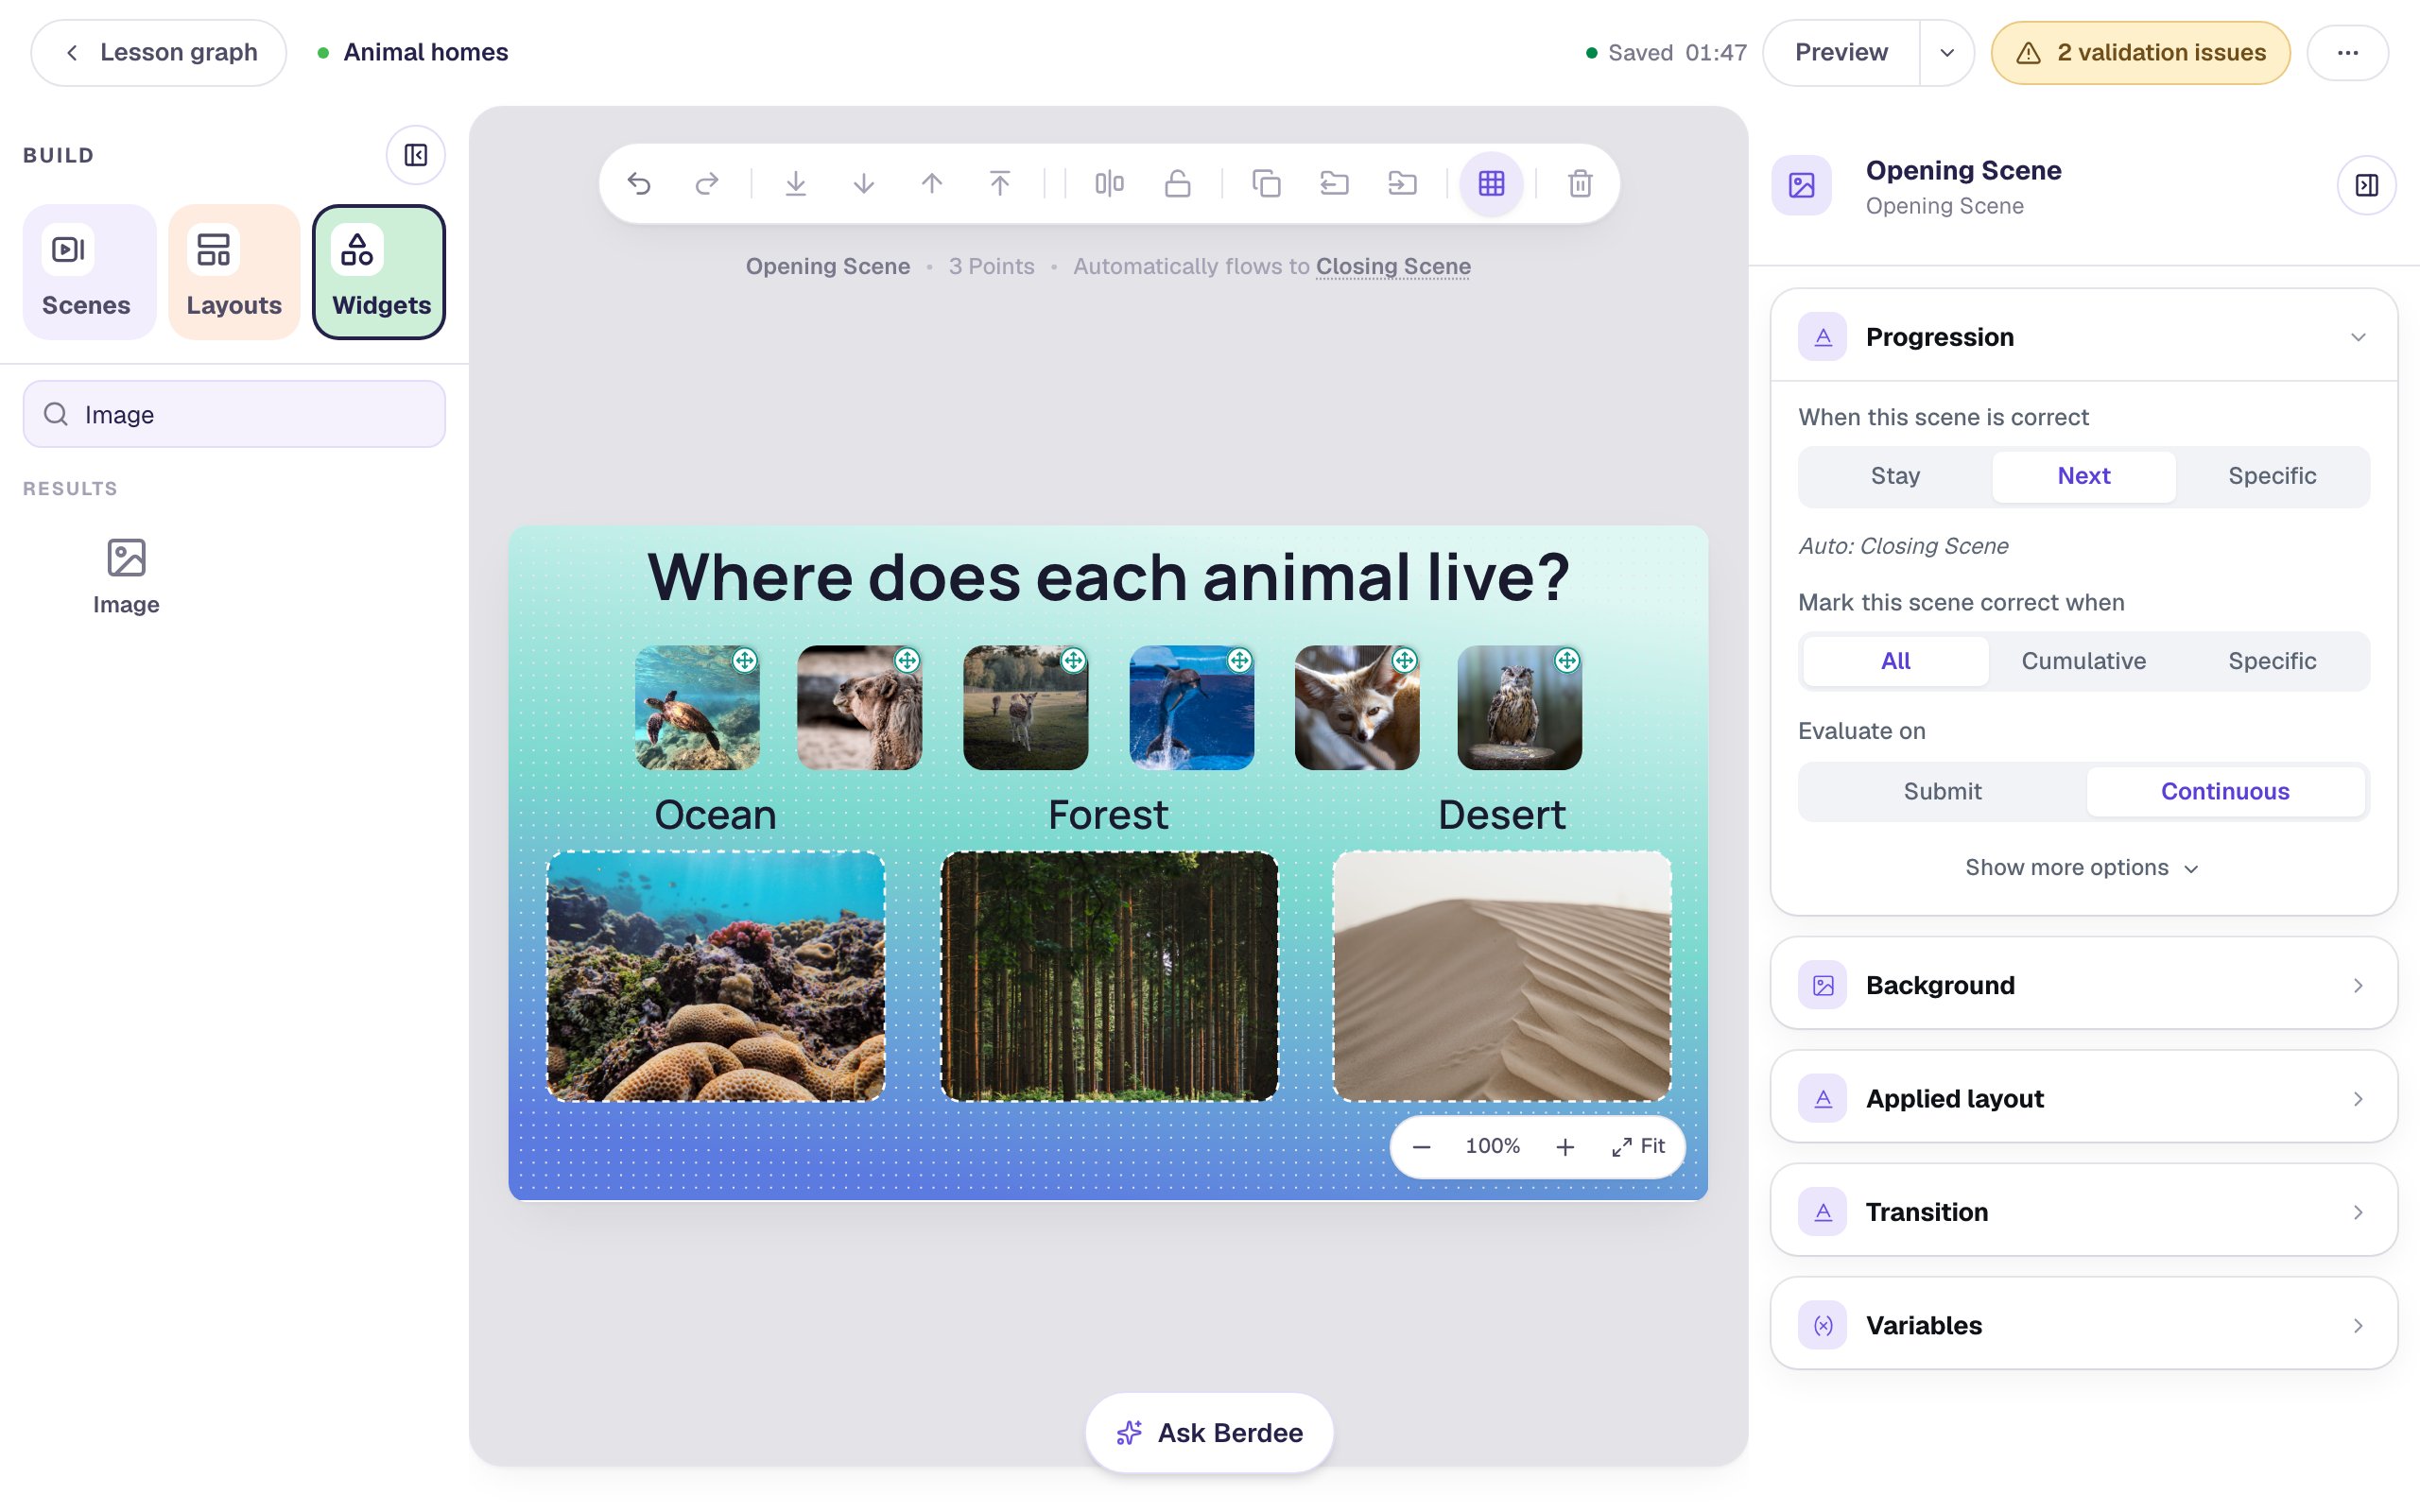
Make five copies: Camel, Deer, Dolphin, Fennec fox and Owl. Mix the habitats along the row, so the order doesn't give the answers away.
Choose close-ups for the cards. On a 100-pixel square, a camel's head is easy to recognize, but a camel far away across the dunes is a speck. And skip photos that argue with the answer, like a fennec fox photographed on a green lawn.
Step 6: Connect each animal to its habitat
This is the answer key, and you draw it. Click an animal to select it, then drag from the link badge in its middle and let go over the habitat where it lives:
- Sea turtle and Dolphin go to Ocean.
- Deer and Owl go to Forest.
- Camel and Fennec fox go to Desert.
Each drag marks the animal correct for that bucket, and lets it be dropped in all three, so students can still choose a wrong home and find out.
To check your work, point at a habitat. Lines appear from every animal that belongs there, and the number in the bucket's corner counts them.
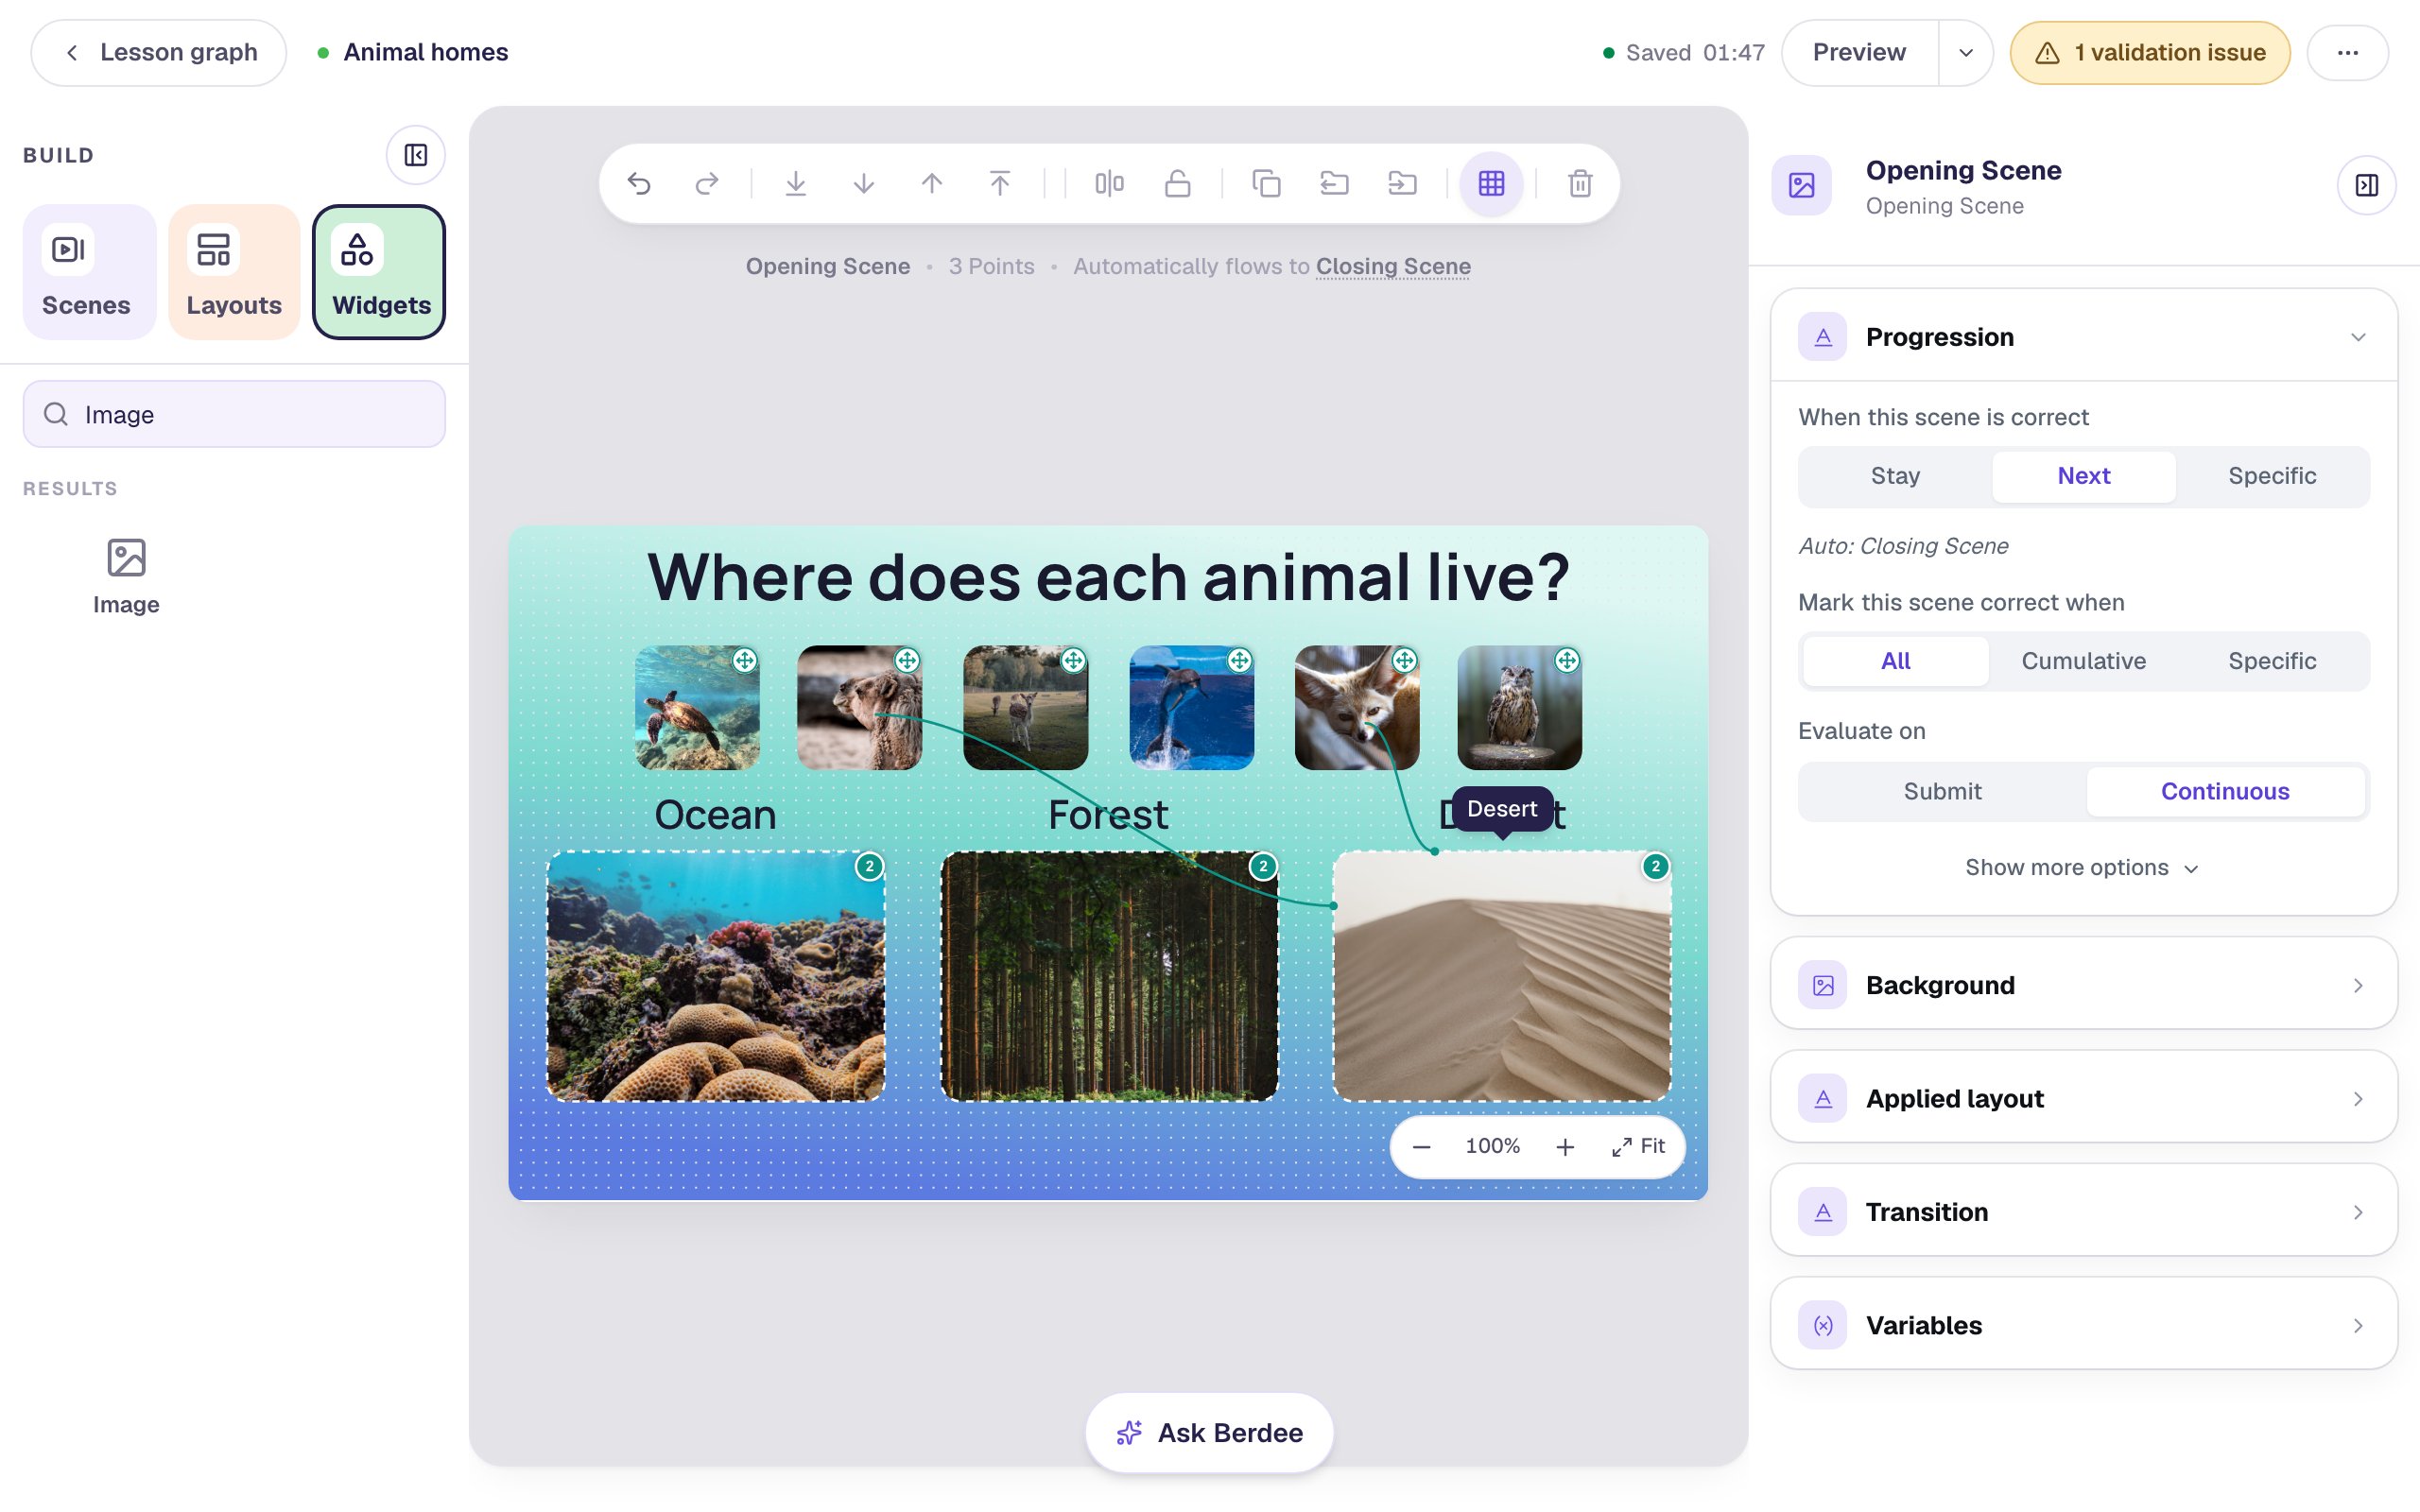
Connected the wrong one? Drag its badge onto the same habitat again to remove the line.
Step 7: Show right and wrong as students sort
Select the Ocean bucket by clicking on the reef, and click ⚙ Configure in the pill above it. Correct draggables lists the answer key you drew: Sea turtle and Dolphin are ticked.
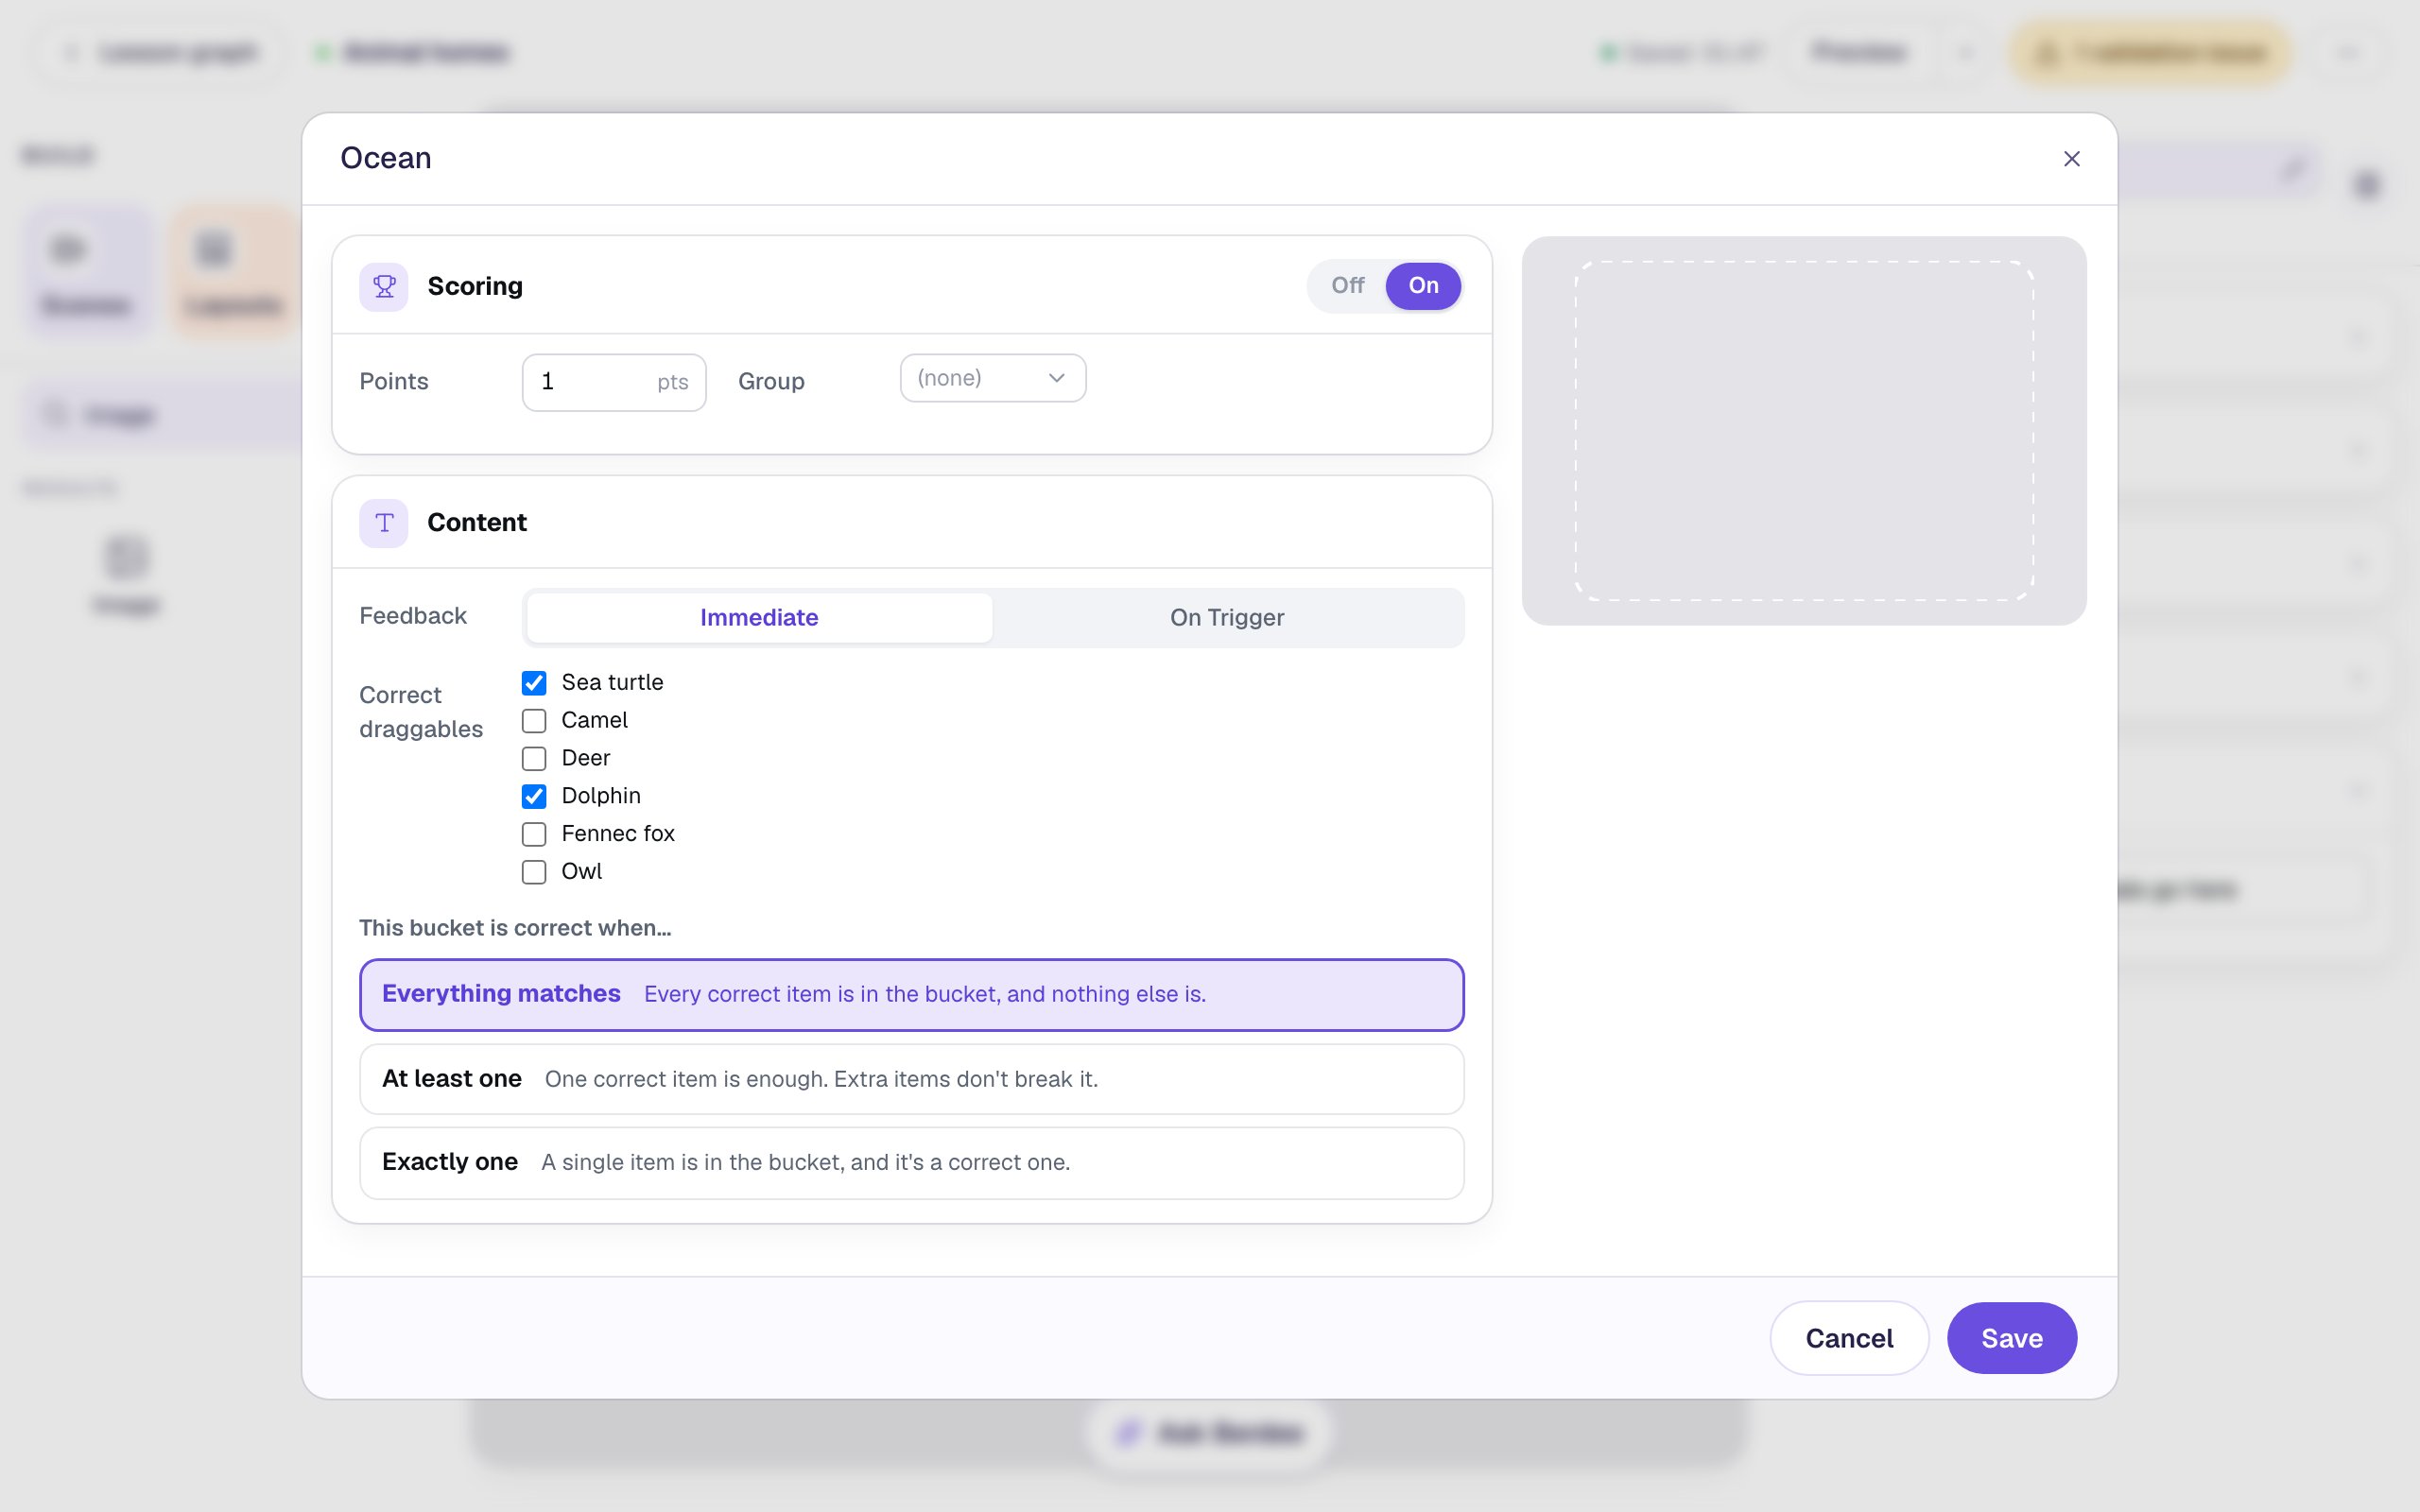
Set Feedback to Immediate, leave This bucket is correct when… on Everything matches, and click Save. Now the outline turns red as soon as an animal that doesn't belong lands there, and green once the habitat holds exactly its two animals. Do the same for Forest and Desert.
Each bucket is worth 1 point, all or nothing, so the activity is out of 3.
Last, the yellow pill at the top asks for a way to finish early (No Lesson-Submit Button). Add a Submit Button, change its Label to I'm done, set Submits to Lesson, lower its Font Size to about 18 px, and put it in the bottom-left corner.
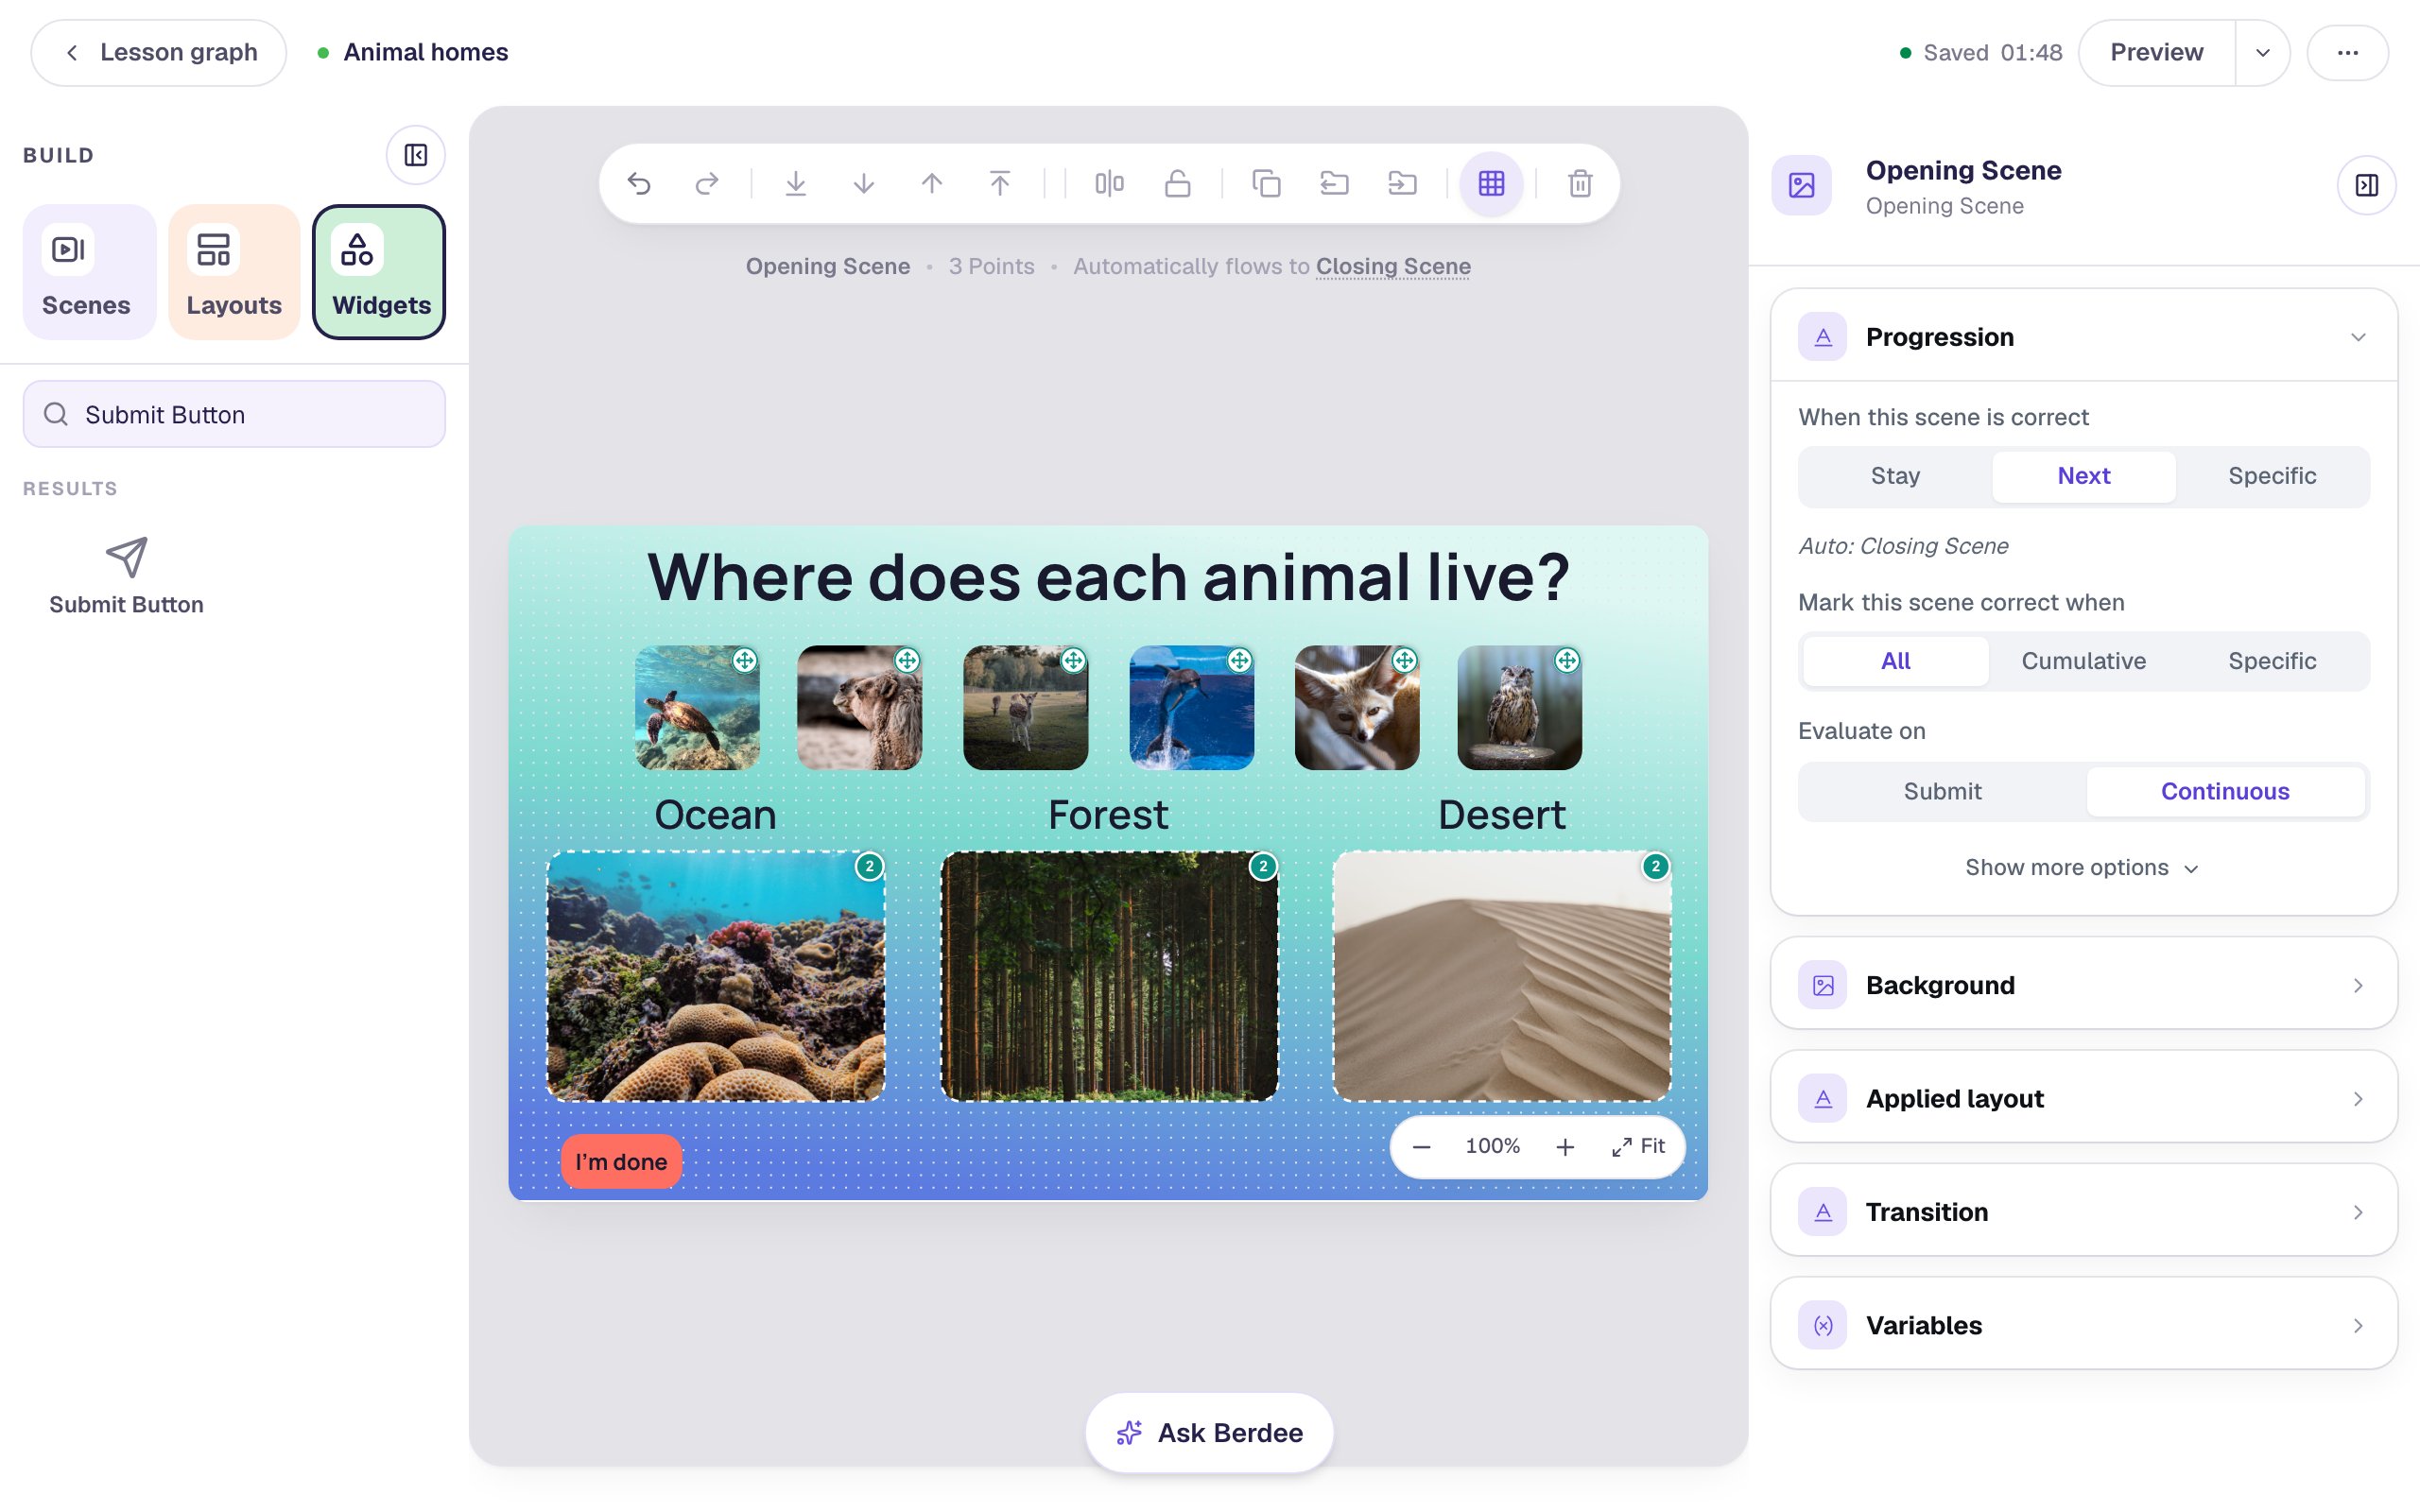
You don't need a Check button. The scene's Progression is Next, checked Continuously, so the moment all three habitats are right, Berdee moves the student on to the Closing Scene.
Step 8: Sort them in preview
Click Preview and sort the animals as a student would. Put one in the wrong home on purpose:
Drop the camel on the ocean and its outline turns red. The cards line up side by side inside the habitat, and the photo still shows around them.
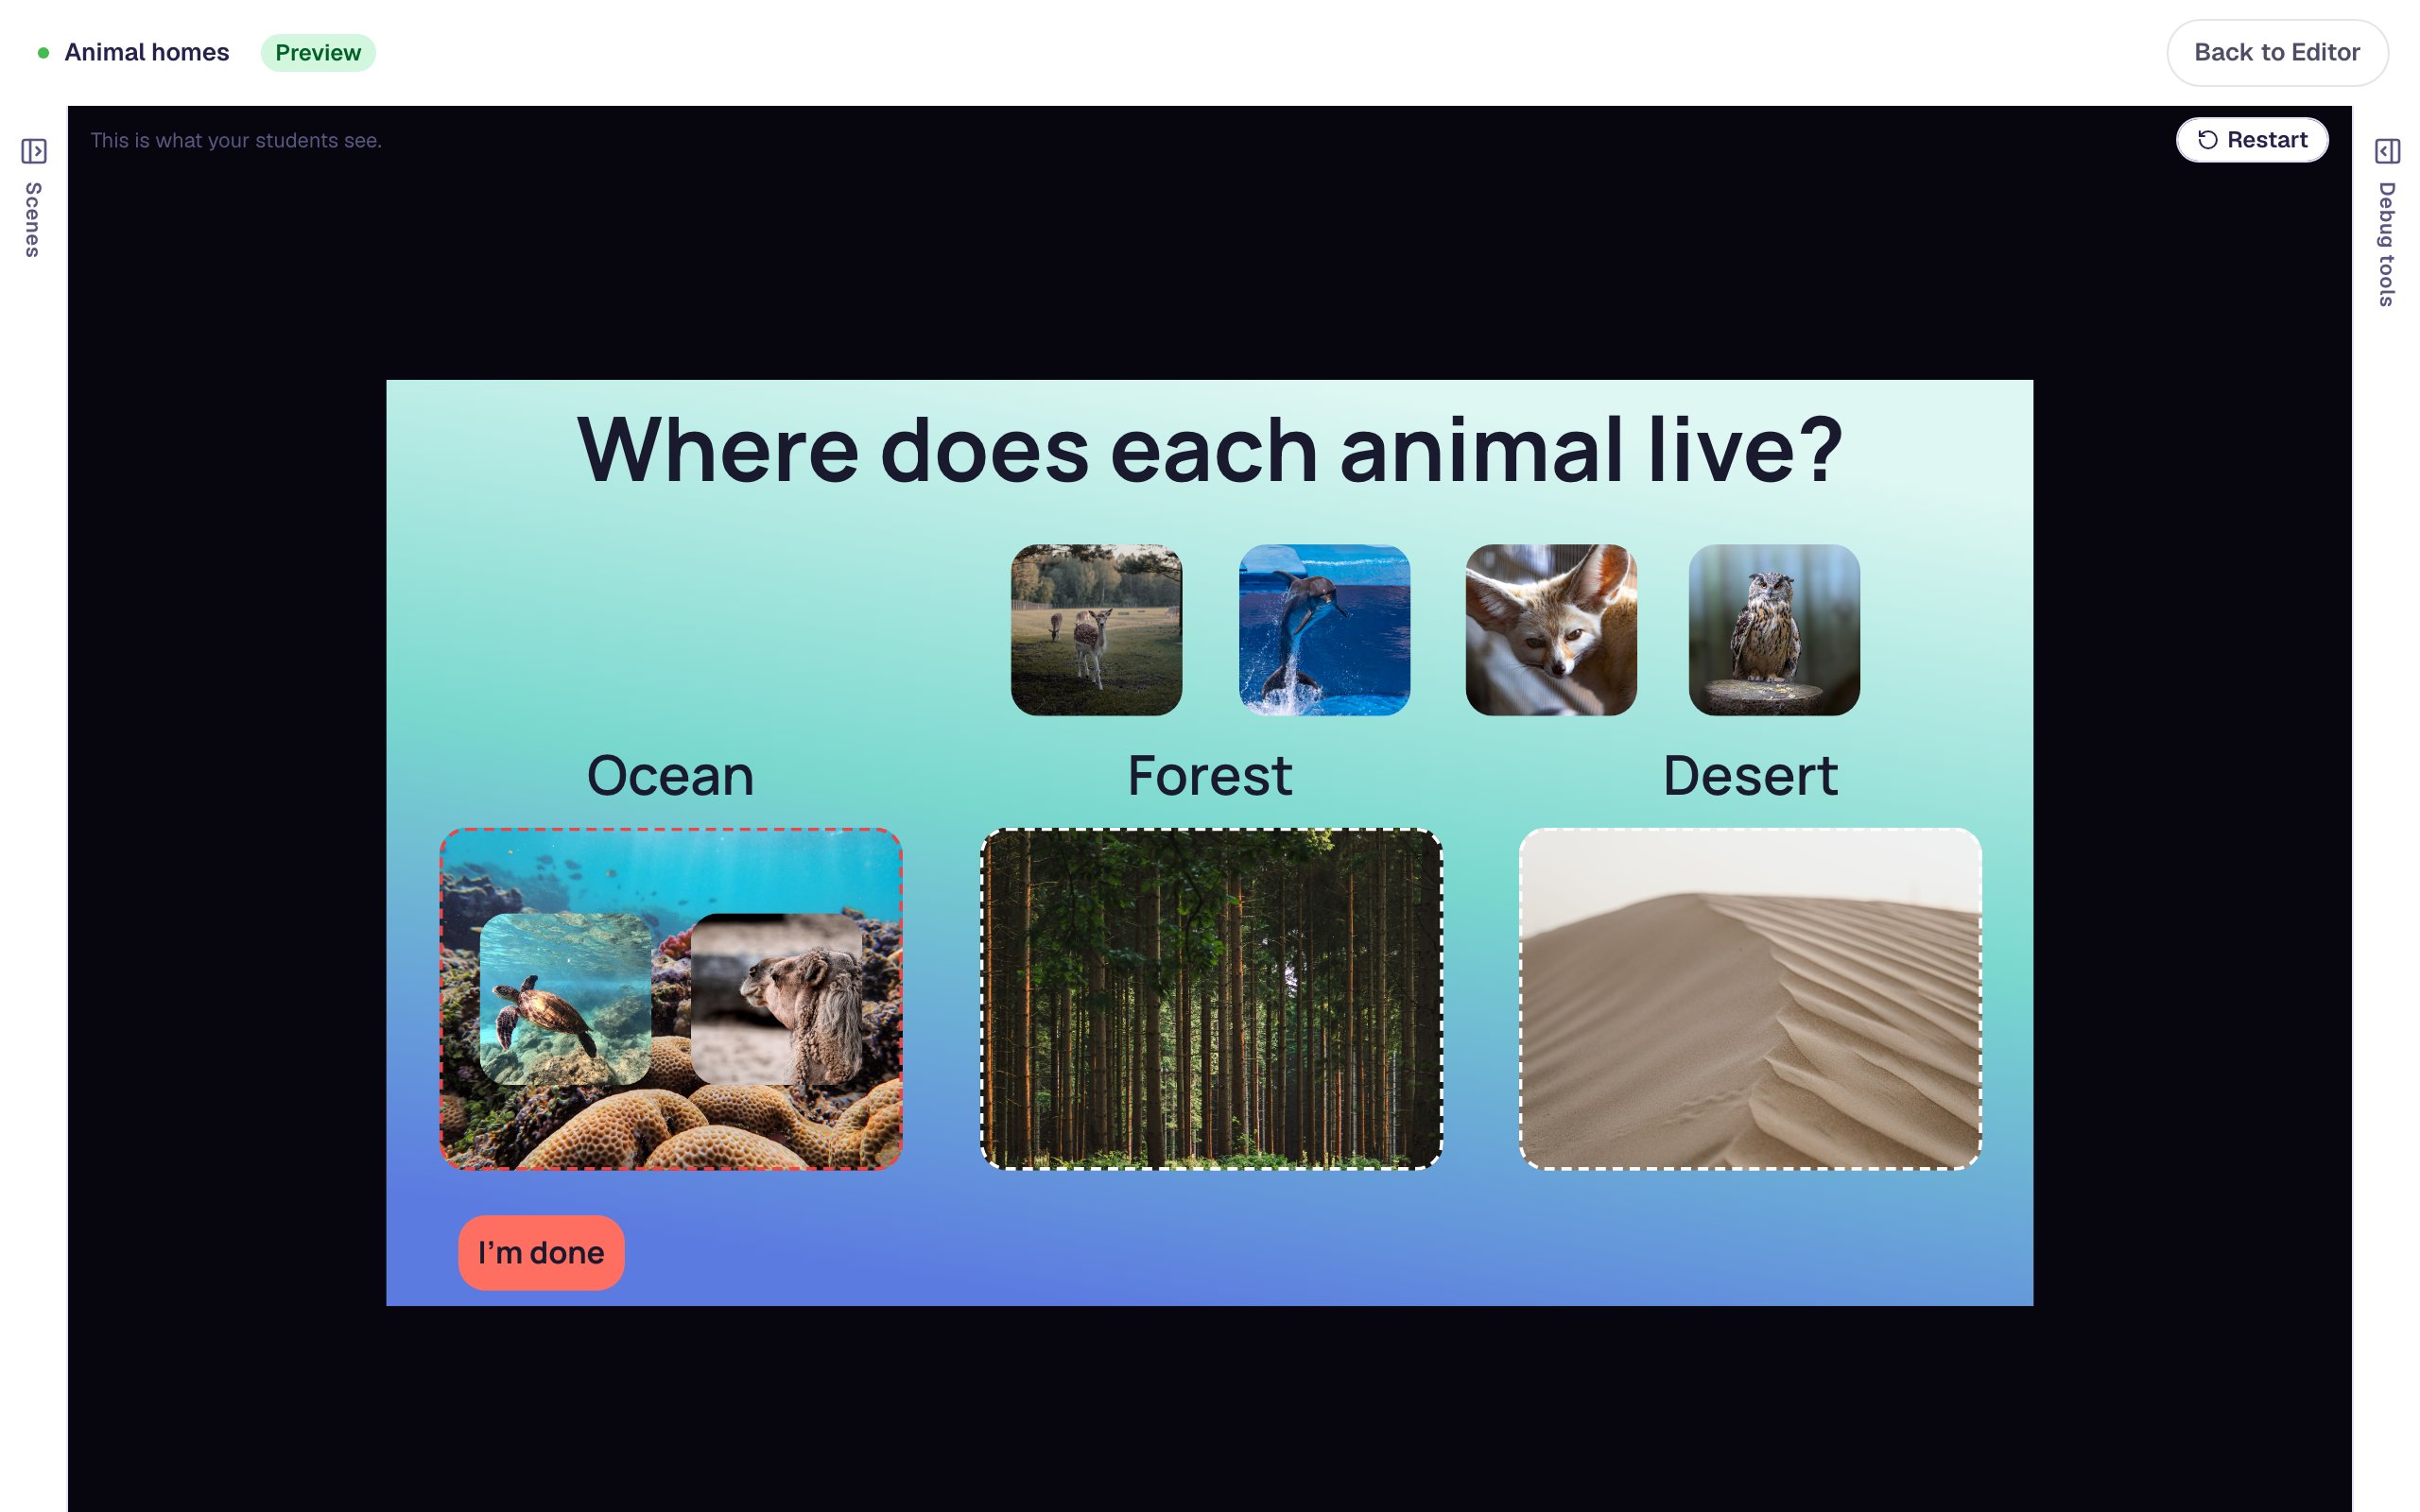
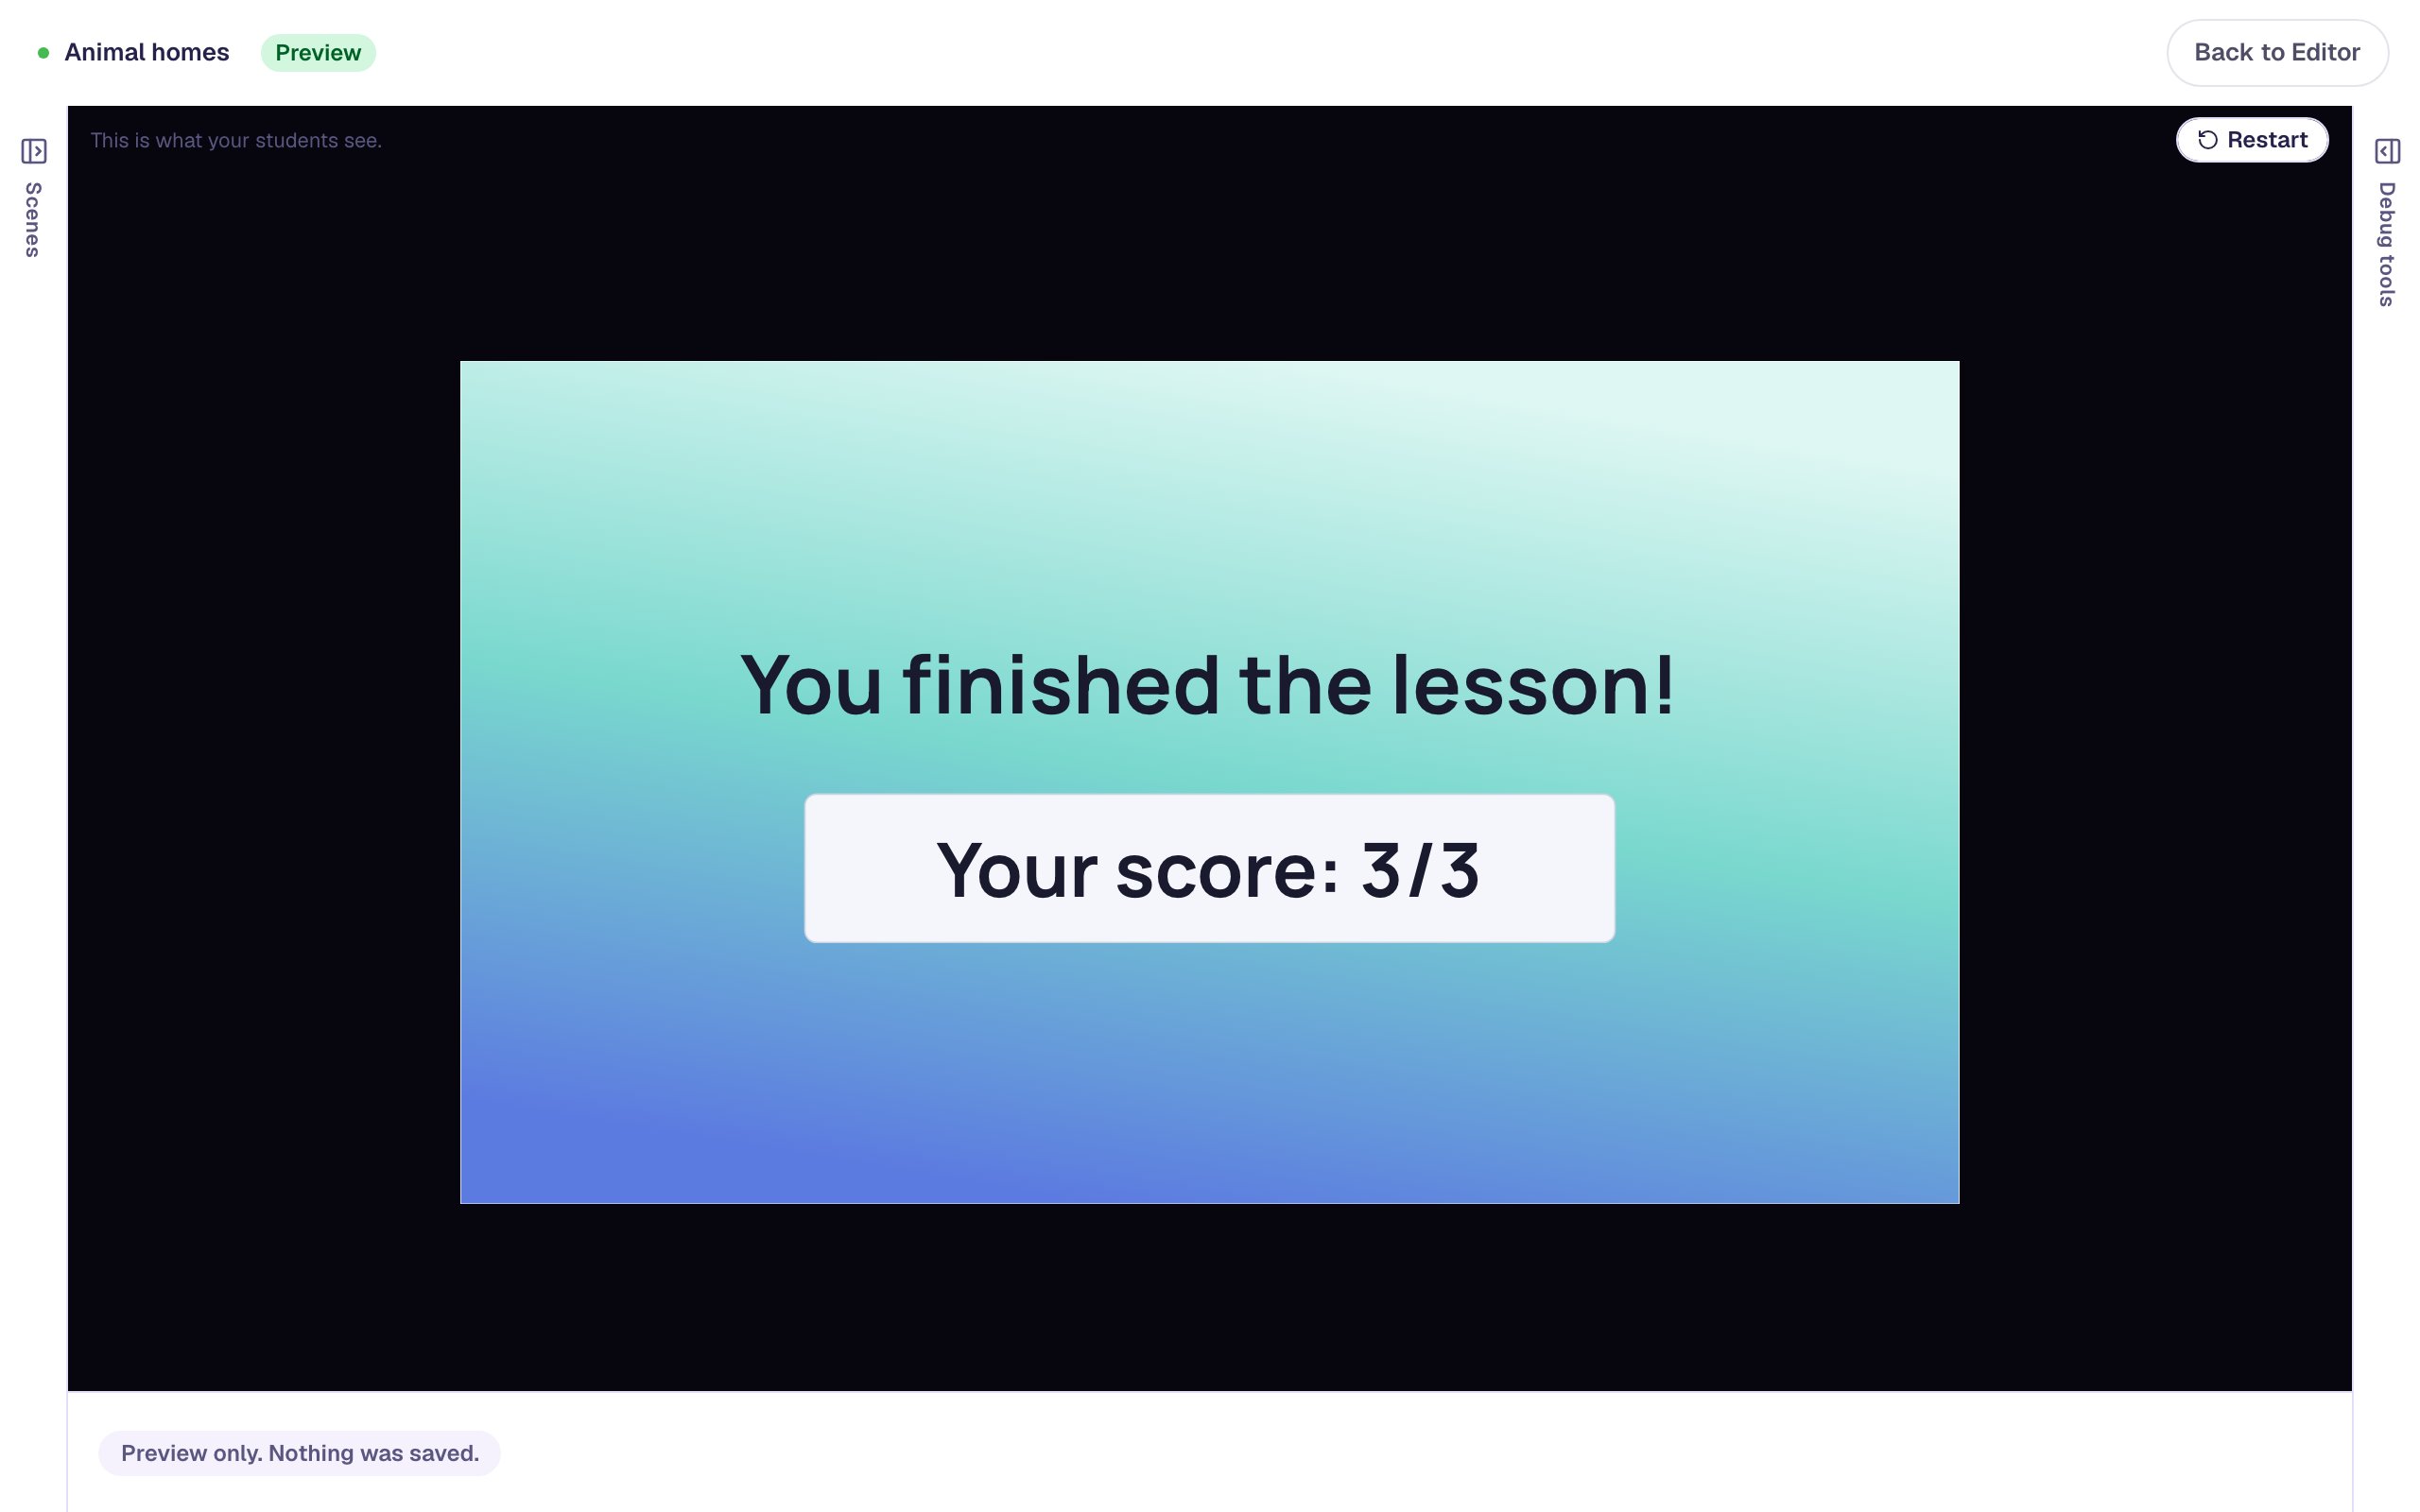
Drag the camel to the desert and the red goes away. Sort the rest, and the lesson moves on by itself to the Closing Scene with a score of 3 out of 3.
What you built
You built a picture sort that students can do before they can read:
- three habitat photos, each with a see-through Drop Bucket of the same size on top,
- six animal photos in Draggable mode, each with alt text a screen reader can say,
- one card built and styled once, then duplicated with a new photo and a new alt text,
- an answer key drawn by connecting each animal to its home,
- Immediate feedback, so a wrong animal shows up red right away, and
- a scene that moves on to the ending once every animal is home.
The same idea works for any picture you can drop things onto: label the parts of a plant by dropping words onto a diagram, or place each planet on a picture of the solar system. Make the buckets small and see-through, and set each one's This bucket is correct when… to Exactly one. See Drop Bucket Widget for the other rules.
Make this lesson yours
Add the lesson you just watched being built to your account, then change it for your class: your questions, your pictures, your colors.
Free to sign up, and you'll come straight back here. I have an account