Move on when students get four of five right
Build a five-problem times-tables check that lets students move on with 80% right, using the scene's Cumulative rule and Passing %, and sends everyone below that to a short practice scene.
- Level
- Intermediate
- Time
- About 15 min
- Steps
- 8
- Updated
- Oct 14, 2026
A sevens check where four or five right answers go straight to the ending, and three or fewer open a skip-counting practice scene first.
Get the finished lesson
Skip straight to the result, or keep it open beside the steps. Add this tutorial's lesson to your account and explore how it works in the studio.
Free to sign up, and you'll come straight back here. I have an account
A quick check doesn't need to be perfect to show a student is ready. If someone gets four of five times-tables right, one slip shouldn't hold them back. If they get two right, they could use a minute of practice before moving on.
In this tutorial you'll build a five-problem sevens check on a single scene. Instead of asking for every answer to be right, the scene counts as passed at 80%, which is four of five. Students who pass go straight to the ending. Everyone else sees a short Practice scene that shows how to count by sevens, then finishes the lesson.
The setting that does this is the scene's Cumulative rule, with a Passing % you choose. If you haven't used the Lesson Graph's wrong-answer path before, Show an explanation when a student gets it wrong covers it one question at a time.
Step 1: Set up the check scene
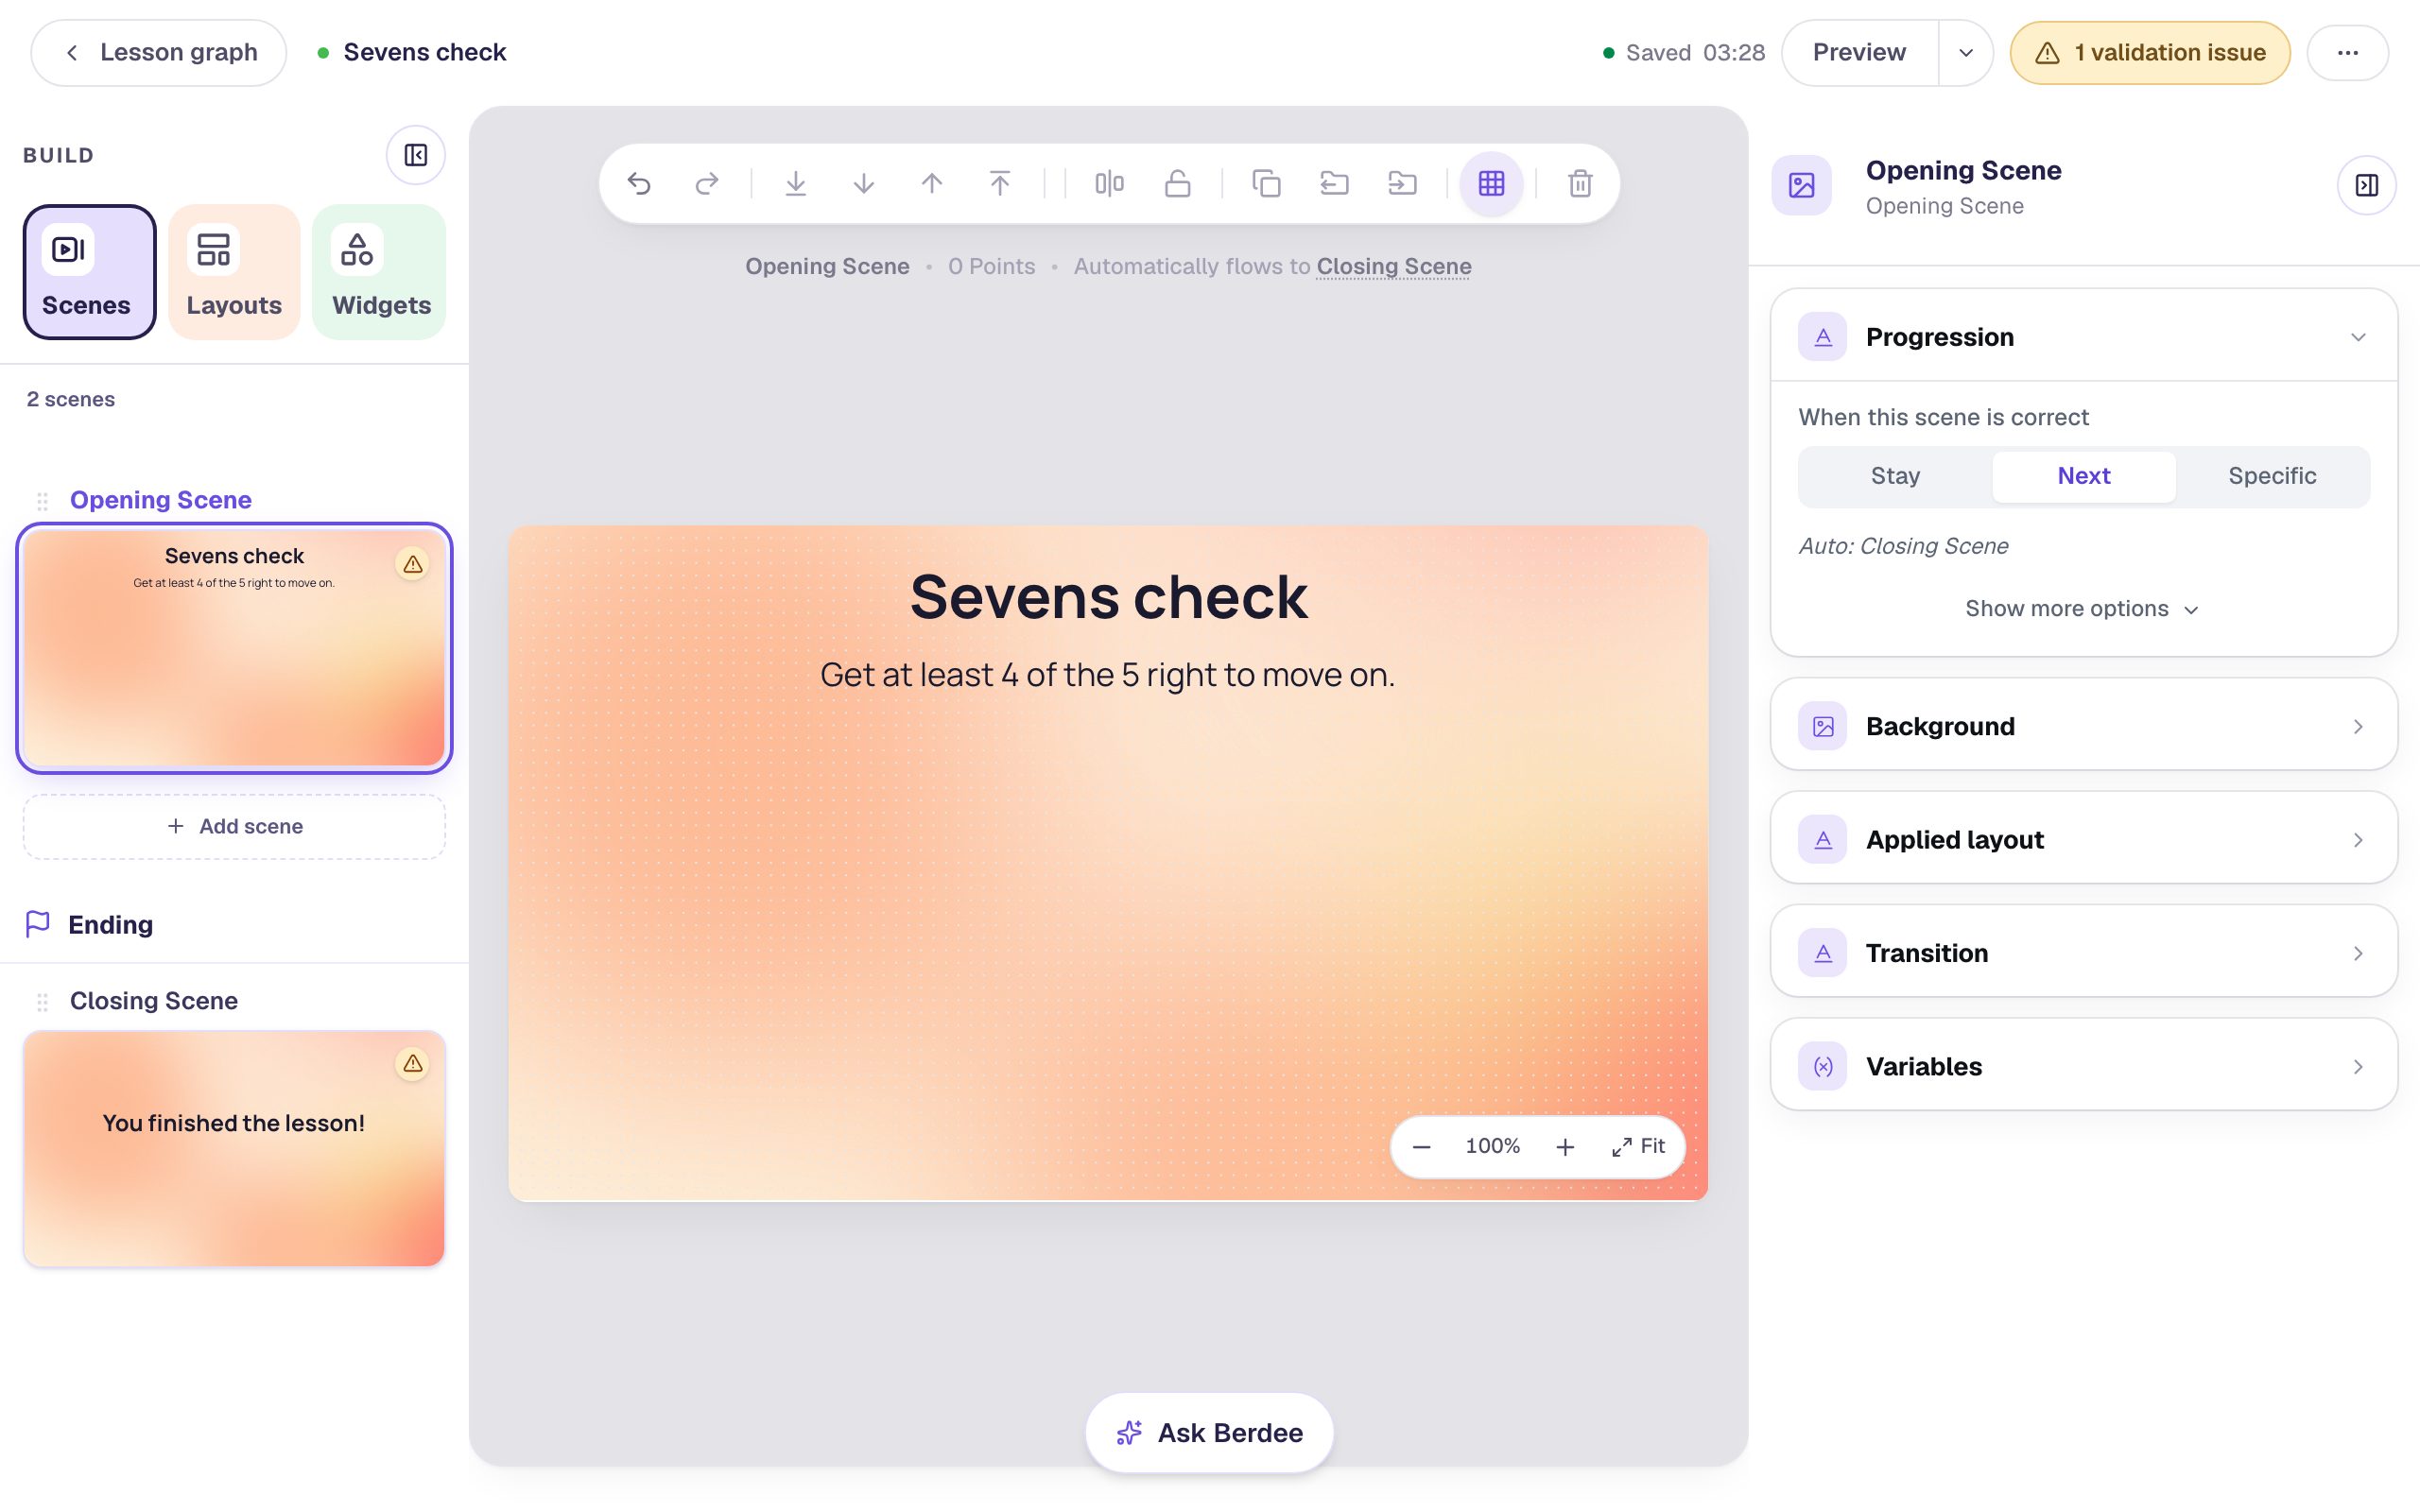
Start a blank lesson (New lesson, then Start from scratch) and name it Sevens check. Give the Opening Scene a background (we used the Mesh sunrise gradient from Background → Choose a style), and give the Closing Scene the same one so the ending matches.
On the Opening Scene, add:
- A Heading:
Sevens check, at about 48 px. - A Body under it that tells students the goal:
Get at least 4 of the 5 right to move on.
Step 2: Add the first problem
Each problem is two widgets side by side: a Subheading with the question and a Number Input for the answer.
- Add a Subheading with the text
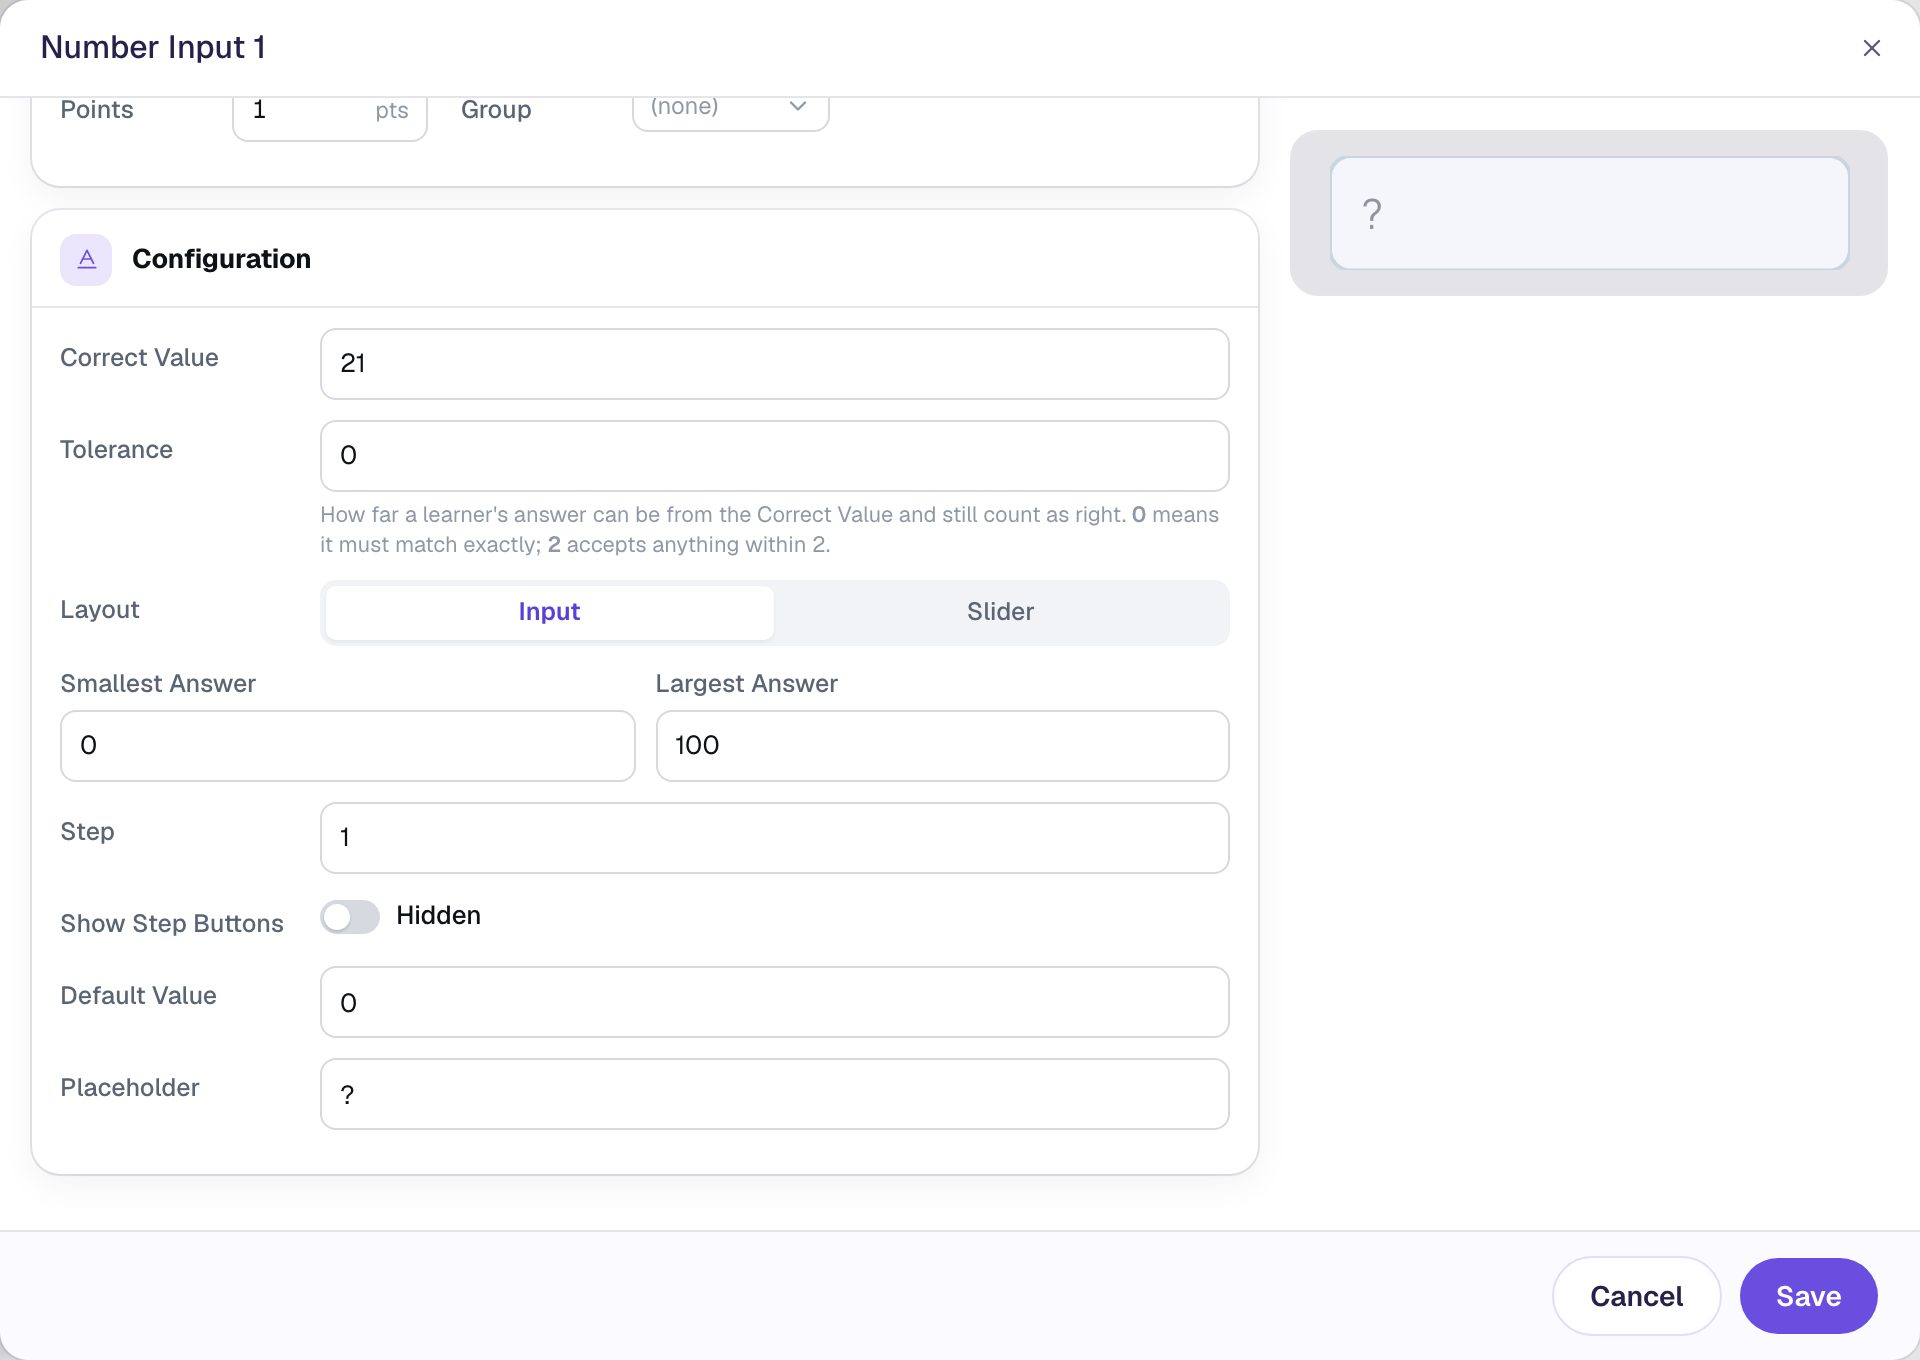
7 × 3 =and make it about 36 px. Put it on the left, under the goal. - Add a Number Input and click ⚙ Configure.
- Type
21in Correct Value. - Turn off Show Step Buttons, so students type the answer rather than click up to it.
- Type
?in Placeholder, so the empty box reads as a question.
Click Save. In Style & Layout, set the Font size to about 32 px and the width to about 130, then drag the box next to 7 × 3 =.
Each Number Input is worth 1 point with Scoring on, which is what you want here: five problems, five points, so every problem counts the same.
Step 3: Copy it for the other four problems
You don't need to build the other four from scratch. Select the 7 × 3 = subheading, press ⌘ D (Ctrl + D on Windows) to copy it, drag the copy into place, and change its Text in the properties panel. Then do the same with the Number Input, and change the copy's Correct Value in ⚙ Configure.
Make these four:
| Problem | Correct Value |
|---|---|
7 × 4 = | 28 |
7 × 6 = | 42 |
7 × 8 = | 56 |
7 × 9 = | 63 |
We put three problems in the left column and two on the right, which leaves room for a button under the right column.
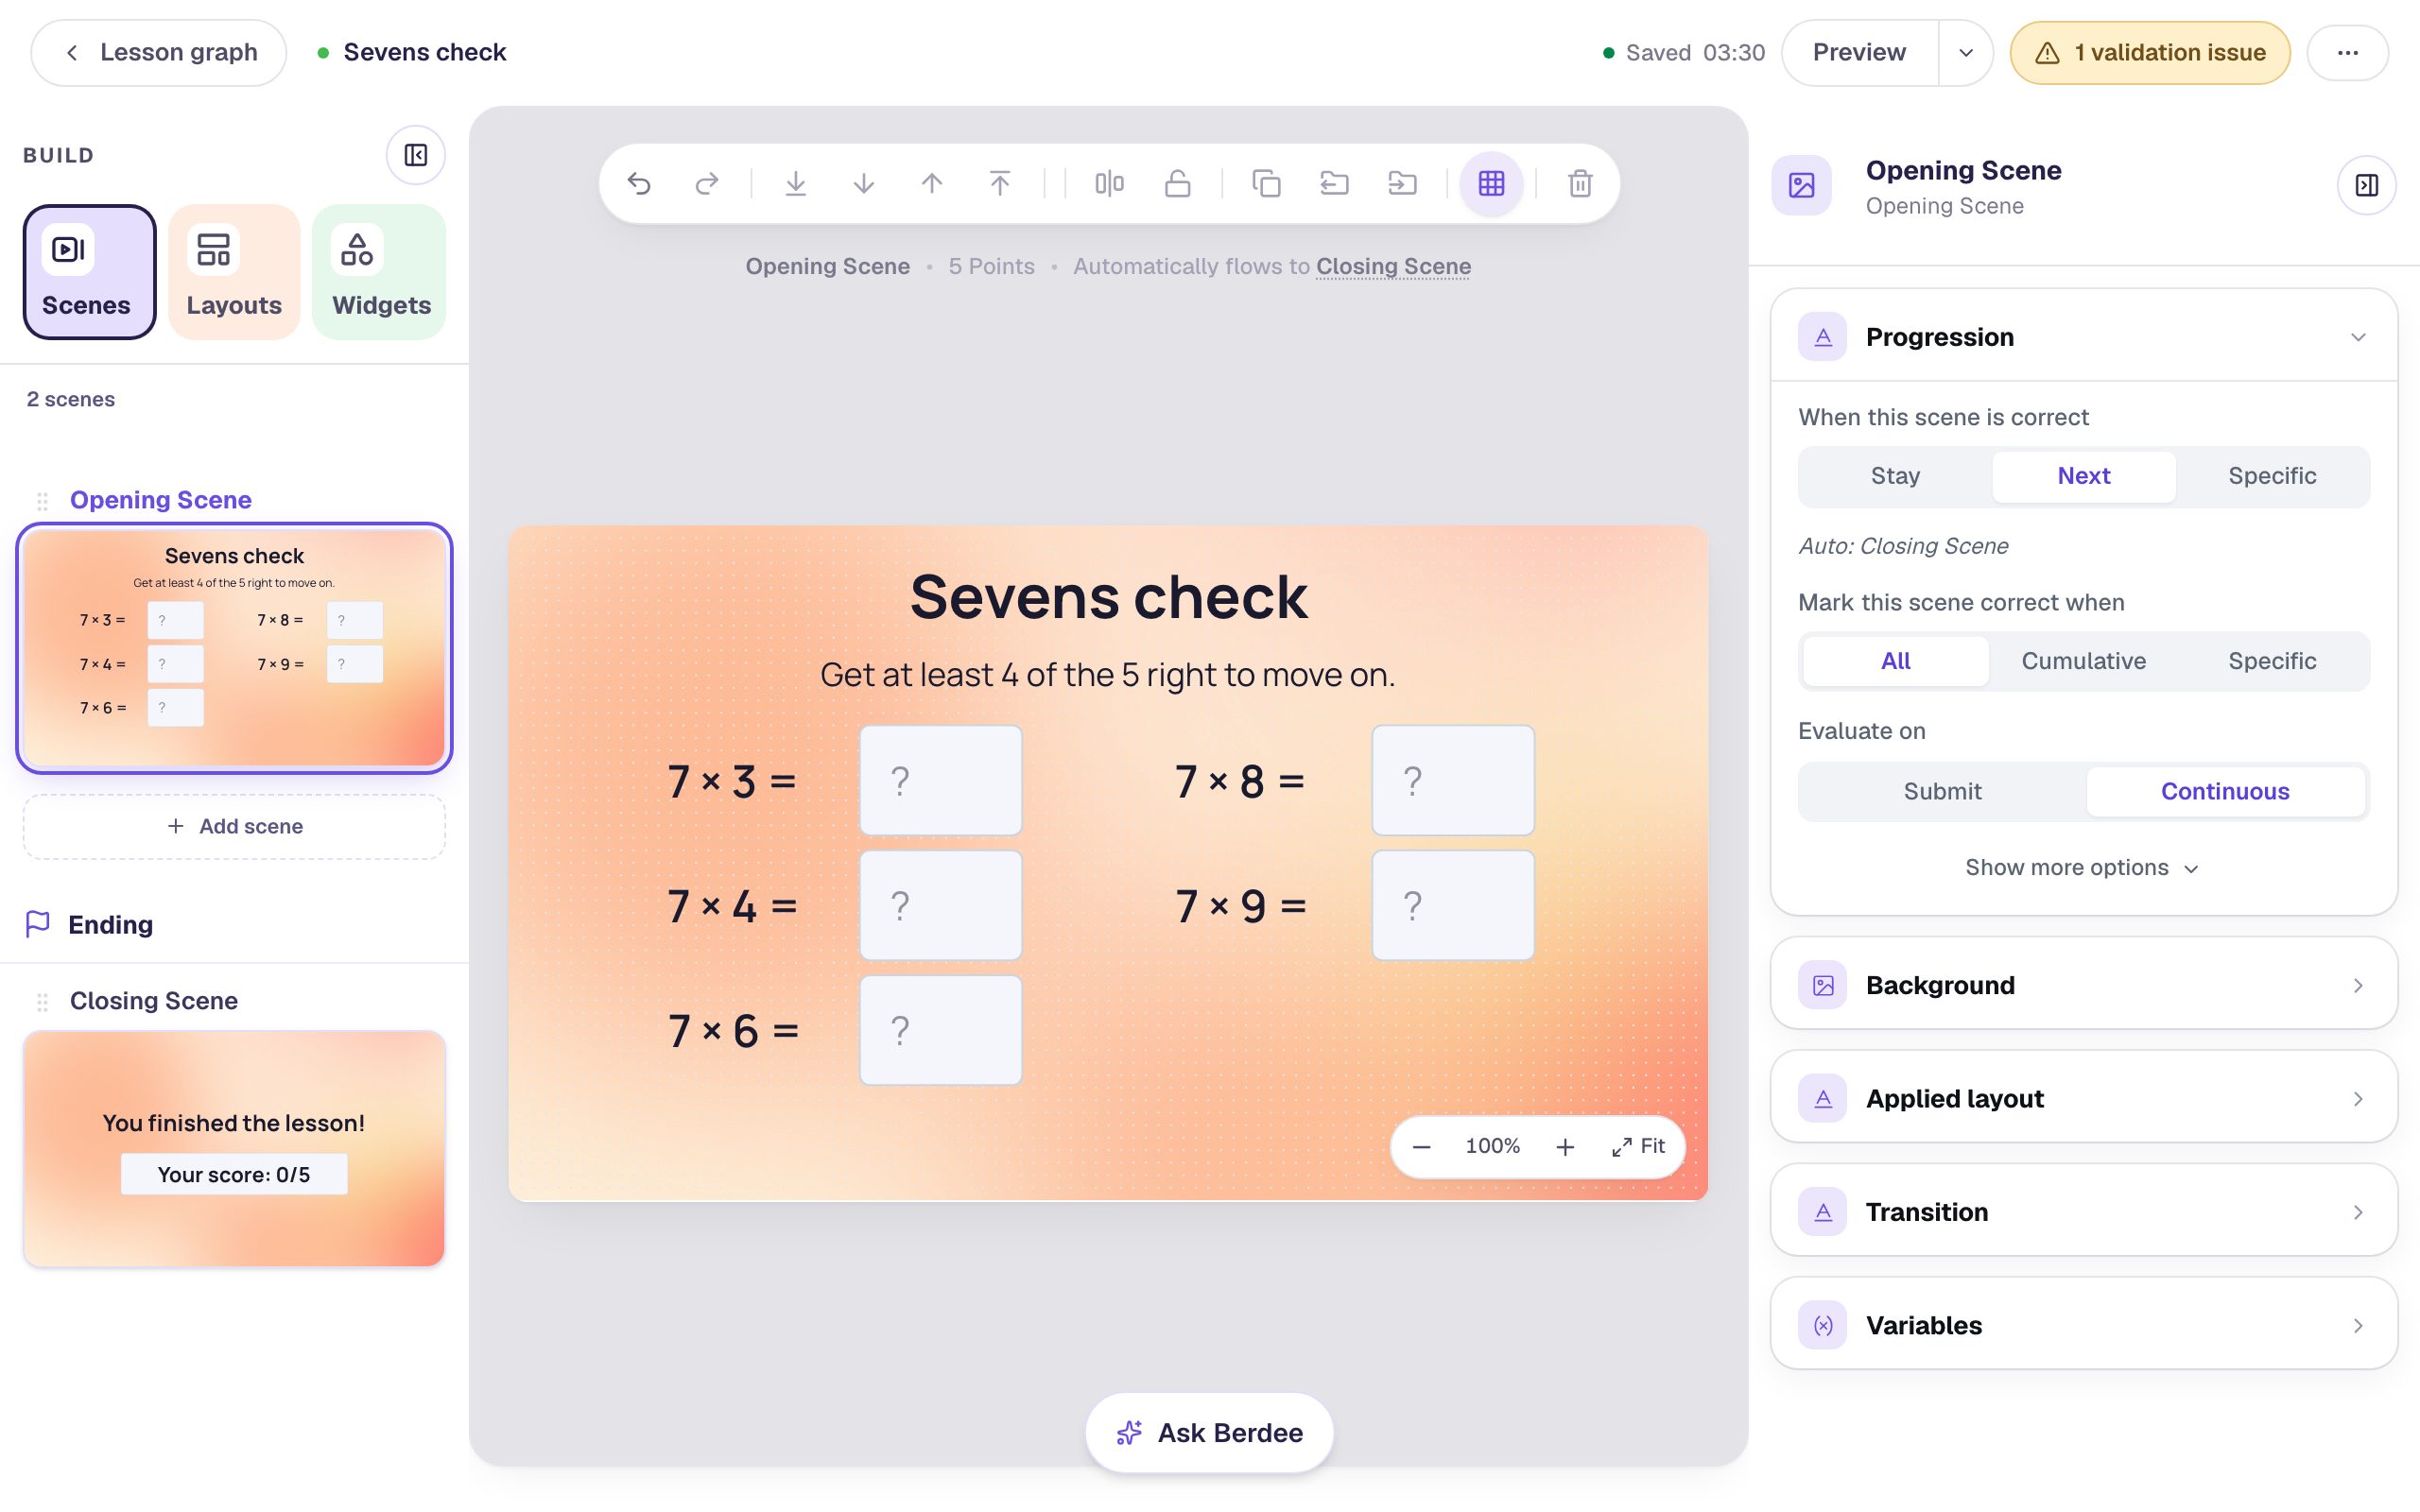
A copy keeps everything from the original, including its size and the placeholder, so only the answer needs changing. Check each copy's Correct Value: a copy you forget to change still expects 21.
Step 4: Add a Check button that waits for every answer
Students check all five answers at once, with one button:
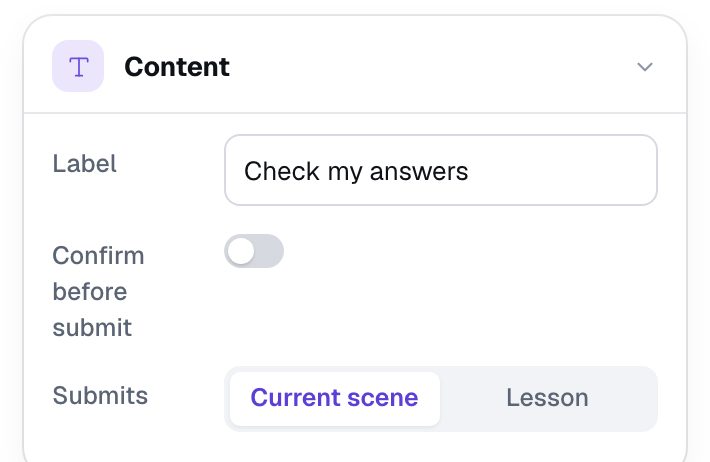
- Add a Submit Button and put it under the right column.
- In Content, change its Label to
Check my answers, and leave Submits on Current scene.
Now make the button wait until every box has an answer. Pressing Check my answers locks the answers in, and a student who presses it with boxes still empty is left on a locked scene with nowhere to go. Hiding the button until the boxes are filled stops that from happening:
- With the button still selected, open Visibility and set Mode to Conditional.
- Leave Behavior on Show.
- Set the condition to Current scene and all questions answered.
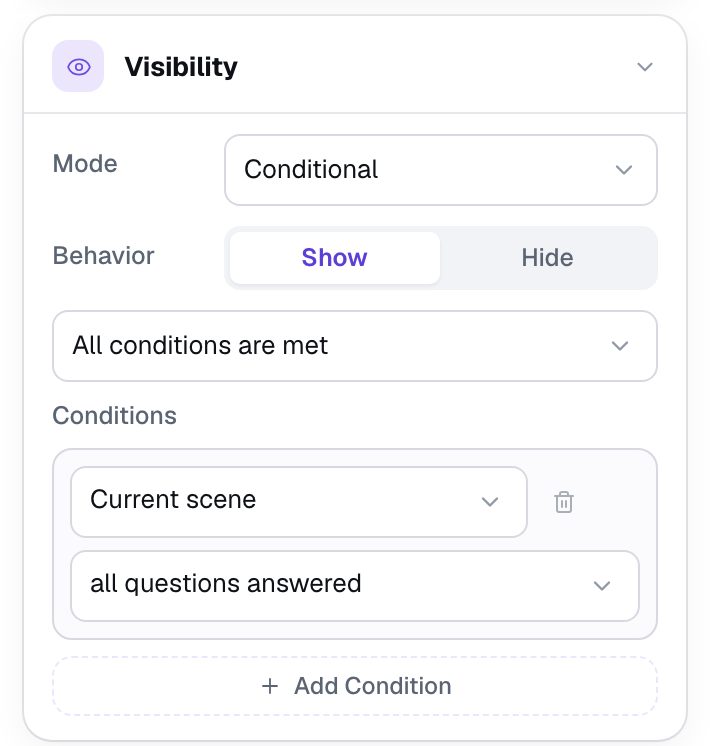
In the studio, the button still shows with a small Shown by rule tag above it. Students see it once they've typed their last answer and tapped away from the box.
Step 5: Pass the scene at 80%
This is the step that lets one slip through. Click an empty spot on the scene so nothing is selected, and open Progression.
Under Mark this scene correct when, choose Cumulative. A Passing % field appears: set it to 80. Evaluate on switches to Submit by itself, because a percentage only makes sense once the student has answered everything and pressed Check my answers.
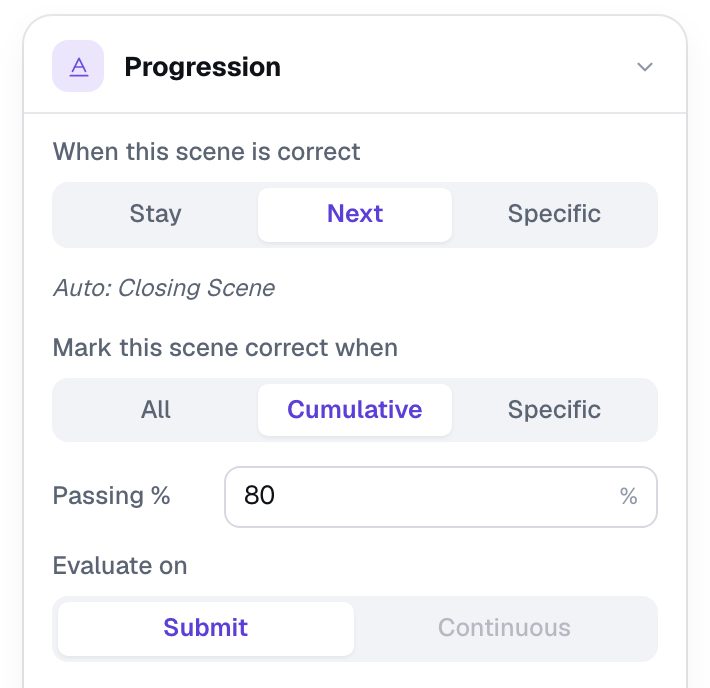
Here's what each choice means on a scene with five problems:
- All: the scene is right only when all five answers are right.
- Cumulative: the scene is right when the student earns at least the Passing % of the scene's points. With five 1-point problems and
80, that's four right answers. - Specific: only the questions you tick have to be right.
When this scene is correct stays on Next, so a student who passes moves on to the next scene in the list, the Closing Scene, a moment after pressing Check my answers.
Want a different bar? Set Passing % to 60 for three of five, or give one problem more Points in its ⚙ Configure window to make it count for more of the total.
Step 6: Send everyone else to practice
Click Lesson graph at the top left. Hover over the Opening Scene card, click the dot on its right edge, leave A new scene selected and click Next. Name the scene Practice, choose They answer wrong, and click Add scene.
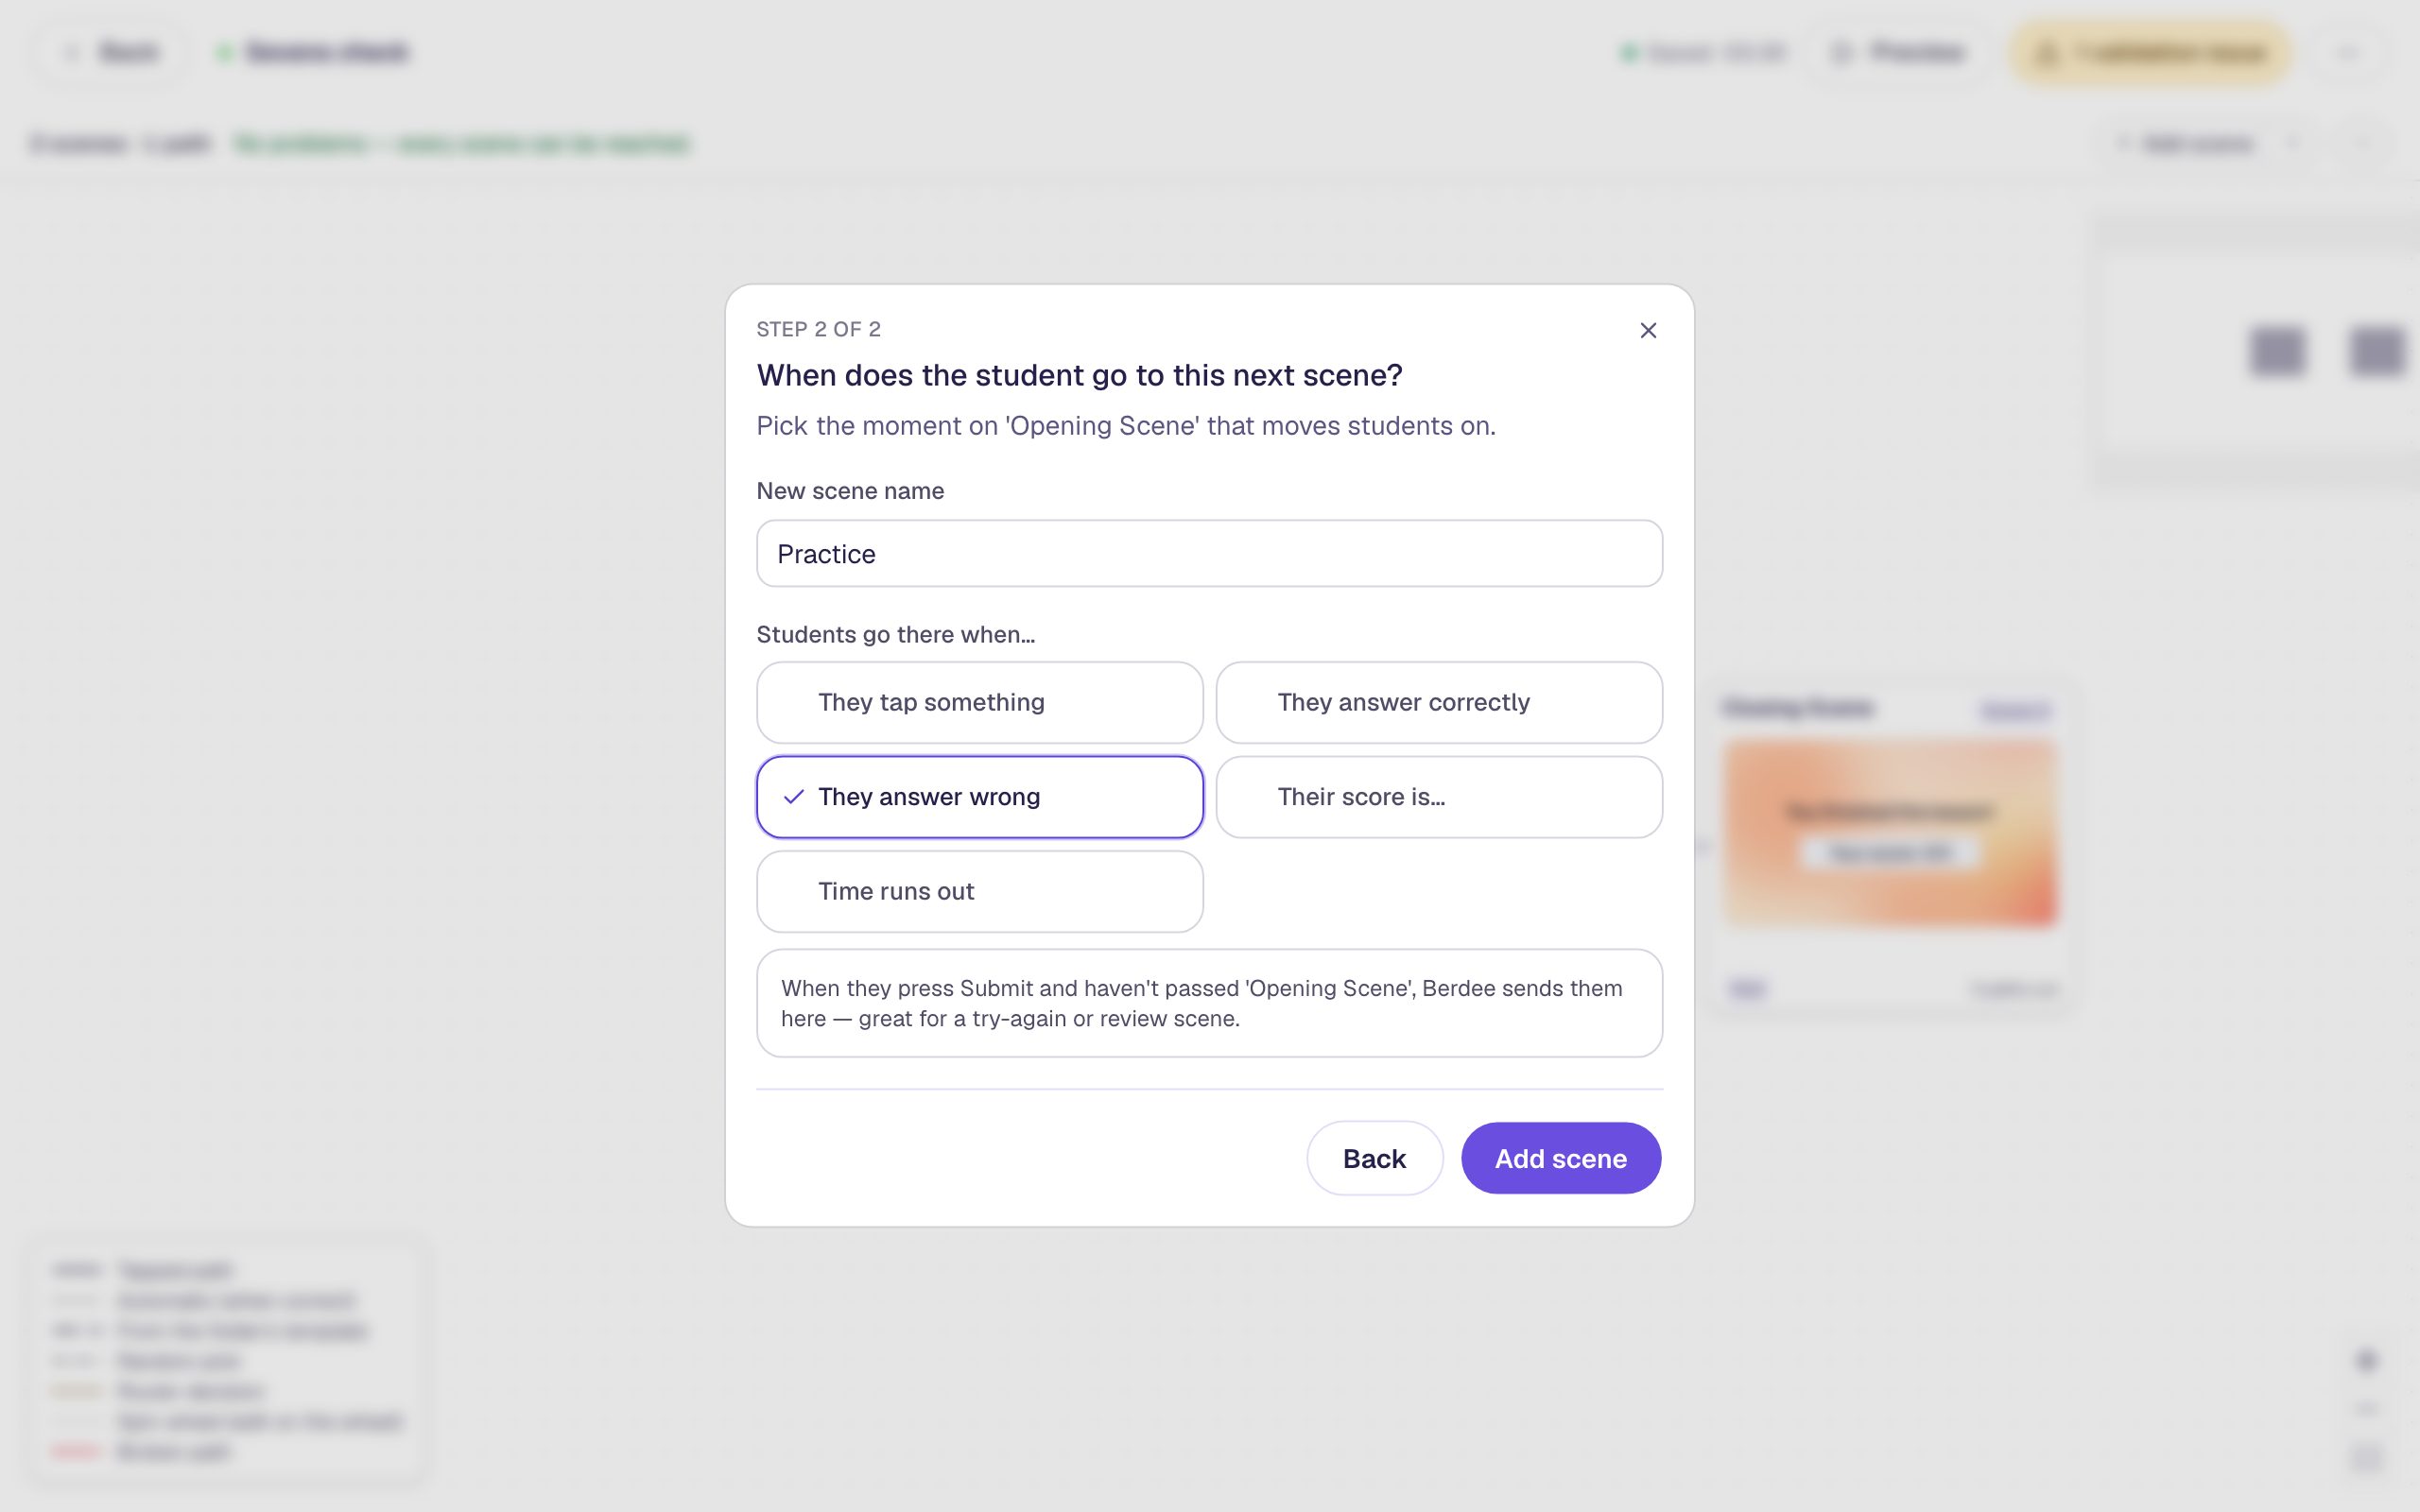
They answer wrong reads the same Passing % you set in Step 5. On a scene with one question, "wrong" is simple. On this one it means the student finished below 80%: three right or fewer.
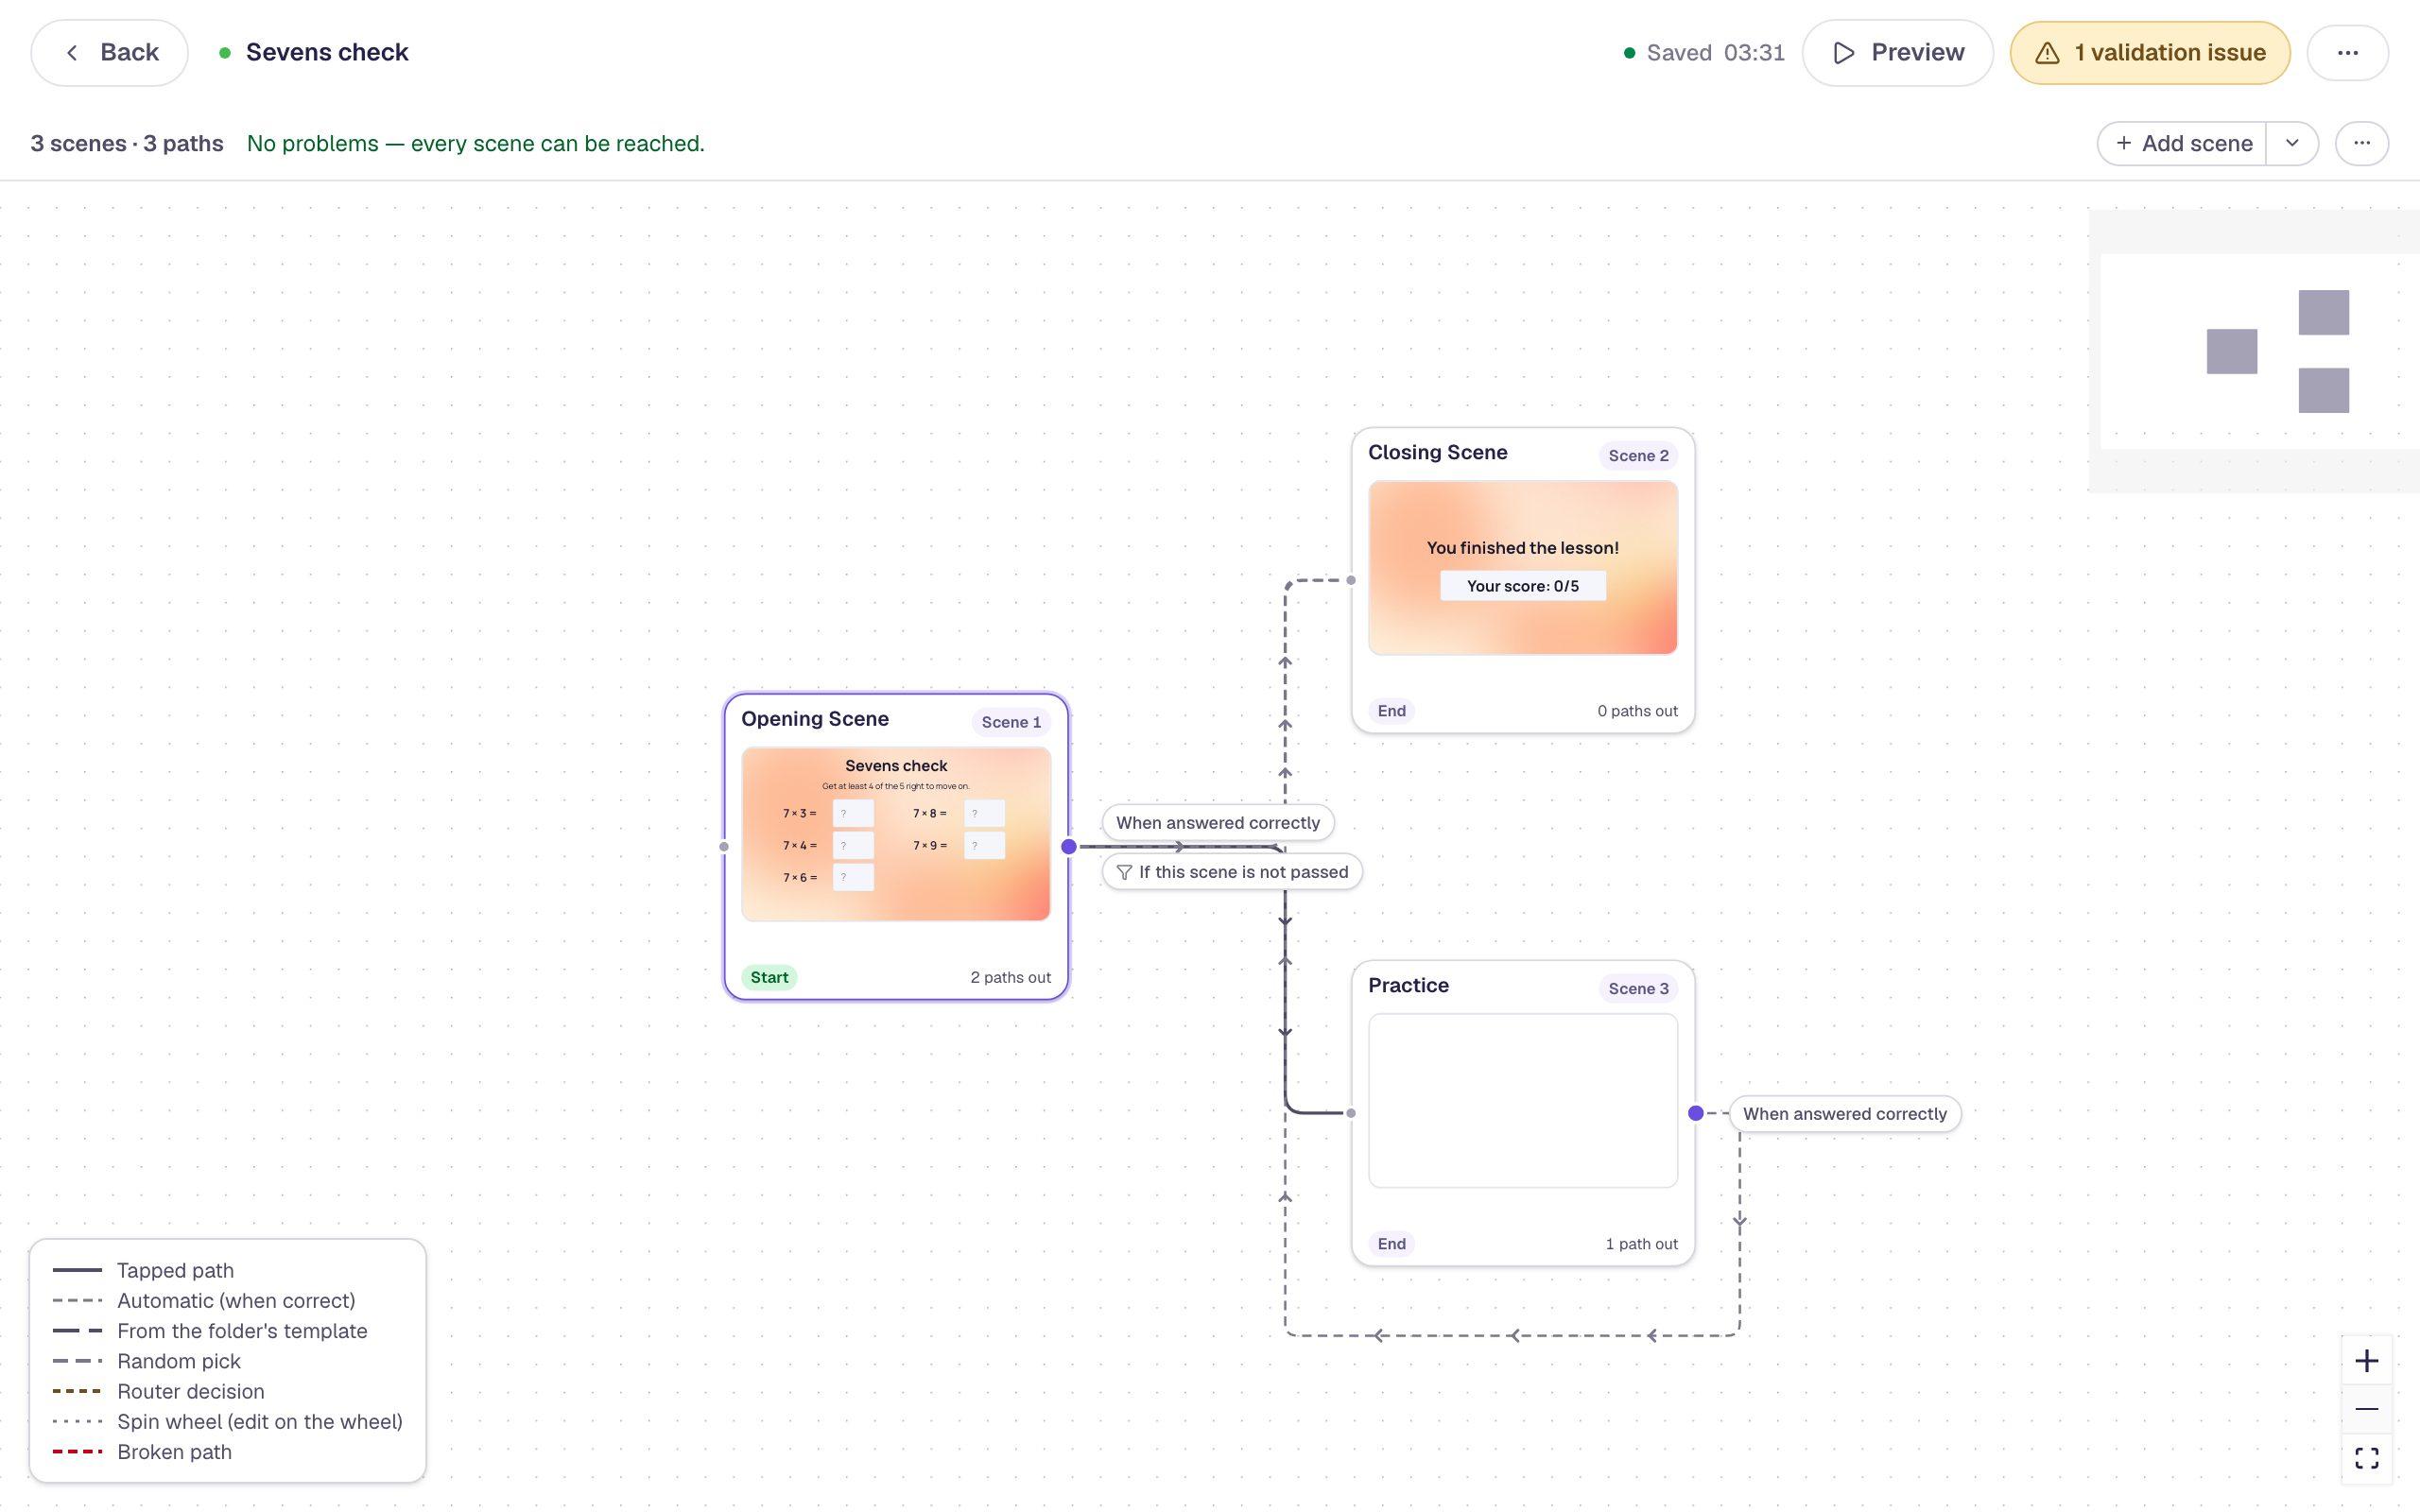
The graph arranges the cards to keep the arrows tidy, so yours may sit in different places.
Step 7: Build the practice scene
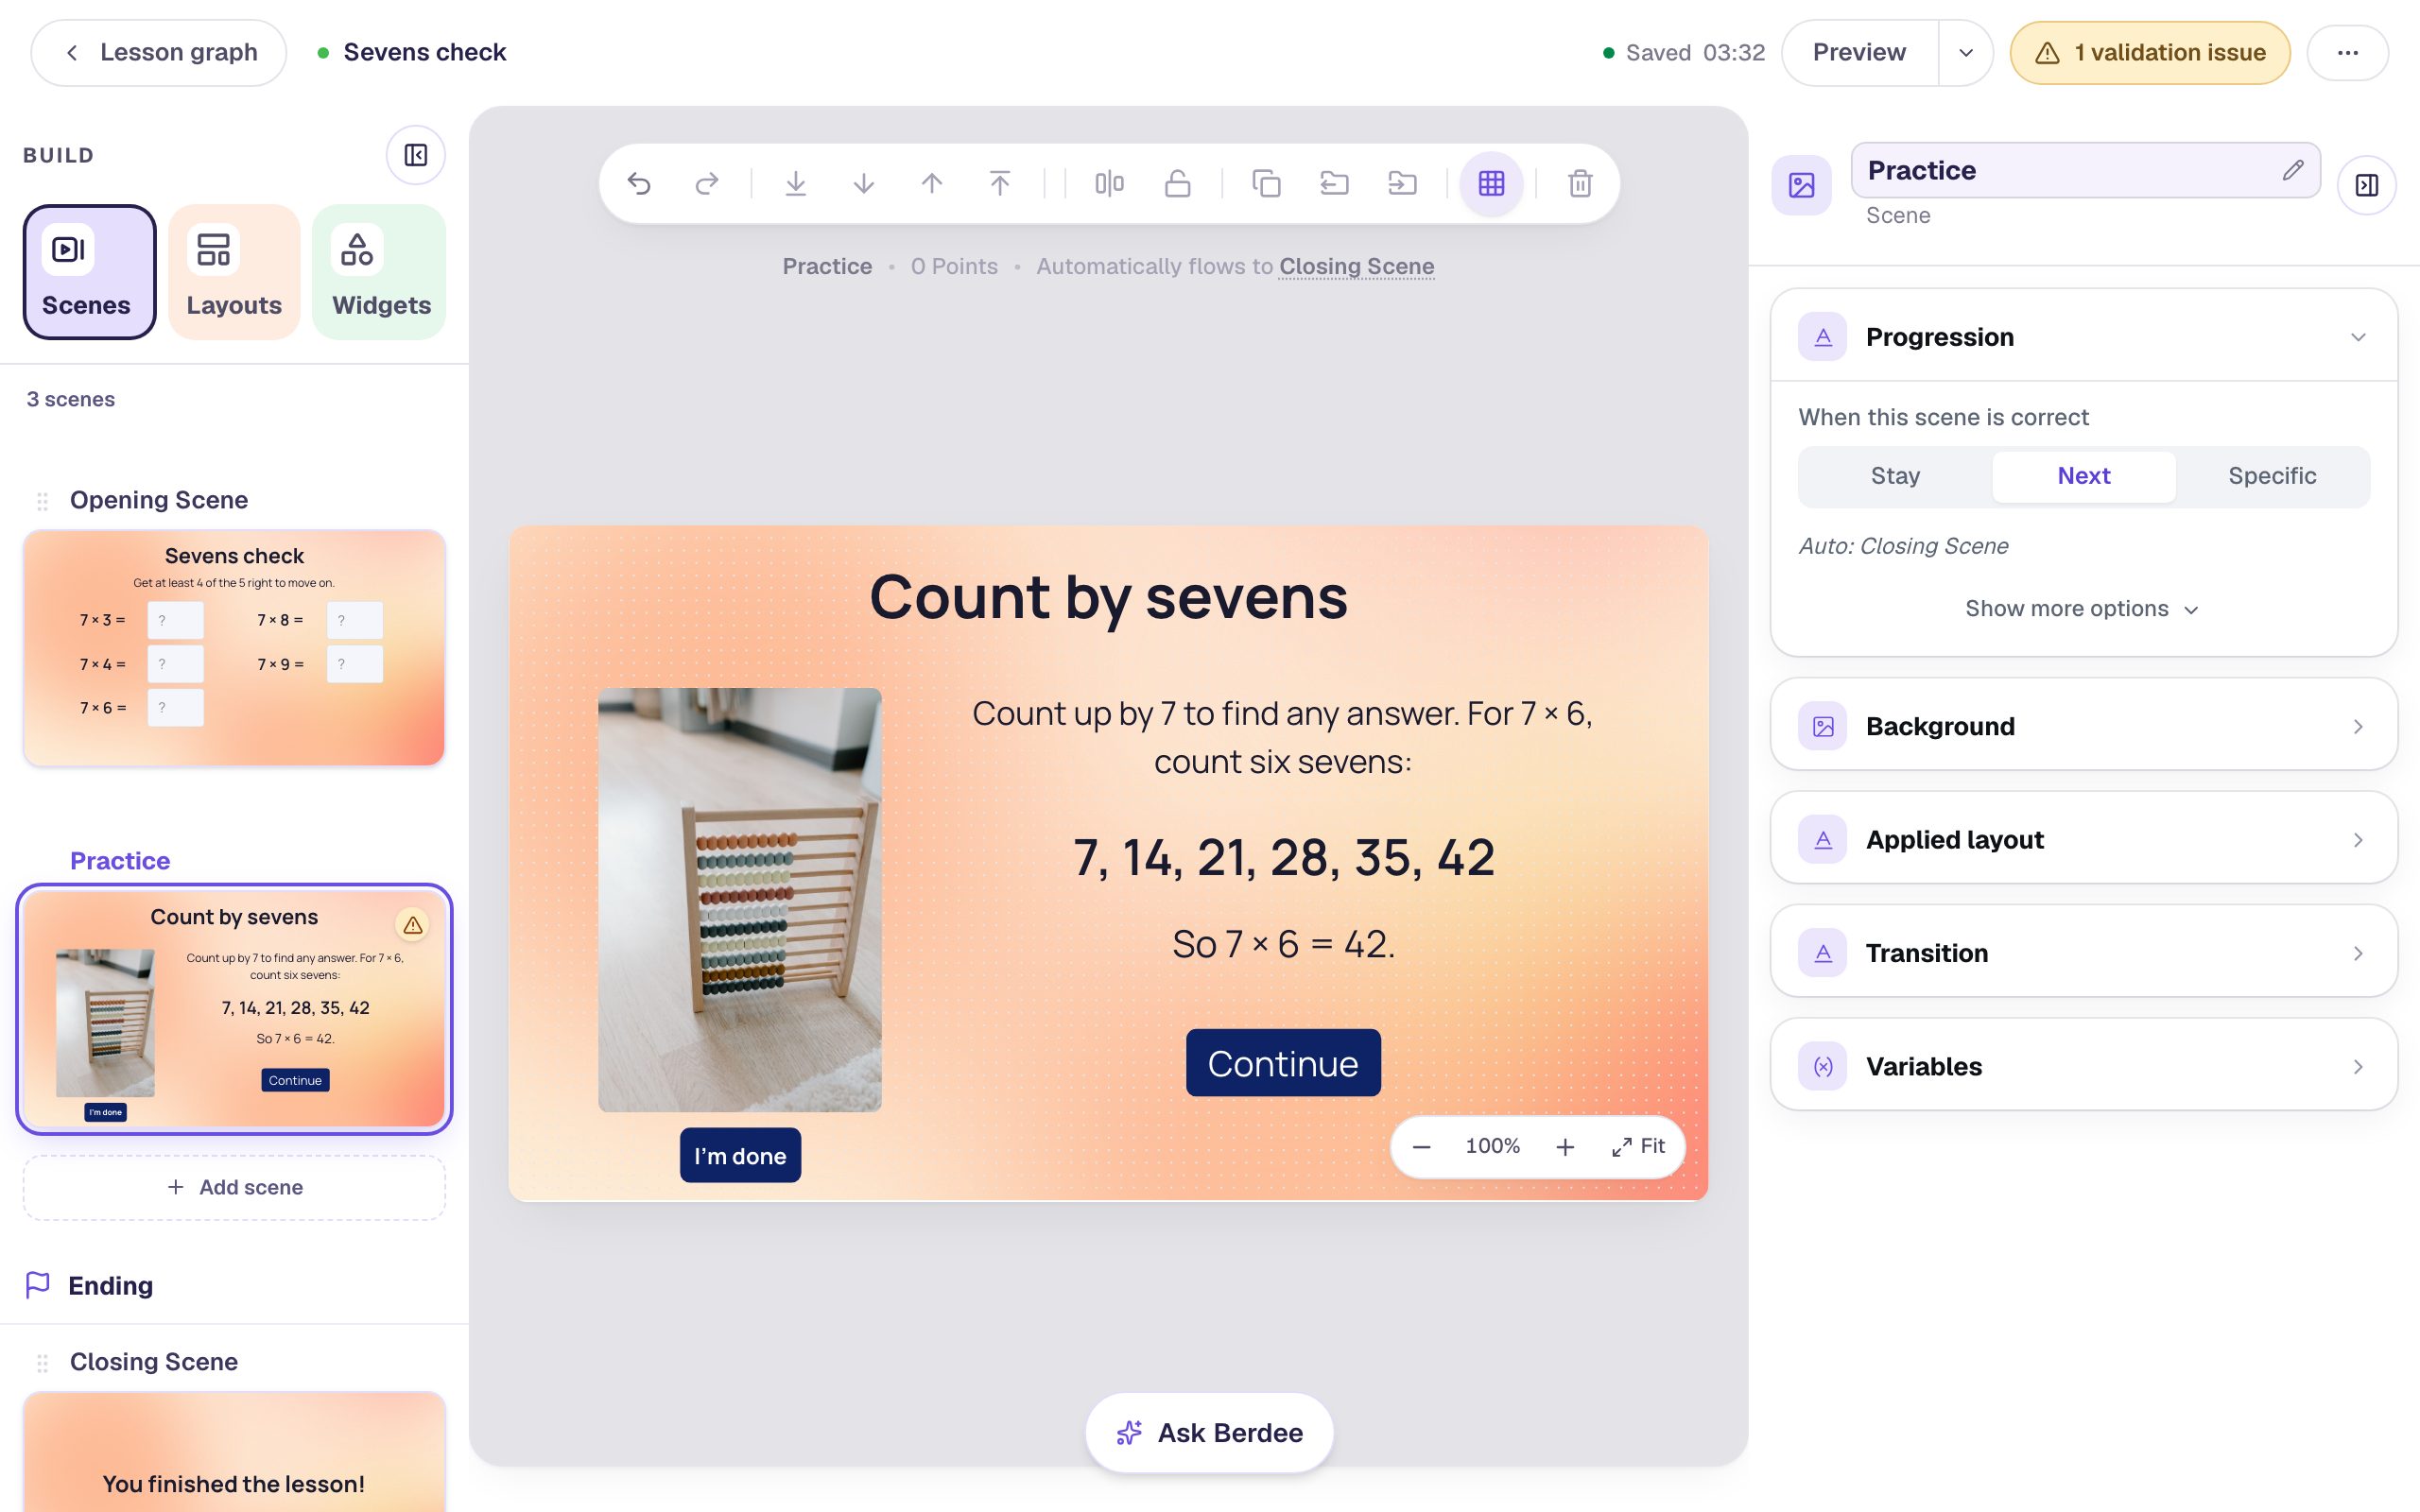
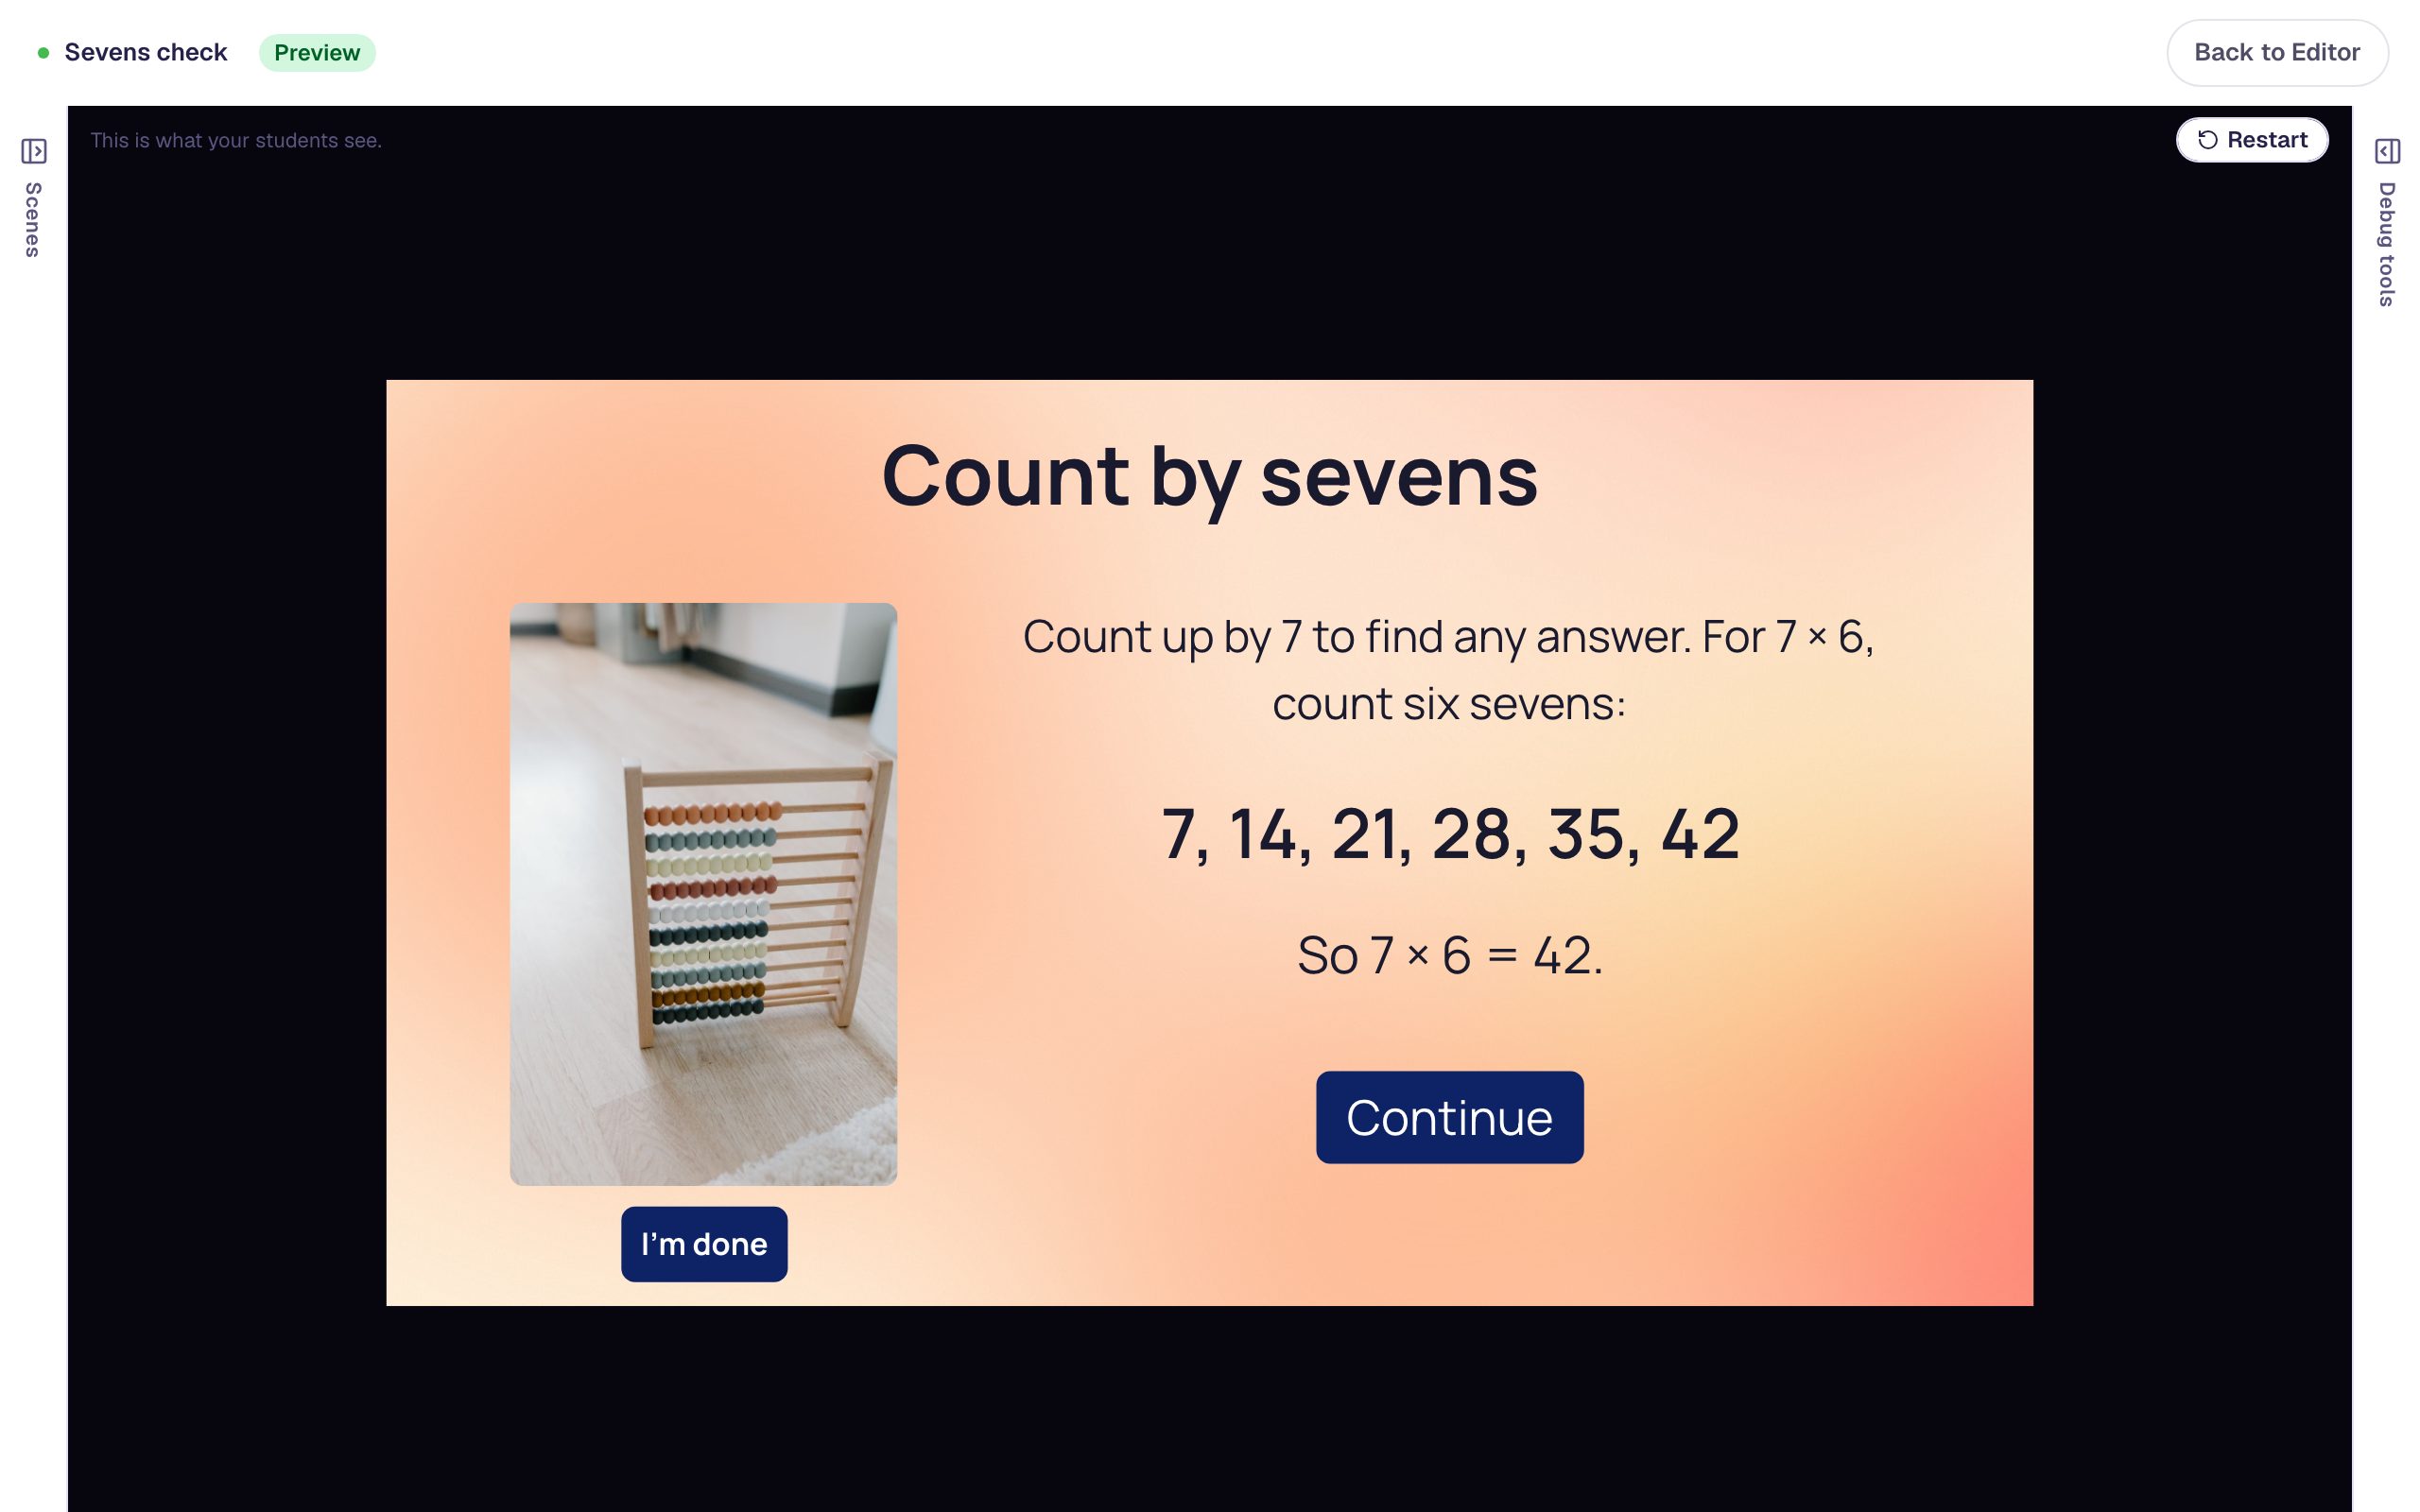
Hover over the Practice card and click Edit. Give the scene the same background, then add:
- A Heading:
Count by sevens. - An Image about 250 × 340 on the left. Click Choose image, search the stock photos for
colorful wooden abacus, and pick one. Then open Accessibility and describe the photo in Alt Text, so students using a screen reader get it too (we wroteA wooden abacus with rows of colored beads, standing on a wooden floor). - A Body on the right, set to Fixed width about 540 wide:
Count up by 7 to find any answer. For 7 × 6, count six sevens: - A larger Subheading under it:
7, 14, 21, 28, 35, 42, and a Body under that:So 7 × 6 = 42. - A Button labelled
Continue. At the top of the properties panel, click its name and rename itContinue, so you can find it in the graph. We gave it a navy Background and white Text. - A small Submit Button labelled
I'm done, with Submits set to Lesson, under the photo. Berdee asks every lesson to have a way to finish early, and the check scene can't hold it, because it already has its own Submit.
Back on the graph, connect Continue to the ending: hover over the Practice card and click its dot, choose Or connect to a scene or router that's already in the lesson, click Next, set Goes to to Closing Scene and Student taps to Continue, and click Add path.
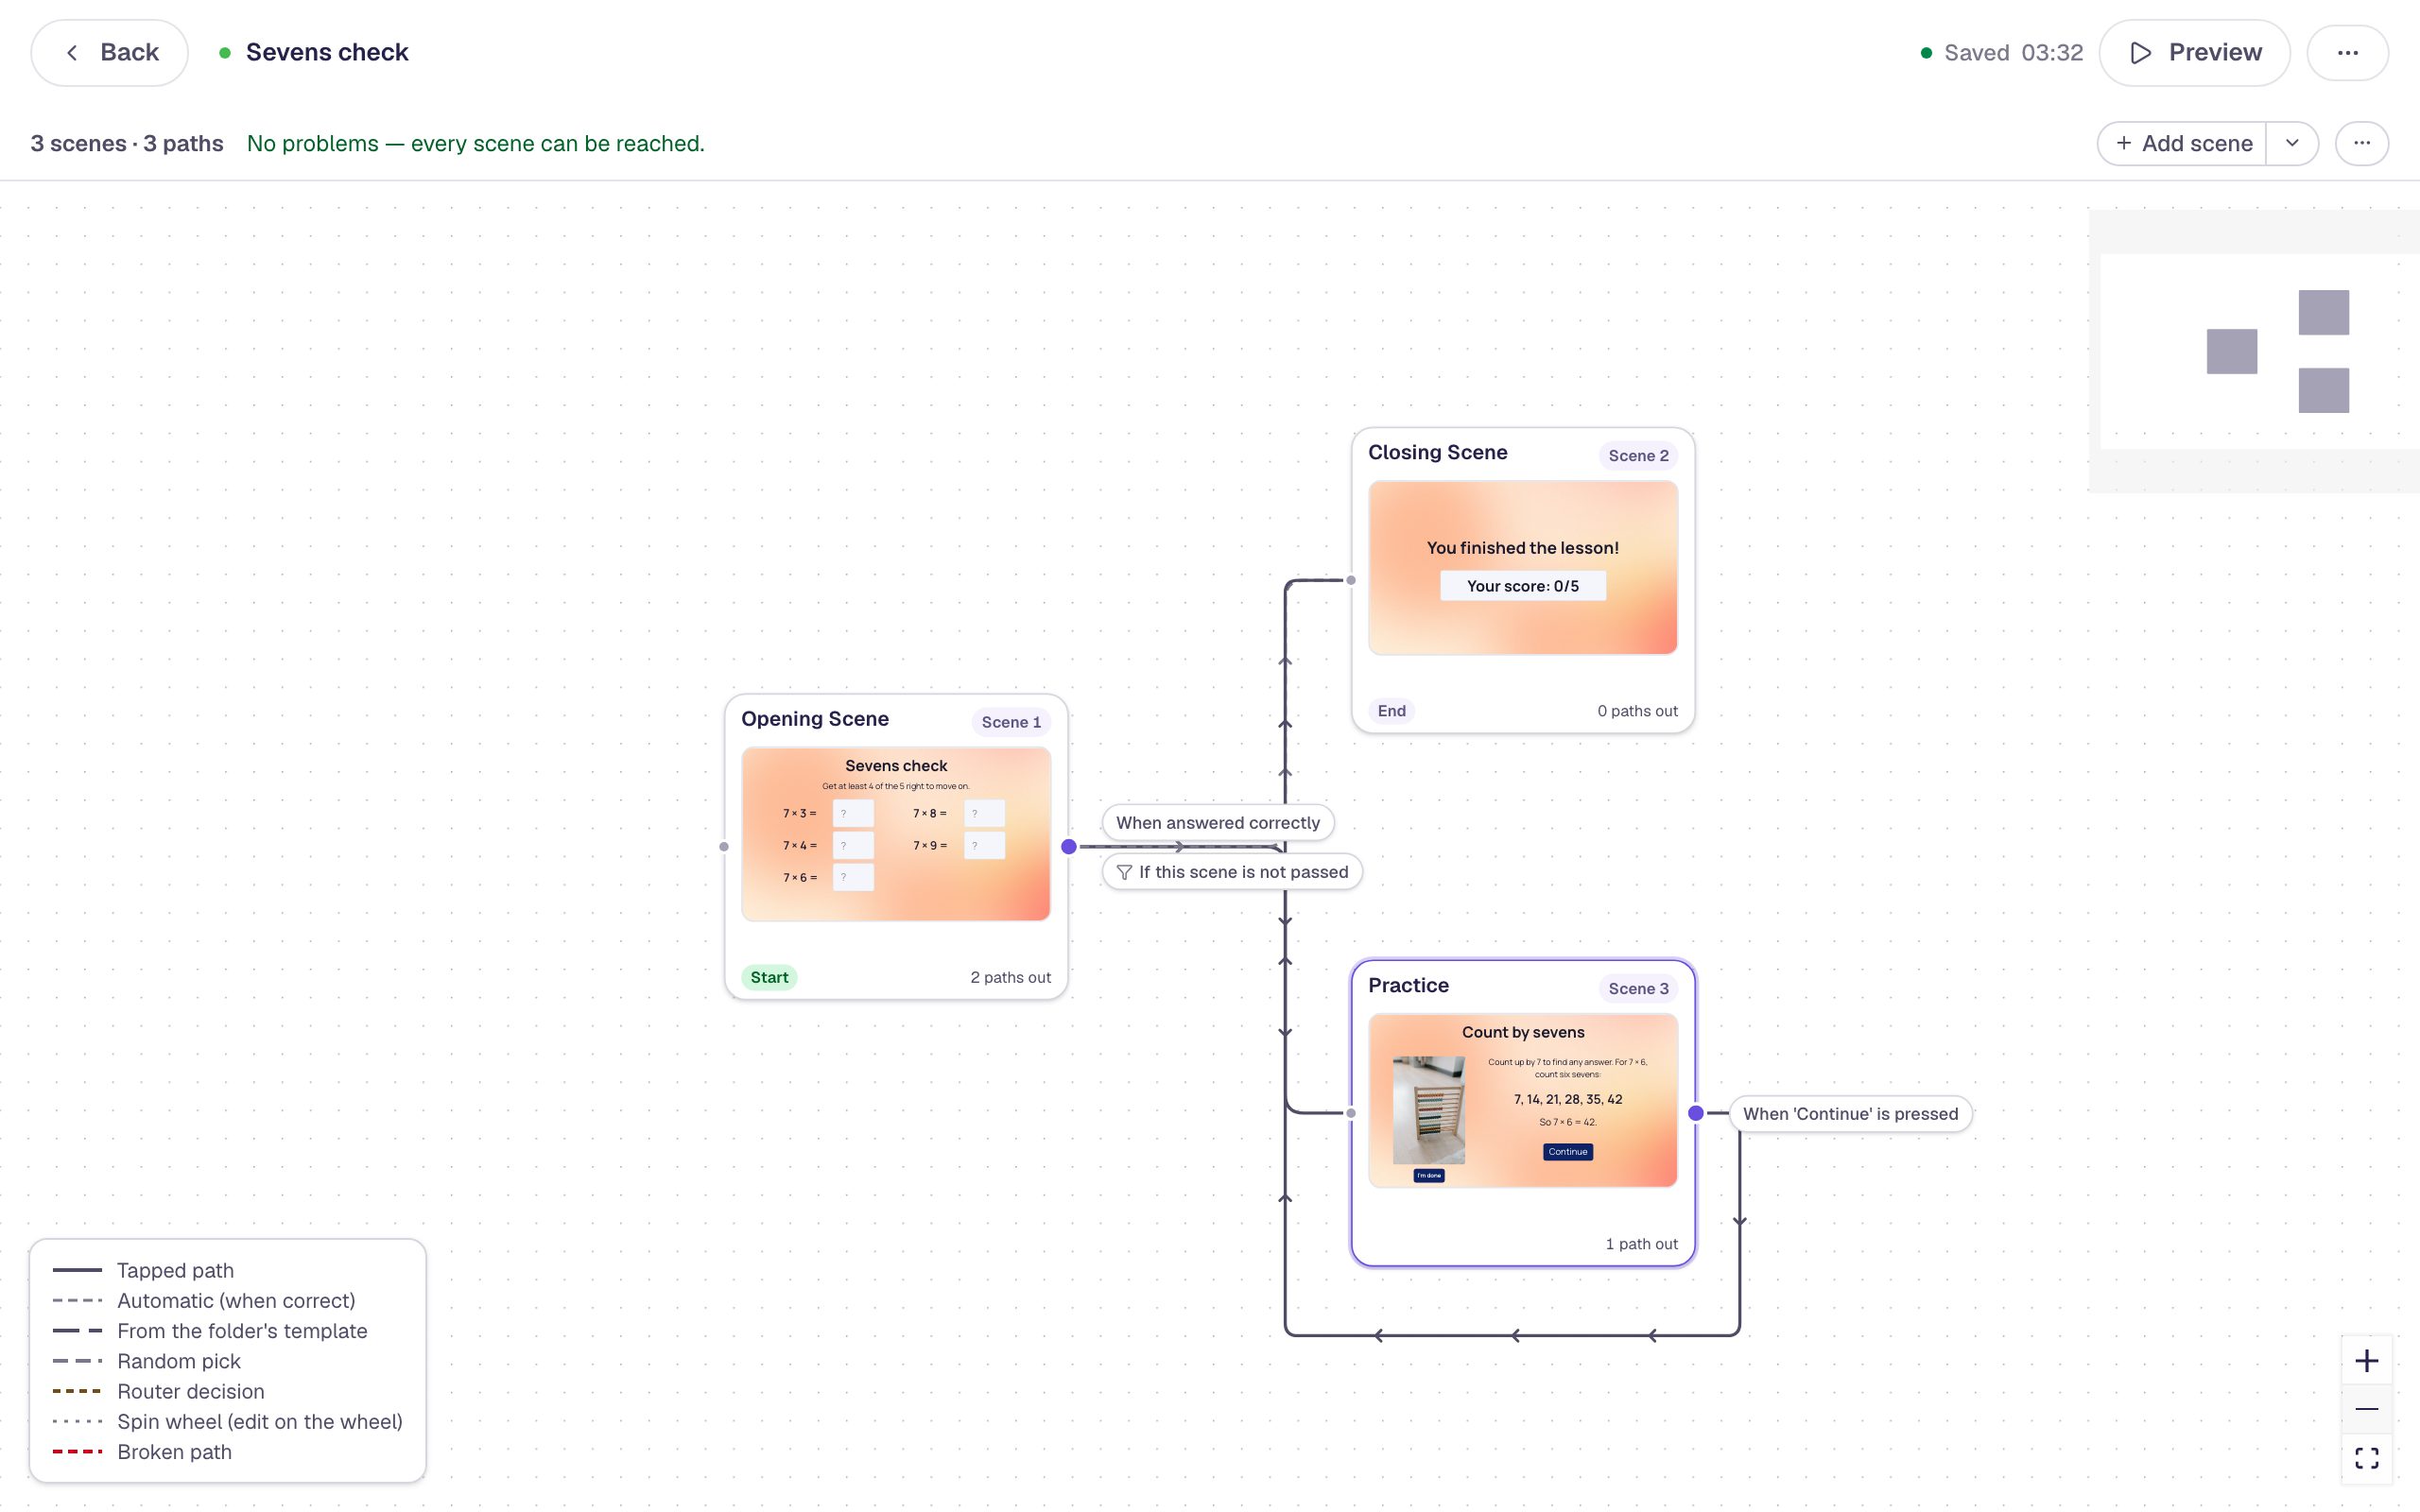
Practice leads forward to the ending, not back to the check. The check's answers are locked once a student presses Check my answers, so a path back would show them their locked answers with no way to change them.
Step 8: Try both routes in preview
Click Preview at the top of the graph; from the graph, preview starts at the opening scene.
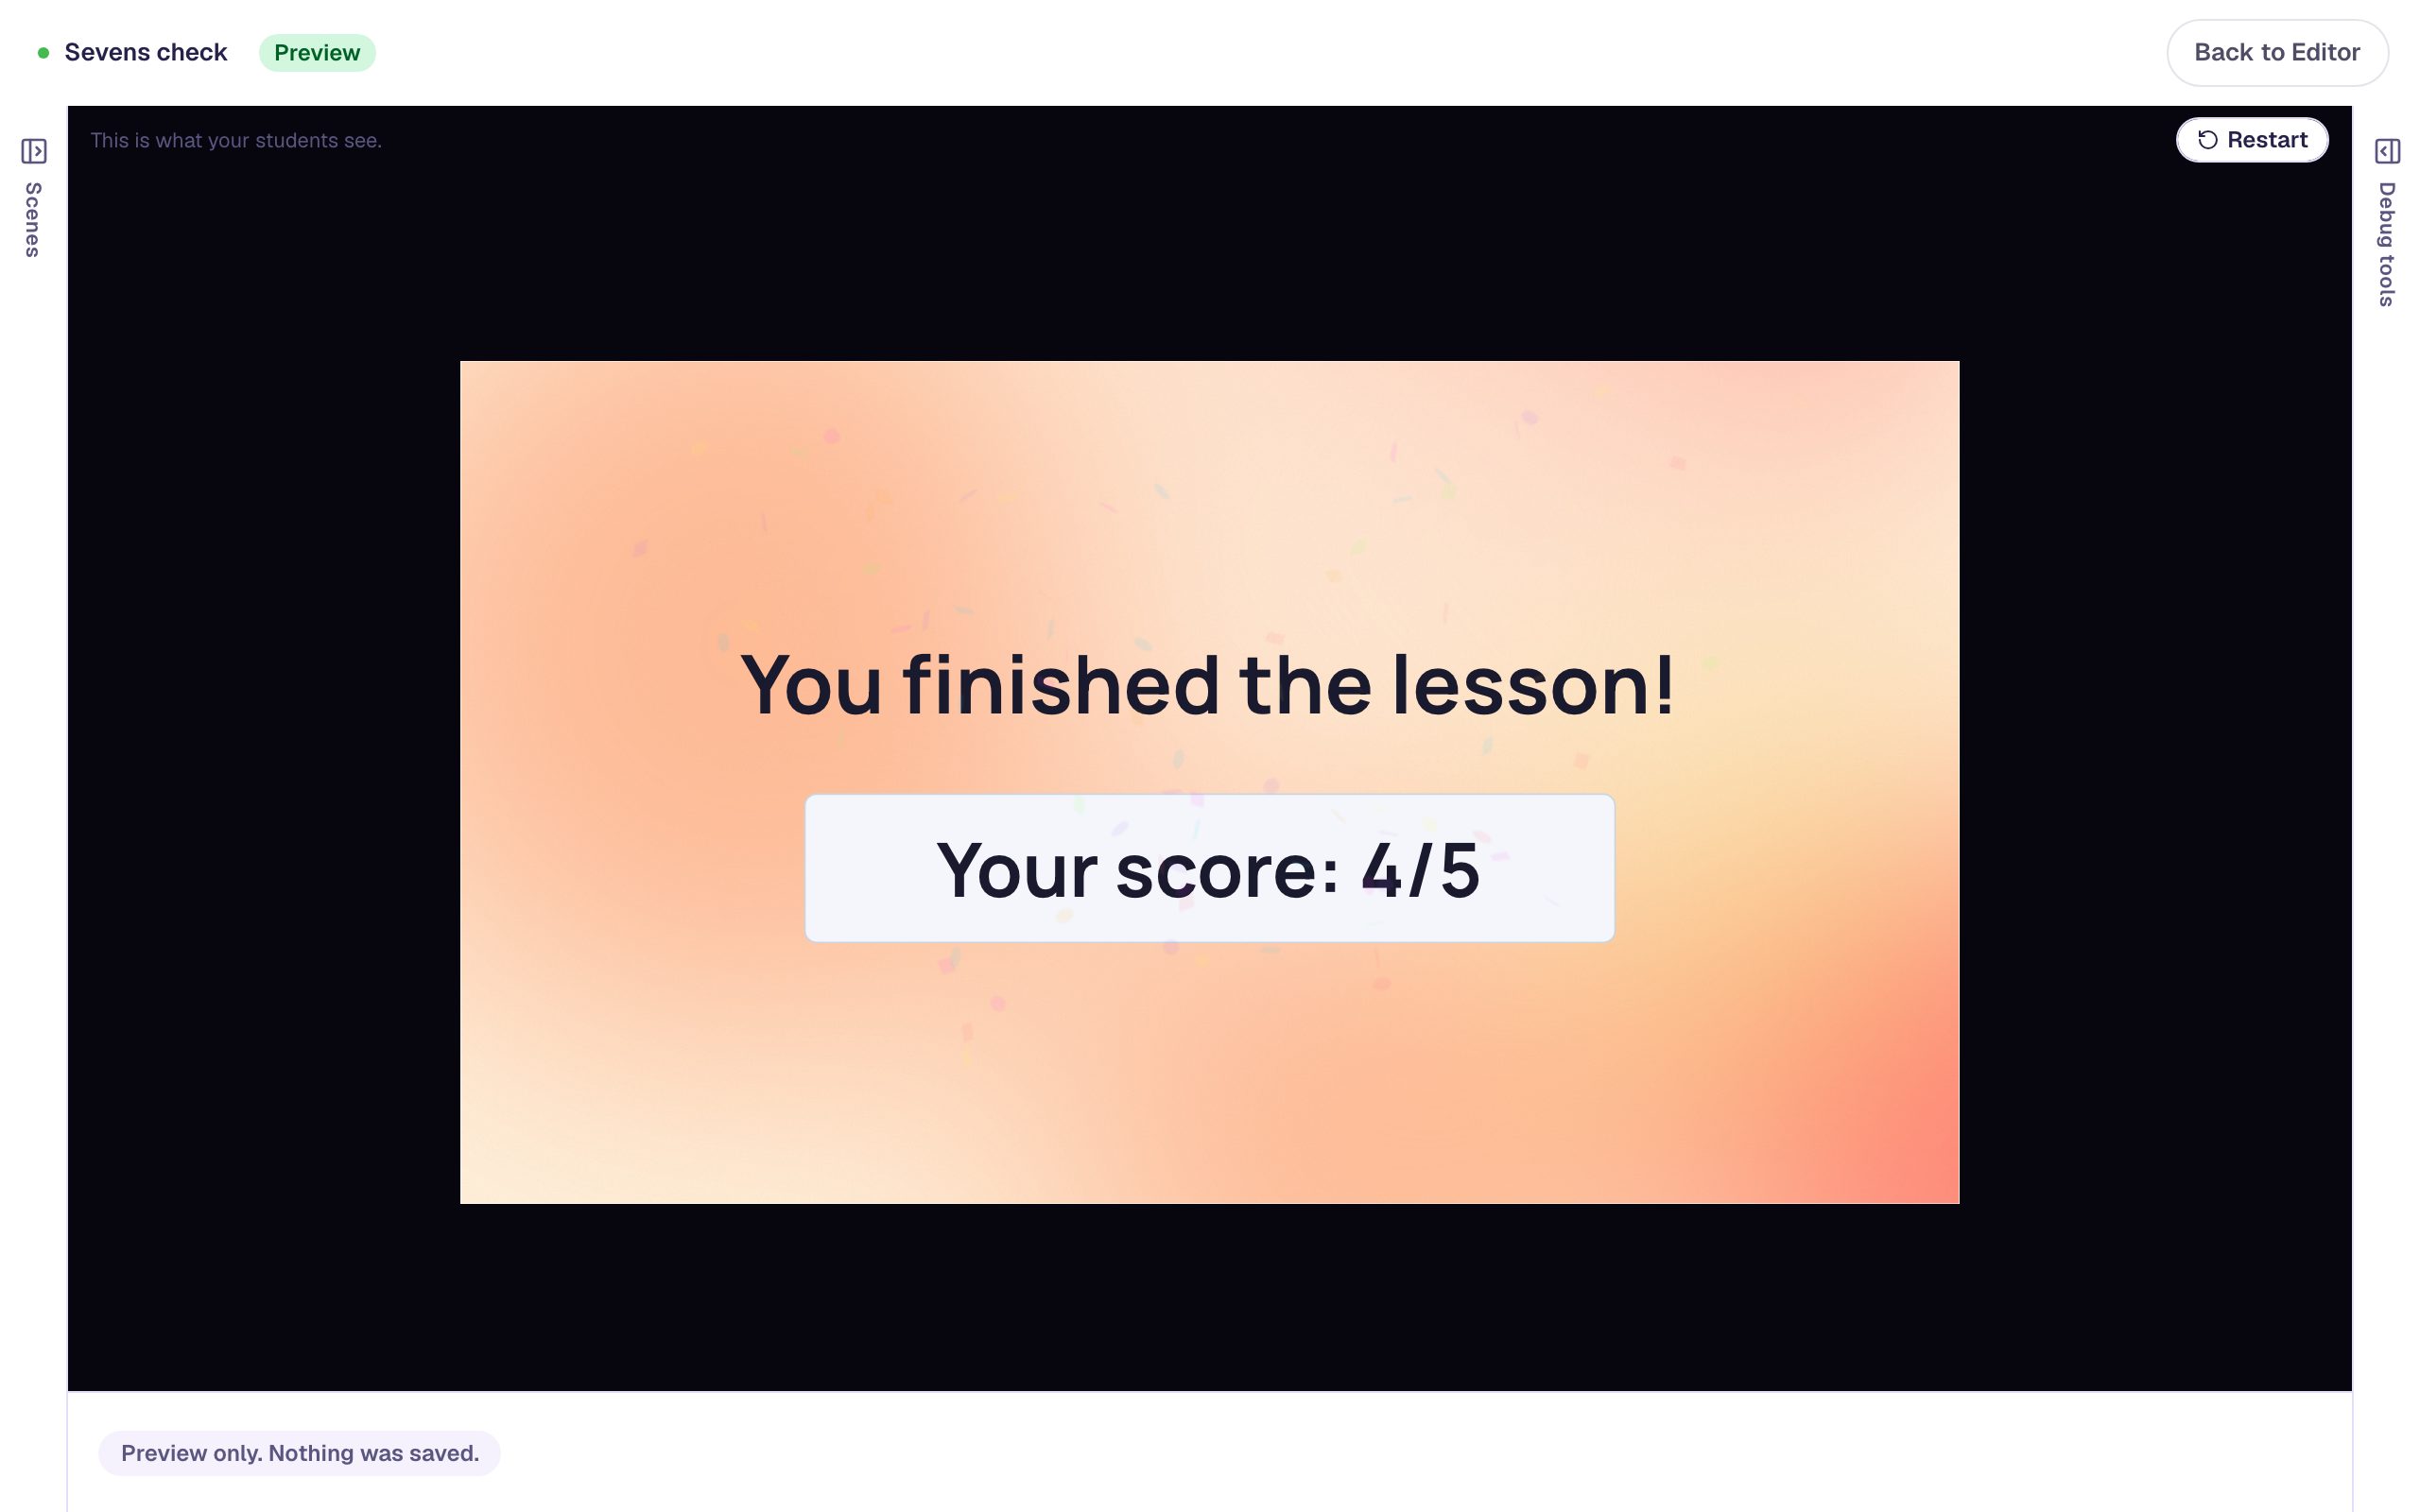
First, get four right. Type 21, 28, 42, 56, and a wrong 64 for 7 × 9. Check my answers appears once the last box has an answer. Press it: four of five is 80%, so the scene passes and the lesson moves on to the ending.
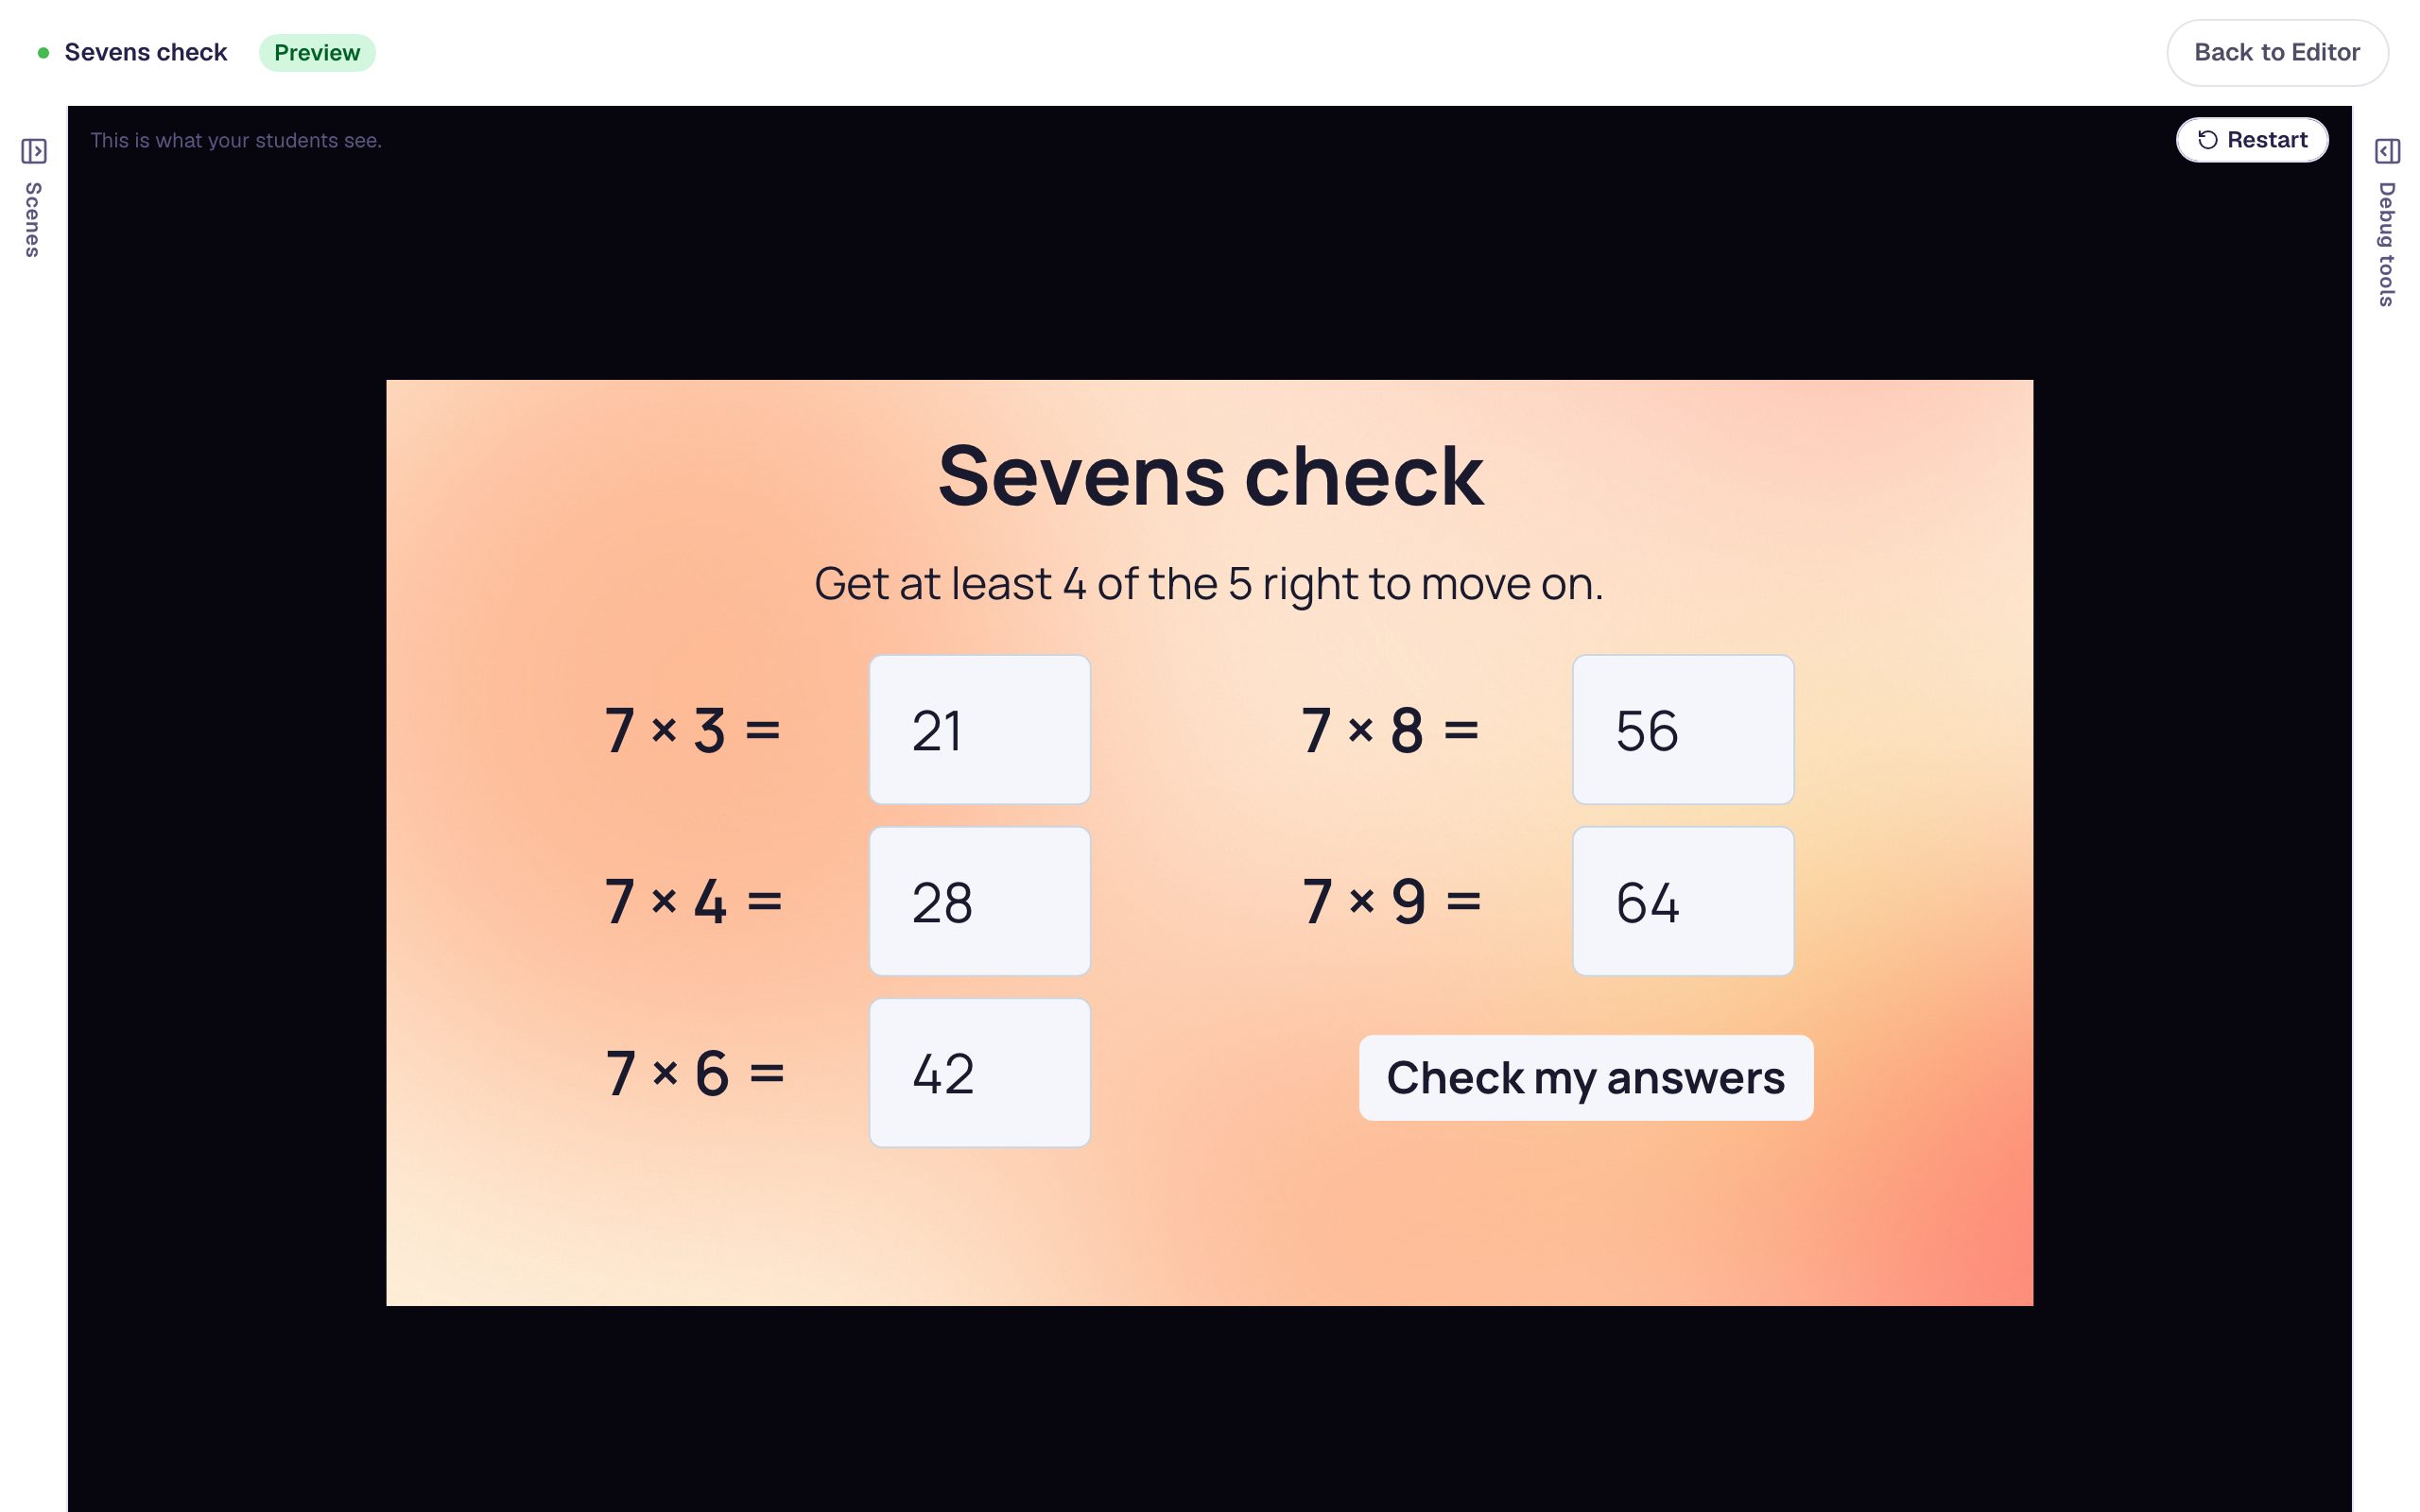
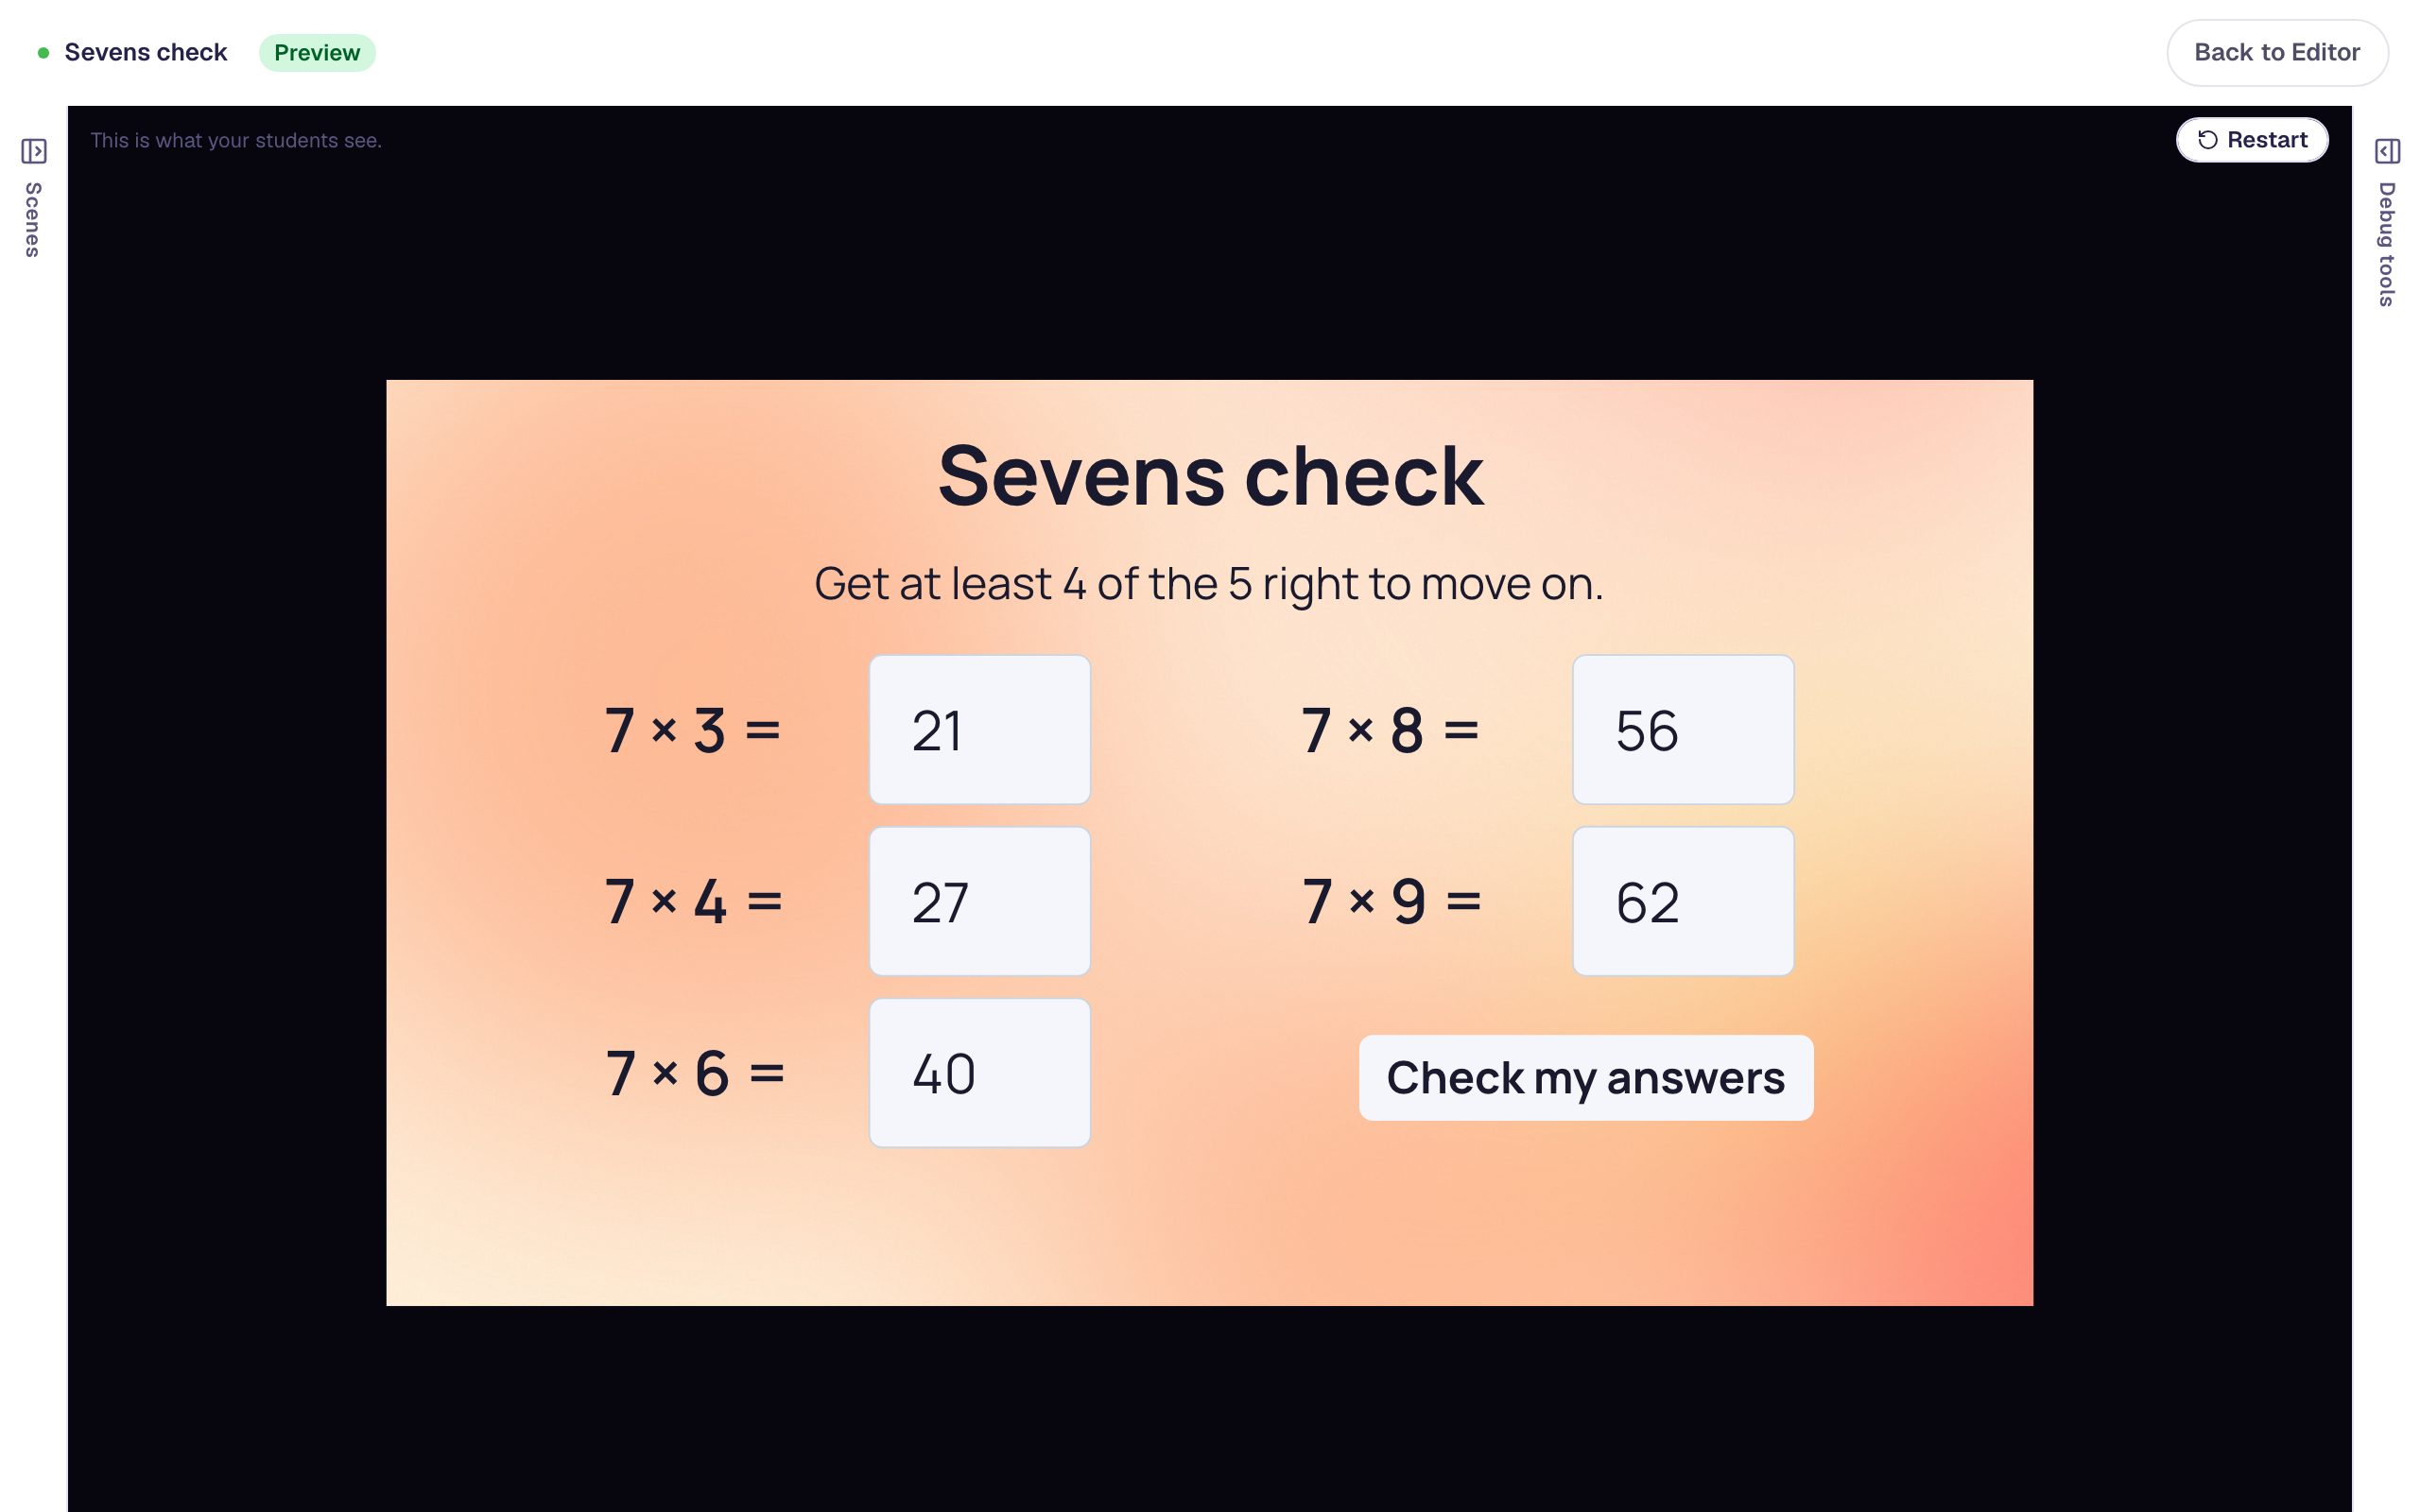
Then press Restart and get only two right: 21, 27, 40, 56 and 62. Press Check my answers, and this time the Practice scene opens.
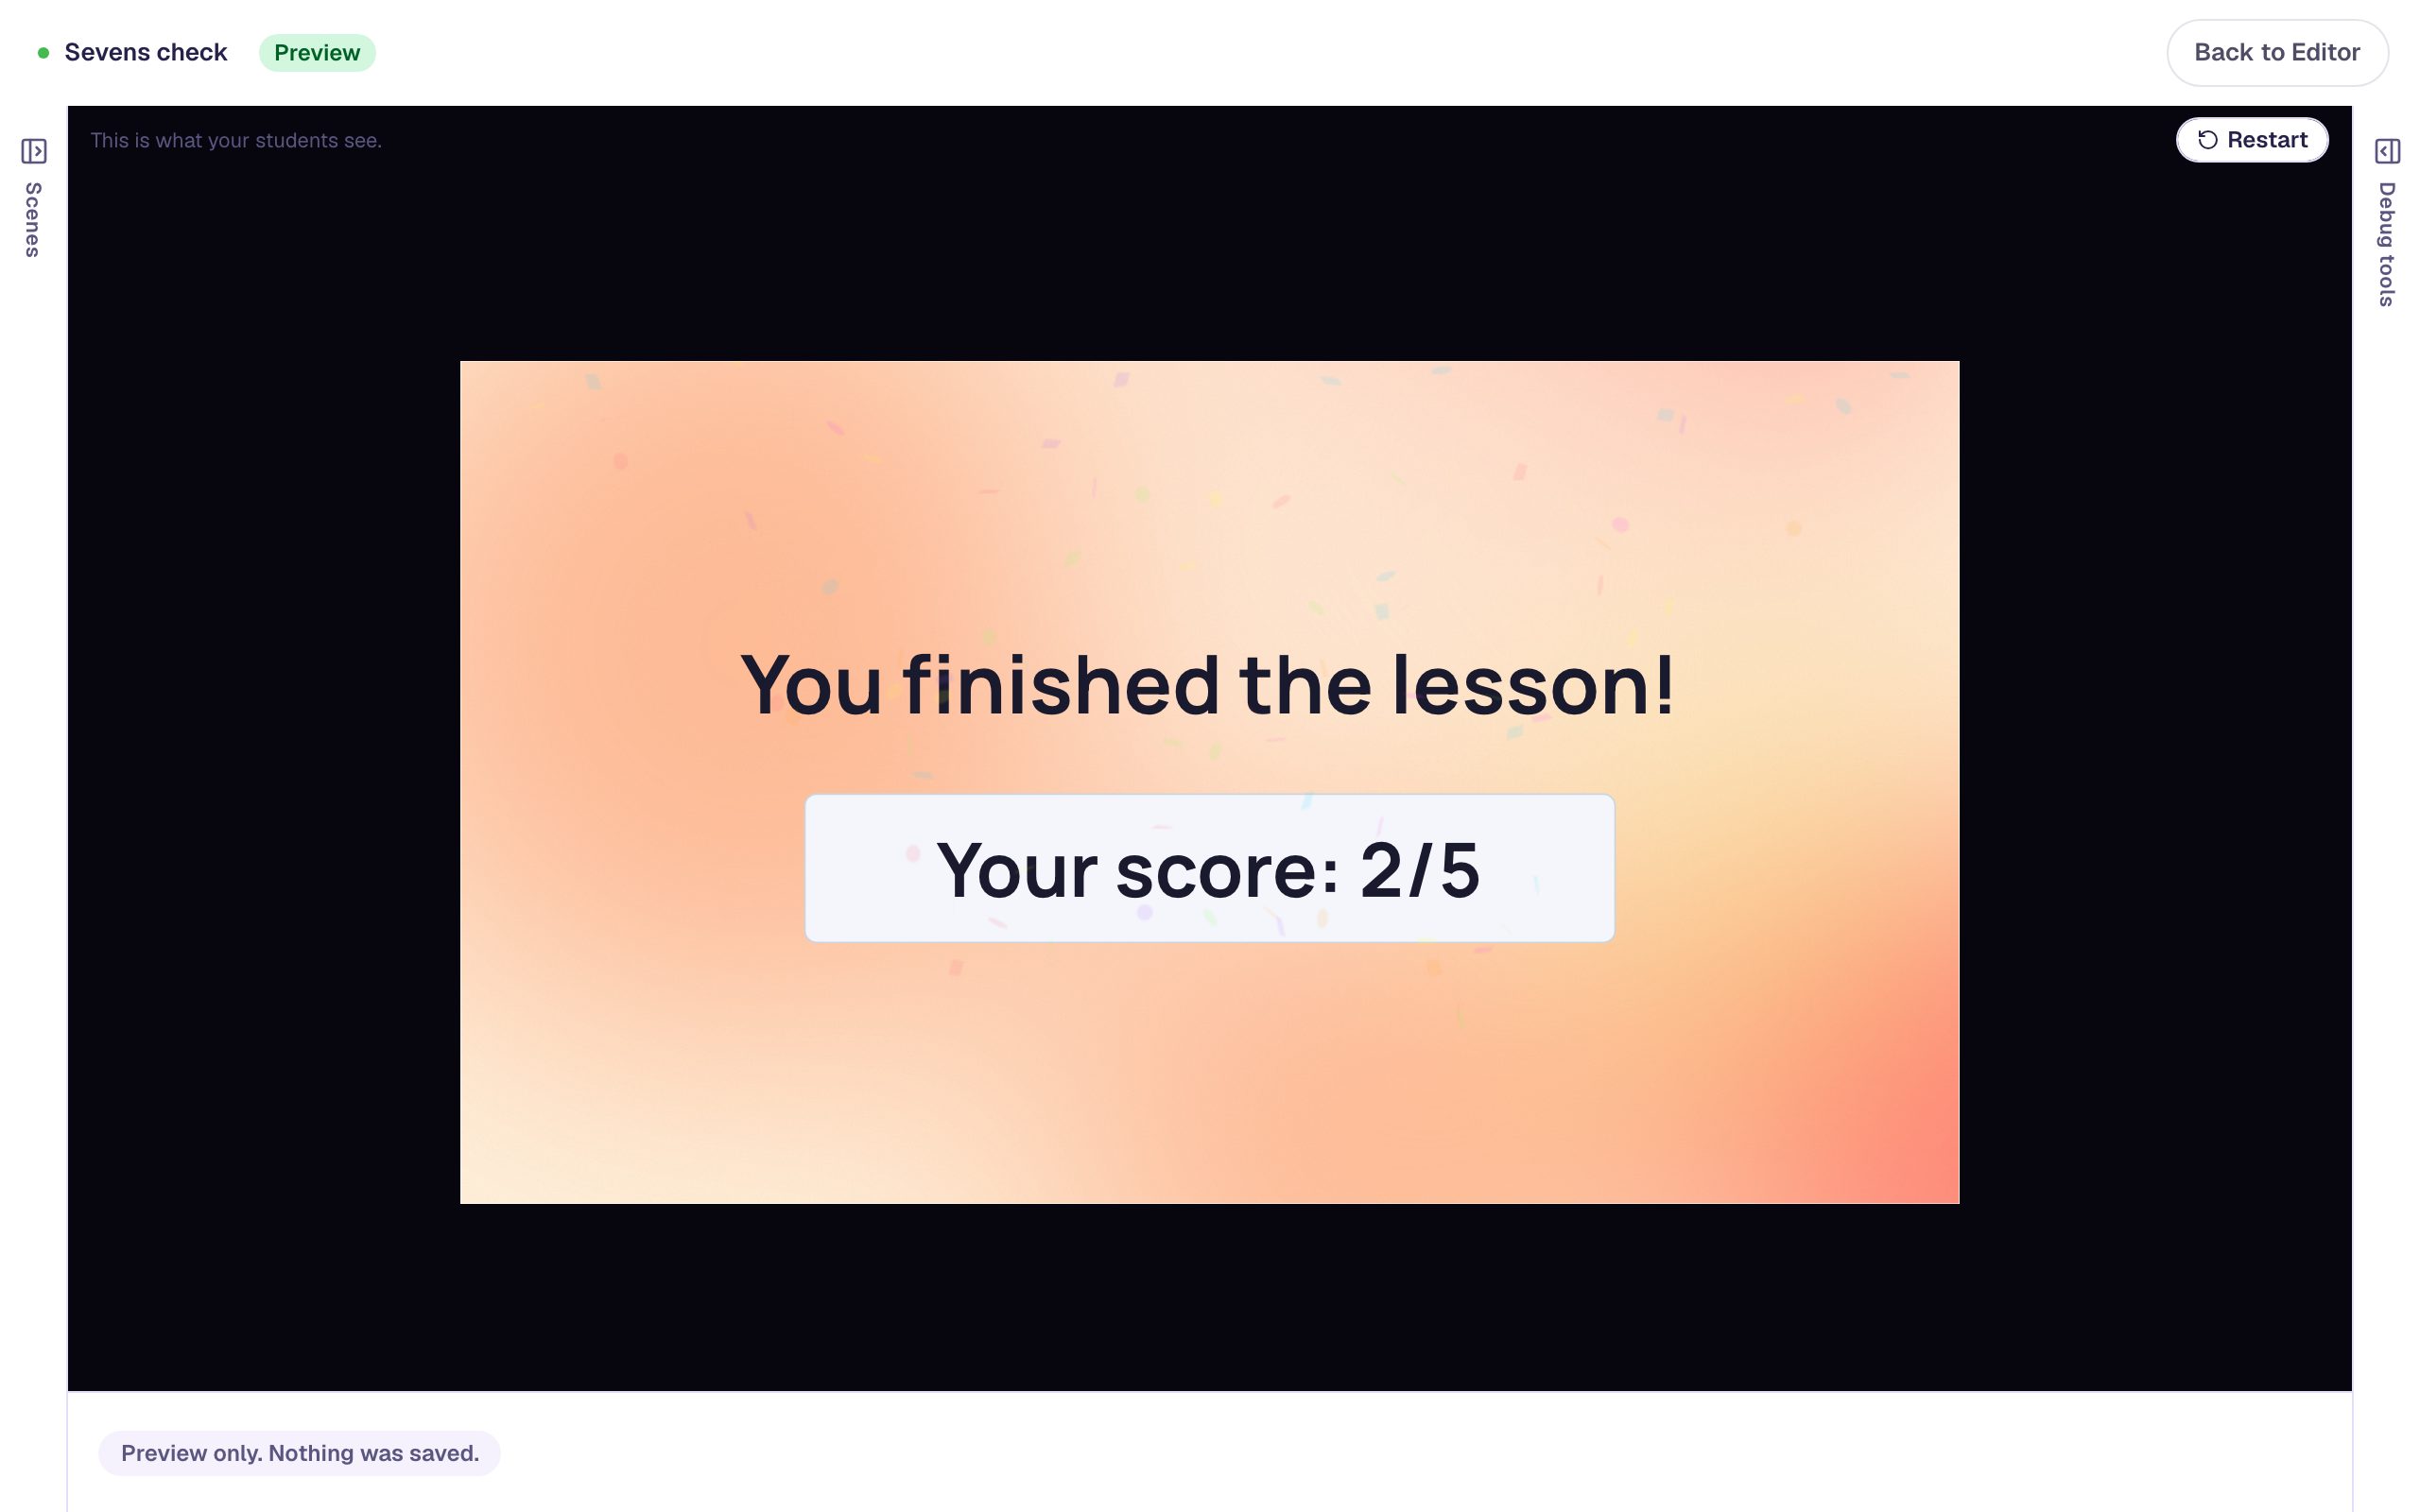
Press Continue to reach the ending, which shows the score the student earned on the check.
What you built
A five-problem sevens check that:
- adds up the points on the scene with the Cumulative rule, and counts it as passed at a Passing % of
80, so four of five is enough, - shows Check my answers only once every box has an answer, so nobody is left on a locked scene,
- sends students under 80% to a Practice scene through the Lesson Graph's They answer wrong path, and everyone on to the same ending.
The same setup works for any short check: a spelling list, a set of number bonds, five vocabulary questions. Change the Passing % to set the bar.
Next, try Send students down different paths by their score to give students more than two routes, or Score each skill separately with grading groups to see which skill a student still needs.
Make this lesson yours
Add the lesson you just watched being built to your account, then change it for your class: your questions, your pictures, your colors.
Free to sign up, and you'll come straight back here. I have an account