Trace a number, then write it
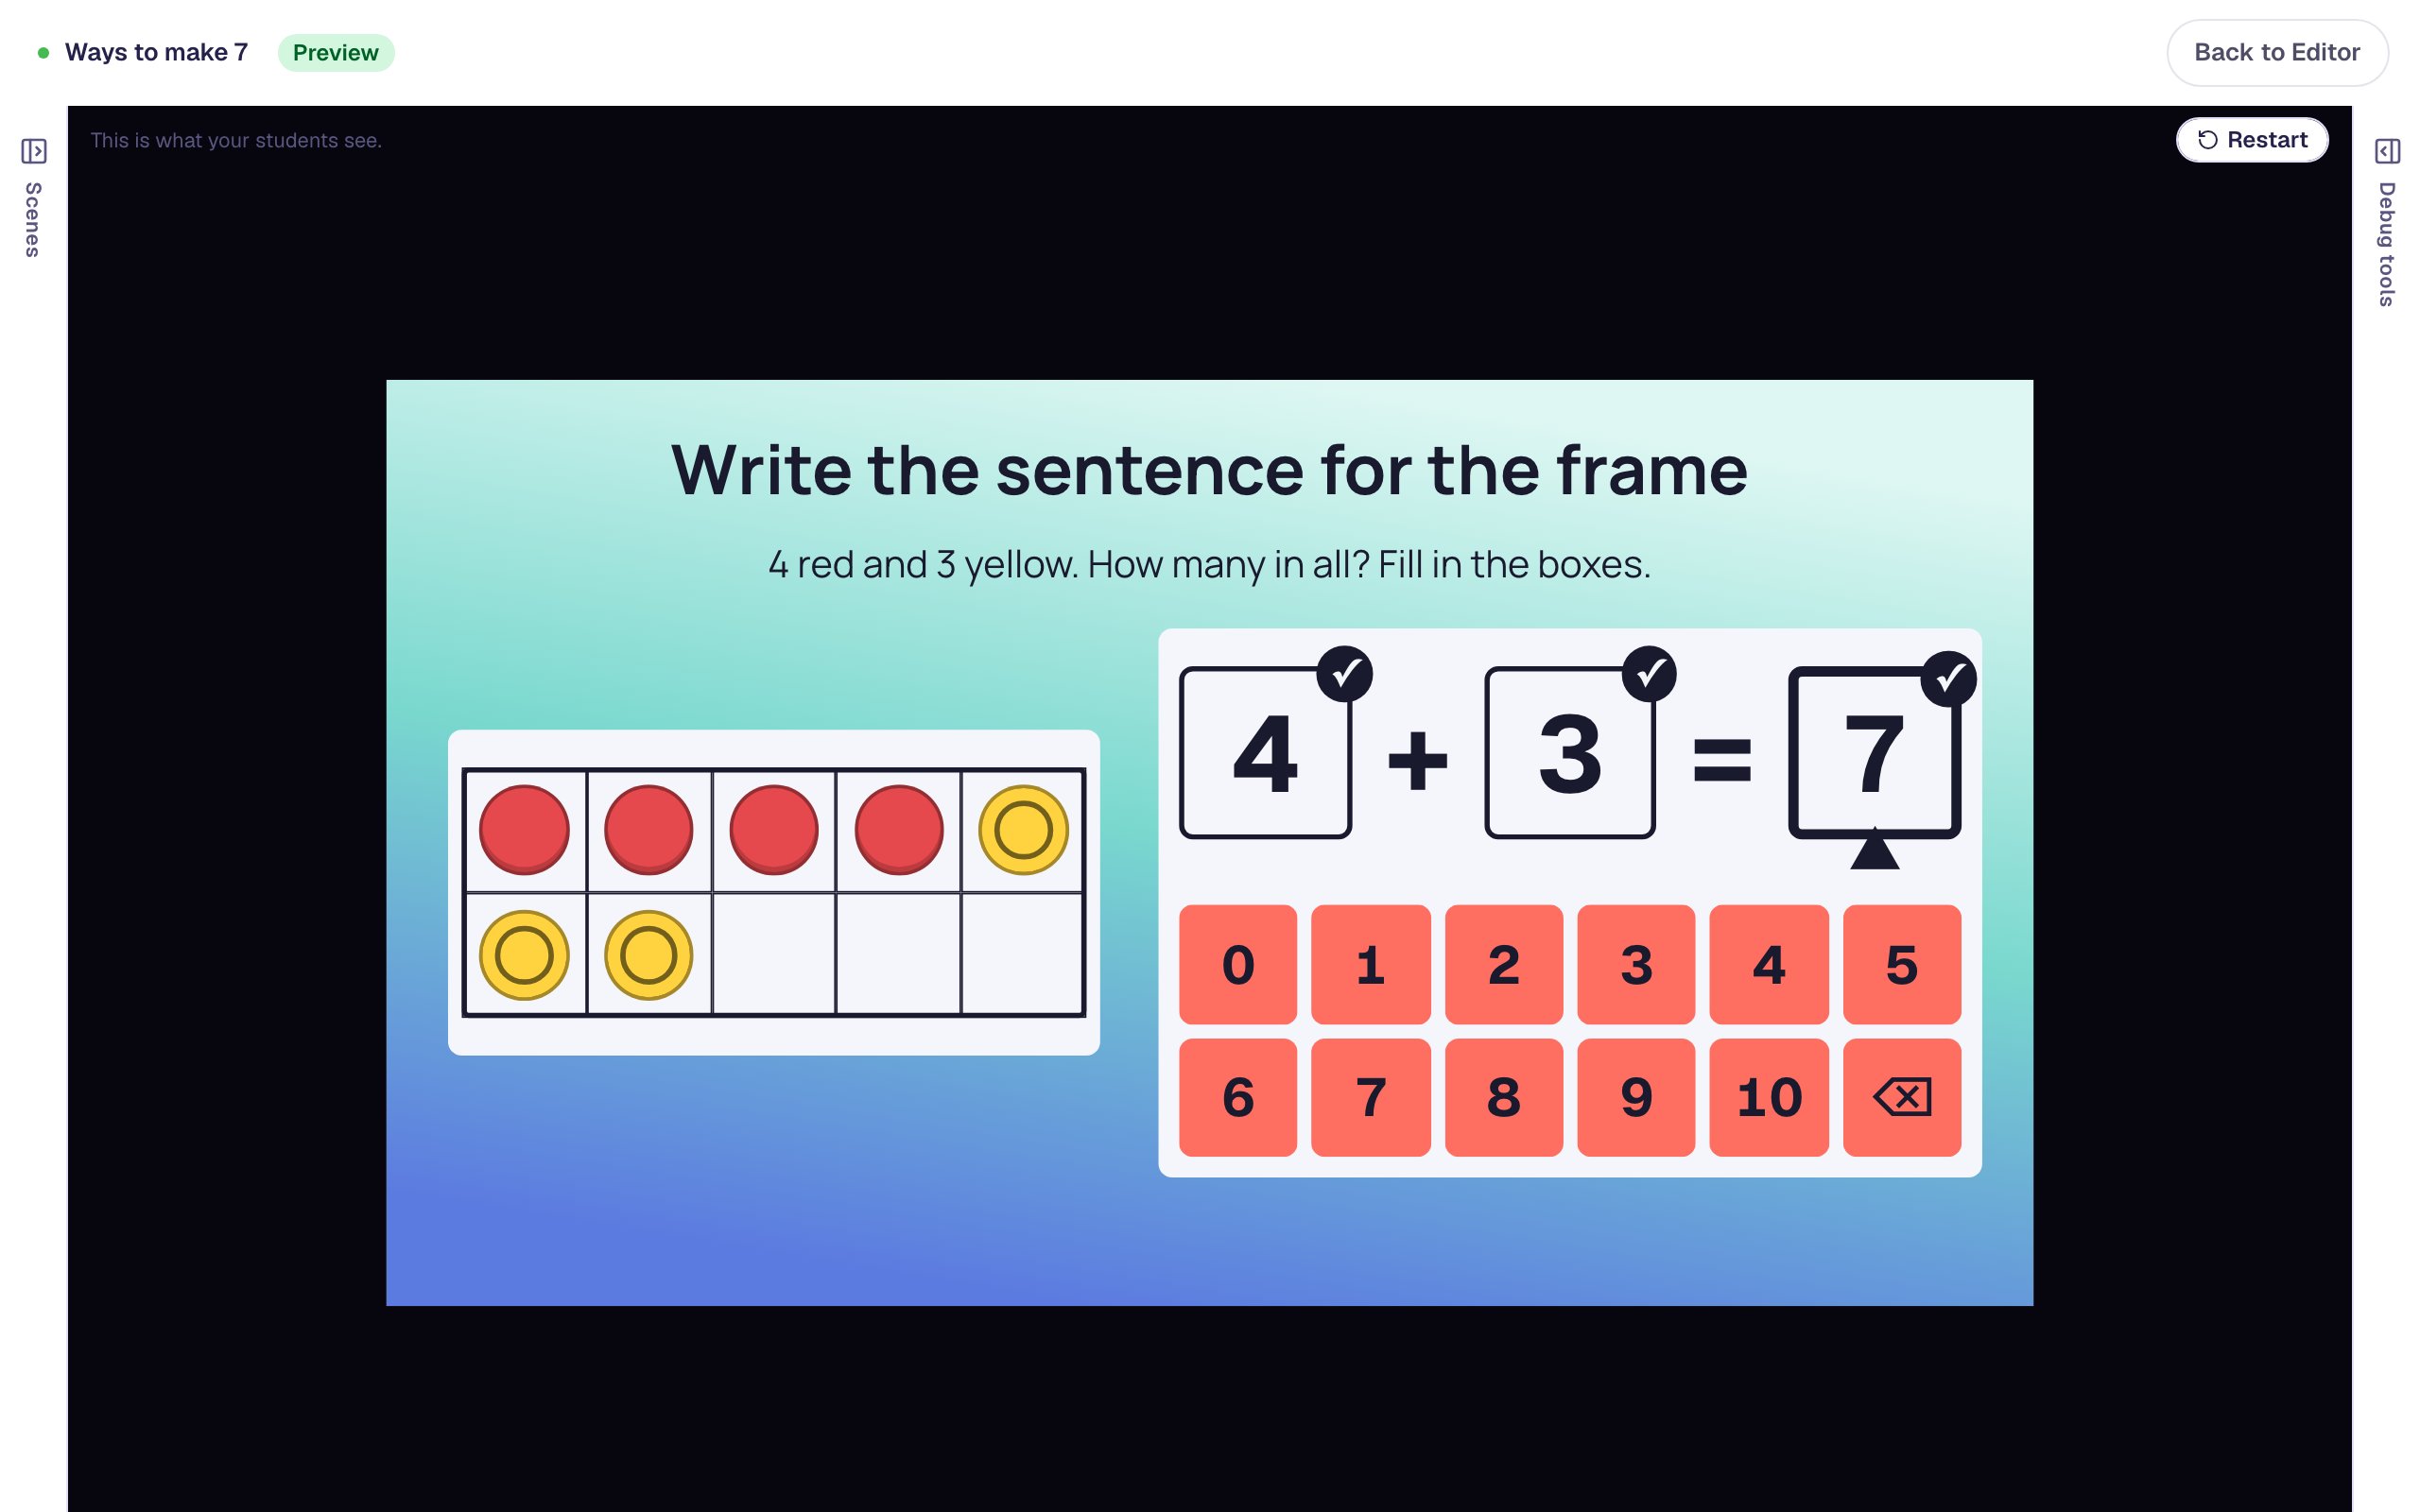
Set up a Number Tracing widget where young learners watch how 4 is formed, trace it twice along its arrows, then write it on their own, with a five-frame of four beside it.
- Level
- Beginner
- Time
- About 10 min
- Steps
- 7
- Updated
- Oct 16, 2026
A "Let's write 4" scene where students watch the numeral being drawn, trace it twice stroke by stroke, write it in a box with a faint 4 to guide them, and move on to the ending.
Get the finished lesson
Skip straight to the result, or keep it open beside the steps. Add this tutorial's lesson to your account and explore how it works in the studio.
Free to sign up, and you'll come straight back here. I have an account
Kindergarten teaches writing a numeral as a set of moves, not a picture to copy. A 4 starts at the top, goes down to the middle and across, then you lift and draw a line from the top straight down. Children watch it done, trace it with a finger, and then write it on their own.
In this tutorial you'll build a one-scene lesson called Let's write 4. Students press Watch me to see the 4 drawn, trace it twice along its arrows, then write it in an empty box. A stroke that wanders off the path fades away so the child can try again. There are no red marks and no buzzer. A five-frame with four dots sits beside the numeral, so the number always comes with what it means.
Step 1: Set the scene
Start a blank lesson (New lesson, then Start from scratch) and name it Let's write 4 by clicking Untitled lesson at the top left.
Give the scene a warm background. Click an empty spot on the scene, open Background, click Choose a style, and pick Mesh sunrise. Give the Closing Scene the same background so the ending matches.
The numeral will take the right half of the scene, so put everything else in a column on the left:
- A Heading:
Let's write 4. Set its Font Size to48. - A Body under it:
Watch how 4 is made. Trace it twice, then write it.Set it to Fixed width, about300wide, then set its Font Size to22. - An Image under that, about
280by210, with a picture of four things children know, like four apples. Open Image Source, click Open Media Library, and upload or choose your picture.
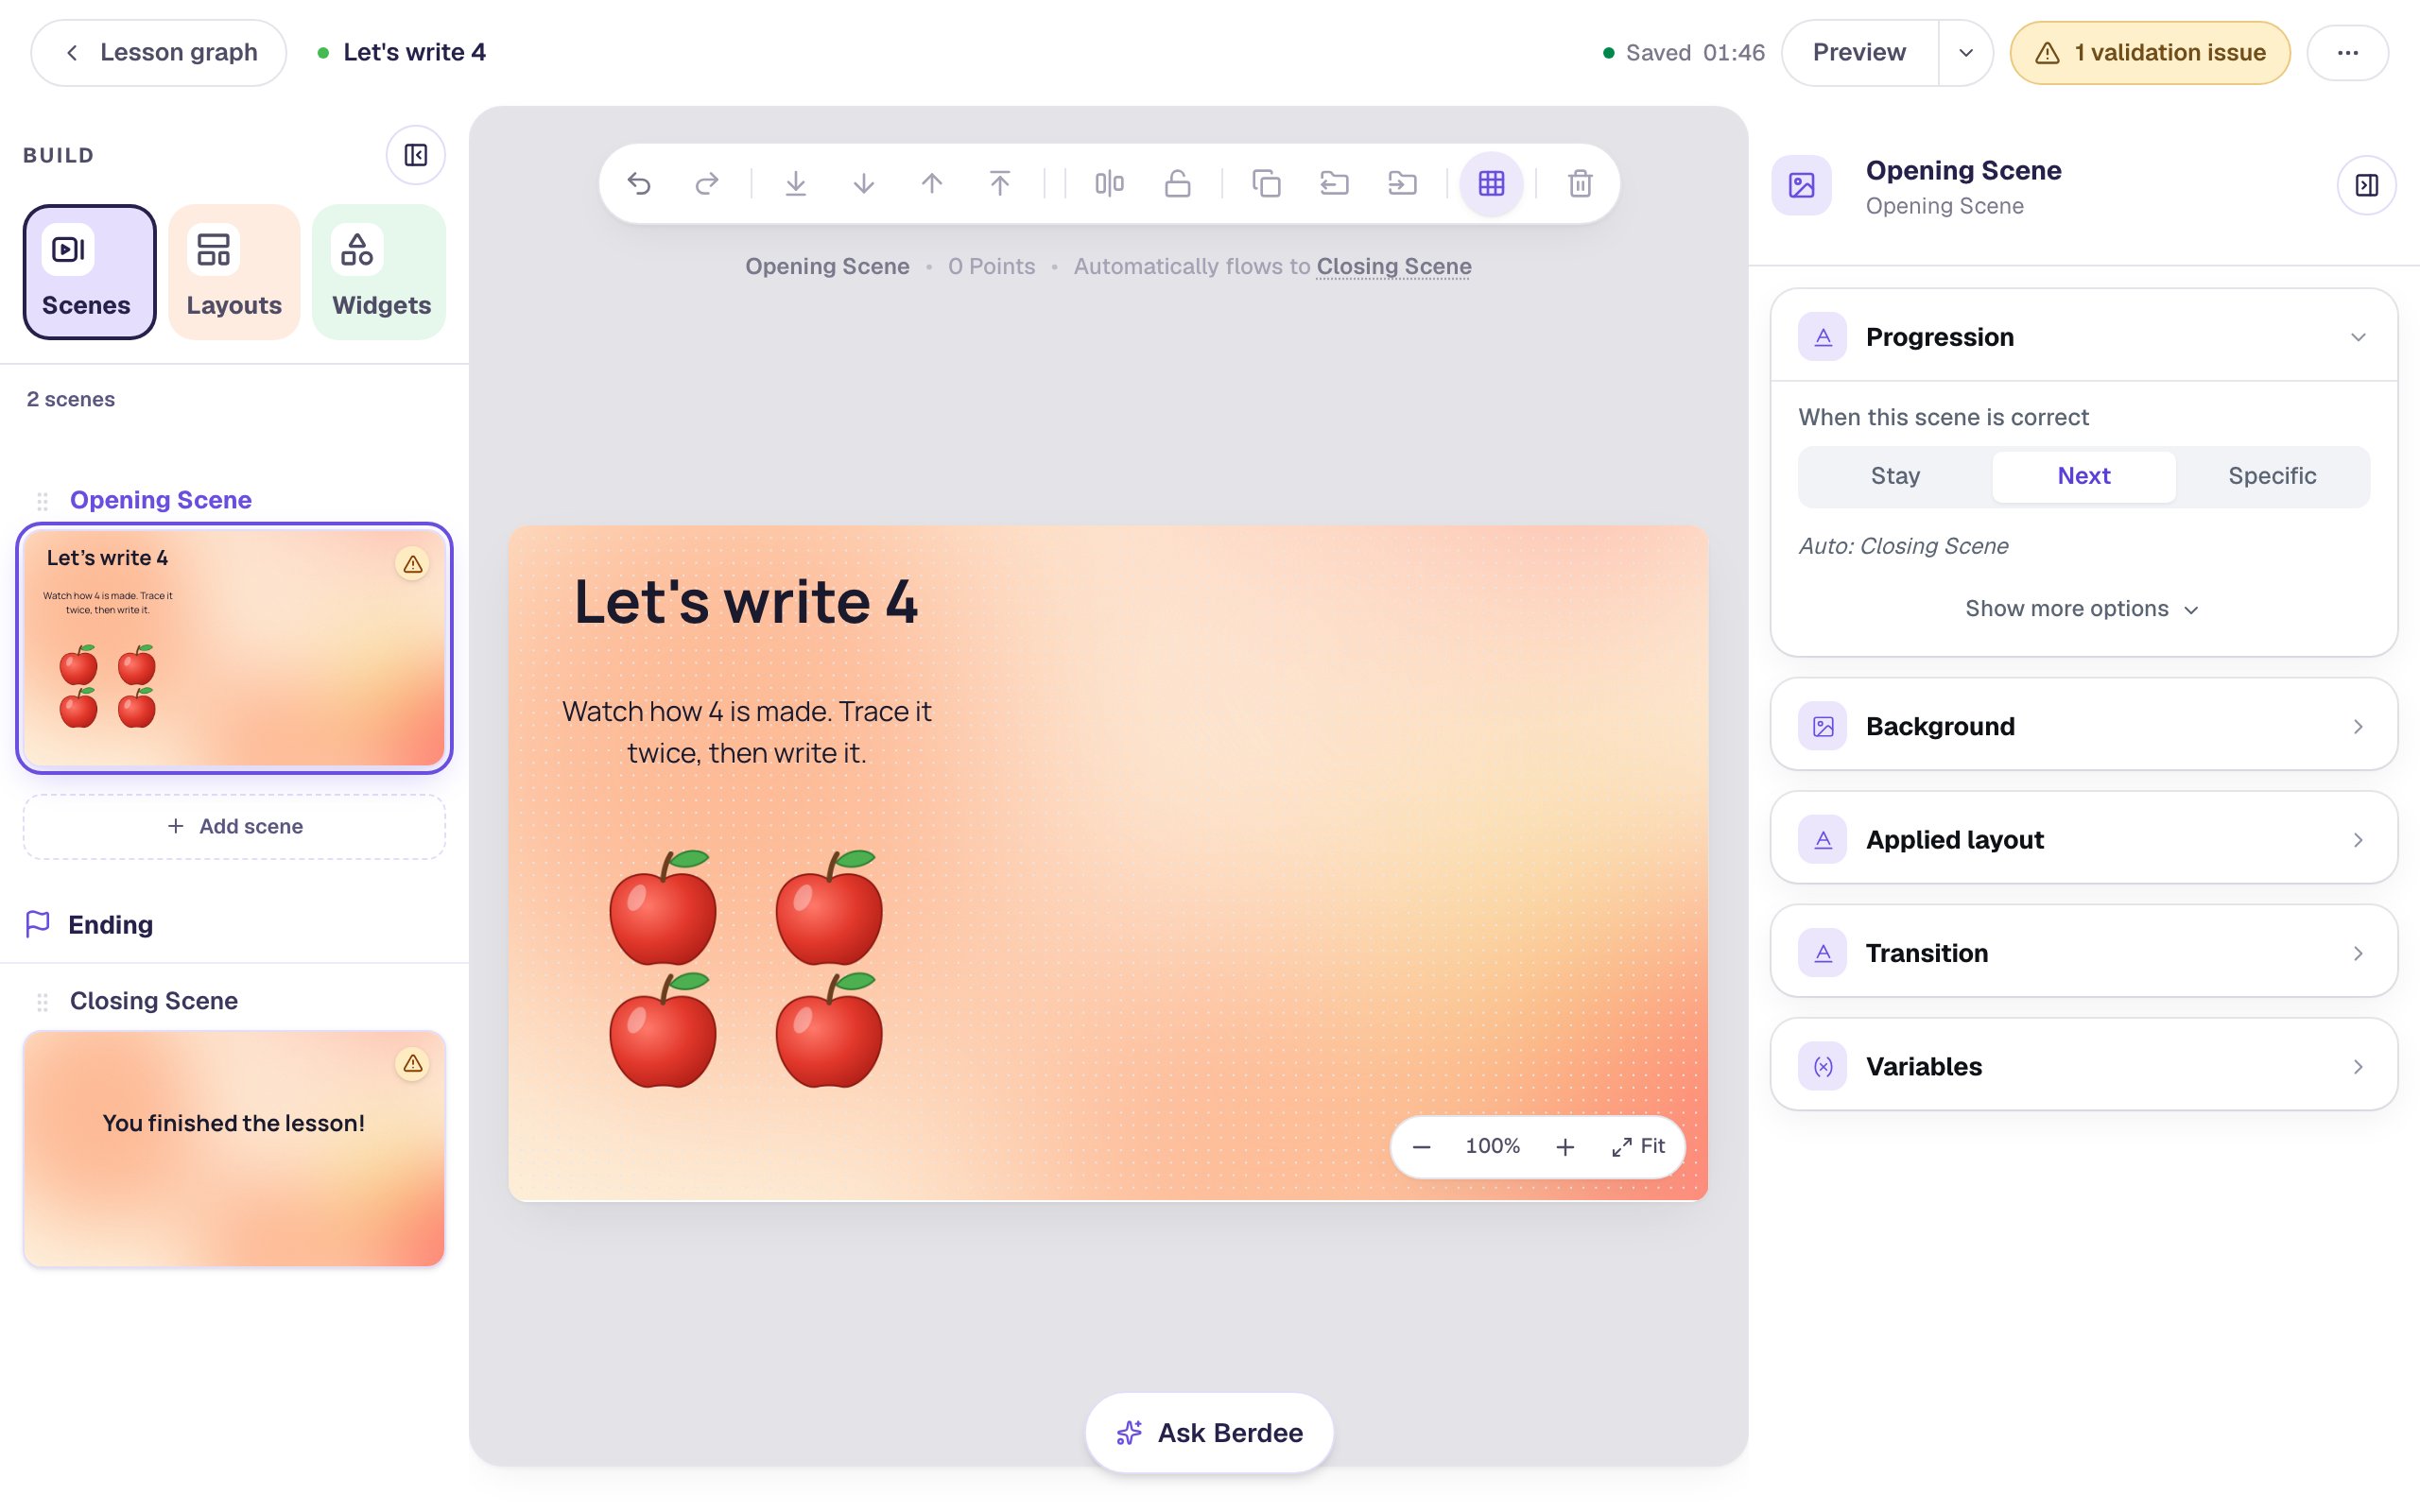
Then give the picture its Alt Text under Accessibility: Four red apples in two rows of two. A student using a screen reader hears that instead of the picture.
Step 2: Add a Number Tracing widget
Search the Widgets tab for Number Tracing and click it. It arrives showing a 1 in a writing box, with a green start dot and an arrow.
Under Style & Layout, click Show more options and set Width to 540 and Height to 450, then drag it into the right half of the scene. Set its Background to white, so the writing box sits on a clean card.
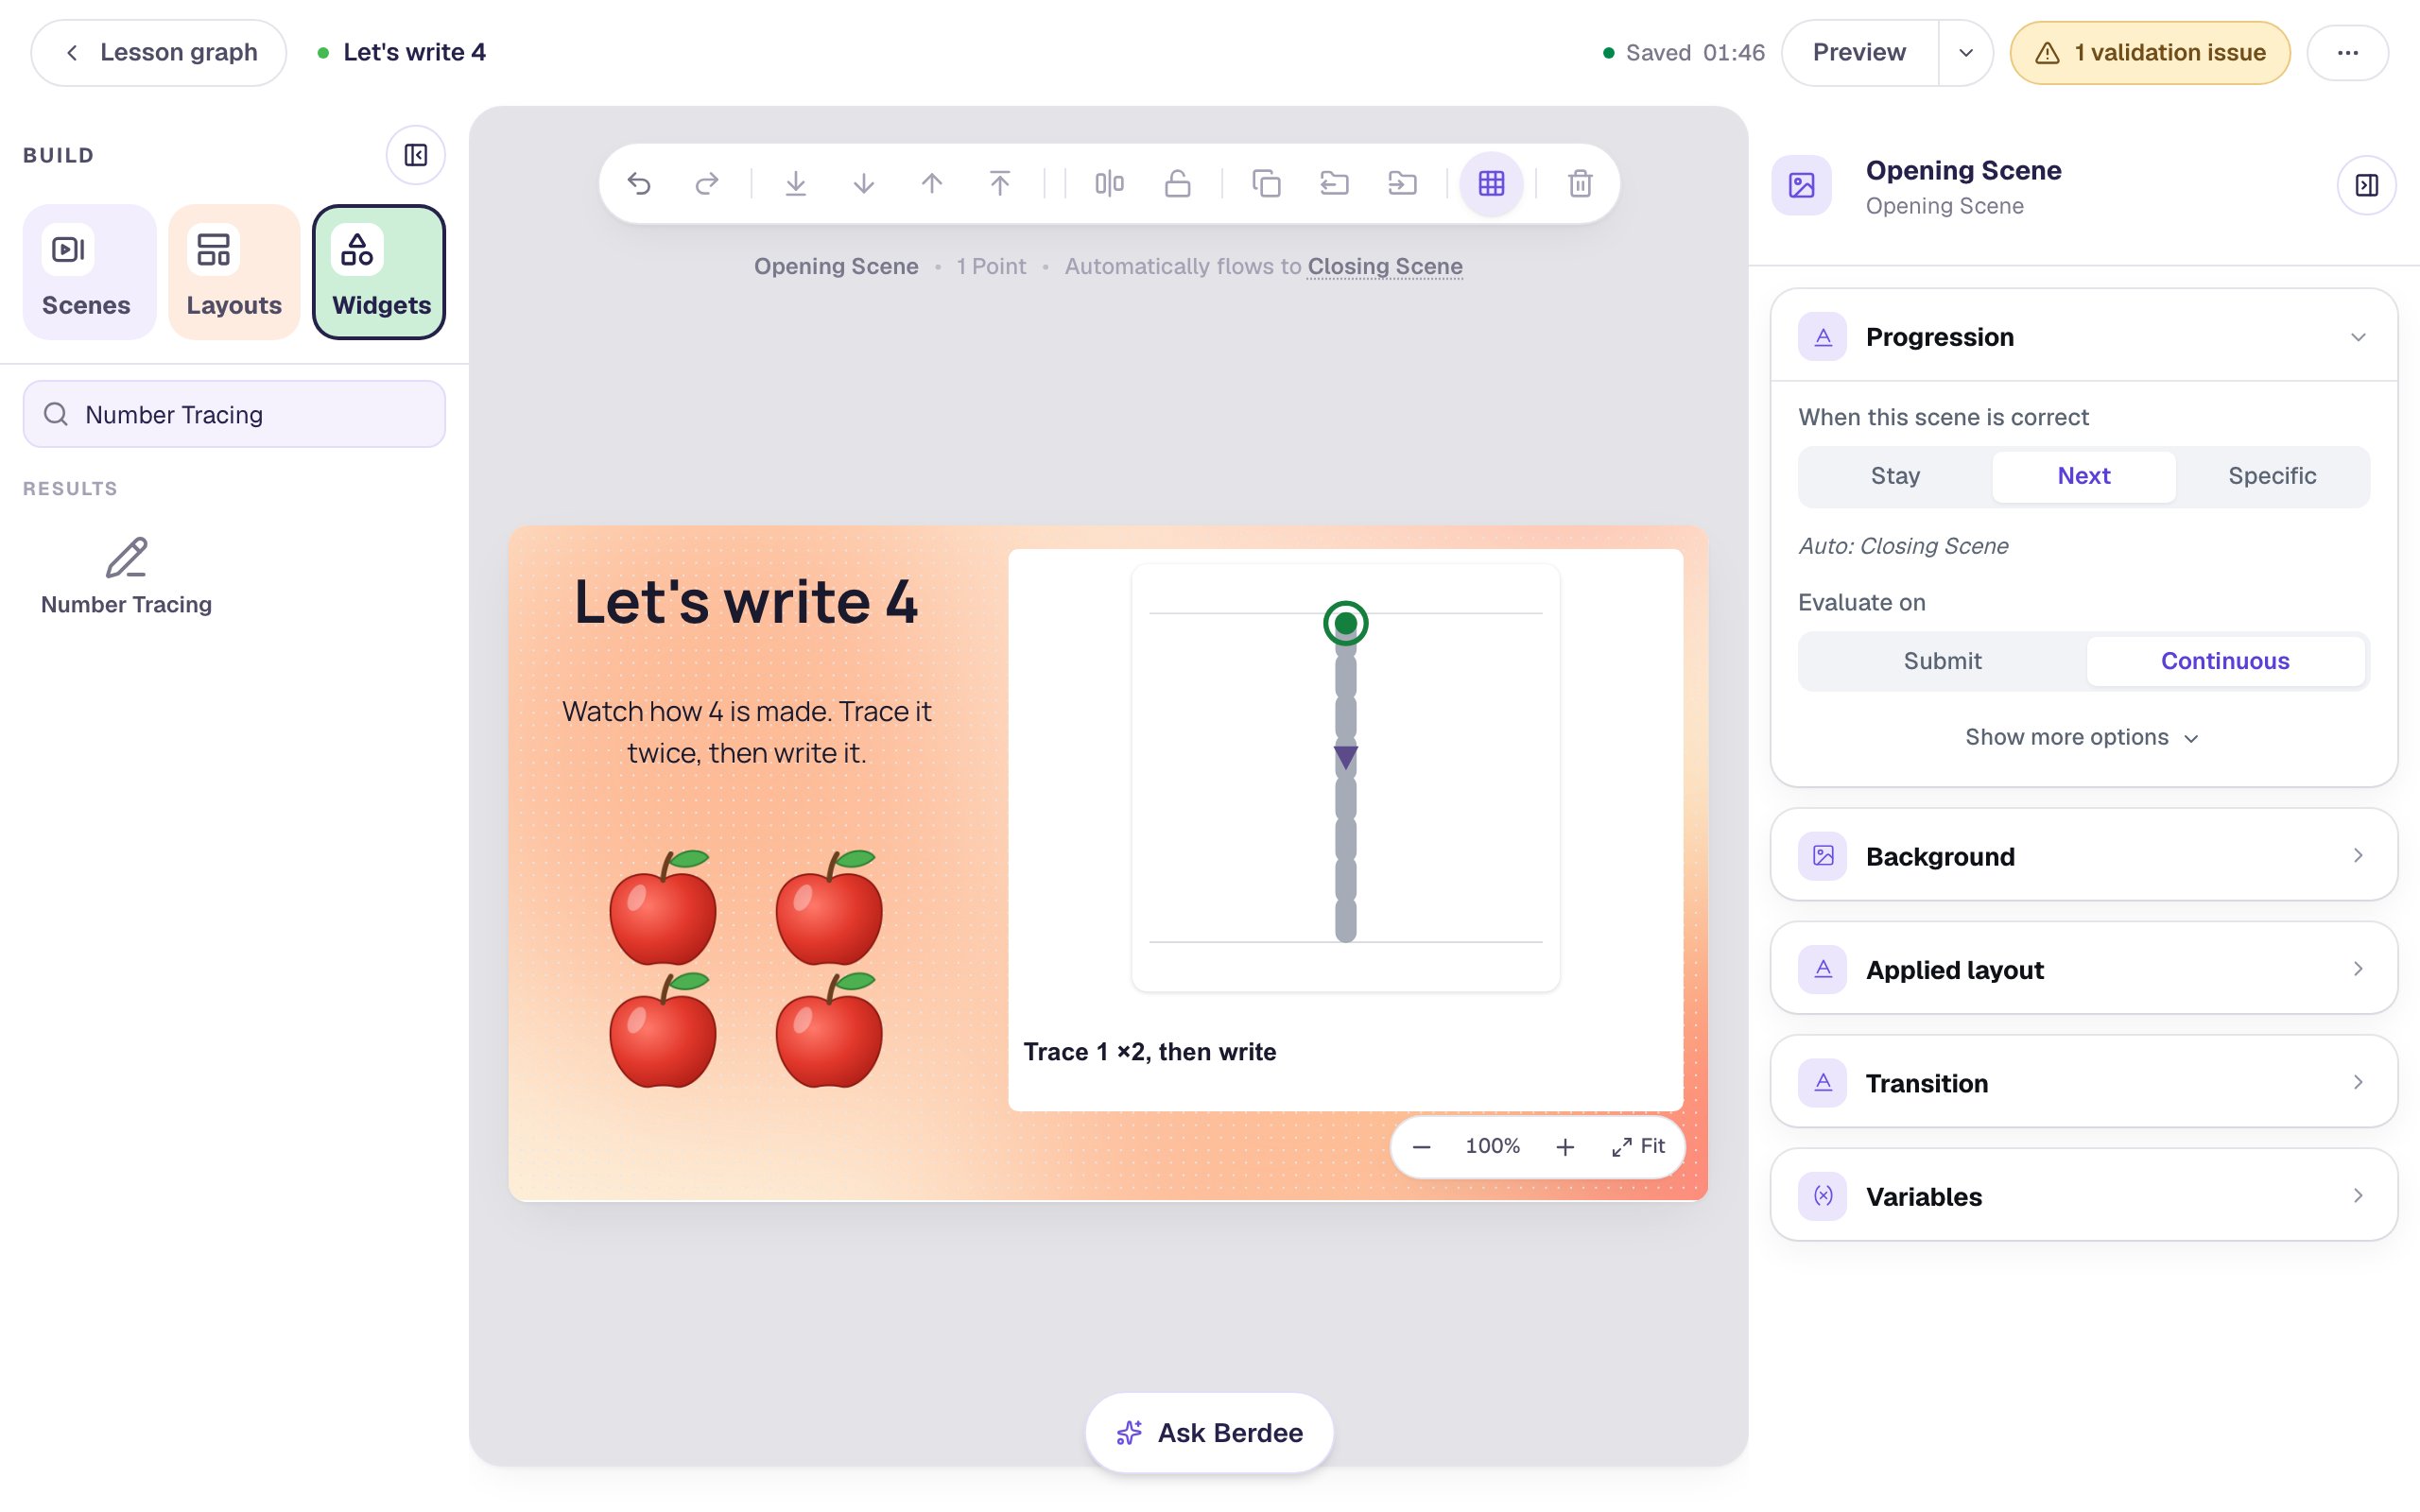
Keep it big. A five-year-old traces with a whole finger, not a mouse pointer, and the Configure window warns you when the numeral would be too small to trace at student size.
Step 3: Choose the numeral 4
Click ⚙ Configure in the pill above the widget. The window has the settings on the left and a live preview on the right.
- Leave What children do on Trace, then write. That's the sequence a kindergarten guide teaches: trace with a finger, then write.
- Set Numeral to
4. - Leave Trace it on Twice. Children trace the 4 two times before the writing box appears.
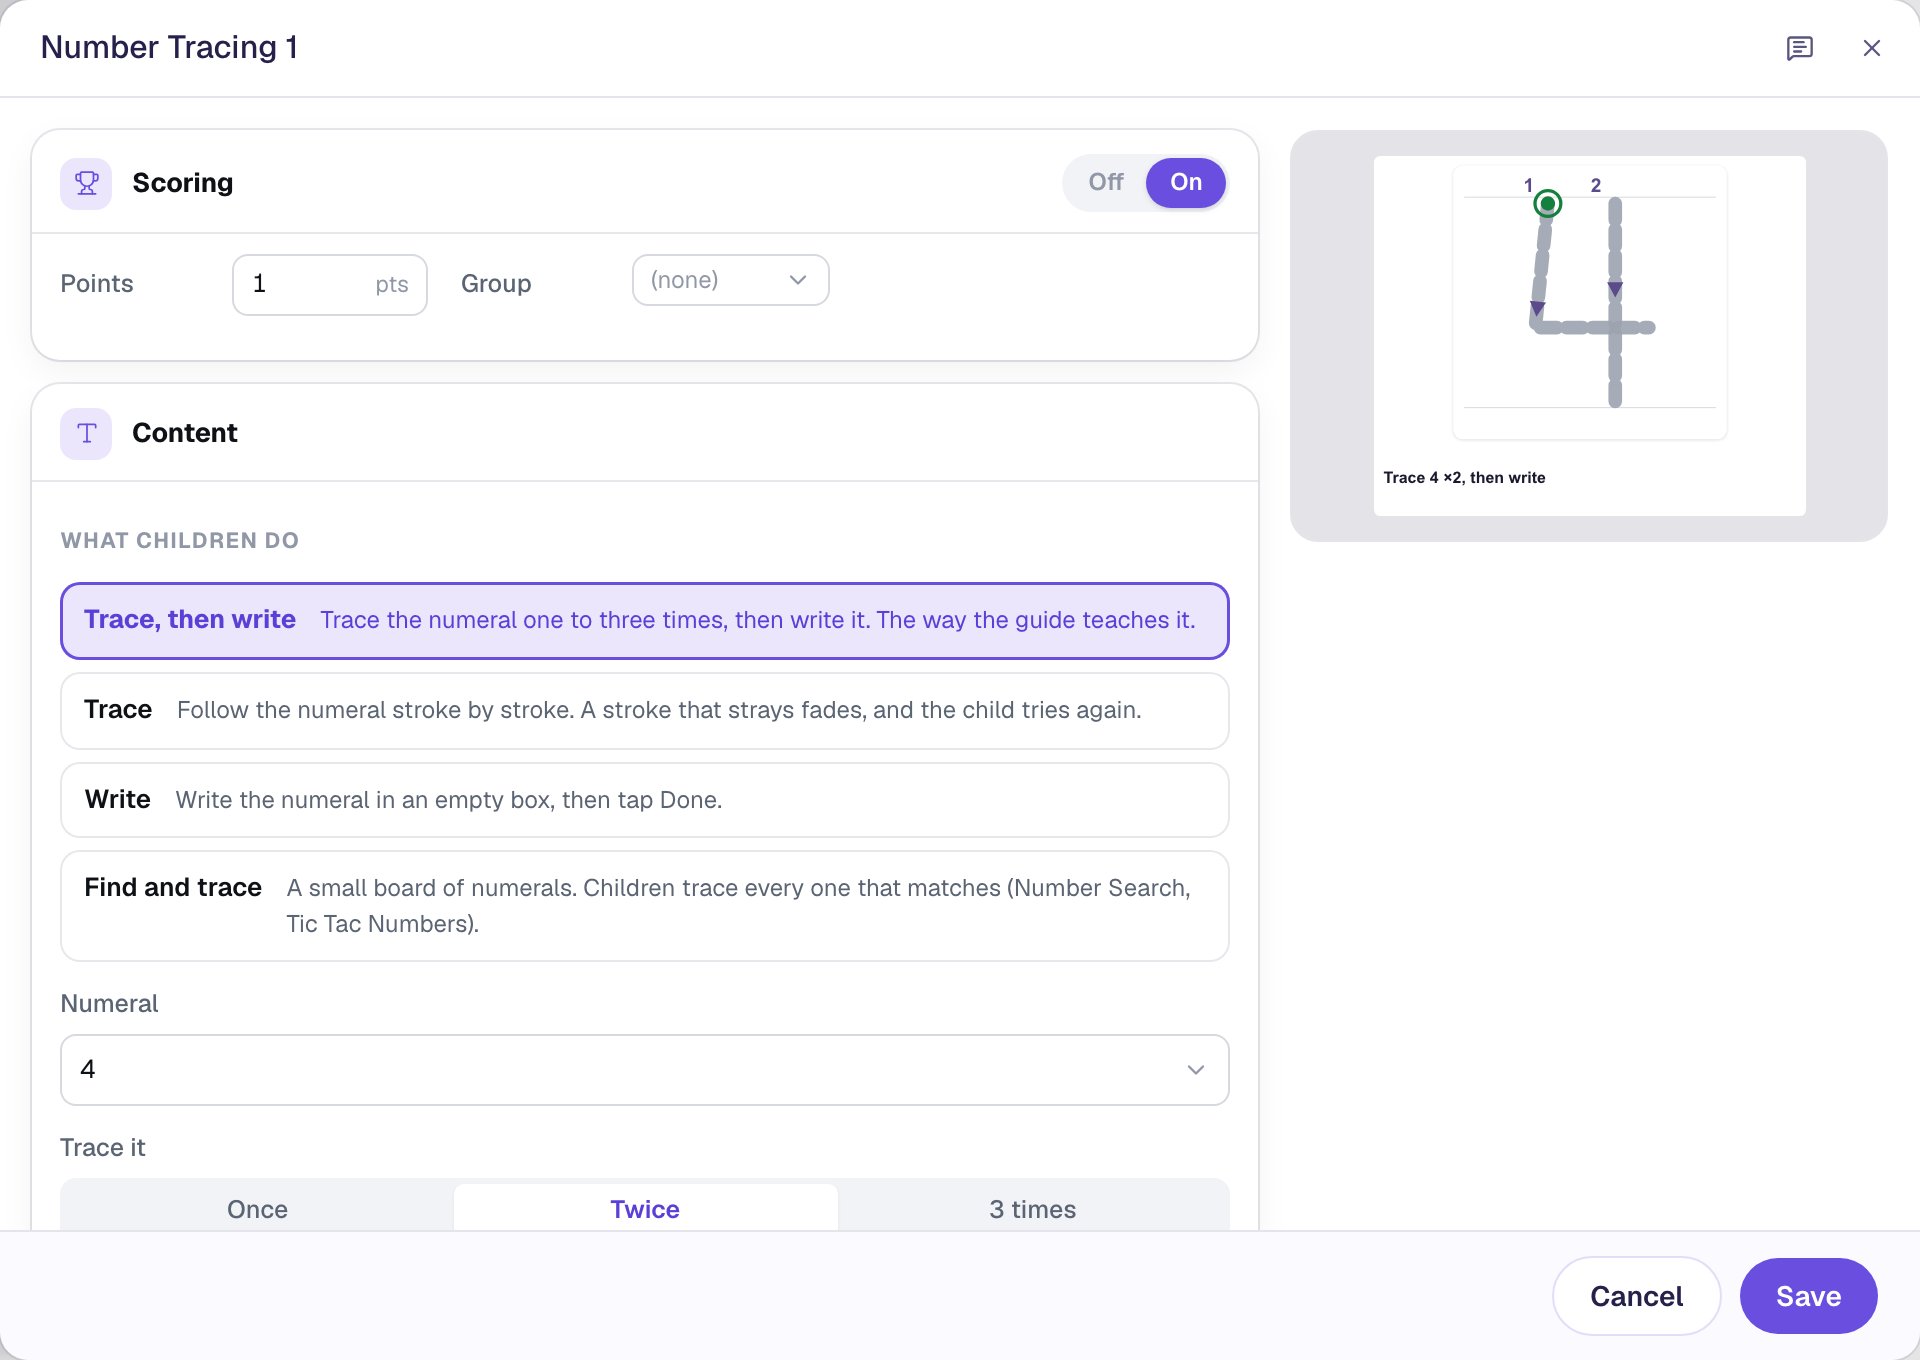
You don't draw the strokes yourself. Berdee knows how each numeral from 0 to 10 is formed, and the arrows, stroke numbers and checking all follow from the numeral you pick. If your handwriting program writes a 4 with a closed top, change it under More options → Numeral style.
Step 4: Show four beside the numeral
Scroll down in the same window. Under Help on screen, Green start dot, Arrows, Stroke numbers and Watch me button are already on. Leave them on for a first lesson on a numeral.
Under Beside it, click A frame. A five-frame with four dots appears next to the numeral in the preview.
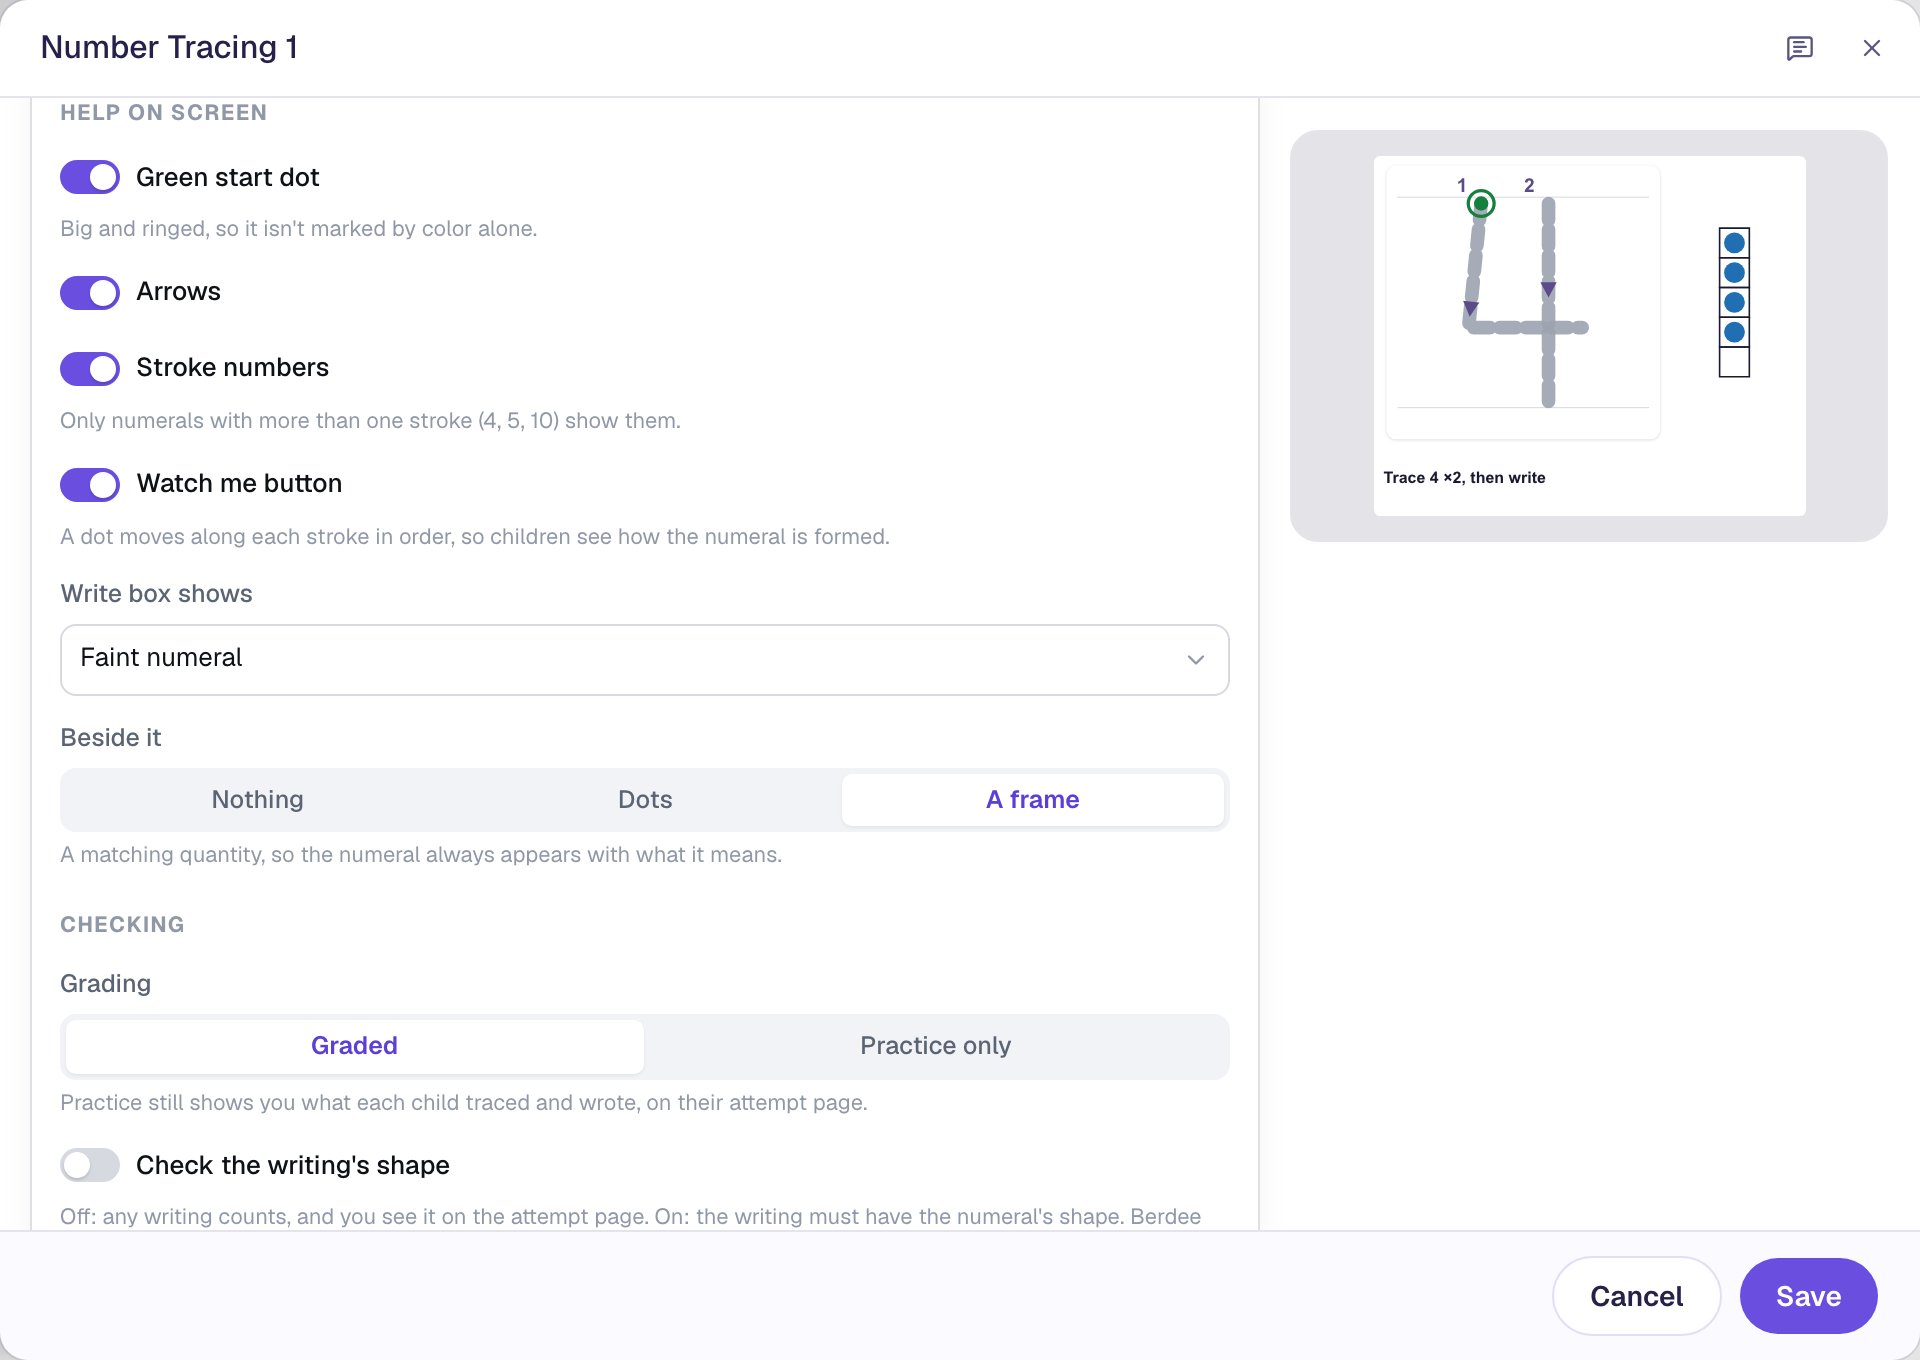
Write box shows starts on Faint numeral: the writing box shows a pale 4 to write over. Once children are ready to write from memory, choose Start dot or Nothing.
Under Checking, the widget is Graded: tracing must follow the path. Check the writing's shape is off, so any writing counts and you see what each child wrote on their attempt page. Leave it off for now. Berdee doesn't read handwriting, and checking the shape is stricter than most young writers need on day one.
Step 5: Try it as a student
Scroll to the bottom of the window and click Try it as a student. The widget appears just as students will see it, and you can trace in it right there.
Start on the green dot and follow the arrow. A stroke that follows the path stays as a solid line, and the next stroke's dot lights up. Press Start again to try once more, then click Save.
Step 6: Give students time, and a way to finish
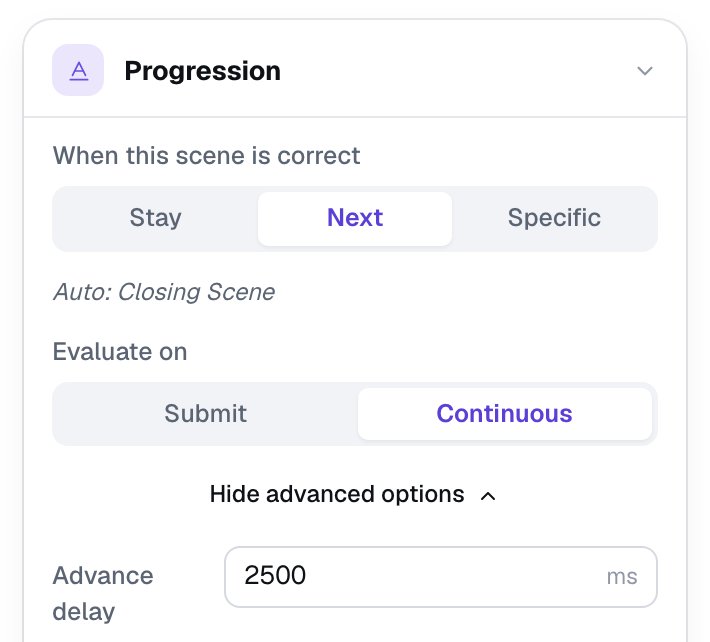
The scene moves on by itself as soon as the widget is right. By default it waits only 0.6 seconds, which is too quick for a child to see their finished 4.
Click an empty spot on the scene to see its settings. In Progression, click Show more options and set Advance delay to 2500 ms (two and a half seconds).
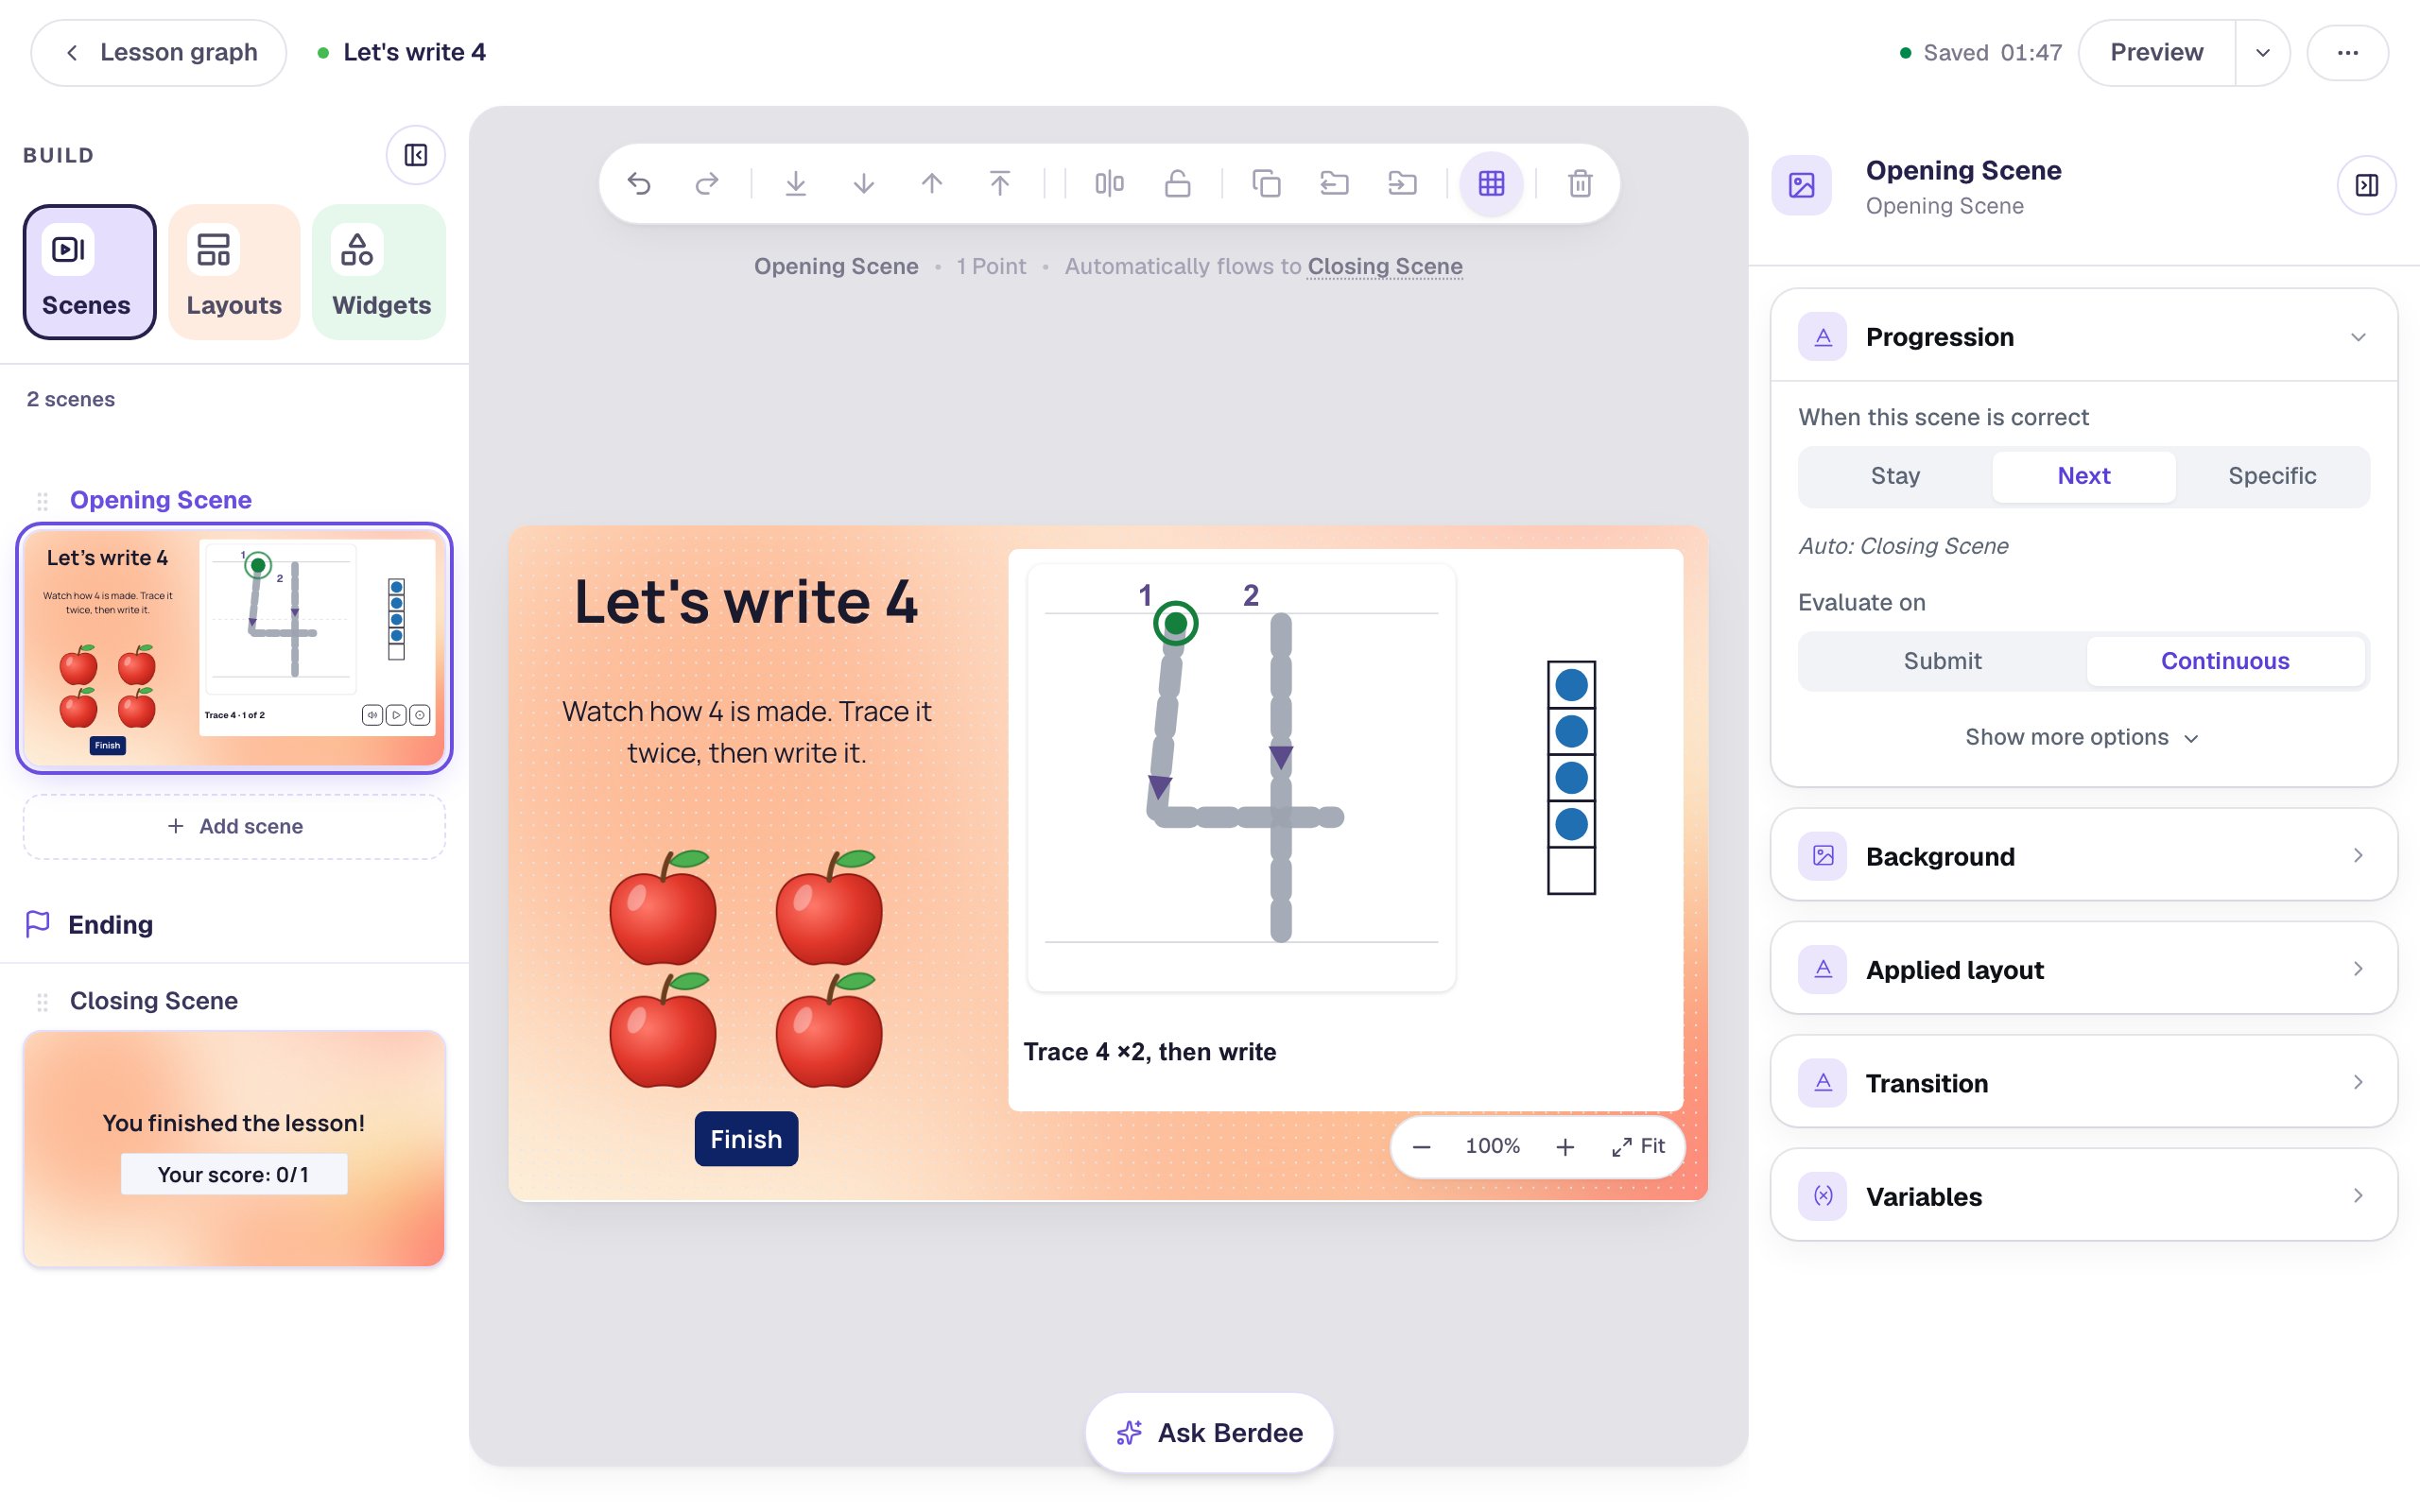
Every lesson also needs one button that ends it, even a lesson that moves on by itself. Until it has one, the top bar shows 1 validation issue.
- Search the Widgets tab for
Submit Buttonand click it. - In Content, change Label to
Finishand set Submits to Lesson. - Set its Font Size to
20, give it a dark navy Background and white Text, and drag it under the apples.
Step 7: Trace and write as a student
Click Preview. The widget says Trace 4 · 1 of 2. Press the Watch me button (the play button) first:
Now trace stroke 1, from the green dot down to the middle and across:
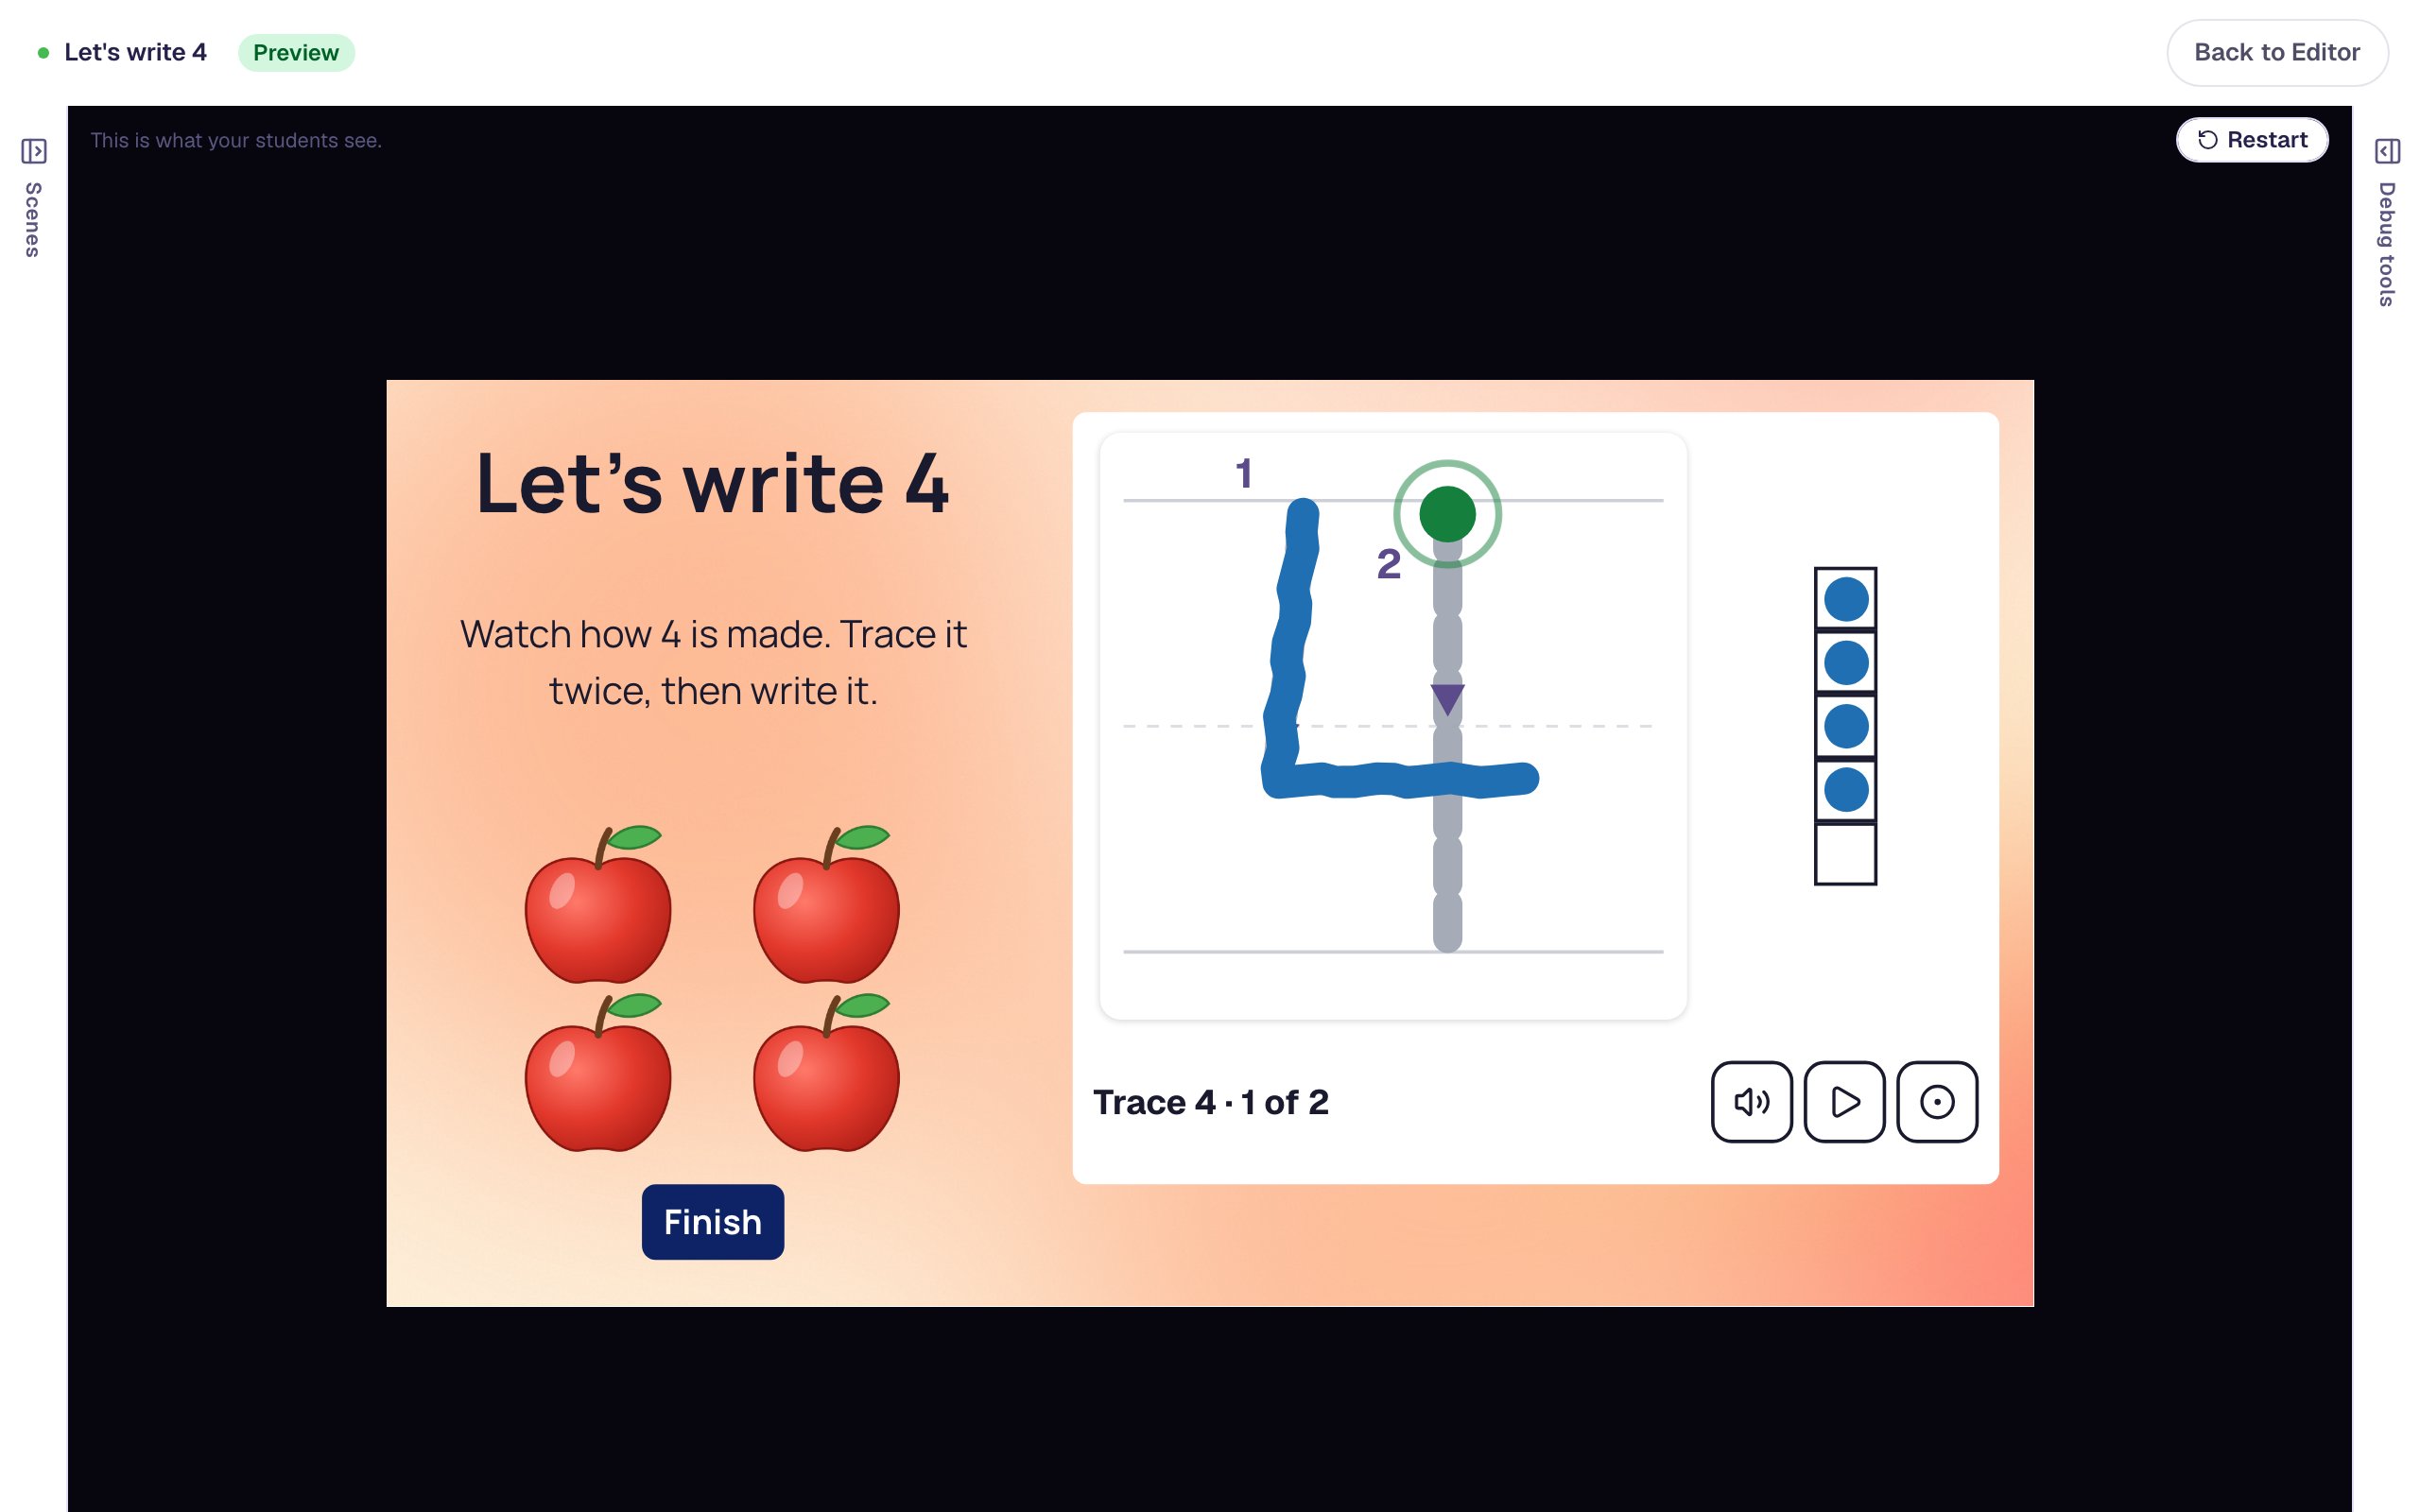
For stroke 2, let your finger wander off the line, the way a child's might. Then trace it properly, and trace the whole 4 a second time:
The stroke that strayed simply fades, and the green dot is still waiting. After the second trace, the box changes to Write 4, with a faint 4 to write over and a Done button.
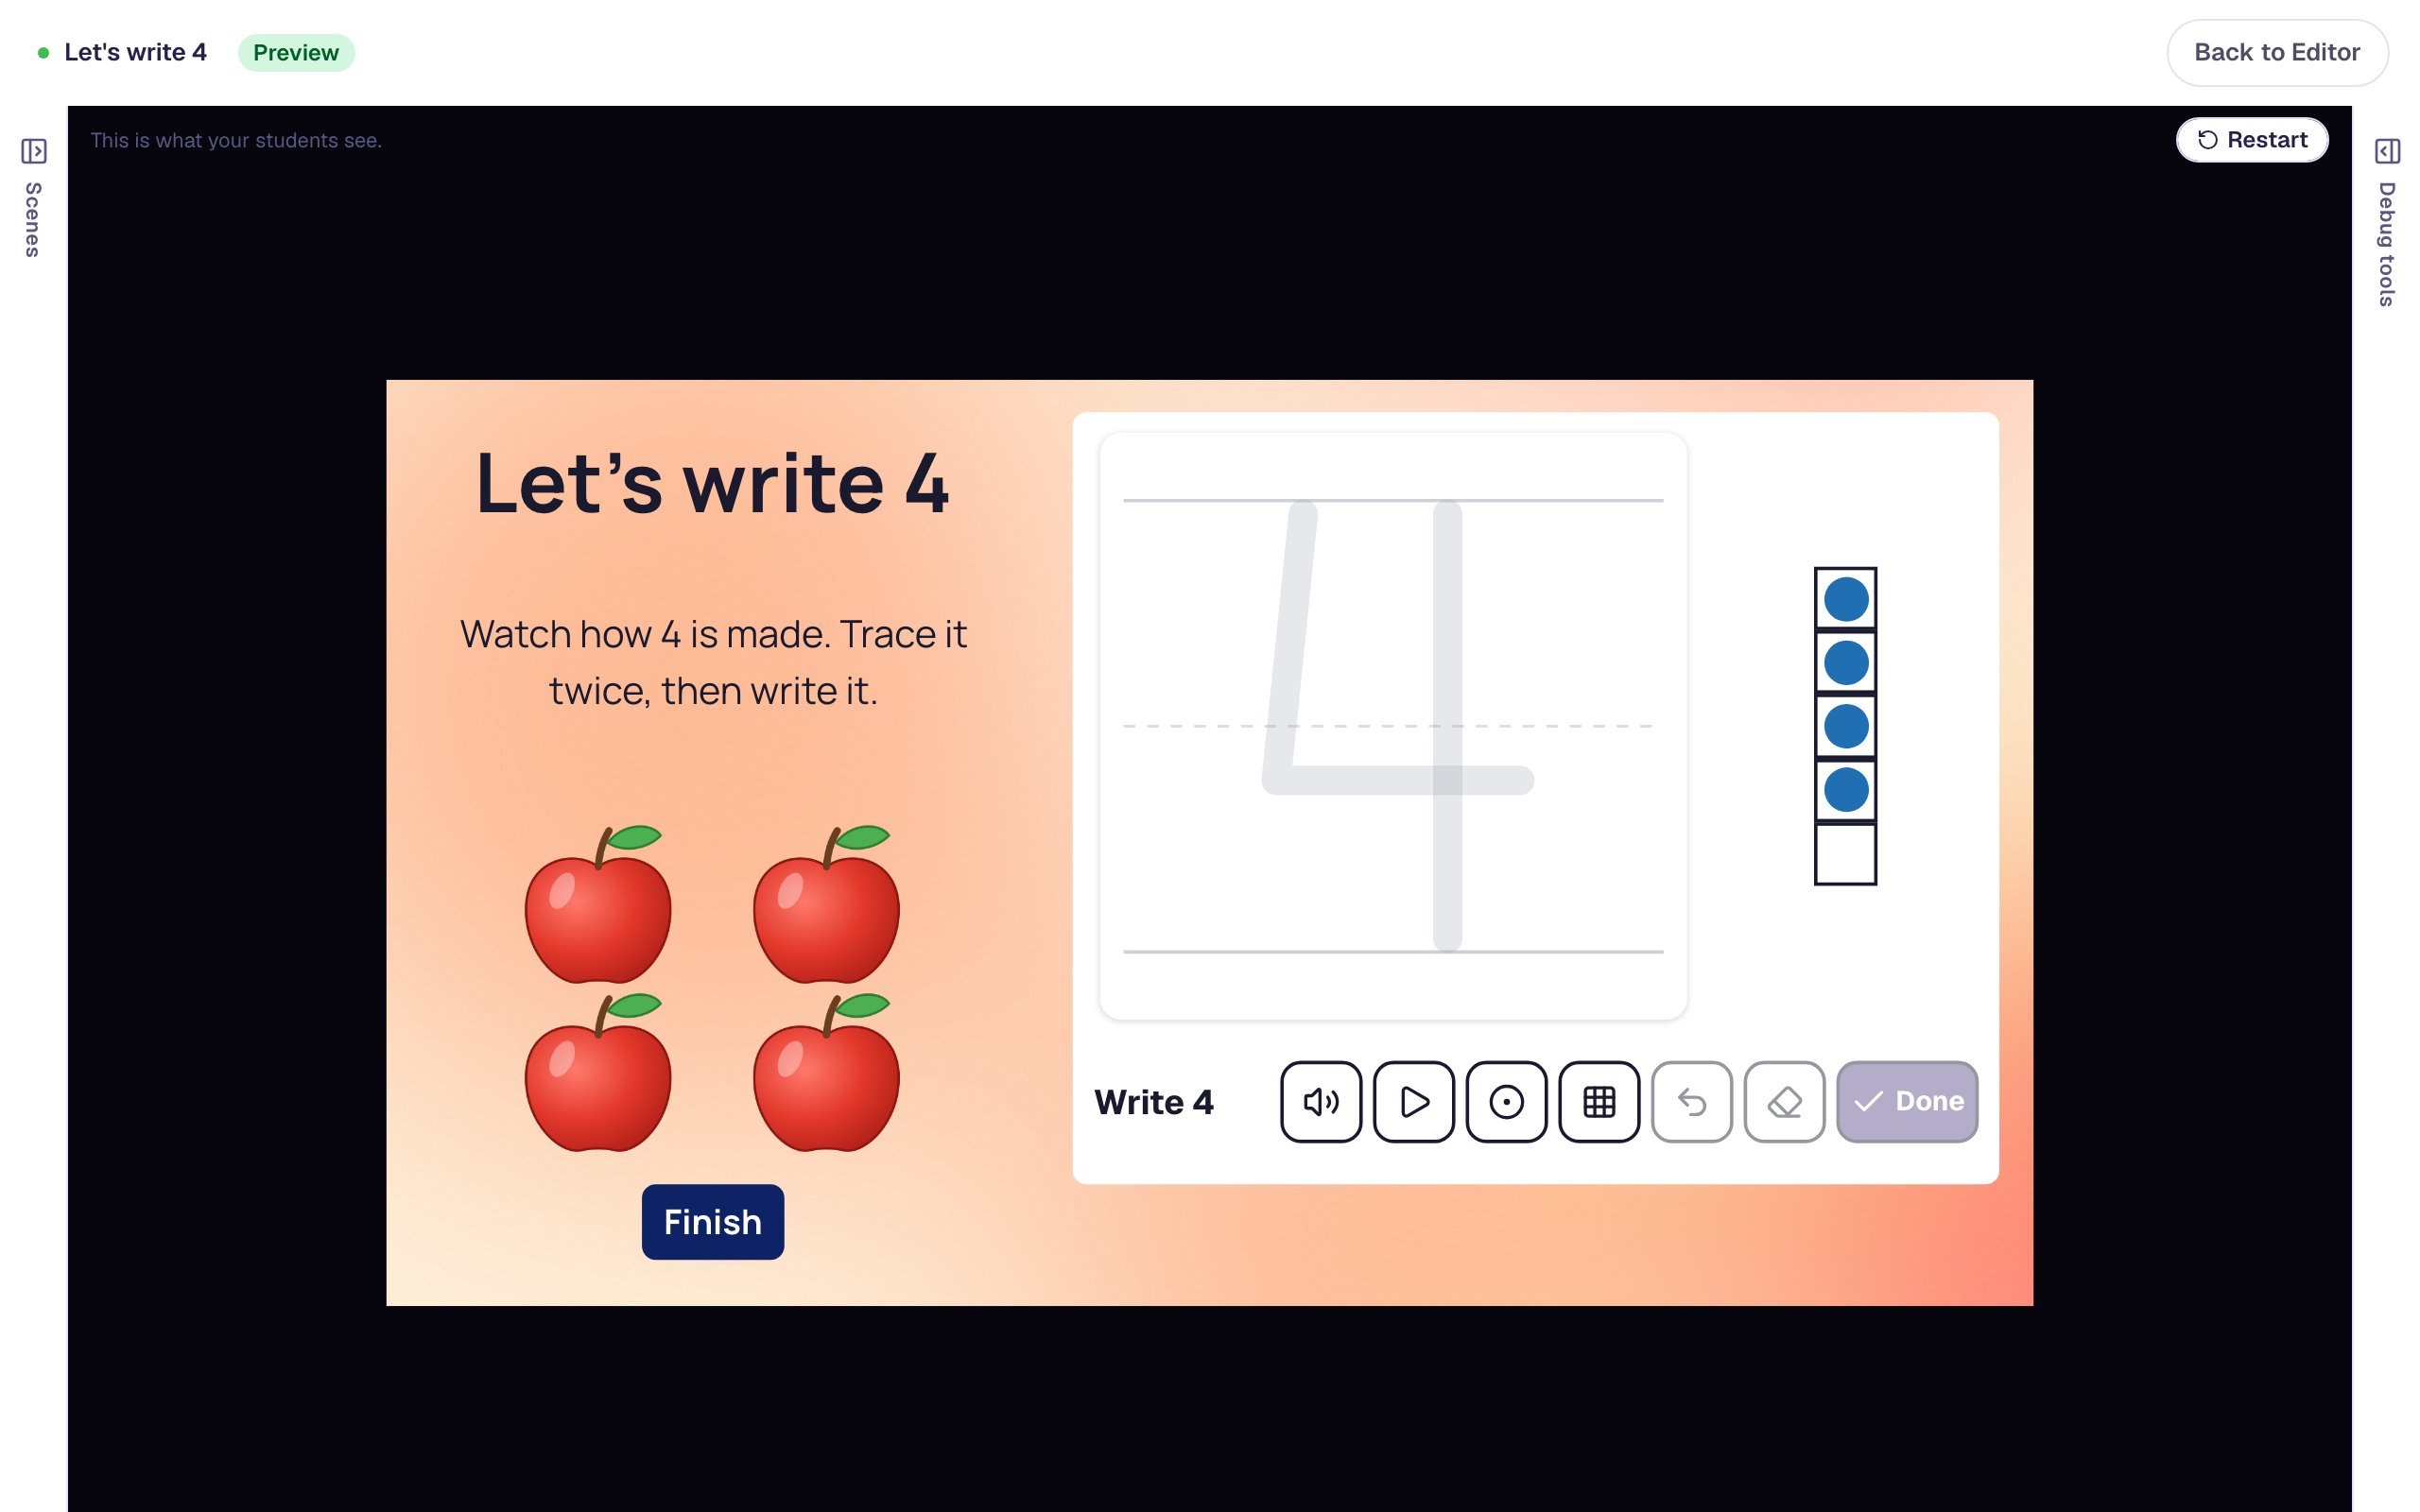
Write the 4 in two strokes and tap Done:
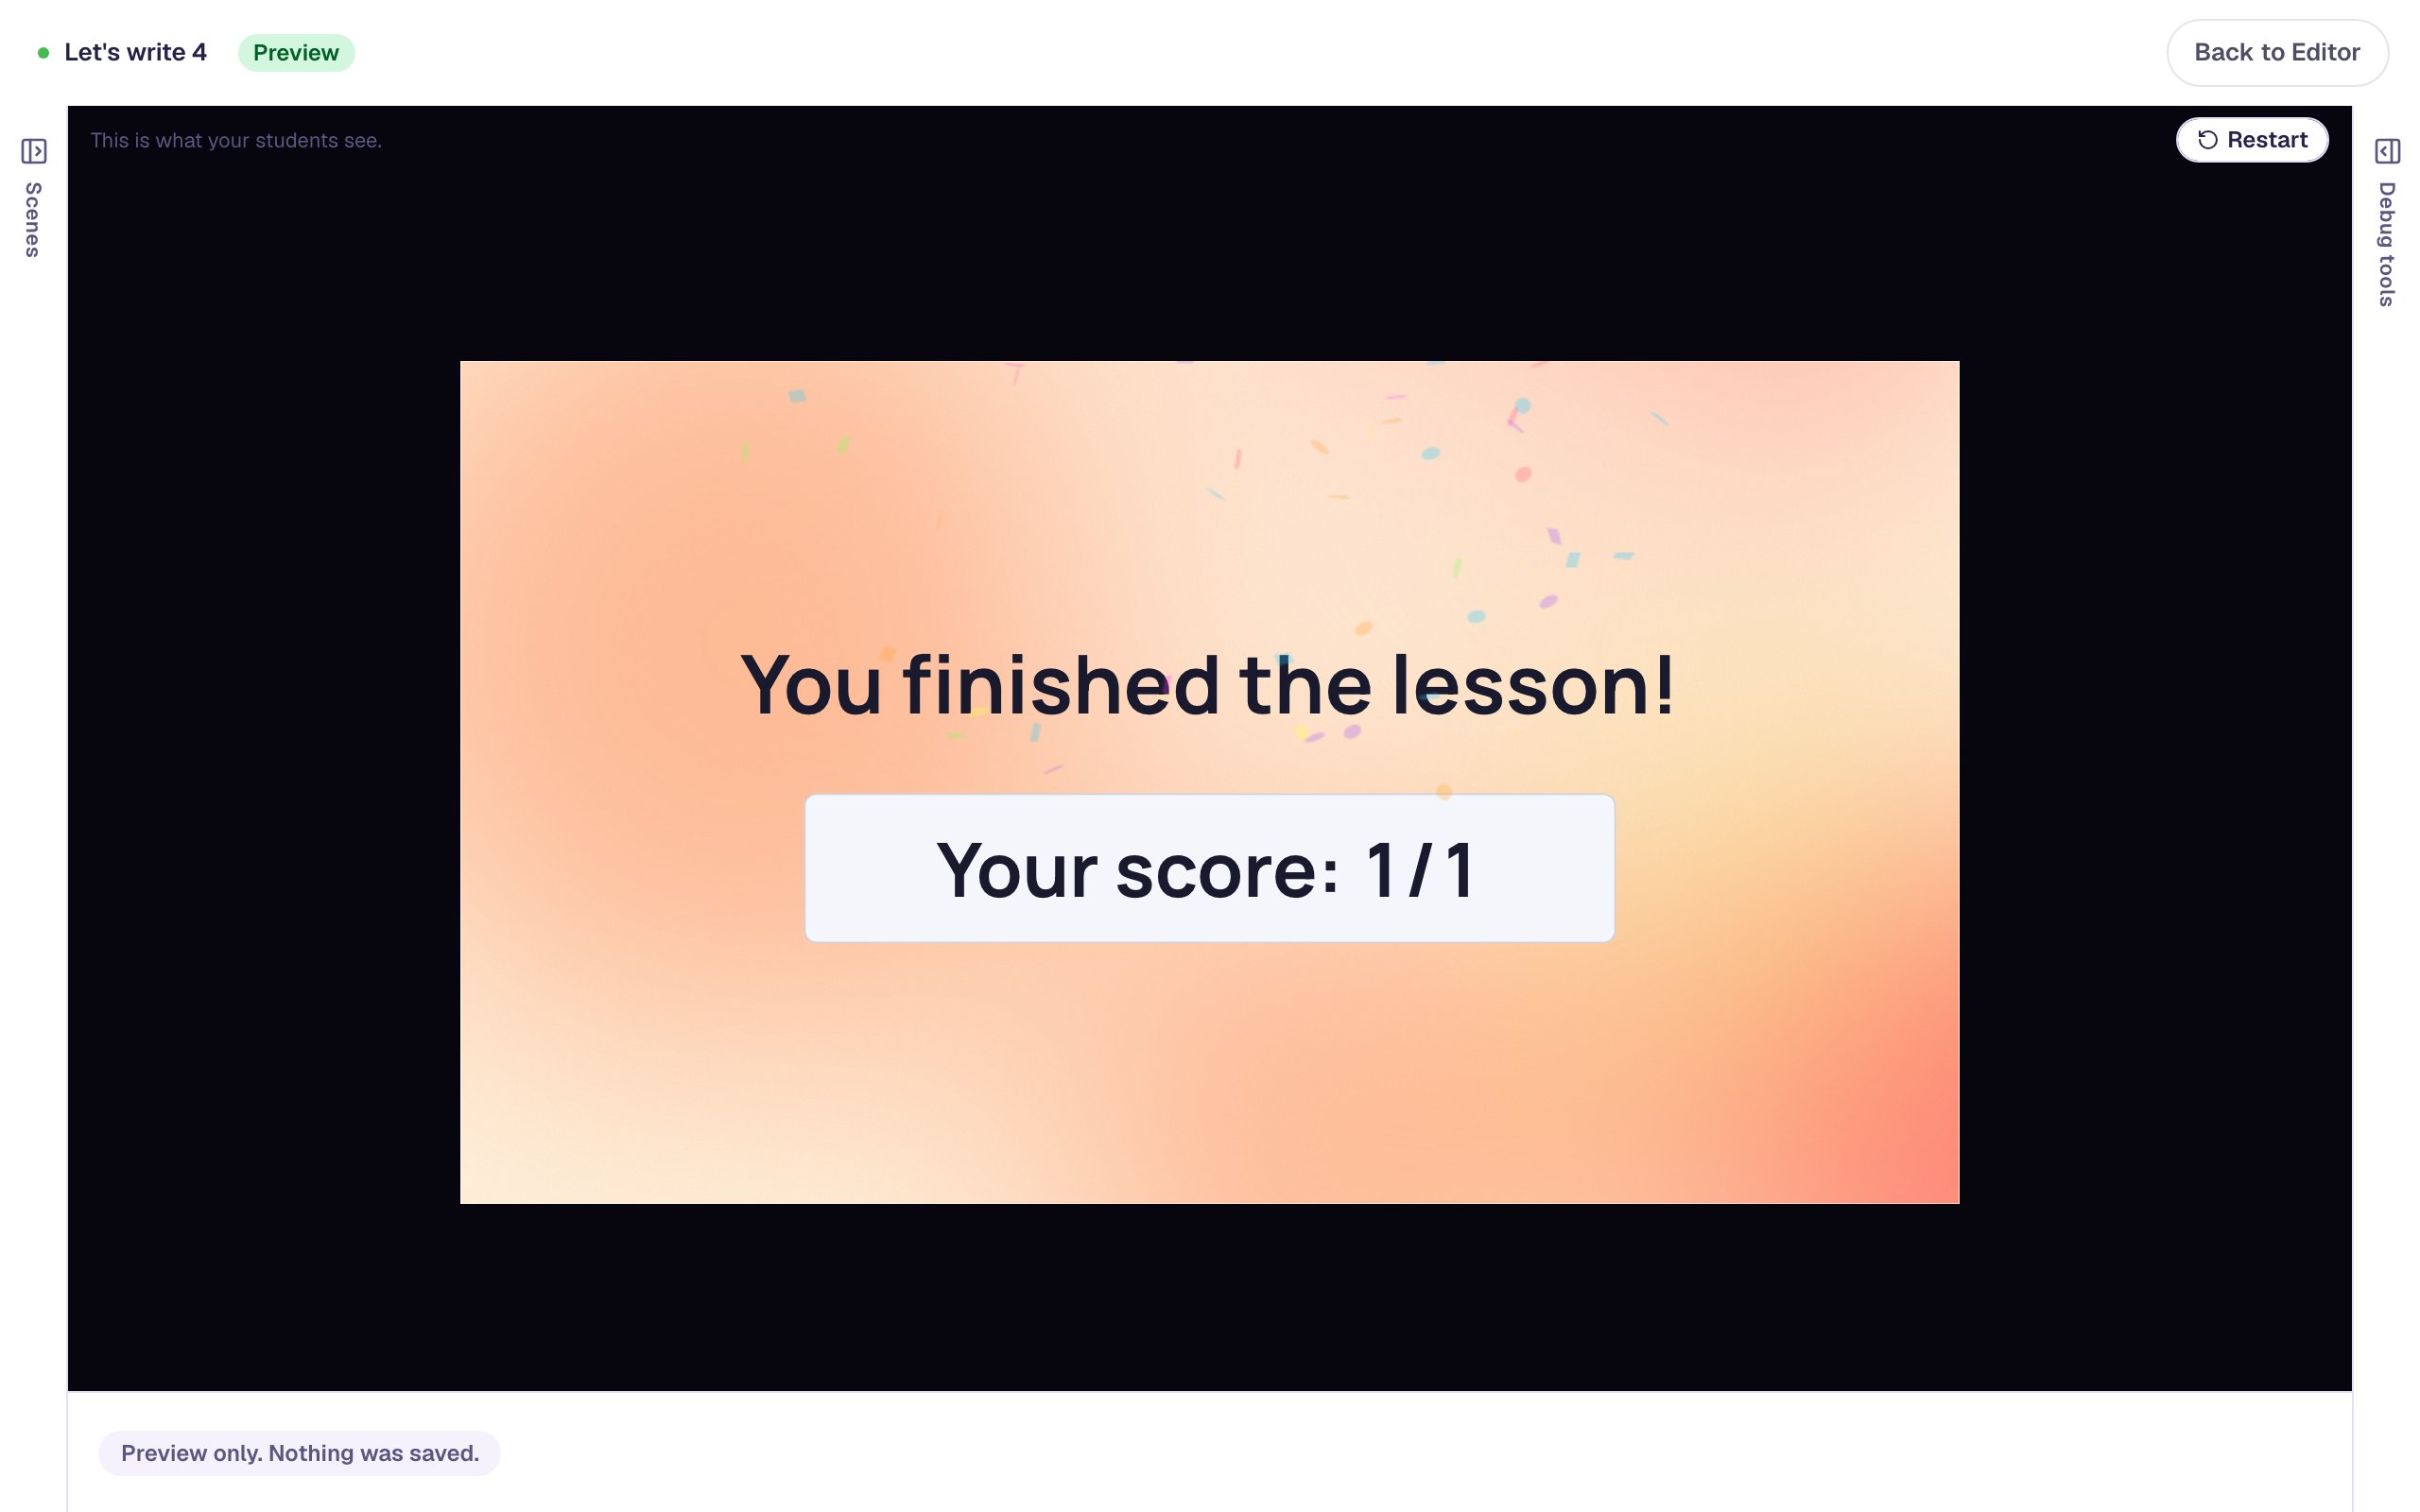
A child who can't yet guide a finger along a path still has a way in. Tap the dots shows numbered dots along each stroke to tap in order, and Choose instead shows a numeral pad on the writing step. Both count as right, and the child's attempt page says which one they used, along with a picture of what they traced and wrote and how many strokes faded. Click Restart to try them.
What you built
You built a one-scene handwriting lesson with:
- a Number Tracing widget in Trace, then write mode for the numeral 4, traced twice before it's written,
- a green start dot, arrows, stroke numbers and a Watch me button to show how the 4 is formed,
- a five-frame of four dots beside the numeral, and a picture of four apples with alt text,
- strokes that stray fade instead of being marked wrong,
- a longer Advance delay so students see their finished 4, and a Finish button.
To practice more numerals, duplicate the scene and change Numeral on each copy: Build a three-question quiz by duplicating a scene shows how. Once children know a numeral, switch What children do to Write and Write box shows to Nothing, so they write it from memory. To have them build the number too, try Build a number on a ten frame.
Make this lesson yours
Add the lesson you just watched being built to your account, then change it for your class: your questions, your pictures, your colors.
Free to sign up, and you'll come straight back here. I have an account