Give a spelling test students listen to
Build a three-word spelling test where each word has its own play button that says it in a sentence, an answer box beside it, and one I'm finished button that grades every word and shows the score.
- Level
- Beginner
- Time
- About 15 min
- Steps
- 8
- Updated
- Oct 15, 2026
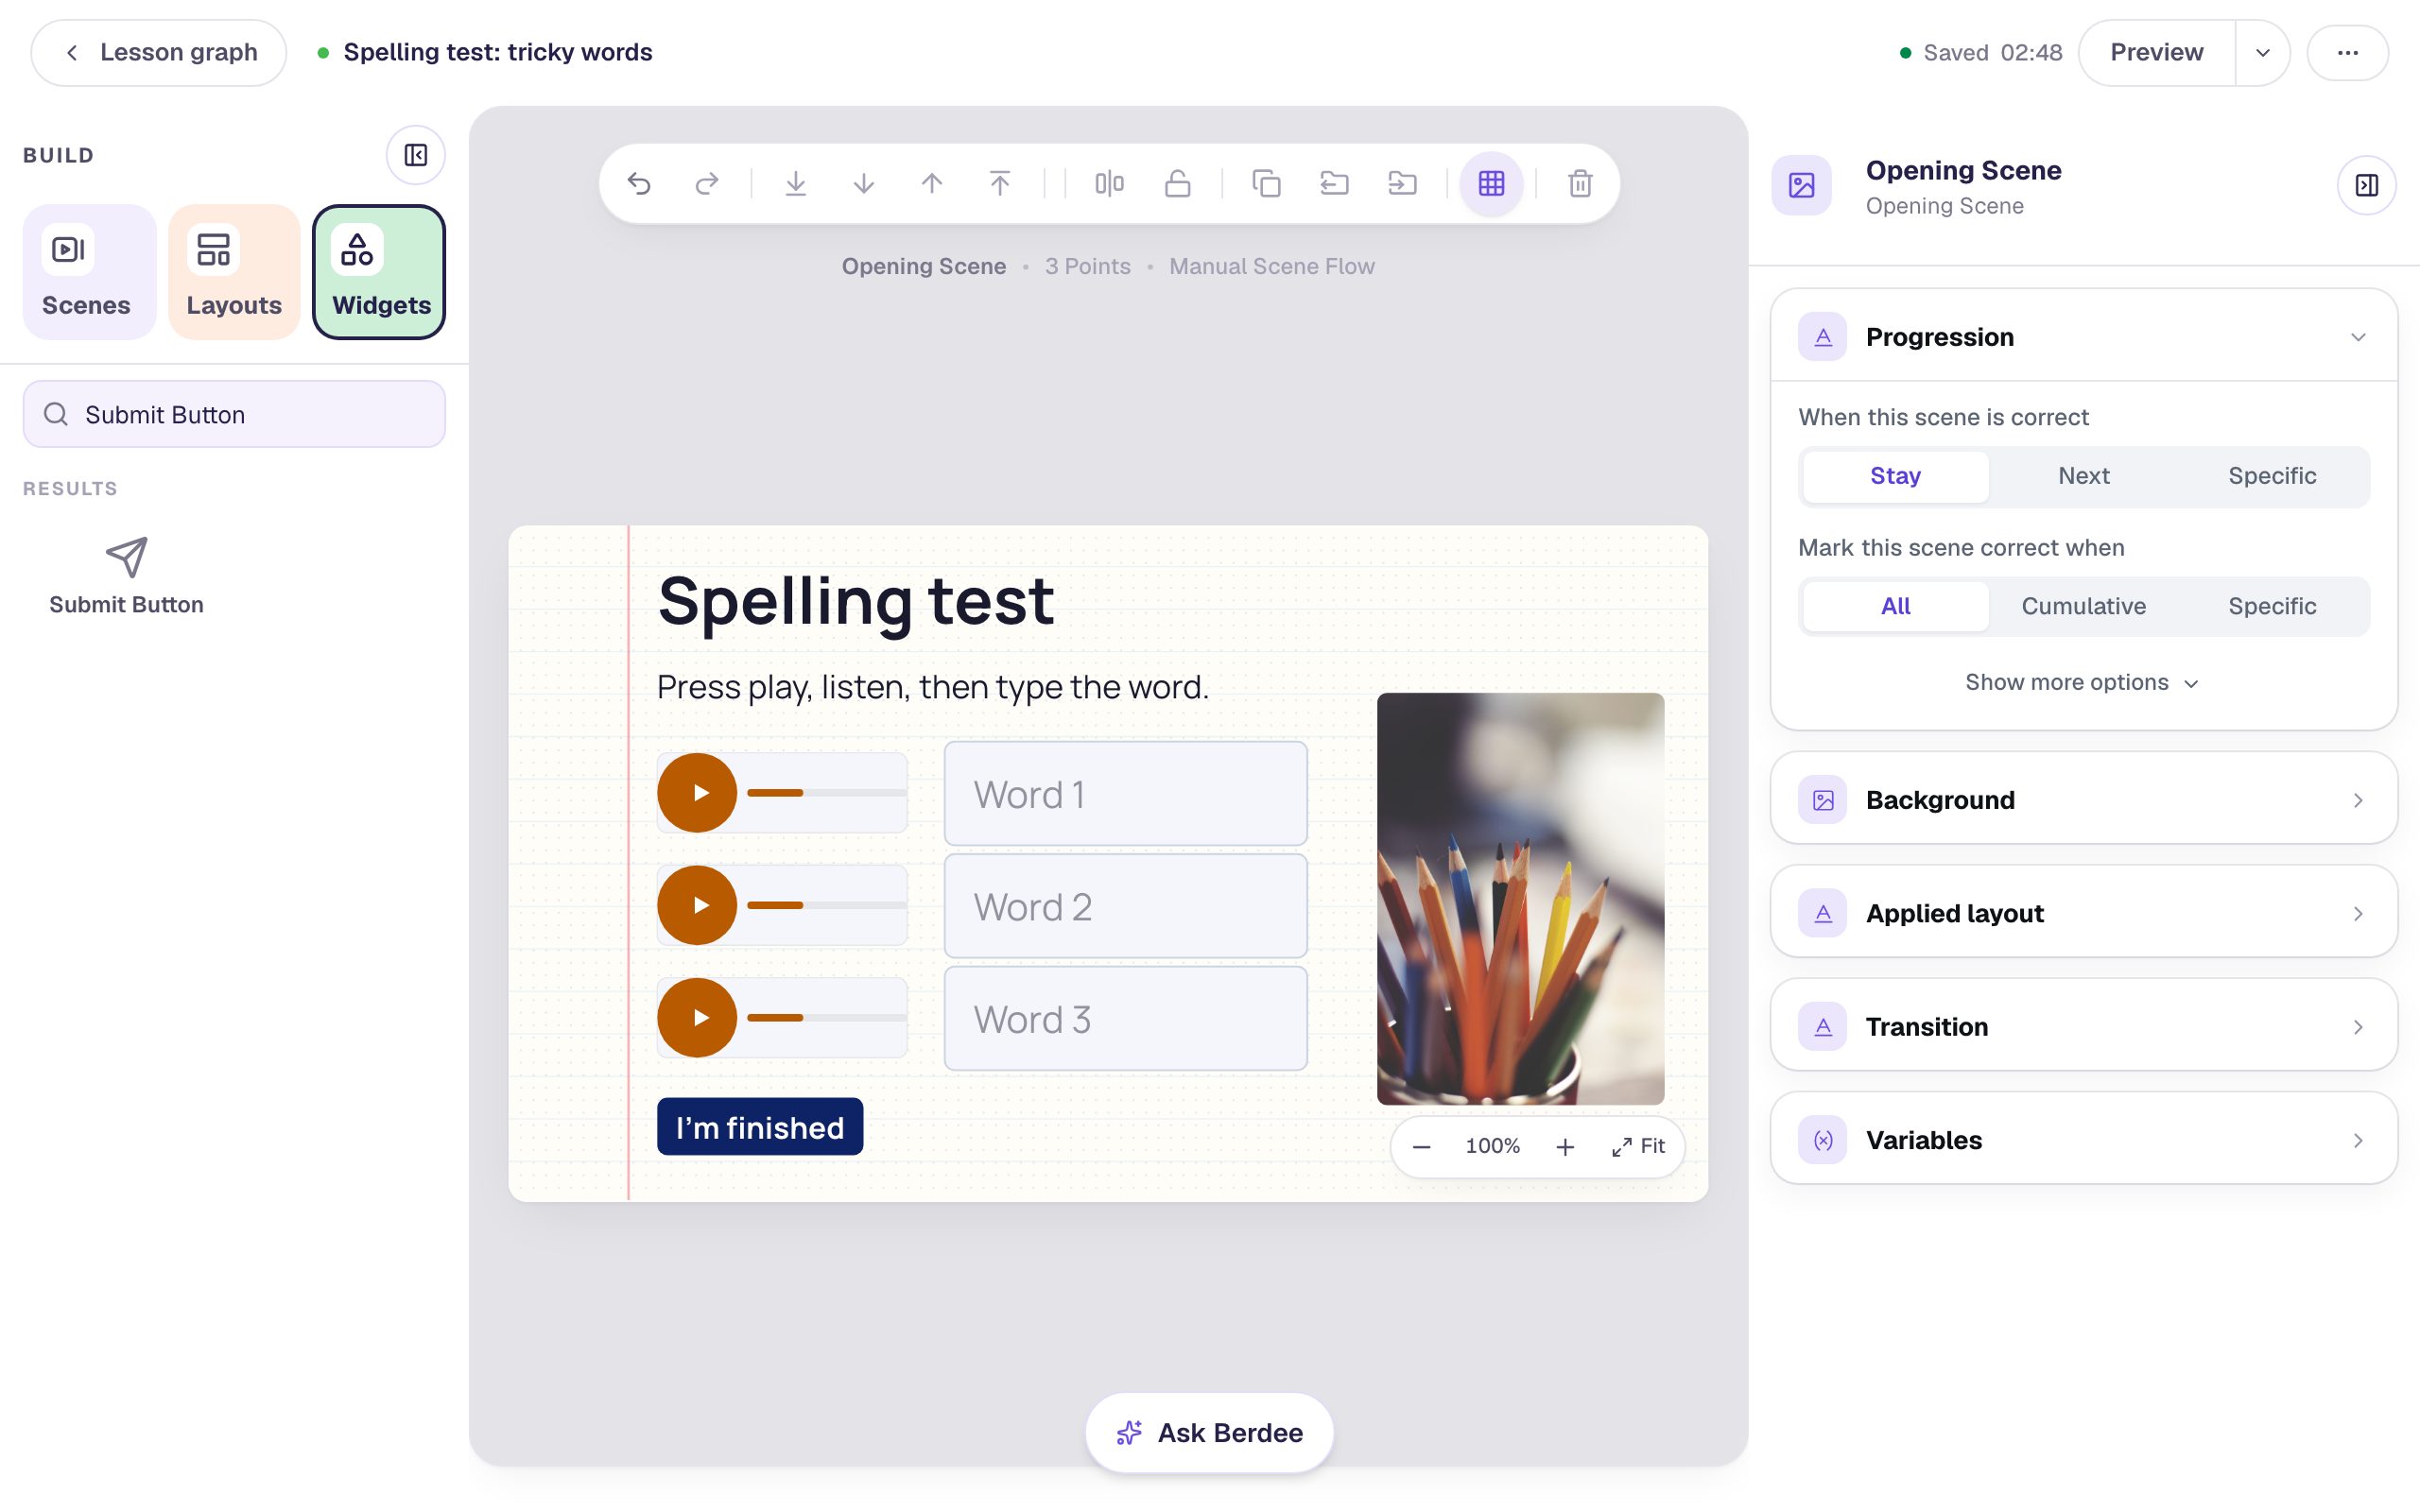
A notebook-paper spelling test with three spoken words, an answer box for each, and an I'm finished button that ends on the score.
Get the finished lesson
Skip straight to the result, or keep it open beside the steps. Add this tutorial's lesson to your account and explore how it works in the studio.
Free to sign up, and you'll come straight back here. I have an account
A spelling test is the one quiz where you can't write the question down: the word on the page is the answer. In class you read each word aloud, say it in a sentence, and say it again. This tutorial builds the same test in Berdee, so students can take it on their own, replay a word as often as they need, and get a score at the end.
You'll build one scene with three tricky words, friend, because and school. Each word gets a Text To Speech play button and a Text Input answer box. You'll build the first row, copy it for the other two words, and finish with an I'm finished button that grades every word at once.
Making a recording uses your plan's text-to-speech allowance, so it's available on Plus and above; on Free, Generate Audio offers an upgrade instead (see AI and Voice). The finished lesson from this tutorial works on any plan: add it to your account and its recordings play as they are.
If you haven't added a play button before, Read a question aloud for early readers covers it in more detail.
Step 1: Set the scene
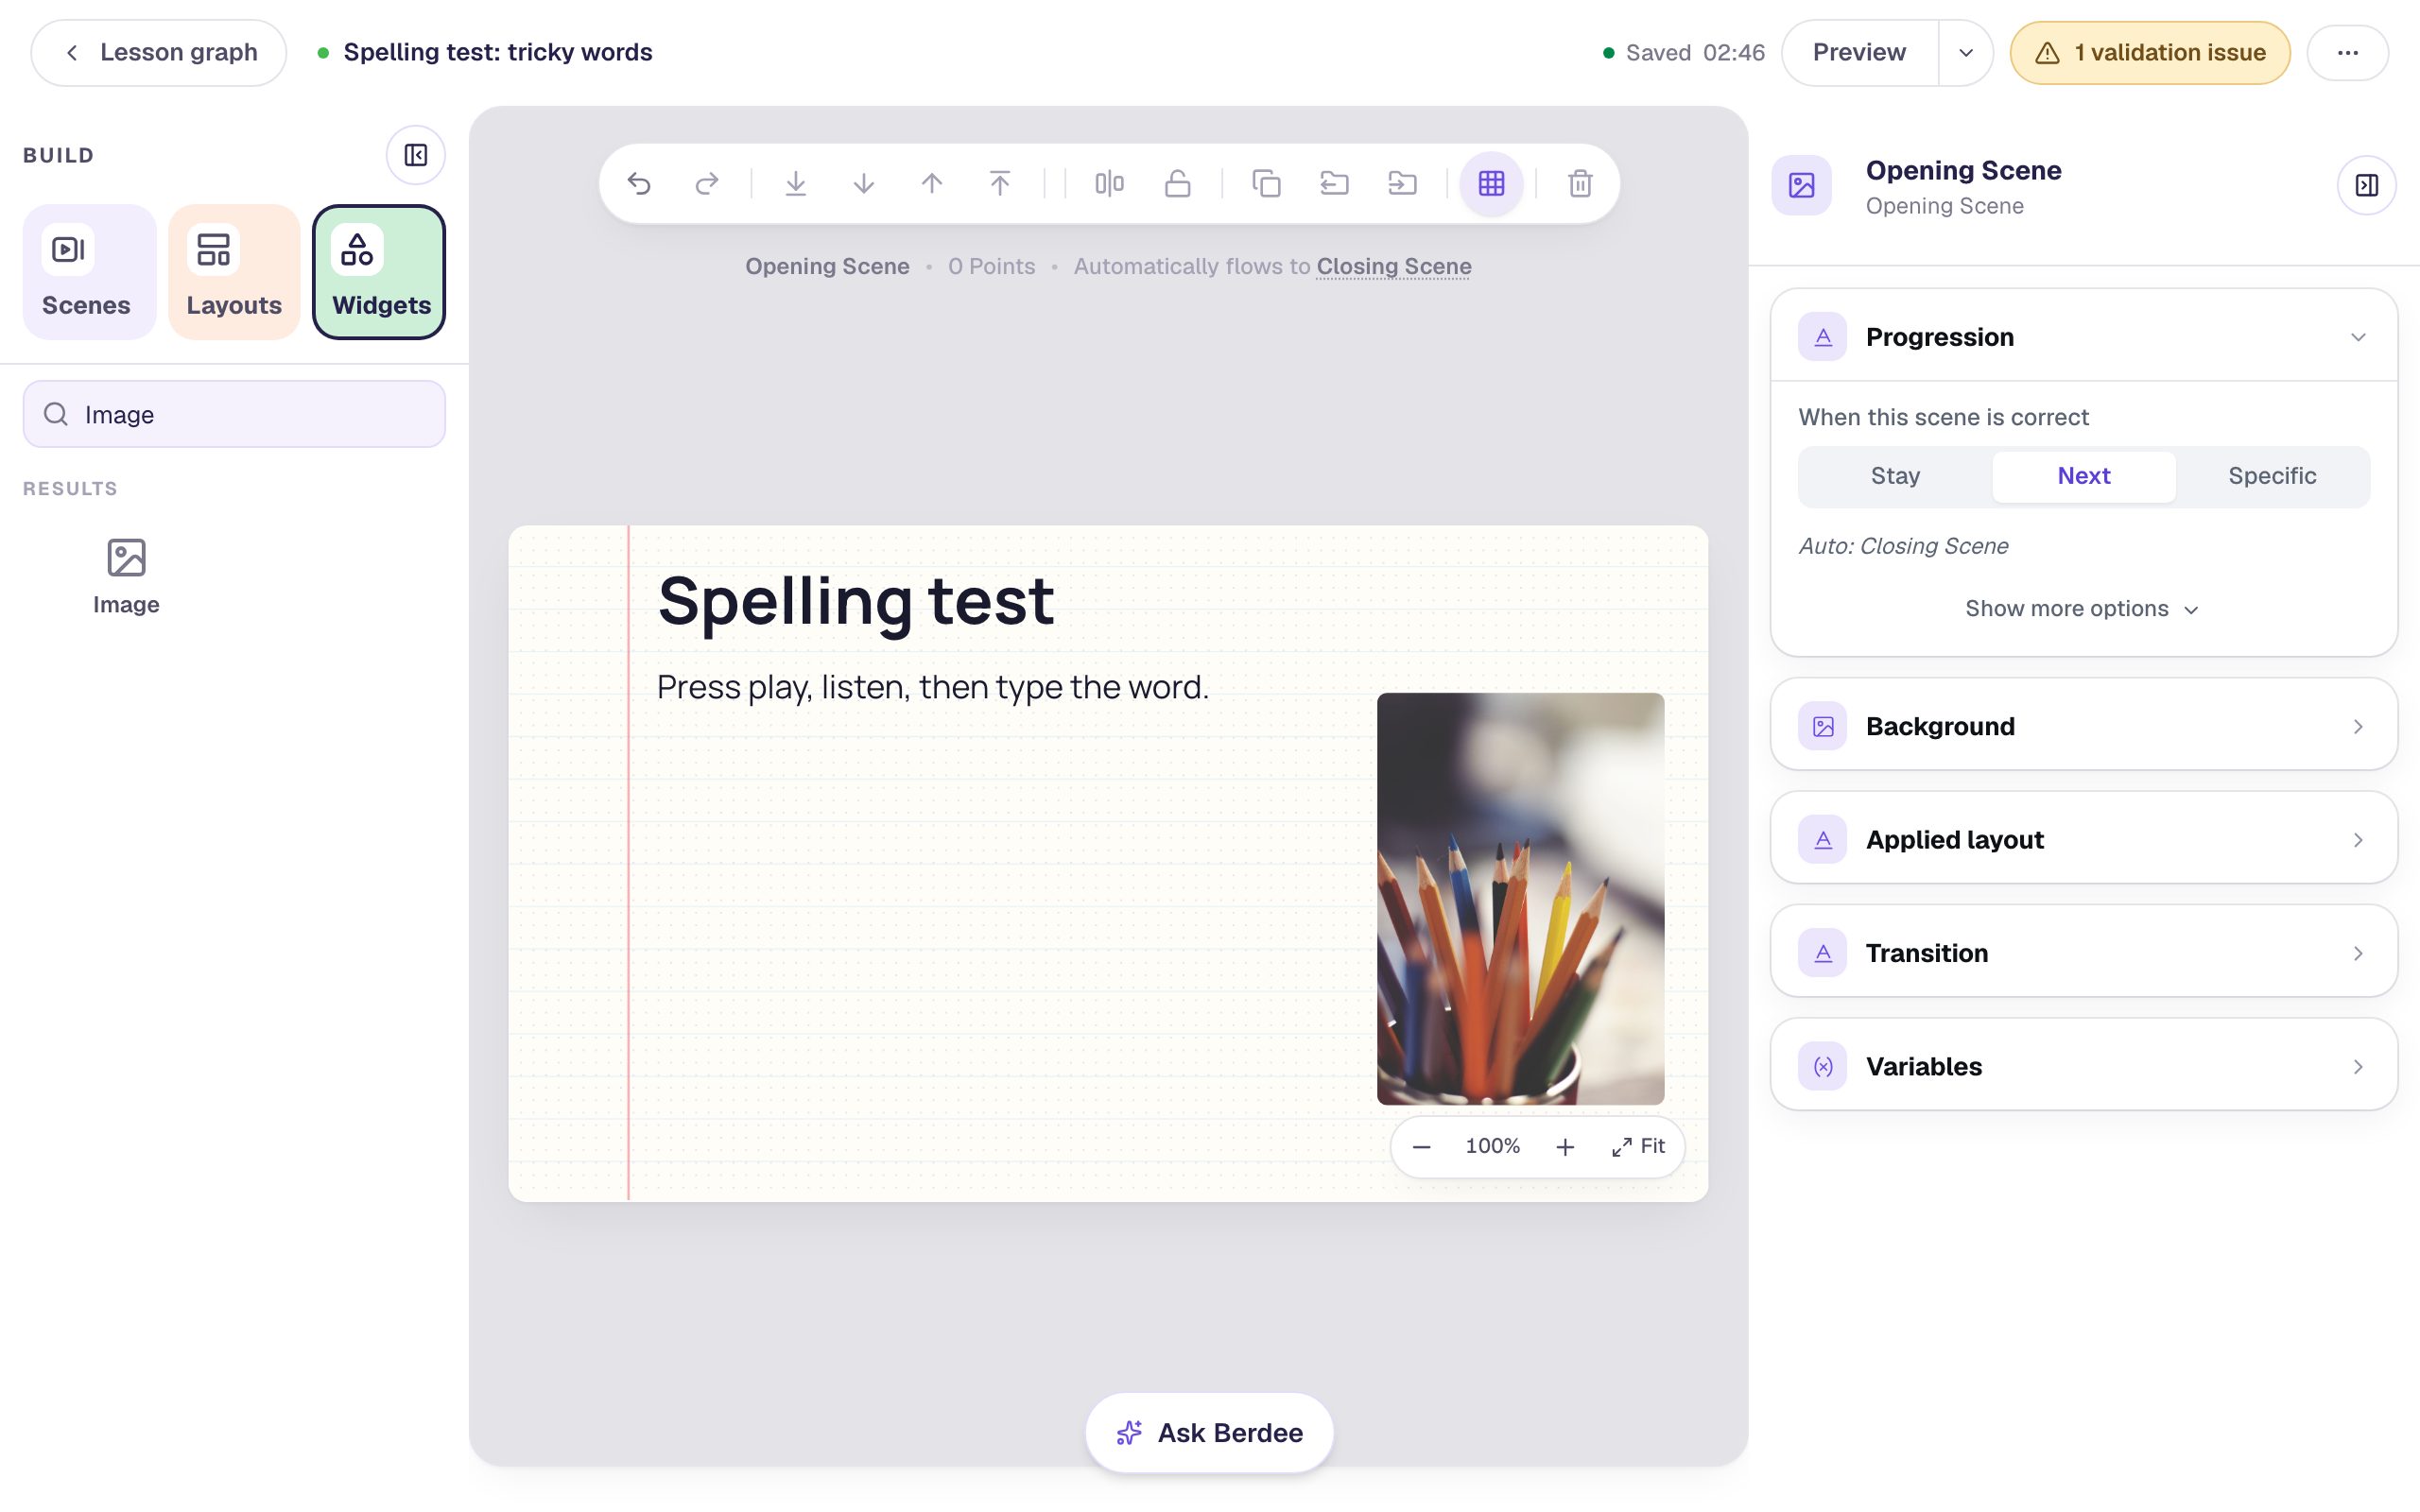
Start a blank lesson (New lesson, then Start from scratch) and name it Spelling test: tricky words by clicking Untitled lesson at the top.
Give the test the look of a spelling notebook. With nothing selected, open Background, click Choose a style, pick Textures, then Notebook paper, and click Apply background. Do the same on the Closing Scene, so the ending matches.
Back on the Opening Scene, add:
- a Heading that says
Spelling test, - a Body text that says
Press play, listen, then type the word., with Font Size26, - an Image on the right. In its Image Source, search the stock photos for
pencil cupand pick a photo of colored pencils in a cup. Set its Fit to Cover, its size to230×330, and its Alt Text toSharpened colored pencils standing in a cup, points up.
Give both texts a Fixed width and click Align left in Style & Layout, then line them up just to the right of the paper's red margin. Everything you add from here starts at that same left edge.
Step 2: Record the first word
In Widgets, search for aloud and click Text To Speech. In Style & Layout, set its size to 200 × 64 and drag it under the directions, at the left edge.
Then click ⚙ Configure and write the word the way you'd say it in class: the number, the word, a sentence, and the word again.
- In Text, type
Word one. Friend. My friend sits next to me. Friend. - Pick a Voice. A calm, clear voice suits a test.
- Click Generate Audio.
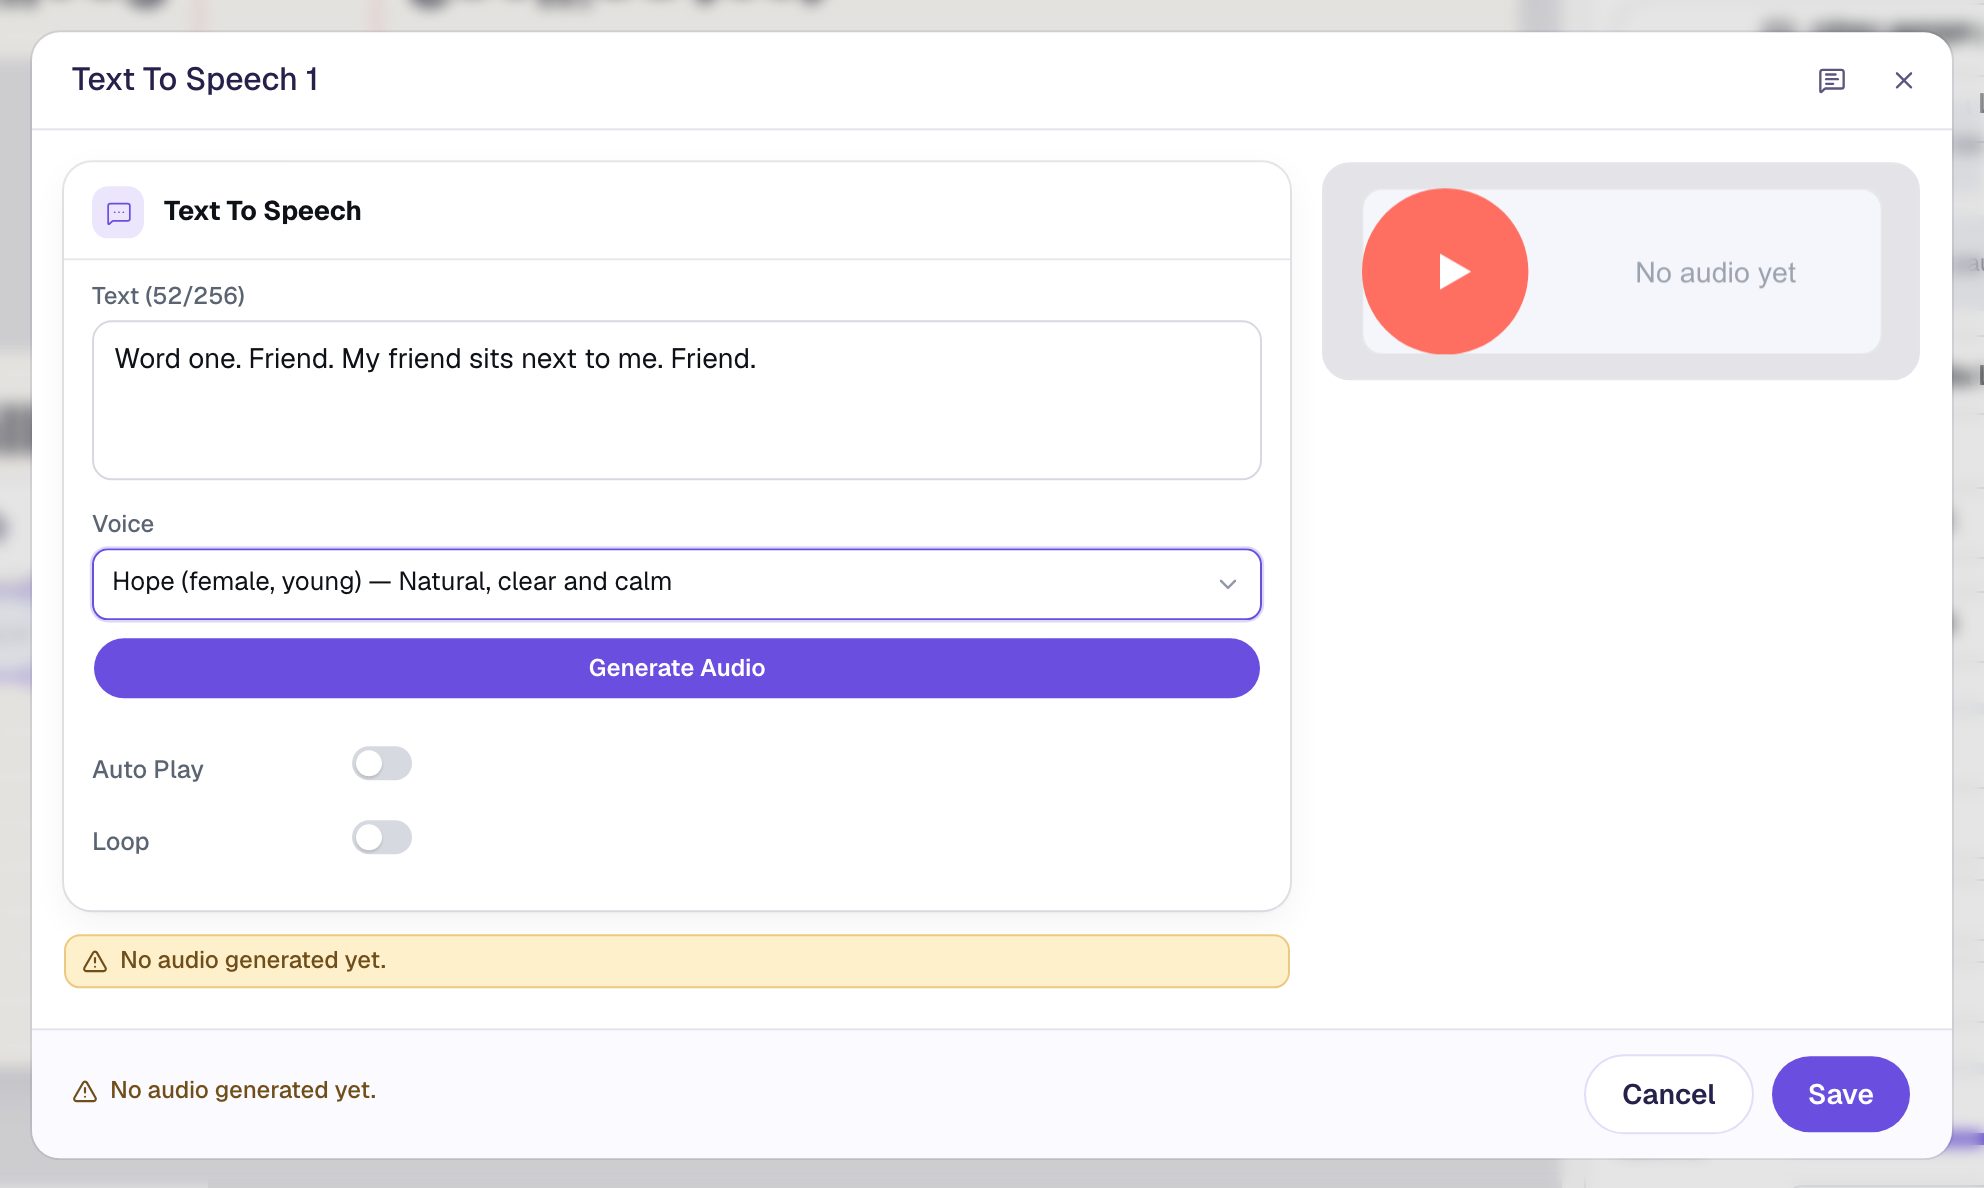
The sentence matters. On its own, "friend" is easy to hear, but a word like "their" or "write" only makes sense in a sentence. After a few seconds the recording appears under the button, named after its text:
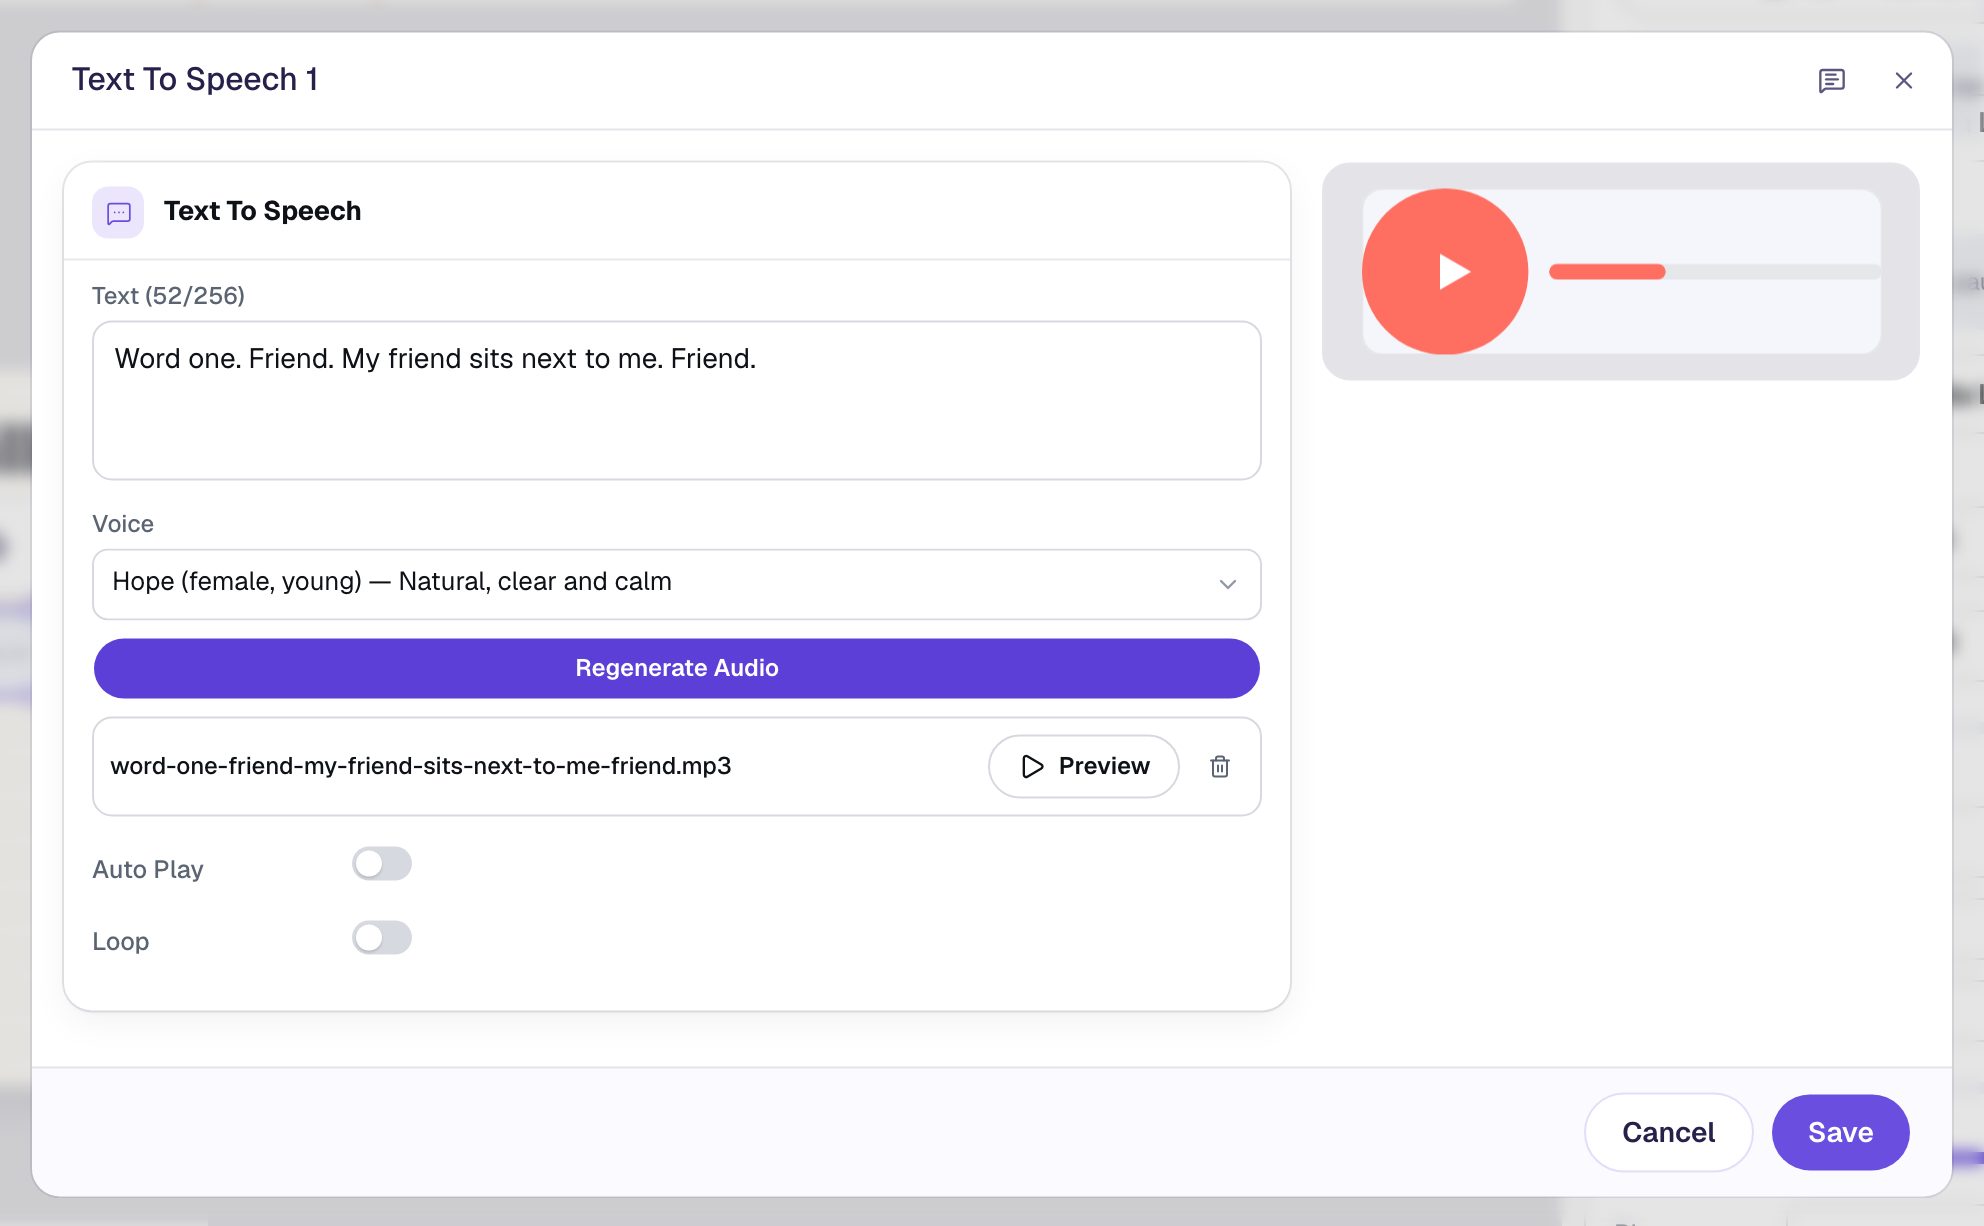
Click Preview to listen, then Save.
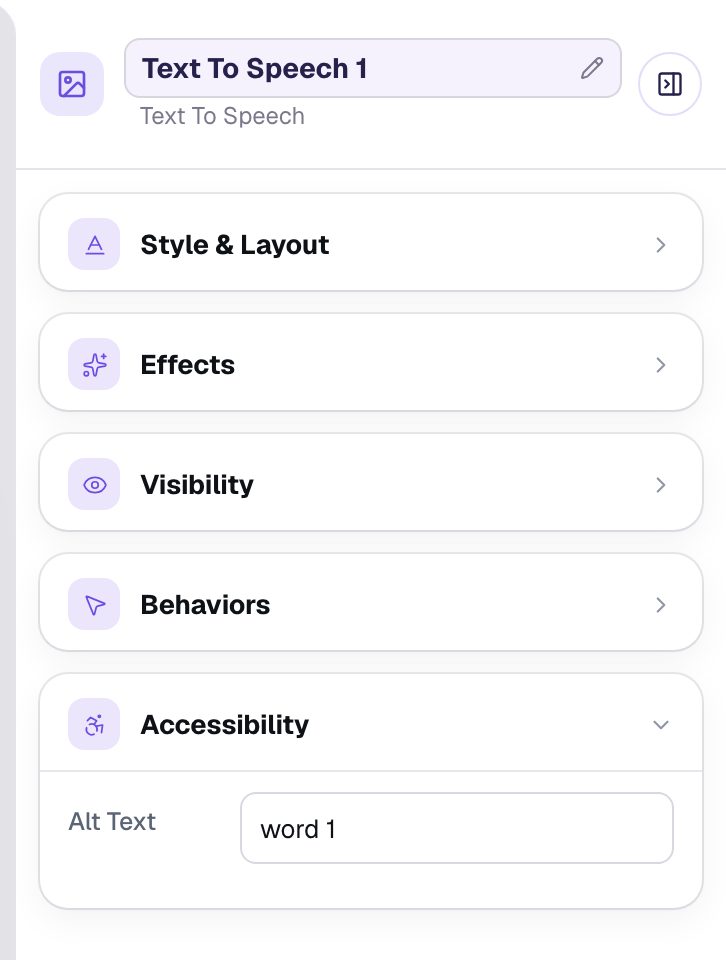
Two more settings make the button easy to use. In Style & Layout, set the Button Color and Progress Color to a dark orange, so the white play icon stands out. Then open Accessibility and set Alt Text to word 1. That's the button's name for students who use a screen reader: they hear "Play word 1".
Step 3: Add the answer box
In Widgets, add a Text Input. Set its Font Size to 30 and its Width to 290, and drag it beside the play button. Click the name at the top of the properties panel and rename it Word 1, so you can tell the answers apart later.
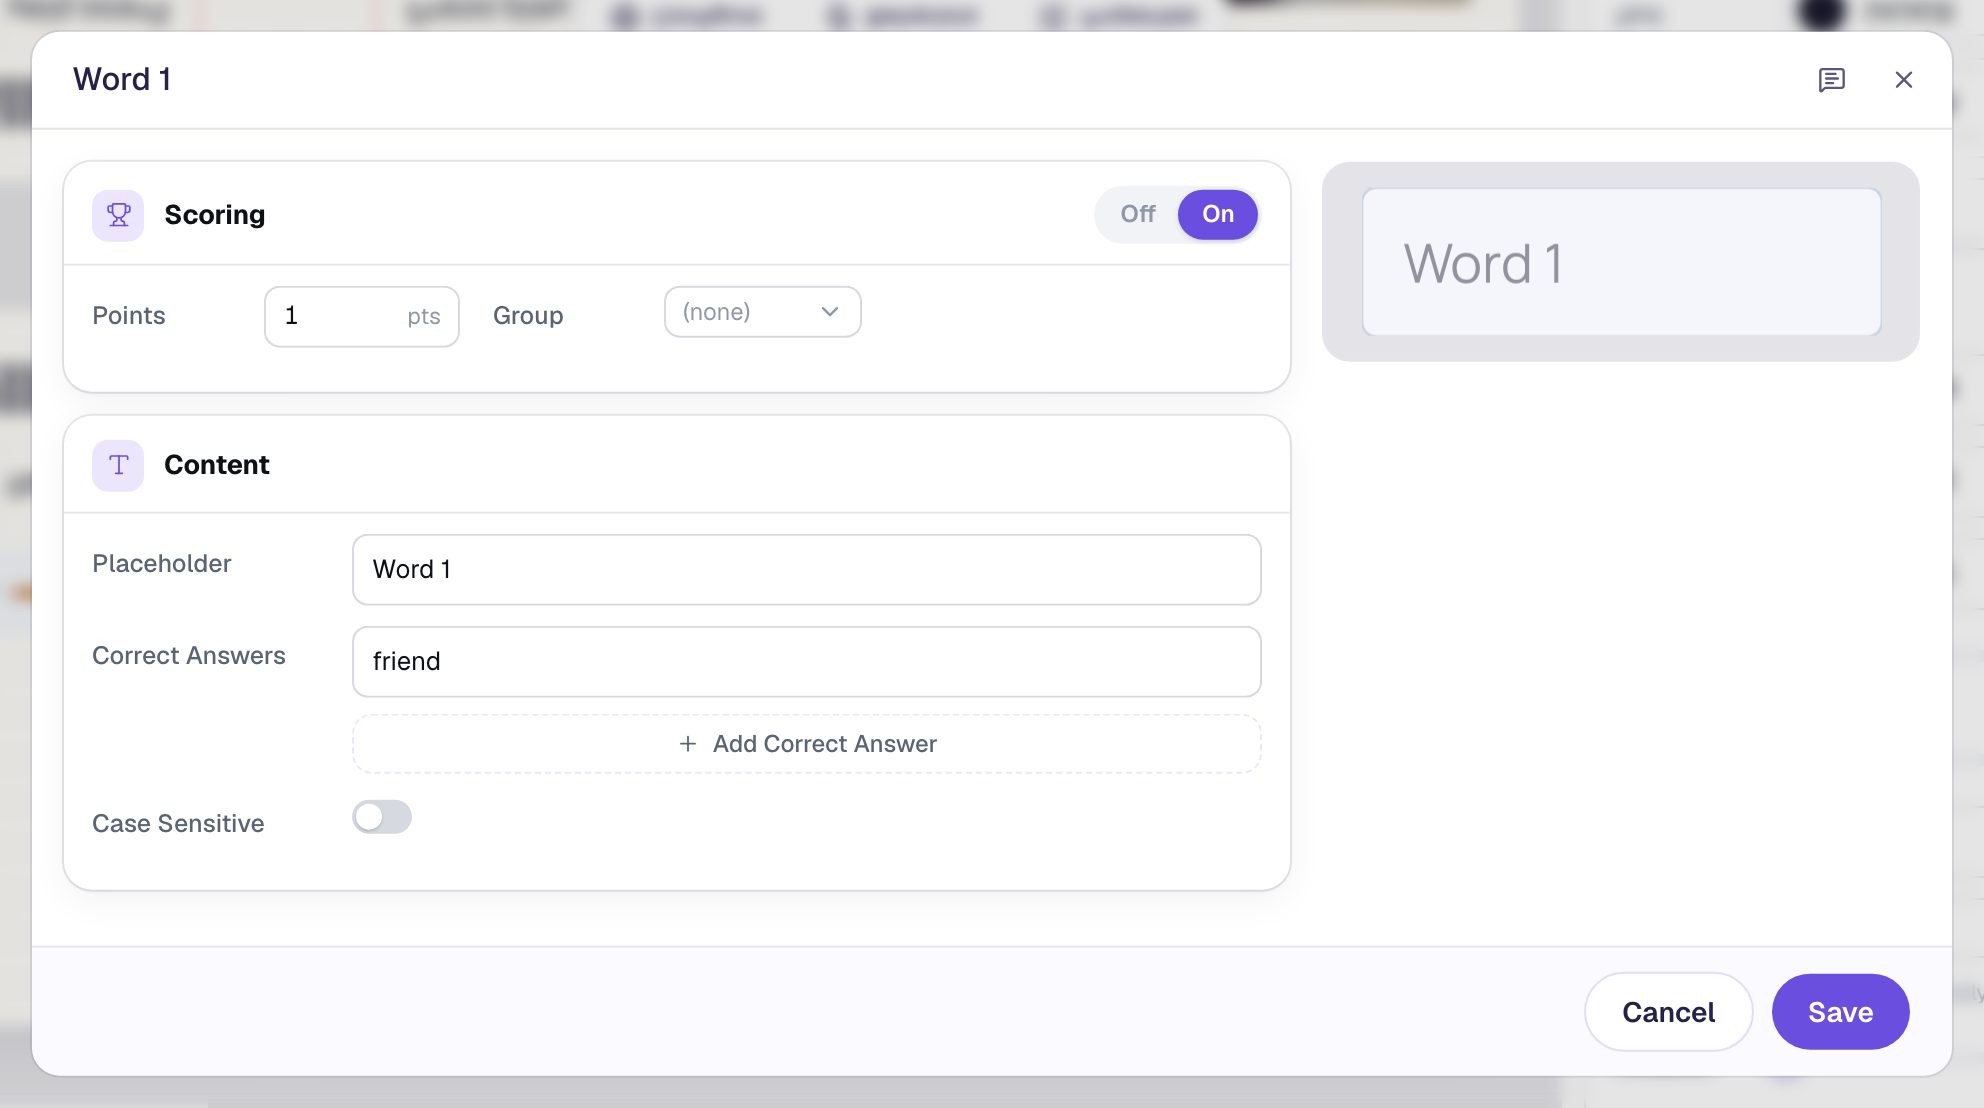
Click ⚙ Configure and fill in the answer key:
- Replace the Placeholder with
Word 1. It's the faint hint in the empty box. Never put the word itself here. - Type
friendin Correct Answers.
Leave Case Sensitive off, so Friend and friend both count. Turn it on only if capital letters are part of what you're testing. The box already turns off the tablet's autocorrect and automatic capitals, so what students type is exactly what gets checked. Scoring is on and worth 1 point.
Click Save. Then, with the box still selected, open Accessibility and set Alt Text to Spelling of word 1. A screen reader reads that name when a student reaches the box. Left alone, every box would be called "Answer input", and a student couldn't tell which word goes where.
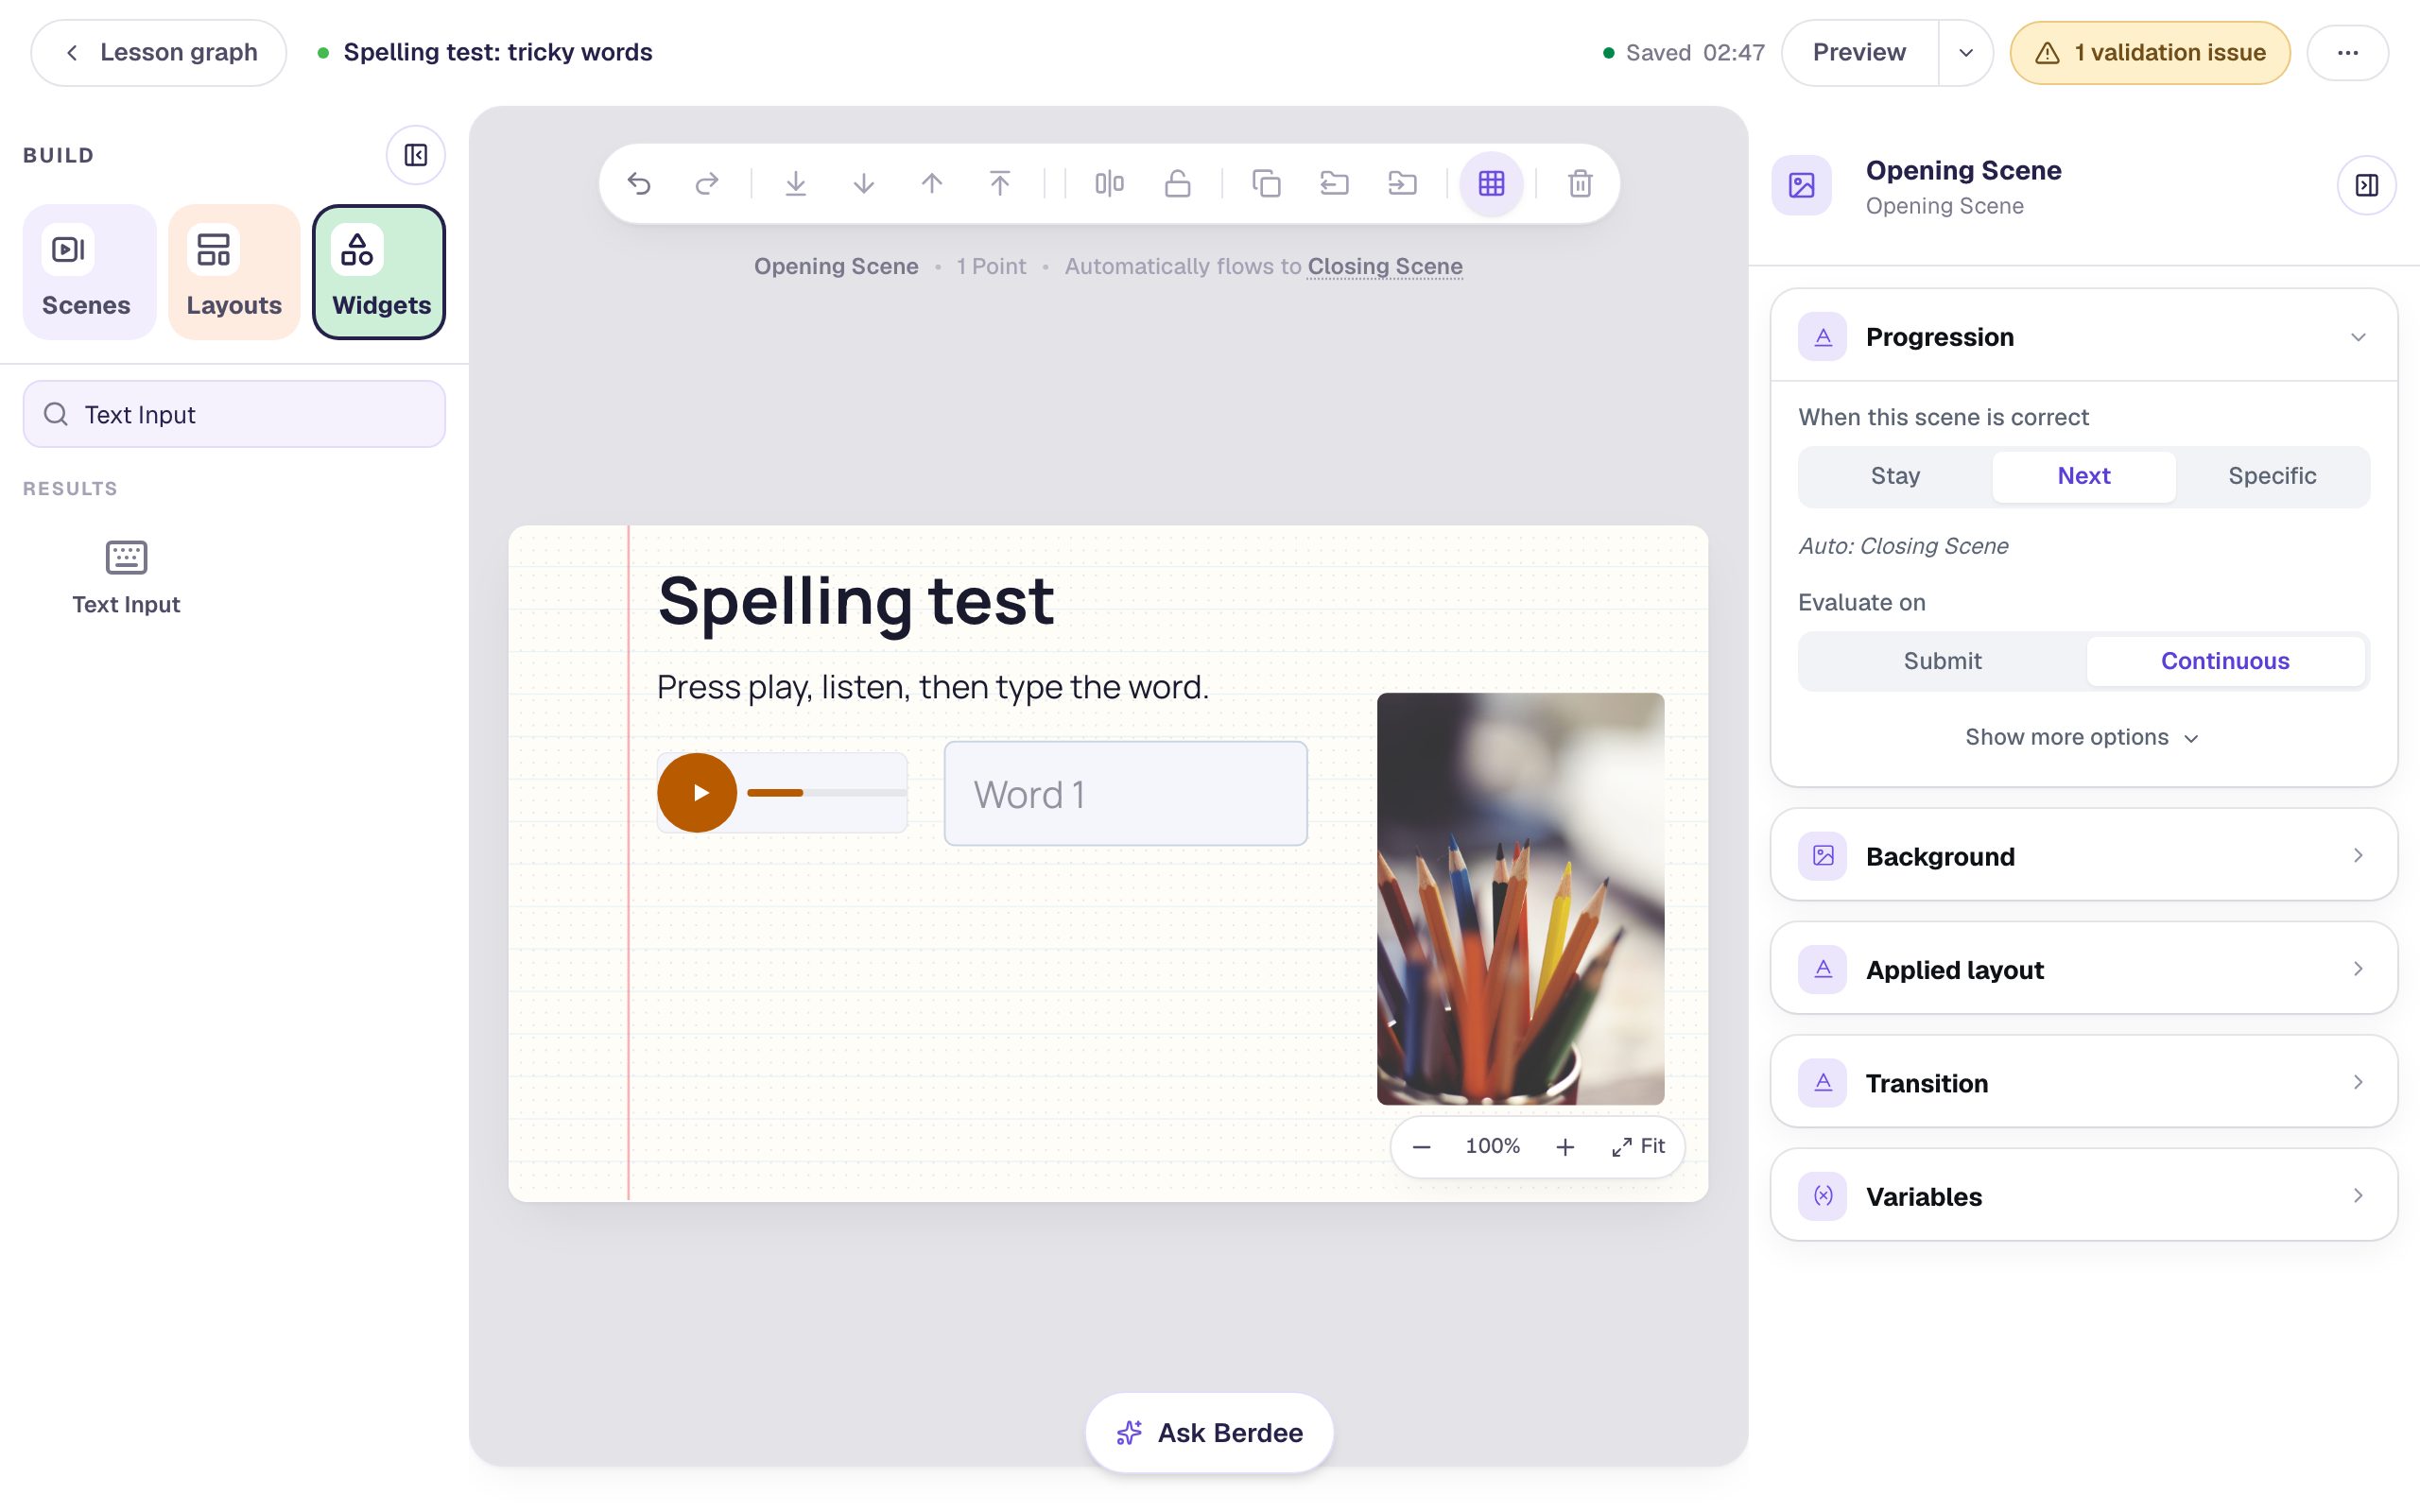
The first row is done: a play button and the box to spell the word in.
Step 4: Copy the row for the other words
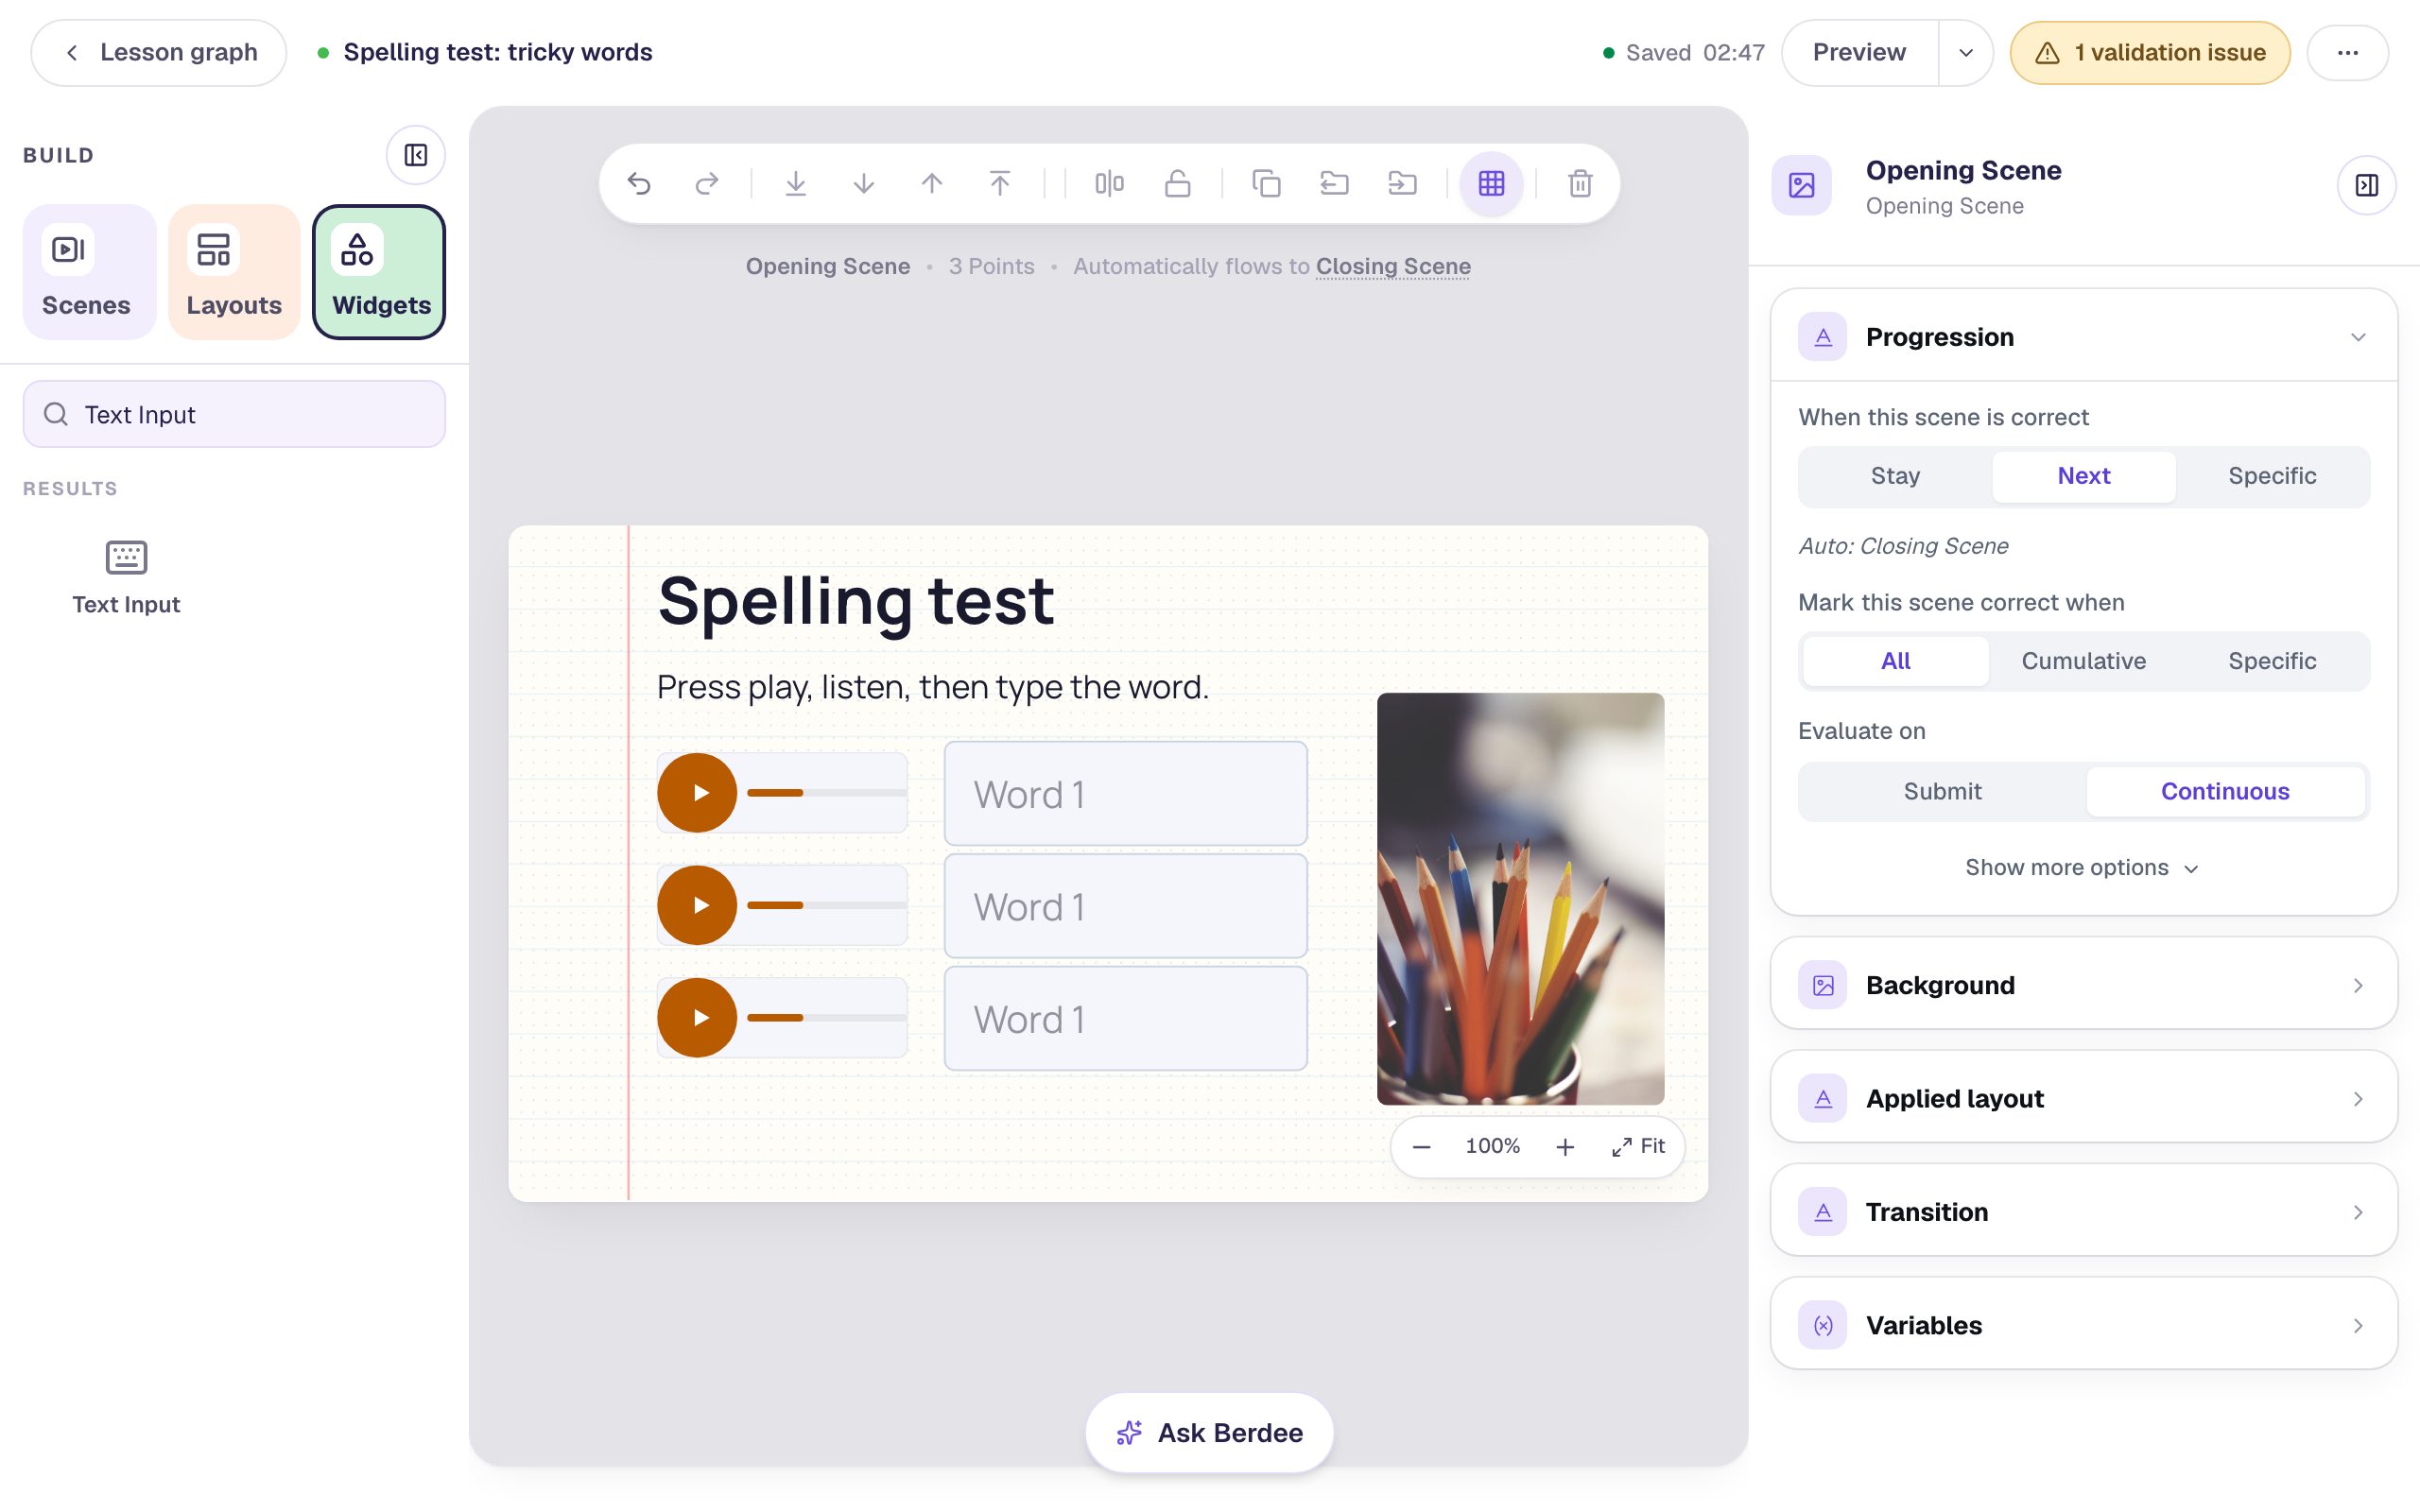
Rather than building two more rows from scratch, copy the first one. Click the play button, hold Shift and click the answer box, so both are selected. Press ⌘ D (Ctrl D on Windows) and drag the copy under the first row. Press ⌘ D again and drag the third row under the second.
The copies keep everything you set: the size, the colors, the font size, and the answer key. Berdee numbers the answer boxes for you, so the copies are named Word 2 and Word 3.
Step 5: Record the new words
The copies are exact copies, so for now they all say "friend". Fix each one in turn.
Click the second play button and open ⚙ Configure. Change the Text to Word two. Because. I wore a coat because it was cold. Because. As soon as the text changes, a yellow note warns that students will still hear the old recording:
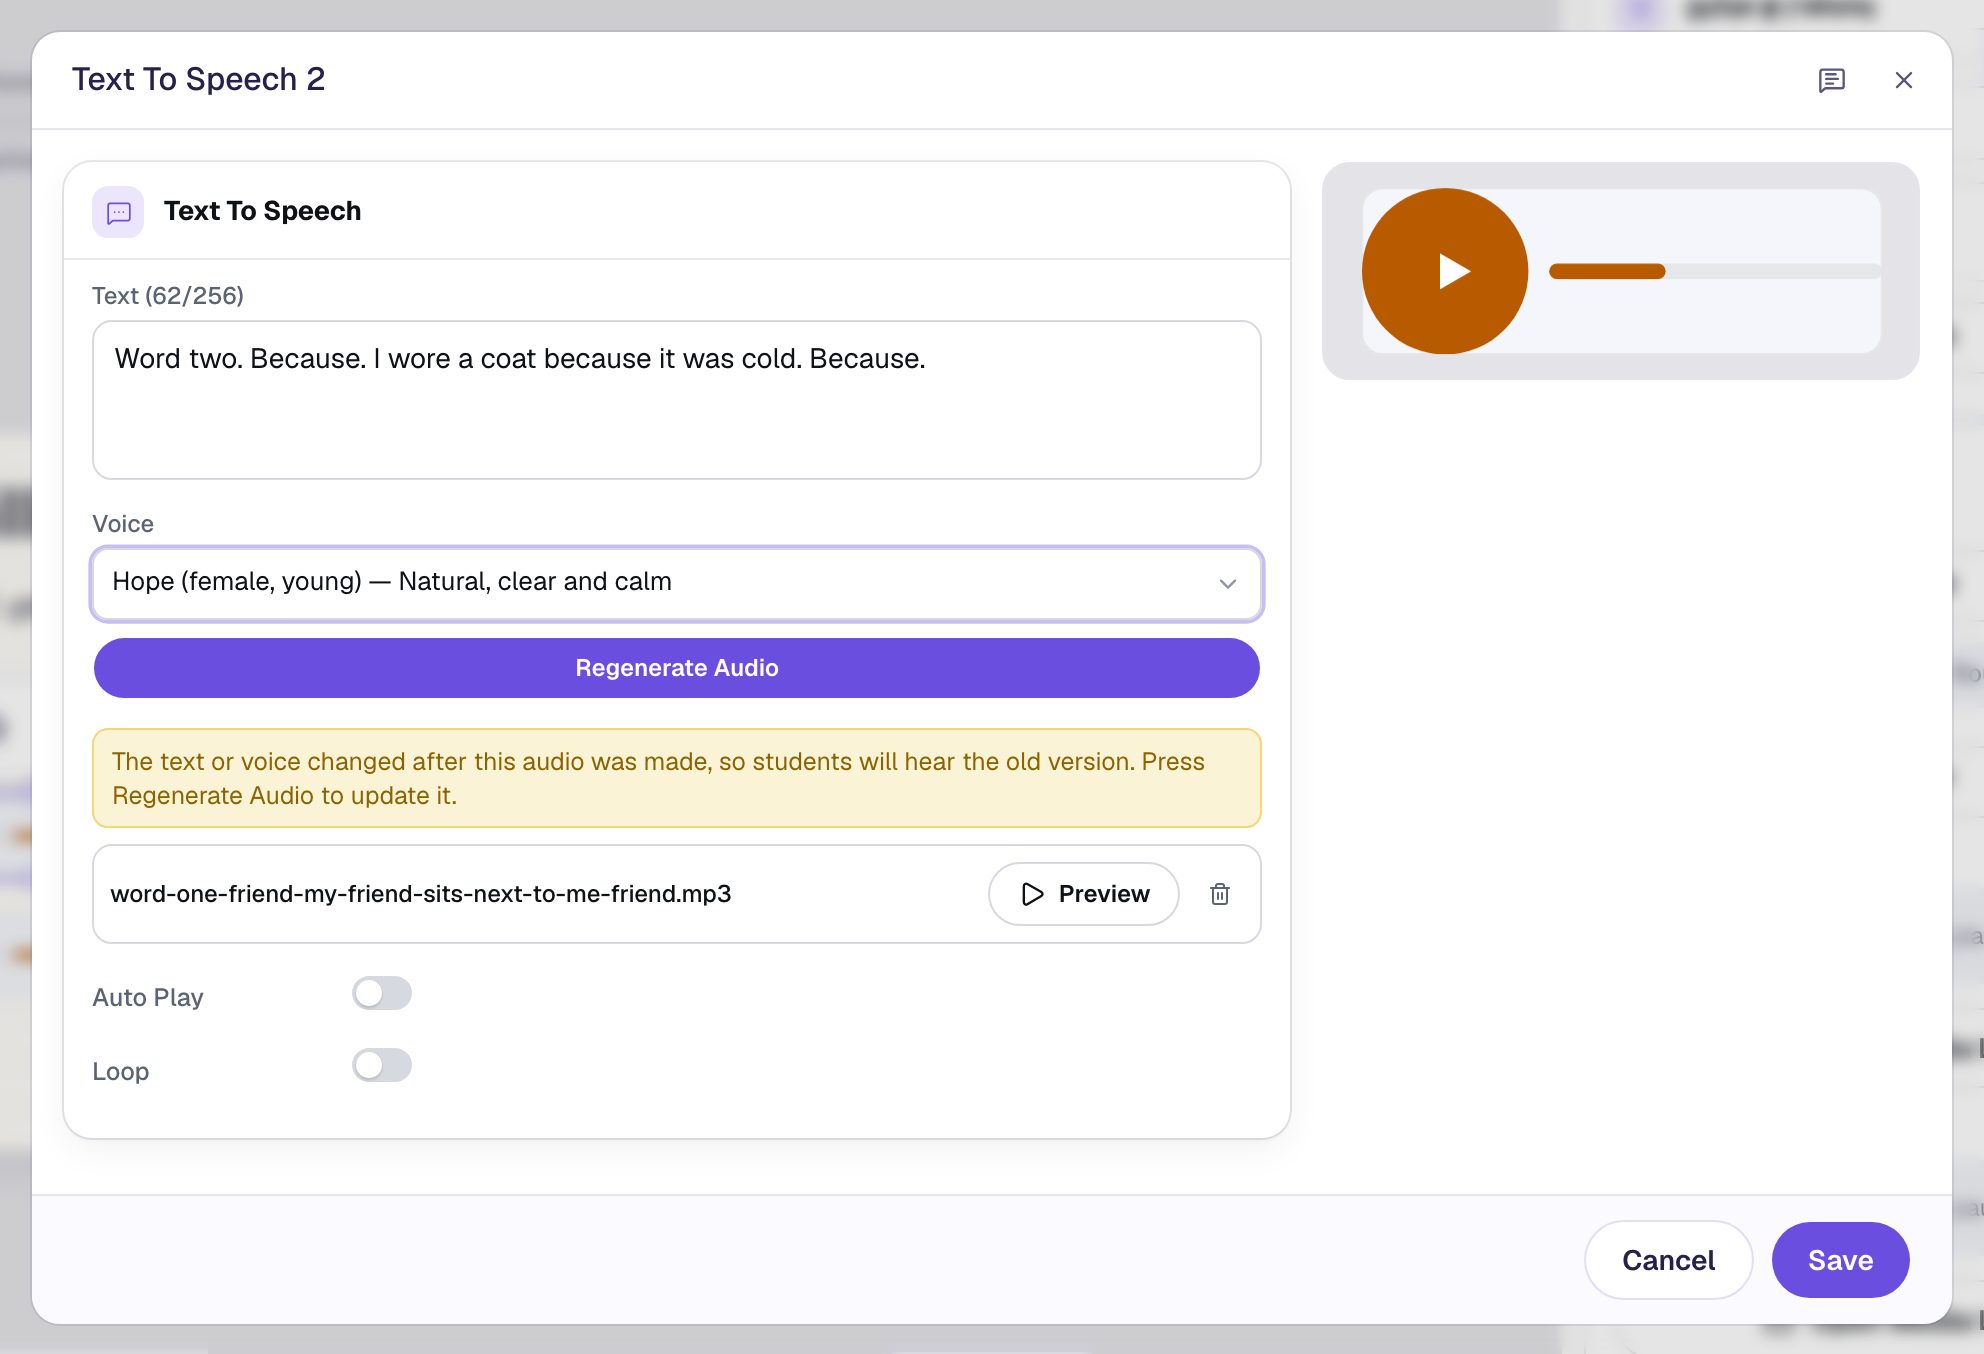
Click Regenerate Audio, wait for the new recording, and click Save. Then set the player's Alt Text to word 2.
Now click the second answer box and open ⚙ Configure. Change the Placeholder to Word 2 and the correct answer to because, then Save and change its Alt Text to Spelling of word 2:
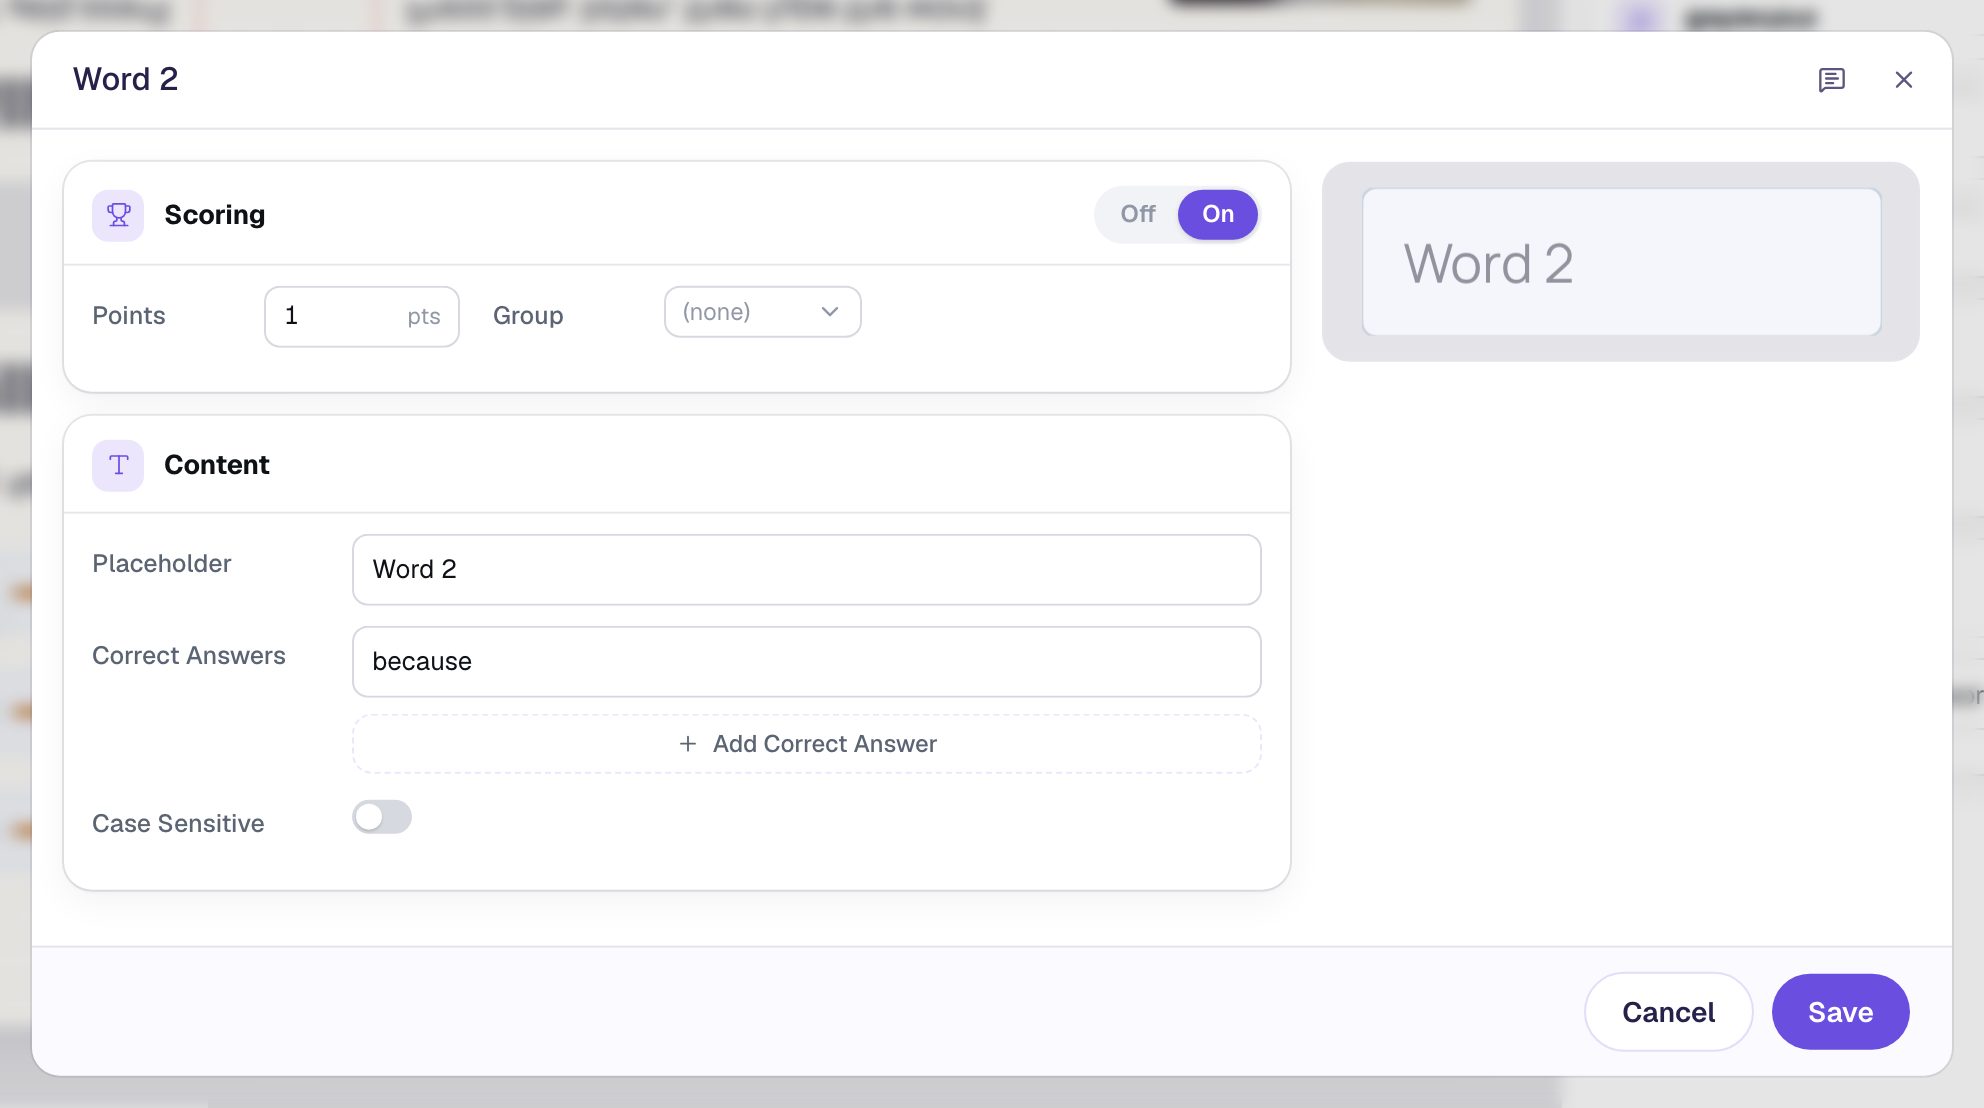
Do the same for the third row: the text Word three. School. We walk to school in the morning. School. and Alt Text word 3 on the player, then Placeholder Word 3, the answer school and Alt Text Spelling of word 3 on the box.
Before you move on, press each play button in Preview once. A copied recording that you forgot to regenerate would quietly test the wrong word.
Step 6: Keep the test open until students finish
Click an empty spot on the scene to see its settings. In Progression, change When this scene is correct from Next to Stay.
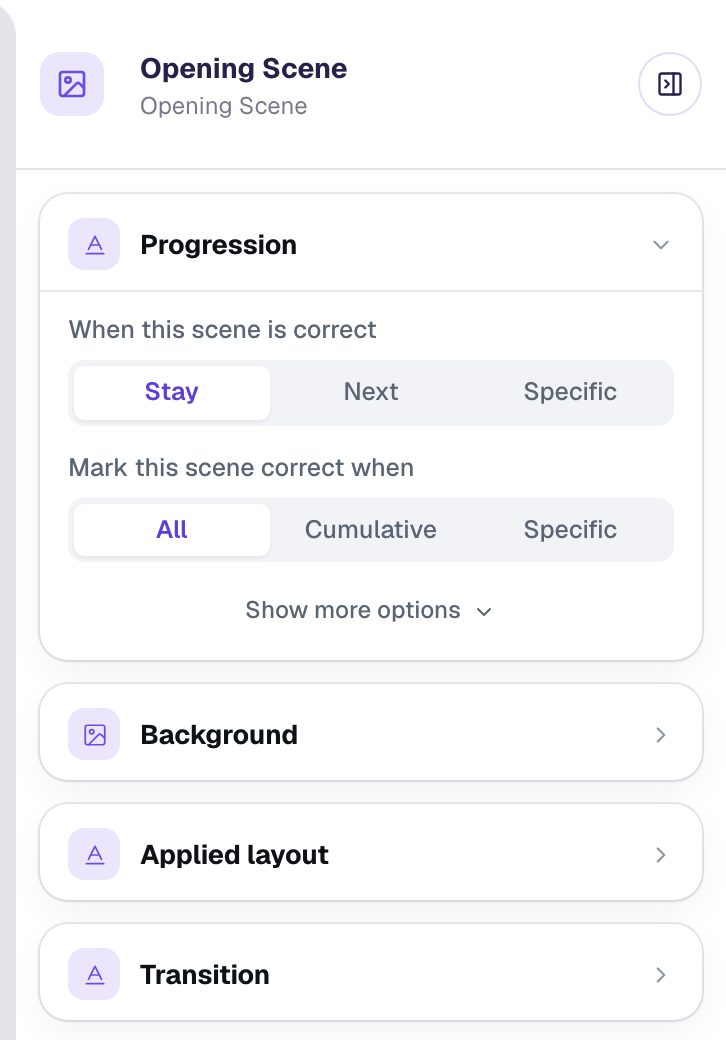
With Next, Berdee checks the answers as students type and moves on the moment all three are right. That suits practice, but in a test a student who spells everything right would be whisked away before they could check their work, and a student with one mistake would never move on at all. Stay leaves the scene open until the student presses a button.
Step 7: Add the I'm finished button
In Widgets, add a Submit Button. In Content:
- Change Label to
I'm finished. - Turn on Confirm before submit, so a student who taps it by accident gets a chance to go back.
- Set Submits to Lesson.
Set its Font Size to 24, give it a navy Background and white Text, and drag it under the rows, at the left edge.
A button set to Lesson grades the whole test, but on its own it drops students on a plain results card instead of your Closing Scene. Two behaviors take them to the ending instead:
- Click Behaviors in the pill above the button, choose Make this a "Next" button, and click Add behavior. It goes to the Closing Scene.
- A behavior on a Submit Button replaces its built-in submit, so put one back. In the properties panel, open Behaviors, click Add Action, choose Submit Answers, and set it to Lesson.
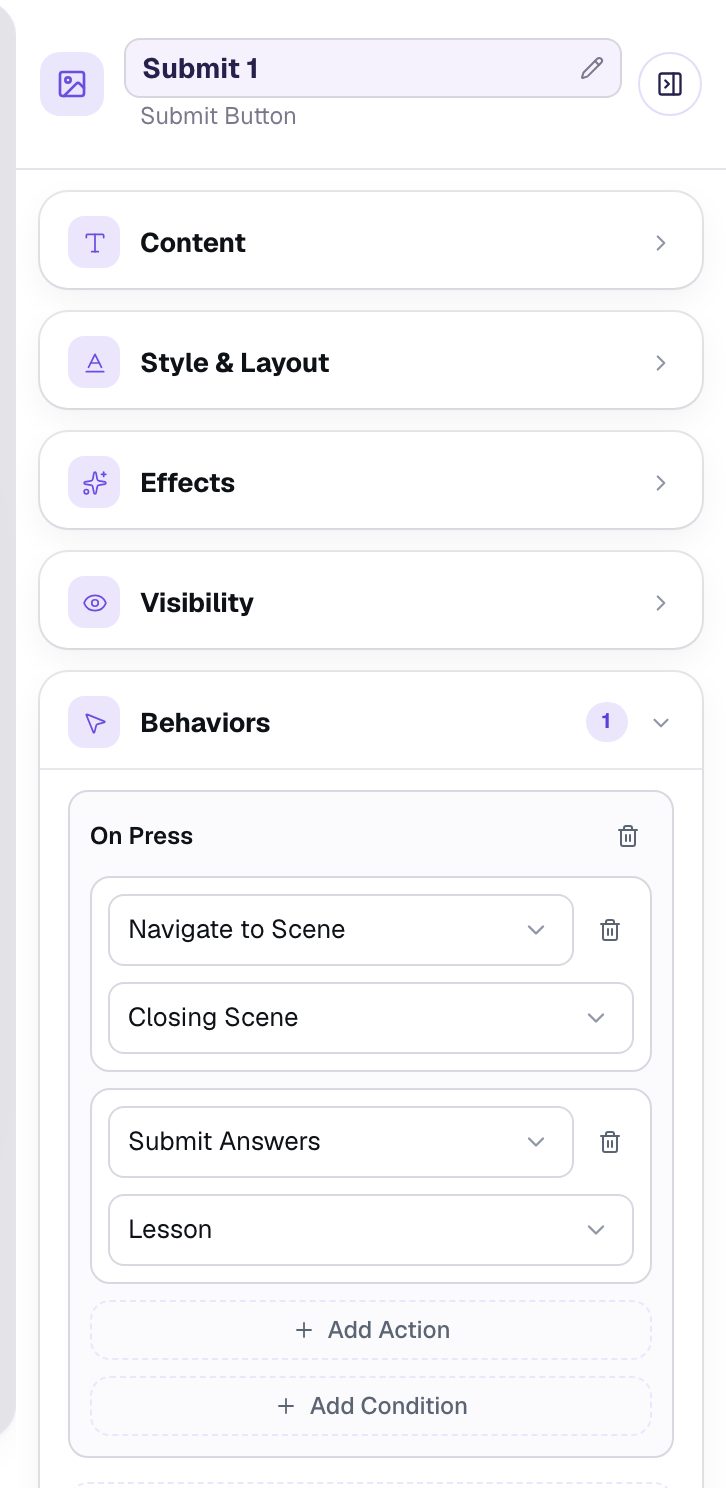
If you skip the second part, the yellow validation pill at the top says Submit Button Does Not Submit. With both, the pill clears, and the test is ready.
Step 8: Take the test as a student
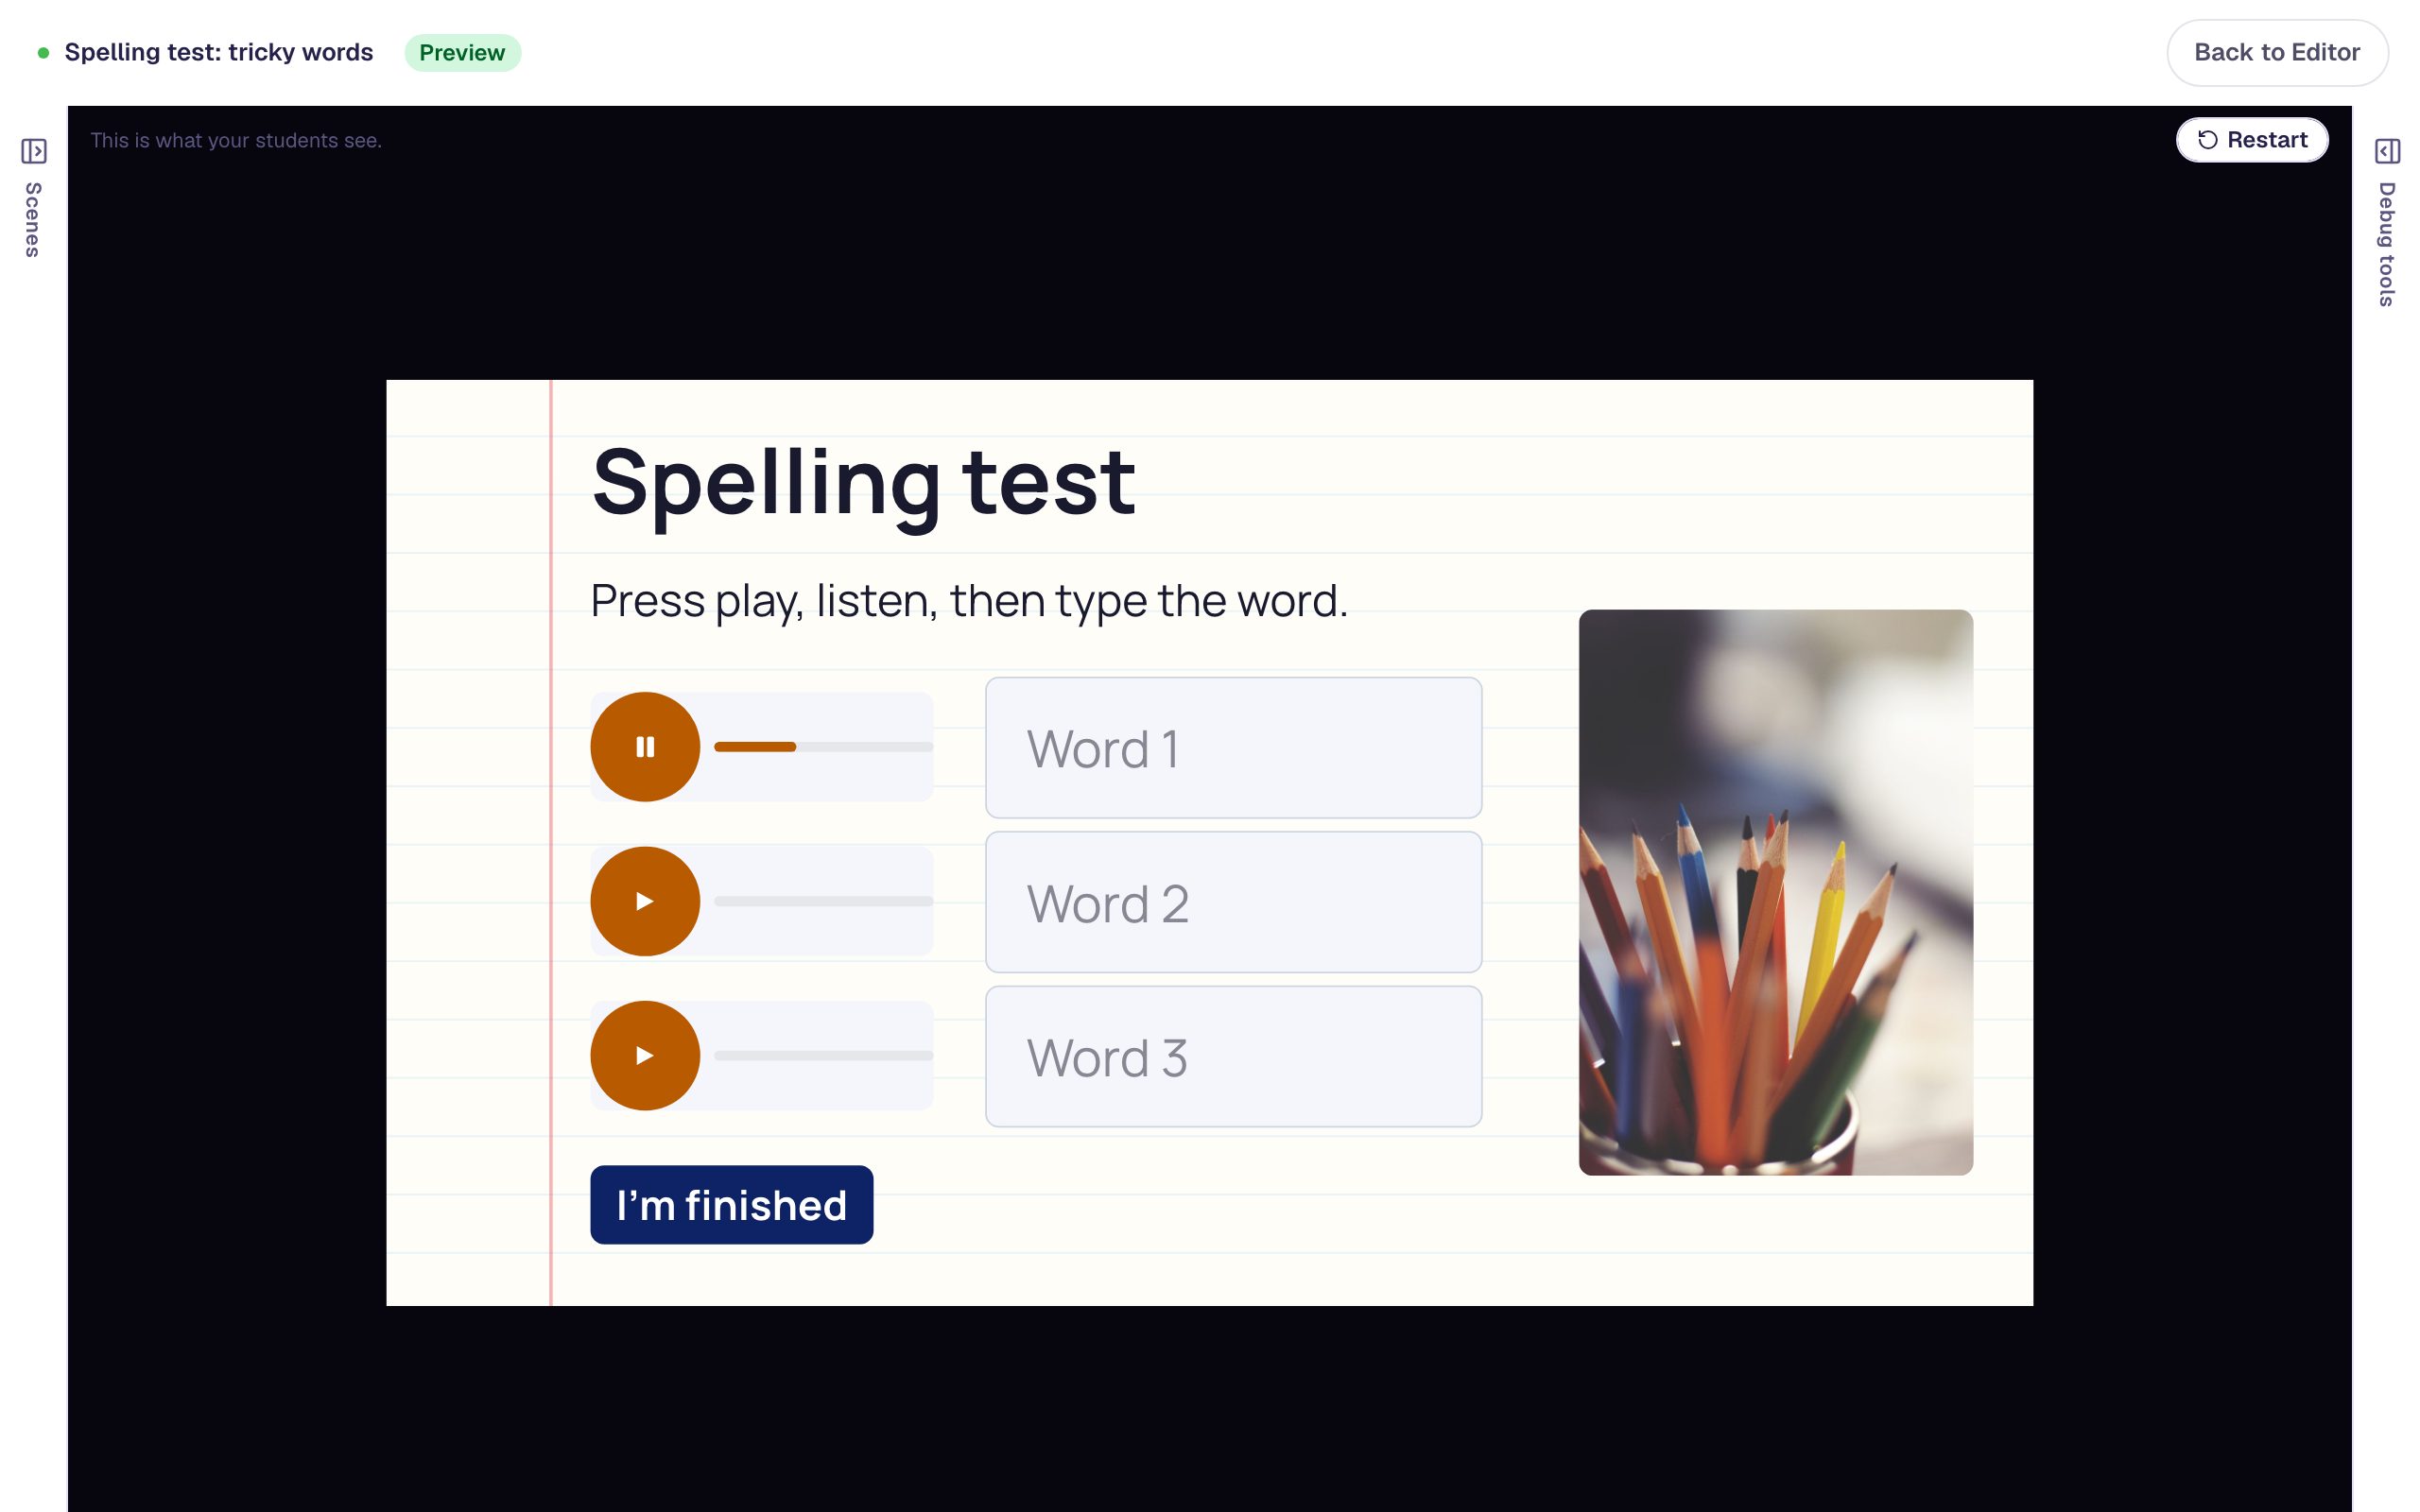
Click Preview. Press the first play button and listen, then type the word and press Enter:
Spell the second word wrong on purpose, becuase, and the third one right. Nothing turns red or green while students type: in a test, they find out at the end.
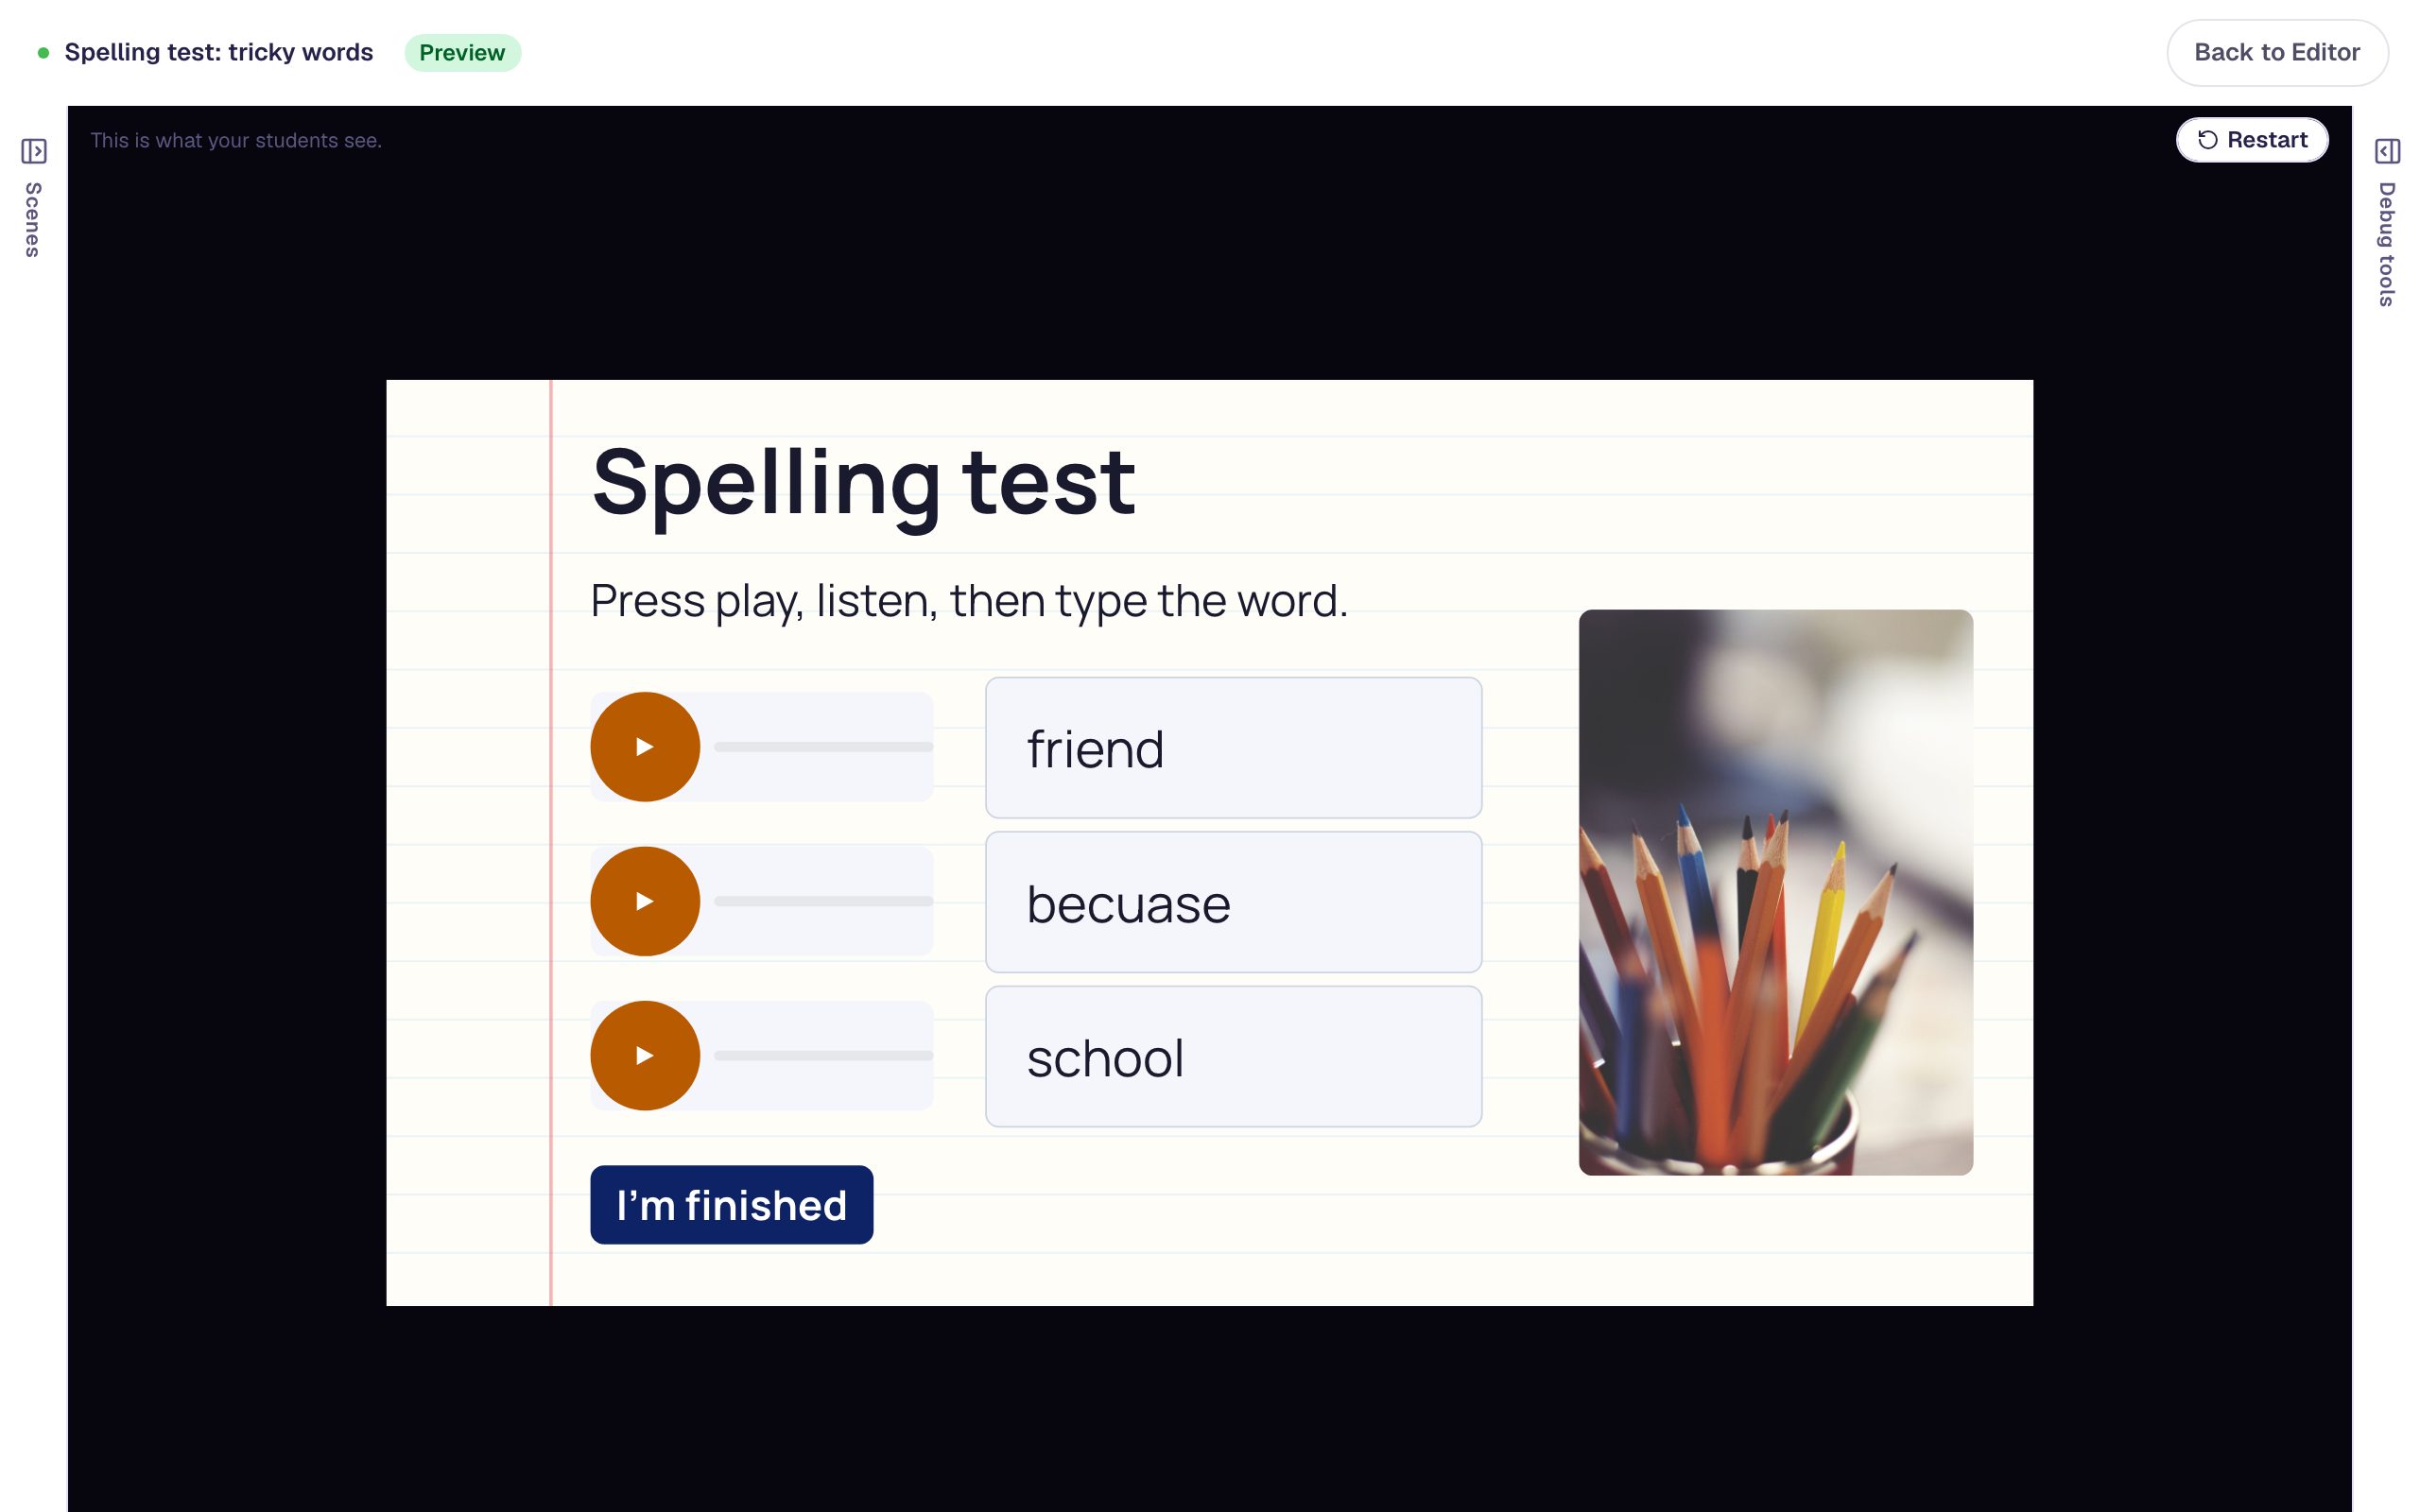
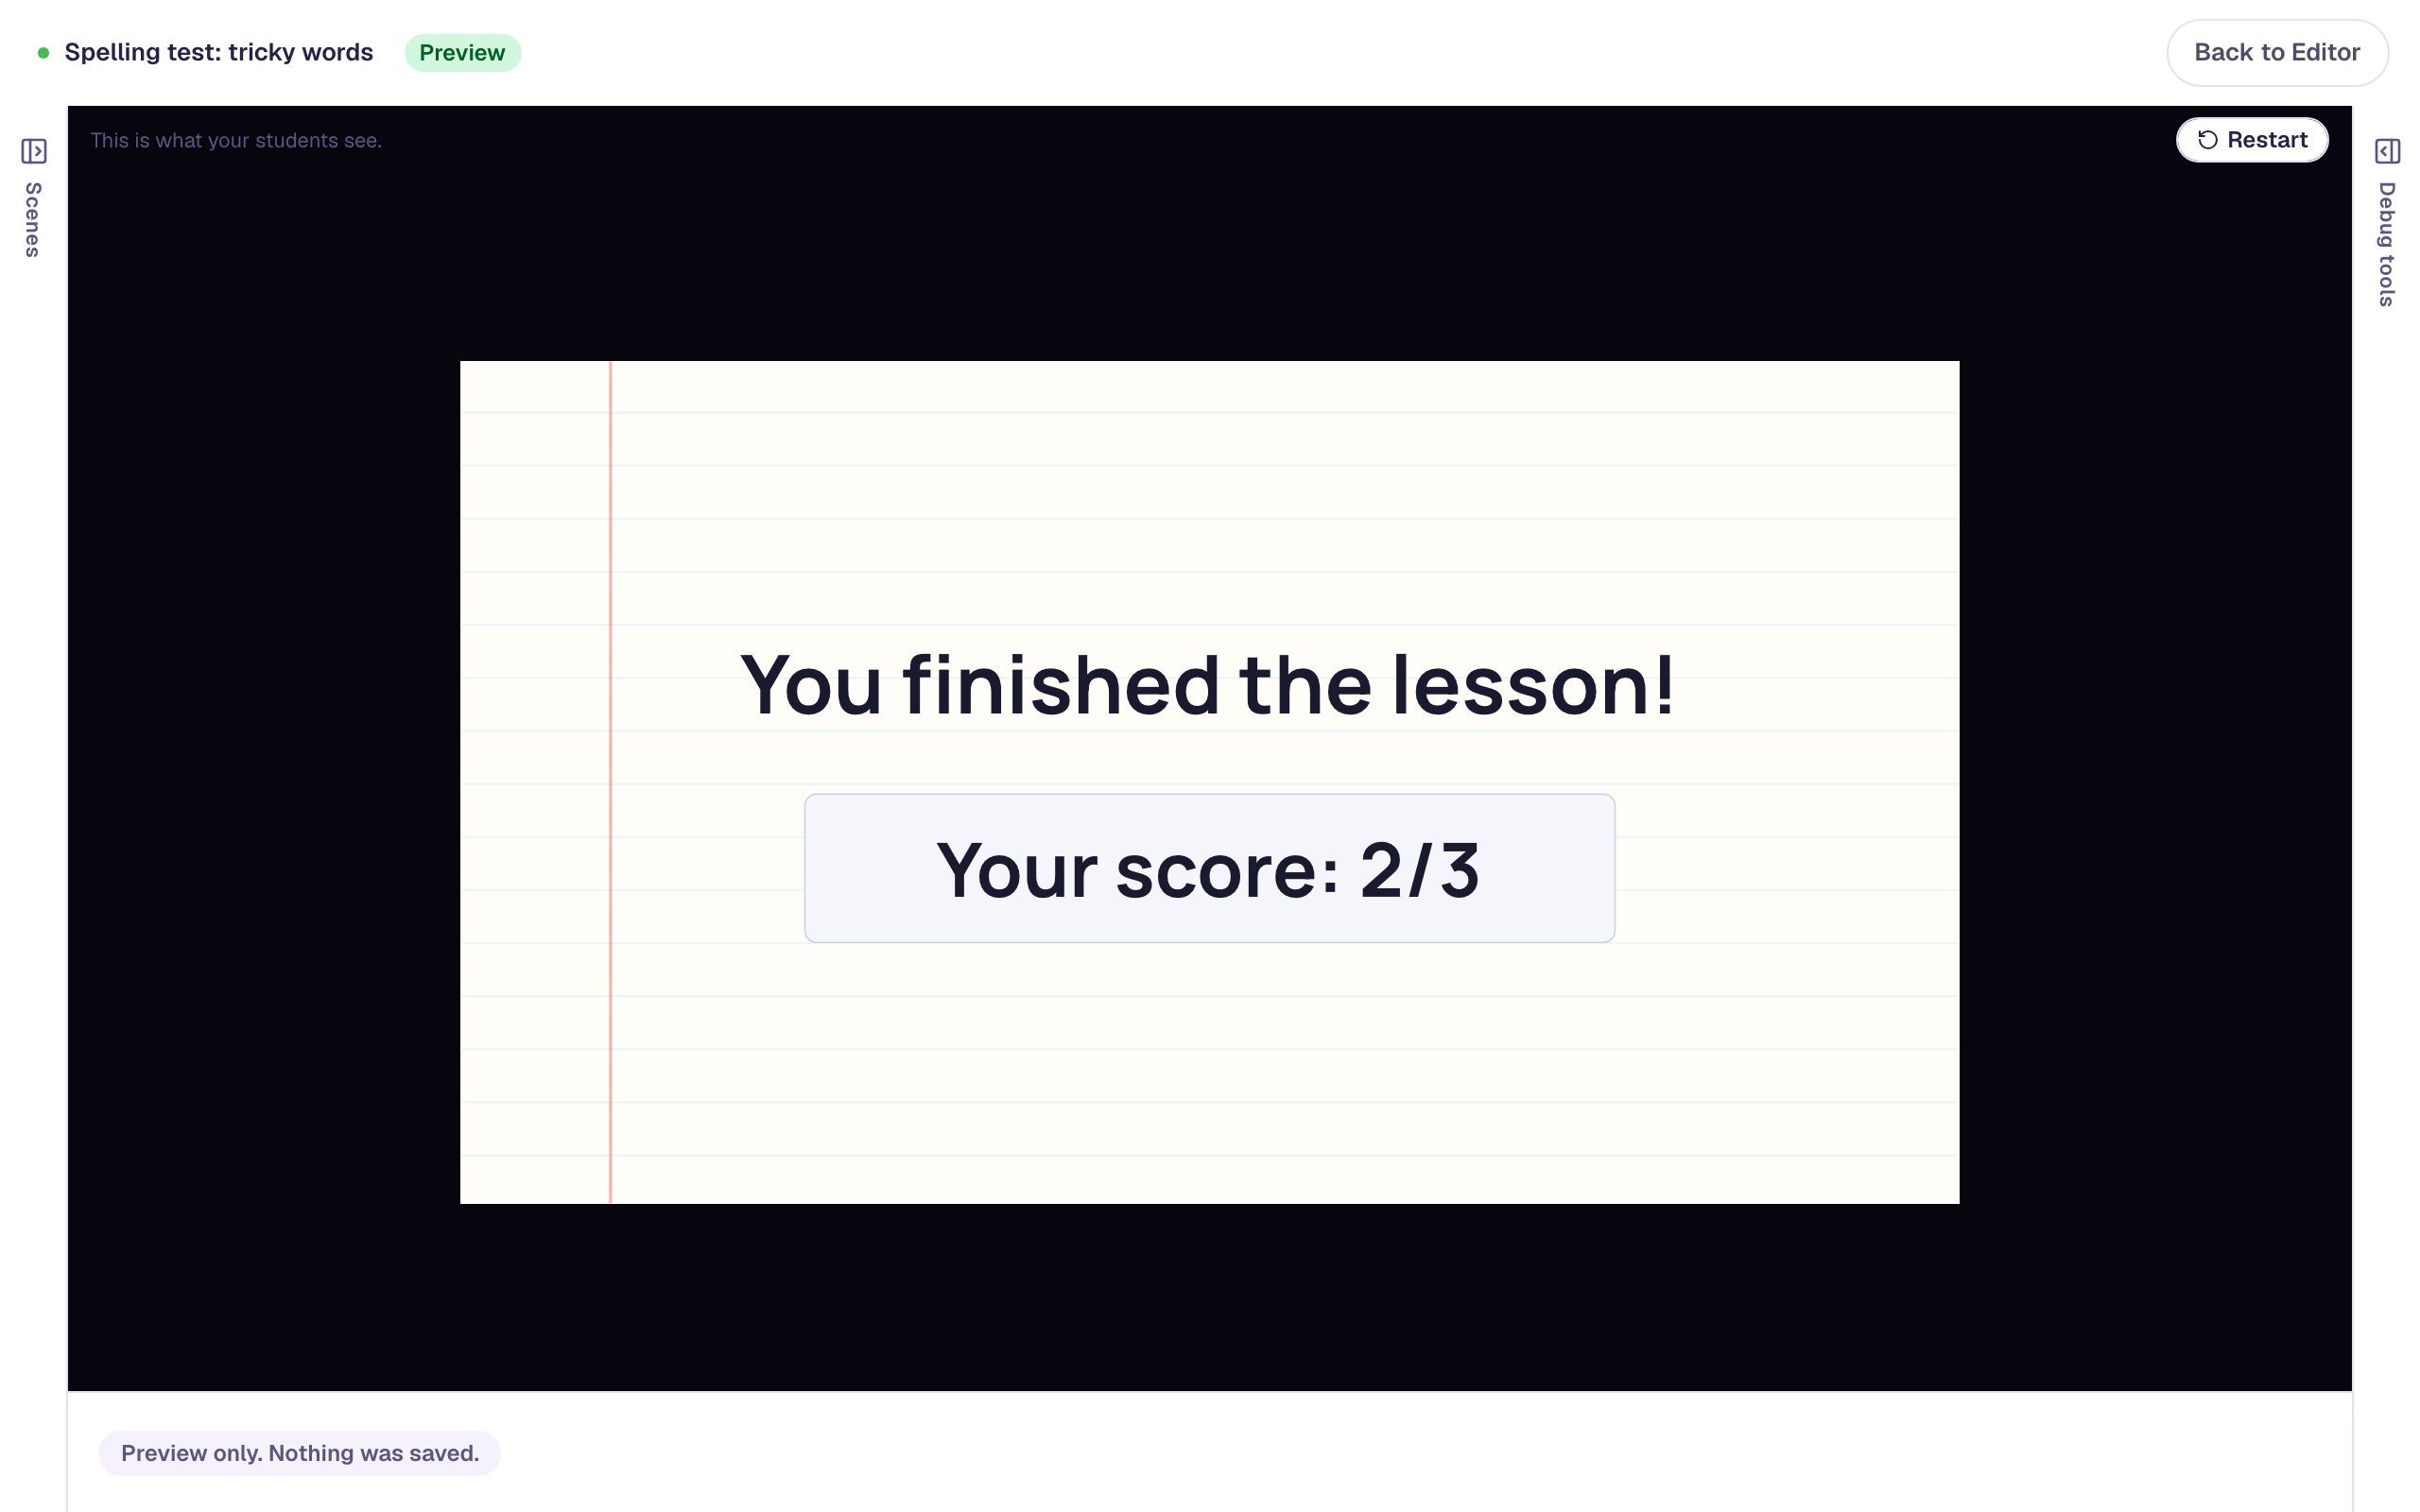
Press I'm finished. The browser asks "Are you sure you want to submit your final answers?" Click OK, and the test moves to the Closing Scene with the score:
On each student's attempt page you'll see what they typed for every word, so you can spot the patterns: is it always "ie" and "ei", or the silent letters?
What you built
A spelling test with:
- Text To Speech play buttons that say each word, use it in a sentence, and say it again, named word 1 to word 3 for screen readers,
- a Text Input for each word, graded on the exact spelling, with Case Sensitive off and its own screen-reader name,
- rows built once and copied with ⌘ D, then re-recorded with Regenerate Audio,
- a scene set to Stay, so it waits until the student is done,
- an I'm finished button that asks first, grades every word, and goes to the Closing Scene.
For a longer list, keep copying rows: a ten-word test fits on two scenes. To give students practice before the real test, make a copy of the lesson with Progression back on Next and a "Not quite" message under each box, as in Ask a short-answer question that coaches a wrong try.
Make this lesson yours
Add the lesson you just watched being built to your account, then change it for your class: your questions, your pictures, your colors.
Free to sign up, and you'll come straight back here. I have an account