Ask students to predict before you reveal
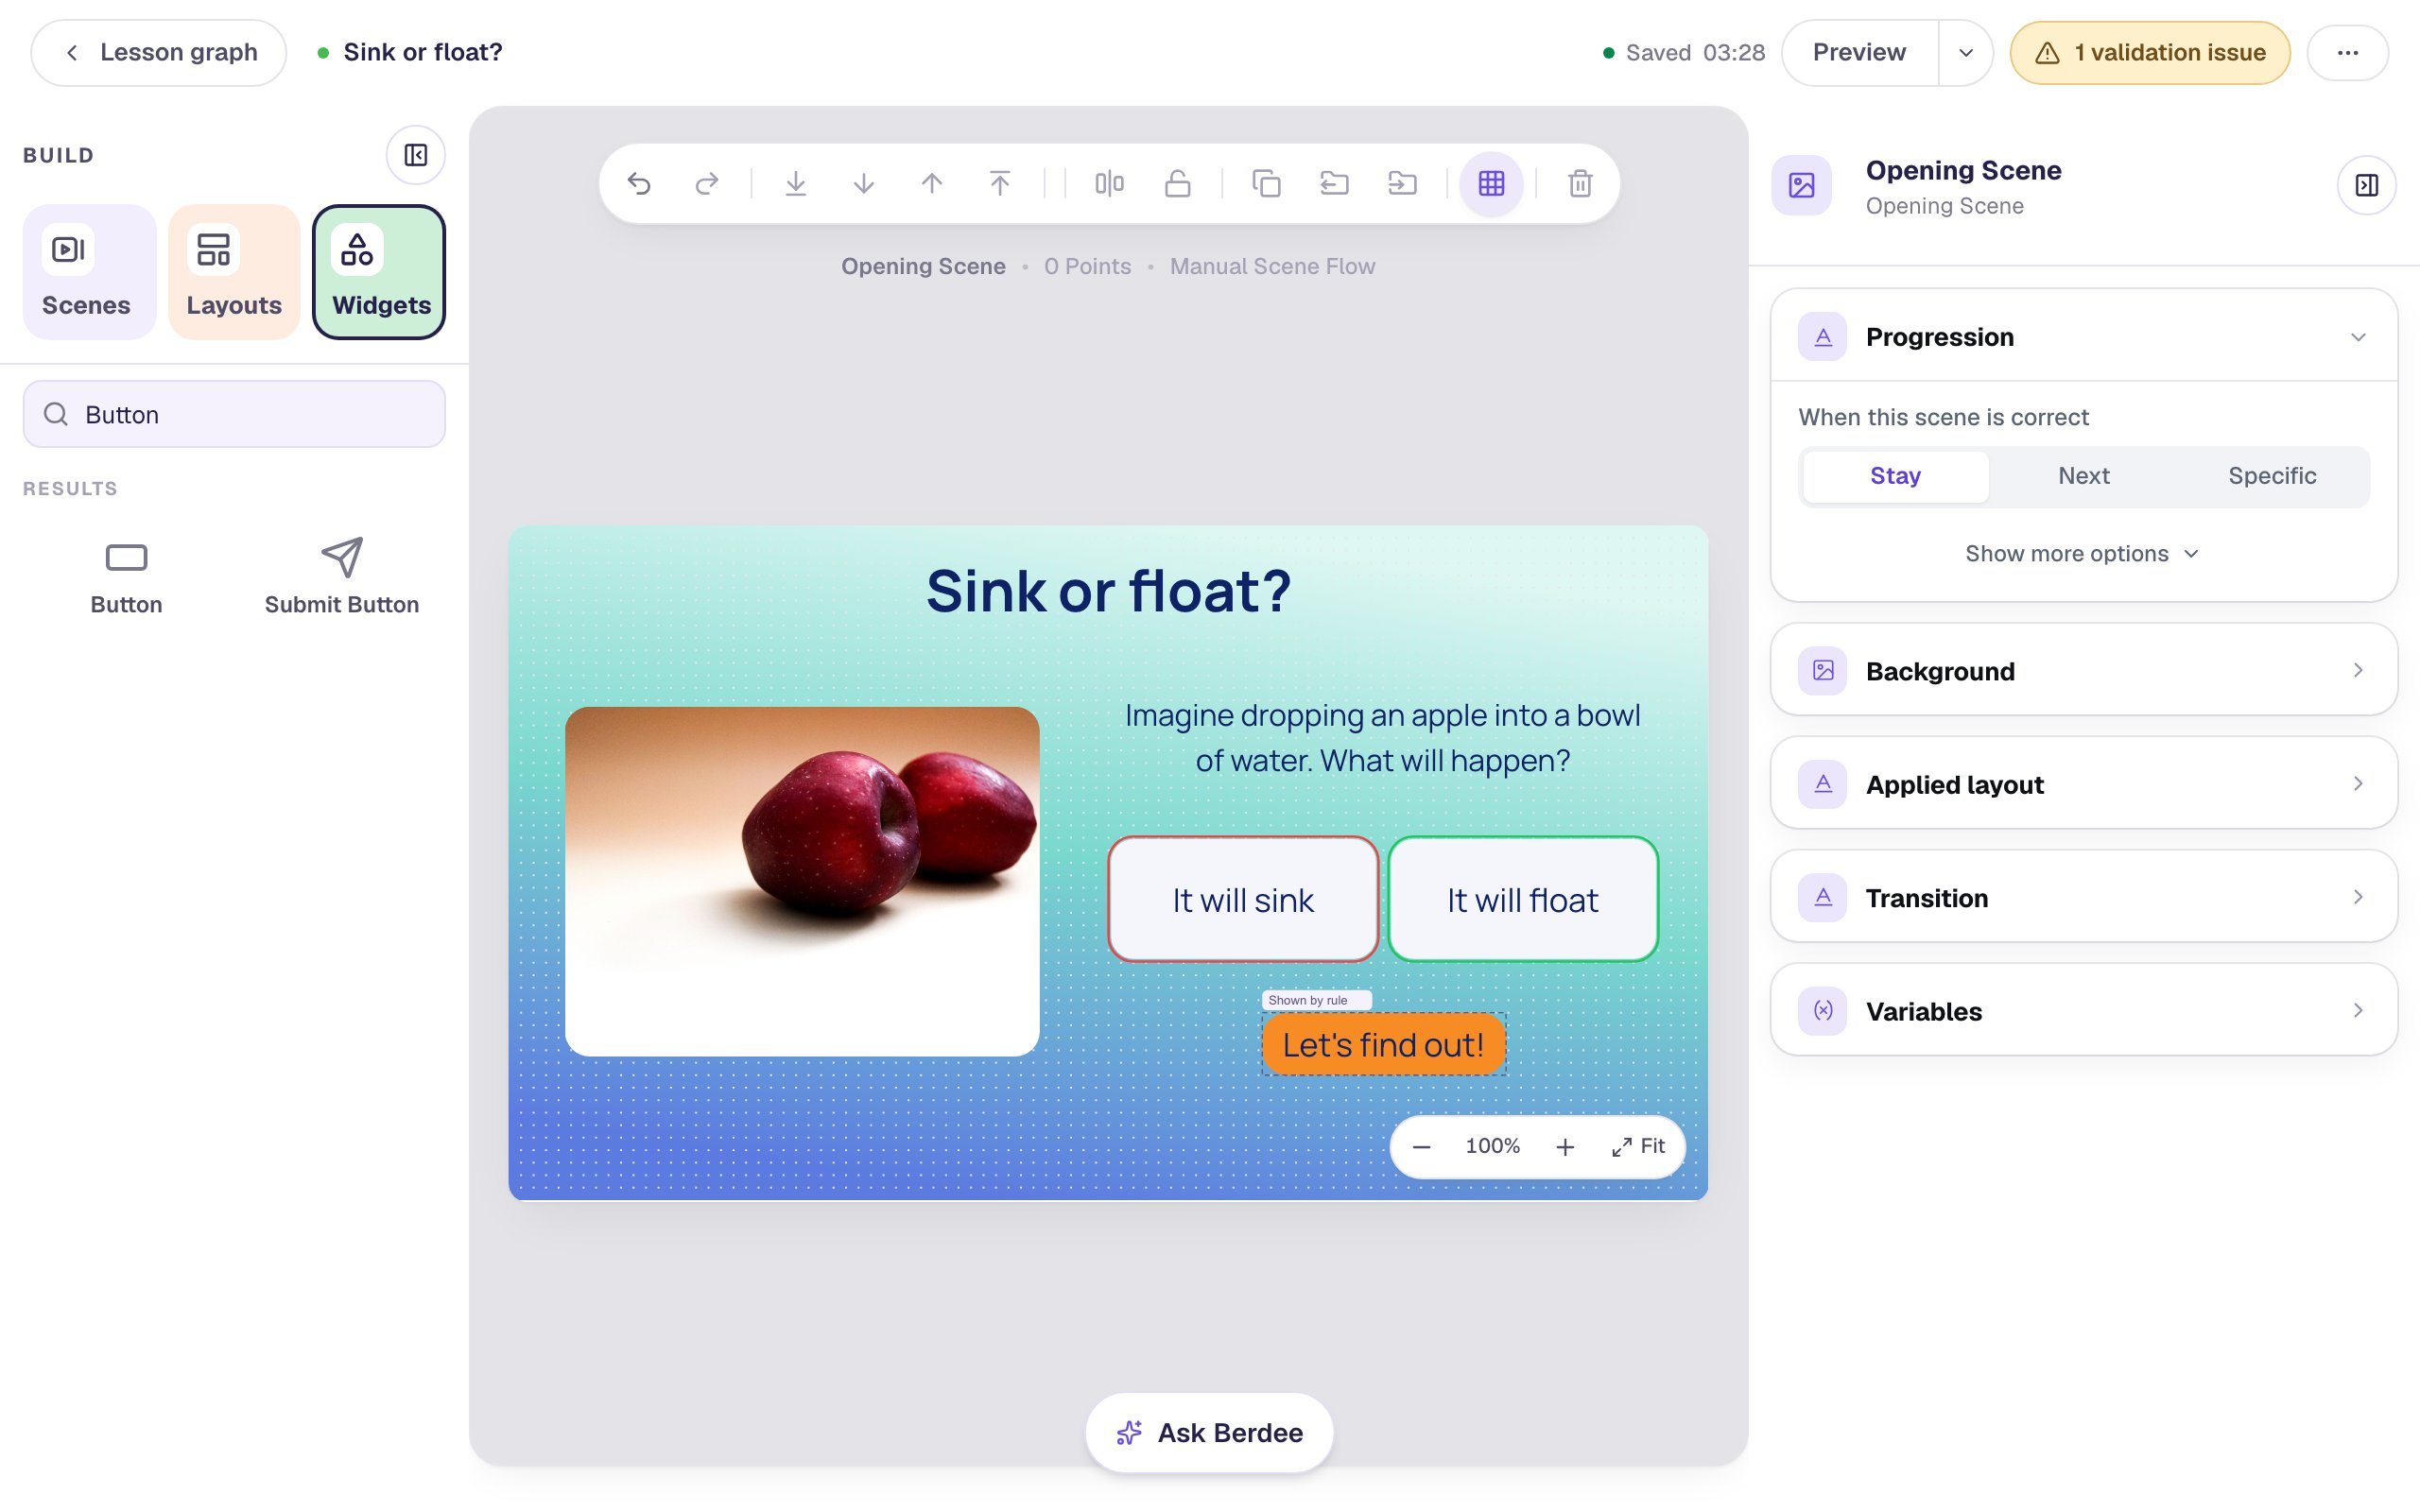
Ask for an ungraded prediction with a Multiple Choice, show the Let's find out! button only once students have made one, and have the reveal scene answer their prediction with a different line for a right or wrong guess.
- Level
- Beginner
- Time
- About 15 min
- Steps
- 7
- Updated
- Oct 13, 2026
A "Sink or float?" lesson where students predict what an apple does in water, a Let's find out! button appears once they've chosen, and the reveal scene shows the answer with a line that matches their prediction.
Get the finished lesson
Skip straight to the result, or keep it open beside the steps. Add this tutorial's lesson to your account and explore how it works in the studio.
Free to sign up, and you'll come straight back here. I have an account
Students remember an answer better when they've committed to a guess first. Even a wrong guess helps: it makes the surprise stick. In this tutorial you'll build a "Sink or float?" lesson that asks students to predict what an apple does in a bowl of water, waits for their prediction, and then shows them what really happens.
You'll use three things:
- a Multiple Choice with Scoring off, so a prediction never costs points,
- a visibility rule that keeps the Let's find out! button hidden until the student has picked, and
- two more rules on the reveal scene that read the prediction from the scene before and say something different to students who guessed right and students who didn't.
Step 1: Set the scene
Start a blank lesson (New lesson, then Start from scratch). Click the lesson's name at the top left and call it Sink or float?.
Click an empty spot on the scene, open Background, click Choose a style, pick Lagoon gradient and click Apply background. Open the Closing Scene from Scenes and give it the same background, so the ending matches.
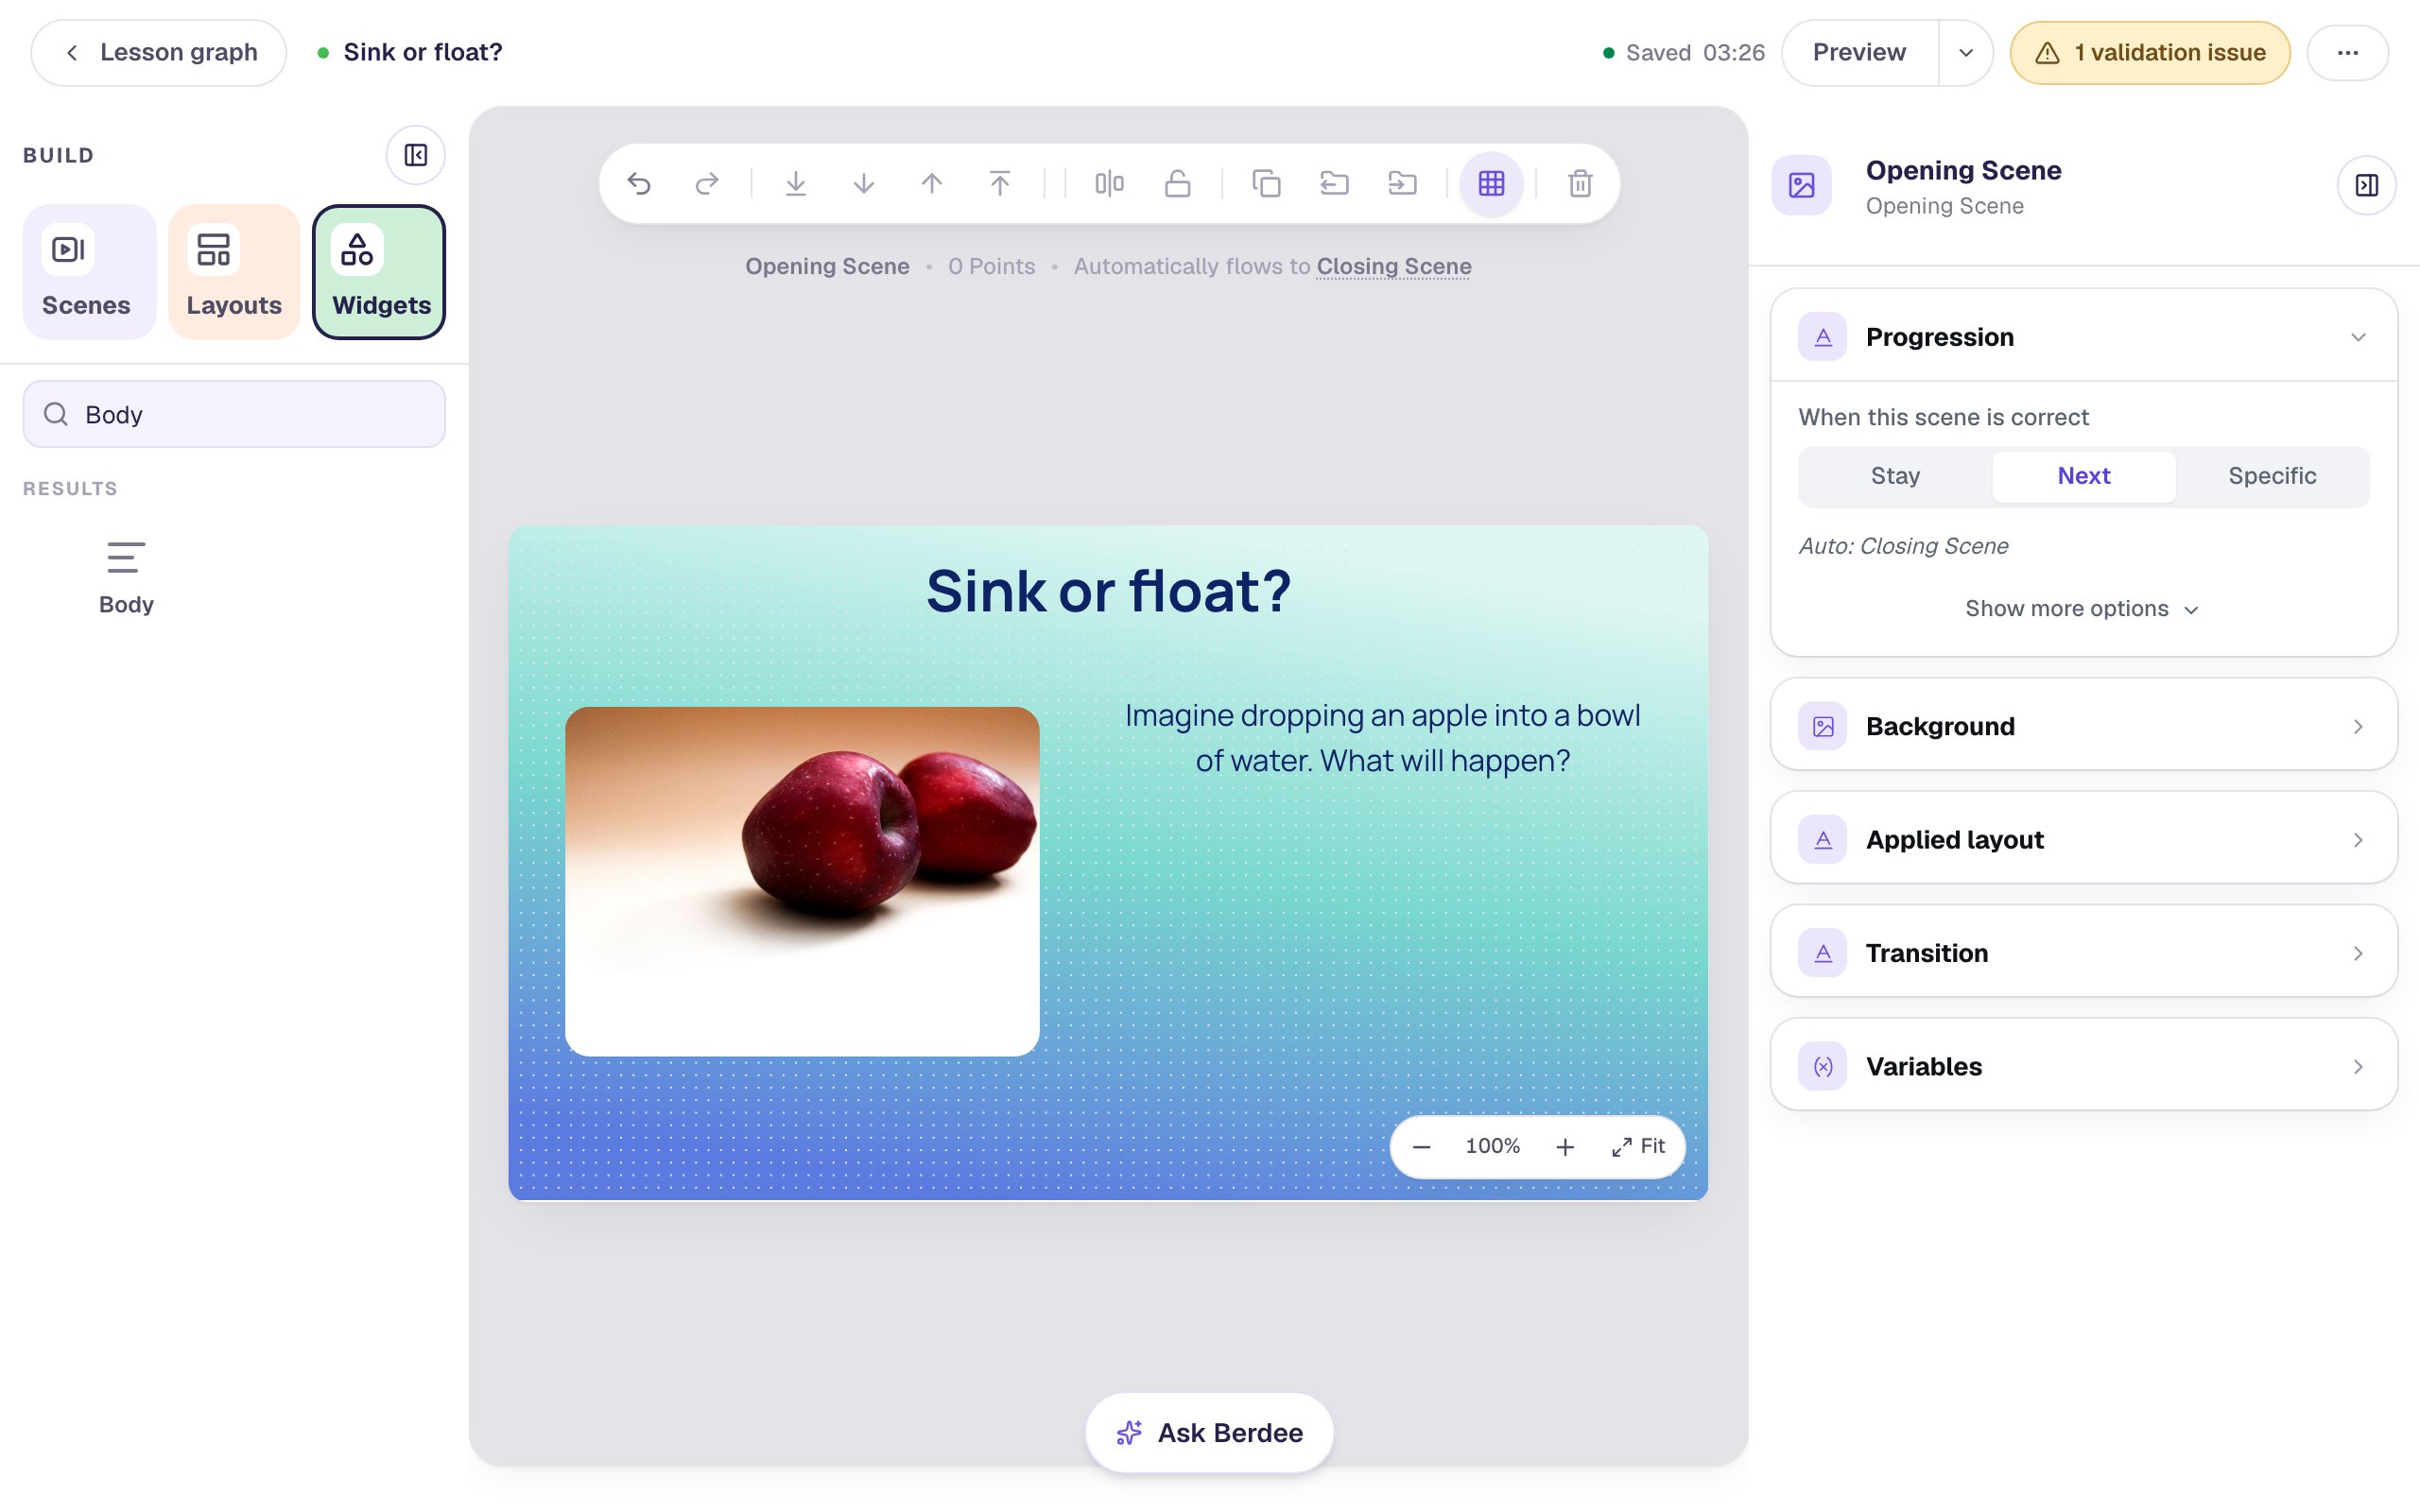
Back on the Opening Scene, add:
- A Heading at the top:
Sink or float? - An Image on the left,
380wide and280tall (Style & Layout → Show more options). In Image Source, click Open Media Library, search forred appleand insert a photo. Set Fit to Cover and Border Radius to20, and in Accessibility give it the Alt TextTwo shiny red apples on a plain background. - A Body on the right:
Imagine dropping an apple into a bowl of water. What will happen?Set it to Fixed width with a Width of440.
Step 2: Ask for a prediction
Search Widgets for Multi Choice and click it. Then click ⚙ Configure above it:
- Type
It will sinkandIt will floatinto the first two options, and remove the other two with their Remove option buttons. - Tick the checkmark beside It will float, and untick It will sink. A new question starts with its first option ticked, so check both.
- At the top, switch Scoring to Off.
- Click Save.
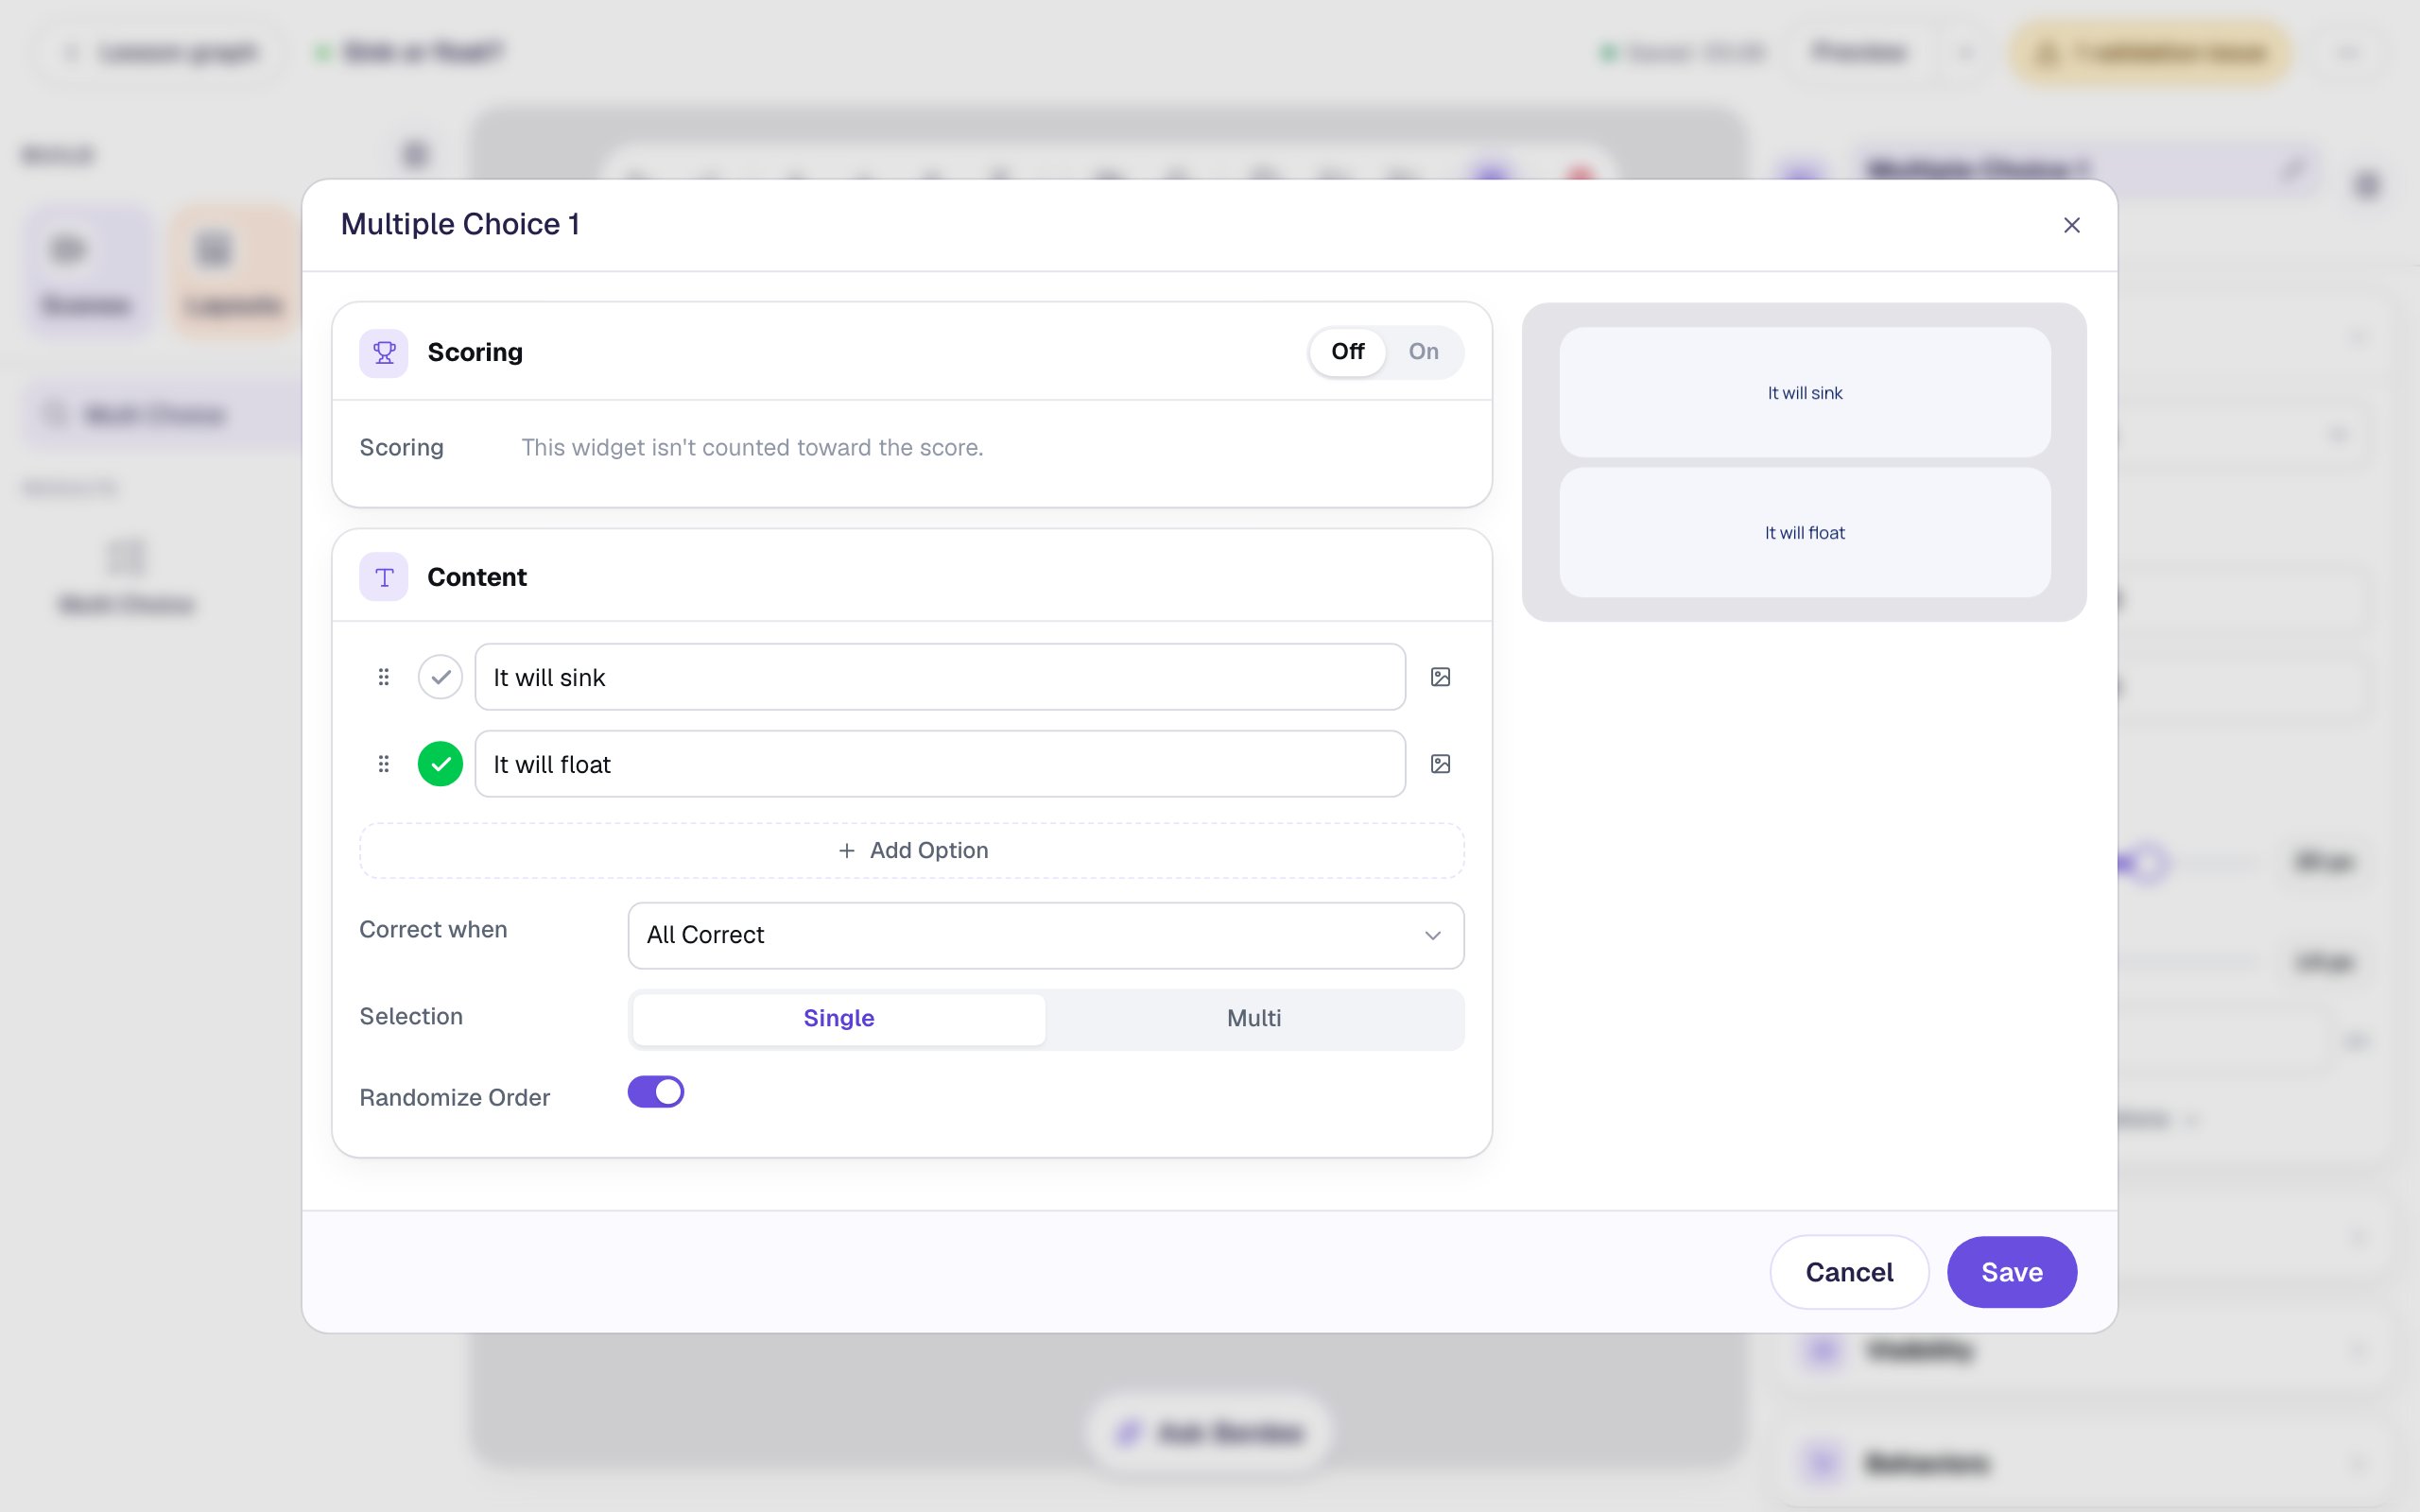
Why tick an answer if nothing is scored? A prediction isn't right or wrong, so it shouldn't change anyone's score: that's what Scoring off does. But the tick still tells Berdee what really happens, and in Step 6 the reveal uses it to tell students whether their guess matched.
Rename the widget Prediction at the top of the properties panel: the rules you'll write later pick it from a list by that name. Set its Font Size to 26, its Width to 440 and Height to 100, so the two answers sit side by side, and drag it under the question.
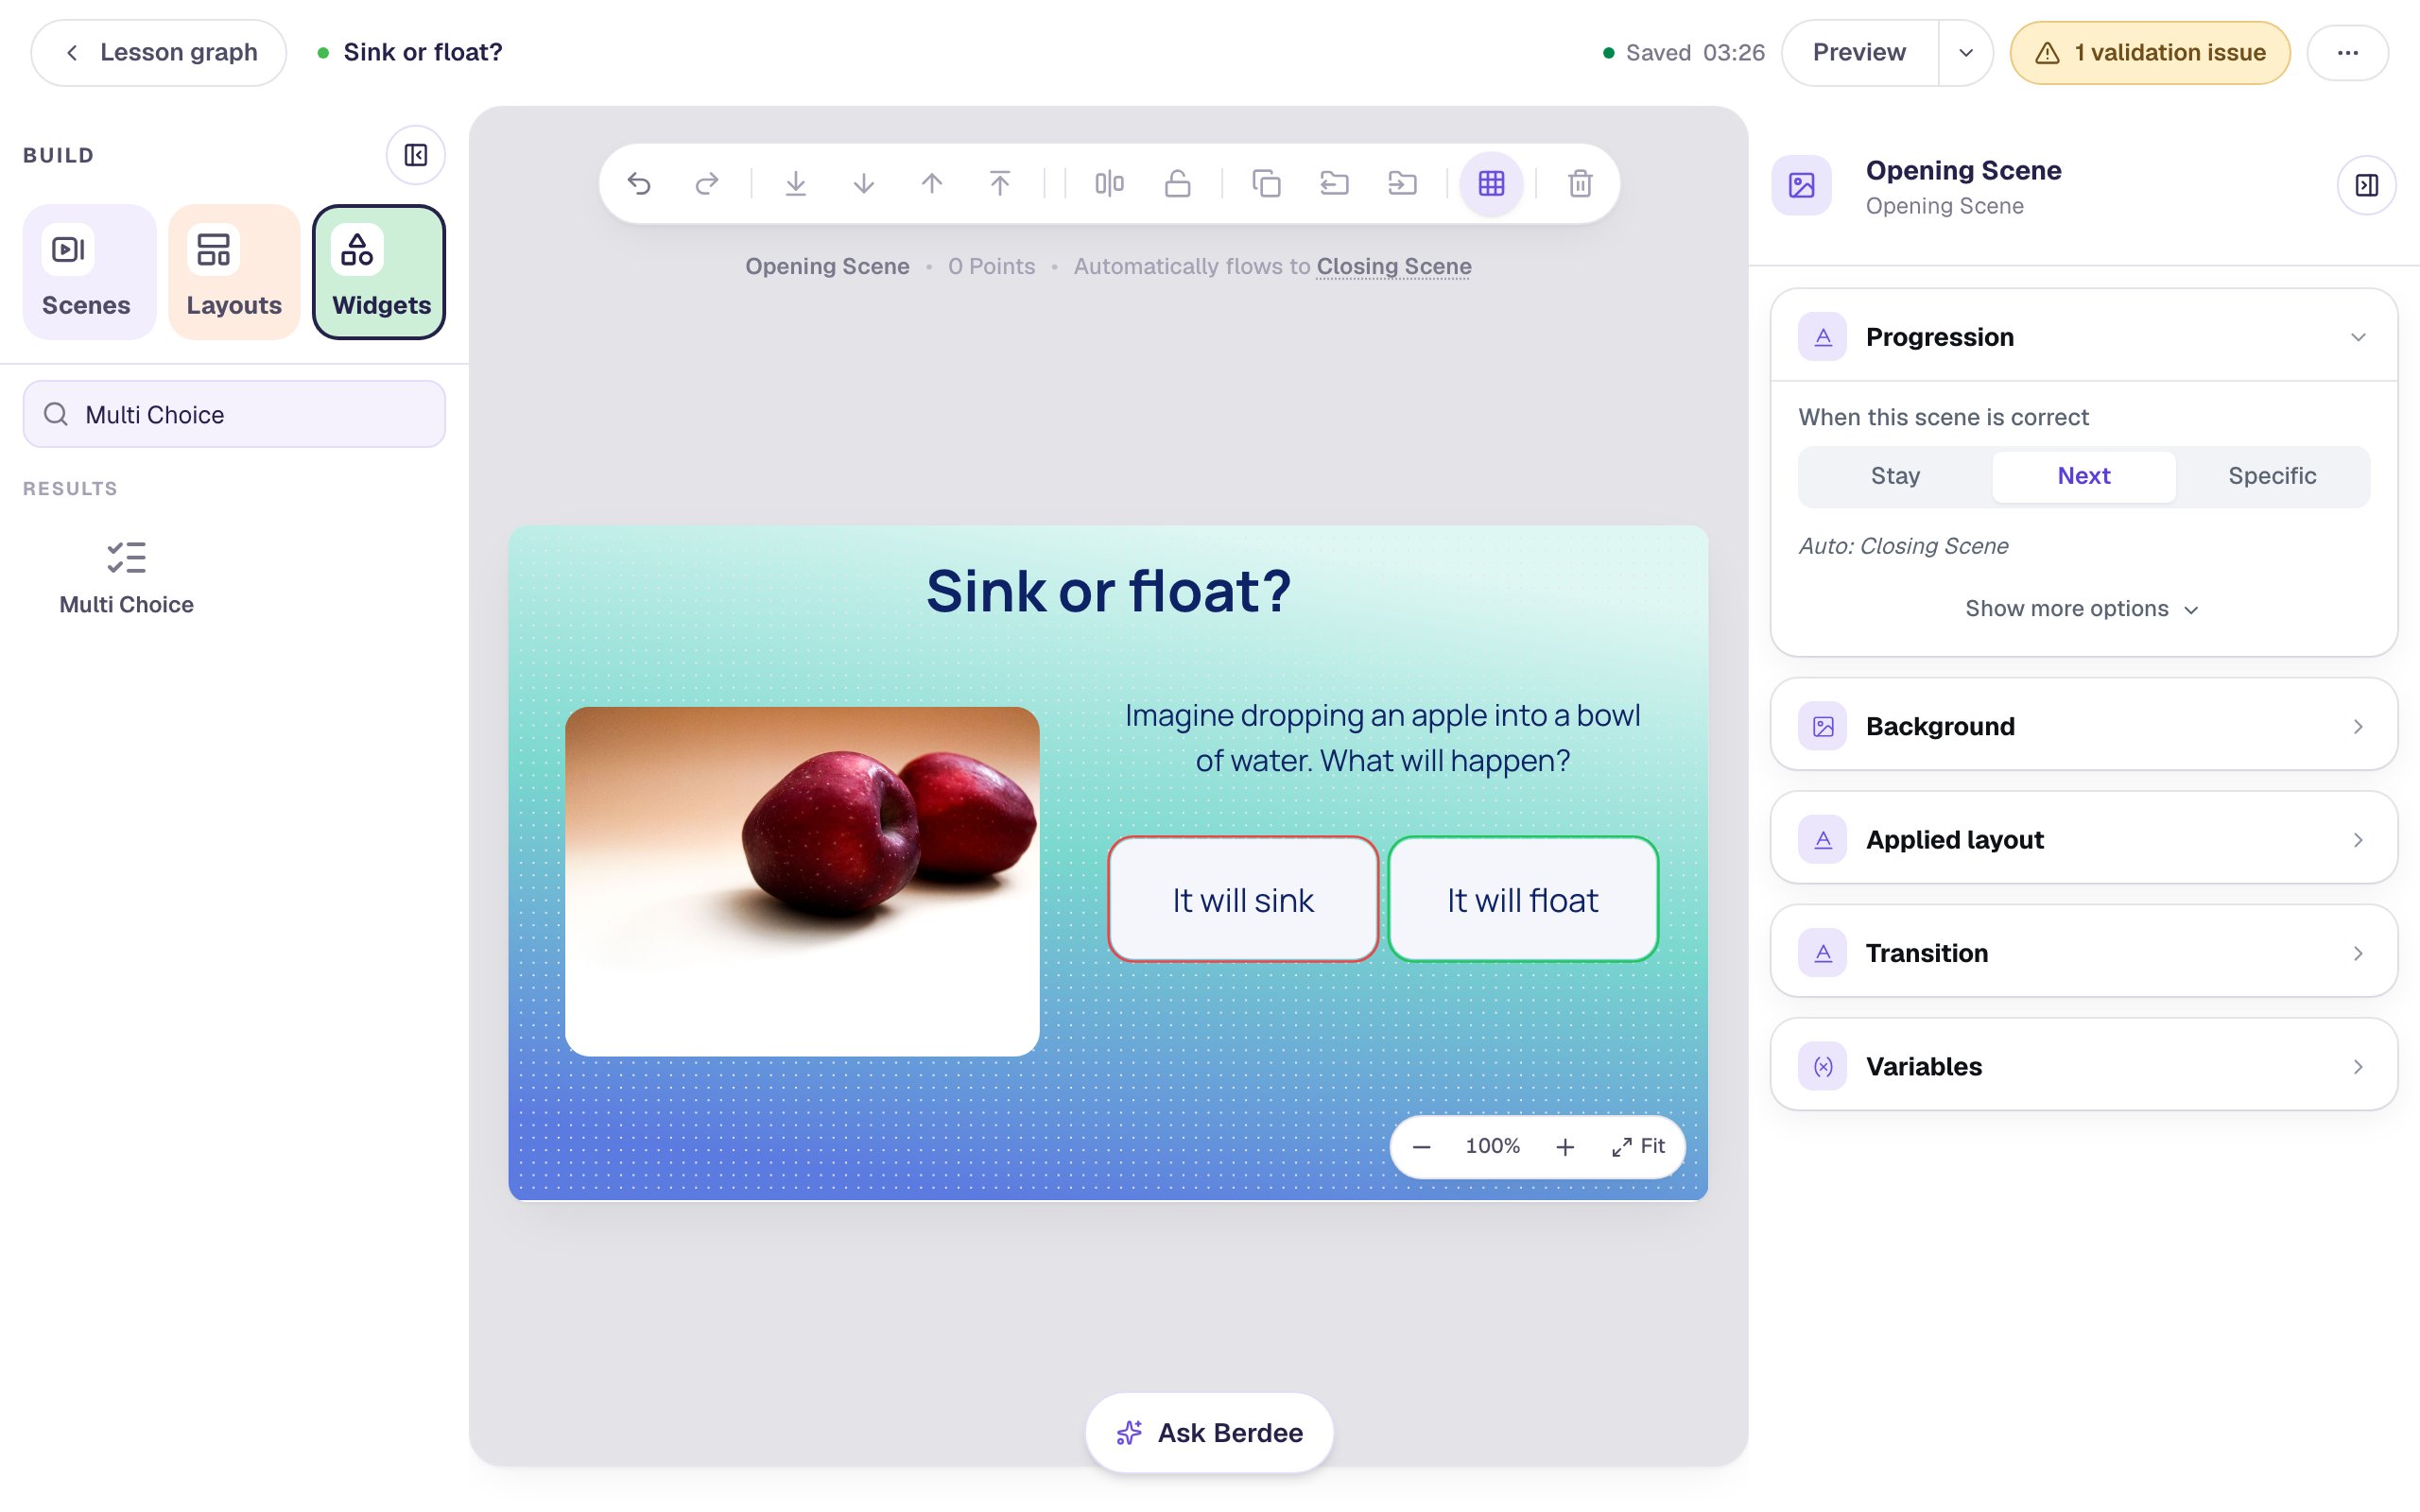
The red and green outlines show your answer key while you edit. Students never see them.
Step 3: Build the reveal scene
Open Scenes and click Add scene. Double-click the new scene's name and call it Find out. Give it the Lagoon gradient background too, then add:
- A Heading:
It floats! - An Image in the same place as the apple photo, the same size. Search for
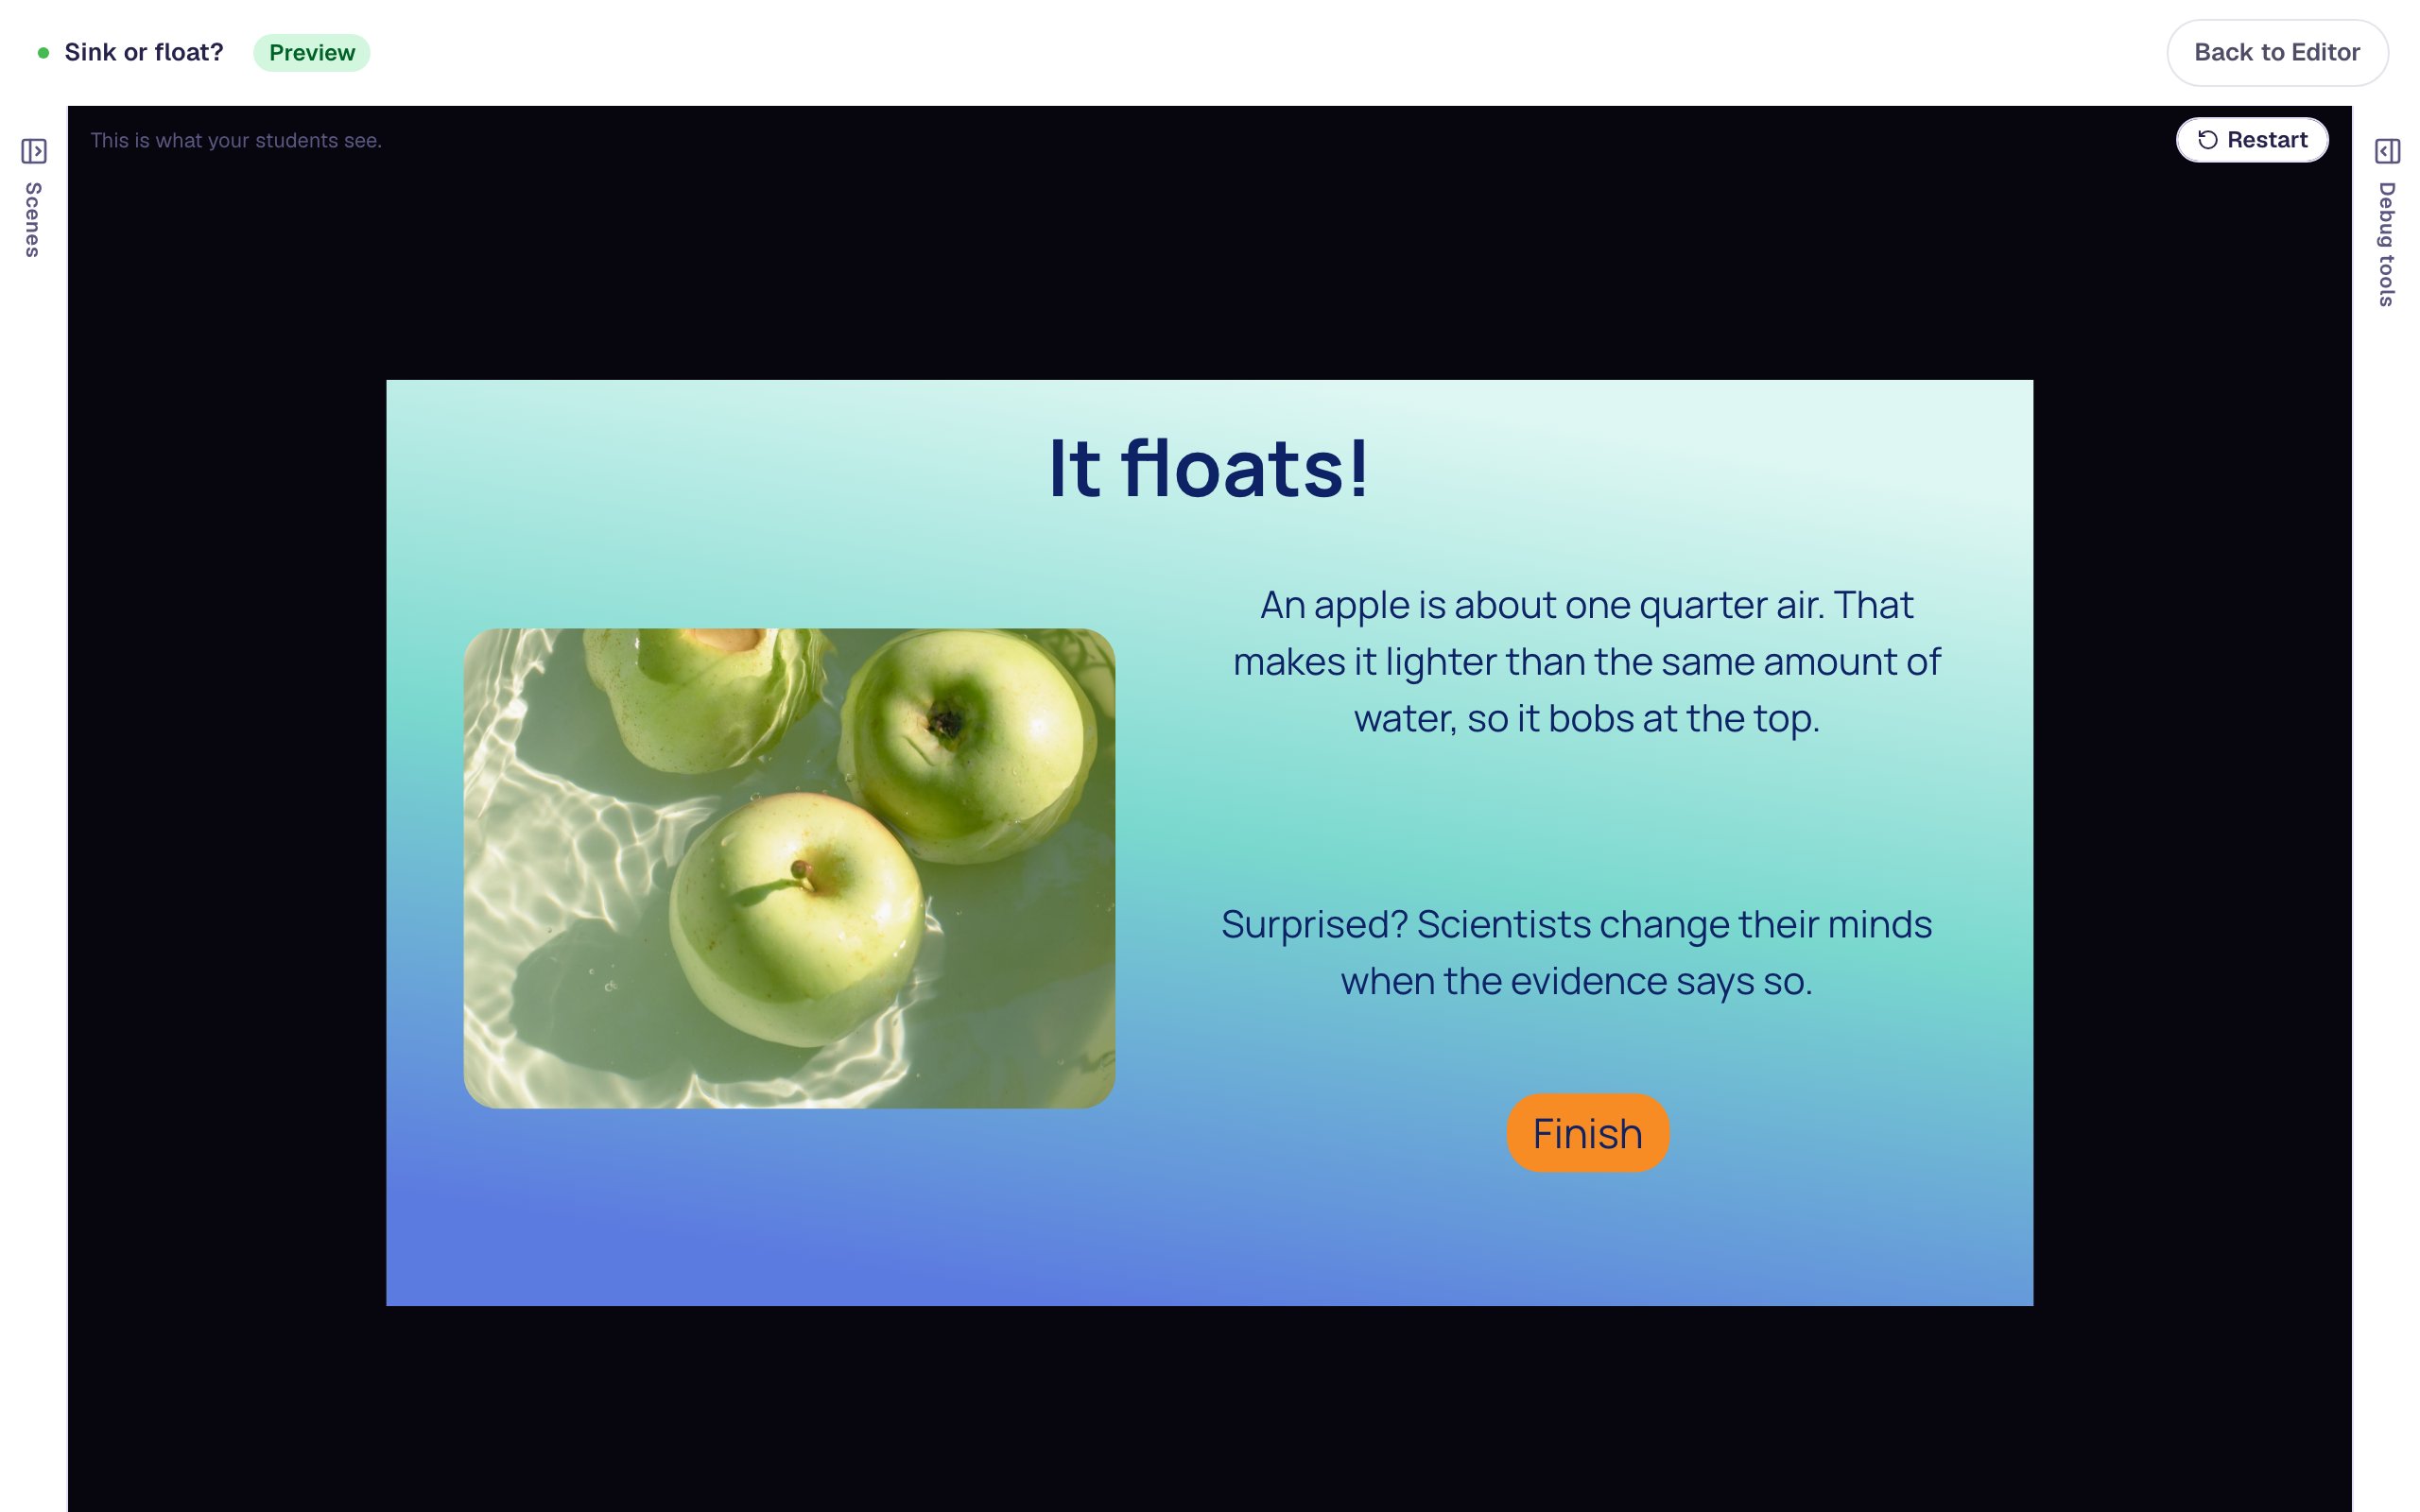
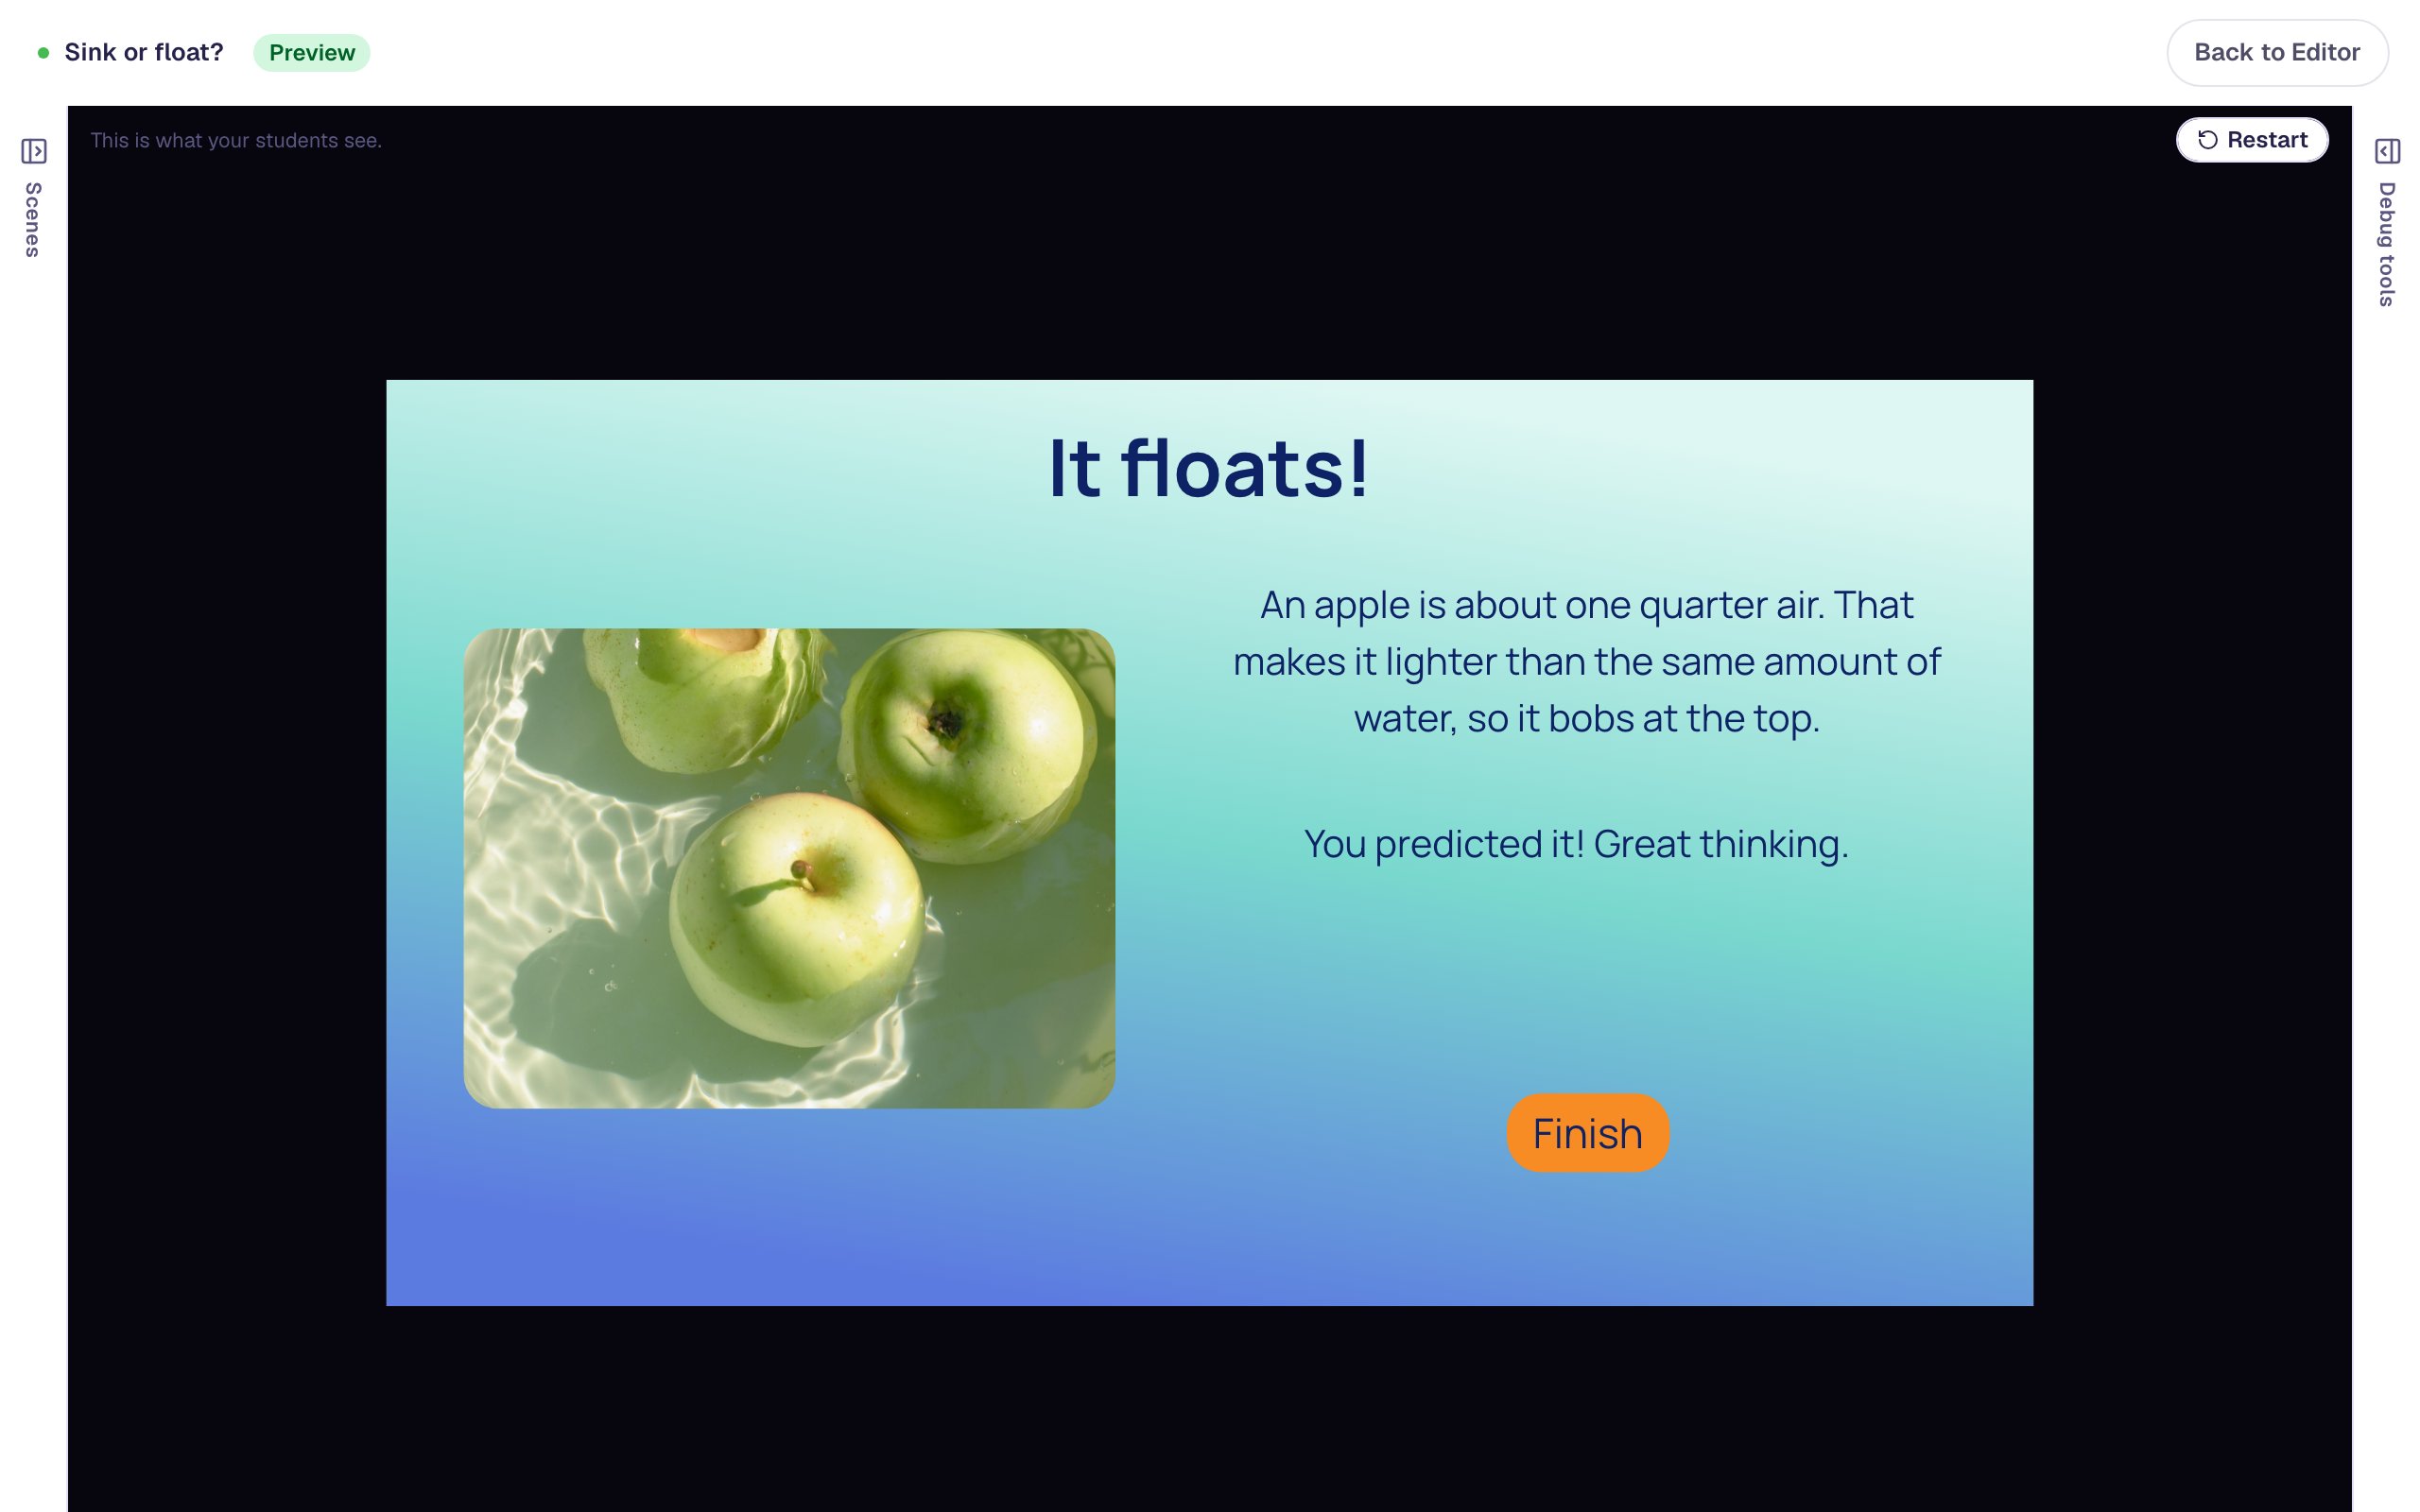
apples floating water, pick a photo of apples floating, set Fit to Cover and Border Radius to20, and give it the Alt TextThree green apples floating at the top of sunlit water. - A Body on the right, Fixed width
440:An apple is about one quarter air. That makes it lighter than the same amount of water, so it bobs at the top. - A Button labelled
Finish(⚙ Configure → Label), with an orange Background. On the canvas, click Behaviors above it, choose Make this a "Next" button and click Add behavior. It goes to the Closing Scene.
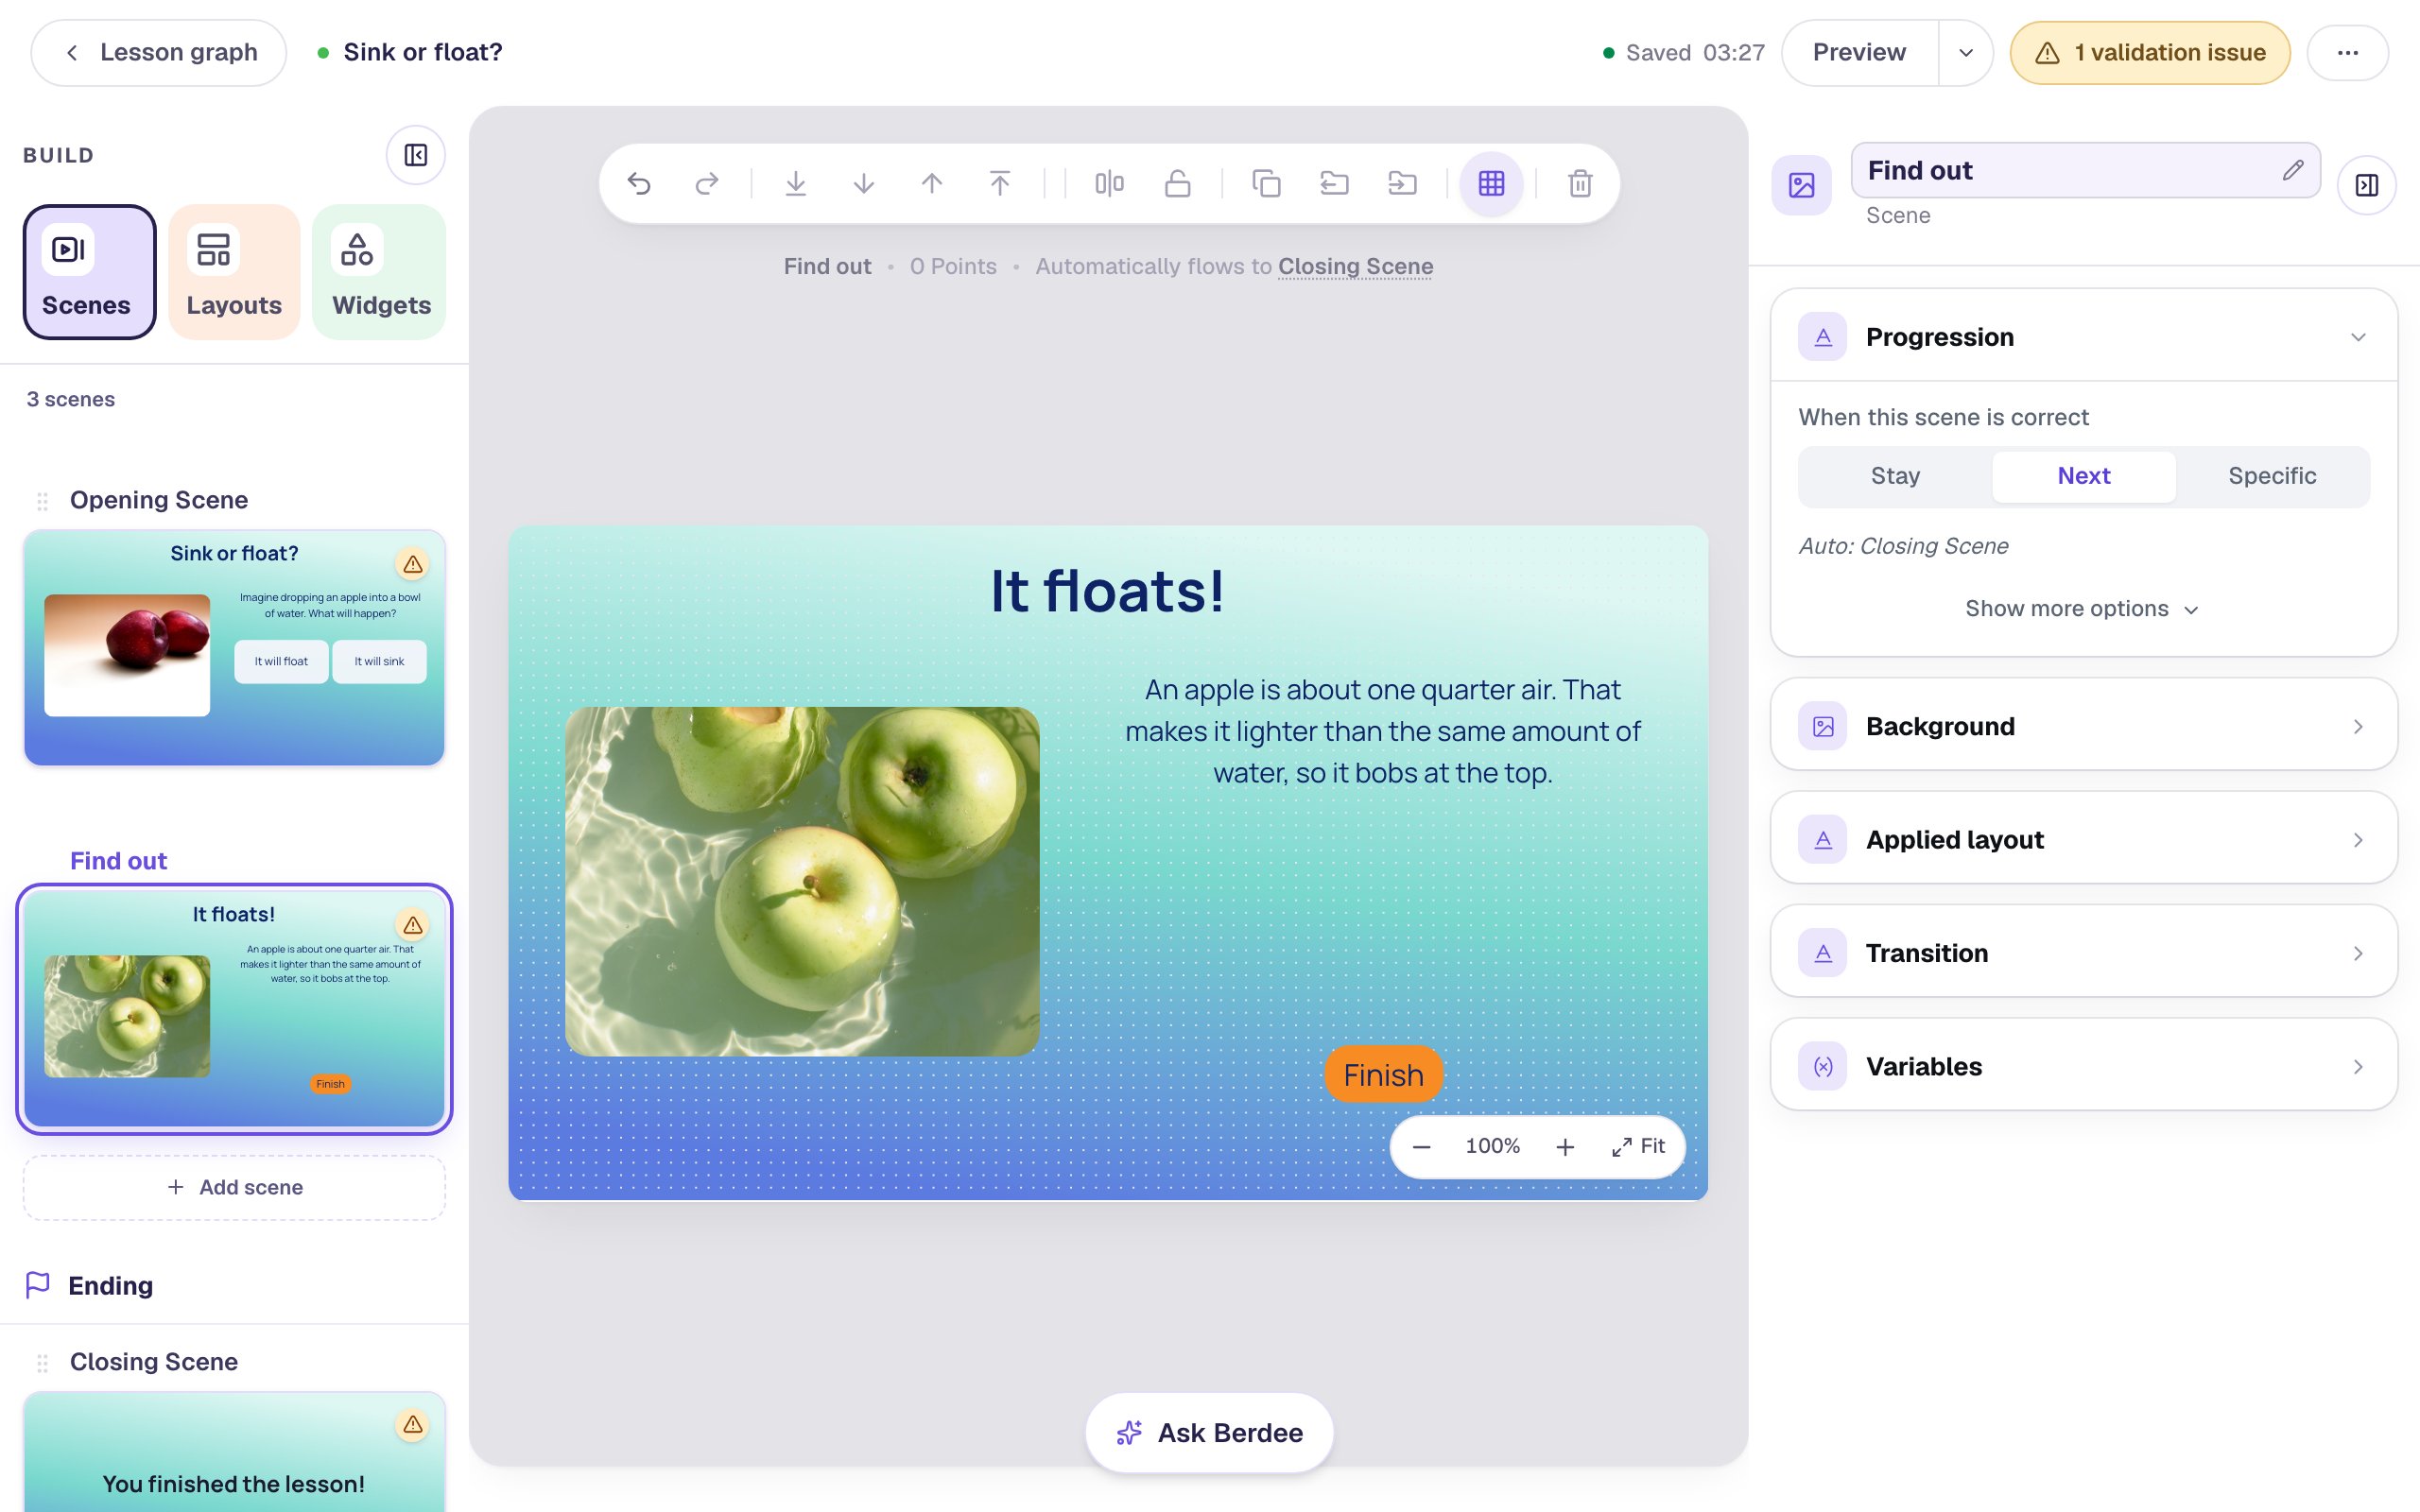
Build this scene before the button that leads to it: a Next button remembers the scene it points at when you make it, so the scene has to exist first.
Step 4: Add the Let's find out! button
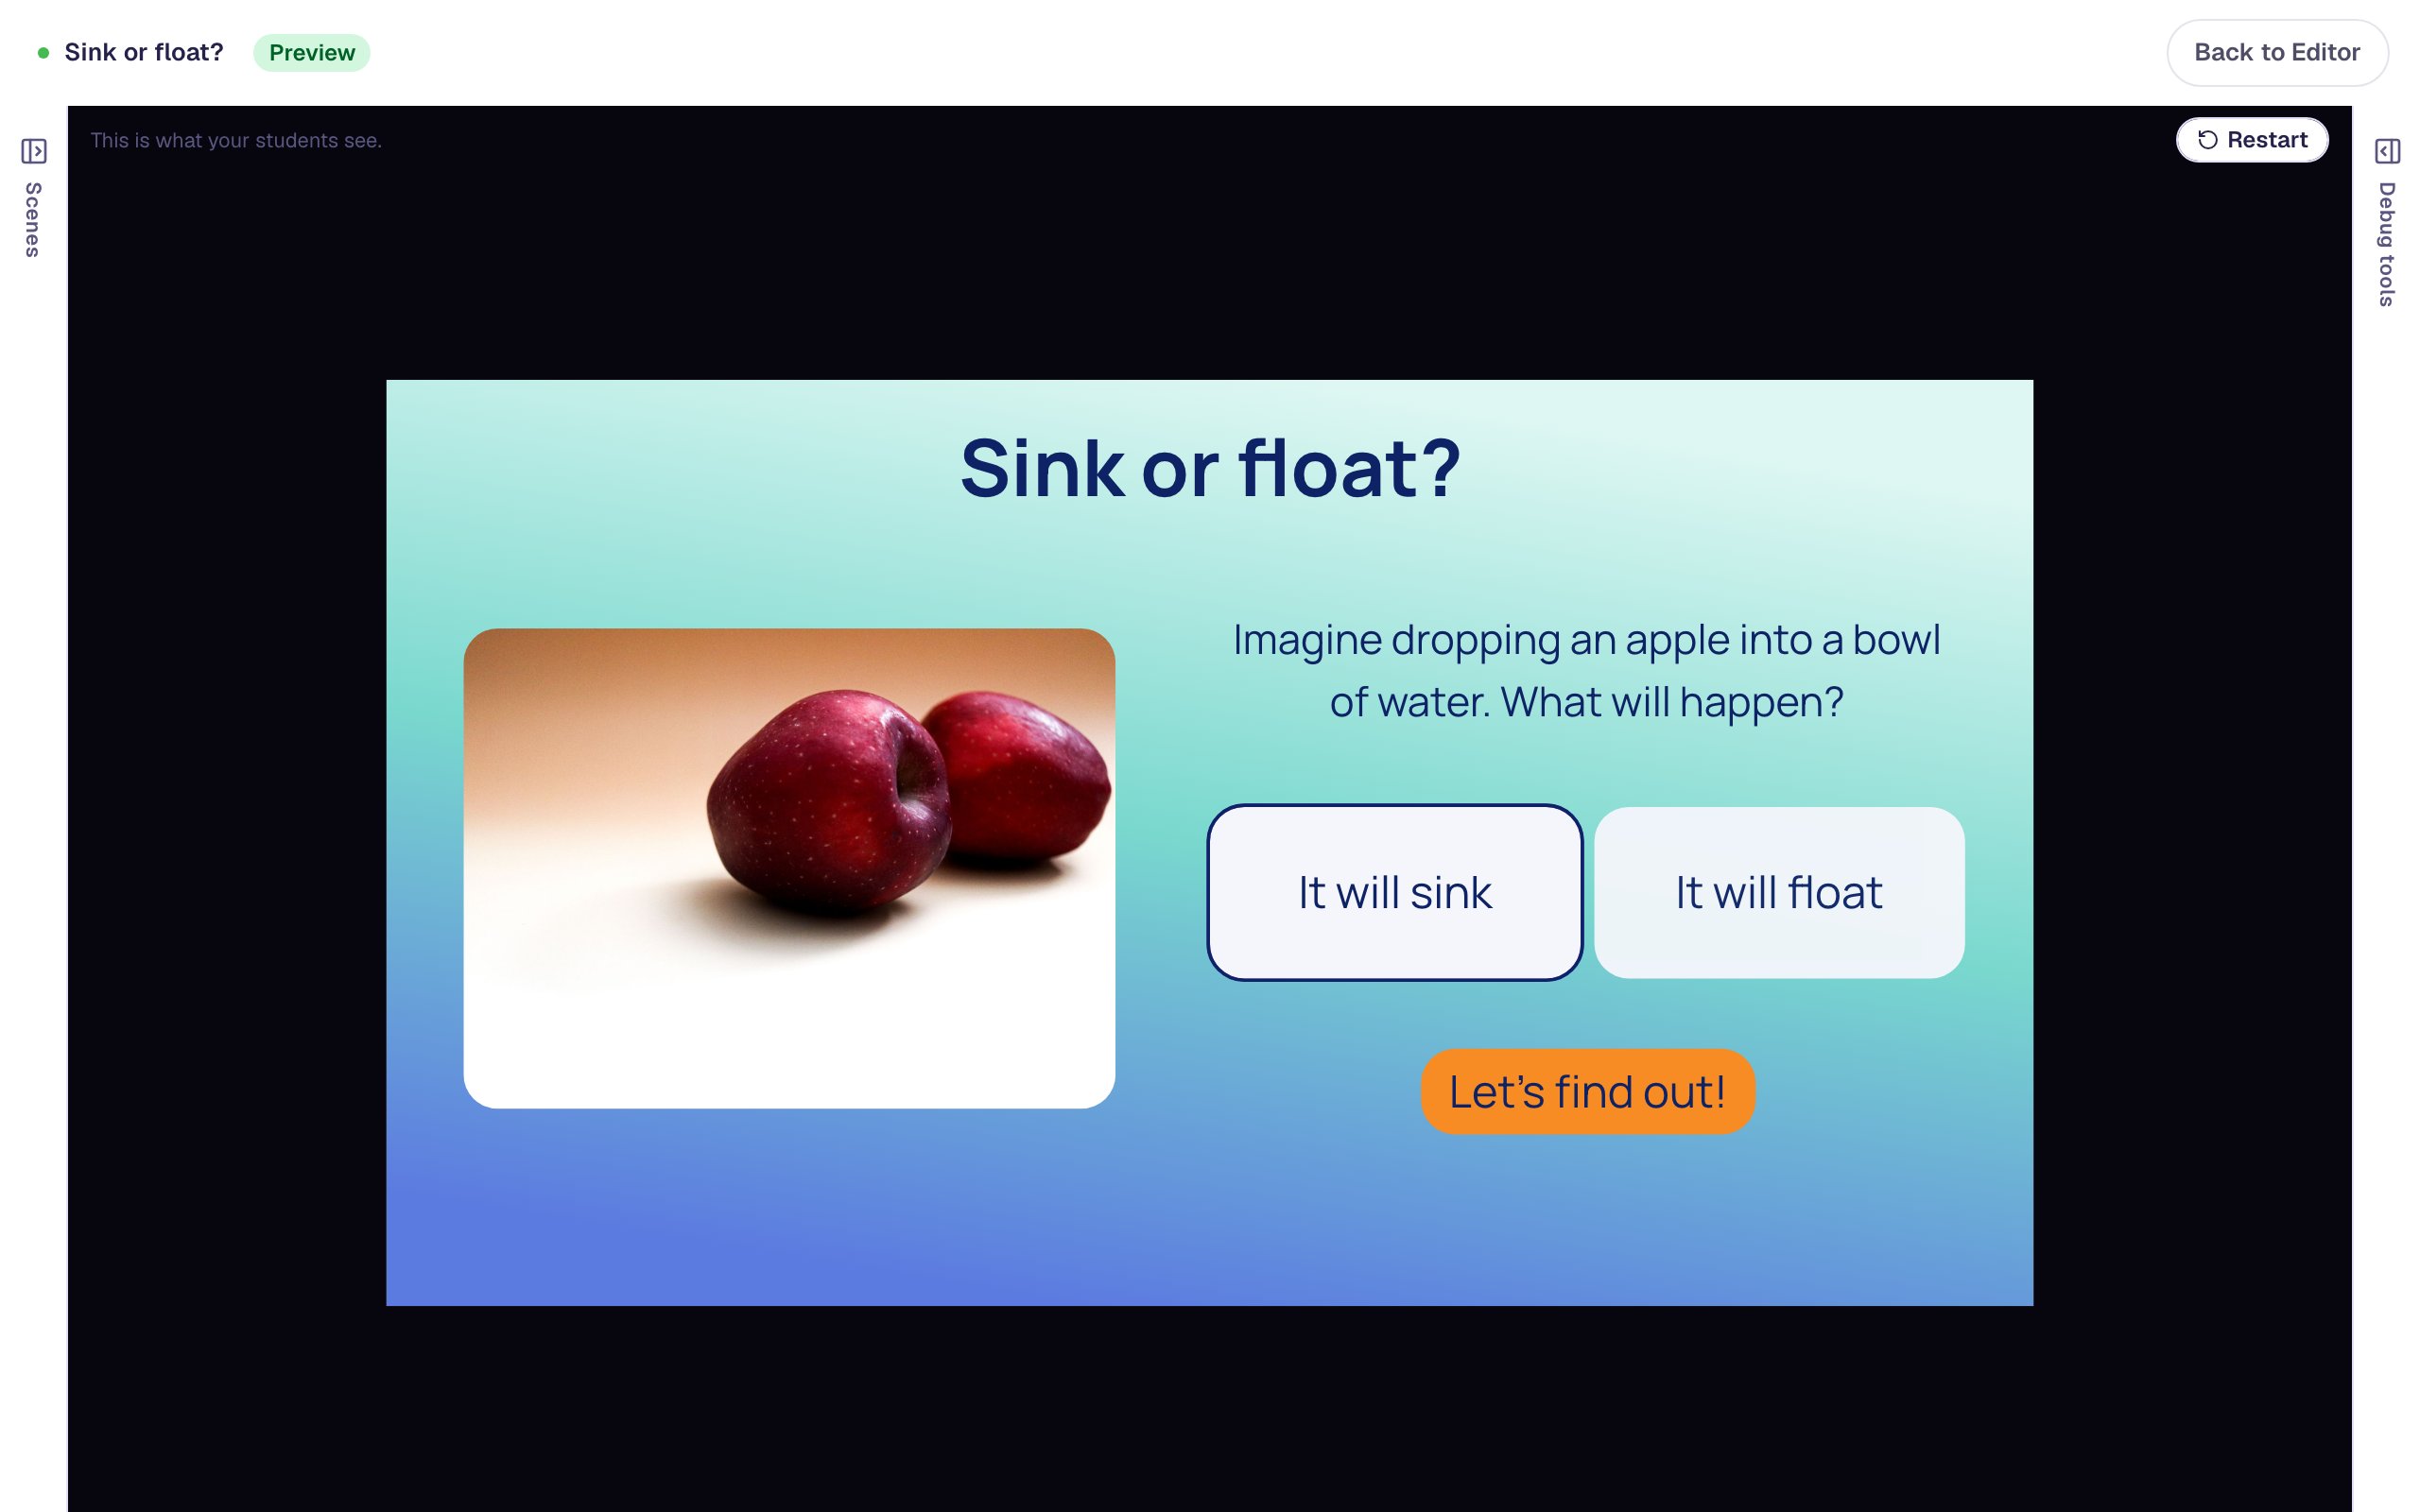
Go back to the Opening Scene. Add a Button, label it Let's find out!, give it an orange Background, and rename it Find out button. Click Behaviors above it and choose Make this a "Next" button. Check that Goes to says Find out, then click Add behavior.
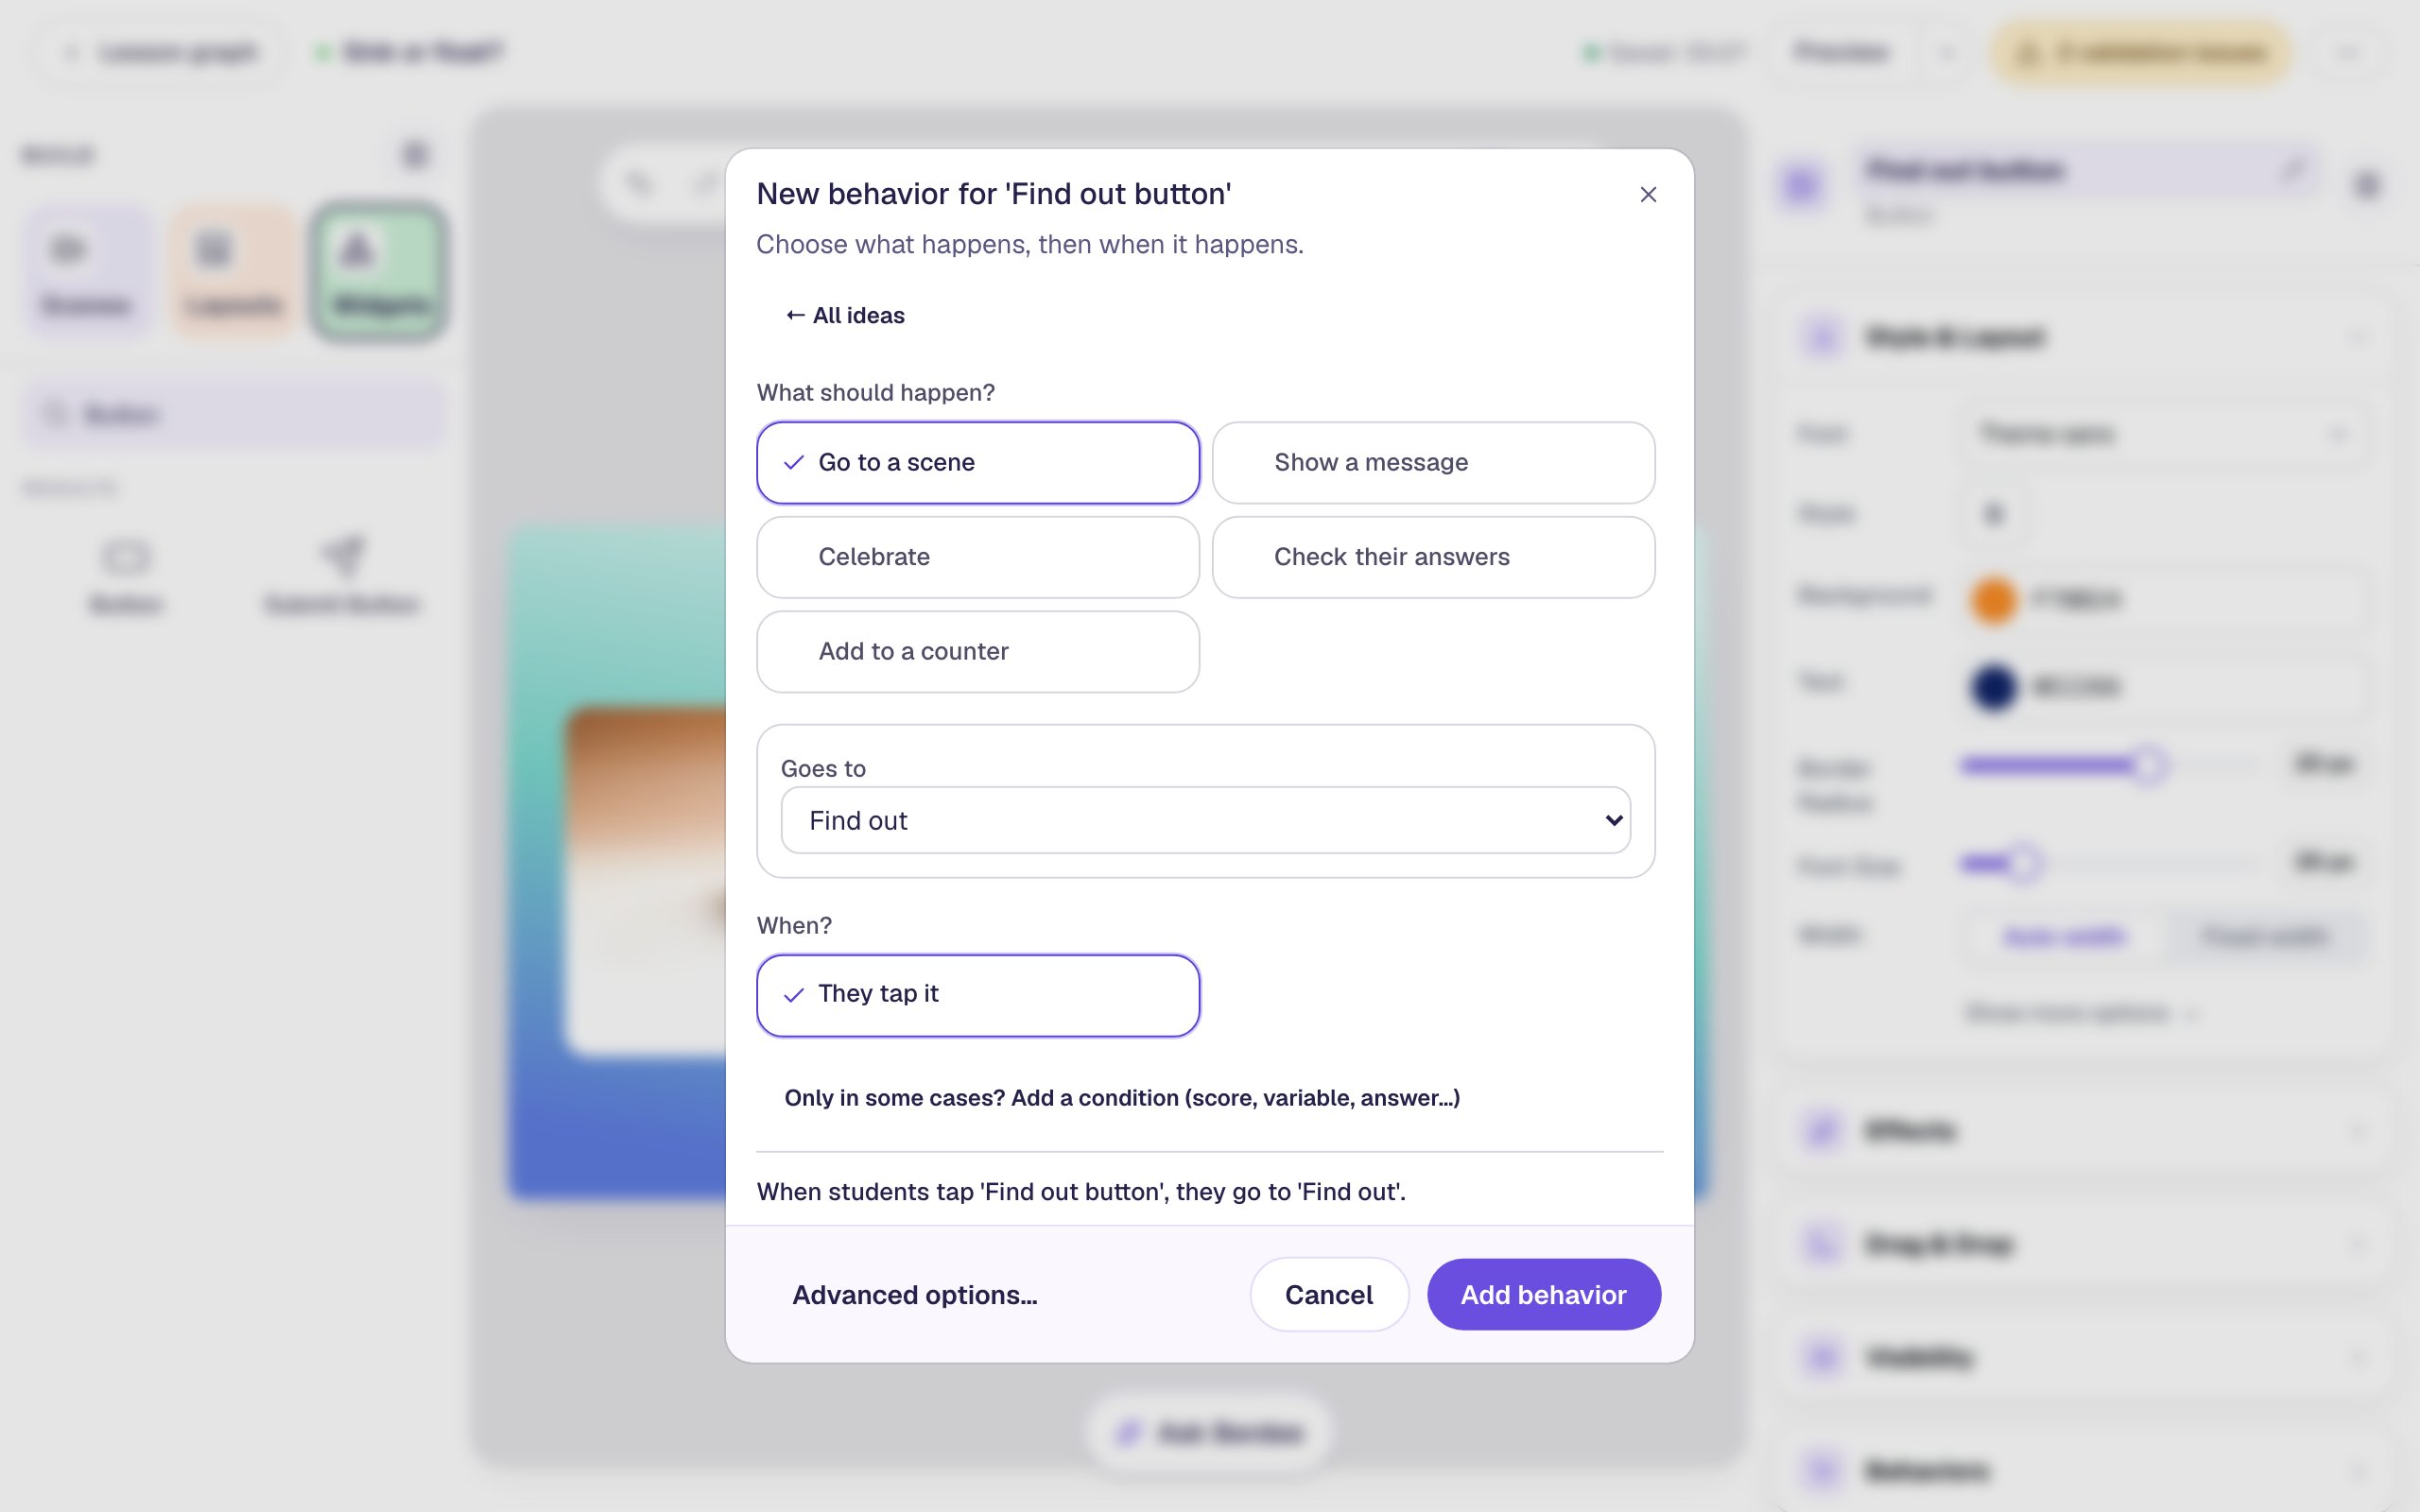
Drag the button under the answers. Then click an empty spot on the scene, and in Progression change When this scene is correct from Next to Stay.
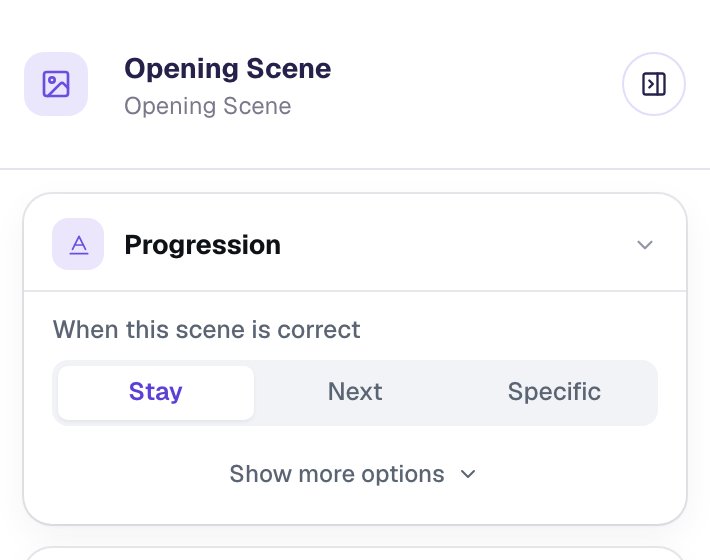
With Scoring off, this scene never counts as "correct", so it wouldn't move on by itself anyway. Stay says so plainly: the scene info above the canvas now reads Manual Scene Flow instead of claiming the scene flows on automatically, and the button is the only way forward.
Step 5: Show the button only after a prediction
Right now a student could press Let's find out! without predicting anything. A visibility rule stops that.
With Find out button selected, open Visibility:
- Change Mode to Conditional. Behavior stays on Show.
- In the condition, pick Multiple Choice: Prediction, then Is answered.
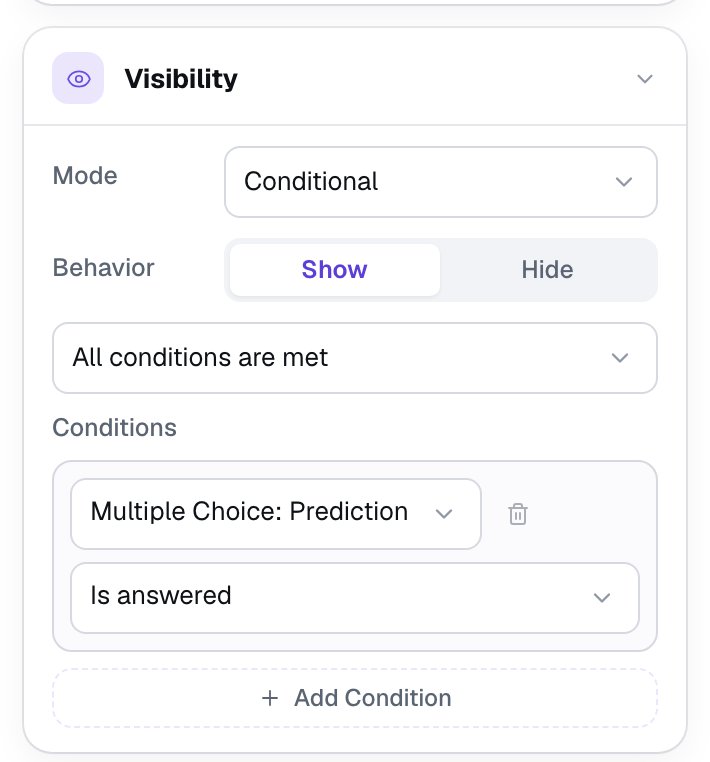
Is answered doesn't care which answer the student picked, only that they picked one. The button still shows in the studio, with a small Shown by rule tag above it, so you can keep editing it.
Step 6: Answer the prediction on the reveal
Open the Find out scene. You'll add two lines under the explanation and give each one its own rule, so students see only the line that fits their prediction. Rules can read a question on an earlier scene, so both lines can use Prediction.
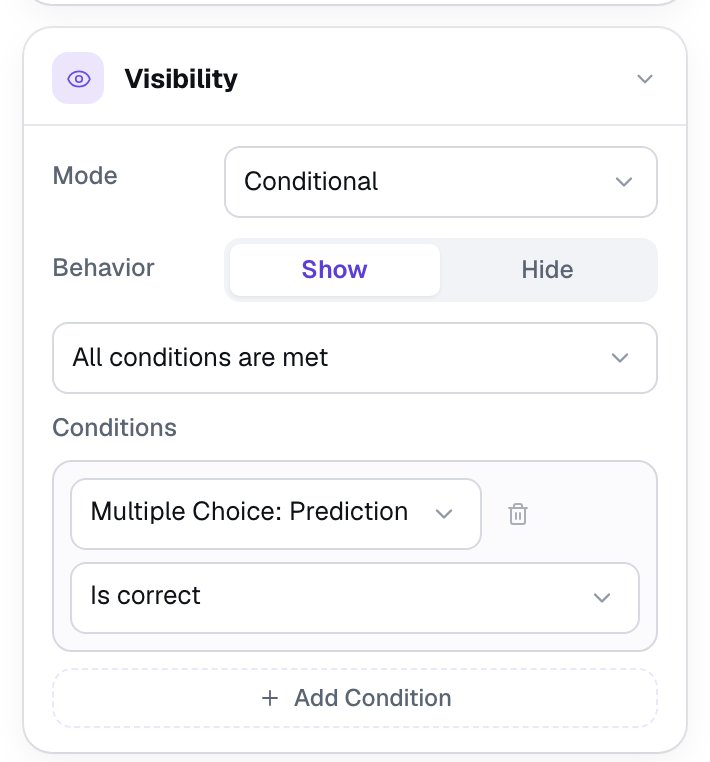
Add a Body, Fixed width 440: You predicted it! Great thinking. Rename it Right prediction. In Visibility, set Mode to Conditional and pick Multiple Choice: Prediction, then Is correct.
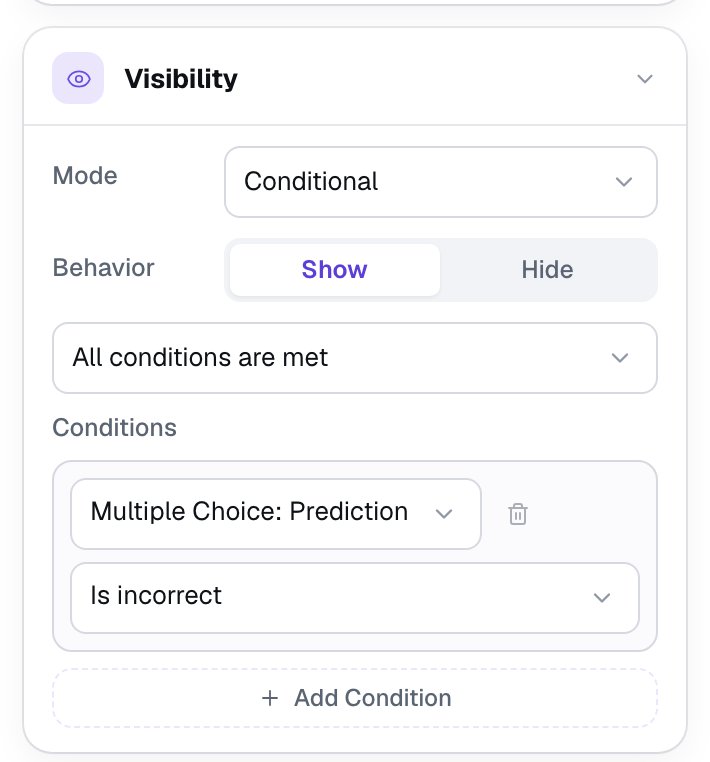
Add a second Body under it: Surprised? Scientists change their minds when the evidence says so. Rename it Wrong prediction. Give it the same rule, but choose Is incorrect. That choice appears in the list once you've picked Is correct, so pick Is correct first and then change it.
"Correct" here means the student's pick matches the answer you ticked in Step 2. That's why the tick mattered even with Scoring off. Every student who reaches this scene has answered (the button made sure of that), so one of the two lines always shows.
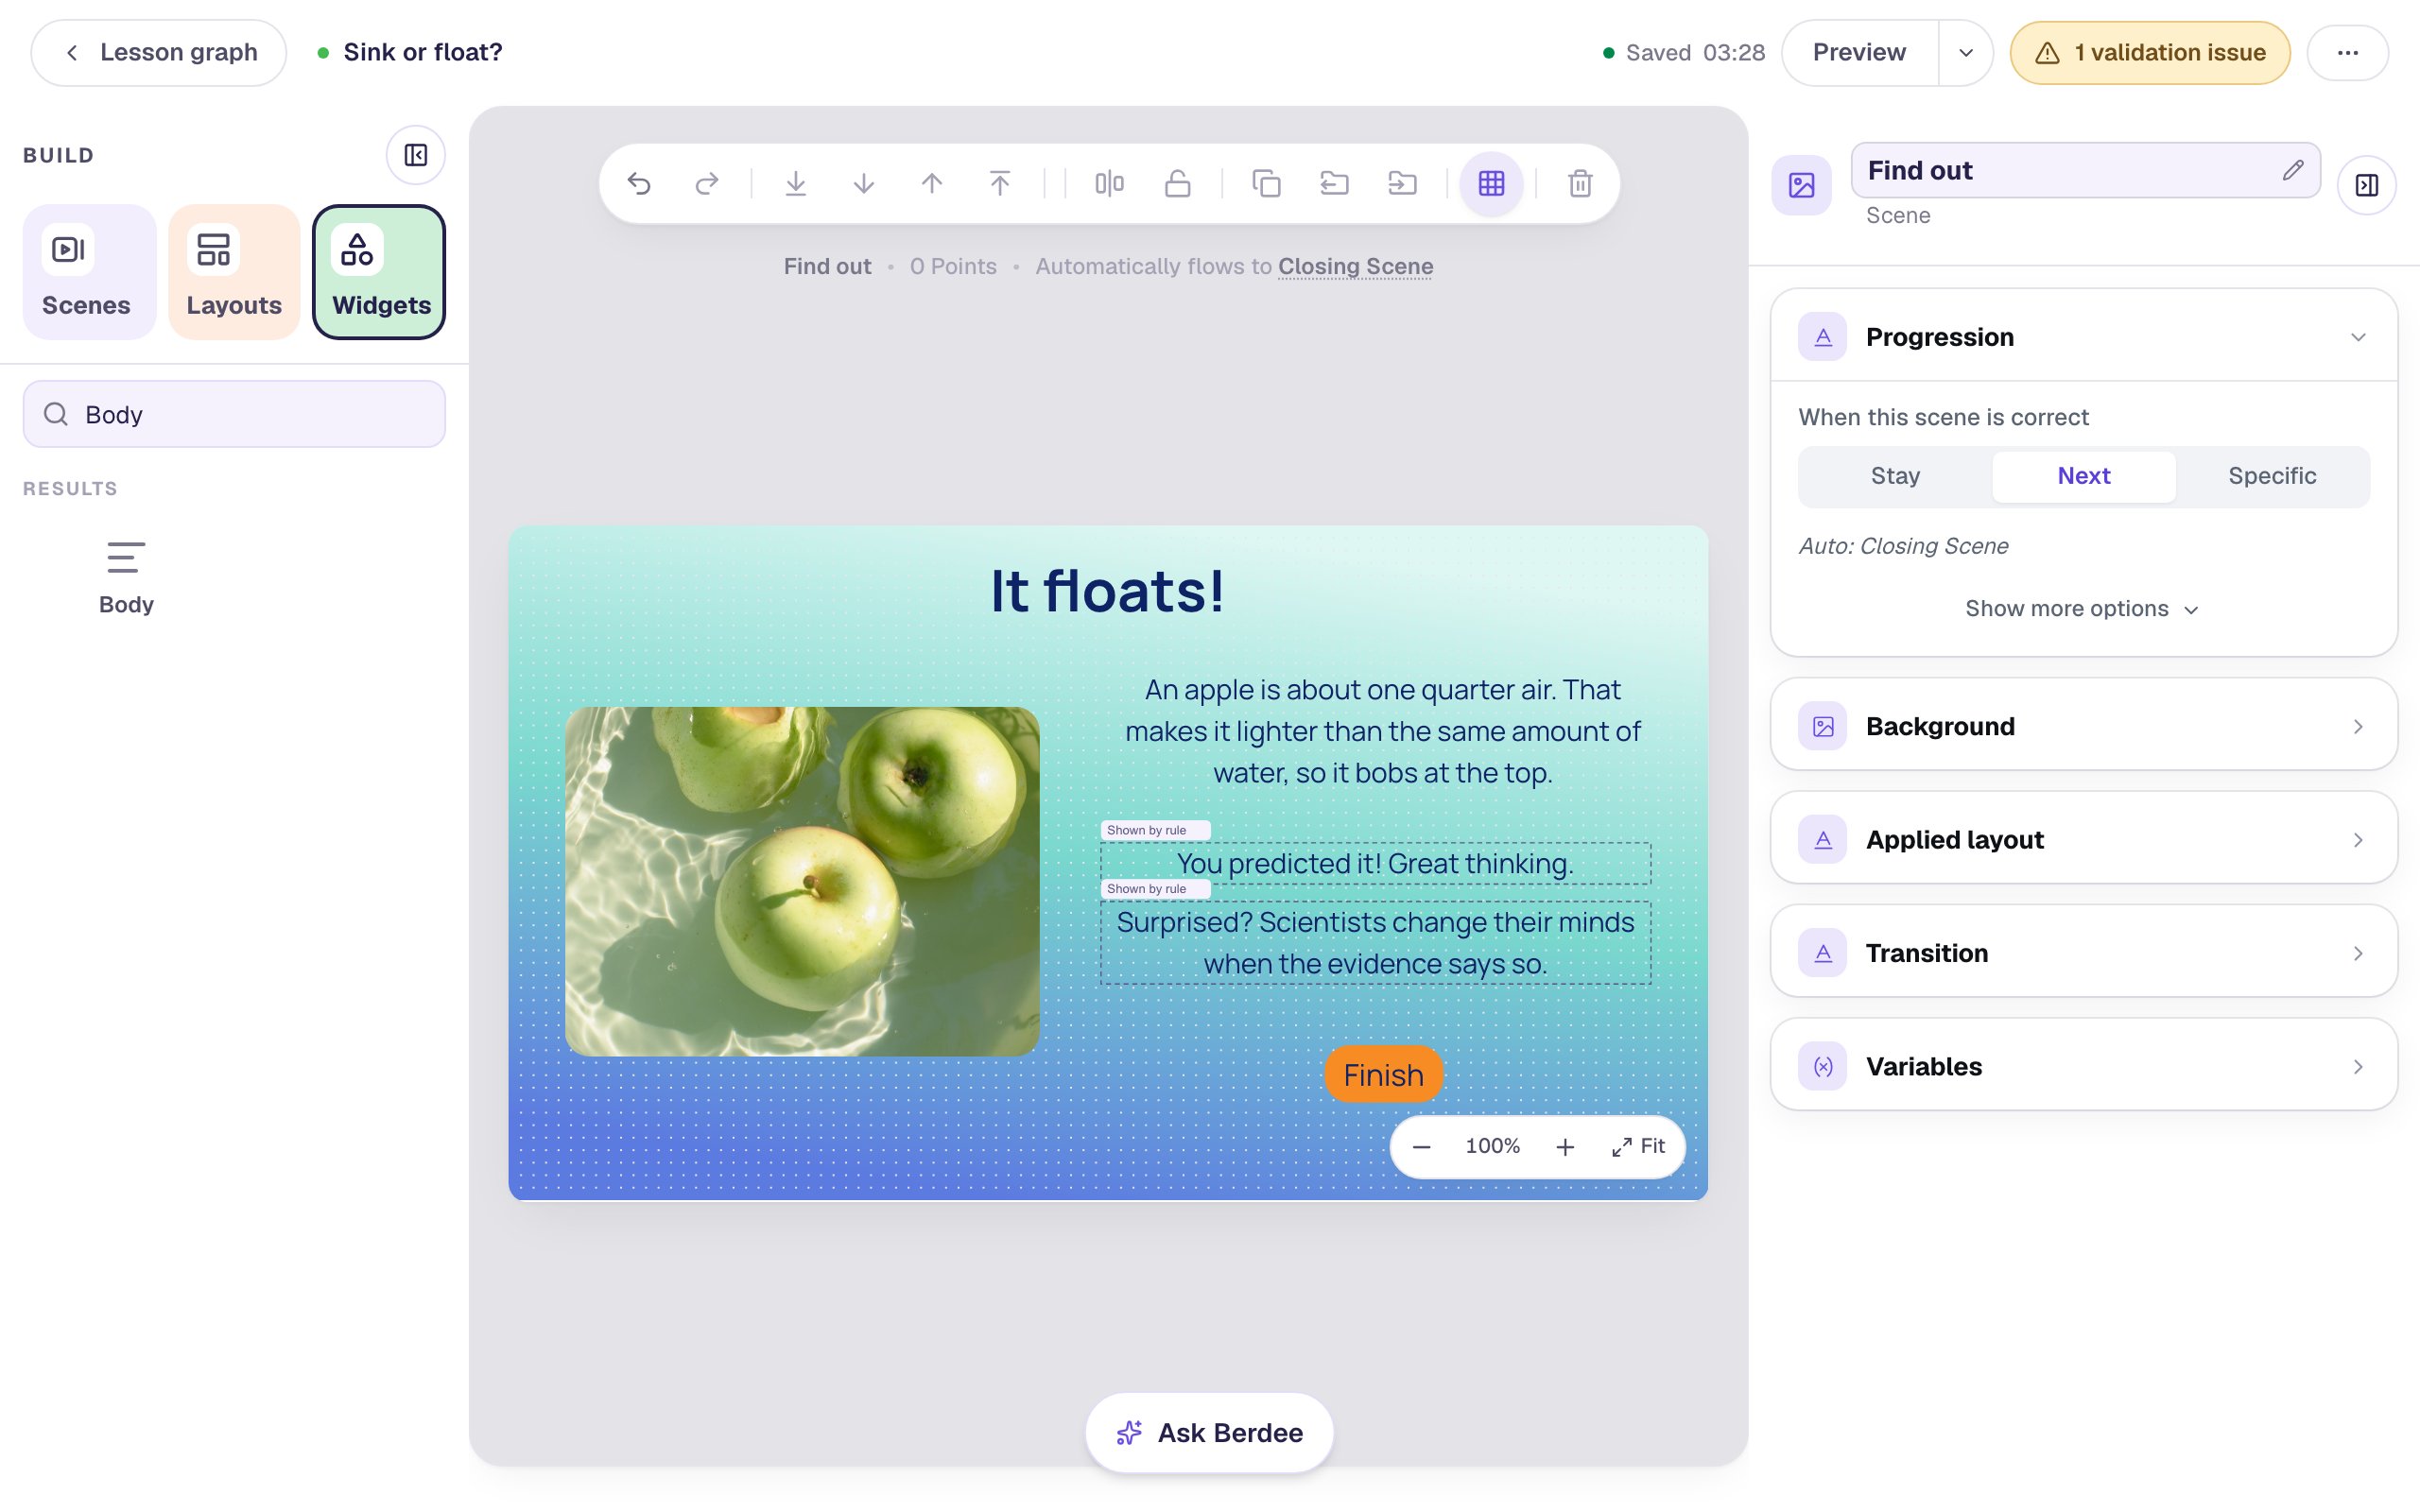
The yellow 1 validation issue pill at the top is about publishing: before you publish, Berdee needs a Submit button set to Lesson somewhere in the lesson. Build your first quiz question shows where it goes.
Step 7: Try it as a student
Go back to the Opening Scene and click Preview. There's no Let's find out! button yet: students have to predict first.
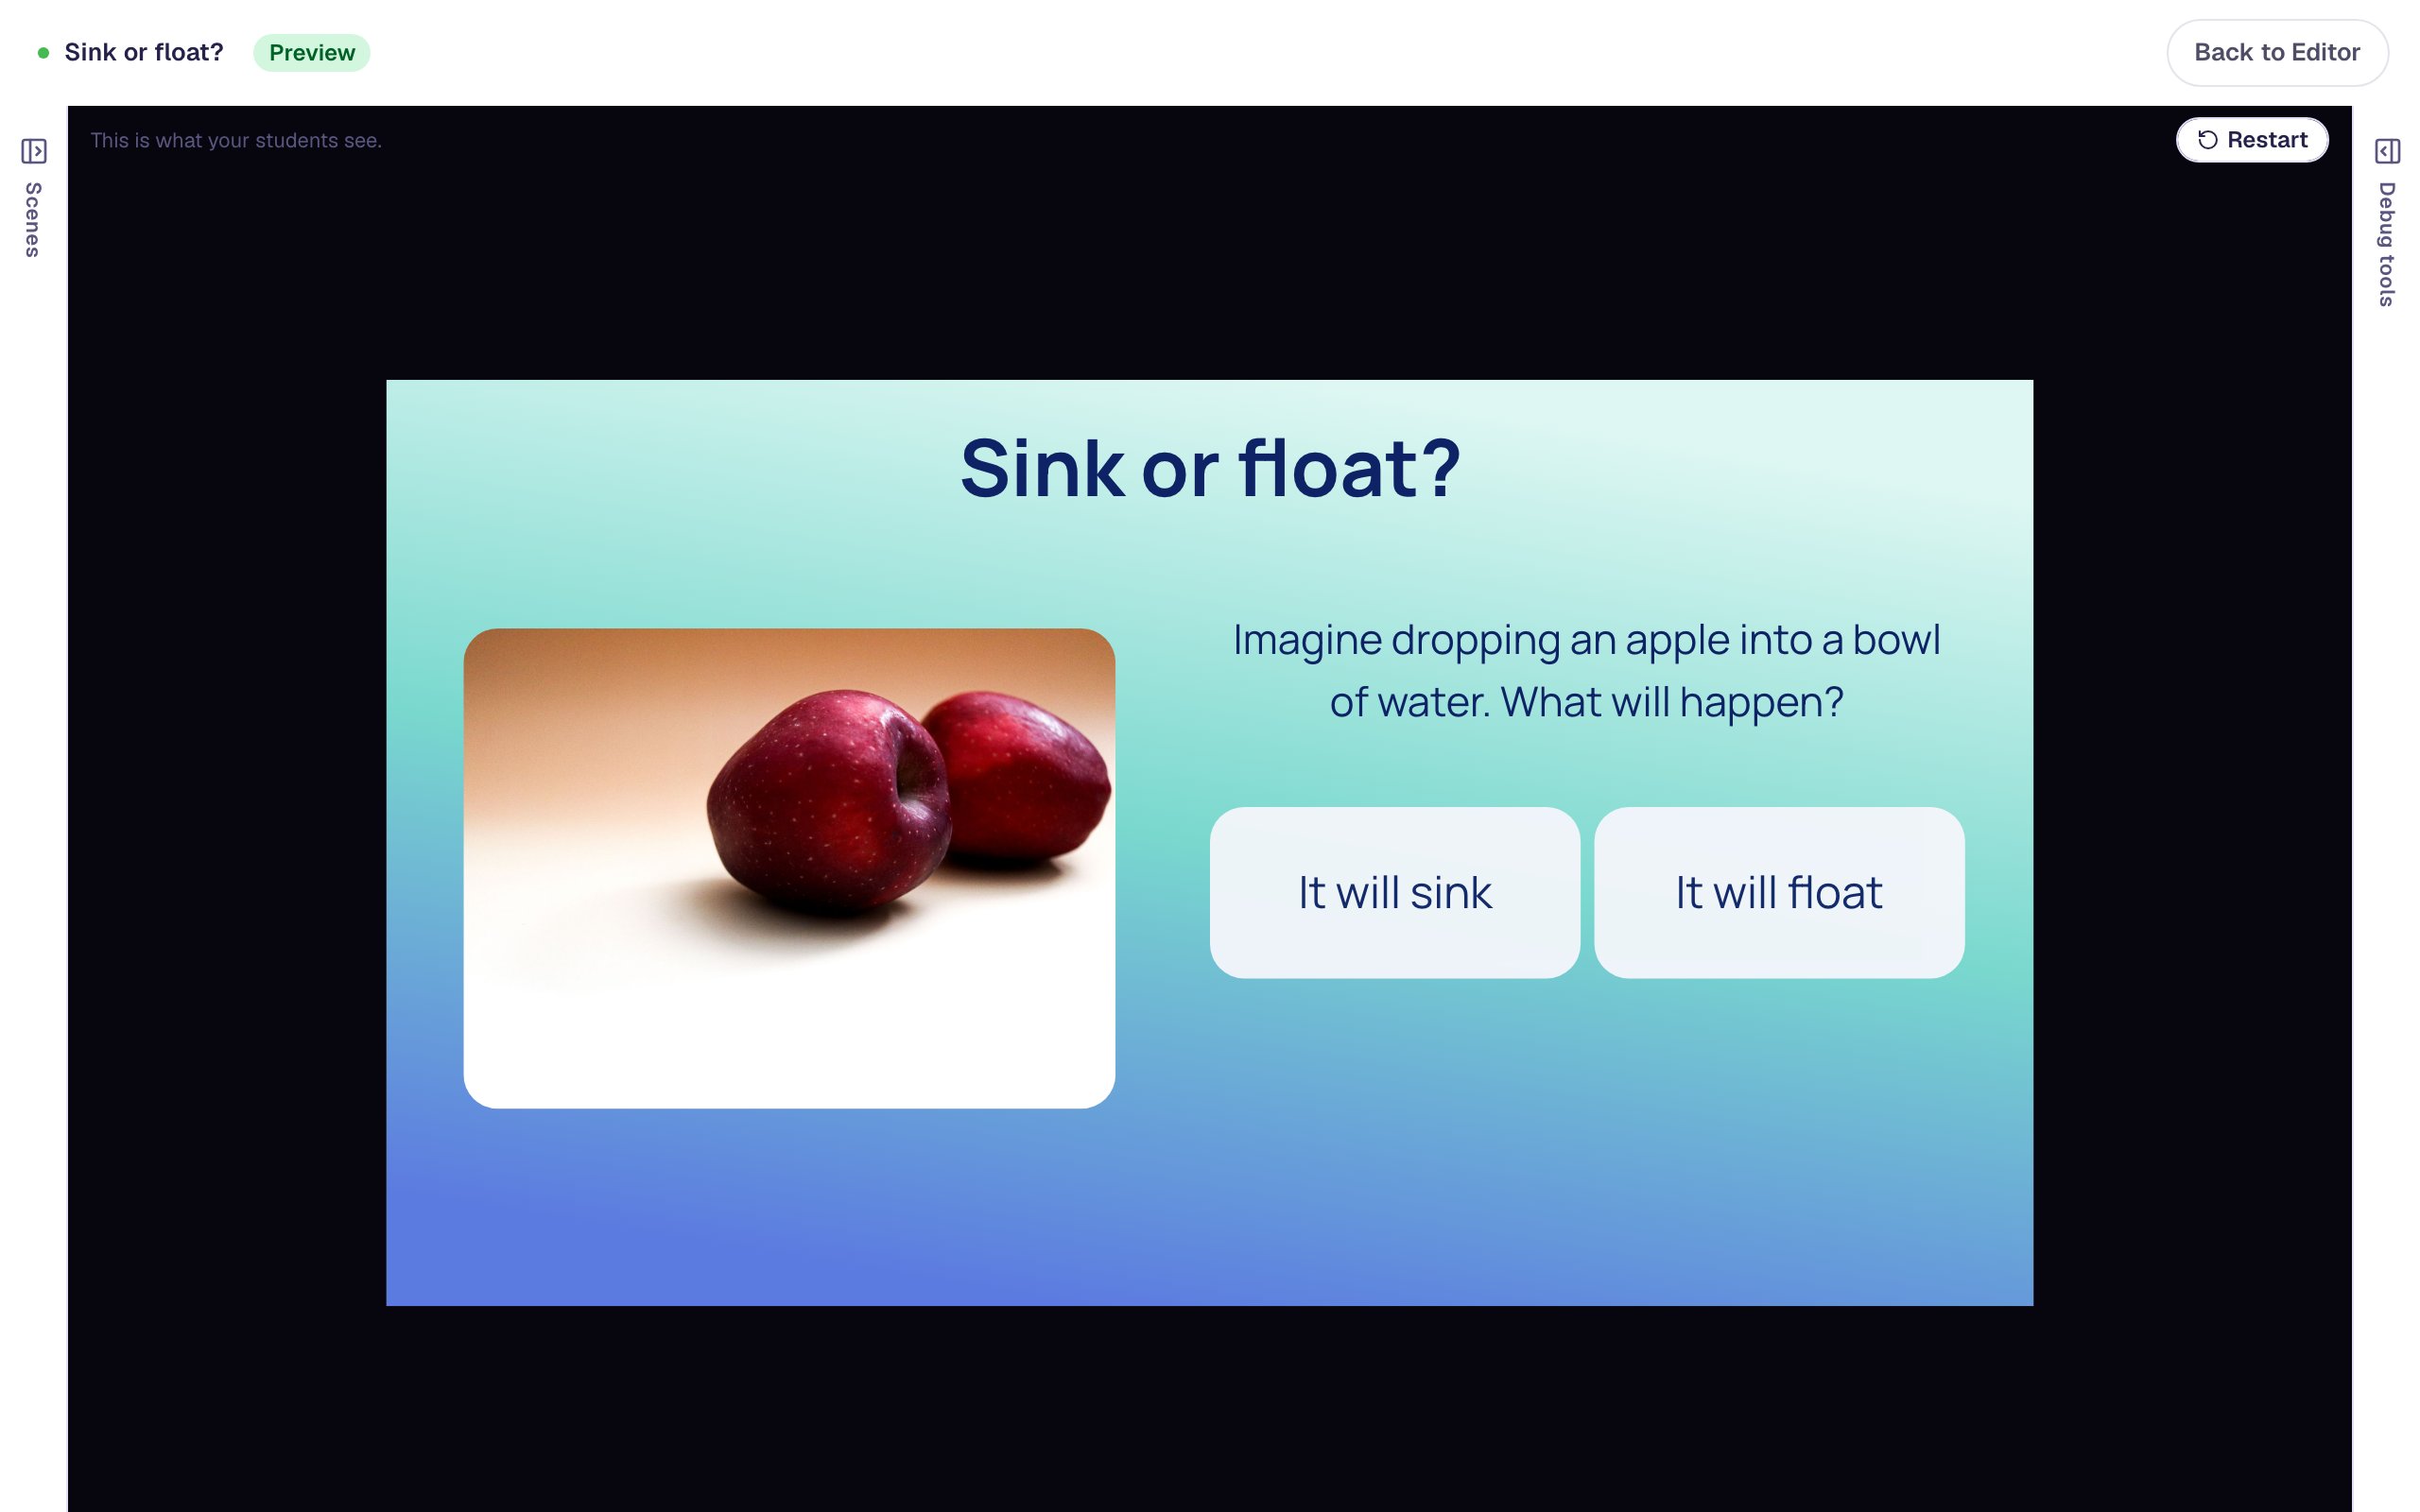
The answers can swap places between tries: a new question has Randomize Order on.
- Pick It will sink. Let's find out! appears.
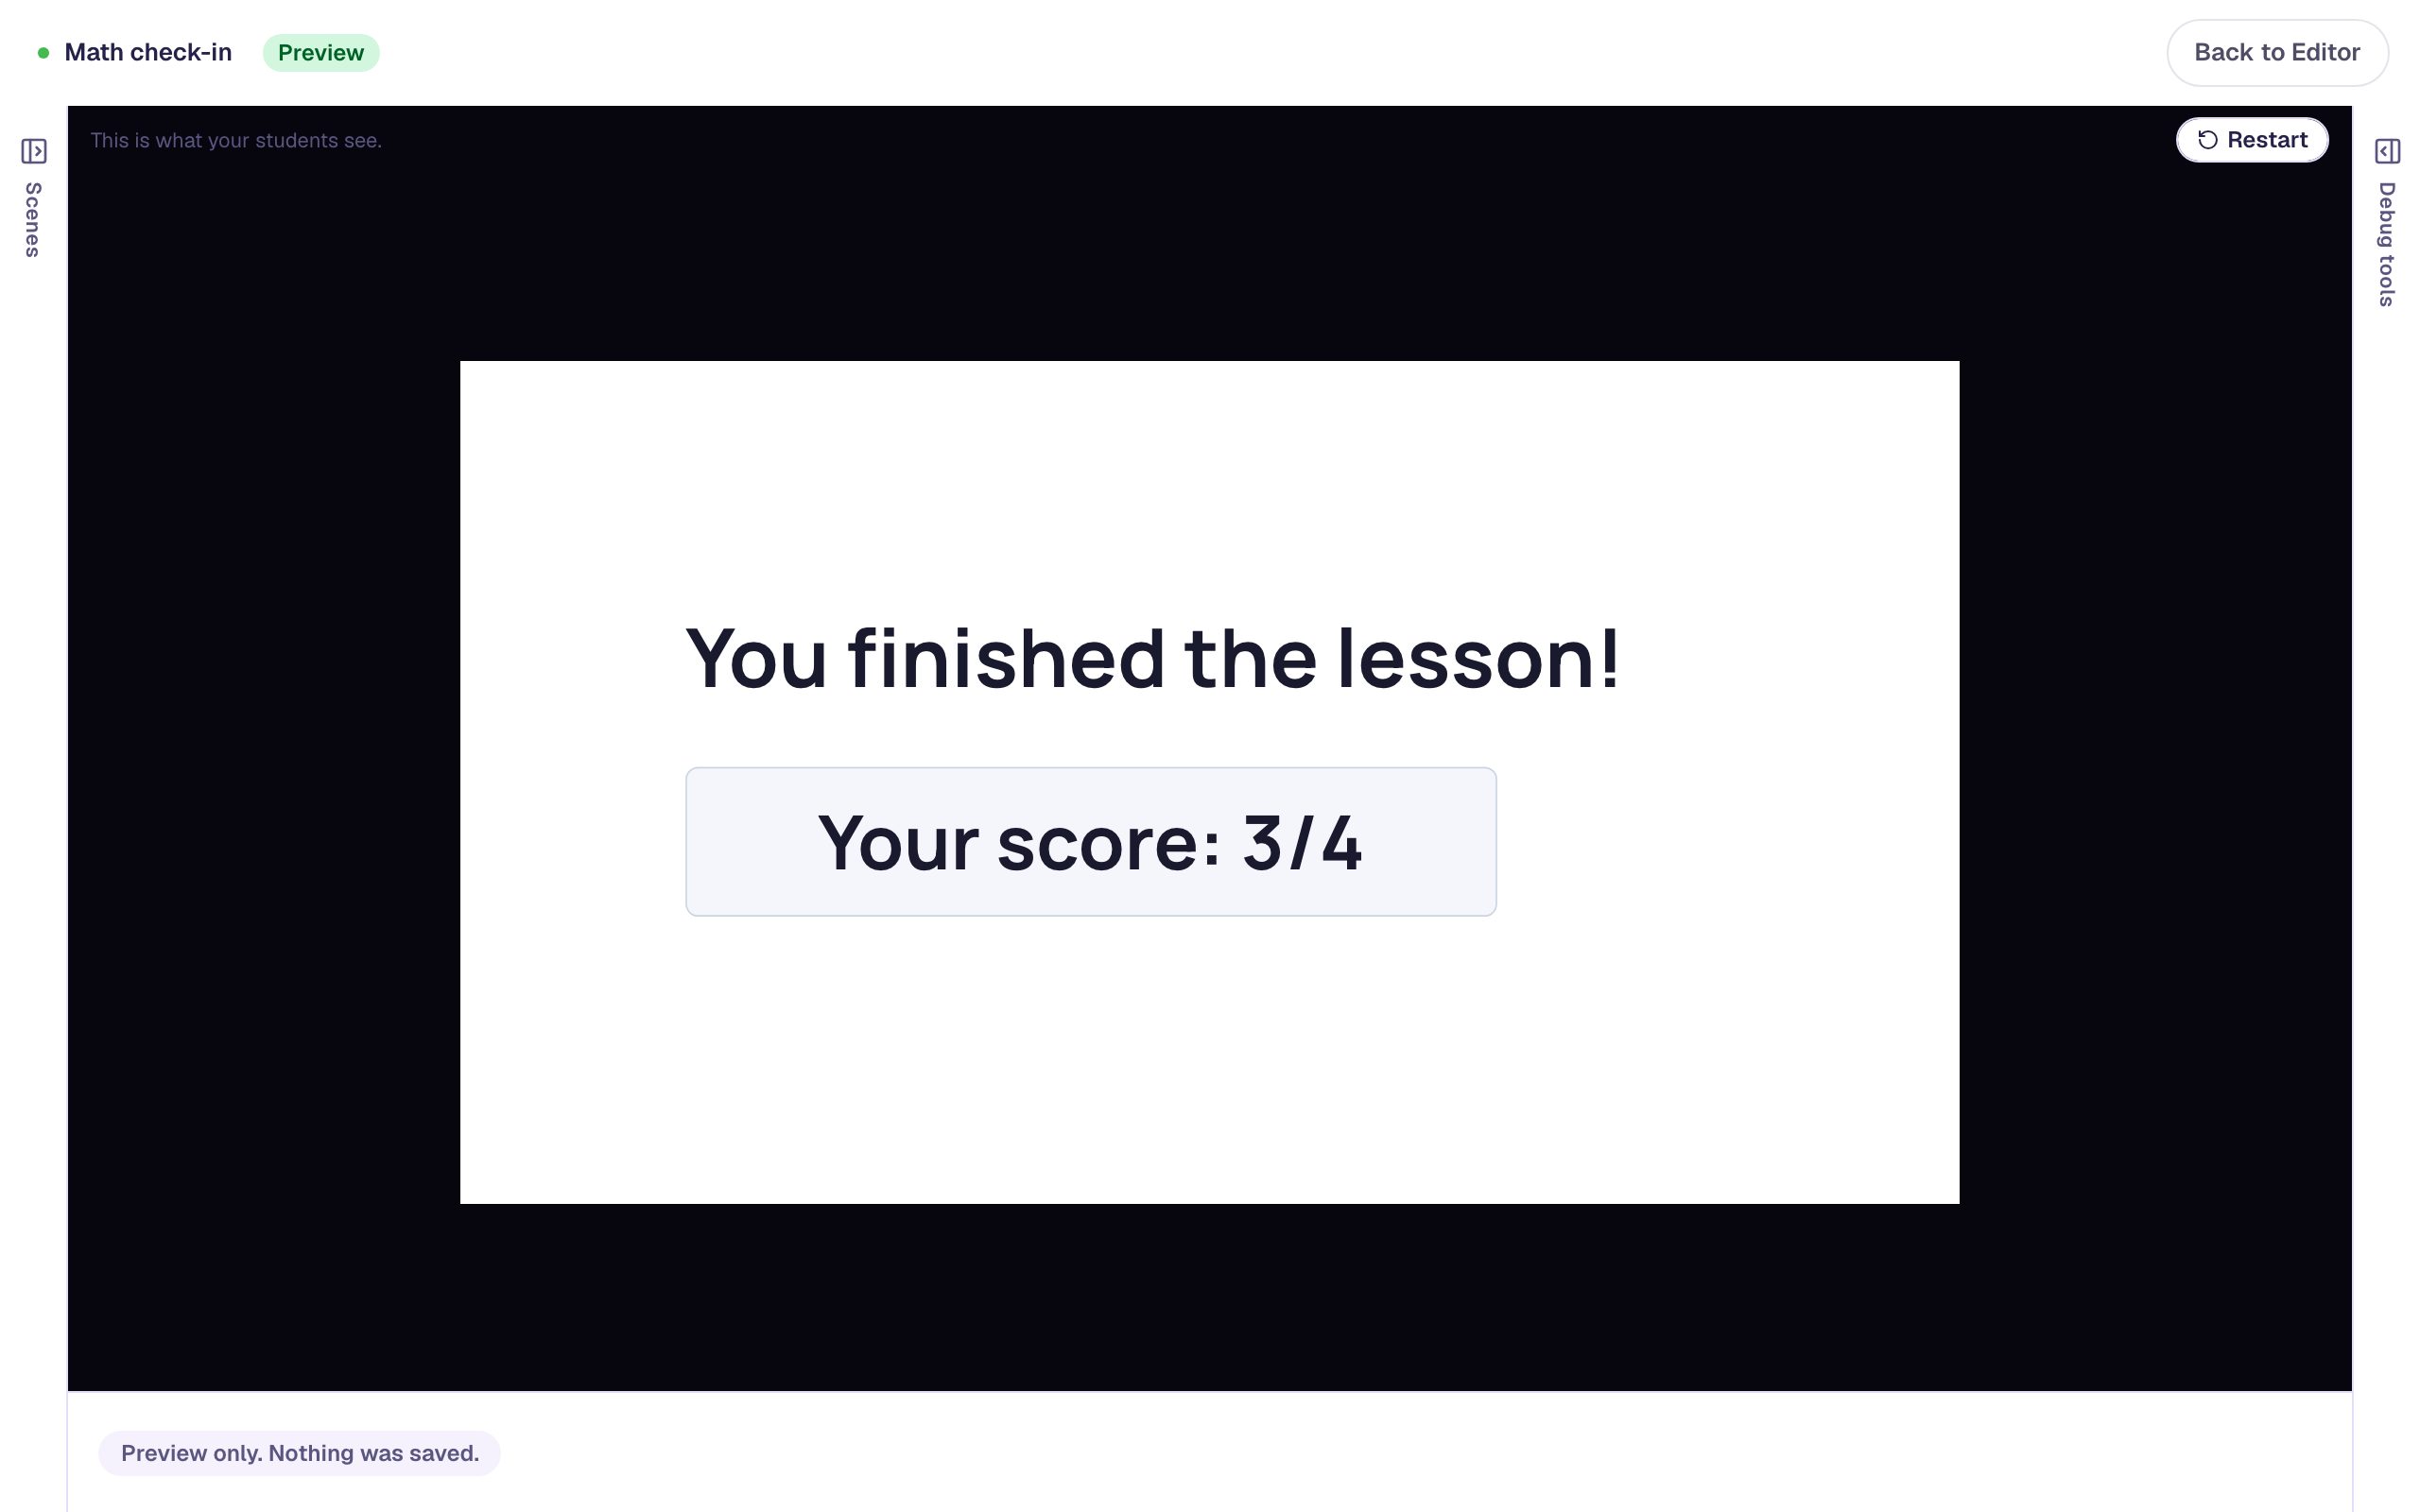
- Press it. The reveal shows the floating apples, the explanation, and Surprised?…, because the guess didn't match.
Click Restart and try the other way: pick It will float and press Let's find out!. This time the reveal says You predicted it!. Press Finish to reach the ending.
The reveal is on its own scene, with no button back to the question, so students can't quietly change their prediction once they've seen the answer.
What you built
A two-scene predict-and-reveal lesson:
- a Multiple Choice named Prediction with Scoring off, so guessing never costs points, and the real outcome ticked,
- a Let's find out! button that goes to the reveal and shows only when Prediction Is answered, on a scene set to Stay, and
- a reveal scene with two lines, one shown when Prediction Is correct and one when it Is incorrect.
The pattern works for any "what do you think will happen?" moment: which way a ball rolls, what a mixture turns into, how a story ends. For a prediction with more than two choices, tick the one that really happens, and the same two lines still work. To remember the actual choice and repeat it back ("You picked Jupiter"), save it in a variable: see Remember a student's choice and use it later.
Make this lesson yours
Add the lesson you just watched being built to your account, then change it for your class: your questions, your pictures, your colors.
Free to sign up, and you'll come straight back here. I have an account