Time a read-aloud with a stopwatch
Build a timed reading page where Start reading starts a count-up Timer, I'm done! stops it and saves the time in a variable, and the next scene says "You read The Night Owl in 42 seconds."
- Level
- Intermediate
- Time
- About 15 min
- Steps
- 8
- Updated
- Oct 14, 2026
A "Night Owl" reading page with a stopwatch that students start and stop themselves, and a "Your time" scene that tells each student how many seconds they took and invites them to beat it.
Get the finished lesson
Skip straight to the result, or keep it open beside the steps. Add this tutorial's lesson to your account and explore how it works in the studio.
Free to sign up, and you'll come straight back here. I have an account
Reading the same short passage aloud a few times, and watching the time drop, is one of the simplest ways to build fluency. Students love trying to beat their own time.
In this tutorial you'll build The Night Owl: timed reading. The student presses Start reading, reads a short story out loud while a stopwatch counts up, and presses I'm done! when they finish. The next scene tells them exactly how long they took, "You read The Night Owl in 42 seconds.", and offers Read it again so they can try to go faster.
Four pieces do the work:
- a Timer set to Count Up, used as a stopwatch;
- a Widget Method action on each button, which starts or pauses the stopwatch;
- a number variable,
seconds, that Set Variable fills with the stopwatch's Elapsed time; - a placeholder,
{{ seconds }}, that shows the time on the next scene.
If you haven't used a variable before, start with Remember a student's choice and use it later.
Step 1: Set up the reading page
Create a new lesson from scratch and name it The Night Owl: timed reading (click Untitled lesson at the top left). On the Opening Scene:
- Open Background, click Choose a style, and pick Kraft paper from Textures. Do the same on the Closing Scene so the whole lesson matches.
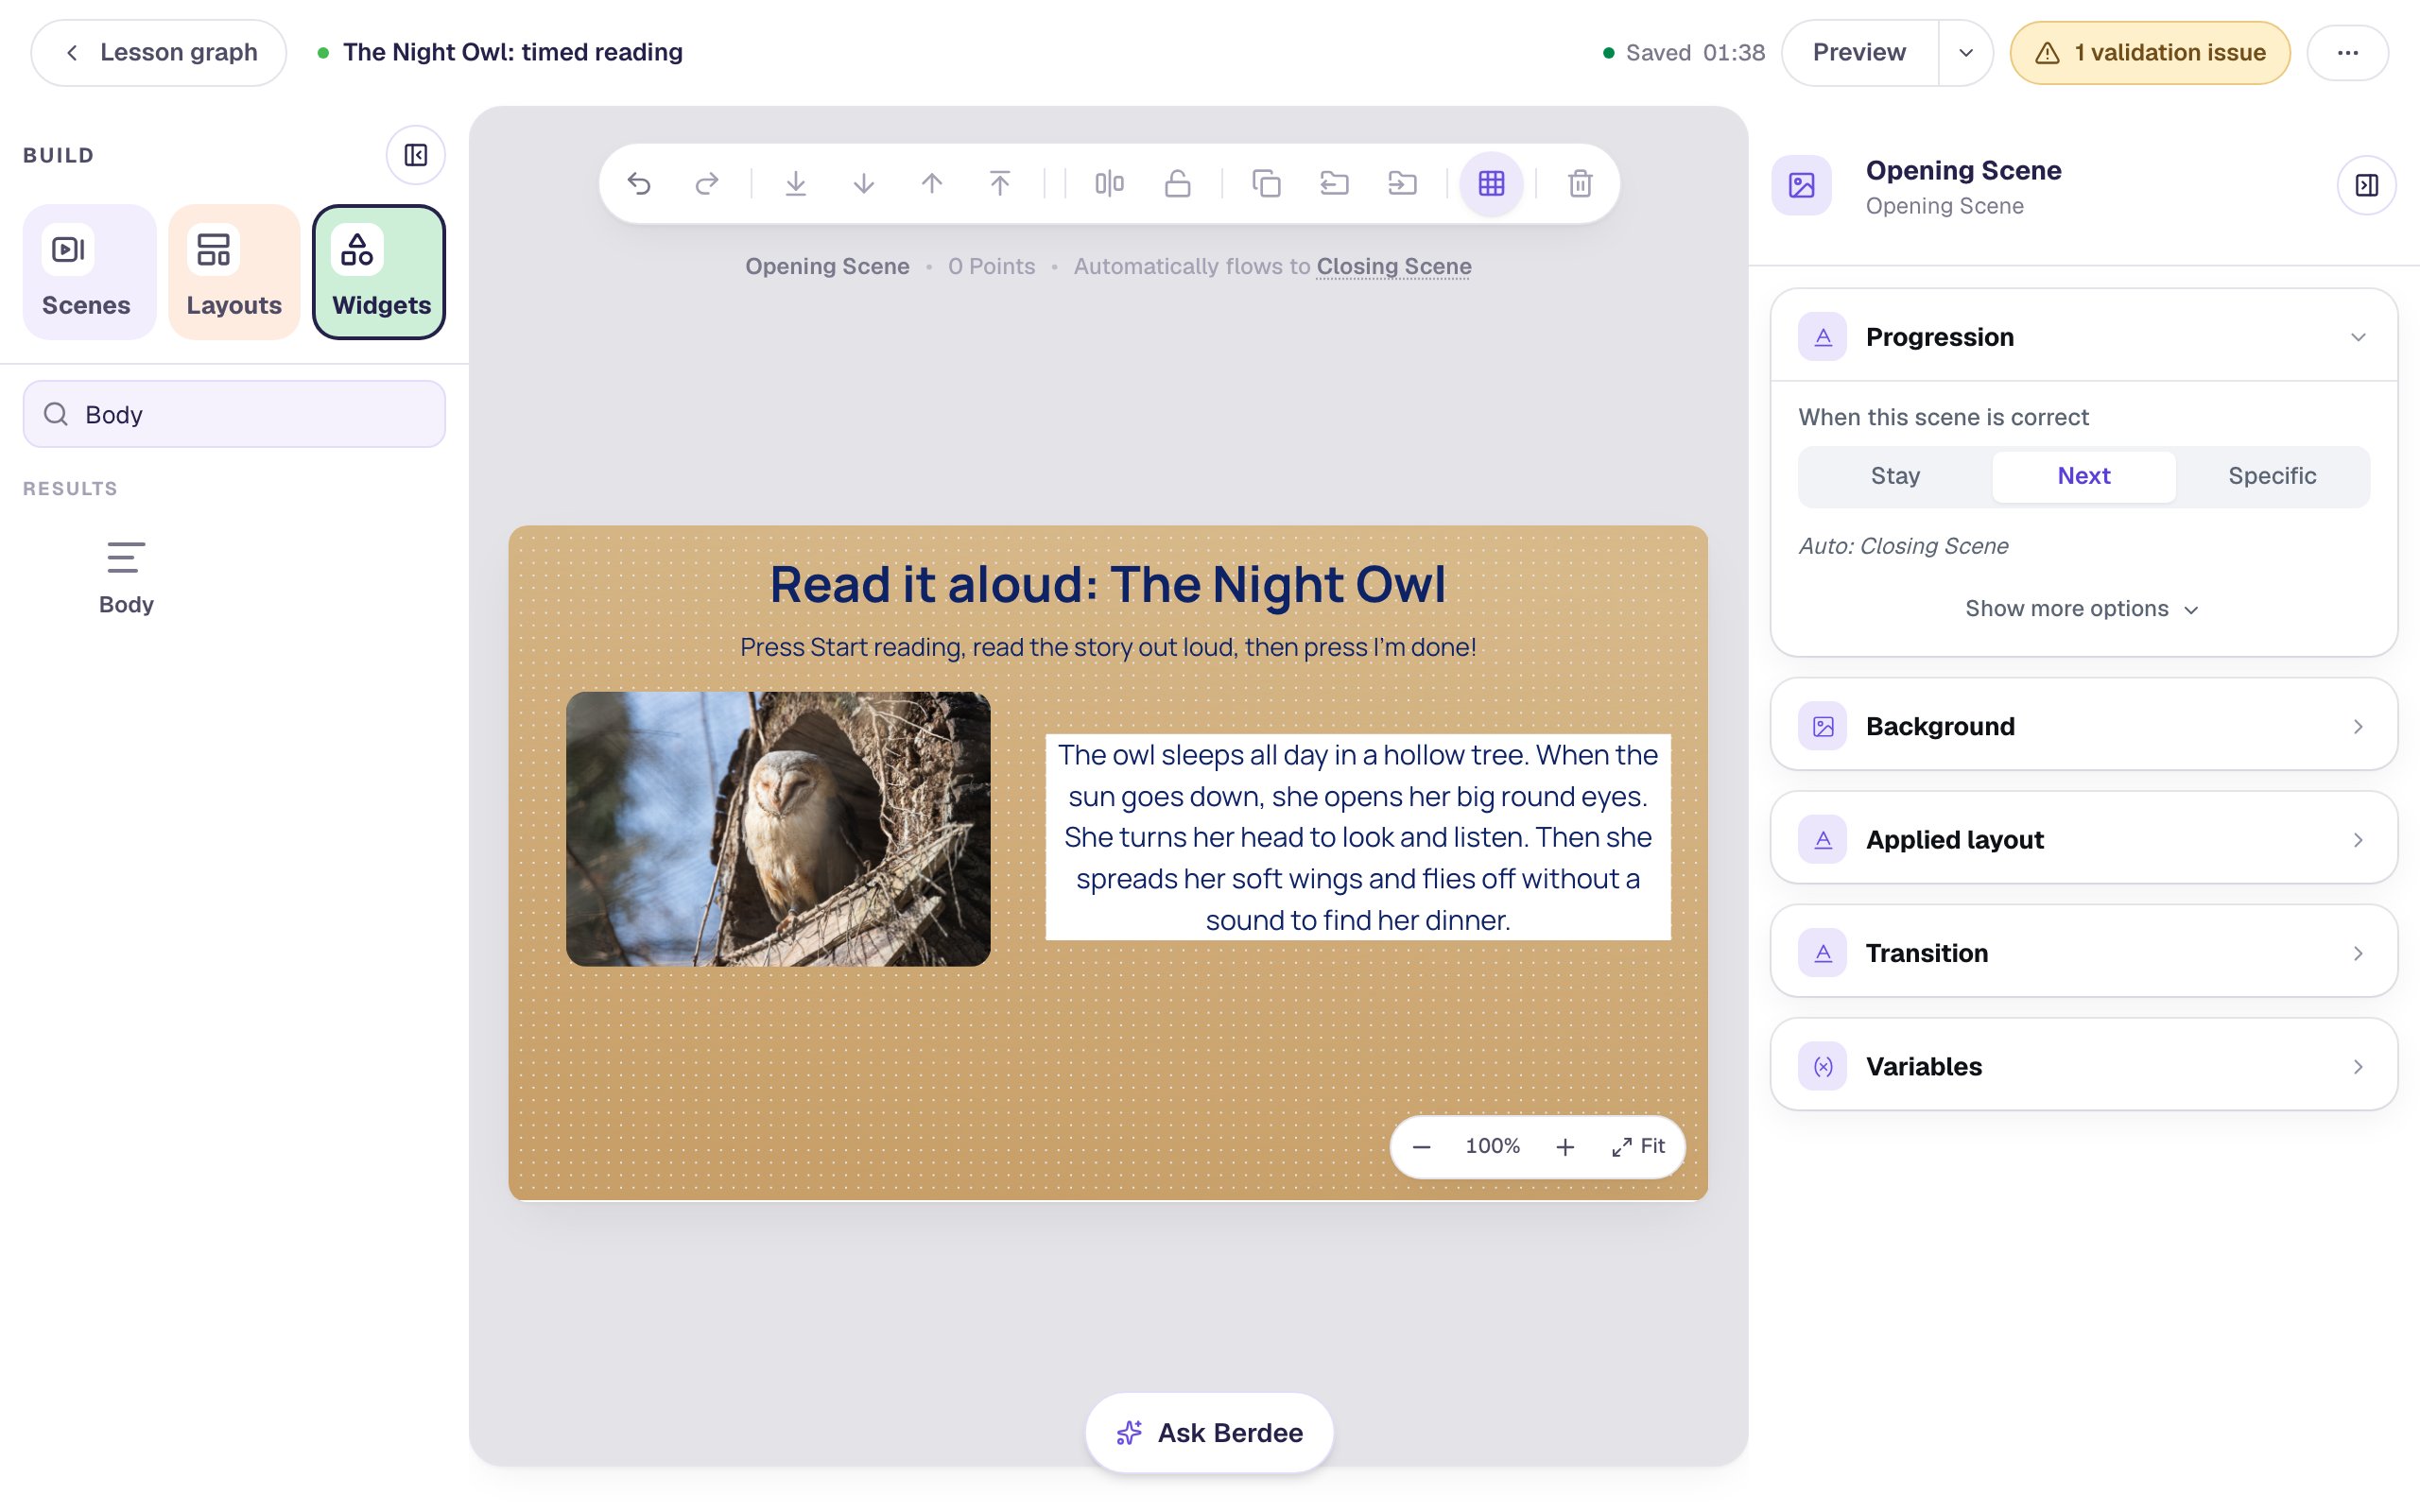
- Add a Heading that says
Read it aloud: The Night Owl, and a Body under it that saysPress Start reading, read the story out loud, then press I'm done! - Add an Image on the left. In Image Source, search the stock photos for
barn owl tree hollowand pick a sleeping owl. Set Fit to Cover and give it a little Border radius. Under Accessibility, describe it for screen readers:A barn owl with its eyes closed, resting in the hollow of an old tree. - Add a Body on the right for the story, give it a Fixed width of
500, a Font Size of22, and a white Background Color so it reads like a page:
The owl sleeps all day in a hollow tree. When the sun goes down, she opens her big round eyes. She turns her head to look and listen. Then she spreads her soft wings and flies off without a sound to find her dinner.
Leave the bottom of the scene free. The stopwatch and the buttons go there.
Step 2: Add a stopwatch
A Timer counts down by default. For a stopwatch it should count up, from zero, for as long as the student reads.
Add a Timer from Widgets and click ⚙ Configure:
- Set Mode to Count Up.
- Set Max Time to
0minutes and0seconds. A count-up with no maximum keeps counting until something stops it, which is exactly what a stopwatch does. - Leave Auto Start off. The clock should wait until the student is ready.
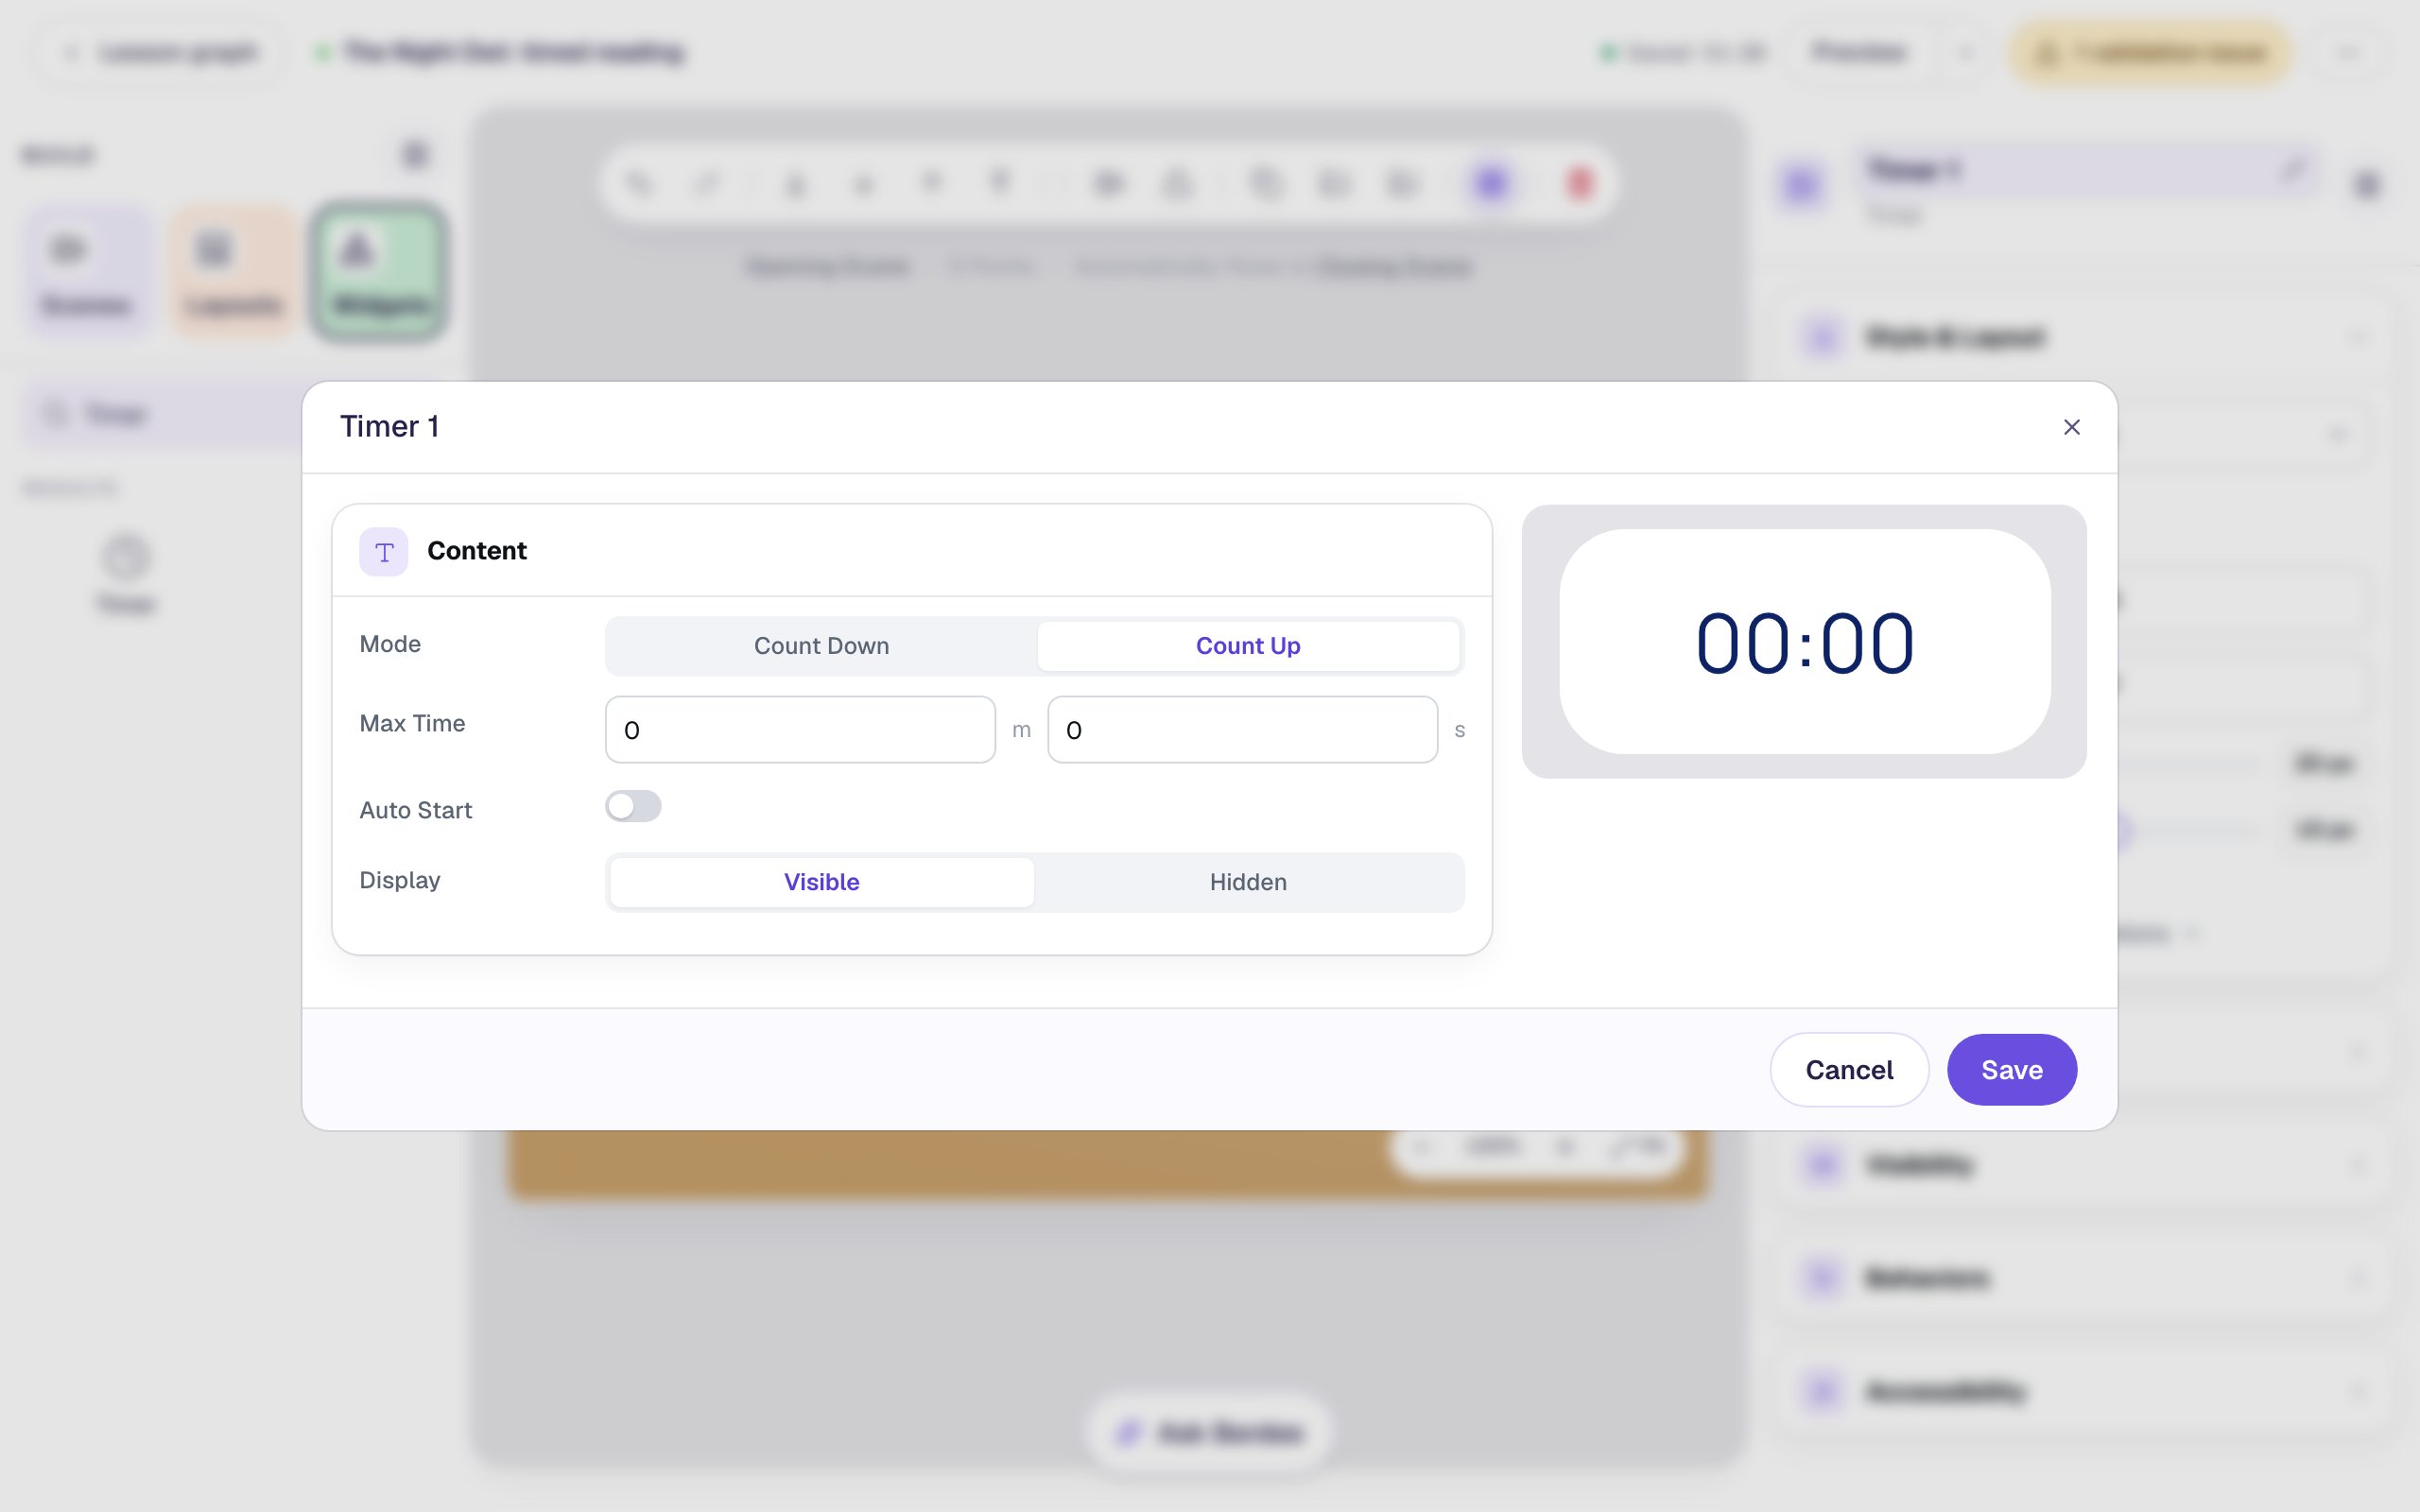
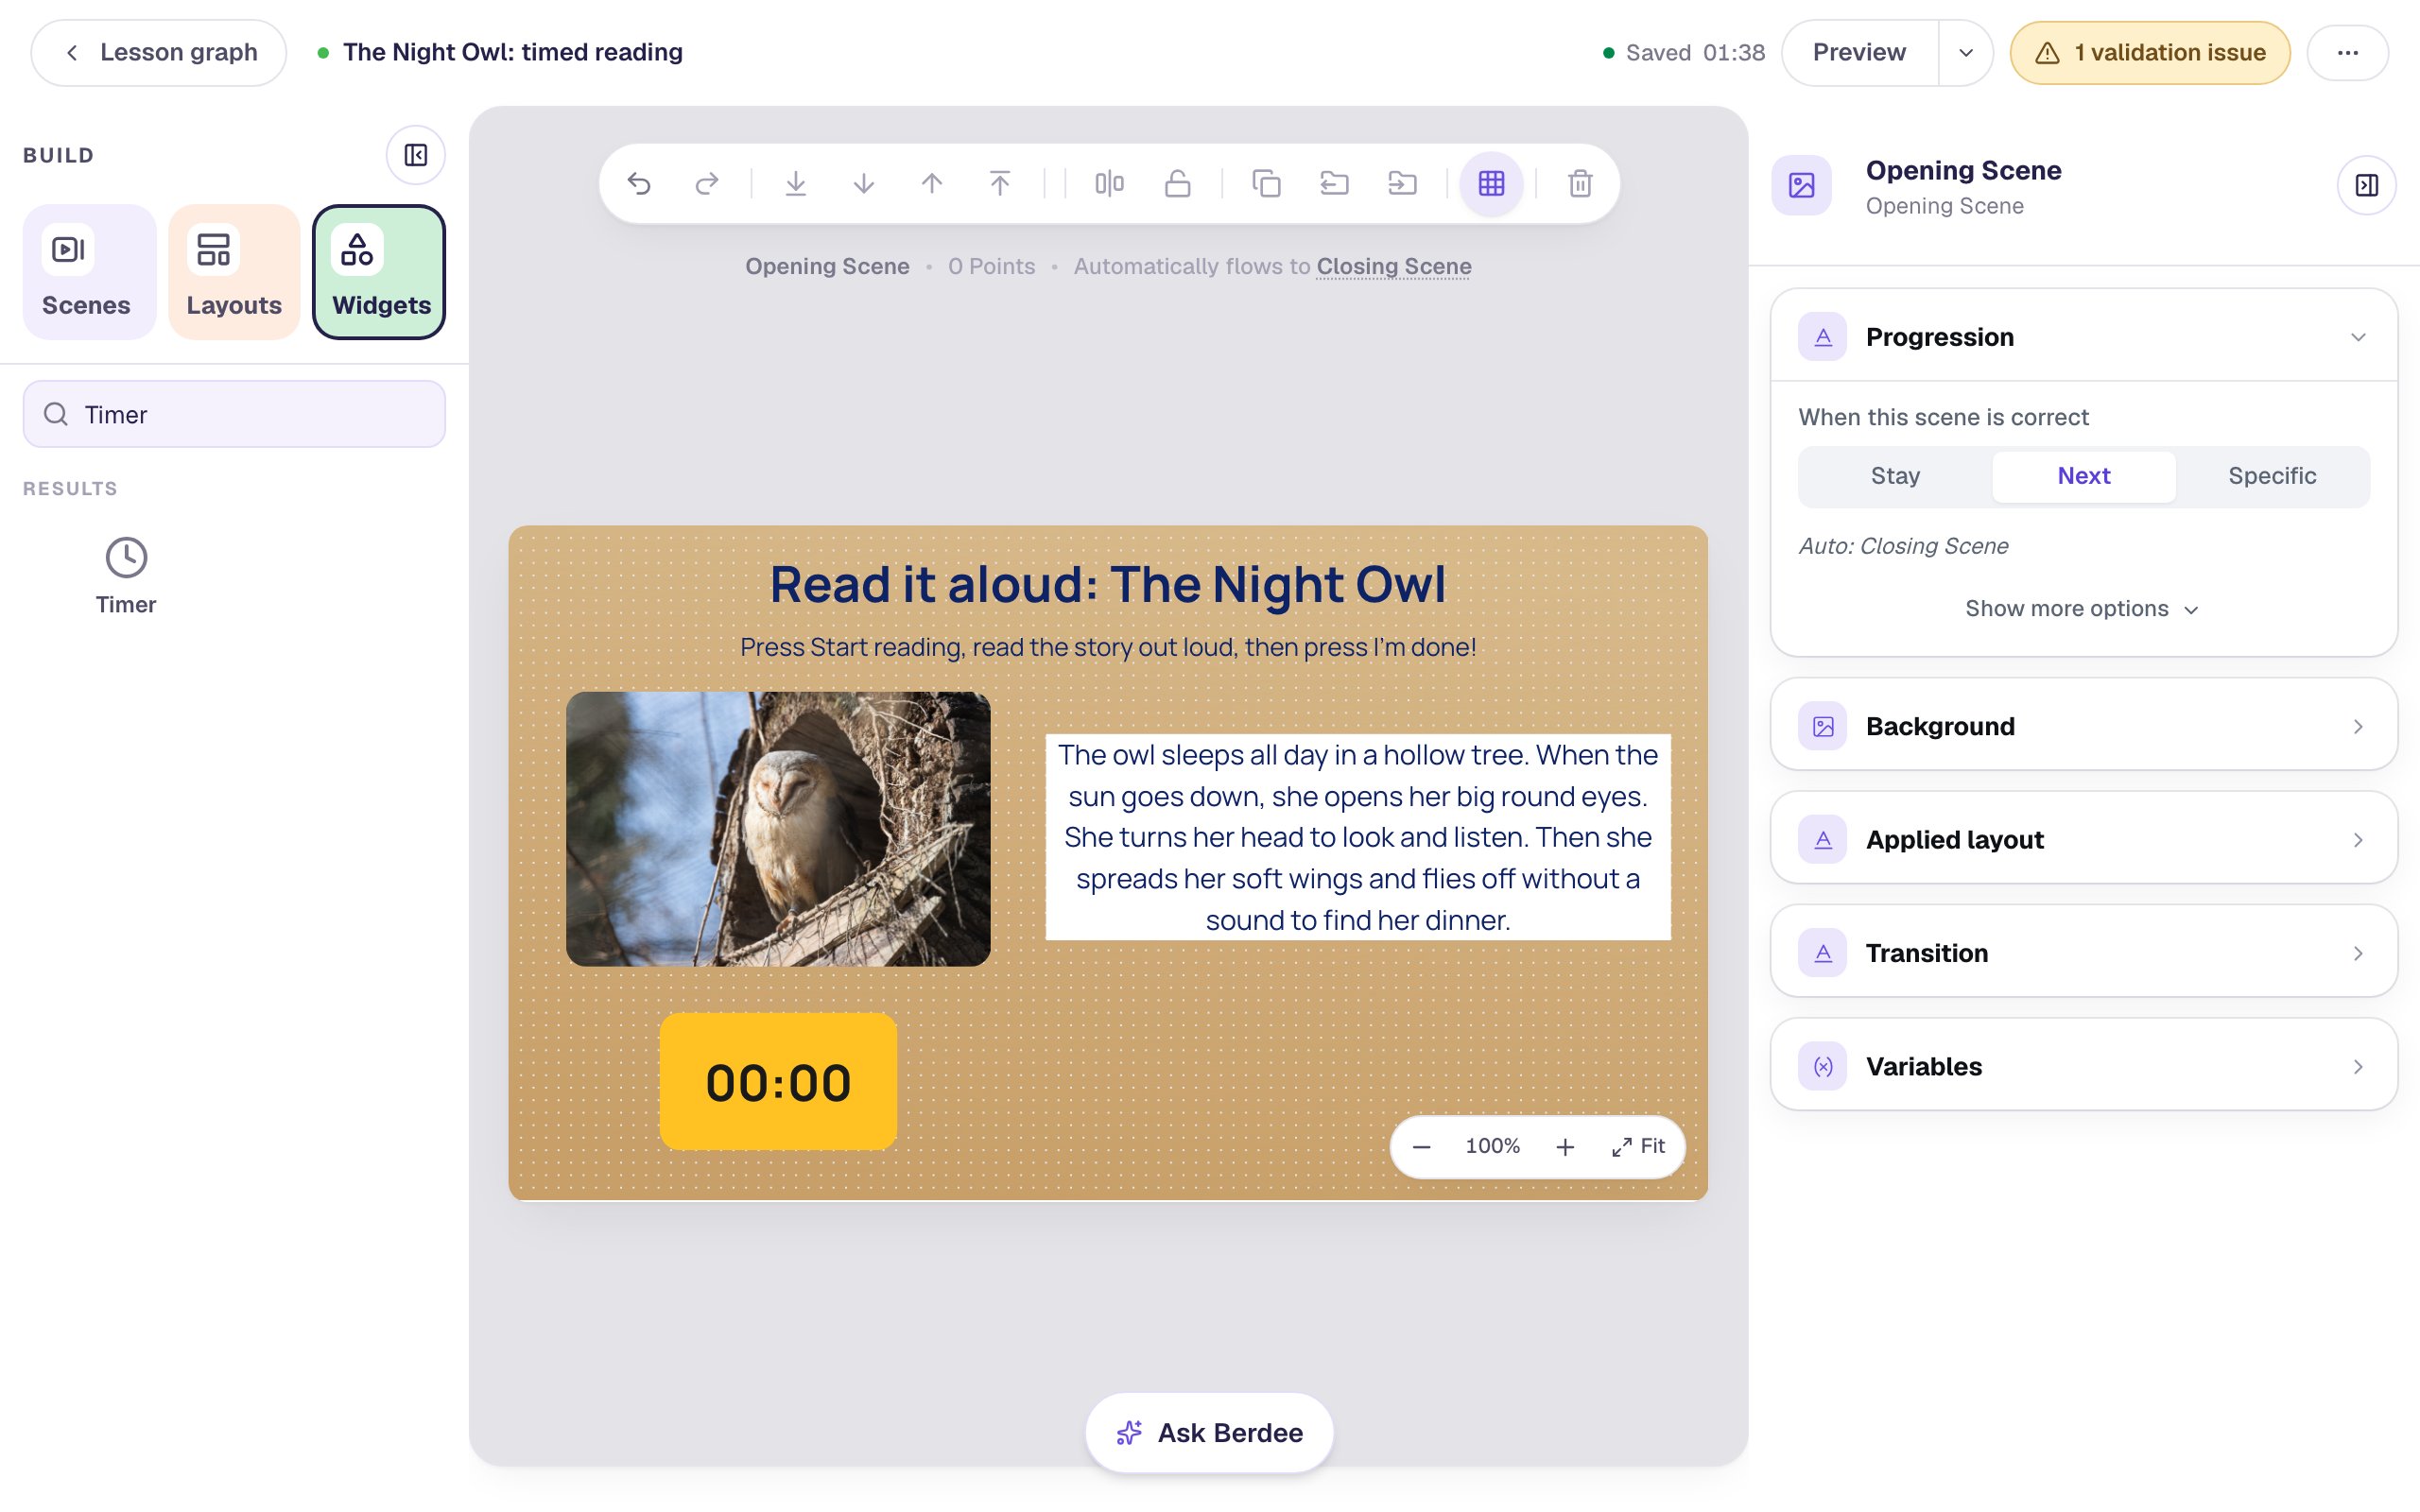
Click Save. Rename the timer Stopwatch (click its name at the top of the properties panel). The buttons in the next steps find it by that name.
Then make it easy to see. In Style & Layout, set the Font Size to 40, turn on bold, choose a bright yellow Background with dark Text Color, and under Show more options give it a Width of 190. Drag it under the picture.
Step 3: Add the two buttons
Add two Buttons to the right of the stopwatch:
- One labelled
Start reading, with a navy Background and white Text. - One labelled
I'm done!, with an orange Background and navy Text.
Rename each button to match its label, so they're easy to find in lists later. To line the row up, hold Shift and click the stopwatch and both buttons, then open Align & distribute in the toolbar and choose Align vertical centres.
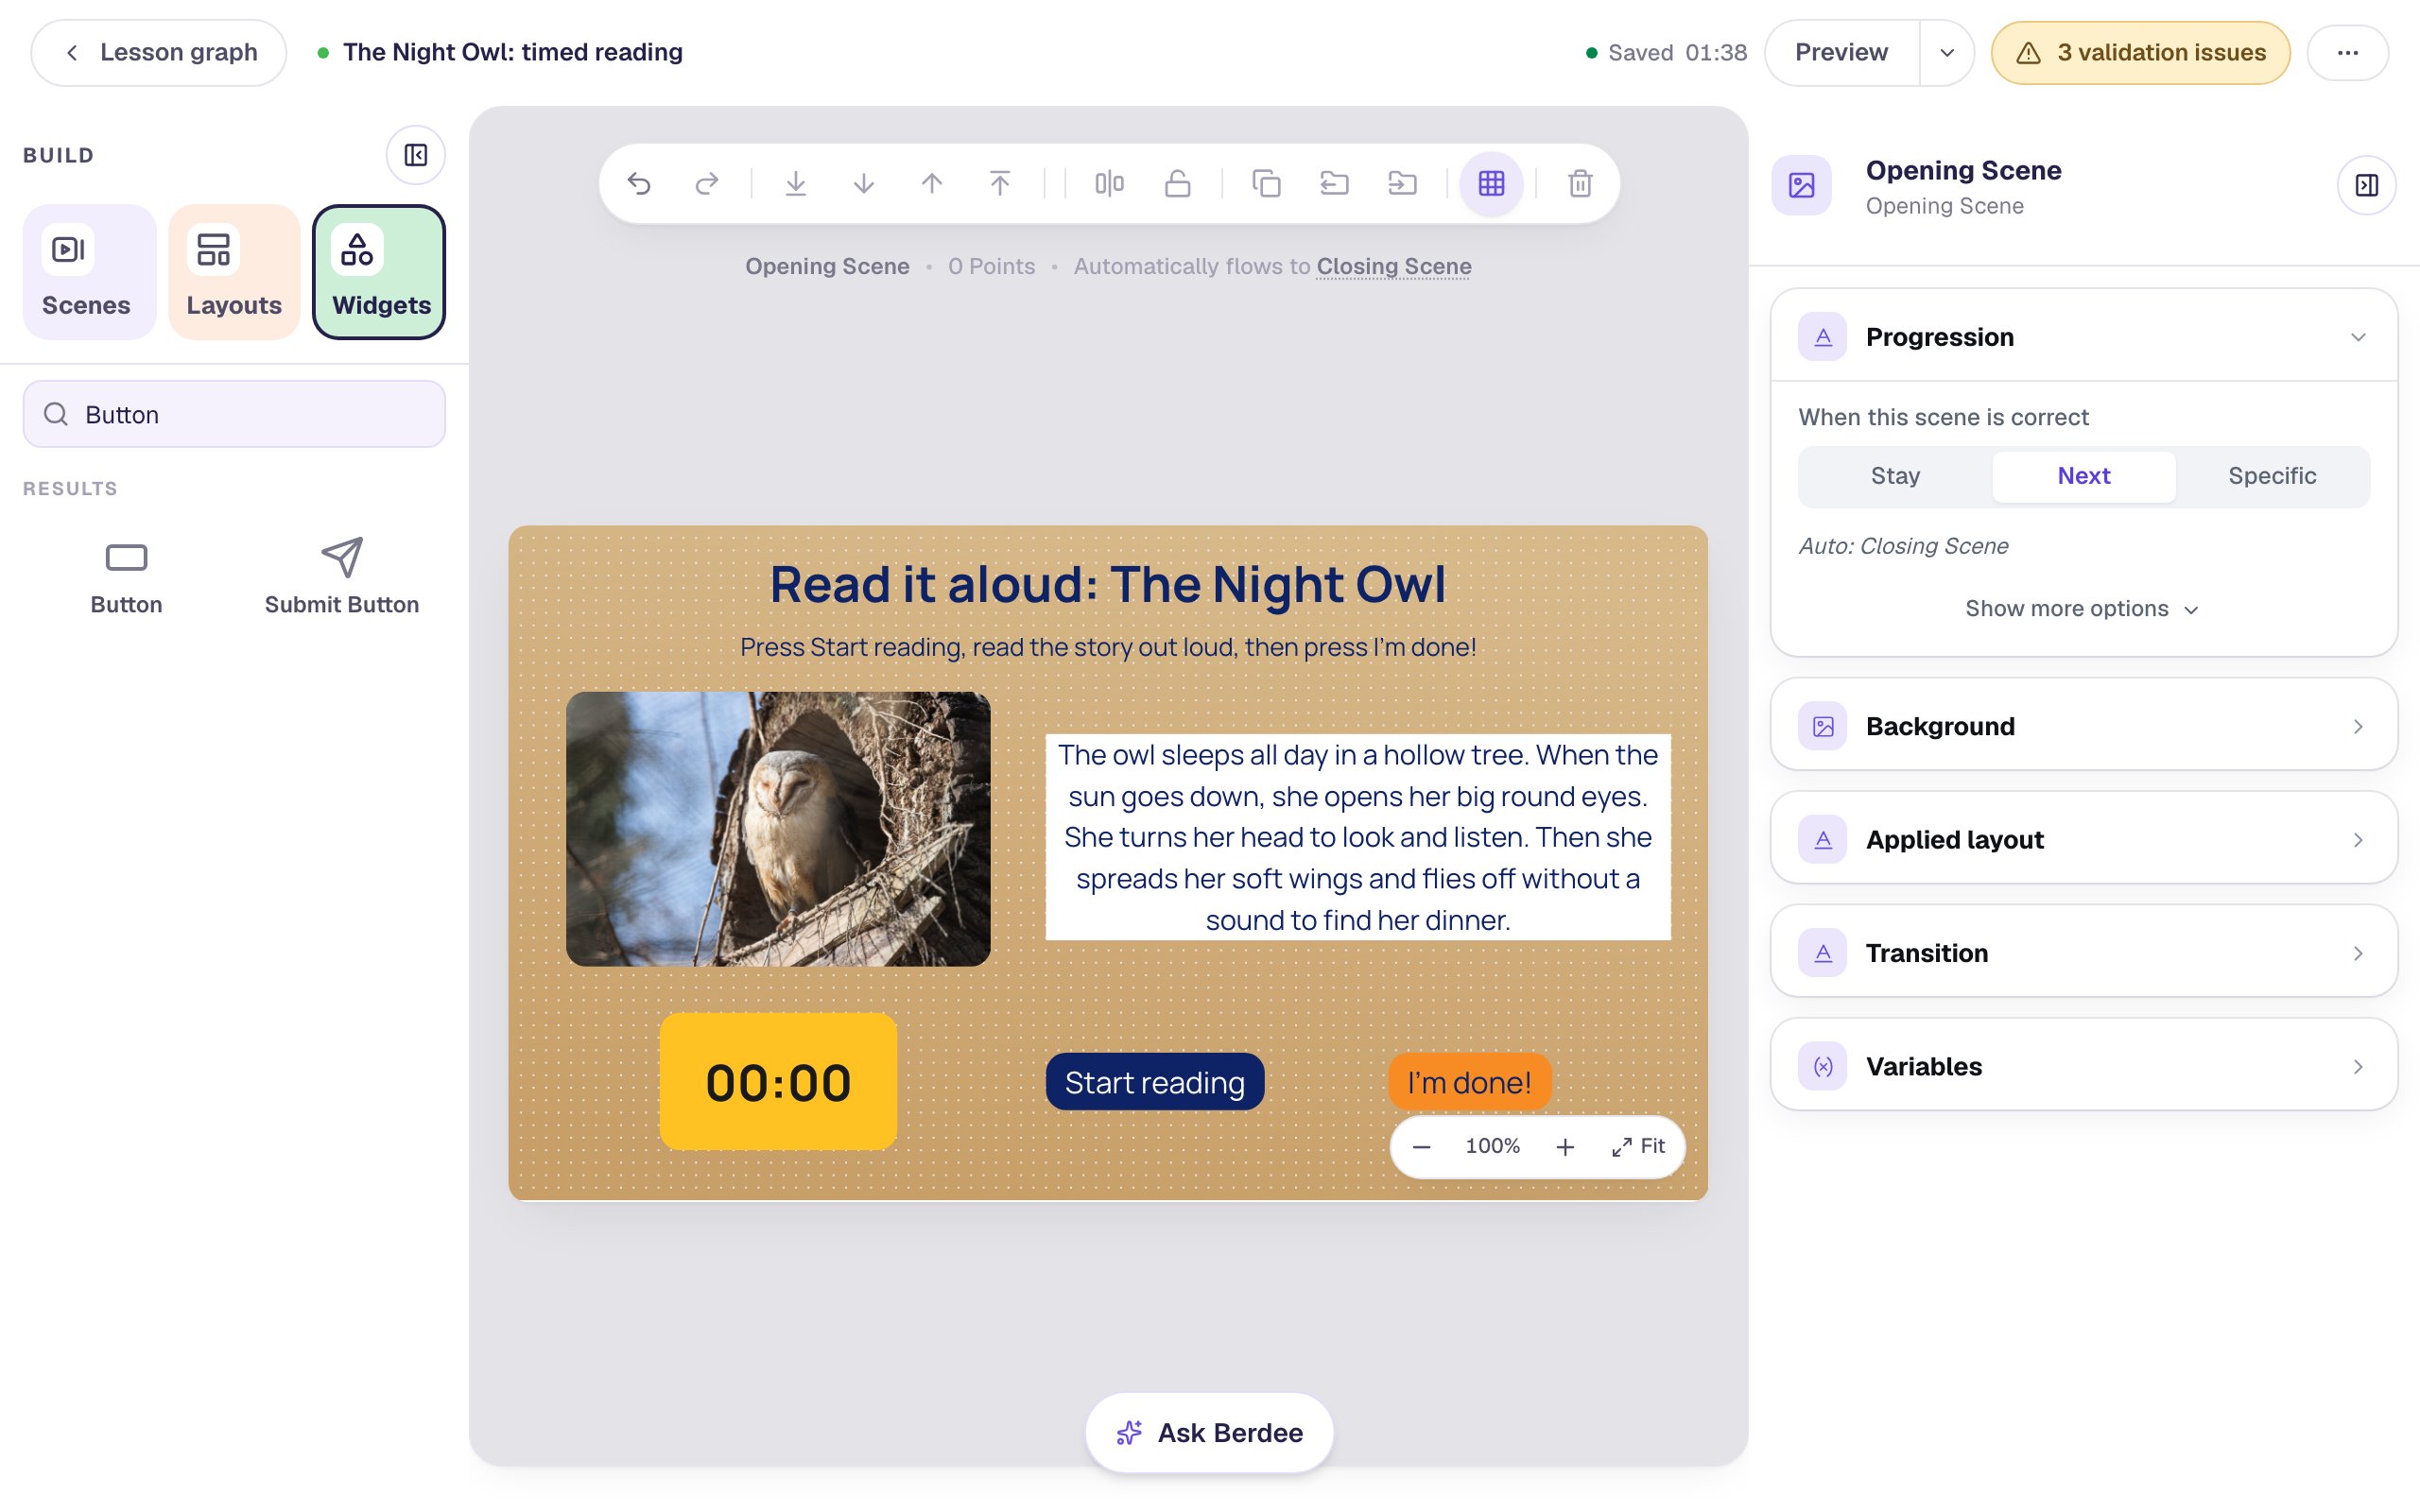
Students can also tap the stopwatch itself to start and pause it. The buttons make it obvious what to press, and I'm done! will do more than pause the clock.
Step 4: Start the stopwatch from Start reading
Select Start reading, open Behaviors, click Add Behavior, and choose On Press. Change the action to Widget Method, pick Timer: Stopwatch as the widget, and Start as the method.
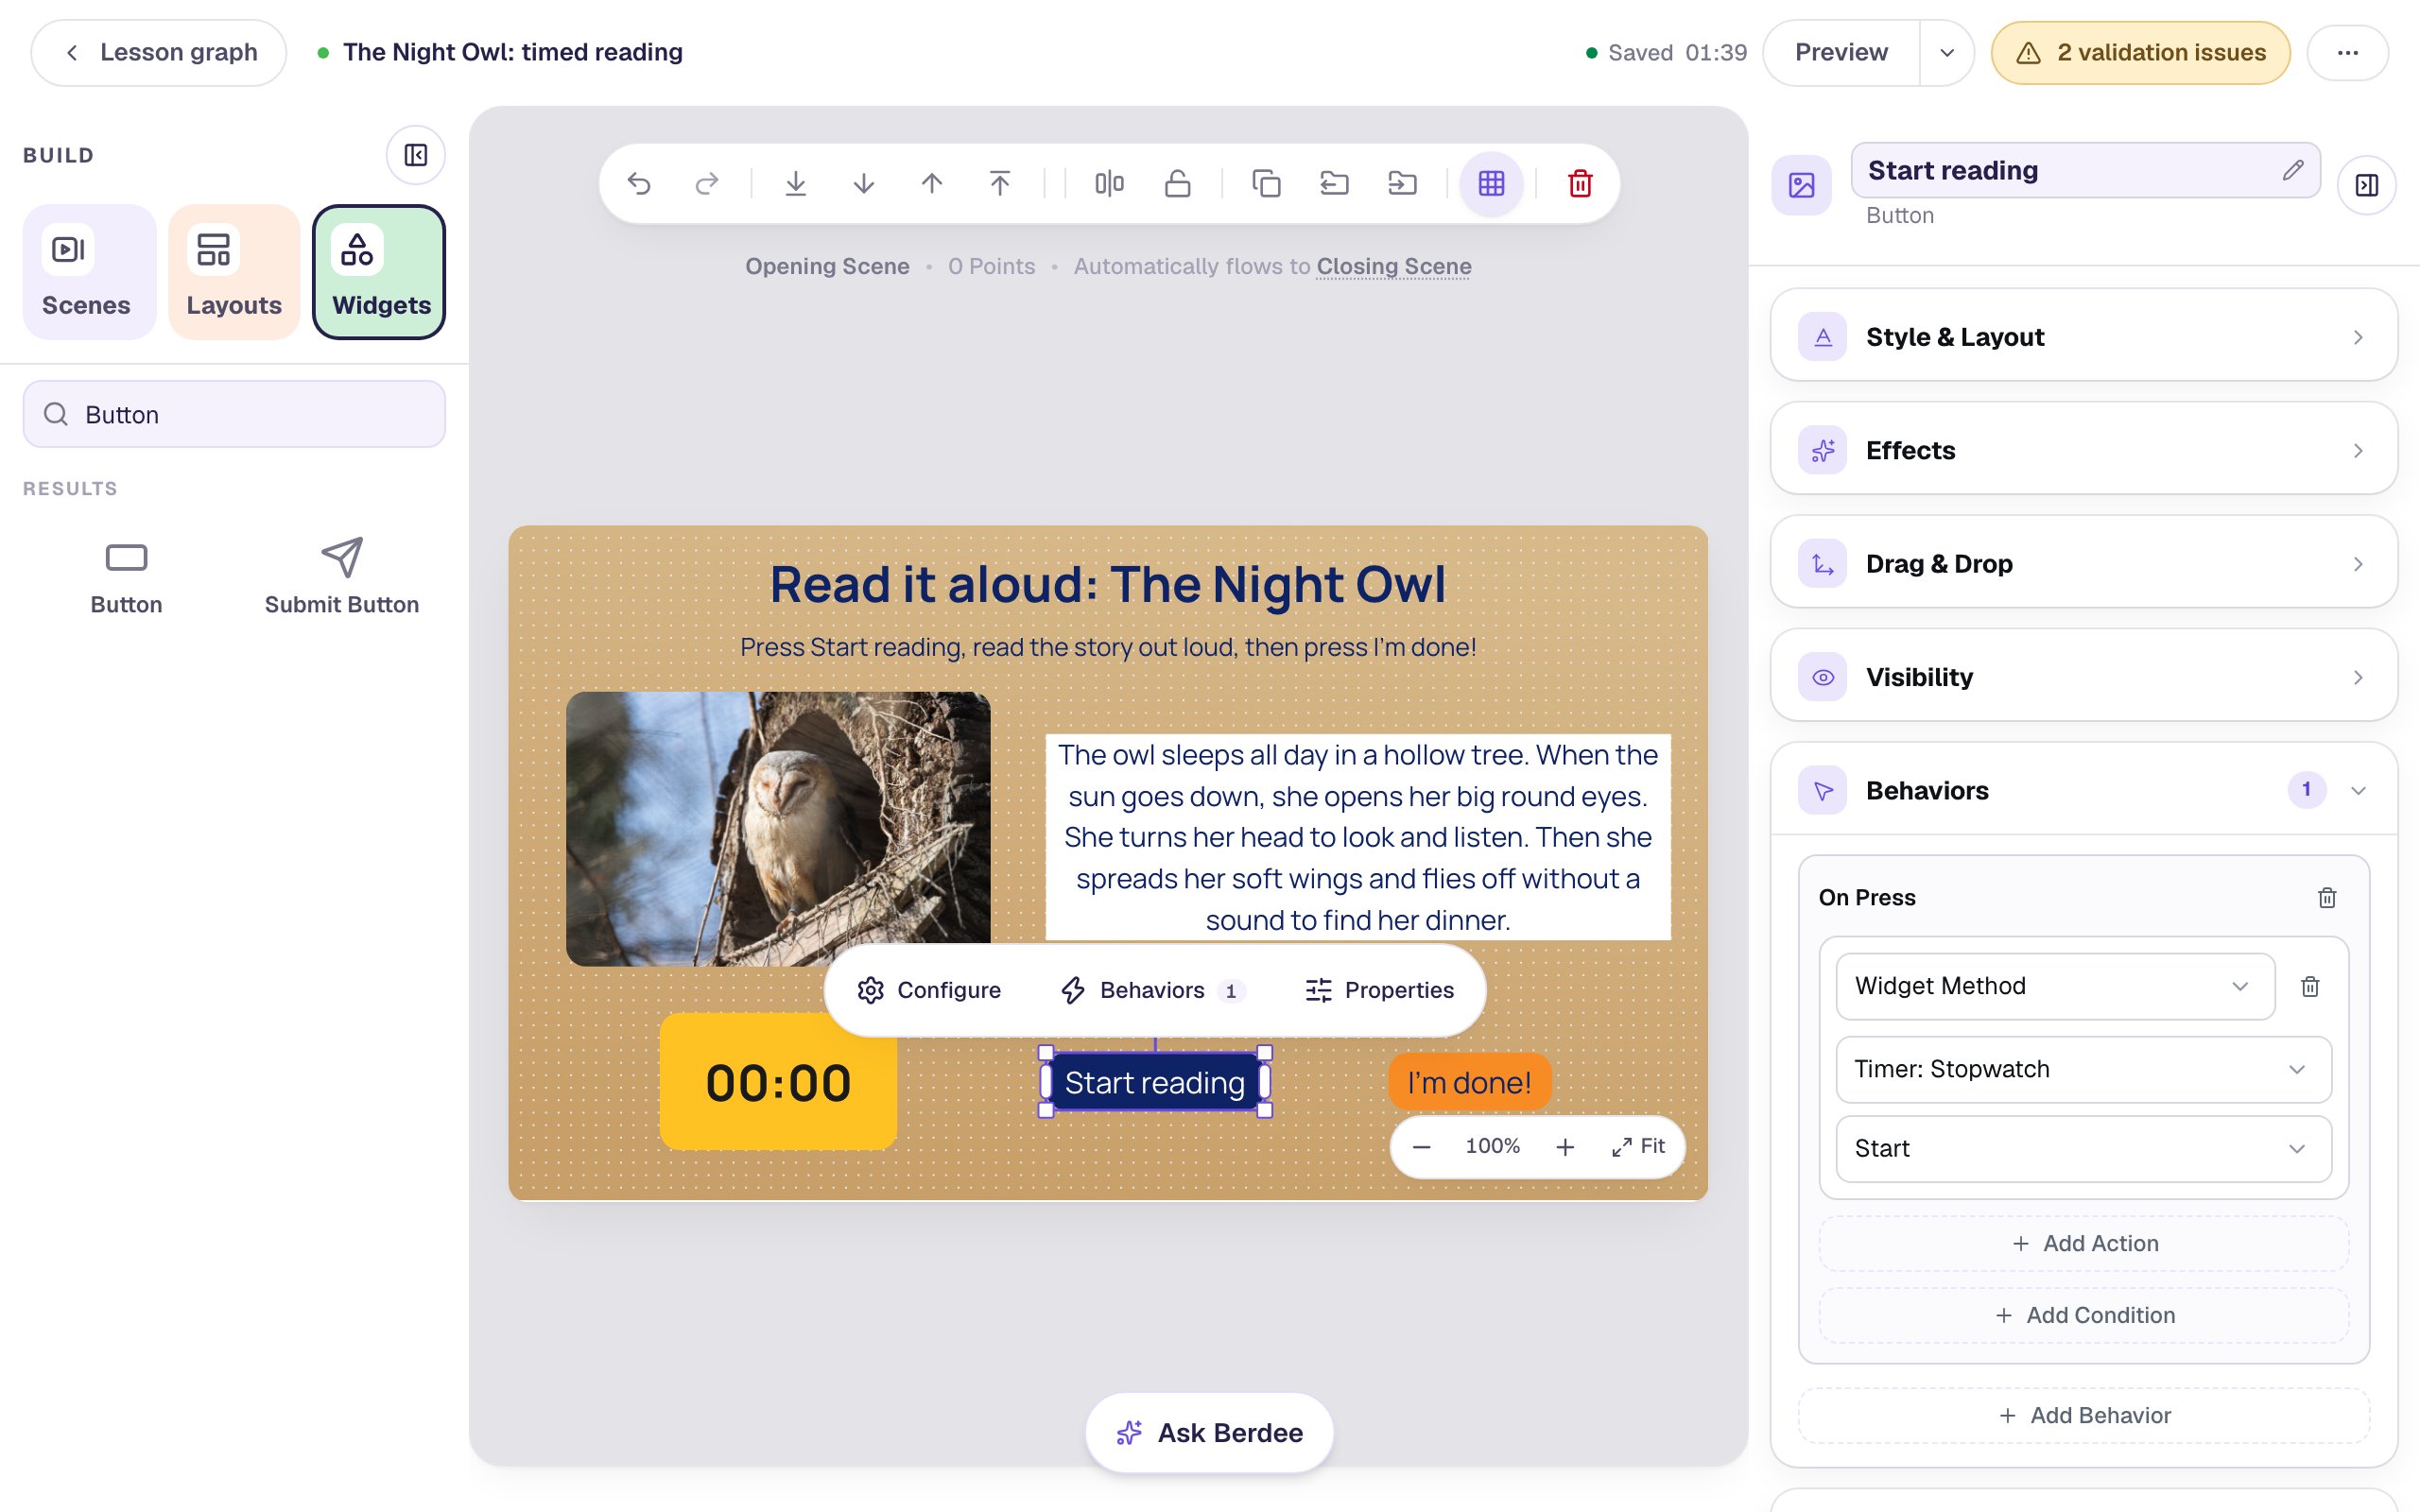
Widget Method is how one widget controls another. A Timer offers Start, Pause, and Reset, the same way a video offers Play and Pause.
Step 5: Make a variable for the time
The stopwatch forgets its time as soon as the student leaves the scene, so save the time in a variable before moving on.
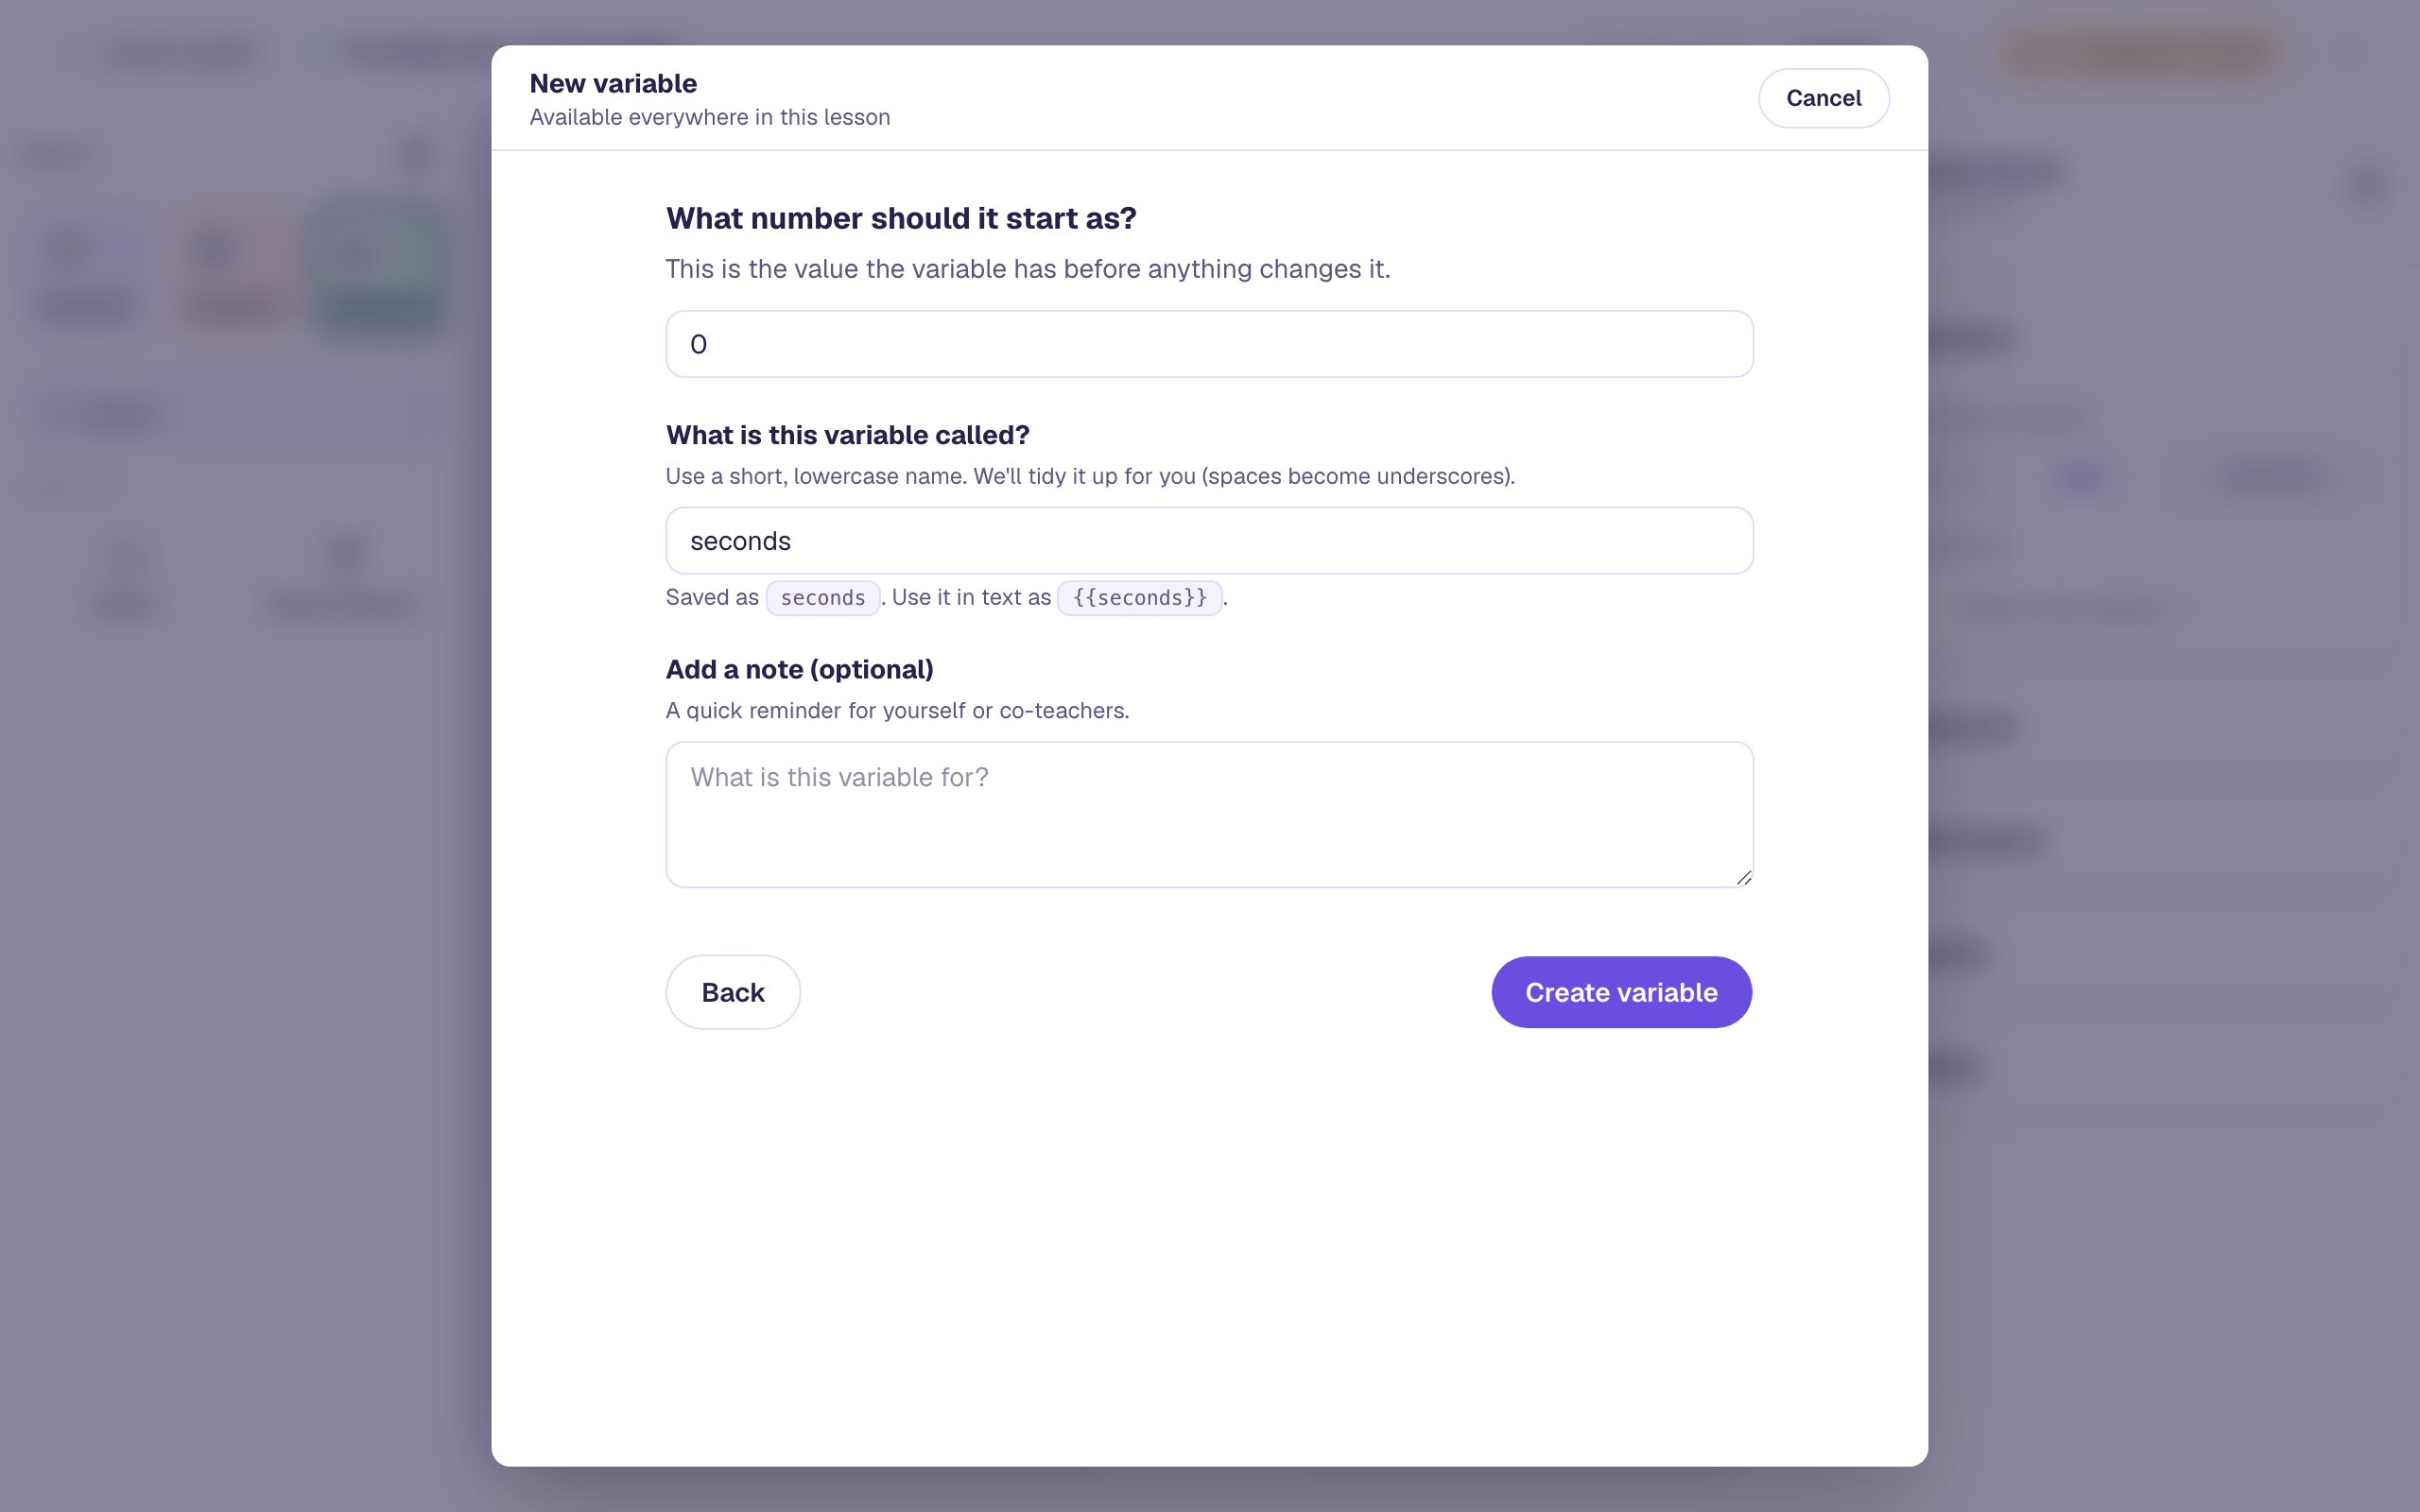
Open More lesson options (⋯ at the top right), choose Variables, click New variable, and pick A number. Name it seconds and leave the starting value at 0. Click Create variable.
Step 6: Build the Your time scene
Open Scenes and click Add scene. Rename the new scene Your time and give it the Kraft paper background too. Then add:
- A Heading:
Great reading! - A Body with a Fixed width of
760and a Font Size of32:You read The Night Owl in {{ seconds }} seconds. - A smaller Body:
Read it again. Can you beat your time? - A navy Read it again button whose On Press action is Navigate to Scene, Opening Scene.
- An orange Finish button whose On Press action is Navigate to Scene, Closing Scene.
The canvas shows {{ seconds }} exactly as you typed it. Each student sees their own number there. The fixed width keeps the line from wrapping when the number is shorter or longer than the placeholder.
Every lesson also needs one button that can end it early, or it can't be published. Add a small Submit Button in the bottom-left corner, set its Label to End lesson and Submits to Lesson, and bring its Font Size down to 16.
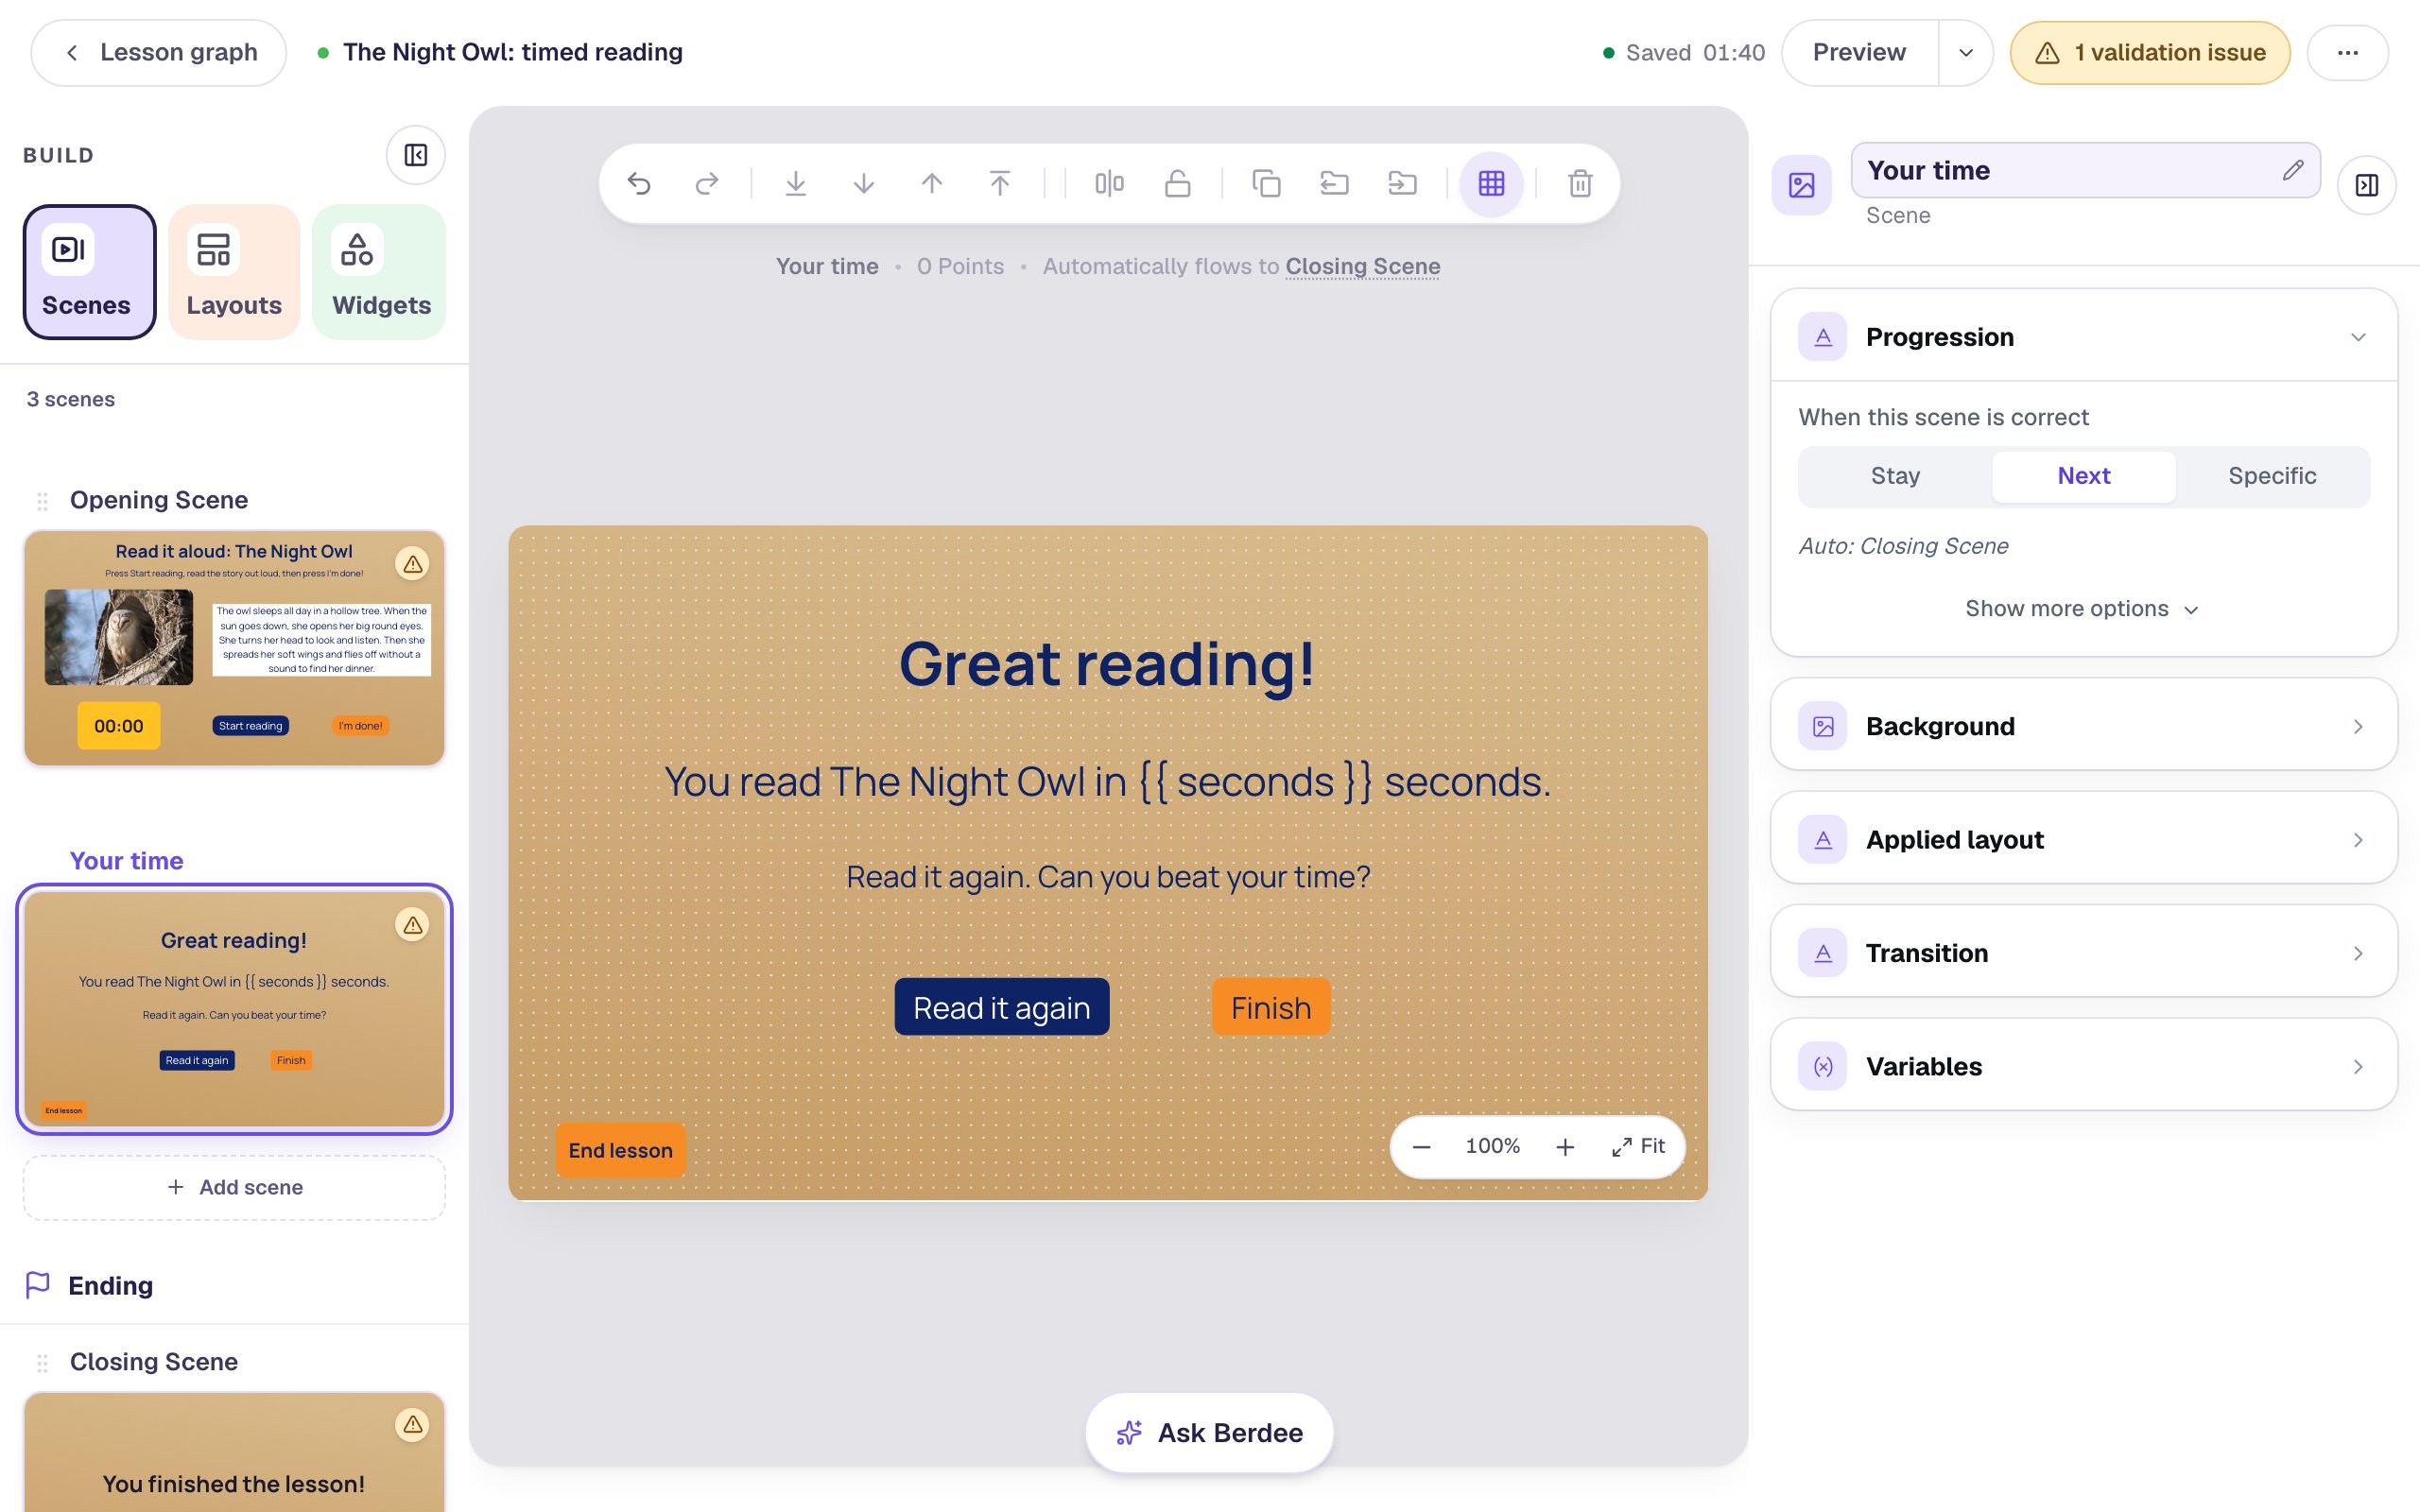
The yellow pill at the top still counts one issue: Button Has No Behavior, because I'm done! doesn't do anything yet. Its list also warns that Your time can't be reached. The next step fixes both.
Step 7: Stop the clock, save the time, and move on
Go back to the Opening Scene and select I'm done!. Give it an On Press behavior with three actions, in this order:
- Widget Method: Timer: Stopwatch, Pause. The clock stops.
- Set Variable: pick
seconds, then change Static value to Widget property and choose Stopwatch → Elapsed (s). This copies the stopwatch's time into the variable. - Navigate to Scene: Your time.
Use Add Action to add the second and third actions.
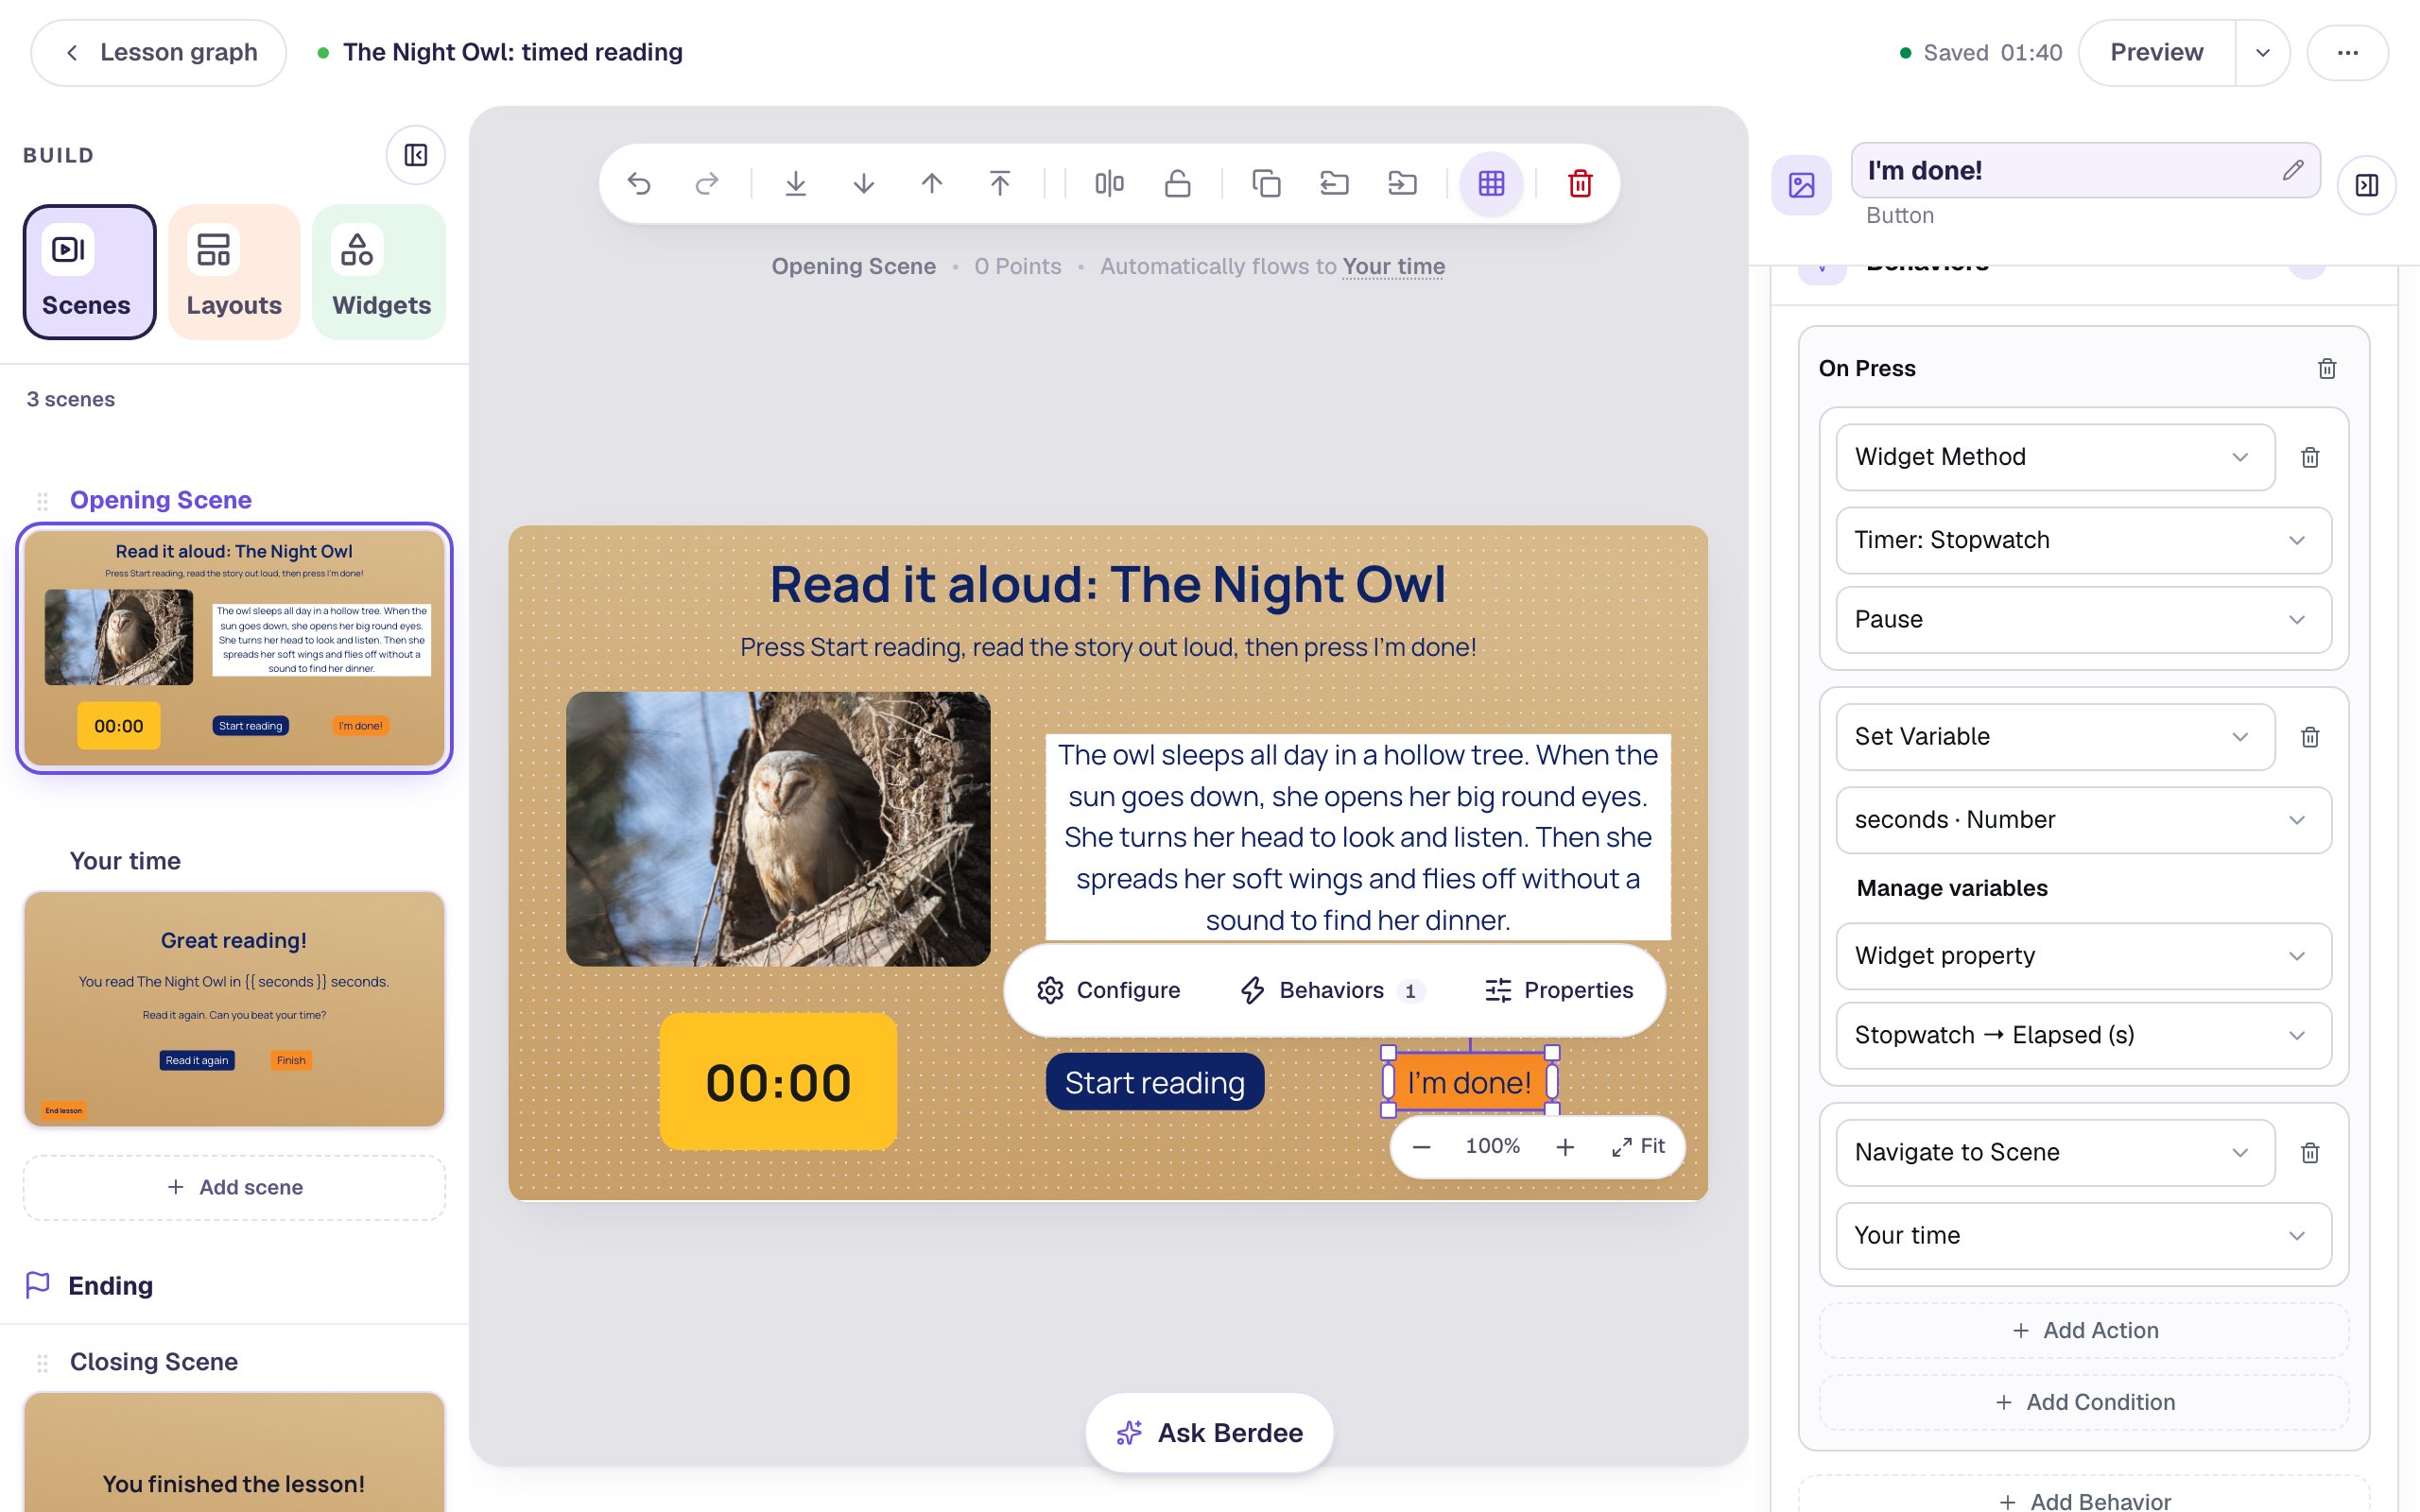
Widget property is the important choice. Static value would save the same number for everyone. Widget property reads the stopwatch at the moment the student presses the button, so each student's own time lands in seconds.
Keep Navigate to Scene last. Actions run top to bottom, so the time has to be saved before the student leaves the page.
Step 8: Try it as a student
Stay on the Opening Scene (Preview starts on the scene you're editing) and click Preview. Press Start reading, read the story, and press I'm done!.
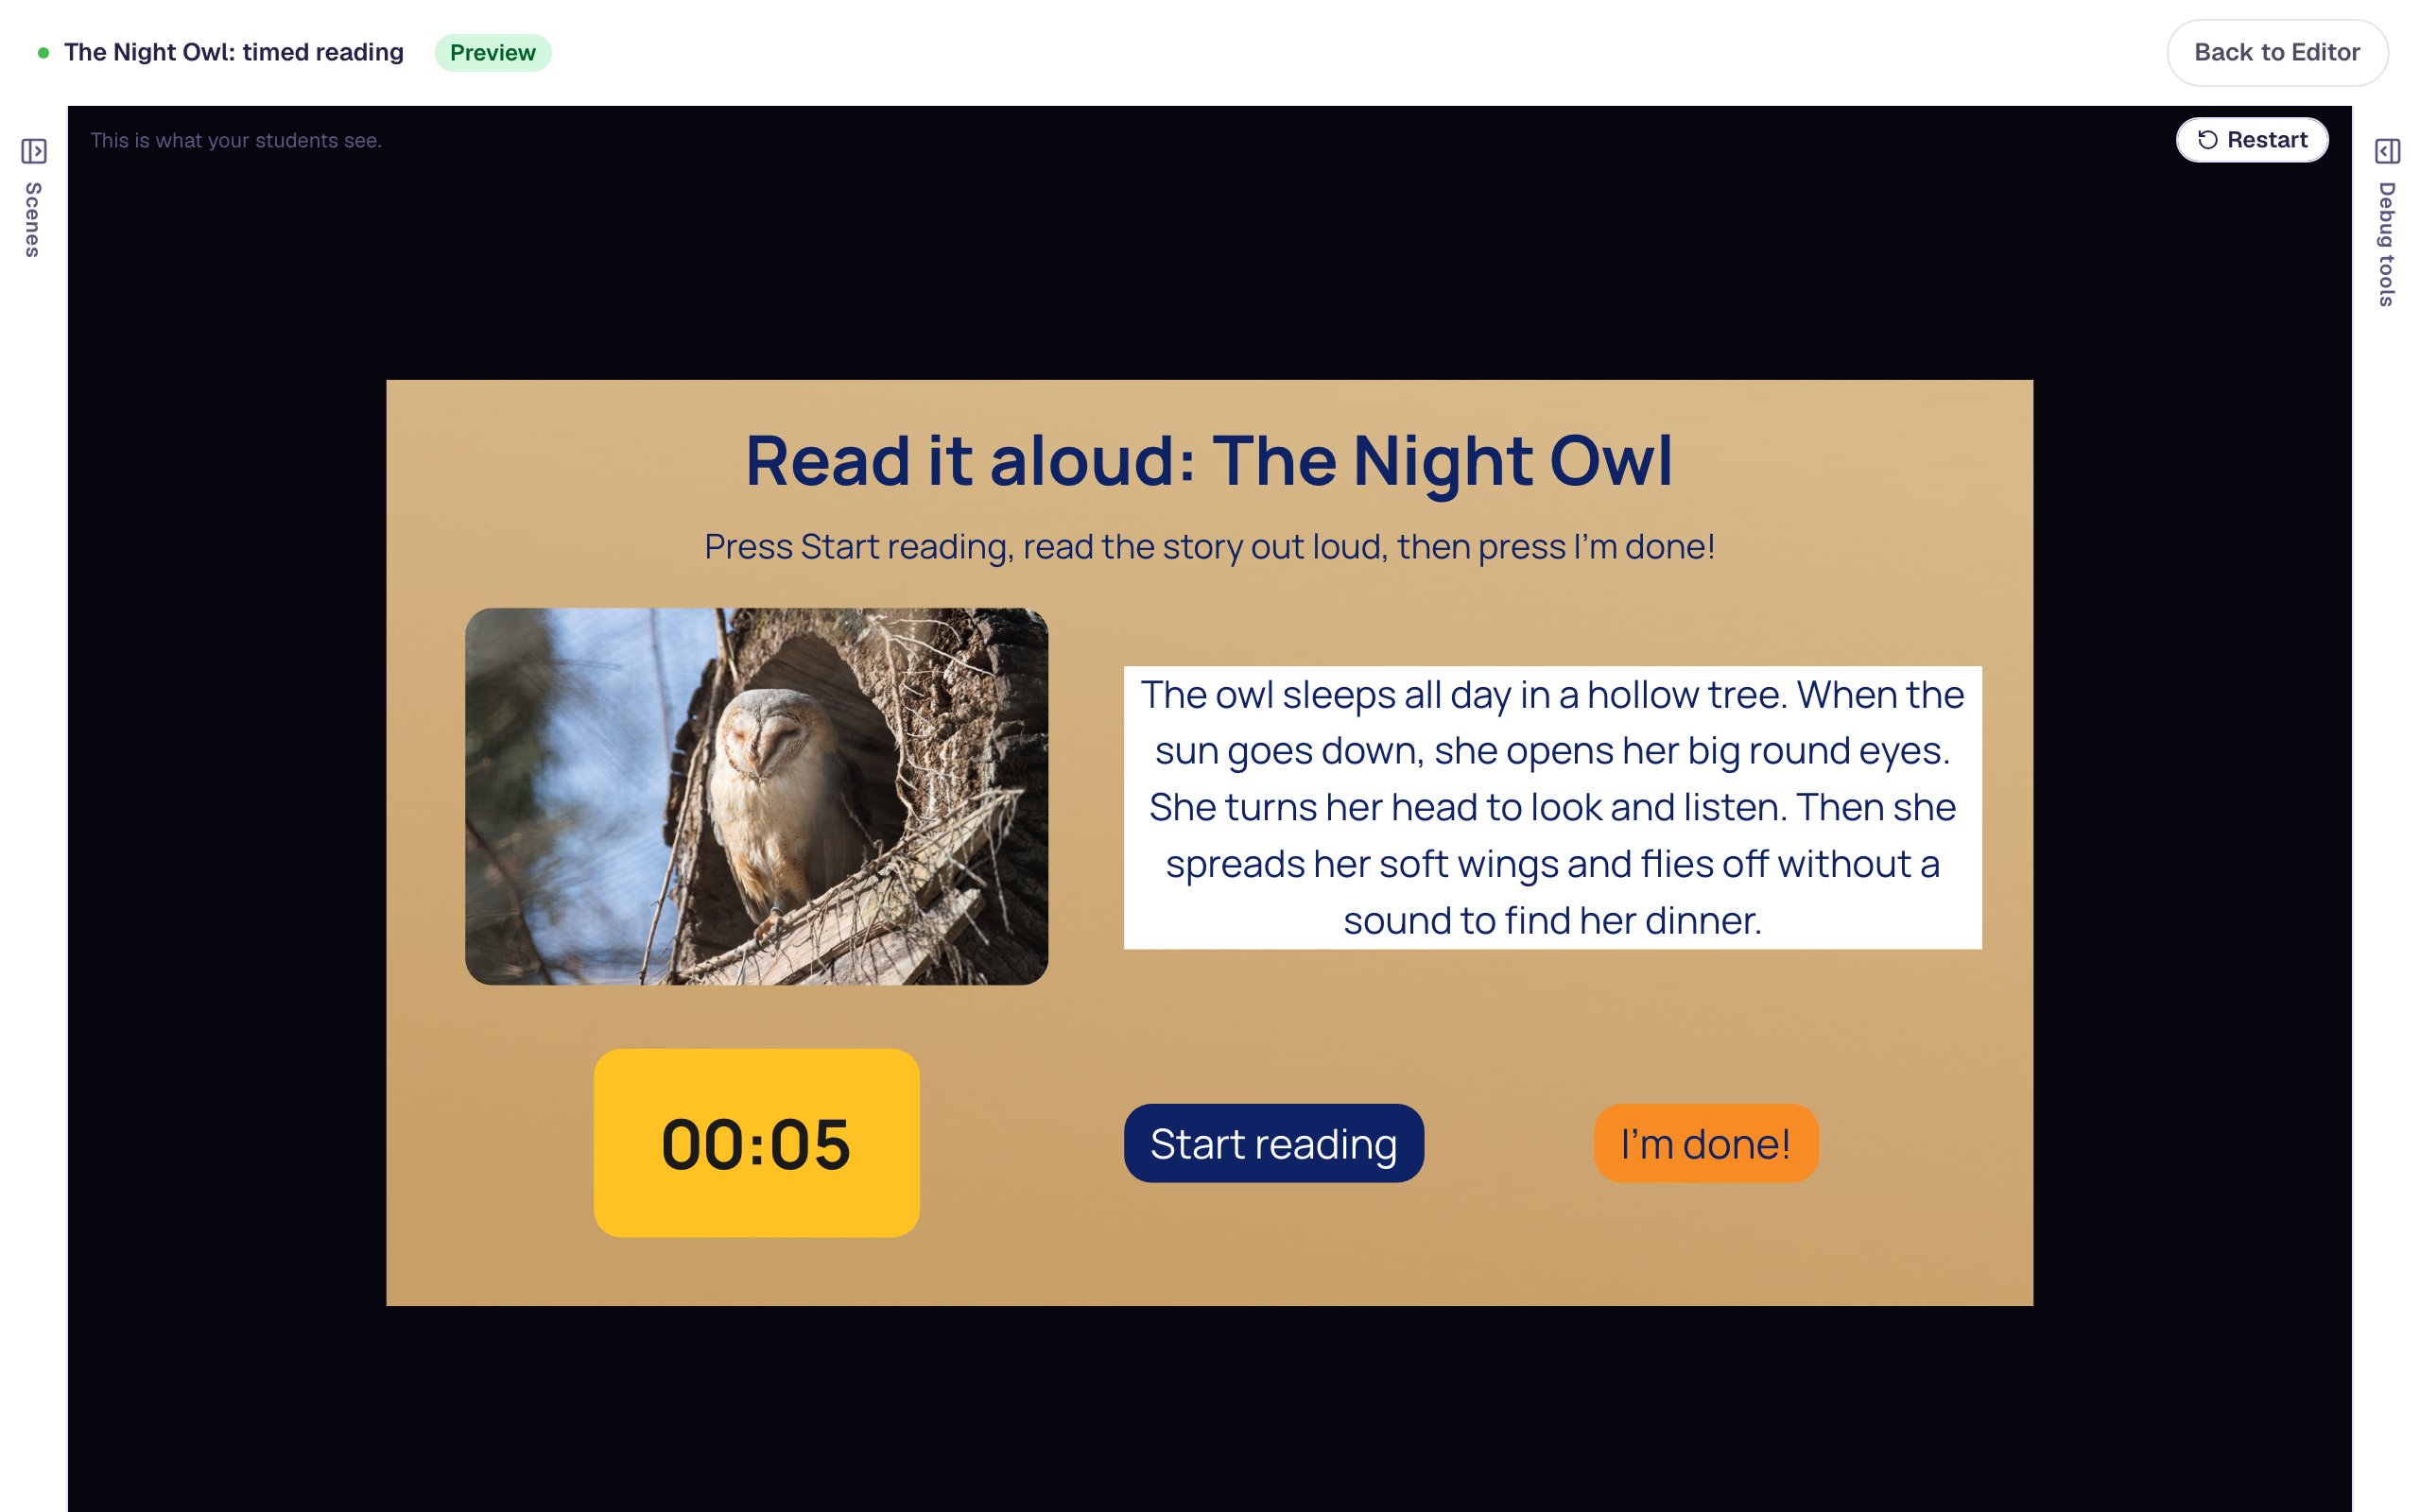
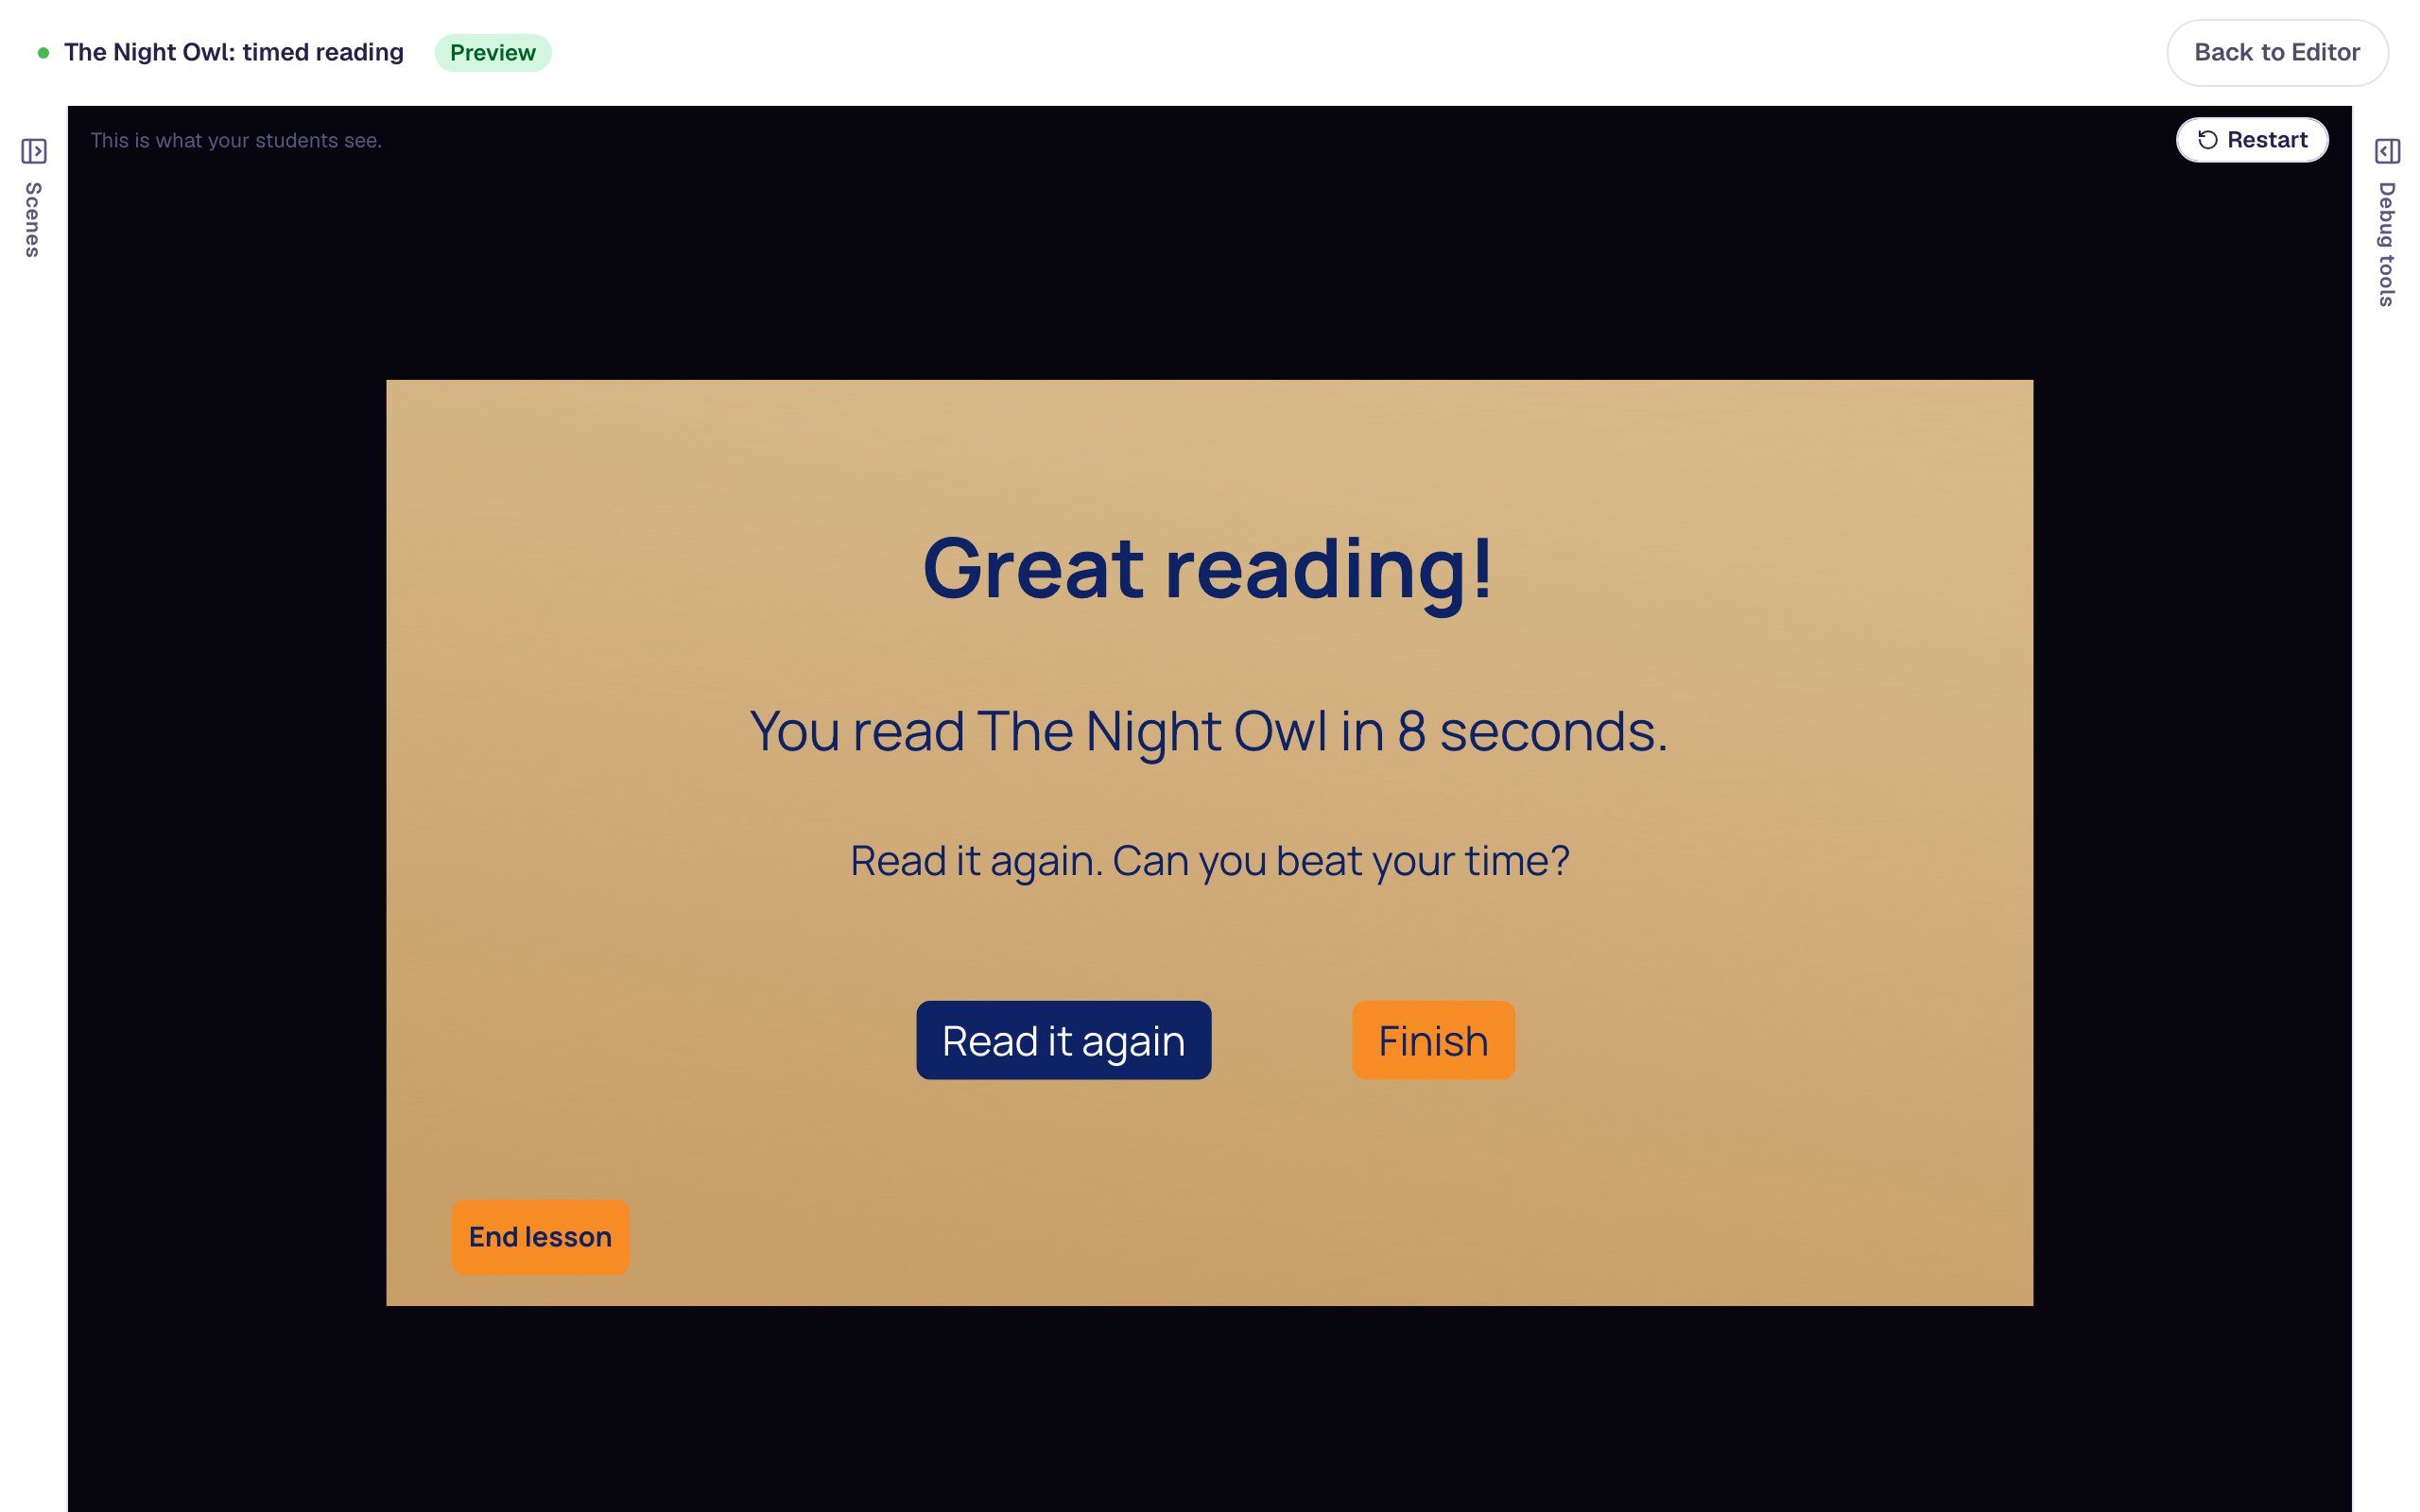
Now press Read it again. The reading page opens with the stopwatch back at 00:00, because a timer starts fresh each time its scene opens. Read faster this time and press I'm done! again:
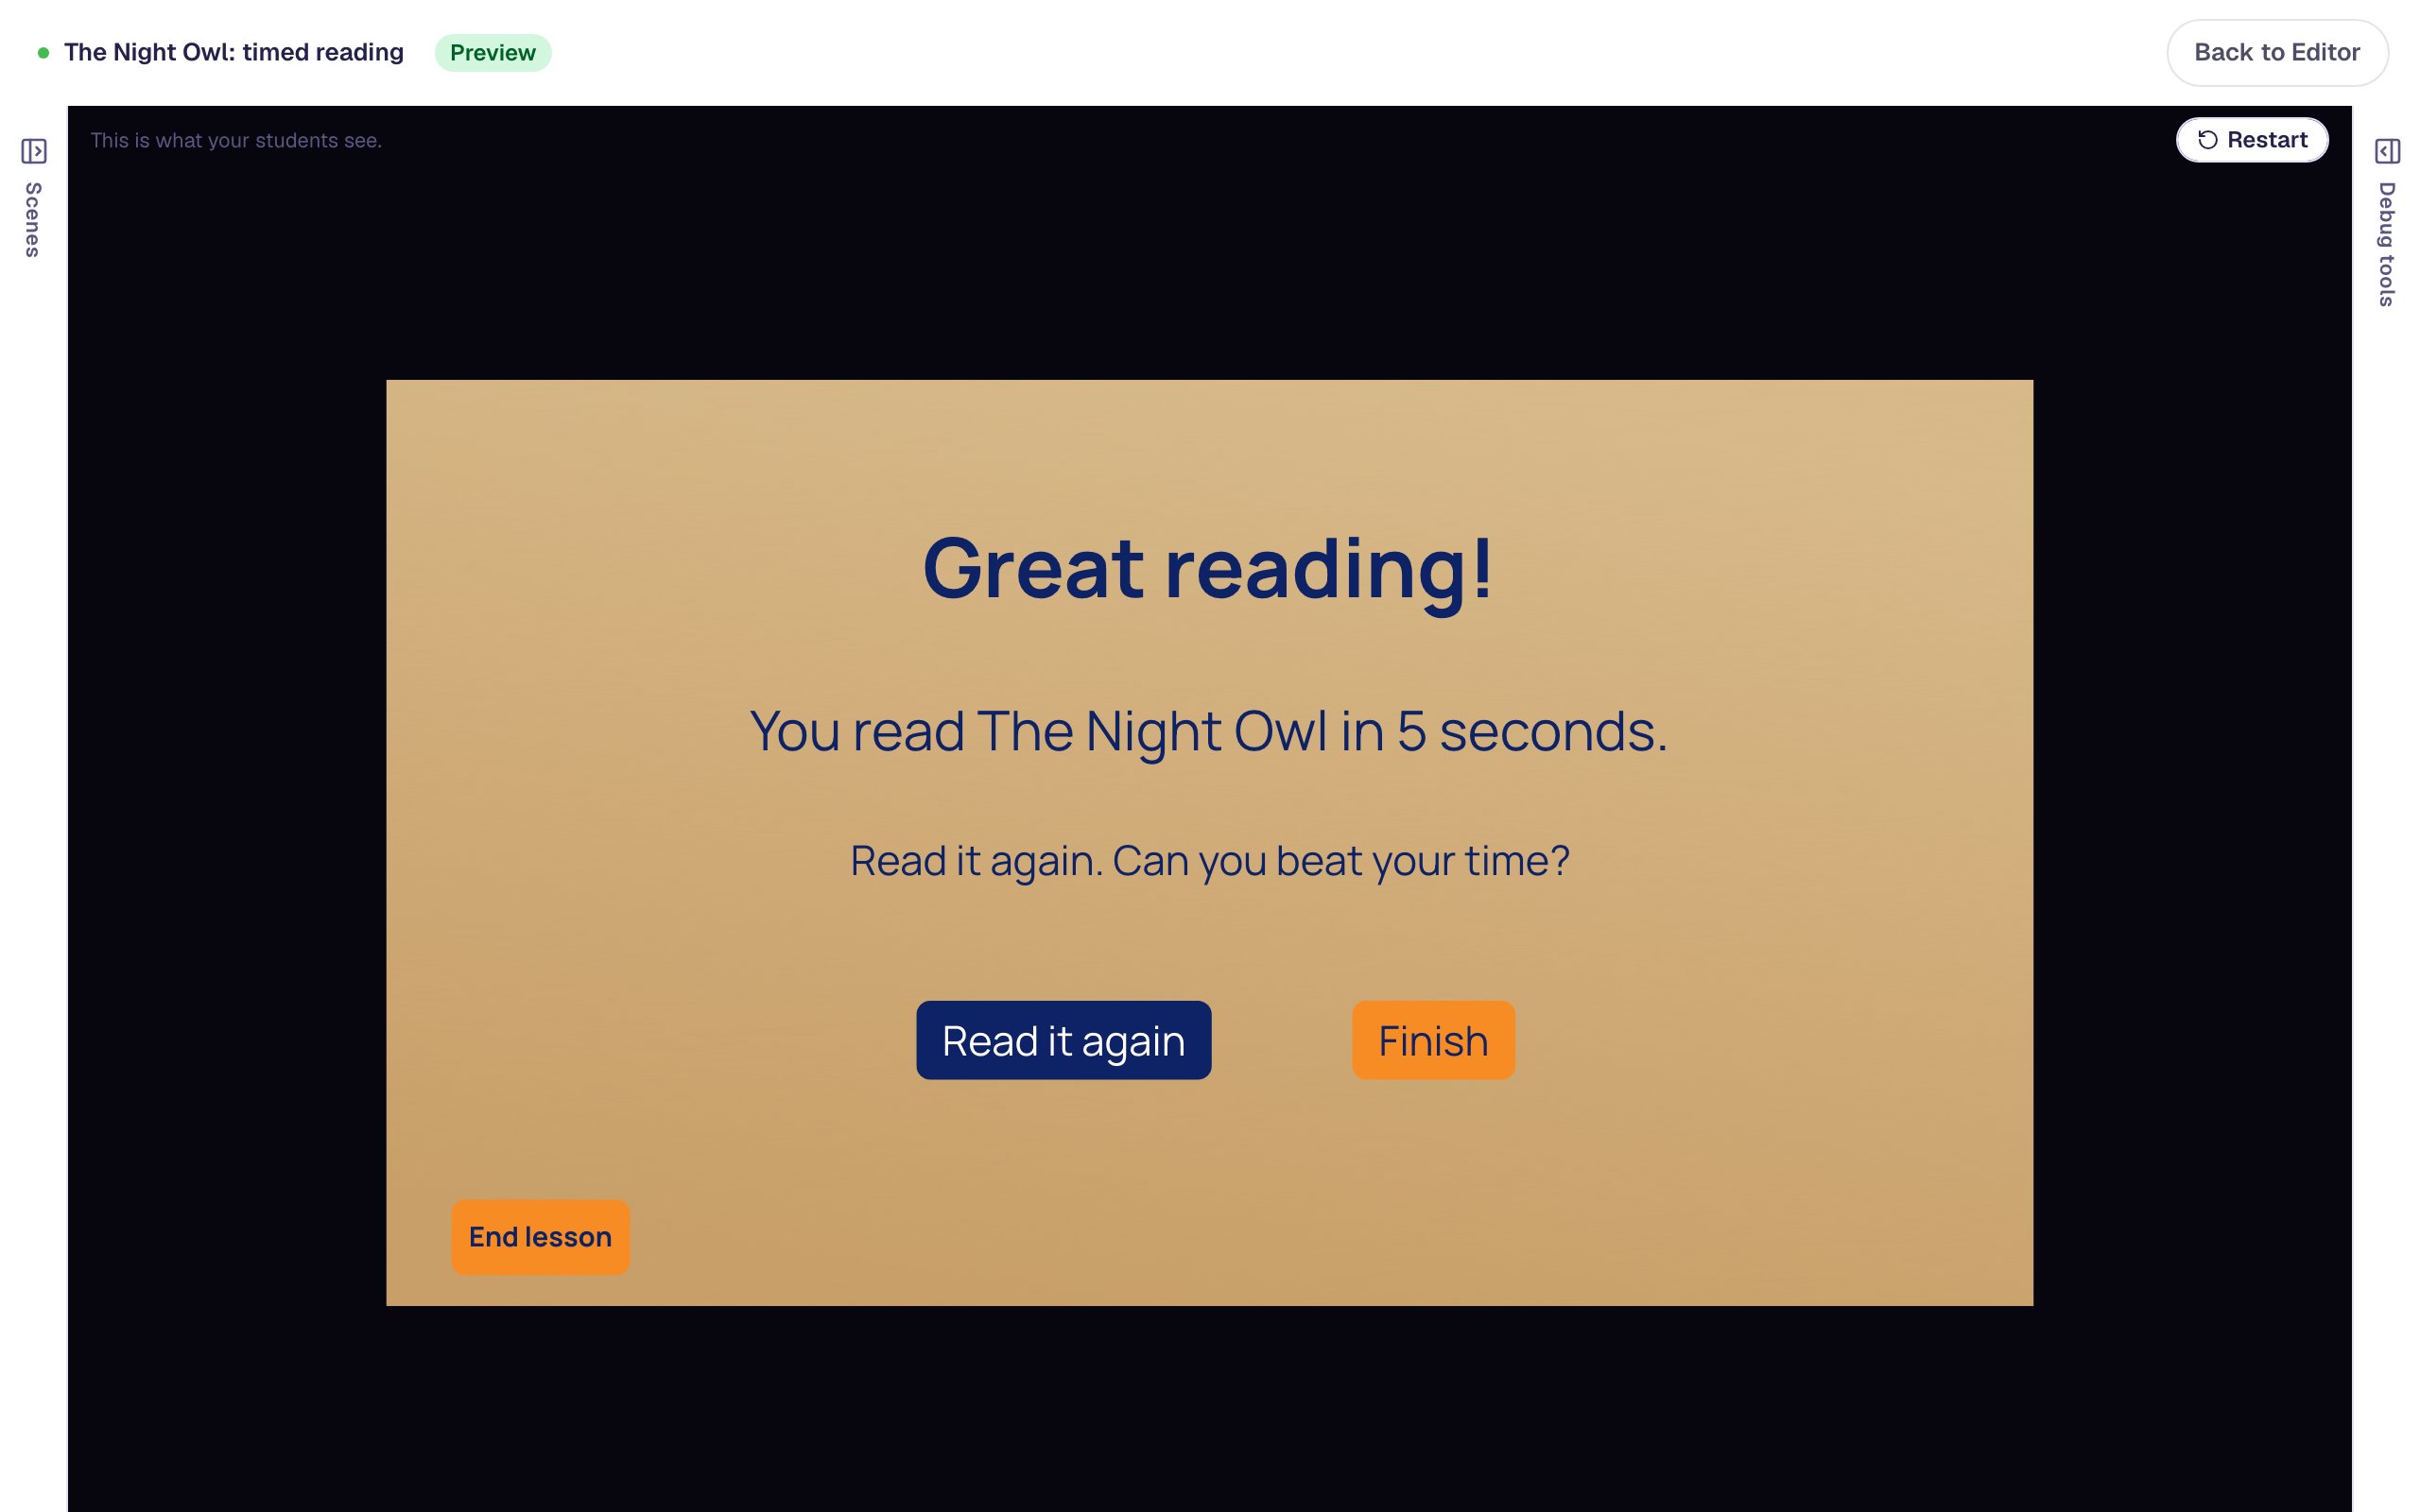
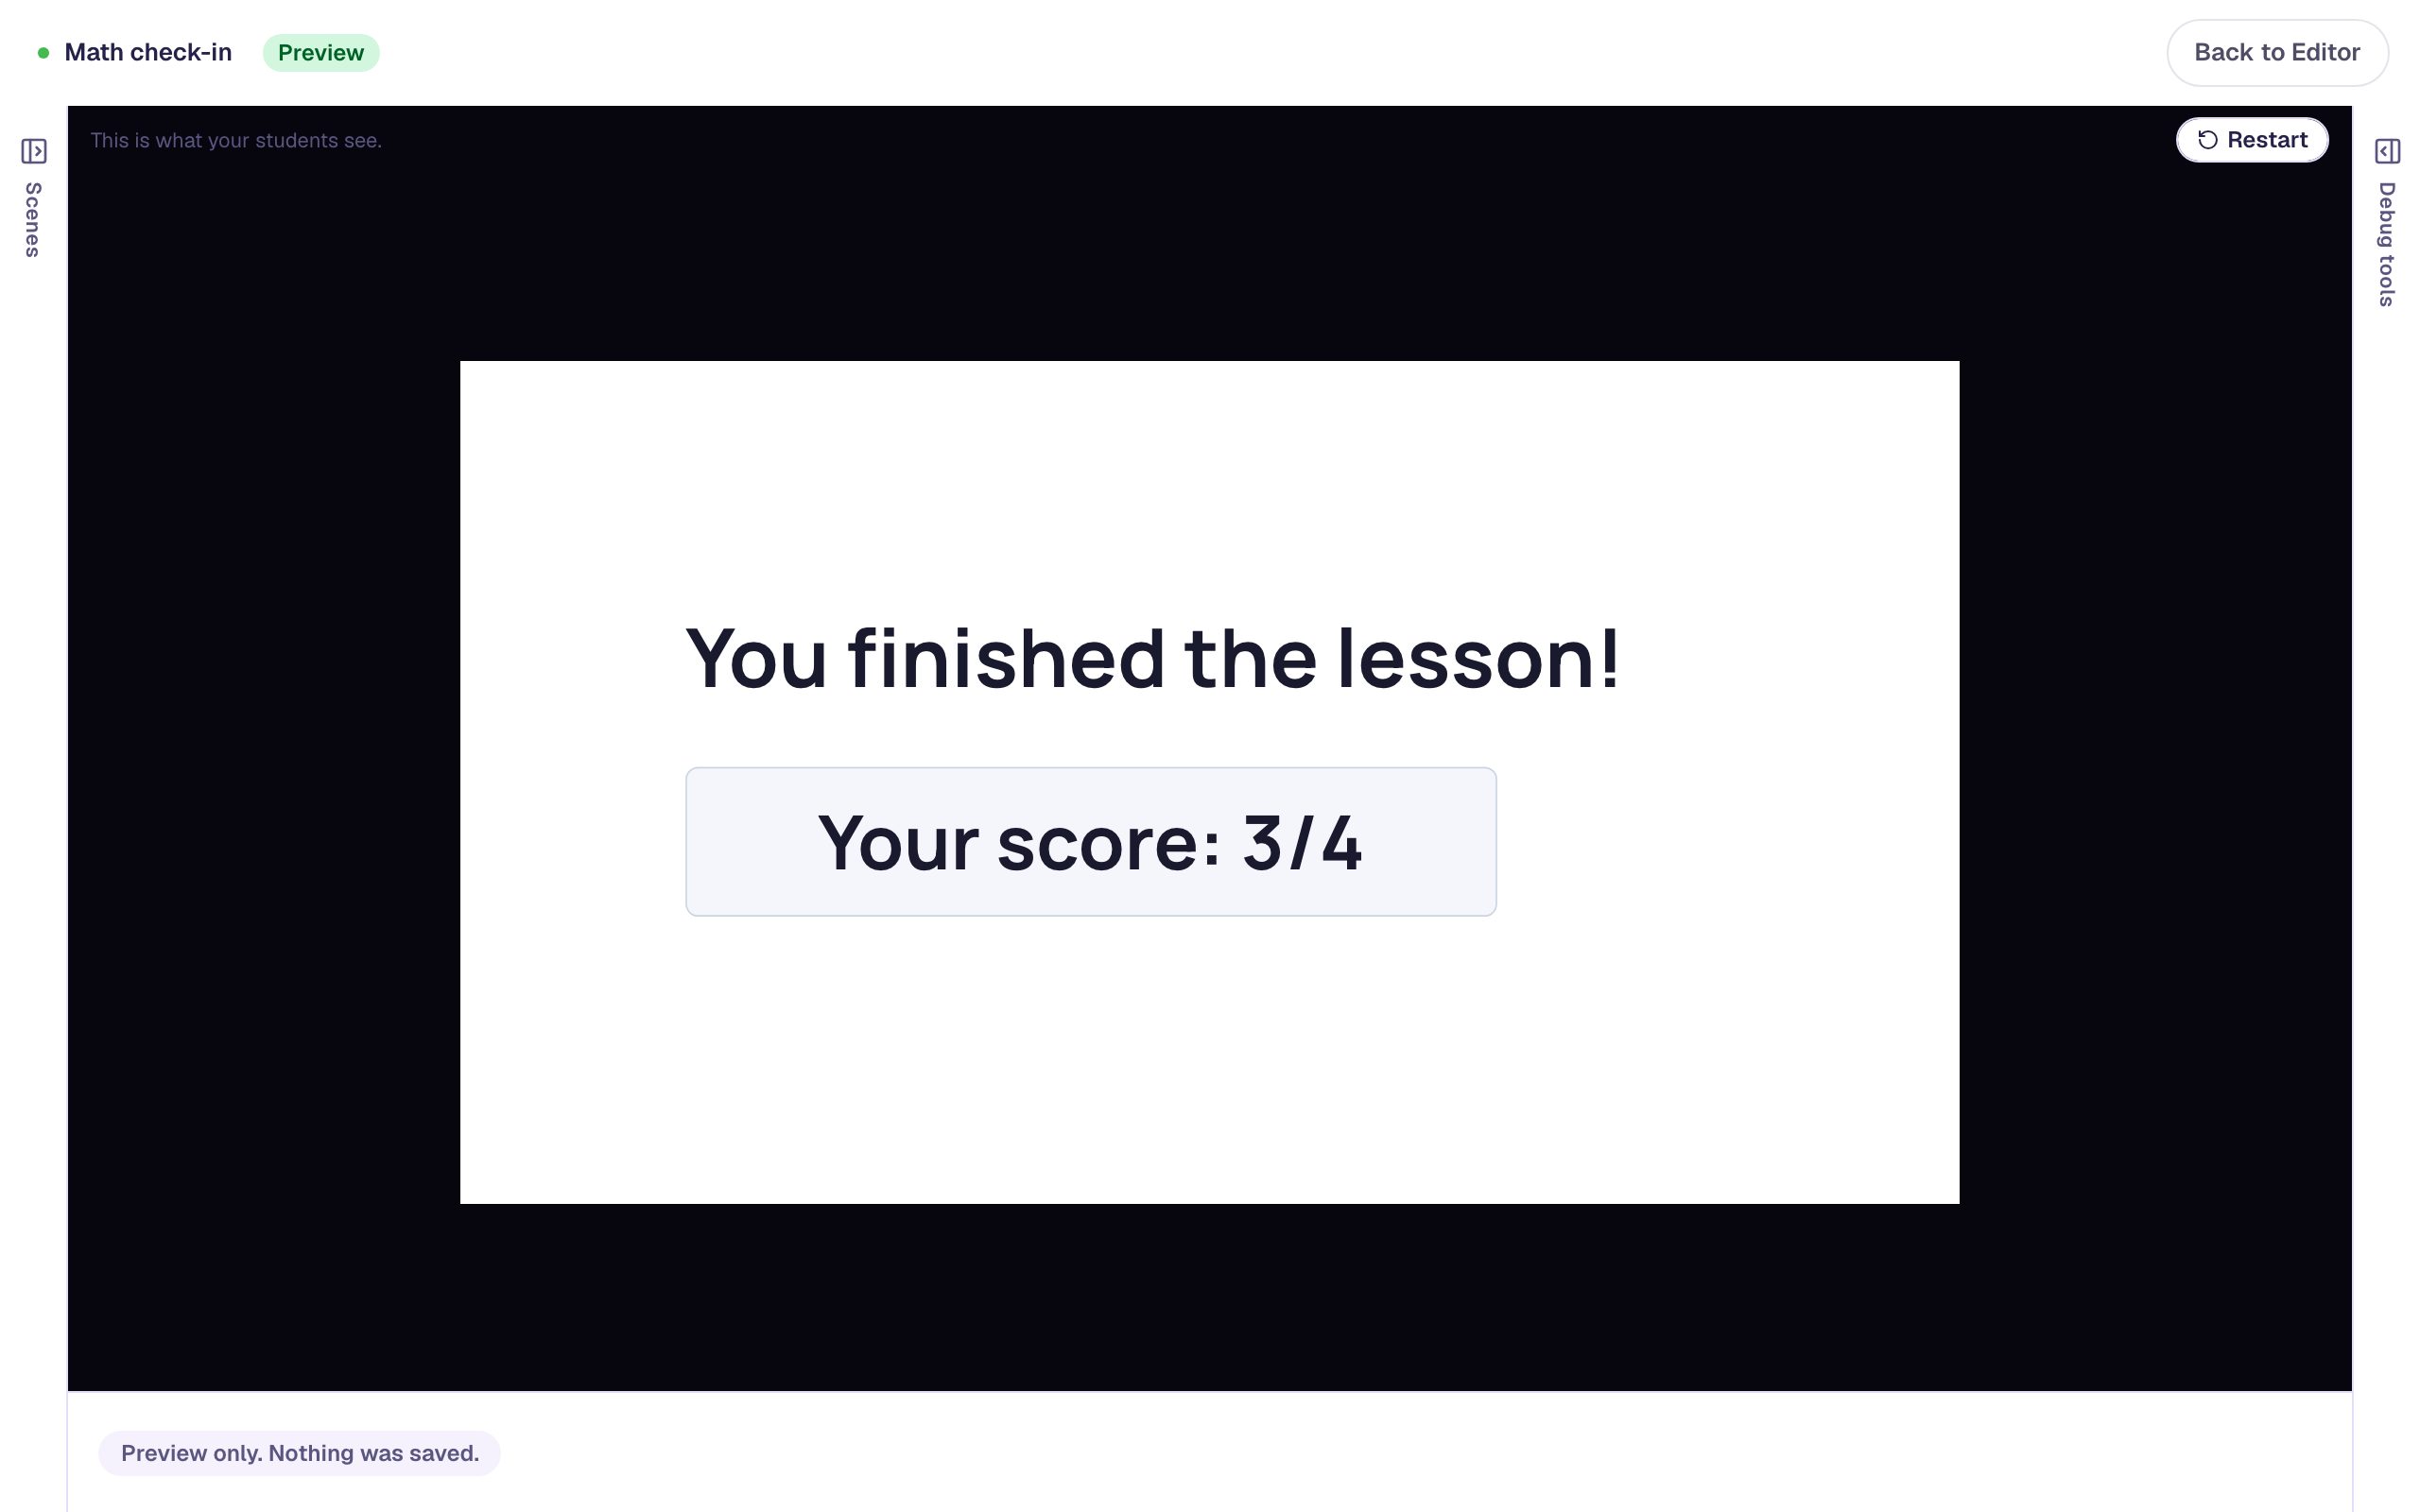
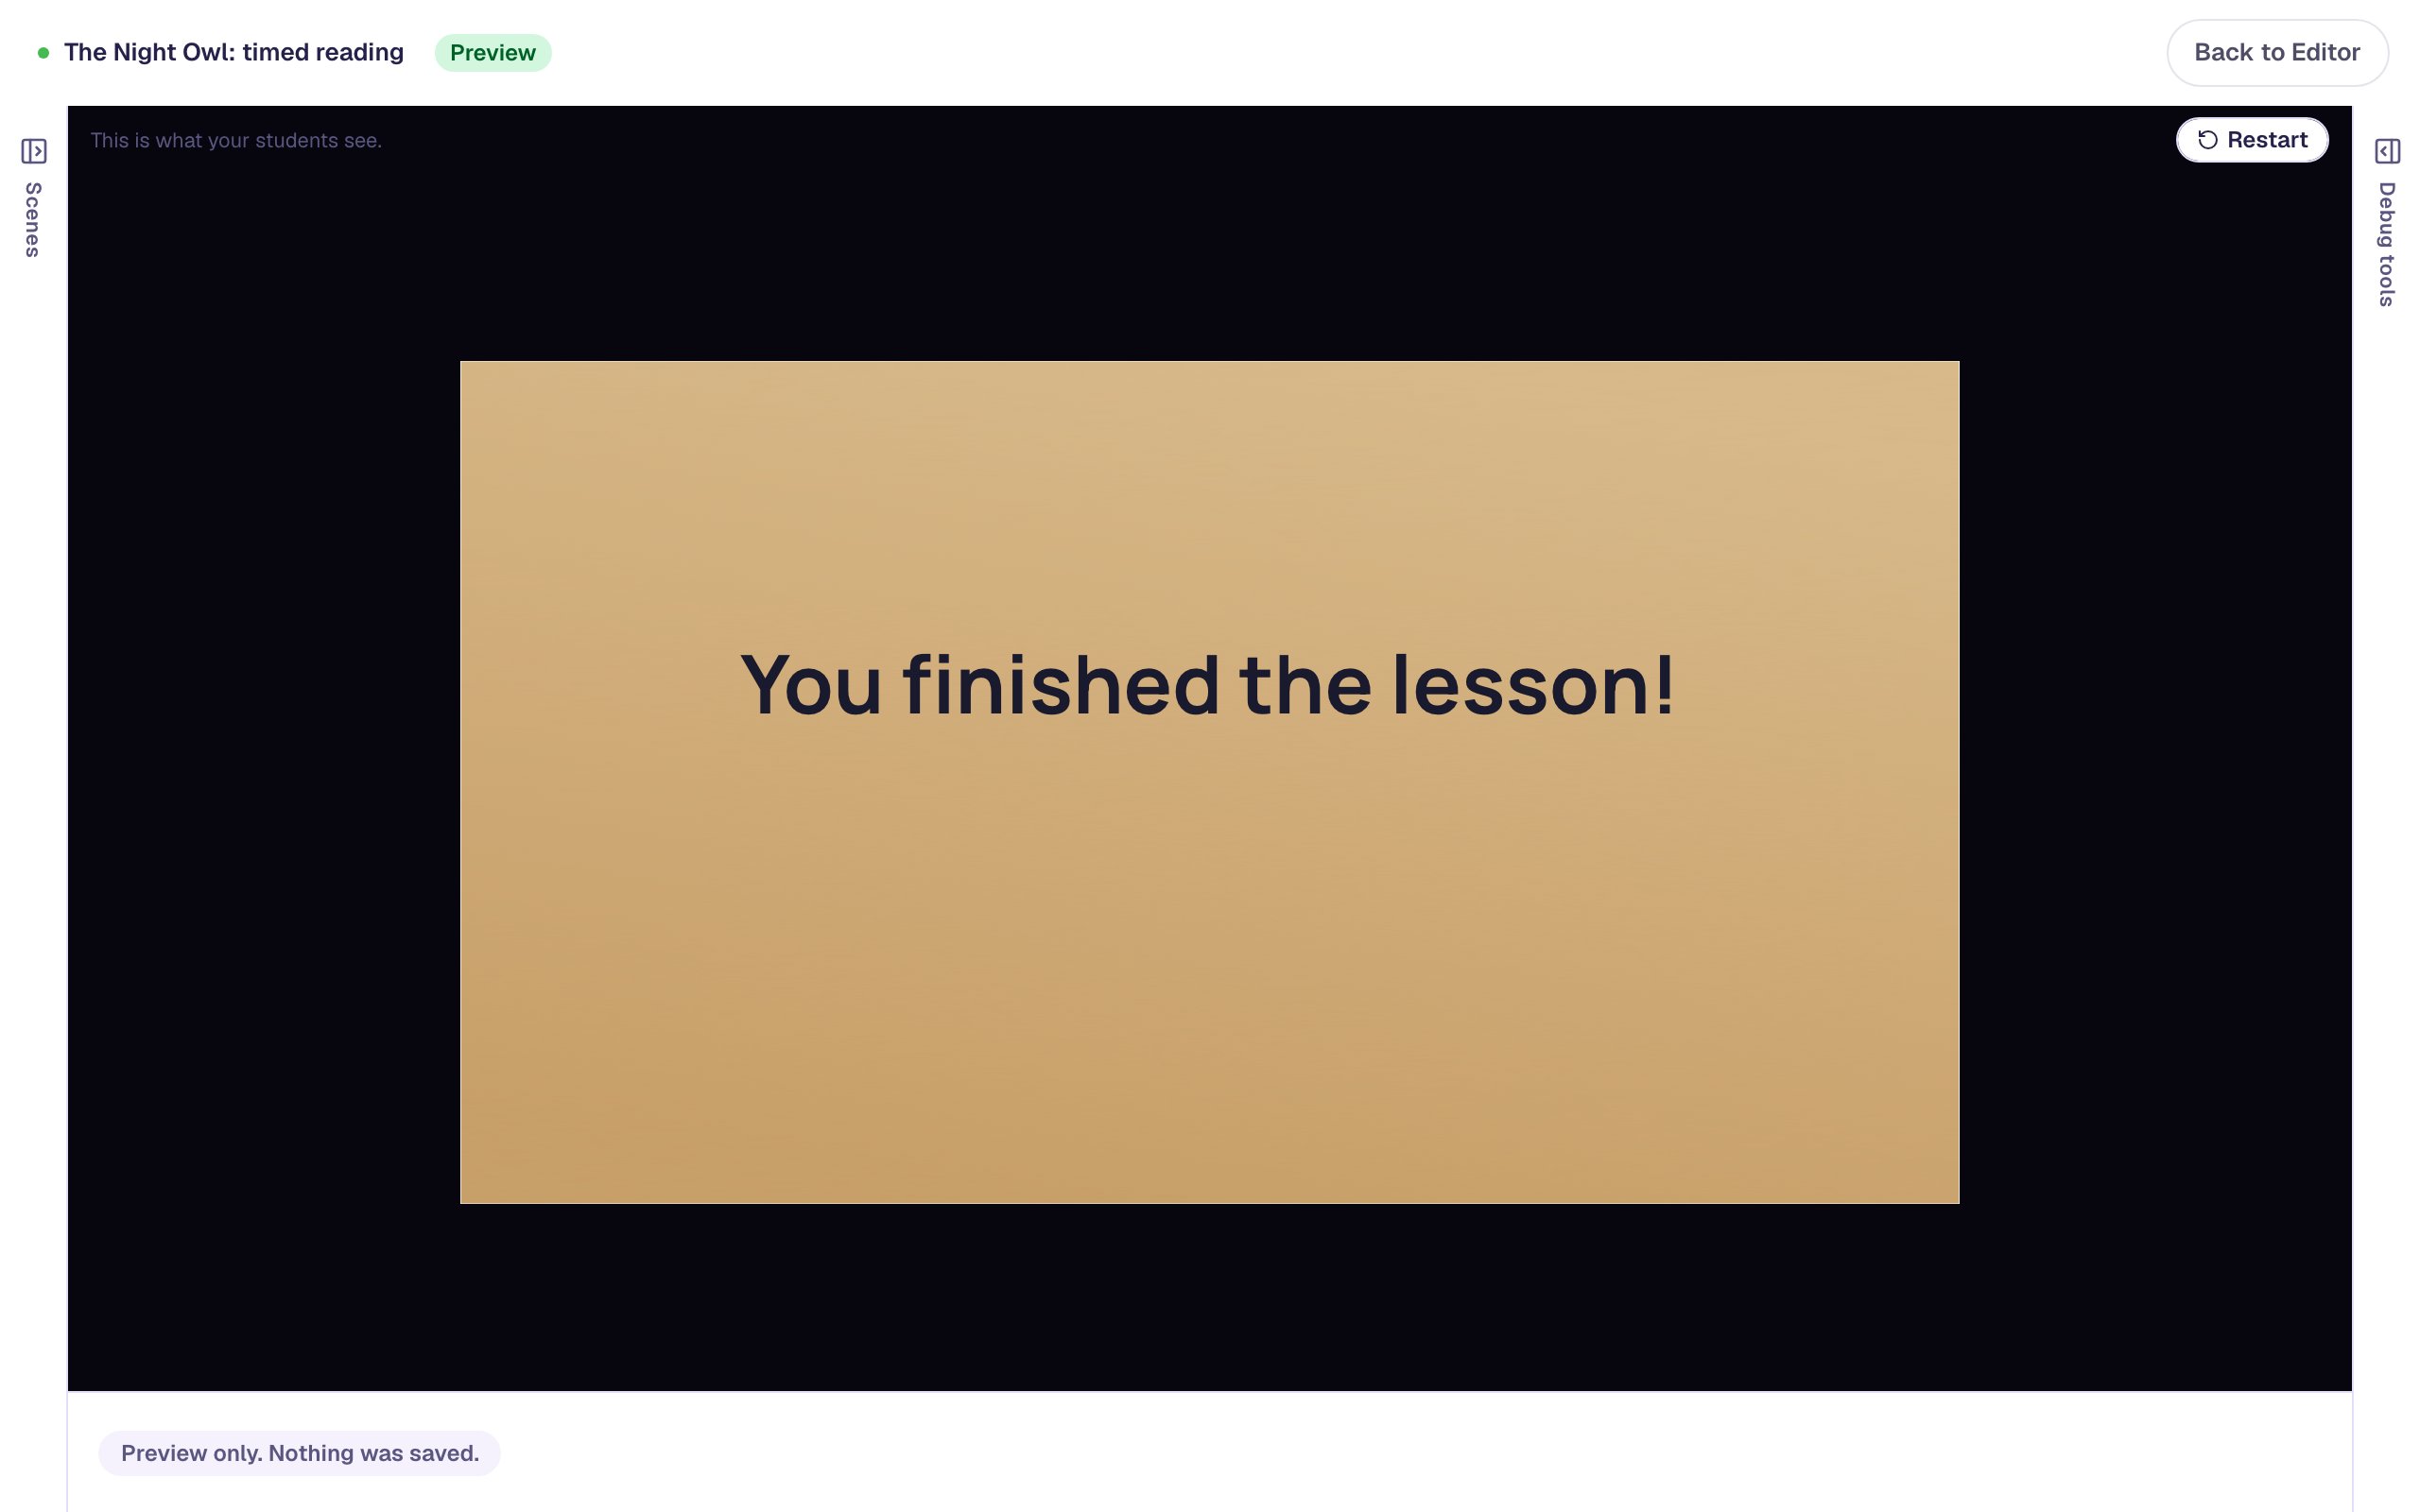
Press Finish to reach the ending:
What you built
You built a timed reading page with:
- a Count Up Timer with no maximum, used as a stopwatch;
- a Start reading button whose Widget Method action starts the stopwatch;
- an I'm done! button that pauses the stopwatch, copies its Elapsed time into the
secondsvariable with Set Variable and Widget property, and opens the next scene; - a Your time scene whose text says
{{ seconds }}, with Read it again for another try.
Swap in any passage your class is practising: a poem, a list of sight words, or a page from the class novel. To give more than one reading, duplicate the reading page and the Your time scene and use a second variable, such as seconds_poem, so each time is kept separately. And to put a limit on the reading instead of measuring it, see Give students 15 seconds to answer a question, which uses the same Timer counting down.
Make this lesson yours
Add the lesson you just watched being built to your account, then change it for your class: your questions, your pictures, your colors.
Free to sign up, and you'll come straight back here. I have an account