Send each student to the tip they need
Ask one question per skill, each on its own scene, then add a router that reads both scenes' scores and sends every student to the tip for the question they missed, or straight to the ending if they got both right.
- Level
- Intermediate
- Time
- About 15 min
- Steps
- 8
- Updated
- Oct 14, 2026
A "Nouns and verbs check" where a student who misses the noun question gets a tip about nouns, a student who misses the verb question gets a tip about verbs, and a student who gets both right goes straight to the ending.
Get the finished lesson
Skip straight to the result, or keep it open beside the steps. Add this tutorial's lesson to your account and explore how it works in the studio.
Free to sign up, and you'll come straight back here. I have an account
A quick check tells you who needs what. One student mixes up nouns, another mixes up verbs, and a third has both down. Sending all three through the same review wastes two students' time. With a router, the lesson can look at how each student did on each question and send them to the one tip they need.
In this tutorial you'll build a Nouns and verbs check: one question about nouns and one about verbs, each on its own scene. After the last question, a router checks both scores. A student who missed the noun question gets a tip about nouns, a student who missed the verb question gets a tip about verbs, and a student who got both right goes straight to the ending.
Why a router and not a score path? A Their score is… path only looks at the scene the student is on. A router can look back at any scene in the lesson, so one decision can weigh both questions. If you haven't used the Lesson Graph before, Let students choose their own path is a gentler start.
Step 1: Build the title scene
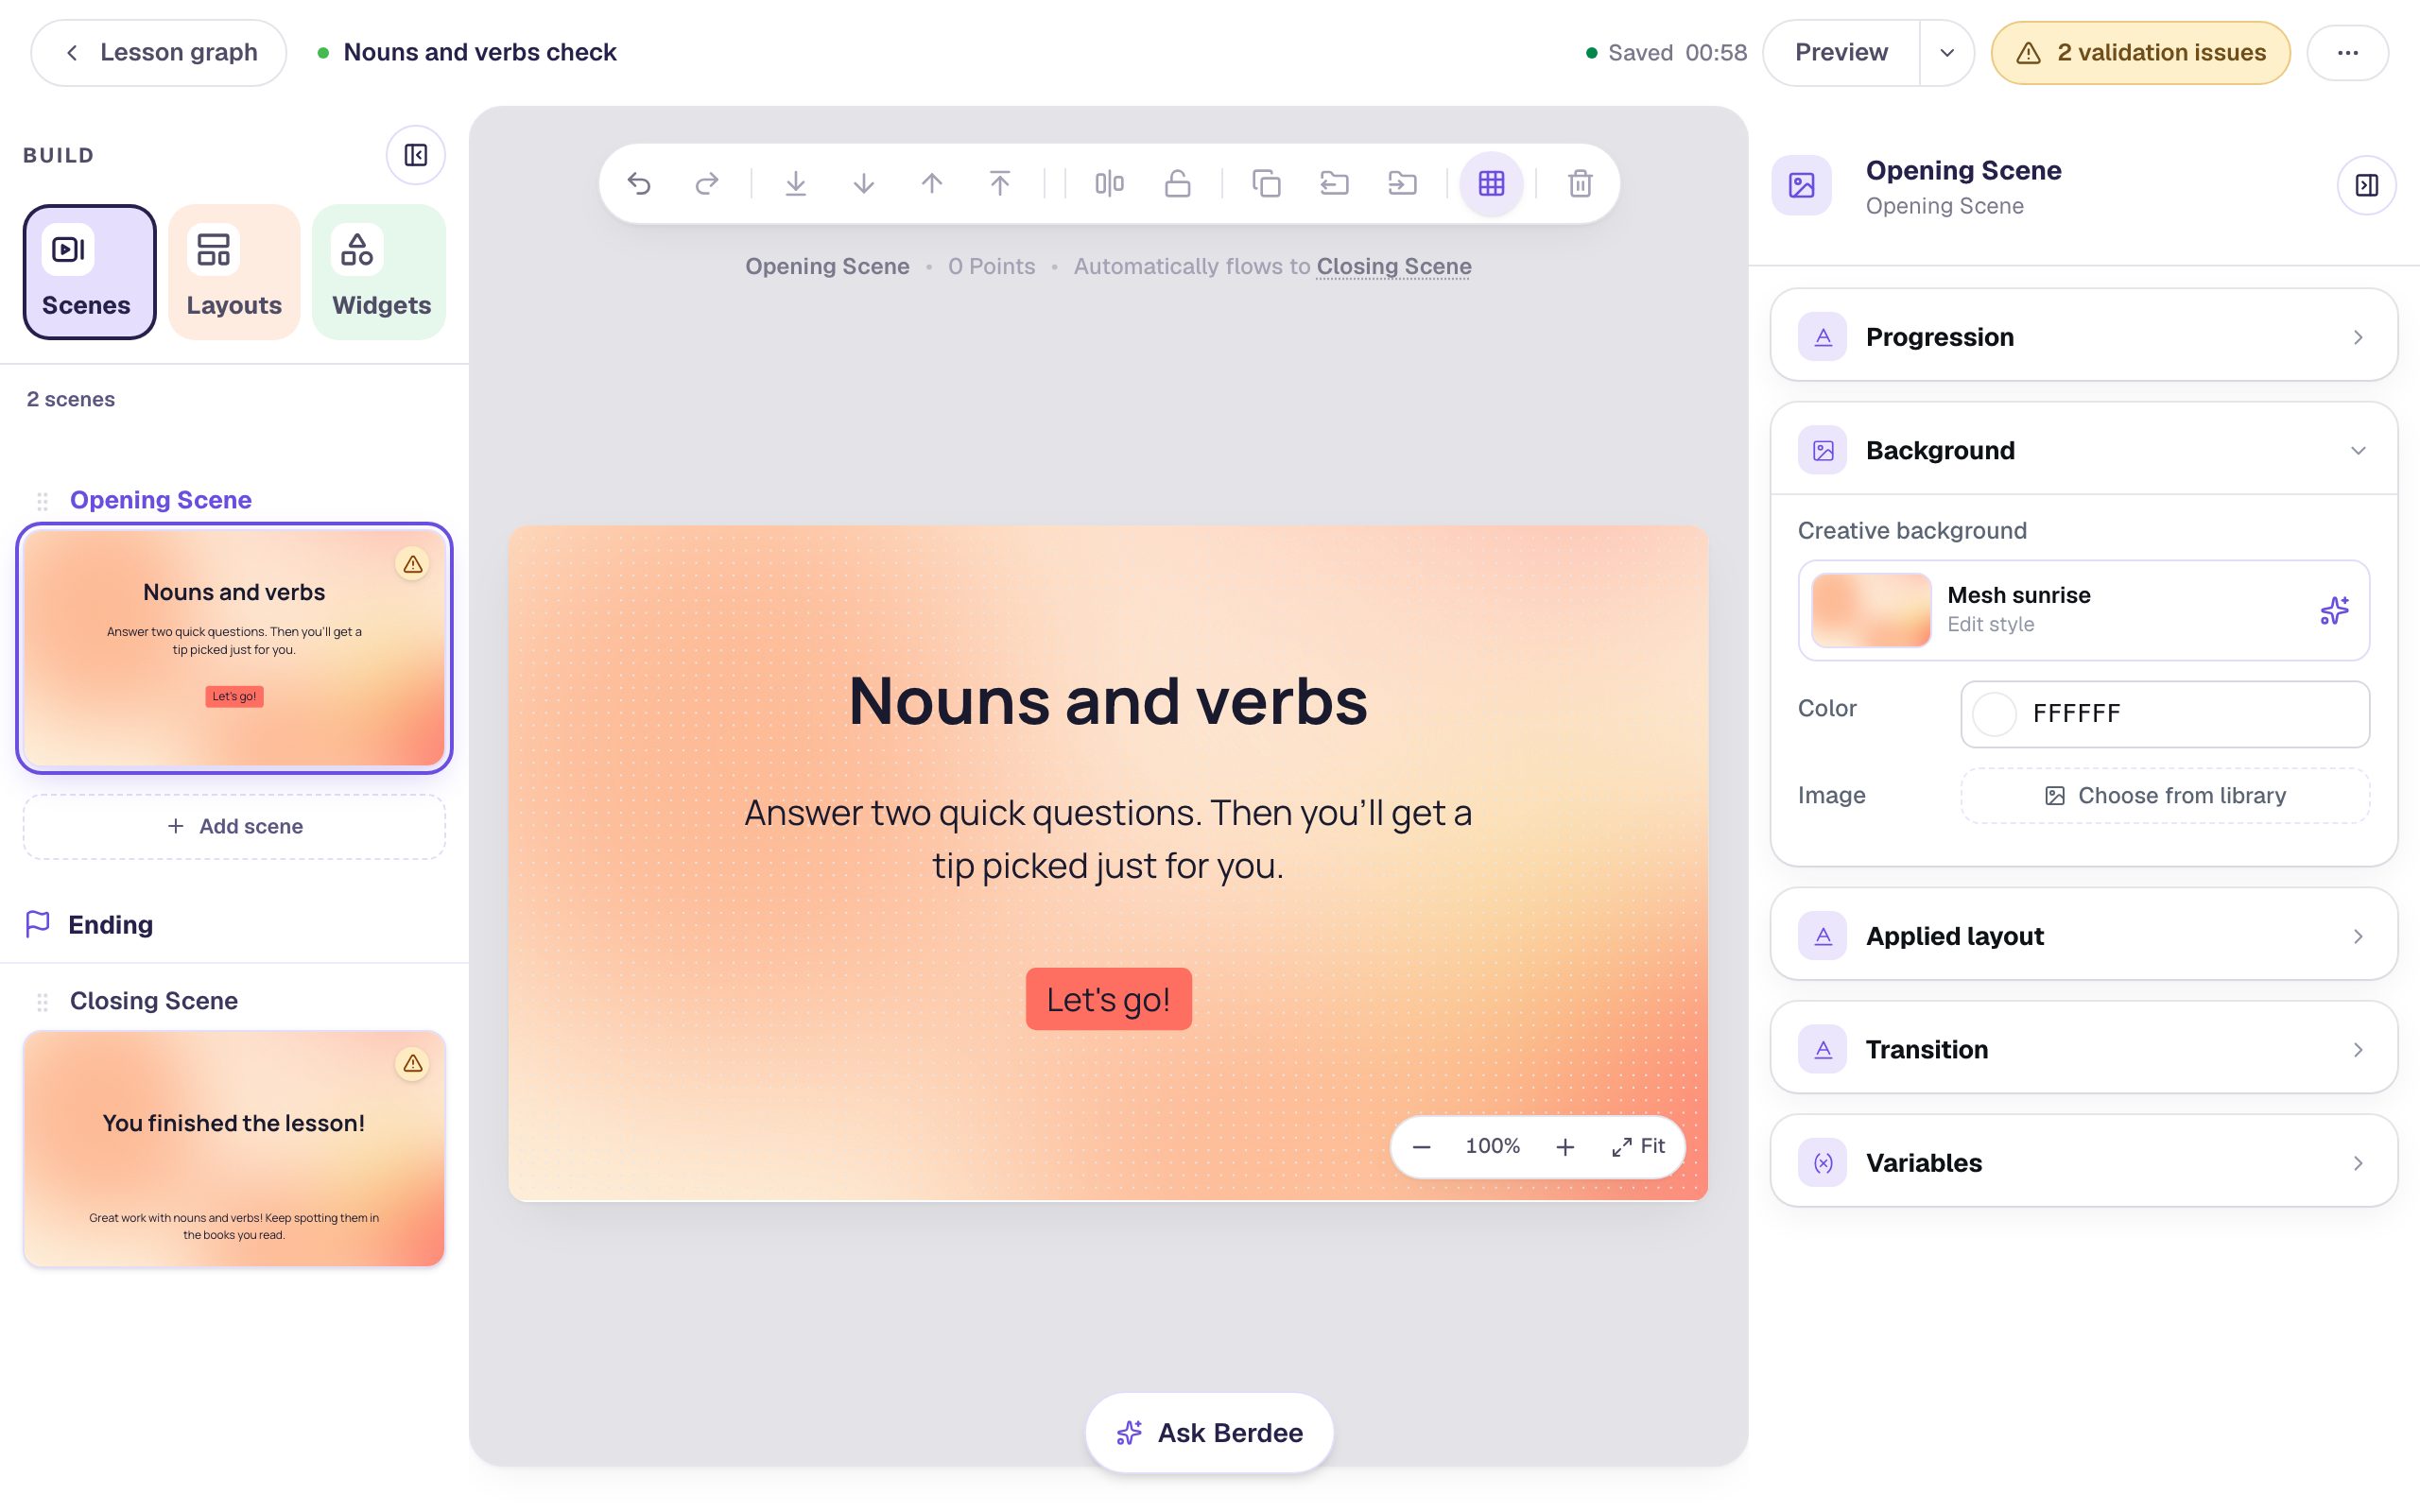
Start a blank lesson (New lesson, then Start from scratch) and name it Nouns and verbs check. On the Opening Scene:
- Give the scene a background: with nothing selected, open Background, click Choose a style, and pick Mesh sunrise under Gradients.
- Add a Heading that says
Nouns and verbs. - Add a Body text that says
Answer two quick questions. Then you'll get a tip picked just for you.Make it Fixed width and set its Font Size to28. - Add a Button. Click ⚙ Configure, set its Label to
Let's go!, and click Save. - Rename the button
Start: click the pencil next to its name at the top of the properties panel, type, and press Enter. The Lesson Graph lists buttons by name, so good names make the next steps easy to follow.
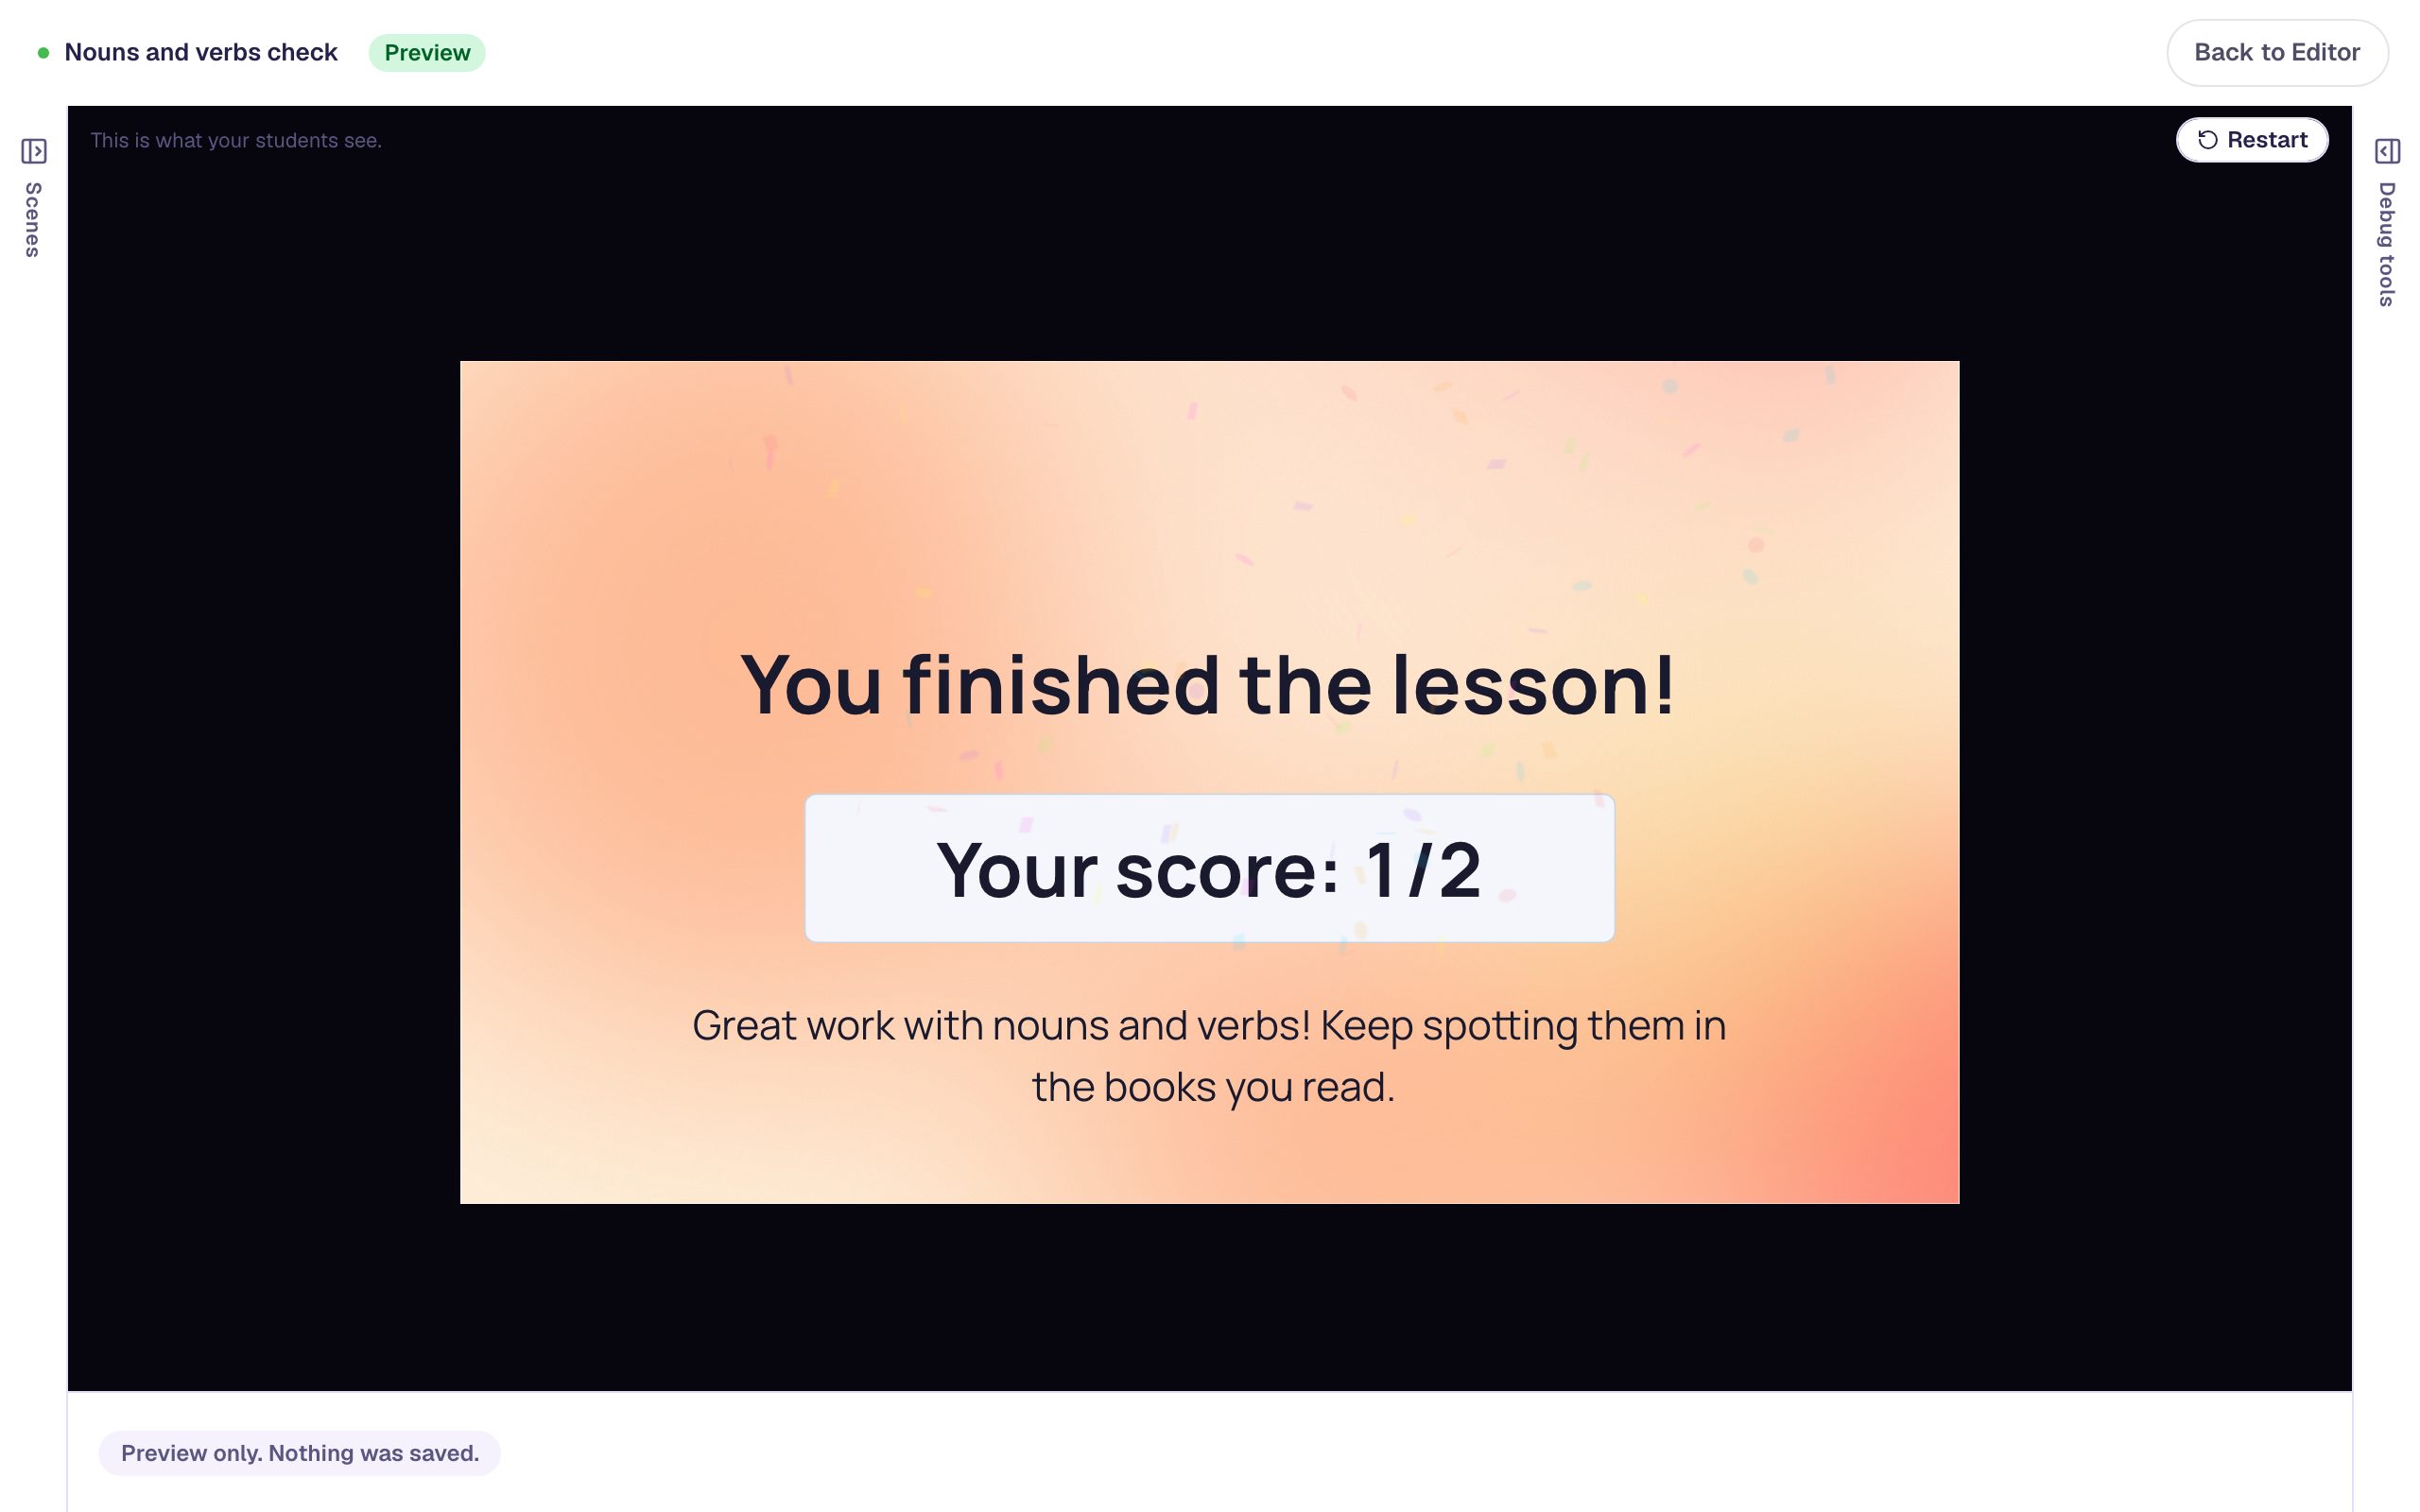
Give the Closing Scene the same background, and add a Body below the score: Great work with nouns and verbs! Keep spotting them in the books you read.
Step 2: Add a scene for the noun question
Click Lesson graph at the top left. Hover over the Opening Scene card and click the dot on its right edge. A short window asks what comes next:
- Leave A new scene selected and click Next.
- Name the scene
Noun question. - Choose They tap something, and set Student taps to Start.
- Click Add scene.
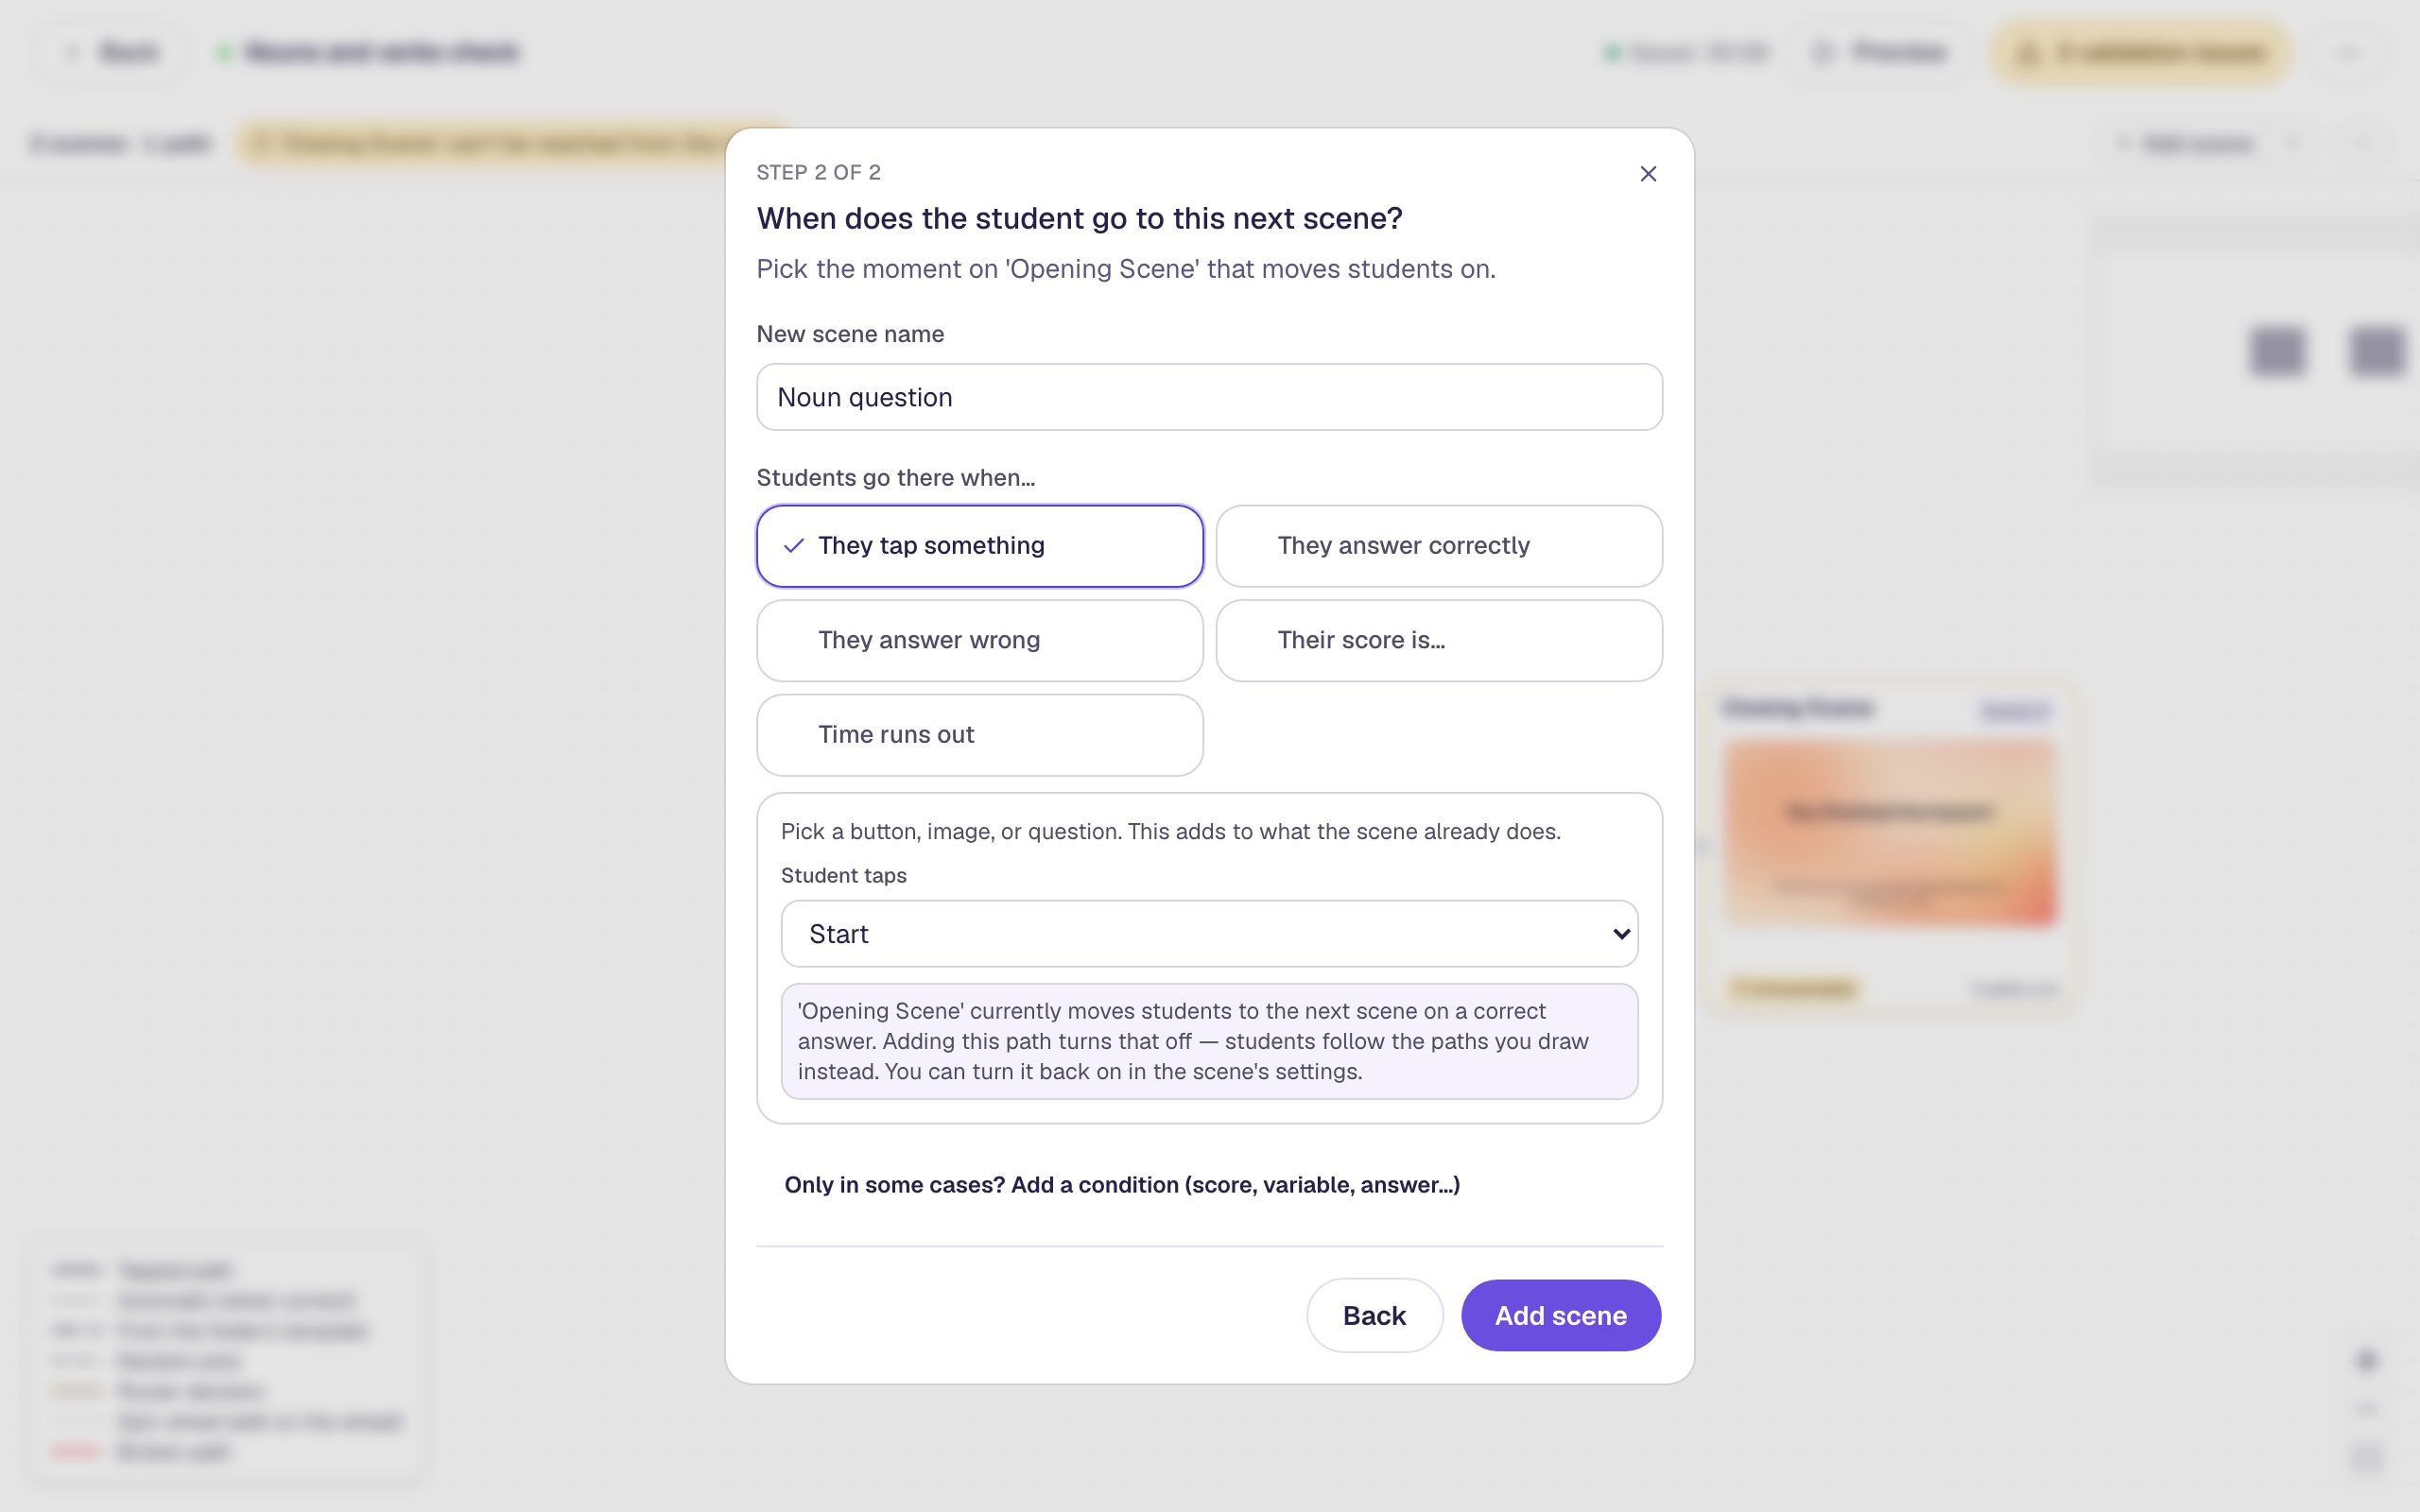
The note under Student taps matters for the rest of this tutorial. Once a scene has a tapped path, students leave it only by the paths you draw. That's what lets every student reach the second question, whether they got the first one right or not.
Step 3: Write the noun question
Hover over the Noun question card and click Edit scene. Build the question:
- Give it the Mesh sunrise background.
- Add a Heading:
Which word is a noun?. - Add a Multiple Choice. Click ⚙ Configure and type four answers:
puppy,run,happyandquickly. Leave puppy, the first, marked correct, and click Save. Under Style & Layout, set its size to720×130so the answers sit in one row. - Add a Button under the answers. Click ⚙ Configure, set its Label to
Next question, and click Save. Rename itNext question, the same way you renamed Start.
Use a plain Button here, not a Submit Button. The next step gives this button a path in the Lesson Graph, and a path added to a Submit Button replaces its built-in submit: Berdee then refuses to publish with Submit Button Does Not Submit. You don't need a Submit to grade the question. The lesson records every answer when the student reaches the ending.
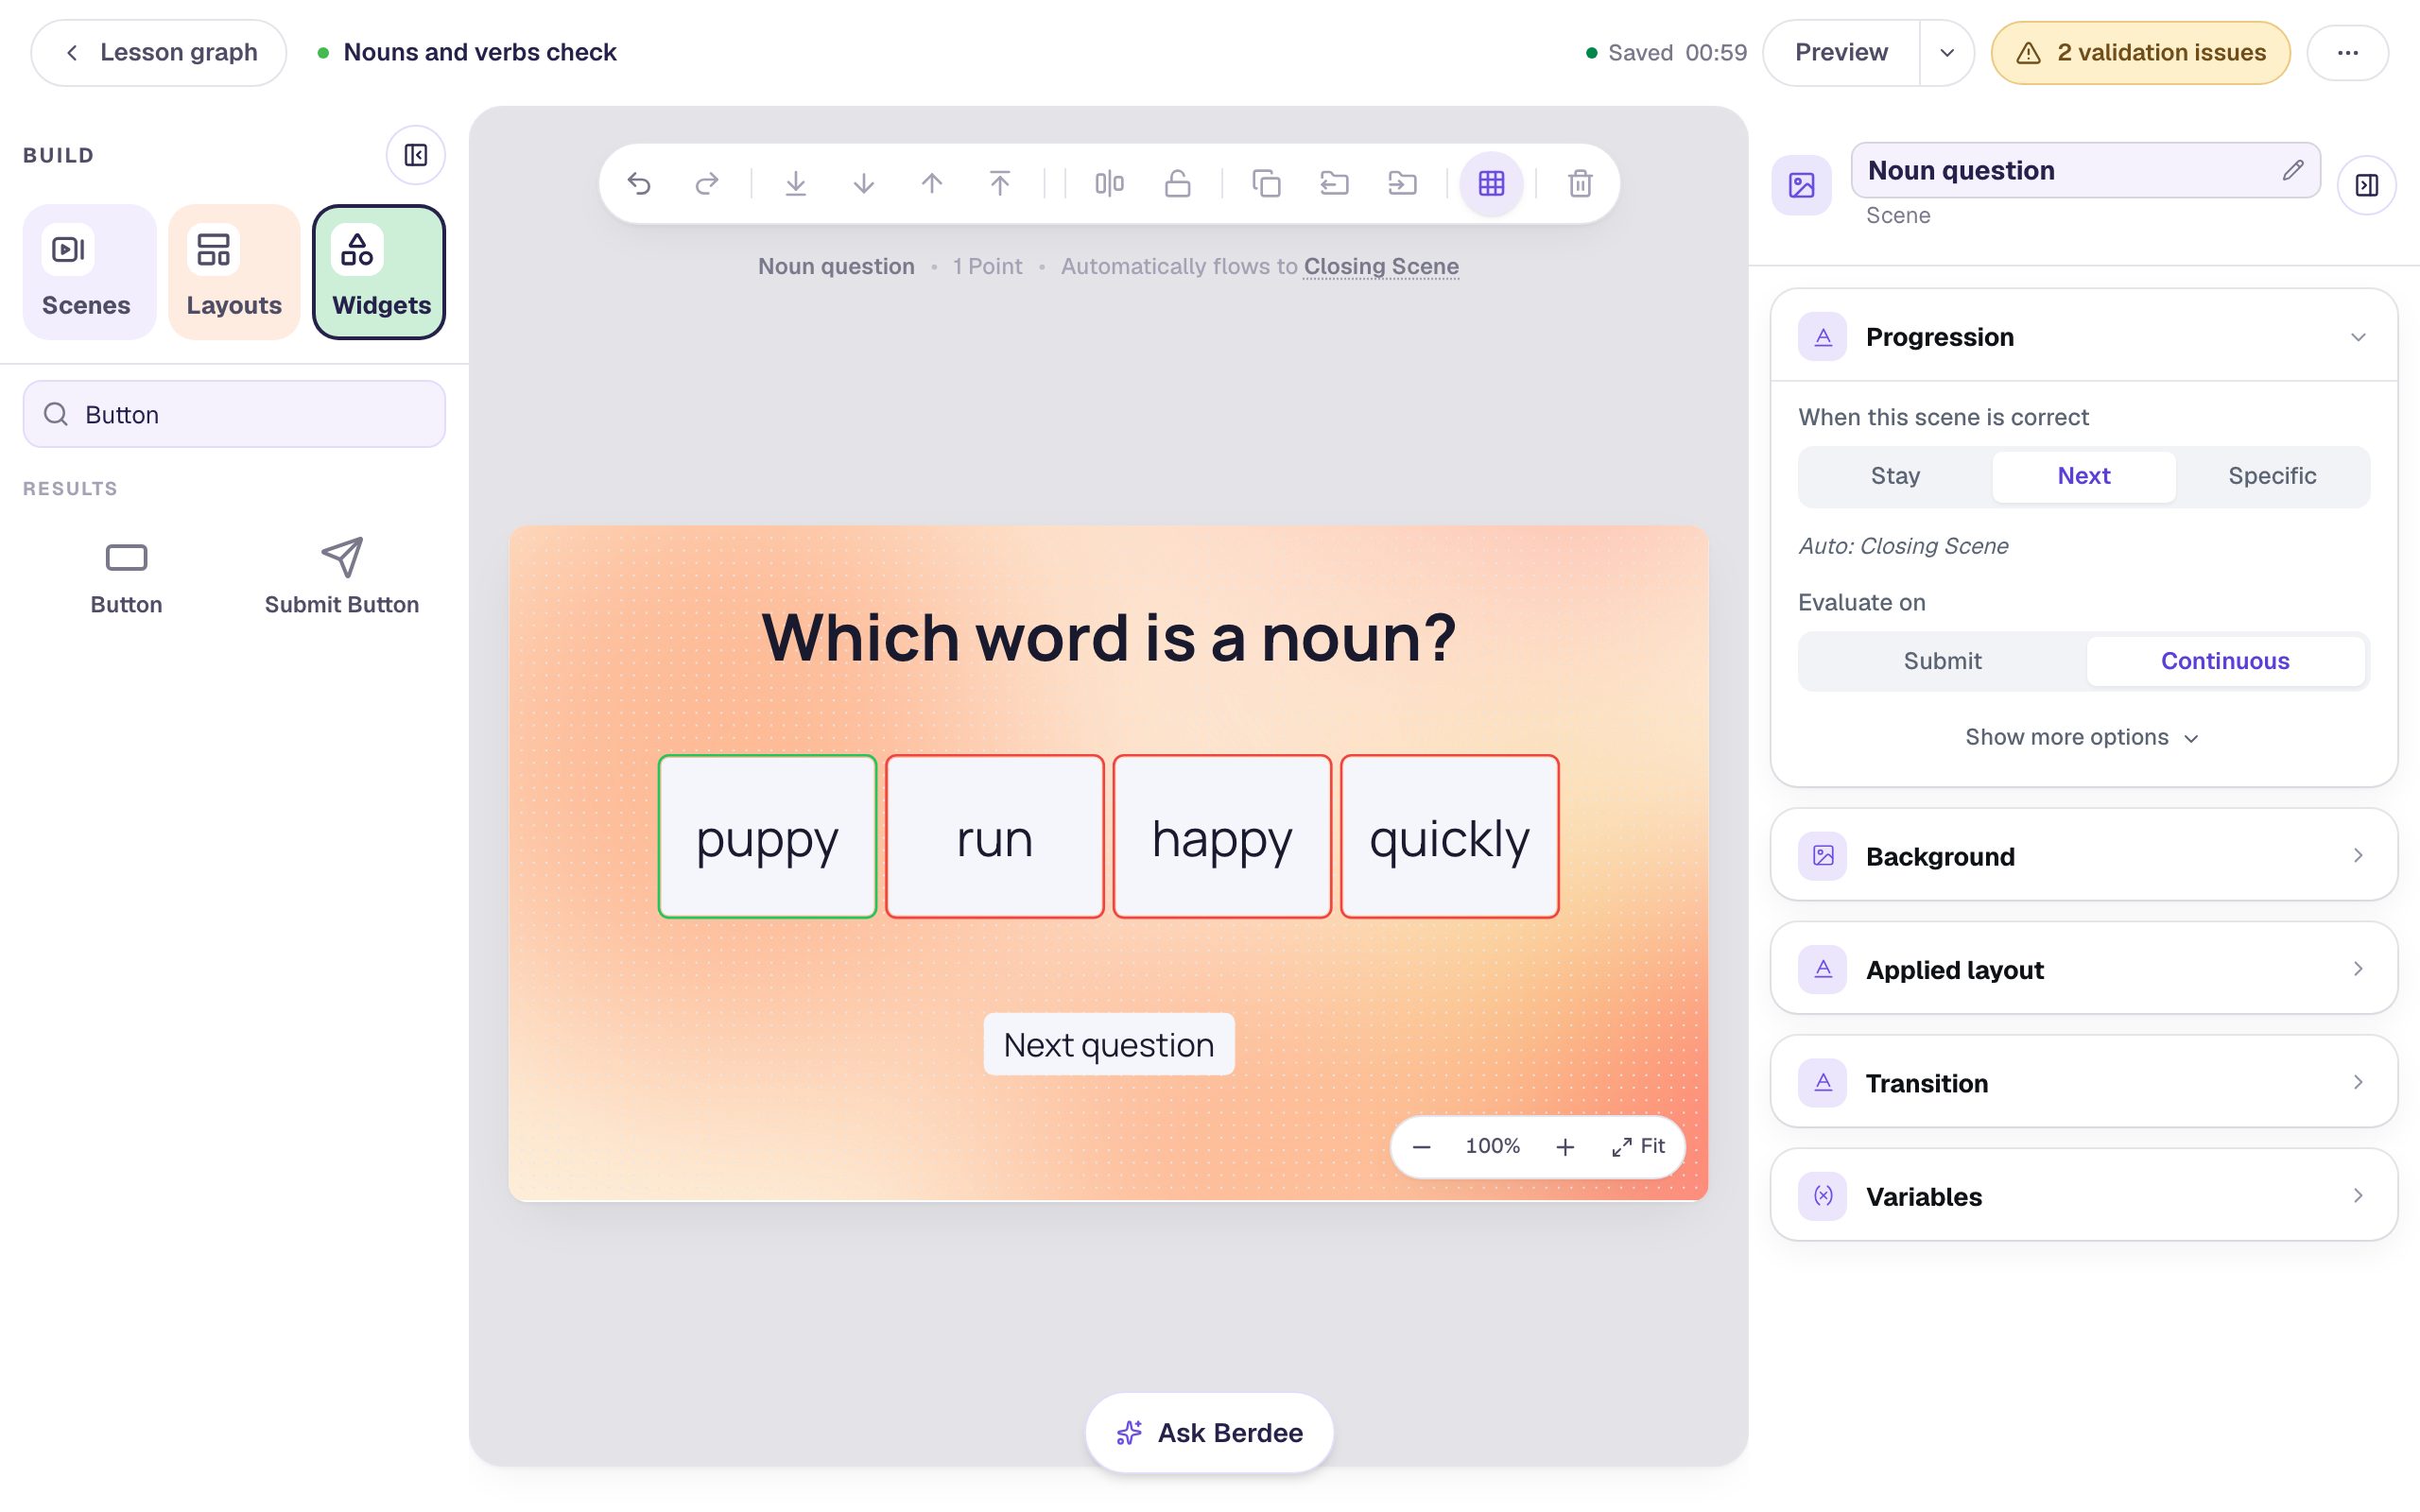
The strip above the scene still says Automatically flows to Closing Scene. That changes in the next step, when you give the Next question button a path of its own.
Step 4: Add the verb question
Click Lesson graph. Click the dot on the Noun question card, leave A new scene selected, name it Verb question, choose They tap something, set Student taps to Next question, and click Add scene.
Open the new scene with Edit scene and build it the same way:
- the Mesh sunrise background,
- a Heading:
Which word is a verb?, - a Multiple Choice with
jump(marked correct),blue,tableandsoft, at720×130, - and a Button labelled
Finish, renamedFinish.
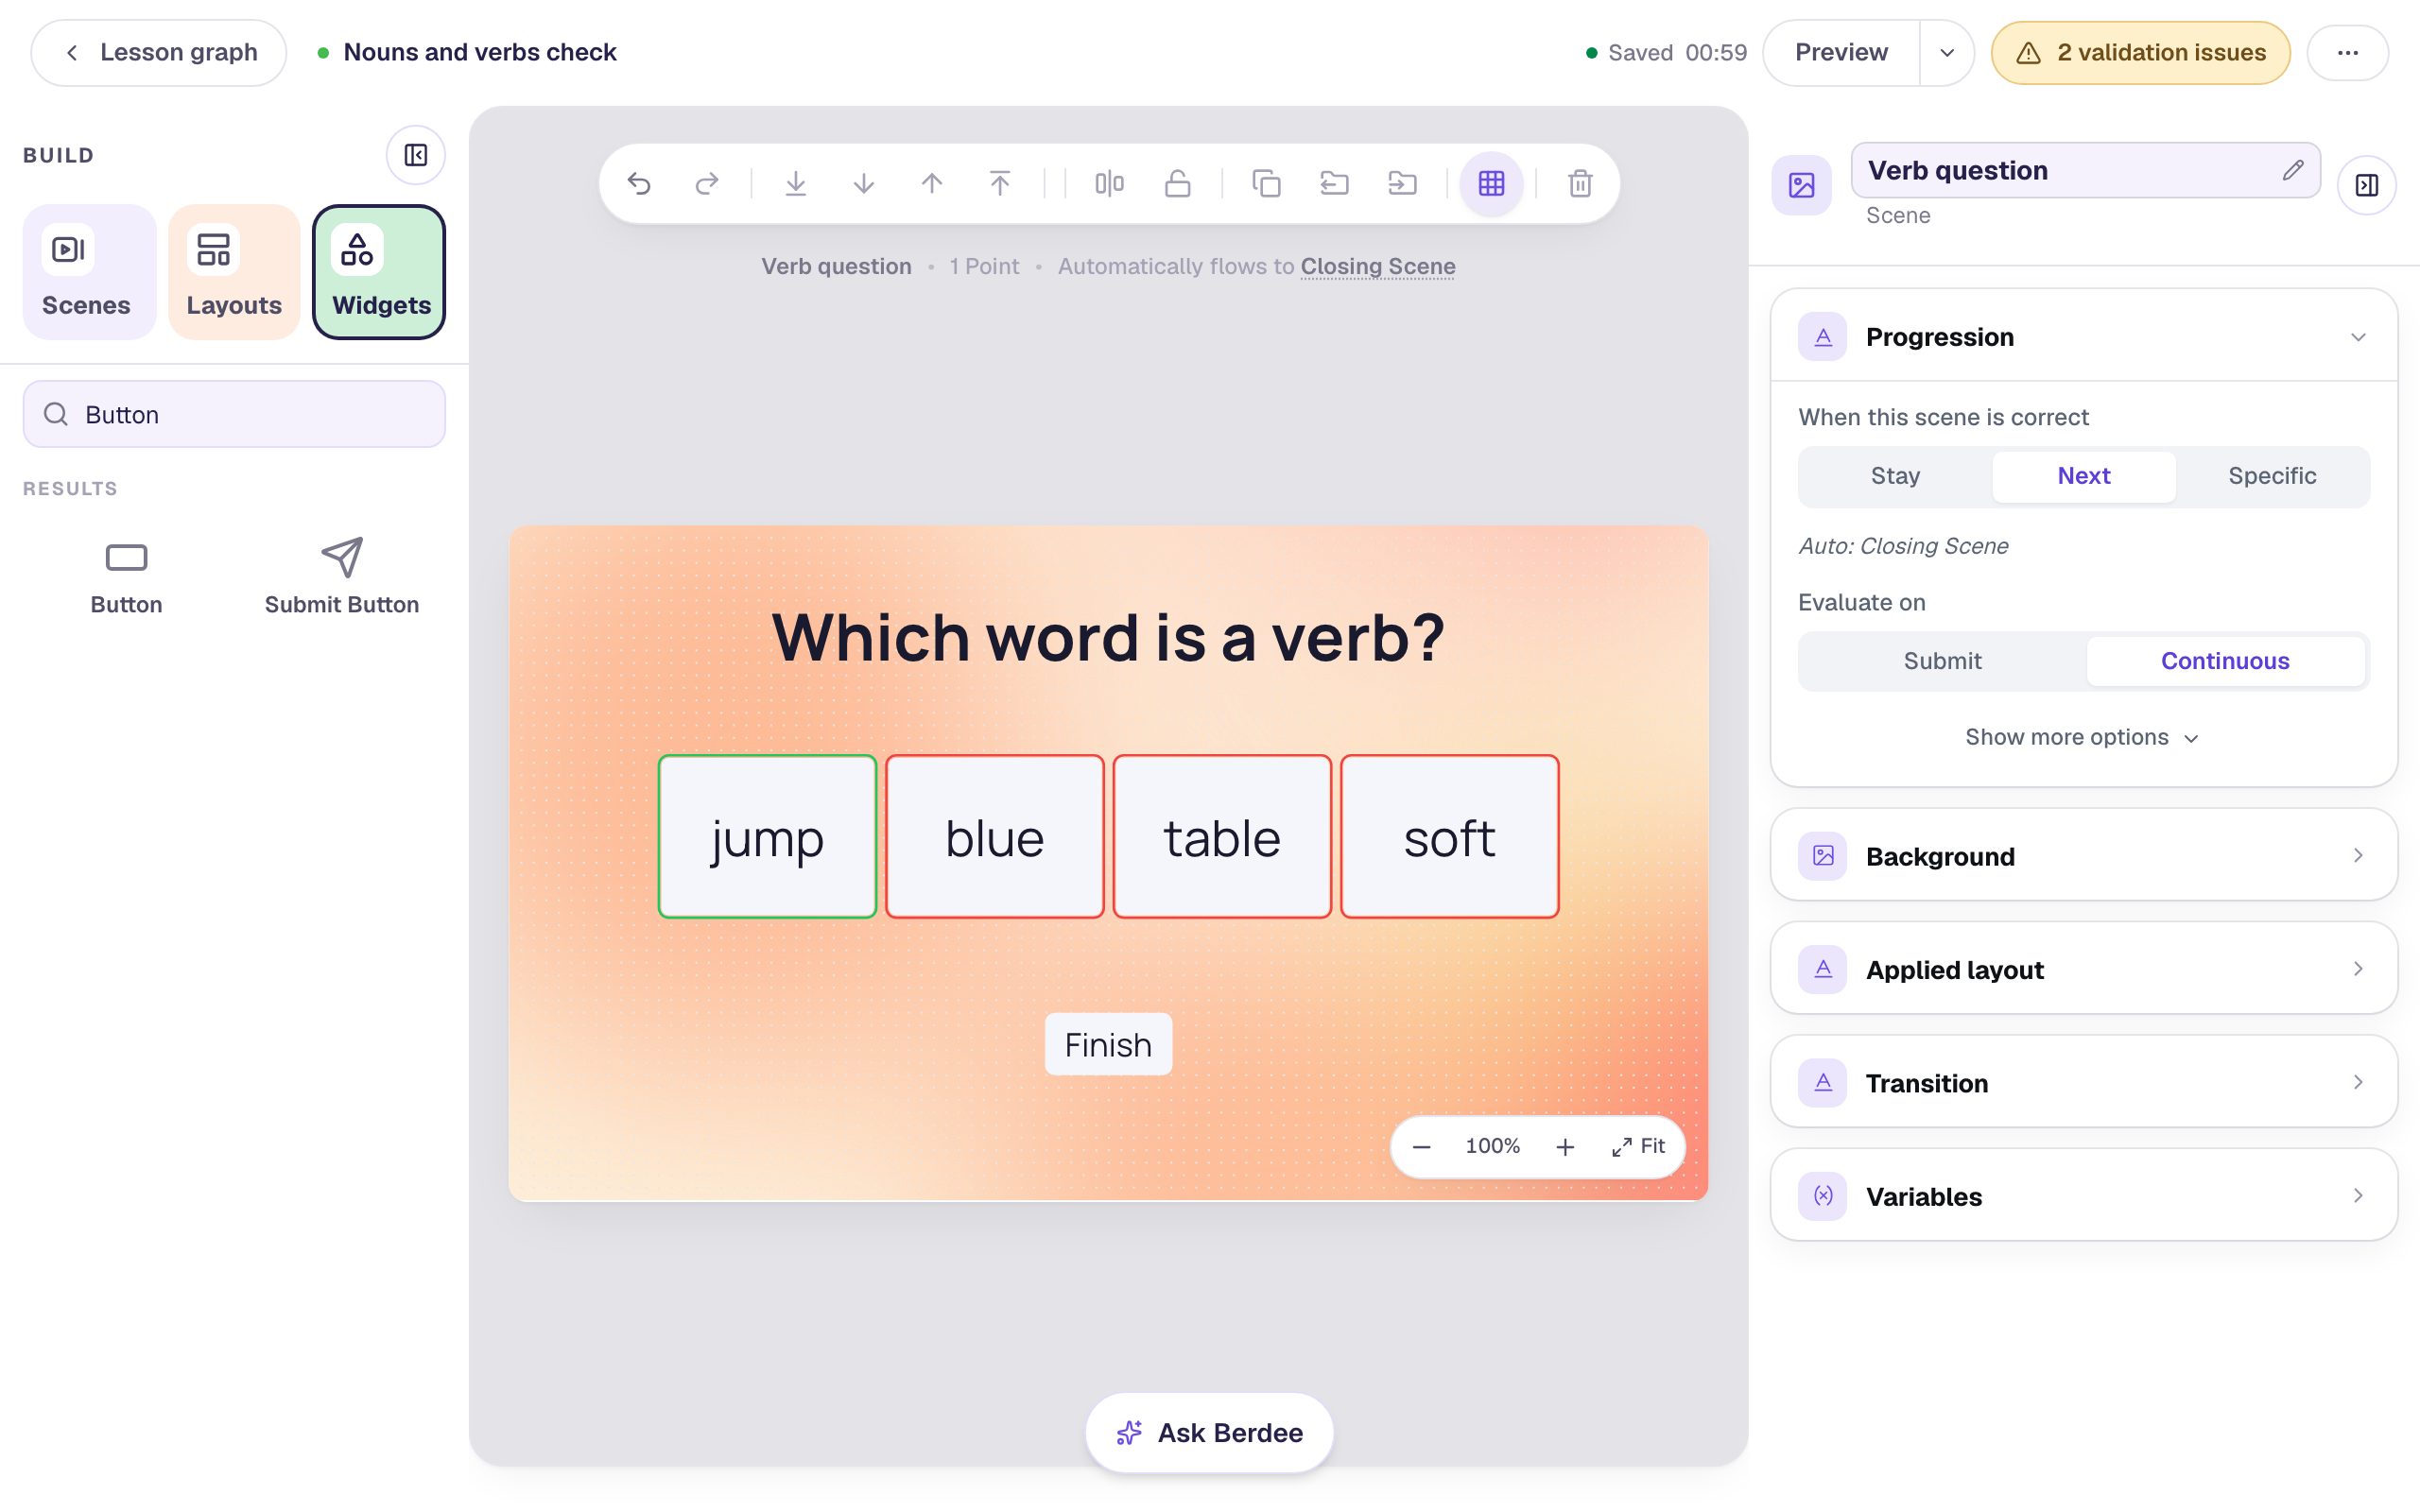
Every student now sees both questions in order, right or wrong. Each scene keeps its own score, and that's what the router will read.
Step 5: Build the two tip scenes
A router can only send students to scenes that exist, so build the tips first. Open Scenes in the left rail and click Add scene. Double-click the new scene's name in the list, type Noun tip, and press Enter. Then build it:
- Give it the Mesh sunrise background.
- Add a Heading:
Nouns name things. - Add an Image and set its size to
400×300under Style & Layout. Click Choose image, search the stock photos forpuppy grass, and pick one. Set Fit to Cover, then open Accessibility and describe the photo in Alt Text, likeA brown puppy with a yellow collar lying on sunny green grass. - Add a Body text beside the picture:
A noun is a person, place, animal or thing. Puppy, park and ball are all nouns.Make it Fixed width with a Font Size of26. - Add a Button under the text with the Label
I've got it!, and rename itNoun tip done.
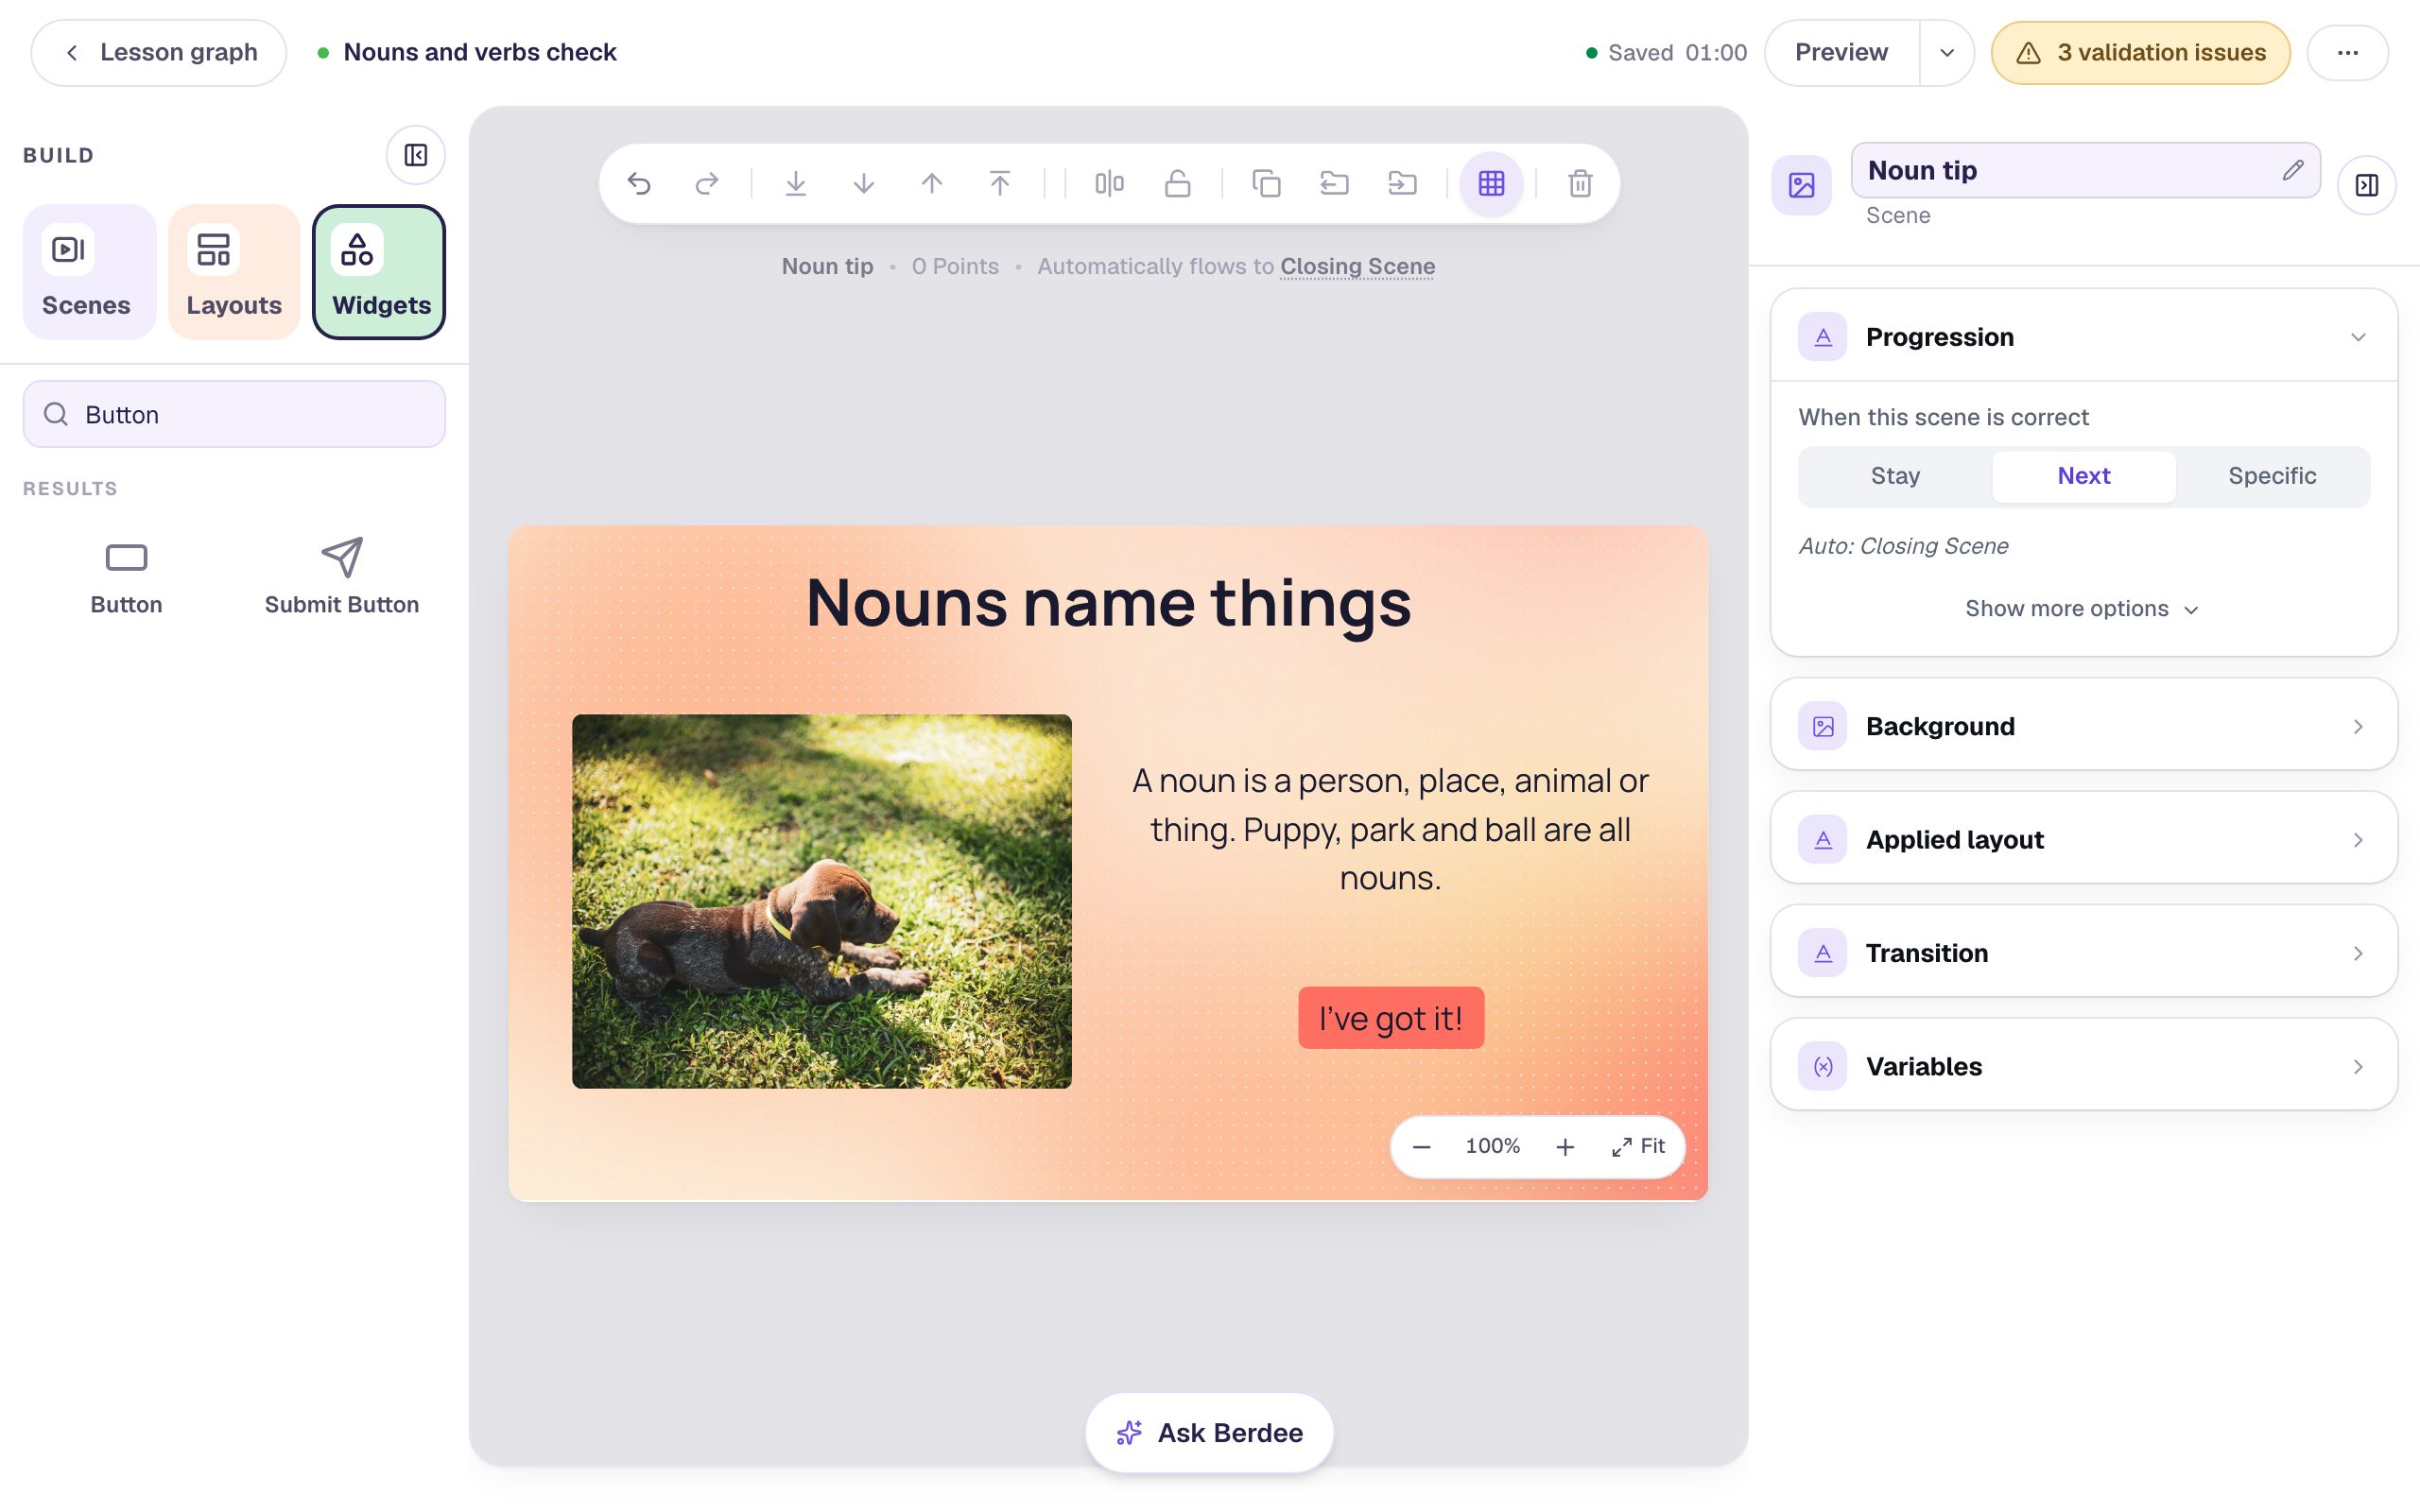
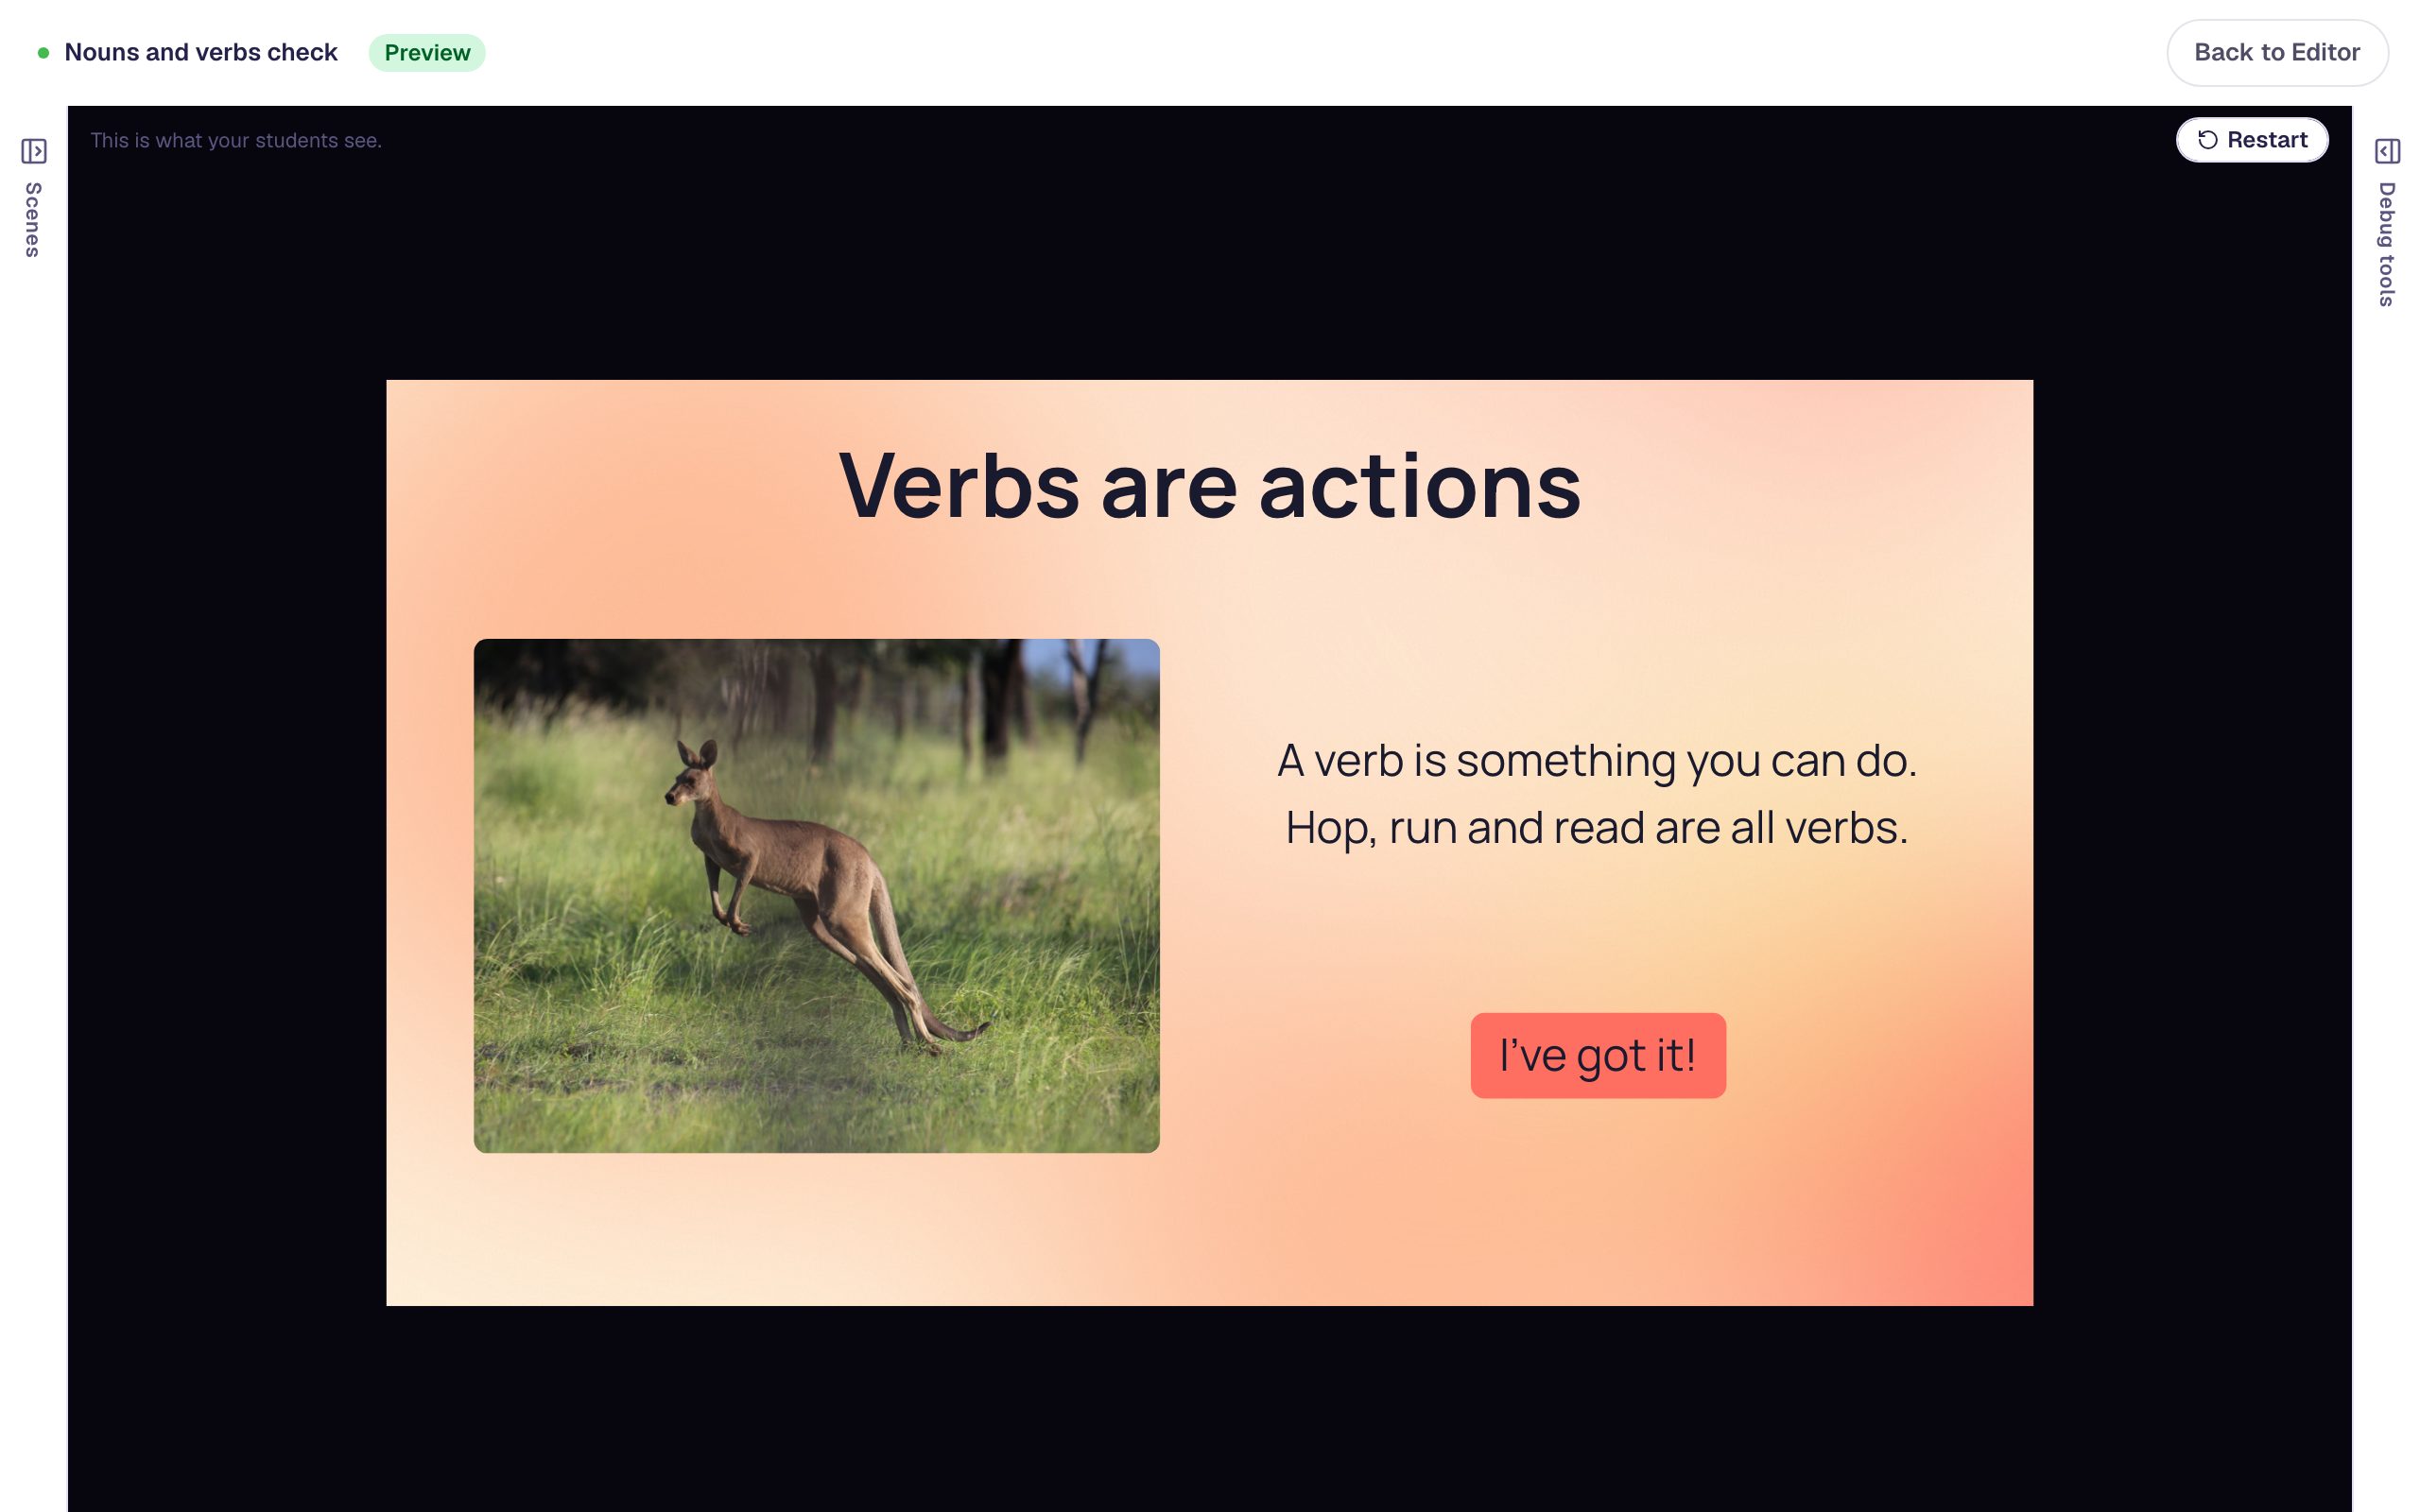
Add one more scene the same way and name it Verb tip: the heading Verbs are actions, a photo from a search for kangaroo hopping, the text A verb is something you can do. Hop, run and read are all verbs., and an I've got it! button renamed Verb tip done.
Both buttons say the same thing to students, but the graph needs to tell them apart, so give each its own name.
Step 6: Add the router
Now the decision. Click Lesson graph, then the dot on the Verb question card. This time, add a router instead of a scene:
- Choose A router and click Next.
- Choose They tap something, set Student taps to Finish, and click Next.
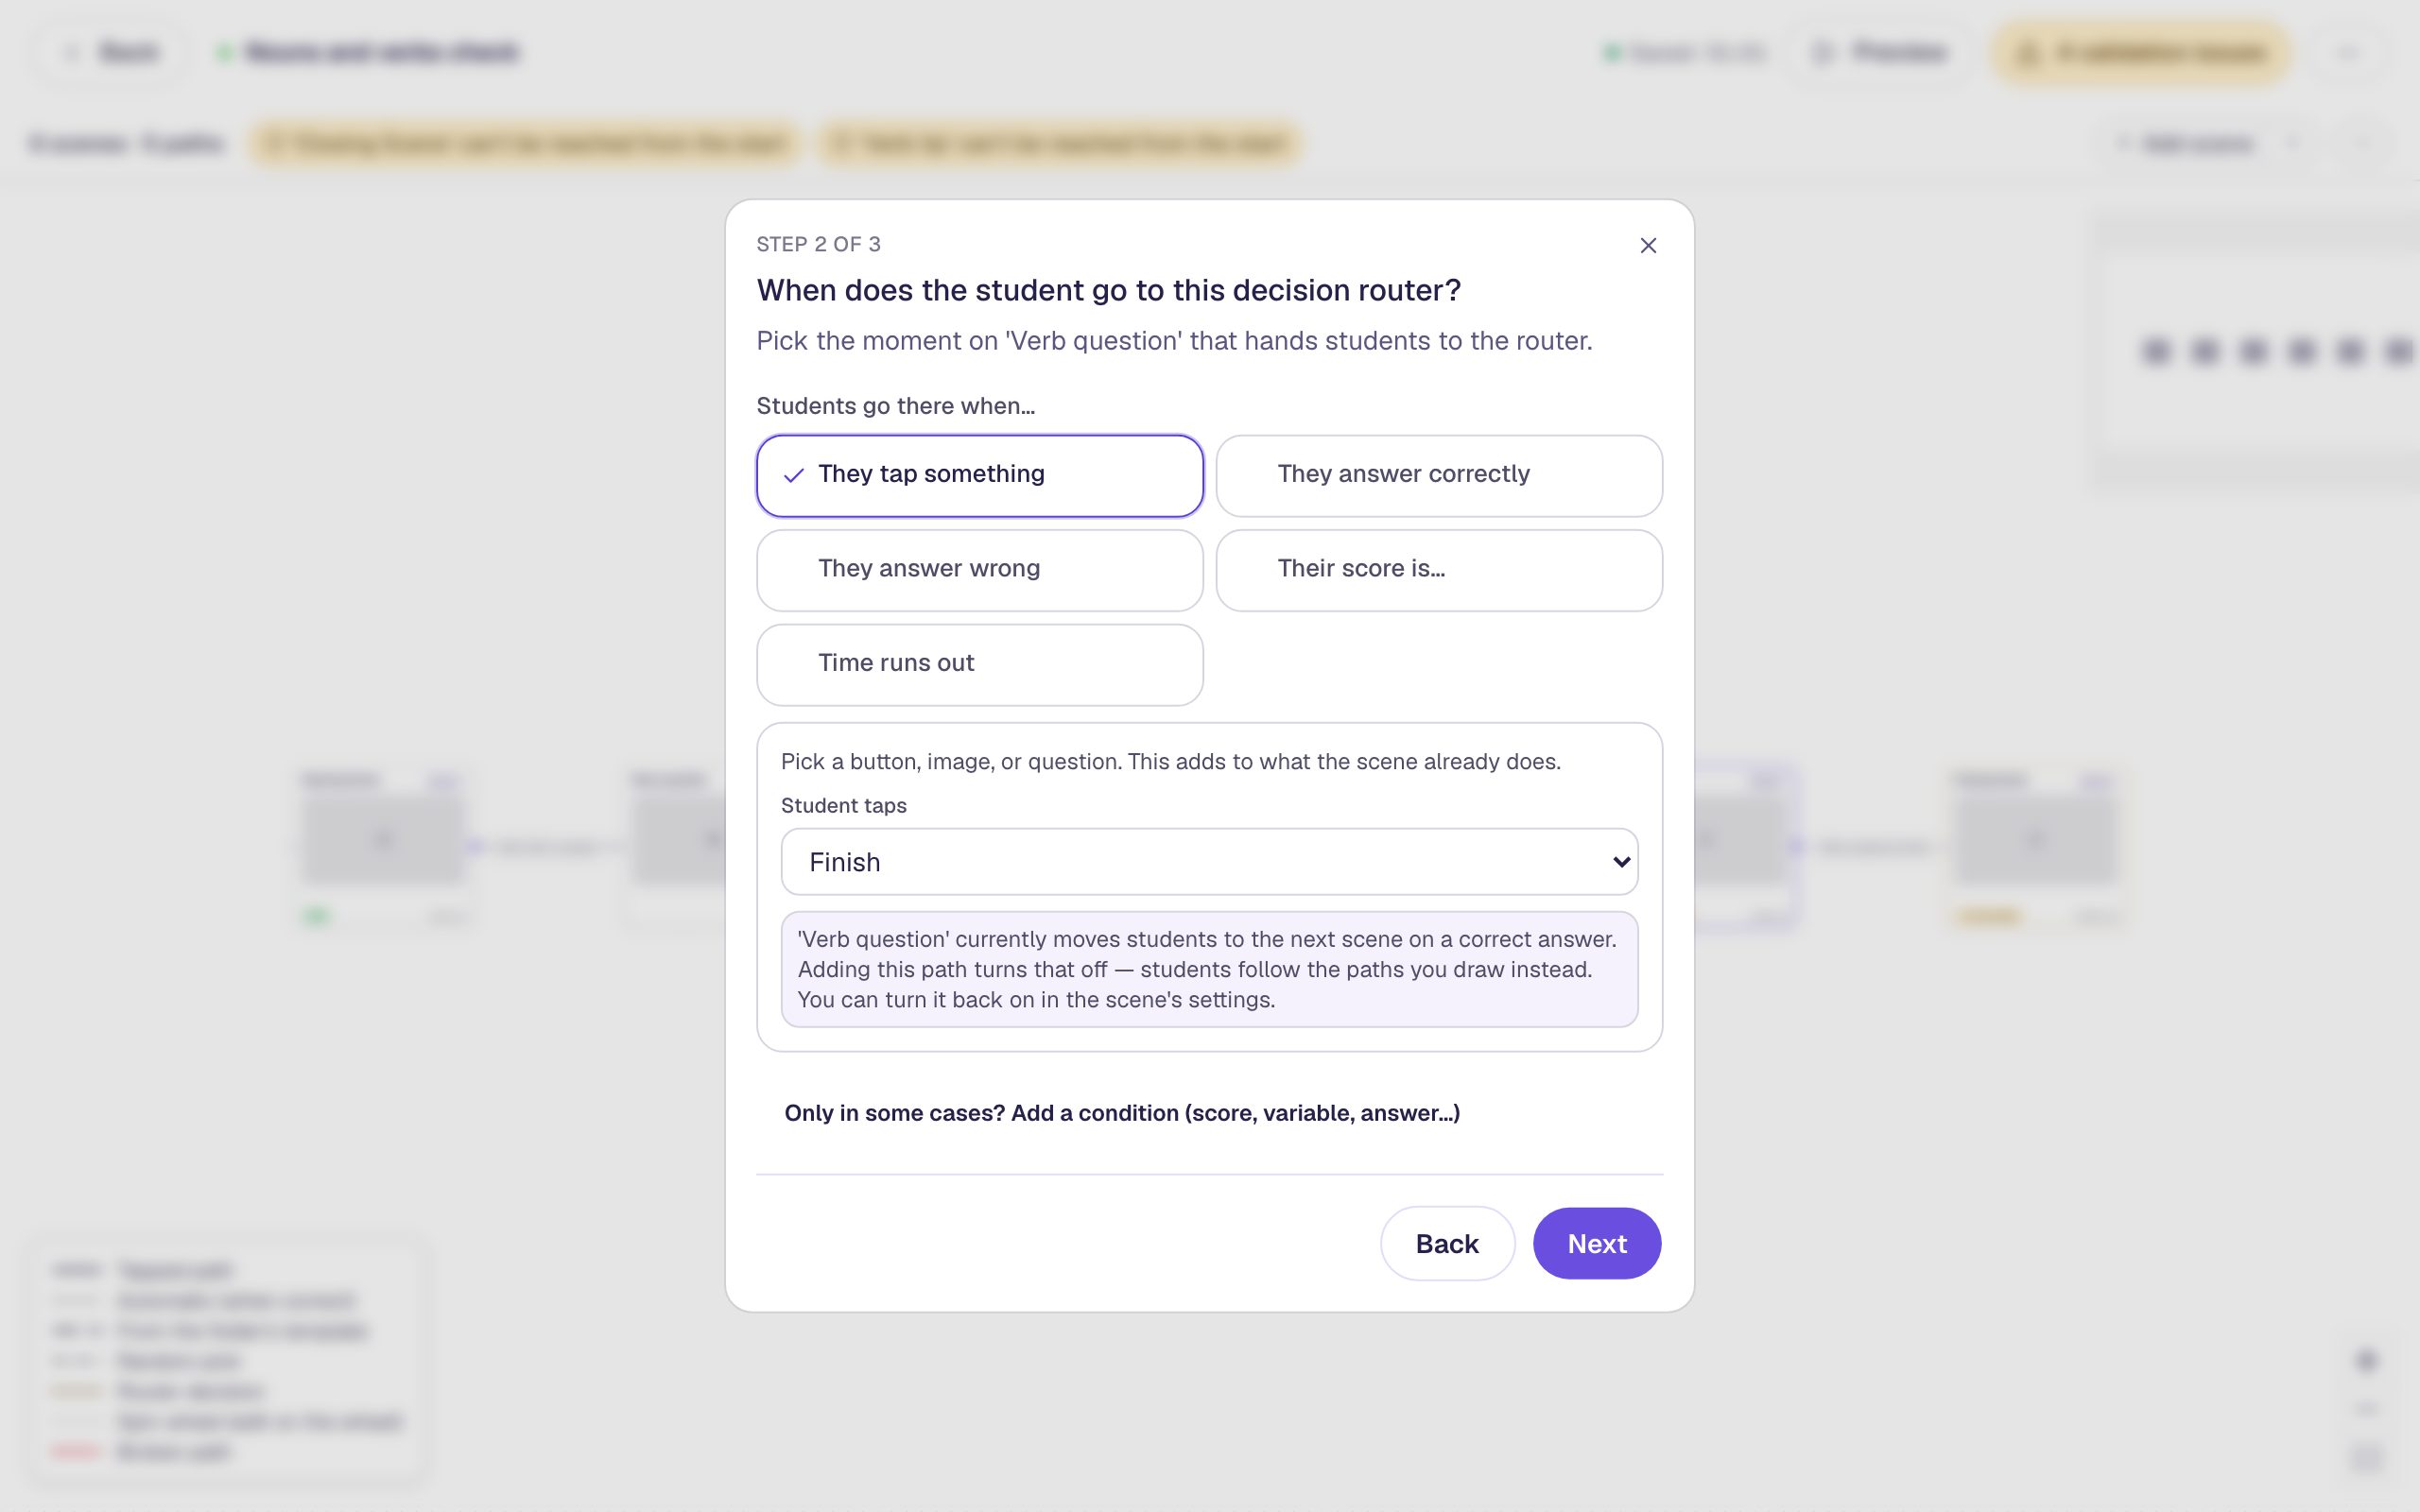
The last step is the router itself: its name, its rules, and where it sends everyone else.
- Name the router
Which tip?. - Click Add rule, then Add Condition. Choose Scene score: Noun question and set it to is failing. Set the rule's Go to to Noun tip.
- Click Add rule again for a second rule. Add the condition Scene score: Verb question, is failing, and set its Go to to Verb tip.
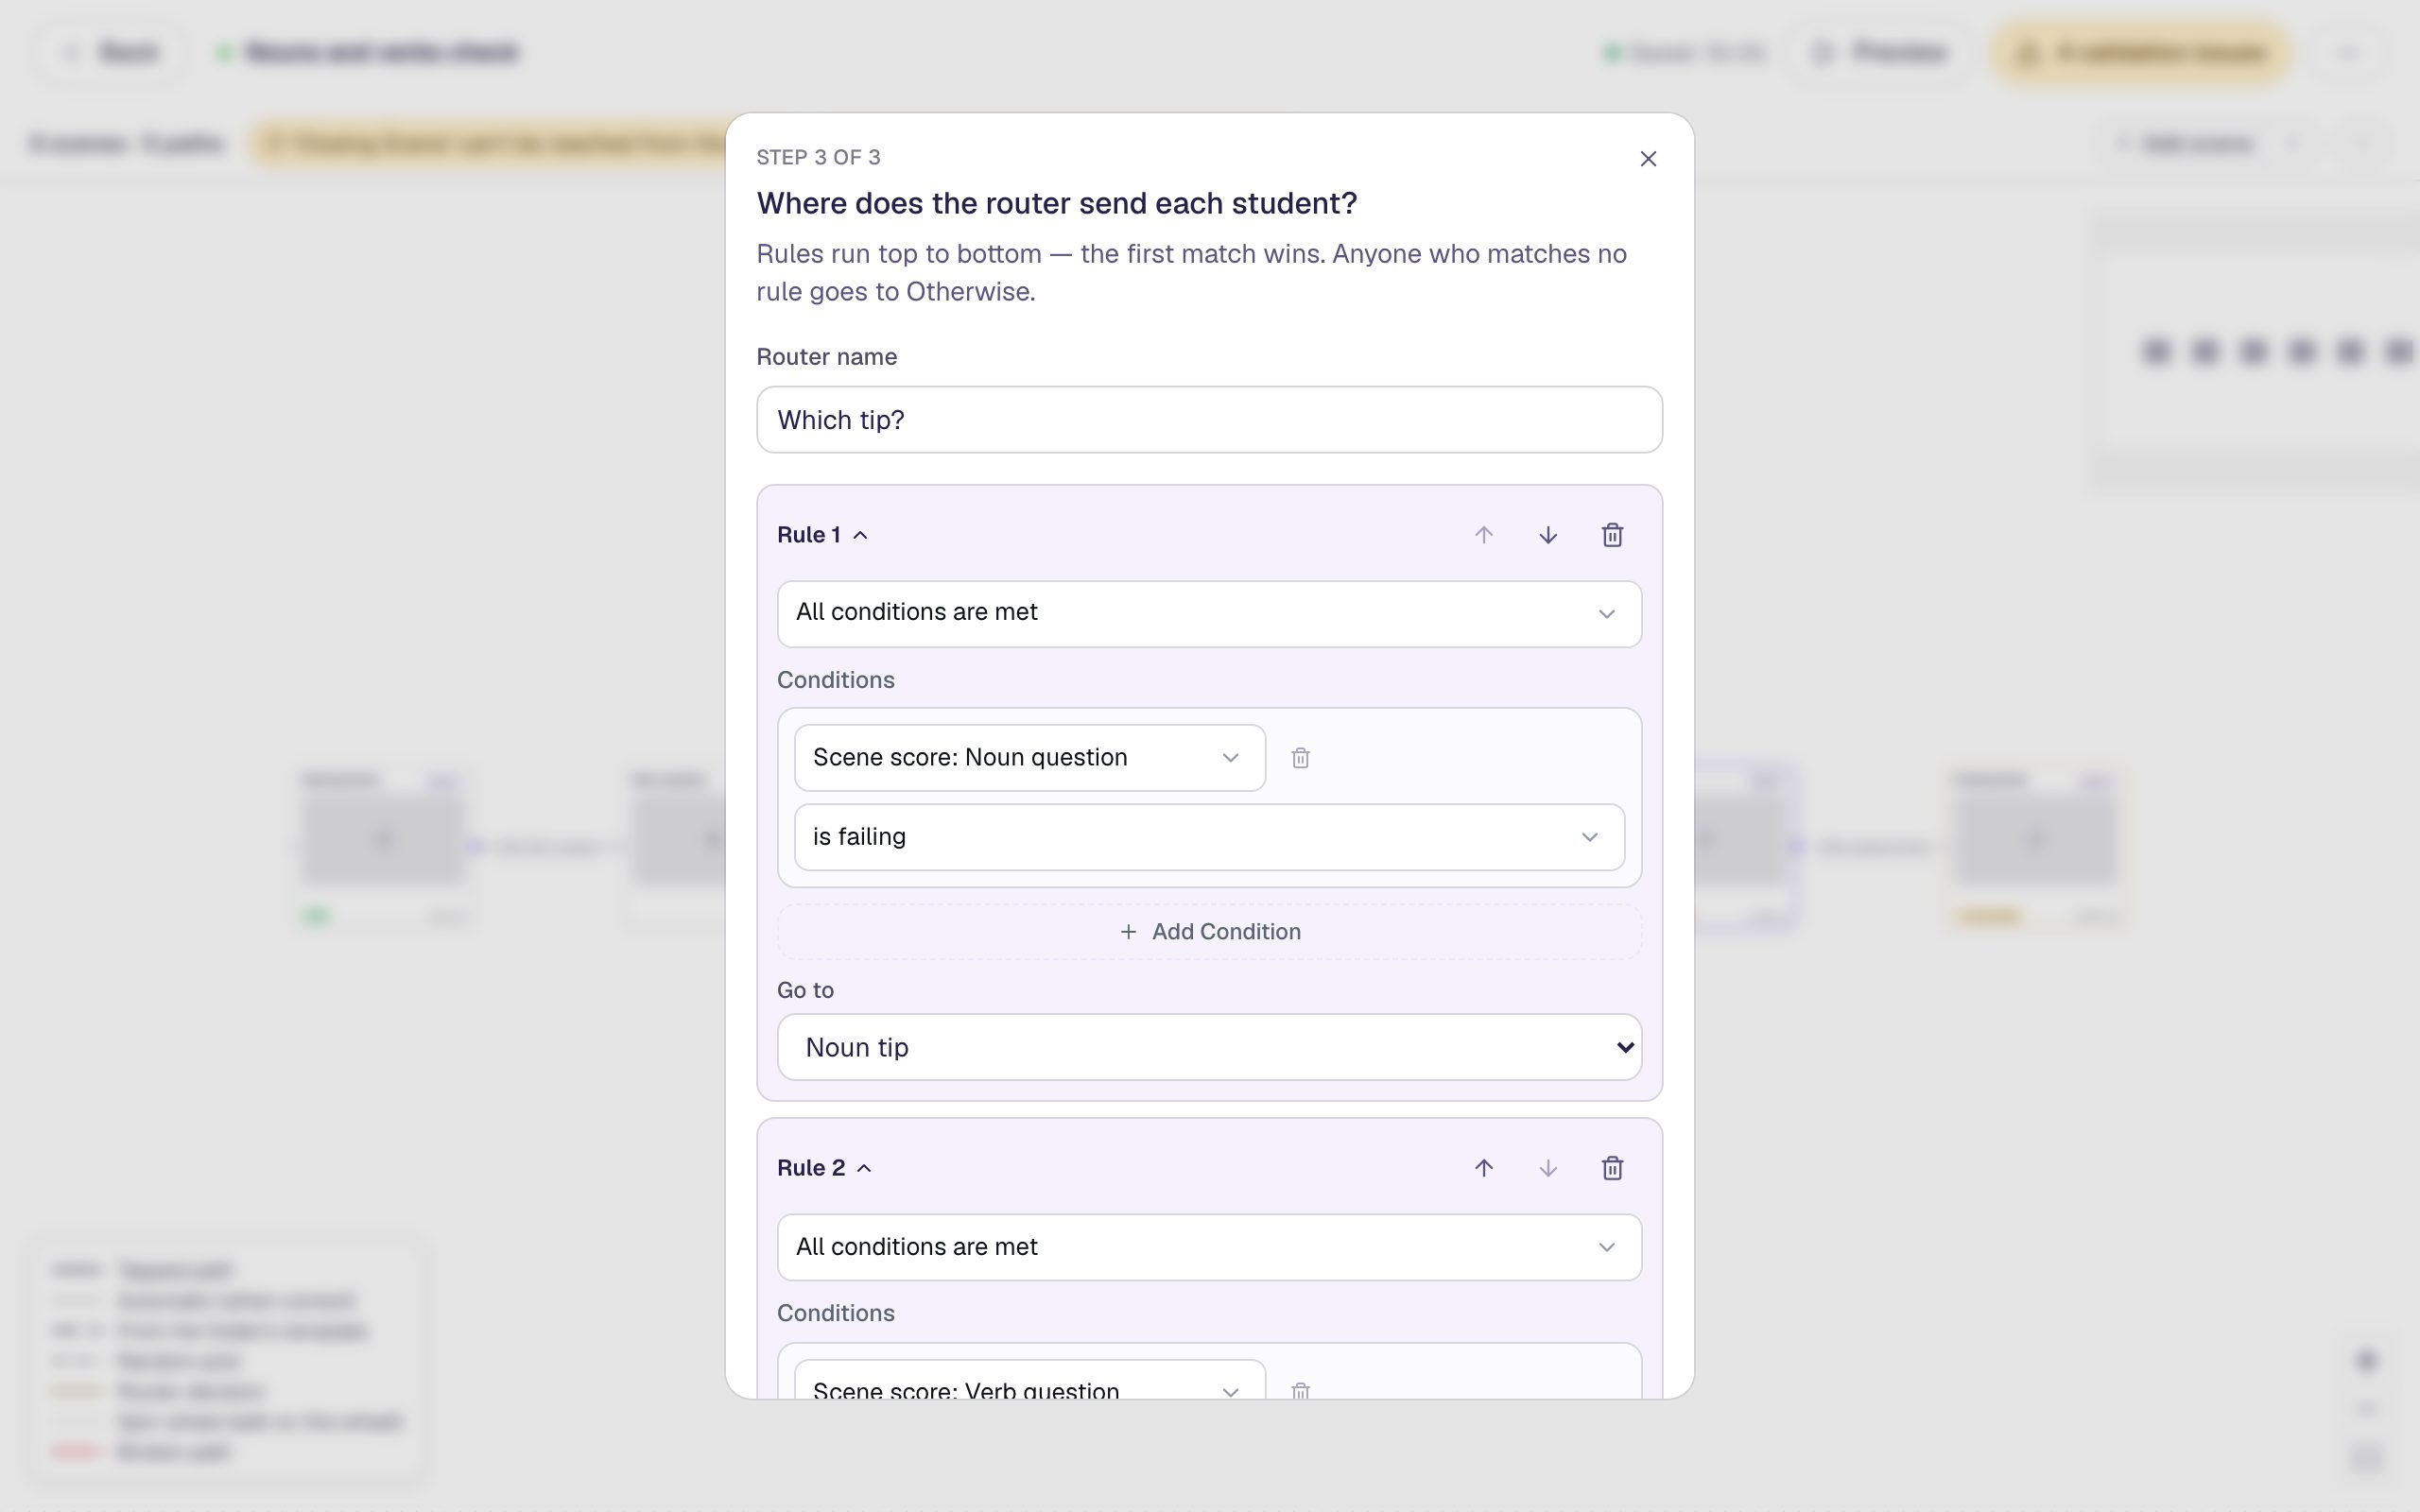
Is failing means the student answered everything on that scene and didn't pass it. With one question per scene, that's simply "got it wrong".
- Set Otherwise to Closing Scene. This is where students go when no rule matches: they got both questions right, so they don't need a tip.
- Click Add router.
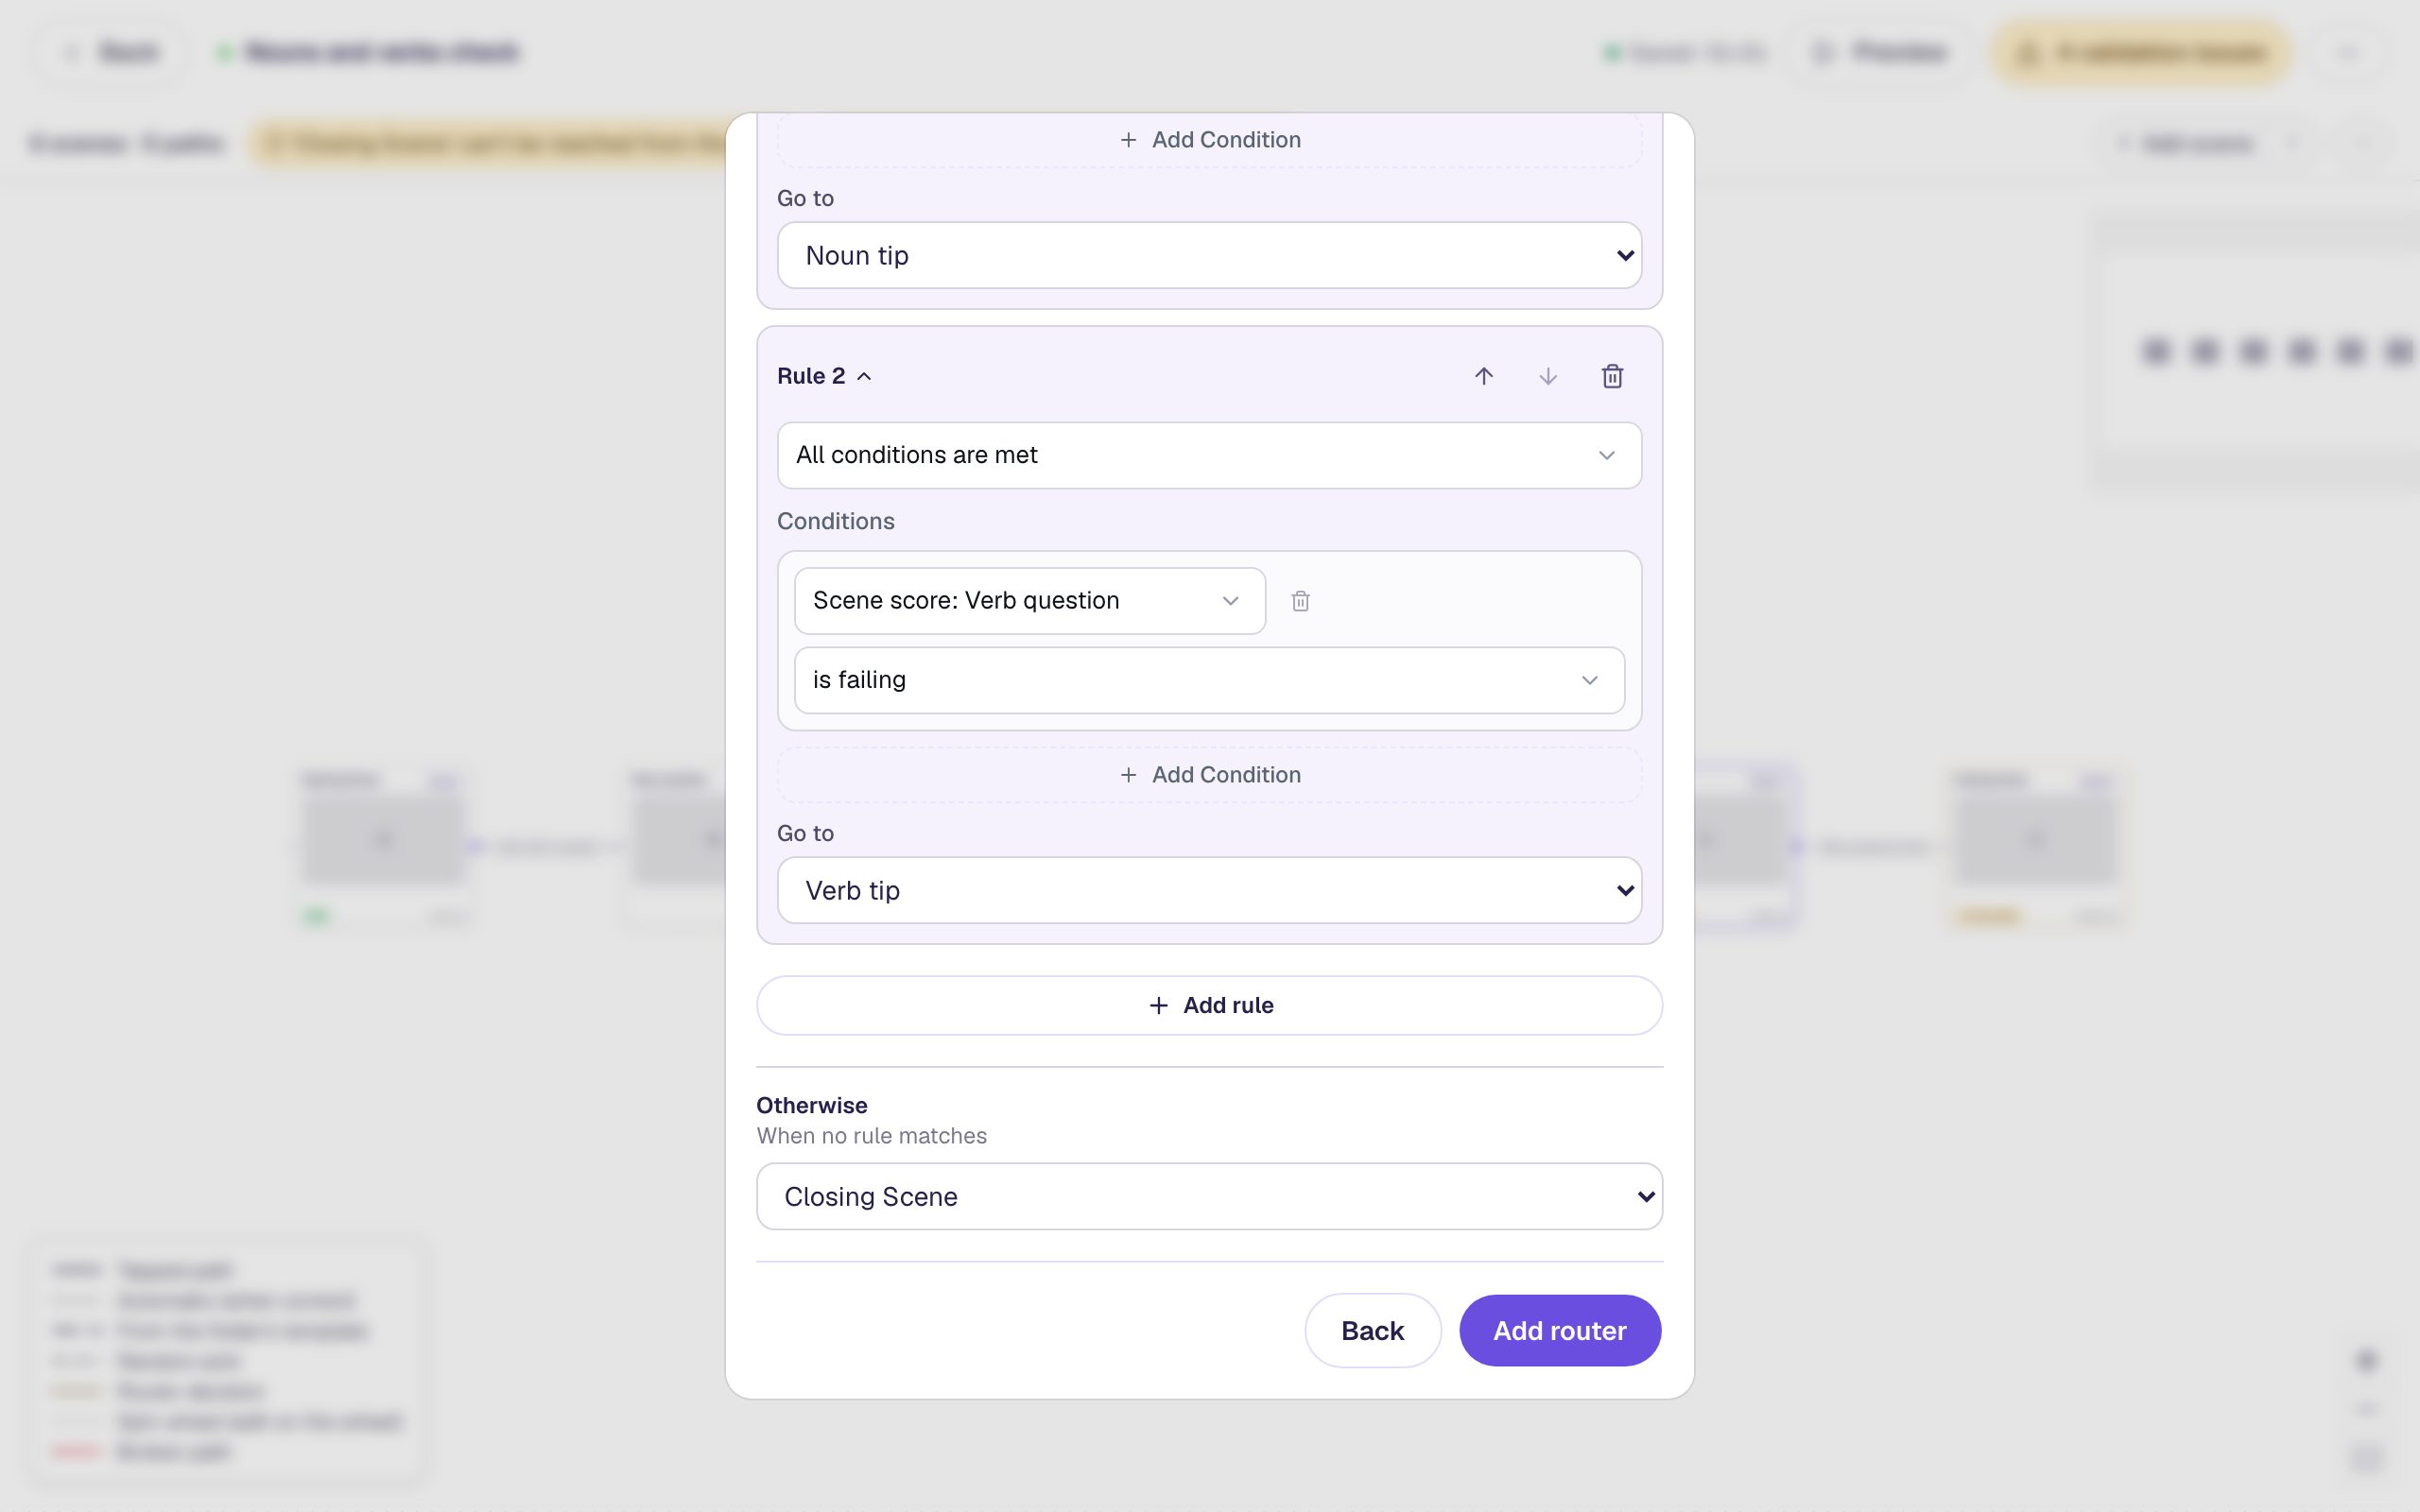
The router checks its rules from the top, and the first one that matches wins. A student who missed both questions matches Rule 1 and gets the noun tip. So put the skill students should fix first at the top.
Step 7: Send each tip to the ending
Each tip needs a way on. Click the dot on the Noun tip card:
- Choose Or connect to a scene or router that's already in the lesson and click Next.
- Set Goes to to Closing Scene.
- Choose They tap something and set Student taps to Noun tip done.
- Click Add path.
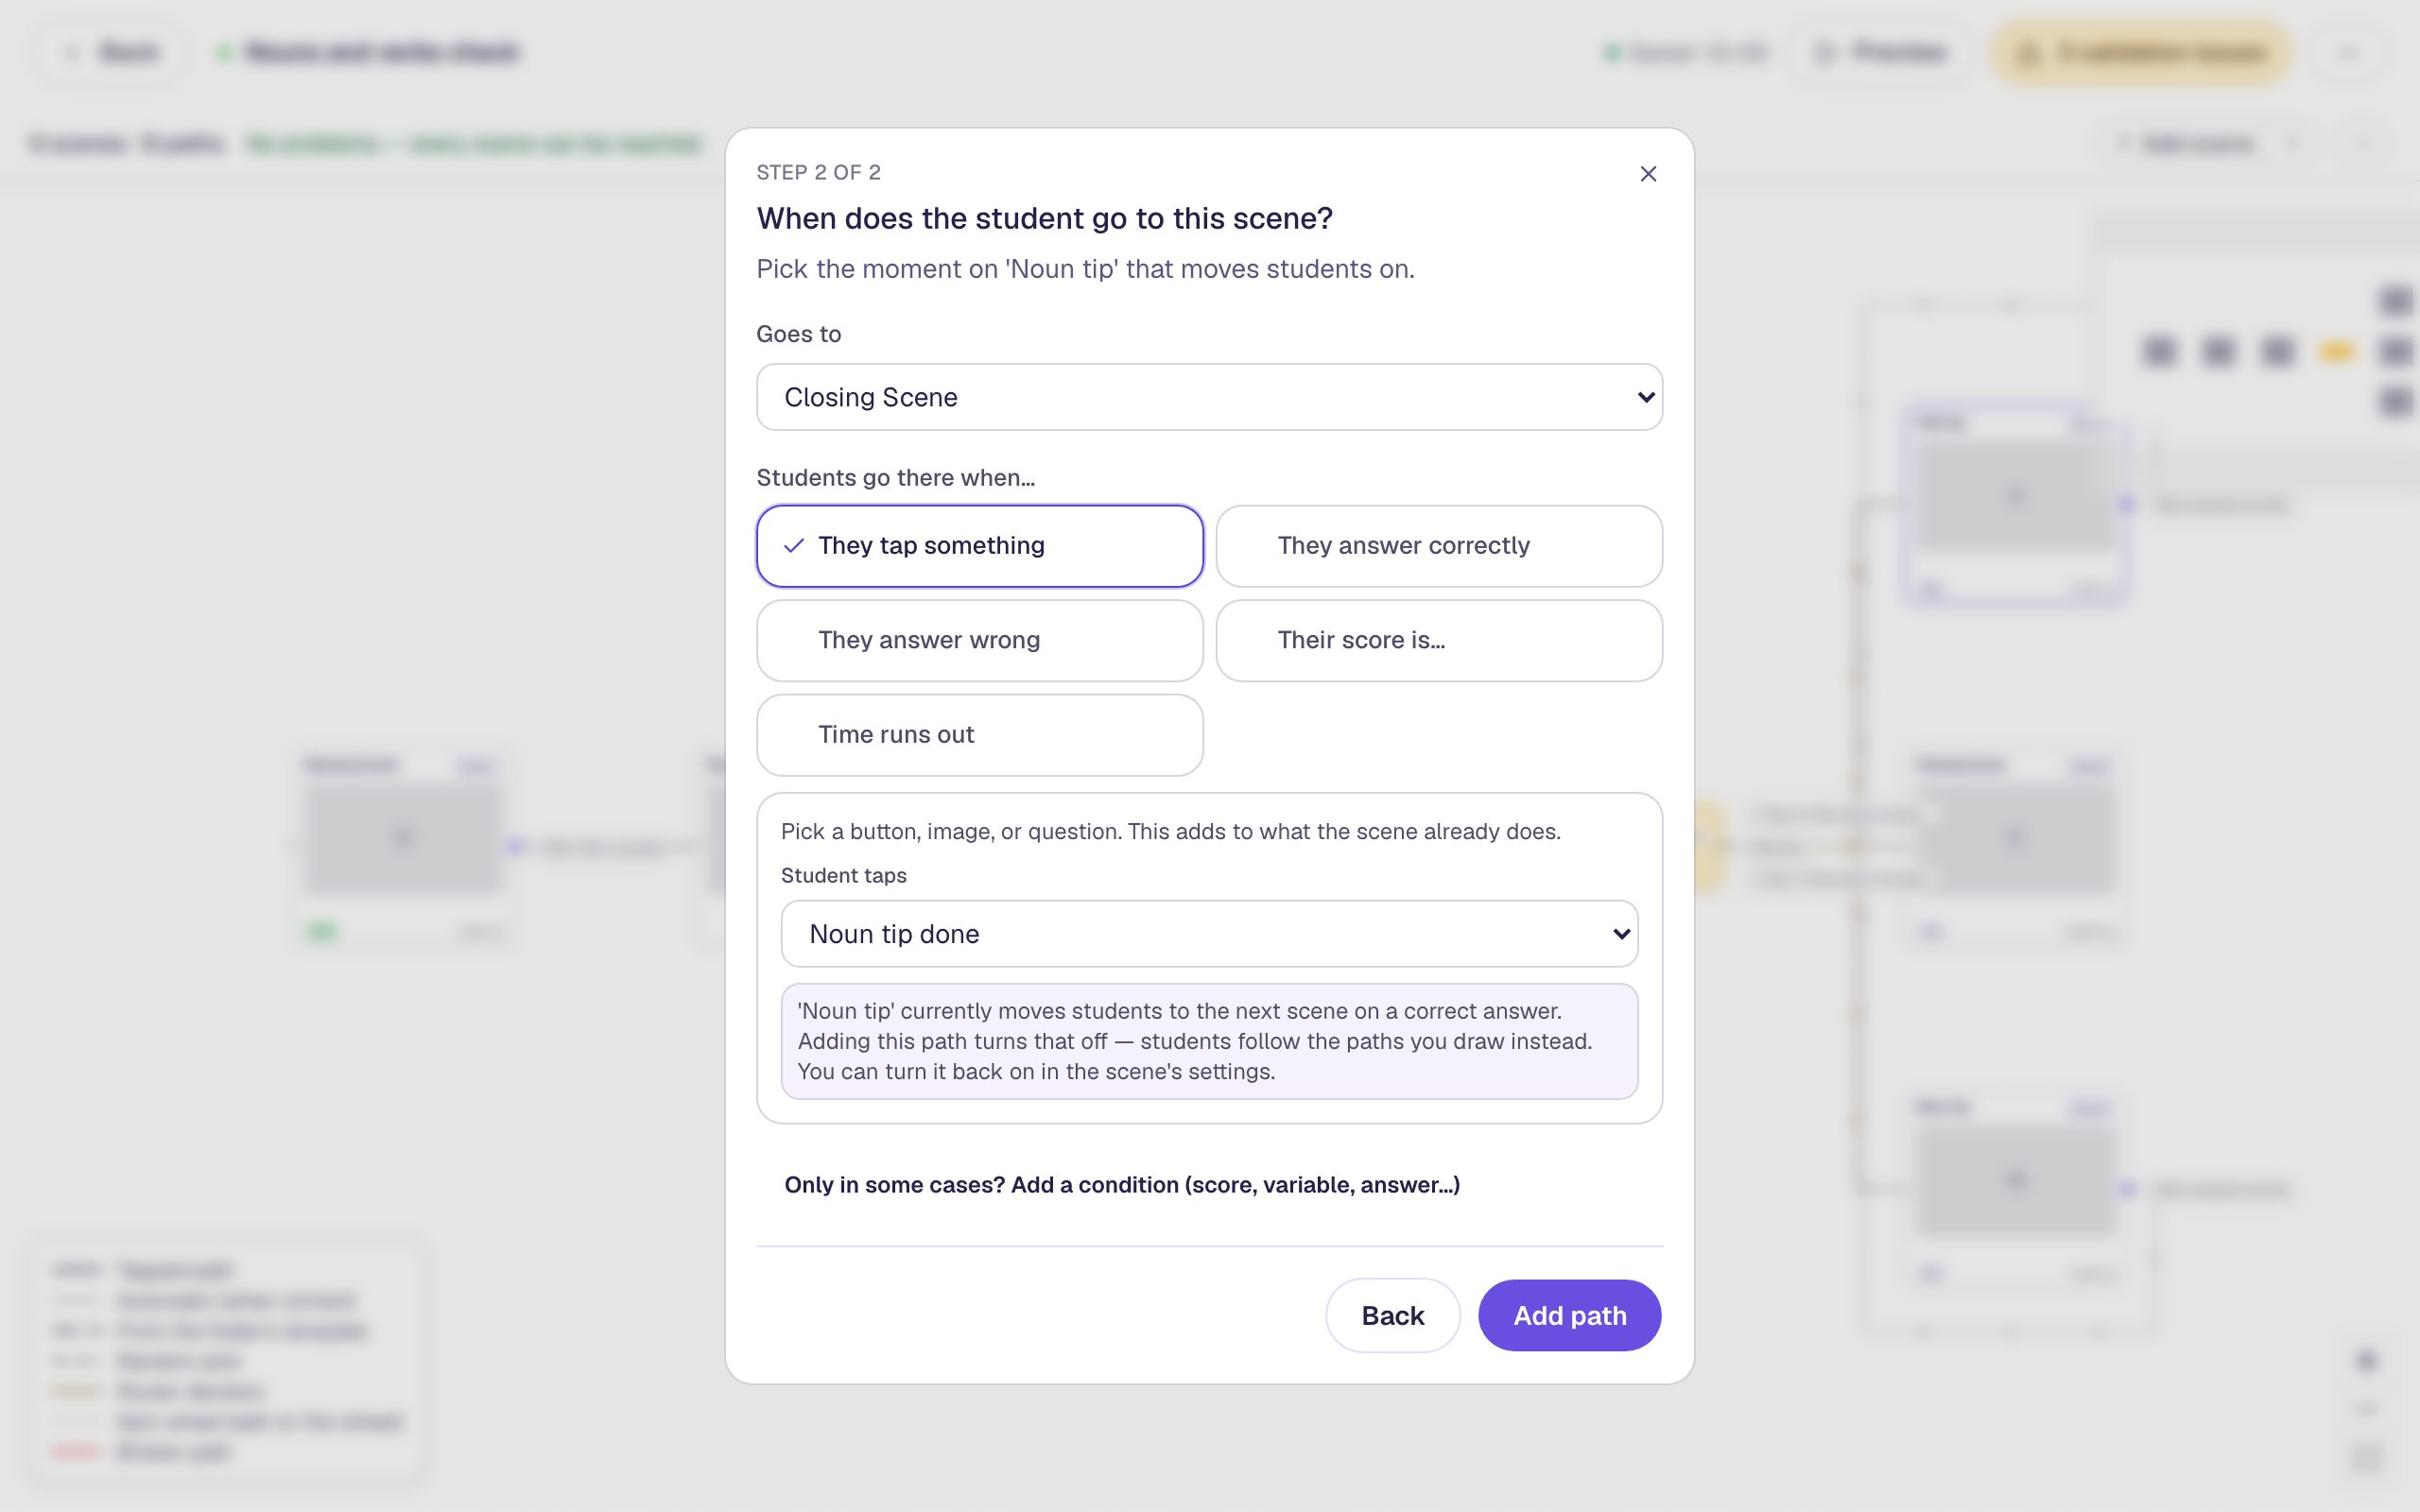
Do the same from the Verb tip card with Verb tip done. Here's the finished map:
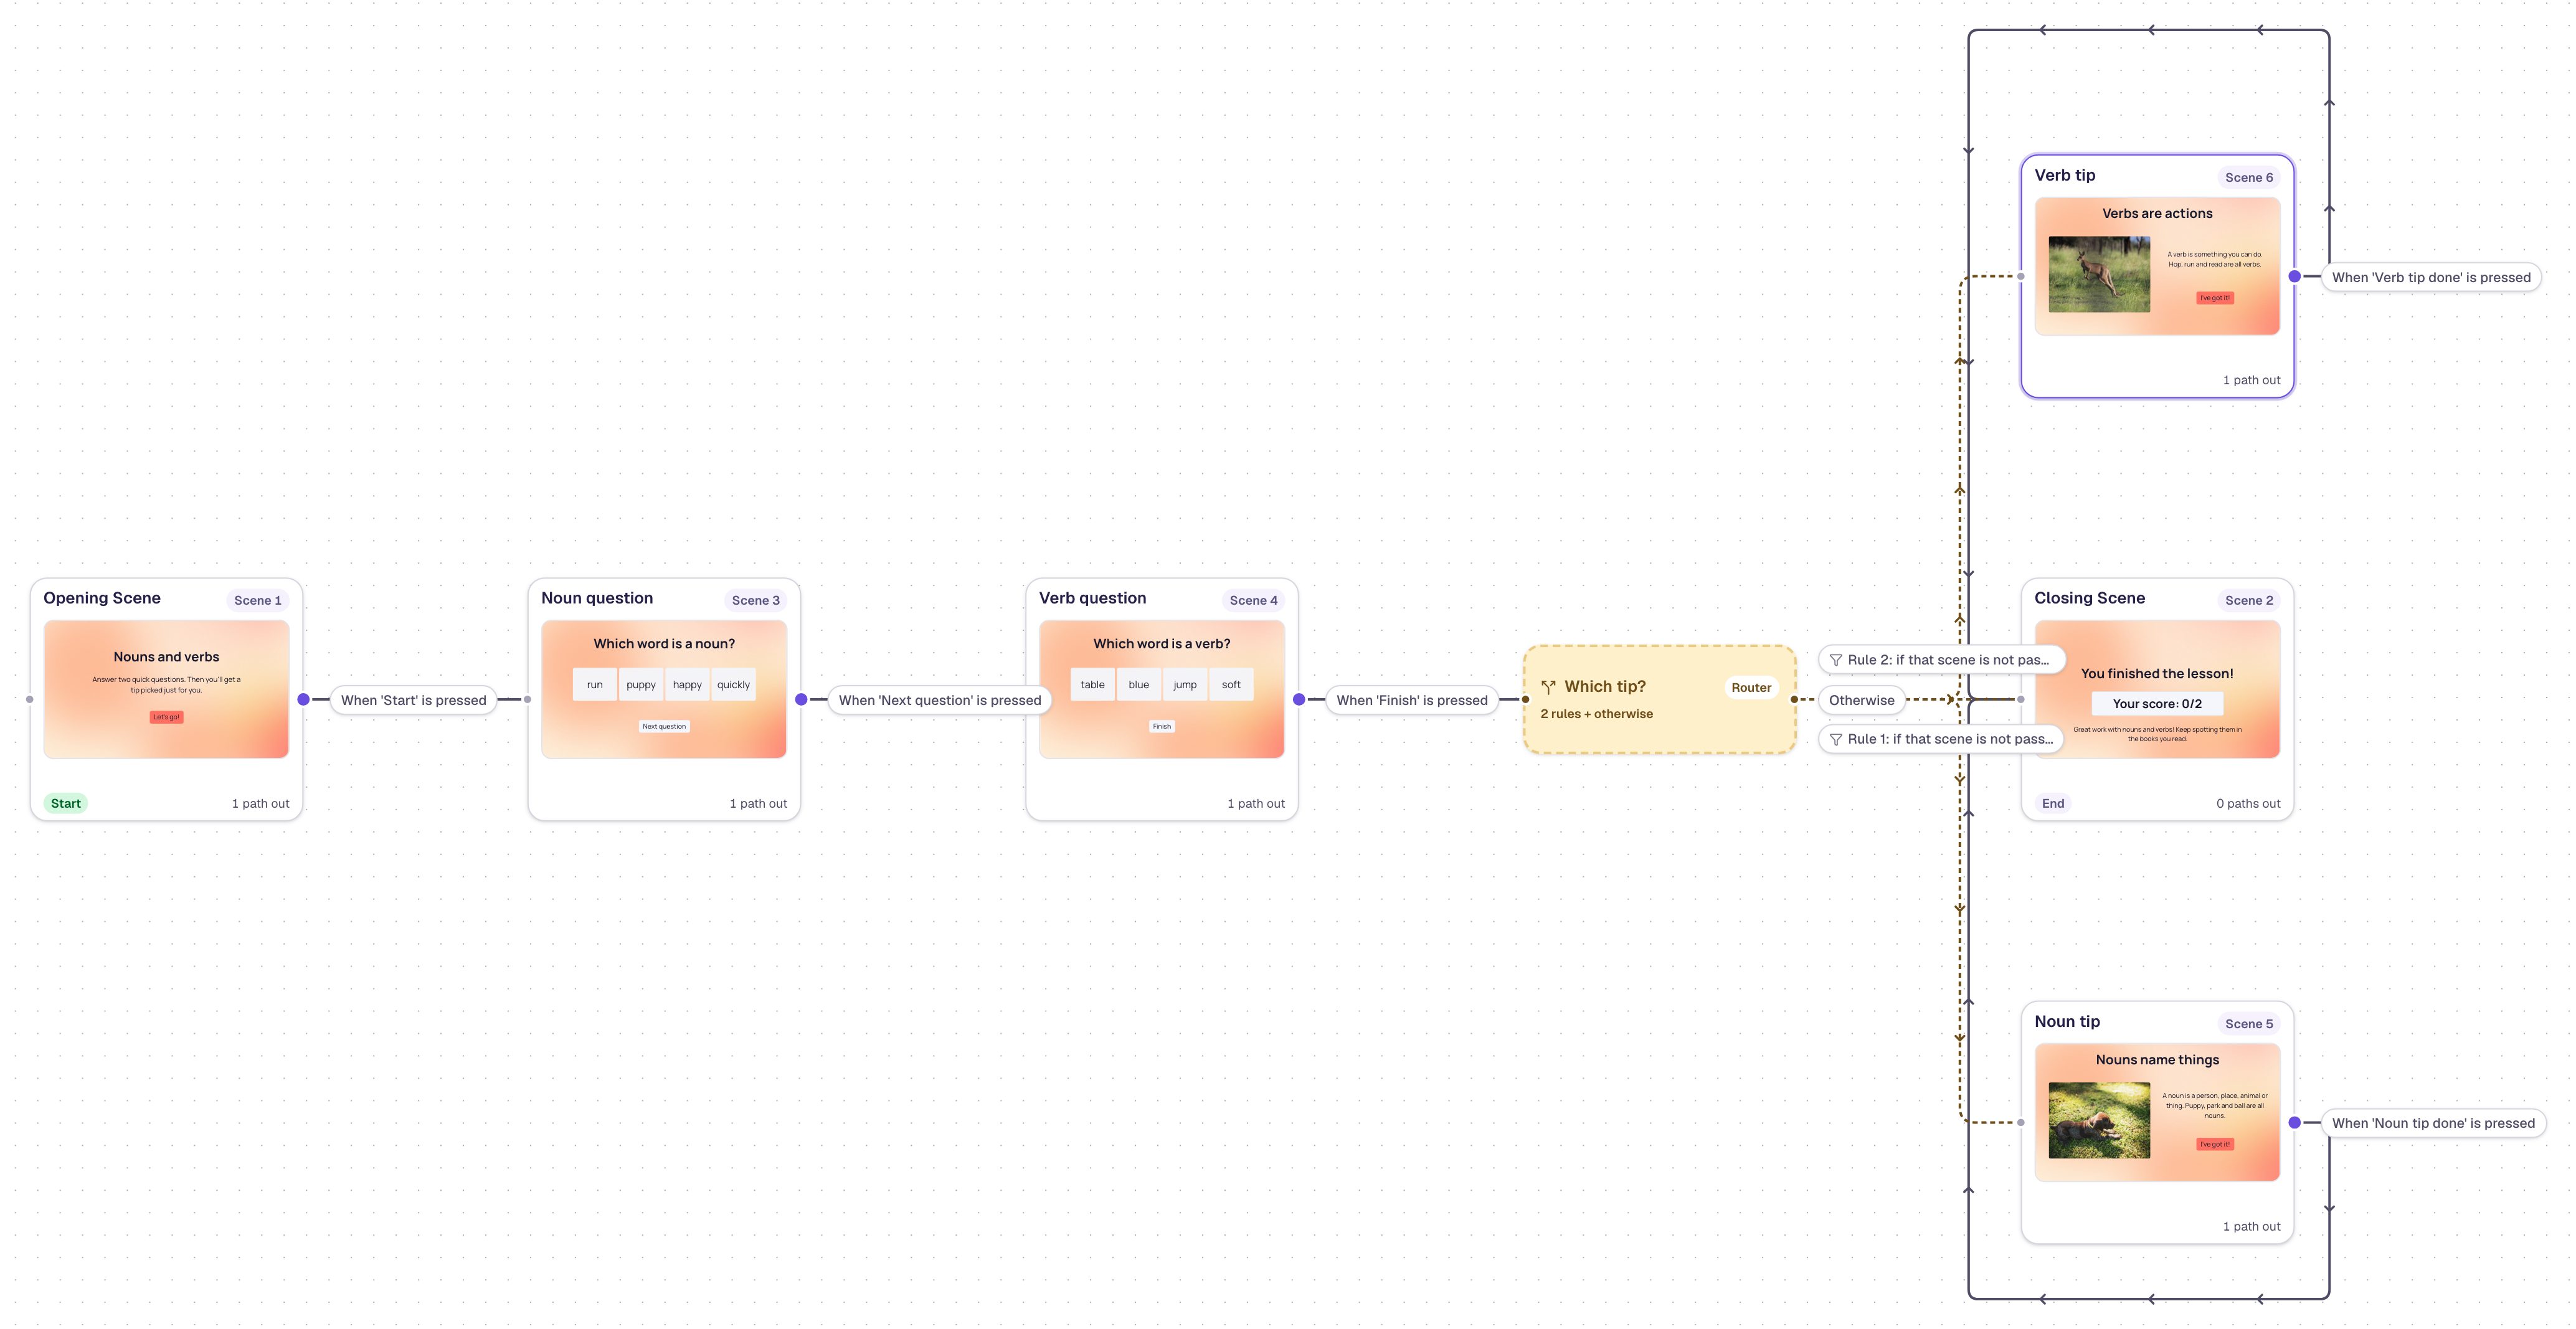
The map shortens long labels, so the rule arrows read Rule 1: if that scene is not pass…. Hover over one to read the whole rule. The graph arranges the cards itself, so yours may sit in a different place.
The yellow pill at the top may still show a validation issue. Before you publish, Berdee wants a Submit Button set to Lesson somewhere in the lesson. You don't need one to preview. Build your first quiz question shows how to add one.
Step 8: Try three students in preview
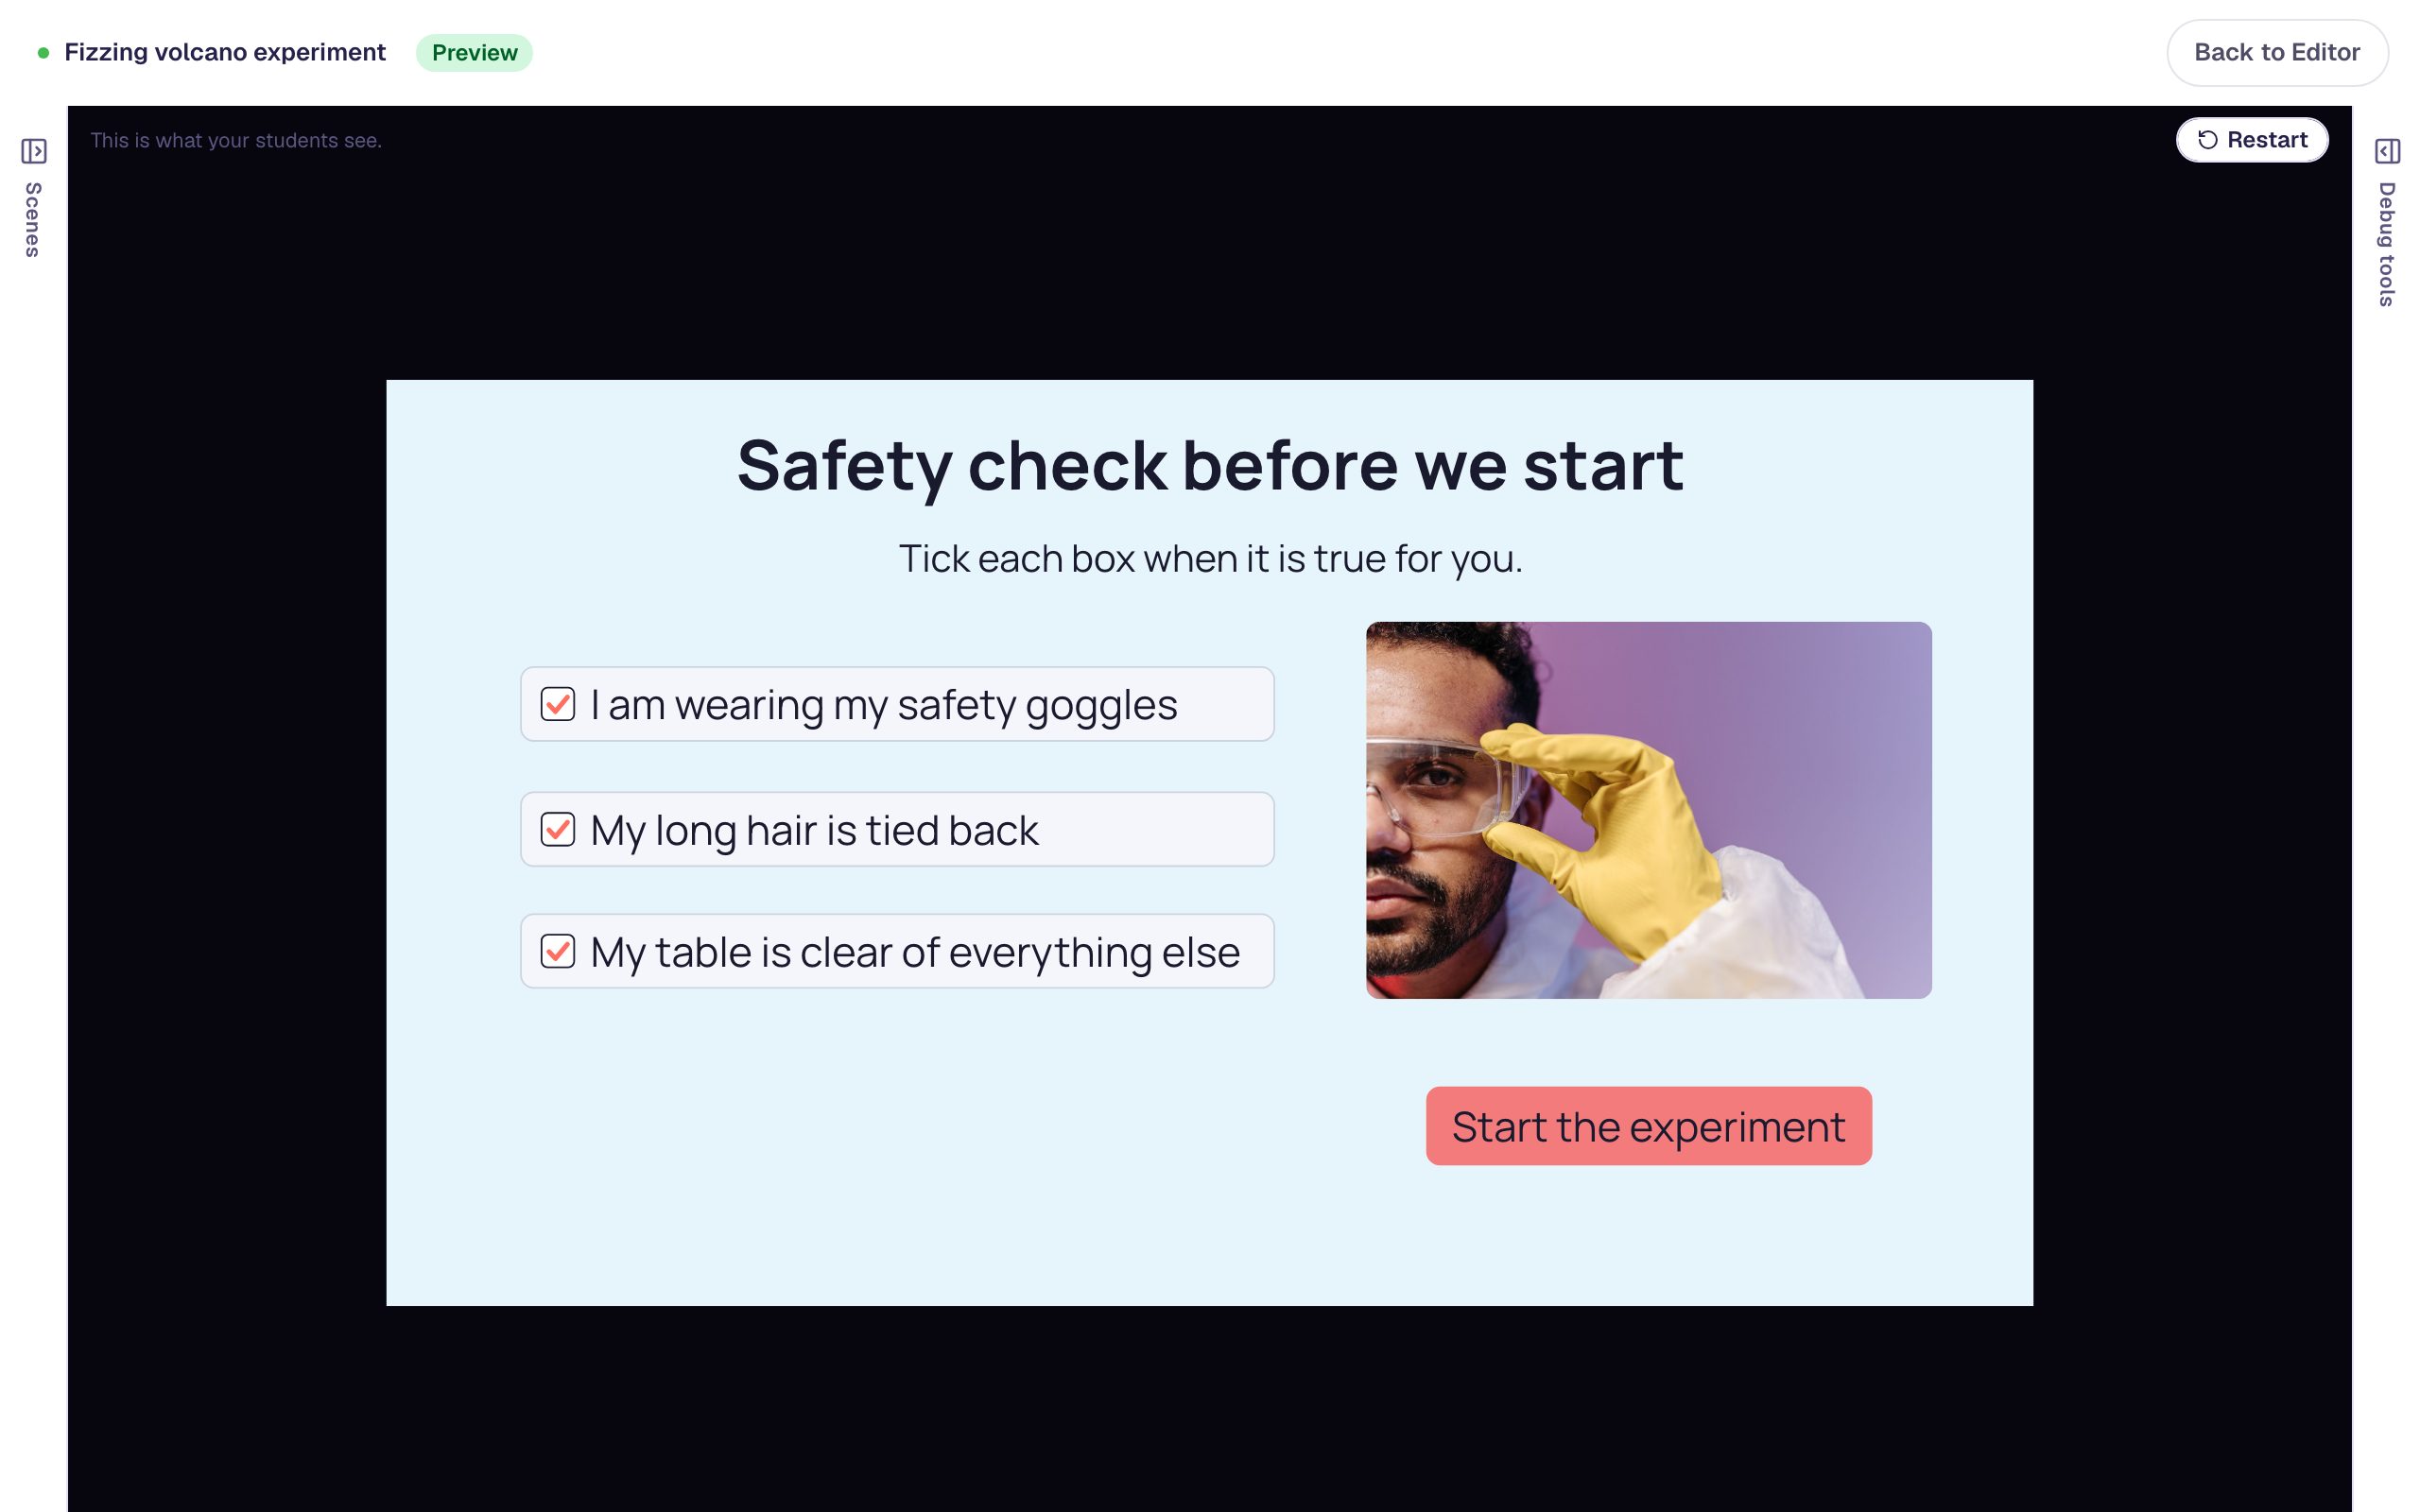
Click Preview at the top of the graph. Preview from the graph always starts at the Opening Scene. The answers come up in a random order each time, so look for the word rather than its place.
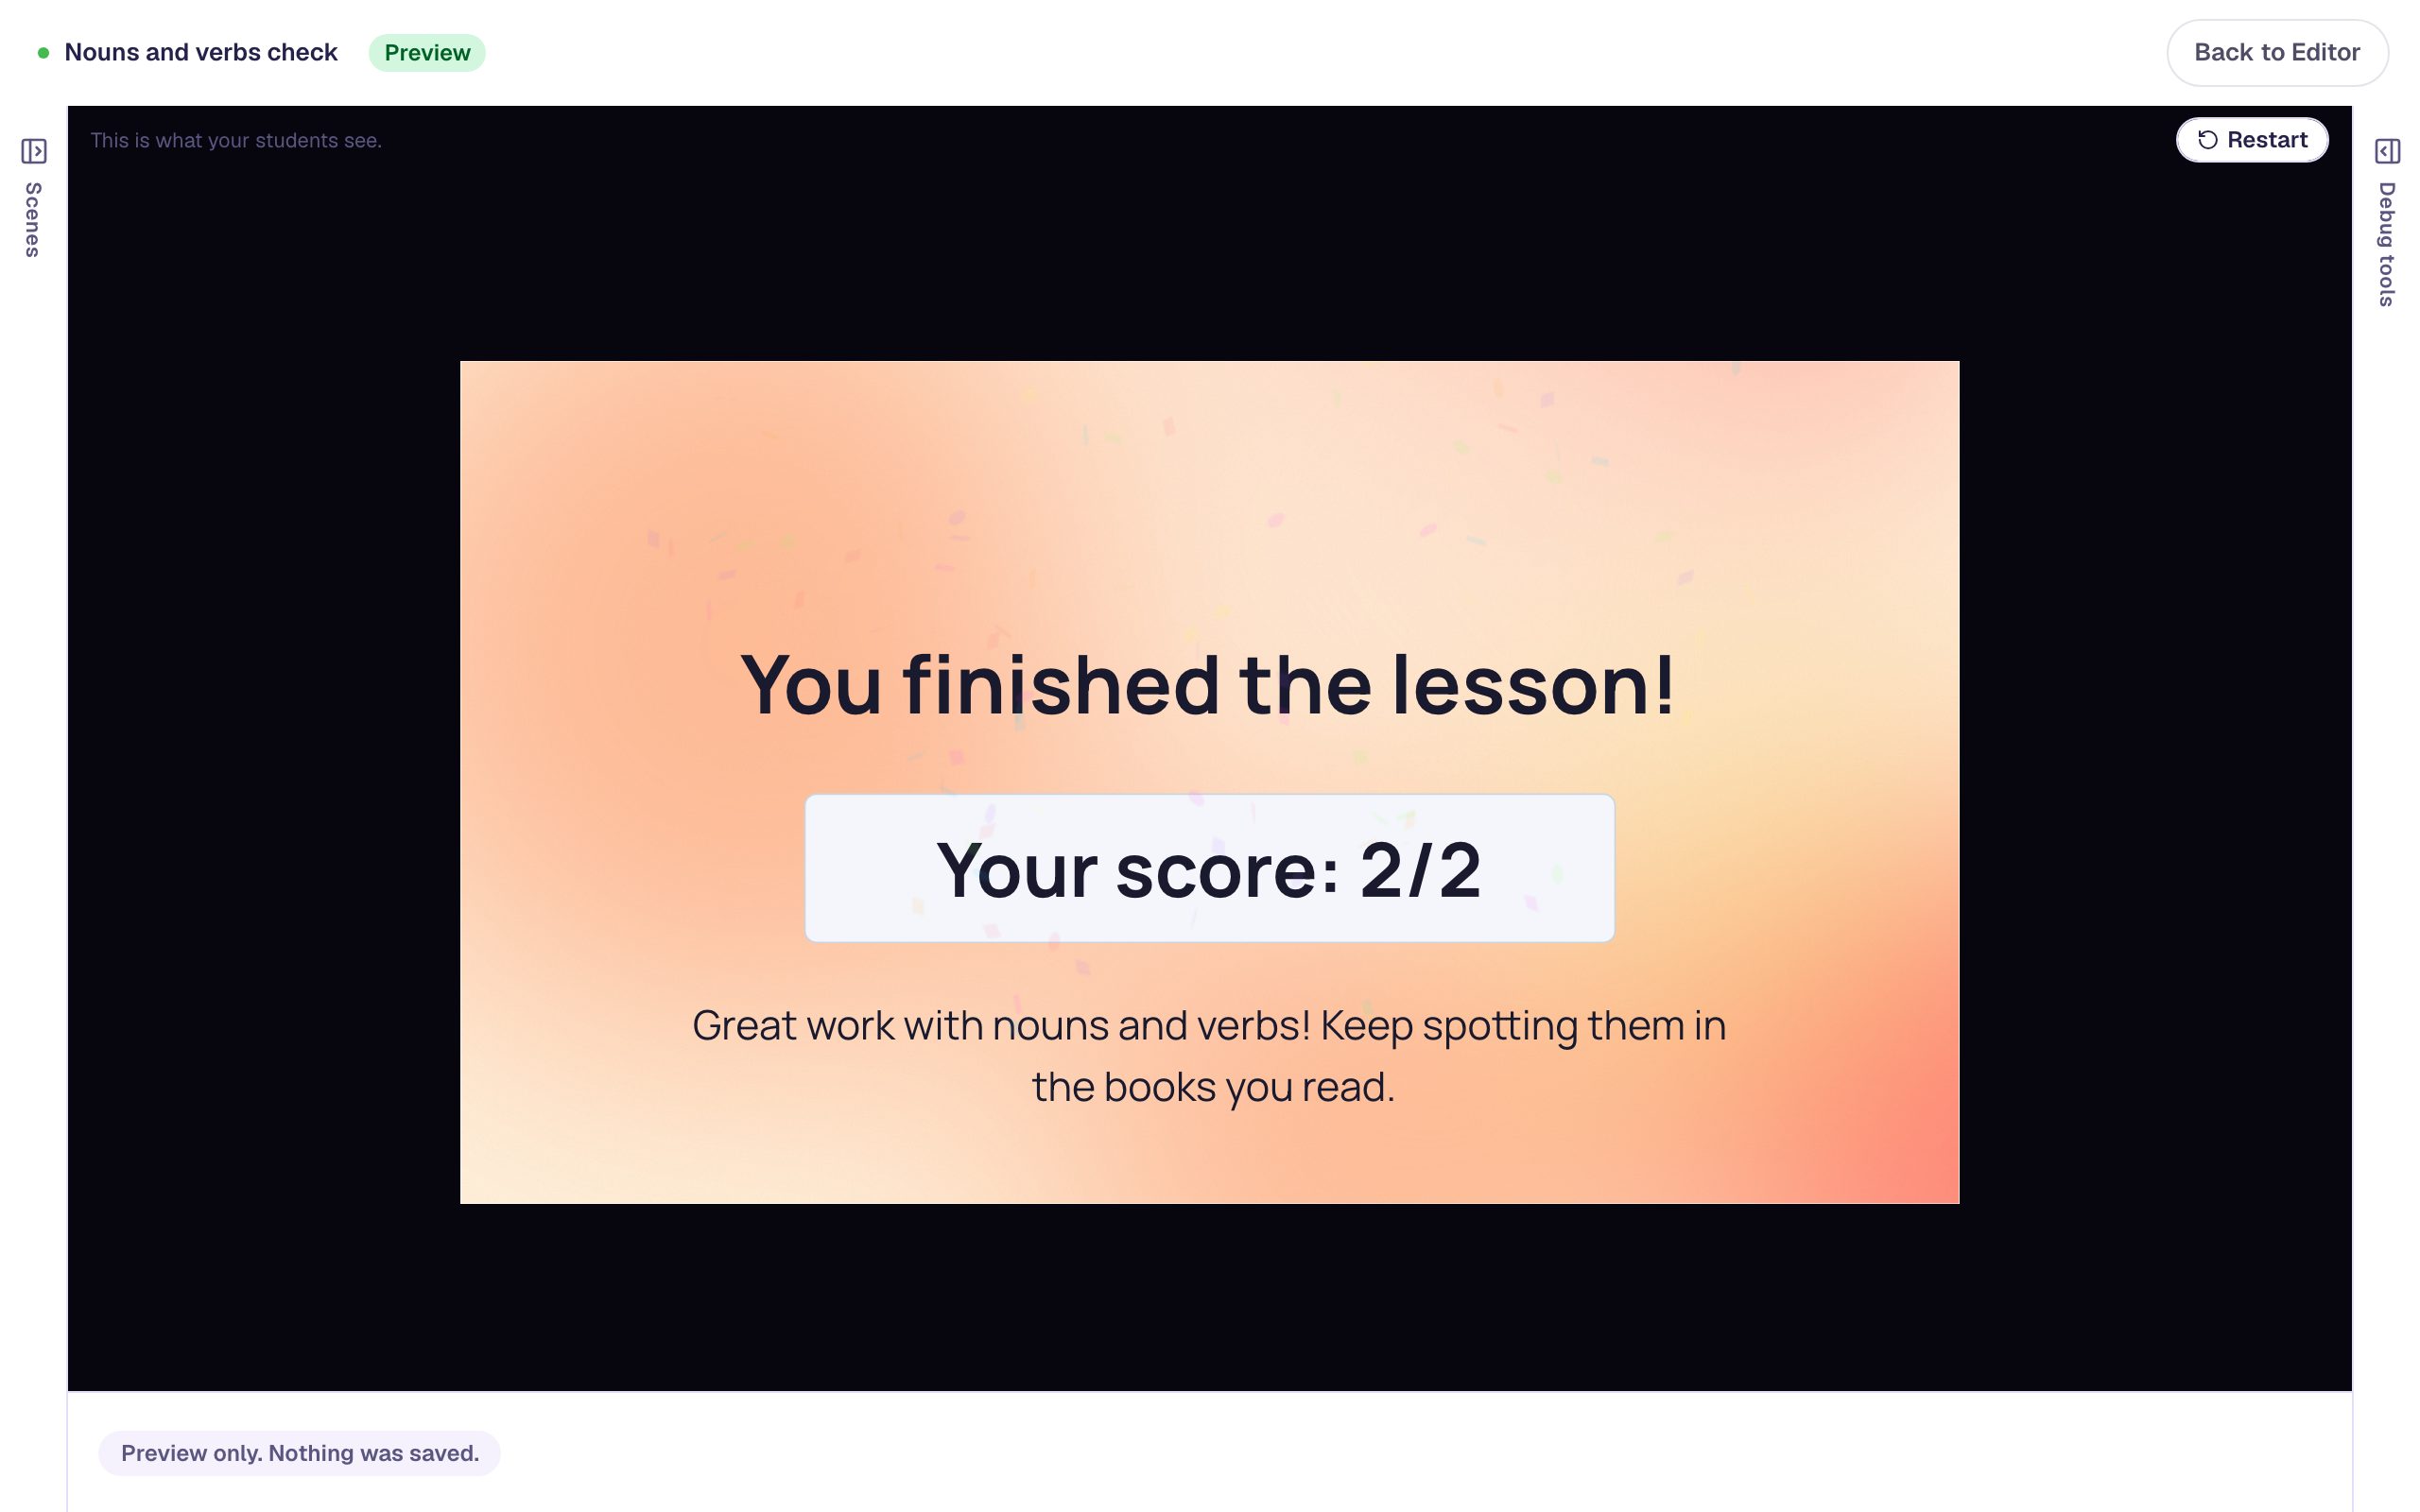
First, a student who knows both. Press Let's go!, pick puppy, press Next question, pick jump, and press Finish:
Now a student who mixes up nouns. Press Restart at the top right, and this time pick happy for the noun question and jump for the verb question:
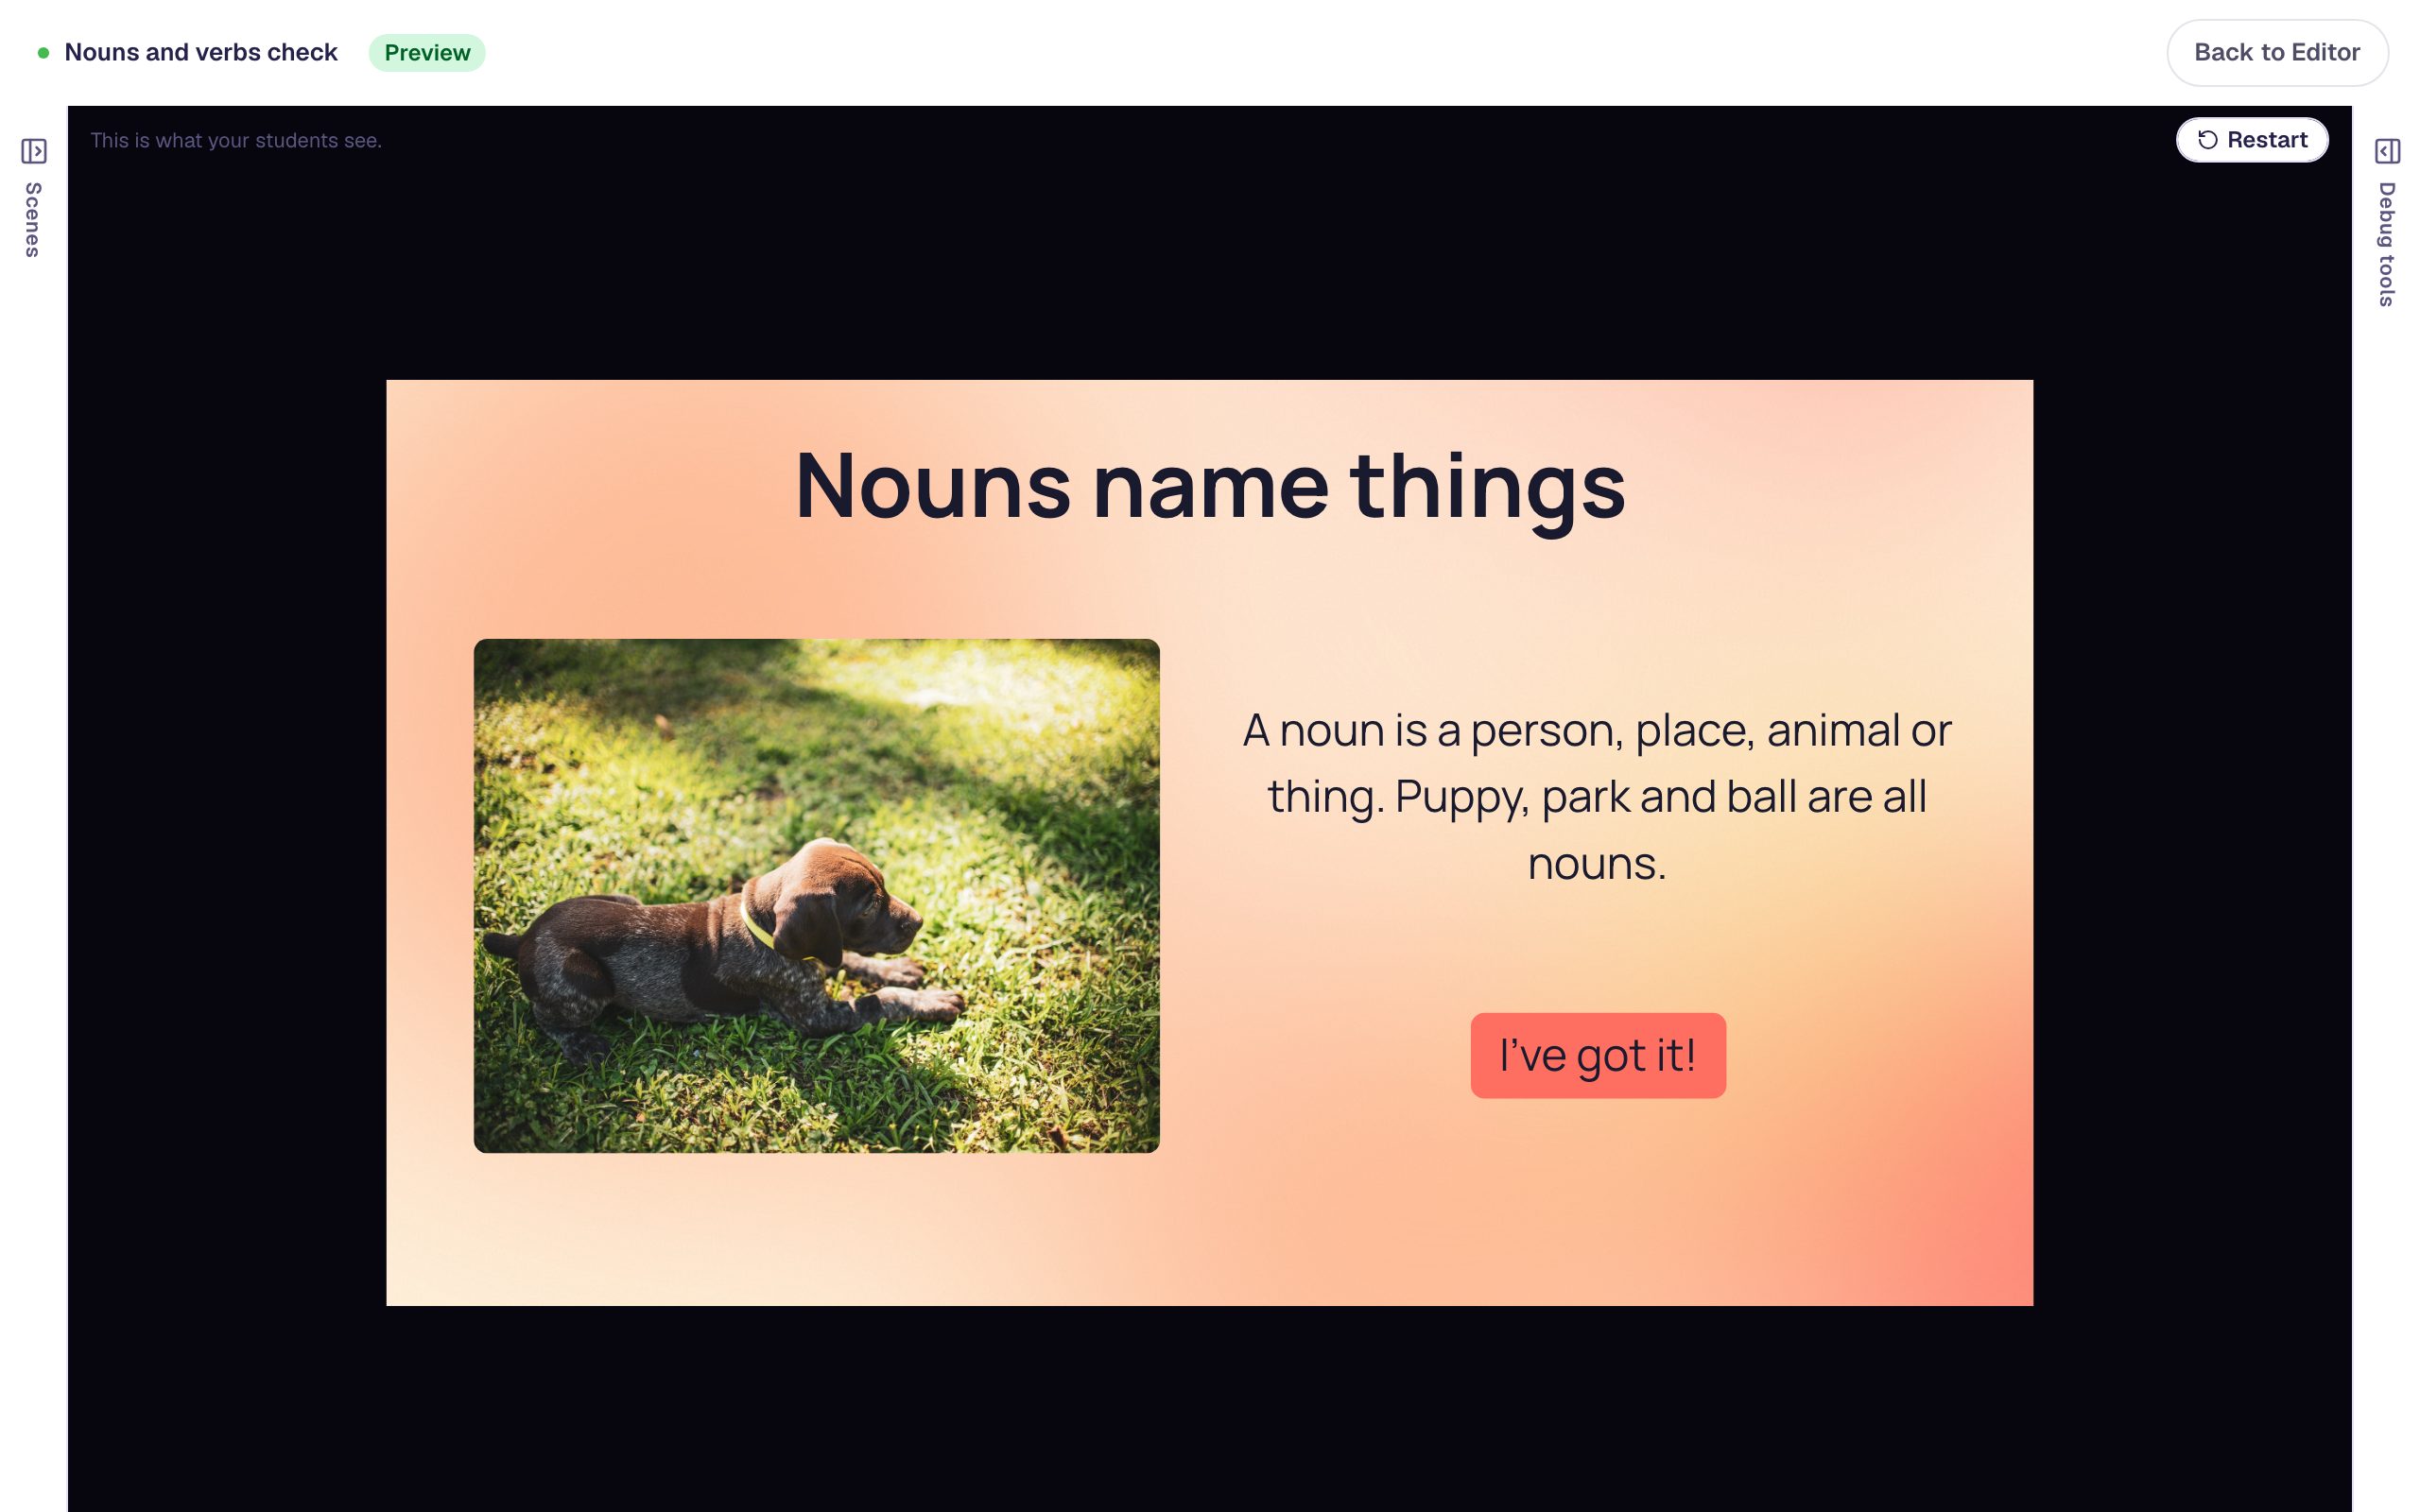
Press I've got it! to reach the ending:
Last, press Restart, pick puppy, then a wrong verb like table, and press Finish. Rule 1 doesn't match this time, so Rule 2 does:
What you built
You built a check that gives each student the tip they need:
- two question scenes in a row, each with a Button and a They tap something path, so every student sees both, right or wrong,
- two tip scenes, each with an I've got it! button that leads to the ending,
- one router,
Which tip?, that runs when a student presses Finish, - a rule per question, Scene score: … is failing, that sends students to that question's tip, and
- Otherwise to the ending, for students who got everything right.
To check a third skill, add a third question scene before the router, a third tip, and a third rule. For a student who missed both, add a rule at the very top with both conditions (leave it on All conditions are met) that goes to a scene with both tips. You can also put several questions on each scene: is failing then means "answered them all but didn't pass the scene", and the scene's Progression section decides what passing means (see Scene Settings).
For the score of the scene a student is on, a Their score is… path is simpler: see Send students down different paths by their score. Avoid sending students from a tip back to a question they've already submitted: their answers stay locked there.
Make this lesson yours
Add the lesson you just watched being built to your account, then change it for your class: your questions, your pictures, your colors.
Free to sign up, and you'll come straight back here. I have an account