Record your own voice for a question
Record spoken directions in your own voice on the Audio player's Record tab, listen back, and save the take, so early readers can hear you explain a beginning-sounds question as often as they need.
- Level
- Beginner
- Time
- About 10 min
- Steps
- 8
- Updated
- Oct 15, 2026
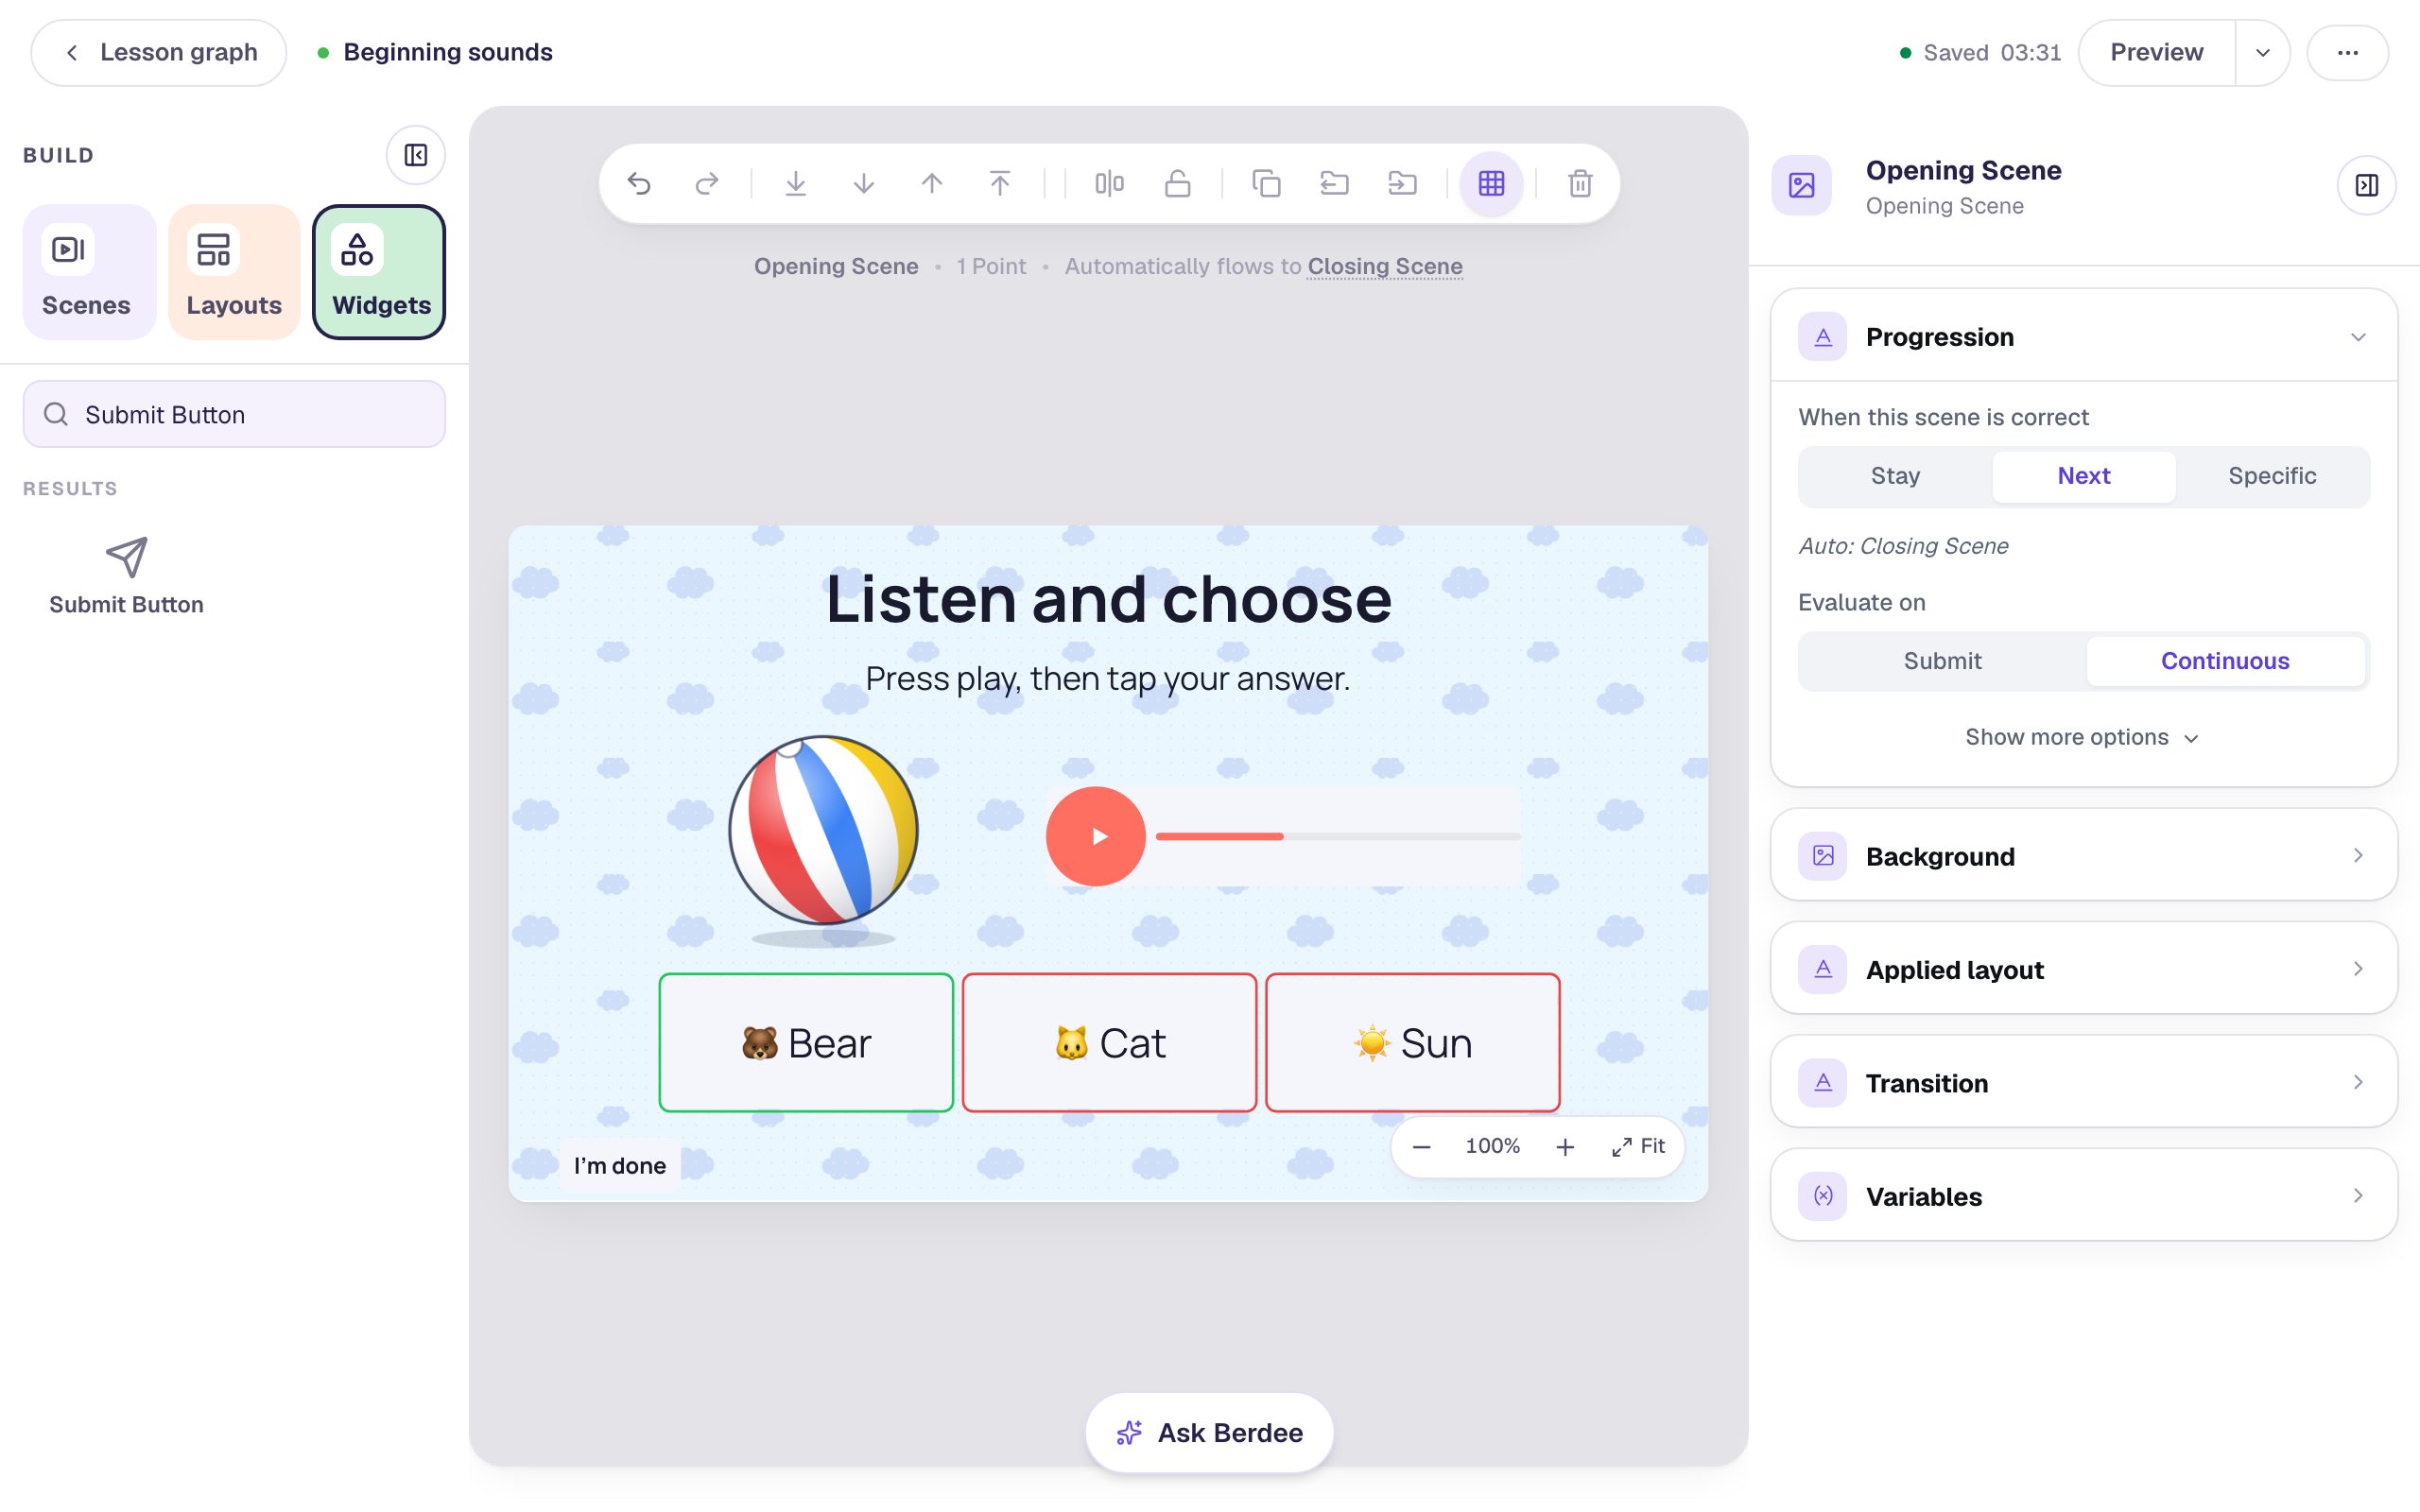
A "Listen and choose" phonics question where students press play to hear their teacher ask which picture starts like "ball", then pick Bear, Cat or Sun.
Get the finished lesson
Skip straight to the result, or keep it open beside the steps. Add this tutorial's lesson to your account and explore how it works in the studio.
Free to sign up, and you'll come straight back here. I have an account
Young students know your voice. Hearing you say "Buh, buh, ball" lands differently from a robot voice, and it lets you say a sound exactly the way you teach it in class.
In this tutorial you'll build one phonics question:
Which picture starts with the same sound as ball?
Students press play to hear you ask the question, then pick Bear, Cat or Sun. You'll record the directions right in the studio, with no other app and no file to upload: press Start recording, speak, press Stop, listen back, and save.
All you need is a microphone. Most laptops have one built in, and a headset with a microphone sounds even clearer. Recording works on every plan.
If you haven't used the studio before, start with Build your first quiz question. This tutorial moves quickly through the parts it already covers.
Step 1: Set the scene
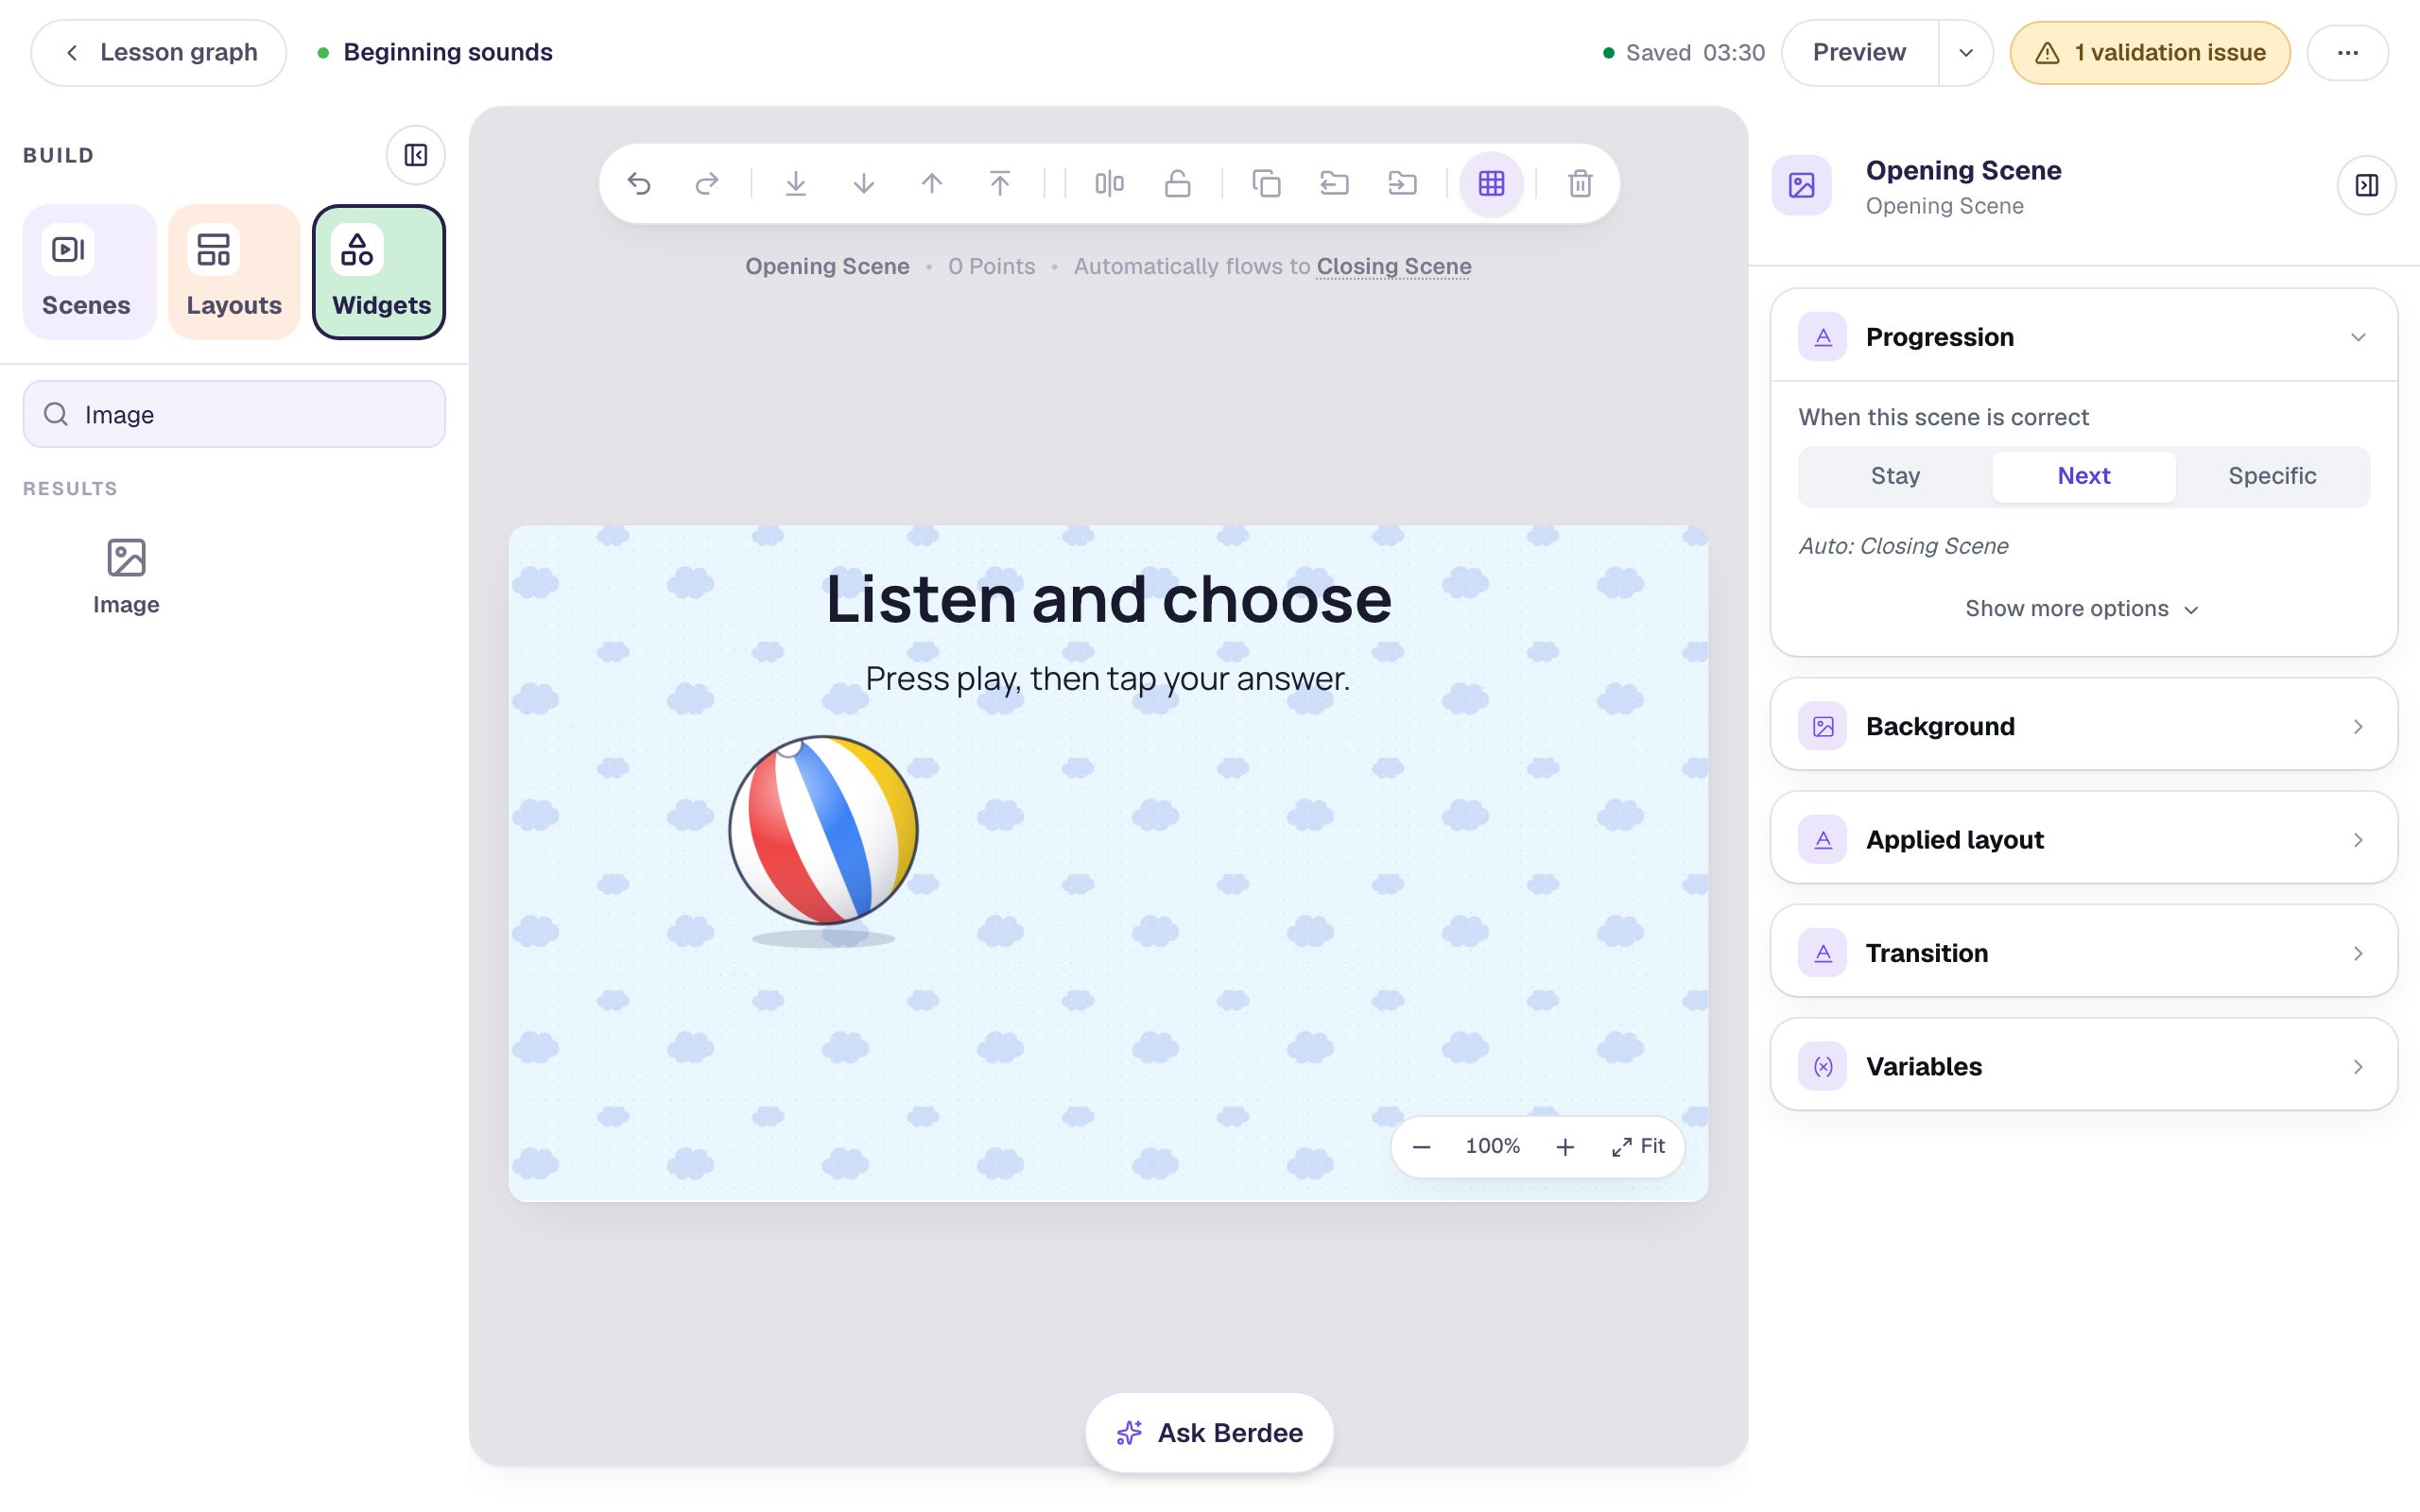
Start a blank lesson (New lesson, then Start from scratch) and name it Beginning sounds by clicking Untitled lesson at the top.
With nothing selected, open Background, click Choose a style, pick Playful, then Cloud pattern, and click Apply background. Do the same on the Closing Scene (in the Scenes panel), so the ending matches. A calm, pale background keeps young eyes on the question.
Back on the Opening Scene, add a Heading that says Listen and choose, and a Body under it that says Press play, then tap your answer. with a Font Size of 26.
Then add an Image of a ball: it's the word students compare the answers to. Click Choose image and upload a picture on the Upload tab, or search the stock photos for one. Pick a picture with one ball, big and clear, rather than a field with a ball somewhere in it. Under Show more options in Style & Layout, set Width and Height to 200, and drag it to the left side of the scene. Last, open Accessibility and set its Alt Text to what the picture shows, ours is A beach ball with red, blue and yellow stripes, so a student using a screen reader knows what it is.
Step 2: Add the answers
In Widgets, search for Multi Choice and click it. Click ⚙ Configure and type three answers, each starting with an emoji so a student who can't read the word yet can still find it: 🐻 Bear, 🐱 Cat and ☀️ Sun. A new question has four options, so click the bin beside the fourth to remove it.
The first option starts marked correct (the green tick), and that's Bear, the one that starts like ball. Leave Randomize Order on, so the right answer isn't always first.
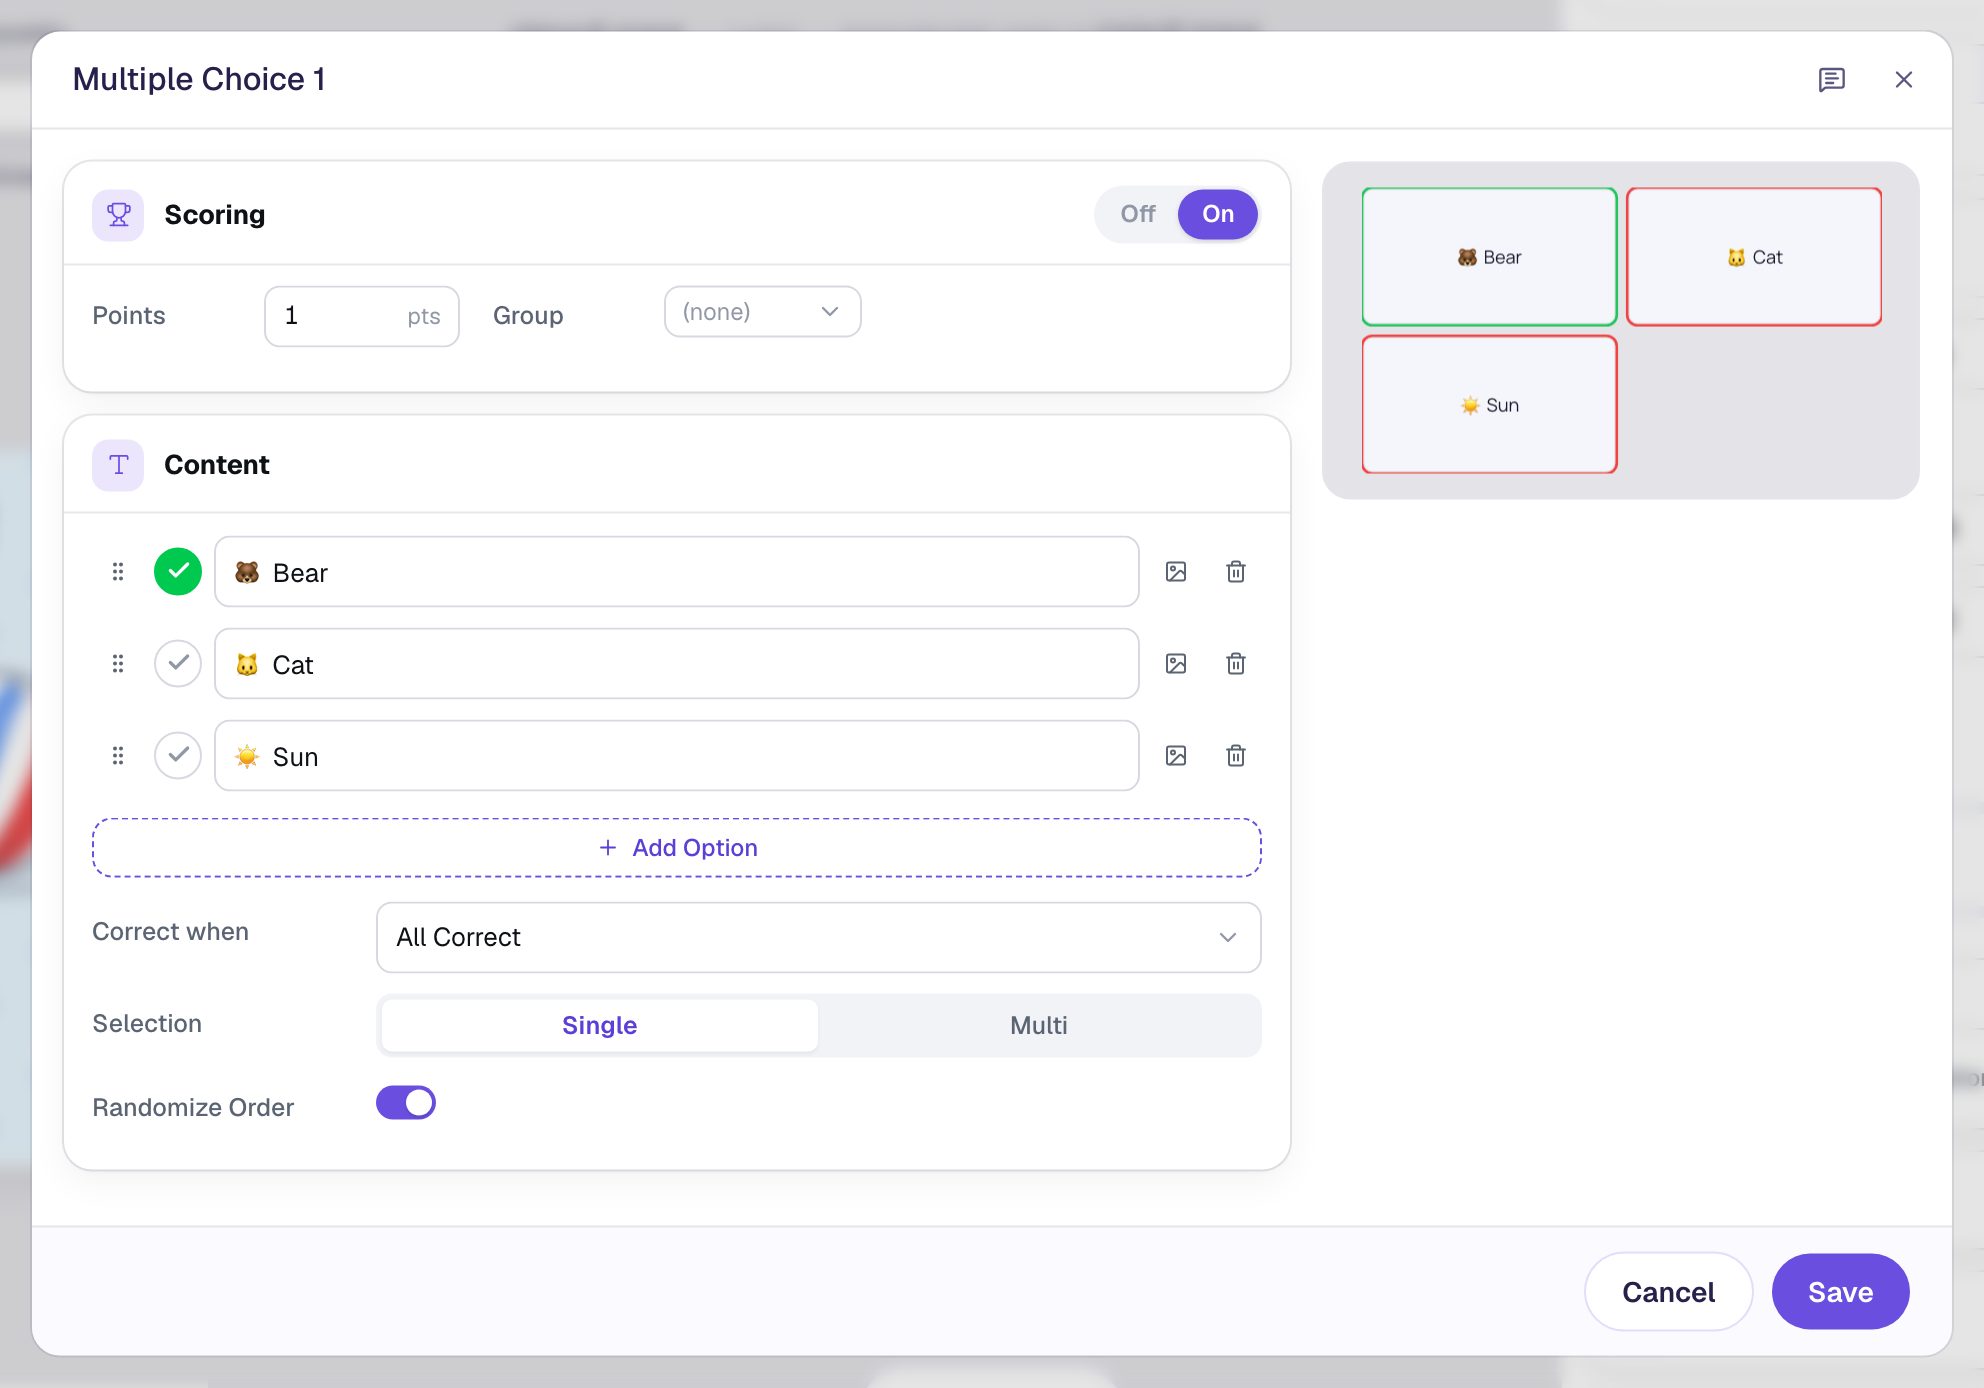
Click Save. With the question still selected, open Style & Layout, set Font Size to 32, and under Show more options set Width to 720 and Height to 110, so the three answers sit in one row. Drag it to the bottom of the scene.
Step 3: Add a player and open the Record tab
In Widgets, search for Audio and click it. Under Show more options in Style & Layout, set Width to 380 and Height to 80, and drag the player to the right of the ball. A wide player gives students a big play button and a progress bar they can watch.
Click ⚙ Configure in the pill above the player, then Open Media Library, and open the Record tab.
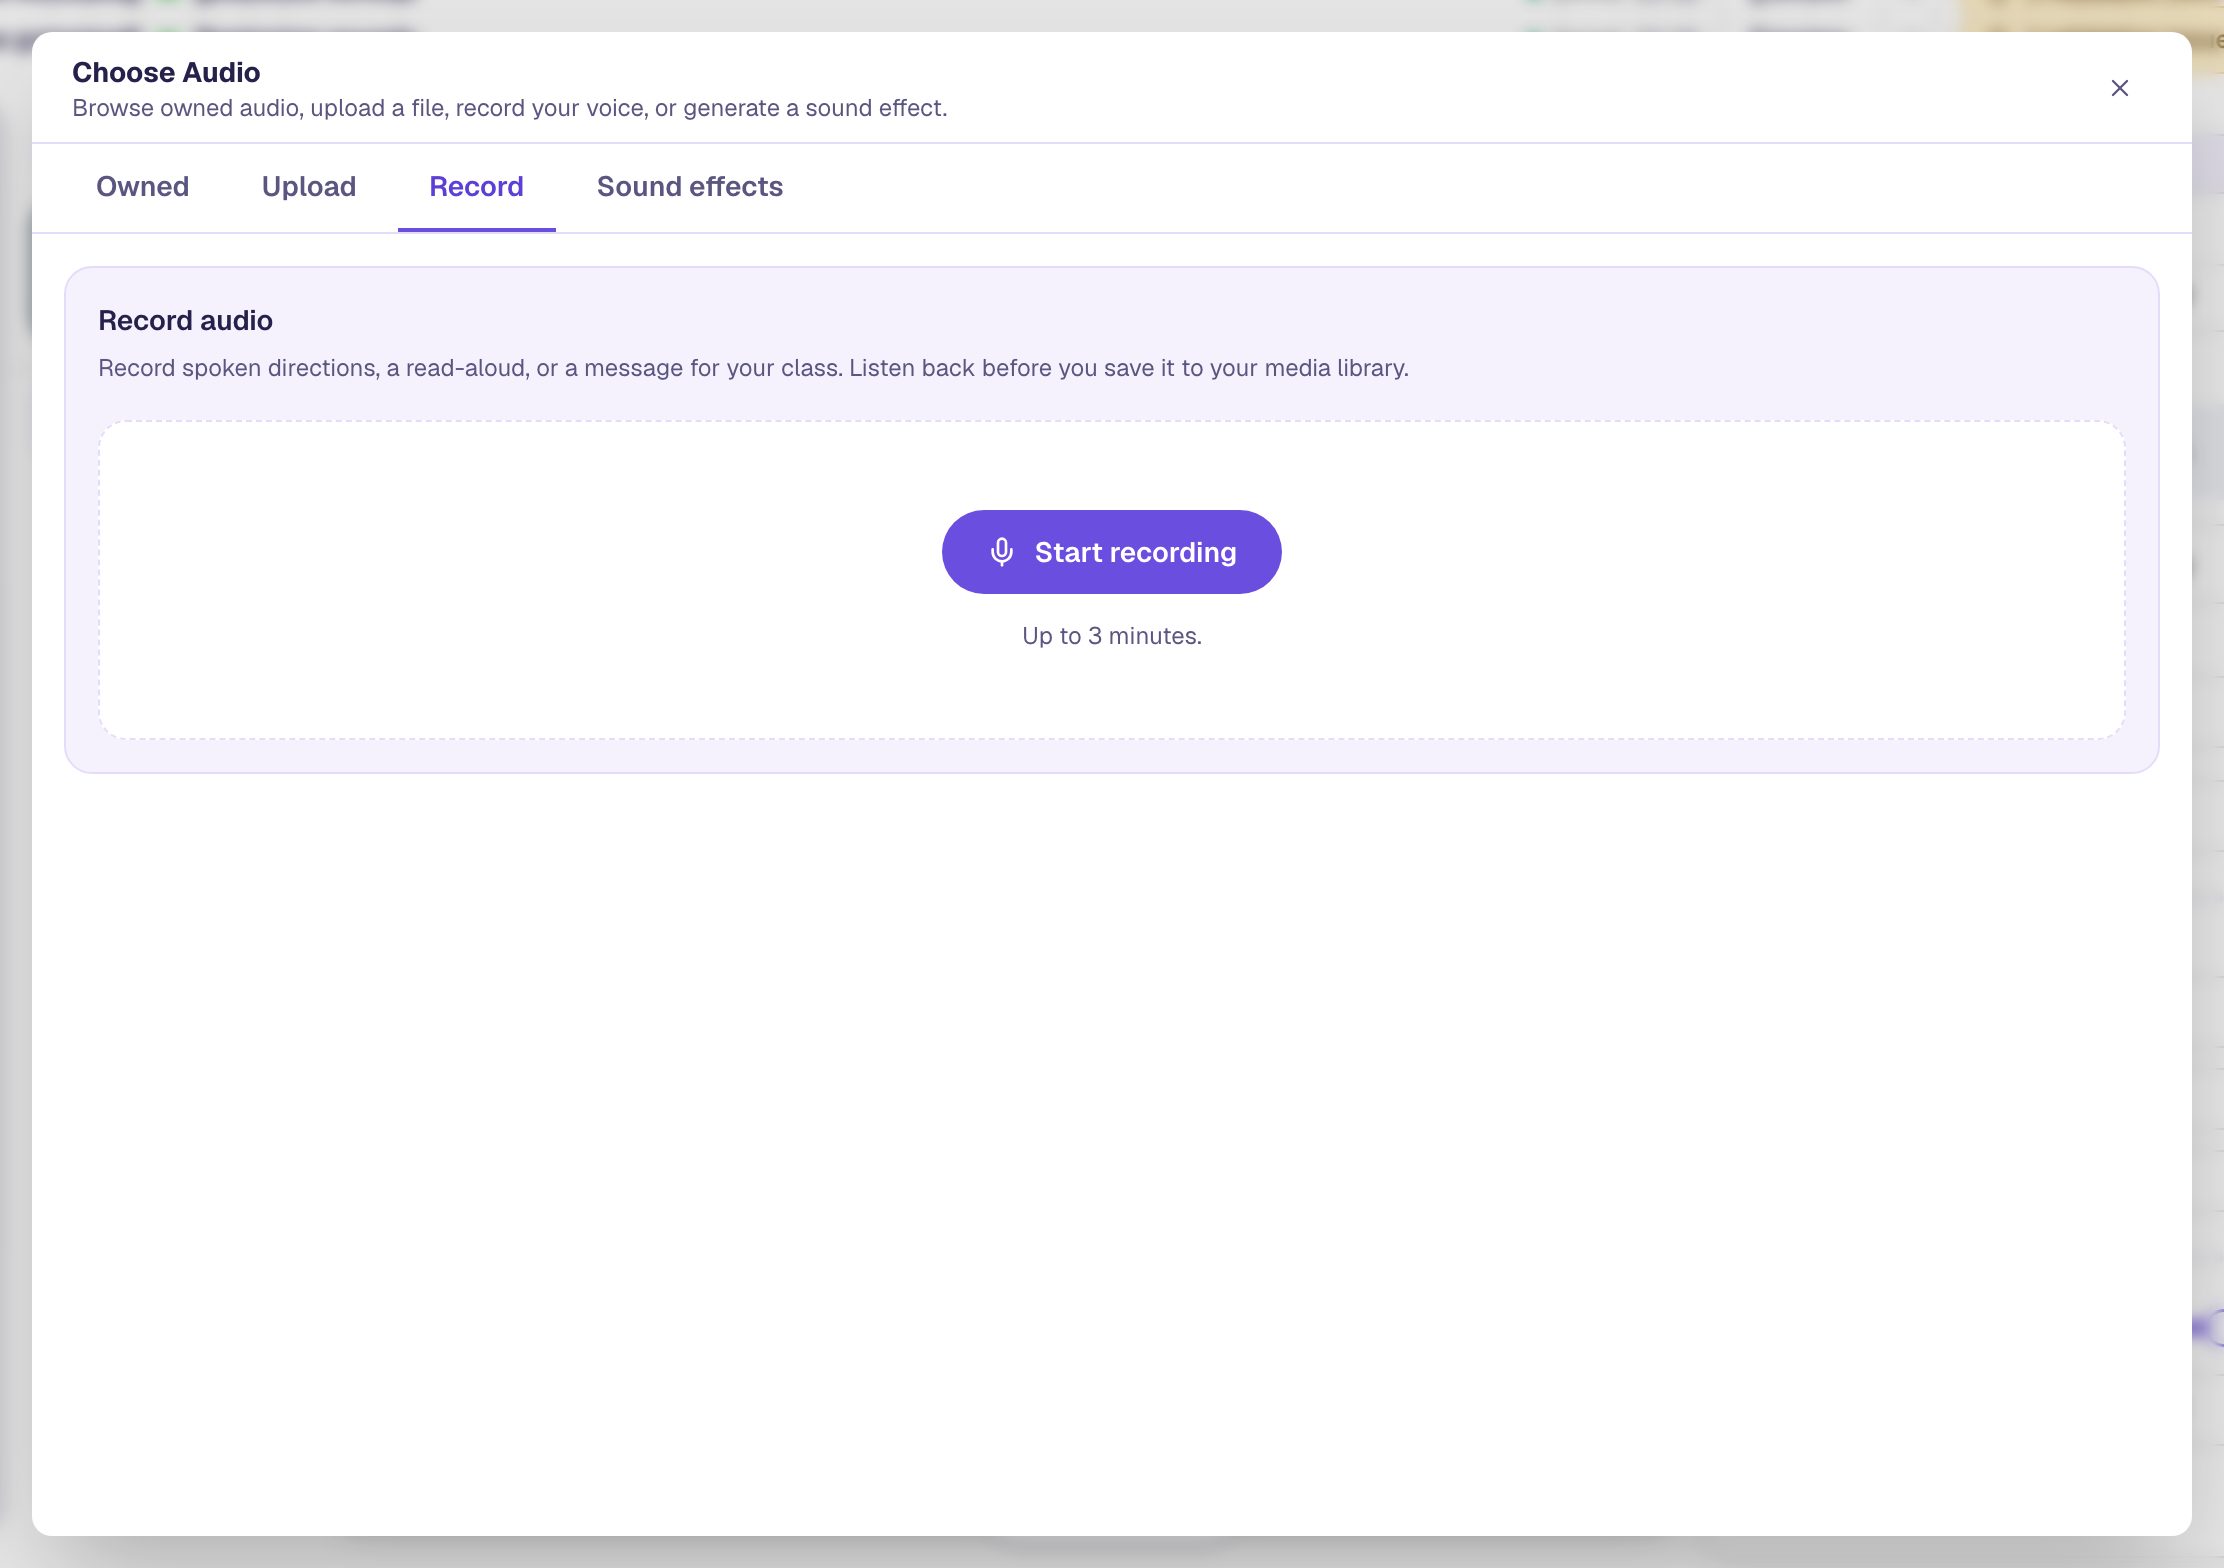
The first time you press Start recording, your browser asks whether Berdee may use your microphone. Choose Allow. If you clicked Block by mistake, allow it again from the icon in your browser's address bar and press Try again.
Step 4: Record the directions
Before you press the button, decide what you'll say. Short and slow works best for young listeners. This lesson says:
Listen carefully. Ball. Buh, buh, ball. Which picture starts with the same sound as ball? Tap it!
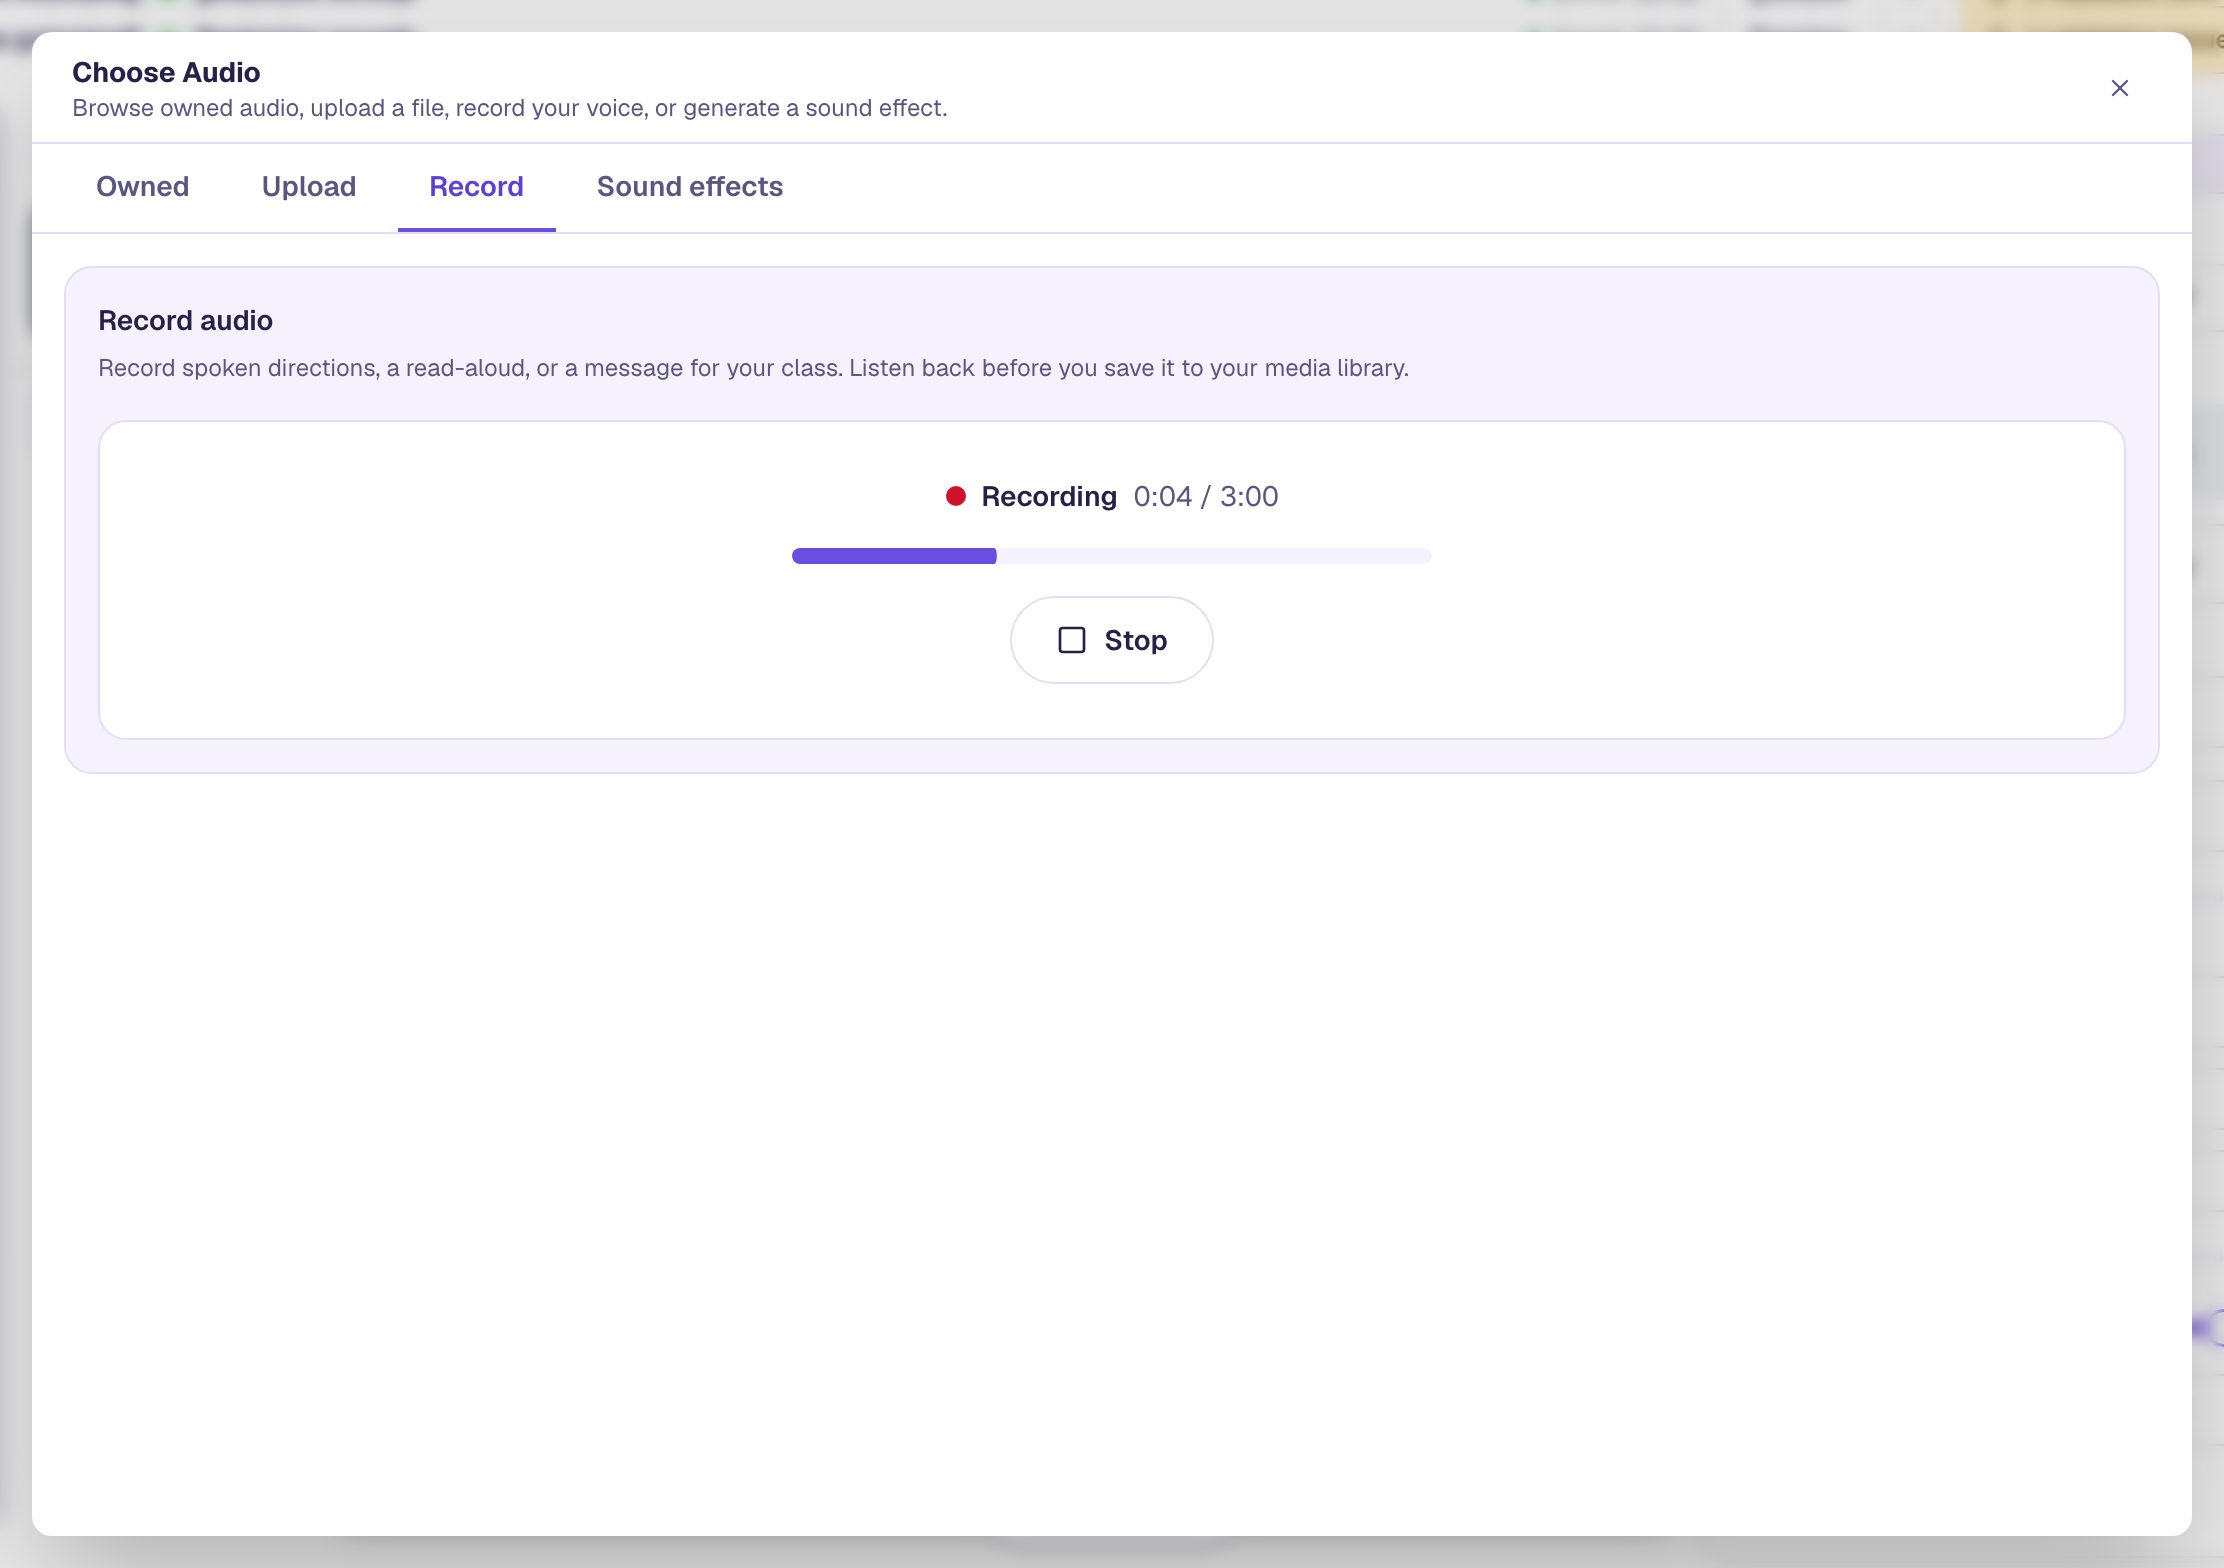
Press Start recording, speak, and press Stop when you finish.
While you record, the level bar moves when the microphone hears you. If it stays still while you talk, the browser is listening to a different microphone: stop, check your computer's sound settings, and record again. The timer shows how long you've spoken, up to 3 minutes.
Step 5: Listen back and save
When you press Stop, Berdee shows your take with a player. Press play and listen. Not happy with it? Press Record again: the take is thrown away and nothing is saved, so you can try as many times as you like.
When it sounds right, change Name to something you'll recognise later, like Starts like ball, and press Save and use.
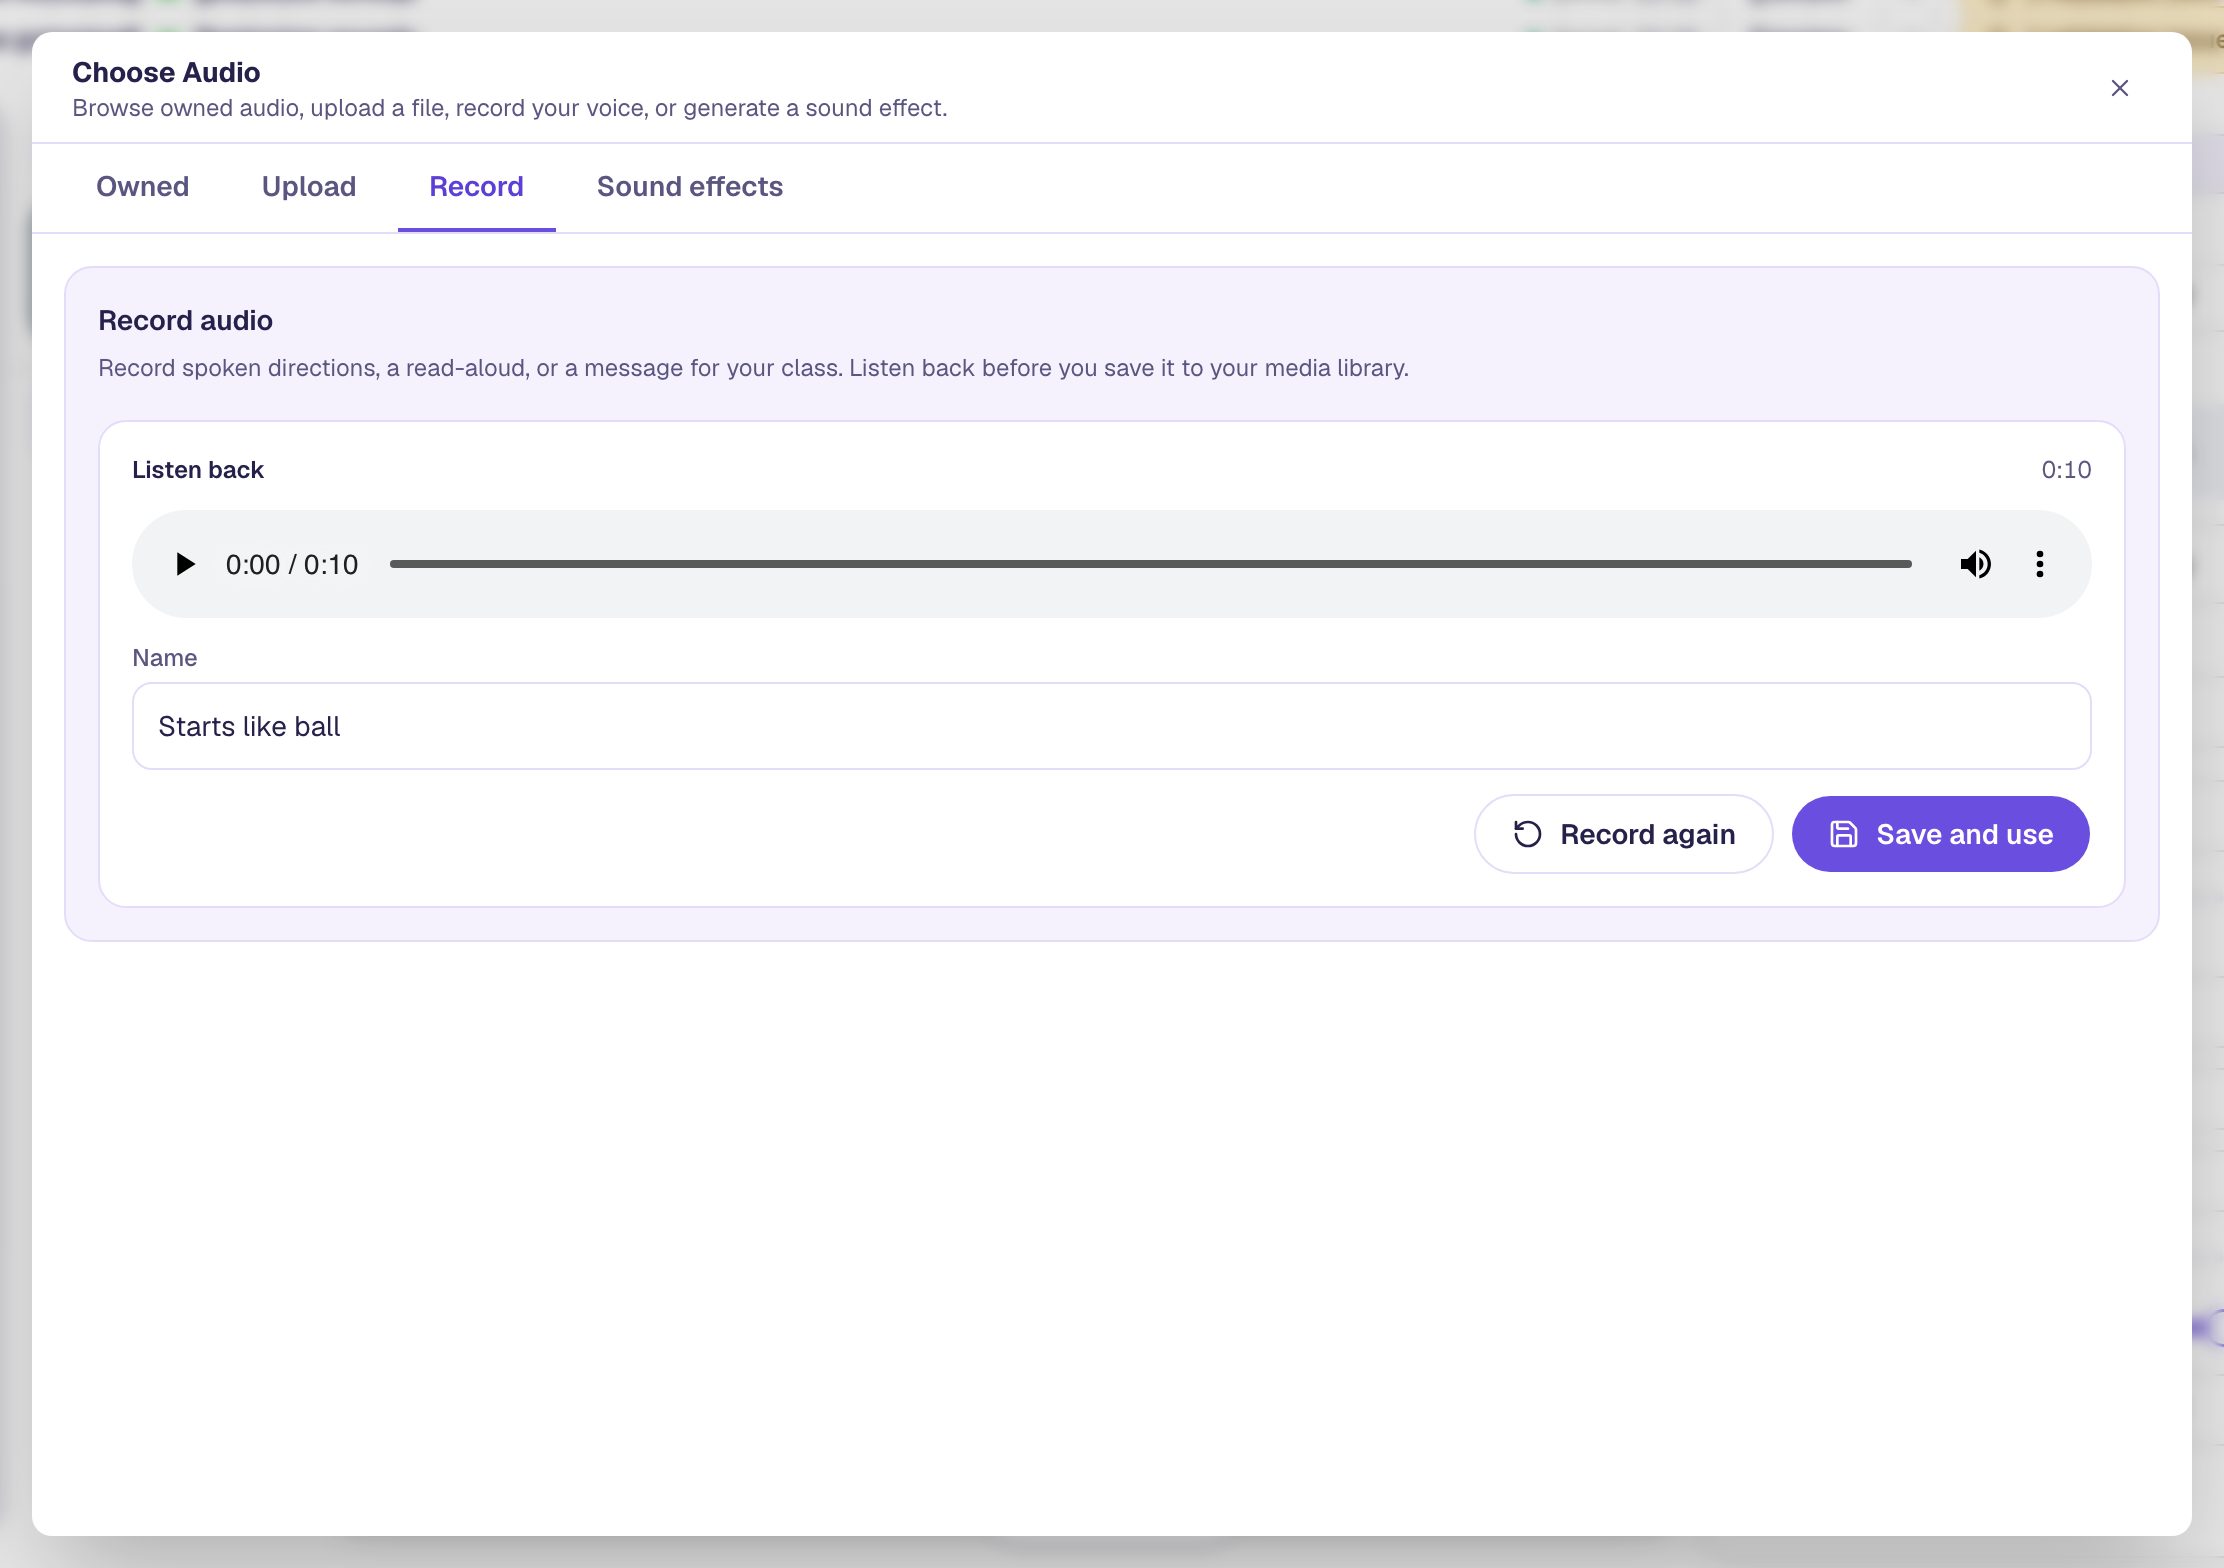
The recording is saved to your media library and chosen for the player. You can use it in another lesson too: it's under Owned whenever you choose audio.
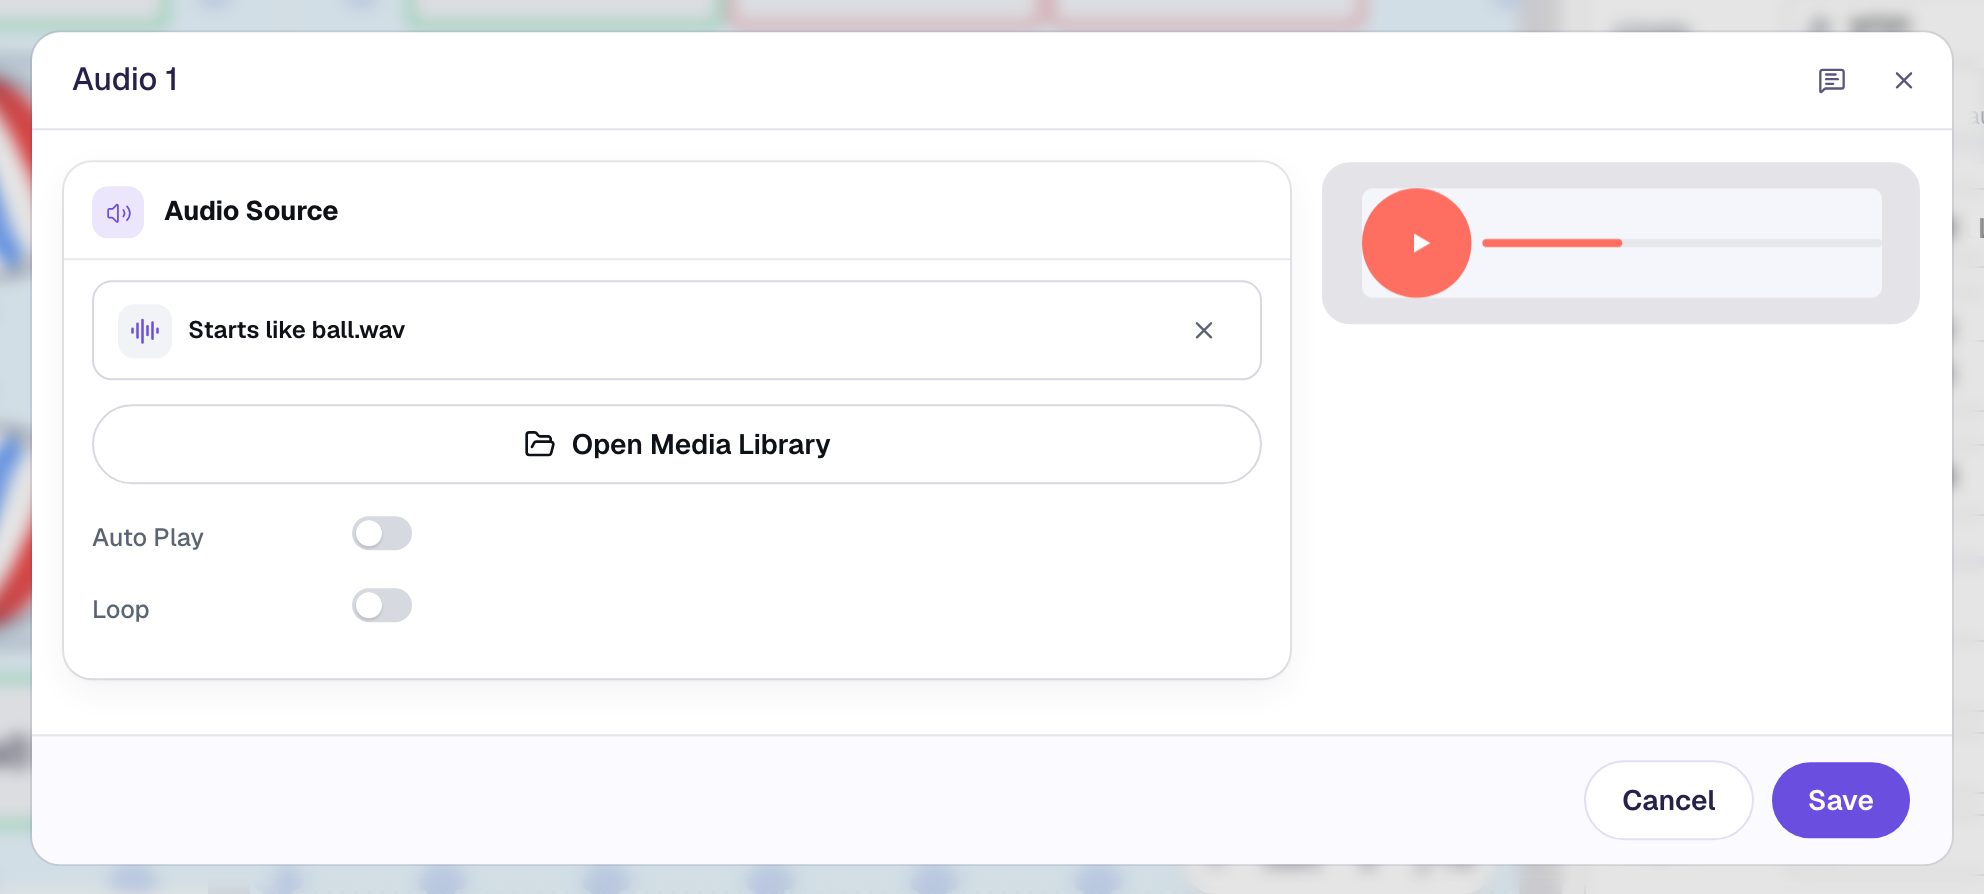
Leave Auto Play off. Students press play themselves, when they're ready to listen, and again whenever they want to hear it once more. Click Save, then rename the widget Directions by clicking its name at the top of the properties panel.
Step 6: Give the player a spoken name
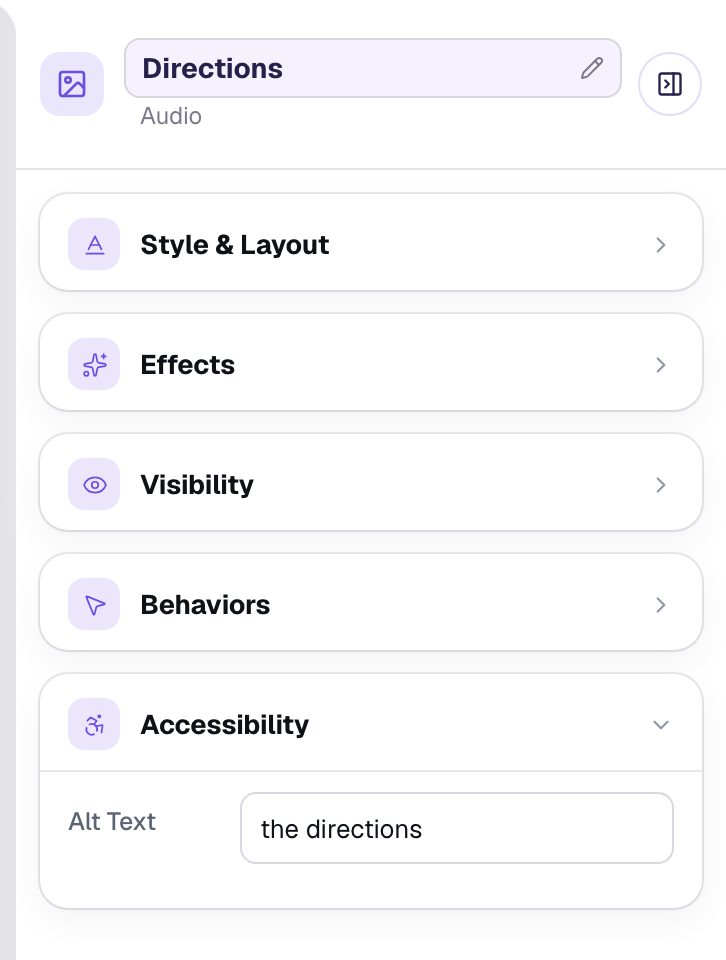
A screen reader announces the play button by the player's alt text. With the player selected, open Accessibility and set Alt Text to the directions. A screen reader then says "Play the directions", and "Pause the directions" while it plays.
Step 7: Add a button that finishes the lesson
A lesson needs a Submit button set to Lesson before you can publish it. In Widgets, search for Submit Button and add one. In Content, change its Label to I'm done and choose Lesson. Drag it to the bottom-left corner. Students who pick Bear move on by themselves; this button is for a student who wants to stop.
Step 8: Preview it as a student
Click Preview. Press play and listen, then answer the way a student might: a wrong pick first, then the right one.
The clip above is silent, but in your browser you'll hear your own voice.
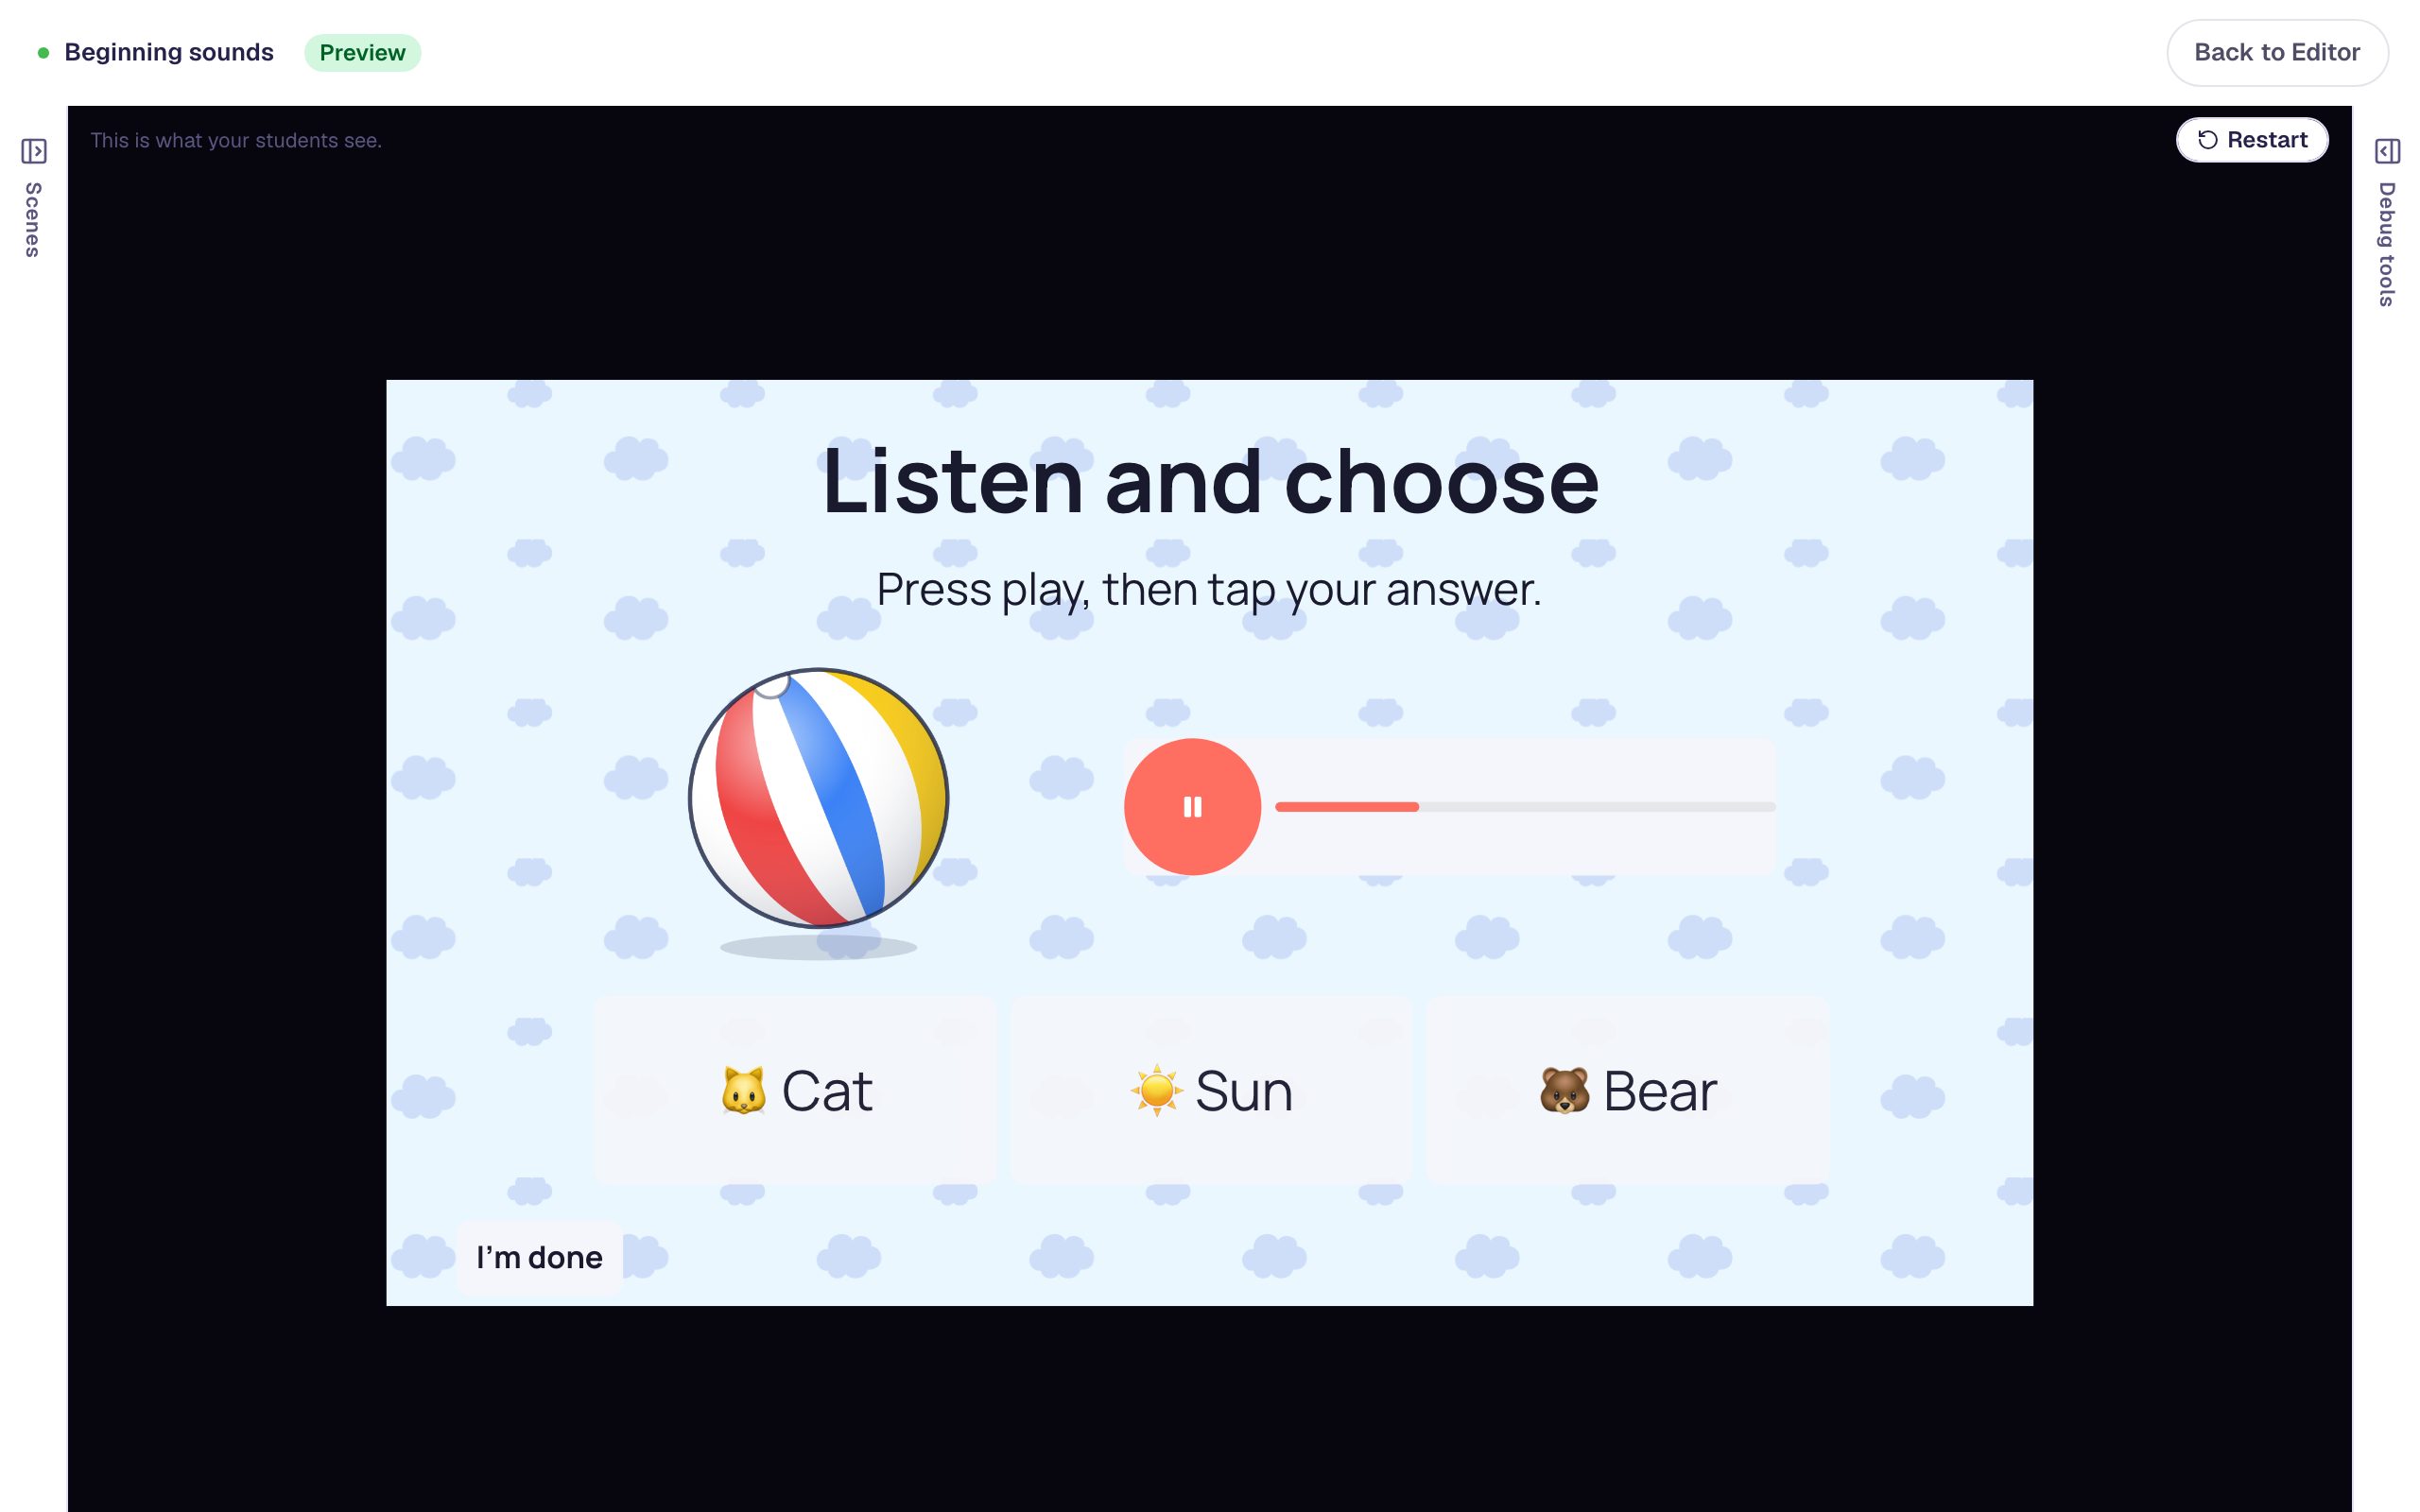
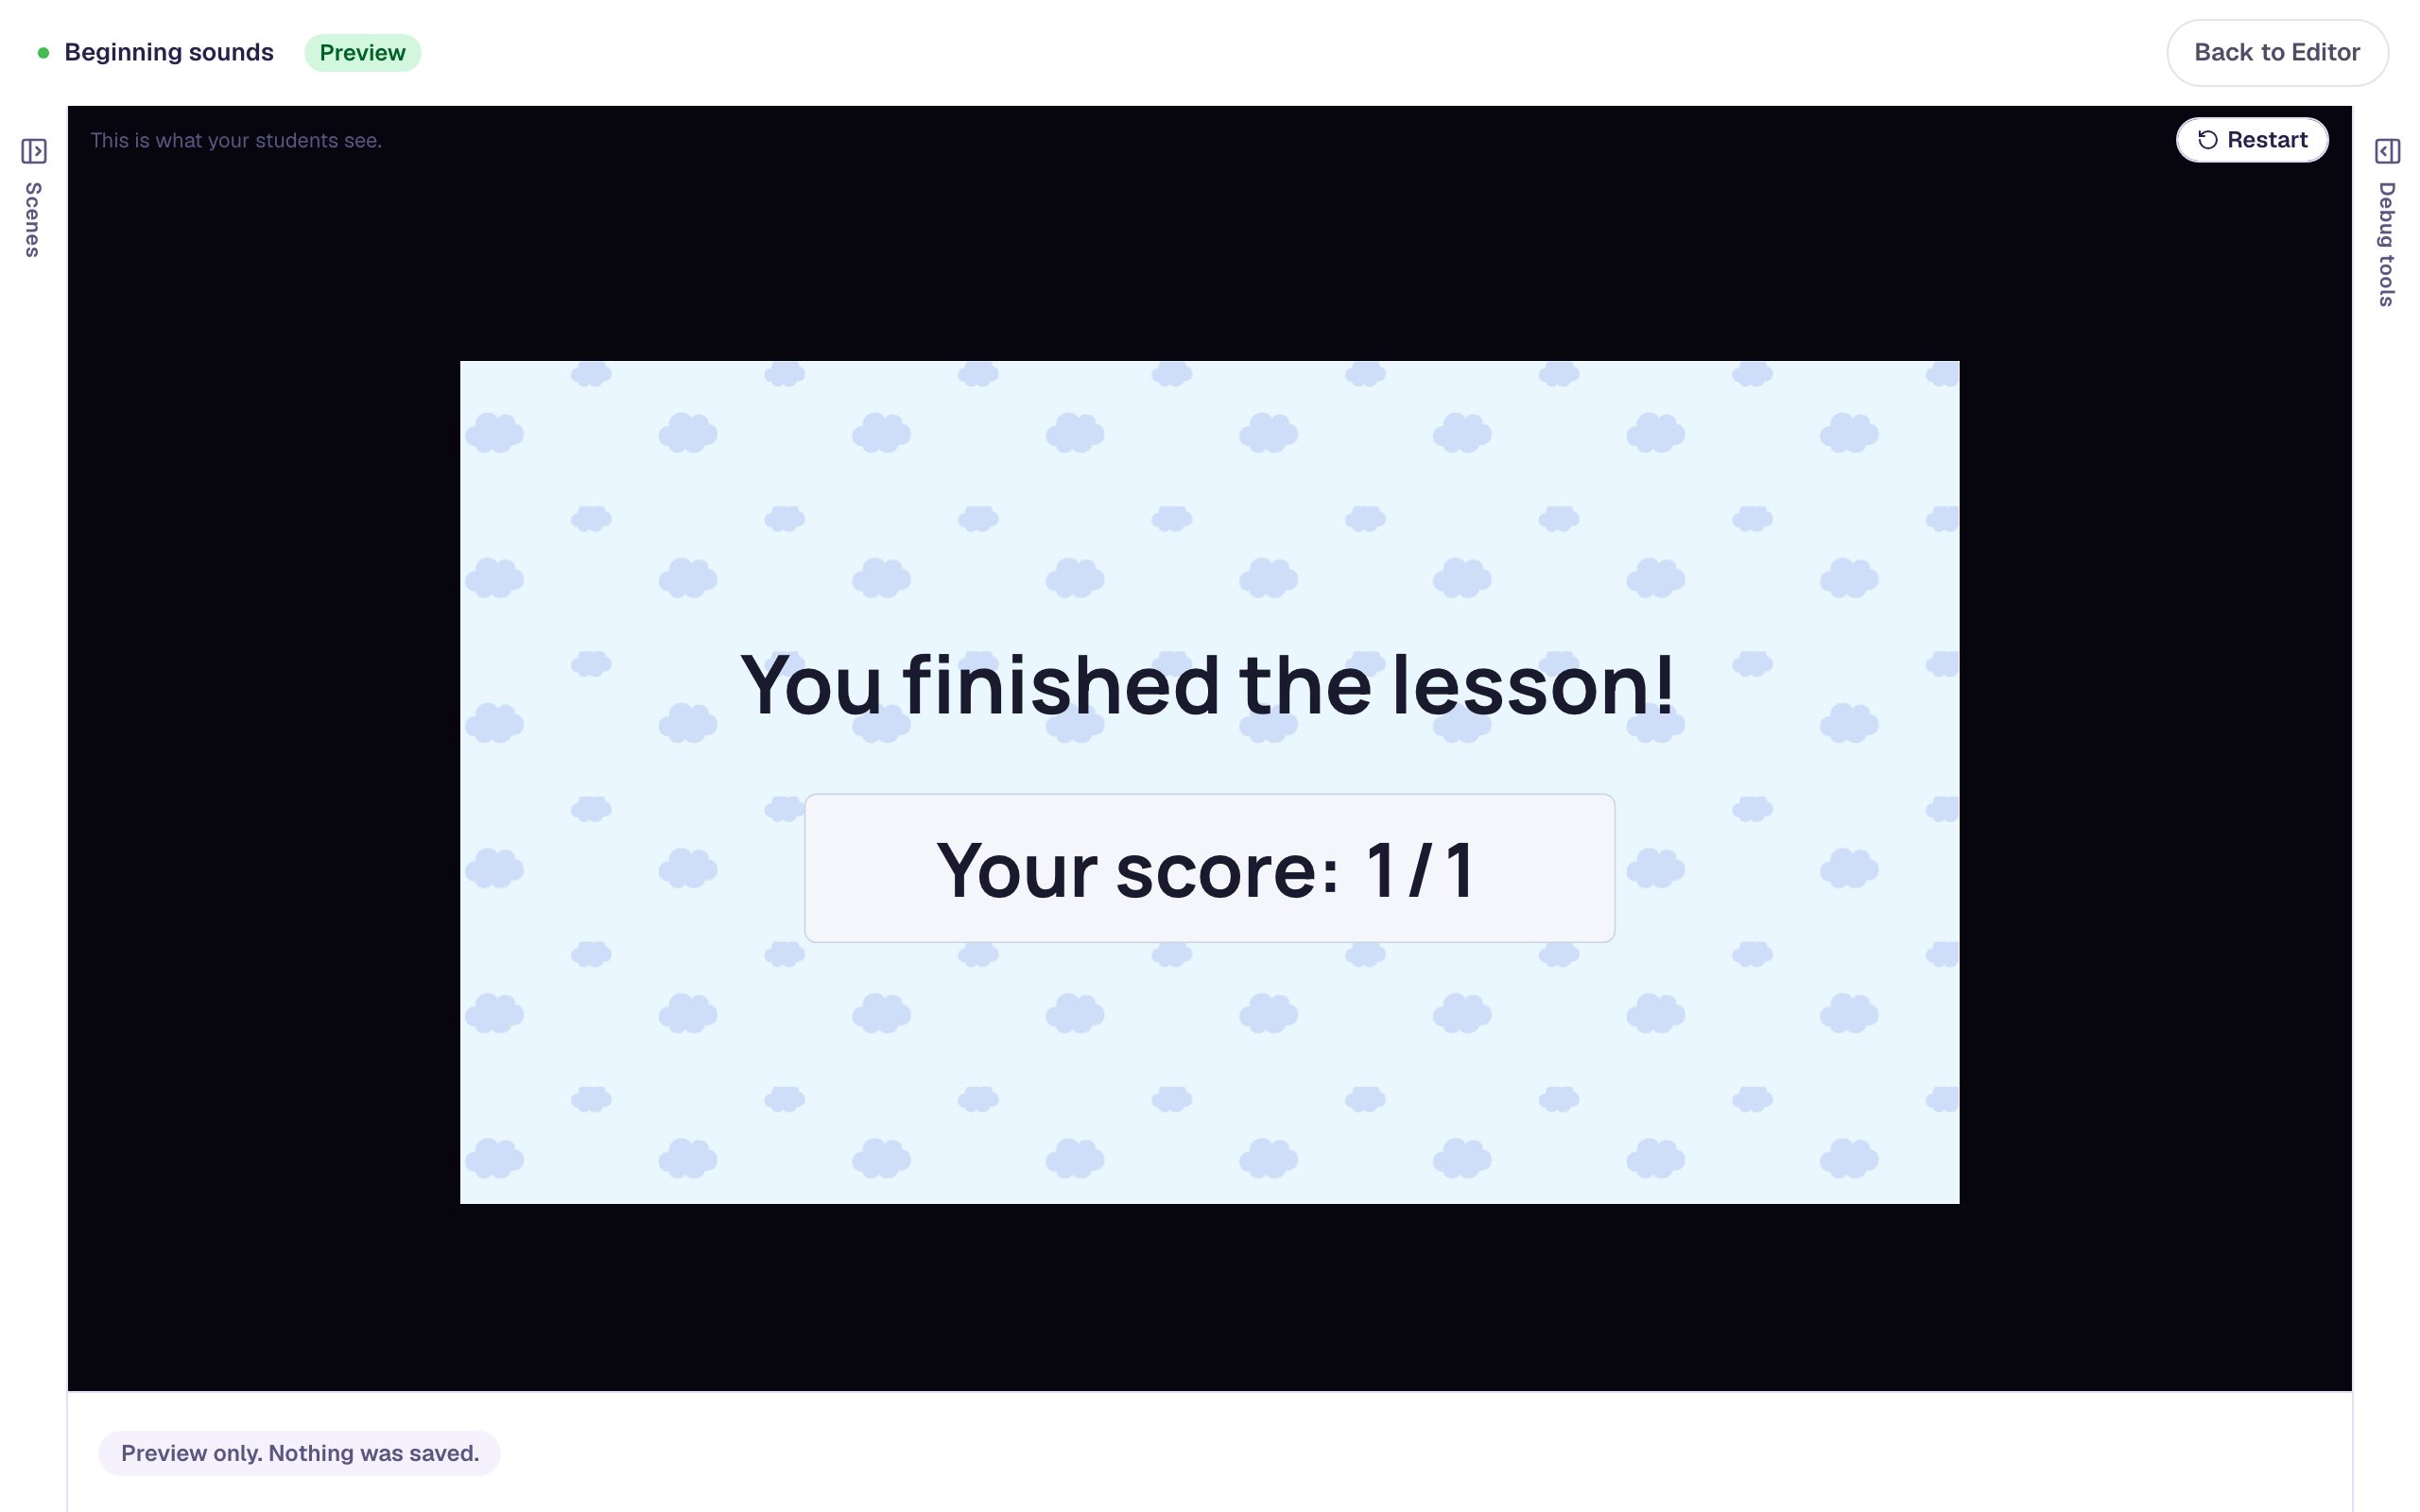
Picking Cat keeps the student on the question, so they can listen again and try another picture. Picking Bear finishes the lesson.
What you built
A phonics question in your own voice:
- An Audio player with directions you recorded on its Record tab, listened back to, and saved to your media library.
- A screen-reader name for the player, so it's announced as "Play the directions".
- A ball to compare against, with alt text, three emoji answers in a row, and a finish button for publishing.
Next, duplicate the scene for more sounds ("Which picture starts like sun?") and double-click each copy's player to record new directions; Build a three-question quiz by duplicating a scene shows how. To turn the player into a big picture button, see Turn a picture into a play button for listening. For words you don't need in your own voice, Read a question aloud for early readers uses a generated voice instead.
Make this lesson yours
Add the lesson you just watched being built to your account, then change it for your class: your questions, your pictures, your colors.
Free to sign up, and you'll come straight back here. I have an account