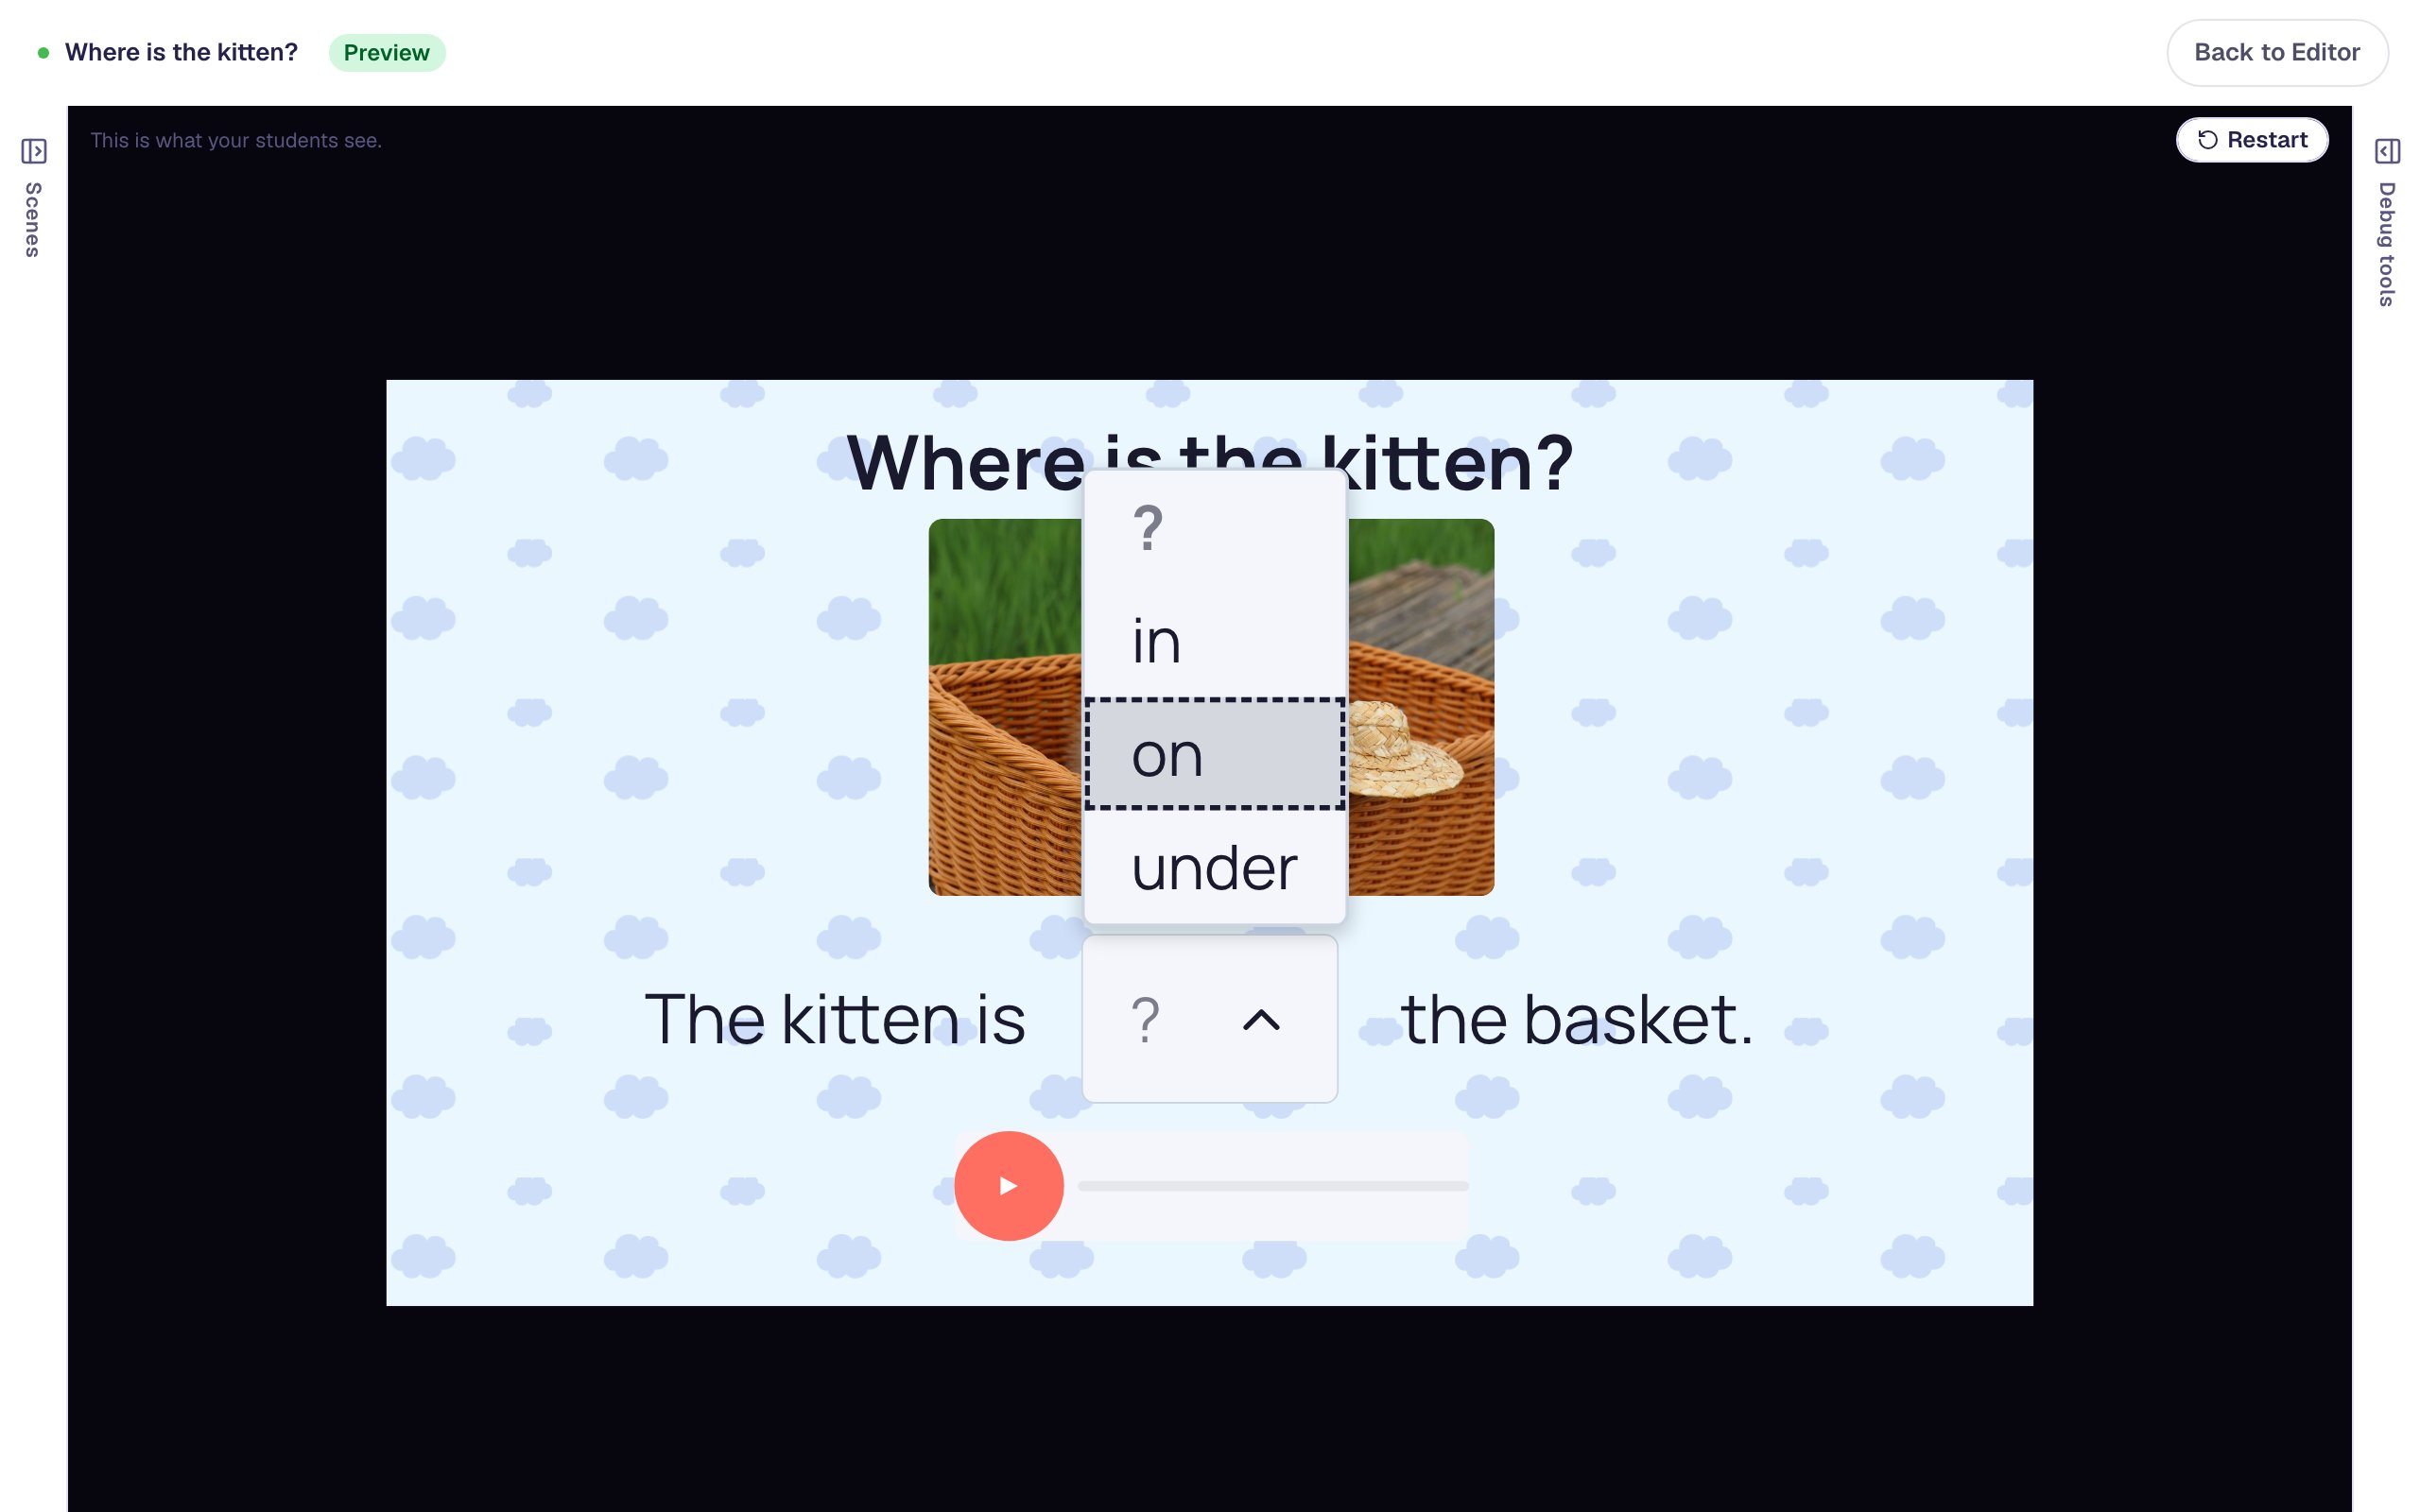
Place a fraction on a number line
Students drag a point to 2/3 on a number line cut into thirds, and a hint appears only when they count the ticks instead of the spaces between them.
- Level
- Intermediate
- Time
- About 15 min
- Steps
- 7
- Updated
- Nov 9, 2026
A one-question lesson where students drag point M to 2/3 of a mile on a trail drawn as a number line in thirds, with a hint for the most common number-line mistake.
Get the finished lesson
Skip straight to the result, or keep it open beside the steps. Add this tutorial's lesson to your account and explore how it works in the studio.
Free to sign up, and you'll come straight back here. I have an account
A number line shows that a fraction is a number with its own place, not just a shaded piece of a pie. It's also where third graders make one mistake again and again: they count the ticks instead of the spaces between them. On a line cut into thirds, a student who counts "0, 1, 2" lands on 1/3 when they meant 2/3.
In this tutorial you'll build a one-question lesson called Fractions on a number line:
- a trail 1 mile long, drawn as a Number Line from 0 to 1 cut into thirds,
- a point M that students drag to 2/3, where Mia stopped hiking,
- a hint that appears only when a student counts the ticks instead of the spaces.
Step 1: Set the scene
Start a blank lesson (New lesson, then Start from scratch) and name it Fractions on a number line by clicking Untitled lesson at the top left.
Give the scene a warm background. Click an empty spot on the scene, open Background, click Choose a style, and pick Mesh sunrise. Give the Closing Scene the same background so the ending matches.
Then add what students read and see:
- A Heading at the top:
How far did Mia hike?. Set its Font Size to44. - A Body under it:
The trail to the lake is 1 mile long. Mia hiked 2/3 of a mile. Drag point M to where she stopped.Set it to Fixed width,880wide, and its Font Size to22. - An Image on the right,
240wide and280tall. Click Choose image, search the stock photos forforest path, and pick a tall photo of a trail.

Describe the photo for students who use a screen reader. With the image selected, open Accessibility and type its Alt Text: A narrow dirt path winding through a green forest. The studio fills that field with the photo's file name, which a screen reader would read out word by word.
The top bar says 1 validation issue for now: the scene has nothing to answer yet. The next step adds it.
Step 2: Add a Number Line
Search the Widgets tab for Number Line and click it. Rename it Mia's trail with the pencil at the top of the properties panel: you'll pick it by that name in Step 5. Under Style & Layout, set Width to 620 and Height to 260, and drag it to the left of the photo.

A new number line arrives already graded: students drag a point onto a line from 0 to 1 in fourths, and tap Check. That's why the validation pill has gone, and the line above the canvas now reads 1 Point. The next two steps make it ask about Mia's trail instead.
Step 3: Put point M at 2/3
Select the number line and click the floating ⚙ Configure button. The settings read in the order you decide them. Leave What students do on Place a point.
Scroll to Points to place. The line starts with point A at 3/4. Change the letter to M, for Mia, and the number to 2/3.
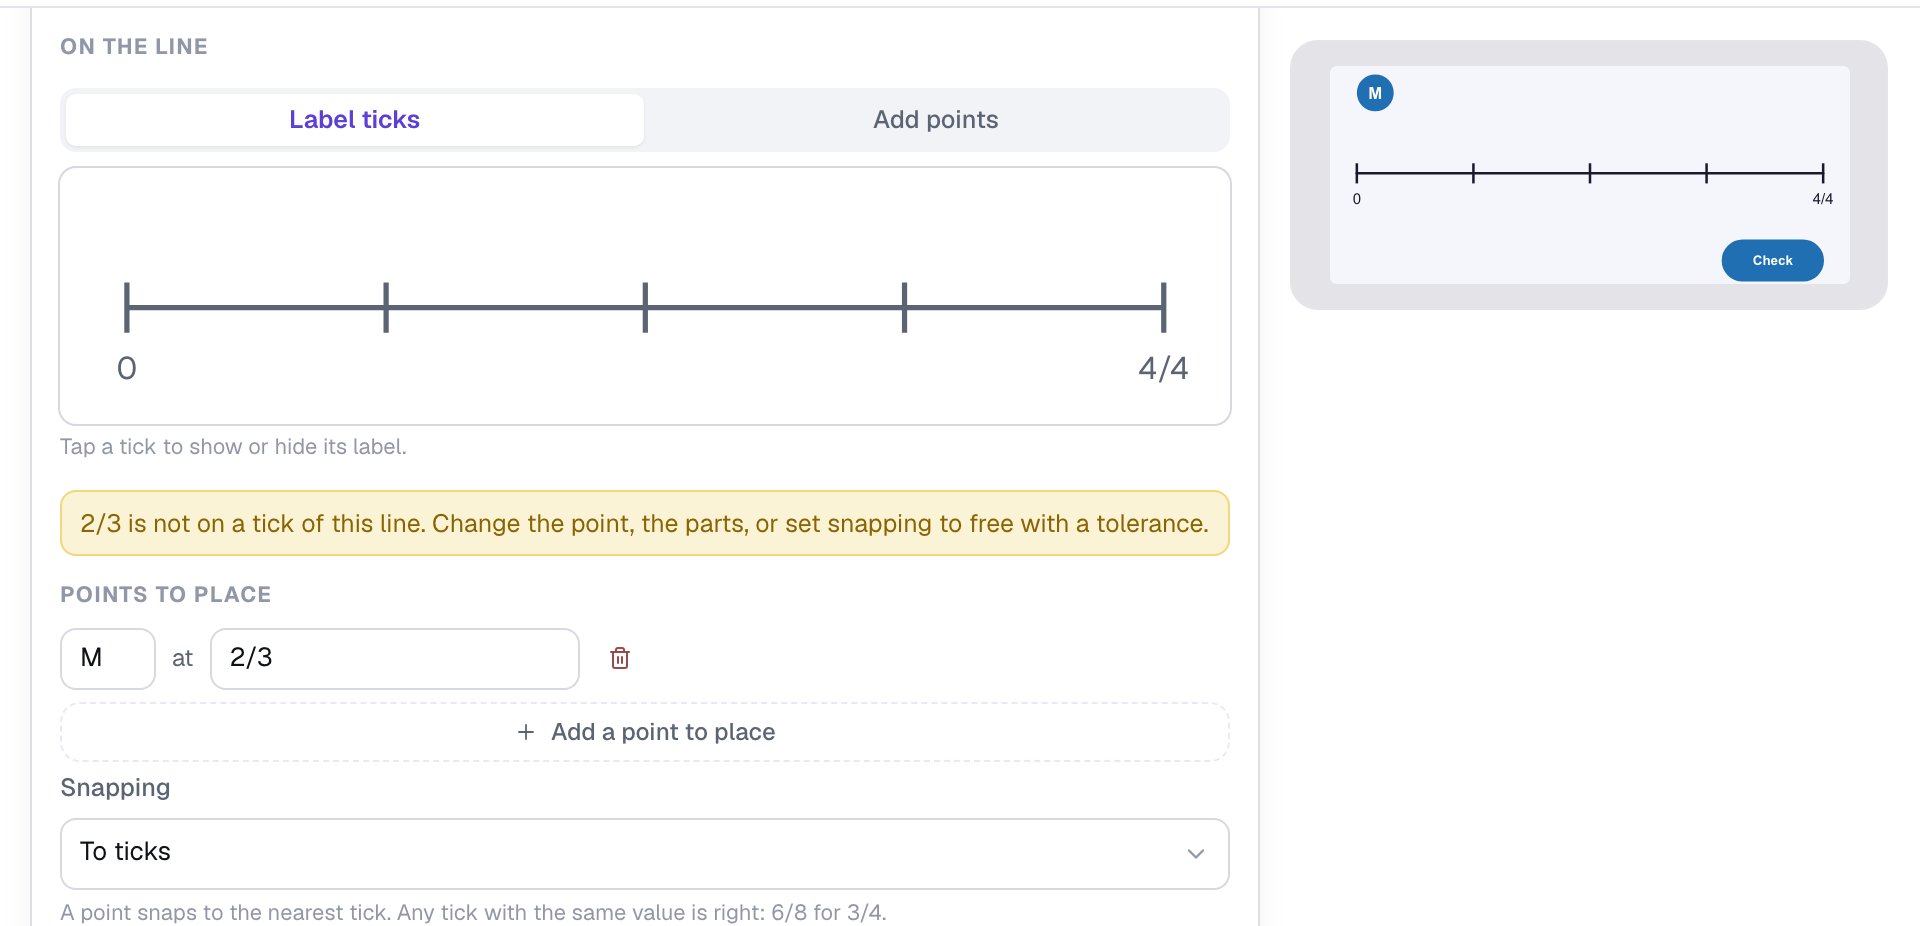
A yellow warning appears: 2/3 is not on any tick of a line in fourths. Snapping is on To ticks, so a dropped point jumps to the nearest tick, and no tick sits at 2/3. Students could never place it. Berdee catches that before your students do.
Step 4: Cut the line into thirds
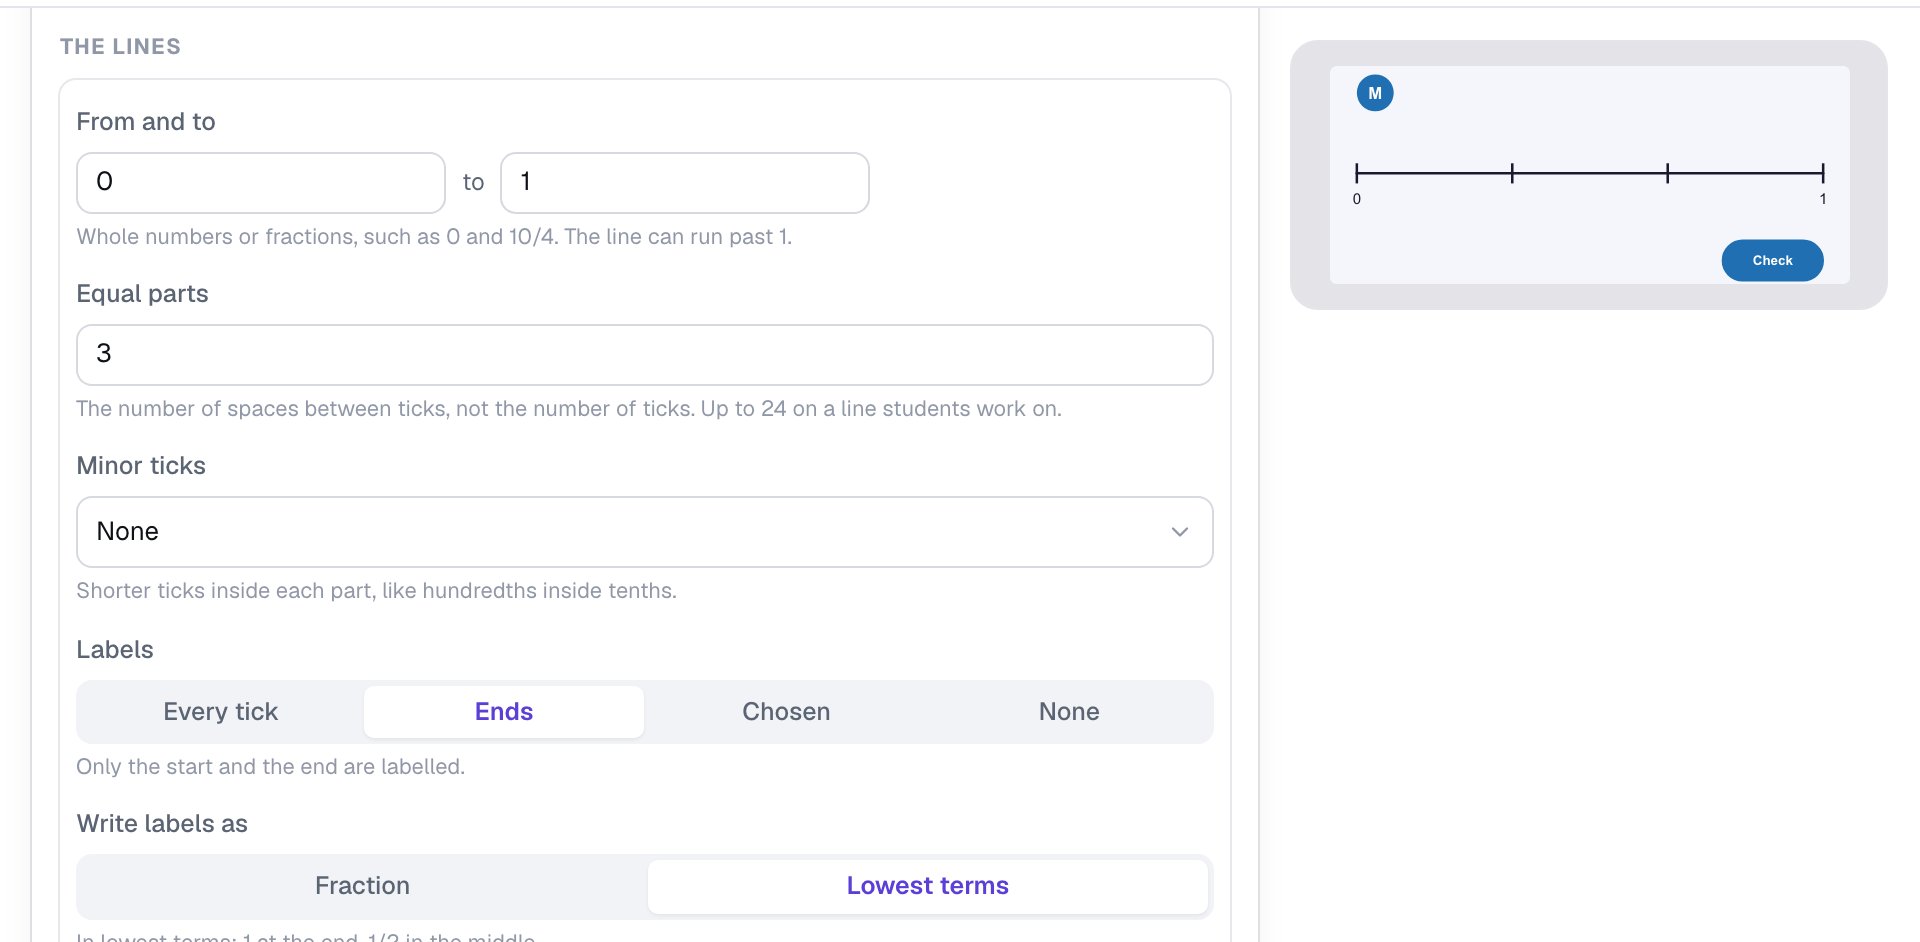
Scroll up to The lines. Change Equal parts to 3. It counts the spaces between ticks, not the ticks, so a line in thirds has 3 parts and 4 ticks.
Then, under Write labels as, click Lowest terms, so the end of the line reads 1 instead of 3/3. A 1-mile trail should end at 1 mile.
Scroll back to On the line. The warning has gone, and the line under it reads Every point lands on a tick.
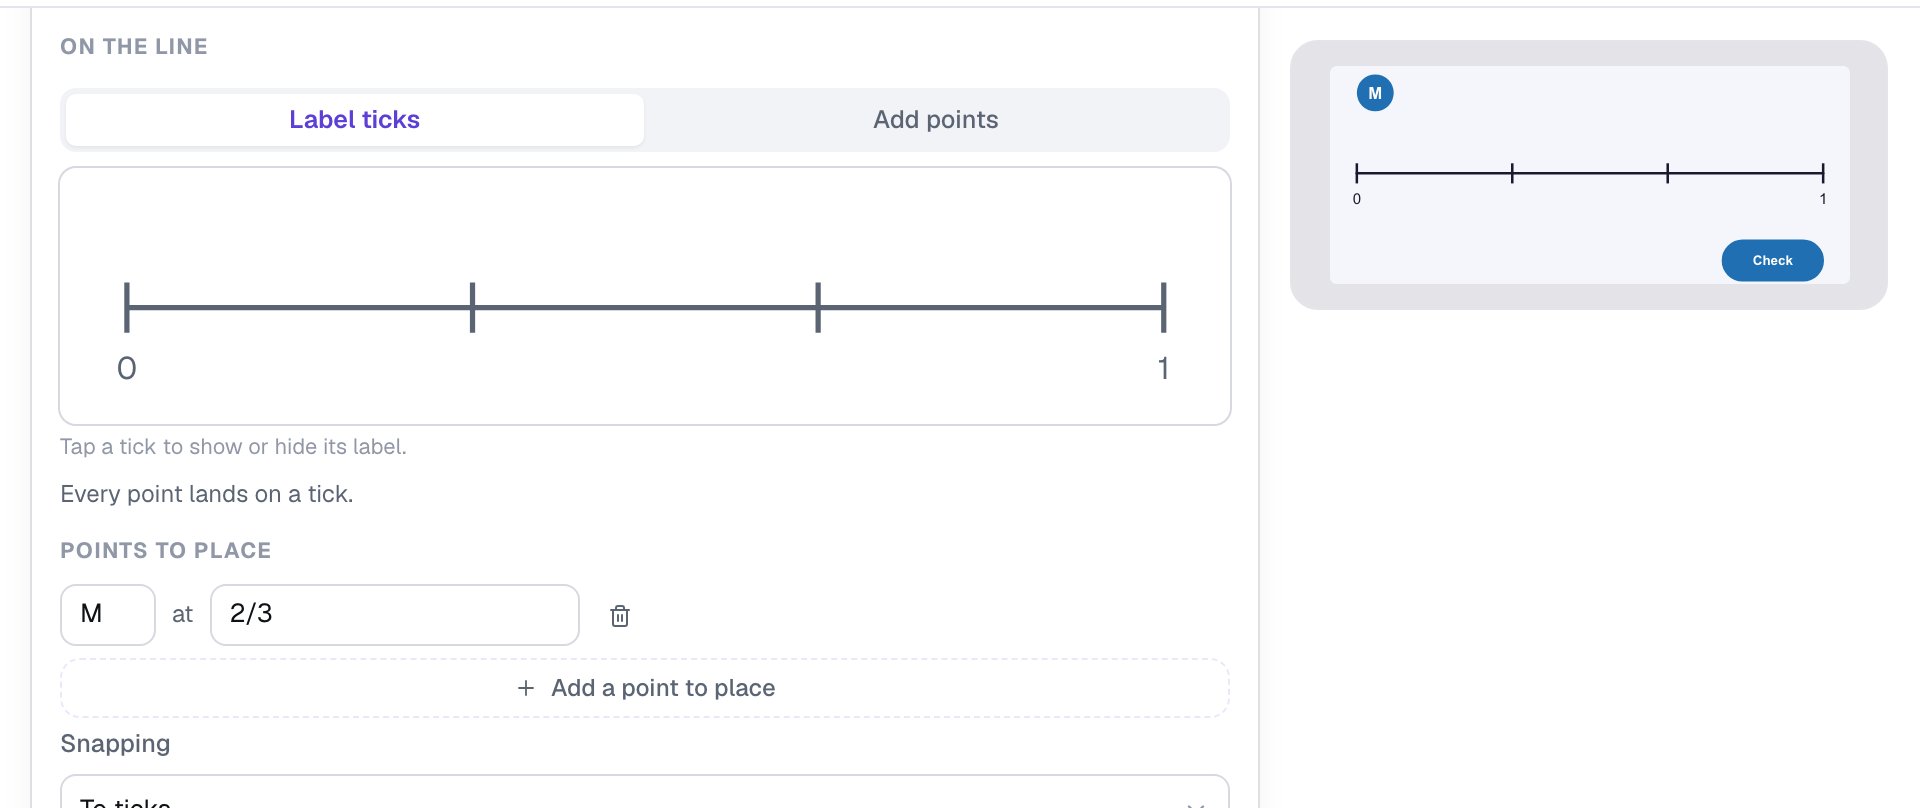
Only the ends are labelled, so students have to work out what each tick means. Labelling every tick would give the answer away. Click Save.

Step 5: Show a hint for counting ticks
Every time a student taps Check, Berdee looks at a wrong answer and names the mistake behind it, if it's a common one, in the number line's Misconception property. For our question, counted_ticks means the student counted ticks instead of spaces and put M on 1/3. A right answer clears it.
Add a hint that shows only for that mistake:
- Add a Body with the text
Count the jumps from 0, not the ticks. Each jump is 1/3 of a mile.Rename itHint. - Make it Fixed width,
620wide, Font Size20, bold, with a dark navy Text Color, and put it under the number line. - Open its Visibility section and set Mode to Conditional. Leave Behavior on Show.
- Set the condition to Number Line: Mia's trail, then Misconception, then equals, and type
counted_ticksin the value box.
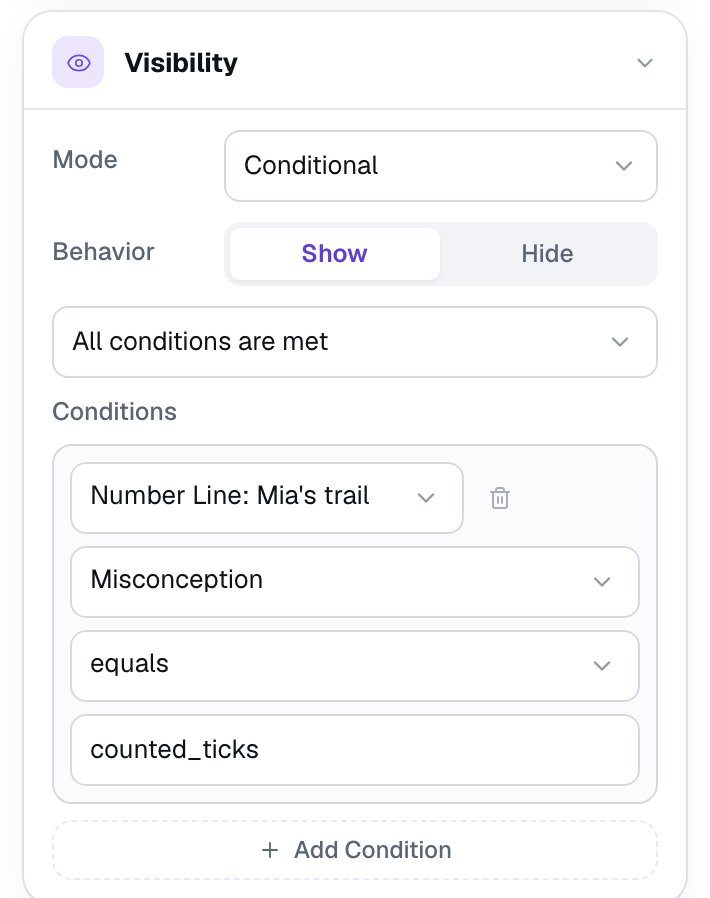
The hint says what to do, not just that the answer is wrong. It stays hidden for any other wrong answer. To coach a different mistake, add another hint with its own value: the Number Line Widget article lists them.
Step 6: Give students a moment before the ending
When M is in the right place, the scene moves on by itself. Click an empty spot on the scene, and in Progression click Show more options and set Advance delay to 3000 ms, so students have time to see their ✓.

Step 7: Try it as a student
Click Preview. Make the classic mistake first: drag M to the first tick after 0, counting "0, 1, 2" along the ticks, and tap Check. M gets a gentle mark and stays where you put it, and the hint appears.
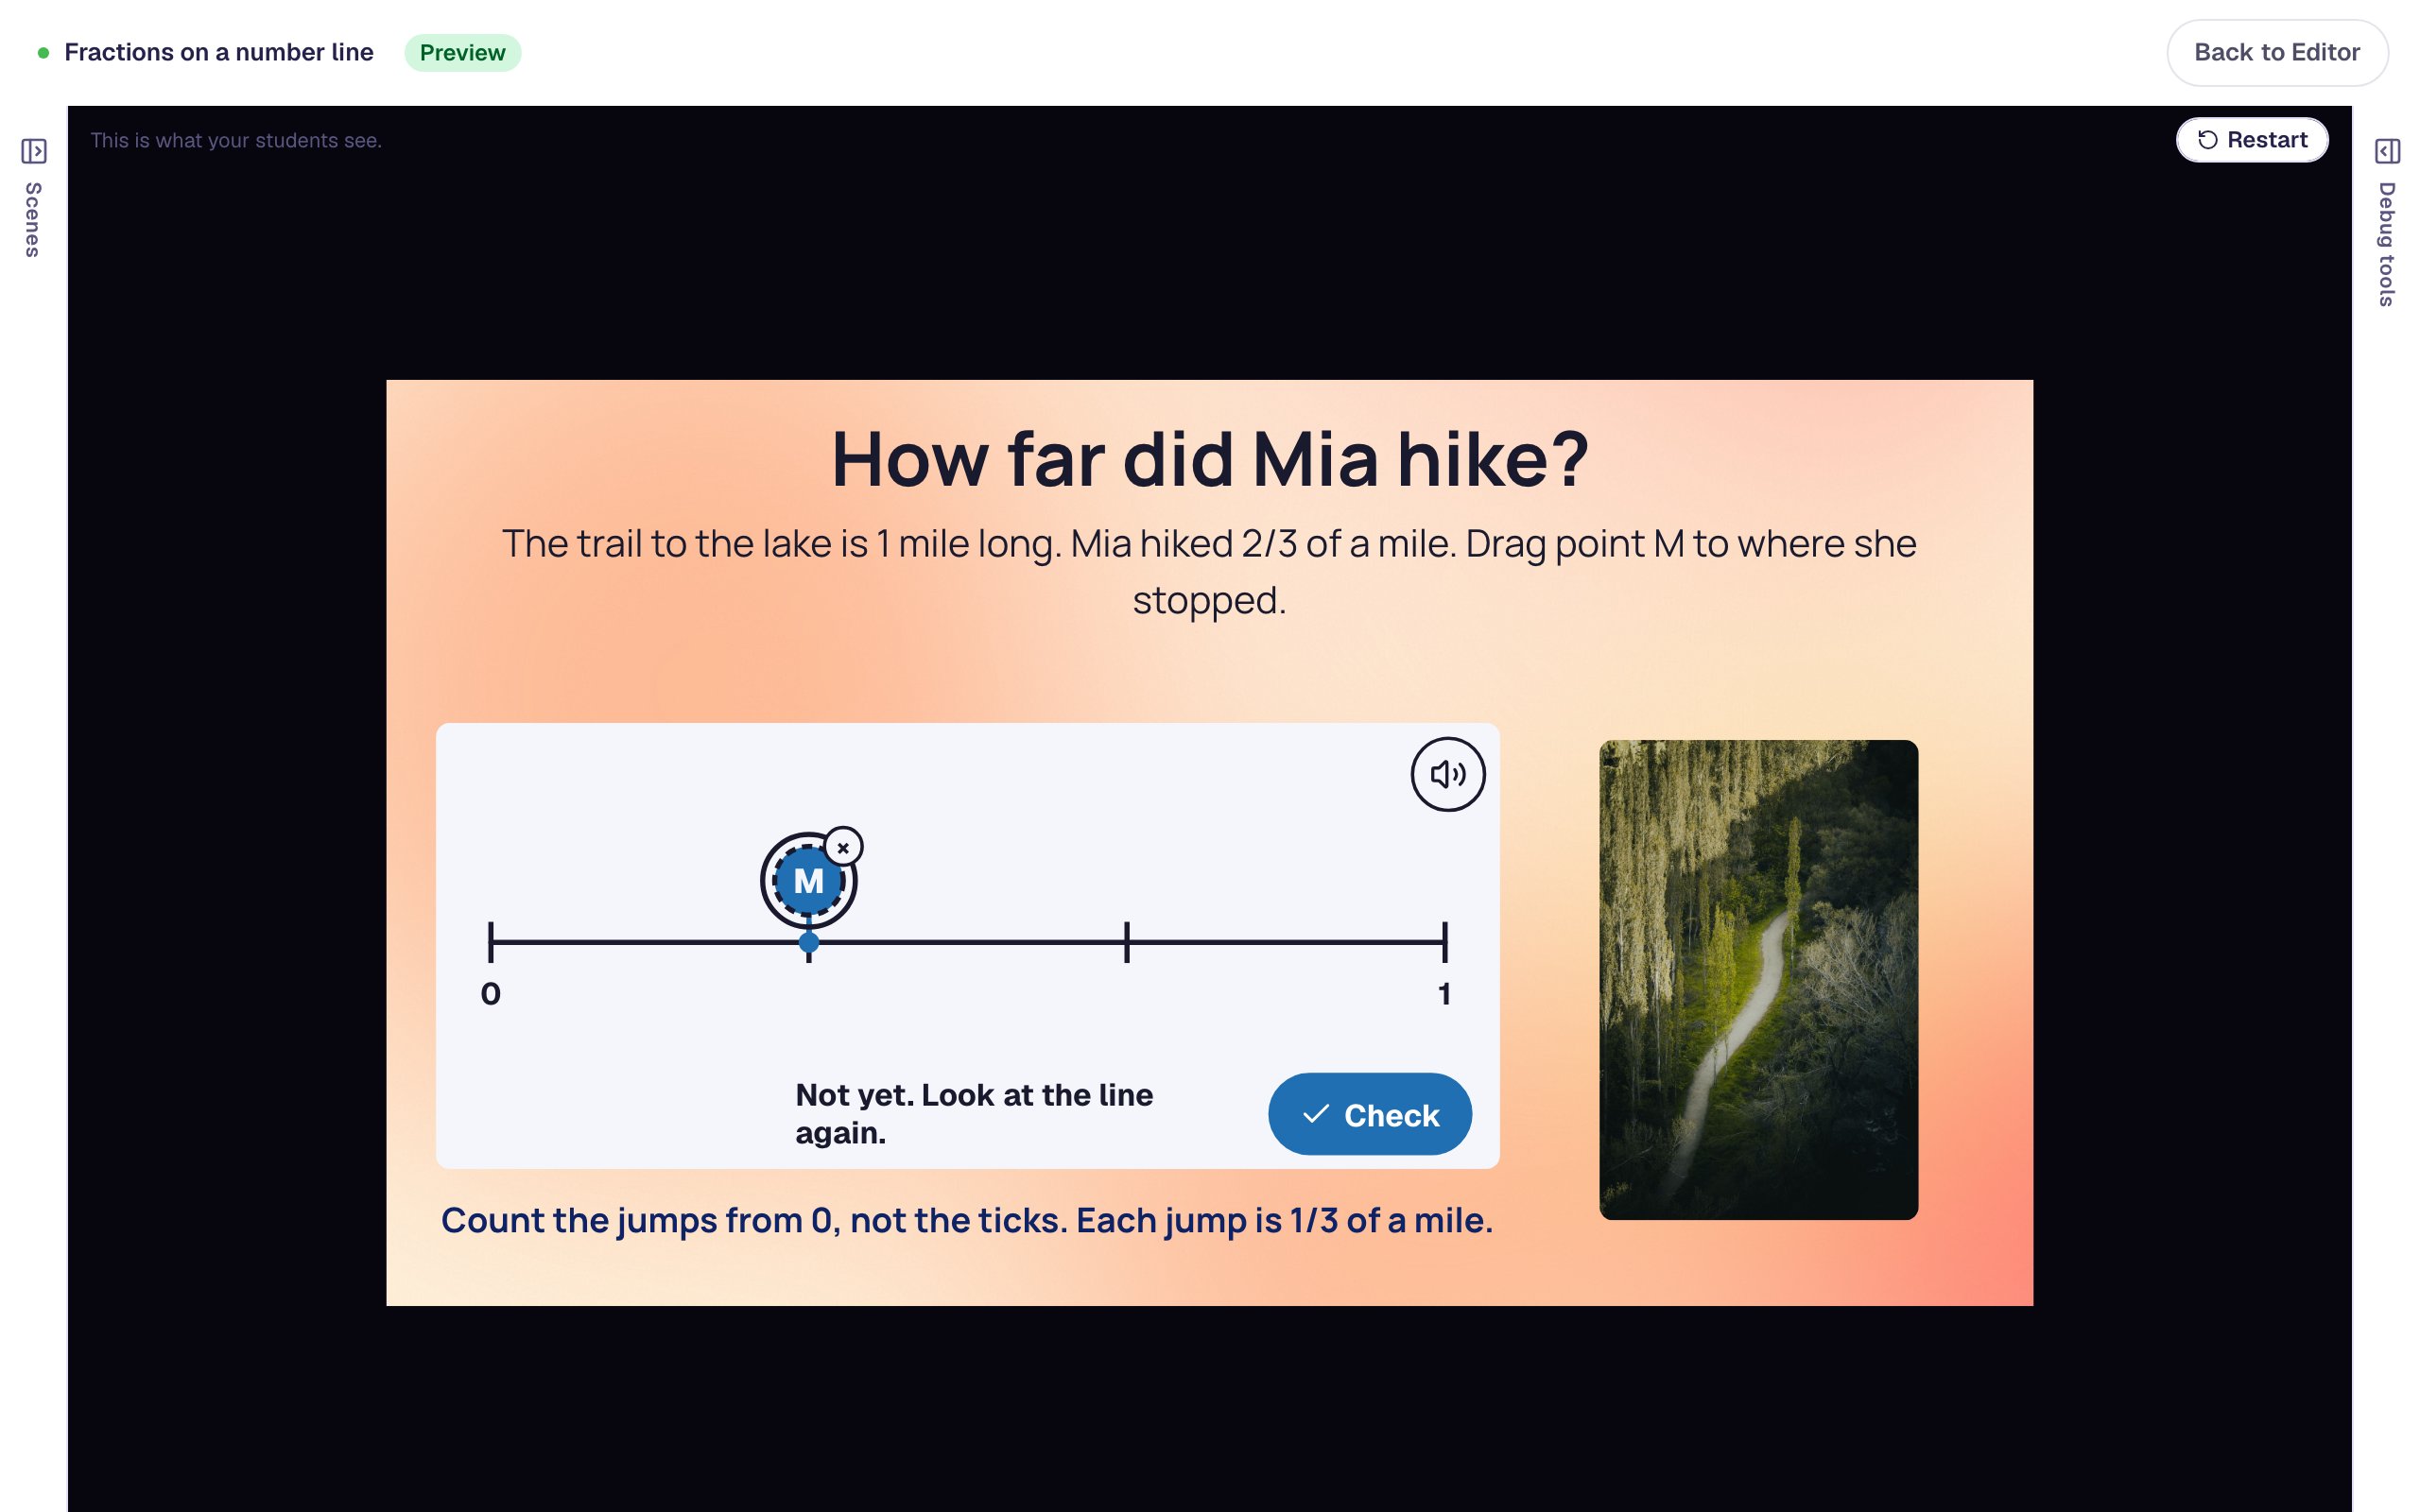
Now drag M one tick further, to 2/3, and tap Check again.
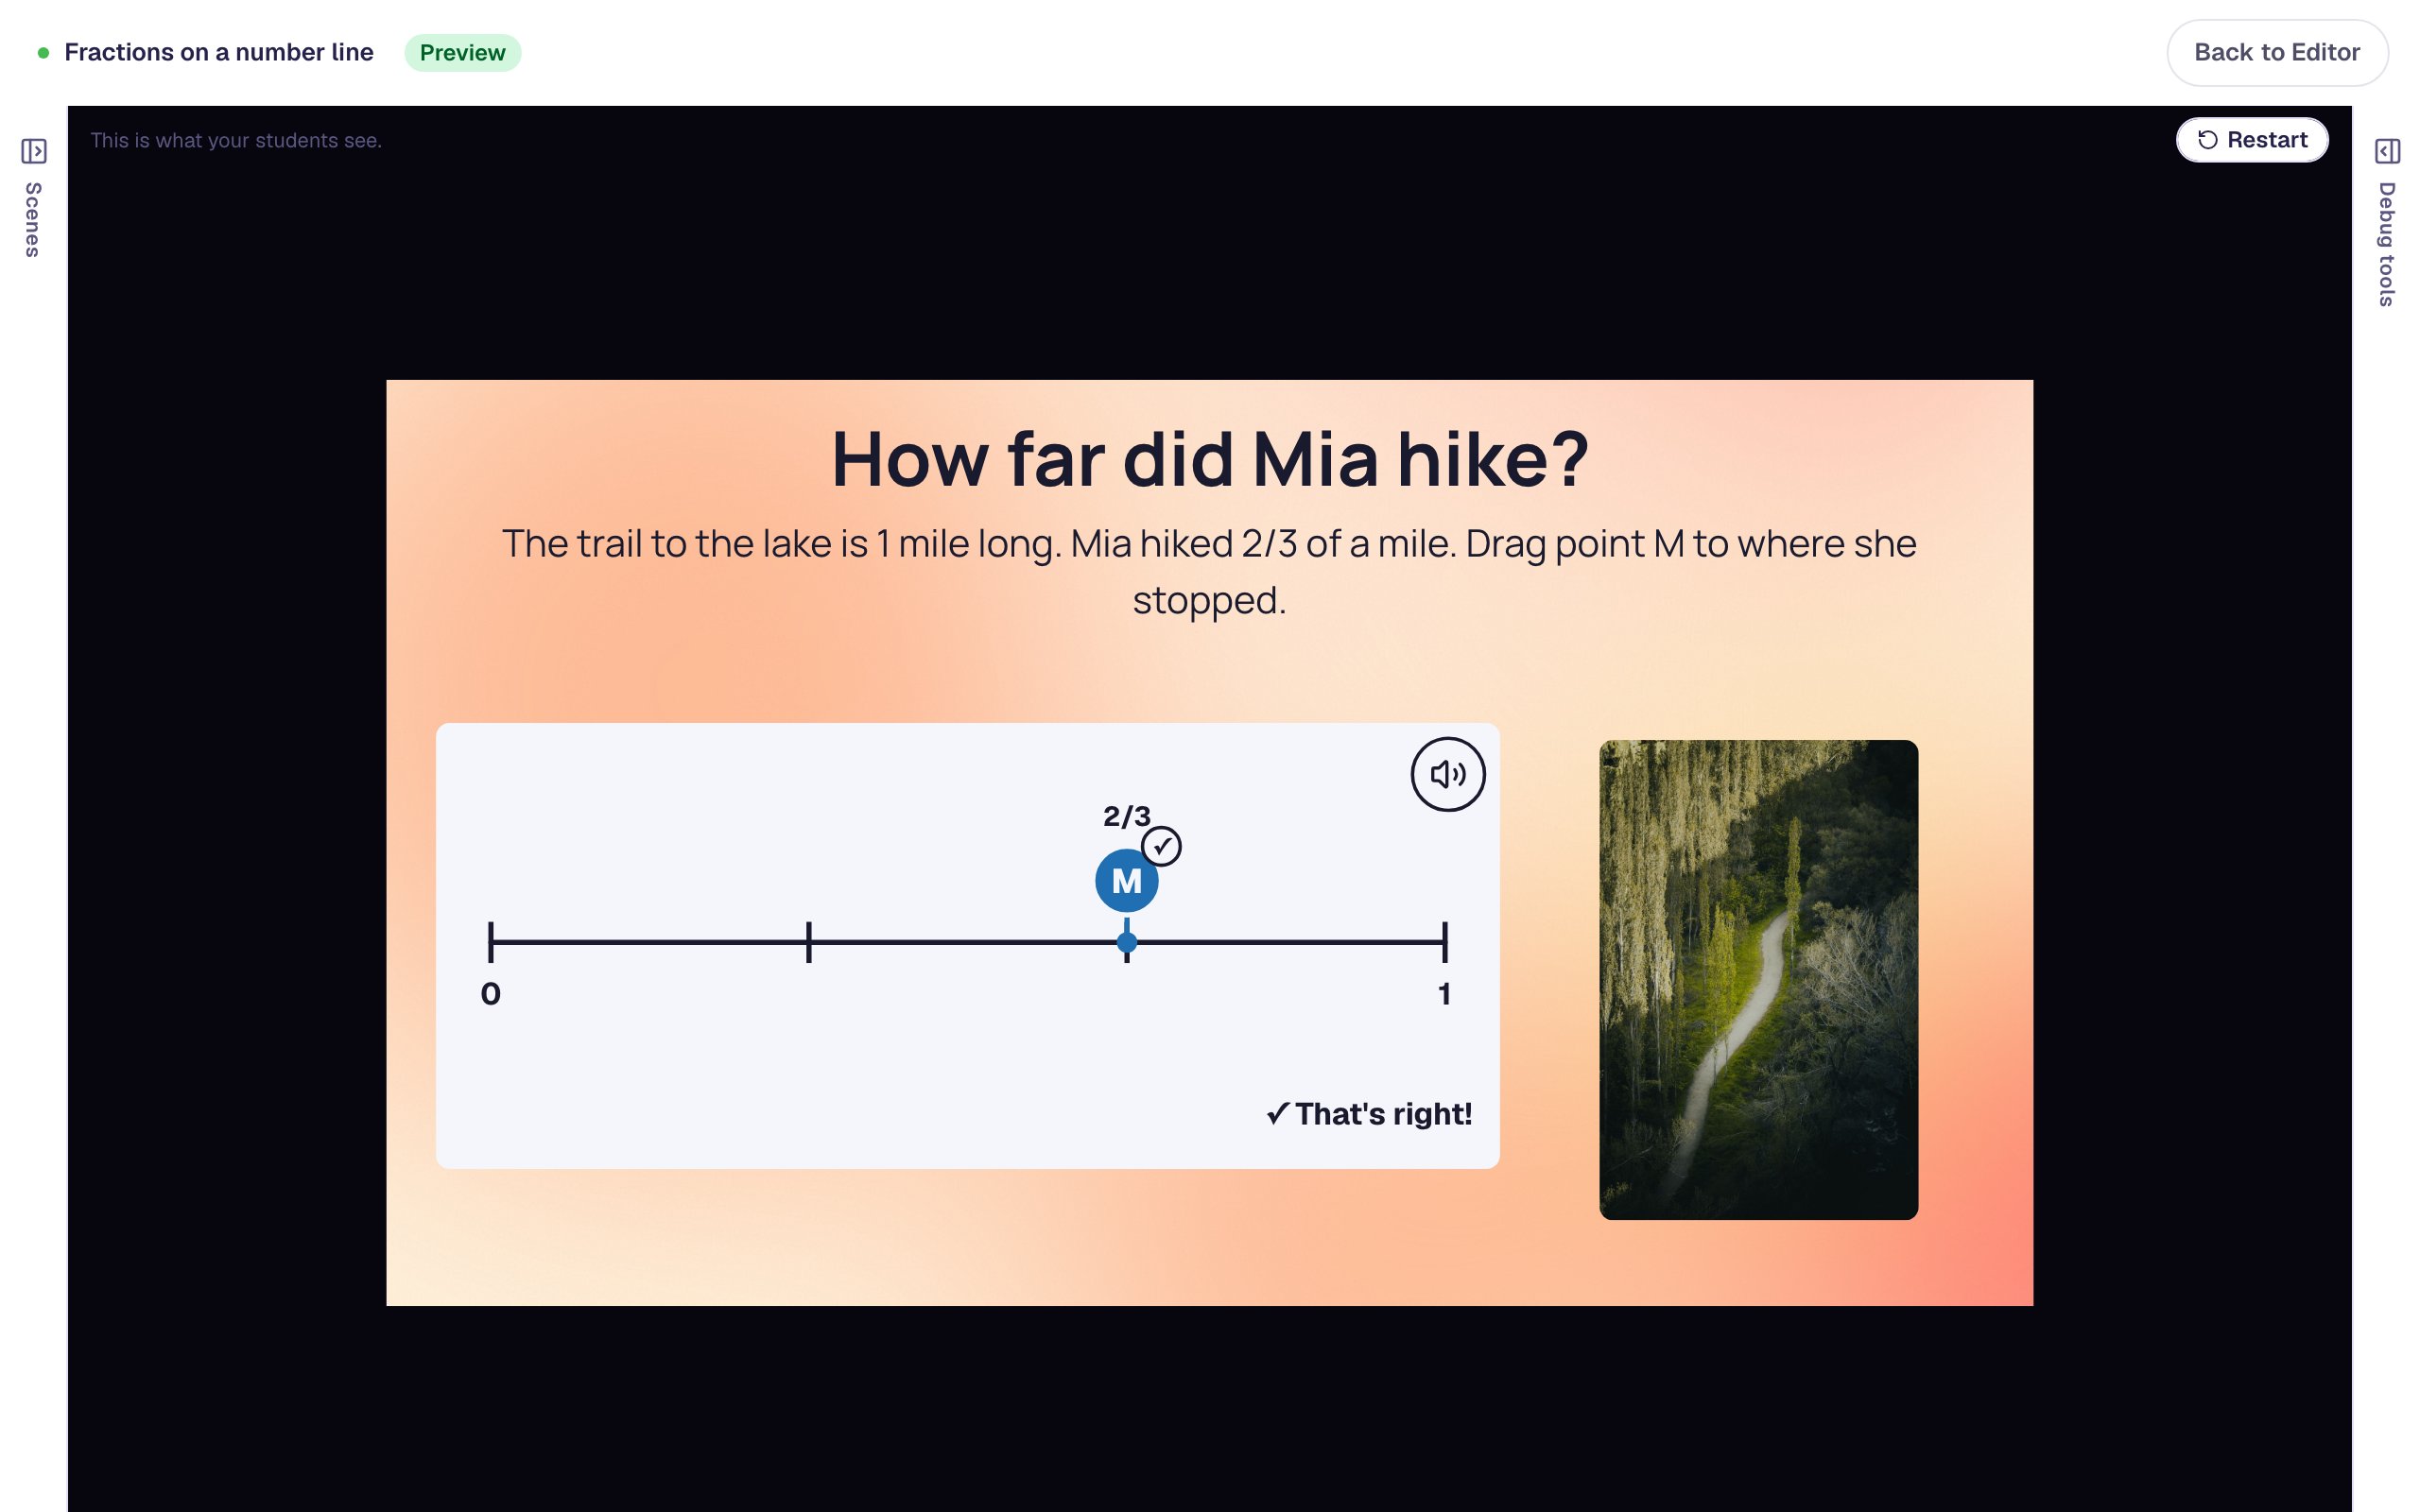
M gets a ✓ and its label, the hint disappears, and after 3 seconds the lesson moves on to the ending.
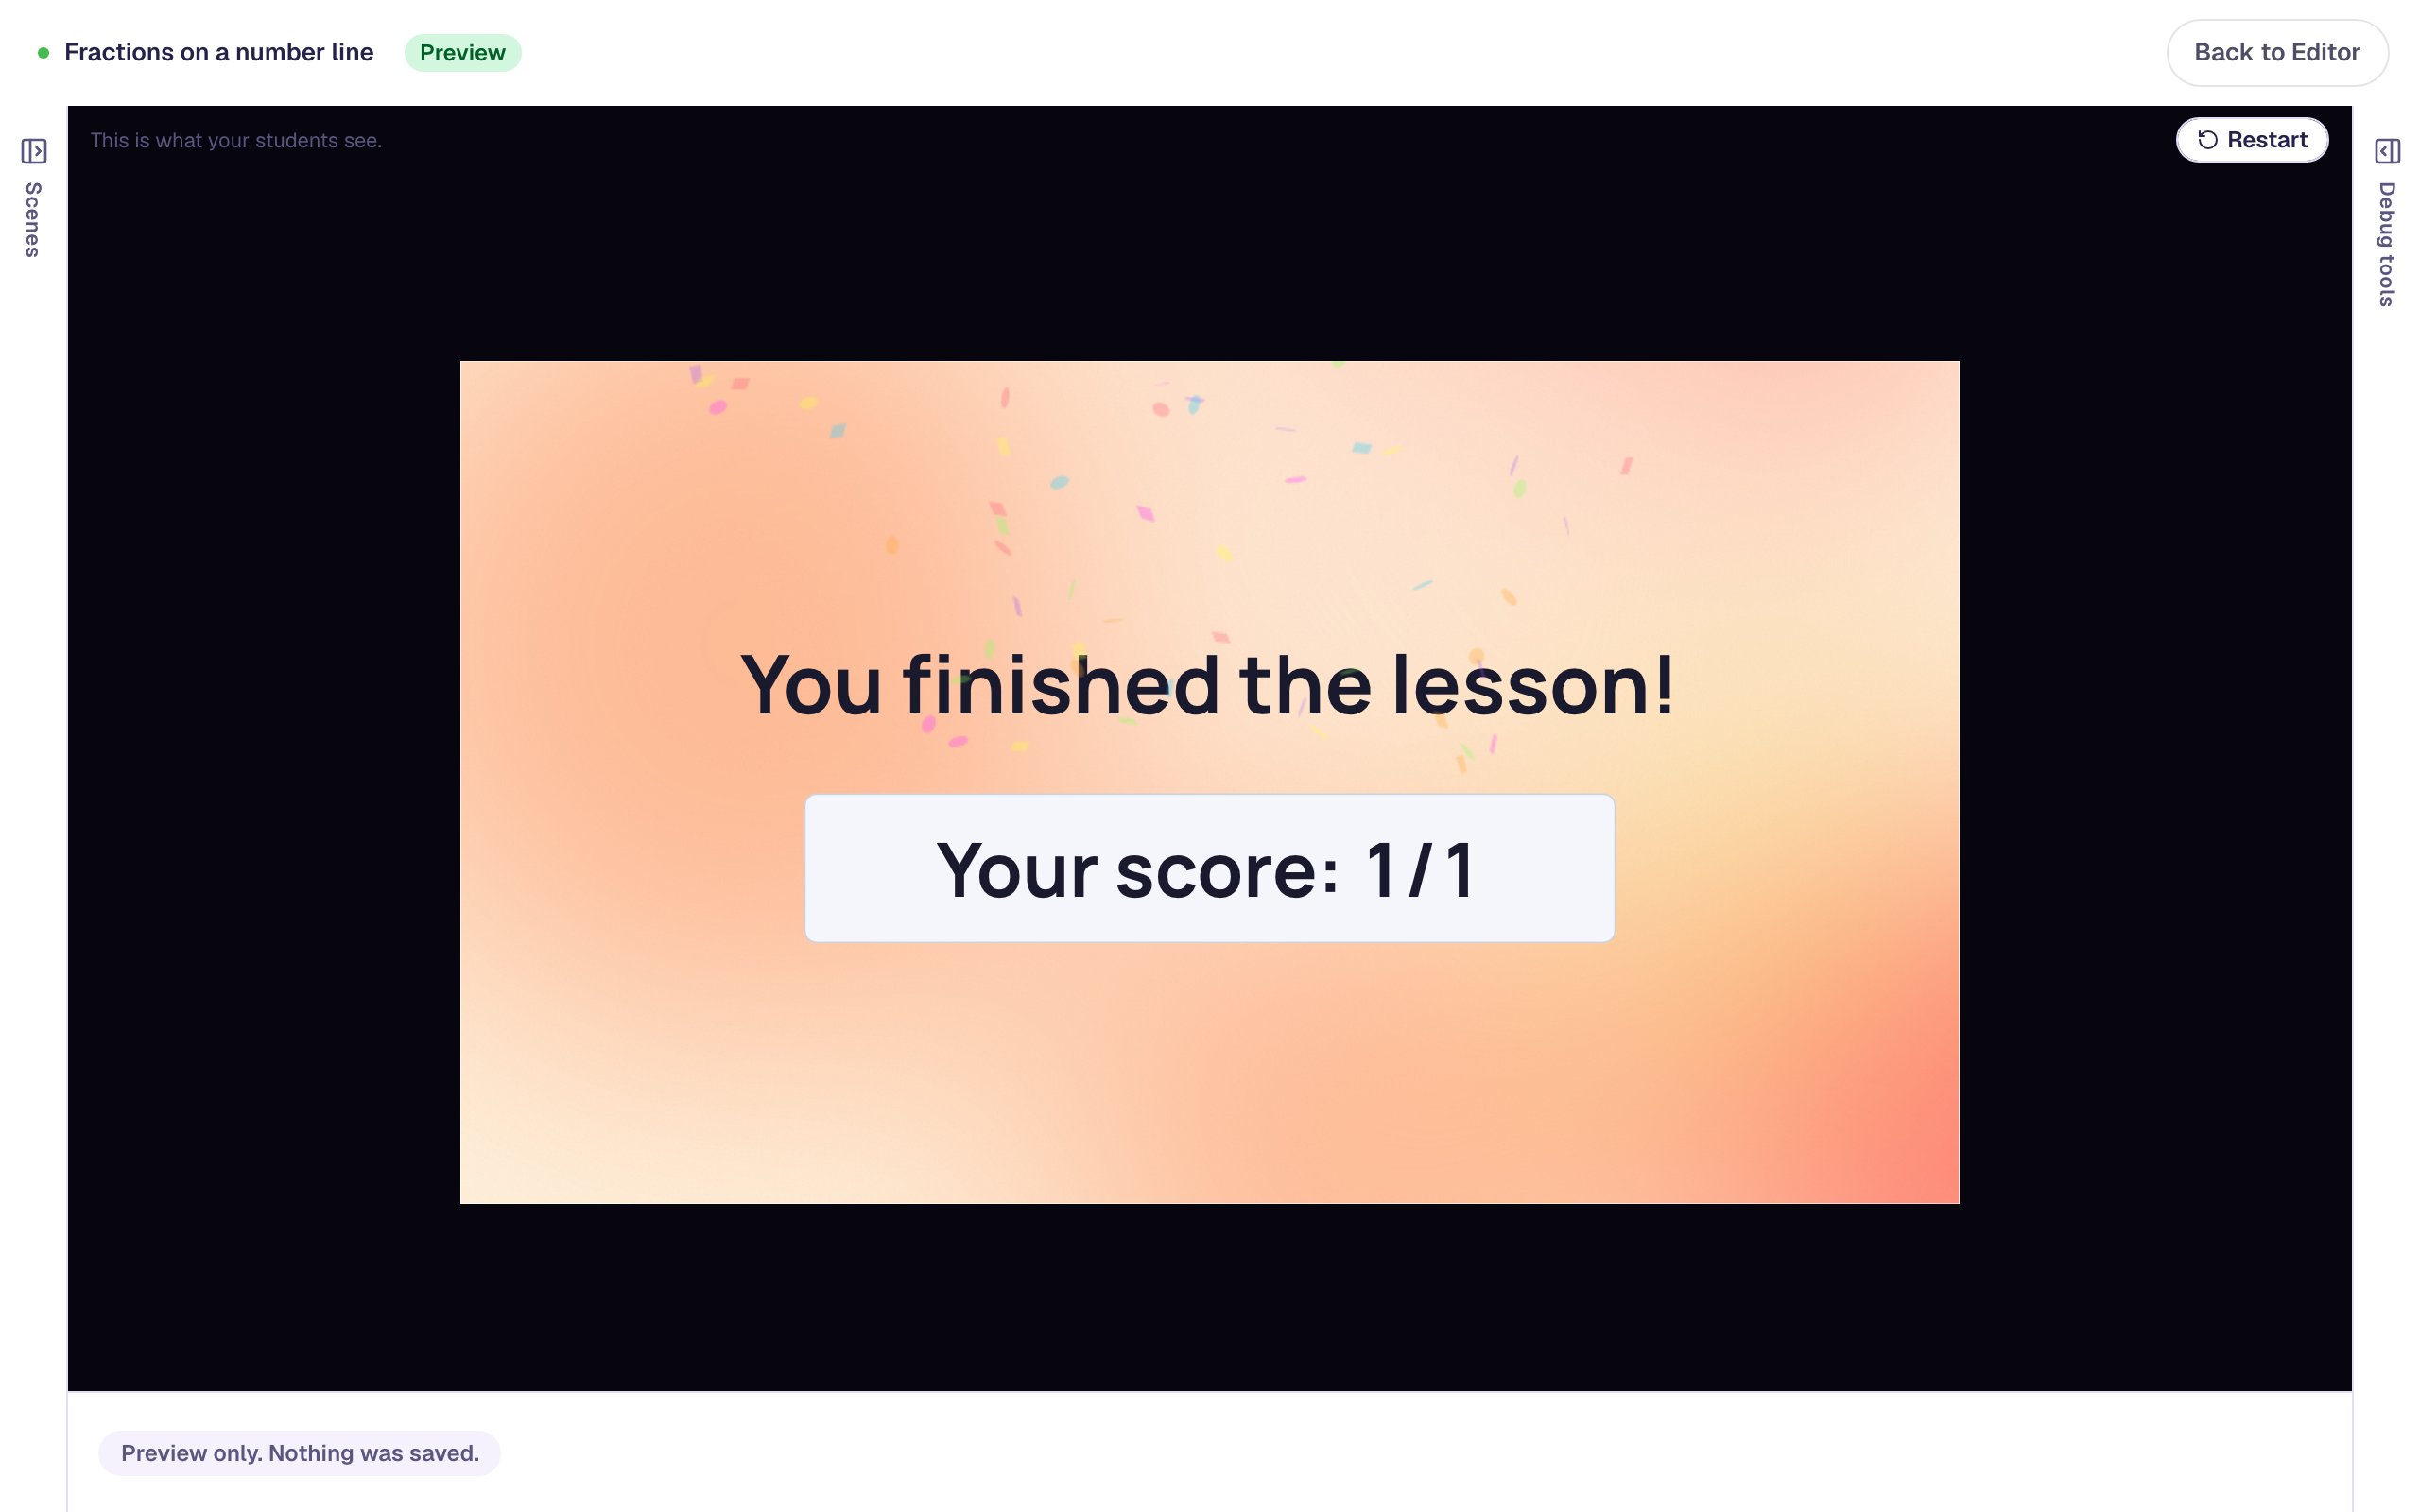
On a student's attempt page you'll see each try, with the first one marked as counting ticks.
What you built
A one-question Fractions on a number line lesson with:
- a story about a real distance and a photo of the trail, described for screen readers,
- a Number Line from 0 to 1 cut into 3 equal parts, labelled only at its ends and in lowest terms,
- point M to place at 2/3, which Berdee checked lands on a tick,
- a hint that shows only when Misconception equals
counted_ticks, - a 3-second pause, so students see their ✓ before the ending.
To go further with the same widget, switch What students do to Split each part and have students split the thirds into sixths to place 4/6, or to Name a point and have them type the fraction for a point you place. For fractions written as a sentence instead of on a line, try Find an equal fraction with a number sentence.
Make this lesson yours
Add the lesson you just watched being built to your account, then change it for your class: your questions, your pictures, your colors.
Free to sign up, and you'll come straight back here. I have an account