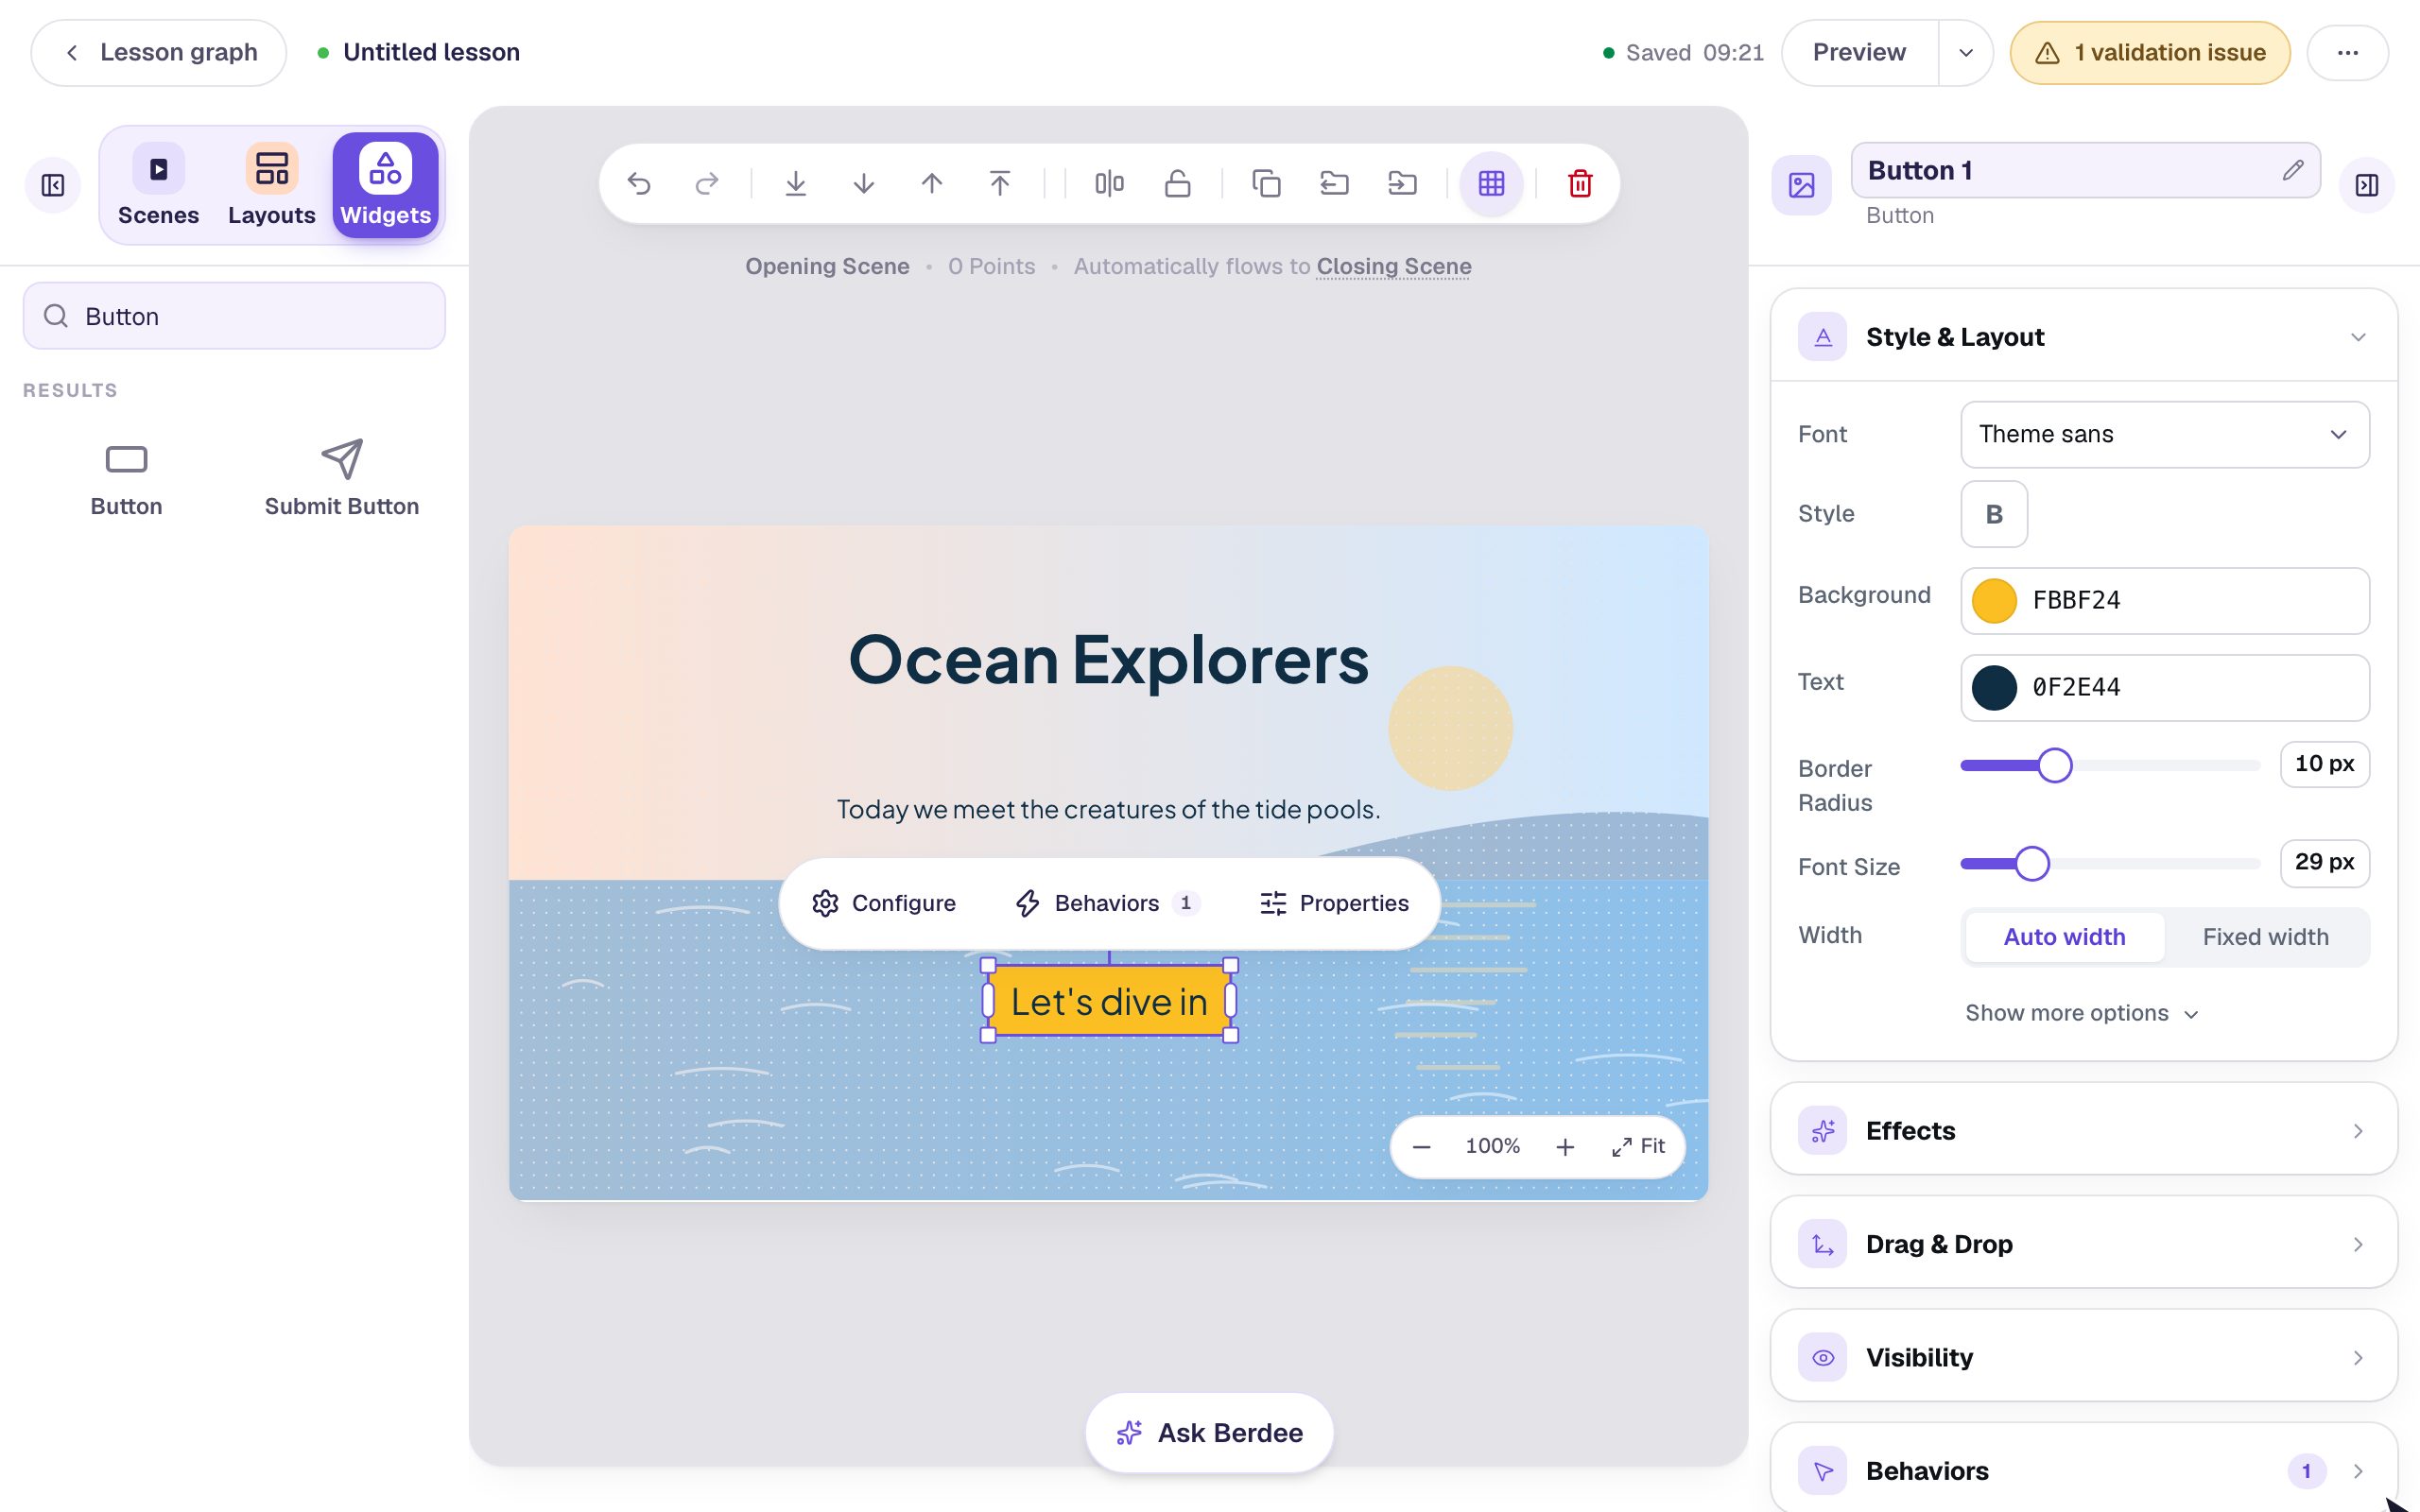
Count the shapes in a pattern block picture
Build a picture out of pattern blocks with the Pattern Blocks widget's Show mode, then ask "How many triangles?" and "How many squares?" with two Number Inputs that young learners answer by tapping + and −.
- Level
- Beginner
- Time
- About 15 min
- Steps
- 9
- Updated
- Nov 1, 2026
A one-scene kindergarten lesson with a pattern block house, sun and trees, two counting questions that check each answer, and an ending that appears once both counts are right.
Get the finished lesson
Skip straight to the result, or keep it open beside the steps. Add this tutorial's lesson to your account and explore how it works in the studio.
Free to sign up, and you'll come straight back here. I have an account
"How many triangles can you find?" is a classic kindergarten task: children look at a picture made of pattern blocks, find every block of one shape, and count them. It practises shape names and counting at the same time, and children have to look past color and size to notice a shape wherever it is.
The Pattern Blocks widget has a mode made for this, Show: you arrange blocks into a picture, and students see it but can't move anything. Beside it, a Number Input for each question takes the answer and checks it.
In this tutorial you'll build a one-scene lesson called Count the shapes: a house with two orange square walls and a red roof, a yellow hexagon sun, and four green triangle trees. Students answer How many triangles? and How many squares?, and the lesson moves on to the ending once both counts are right.
Step 1: Set the scene
Start a blank lesson (New lesson, then Start from scratch) and name it Count the shapes by clicking Untitled lesson at the top left.
Give the scene a warm background. Click an empty spot on the scene, open Background, click Choose a style, and pick Mesh sunrise. Give the Closing Scene the same background so the ending matches.
Then add a Heading at the top left: How many of each shape?, with Font Size 36.
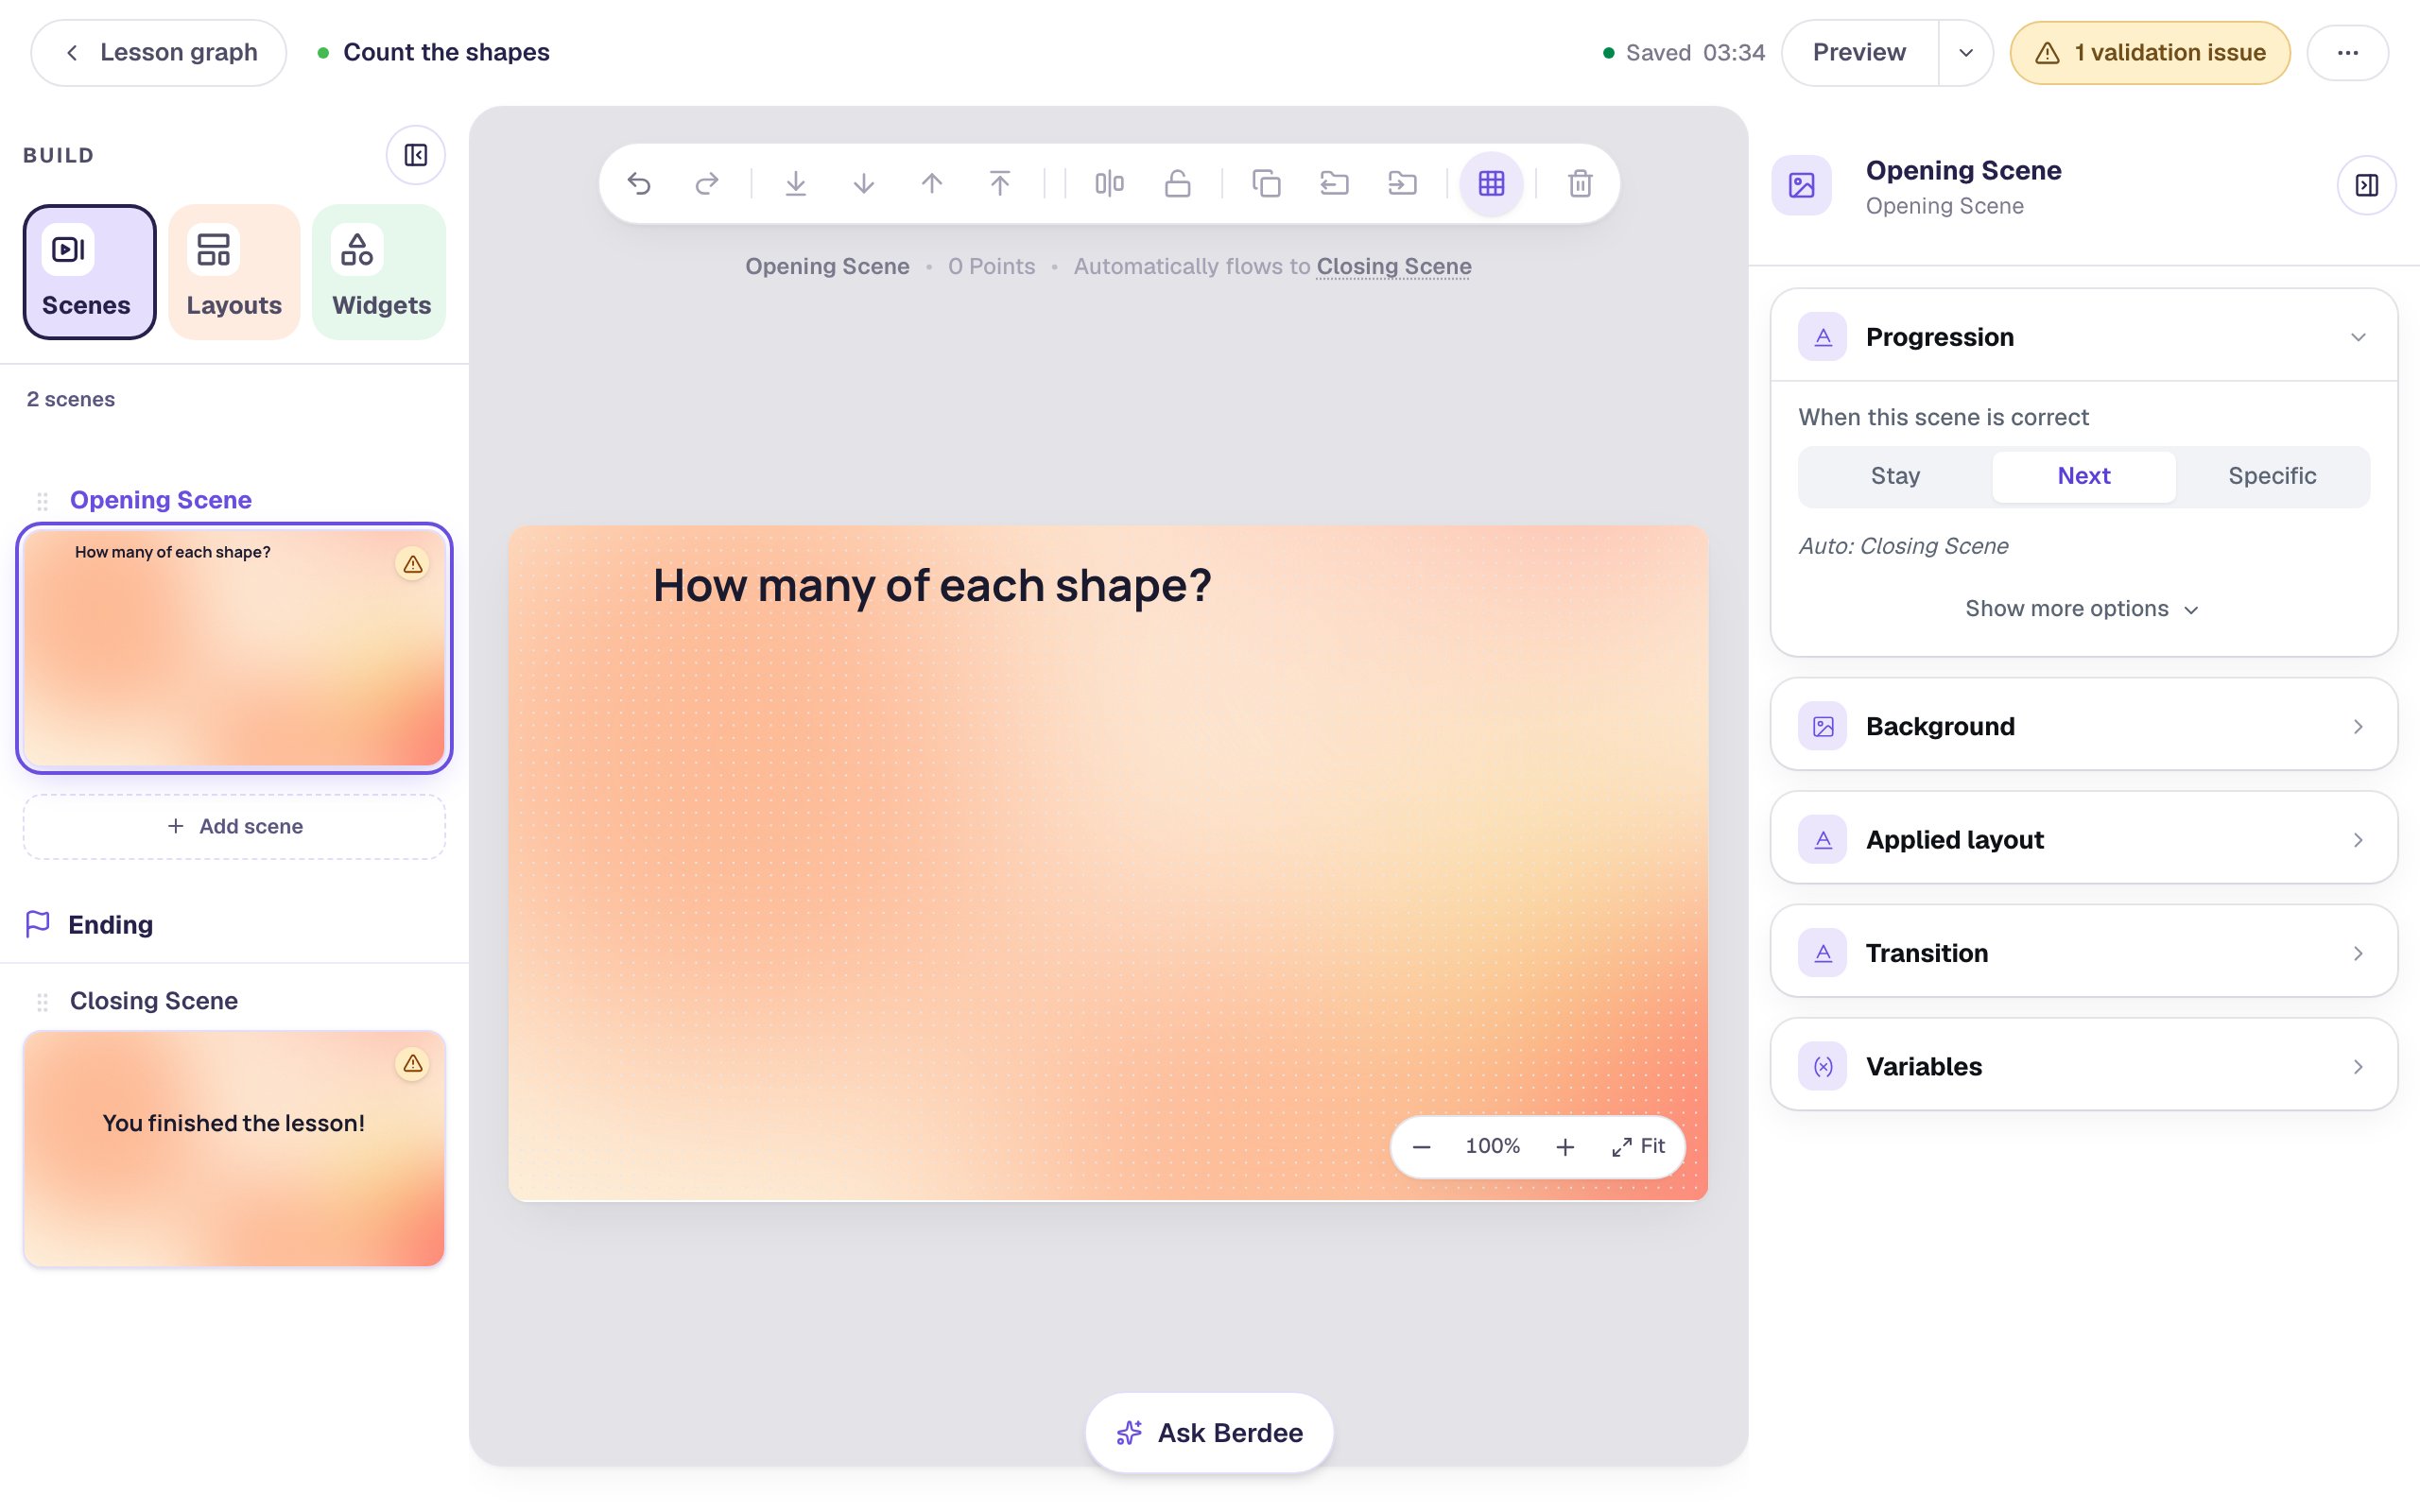
The picture will take the left of the scene, and the right-hand column will hold the two questions and an I'm done button. The 1 validation issue button at the top is the lesson asking for a way to finish; that button clears it in Step 8.
Step 2: Add Pattern Blocks and choose Show
Search the Widgets tab for Pattern Blocks and click it. In Style & Layout, click Show more options, set Width to 640, and drag the widget under the heading.
Select it and click the floating ⚙ Configure button. Under What students do, choose Show.
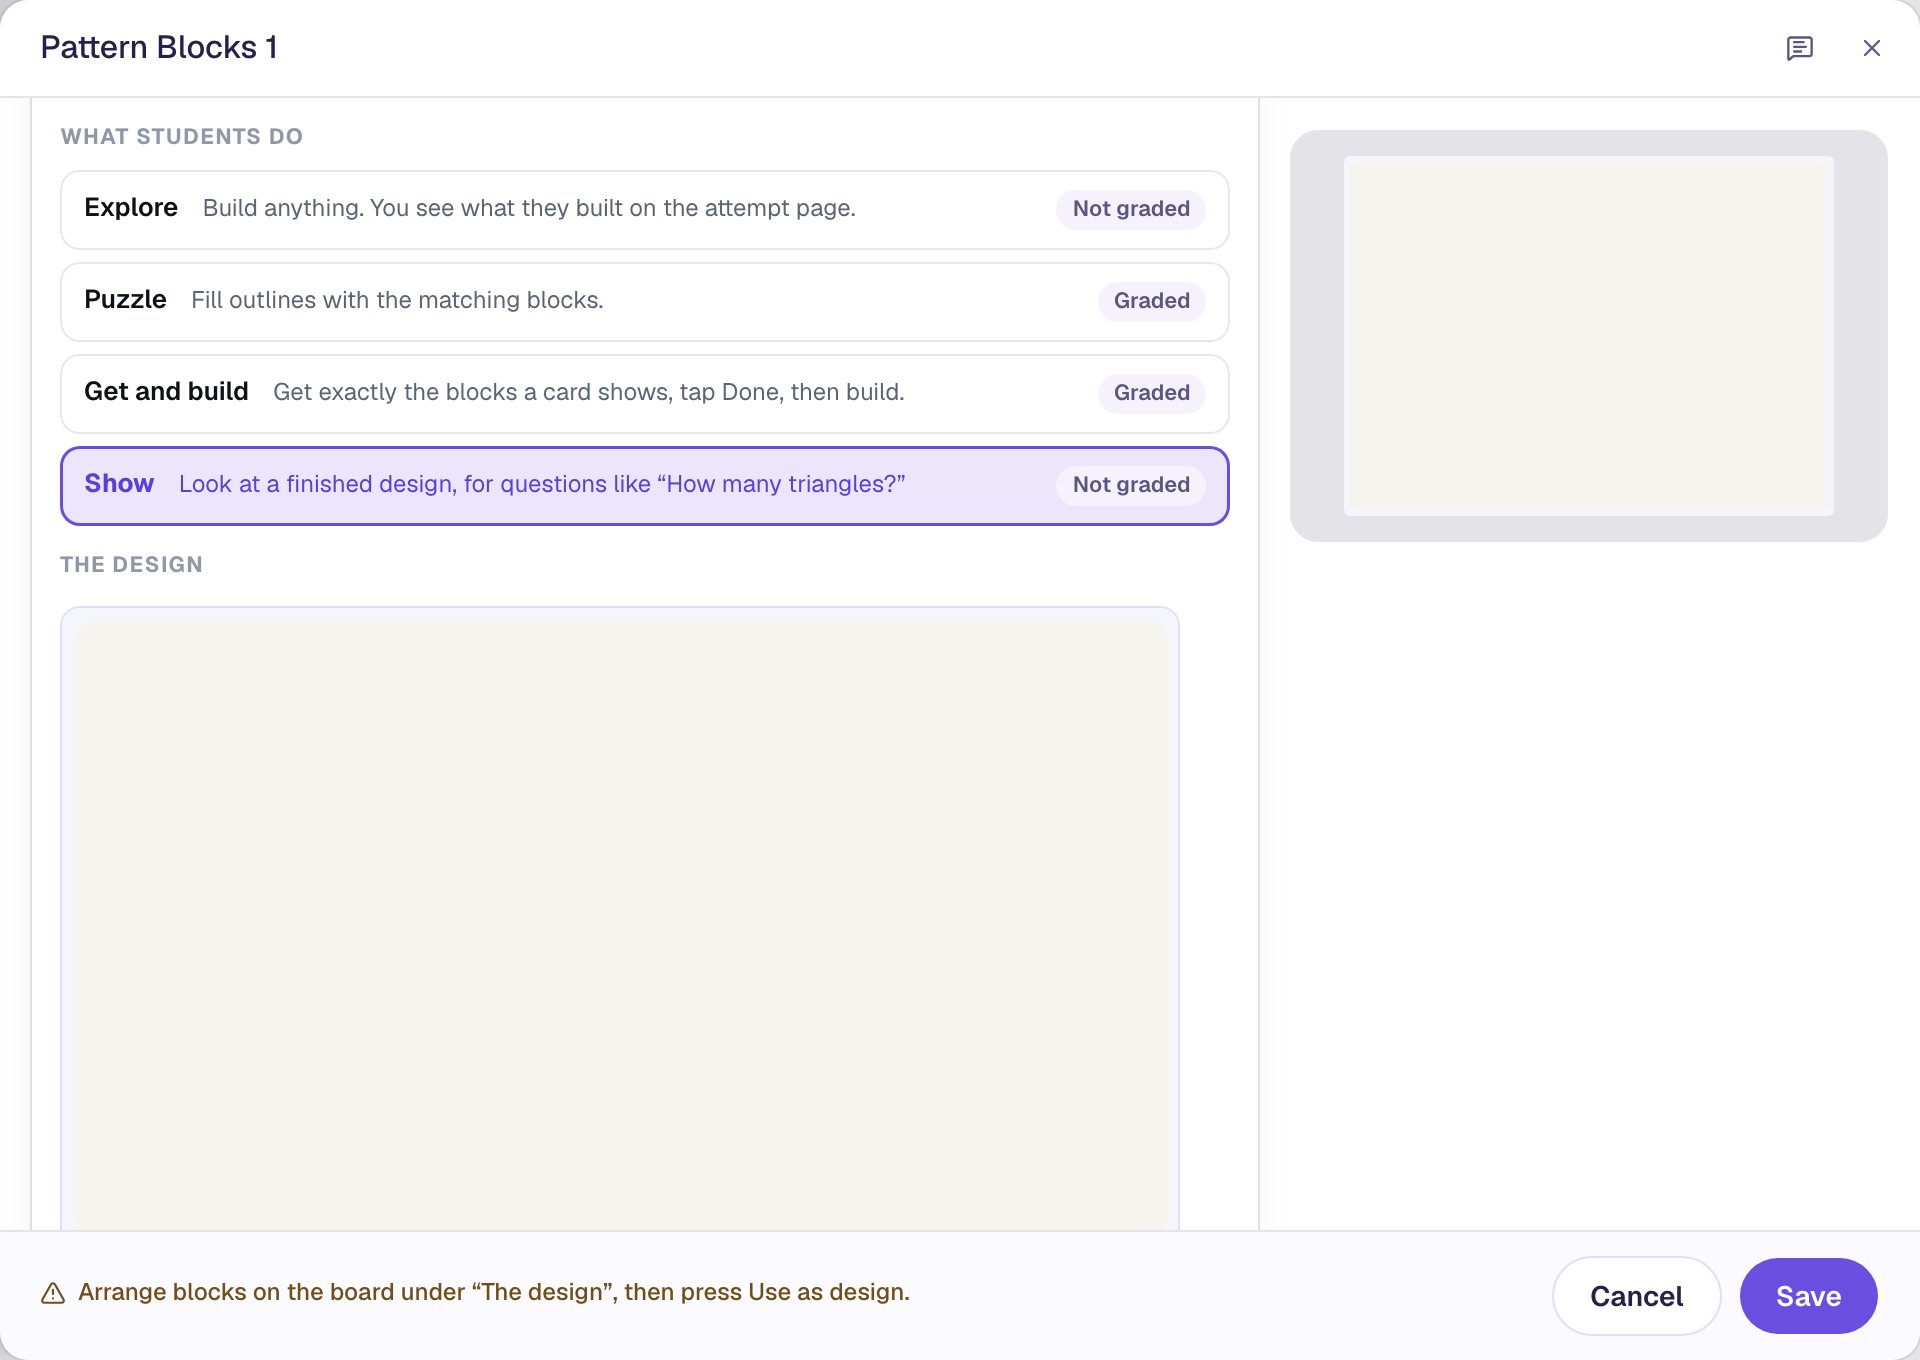
Show is tagged Not graded because the picture itself asks nothing. The Number Inputs you add next ask the questions and keep the score. Until there's a picture, the window's footer reminds you to arrange one.
Step 3: Build the house
The board under The design is your working board. It has a tray with all six blocks, and only you see it. Drag blocks out of the tray to make the picture.
- Drag an orange square onto the lower middle of the board.
- Drag a second orange square beside it.
- Drag the red trapezoid on top of both squares, long side down, for the roof.
You don't have to drop a block exactly. A block let go near another slides over so their sides meet, which is how the roof sits flush on the walls.
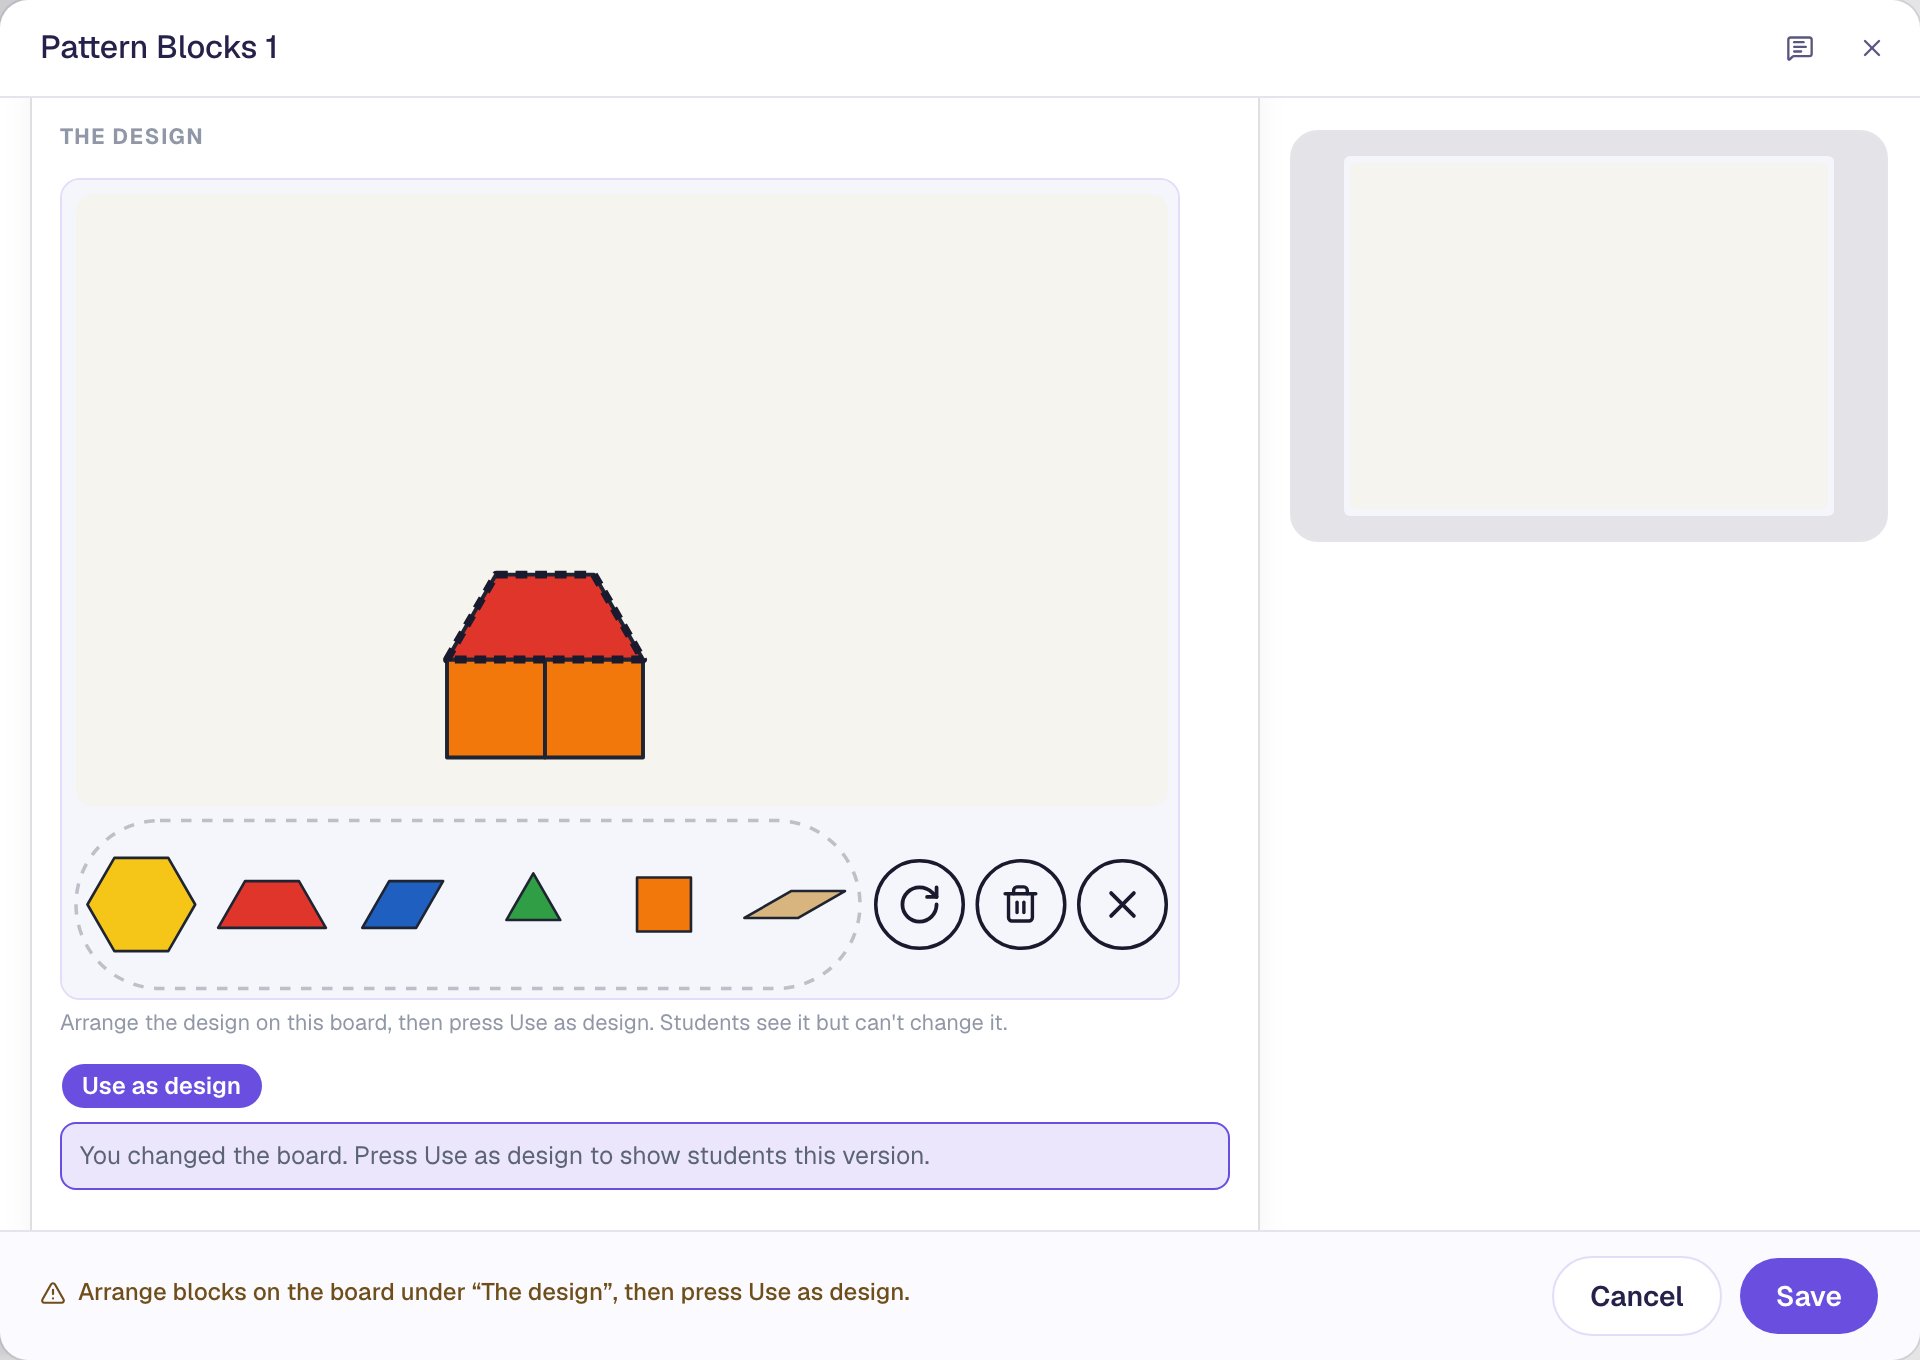
The trapezoid's long side is exactly two block sides long, so it covers both squares. To move a block, drag it again. To remove one, drag it back to the tray.
The preview on the right stays empty for now, and a note under the board says You changed the board: students see nothing until you press Use as design in the next step.
Step 4: Add the sun and the trees, then use it as the design
- Drag the yellow hexagon to the top right of the board for the sun.
- Drag four green triangles onto the ground line, two on each side of the house. Leave a little space between them so each tree stands on its own.
- Click an empty patch of sky, then press Use as design.
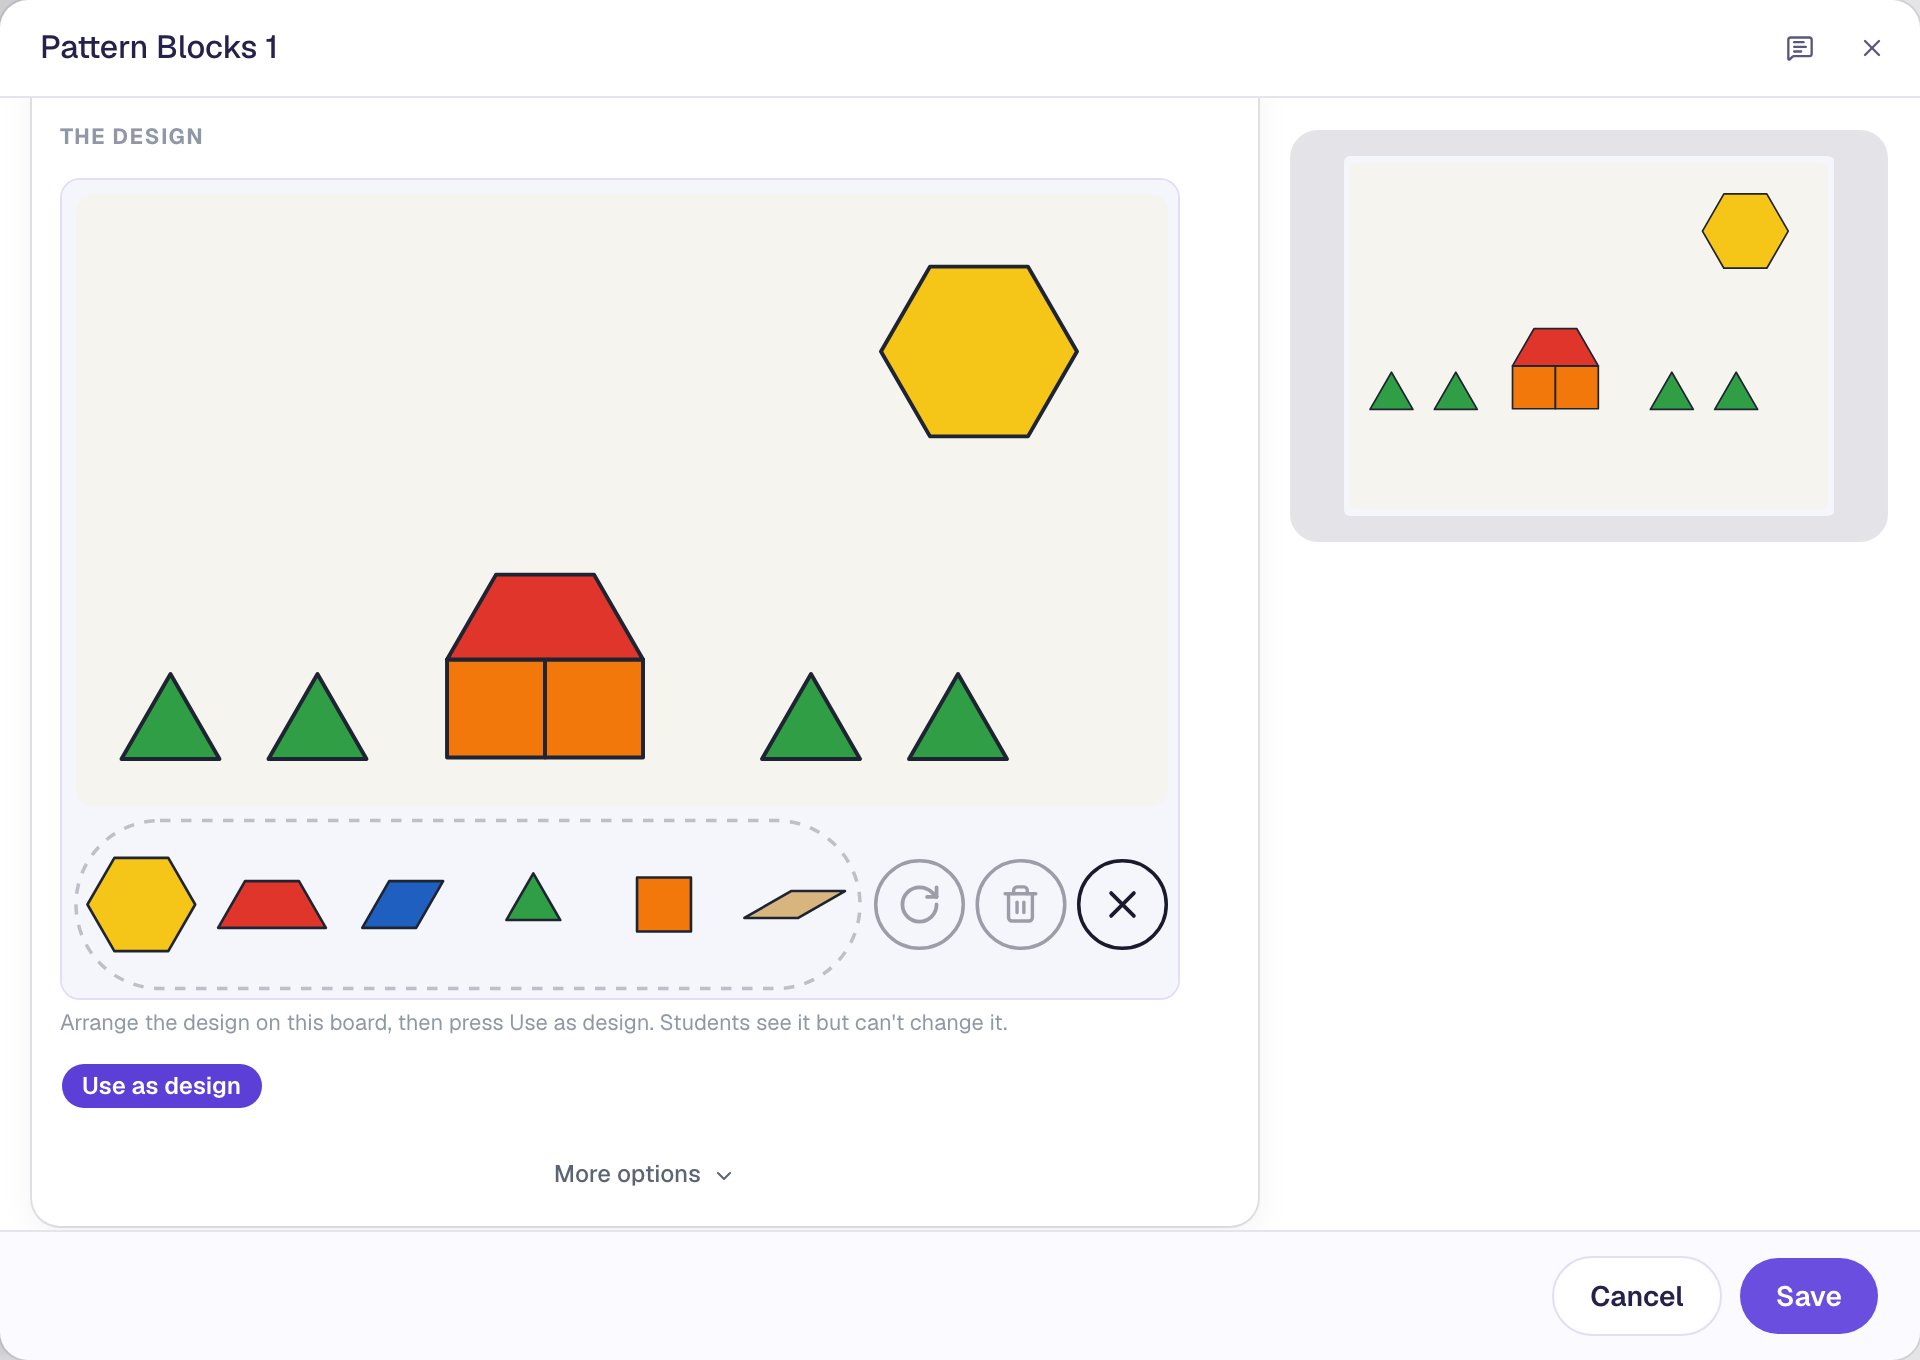
Students see only what you saved with Use as design. If you change the working board afterwards, the window reminds you to press it again. Click Save.
Count what you built before writing the questions: 4 triangles, 2 squares, 1 hexagon and 1 trapezoid. A good counting picture mixes the shape you ask about with other shapes, so children have to look for it.
Step 5: Fit the board and give it a sky
The widget is taller than the picture needs, because Show has no tray. With it selected, open Style & Layout and set Height to 400. Then click the Board color and pick the palest blue in the grid.
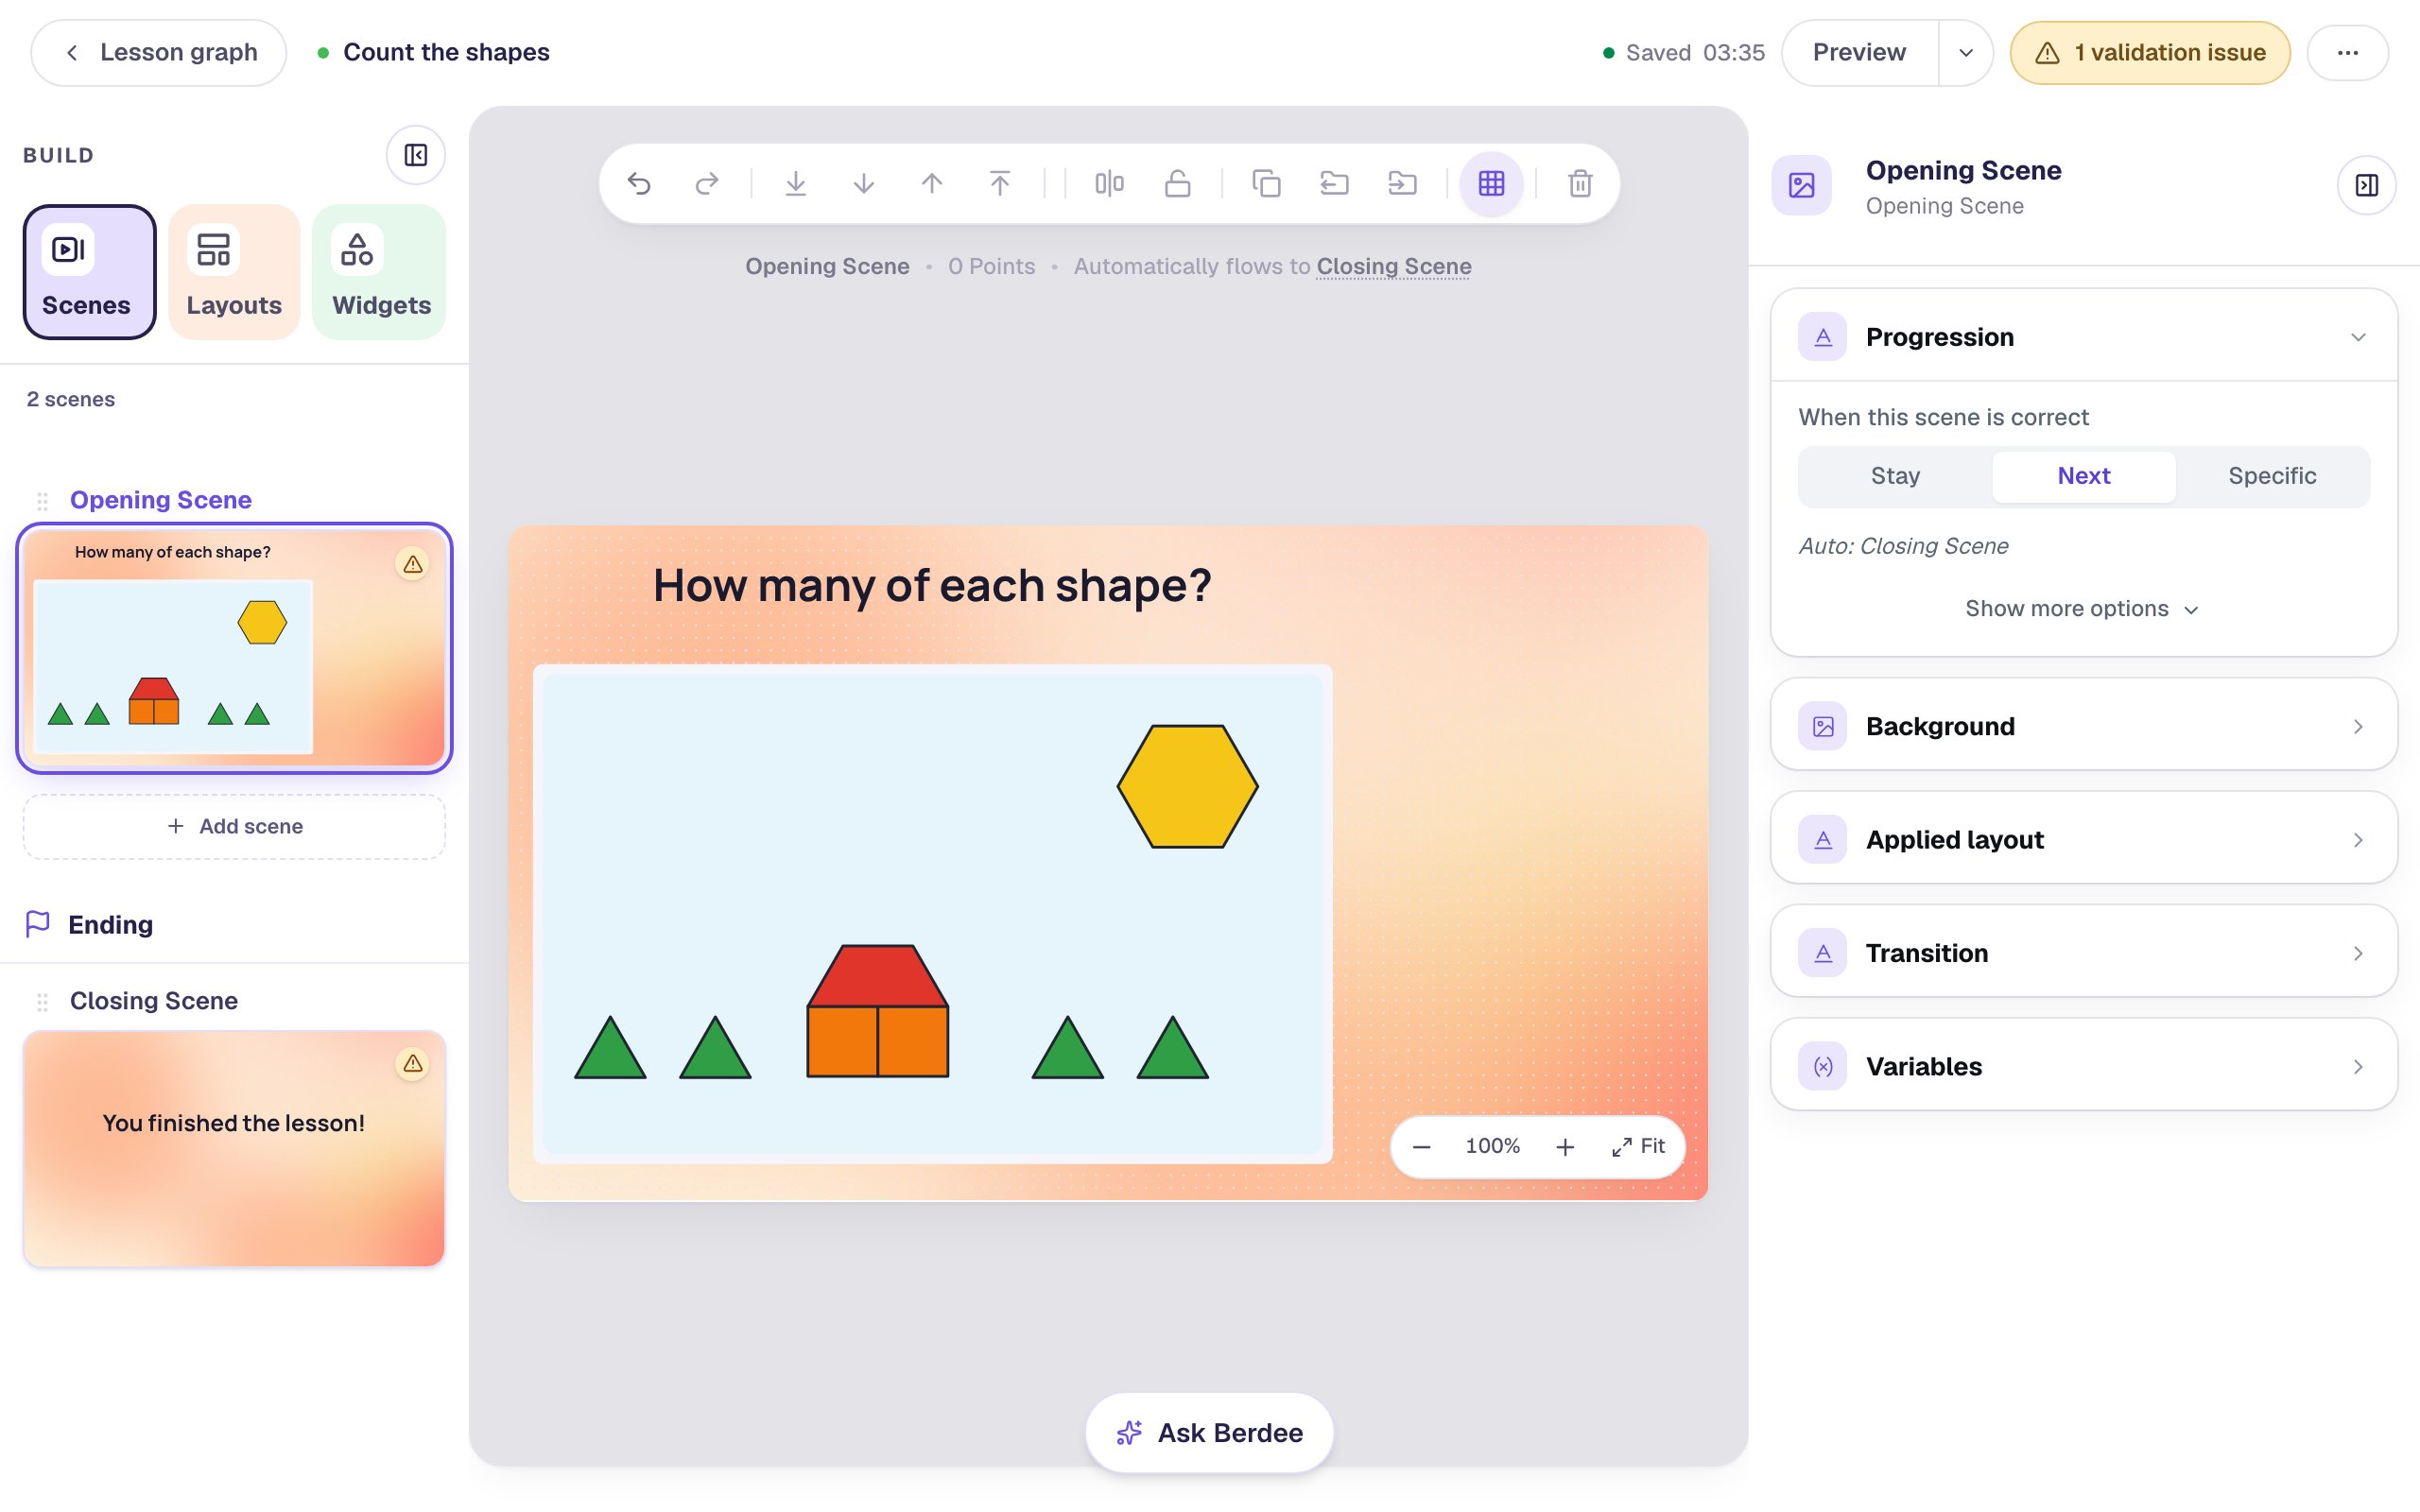
The blocks keep their classroom colors whatever you pick around them, because children and teachers name them by color.
Give the picture a description for screen readers too: open Accessibility and set Alt Text to A pattern block picture of a house with a red roof, a yellow sun and green trees. A screen reader also hears how many of each block the picture has, so leave the numbers out of the description.
Step 6: Ask how many triangles
- Add a Subheading,
How many triangles?, with Font Size24, at the top of the right-hand column. - Search the Widgets tab for
Number Inputand click it, then click ⚙ Configure. - Set Correct Value to
4and Largest Answer to10. Leave Show Step Buttons on.
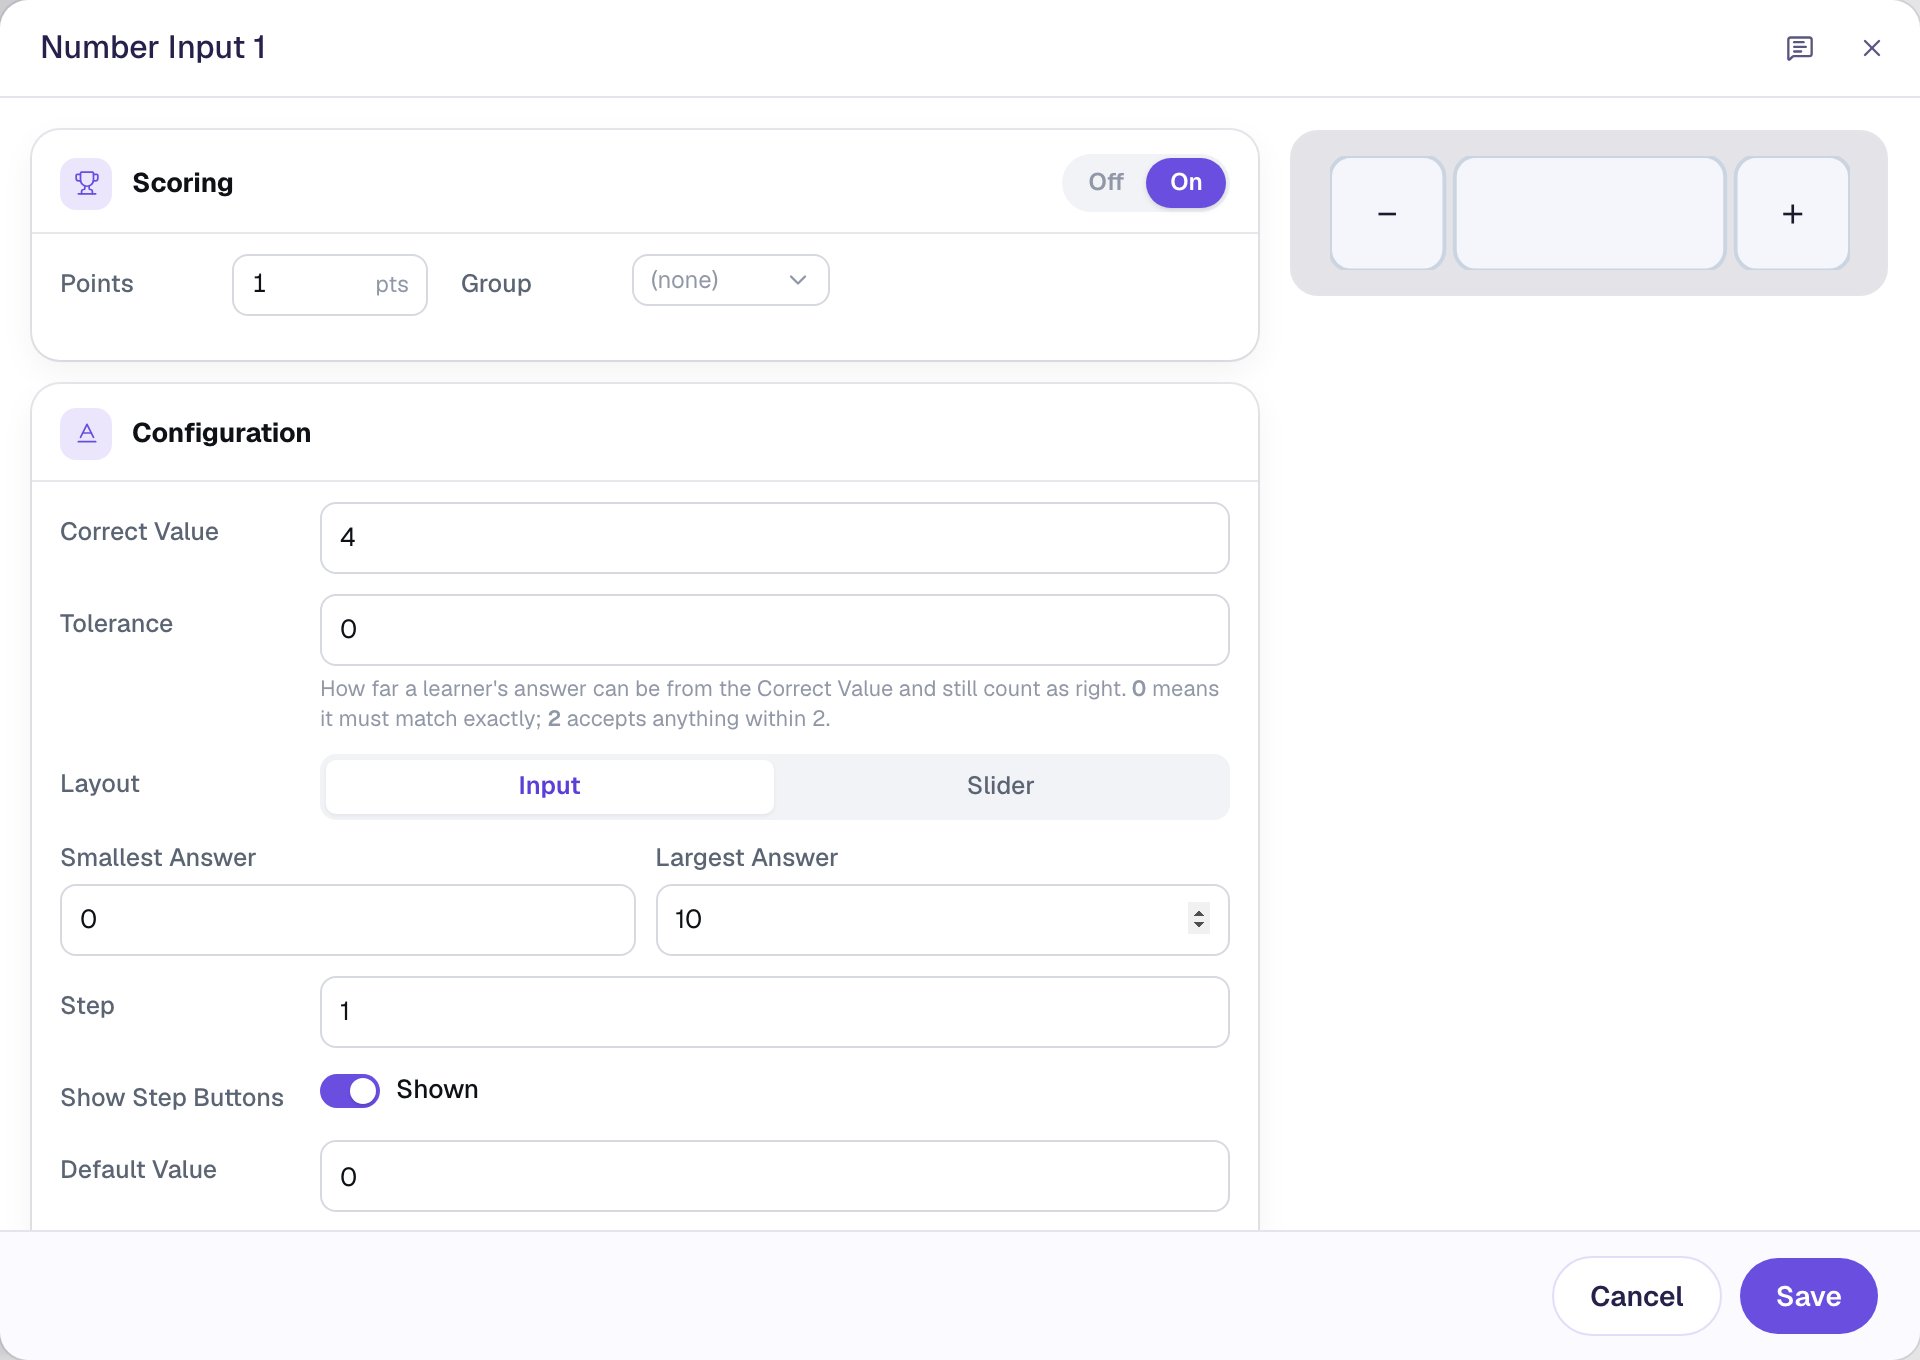
The − and + buttons suit children who can count but can't type yet: they tap + once for each triangle they find. Largest Answer 10 keeps the answer in a sensible range.
Click Save. Then, in the properties panel:
- Rename the widget
Triangles(click its name at the top). That's the name on each student's attempt page. - Set its Font Size to
28and its Width to260, so the number shows clearly between the buttons. - Open Accessibility and set Alt Text to
How many triangles?. That's what a screen reader says for the box.
Drag it under its question.
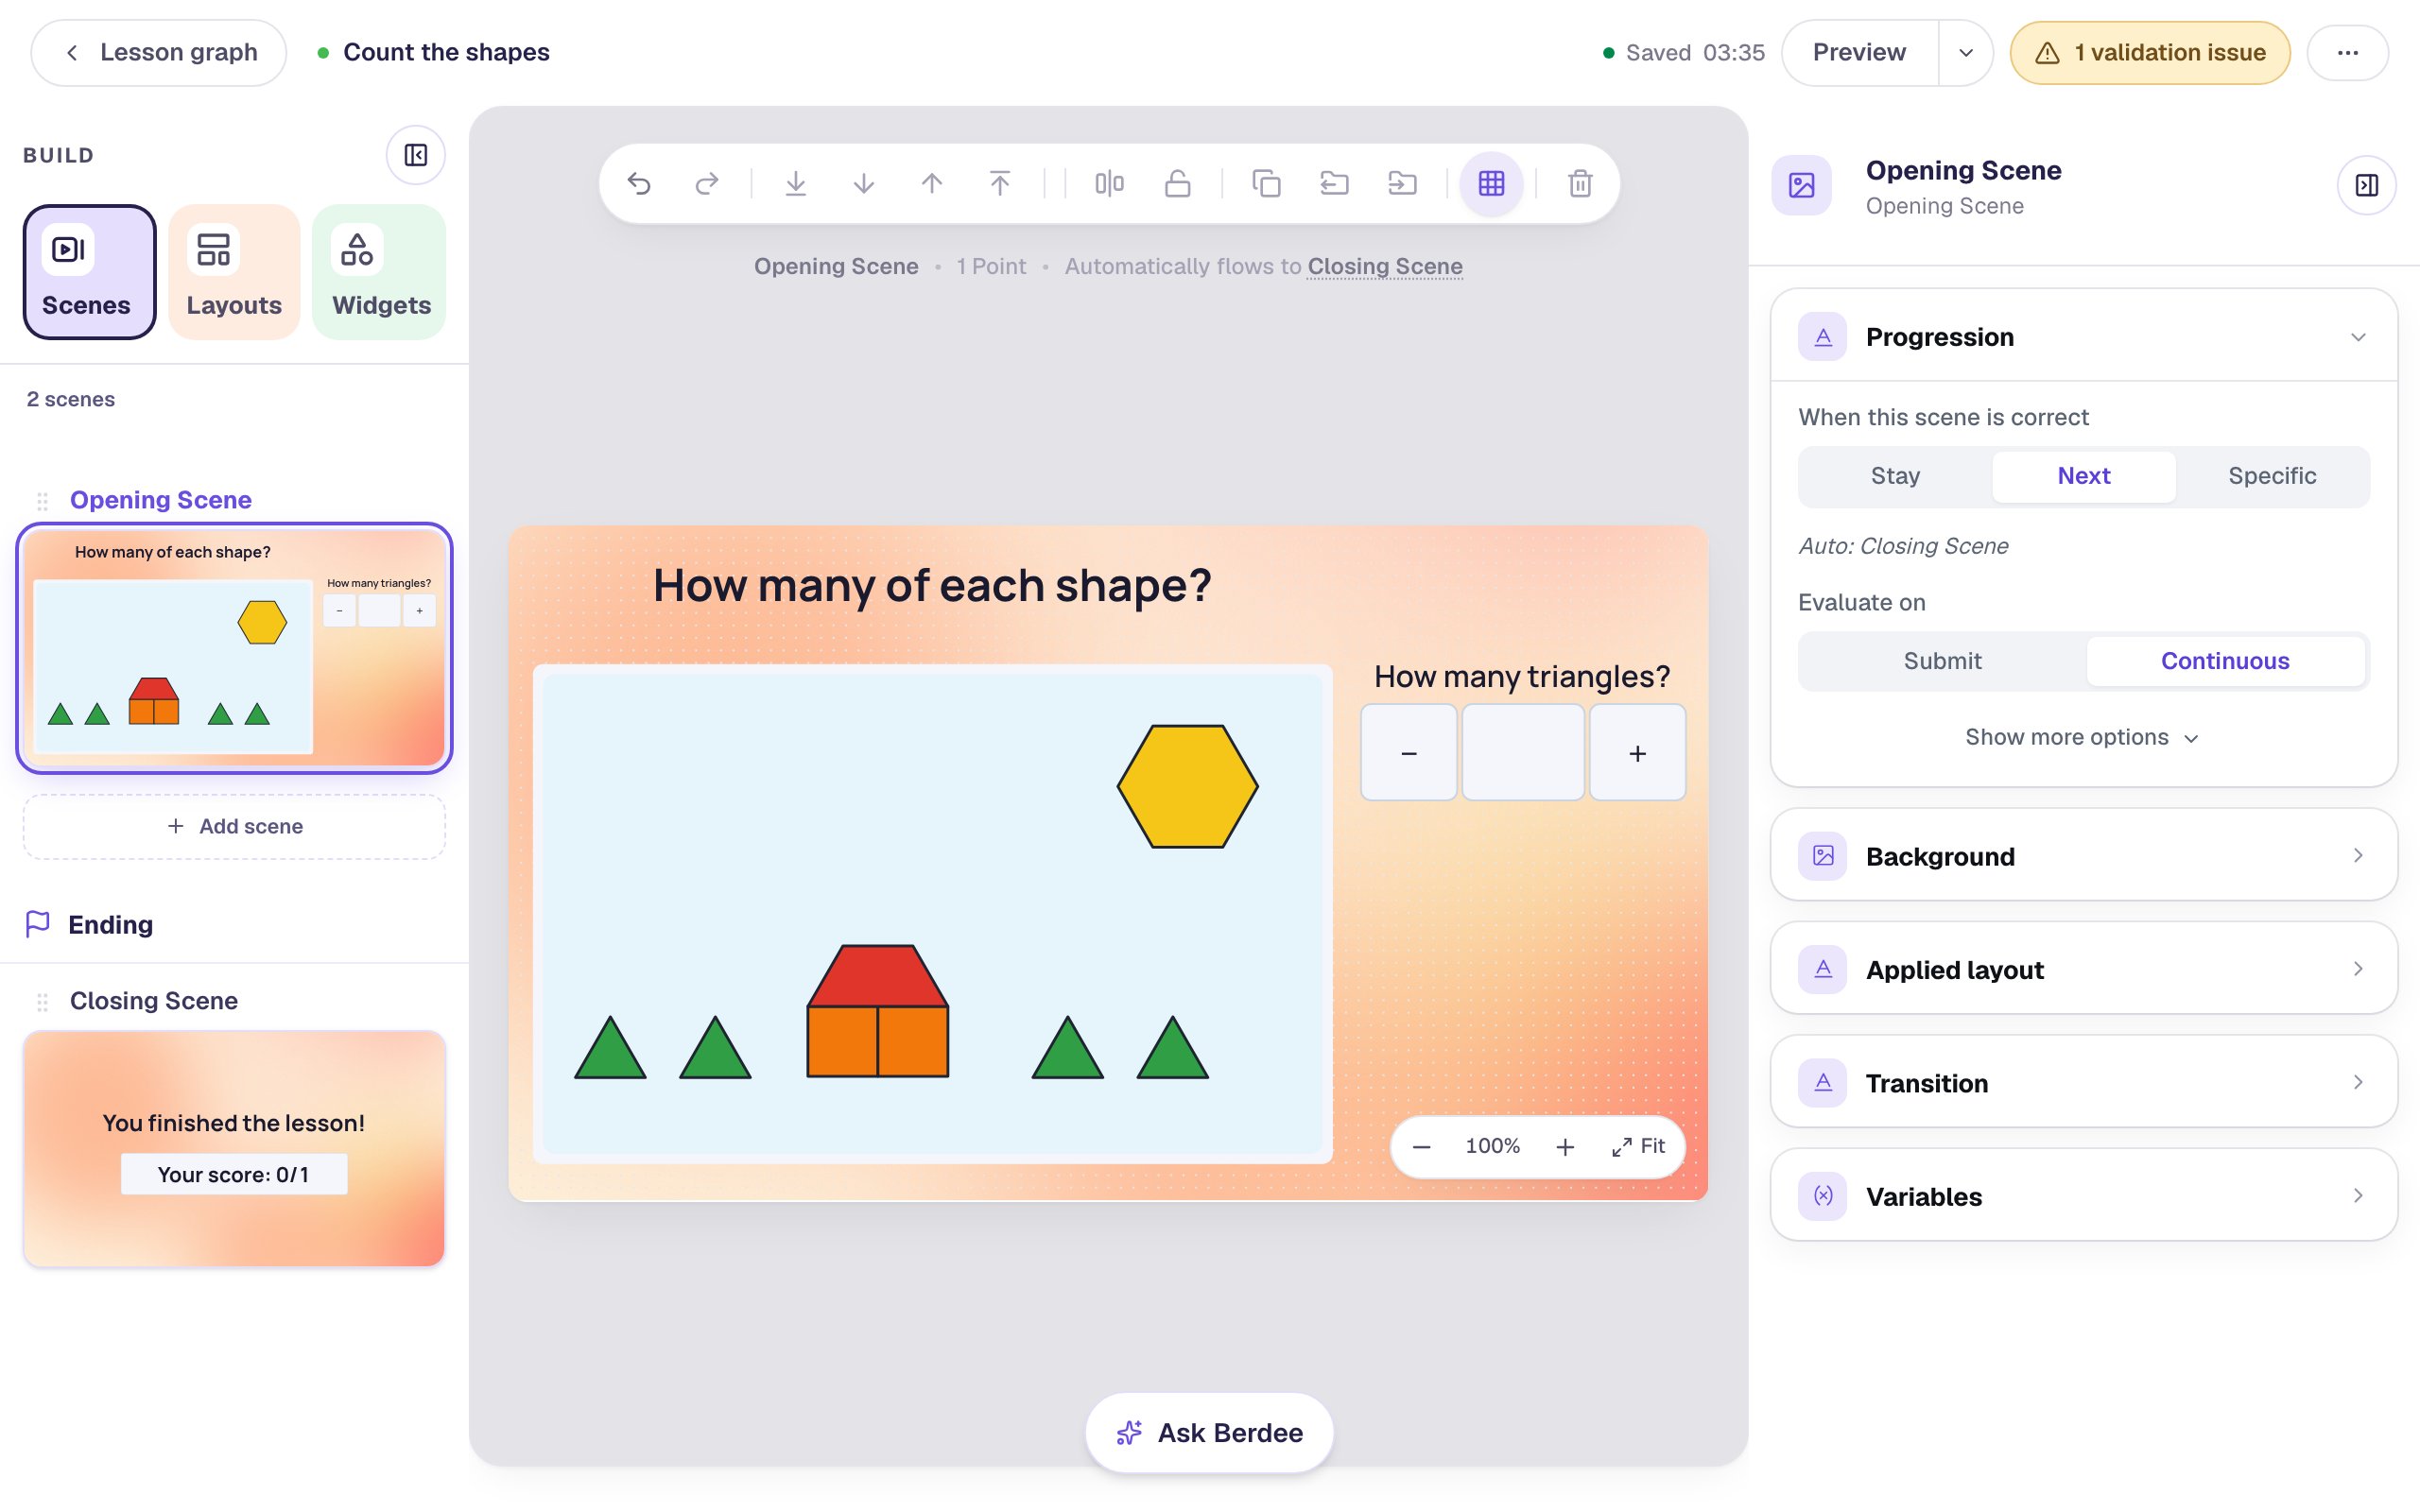
Step 7: Ask how many squares
Repeat Step 6 under the first question: a Subheading How many squares?, and a Number Input with Correct Value 2 and Largest Answer 10, named Squares, at the same size, with Alt Text How many squares?.
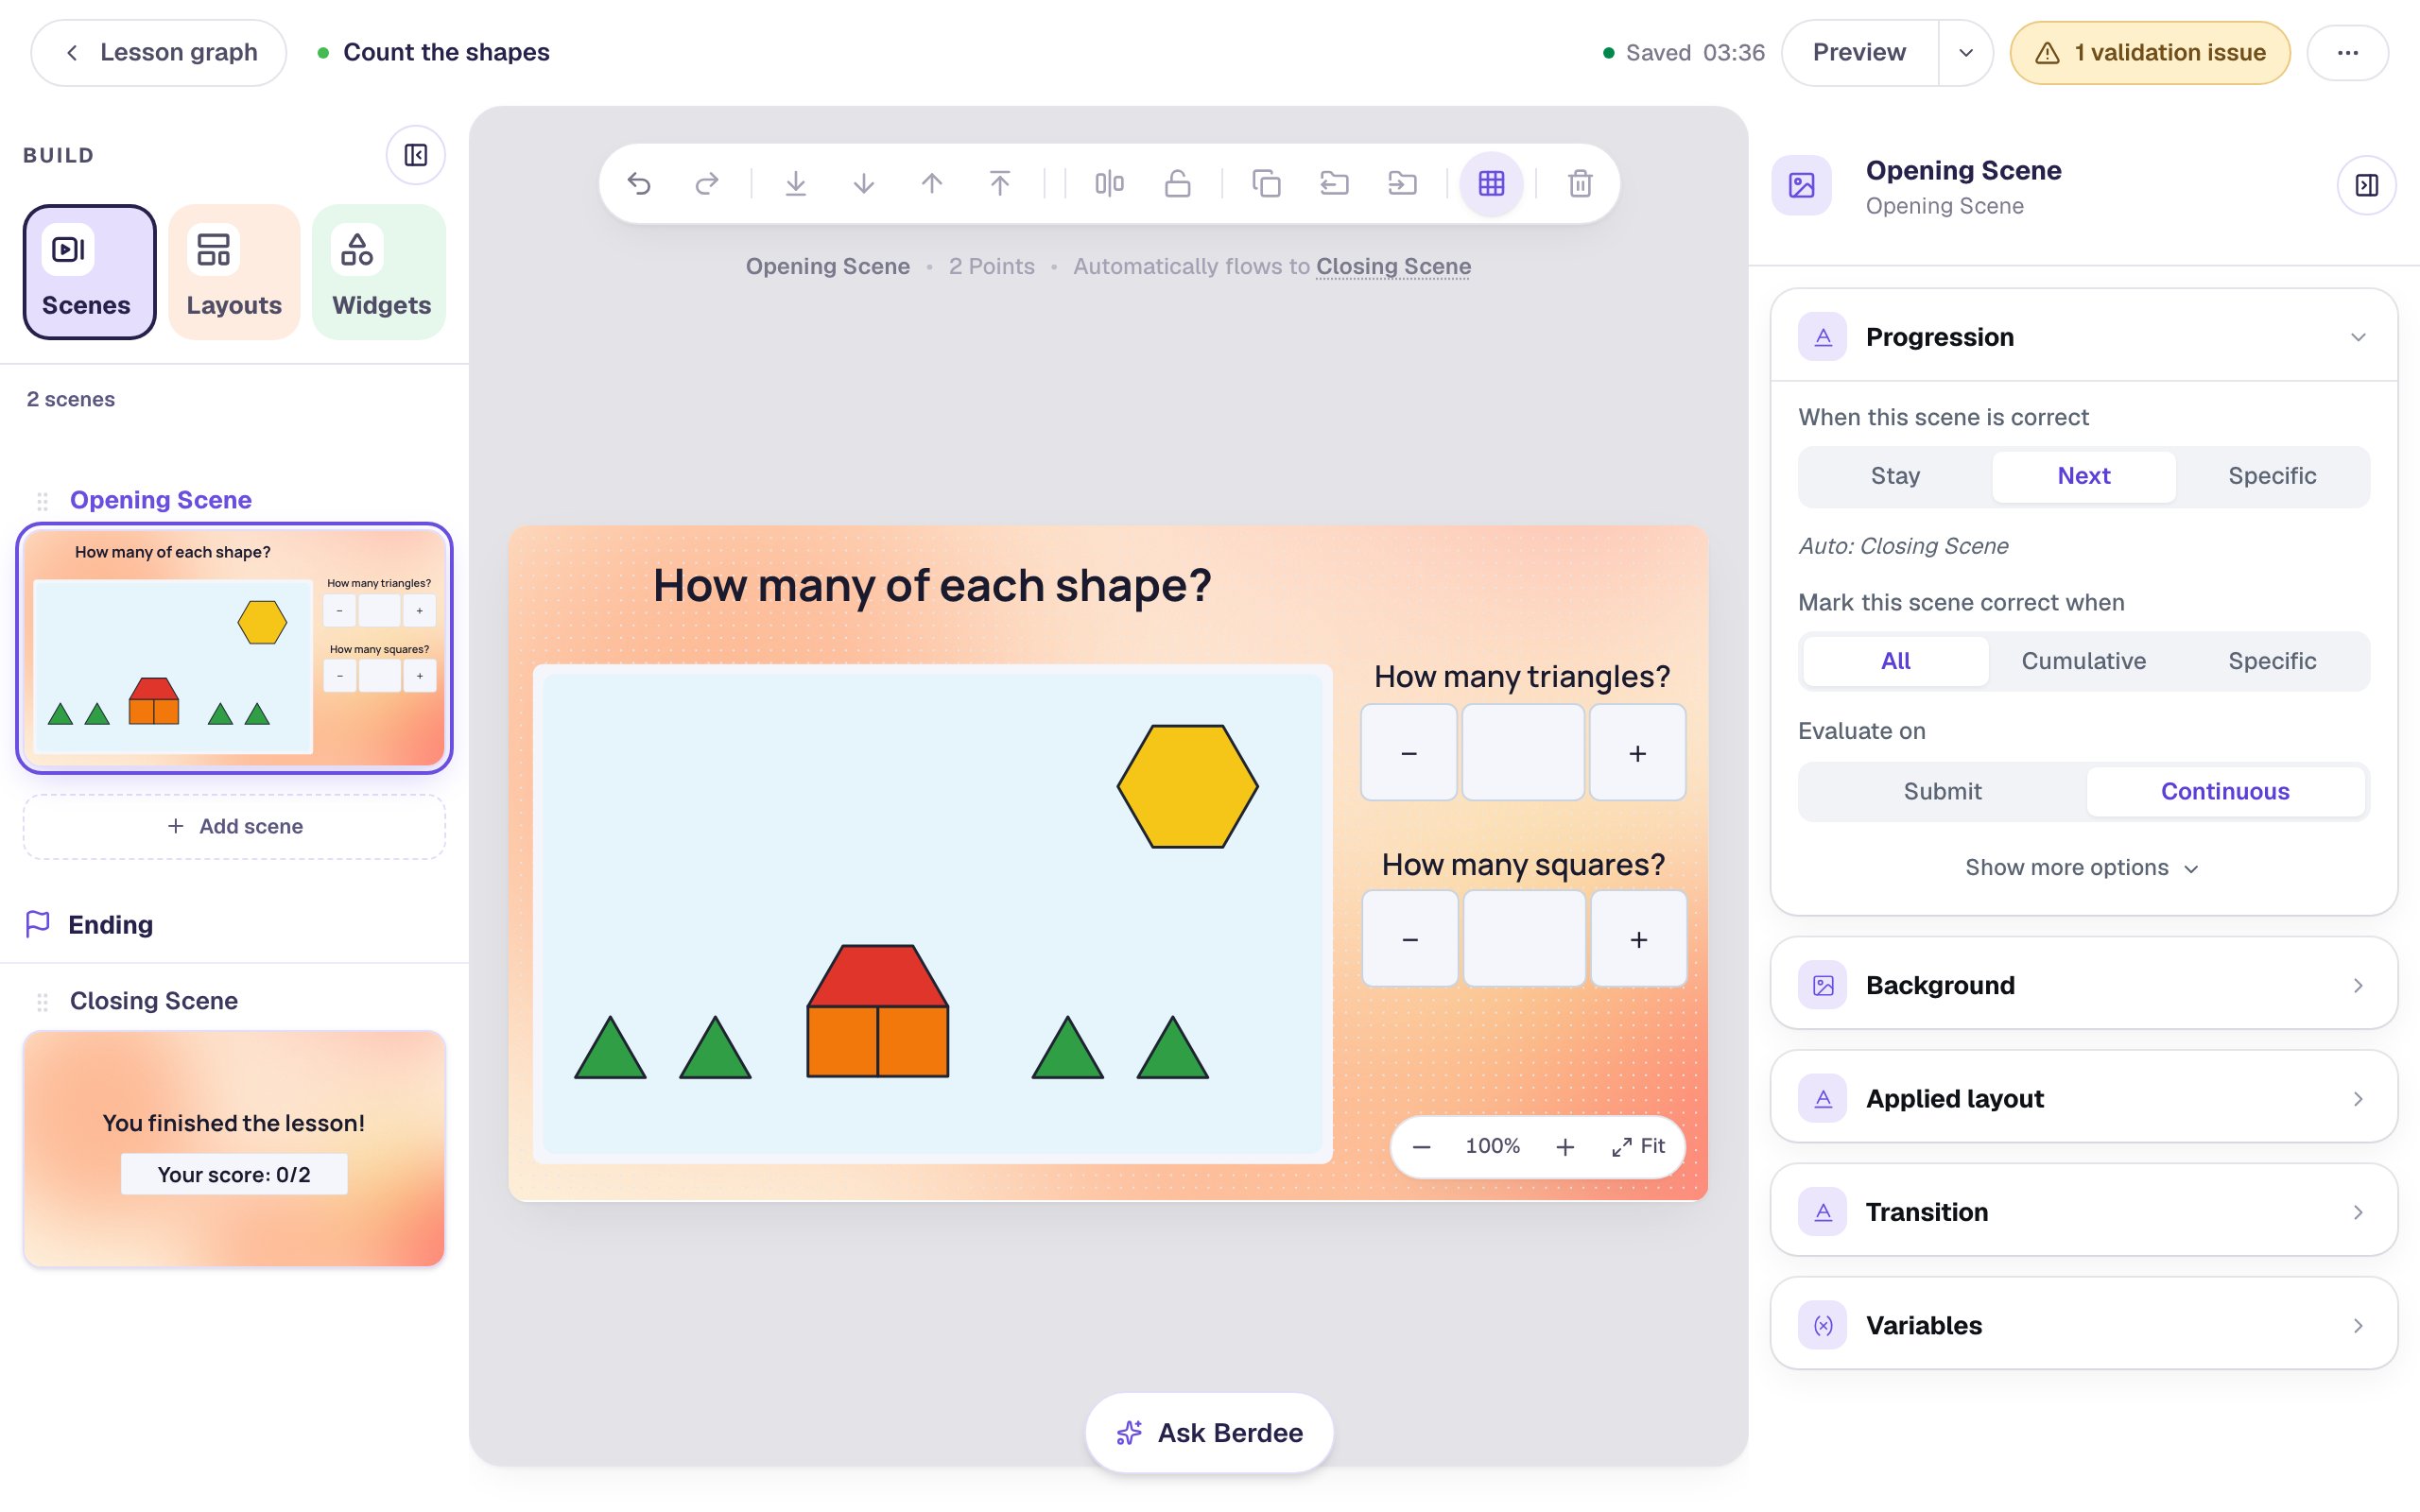
The line above the canvas now reads 2 Points and Automatically flows to Closing Scene. The scene checks both answers as students give them, and moves on when both are right. A wrong count simply waits, so children can count again.
Step 8: Add an "I'm done" button
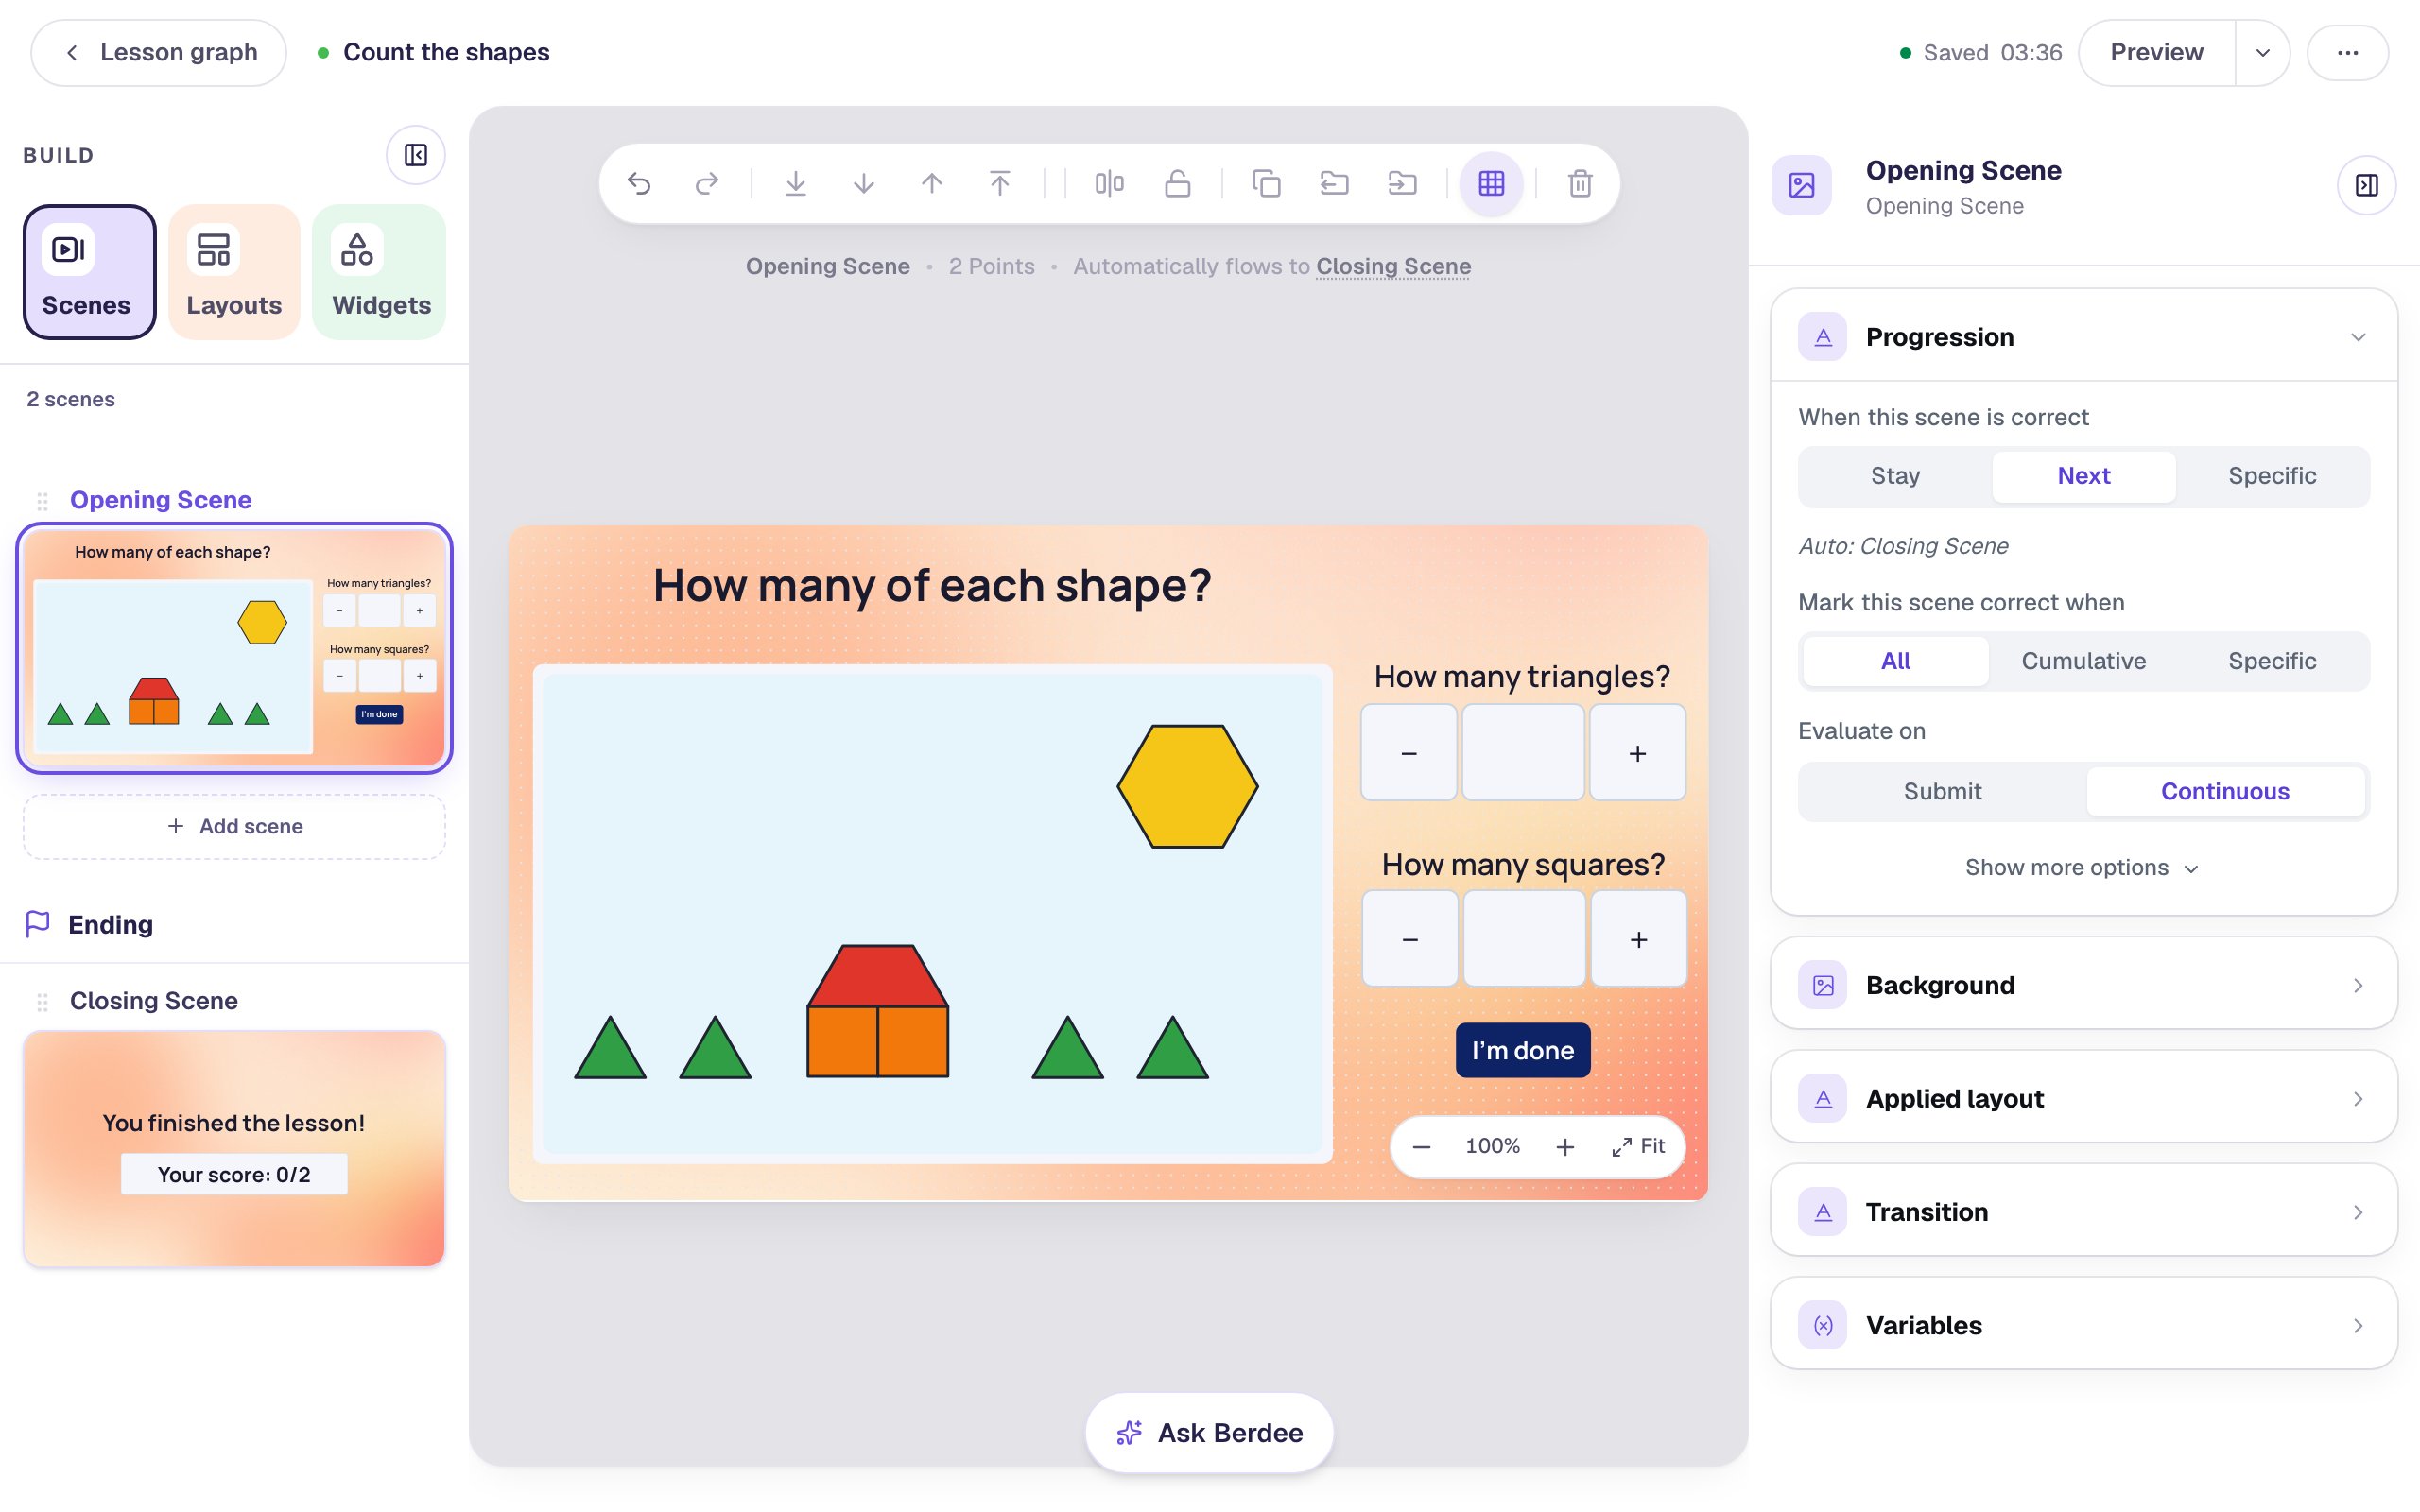
Every lesson needs one button that lets a student finish. It's also a way out for a child who gets stuck.
- Search the Widgets tab for
Submit Buttonand click it. - In Content, change Label to
I'm doneand set Submits to Lesson. - Set its Font Size to
20. In Style & Layout, set Background to a dark navy and Text to white. Drag it under the questions.
Step 9: Count in Preview
Click Preview. Students see the picture, the two questions and the button.
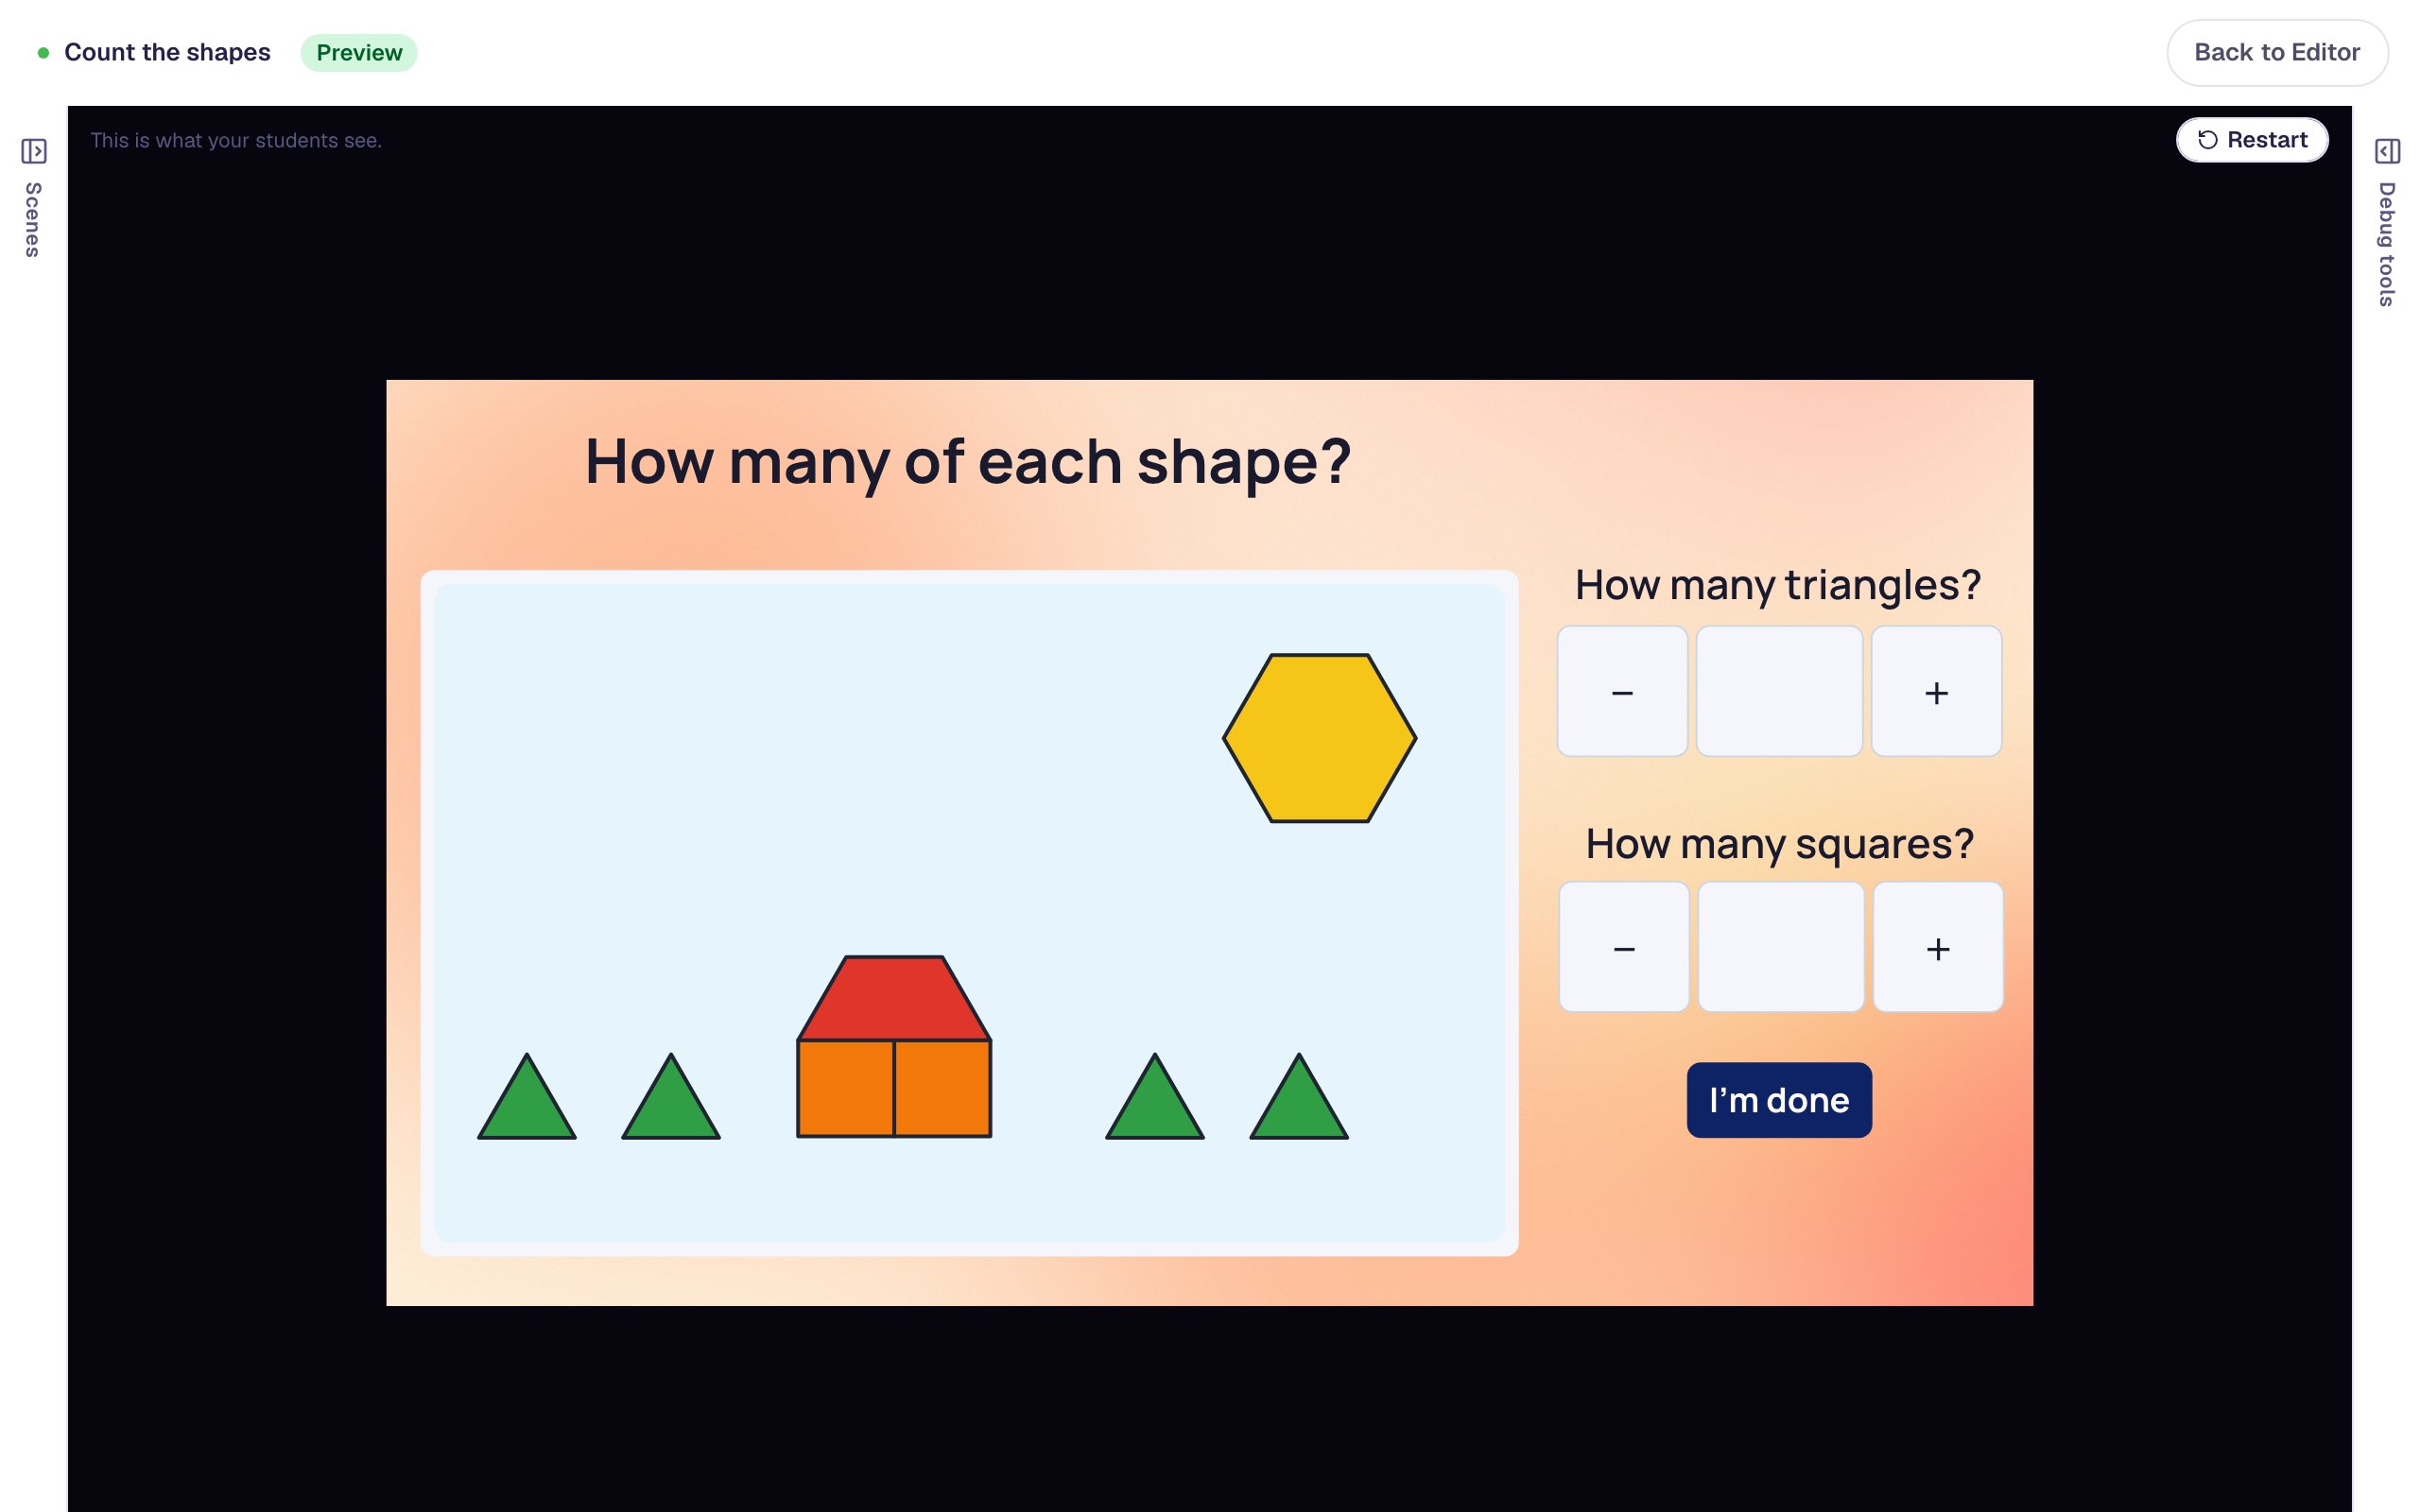
Count the way a child who missed a tree might: tap + three times for the triangles, and twice for the squares.
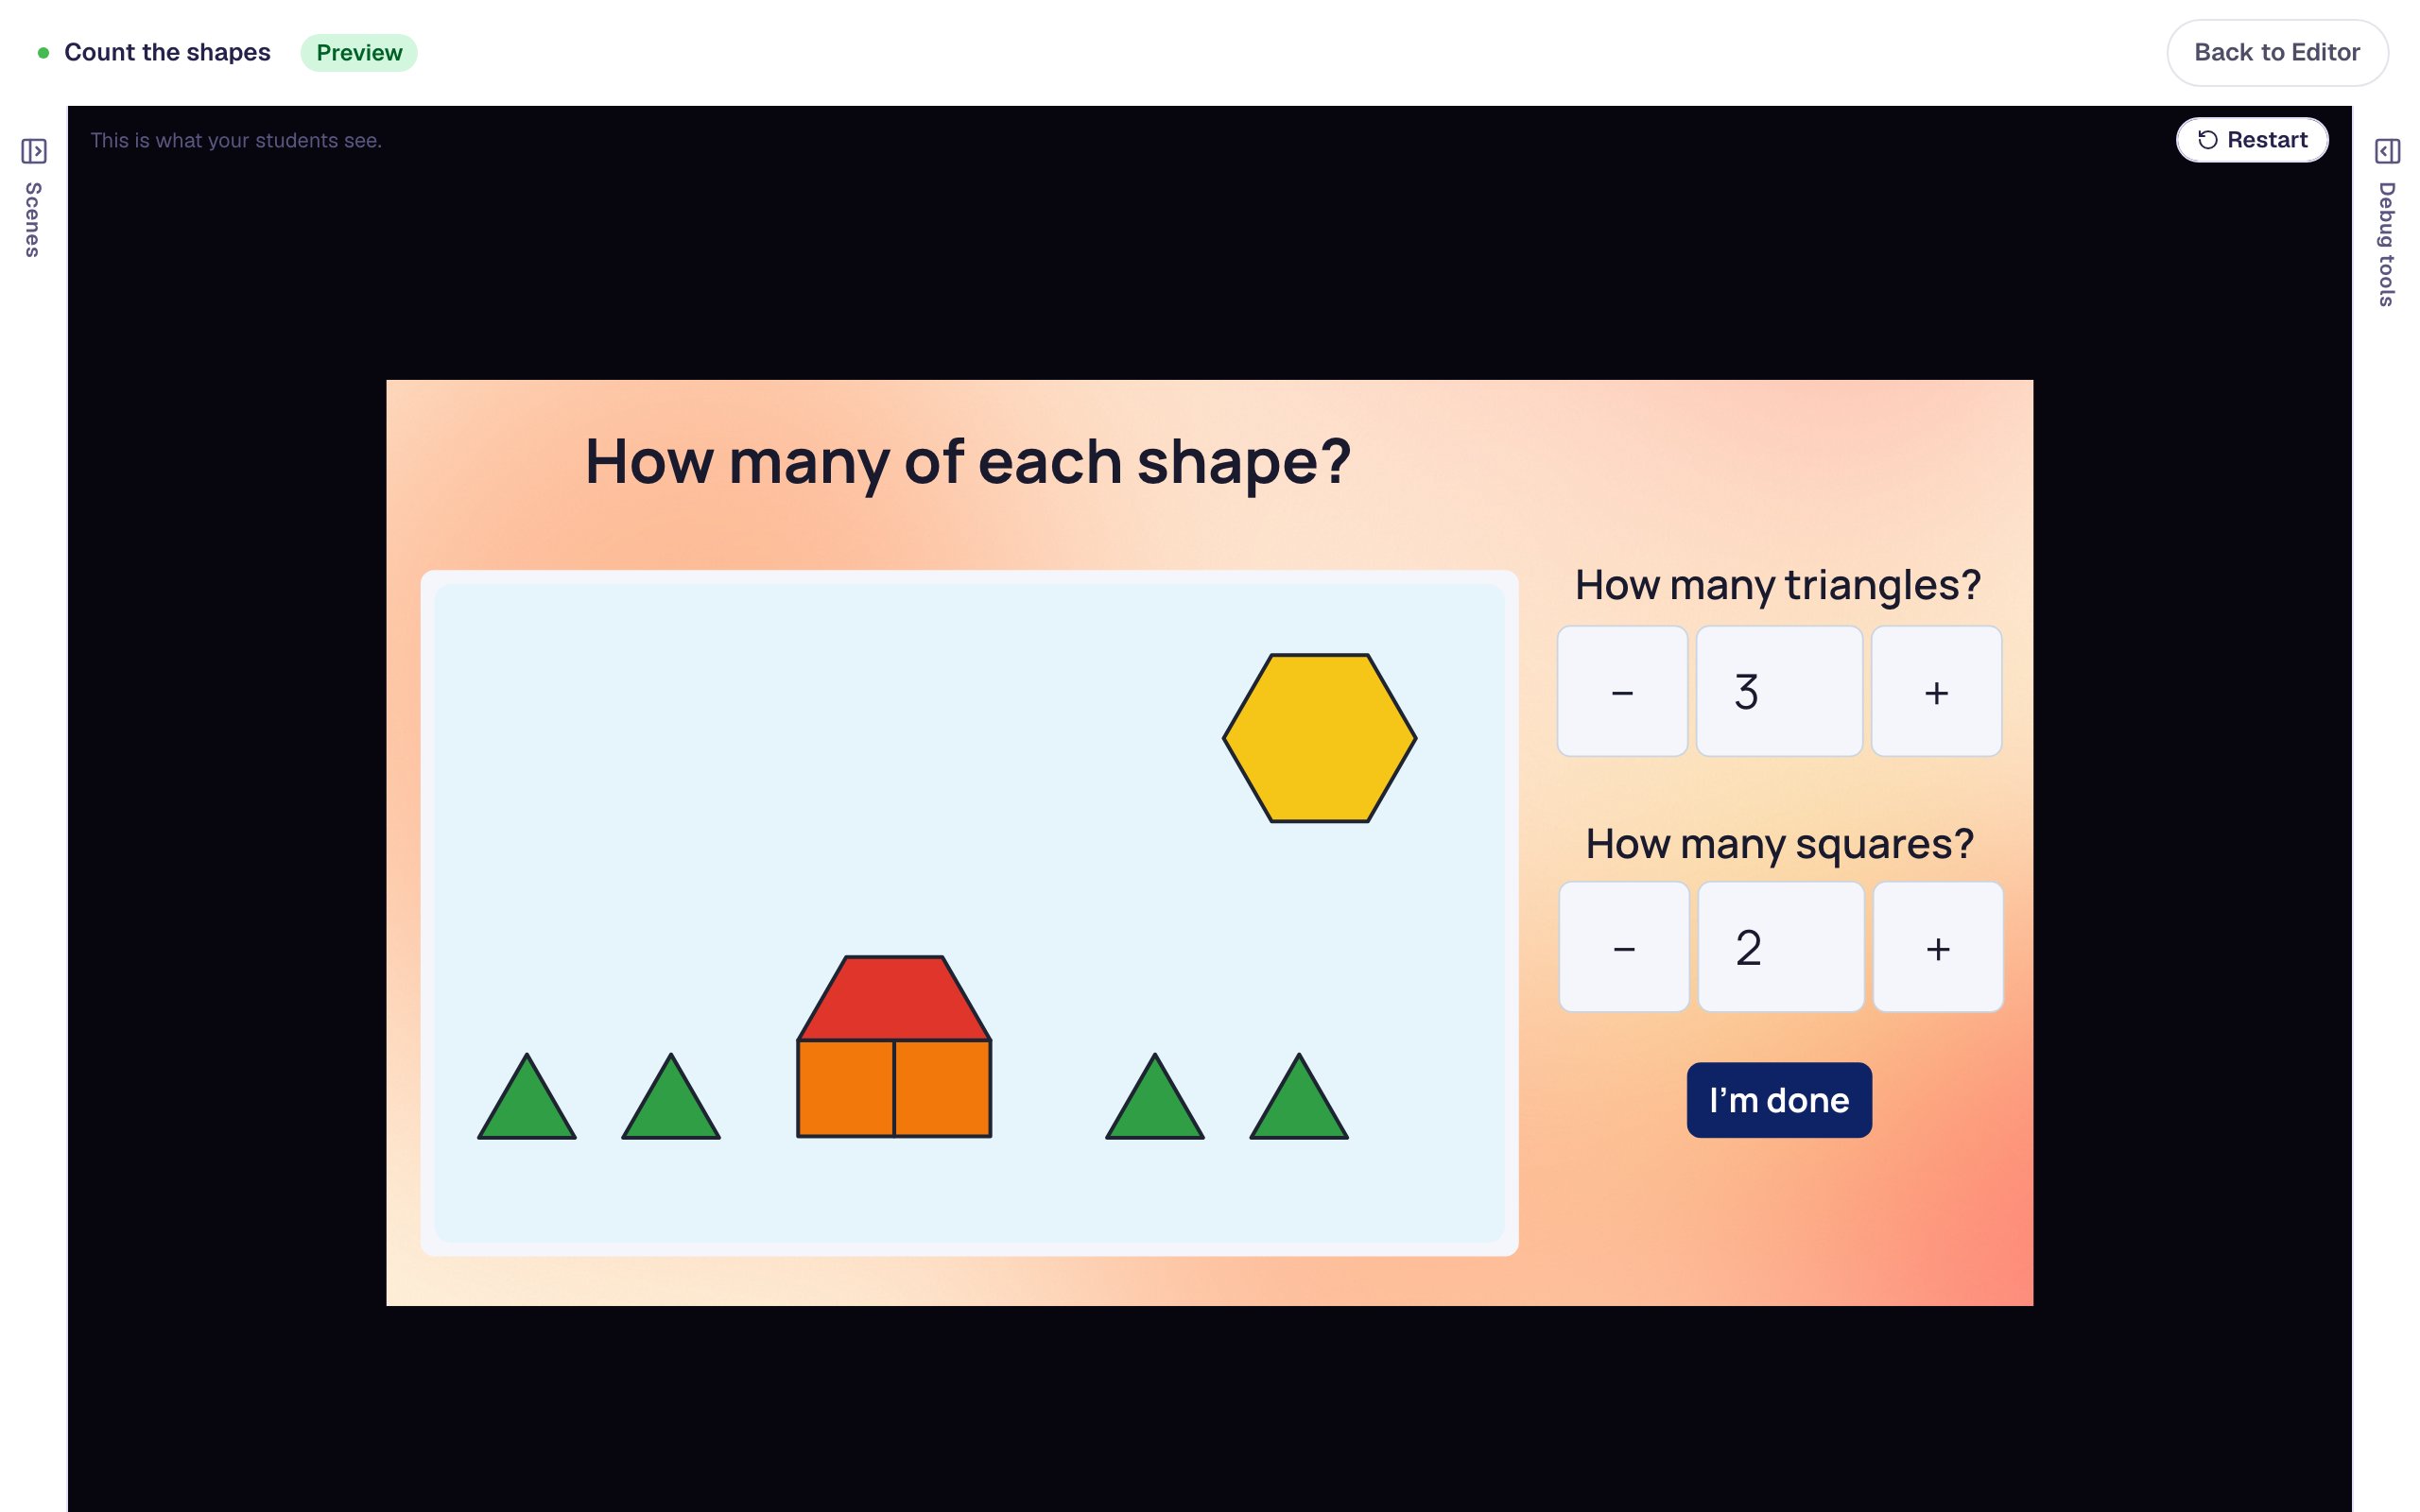
The squares are right, but three triangles isn't, so the lesson stays put. Count the trees again, and tap + once more:
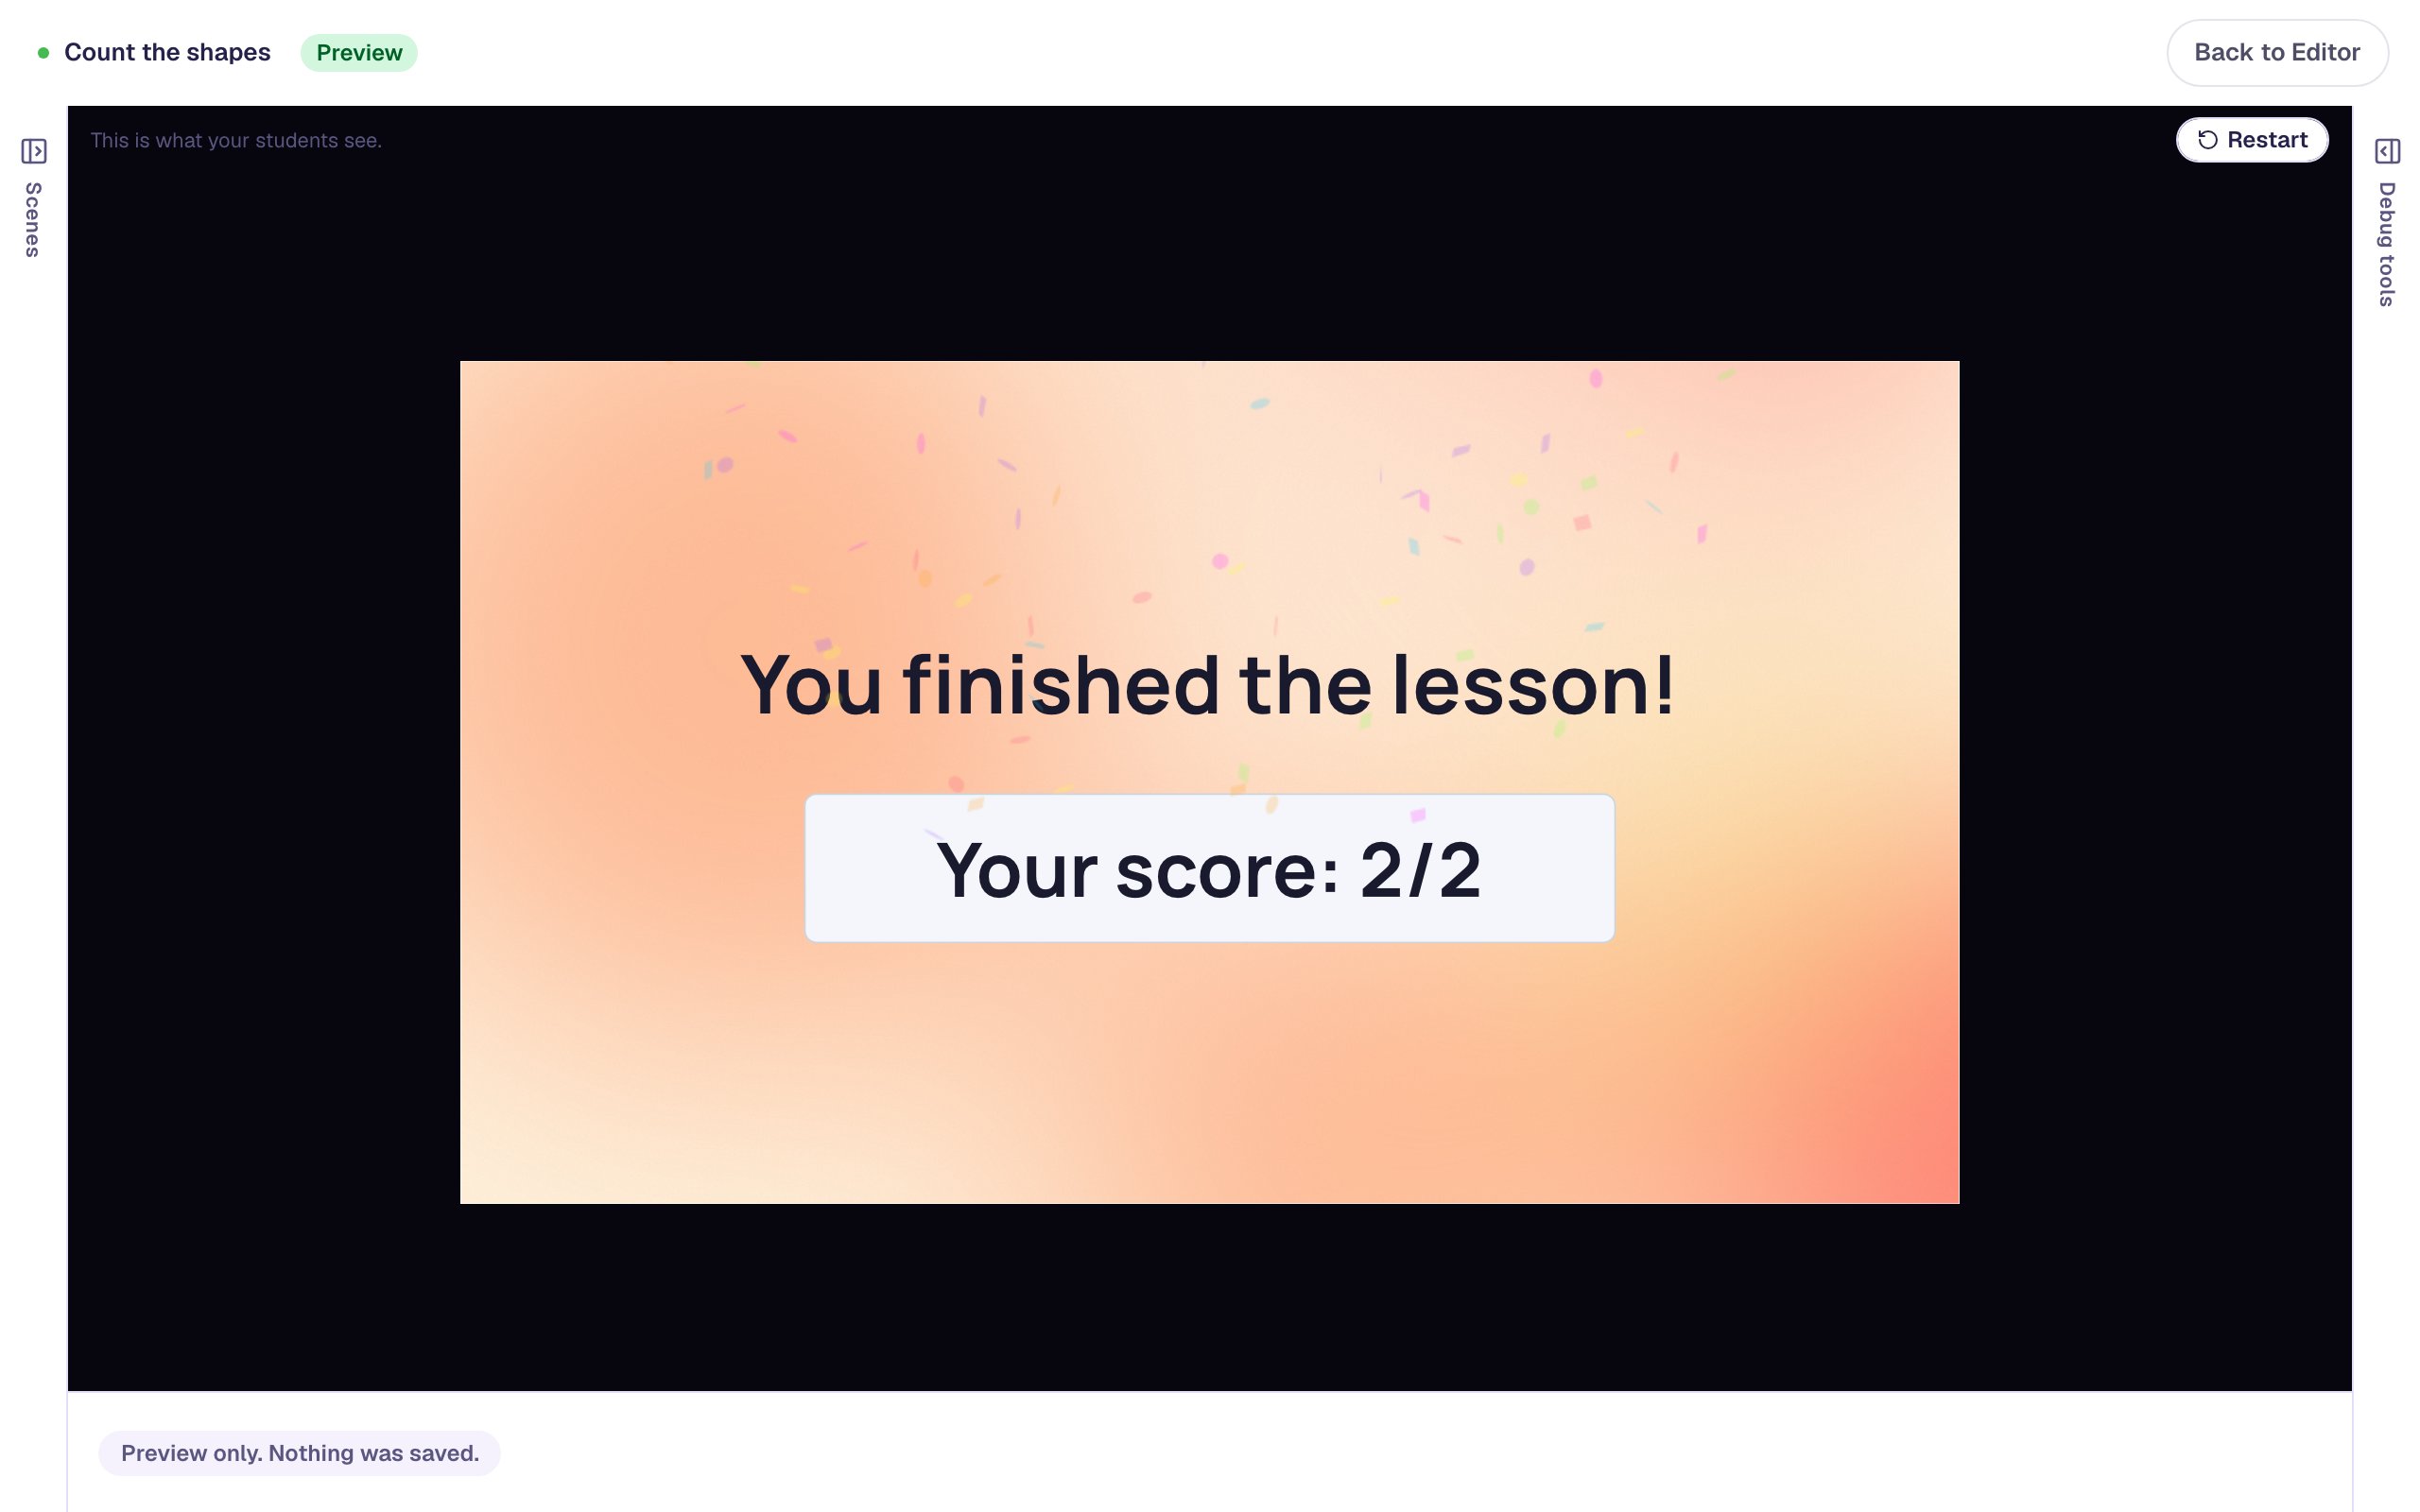
On each student's attempt page you'll see their answer to Triangles and Squares, so you know which shape a child still miscounts.
What you built
You built a one-scene kindergarten counting lesson with:
- a Pattern Blocks widget in Show mode, with a house, a sun and four trees you arranged on the working board and saved with Use as design,
- two Number Inputs, named
TrianglesandSquares, with step buttons so children answer by tapping, each checking its own count, - an I'm done button, and a scene that moves on by itself once both counts are right.
To make the next picture harder, ask about a shape that hides inside others, like the blue rhombus, or ask "How many blocks in all?" To give children a nudge after a miscount, follow Show a hint after two wrong tries. To have them build with the blocks instead of counting them, follow Make a pattern block puzzle.
Make this lesson yours
Add the lesson you just watched being built to your account, then change it for your class: your questions, your pictures, your colors.
Free to sign up, and you'll come straight back here. I have an account