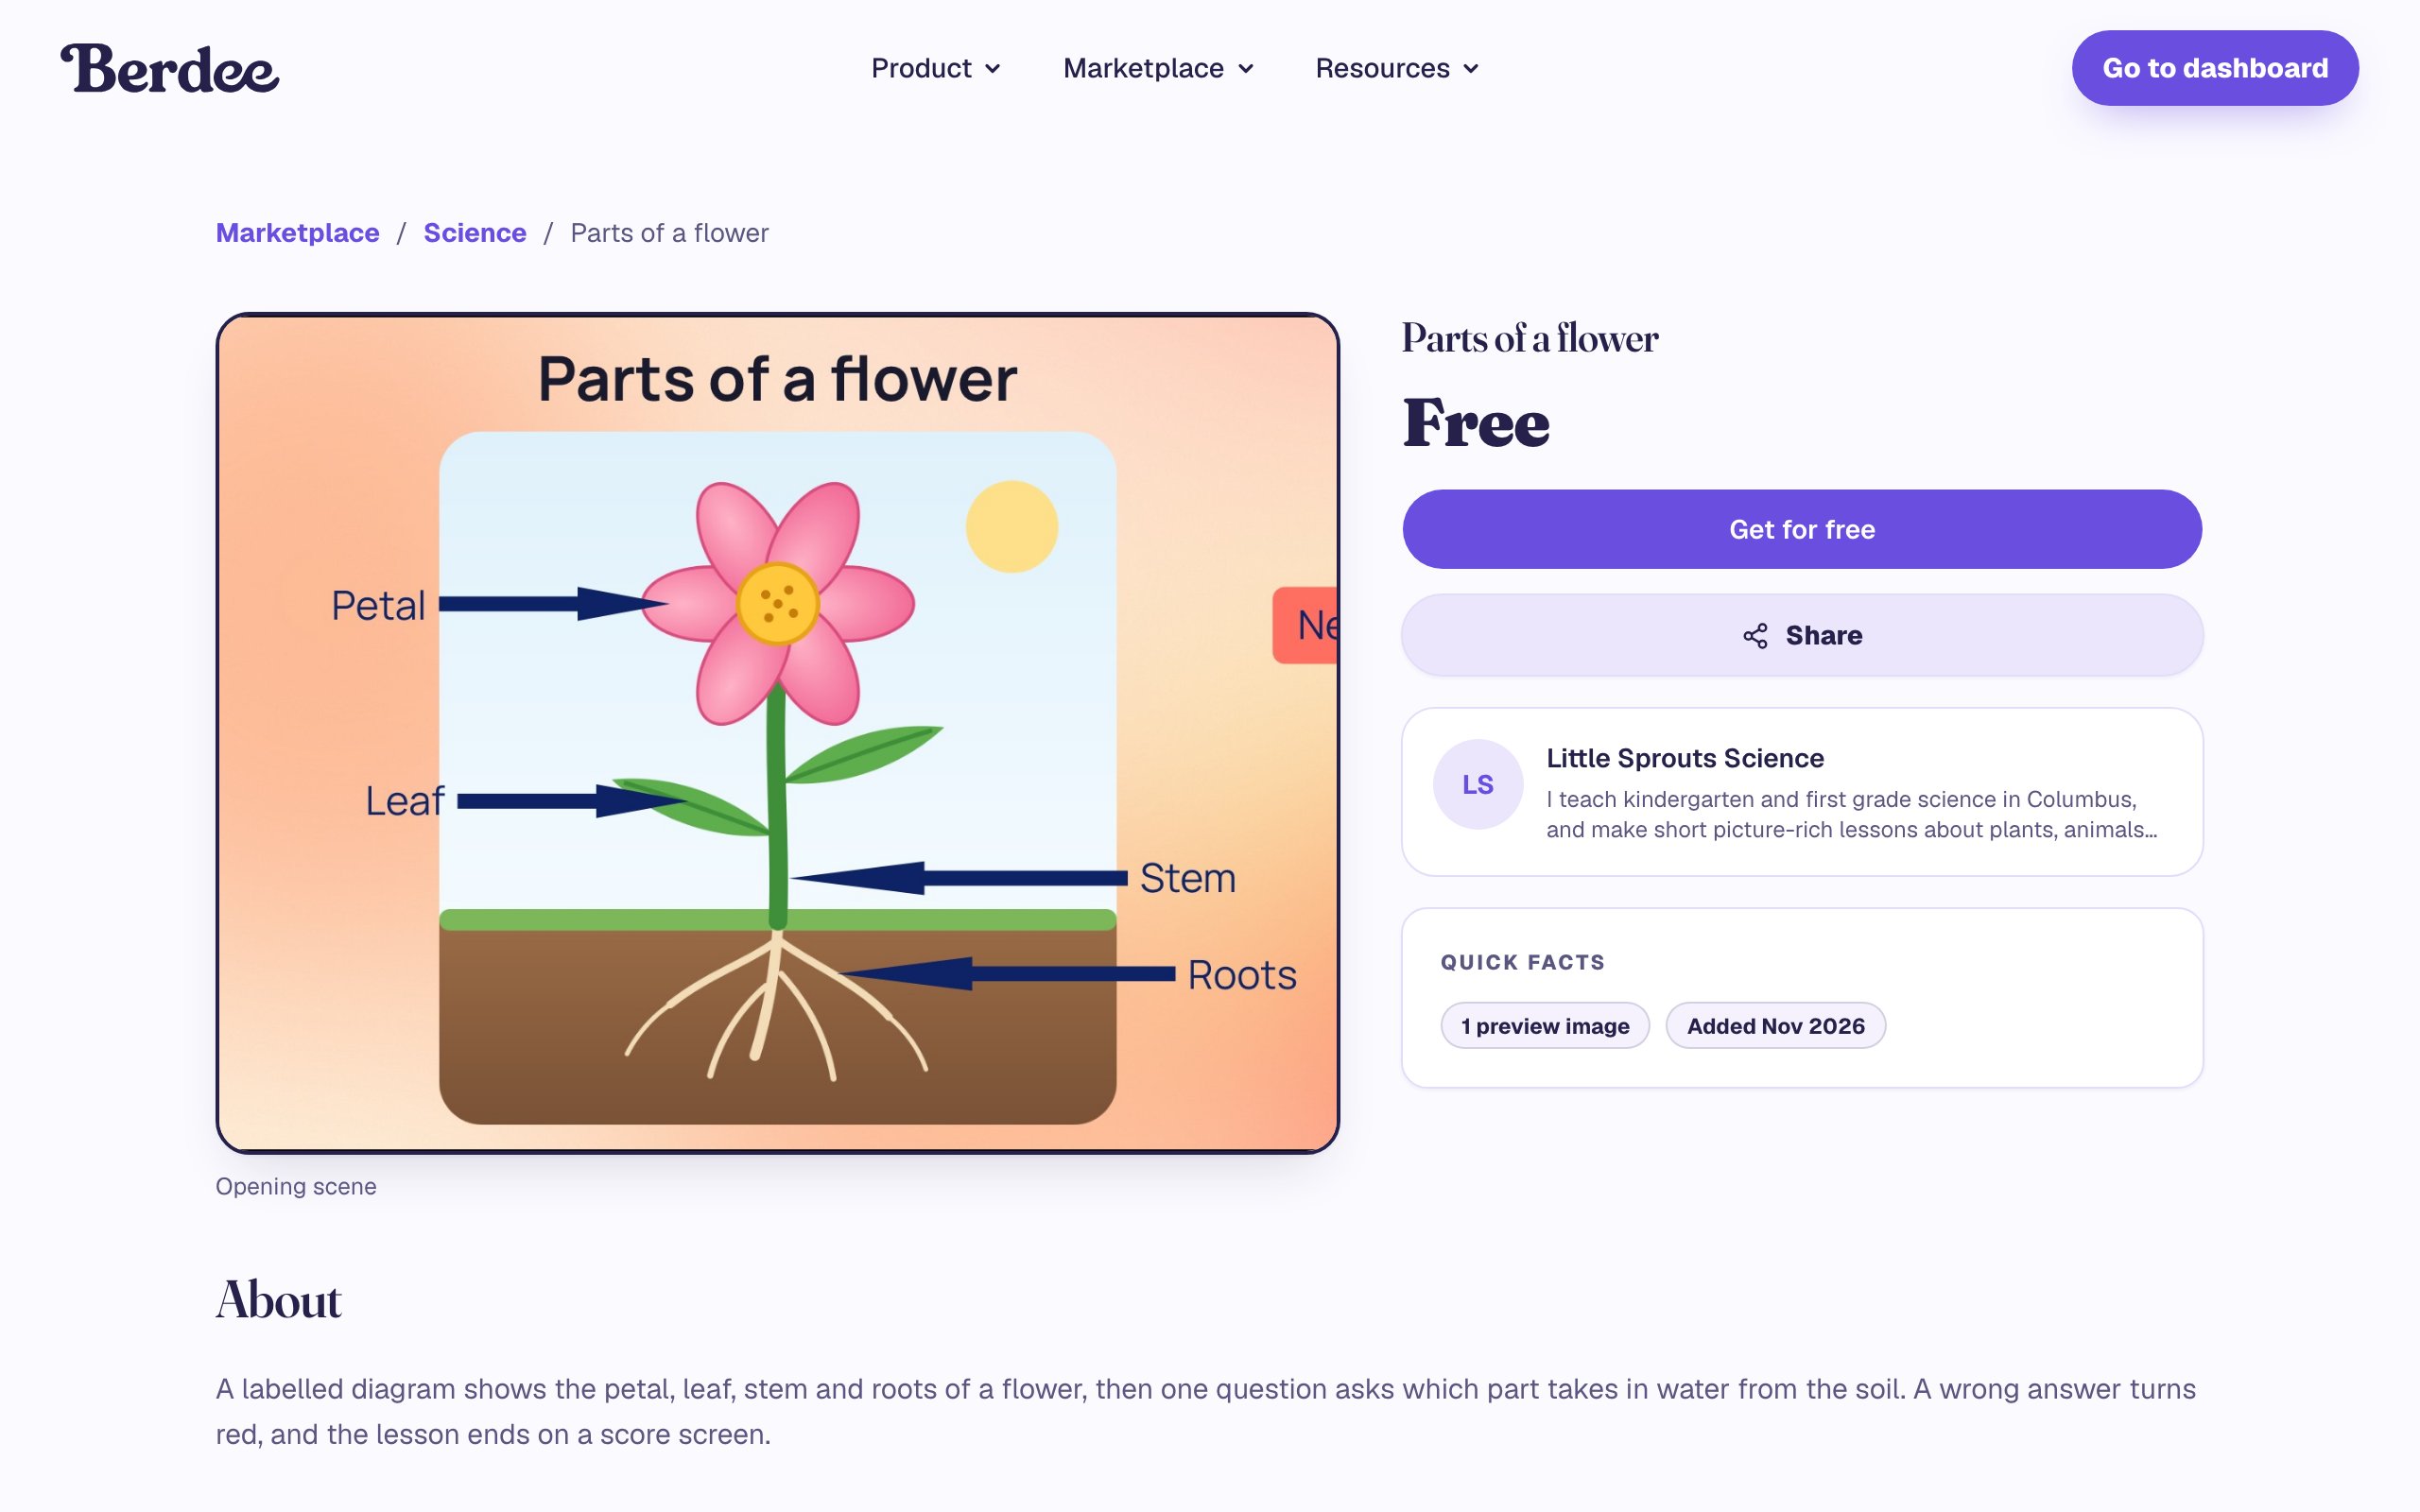
Group your marketplace lessons into a unit
Put lessons you've published into a unit, so teachers on the marketplace see them as one set, in the order you teach them, with a note that more are coming. Make the collection, add and order its lessons, publish it, and see it the way teachers do.
- Level
- Beginner
- Time
- About 8 min
- Steps
- 8
- Updated
- Nov 5, 2026
A published "Living things" unit with three free science lessons in teaching order, a fourth marked as coming soon, and a "Unit · Lesson 2 of 4" card on each lesson's listing.
Get the finished lesson
Skip straight to the result, or keep it open beside the steps. Add this tutorial's lesson to your account and explore how it works in the studio.
Free to sign up, and you'll come straight back here. I have an account
Once you've published a few lessons that belong together, a teacher browsing the marketplace sees them as separate listings and has to work out the order for themselves. A collection fixes that: the lessons get one page, numbered in your order, and every lesson's listing points to the ones before and after it.
In this tutorial Mr. Okafor, who publishes as Little Sprouts Science, groups three free science lessons into a unit called Living things: first what living things are, then where animals live, then the parts of a plant. A fourth lesson isn't finished yet, so the unit says so.
You'll need lessons you've already published (see Publish a free lesson to the marketplace). Grouping them changes nothing about each lesson's own listing, price or sales.
Step 1: Open the Collections tab
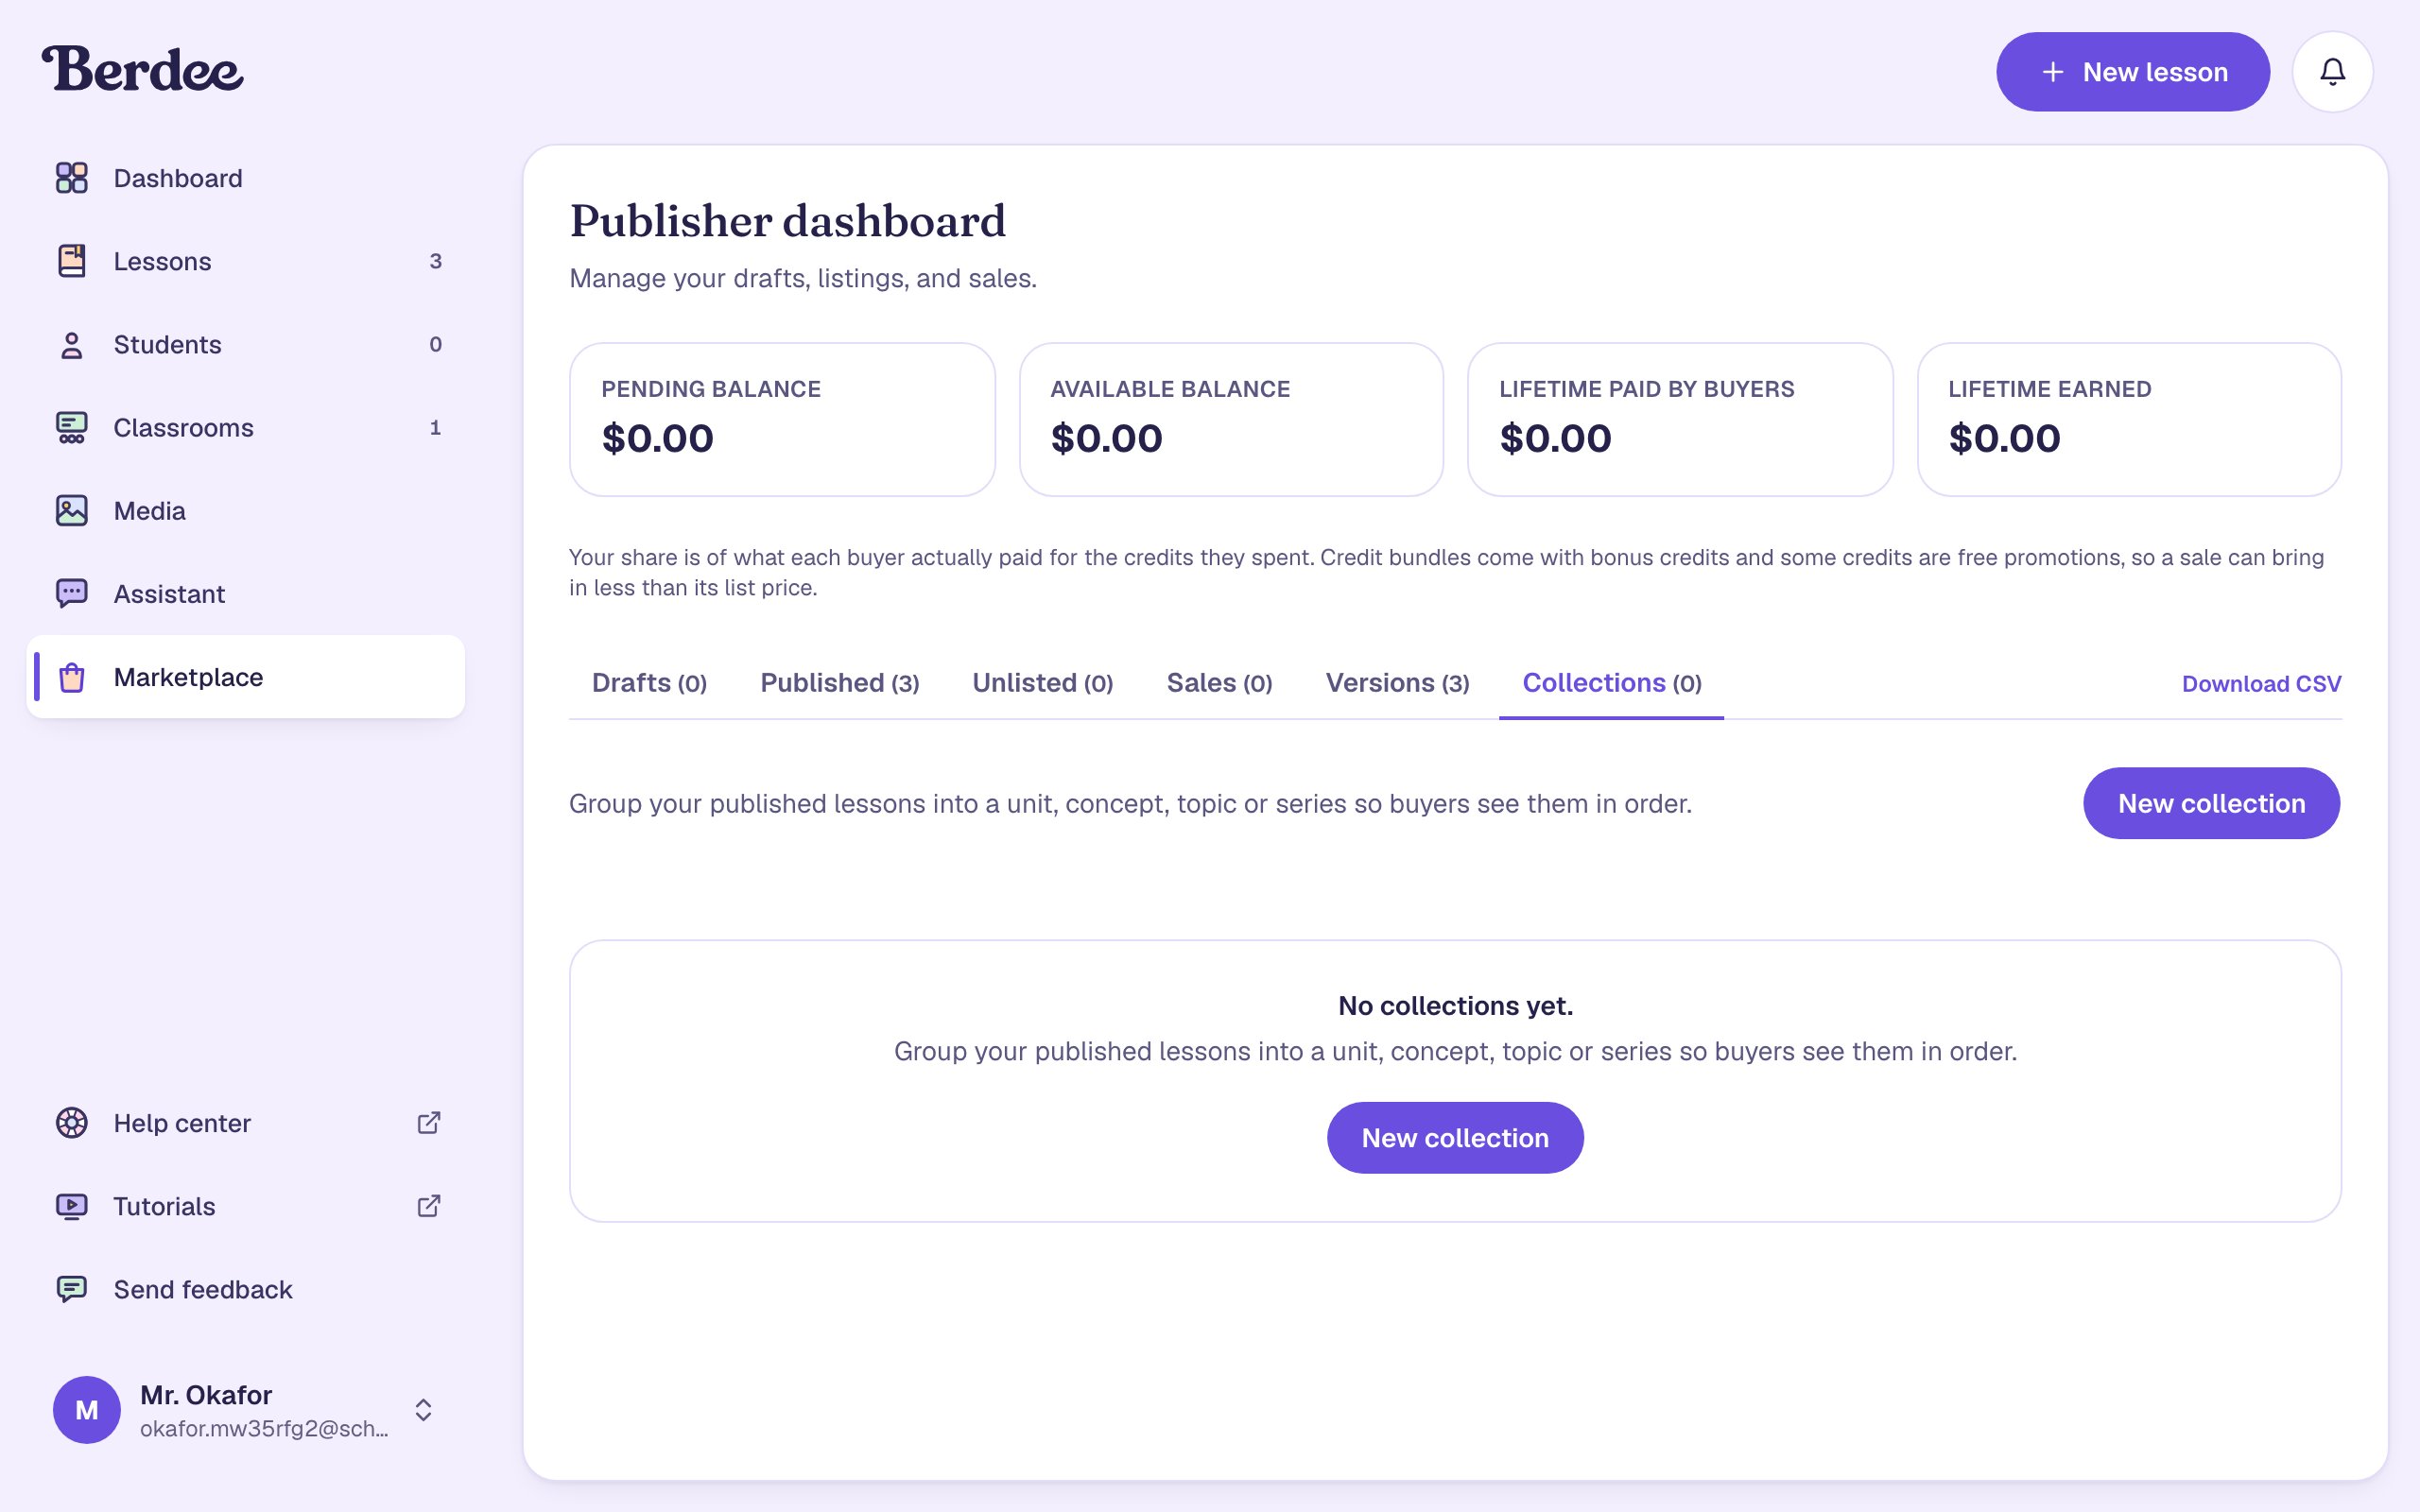
- Click Marketplace in the sidebar, then Publisher dashboard near the bottom of the page.
- Click the Collections tab.
Step 2: Make a unit and name it
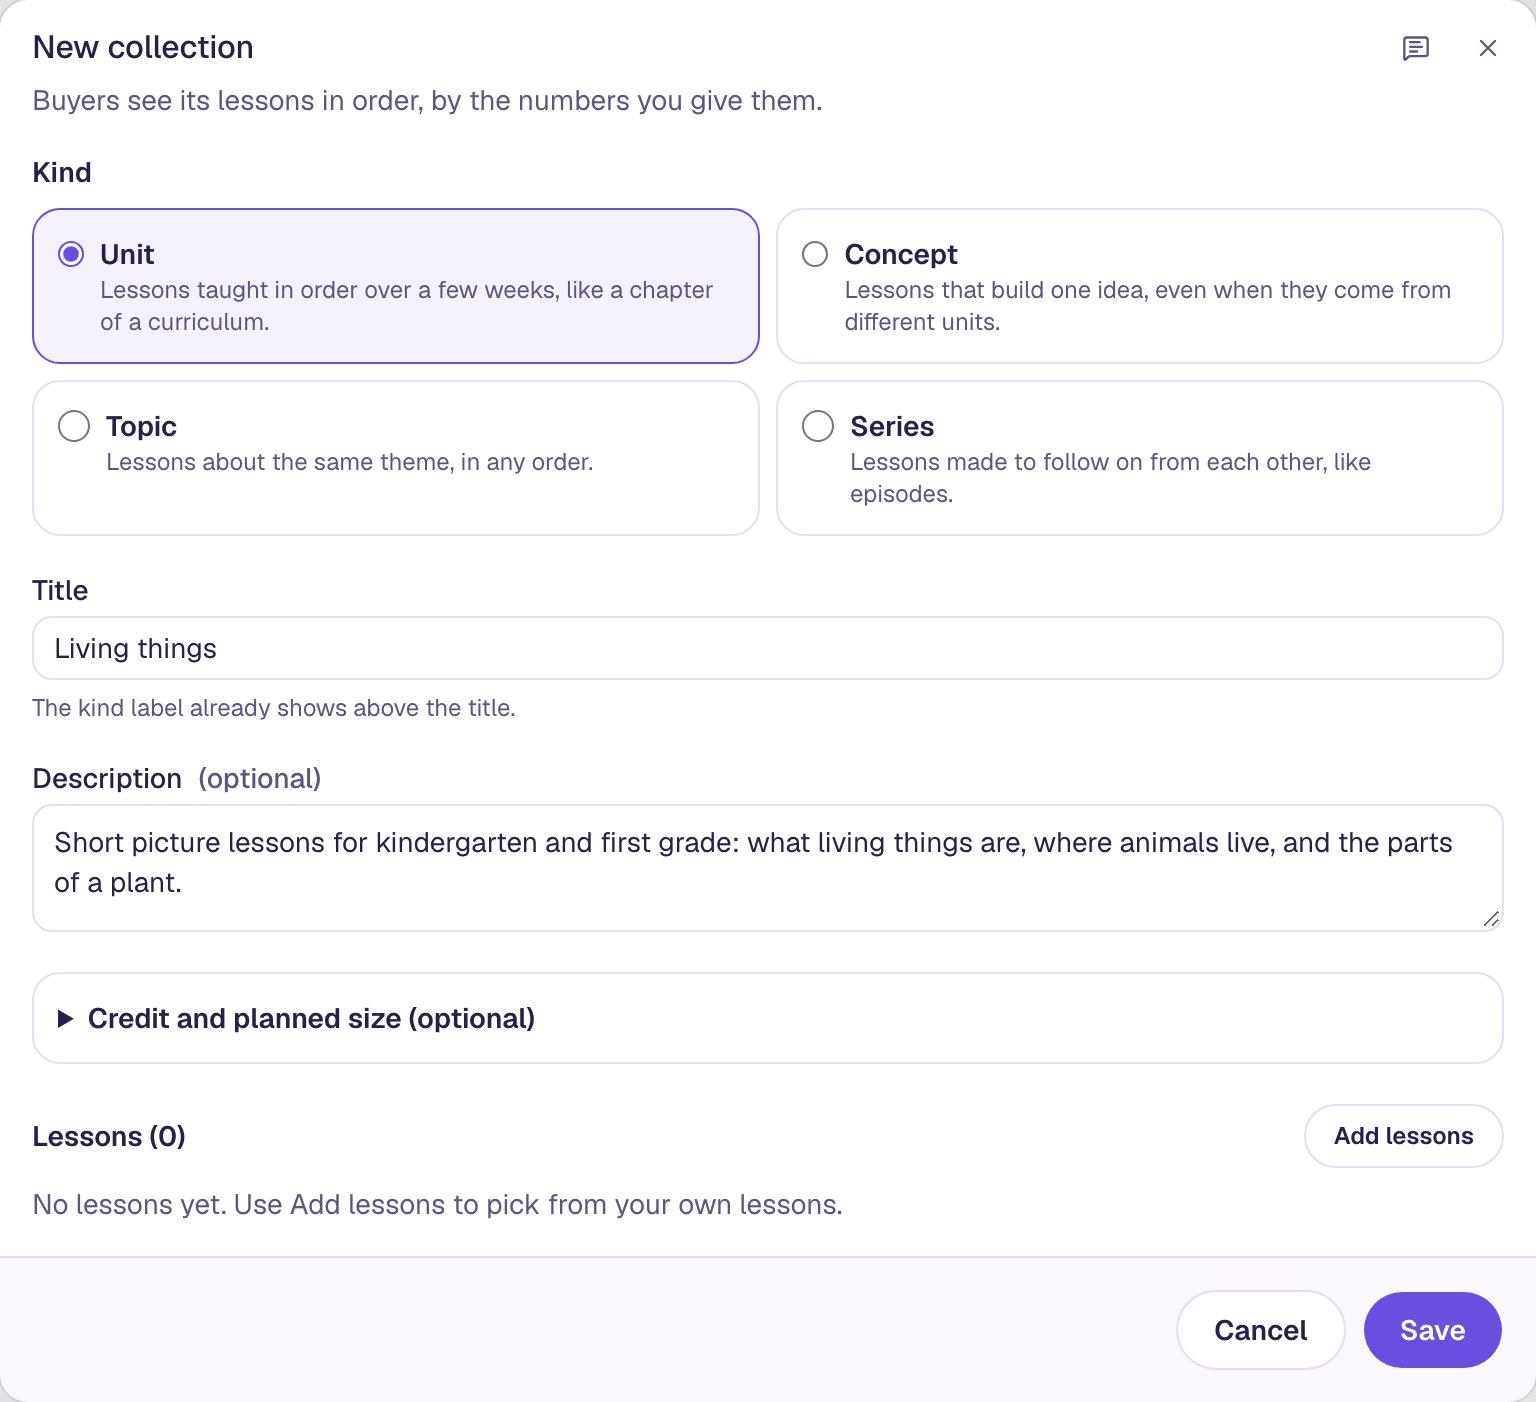
- Click New collection.
- Under Kind, choose Unit: lessons taught in order over a few weeks. The other kinds are Concept (lessons that build one idea), Topic (one theme, in any order) and Series (lessons that follow on like episodes).
- Under Title, type
Living things. Leave the word "unit" out: the page already shows Unit above the title. - Under Description, write for a teacher deciding whether the set fits their class:
Short picture lessons for kindergarten and first grade: what living things are, where animals live, and the parts of a plant.
Step 3: Add the lessons
- Click Add lessons. A list of your lessons opens, with a search box for when you have many.
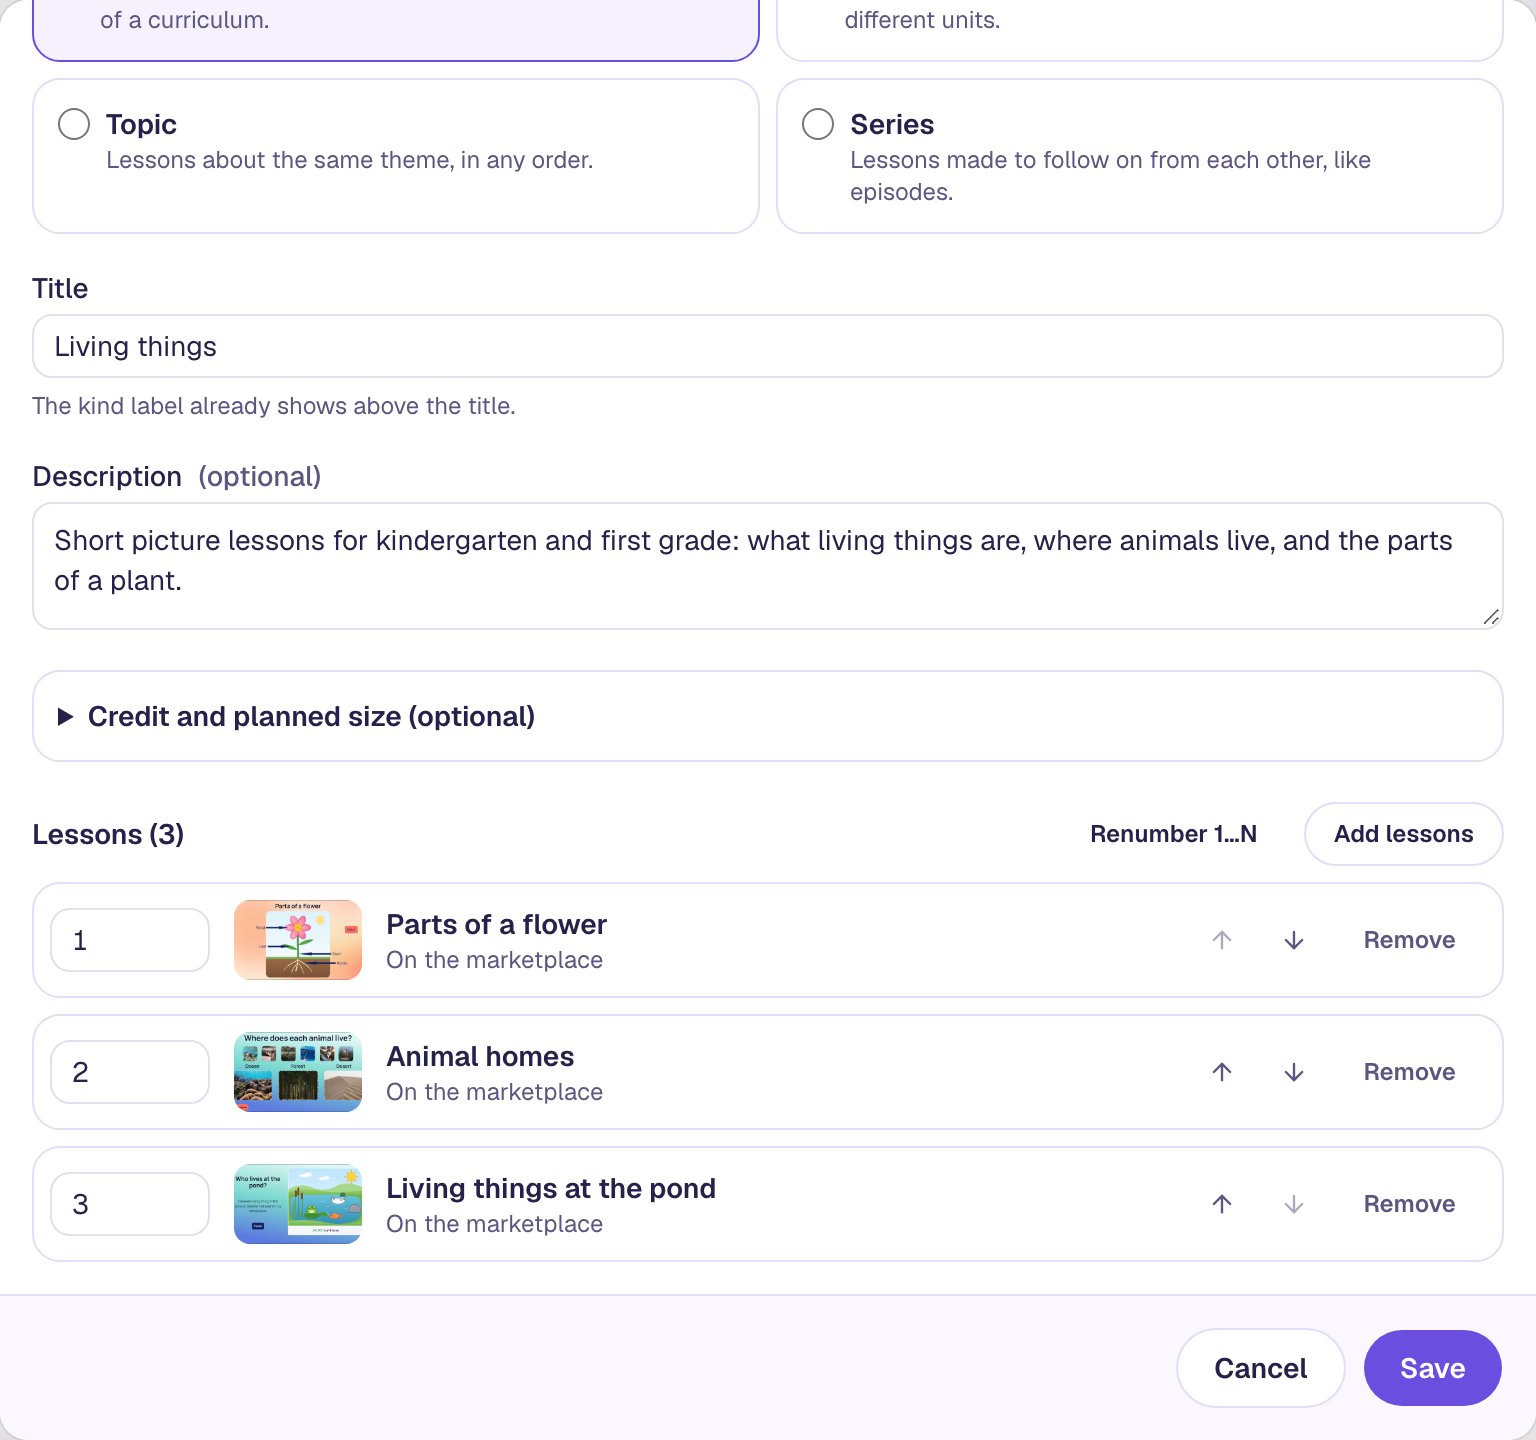
- Tick Parts of a flower, Animal homes and Living things at the pond.
- Click Add 3 lessons.
Each lesson gets the next number, in the order you added them, and shows whether it's on the marketplace.
Step 4: Put them in teaching order
The unit should open with what living things are, so the pond lesson goes first.
- Click the ↑ arrow on Living things at the pond twice.
Each click swaps it with the lesson above, and both lessons take each other's numbers.
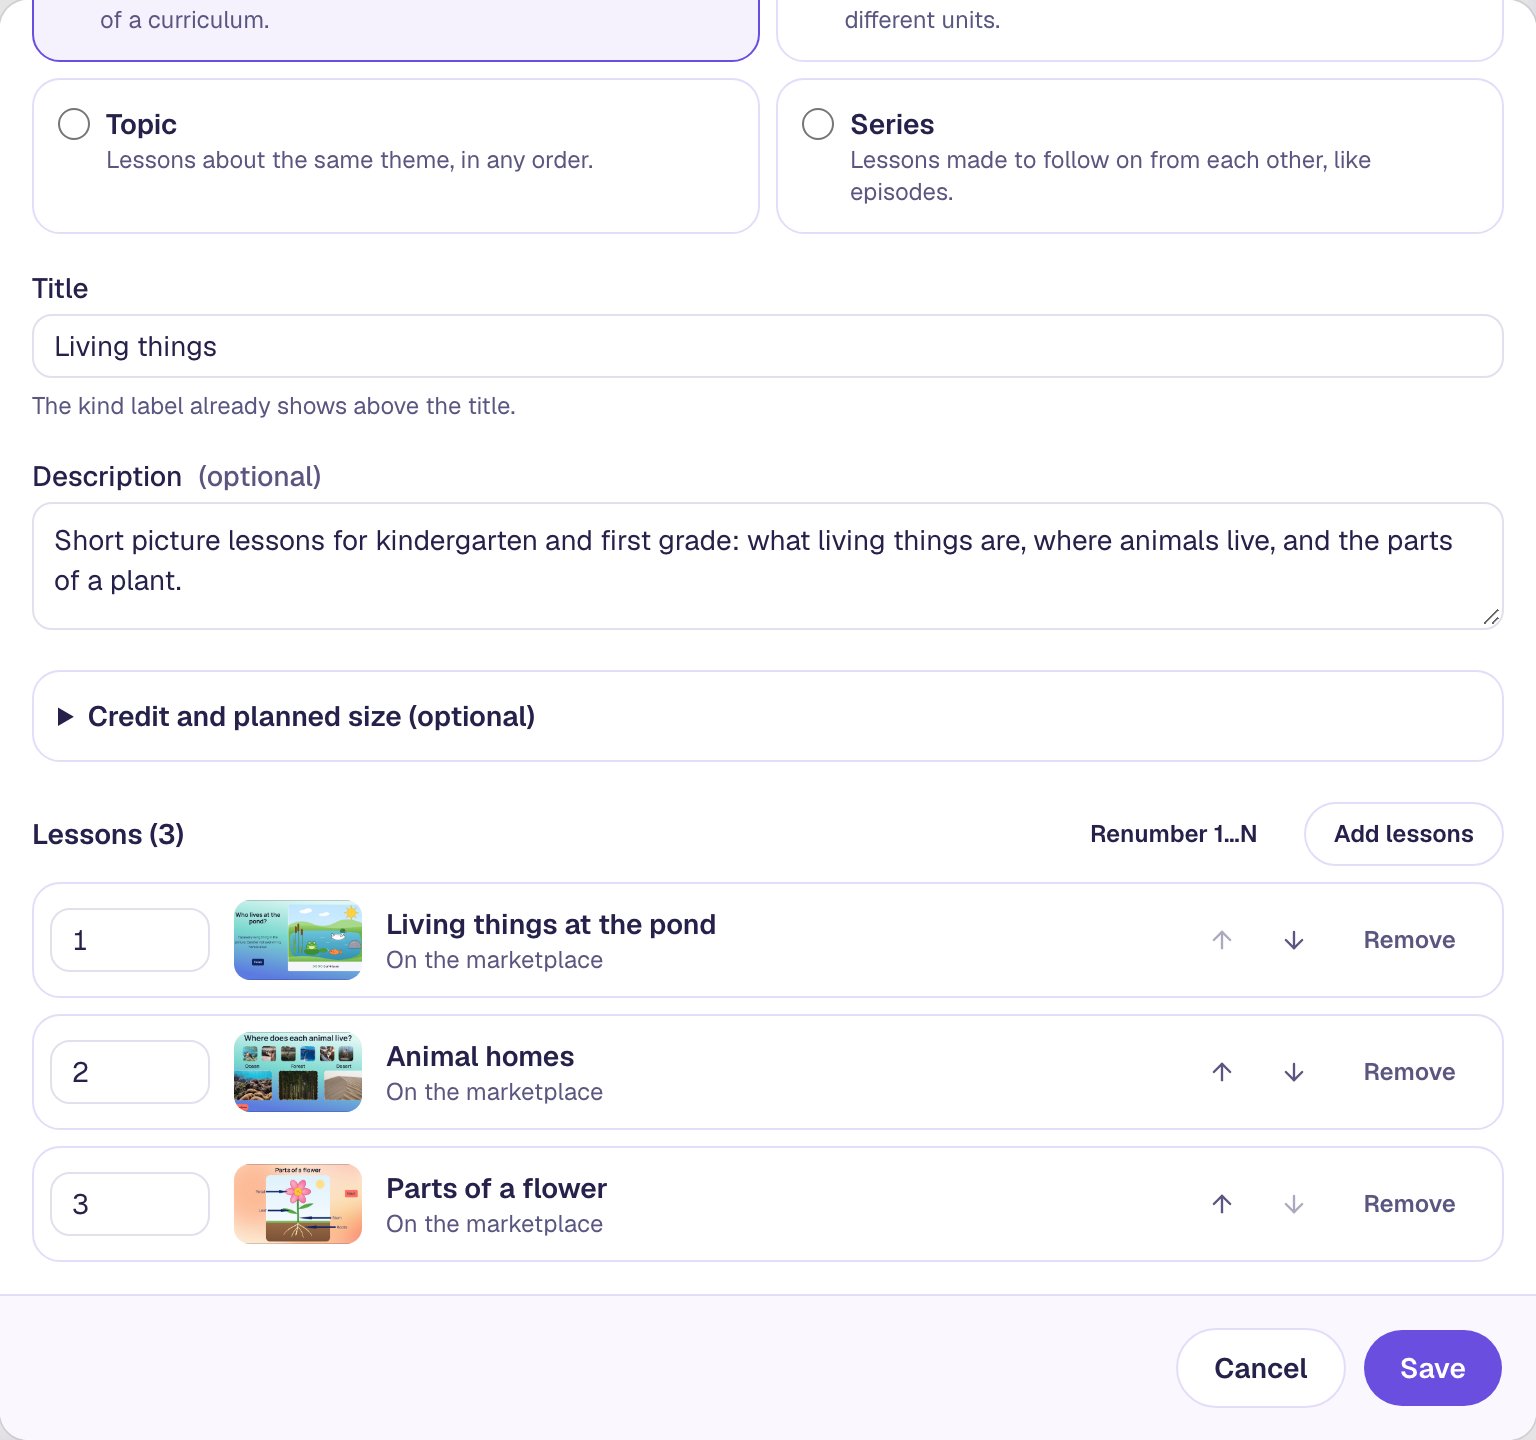
Numbers don't have to be consecutive. If you'll slot a lesson in between two later, type their numbers yourself (1, 2, 4) and the gap stays where you left it. Renumber 1…N closes every gap at once.
Step 5: Say how many lessons are coming
Mr. Okafor is still building a fourth lesson. Saying so tells teachers the unit isn't finished, instead of letting them think three lessons is all there is.
- Open Credit and planned size (optional).
- Under Planned number of lessons, type
4.
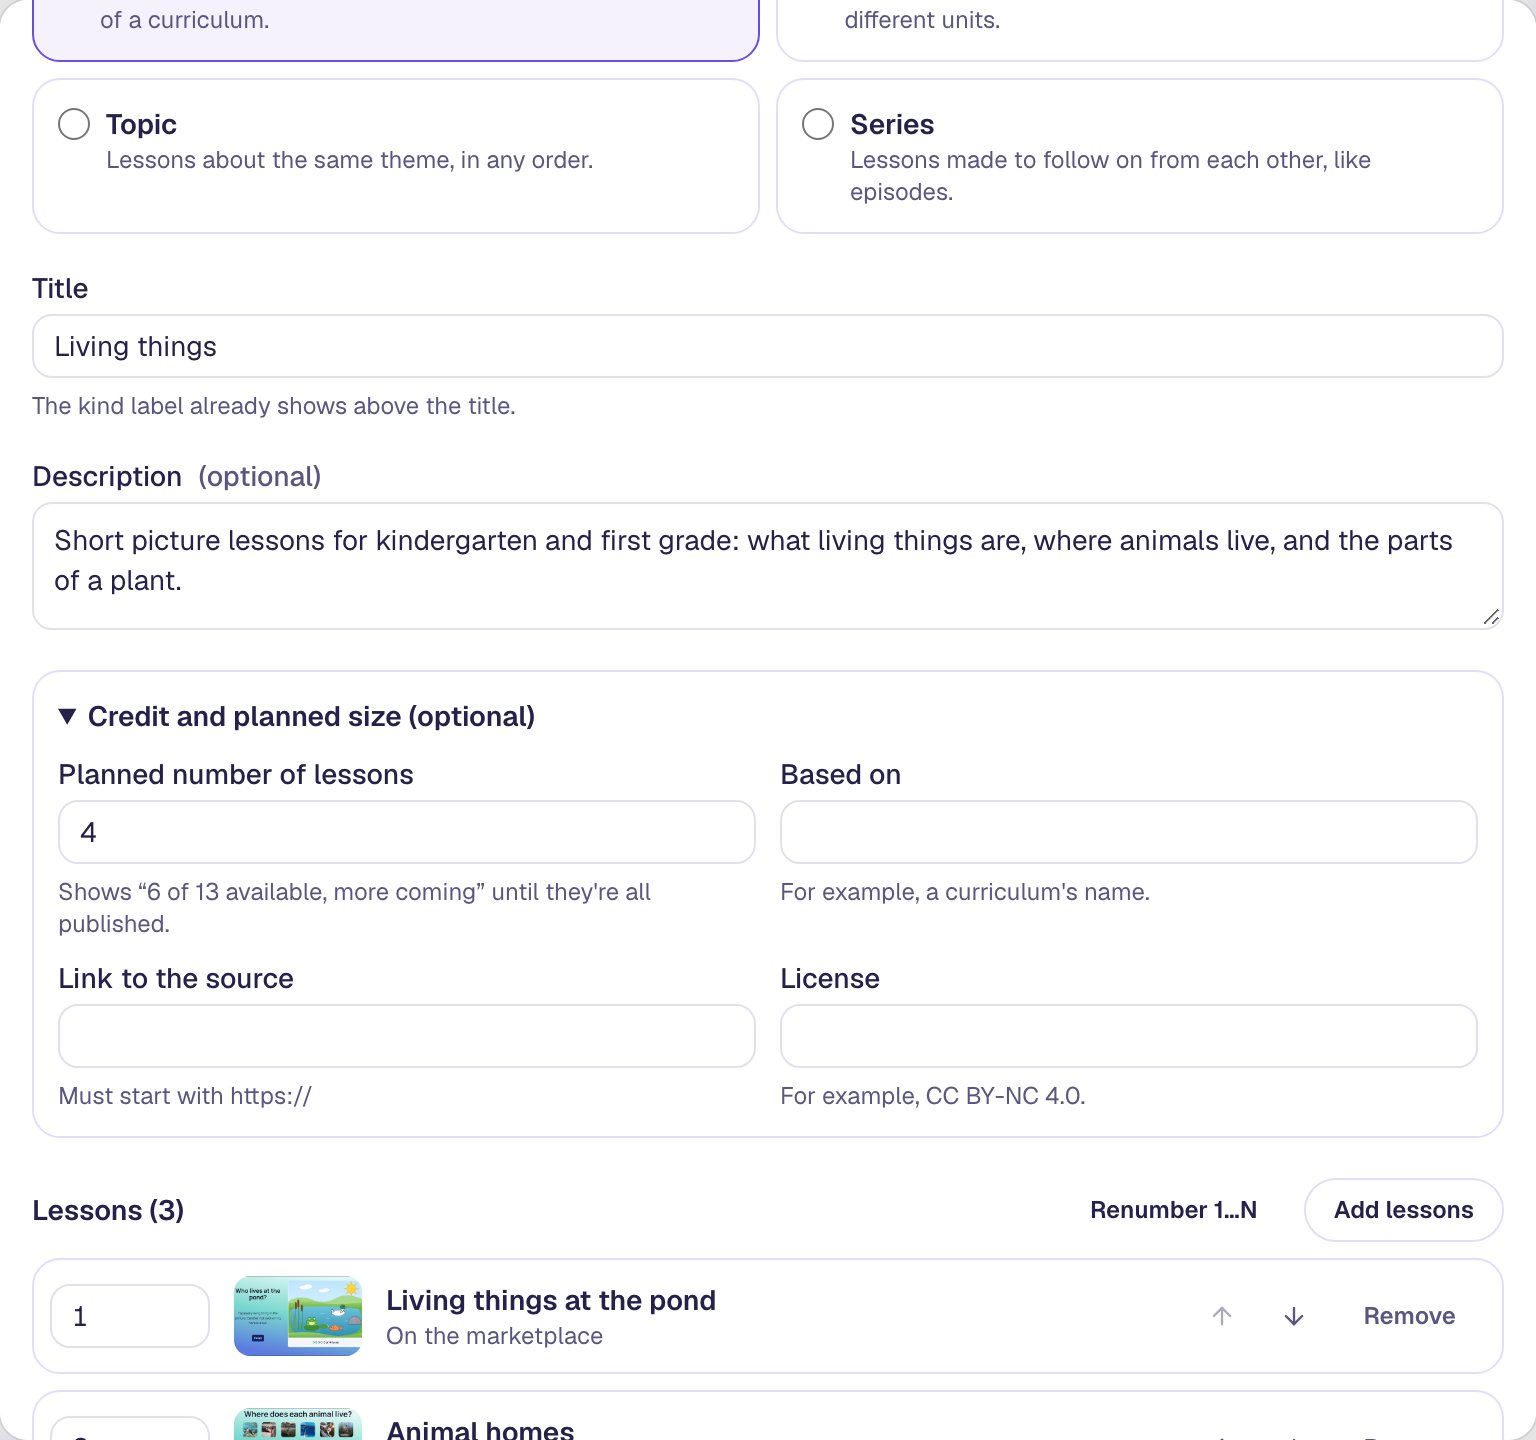
If your lessons follow someone else's curriculum, the same section credits it: its name under Based on, a link that starts with https://, and its license. The unit's page then shows "Based on …" with the link.
Step 6: Save and publish
- Click Save. The collection is saved as a draft only you can see, and Ready to publish · Publish now appears at the bottom of the window.
- Click Publish now.
The Collections tab lists the unit with 3 of 4 on the marketplace and the status On the marketplace.
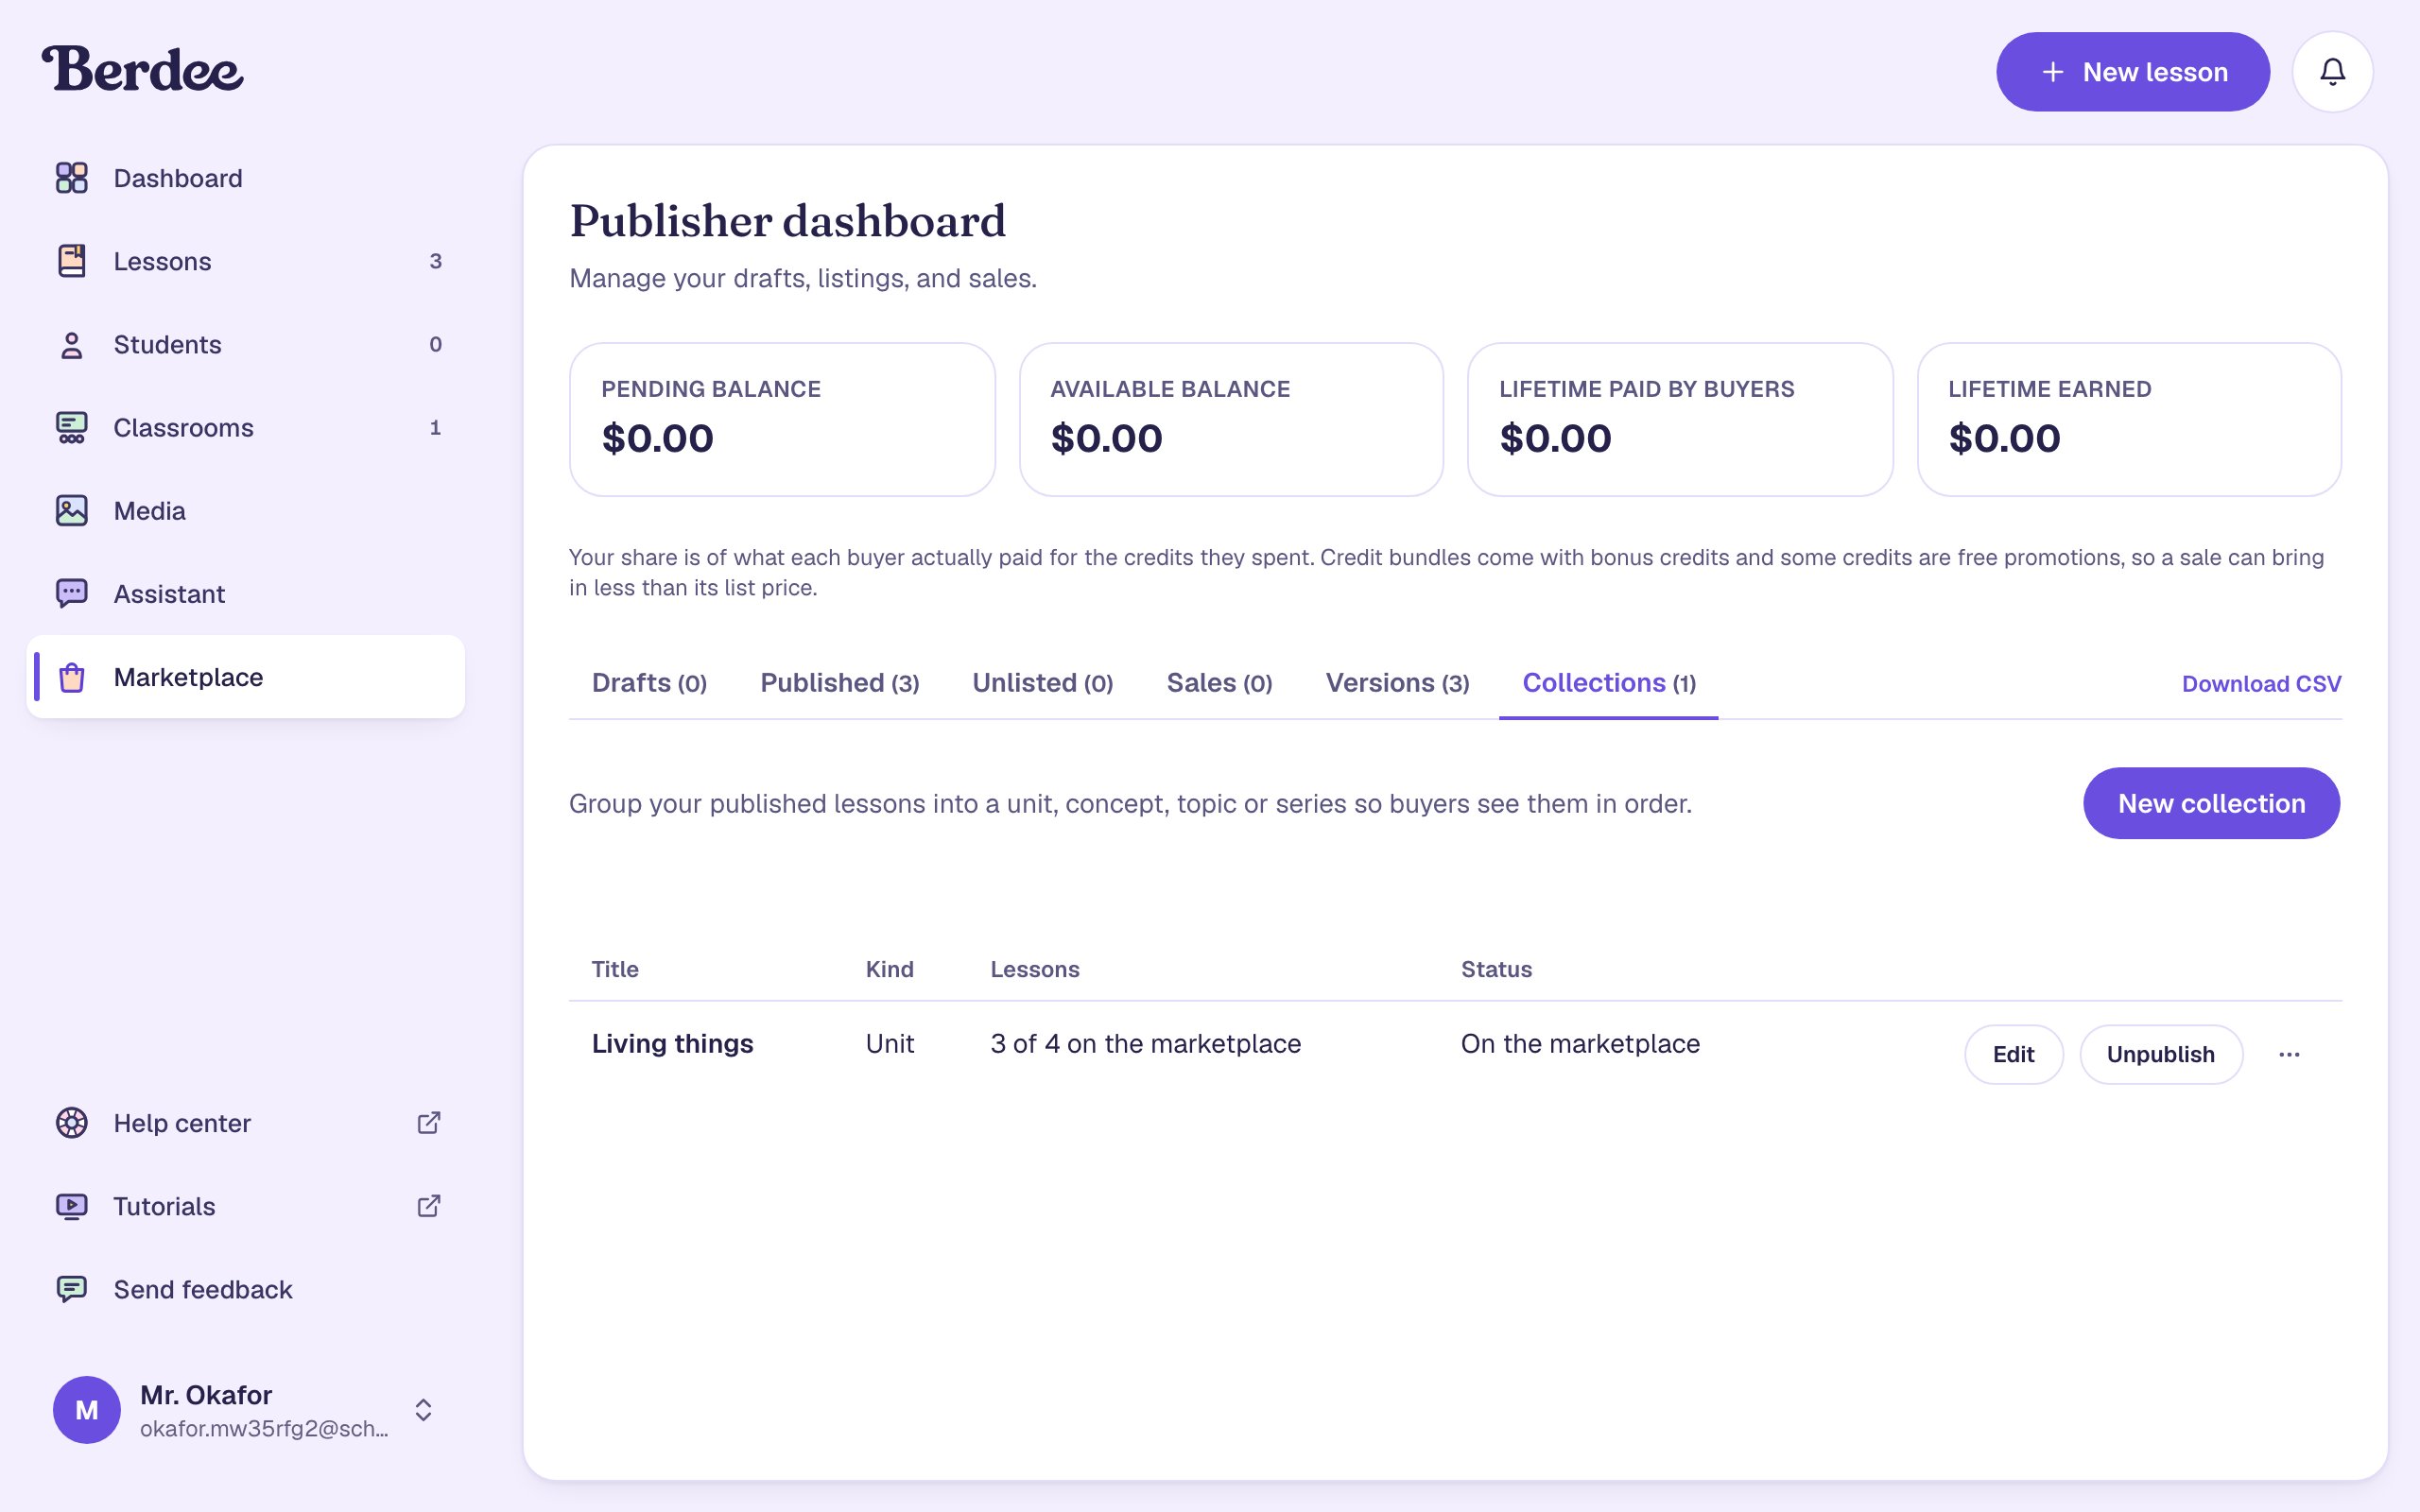
A collection needs at least one of its lessons on the marketplace before it can be published. Lessons still in draft stay hidden from teachers, so you can publish a unit with its first lessons and add the rest as you finish them.
Step 7: See the unit the way teachers do
- Click ⋯ on the unit's row, then View page.
The page shows Unit above the title, your publisher name, 3 of 4 lessons available, more coming, the grades and subjects the lessons share, and your description. Only you see the Your collection buttons and the Every lesson in this collection box, which lists every lesson with its status.
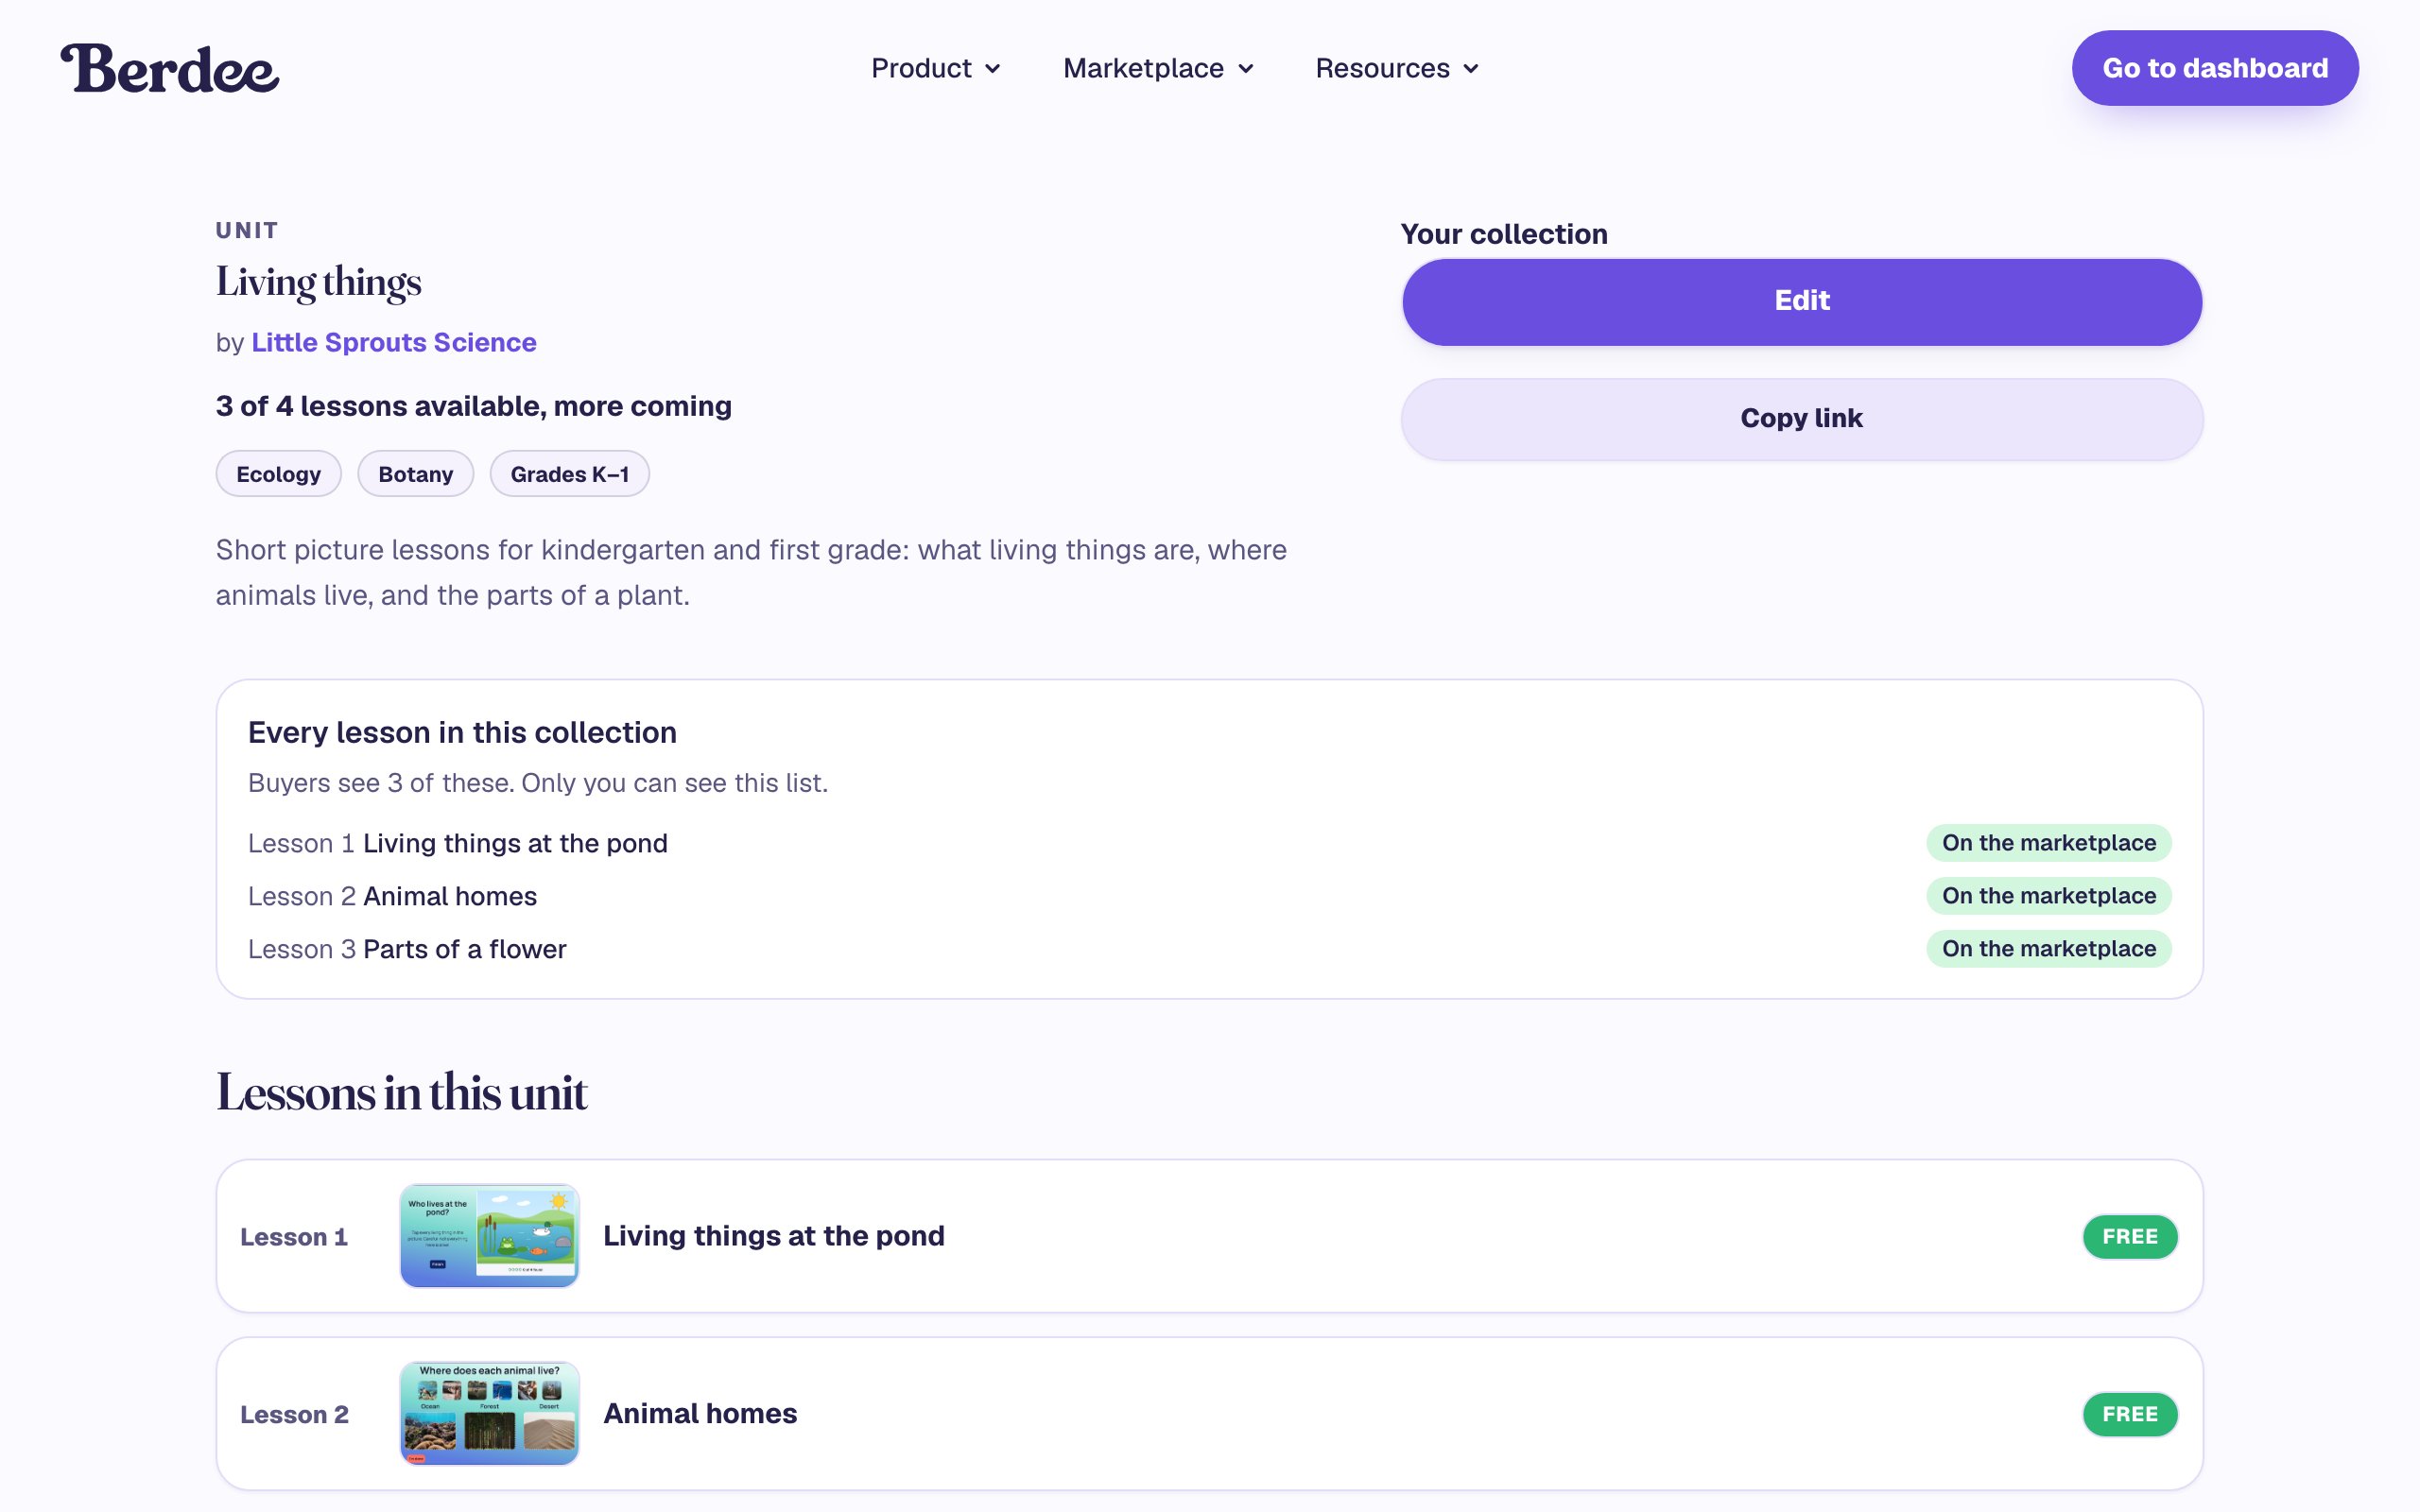
Under Lessons in this unit, each lesson links to its own listing, and the lesson you haven't published yet shows as Lesson 4 · Coming soon.
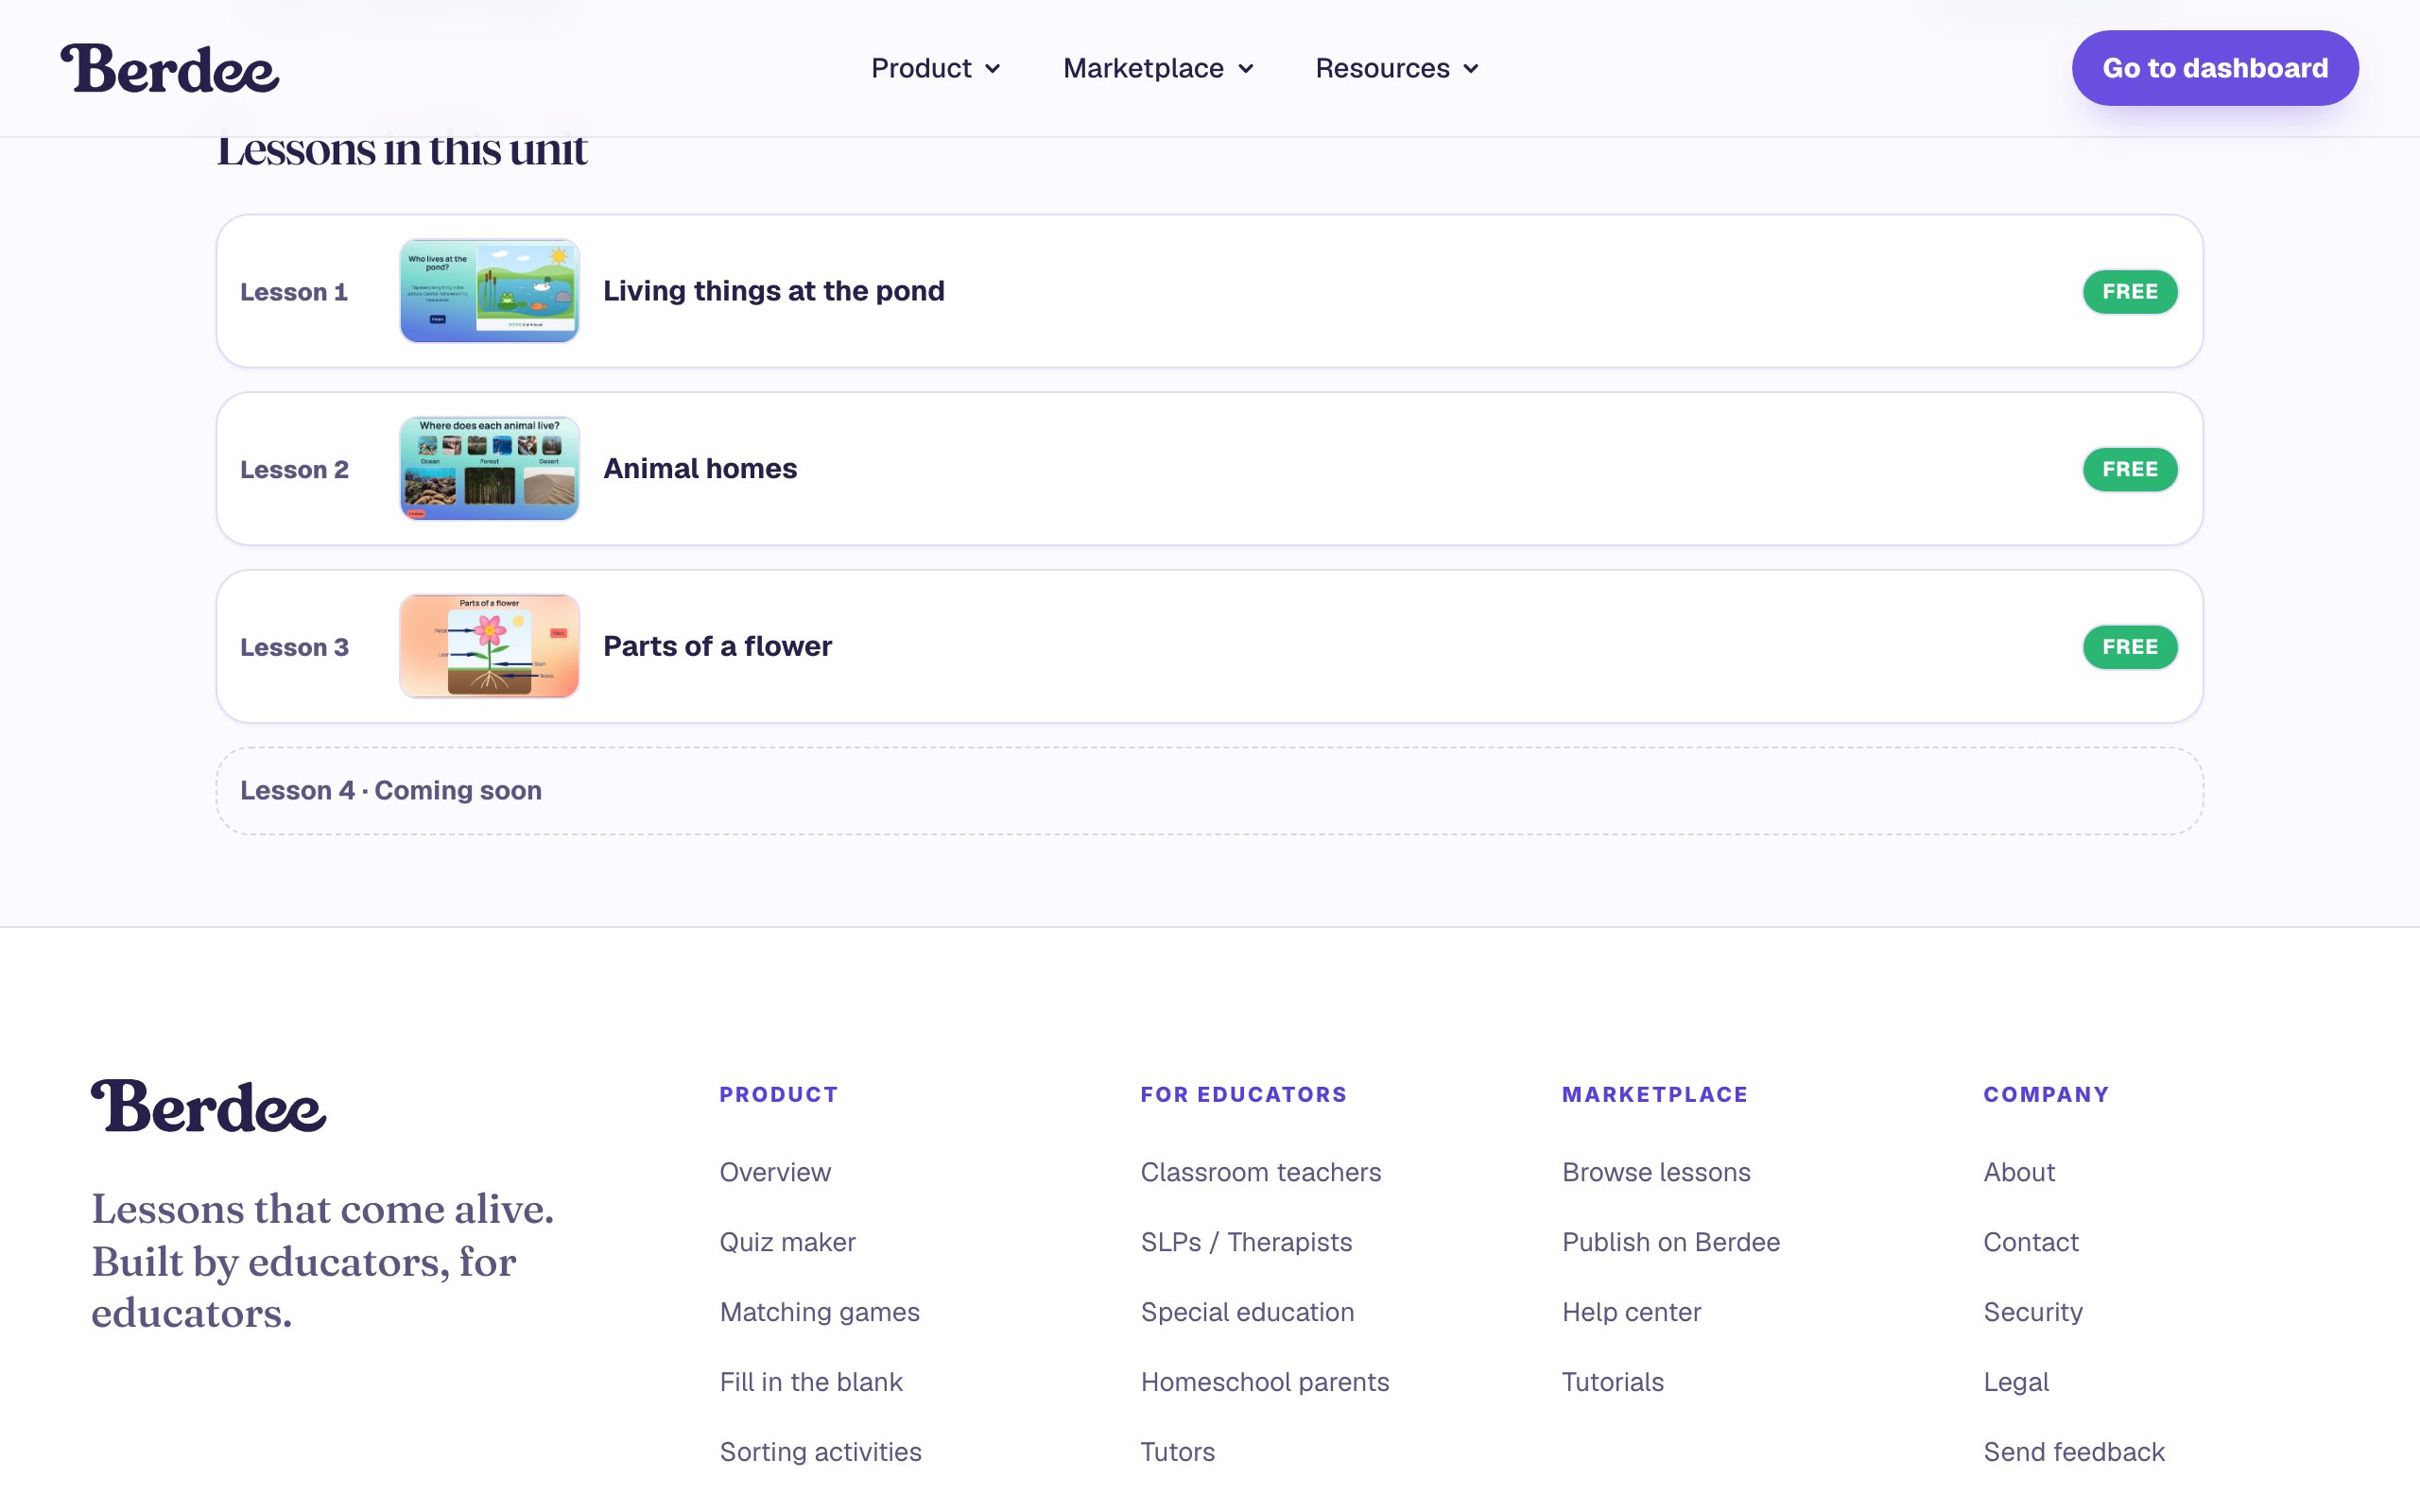
Because every lesson in the unit is free, a teacher can add all three to their account at once with Get all 3 free lessons, instead of opening each listing.
Step 8: Check a lesson's listing
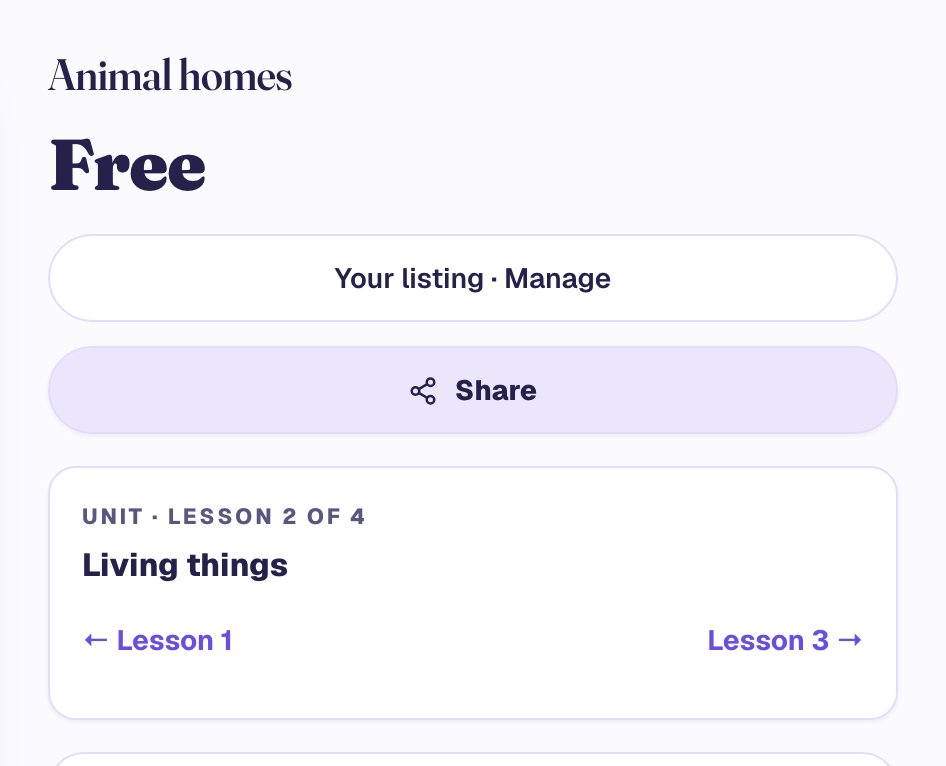
Open any of the lessons' listings, such as Animal homes. Next to the price there's now a card naming the unit and the lesson's place in it, with links to the lessons before and after.
What you built
A unit teachers can take in as one set:
- Living things is a published Unit with a description, made from three lessons already on the marketplace.
- Its lessons are numbered in teaching order, and a planned size of 4 tells teachers a fourth is on the way.
- The unit's page lists the lessons in order and lets a teacher get every free one in a click.
- Each lesson's listing shows Unit · Lesson N of 4 with links to its neighbours.
The Add this lesson card gives you the unit's first lesson, Living things at the pond. To see how it was built, follow Find every living thing in a pond picture.
Make this lesson yours
Add the lesson you just watched being built to your account, then change it for your class: your questions, your pictures, your colors.
Free to sign up, and you'll come straight back here. I have an account