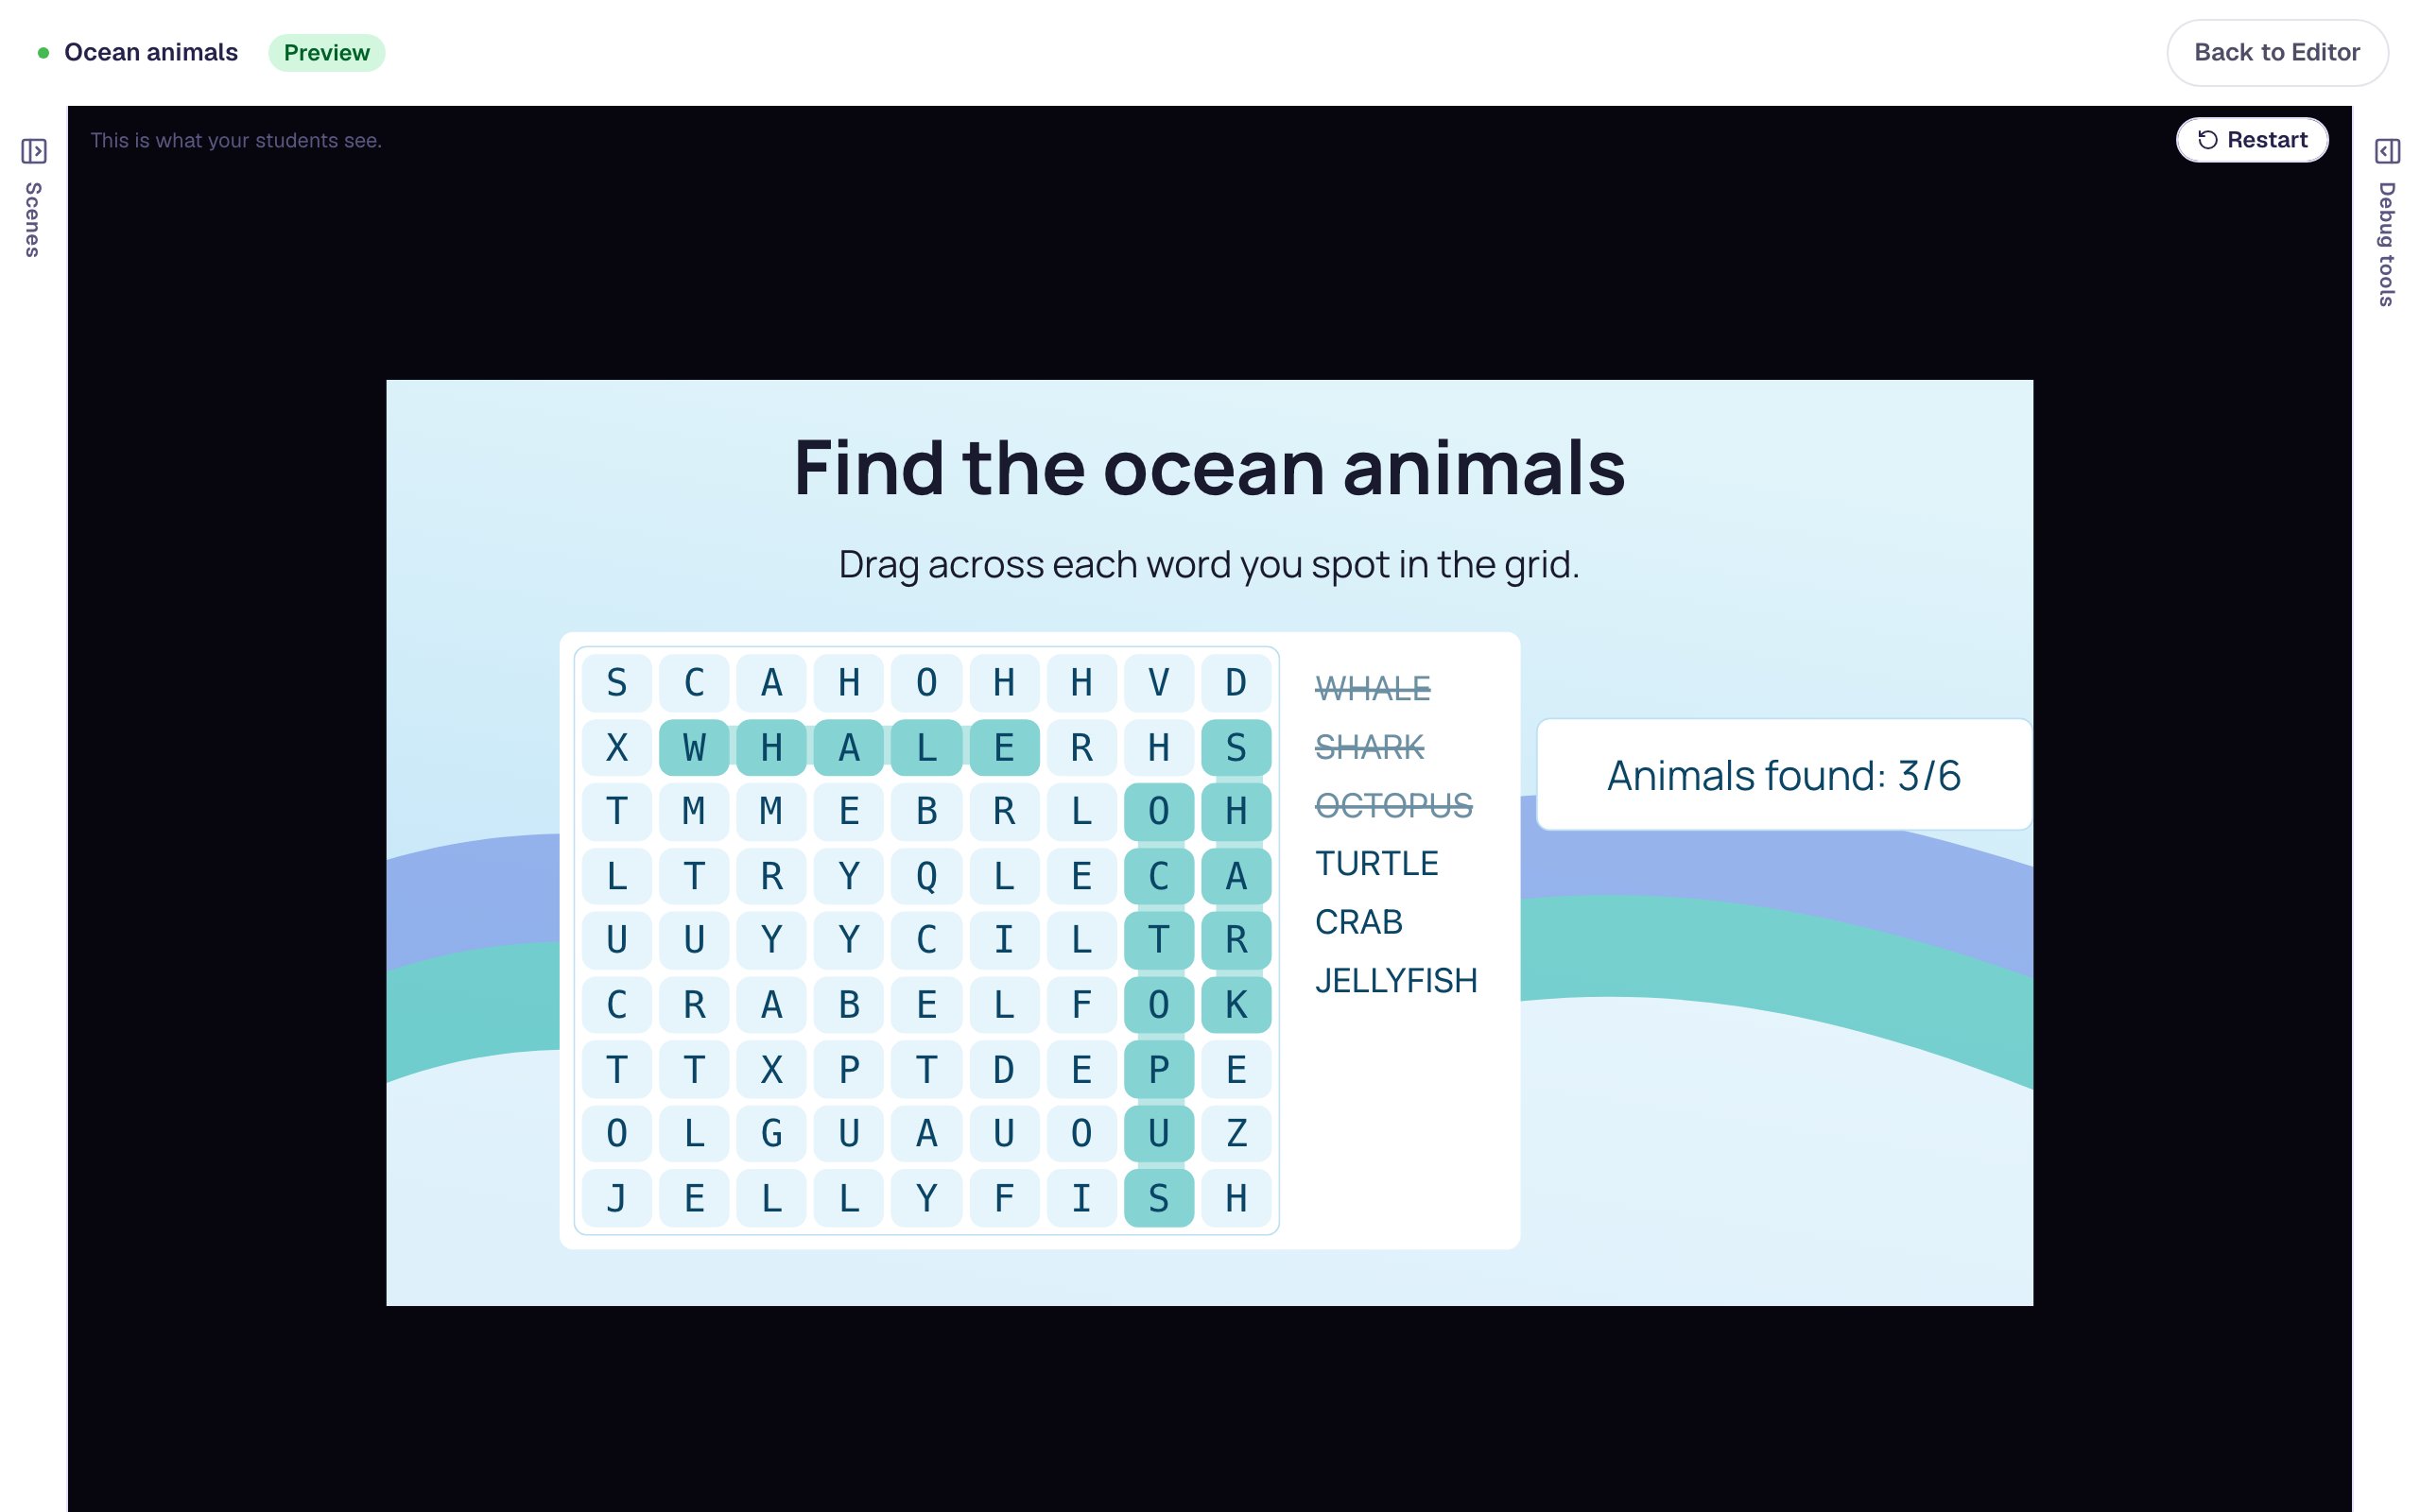
Ask students to highlight the evidence in a passage
Build a close-reading question with the Highlighter. Students read a short passage about honeybees, highlight the words that answer the question, and press Check to see which highlights were right.
- Level
- Beginner
- Time
- About 12 min
- Steps
- 9
A "How do bees give directions?" scene where students highlight two clues in a passage, check their work, see right highlights turn green and stray ones crossed out, and earn part of the points for part of the answer.
Get the finished lesson
Skip straight to the result, or keep it open beside the steps. Add this tutorial's lesson to your account and explore how it works in the studio.
Free to sign up, and you'll come straight back here. I have an account
"Find it in the text" is one of the most useful things a reader can practise. Instead of asking students to retell a passage, you ask them to point at the exact words that answer a question.
In this tutorial you'll build that with the Highlighter (the Text Highlight widget). Students read a short passage about the honeybee's waggle dance and highlight the two things the dance tells other bees. When they press Check my highlights, every right highlight turns green and every stray word is crossed out, so they can see exactly what they found and what they missed.
Step 1: Set the scene
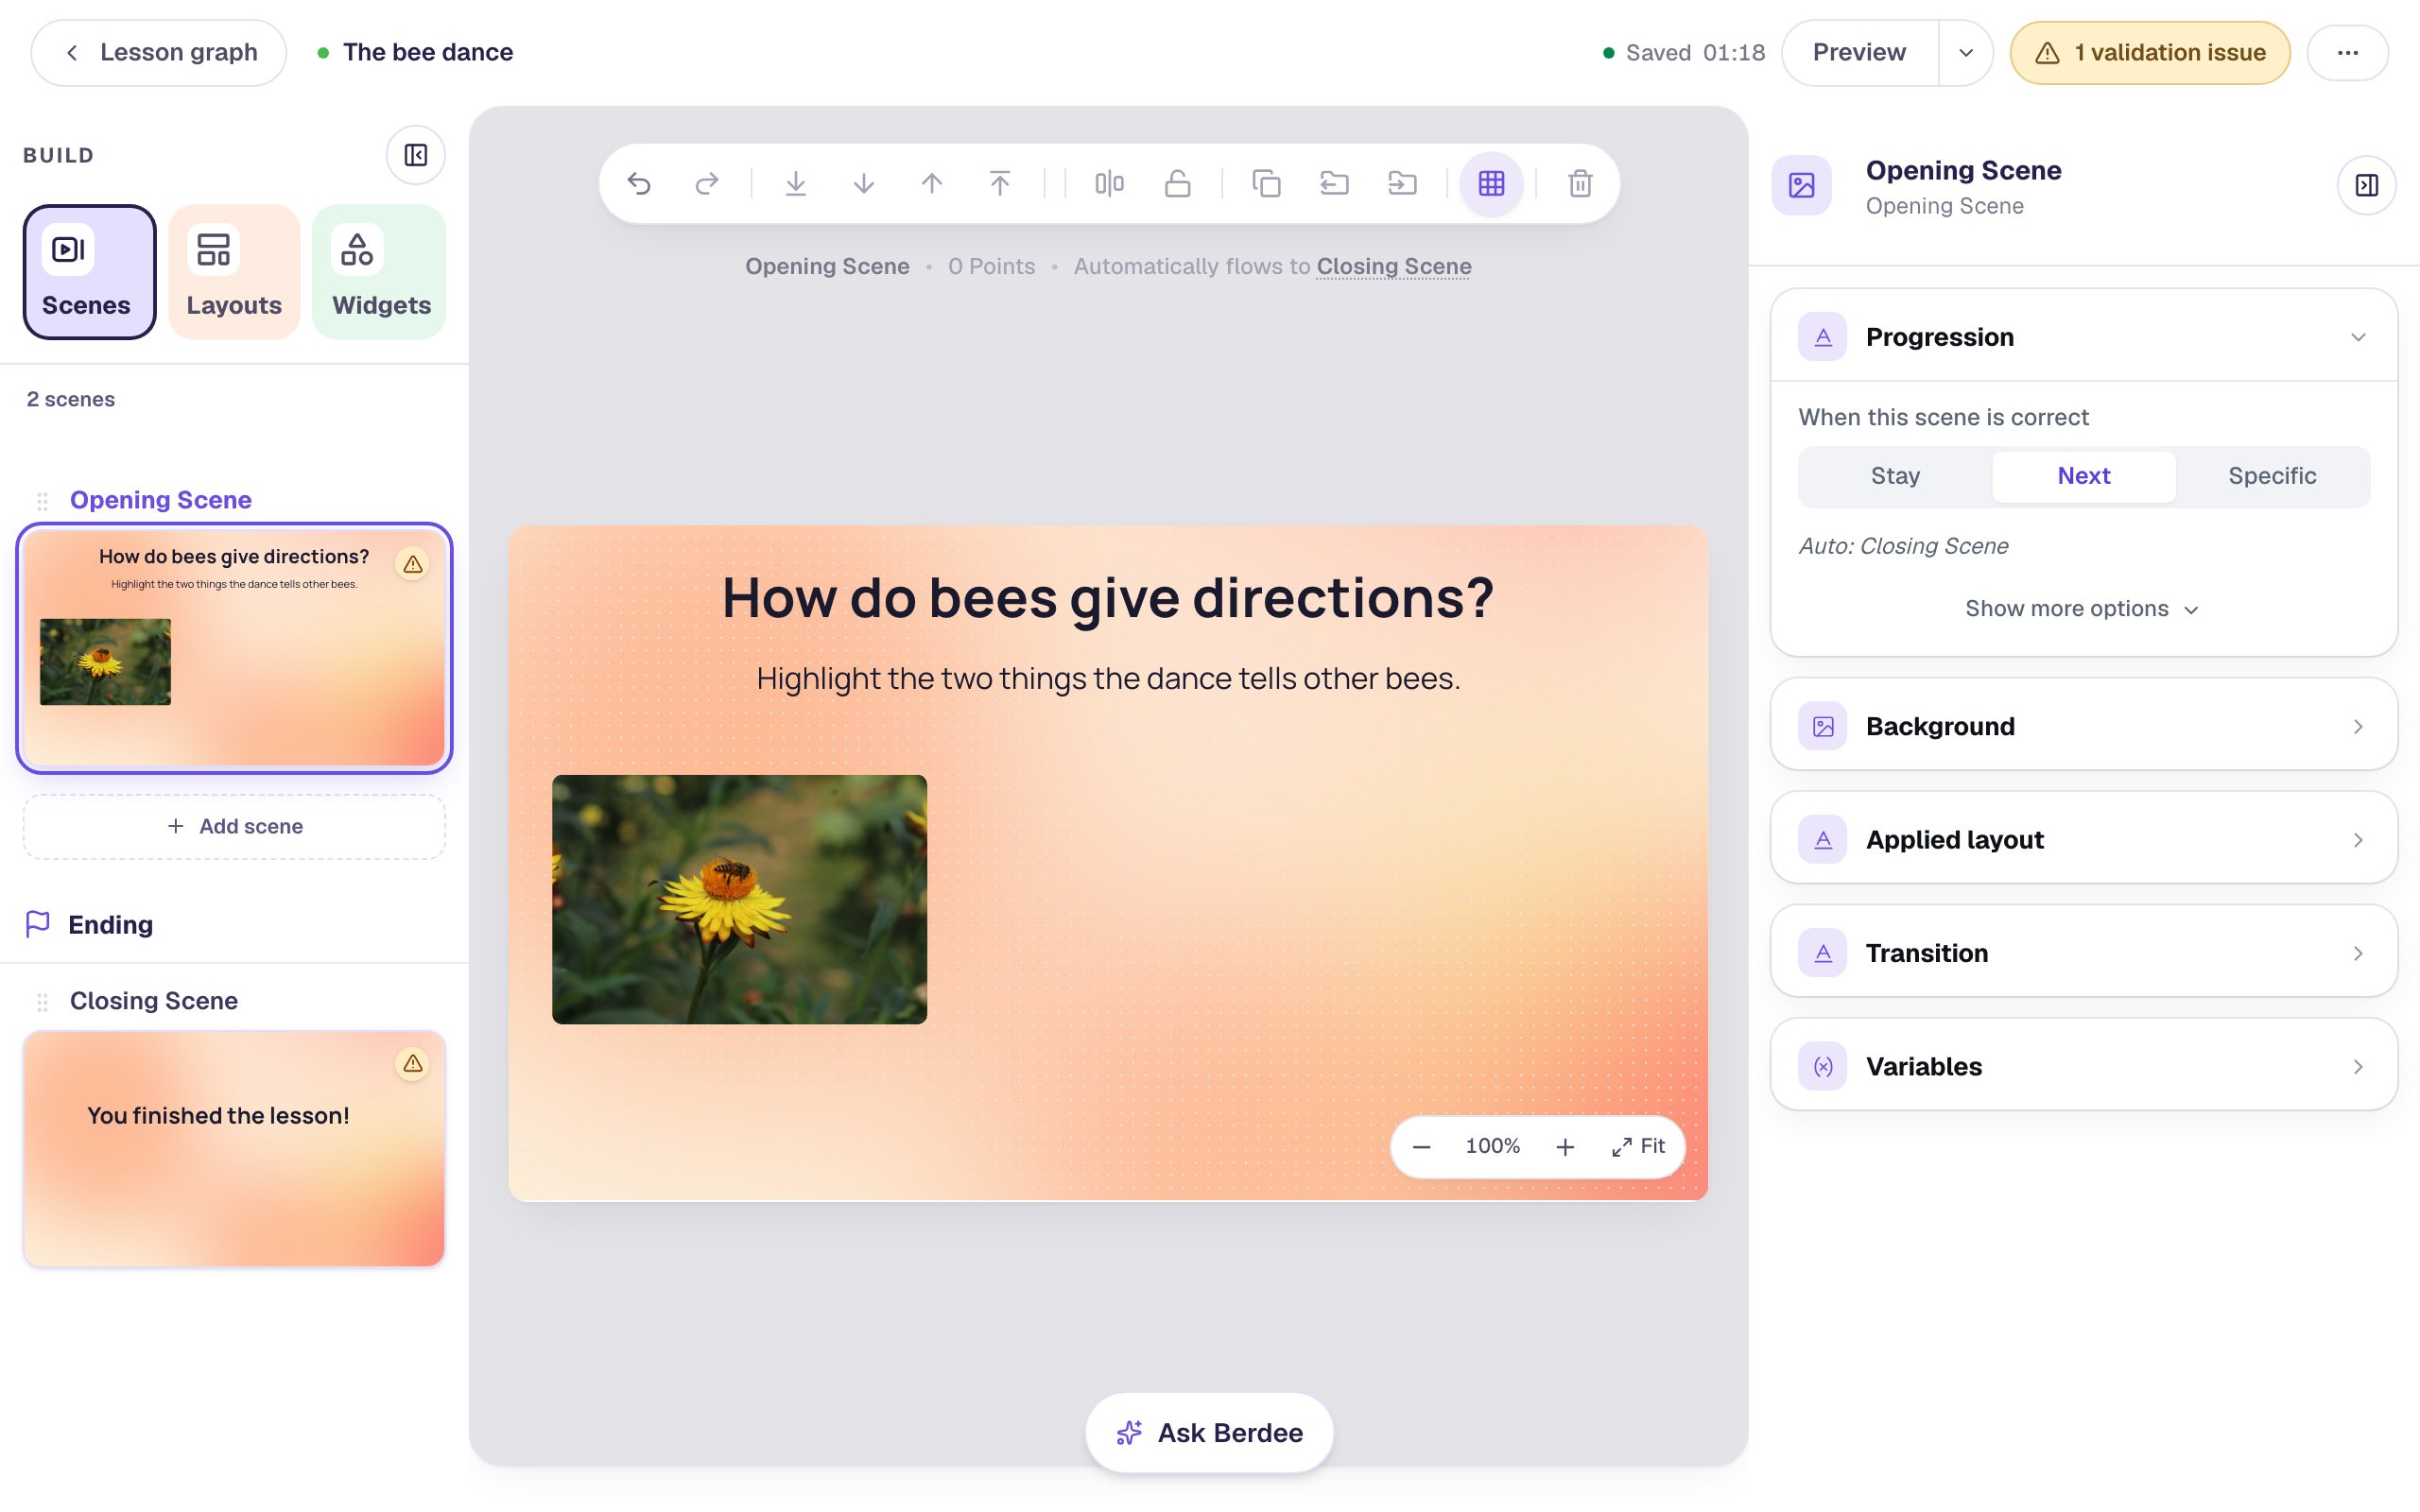
Start a blank lesson (New lesson, then Start from scratch) and name it The bee dance by clicking Untitled lesson at the top.
Give the scene a warm background first. With nothing selected, open Background, click Choose a style, and pick Mesh sunrise under Gradients. Do the same for the Closing Scene, so the ending matches.
Then add the words and a picture:
- A Heading:
How do bees give directions? - A Body text under it, with the task:
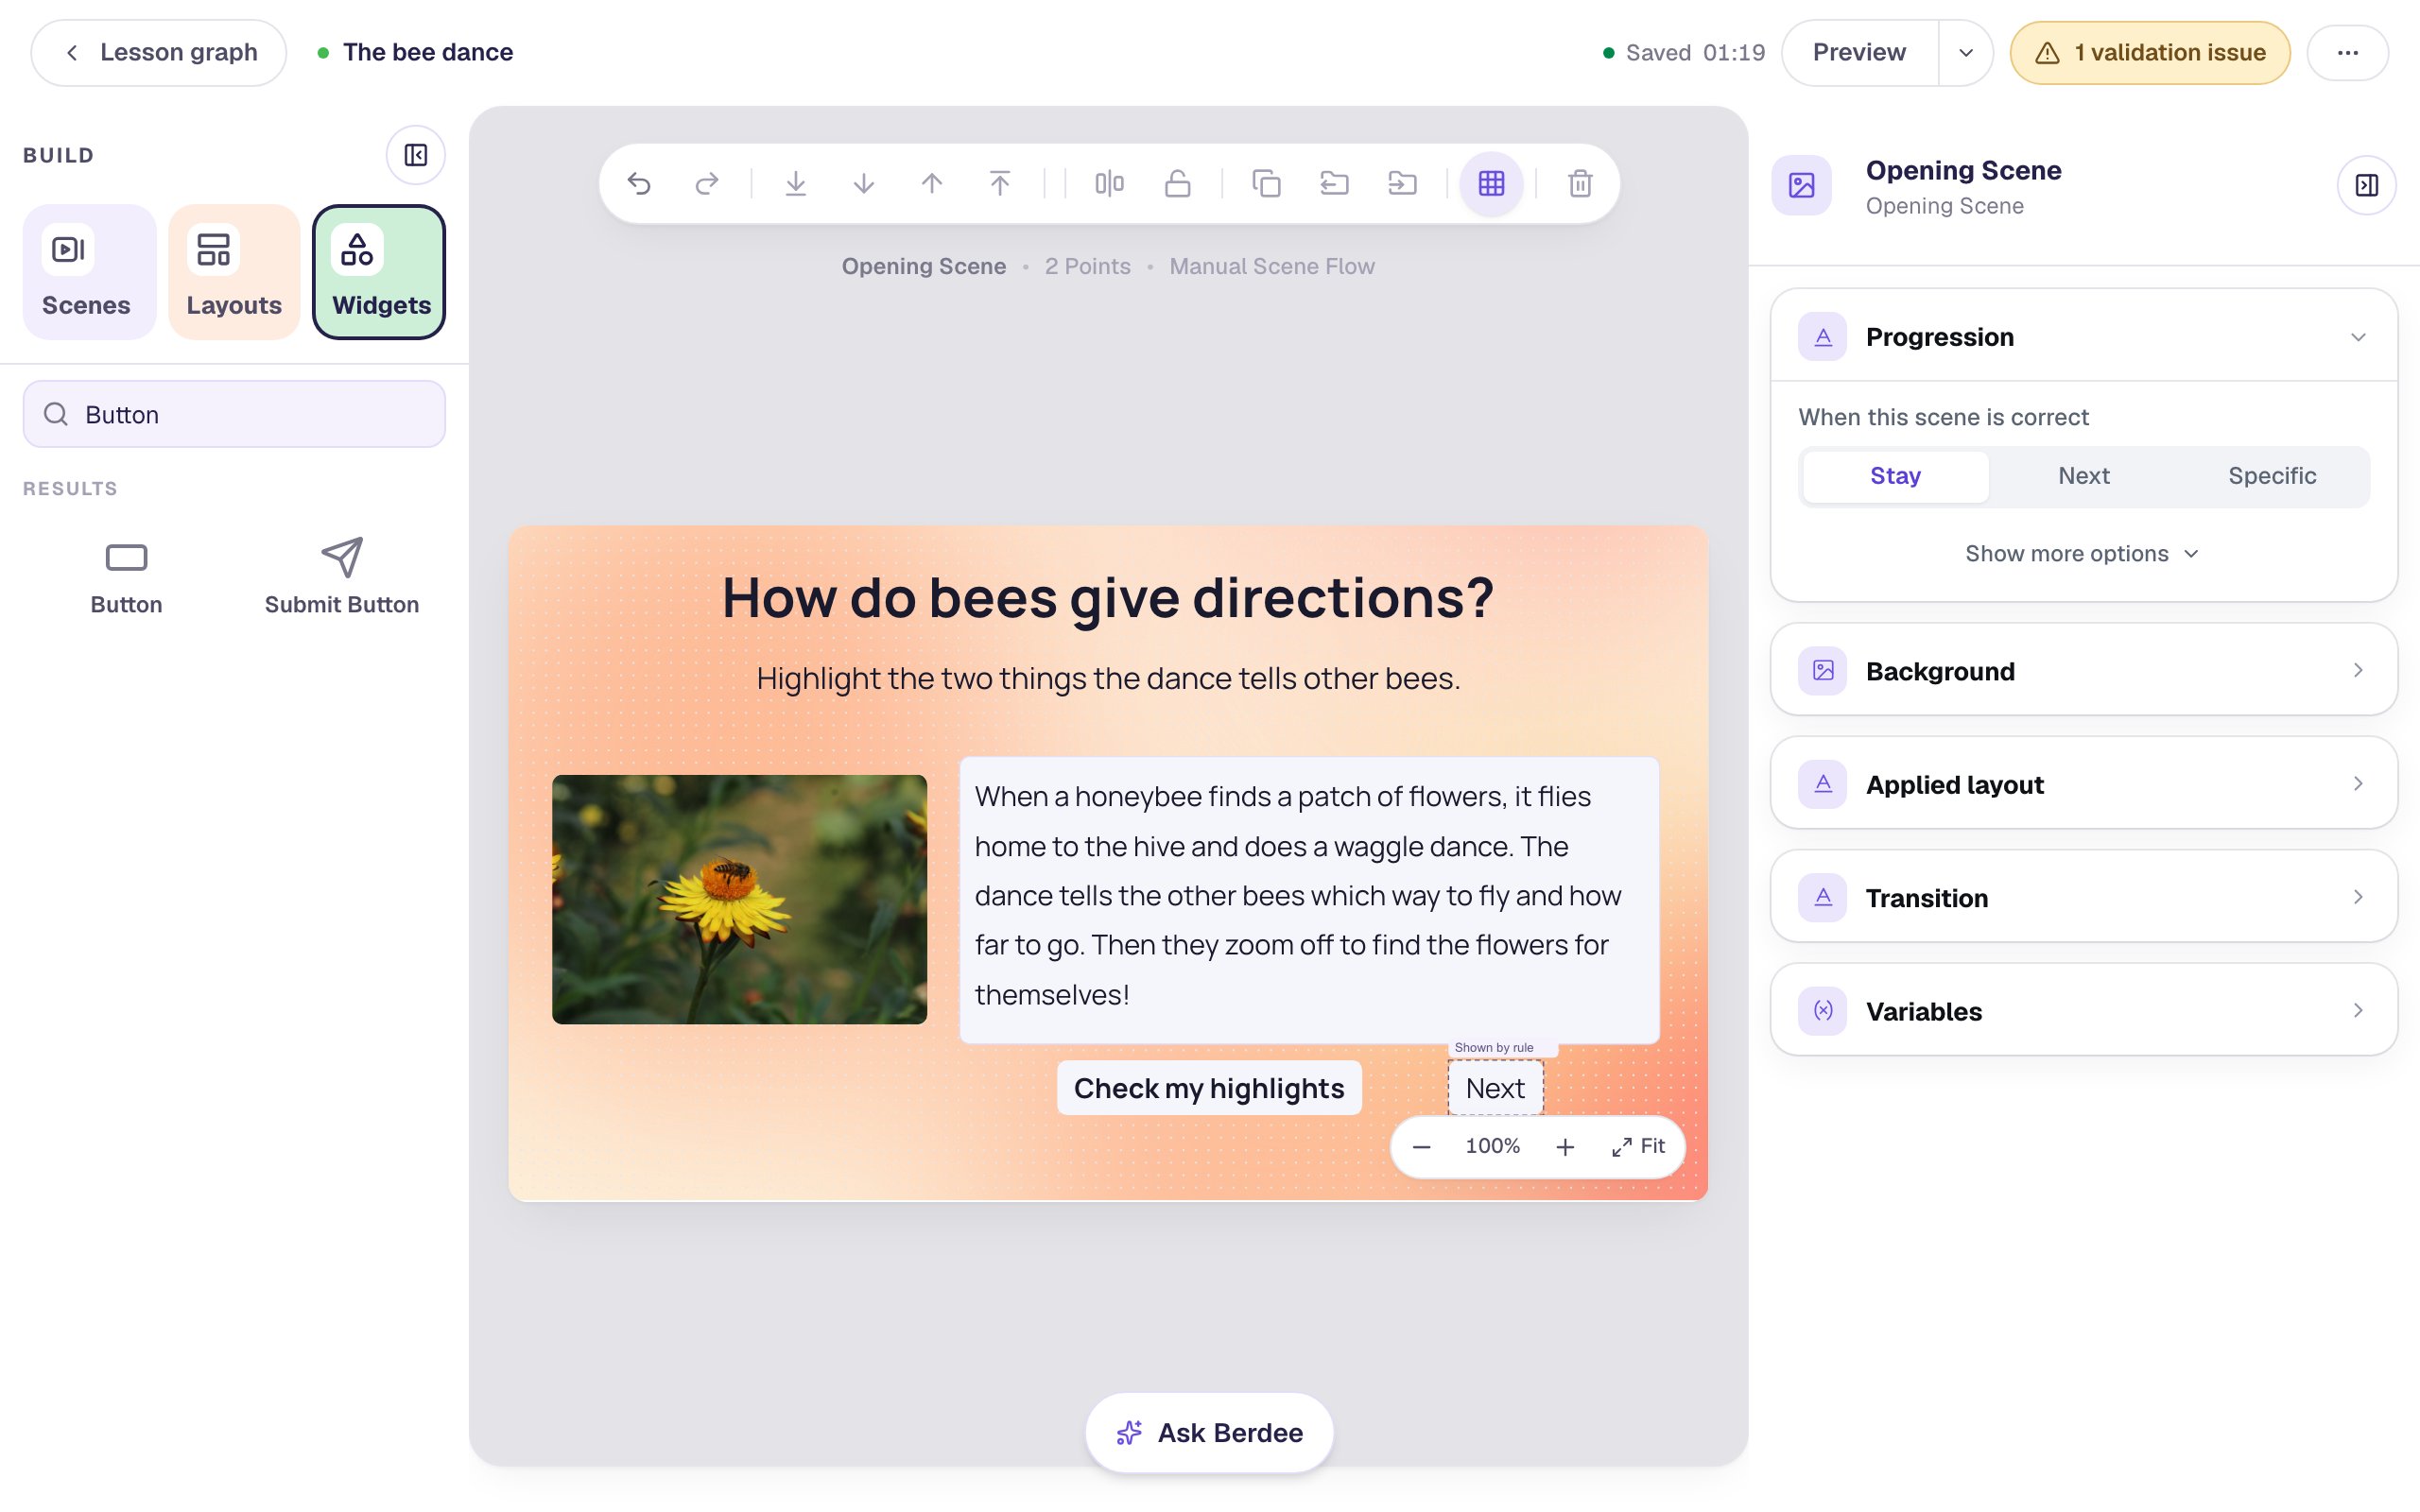
Highlight the two things the dance tells other bees.Say how many things to find. "Two" tells a student when they're done looking. - An Image on the left, 300 × 225. Click Choose image, search for
honey bee on flower, and click Import & insert on a photo you like.
Step 2: Add a Highlighter and give it room
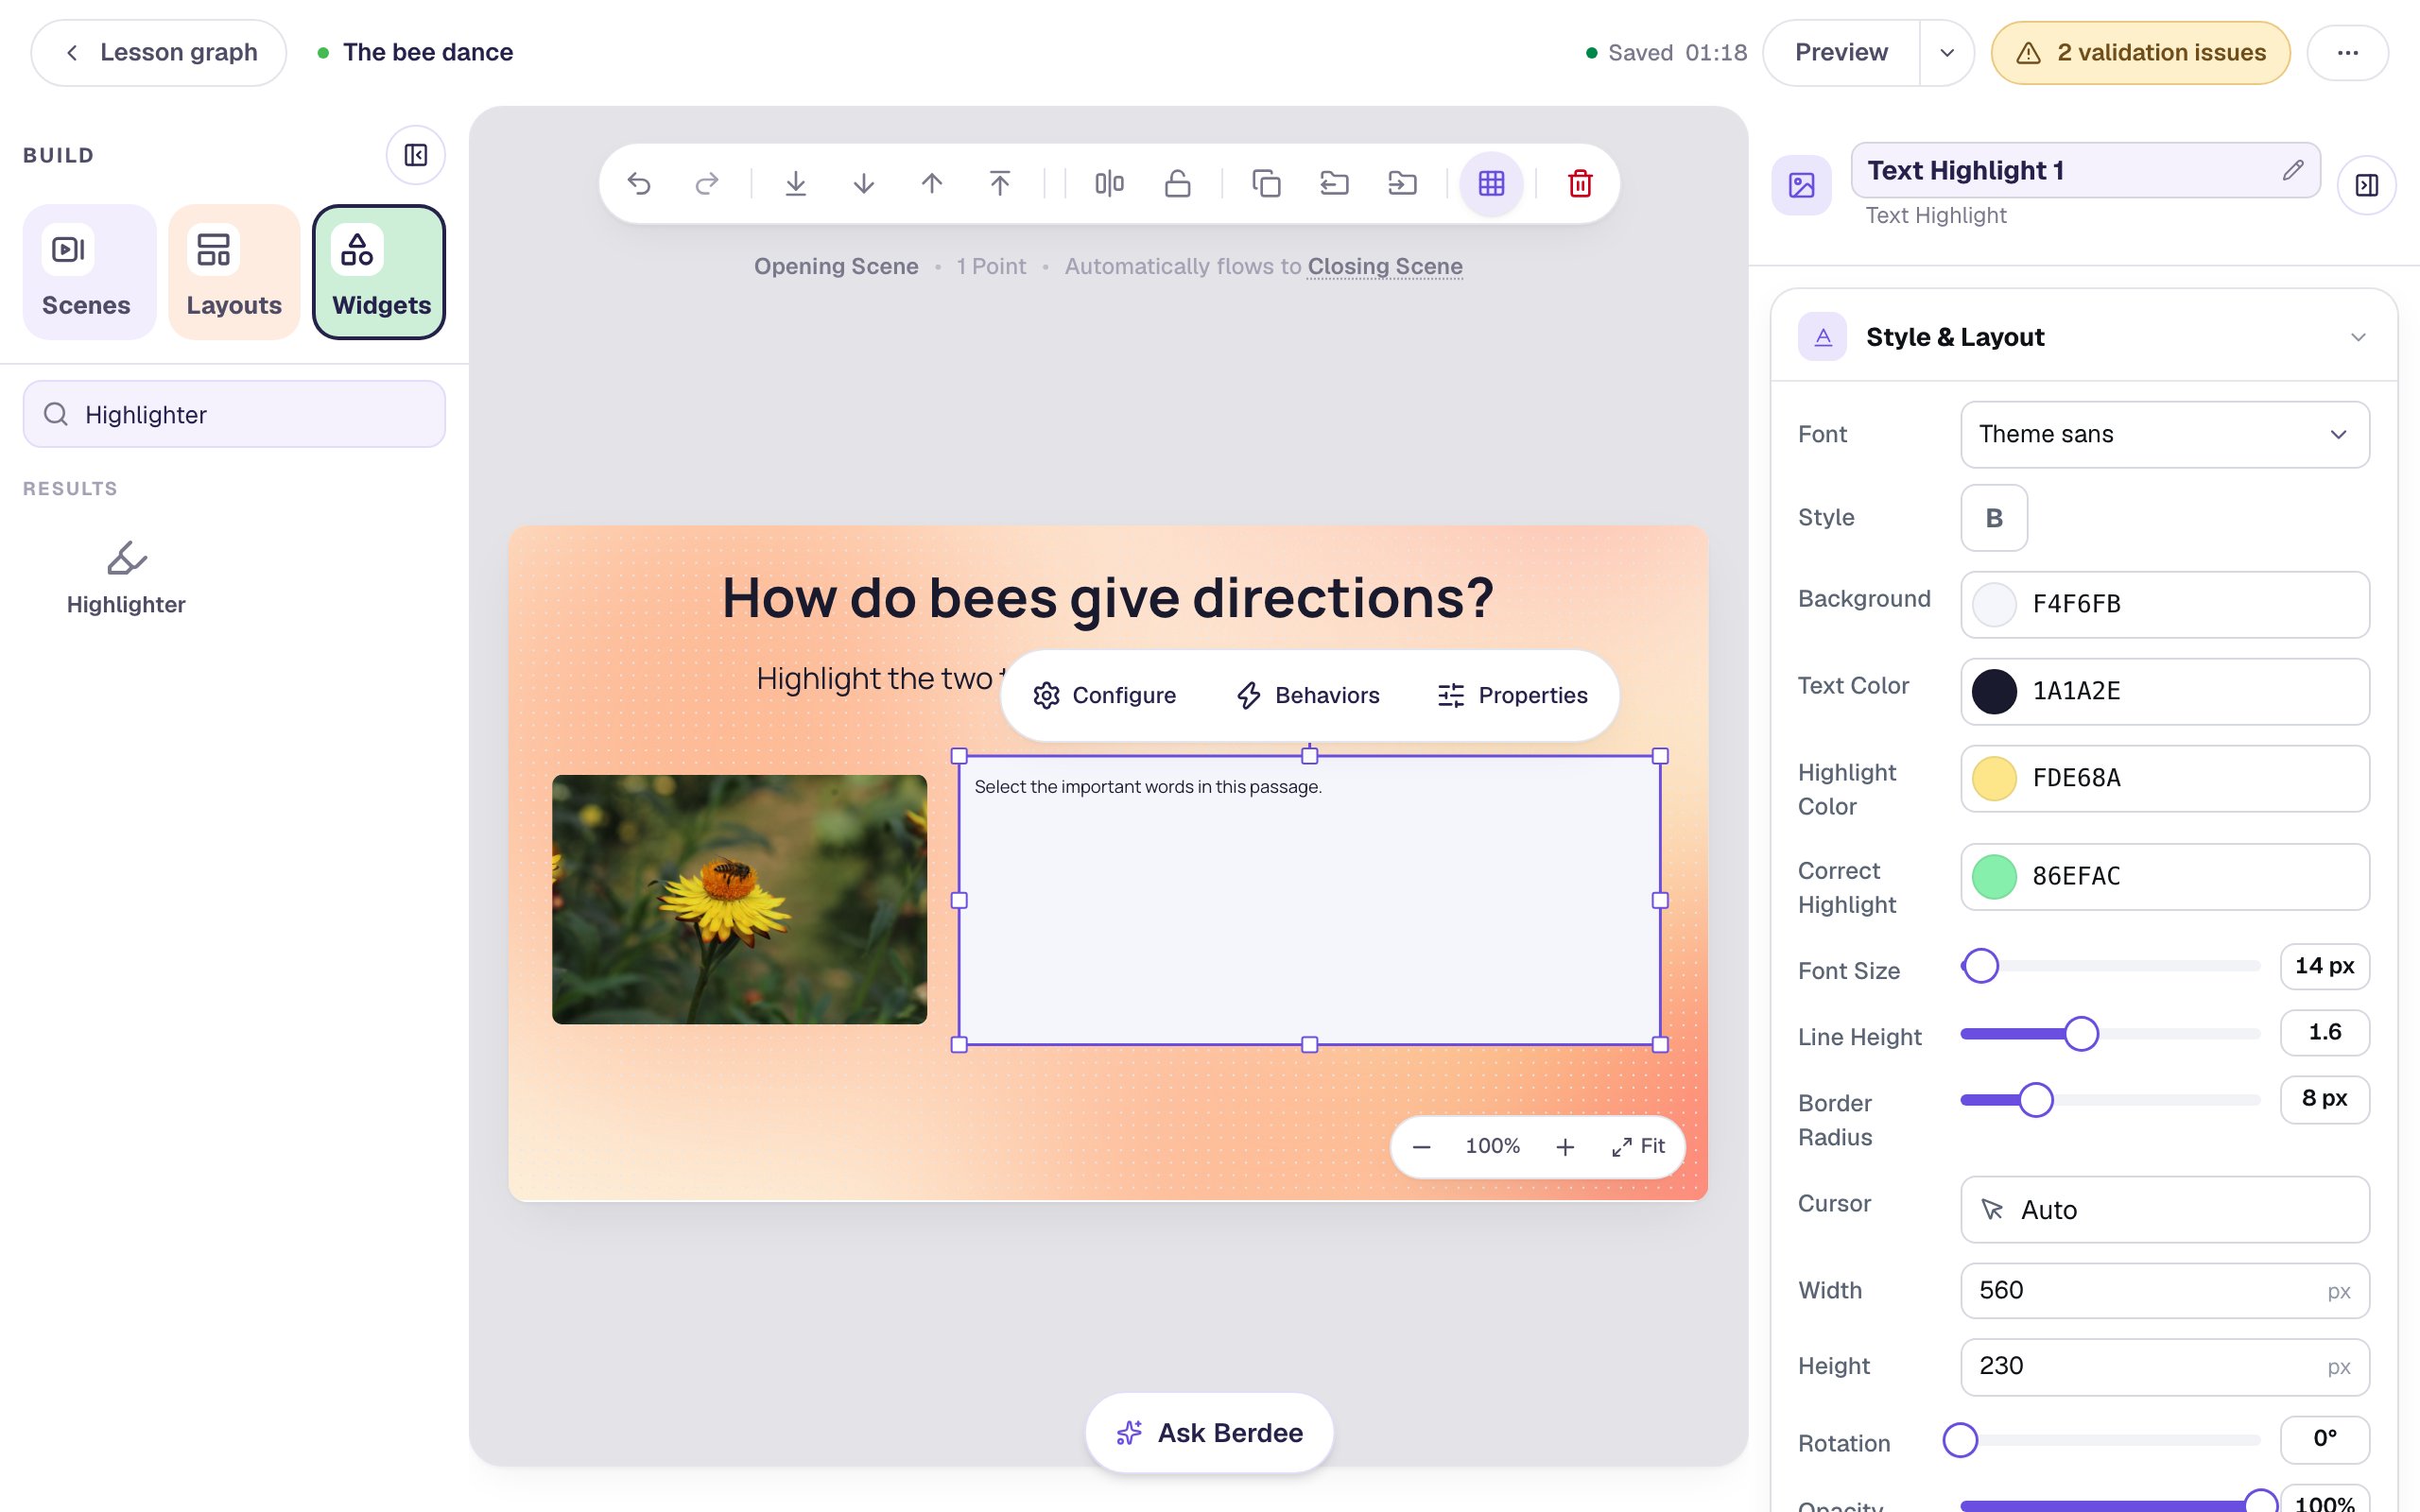
Search the Widgets tab for Highlighter and click it. It lands with a placeholder sentence.
A passage needs space to breathe. With the Highlighter selected, open Style & Layout, click Show more options, and set Width to 560 and Height to 230. Drag it to the right of the photo.
Step 3: Type the passage
Click ⚙ Configure in the pill above the Highlighter, then Edit passage & correct ranges. Select the placeholder sentence, delete it, and type the passage:
When a honeybee finds a patch of flowers, it flies home to the hive and does a waggle dance. The dance tells the other bees which way to fly and how far to go. Then they zoom off to find the flowers for themselves!
Keep it short. A passage students can read in a minute leaves their attention for the hunt, not the reading.
Step 4: Mark the words that count
Now tell Berdee what a right answer looks like. In the same editor:
- Drag across
which way to flyto select it, and click Mark as correct. It turns yellow. - Click inside the yellow words and type
directionin the label box at the top right. A label is just for you. It names the clue in your results. - Do the same for
how far to go, labelleddistance.
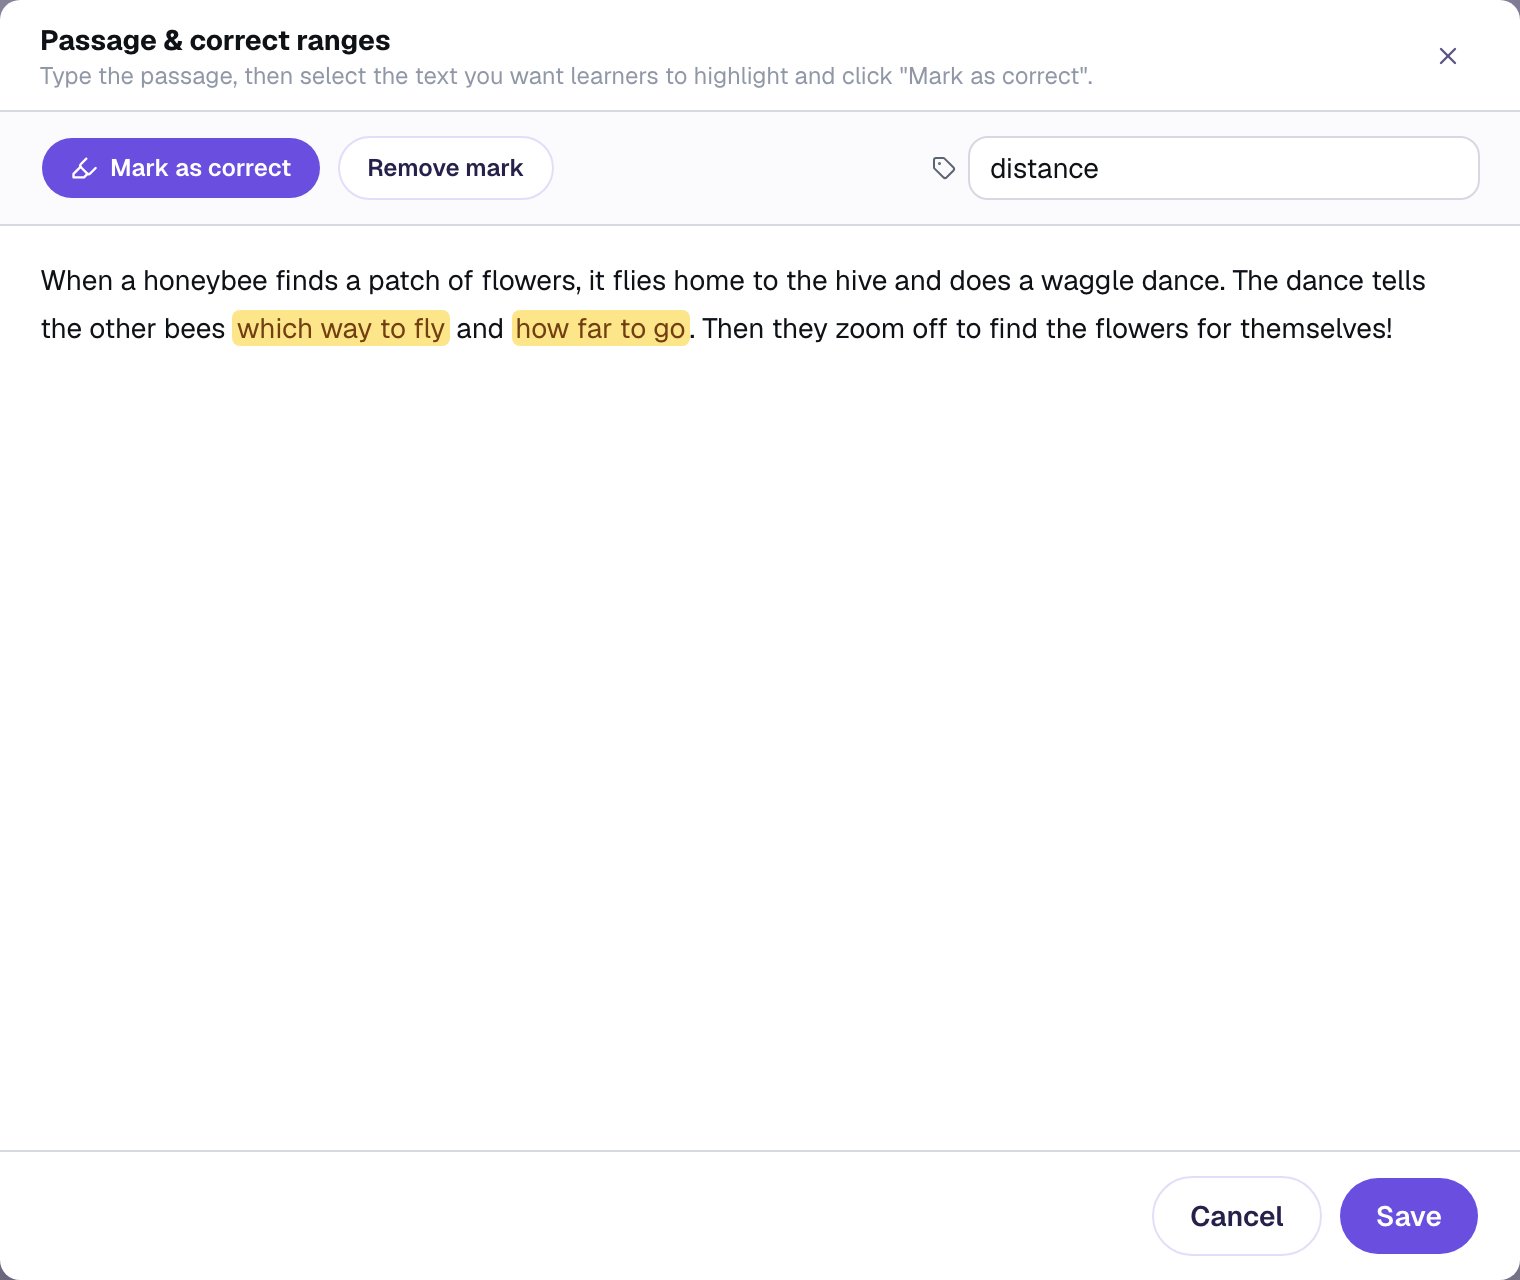
Mark exactly the words you'd accept, no more and no fewer. Berdee grades word by word: every word inside a mark is one students must find, and every word outside the marks counts against them. Marking the phrase a student would naturally highlight (which way to fly, not just way) means a careful reader is never marked down.
Click Save to go back to Configure.
Step 5: Choose how it's graded
Scroll down to Scoring in the Configure window. It's already on. Set:
- Points to
2, one for each clue. - Correct when to All ranges, so a full answer needs both clues. (Any range would accept either one.)
- Partial Credit on. Now a student who finds one of the two clues earns part of the points, instead of nothing.
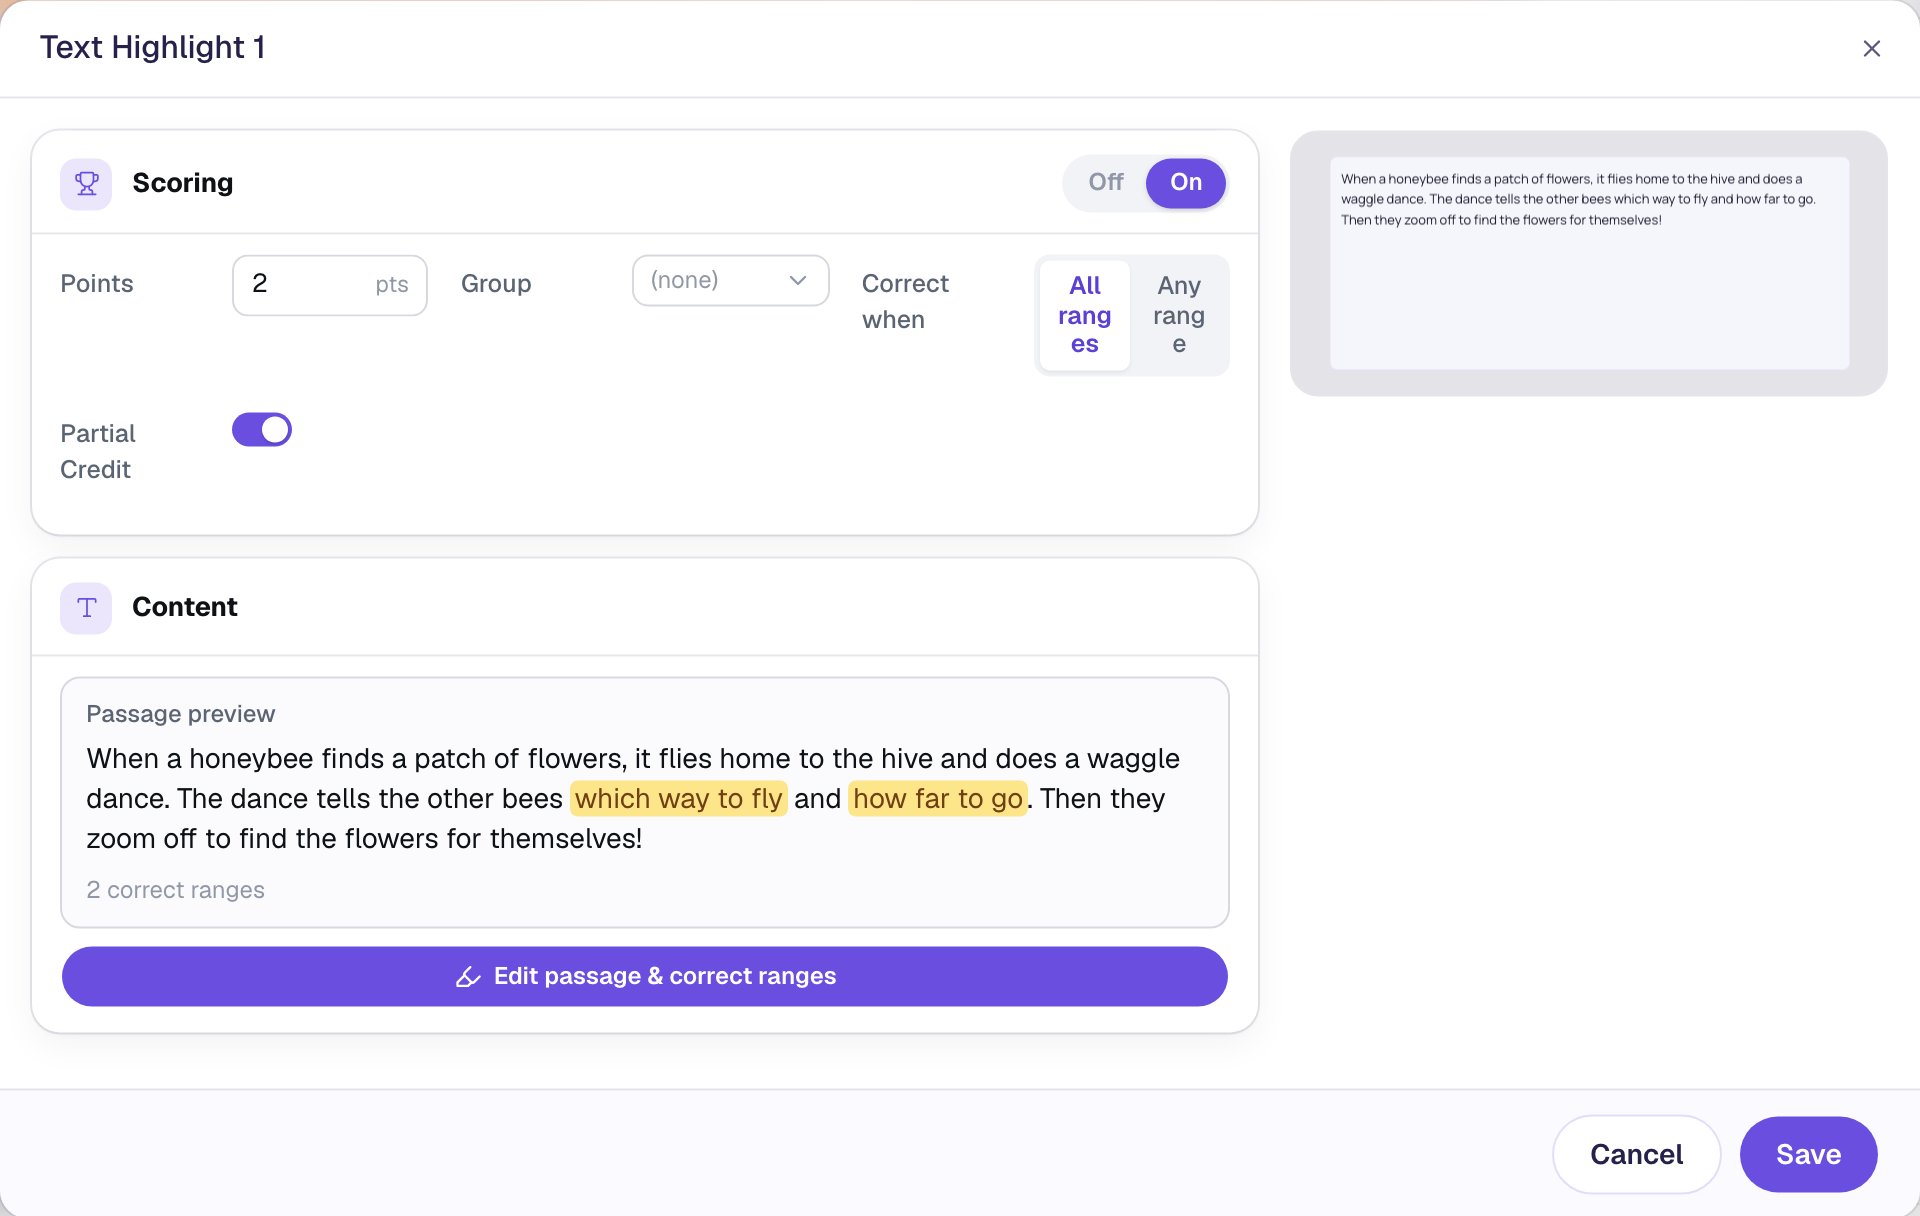
With Partial Credit on, each right word earns a share of the points and each wrong word takes a share back, so highlighting the whole passage never pays. Click Save.
Step 6: Make it easy to read
The passage starts at 14 px, which is small for young readers. With the Highlighter selected, open Style & Layout and set Font Size to 22 and Line Height to 1.8. The extra space between lines makes each word an easier target to tap, especially on a tablet.
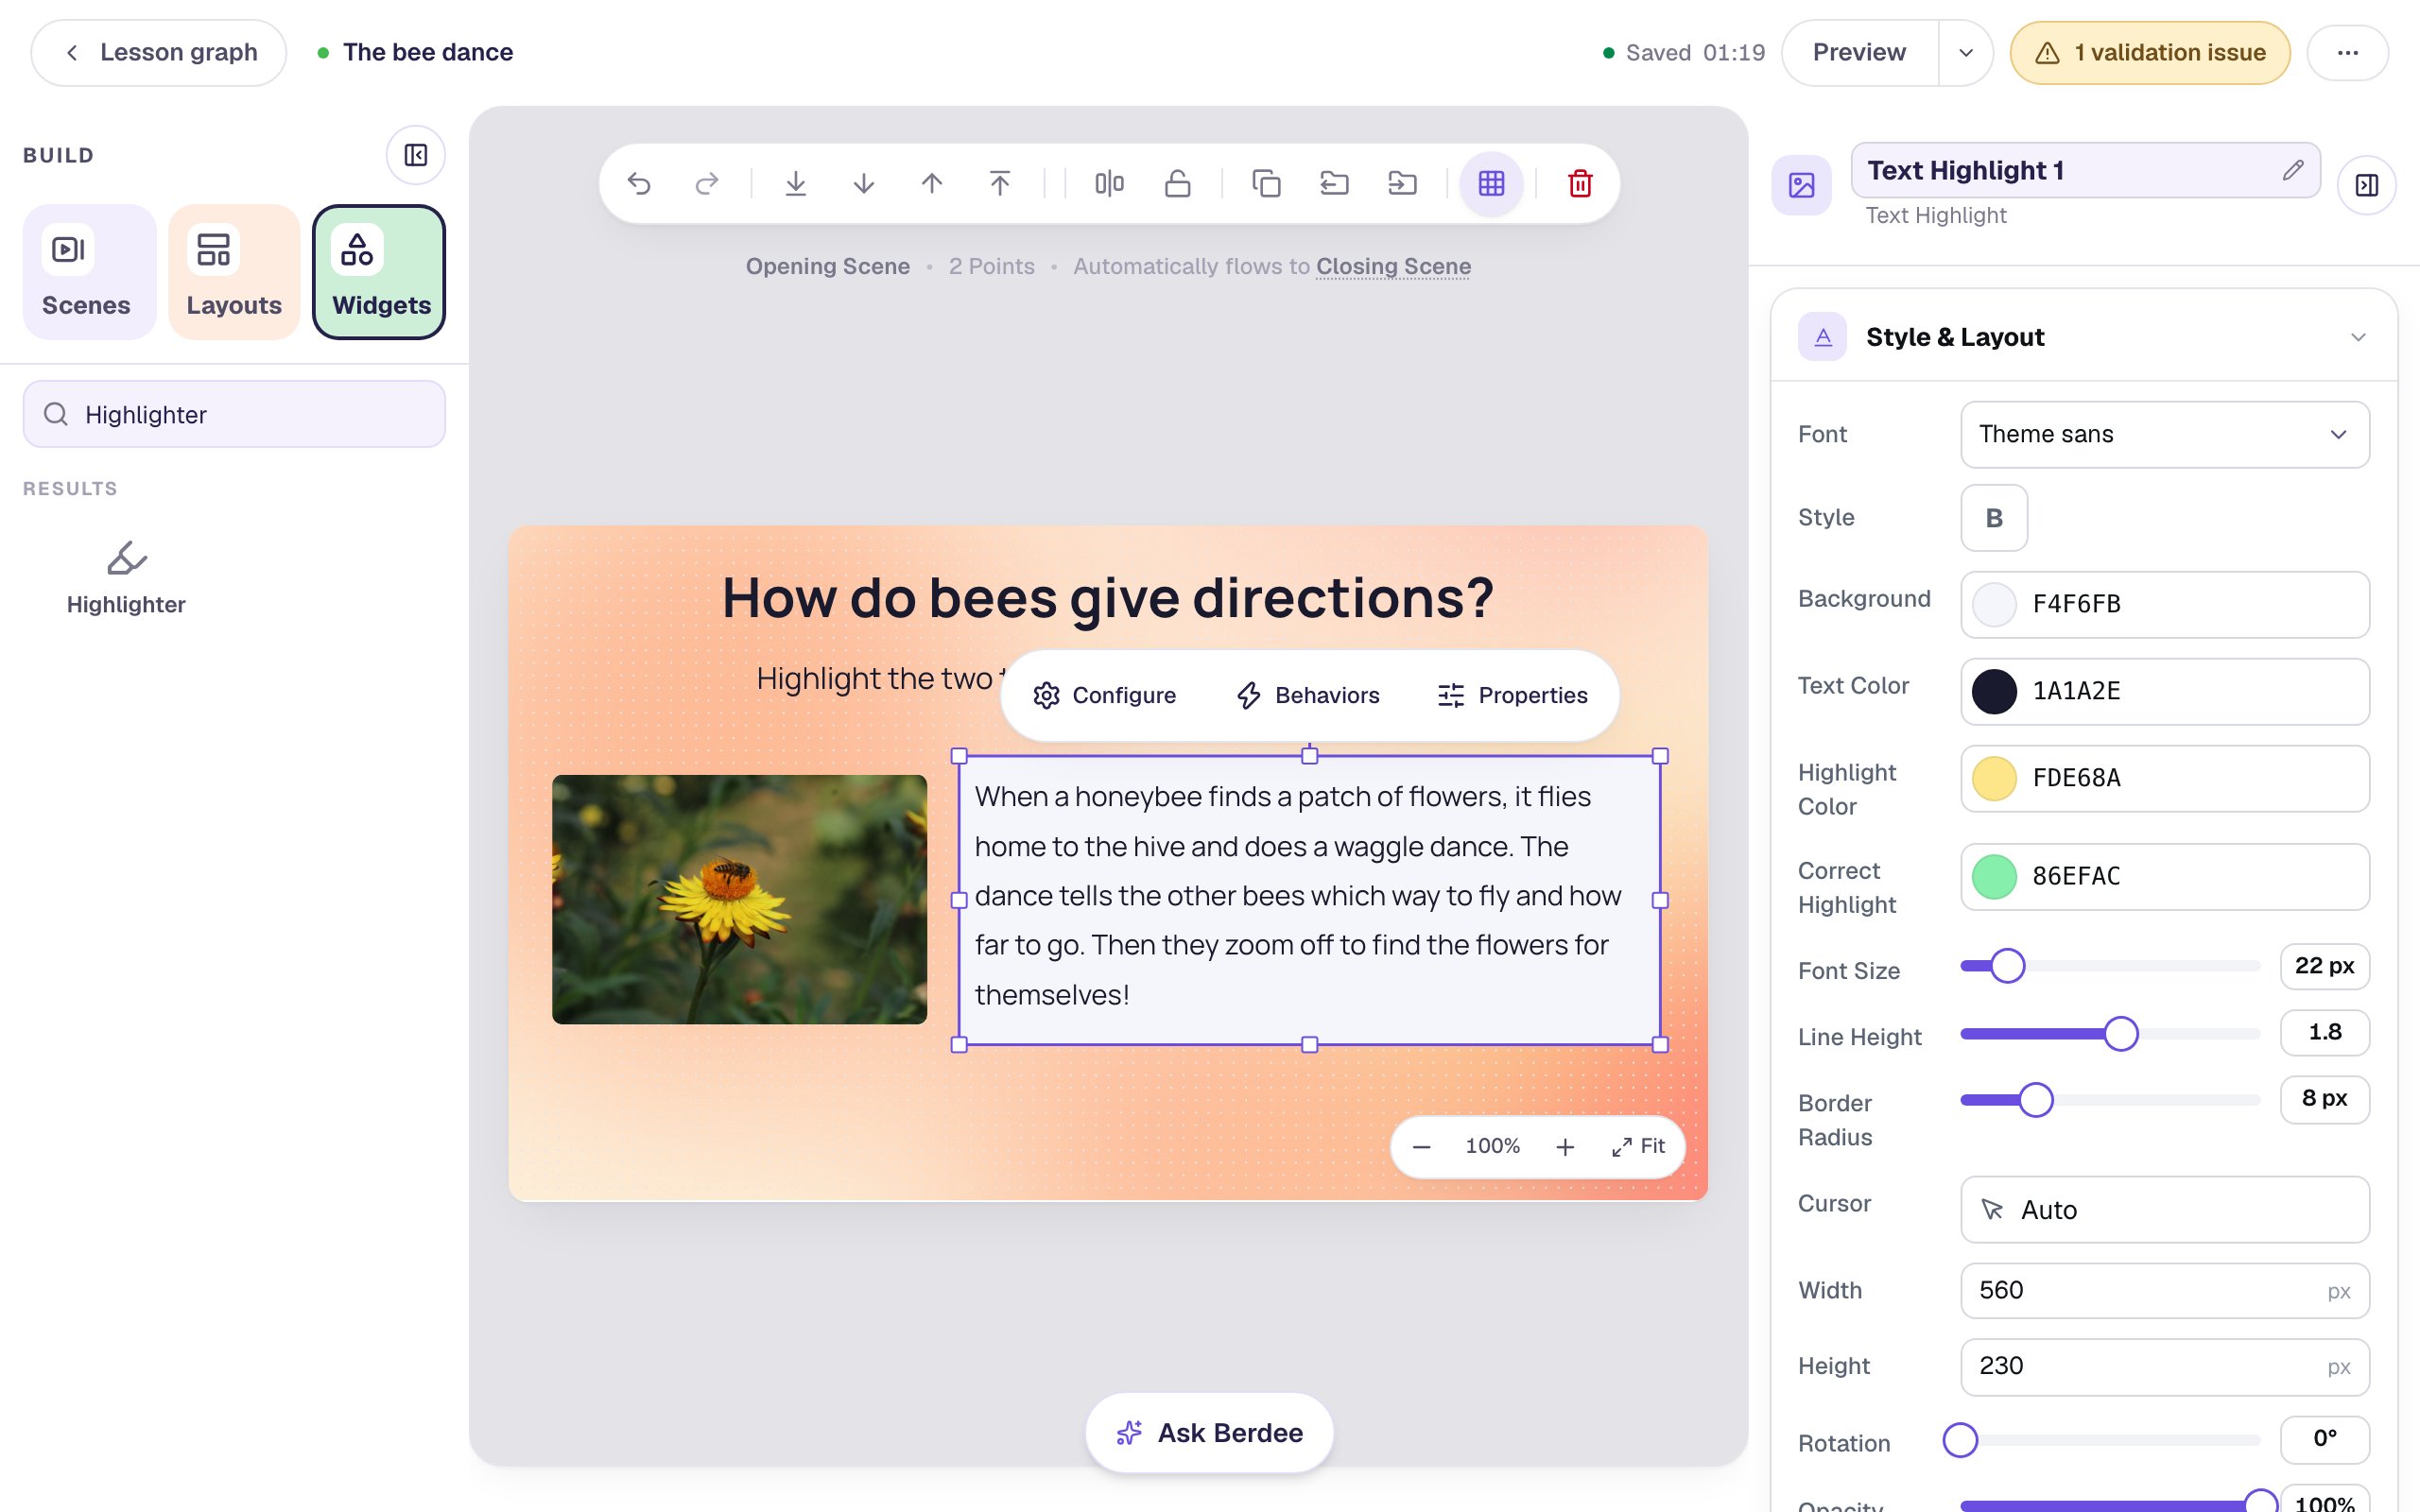
Highlight Color (yellow) is what students see as they highlight. Correct Highlight (green) is what a right highlight turns after they check. The defaults work well; change them here if they clash with your scene.
Step 7: Add a Check button
Students should be able to look over their highlights before they're graded. Search the Widgets tab for Submit Button and click it. In Content, change Label to Check my highlights and leave Submits on Current scene. Set its Font Size to 22 and drag it under the passage.
Then click an empty part of the canvas and, in the scene's Progression, choose Stay. Without that, the scene would carry students to the ending the moment they press Check, before they'd seen which highlights were right.
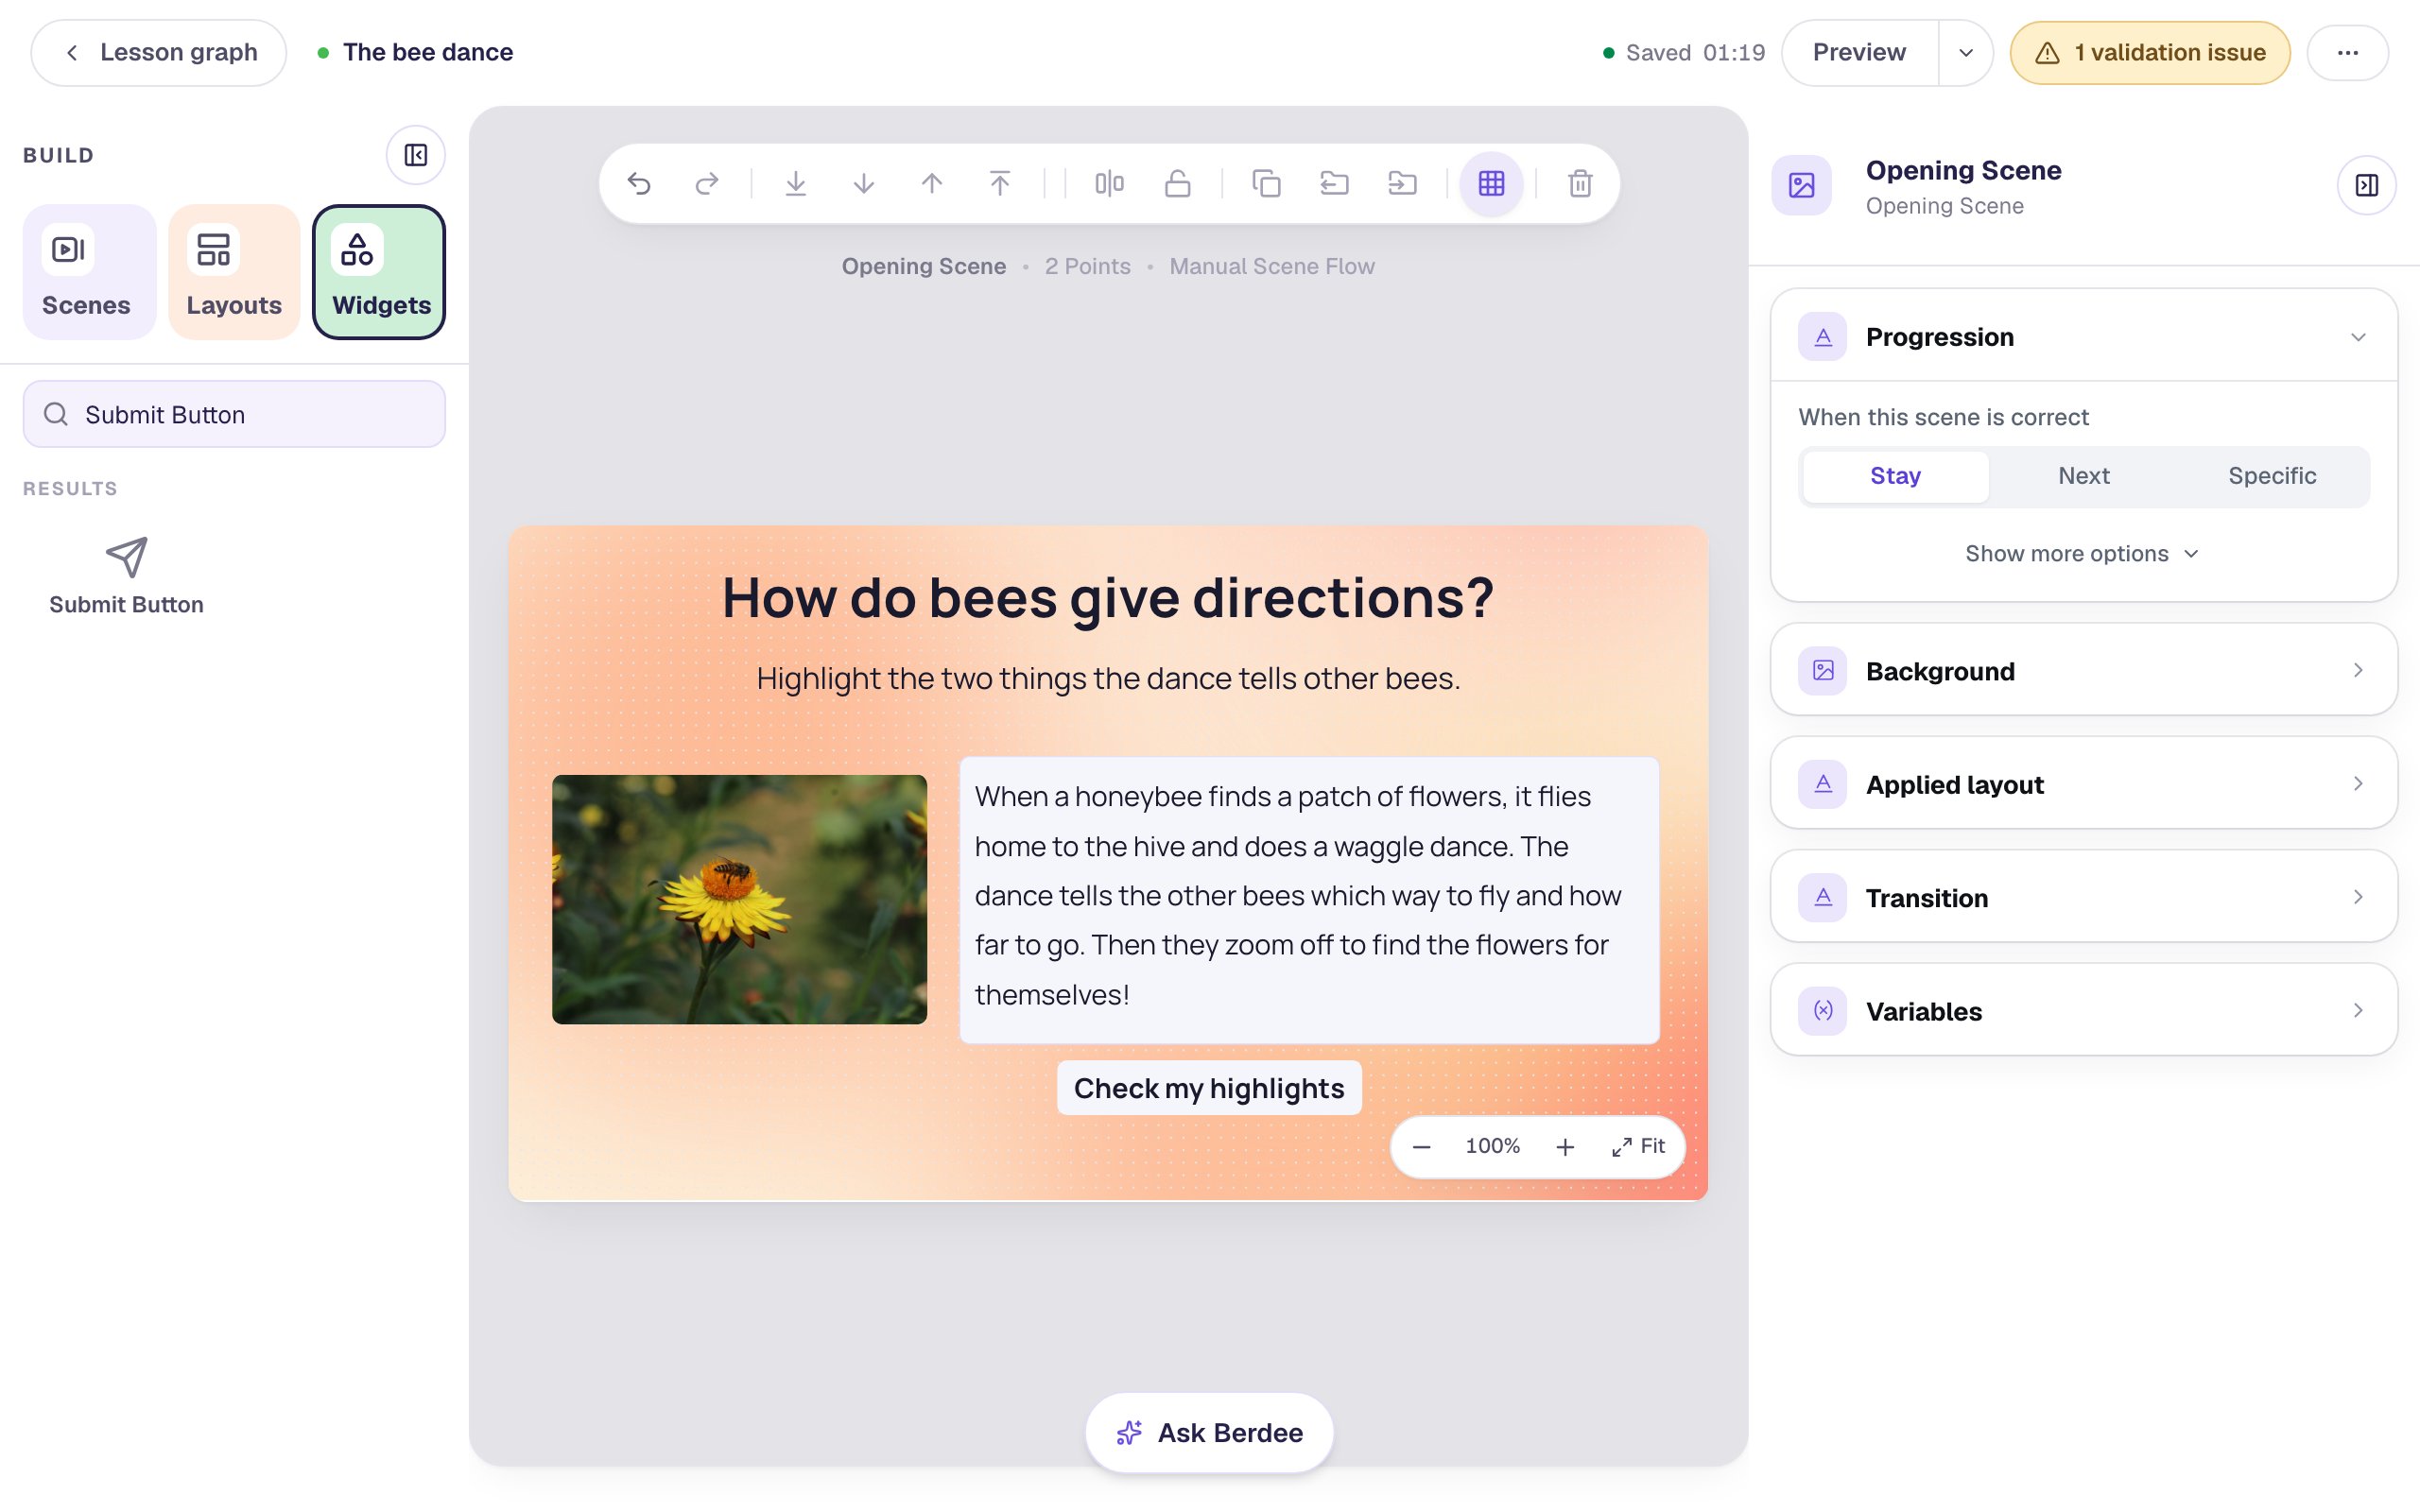
Step 8: Show a Next button after they check
Students need a way on once they've seen their result, but not before. Add a Button, click ⚙ Configure, change its Label to Next, and click Save. Click Behaviors, then Make this a "Next" button, check that Goes to says Closing Scene, and click Add behavior. Set its Font Size to 22 and drag it beside Check my highlights.
Now hide it until the scene is checked. Open Visibility, set it to Conditional, and build the rule Current scene is submitted.
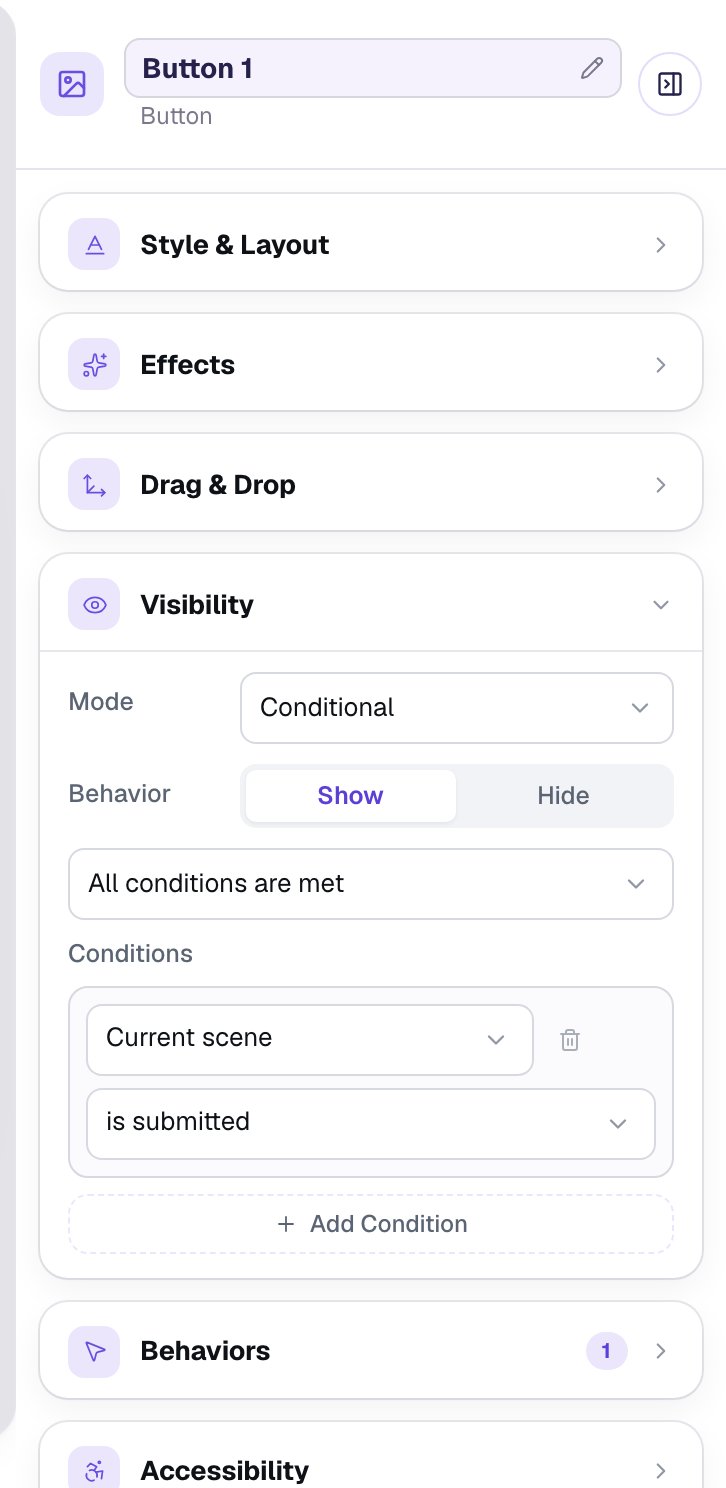
On the canvas you still see the Next button, with a small Shown by rule tag above it, so you can arrange it. Students won't see it until they press Check.
Step 9: Try it as a student
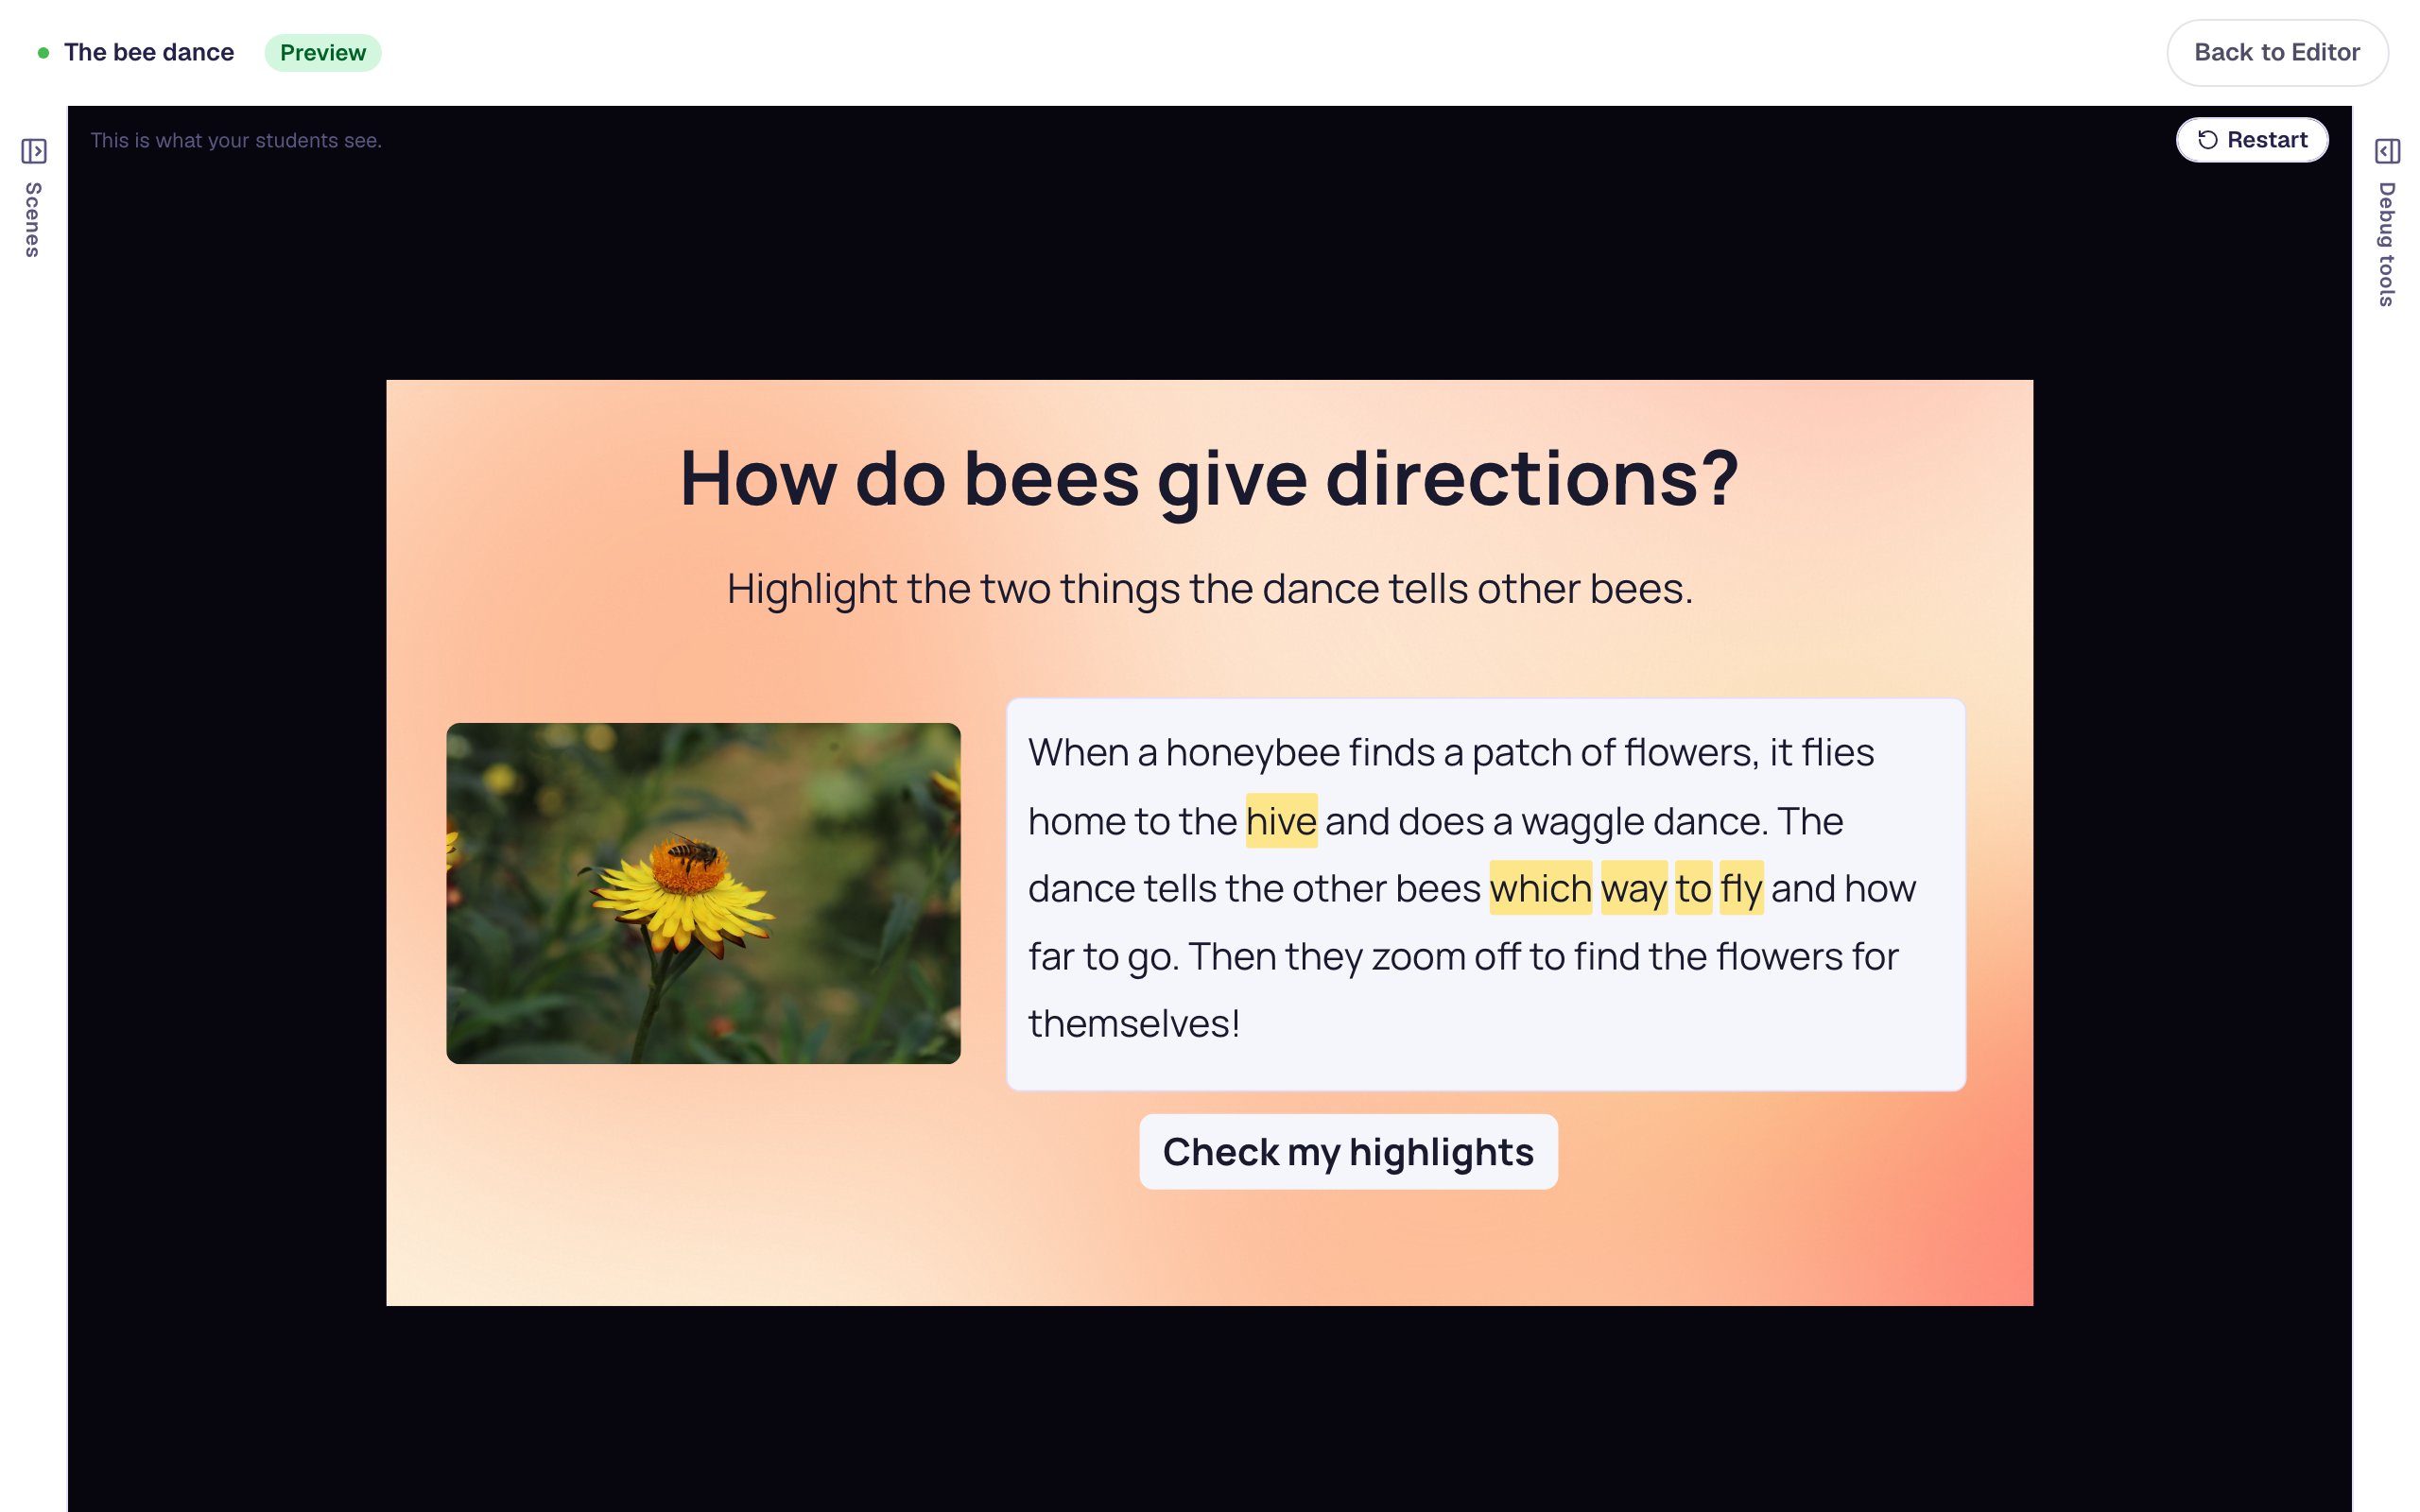
Click Preview and read like a student who's halfway there. Drag across which way to fly to highlight it, then click hive, a word that doesn't belong. Students highlight by dragging across words or clicking them one at a time; clicking a highlighted word takes it back. They can also use the keyboard: Tab into the passage, move with the arrow keys, and press Space to highlight.
Press Check my highlights. The answer locks (the passage fades a little to show it can't be changed), which way to fly turns green, and hive is crossed out. A crossed-out word isn't only a colour change, so students who can't tell yellow from green still see what was wrong, and a screen reader can tell students which highlights were right. The Next button appears.
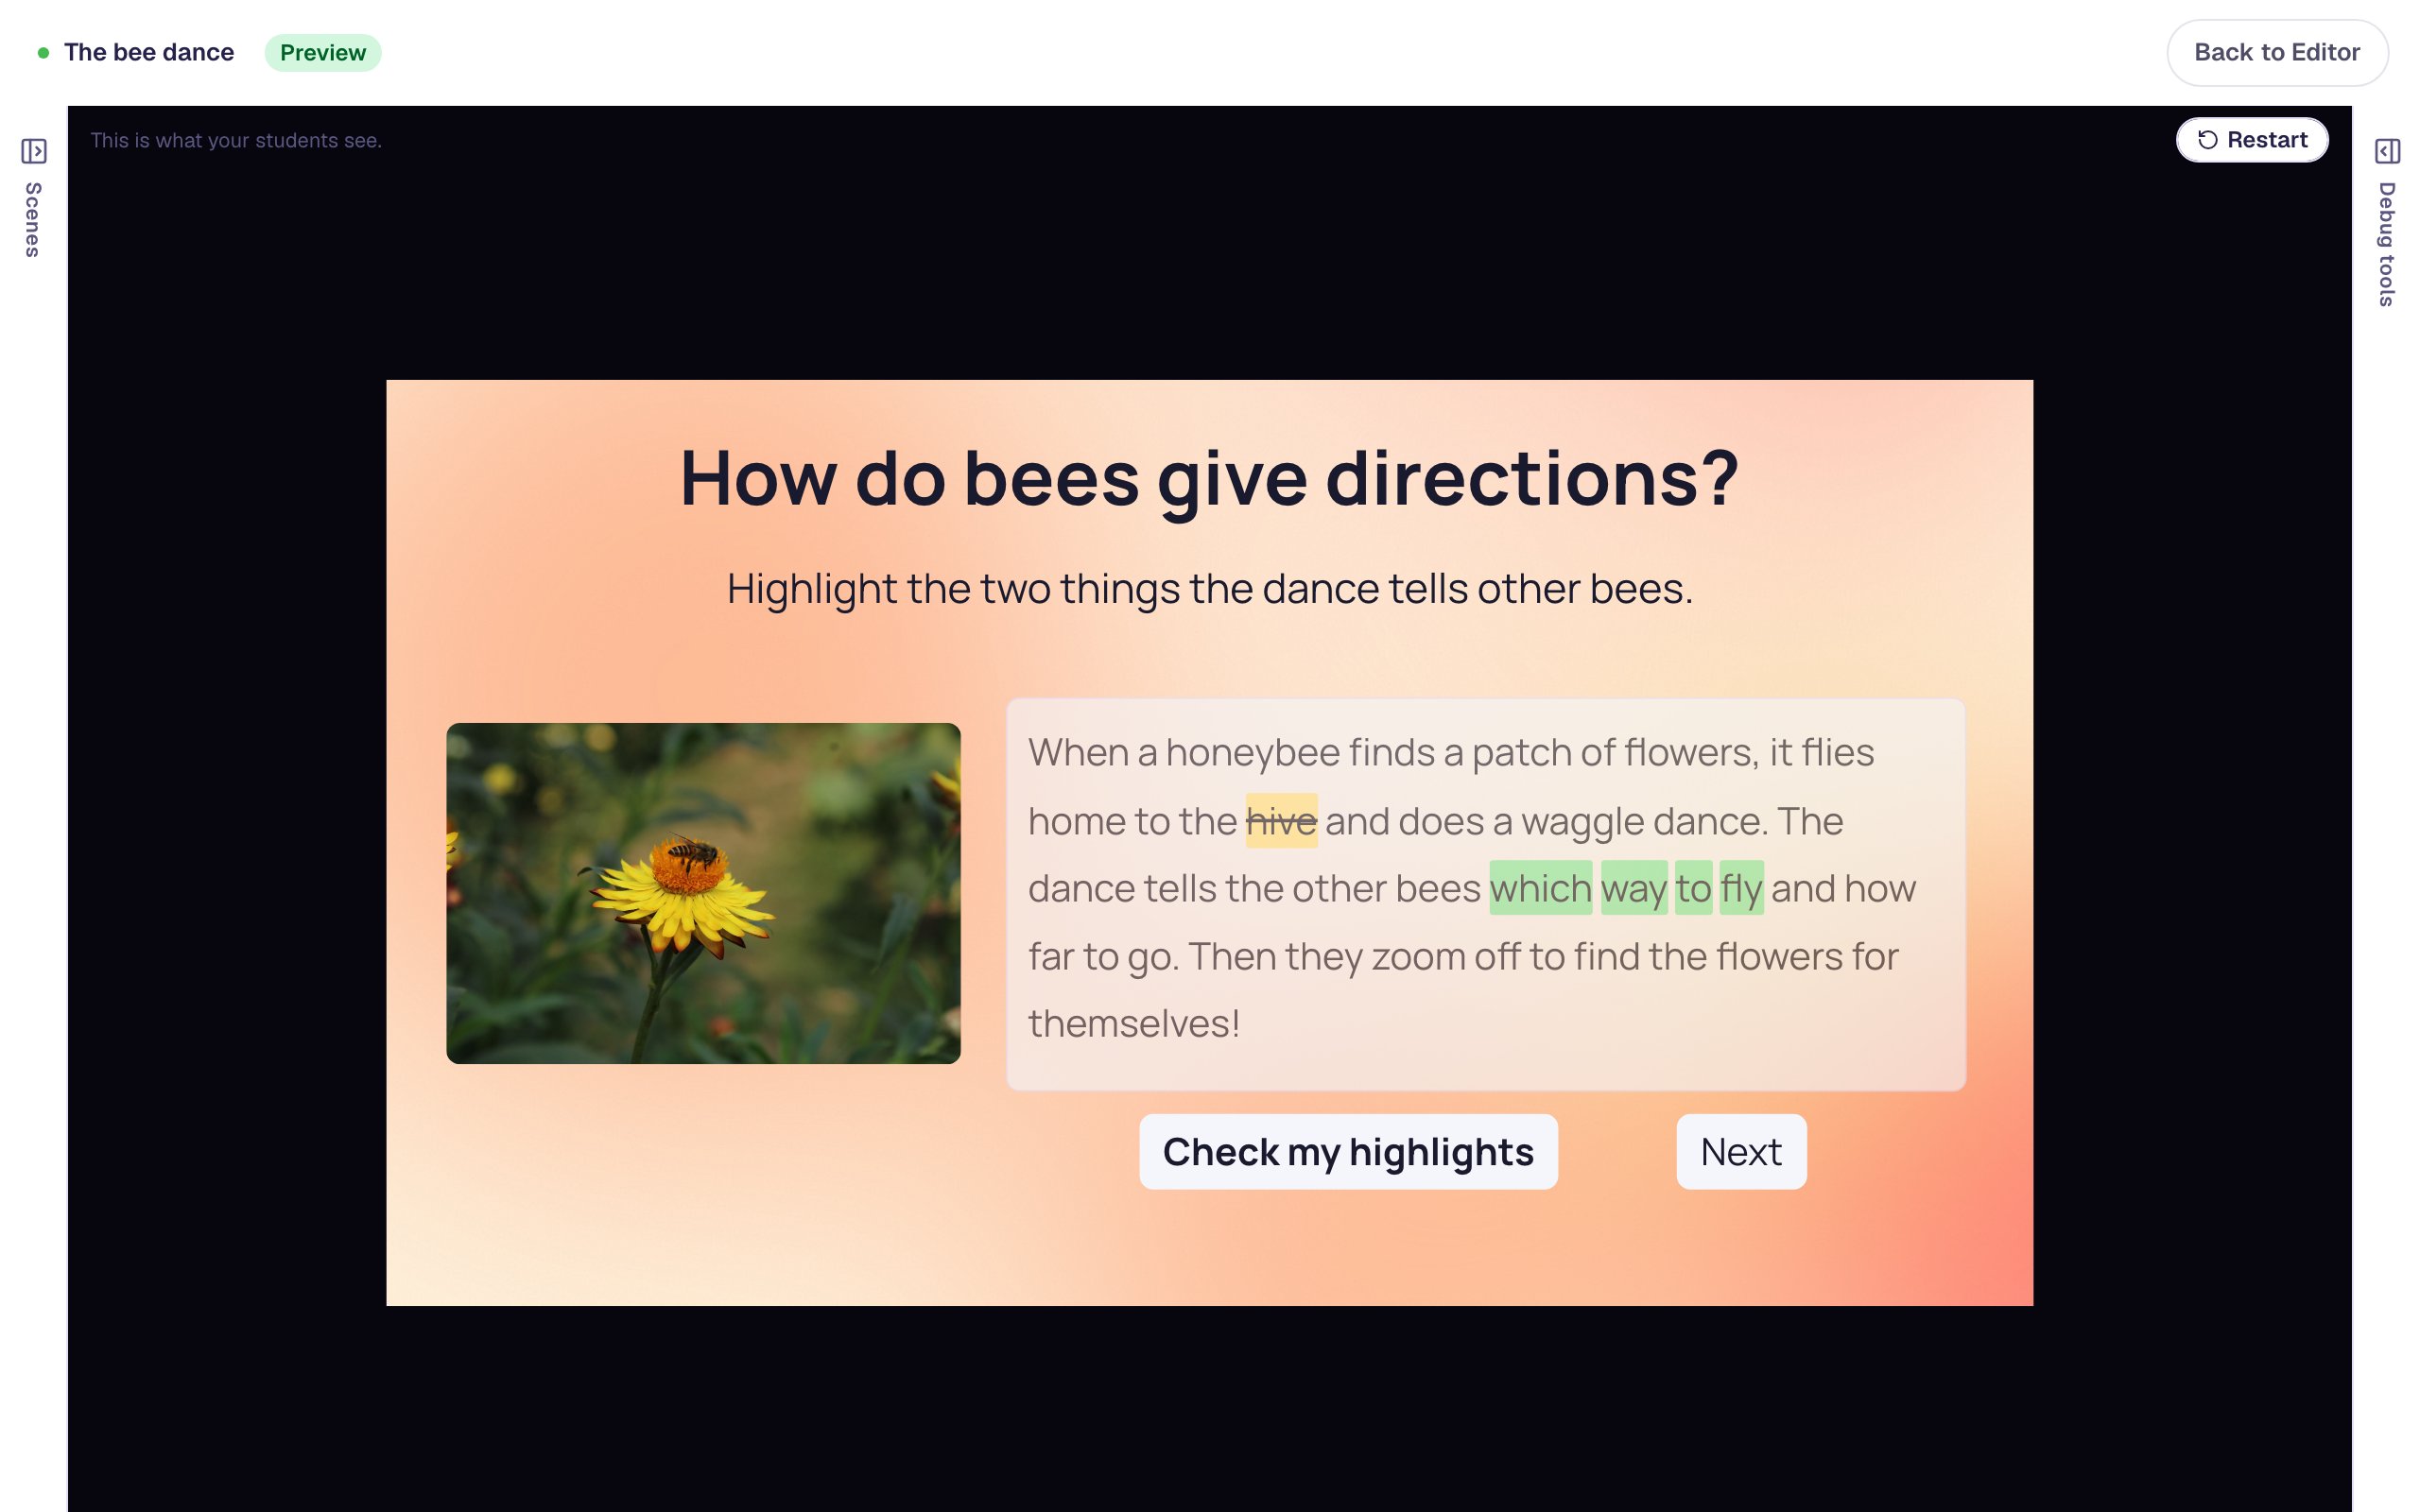
The missing clue, how far to go, isn't shown. Students see what they got right and wrong, not the answer key, which leaves you something to talk about together.
Press Next. The ending shows the score.
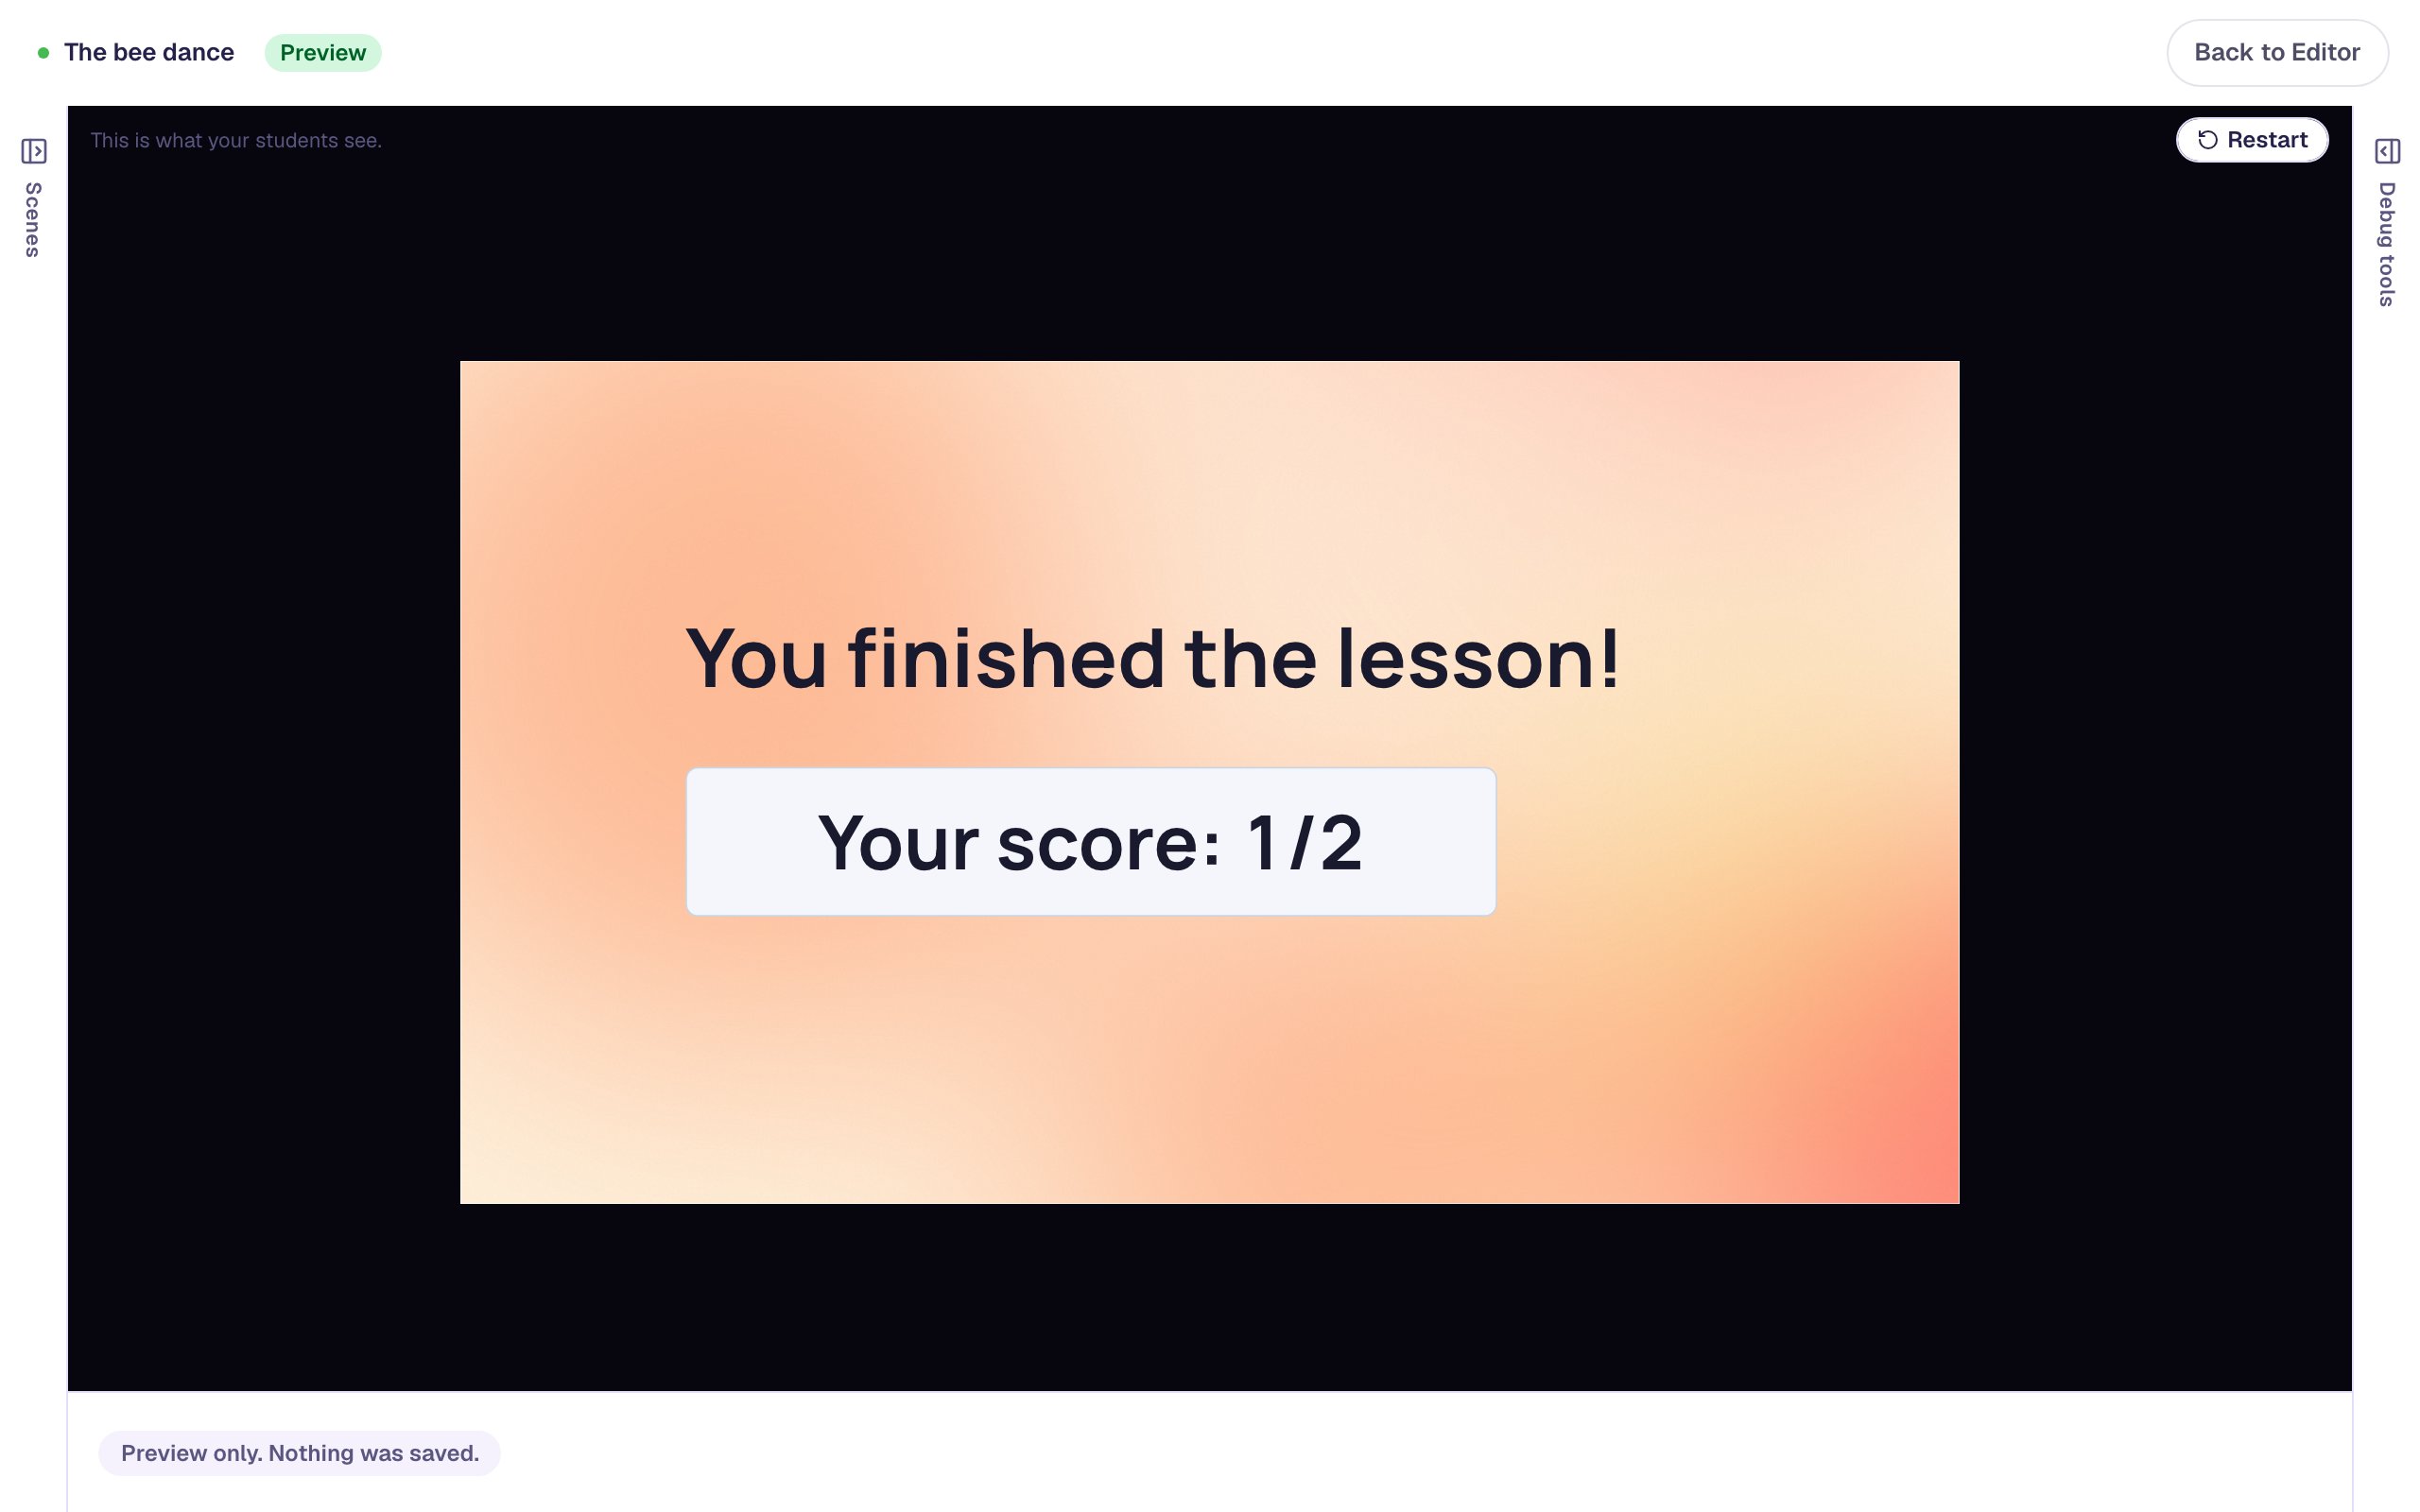
The student found one of the two clues, so Partial Credit gives part of the 2 points. The stray word took a little back, and Berdee rounds to whole points.
What you built
You built a close-reading question:
- a short passage in a Highlighter, with the two clues marked as correct and labelled,
- grading that needs all ranges for full marks and gives partial credit for part of the answer,
- bigger text and line spacing, so every word is easy to tap,
- a Check my highlights button, with the scene set to Stay, so students see their result, and
- a Next button that appears only once the scene is checked.
Before you publish, Berdee needs one Submit button set to Lesson. This scene already has a submit button, and a scene can hold only one, so put it on another scene. Build your first quiz question shows how.
The same recipe works for any "find it in the text" task: the verbs in a sentence, the evidence for a claim, the words that show how a character feels. To give students more than one try, leave out the Check button and set Correct when as you like: with the scene's Progression on Next, the lesson moves on the moment their highlights are exactly right.
Make this lesson yours
Add the lesson you just watched being built to your account, then change it for your class: your questions, your pictures, your colors.
Free to sign up, and you'll come straight back here. I have an account