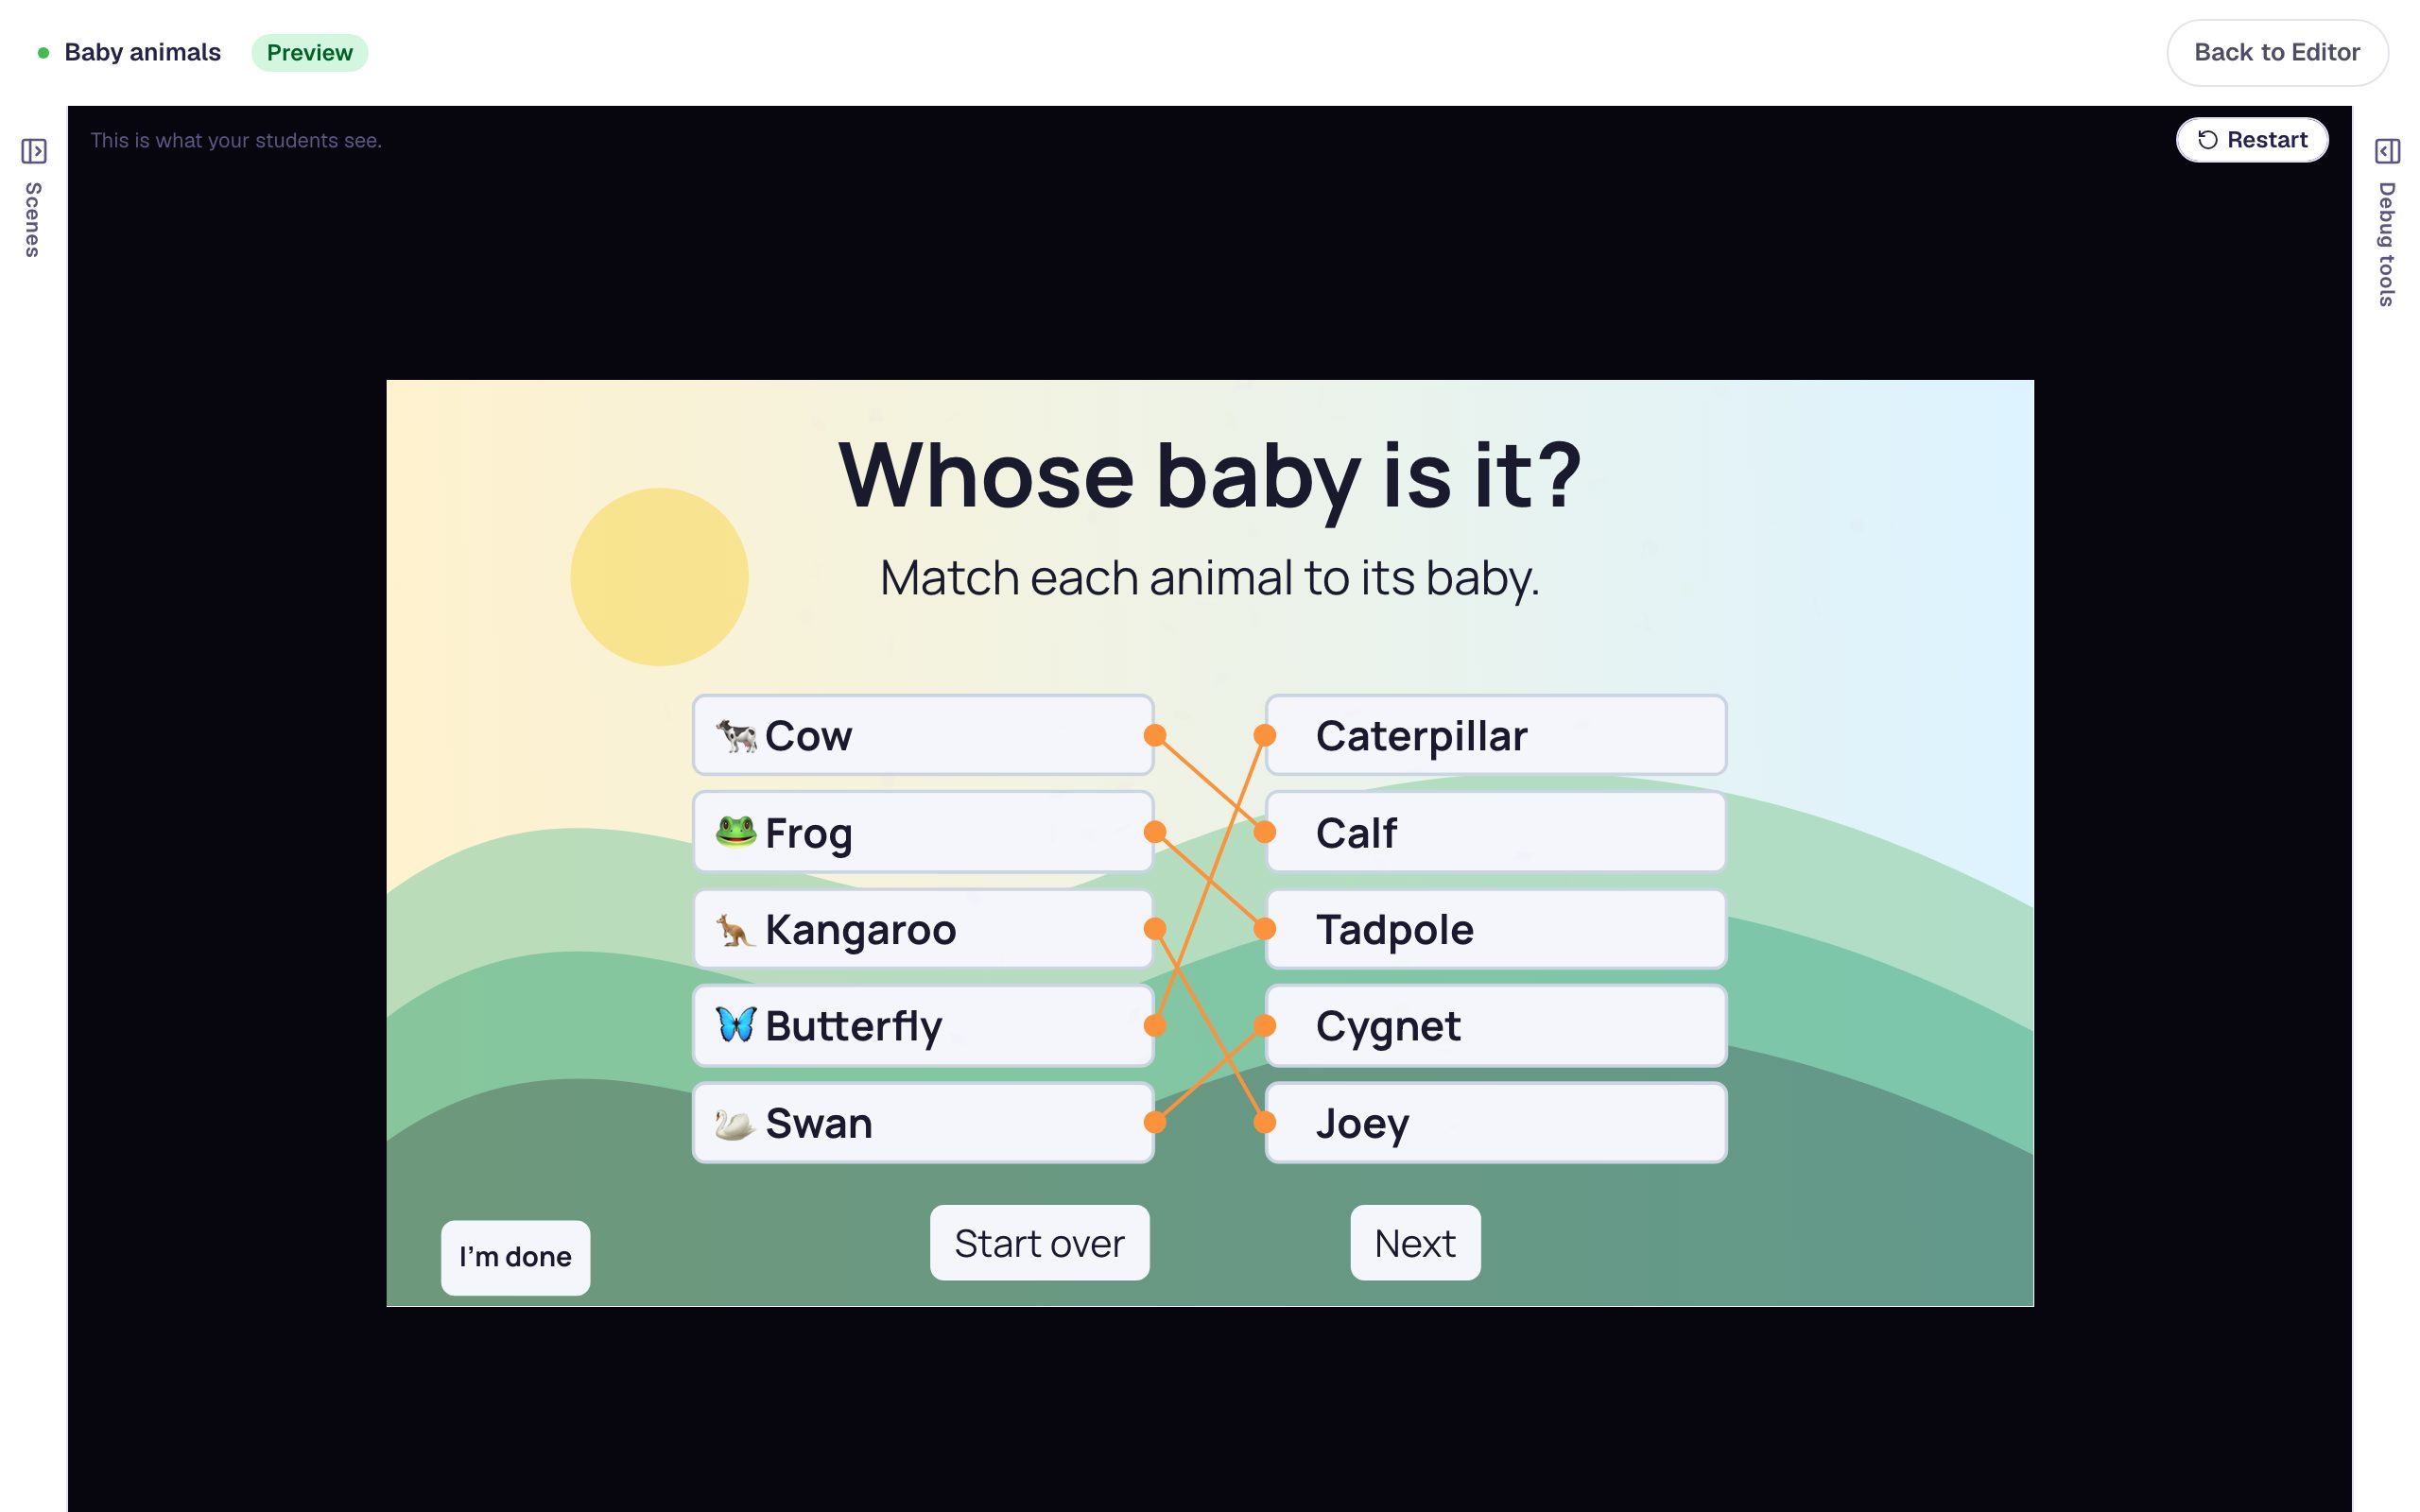
Write a fill-in-the-blank sentence that accepts more than one answer
Build a Fill in the Blank question by typing the real sentence and marking the missing words, then add hints and a second spelling so a right answer is never marked wrong.
- Level
- Beginner
- Time
- About 10 min
- Steps
- 8
A water-cycle scene where students type two missing words, with a hint in each blank, both "vapor" and "vapour" accepted, and their score shown at the end.
Get the finished lesson
Skip straight to the result, or keep it open beside the steps. Add this tutorial's lesson to your account and explore how it works in the studio.
Free to sign up, and you'll come straight back here. I have an account
A fill-in-the-blank question asks students to recall a word instead of recognizing it in a list, which makes it a good check of real understanding. In this tutorial you'll build one about the water cycle:
The sun warms the ocean, and some of the water evaporates, rising into the air as vapor.
Students type the two missing words. Along the way you'll give each blank a hint, accept the British spelling vapour as well as vapor, and see why a capital letter doesn't make an answer wrong.
If you haven't used the studio before, start with Build your first quiz question: this tutorial moves quickly through the parts it already covers.
Step 1: Set the scene
Start a blank lesson (New lesson, then Start from scratch) and name it The water cycle by clicking Untitled lesson at the top.
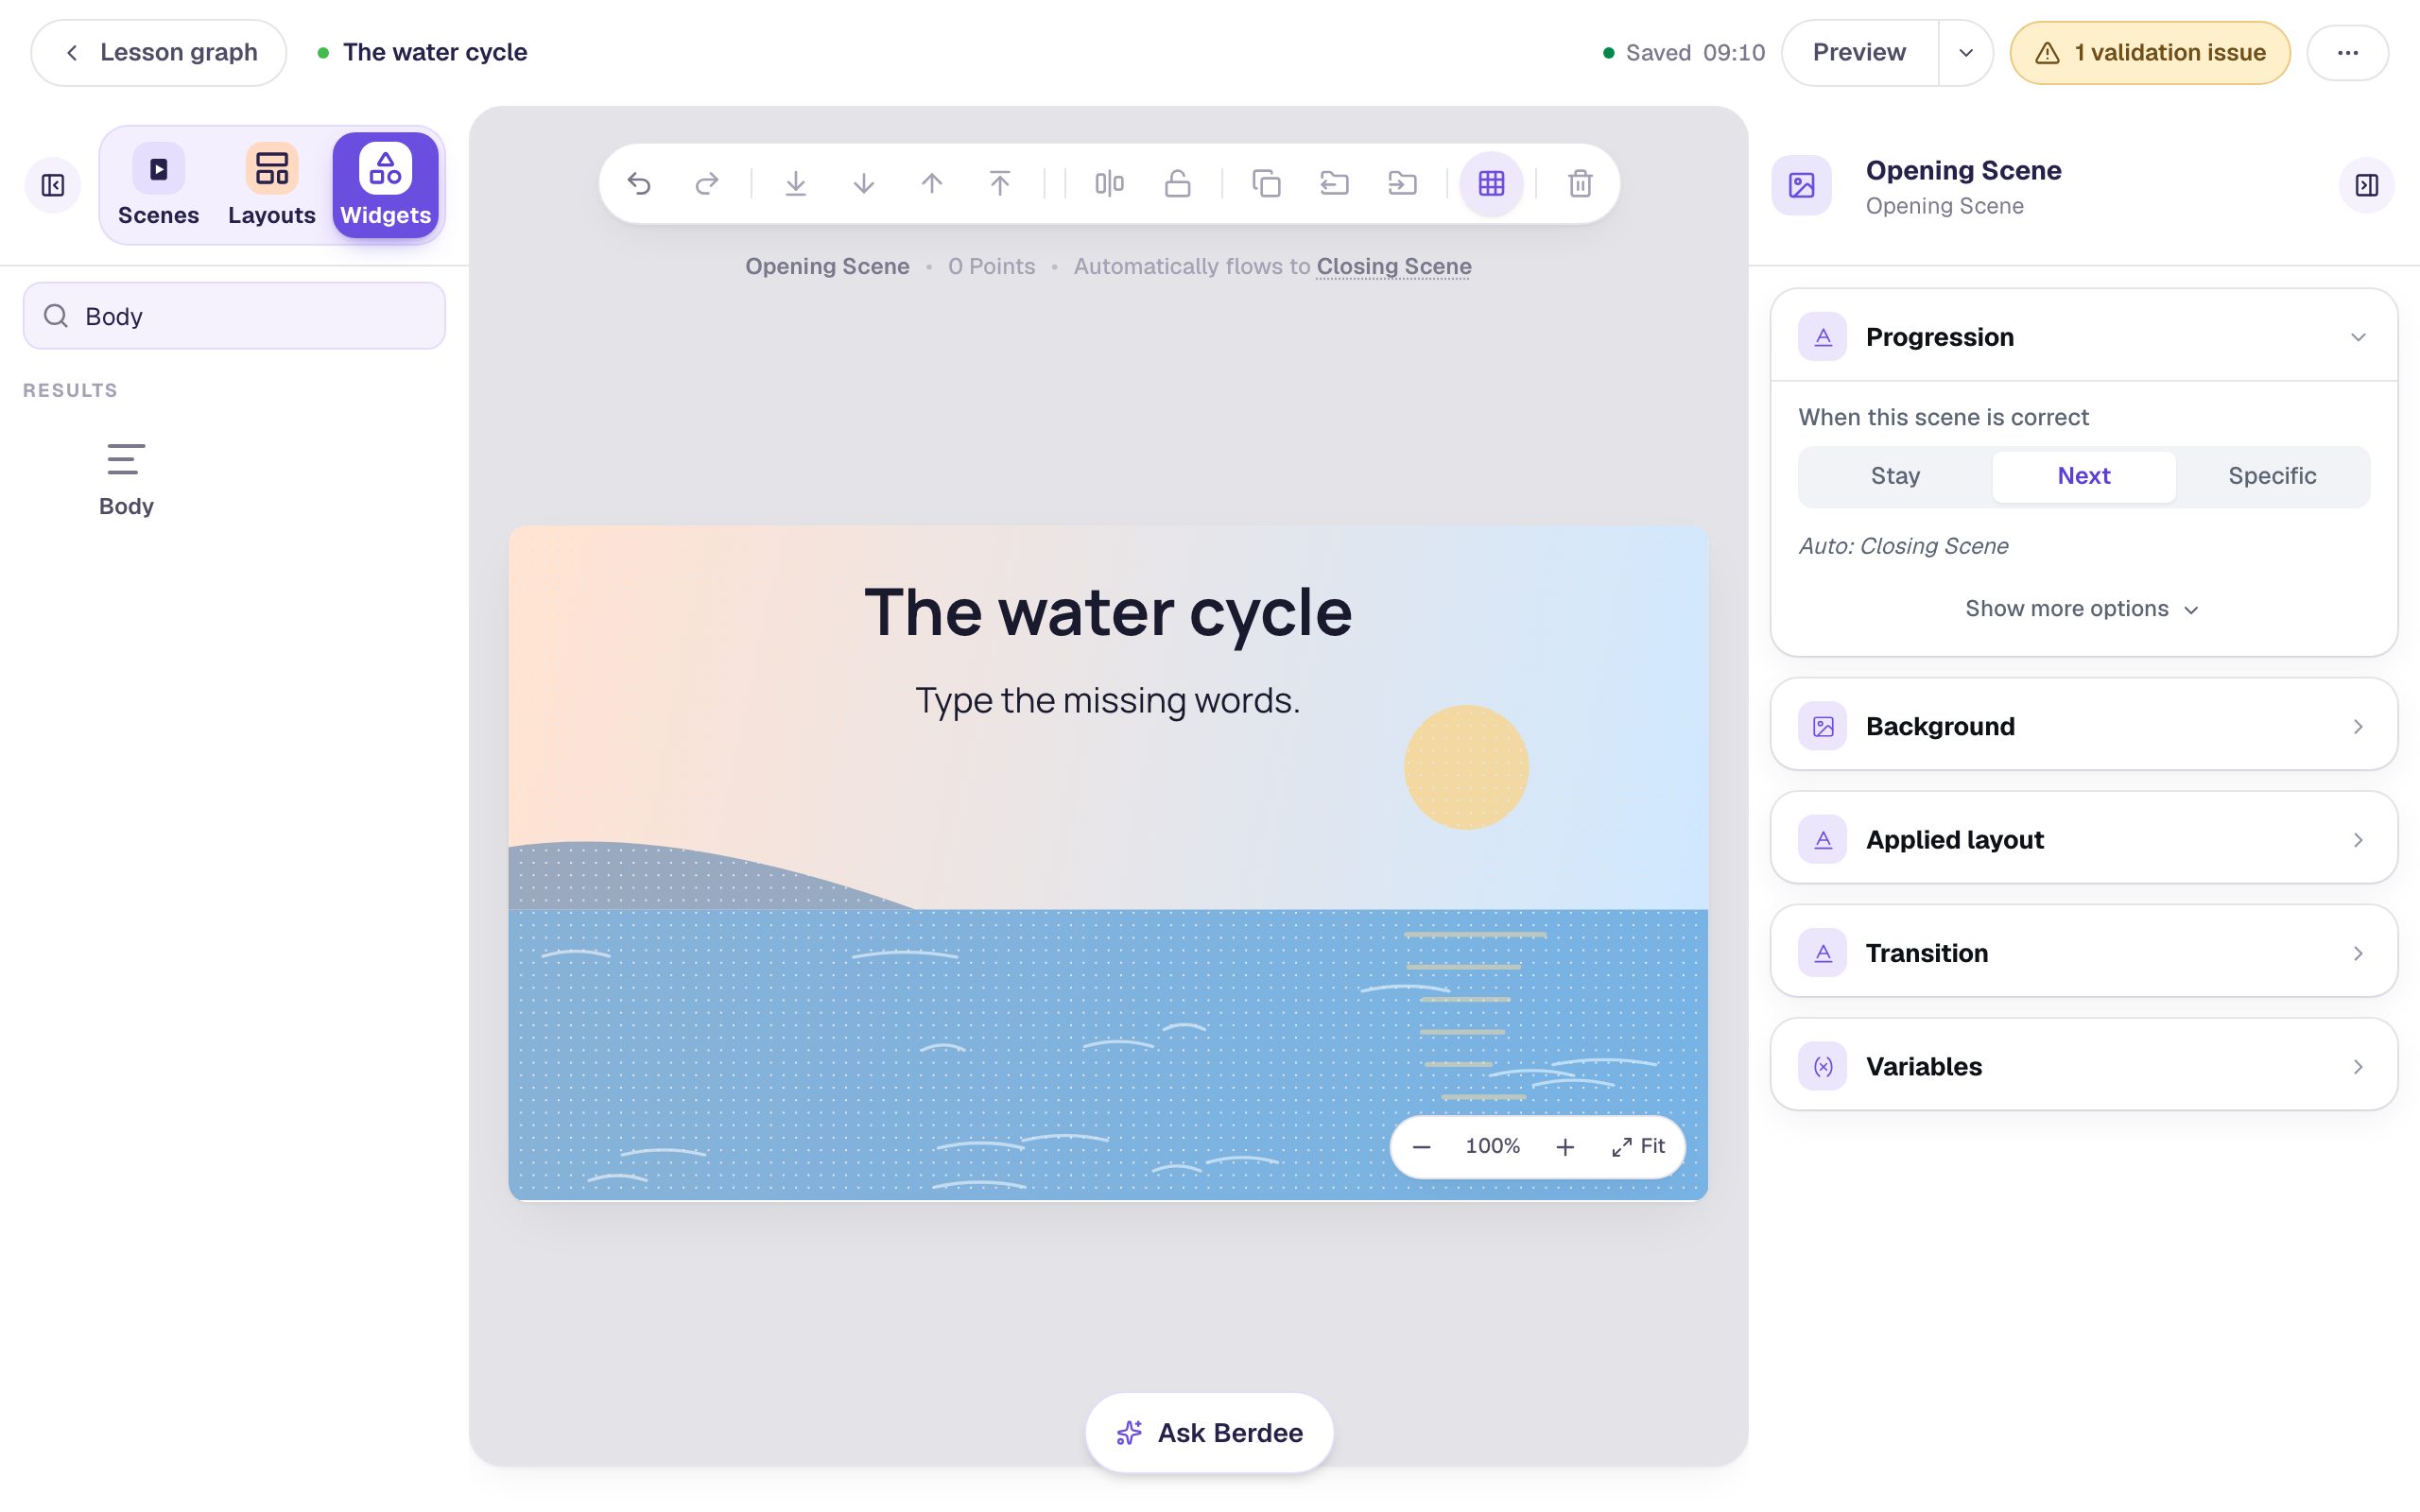
Give the Opening Scene a background that fits the topic. With nothing selected, open Background, click Choose a style, pick Nature, then Ocean horizon, and click Apply background. If the sun lands behind where your title will go, click Randomize composition until it sits off to one side. Then select the Closing Scene in the Scenes panel and give it the same background, so the ending matches. Creative Backgrounds covers the gallery in more detail.
Back on the Opening Scene, add a Heading that says The water cycle and a Body text under it: Type the missing words. Set the Body's Font Size to 28.
Step 2: Add a Fill Blank widget and give it room
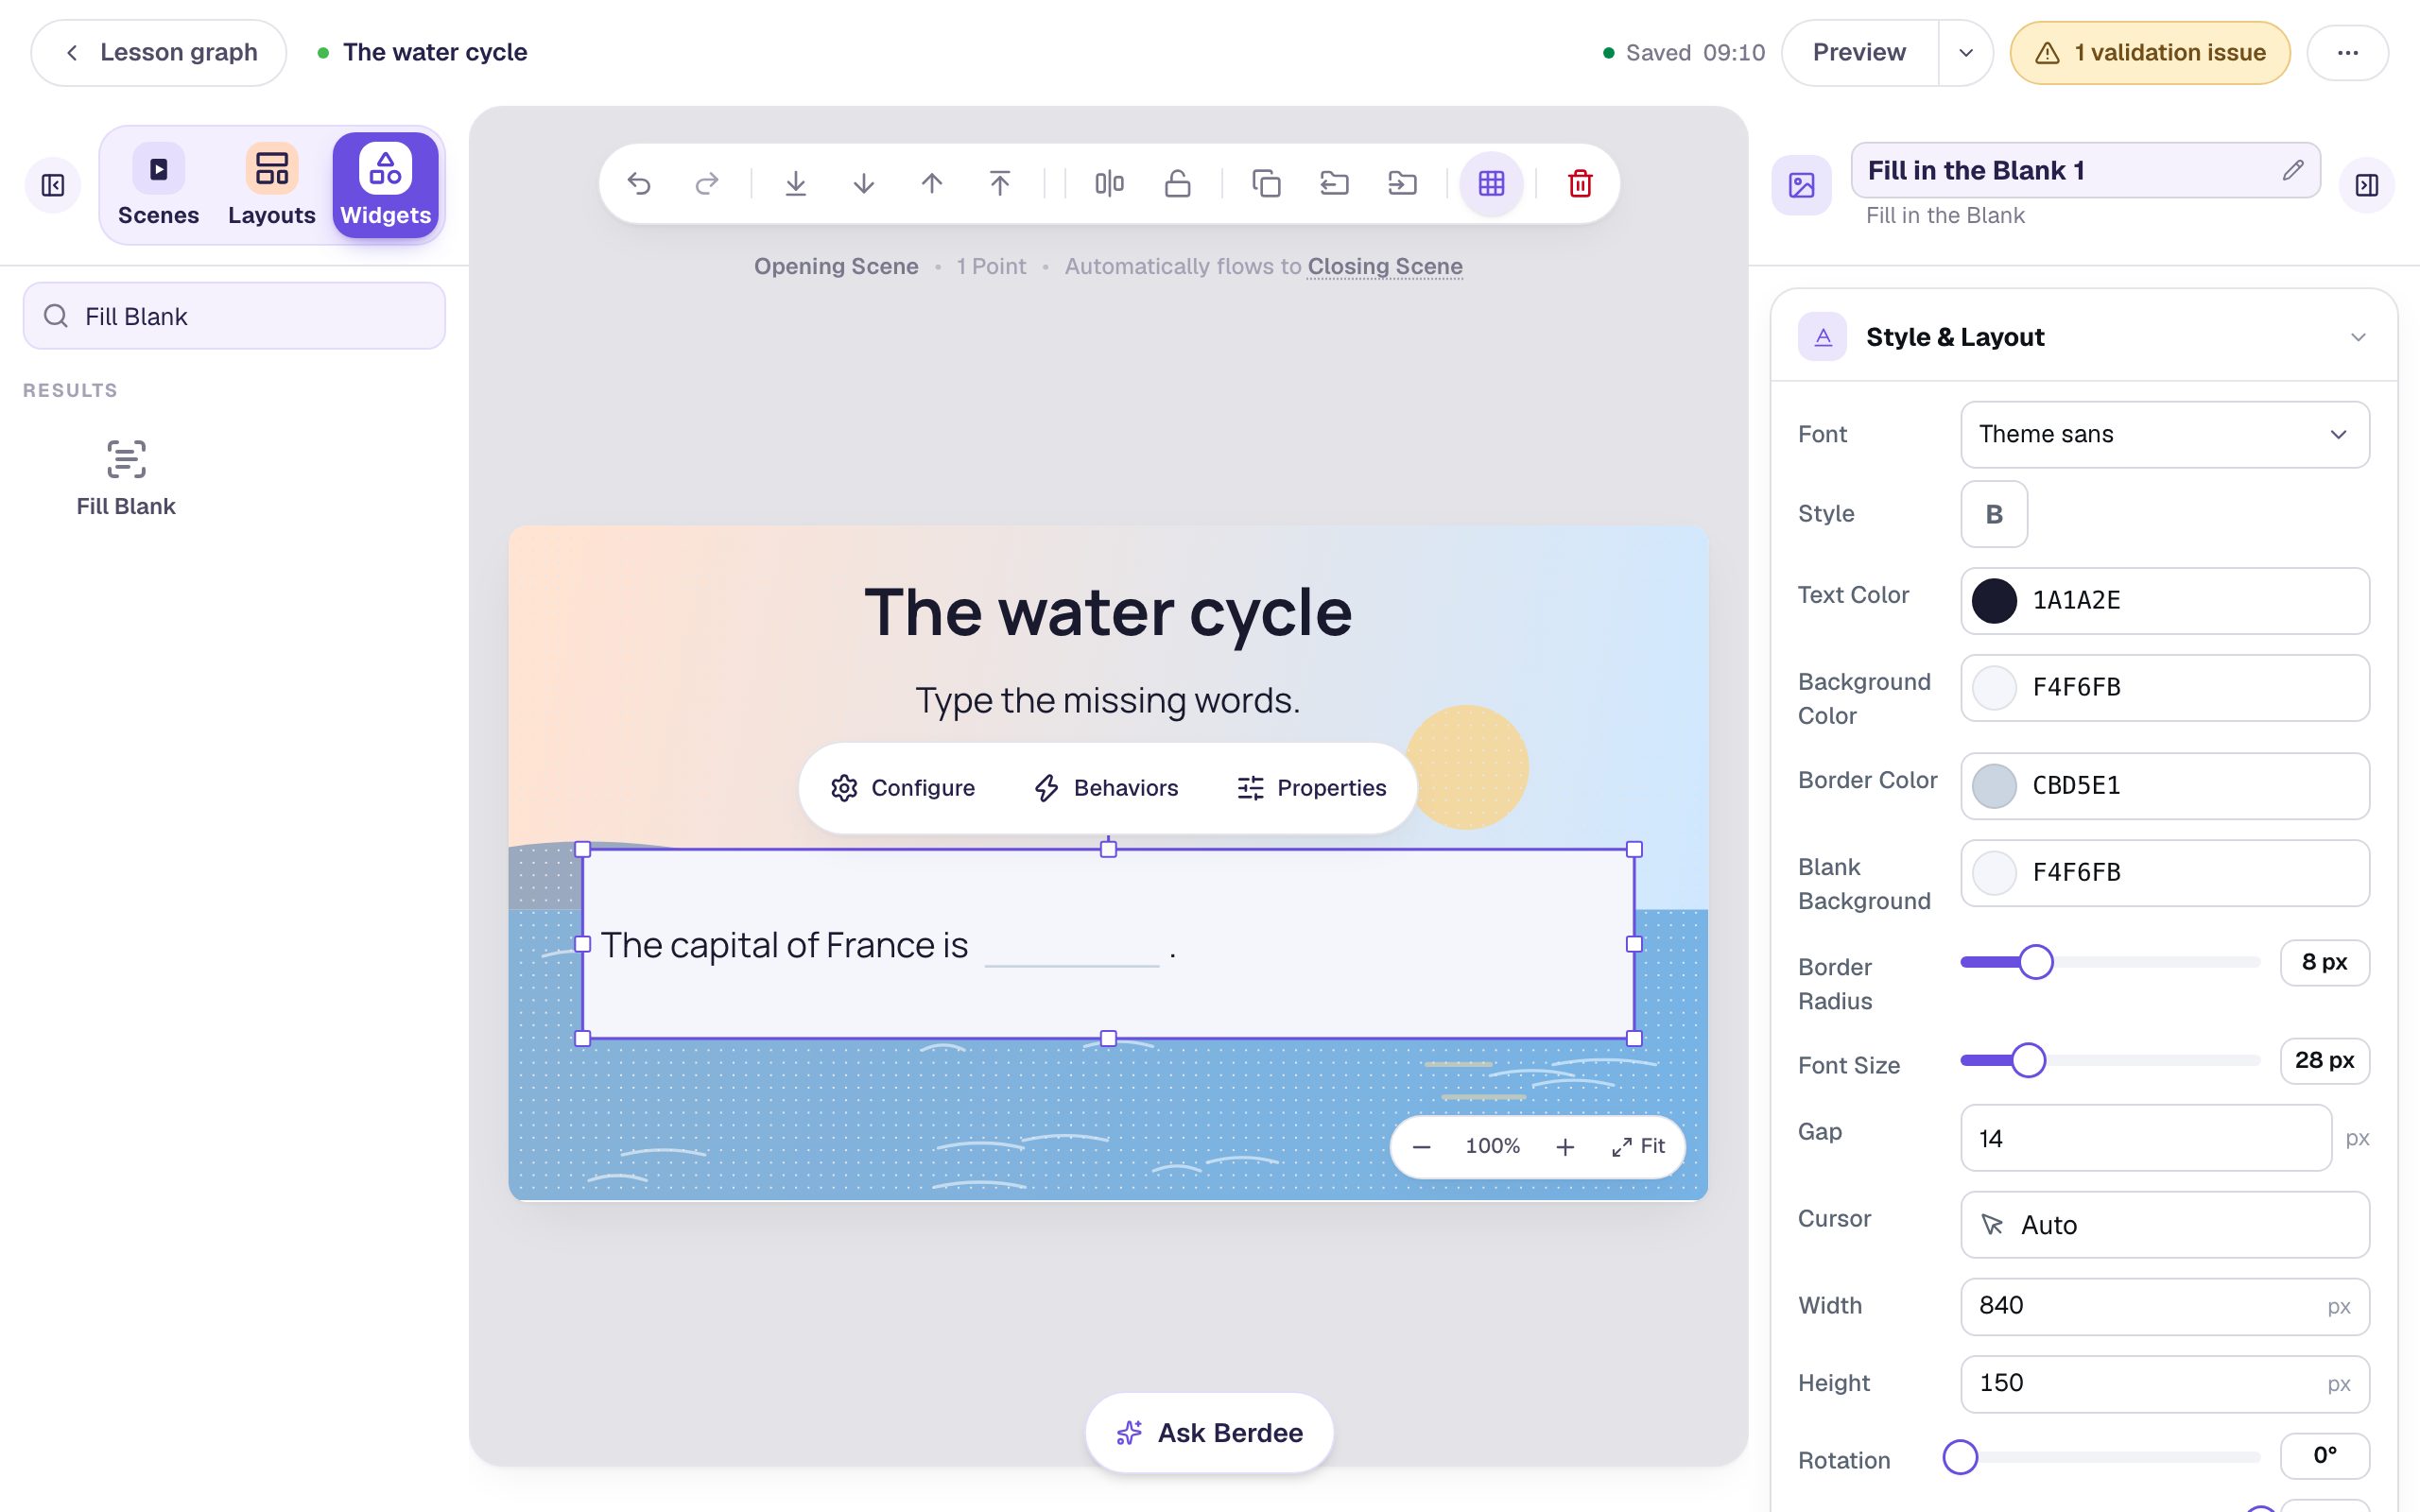
In Widgets, search for Fill Blank and click it. The new widget holds a sample sentence, The capital of France is ___., which you'll replace in the next step.
A new Fill Blank is small, and a real sentence needs space. With it selected, open Style & Layout:
- Set Font Size to
28. - Set Gap to
14. Gap is the padding inside the box and the space around each blank, so a little more of it keeps the words off the border. - Click Show more options and set Width to
840and Height to150.
Then drag the widget onto the water, under the instructions.
Step 3: Type the whole sentence
Click ⚙ Configure above the widget, then Edit sentence & blanks. Select the sample sentence and type the real one, written out the way it reads when it's correct:
The sun warms the ocean, and some of the water evaporates, rising into the air as vapor.
Typing the answers into the sentence feels backwards, but it's the point: the word you turn into a blank becomes that blank's answer, so there's no separate answer key to keep in step with the sentence.
Step 4: Mark the missing words
Double-click evaporates to select it and click Mark as blank. Then do the same for vapor.
Each marked word gets a dashed underline. The word itself is the blank's main accepted answer.
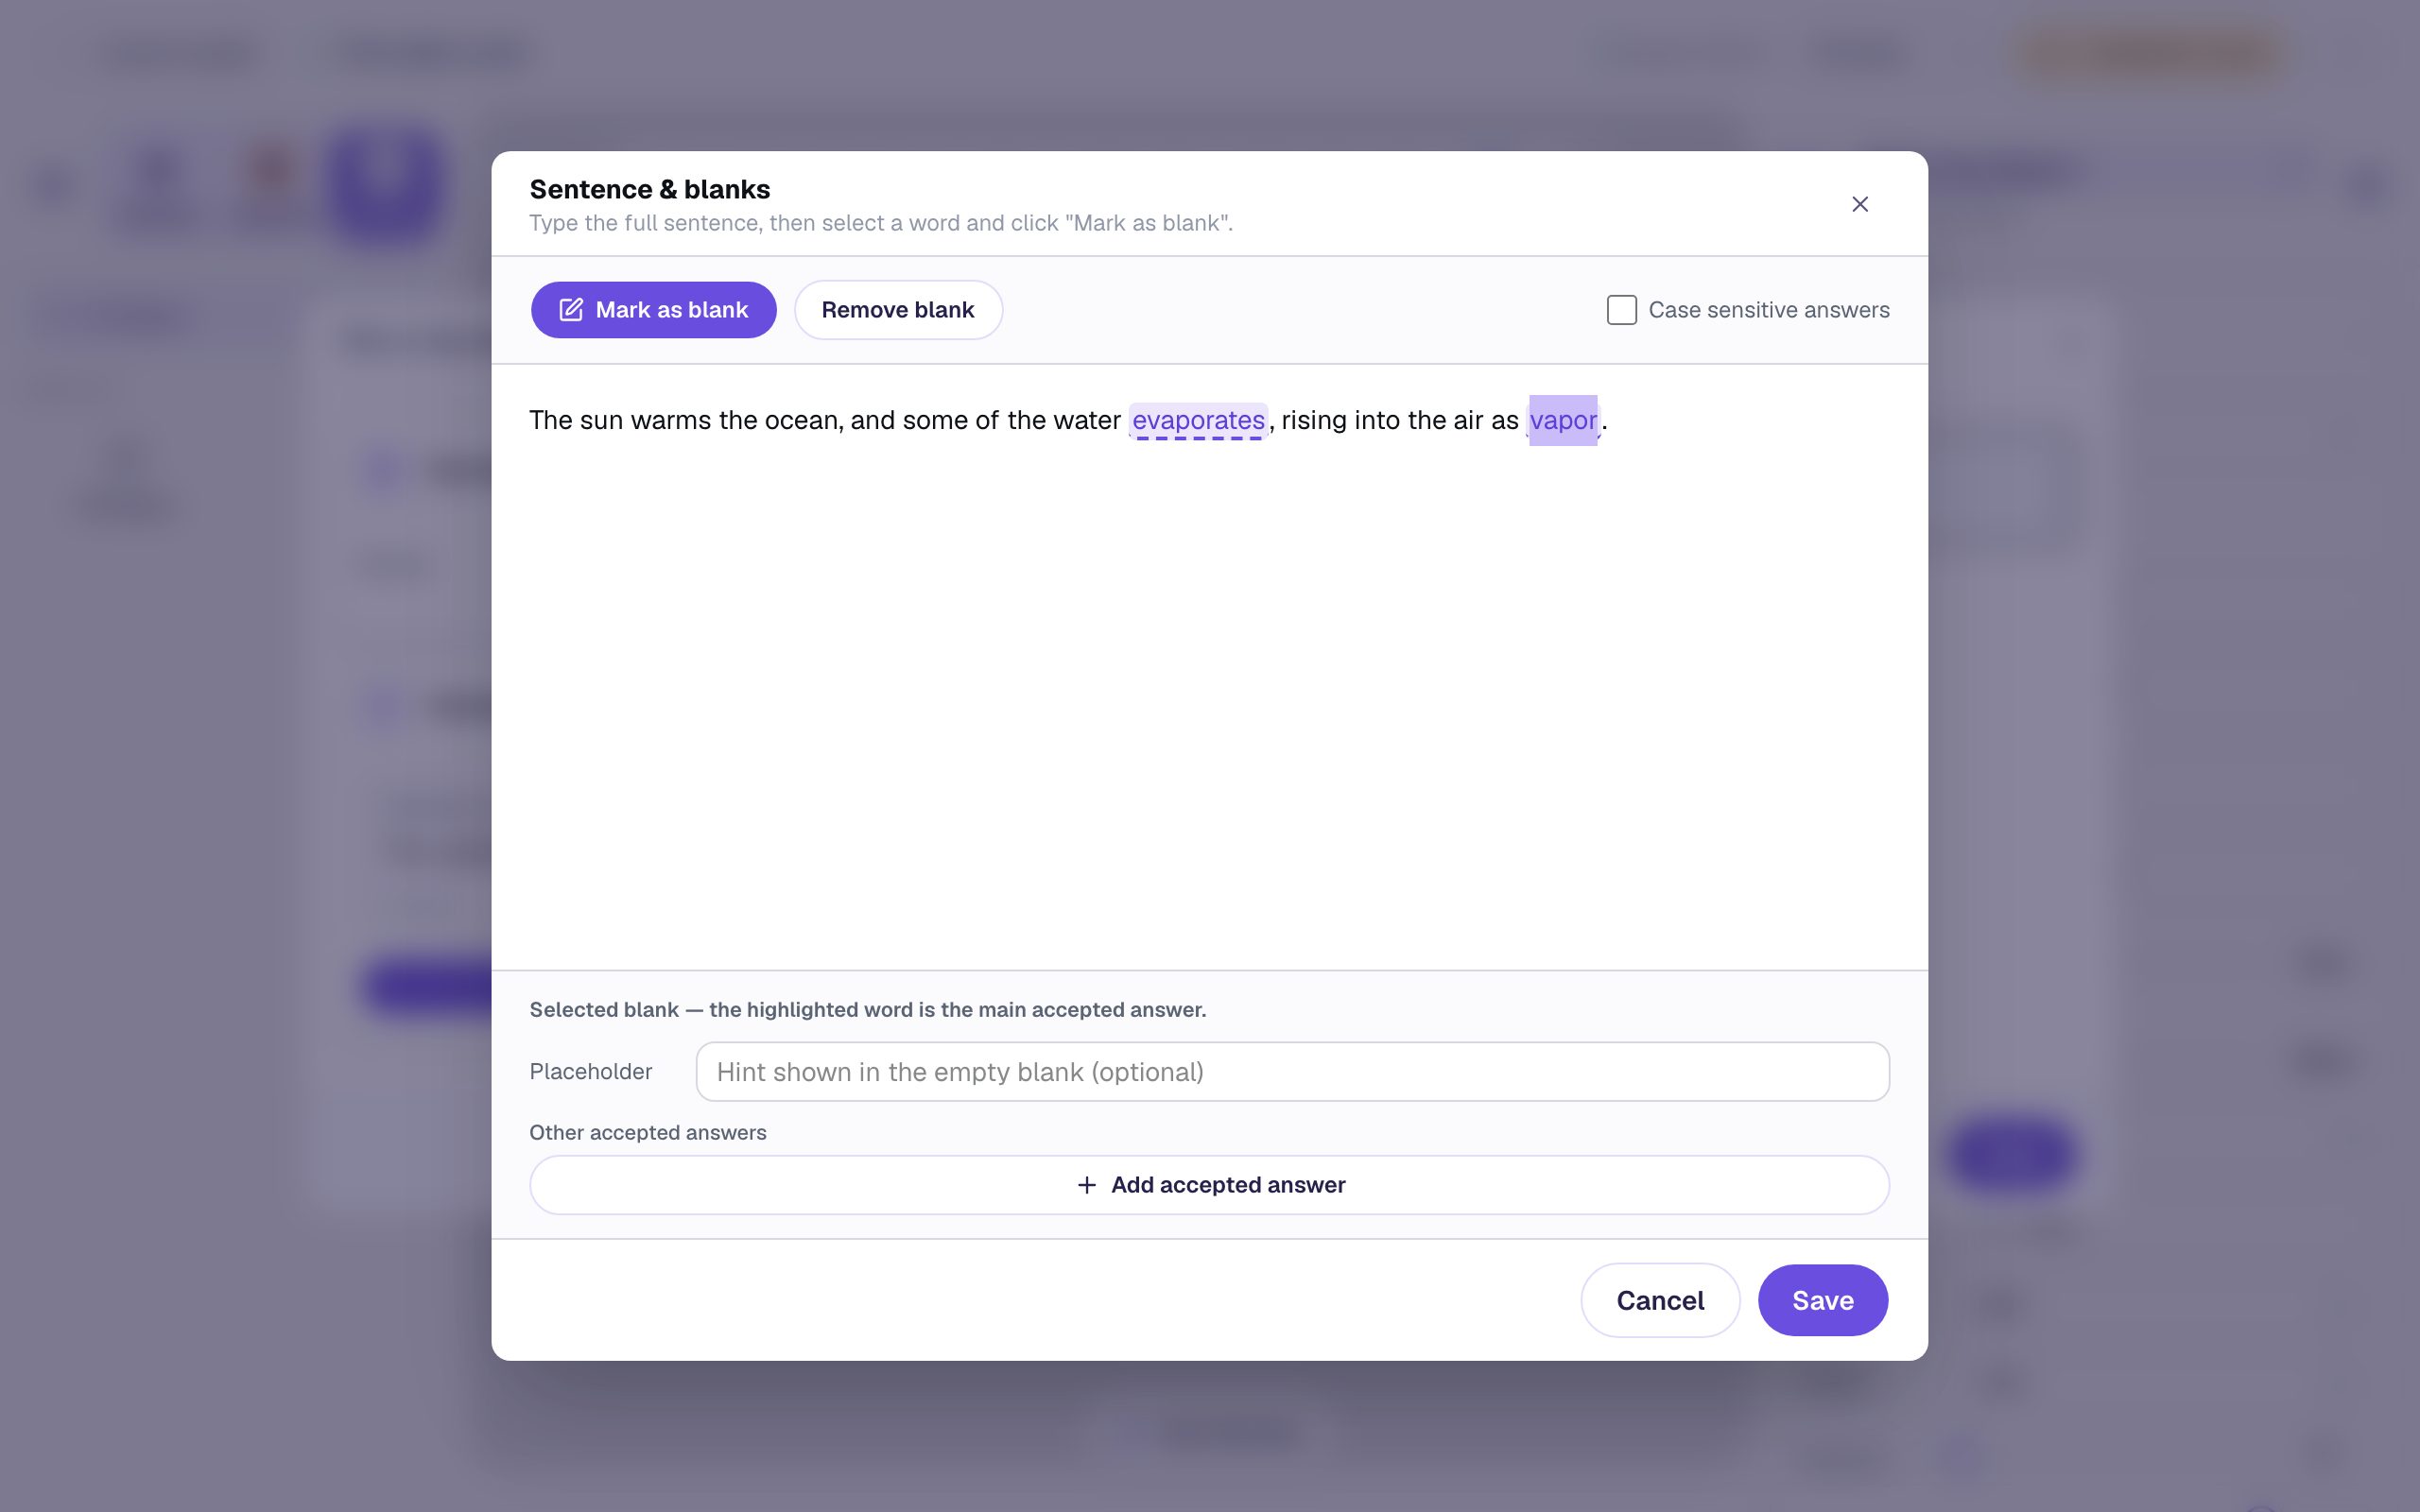
Marked the wrong word? Click inside it and choose Remove blank.
Step 5: Add hints and a second spelling
Click a blank to open its settings at the bottom of the window.
- Click
evaporatesand typewhat it doesin Placeholder. Students see this hint, faded, inside the empty blank. - Click
vaporand typea gasin Placeholder. - Still on
vapor, click Add accepted answer and typevapour. Now either spelling counts.
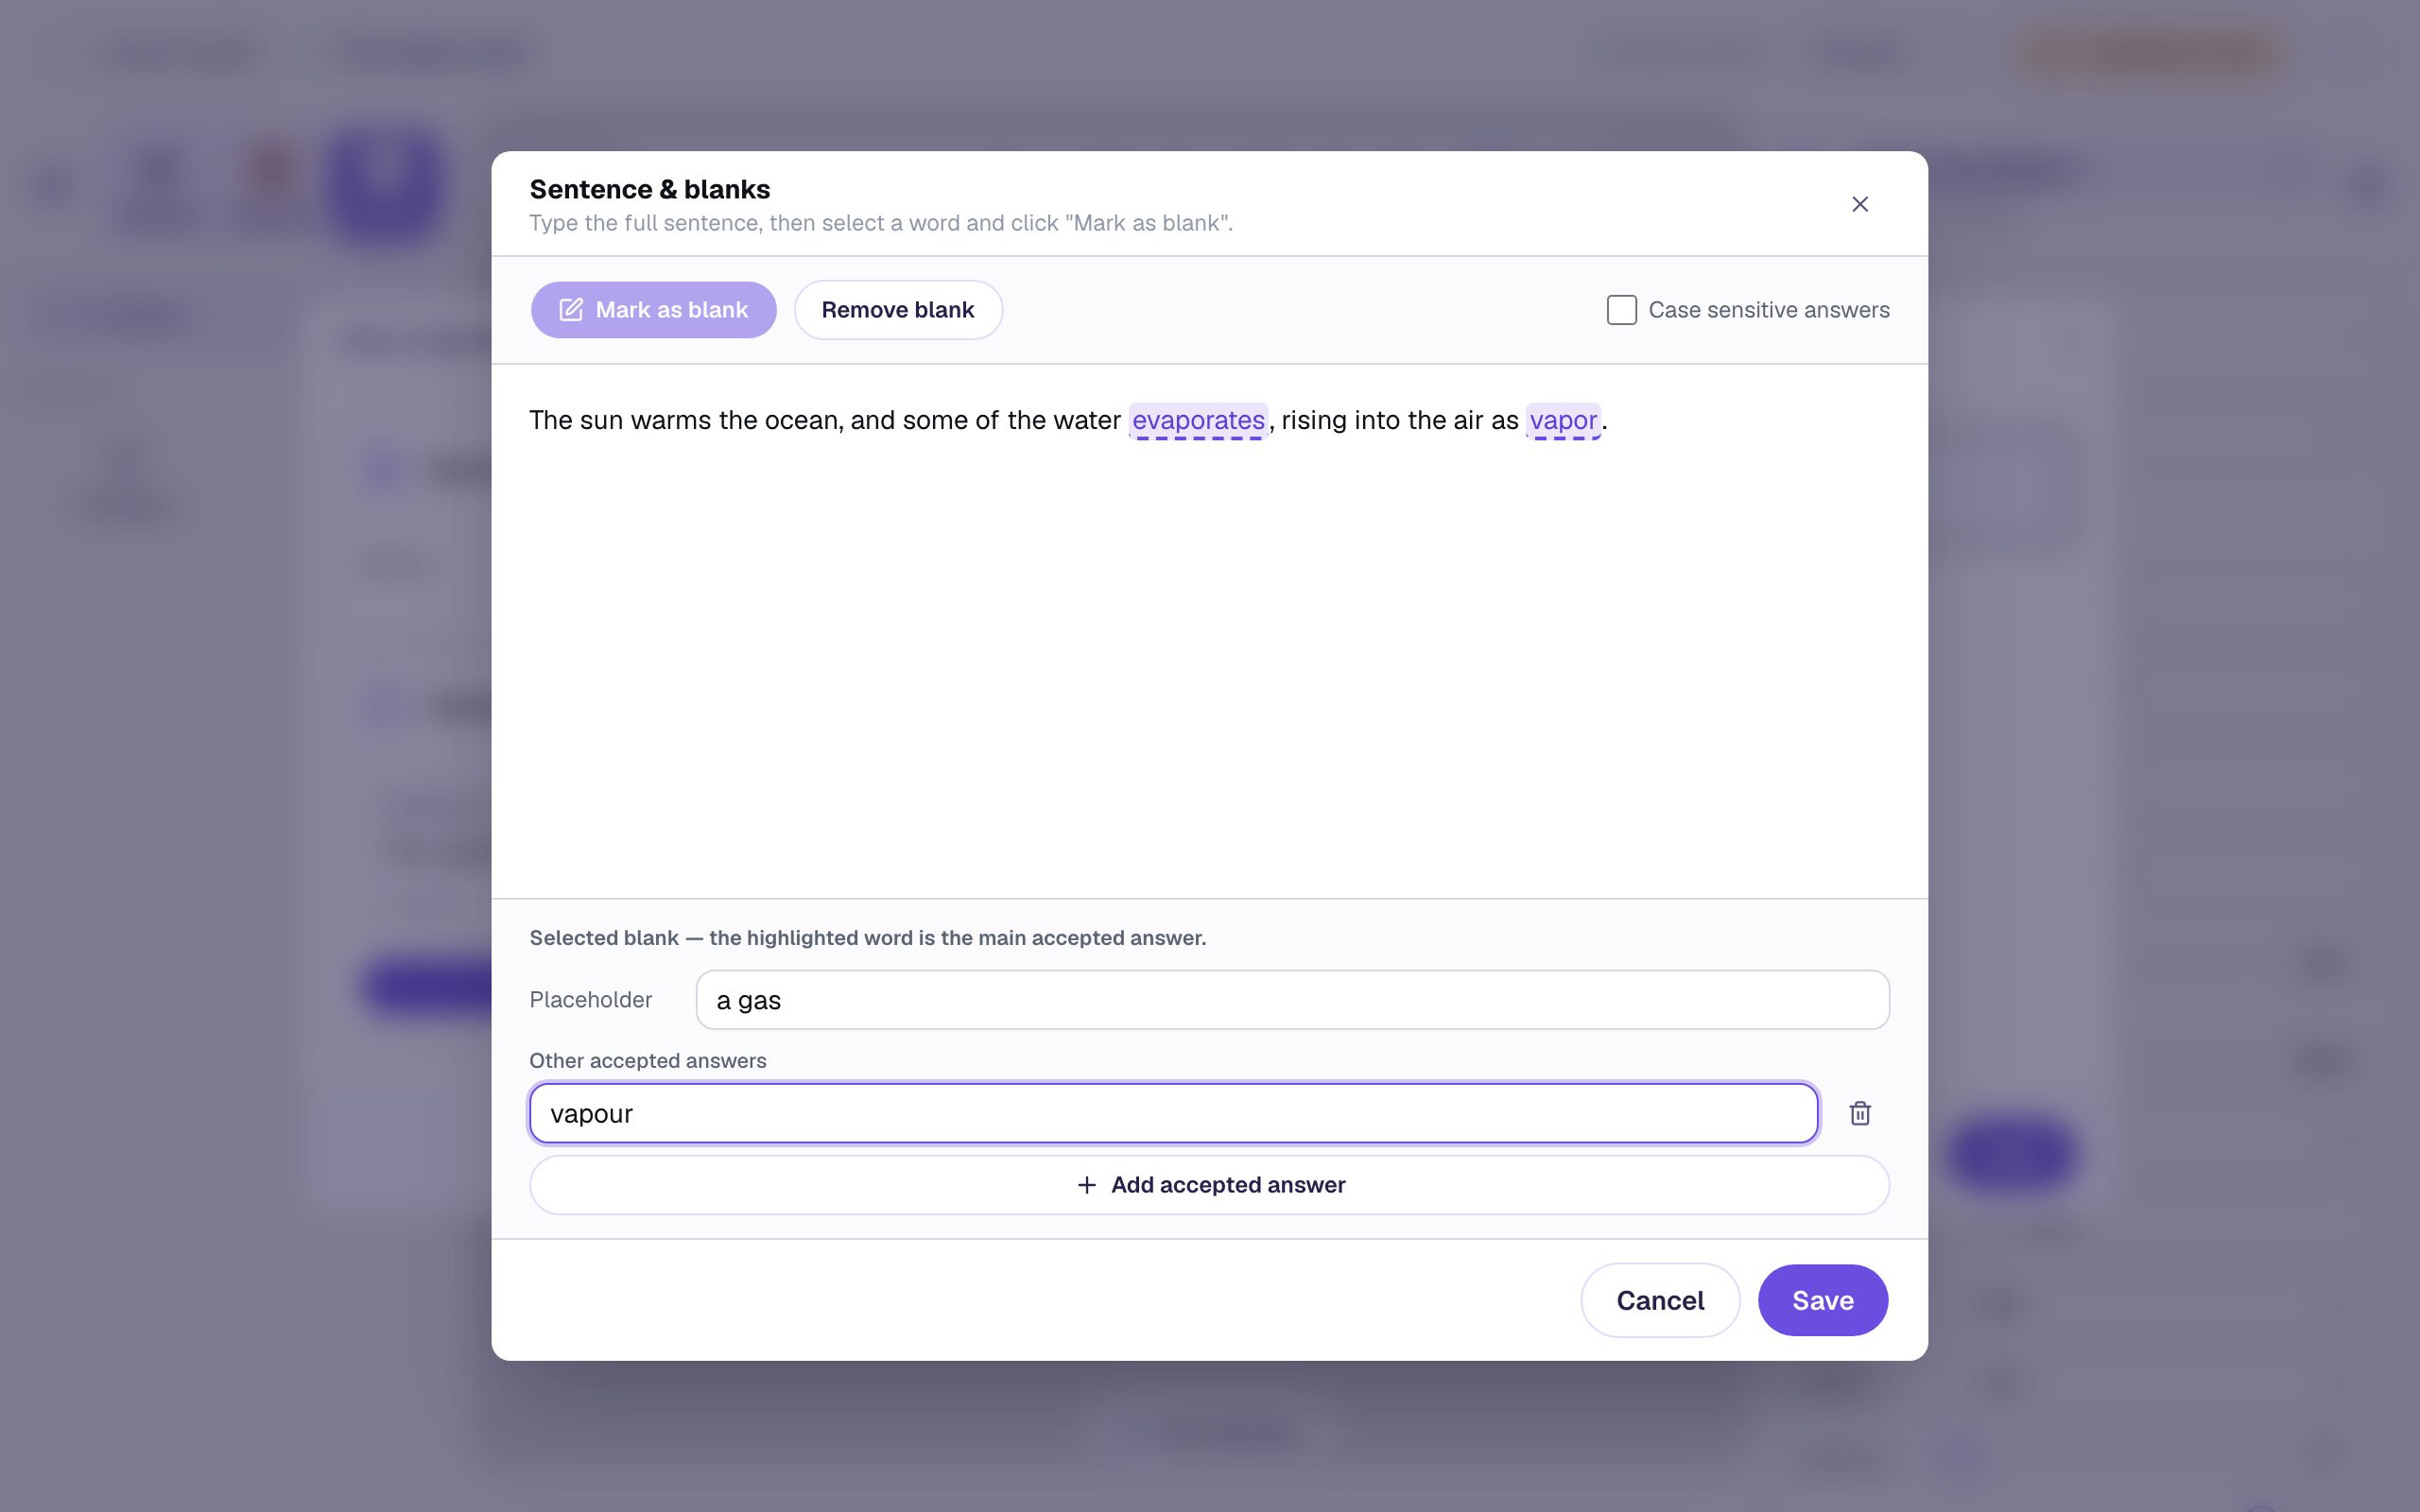
A hint also sets the blank's width. A blank is as wide as its hint, and never narrower than about five letters. With no hint, a long answer like
Evaporatesdoesn't fit, and students can't see the start of what they typed. A hint at least as long as the answer, likewhat it does, gives them room.
Leave Case sensitive answers unchecked at the top. Then Evaporates and evaporates both count, which is what you want for almost every answer except names and abbreviations. Extra spaces are ignored too.
Click Save. You're back in the Configure window, which shows the sentence with its two blanks and a live preview of the widget:
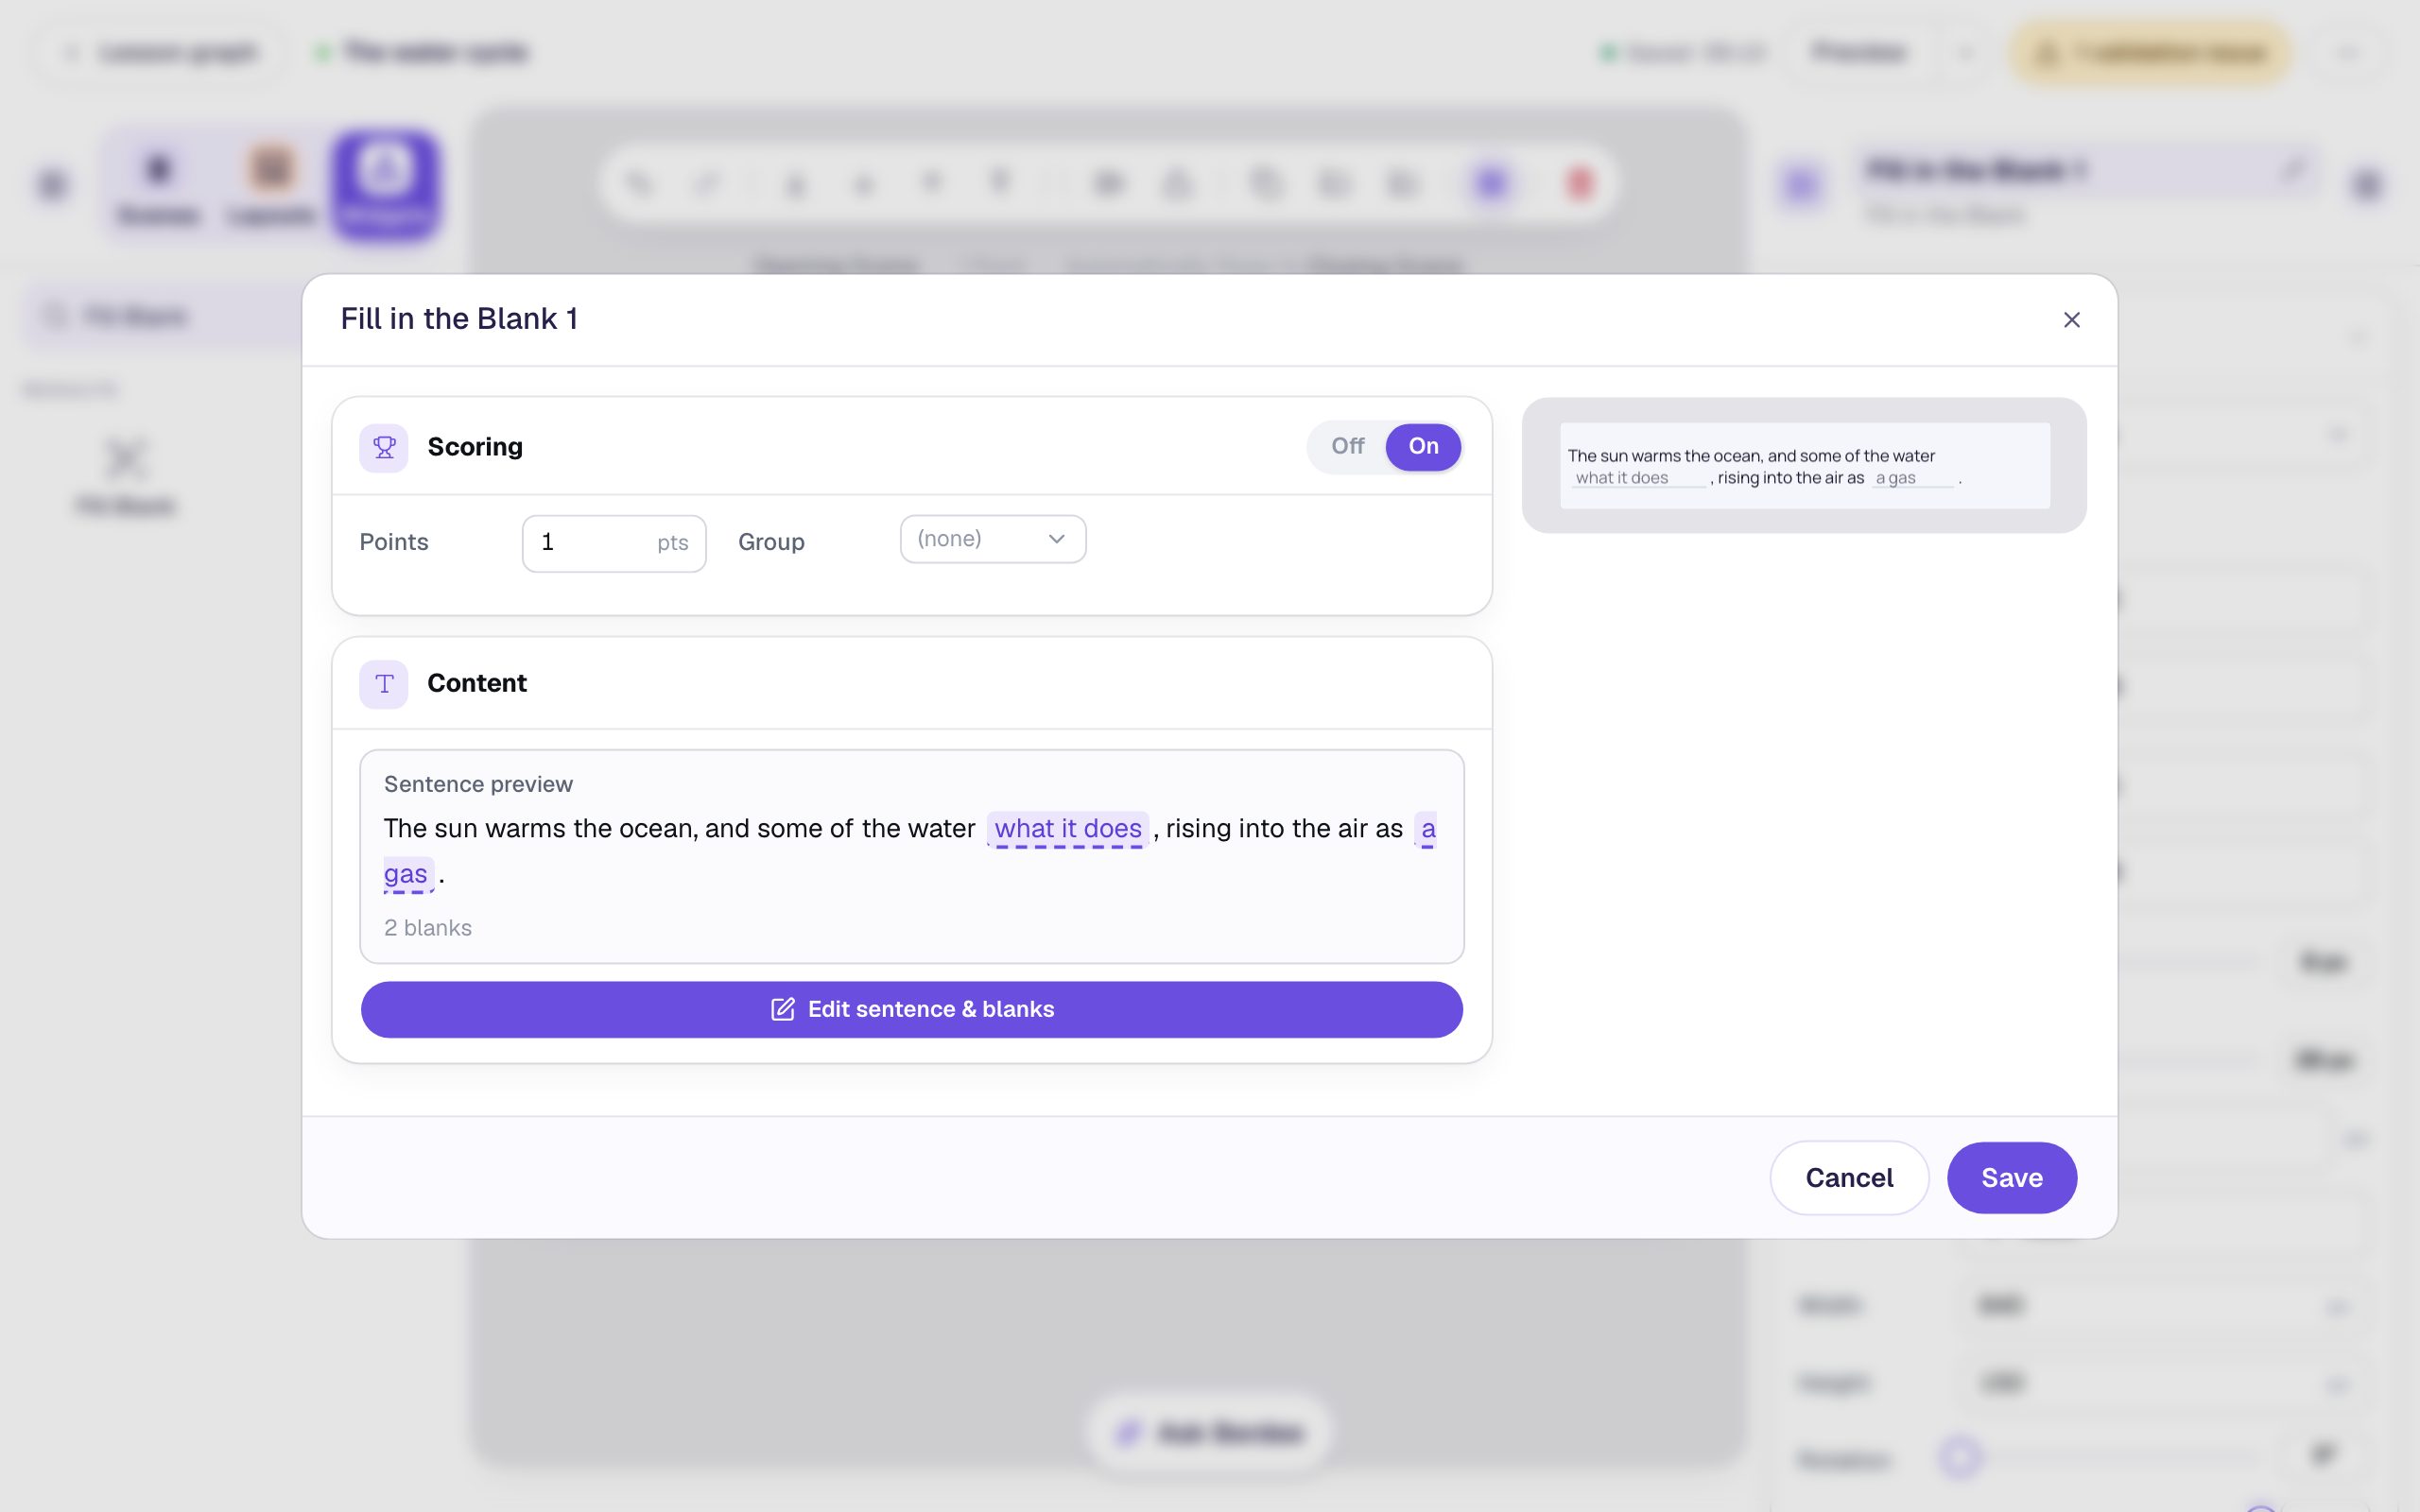
Scoring is already on. The whole sentence is worth 1 point, earned when every blank is right. Click Save.
Step 6: Check it on the scene
Click an empty spot so nothing is selected and look at the canvas. Students see the same thing: the sentence, and each blank showing its hint.
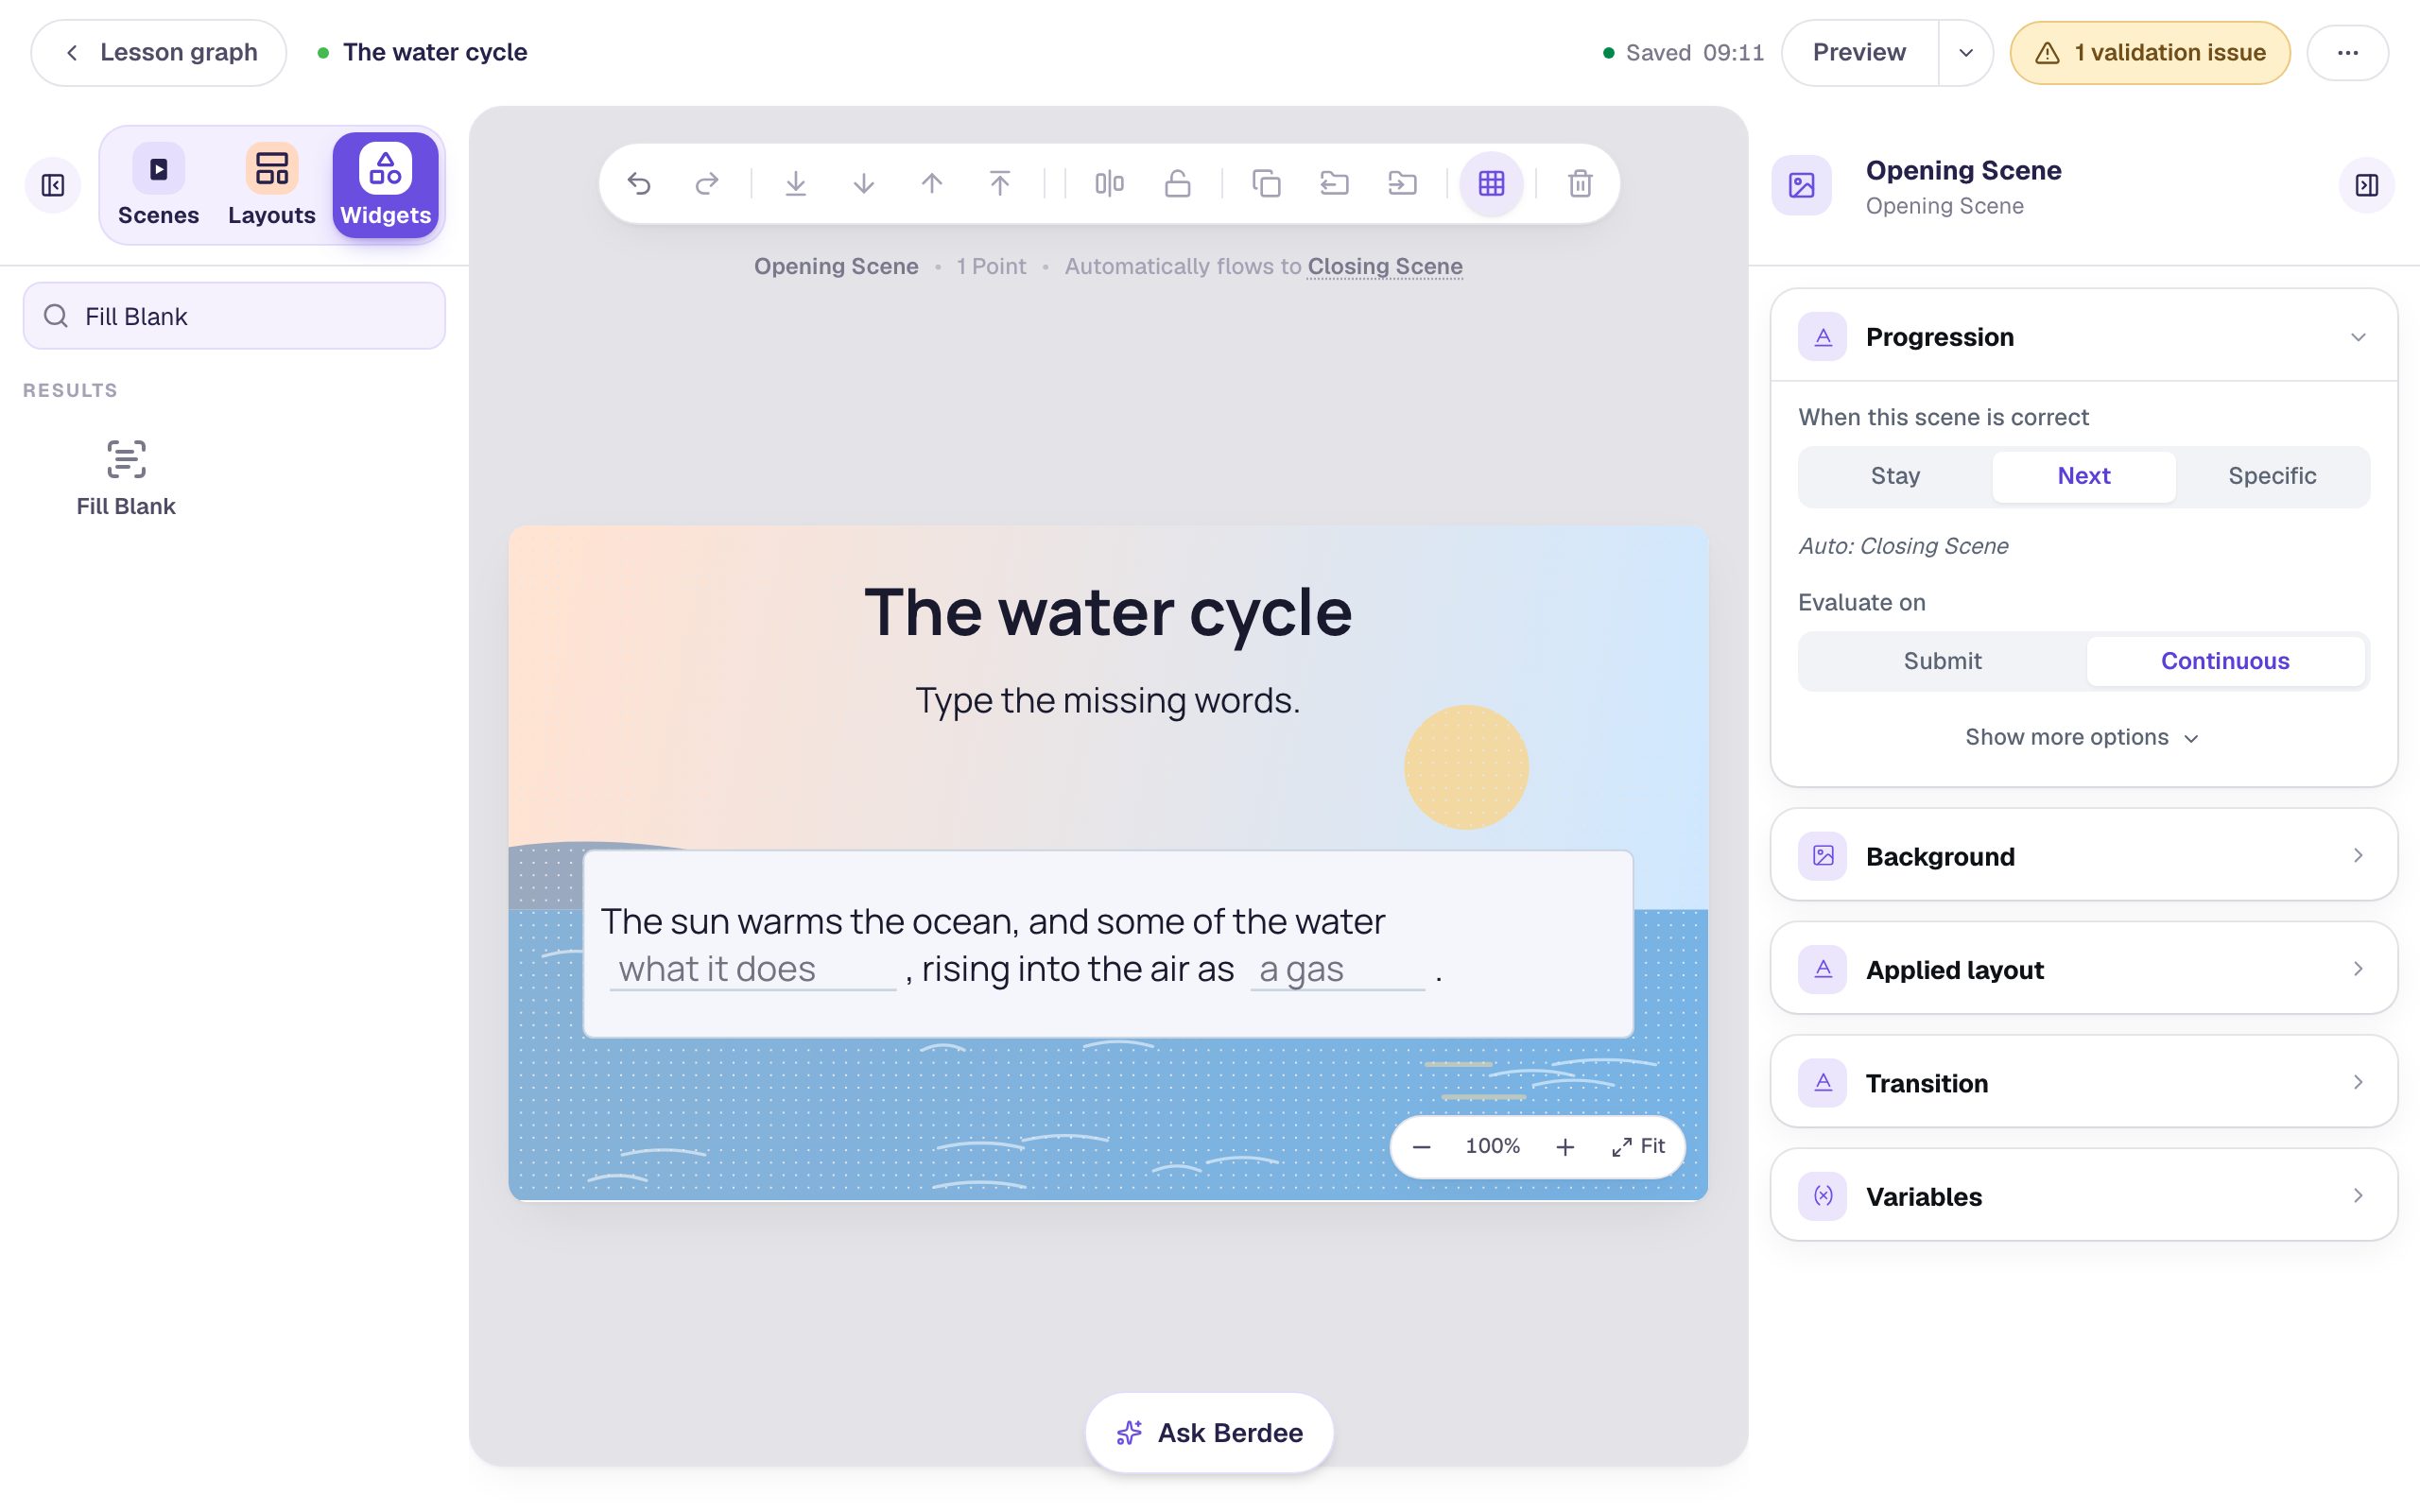
To fix a word later, double-click the widget on the canvas and edit in place. Each blank shows as square brackets around its hint, like [a gas], and keeps its answers while you change the words around it.
Step 7: Add a Next button
Students need a way to say "I'm finished" after they type. Add a Button, click ⚙ Configure, change its Label to Next, and click Save. Click Behaviors, then Make this a "Next" button, check that Goes to says Closing Scene, and click Add behavior. Set its Font Size to 28 and drag it under the sentence.
Then click an empty spot on the scene and, in Progression, change When this scene is correct from Next to Stay.
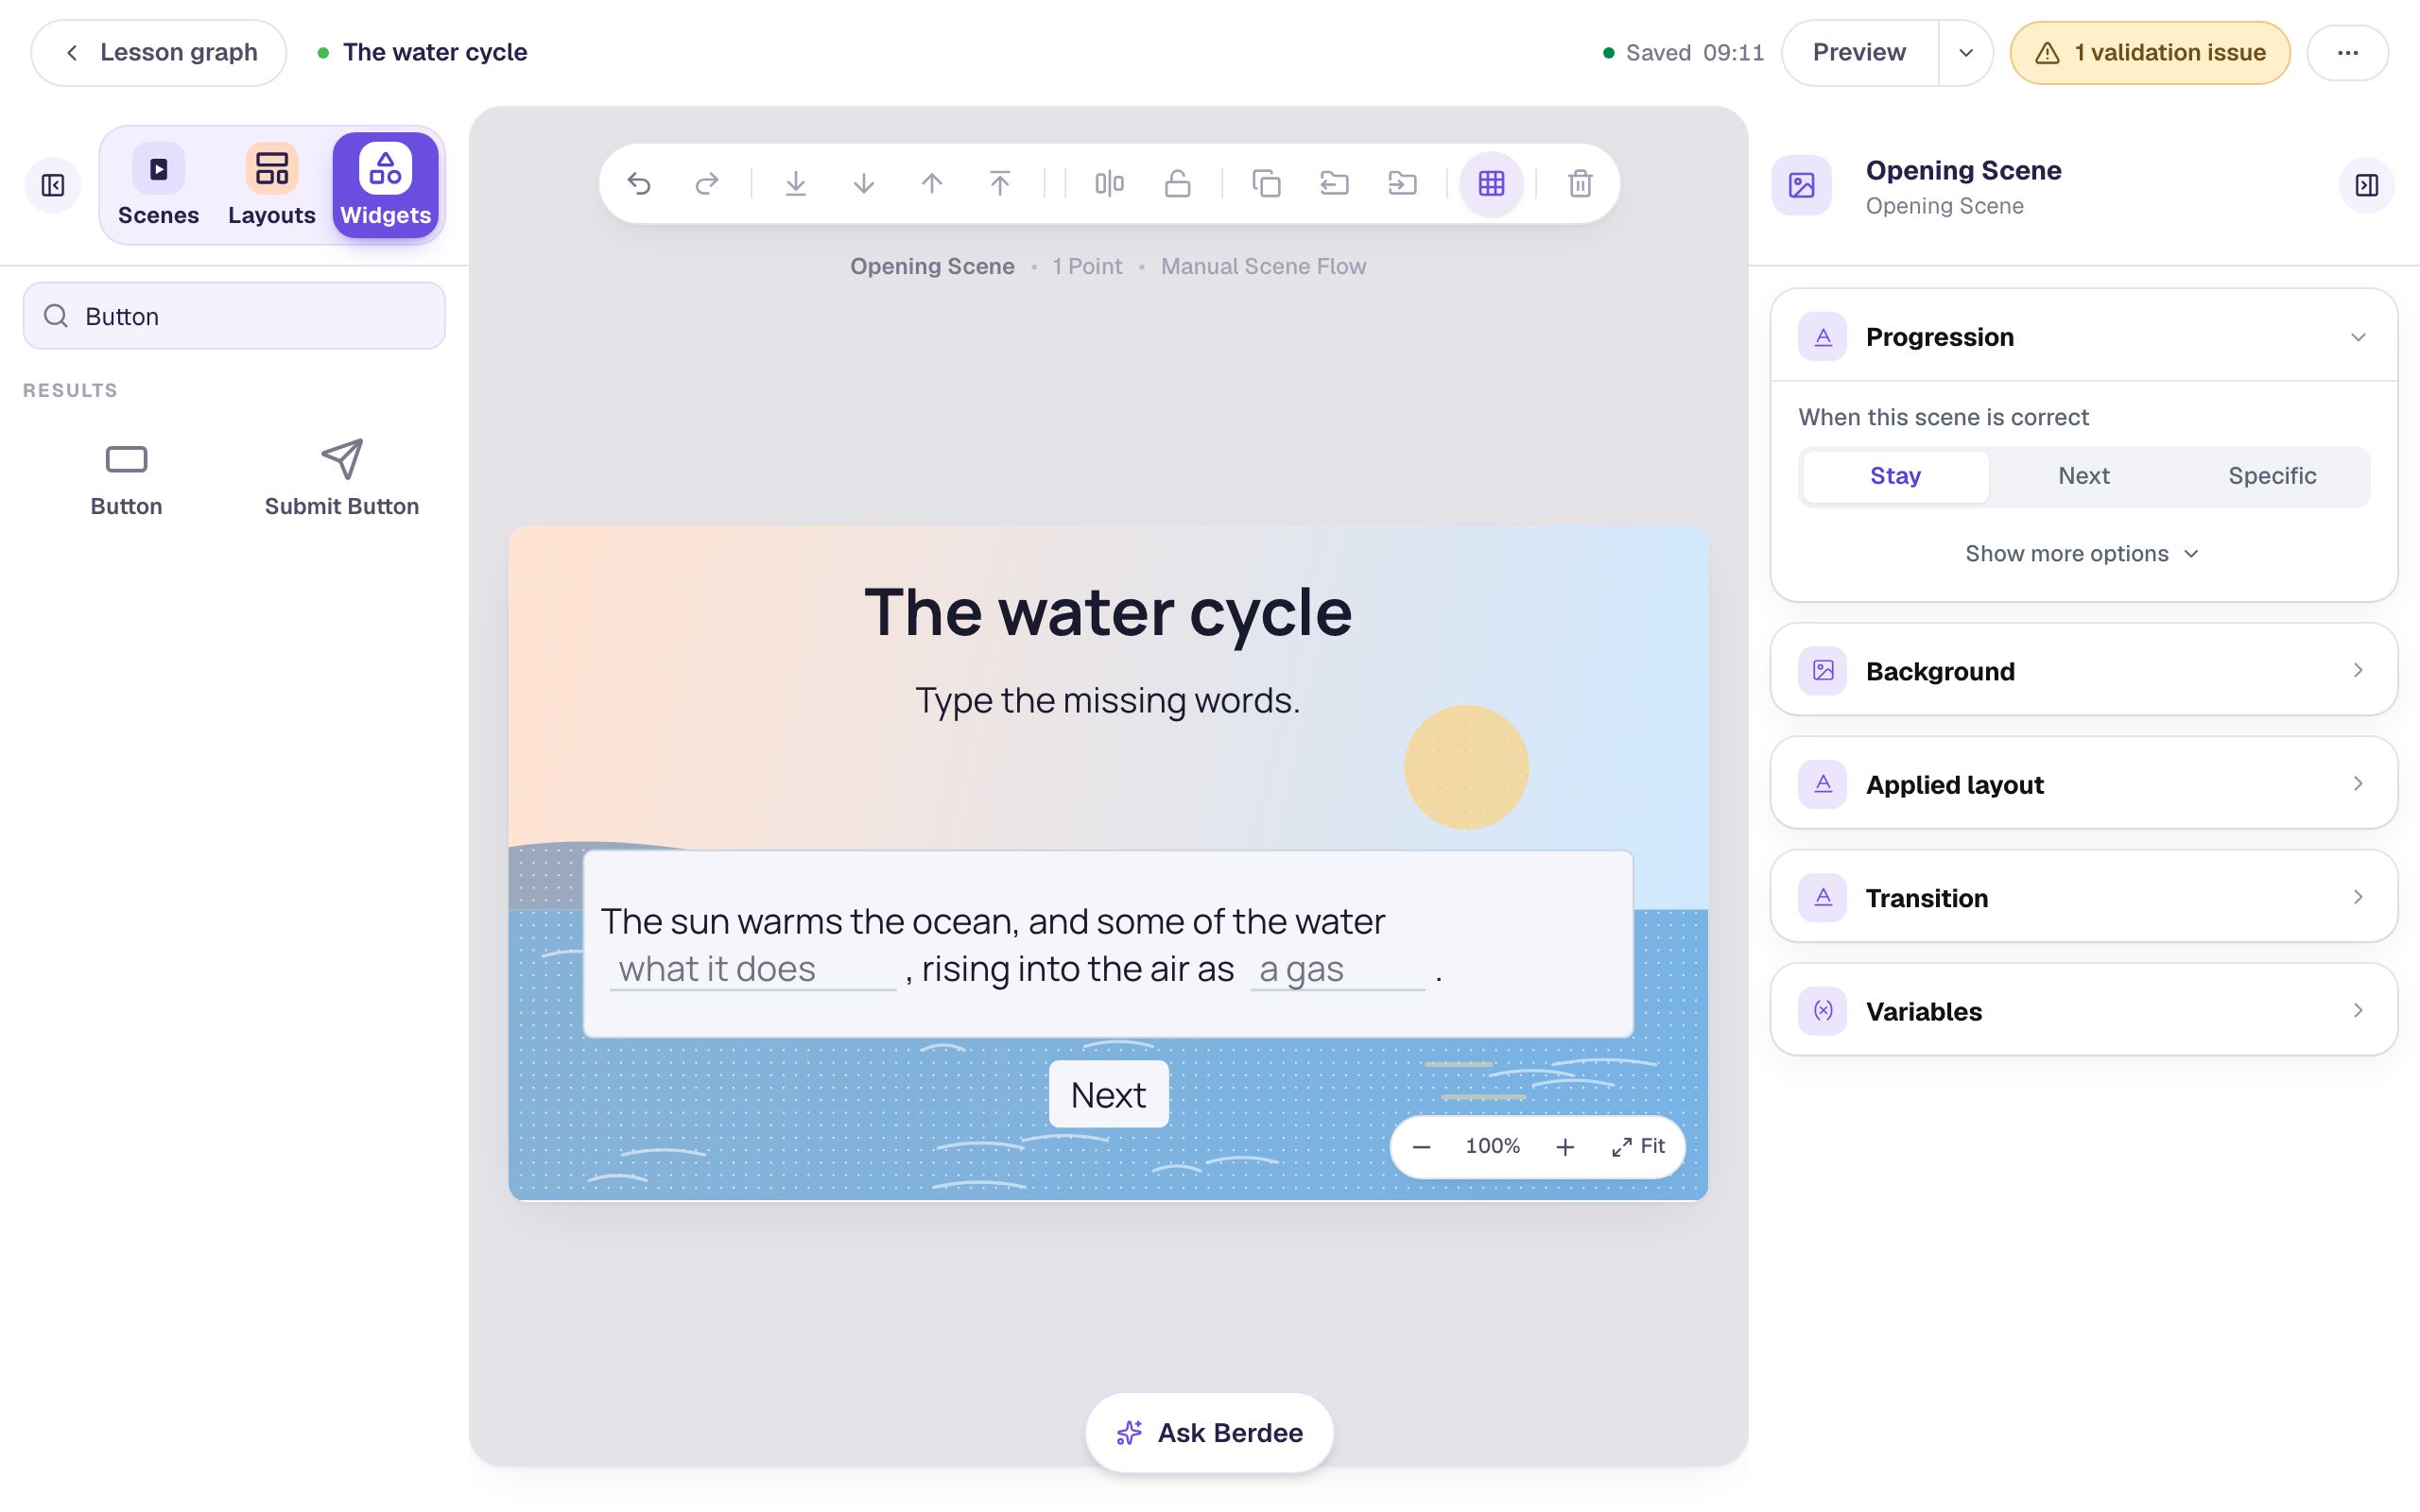
Why Stay? On Next, the scene moves on by itself the moment both blanks are right, while a wrong answer just sits there with no way forward. Students can keep guessing until the scene jumps, and the score never shows a miss. With Stay, right and wrong answers both wait for the Next button, and the score at the end tells you how they did.
Click the validation pill at the top right:
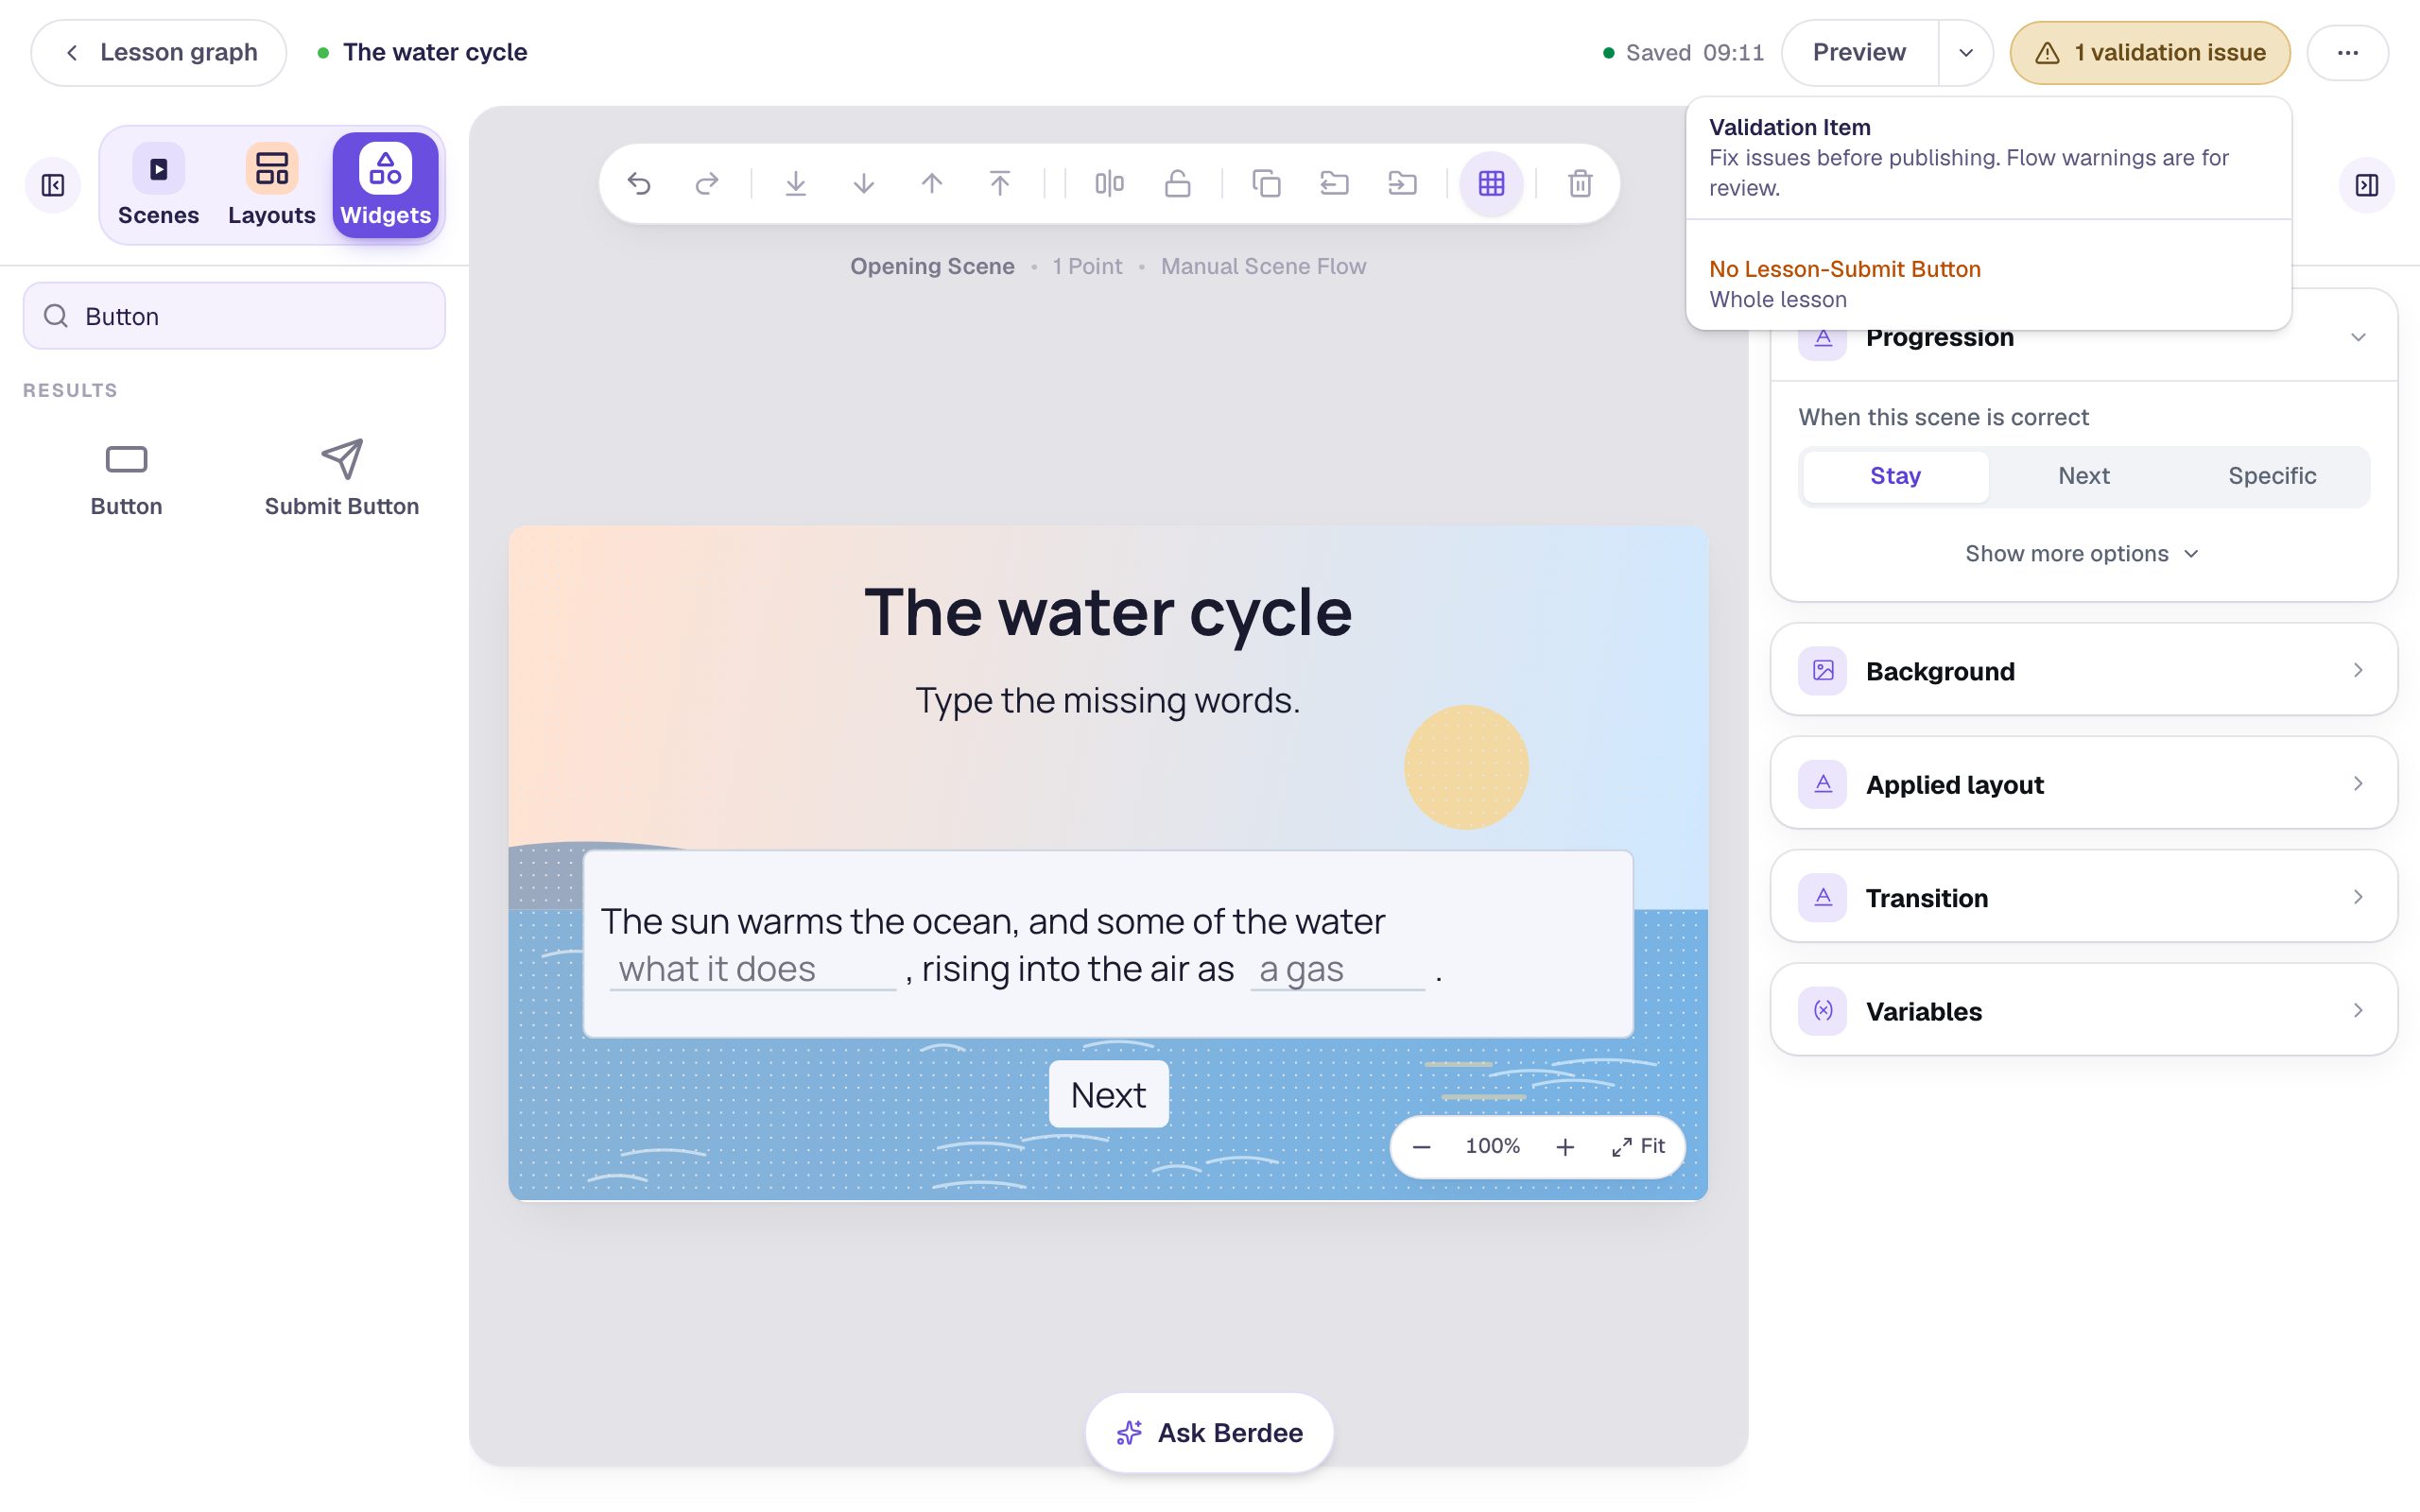
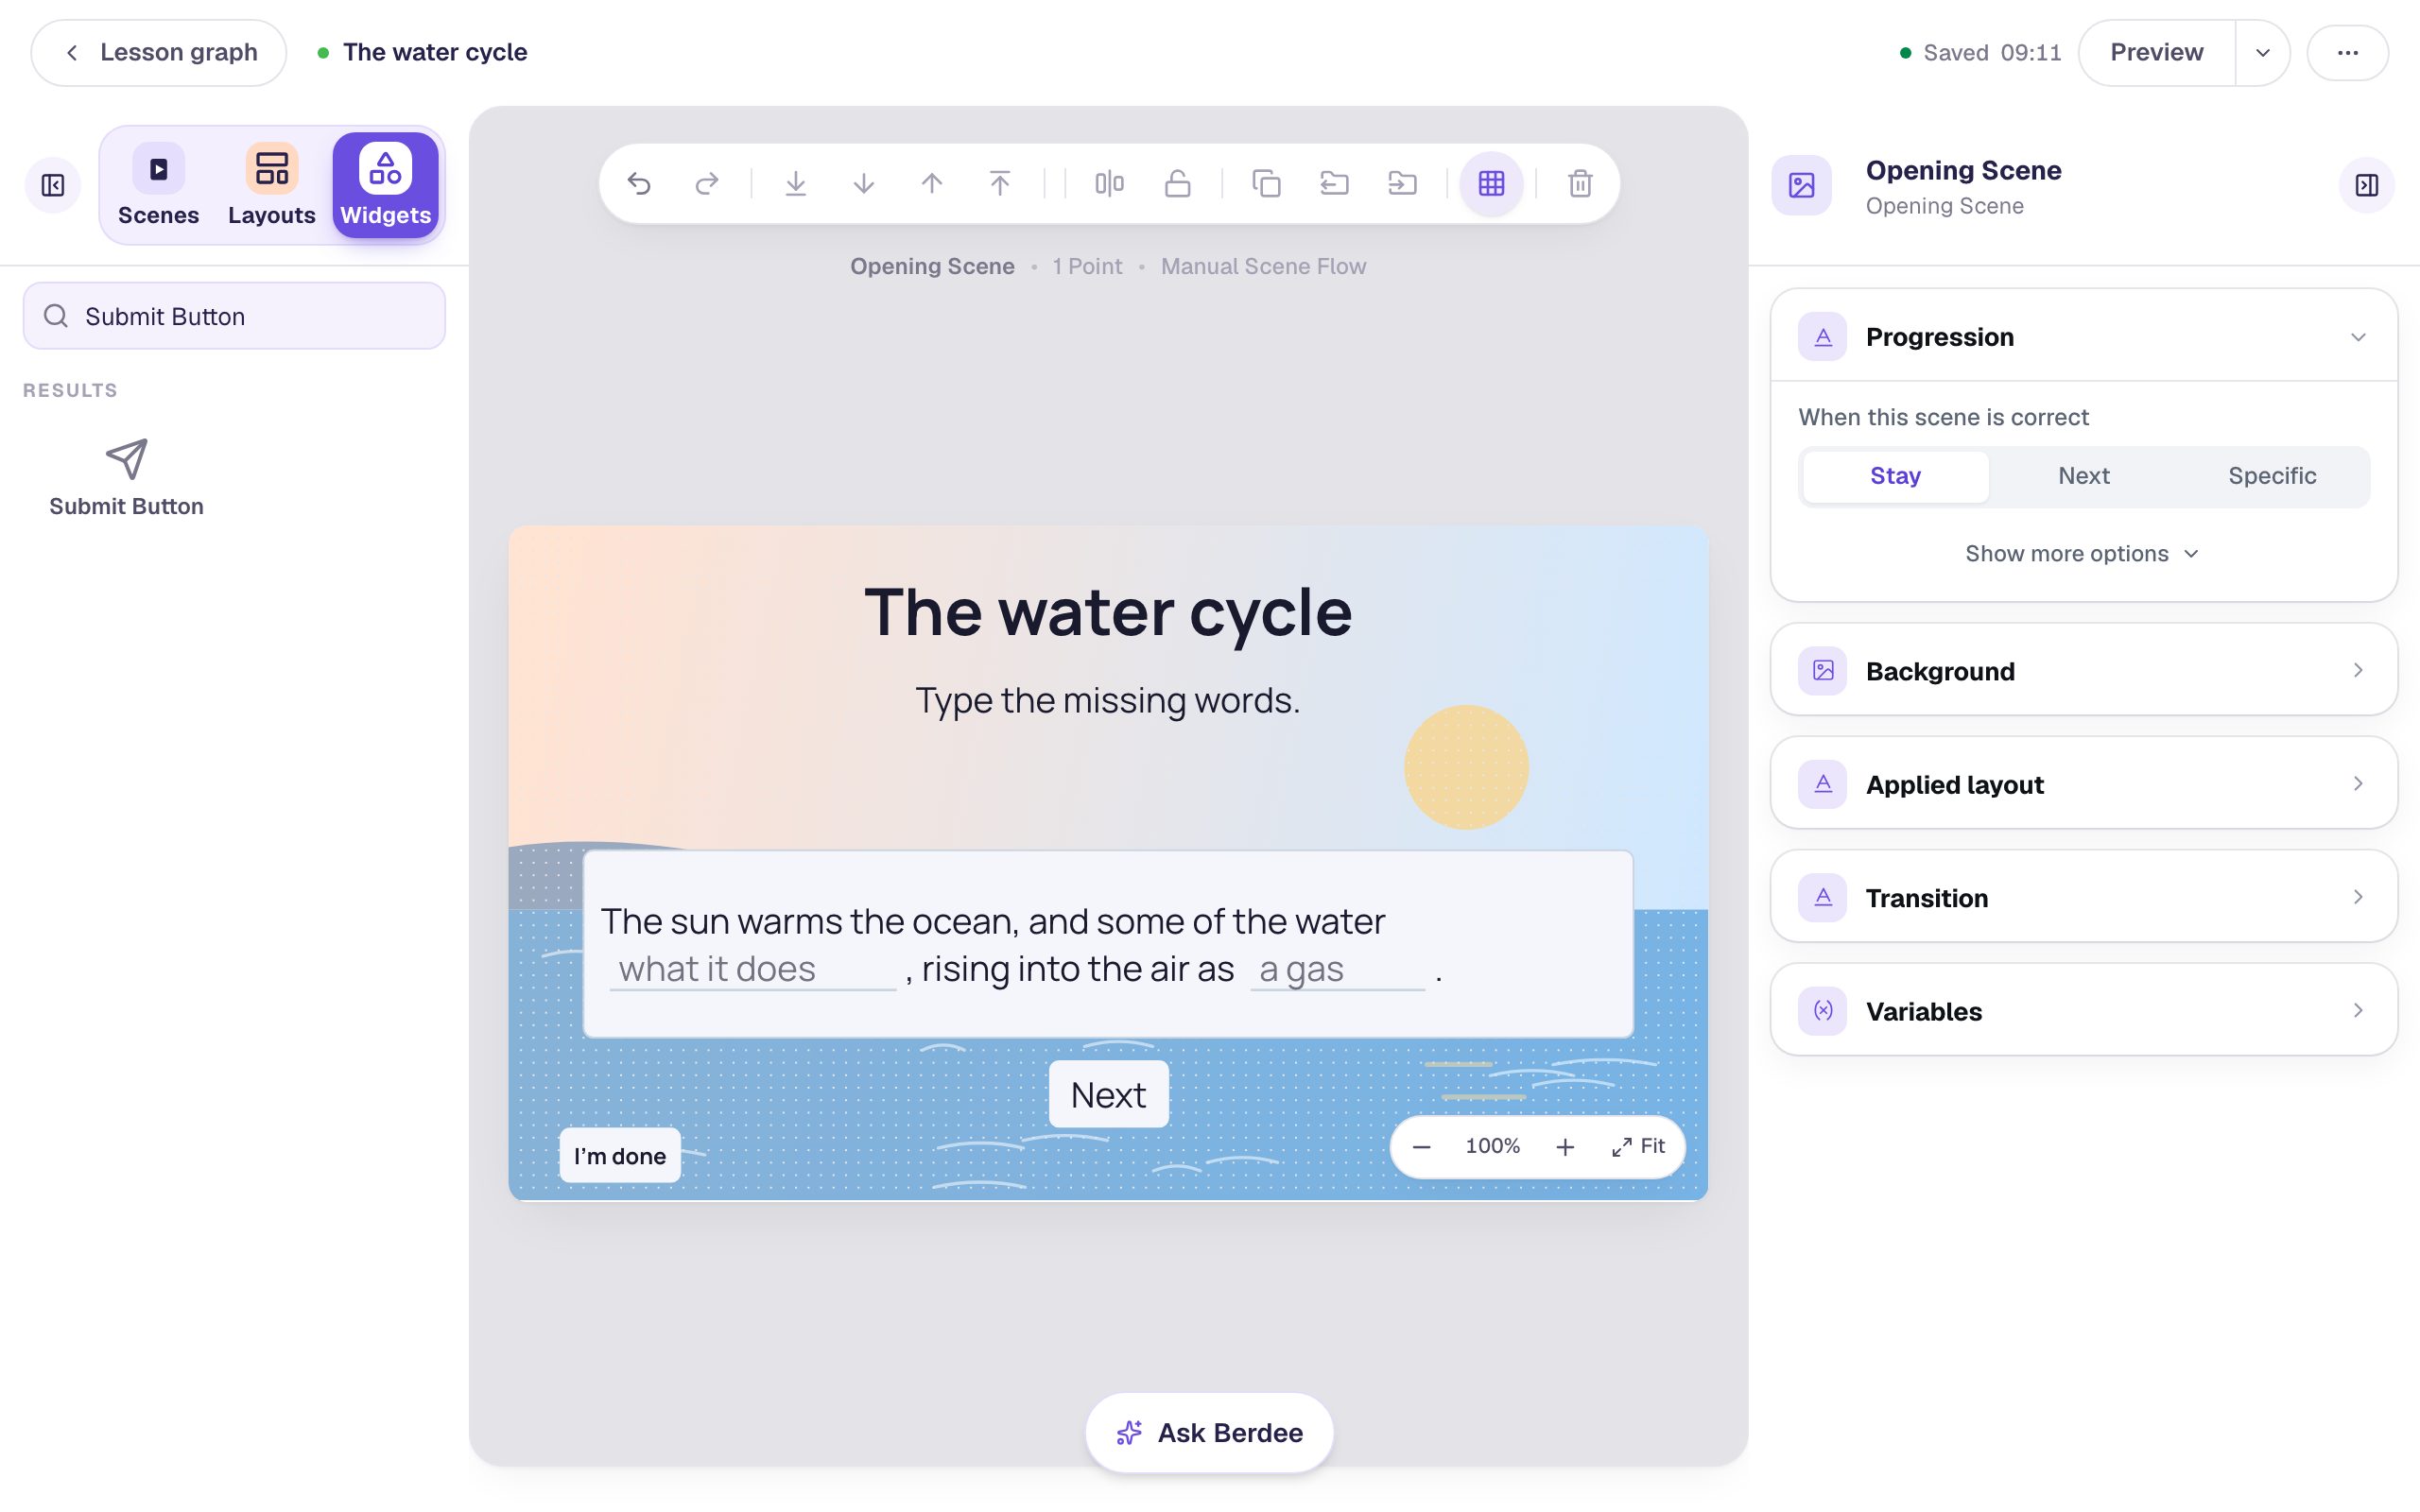
No Lesson-Submit Button means no button lets a student finish the lesson early, which Berdee needs before it will publish. Add a Submit Button, set its Label to I'm done and Submits to Lesson in Content, set its Font Size to 18, and tuck it into the bottom-left corner. The validation pill goes away.
Step 8: Try it as a student
Click Preview. Type the answers the way a student in the UK might, starting a sentence with a capital:
- In the first blank, type
Evaporates. - In the second blank, type
vapour.
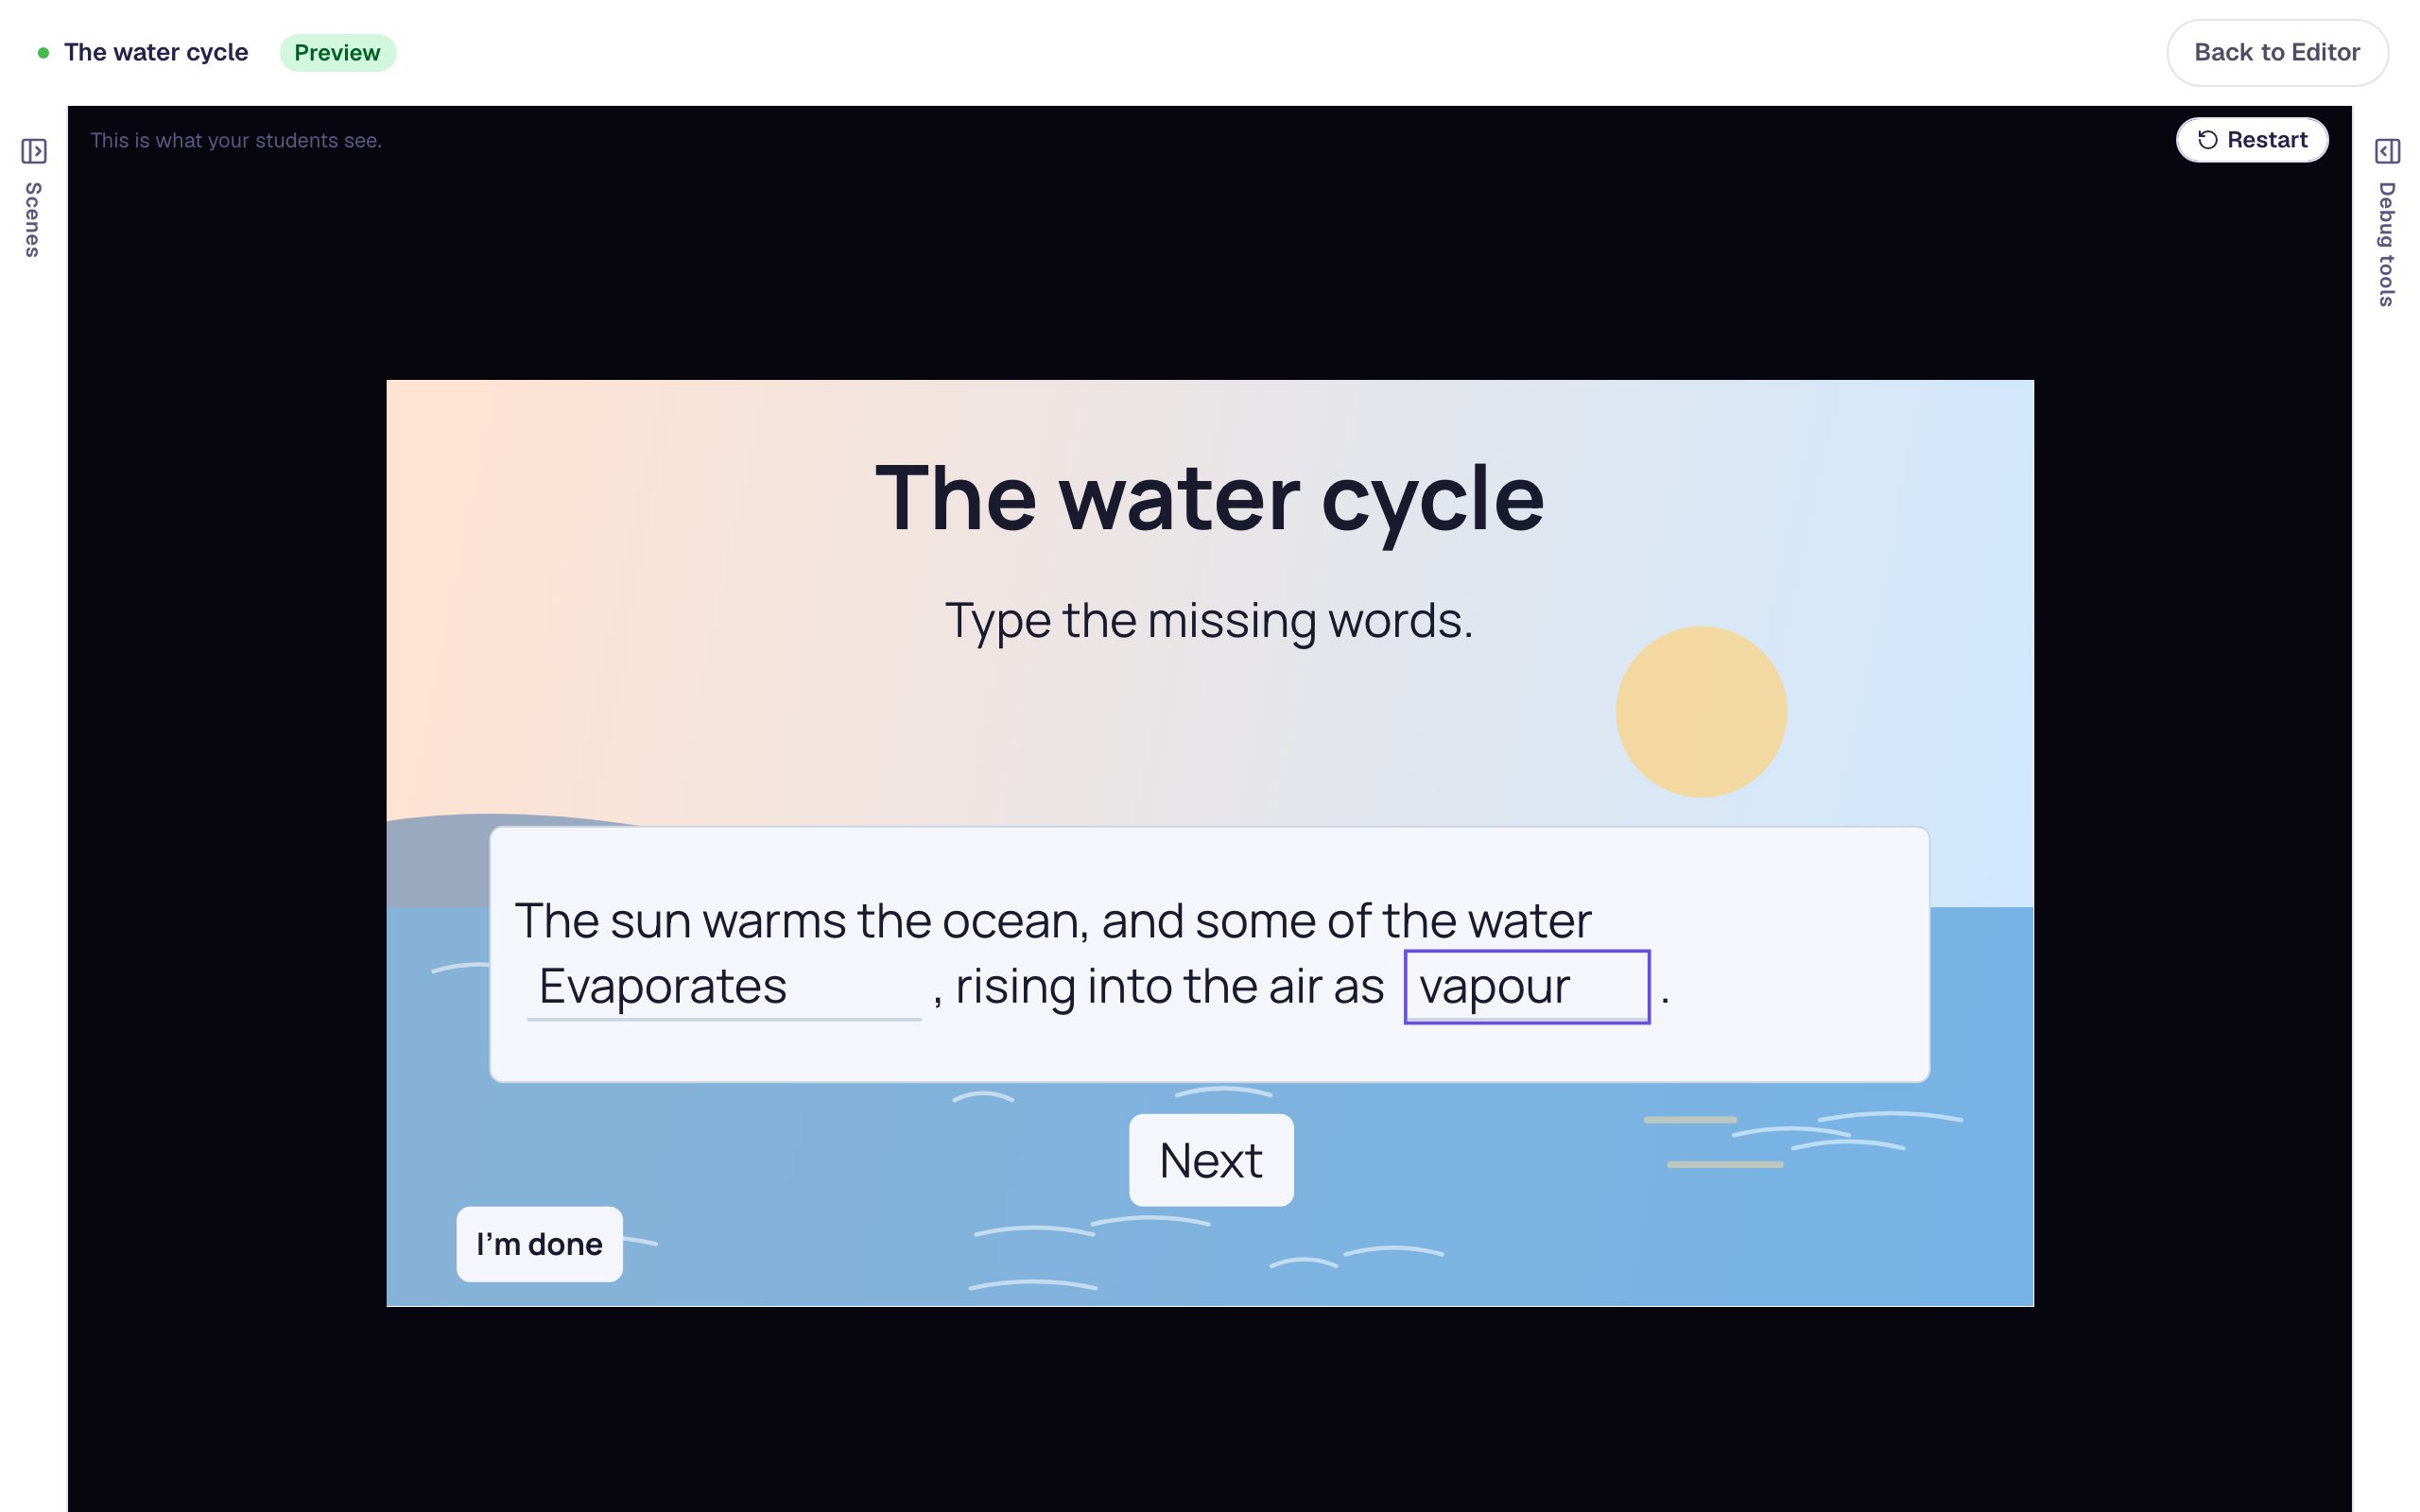
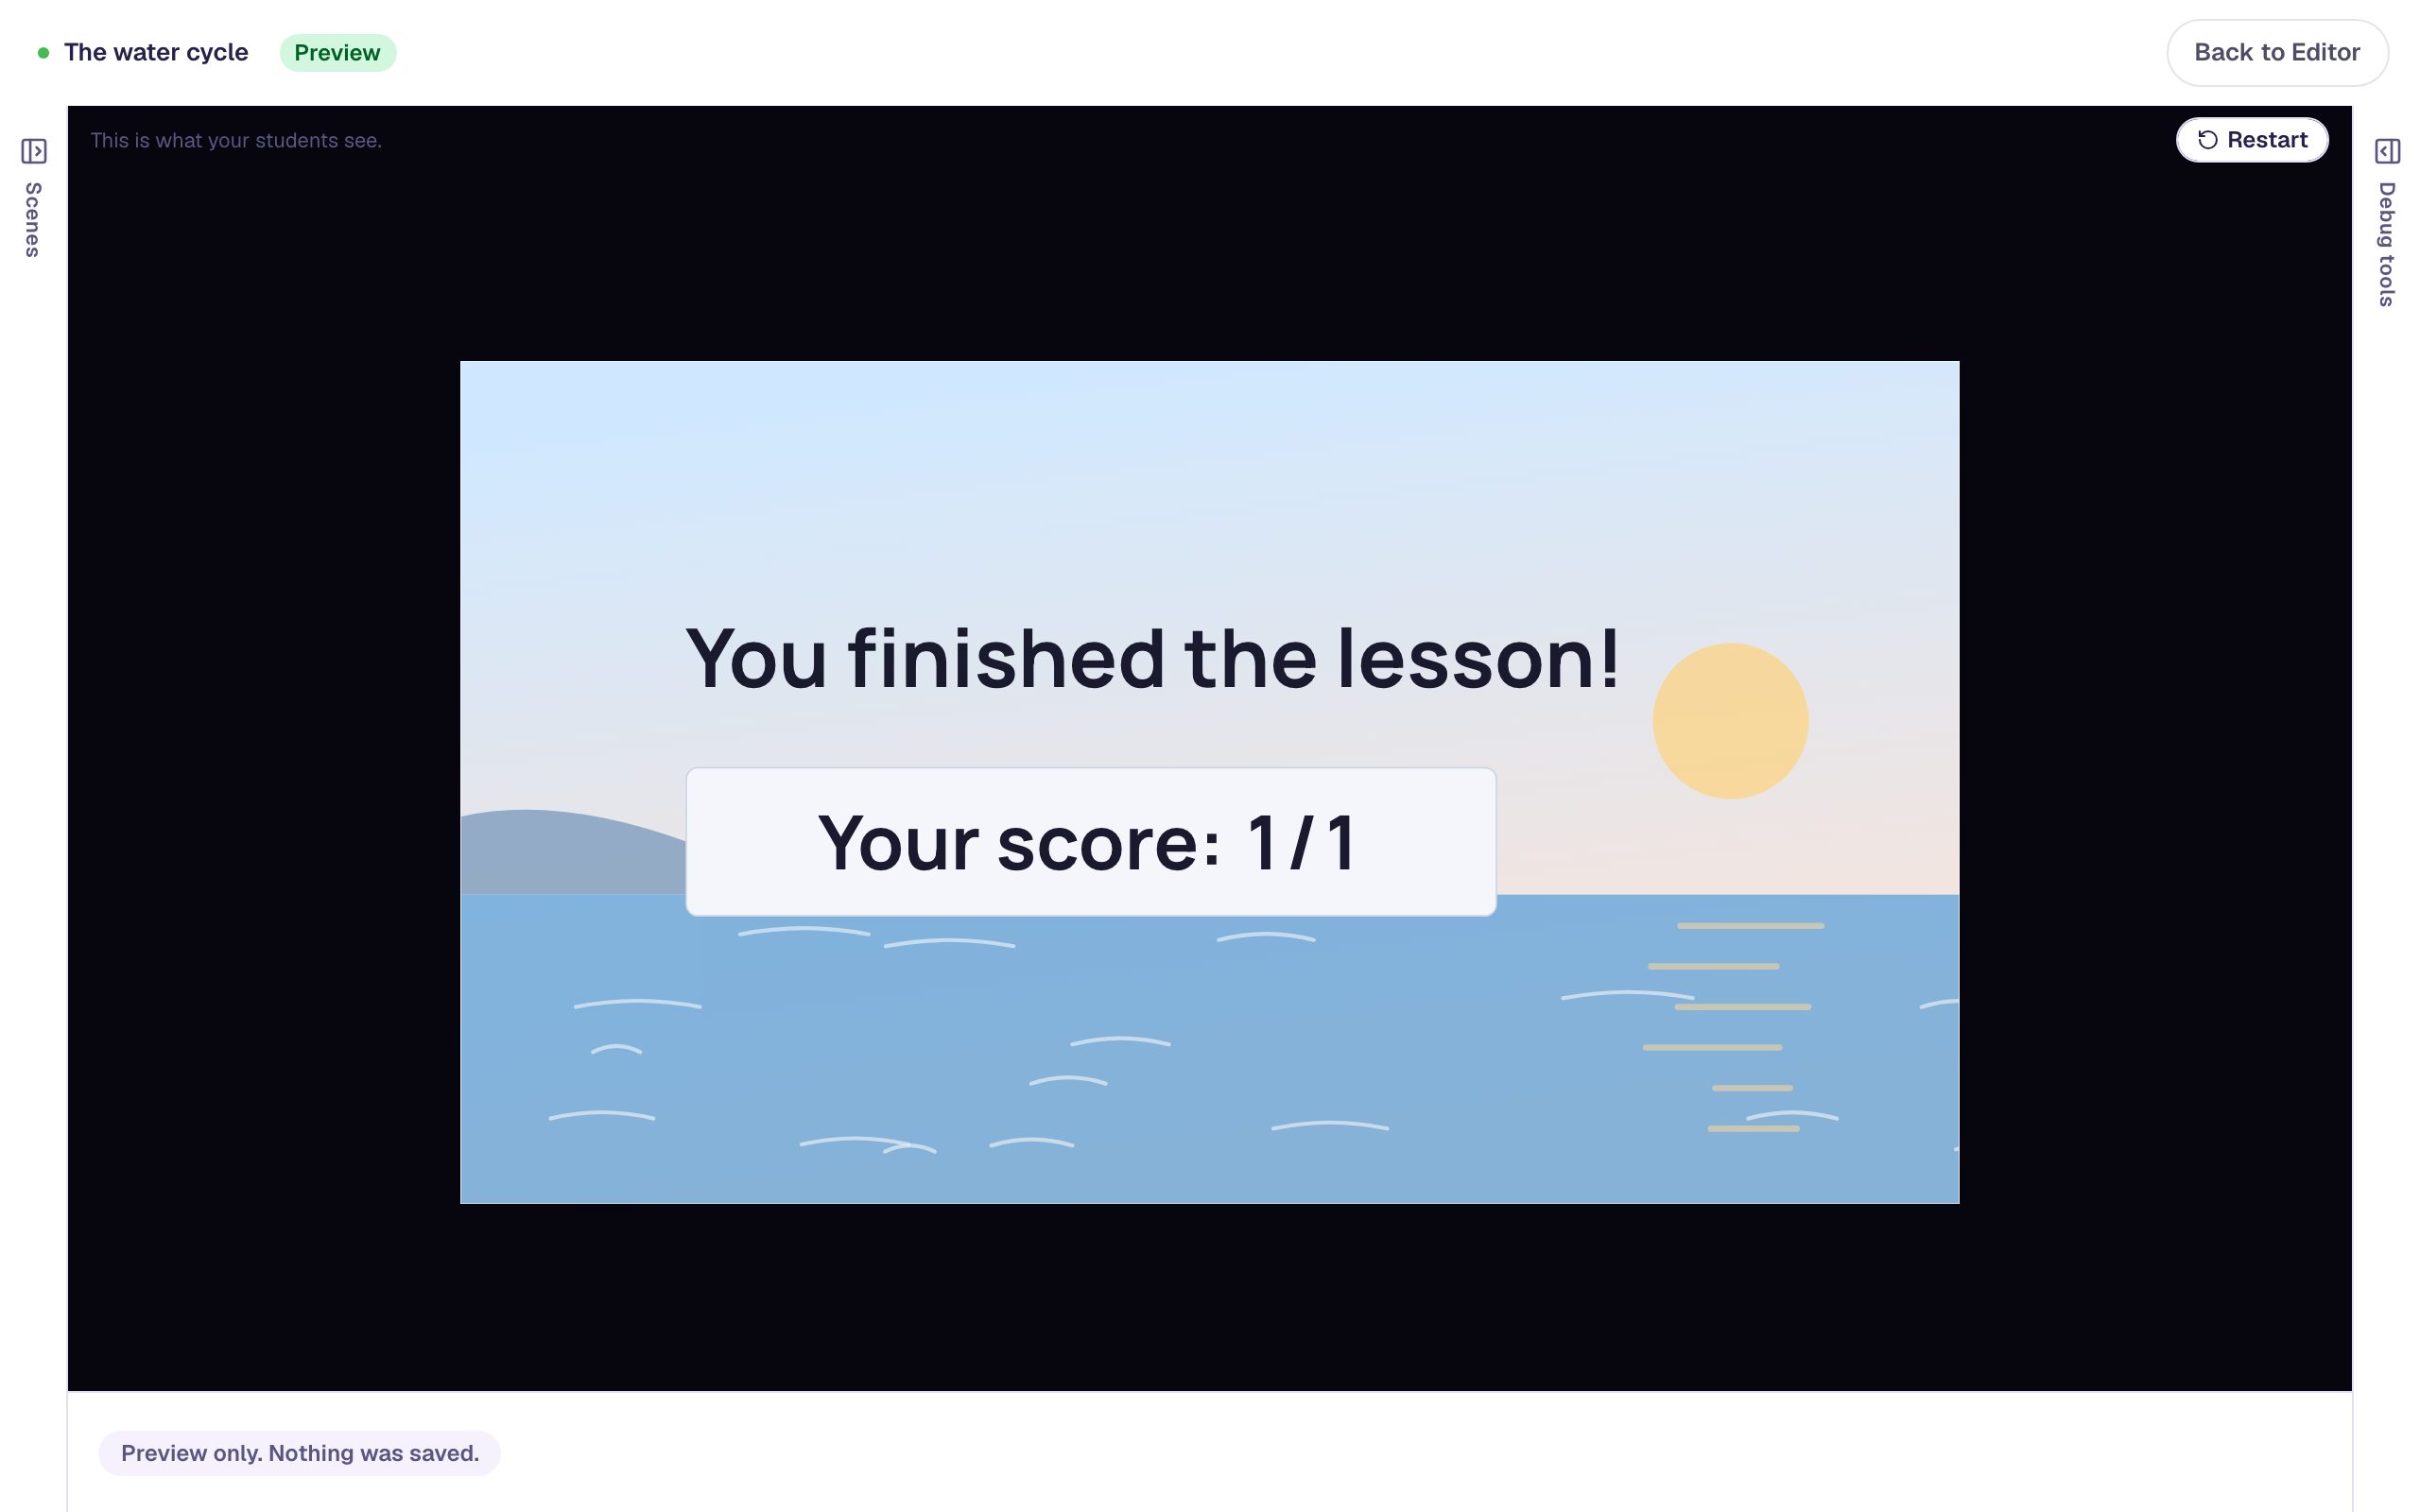
Press Next. The ending shows Your score: 1/1: Evaporates matched because case doesn't matter, and vapour matched because you added it as another accepted answer.
Click Restart and try a wrong word, like boils, to see the score drop to 0/1.
What you built
A fill-in-the-blank question about the water cycle with:
- a sentence written out in full, with
evaporatesandvapormarked as blanks, so each blank's answer is the word you marked, - a Placeholder hint in each blank, long enough that the answer fits,
vapouradded under Other accepted answers, so both spellings count,- Case sensitive answers left off, so a capital letter is never a wrong answer, and
- a Next button with Stay progression, so every answer waits for the student and the score at the end is honest.
To go further, put several sentences on one scene, or turn scoring off for a practice round as in Make some questions count more, and one not at all. Every Fill Blank setting is in Fill Blank Widget. For a game-like activity on the same pattern, try Build a matching game with instant feedback. To ask for one typed answer and coach a wrong try, see Ask a short-answer question that coaches a wrong try.
Make this lesson yours
Add the lesson you just watched being built to your account, then change it for your class: your questions, your pictures, your colors.
Free to sign up, and you'll come straight back here. I have an account